You must be logged in to rate content!
4 minute(s) of a 160 minute read
6-17-2008
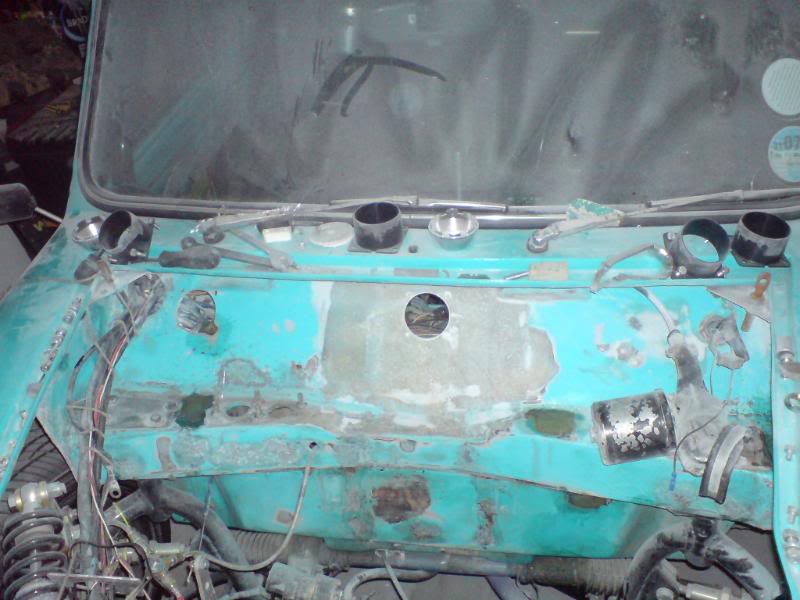
Stripped out the front bulkead after finnishing the repairs and filling all surplus holes, and then sanded it all down. - Horrible job, fibreglass dust is nasty!
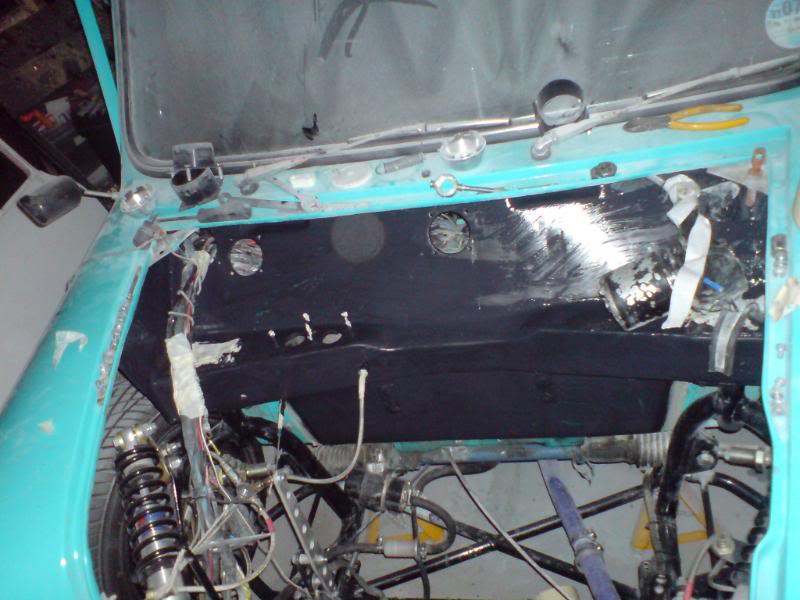
and got the first coat of black emulsion on it
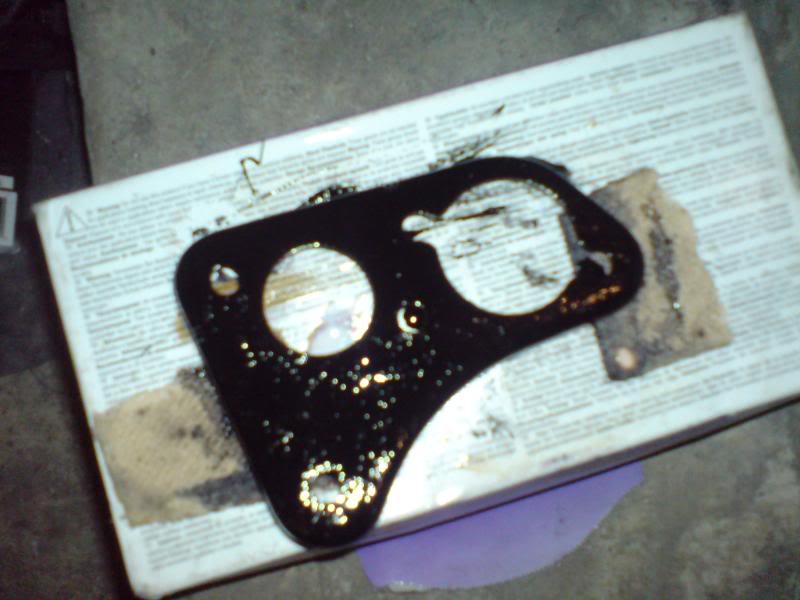
also striped and repainted the bracket under the master cylinders so it wouldn't look out of place amongst all the new bits.
8-7-2008
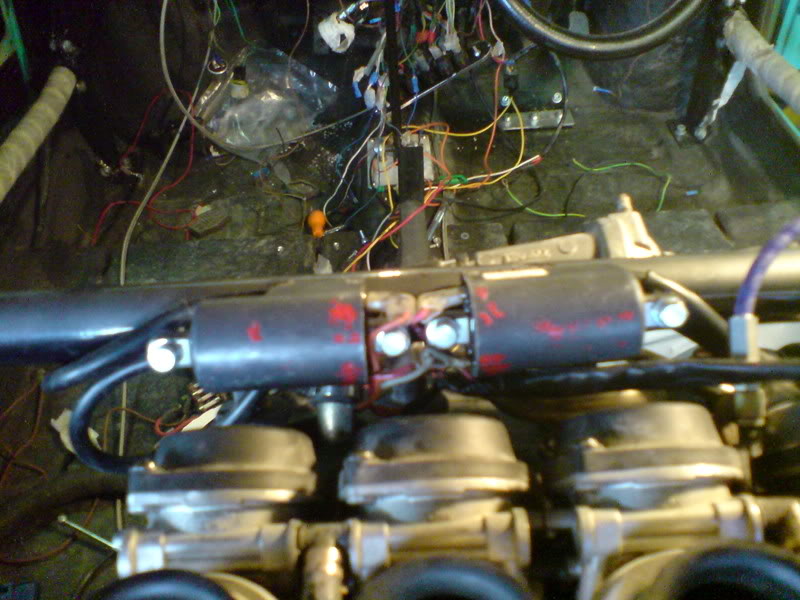
Right about time a got project thread up to speed again. Coil packs fitted using rivnuts, which I now hate but we'll come to that in a minute.
finished the rear bulkhead mock-up side pieces made from card and then from that cheapo fibreboard stuff from B&Q.
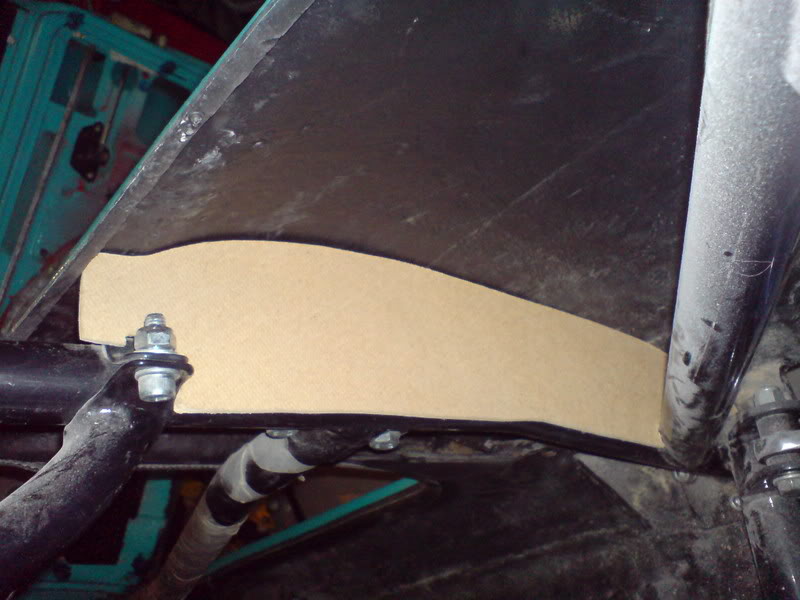
then transfered to ally sheet. I have the standard size bulkhead side pieces from zcars, nicely lazer cut jobbies if anyone wants to buy them.
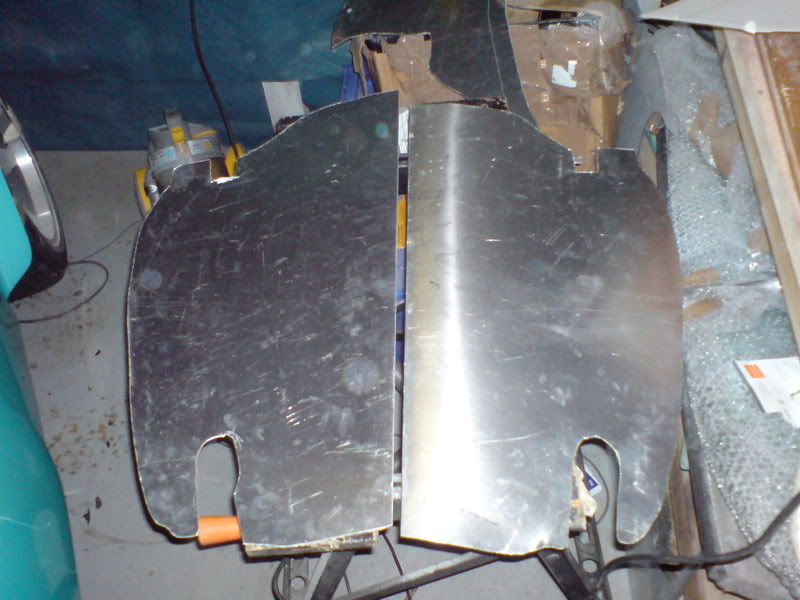
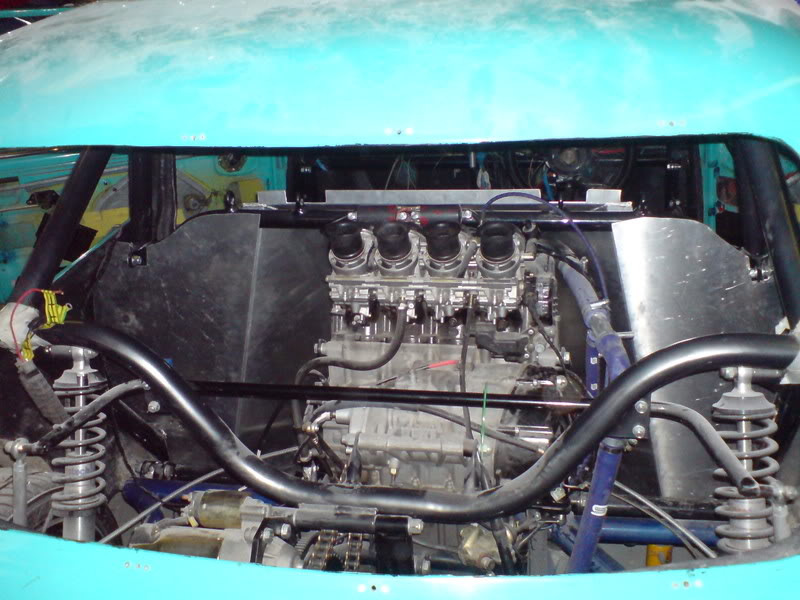
Centre piece is from Z's and was fitted first with riv nuts to harness bar, but they eventually started to turn, so drilled them out and replaced with anchor nuts.
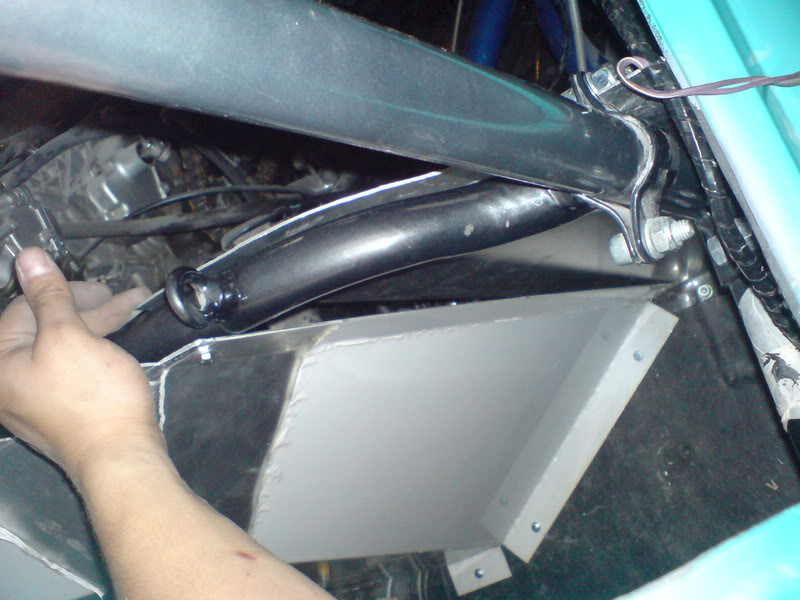
But has caused a few probs as in the minus it is too tall to fit behind the harness bar and then my side pieces would fit nicely flush to make a decent sealed bukhead. Instead I have had to fit it in front of the harness bar, (the side pieces will not work in front of the bar) So I'm left with this gap,
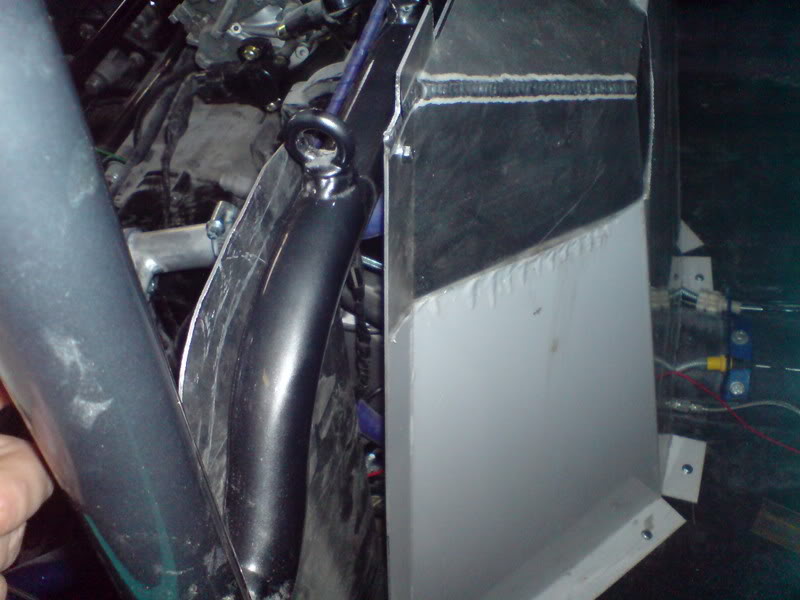
...but I have a cunning plan.
Side pieces are fixed with anchor nuts like here:
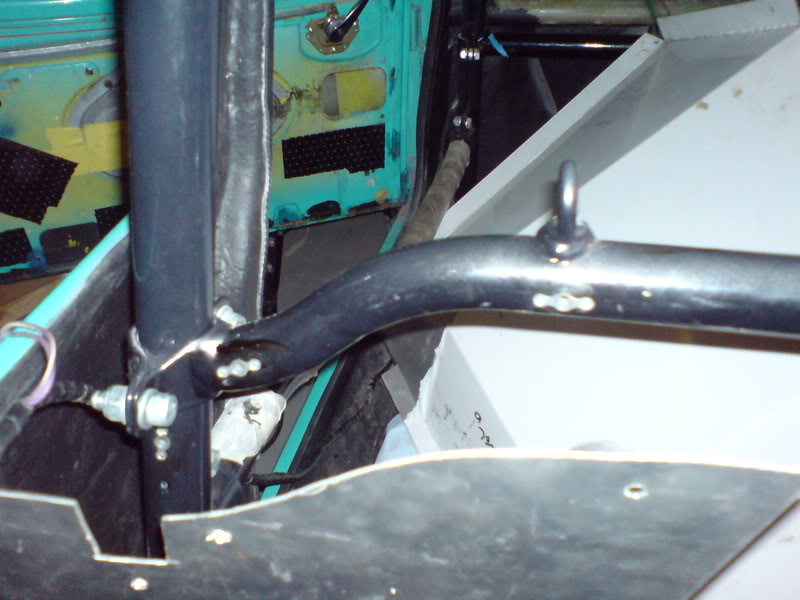
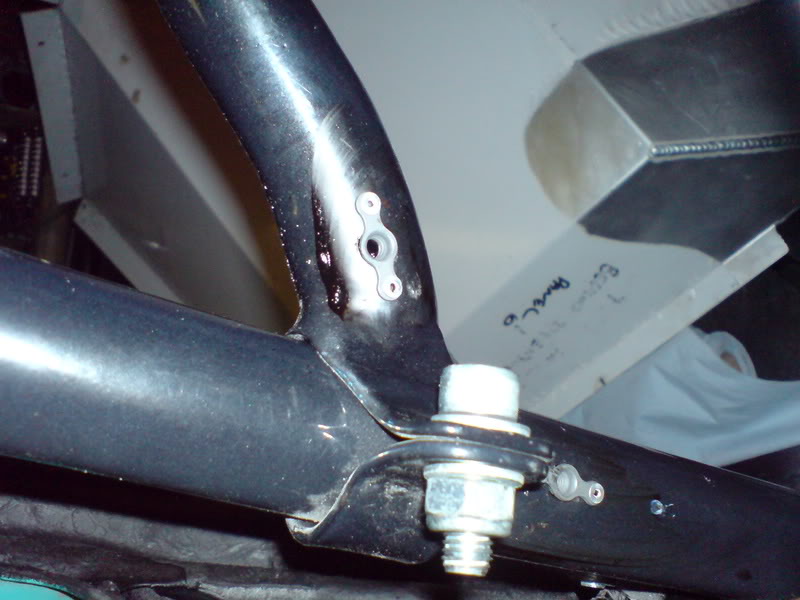
Expansion tank is fixed in same fashion and now plumbed.
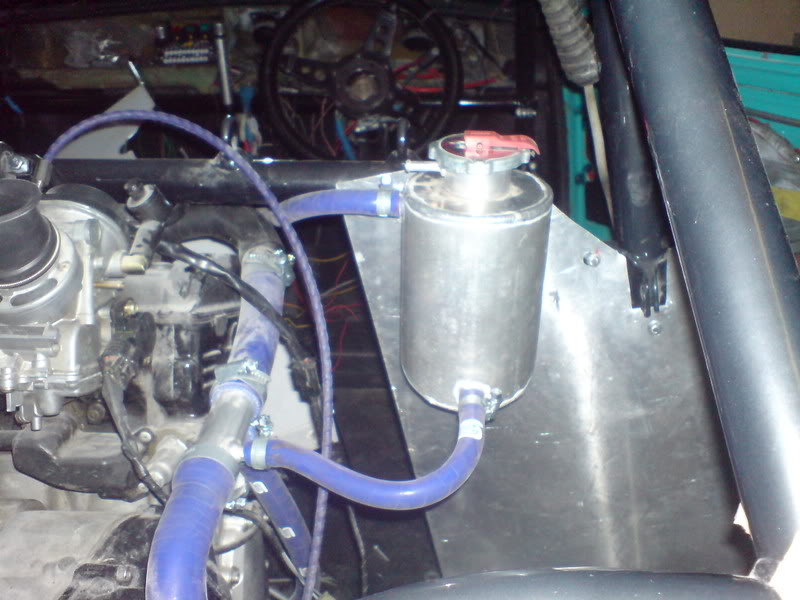
Also, got a little tip: drilled and tapped the rad to fit a bolt with rubber grommit to act as bleed screw
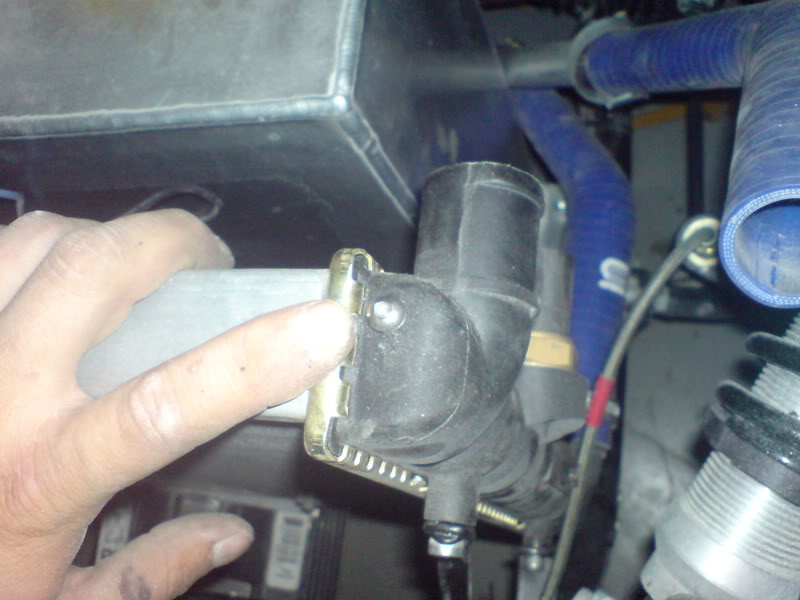
Will make life much easier later.
Also been restoring some carbon fibre doors. One was busted like this:
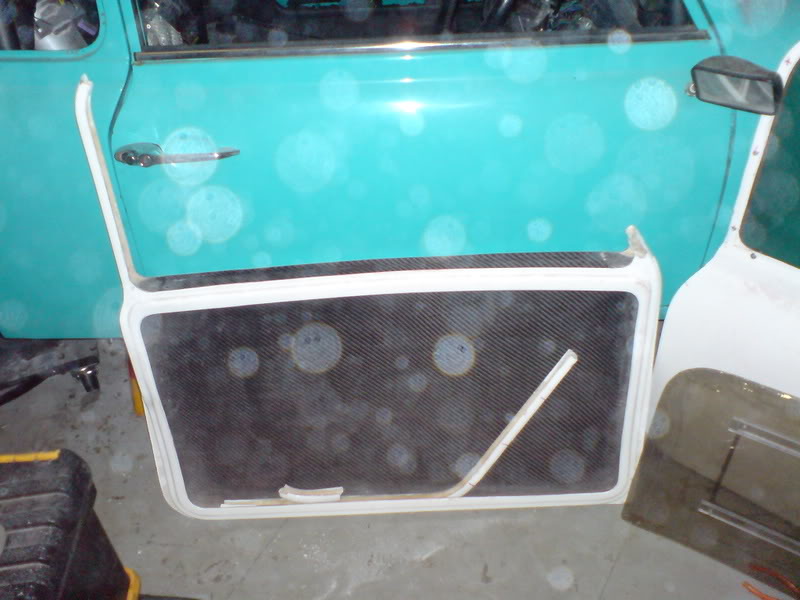
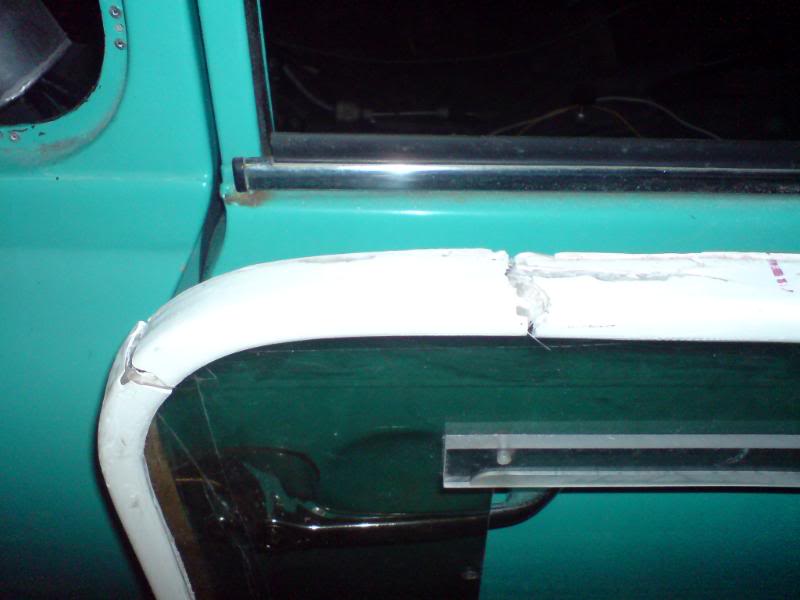
And I have grp'd top, then dremel'd all the inside's of the frames out and relayed grp inside. It then looked more like this:
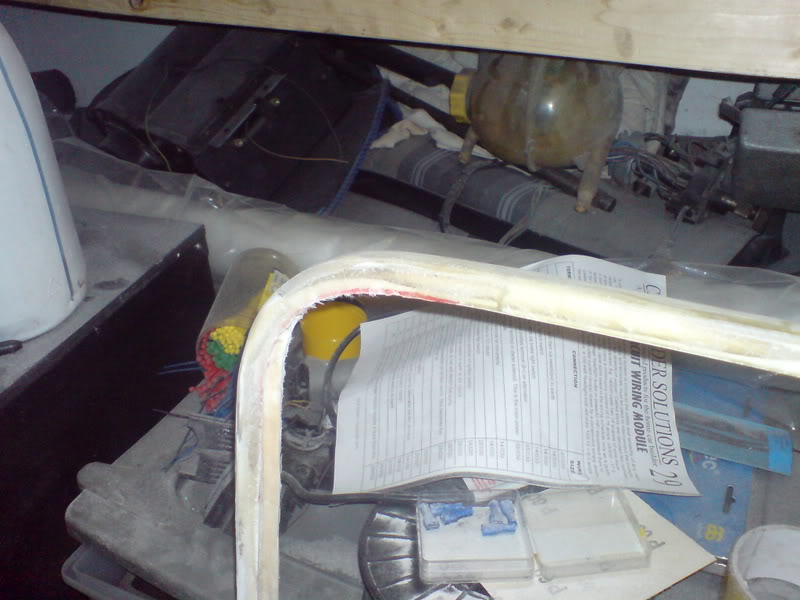
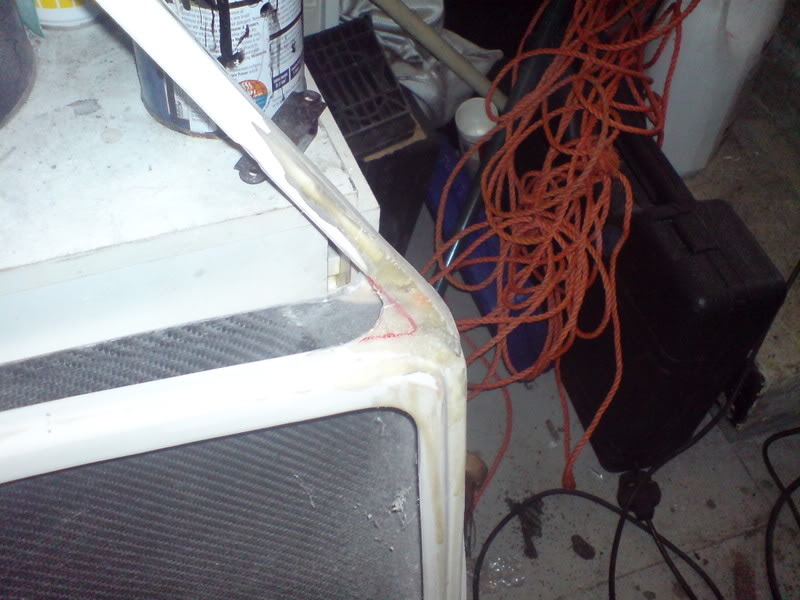
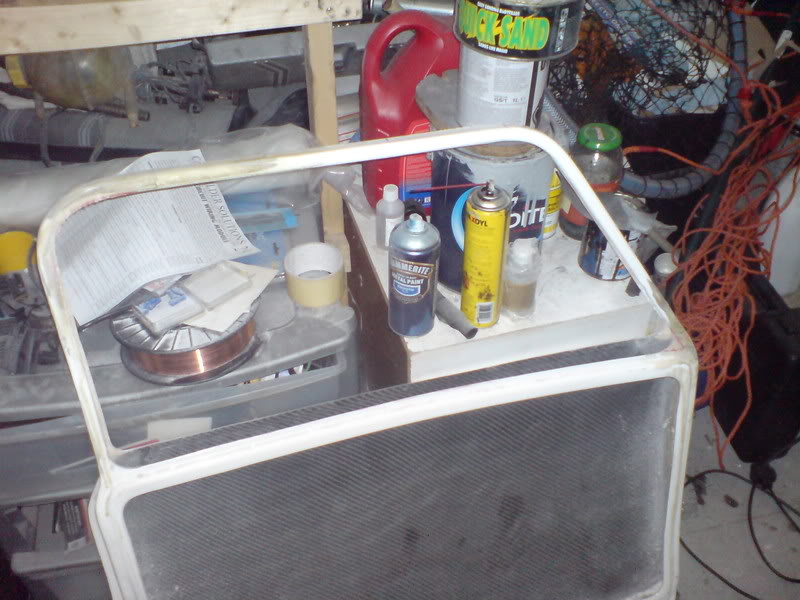
Got some finishing touches to do, but now stronger than ever. I was gonna cut these down to fit the minus, but they are too good for that, so I'm gonna flog em.
Very cool build!
Posted by Diggymart on 2/5/20 @ 8:09:06 PM