You must be logged in to rate content!
3 minute(s) of a 160 minute read
3-10-2007
popped in the workshop after work, for a couple of minutes and couldn't resist finishing off the petrol filler hole removal


looks like it was never there, or rather- it will do once painted, so on to the next job.
3-16-2007
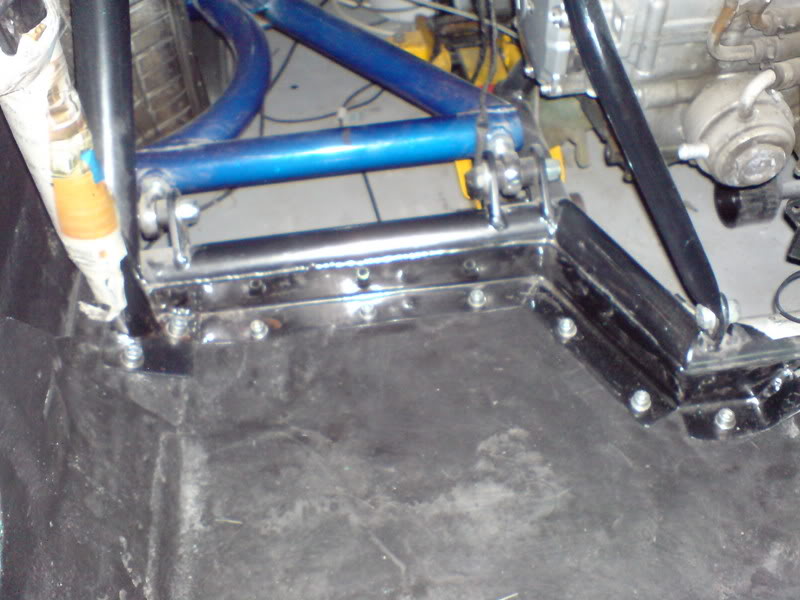
Well the cage is bolted back in place at last...
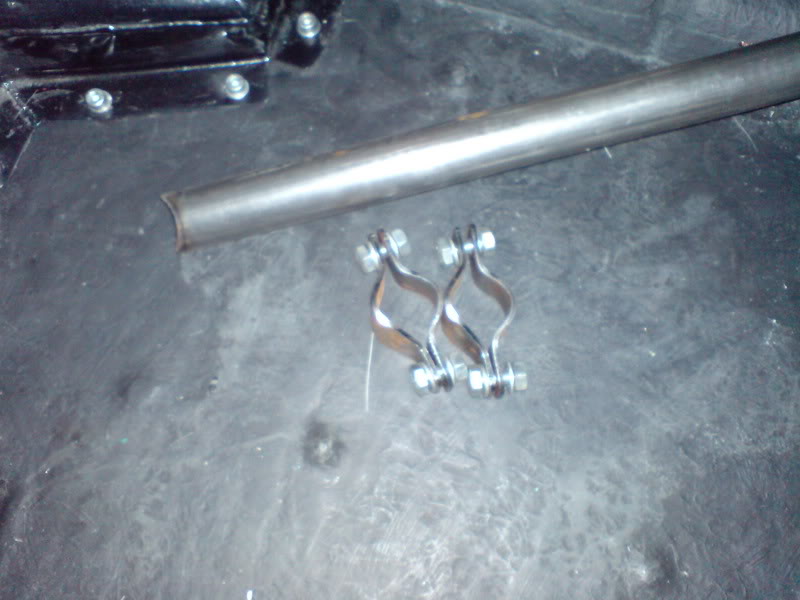
...and I've got the necessary bits ready for the dash bar...
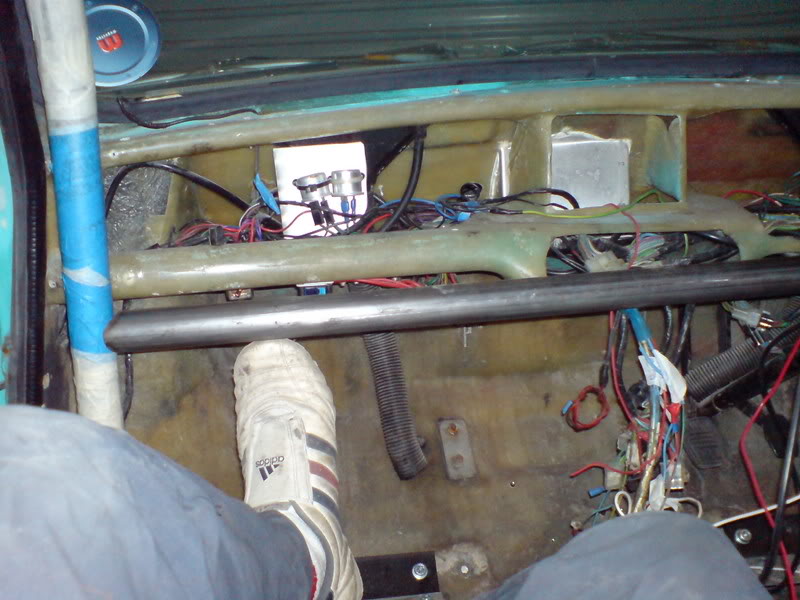
...and I've mocked it up, just need to make a bracket for the steering column to hang off
3-19-2007
- Fill petrol hole, sand rear half of roof interior and paint the lot.
- bolt cage back in.
- make a dash bar that also steadies the steering coloumn.
- strip back grp and restore all metal in front half of interior, then recover in grp (as i did with rear half).
- remove non ltd slip diff and exchange it for semi- race gripper diff and drive shafts.
- fit hoses (waiting for correct 25mm ones from Z's)
- refit tank
- fit dash and console and fix bloody great holes I put in it!
- fit exhaust manifold
- make a steady structure for rear end (body work wobbles a bit) and hang back box off it too.
- fit throttle position sensor.
- modify pedal and fit throttle cable
- fit gear cable.
- finish fitting brake hoses and rear fit clutch cable then bleed em.
- fit (and buy, come to think of it) sump baffle, change filter and fill put new oil in.
- make and fit bottom half side pieces of bulk head and then fit the whole thing.
- fit expansion tank
- make rear number plate bracket and light.
- fit battery cut off and wire instrument panel and rear lights.
- and final note to self...don't look at this list again as it's depressing. LOL.
Very cool build!
Posted by Diggymart on 2/5/20 @ 8:09:06 PM