You must be logged in to rate content!
4 minute(s) of a 66 minute read
2-10-2013
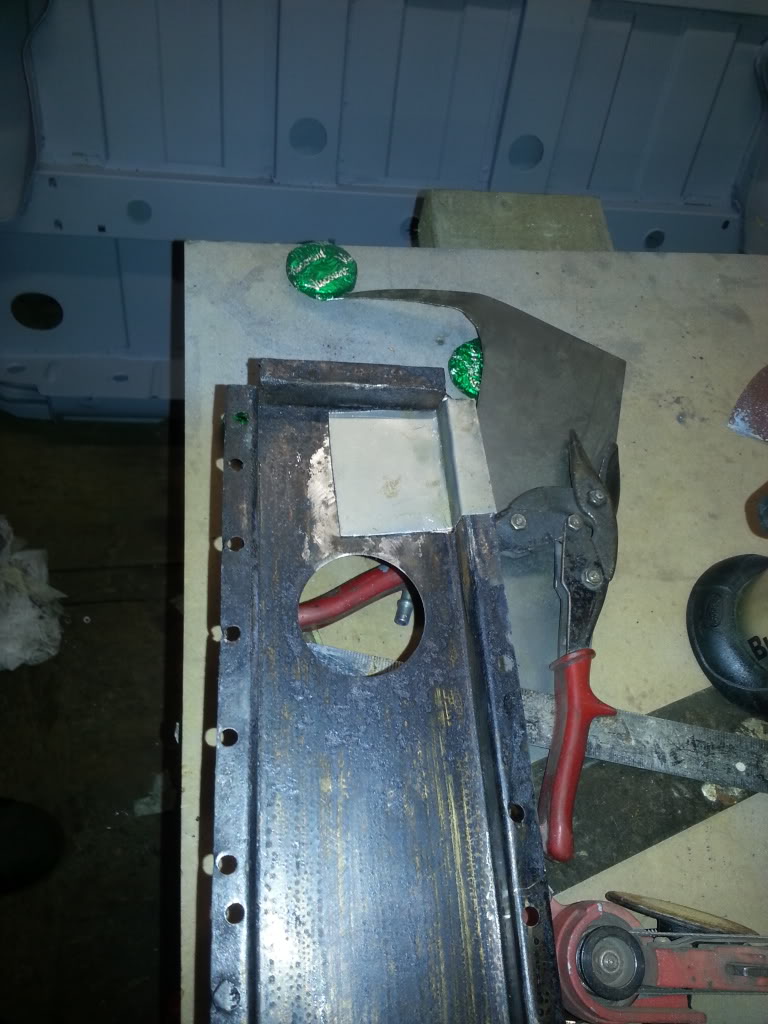
started off rather late today didnt get out of bed till 12! whoops. anyway we started off by a
small repair to the torboard

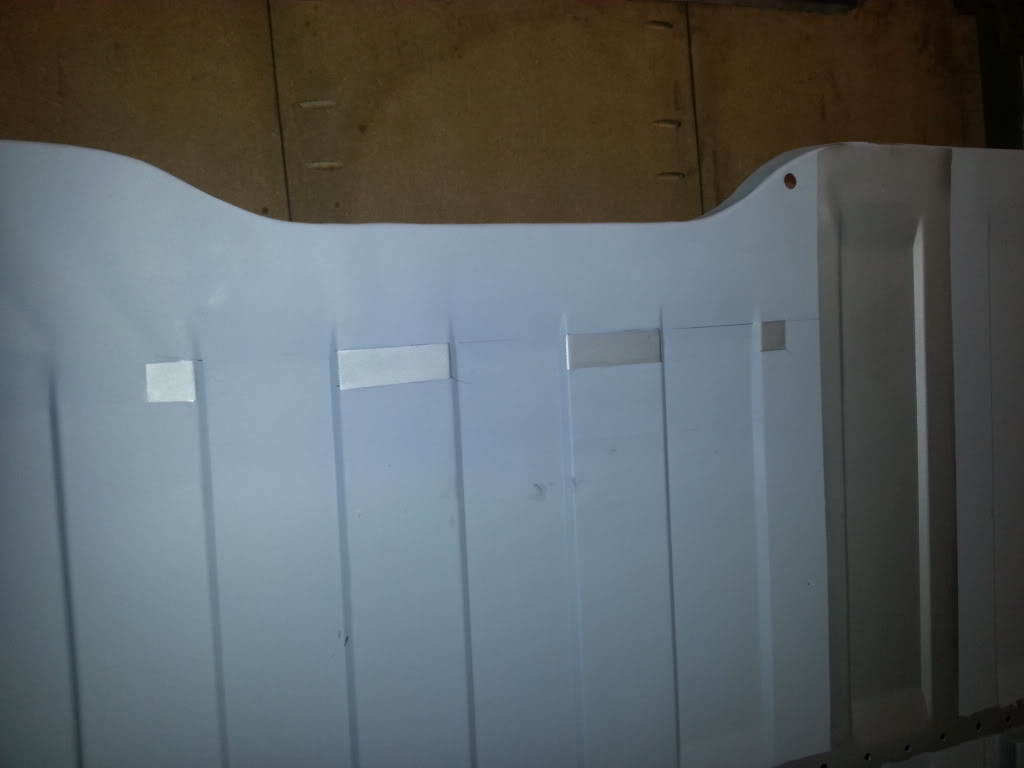
next we drilled holes in the sbframe closing panels and welded them on
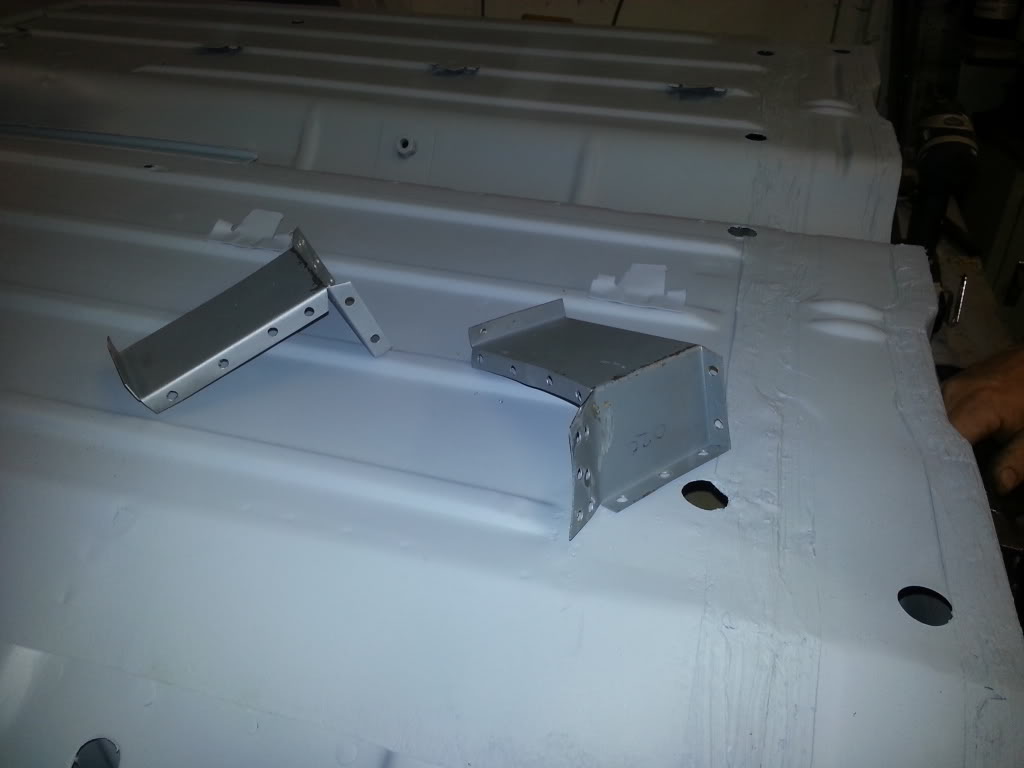
then looked at repairing the stiffner that attaches to the load bed at the front.
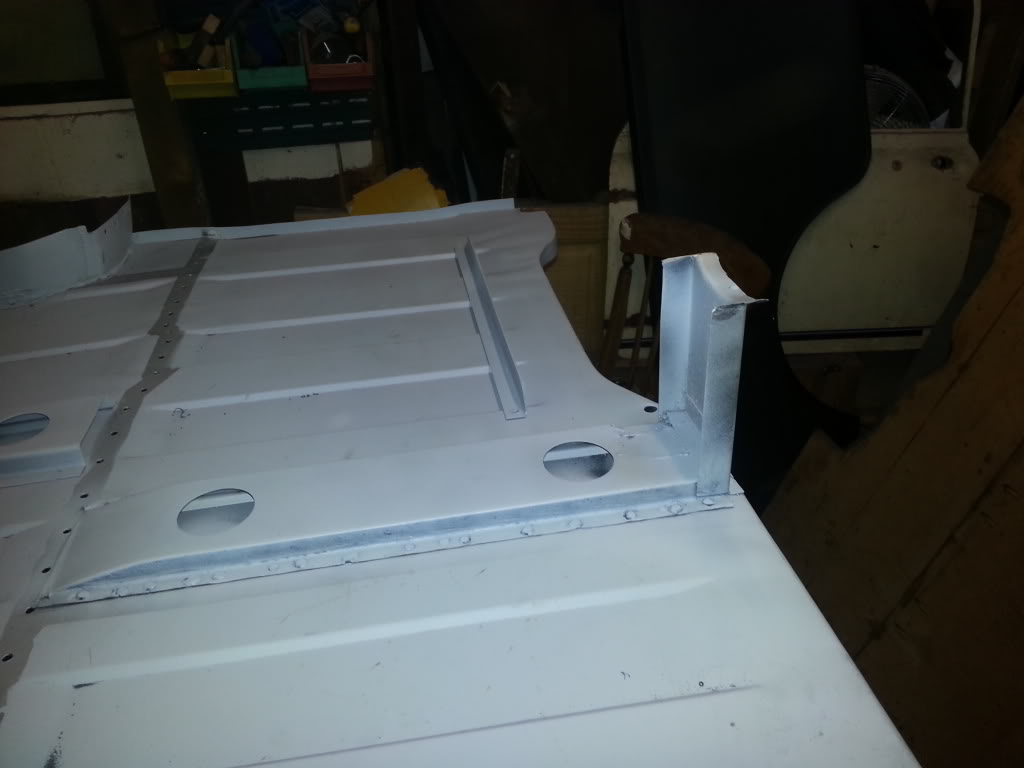
next we cleaned the primer off the floor pan to weld a angle iron to.

then sprayed weld through primer on to it.
the reason im putting the angle iron there is that i want the battery panel to be able to be removed
because i have plans of fitting a small subwoofer enclosure behind it.
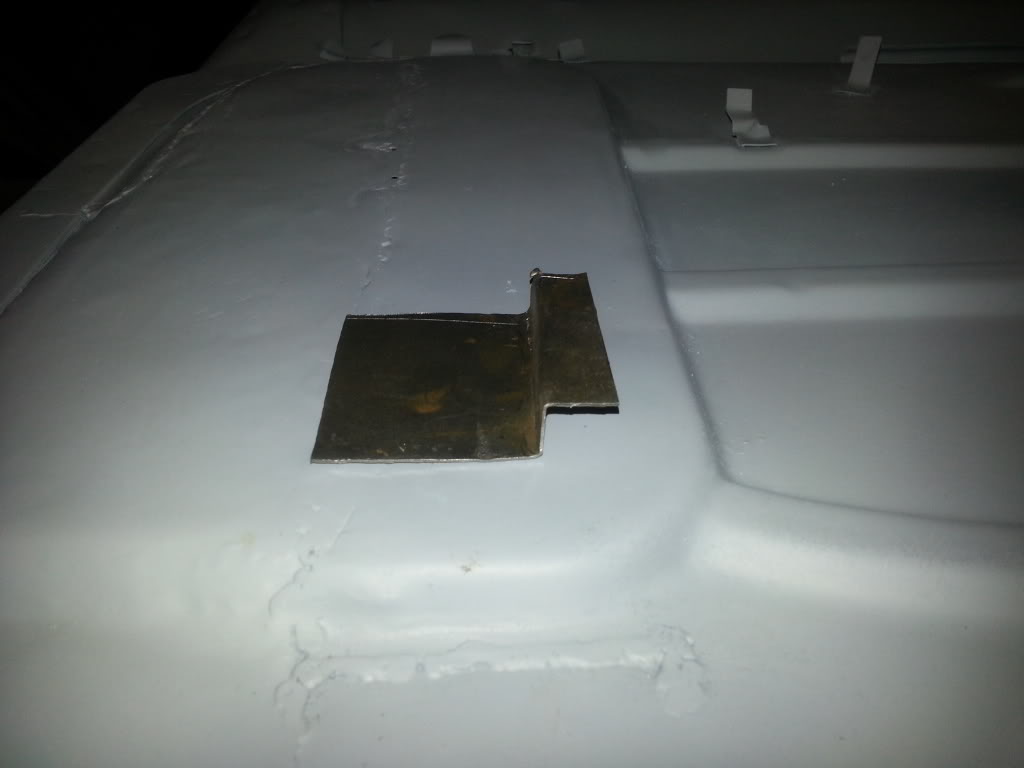
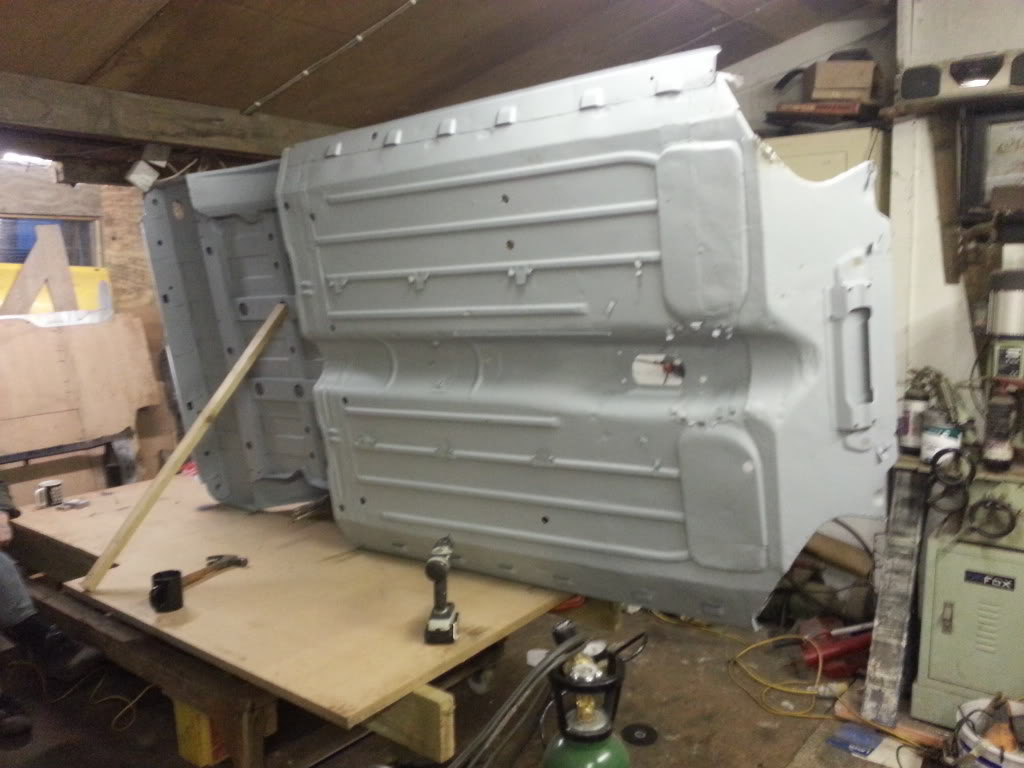
once that was done we layed the loadbed upside down on the bench and began to weld the floor stiffner on.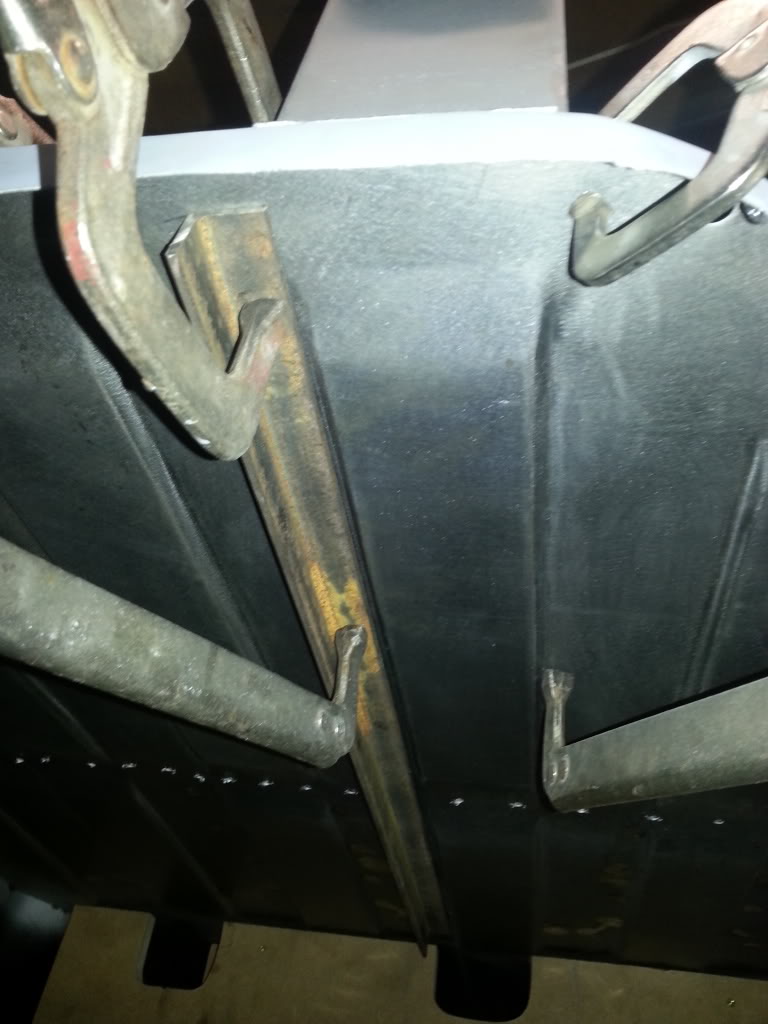
and it finished and primerd with the extra angle iron welded on.
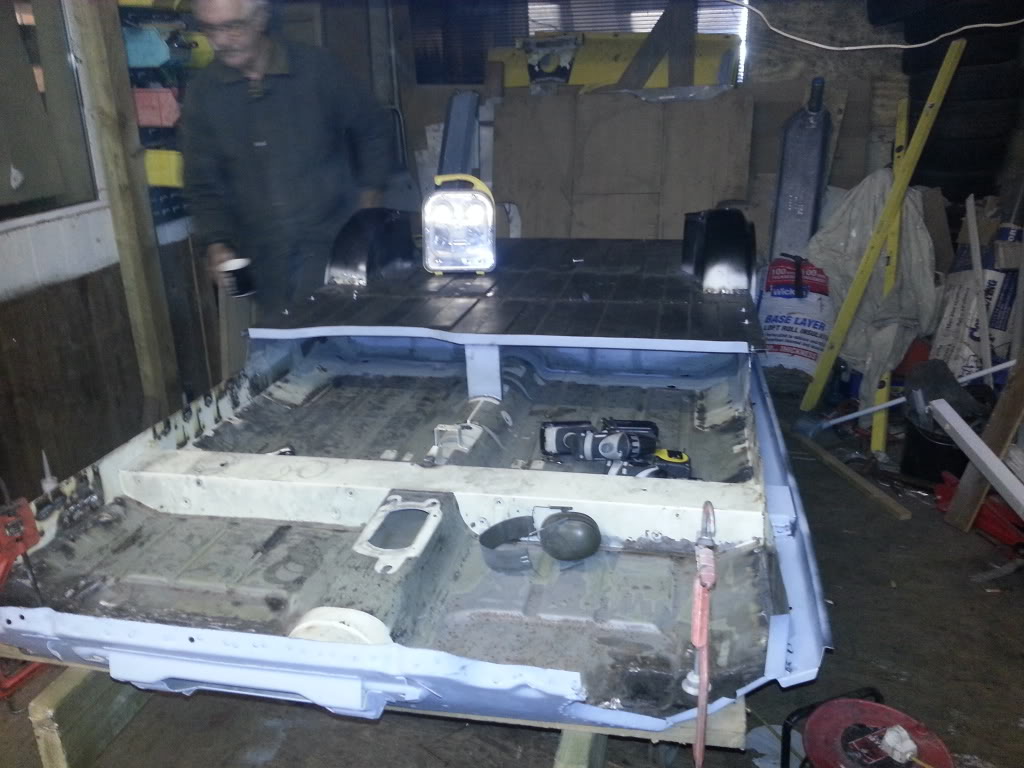
all of the floor pans were put out of the way, bench taken apart and a trolley we had made earlier!!

then we layed some 6x2s on edge and screwed the mdf board to them then placed the front floor pan back on
and bolted the subframe in.
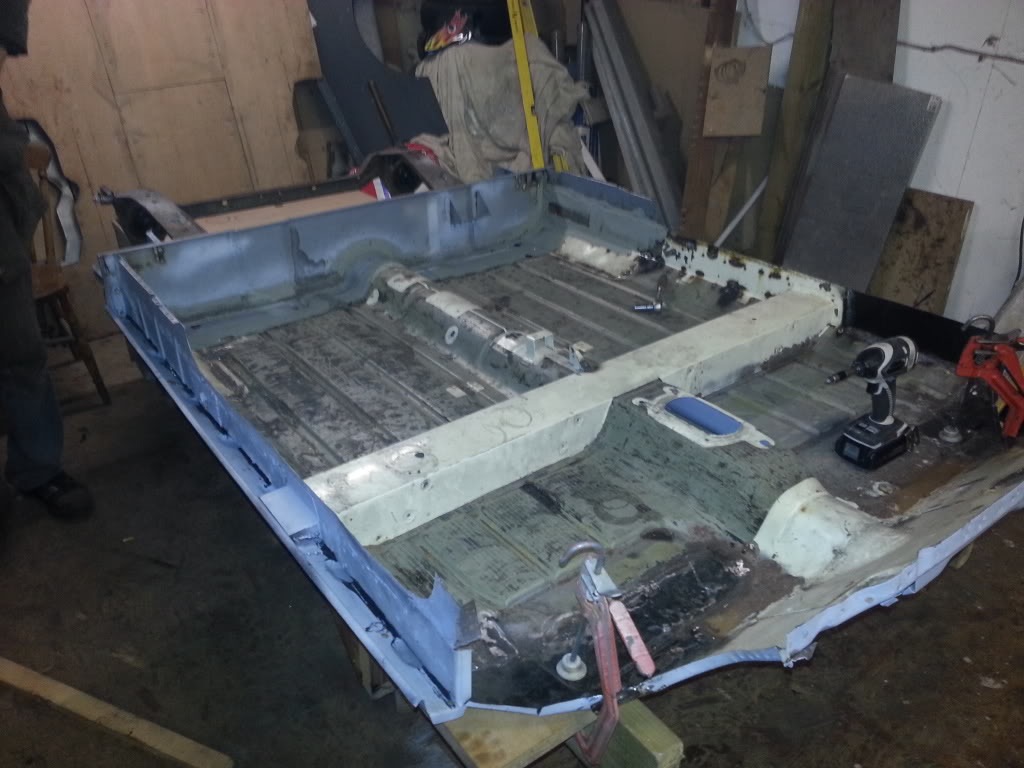
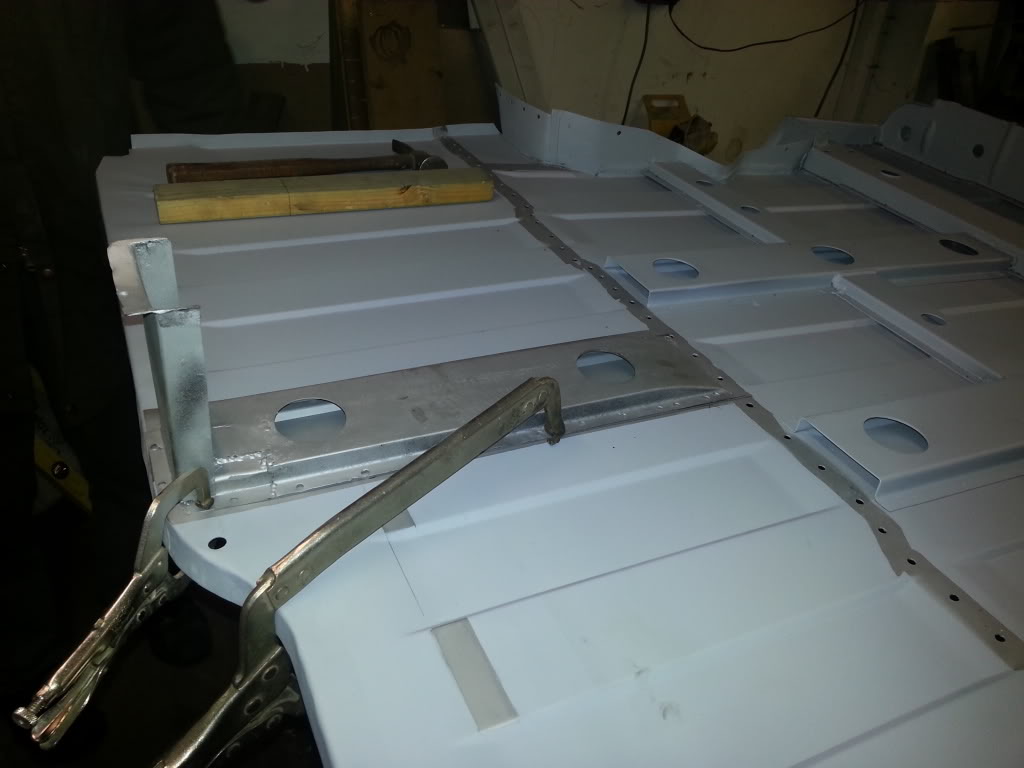
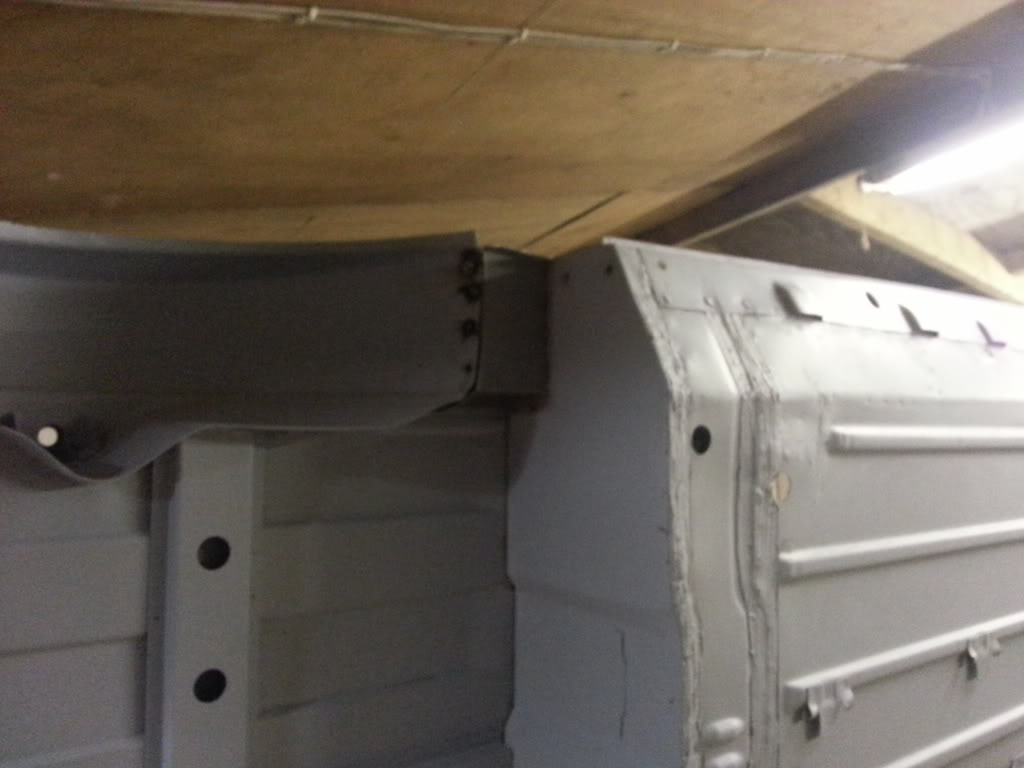
then placed the rear loadbed back on bolted the subframe to it then drilled some holes to screw in some self
tapping screws and washers to secure the rear loadbed to the front floor pan ready for welding.
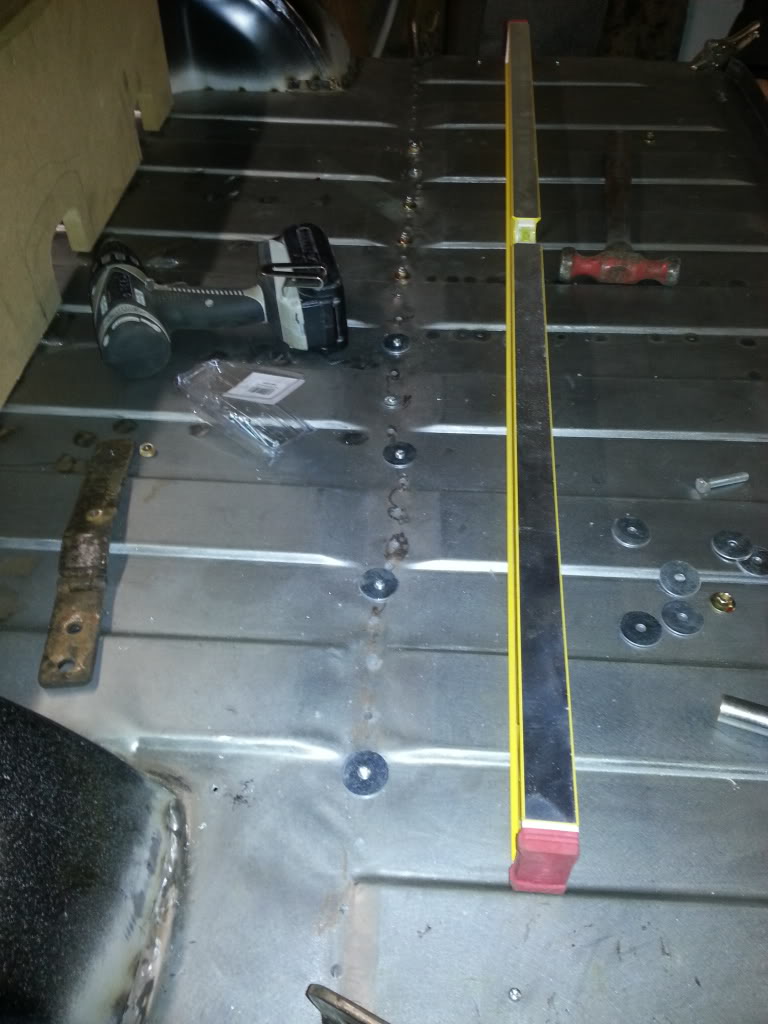
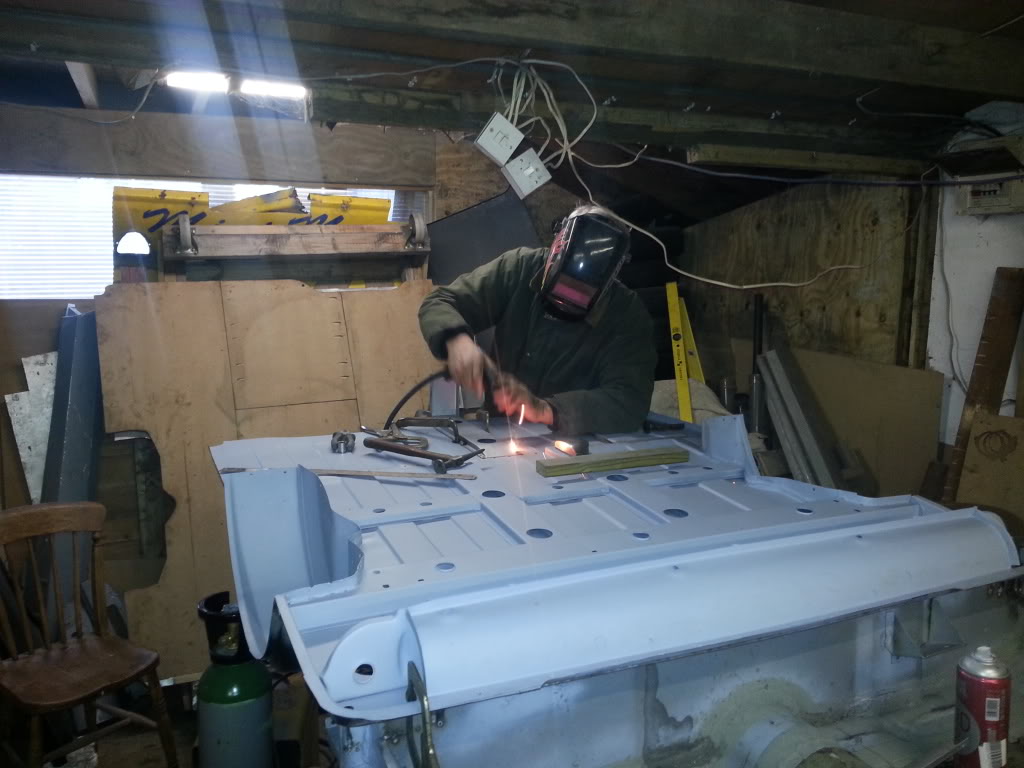
then started to weld.
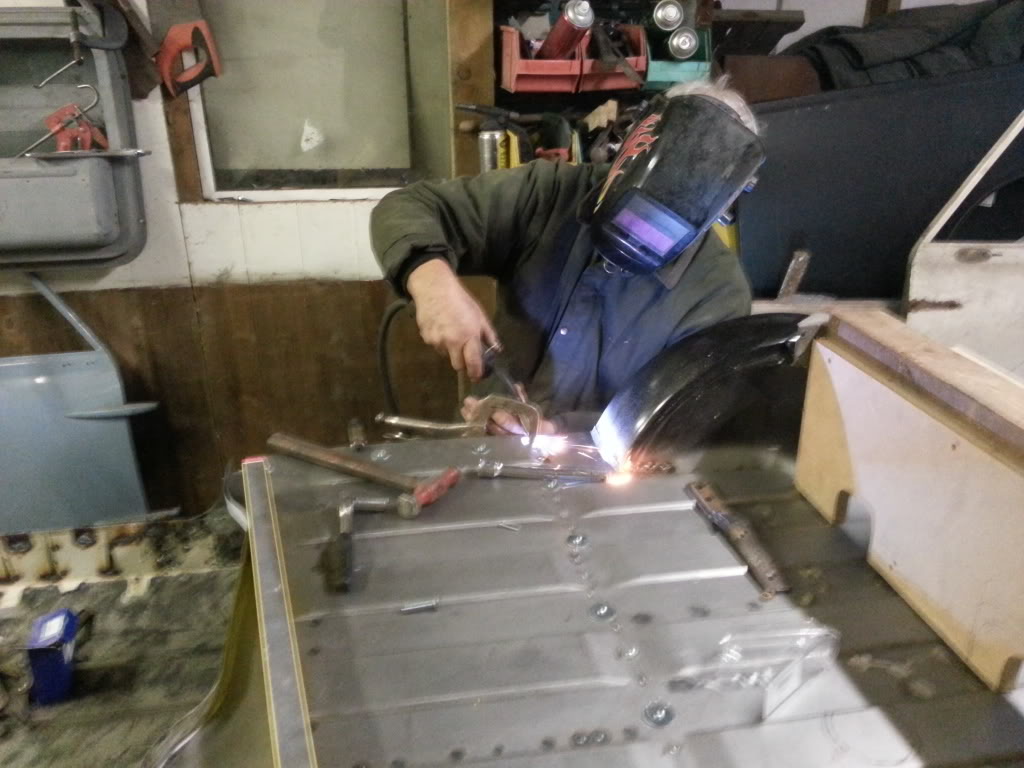
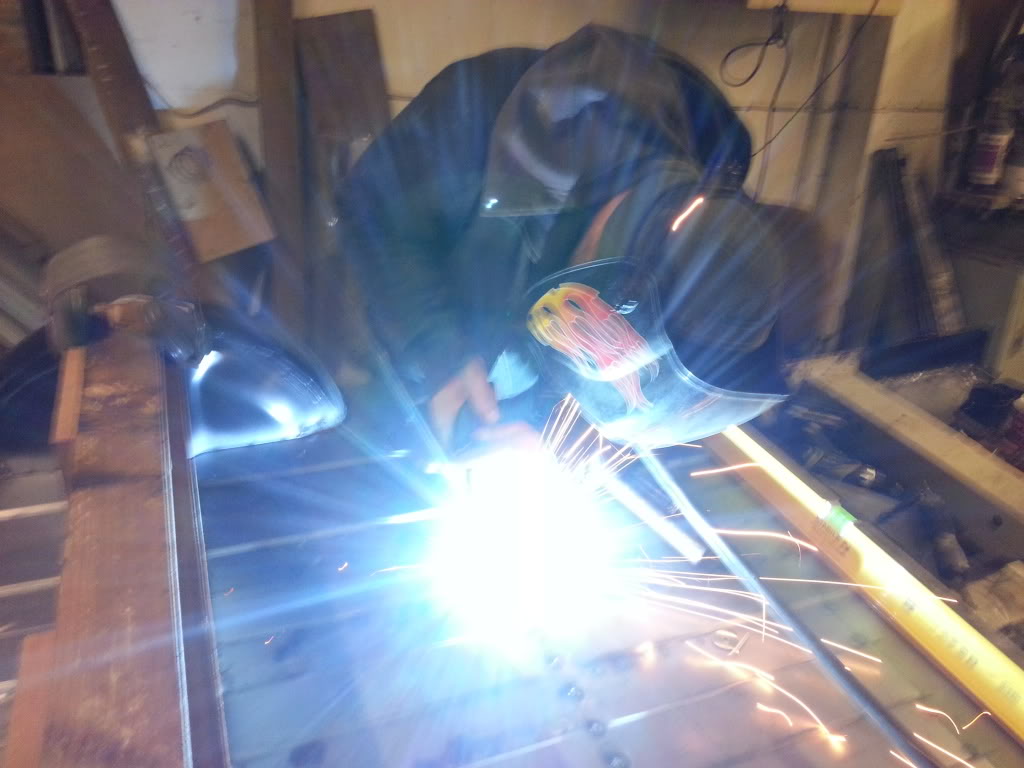
all done.

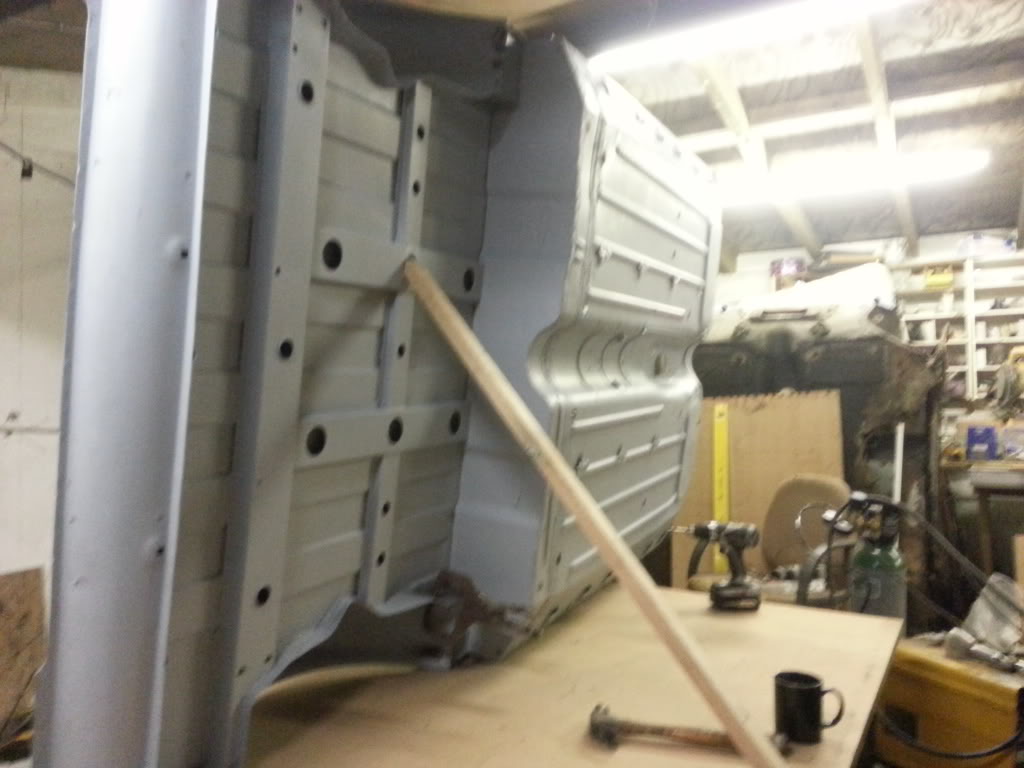
then we unbolted the subframe and turned the complete floor pan on its side to finish welding the
subframe closing panels to the loadbed and the wheel arch.
then it was back down flat ready to work on tomorrow.