You must be logged in to rate content!
4 minute(s) of a 97 minute read
9-1-2014
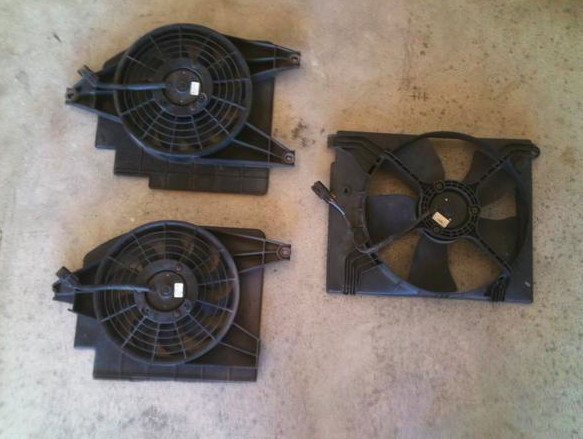
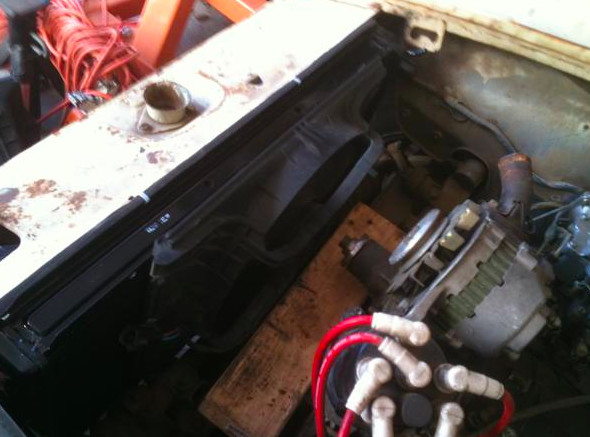
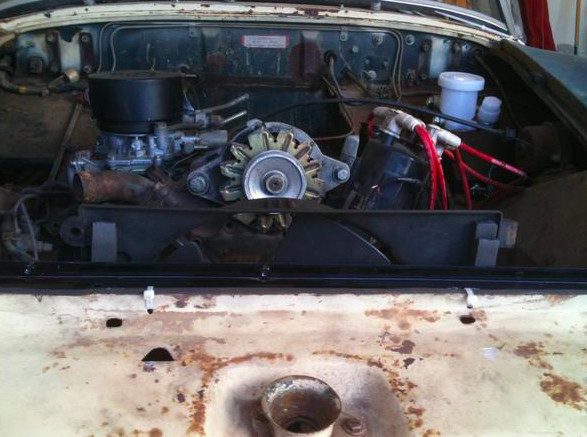
OK, back to work and I promise to stay out of the old photo albums. Radiator fans. Found a selection of "pushers" and "pullers". The Asian pullers all seem to be about the same size, about a 12" diameter fan, about 13" with shroud. Often mounted two wide. We are trying one from an early Kia, whatever the small version is from about 2002. The Kia uses a "puller" on the right side of the radiator, when you are standing at the front of the car looking into the engine, and a "pusher" on the left side. That is what we are using for now. You can see two "pushers" in photo 1, and one "puller". One of the pushers has been cut down to fit the car, the second one is untouched. So we have a Kia pusher mounted ahead of the radiator (they are a little smaller, about 11" with shroud, so we can clear the hood release just fine). Note how the puller mounts up much higher than the radiator (photo 2). It actually clears the hood just fine up there, we will need to do some work to block off that upper area. Photo 3 shows the radiator sealed to the slam panel with a foam rubber strip, sticky on one side and comes in a roll. I have used that stuff to seal camper shells to pickup beds, and it works great for this application. I have put a double layer on the radiator supports, to keep the fins away from the hard metal. I have also used it, double layer, to keep the puller shroud from digging into the radiator, as you can see in photo 4. I mounted the radiator onto a 2x2 piece of pine lined with the foam rubber. The 2x2 fits between the nubs of the cut down radiator support ends. As the bottom of the radiator has a "U" shaped channel that loosely fits the 2x2, it all stays put. Ultimately, some sort of strip or bracket will be used to hold everything together at the top, I will come back to that later.
The pusher bolts to the radiator support on both sides, it is currently held in with cable ties. The puller is a slip fit, the bottom of the shroud rests on the steering rack for now, propped up with a 2x4 until I devise a mount.

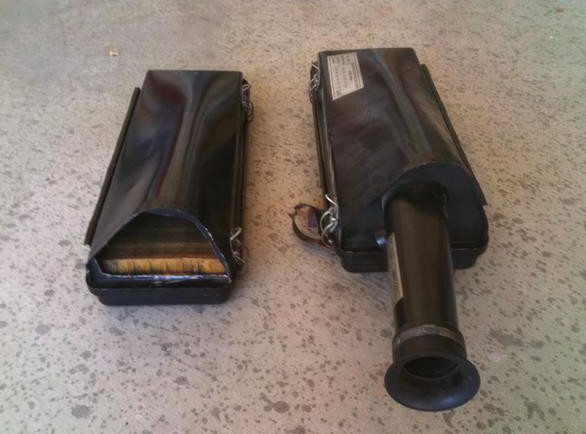
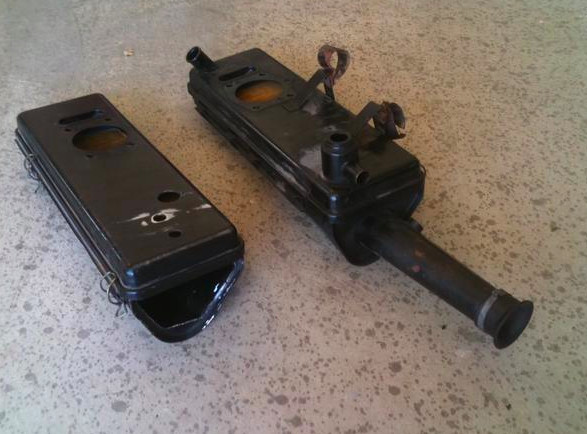
Air cleaners. Bought a variety of plastic ones, but nothing fit very well, and the plastic looked a bit cheezy. However, there was a V-12 Jaguar XJ-S there, so I bagged the air cleaners. They have long snorkels on them, of a very small diameter (each air cleaner only feeds one bank of 6 cylinders, so I guess it doesn't need much air). Cut down the snorkel on one, and opened up the inlet end for lots of air flow (photo 1), before and after. Photo 2, bottom side, which will be ducted and the other openings blocked. I imagine that someday a Jaguar restorer will be going nuts that we chopped up one of these, but it is sturdy metal and sort of keeps things in the British Leyland family.
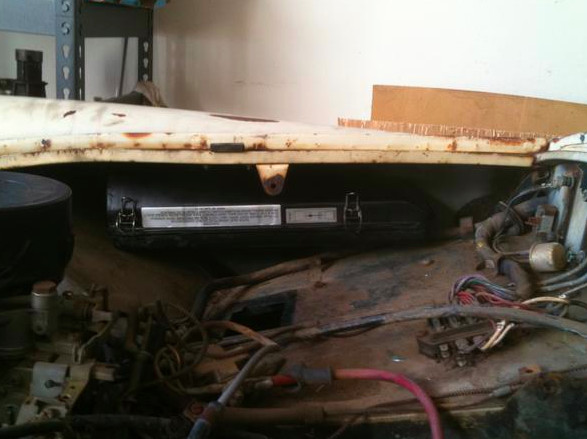
The air cleaner tucks nicely up in the right side area above the footwell (photo 3). The "V" of the space will allow for ducting to the carburetor and the heater fan from below the box. There is plenty of space there, and the air cleaner easily clears the footwell cover plate and tucks well behind the hood prop mount. The inlet opening, facing forward, can draw air from over the fender liner, and the air should be fairly cool as it is way over at the side of the car, away from the engine. This is going to work well. Love seeing the 12 cylinder firing order sticker on the air cleaner!