You must be logged in to rate content!
4 minute(s) of a 203 minute read
10-17-2012
The bolt/chain are on one of the 2 motor mounting points in this side of the cylinder head. Once again, I will wait for the driveshaft to be in place before I fab the bracket. There is still a fair amount of room back here. If I get that far, I will use a flywheel on the driveshaft and starter motor in this space as a reverse gear: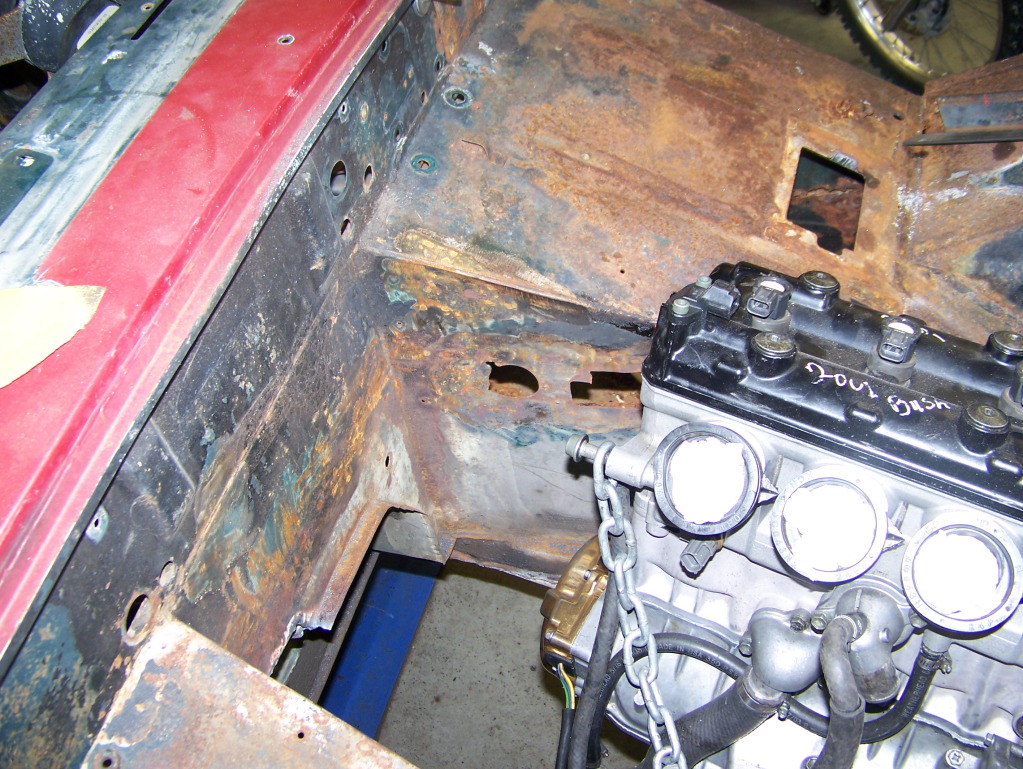
You can see the lower motor mount just forward of the terminated frame rail. I also removed part of the trans tunnel for driveshaft clearance: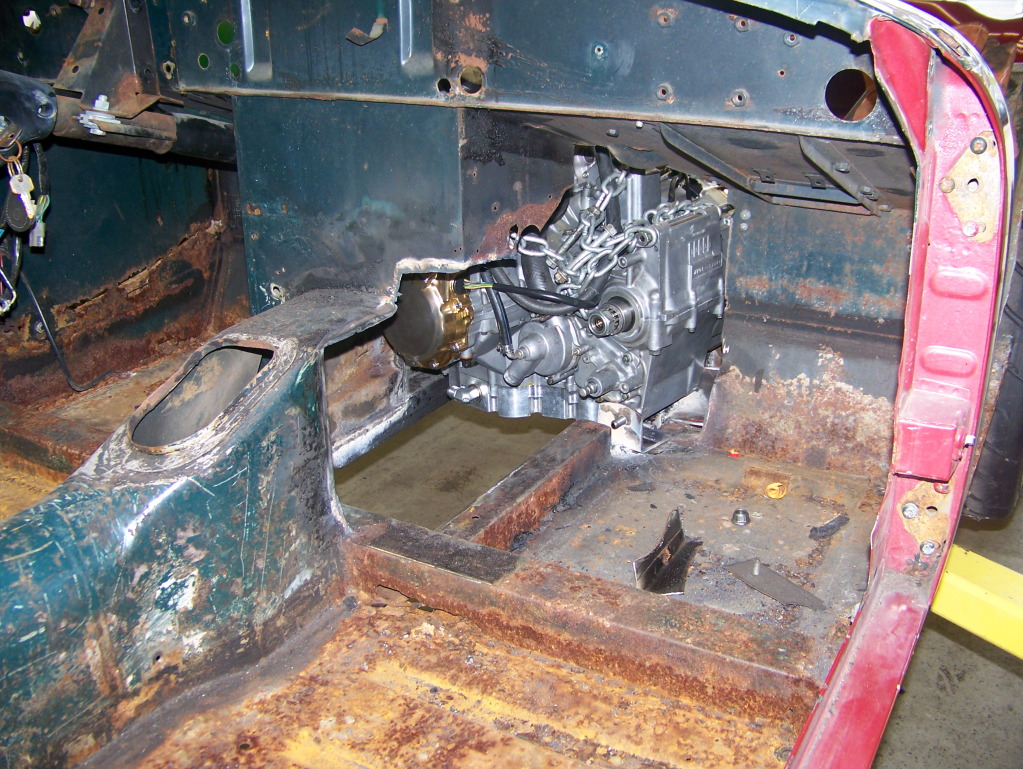
The front driveshaft will go to the center of the 'crossmember' rail of the unibody, just under the hole for the stock shifter. I will have a carrier bearing there and the second driveshaft will go from there to the rear end. Once again, this will all get finished/boxed in after all the hard parts are in place: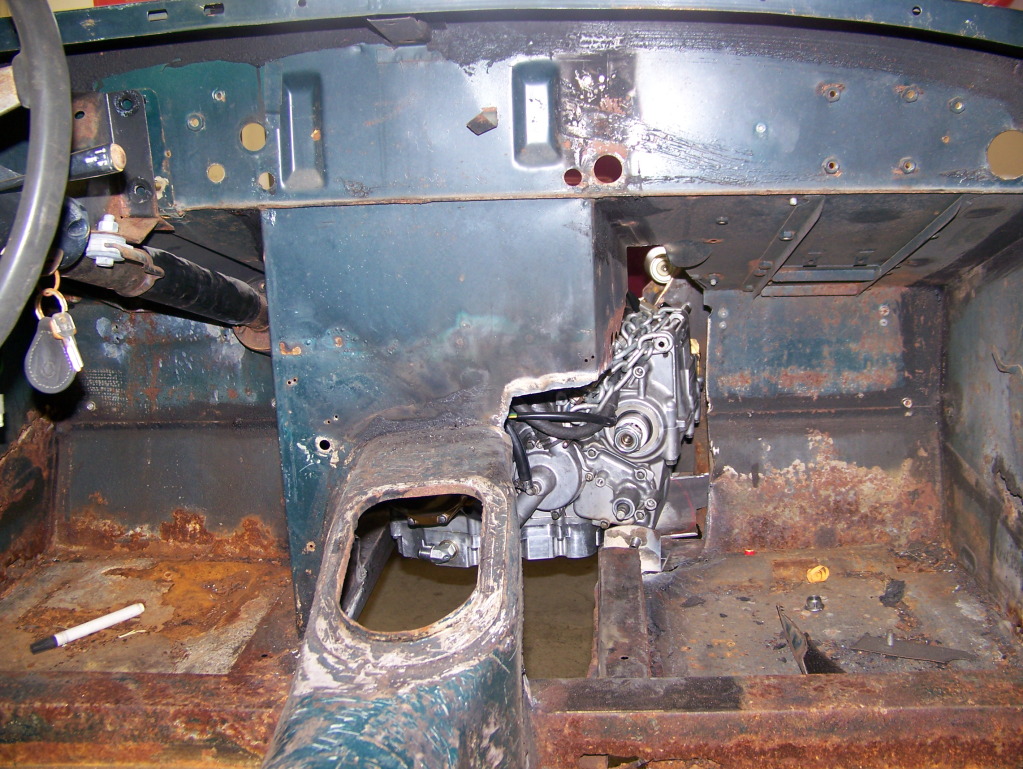
10-23-2012
Yeah! More progress... The driveline is in.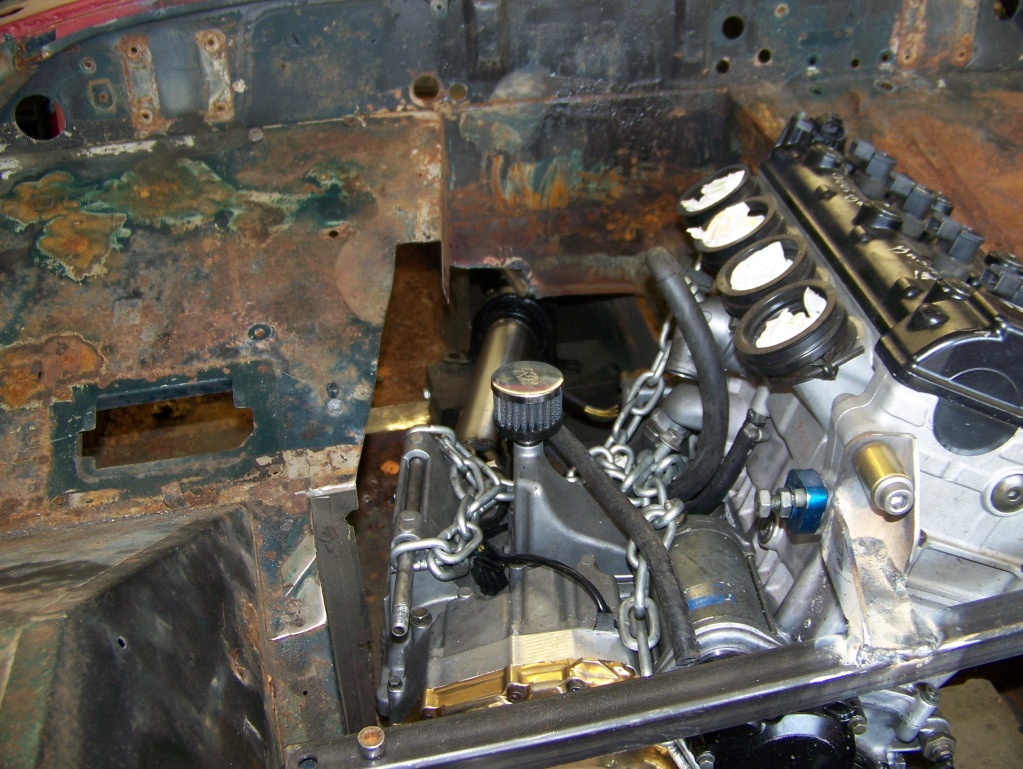
The front coupler. You can see the sprocket 'we' used to weld the yoke to. My driveline guy said if we put a runout guage on it, it will be within .001". The big center nut holds the 'sprocket' onto the output shaft of the motor. The nut in the lower right is a safety thing, in case the weld fails. There are 2 actually, the other out of view.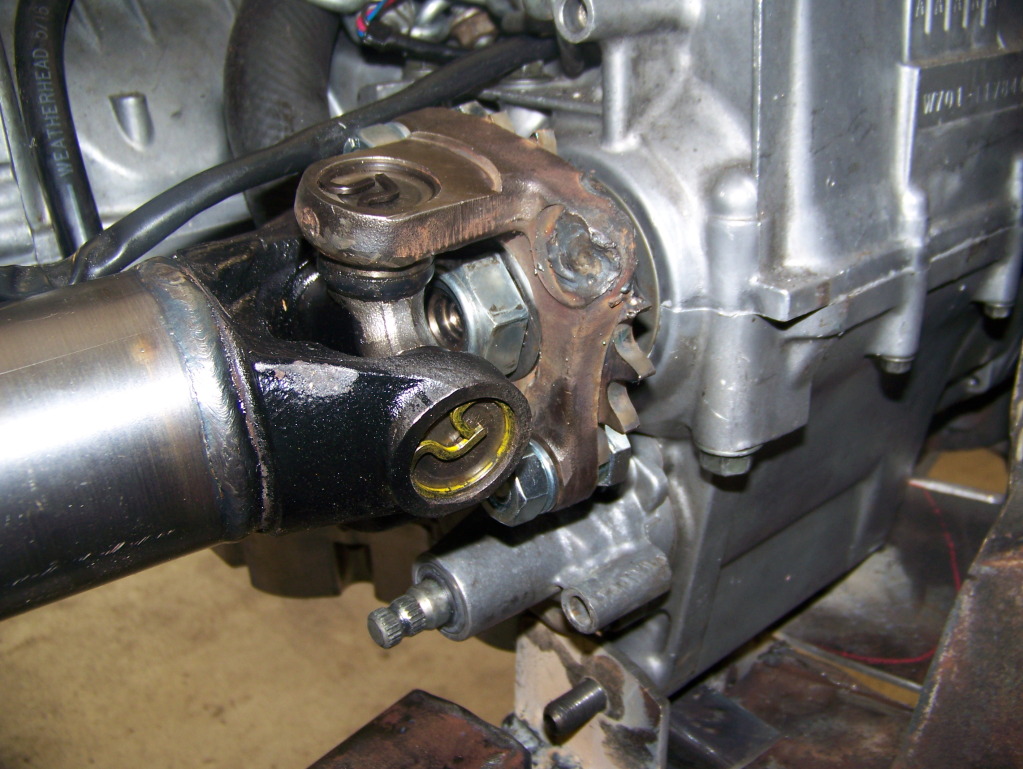
The whole front shaft including the carrier bearing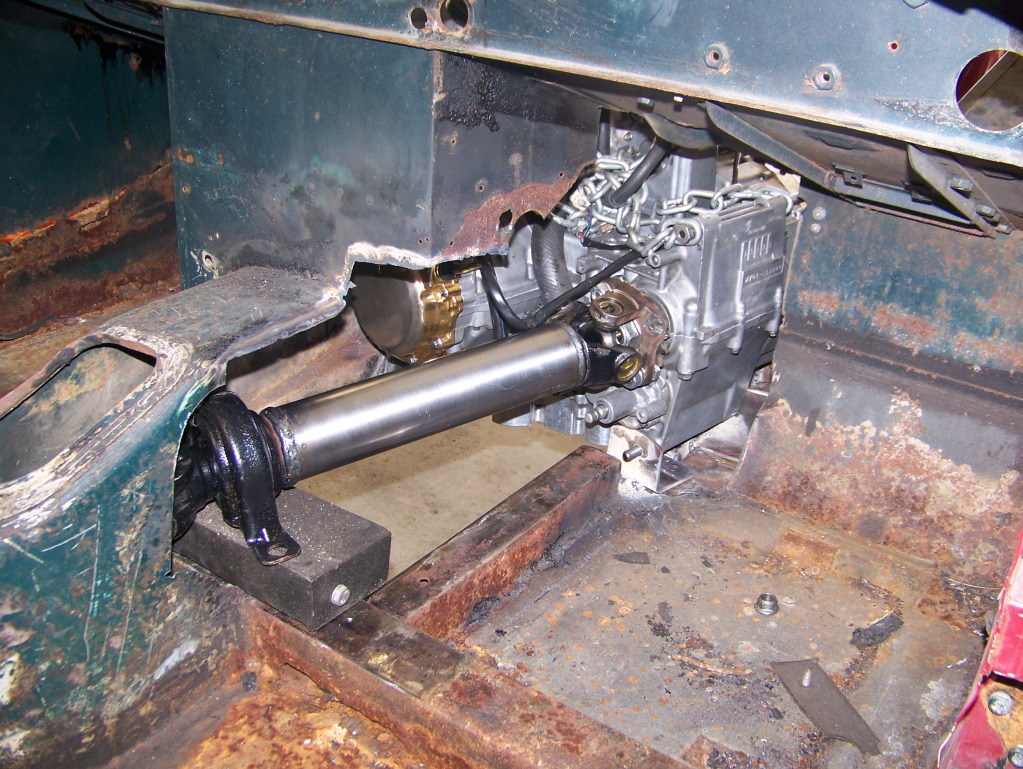
The block is temporary to locate the driveshaft. I will weld in a permenant mount in time. This height reduces the driveshaft angle and extra stress on the u-joints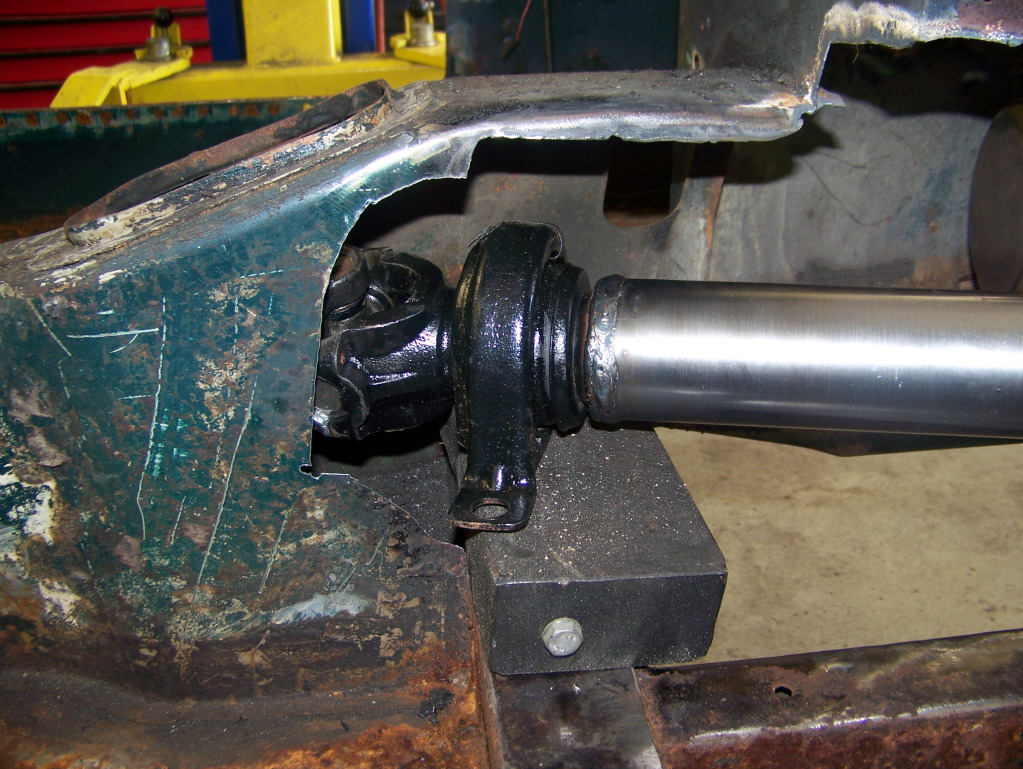
The view from underneath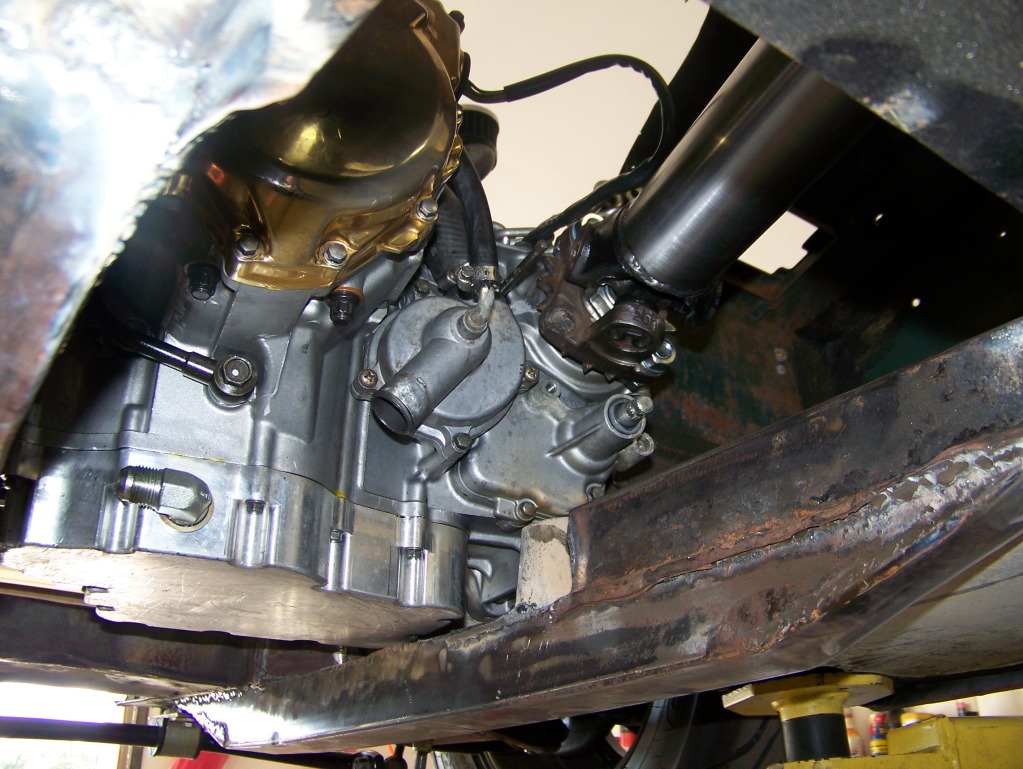
Plenty of clearance here. Very little of the footwell is lost. I will add some thicker metal here for safety reasons, in case the driveshaft fails.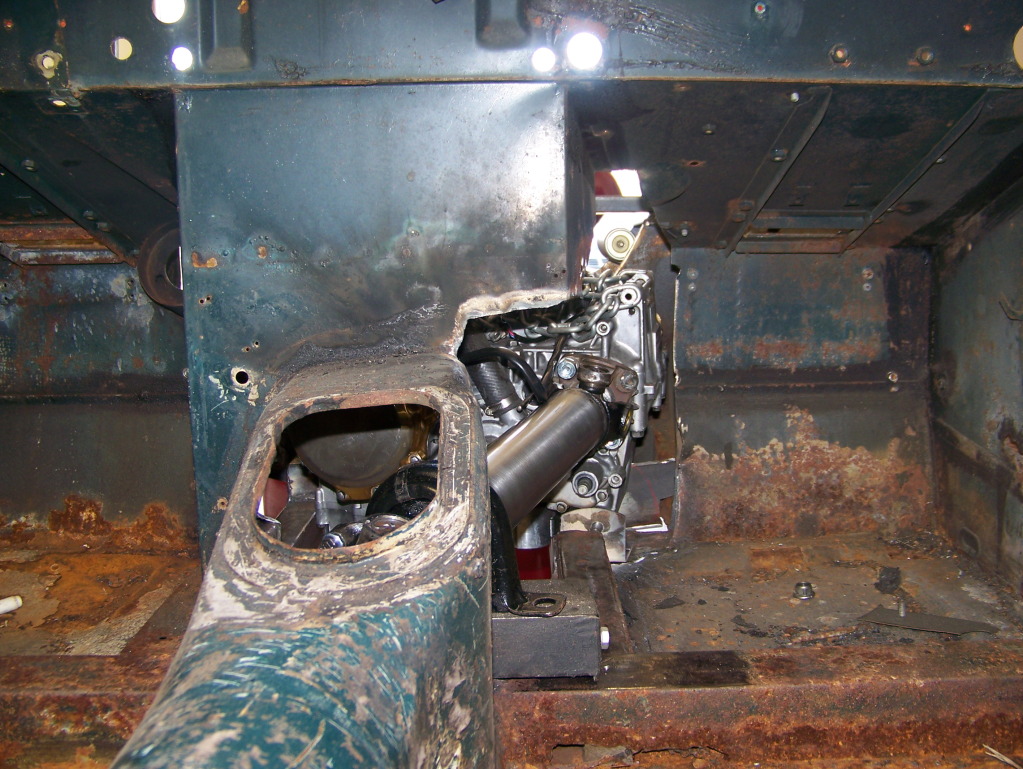
I strapped the rear end down. This is much closer to the ride height I am looking for. When I do the 4 link, I will have easy ride height adjustments.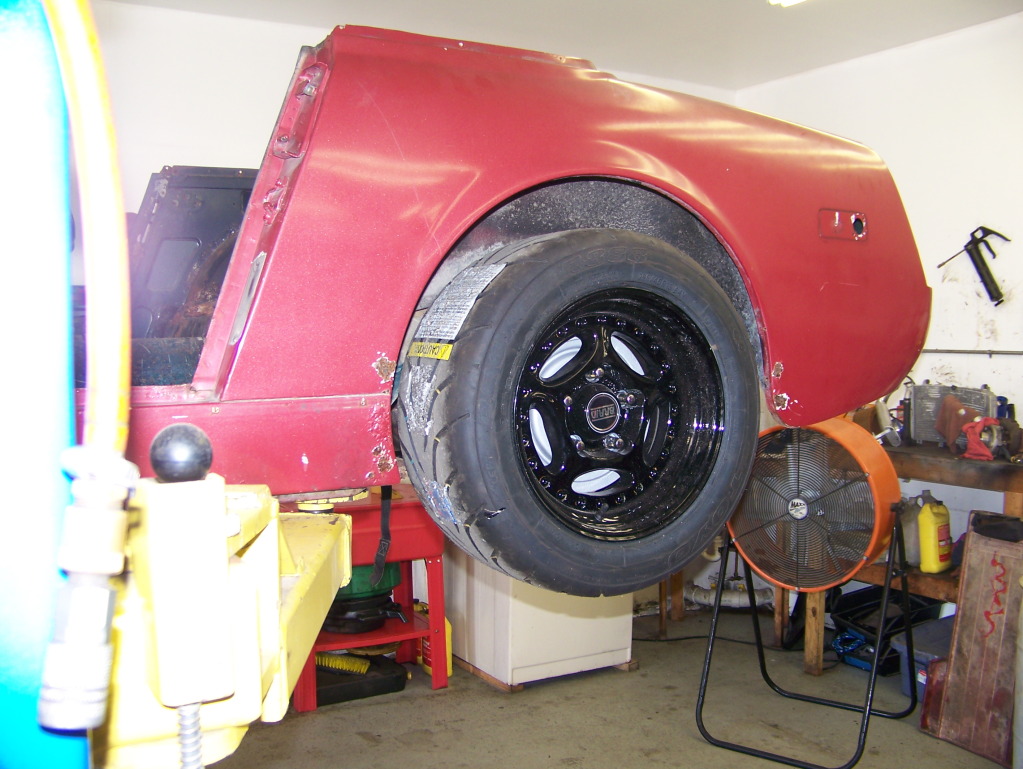
Plenty of clearance here.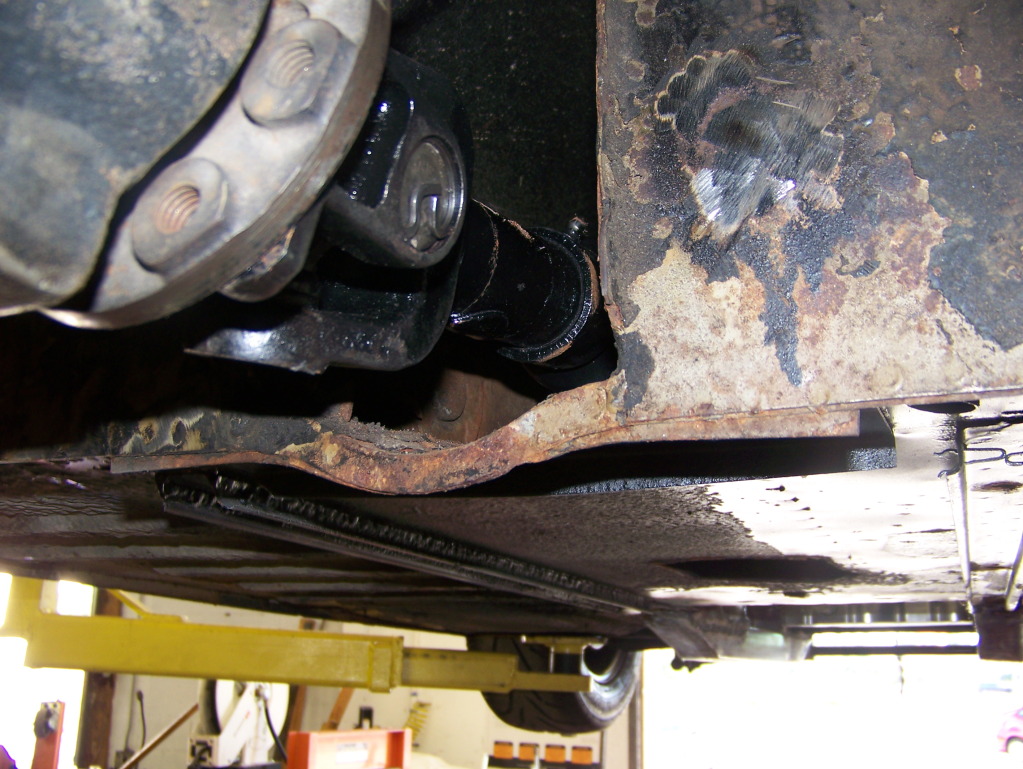
The view up through the tunnel.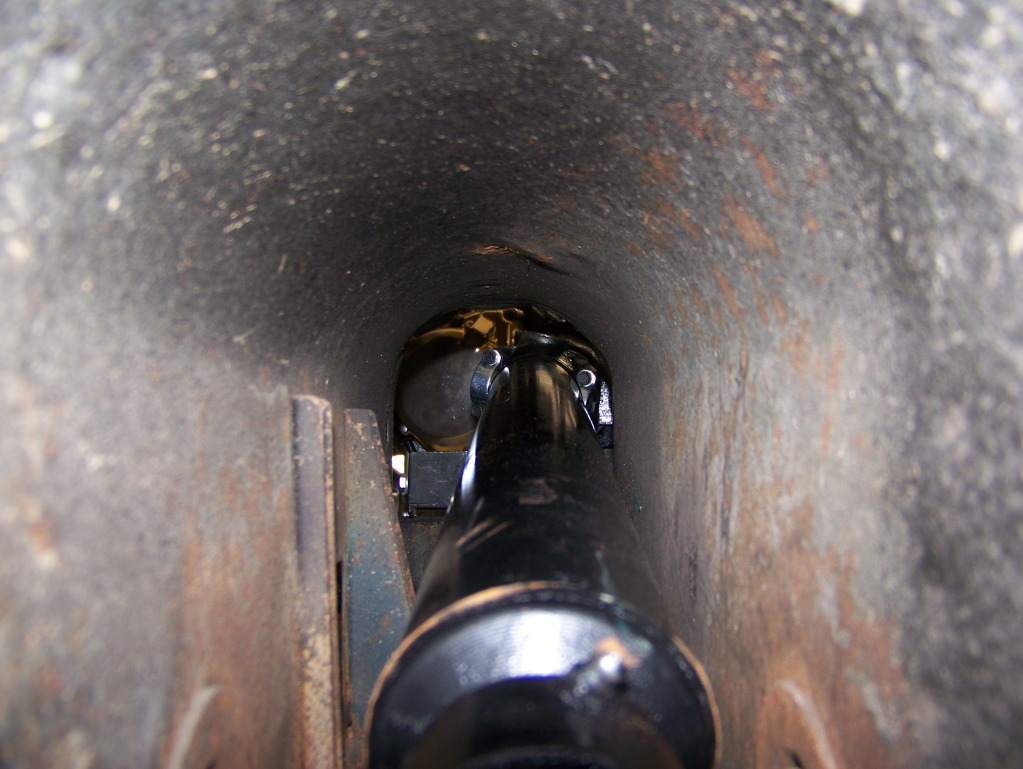
There is a zerk fitting for the slip joint. The slip joint allows the driveshaft length to change with the movement of the rear suspension.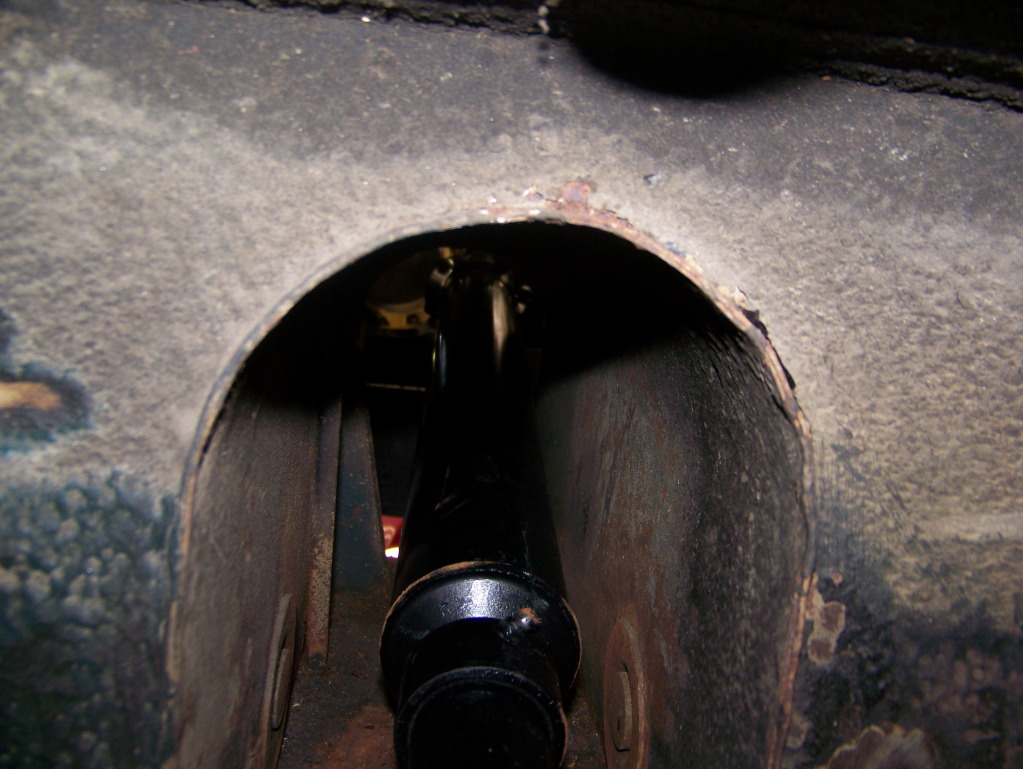
My driveline guy assured me that zip ties were as good as bolts to hold the shaft to the pinion yoke :lol: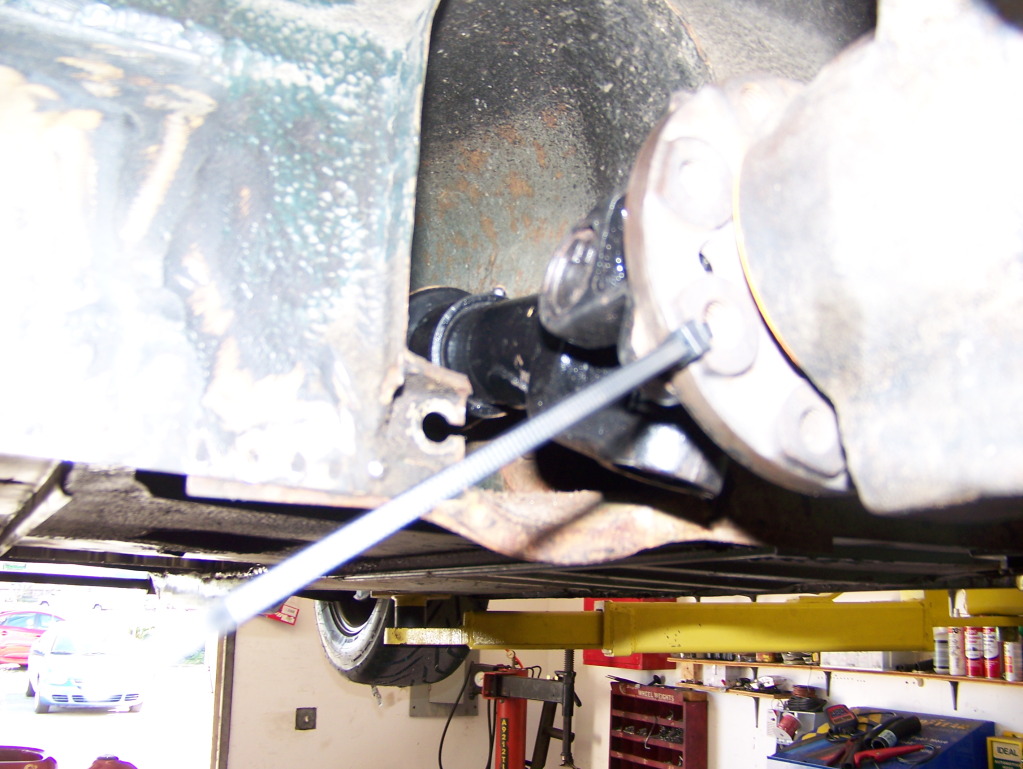
Final view down the tunnel from the front.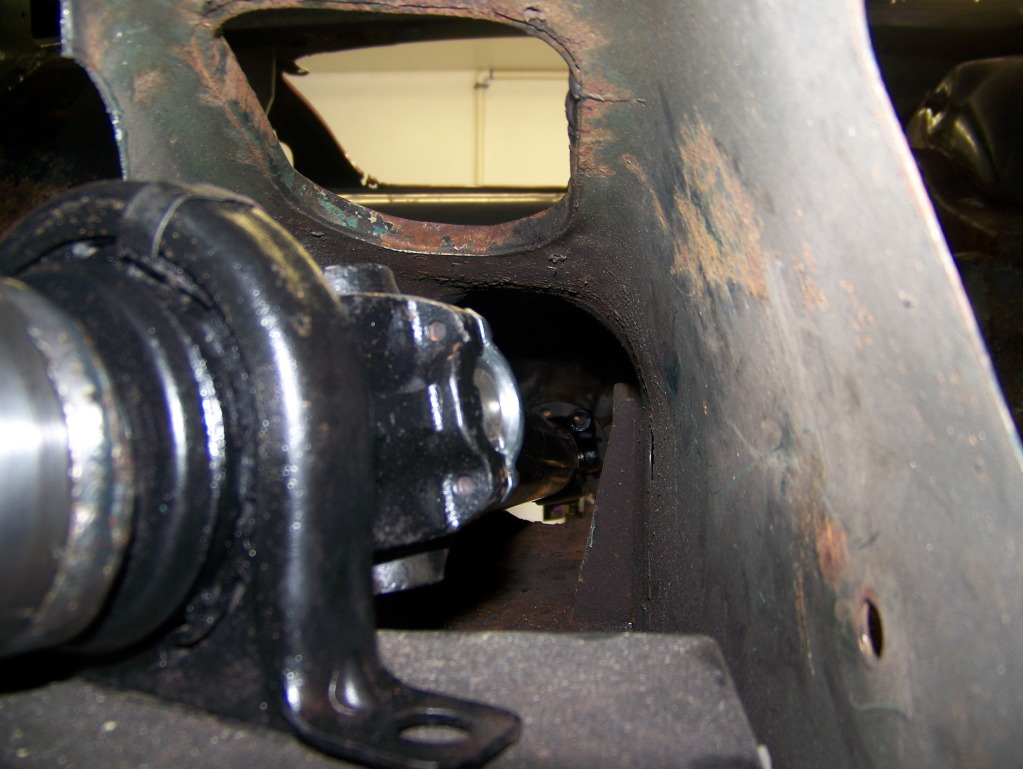
Comments
This thread was donated to our website to be preserved. If you want to message the author, please click the source link to contact.
Posted by diyauto on 8/25/21 @ 1:32:42 PM
This is a great build with so much time and effort put into recording in words and pictures. Can you help me with this question please, Is the top arm inner pivot point is in the same place as the original pivot point? Regards Davy
Posted by DavyF on 4/16/20 @ 6:44:51 PM