You must be logged in to rate content!
6 minute(s) of a 203 minute read
5-15-2012
Ahhhhh, more engine porn! NSFW (not safe for wife, she may not let you spend the $$$ for these things )
)
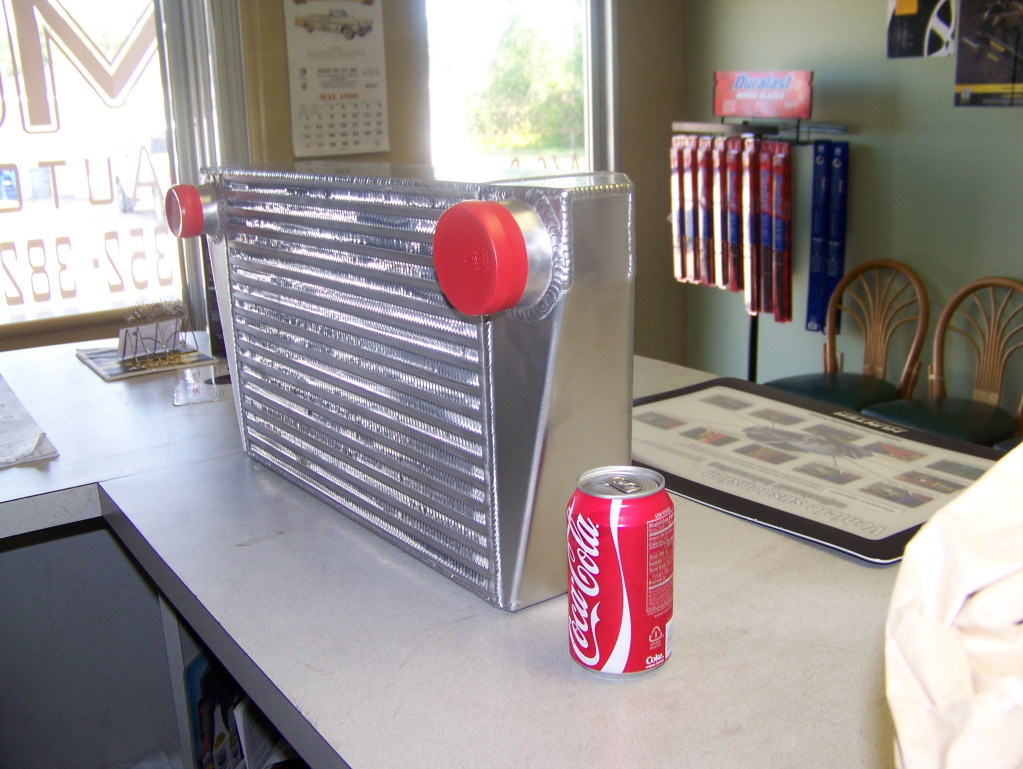
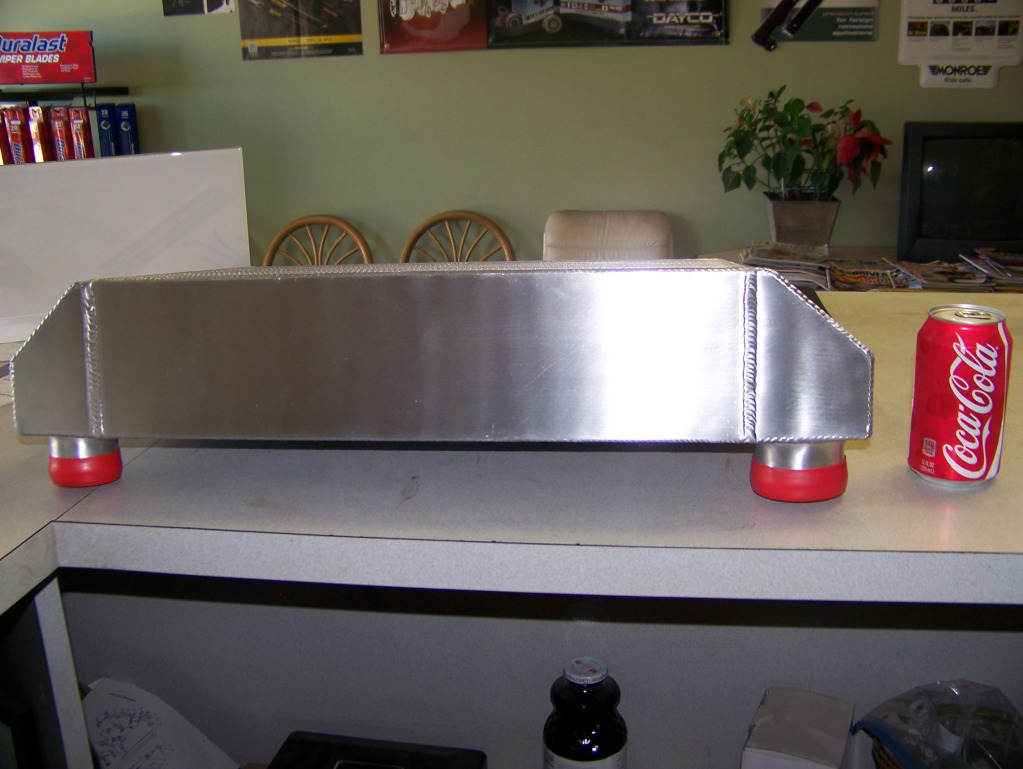
The intercooler, in person! With any luck, the engine will be back together and in the bike to get dyno tuned before month's end...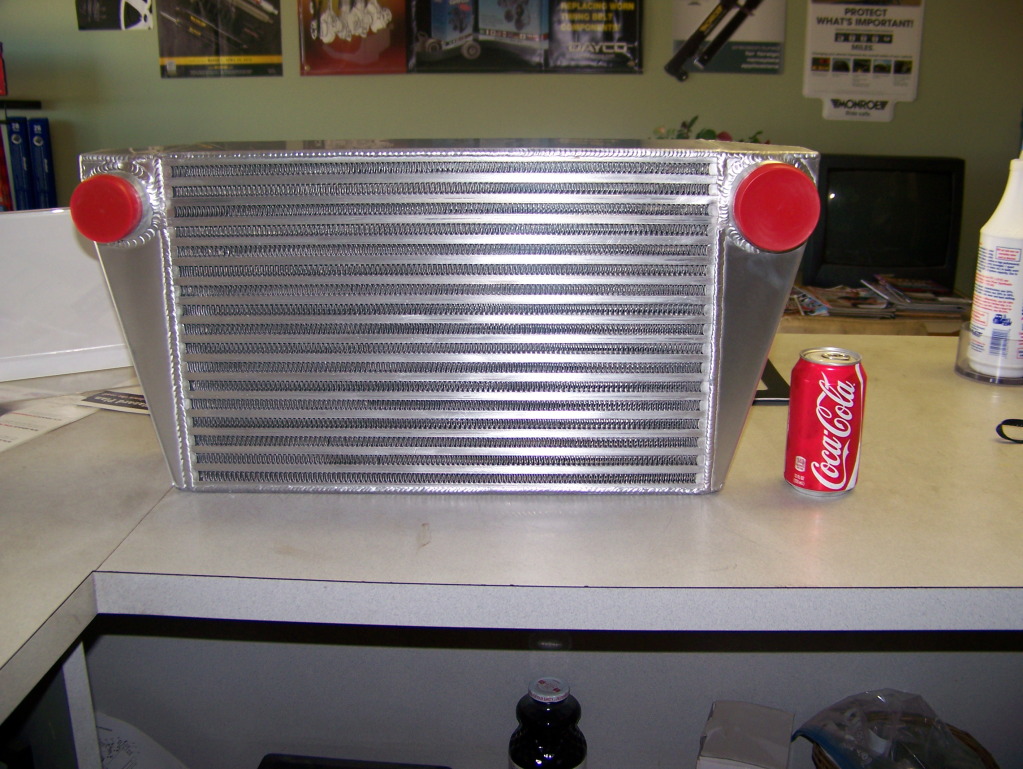
5-28-2012
$2k at the transmission shop: Billet output shaft, cryogenically treat the gears, shift forks, shift drum, and undercut the dogs on both the accel and decel sides.
The engine has a lockup clutch in it. It mechanically engages at a certain rpm to alleviate the strain on the clutch packs.
The cases: Crankshaft wise, the platform is tried and true with folks producing A LOT more horsepower than I intend to... I hope to make some sort of carrier bearing for the driveshaft as close to the bike cases as I can to help with the loads.
I am shooting for 1100 lbs total weight when finished. I don't think I will have weight related strain issues.
6-15-2012
Ugh... still waiting on wheels. Someone really dropped the ball on this one. On that note, I need to call my engine builder, he should have been done by now as well.
On to new news:
I started another thread on here about front coil spring. Apparently, no one make a lighter spring for the front. This is bad for me. I am losing about 1/3rd of the weight of a stock midget with my project, mostly in front. The stock springs just won't do! What should I do..... Ok, I came up with a solution.
I am intimately familiar with motorcycles, and their suspensions. I build several per year, revalving, respringing, and such. I decided I would go with rear shocks from a modern sportbike for the front suspension. I know I can get the correct spring rate.
I will have adjustability as well: high speed compression damping, low speed compression damping, rebound damping, spring preload, spring rate, and ride height.
Upon further investigation, I found that the lever shock on the Midget acts as the upper control arm. One more hurdle to overcome, I need to fab up a new upper control arm assembly.
I decided on Honda Element rear upper control arms. They were roughly the right size, adjustable length so I will now have an easy camber adjustment, and $45/pair brand new!
So, I ordered 2 used rear shocks from a 2001-2003 Suzuki GSXR600 motorcycle from ebay at roughly $30 each and the control arms online as well for $45. Ok, $100 in parts doesn't seem so bad... (<<<< the "..." really means something here). Now the fab starts:
Here is one of the shocks: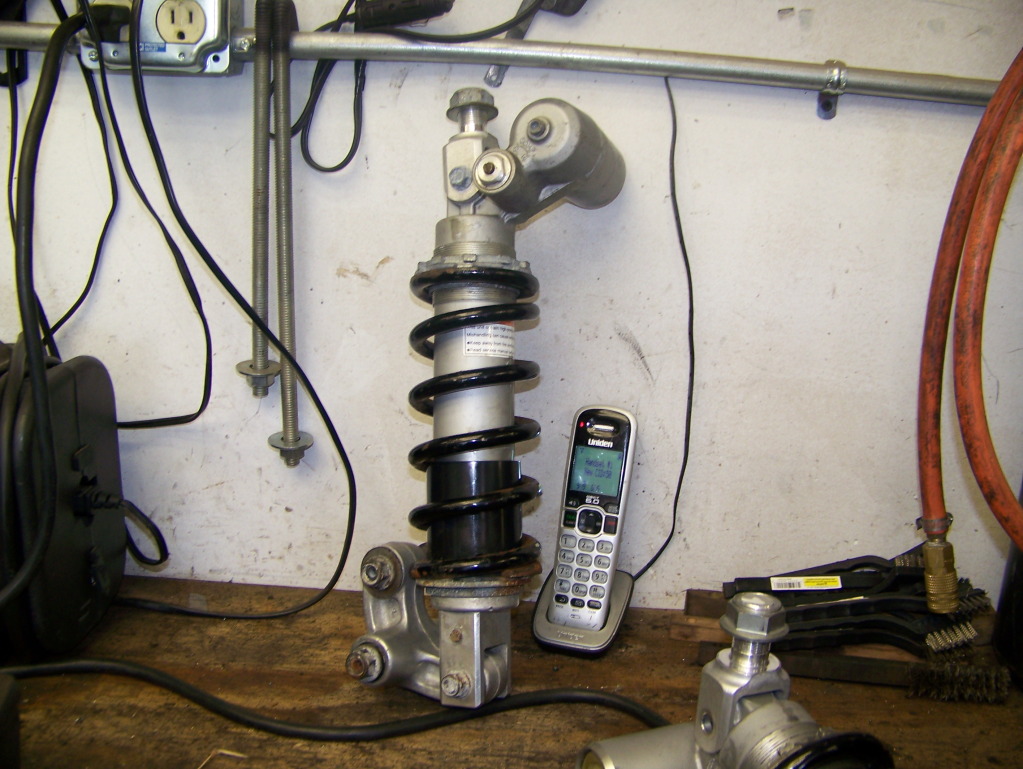
The upper mount: The threads are long. To adjust ride height, you loosen the top bolt and insert shims under the frame mount to raise the ride height. You can see the threaded collar to adjust the spring preload. Up on top is a 14mm nut which is the high speed compression adjustment. The flat screwdriver screw in the middle of the high speed adjuster is the low speed compression adjustment. The rebound adjuster is a flat screwdriver screw in the bottom of the shock.
Ok, so the shock assembly is about 13.5" long. The stock spring is about 10" long .... I guess this will take some cutting.
I will start by removing the stock spring and shock: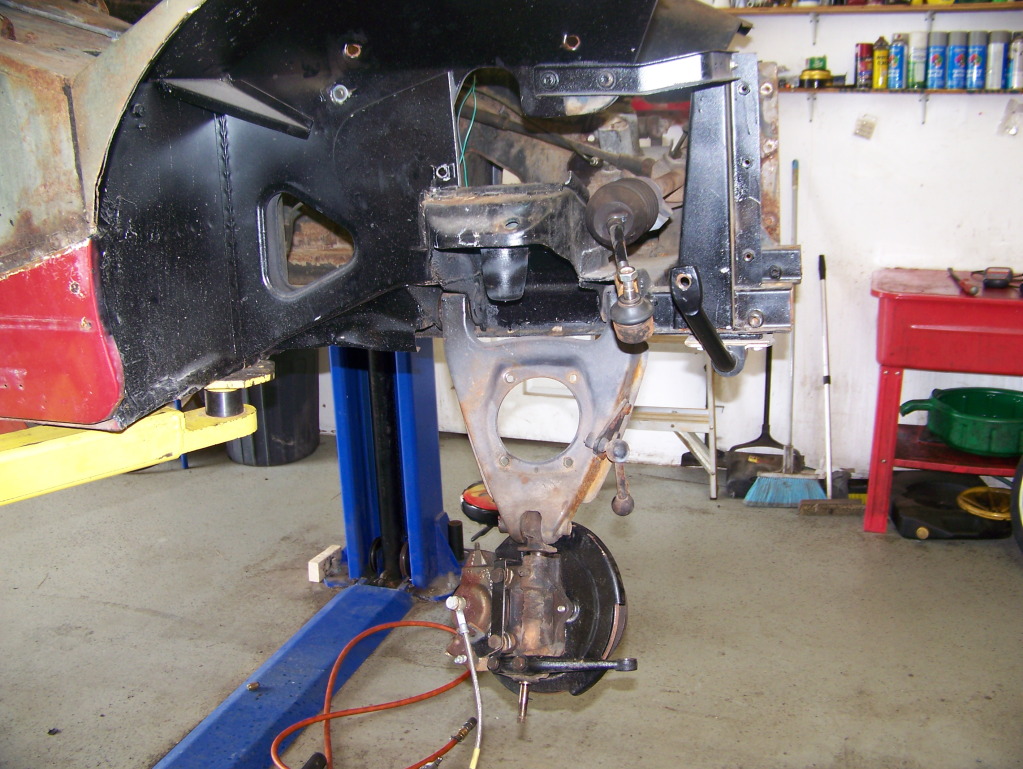
Uh oh, wounded duck: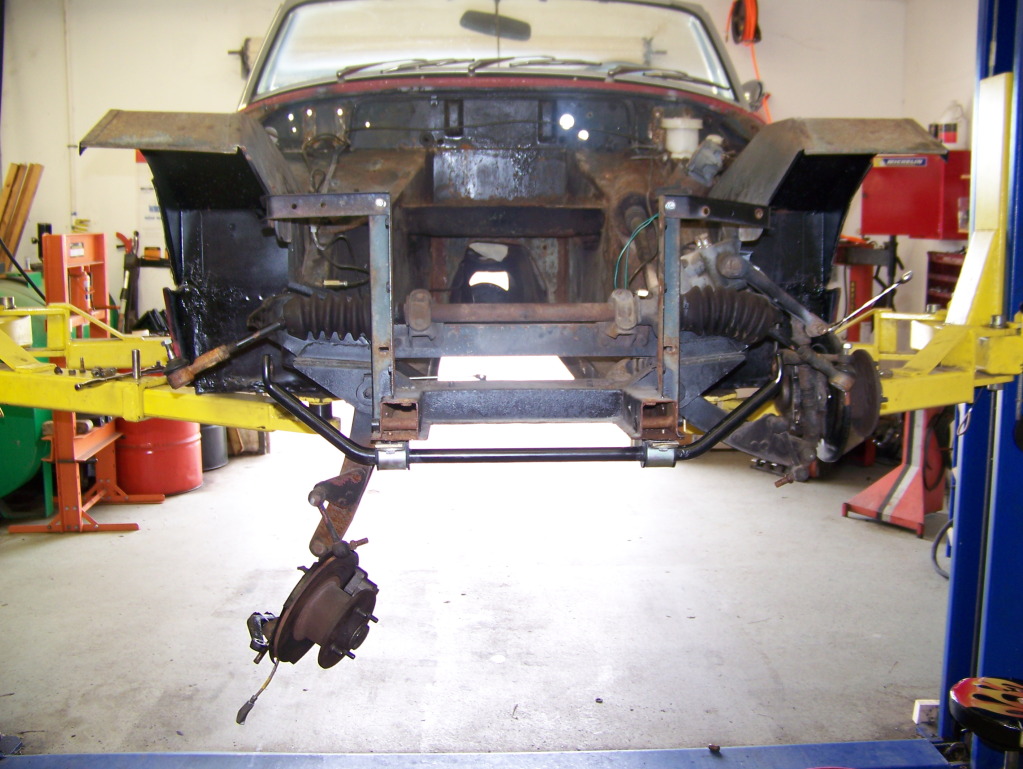
This is the 50 year old 'technology' that I will be gladly ditching: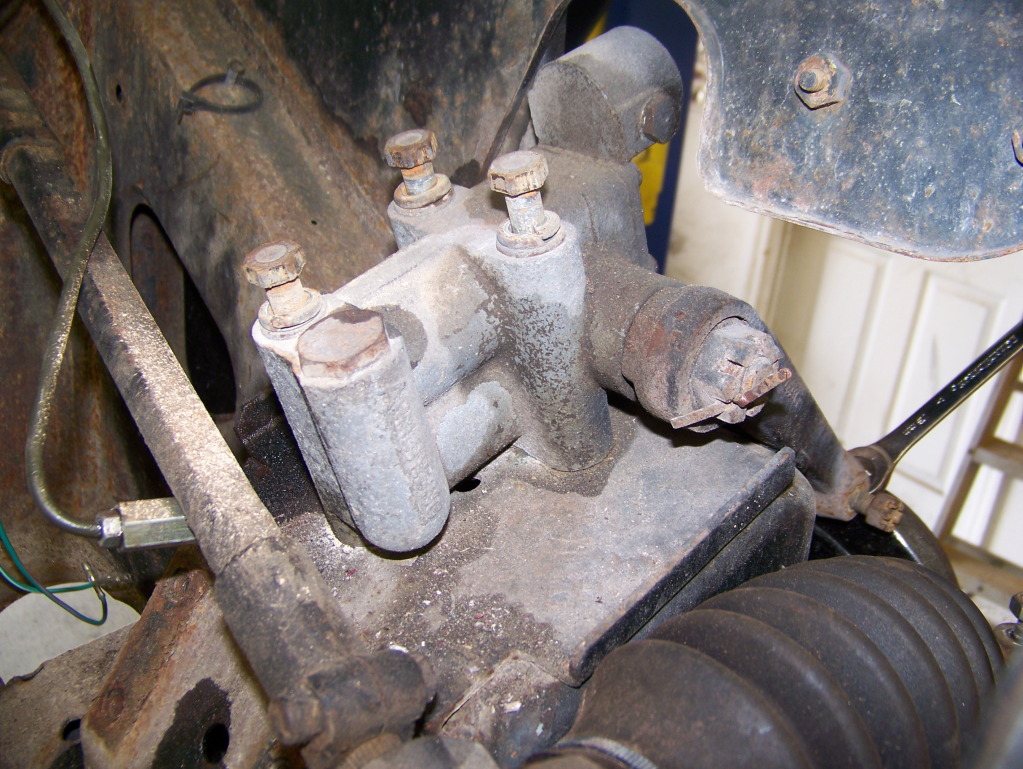
This spring locator is definitely in the way and needs to go: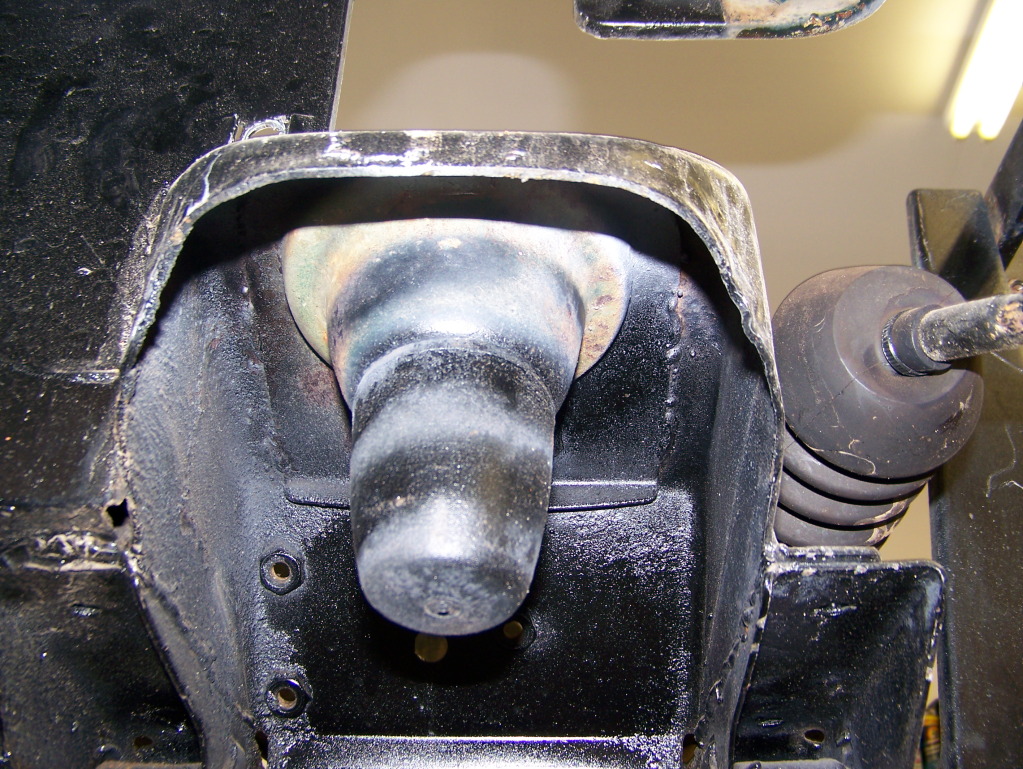
Heck, there is lots of stuff in the way. Let's remove the steering column: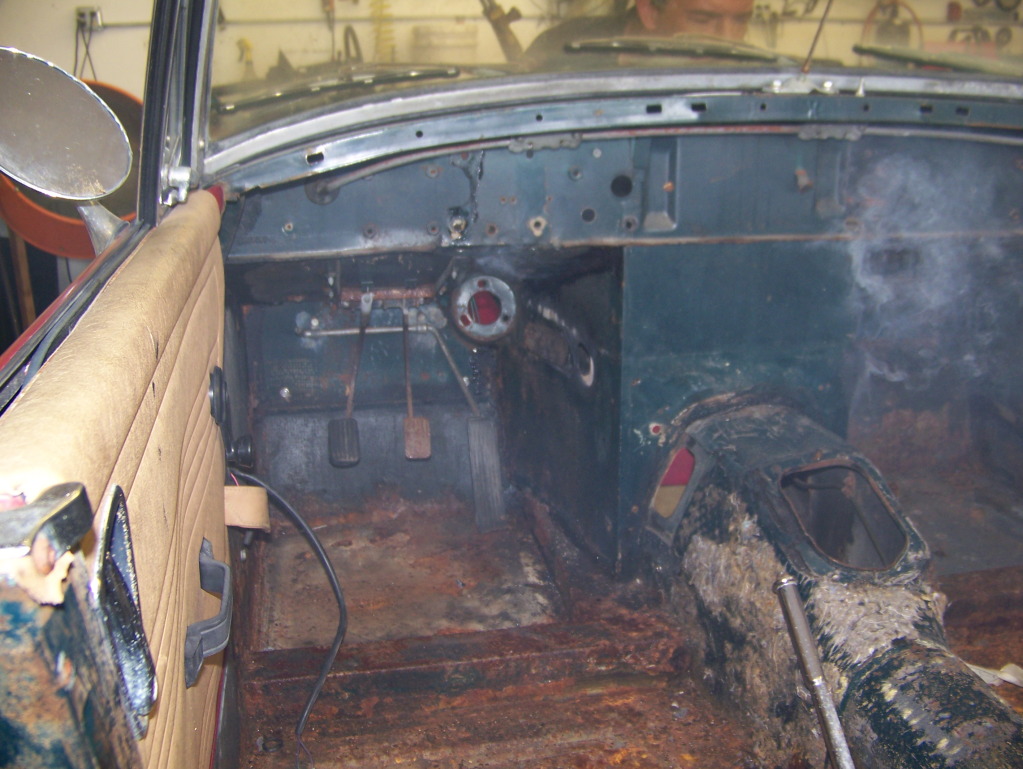
Battery tray: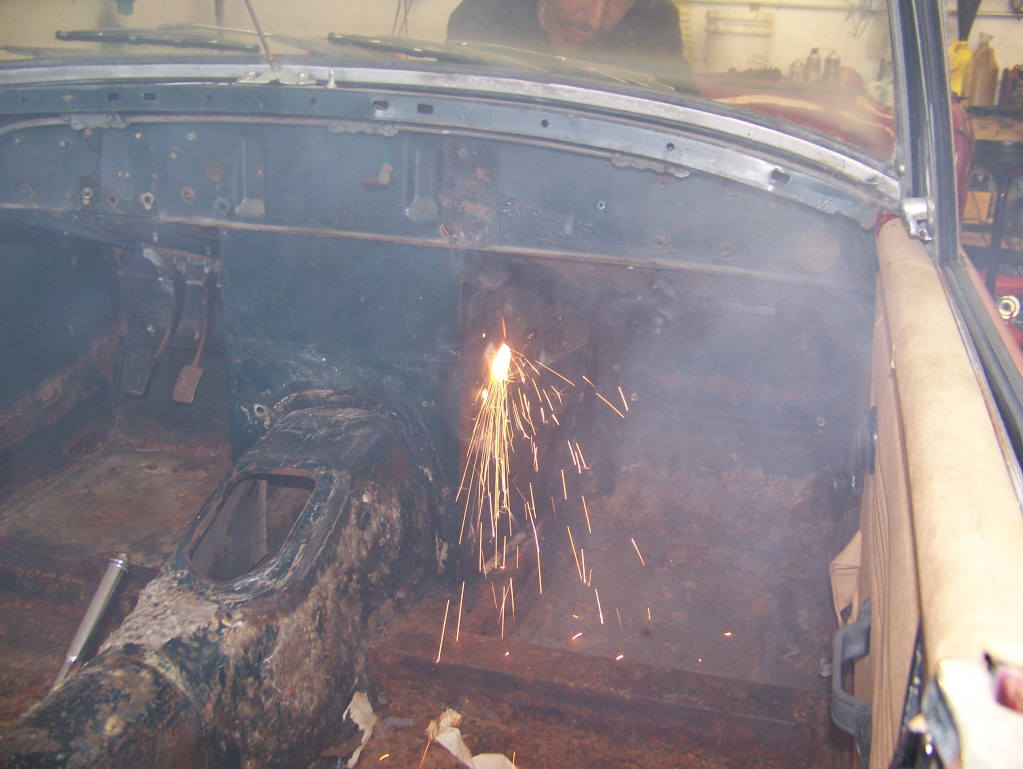
And steering rack: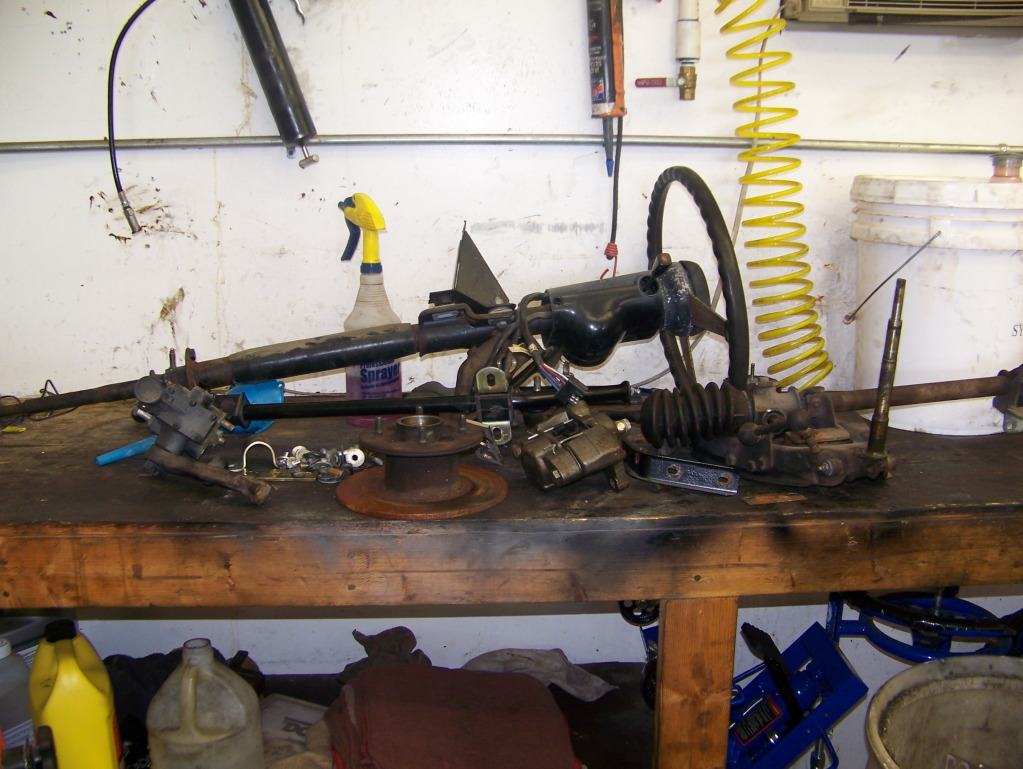
So, time to make room for the coil overs. I torched a hole in the upper spring plate: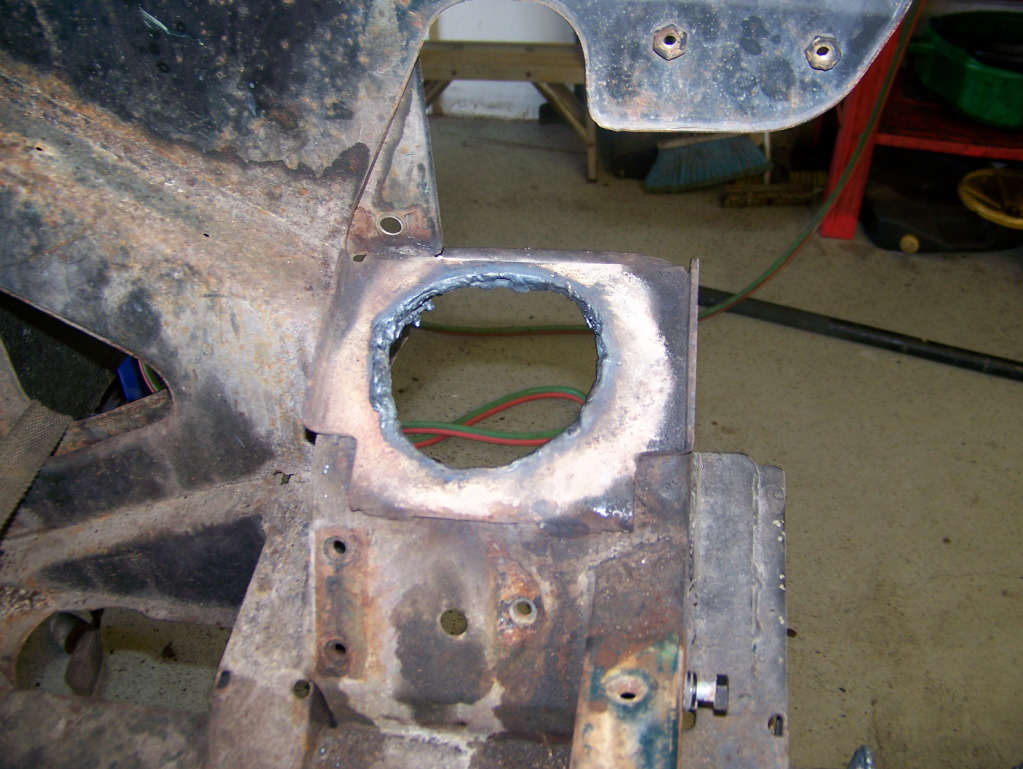
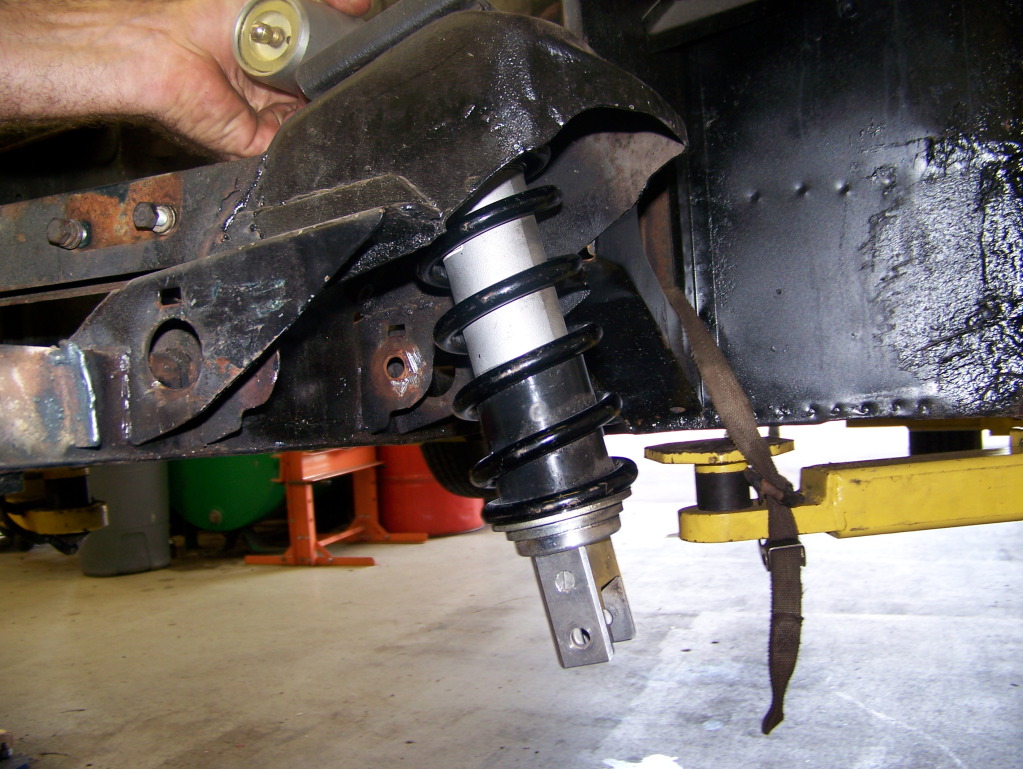
I am not 100% on the orientation yet. The adjusters need to be accesible so they may go in this way, or maybe backwards. Also, as I said, these are a little longer than the stock springs, so I will build towers and have them about this height: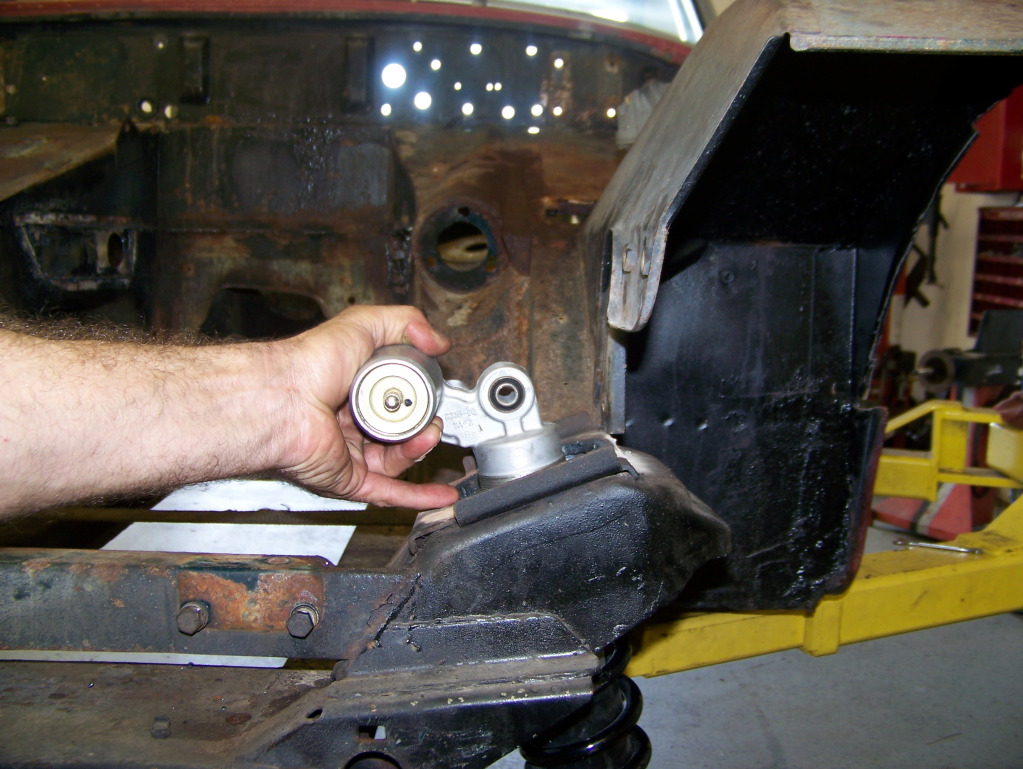
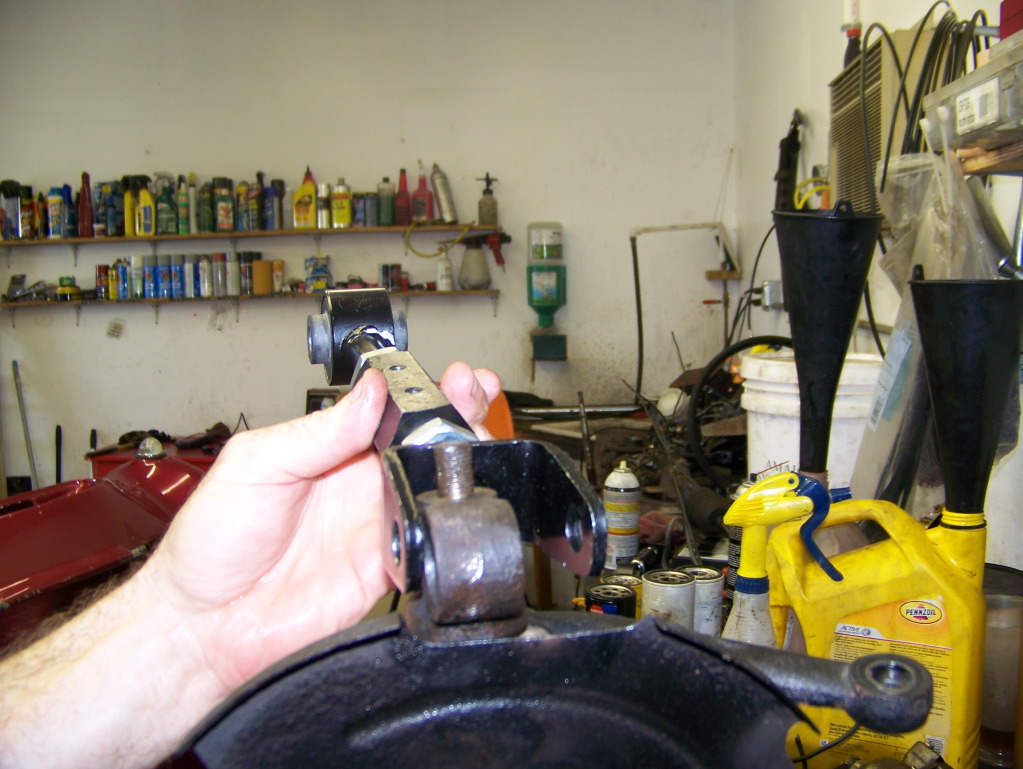
Here is the control arm in roughly the correct position. I will make a bracket as the upper strut tower and to bolt the upper control arm bushing to.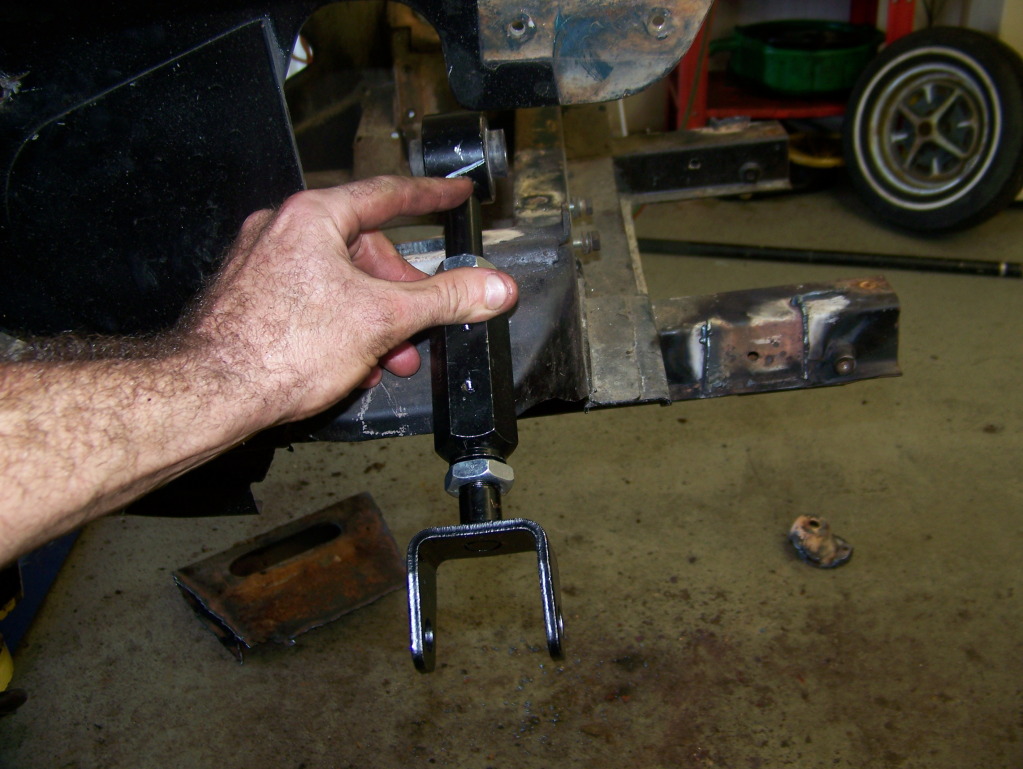
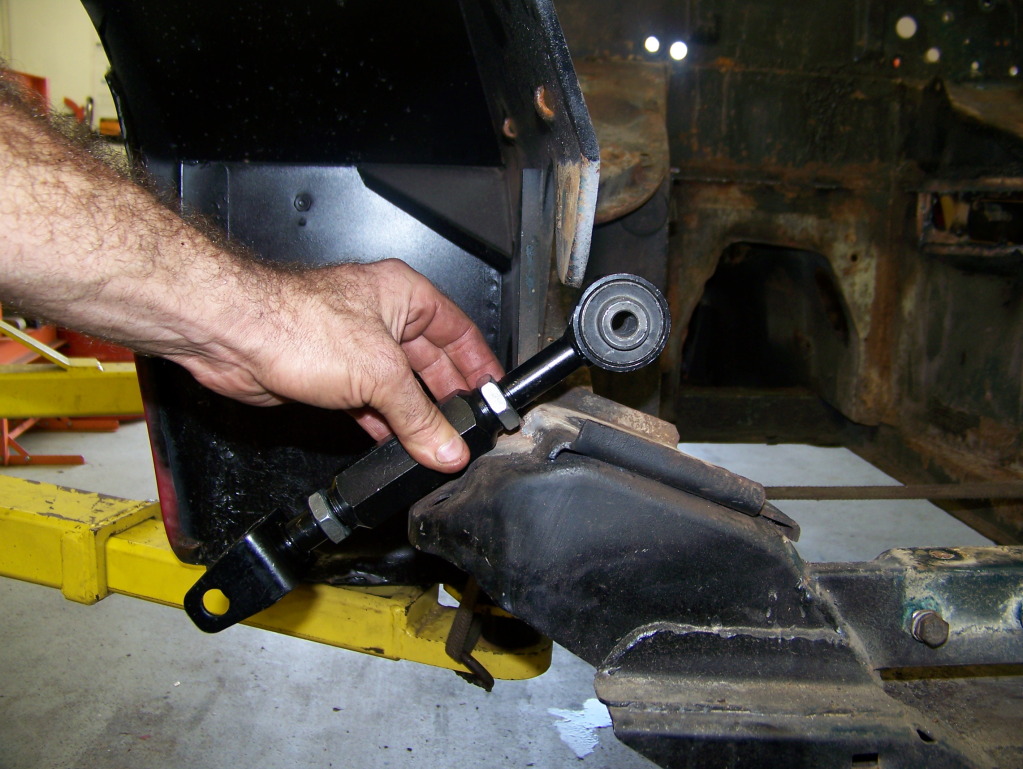
Finally, I plan to attach the other end of the control arm to the stock *trunion* ... is that the correct name for this part? I have the energy bushings already. I will just need to make/find some spacers to take up the extra width: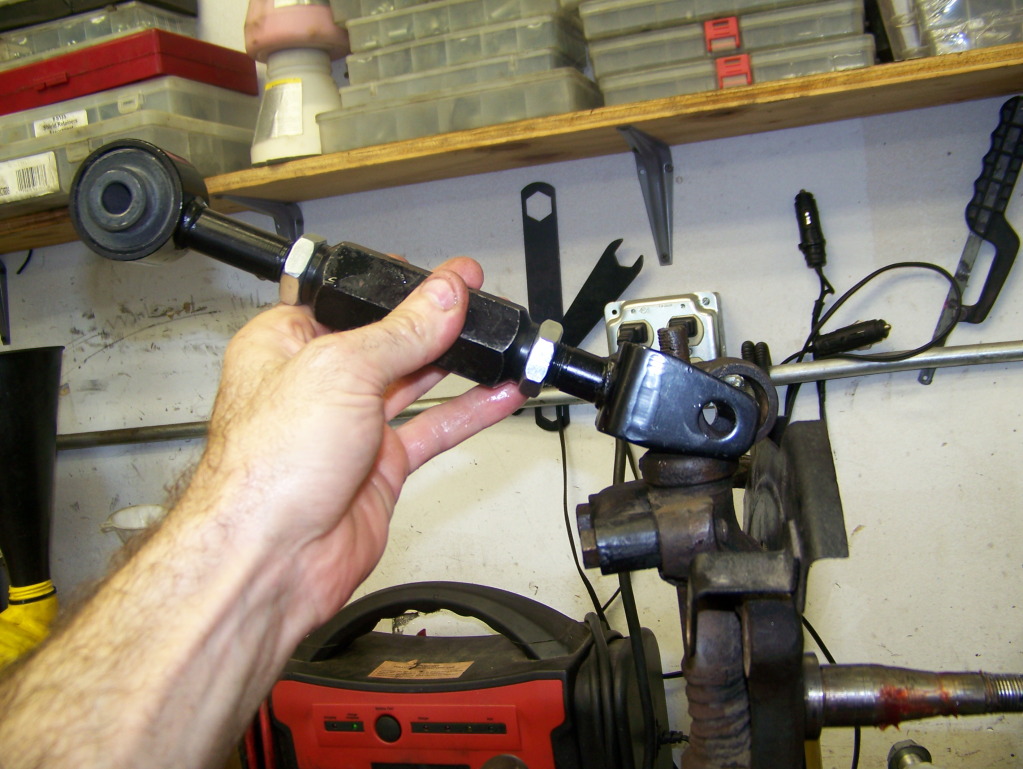
Comments

This thread was donated to our website to be preserved. If you want to message the author, please click the source link to contact.
Posted by diyauto on 8/25/21 @ 1:32:42 PM
This is a great build with so much time and effort put into recording in words and pictures. Can you help me with this question please, Is the top arm inner pivot point is in the same place as the original pivot point? Regards Davy
Posted by DavyF on 4/16/20 @ 6:44:51 PM