You must be logged in to rate content!
9 minute(s) of a 140 minute read
1-31-2016
After a couple of year hiatus, I'm finally getting back on this car. Working with Ron Sutton on a different suspension design, the torque arm I designed in the car he feels would be great for autocross, but not so great on the road course. He designed a decoupled 3 link for the rear, which I have just begun to fabricate. Trying to fit these mounts in my already busy chassis was a lot more difficult then I thought. Funny I ended up not having to move one bar, at least not so far.
I will leave the torque arm mounts in place and try both designs to see the difference. Hoping to stay the course and get this thing done.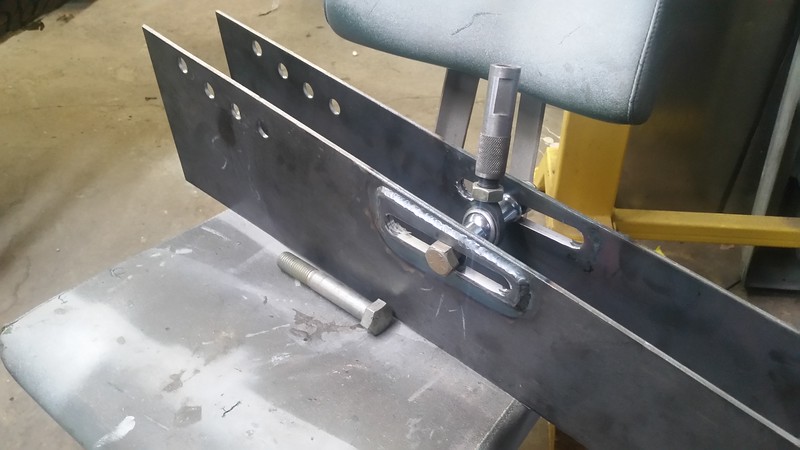
2-13-2016
Started with the front changes, control arms will be getting moved up an inch and forward .625. Never really liked the LCA mounts on this clip, so I cut old mounts off, and started making new ones. Still have to design and build the front mounts, but I'm getting there.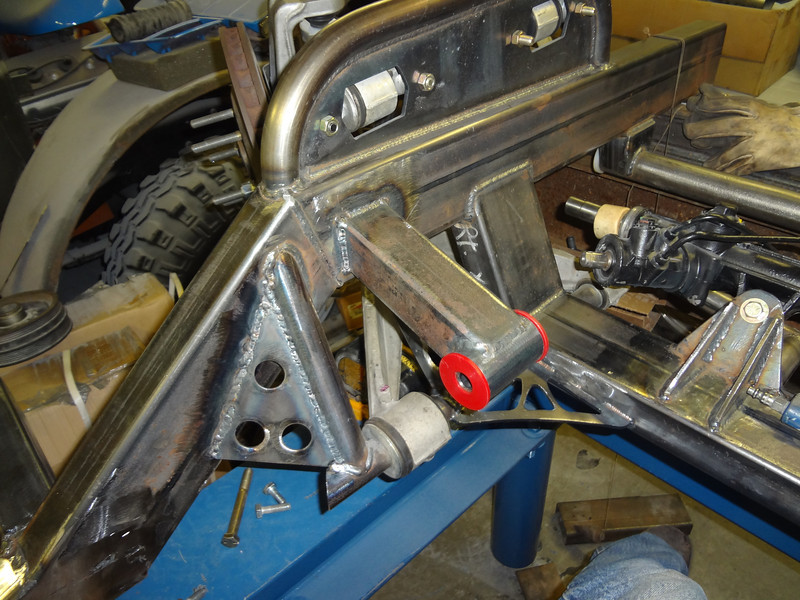
2-14-2016
Funny Preston, I will be the first to admit that I don't know what I'm doing on suspension design. I've always copied a factory design, figuring no one had more money to spend then GM on design R&D. Knowing what roll center, ackerman, and bump steer are, means nothing without knowing how to apply them with something that works. I do think some of us have a good brain, for what work well, and will be strong when it comes to chassis design. Knowing precisely where on the chassis to weld those parts, (when it comes to link mounts), probably should be left to the pro's.
On the 3 link, their is no question in my mind, that the decoupled 3 link is the most tunable rear suspension design available. Being able to tune both acceleration , and deceleration is invaluable. Whether I'm skilled enough to tune it properly is another question, I'm looking forward to the challenge.
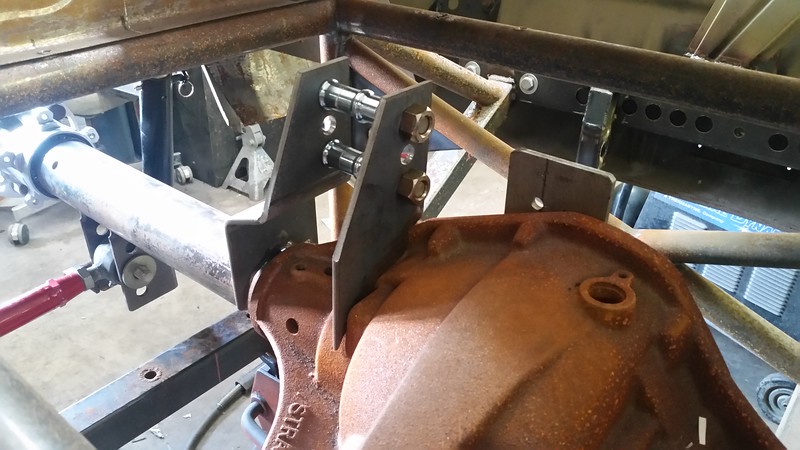
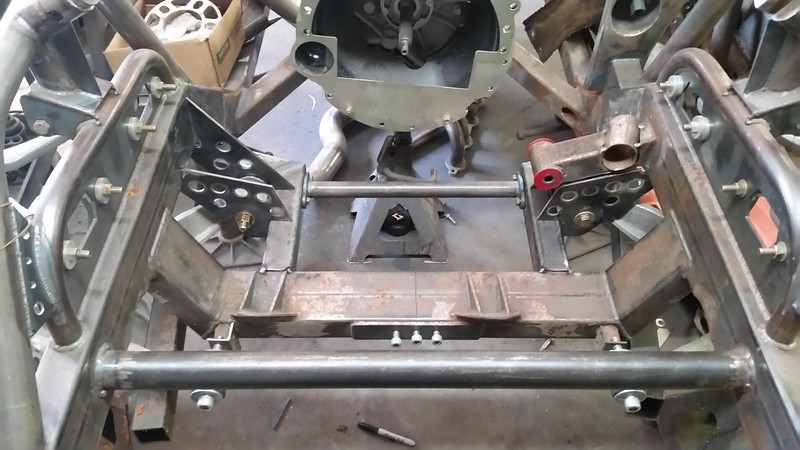
Ron Sutton likes two different designs when it comes to the decoupled 3 link. One involved a bumper for accel, and a second link and bumper for decel. The second design use a spring for accel, and a shock absorber with bump stops for the decel. I haven't desided which I will run yet, I designed my brackets etc. so I can run either. And of course the torque arm mounts are still in the car, so I always have that option if I'm going to do a lot of street driving, only 3 bolts to install that big bitch.
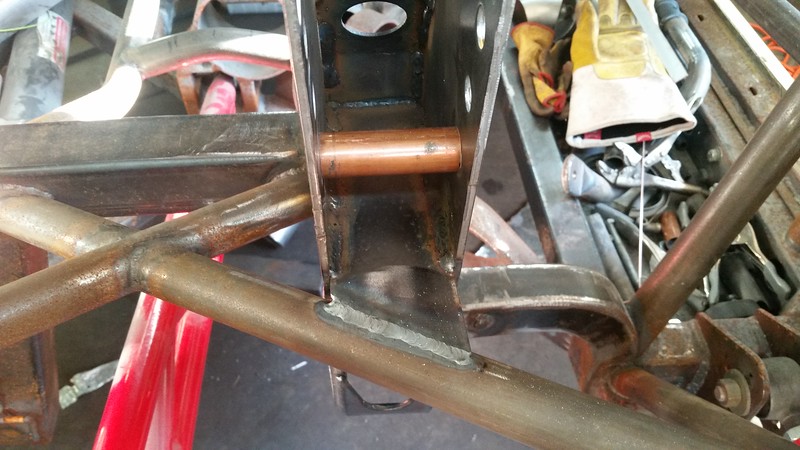
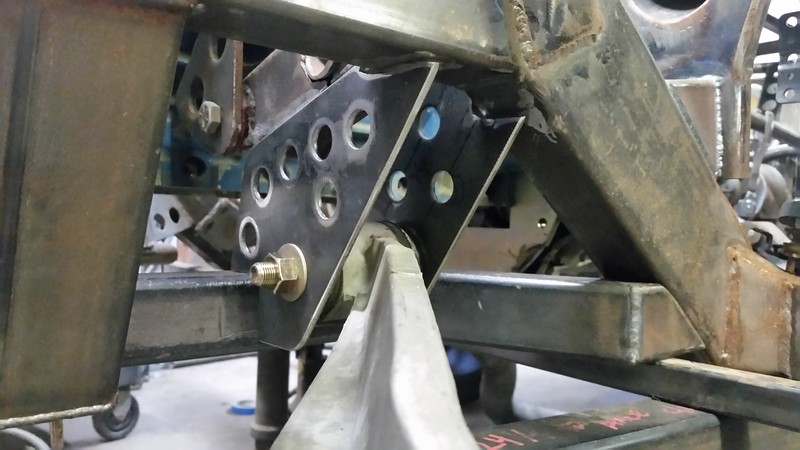
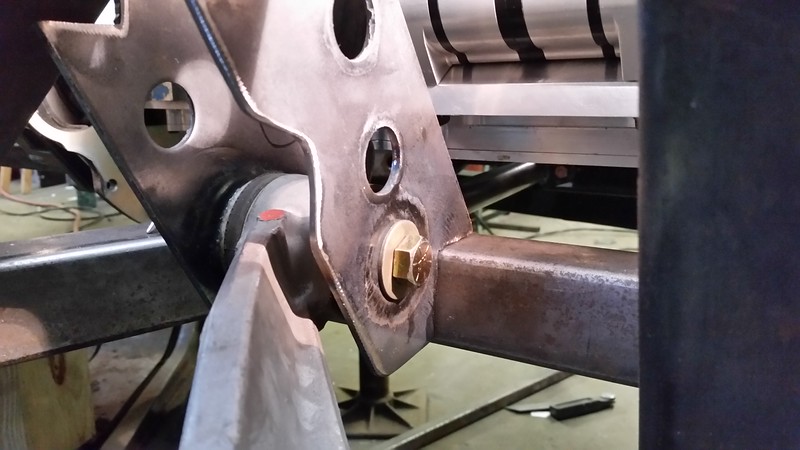
I did double up where the control arms mount to the brackets, one for strength, although I think the 3/16" bracket is more then enough. Two: to make assembly easier, trying to slide the control arm between those two tight brackets would have been a pain, sliding them on the little circles will call for less curse words.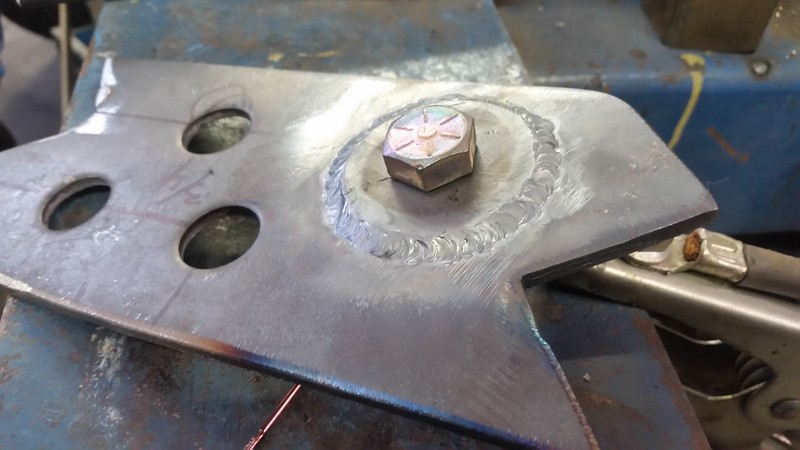
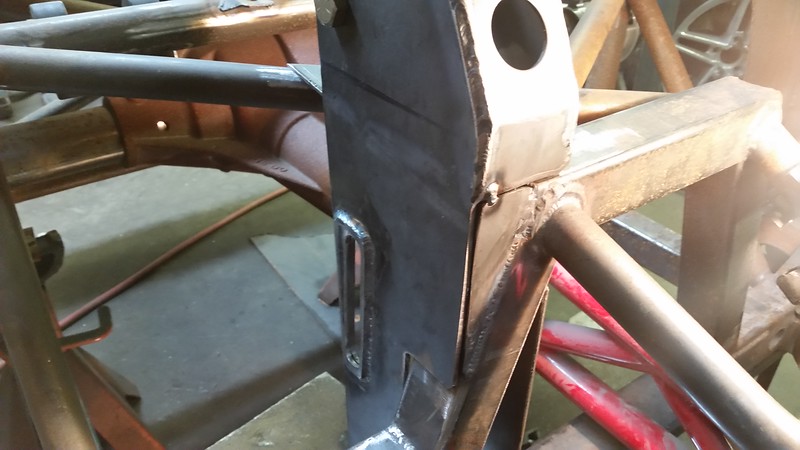
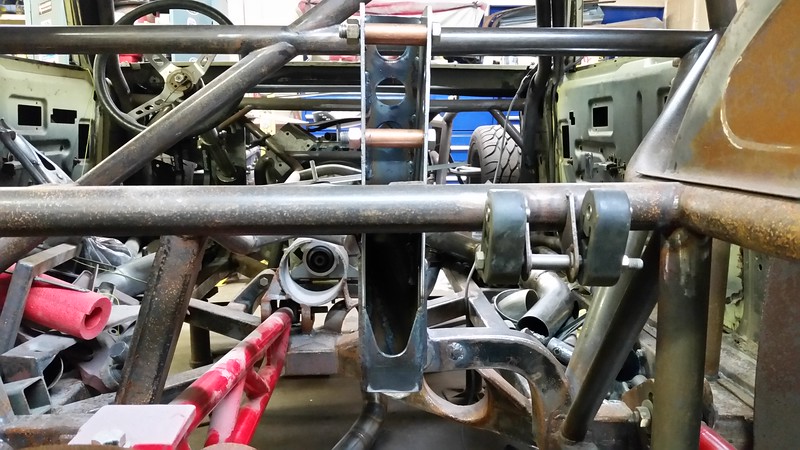
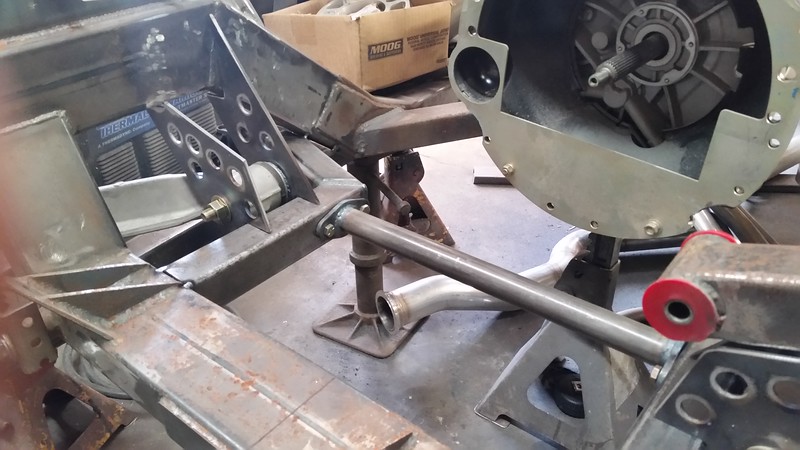
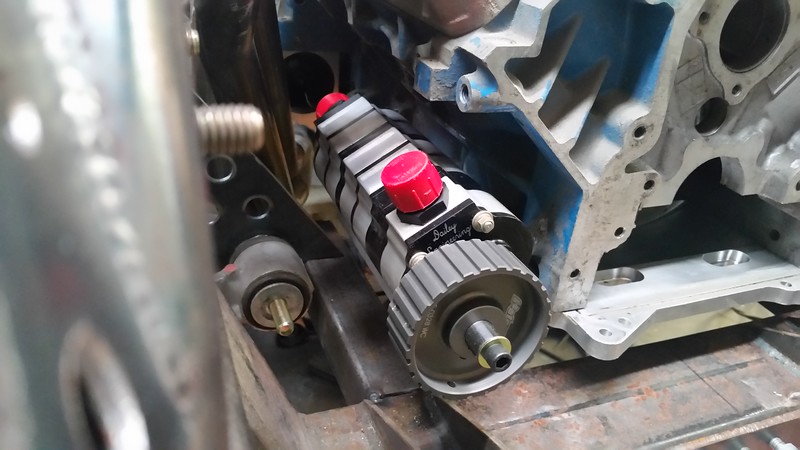
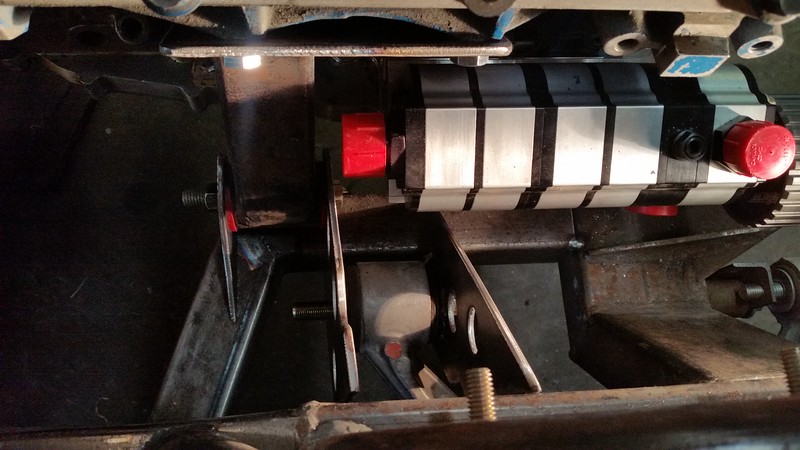
Finishing up the rear mounts, Dailey dry sump allows me to run a tie bar across the two mounts, made it removable just in case I don't always have that engine. The bad part about the Dailey system is the oil pump hit the engine mount badly, so I had to cut it off of the frame. Next on the list is building a new passenger side mount, and engine bracket. I have a game plan for the fronts, we will see if it has the cool fact or not.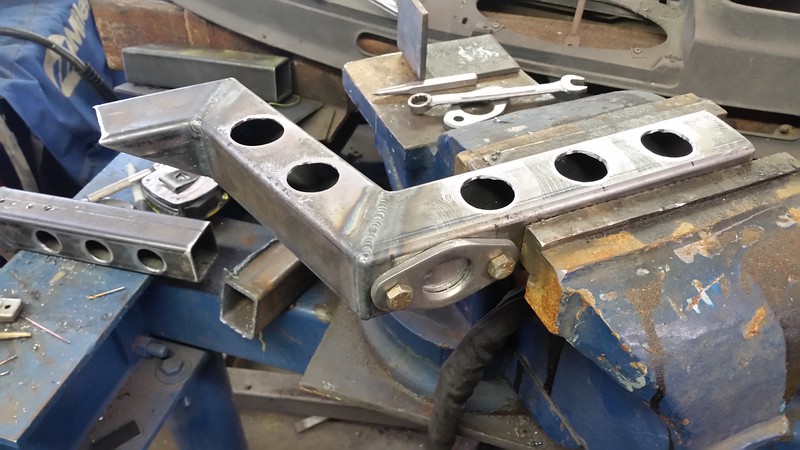
2-15-2016
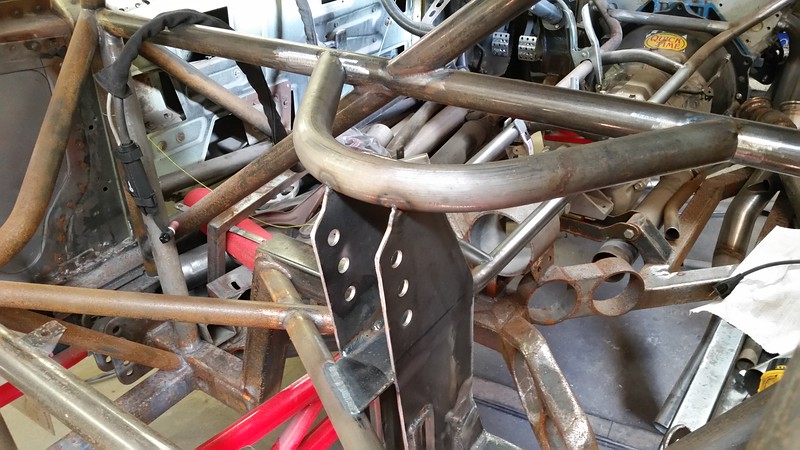
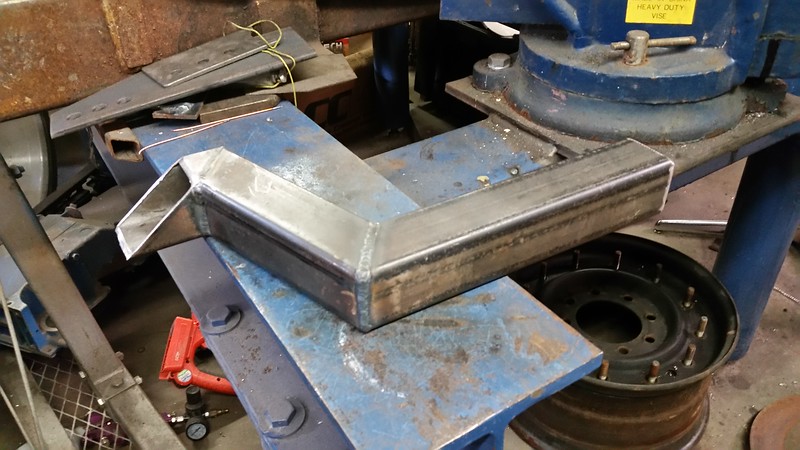
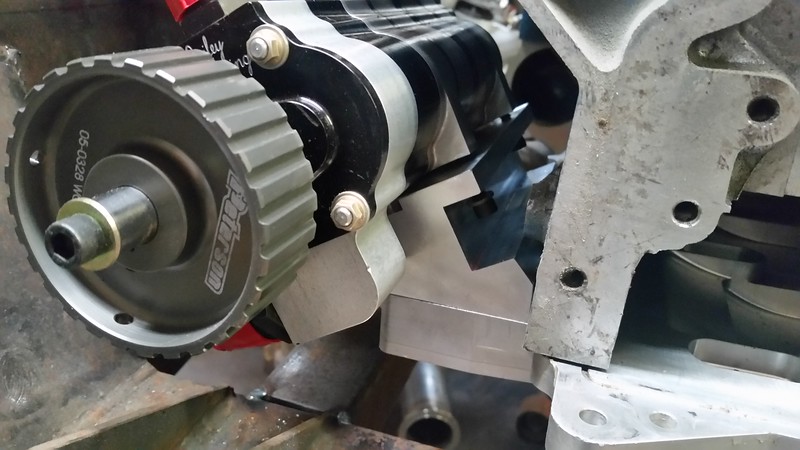
Motor set back in with dry sump pan and pump. Absolutely no room for a motor mount on the passenger side. I want it to be easy to get the motor in and out, Greg suggested a motor plate, but I feel like I'm to far along. I got an idea but we'll see how it works out. The adapter I made to fit the mismatched pan and pump worked out pretty good.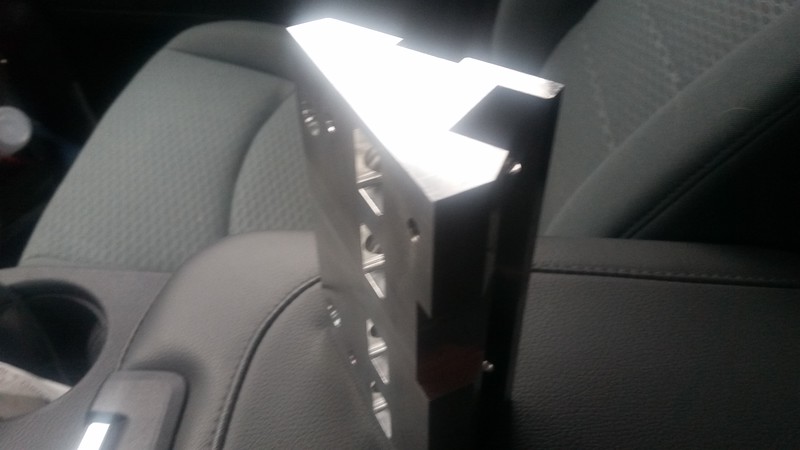
2-16-2016
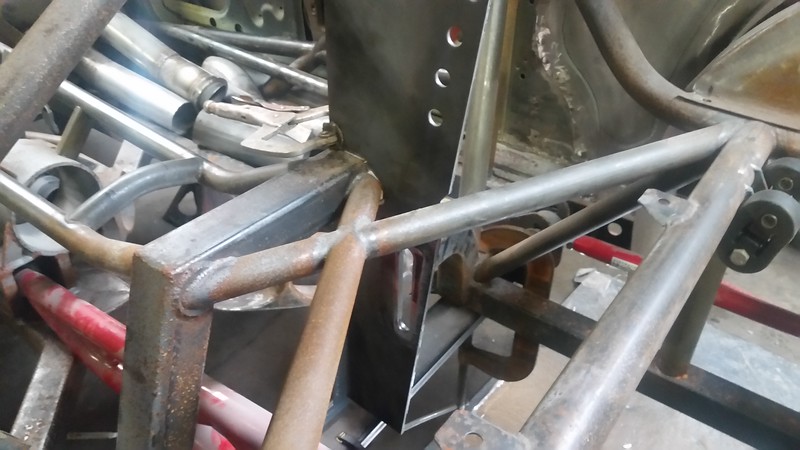
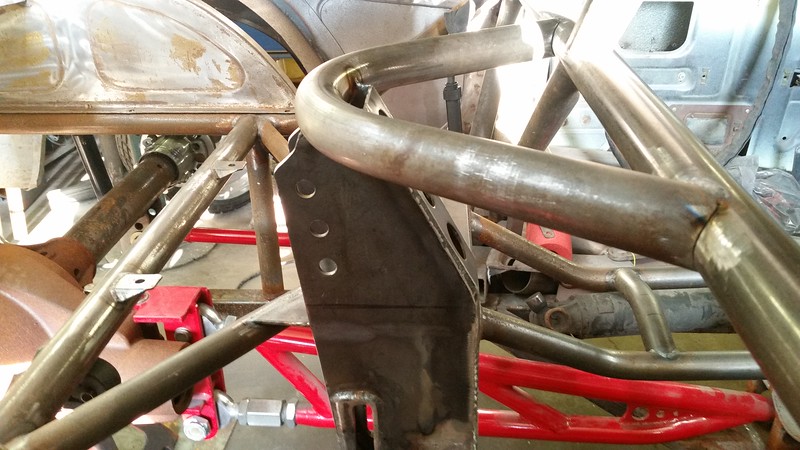
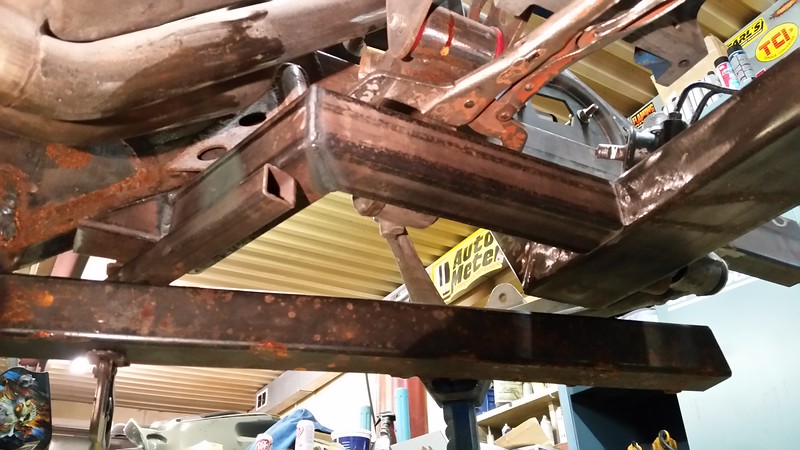
Did figure a way to sneak a motor mount between the headers and dry sump pump. Did it opposite the drivers side, put bushing on motor bracket rather then frame. Hangs way below dry sump pan, so bolts are easy to get out.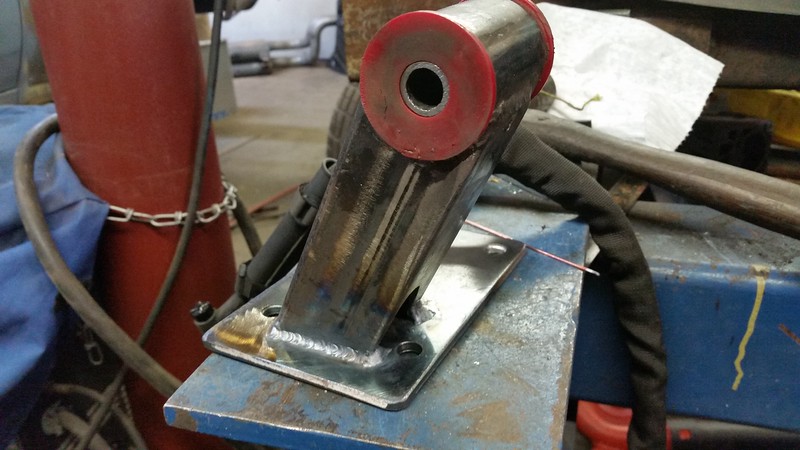
2-17-2016
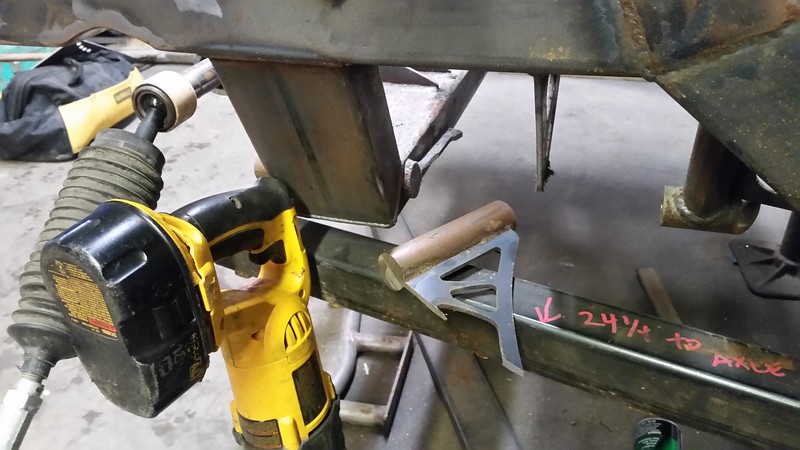
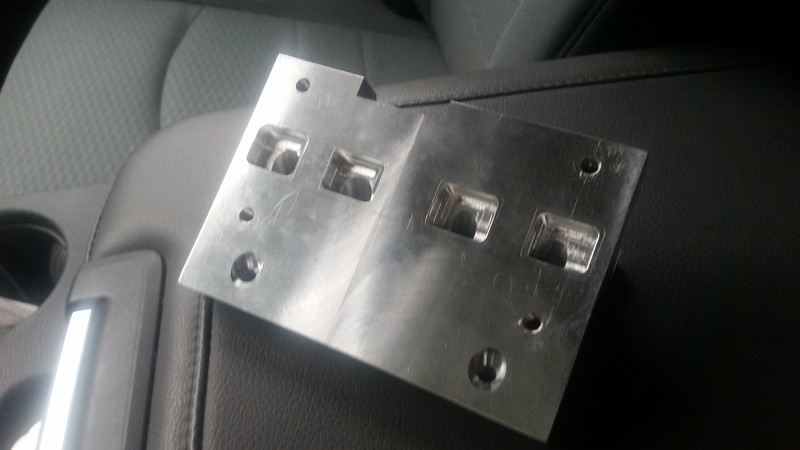
Another couple brackets made, only 100 more to go. Proud of the center bracket that doubles as a control arm and a motor mount bracket. Now I get to start on the front of the control arms, yippee. Thanks, Ron Sutton LOL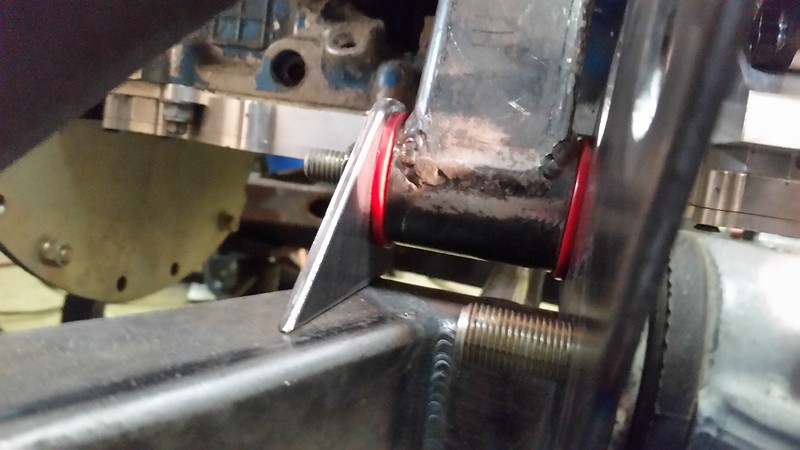

2-18-2016
I will do what we discussed earlier, Humpster eyebrow with shortened window opening. I know your dying for me to get on that, unfortunately the suspension comes first, then I have to finish the front fenders for the new wheelbase change, and get them off to have the molds made. Then I'll get on the quarters, can't wait.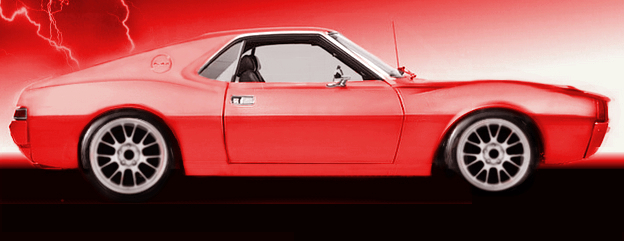
3-2-2016
With as much travel as this car is running, the fender is going to require some surgery. Again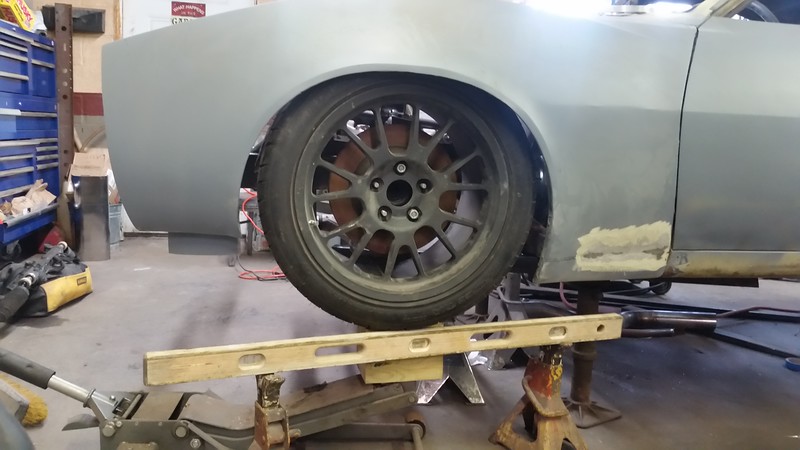
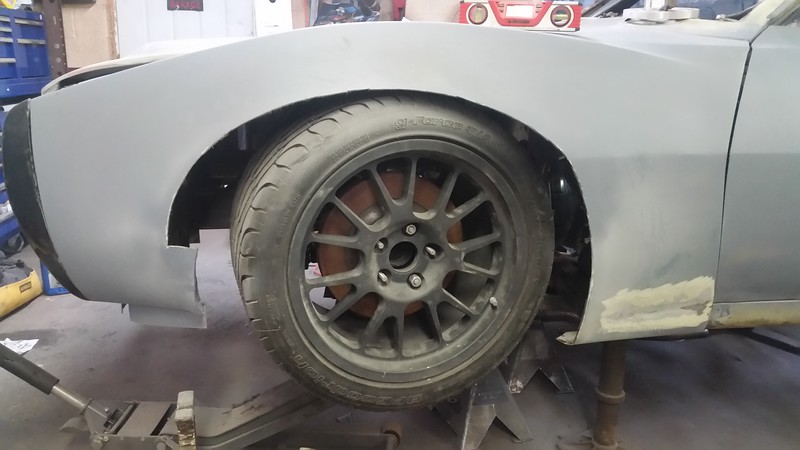
3-3-2016
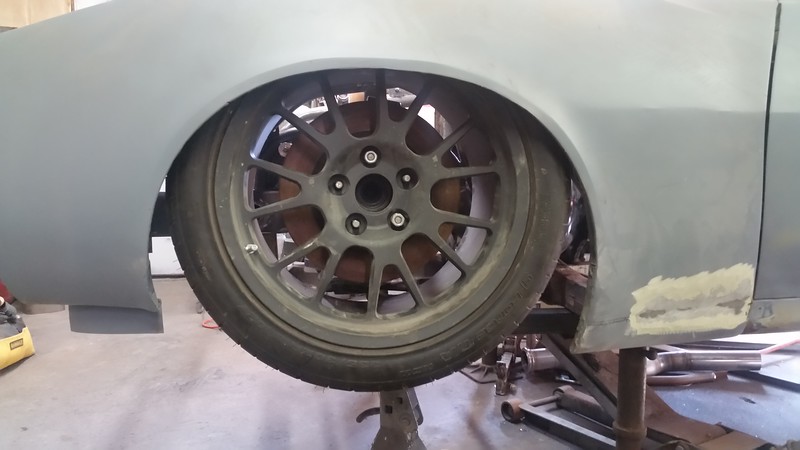
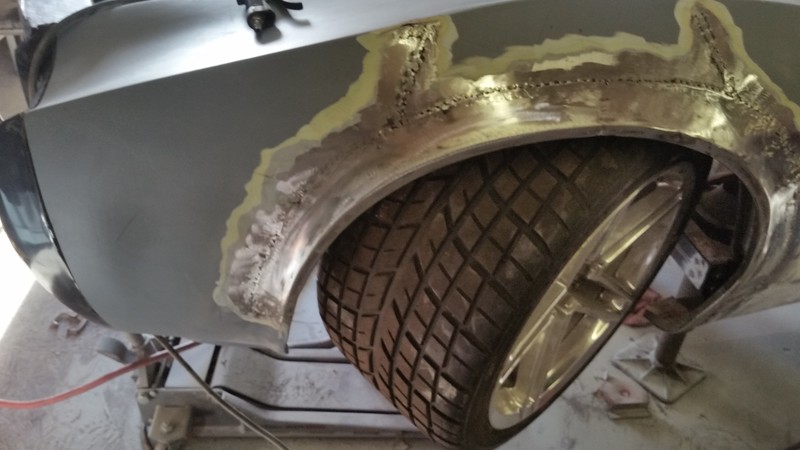
Got the fender clearanced to allow for this crazy wheel travel. 3.75" of up travel hitting nothing even at full lock. Started getting the flares together, I might like them better then before.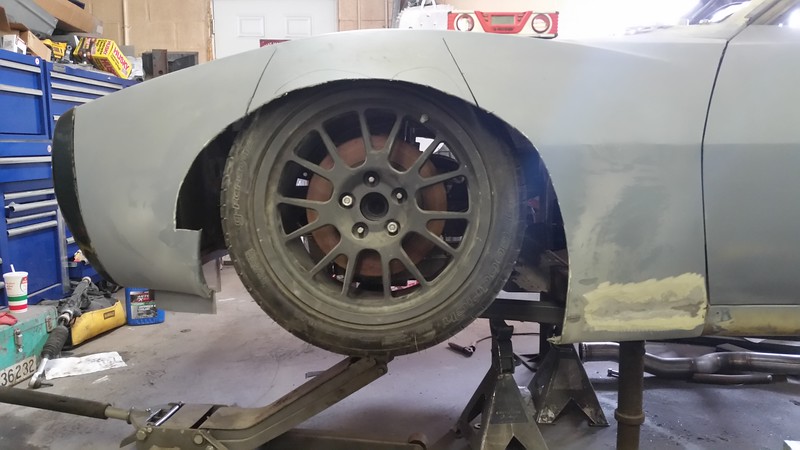
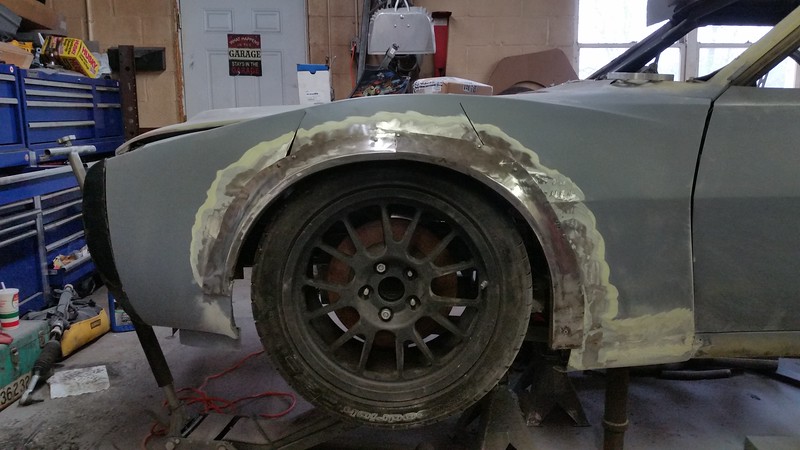
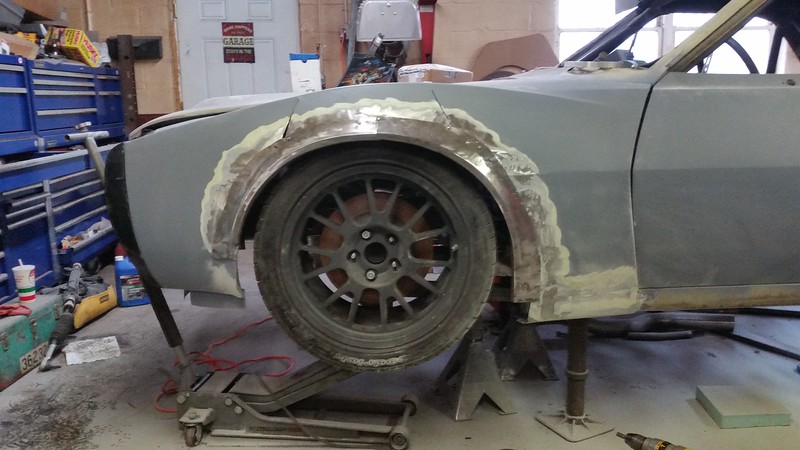
3-6-2016
Ready for mud, now comes the hard part, duplicating it for the other side.
3-7-2016
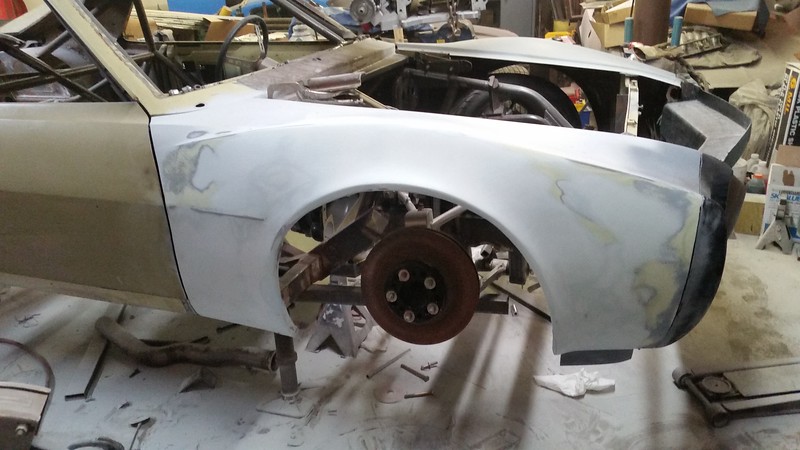
They are donor parts, its just faster. Put the ZO6 19x12 wheels on the front. With the enlarged wheel openings, they fit great.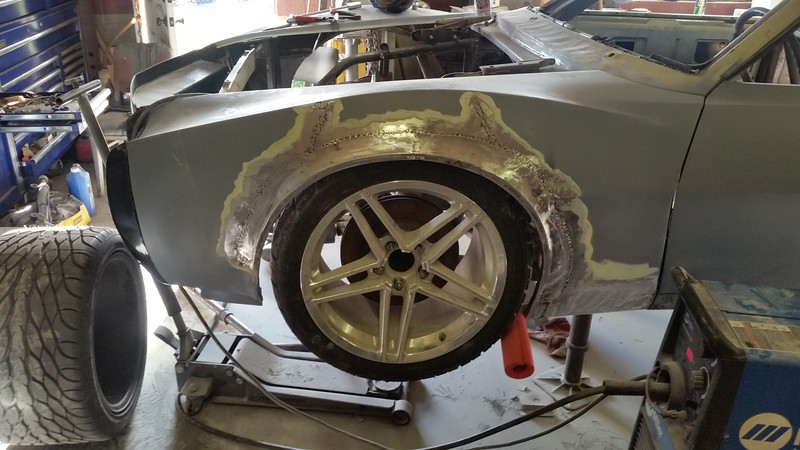
3-10-2016
I've always liked the colors on this car, red in the front, and Grabber blue in the rear. Don't really care for the lay out though. I'm pretty sure I will break the color at the back of the hood, slope down to about the first 6"ish of the door, and about 2/3 of the roof, down to the beginning of the rear wheel opening for the blue. I wish I was more photoshop friendly.
Honestly as long as its not what Tom said, I might try it. What a putz. LOL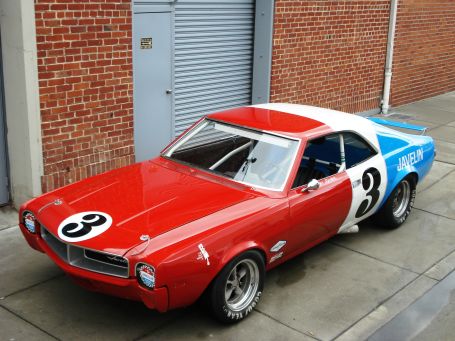
3-13-2016
My head is spinning from all the patriotic colors.
Did get one fender finished.

Very cool!
Posted by bl_steel on 1/26/21 @ 1:24:52 PM