You must be logged in to rate content!
66 minute(s) of a 137 minute read
5-18-2021
Scorch BUILD v2.0
Compliments of dascorcha21 @ www.corvetteforum.com
11/4/11
Well originally I wasn't going to do another build thread in hopes to still be able to get races lol but who am I kidding oh well here it goes. I just felt a lil bit out of my skin using nitrous.. now don't get me wrong it works and works hard, but I'm just a boost type of guy it's what I know I only have 1 goal on this build and its trap speed
Engine
CBI Details
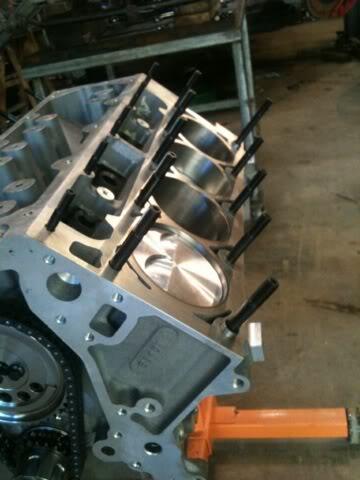
418ci Ls3 4.080 bore
Diamond gas ported nitrous pistons
Eagle 6.125 H-beam
Eagle 4 crank
Blower BIG Cam
Morel Link Bar lifters
Have to choose heads
(PRC LS7 heads 400cfm (Titanium Intake valves, SS exhaust)Arun Custom cam
PRC .700 Max lift springs
Ls7 manifold
90mm TB
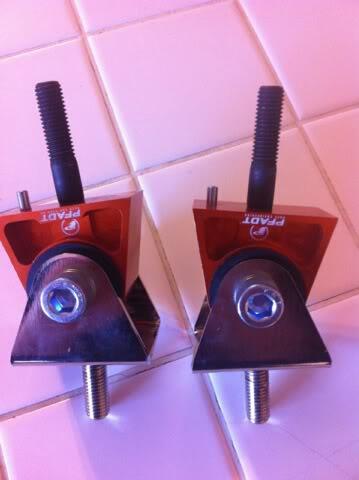
Pfadt engine mounts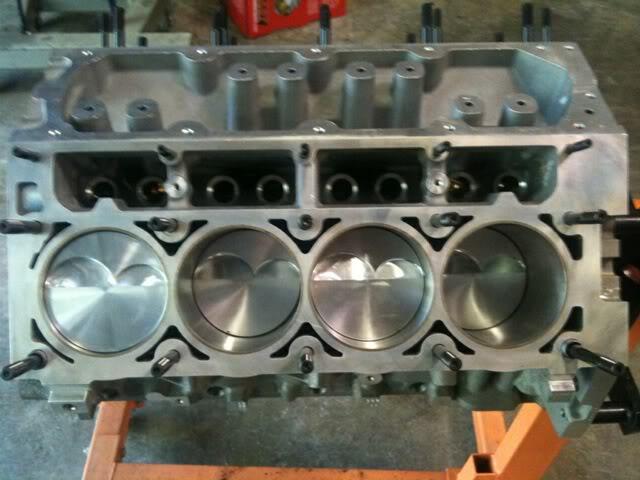
Drivetrain
C6 Z06 Tranny and rear end conversion
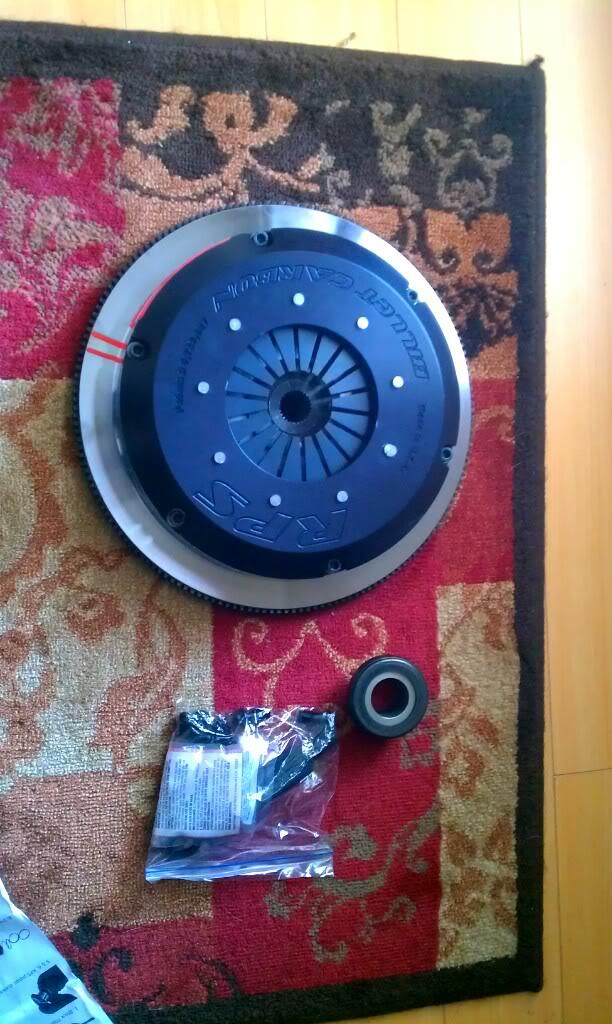
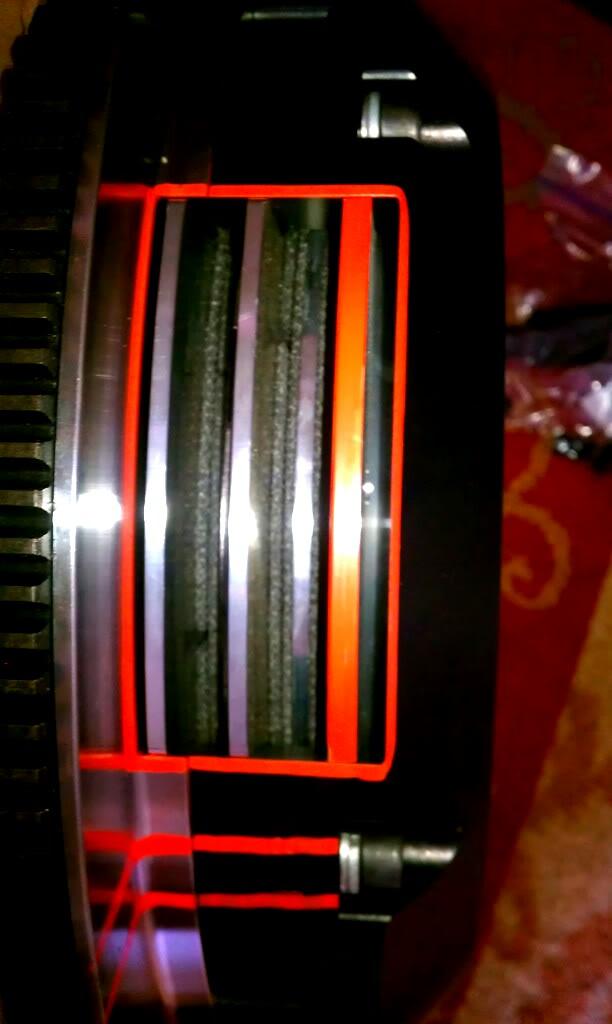
RPS BC3 Triple Carbon disk clutch
Billet driveshaft coupling
RSD line lock
Mgw shifter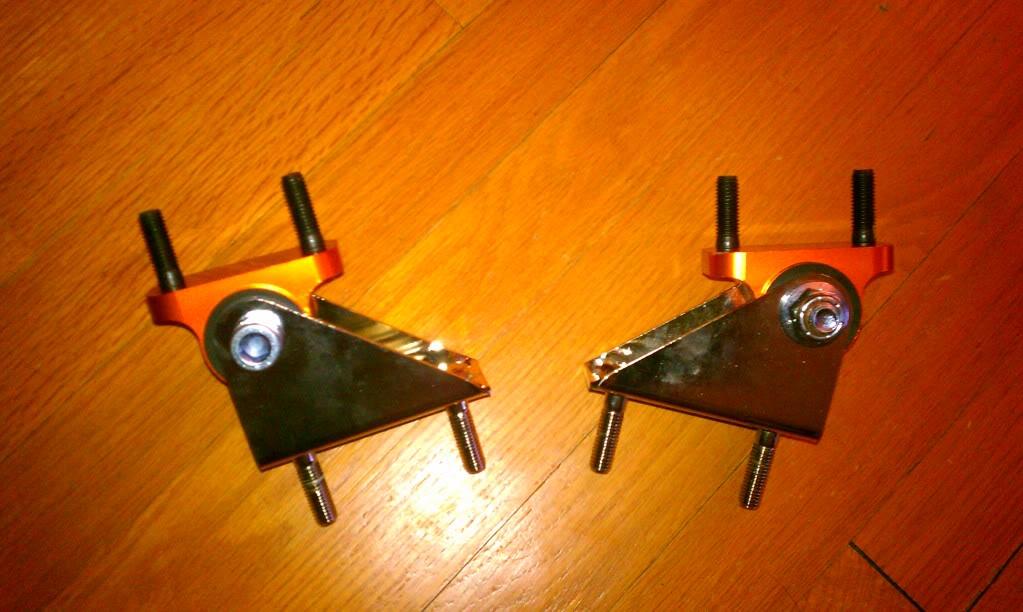
Exhaust
Details
ARH 2" Headers coated
Custom CBI 3 bullets w/dumps
Suspension
Pfadt sway bars
QA1 Coil overs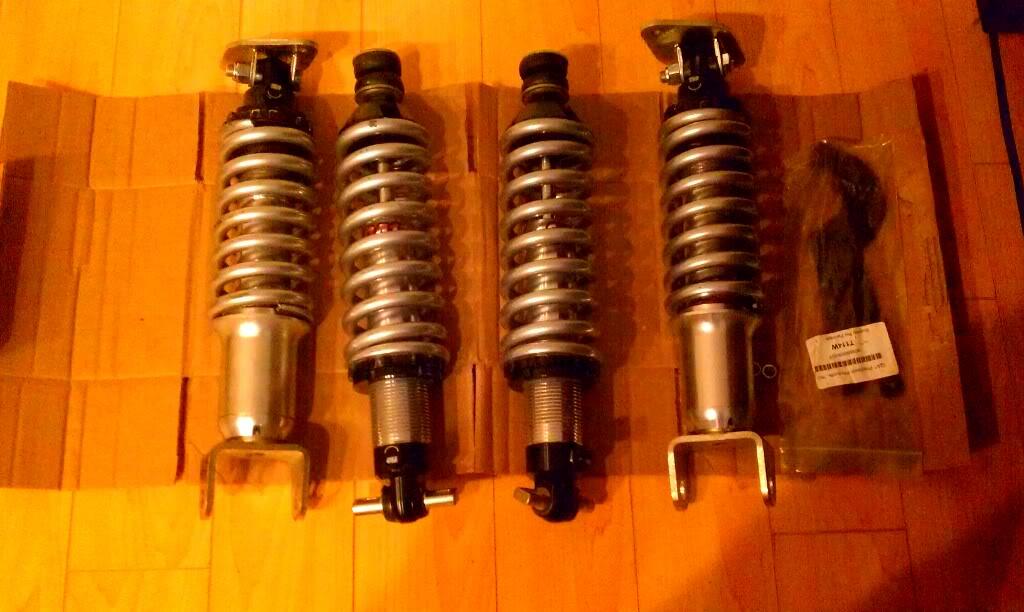
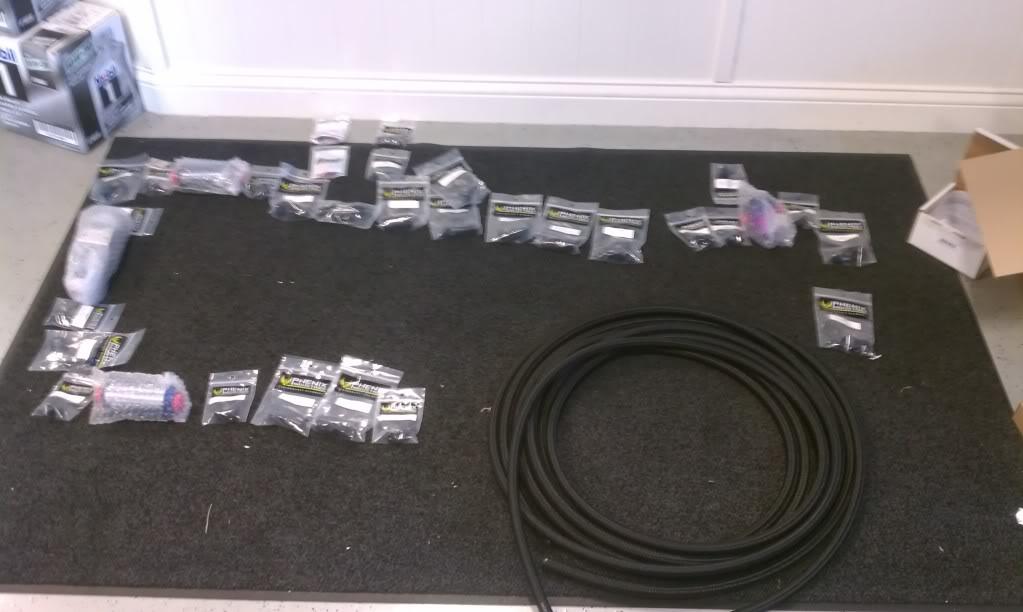
Fuel
Custom Scorch fuel system (good for 1500hp on E85)
Intank 400lph Walbro fuel pump
External Magnafuel 4303 fuel pump
Magnafuel MP-9950-B FPR
Magnafuel pre and post filter
Nasty Billet fuel rails
ID 2000 injectors provided by Steck tuning
Check valve
Dual relay #10 line(x2)
-10an feed, -8an return
All the fittings and e85 compatible lines are black!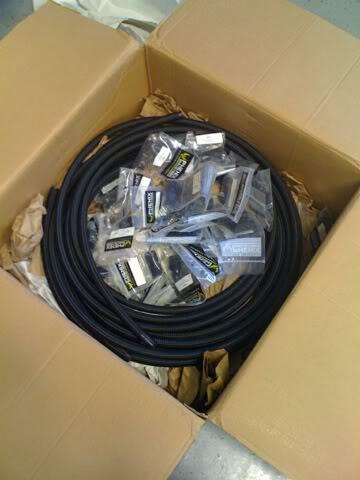
POWA!!!!
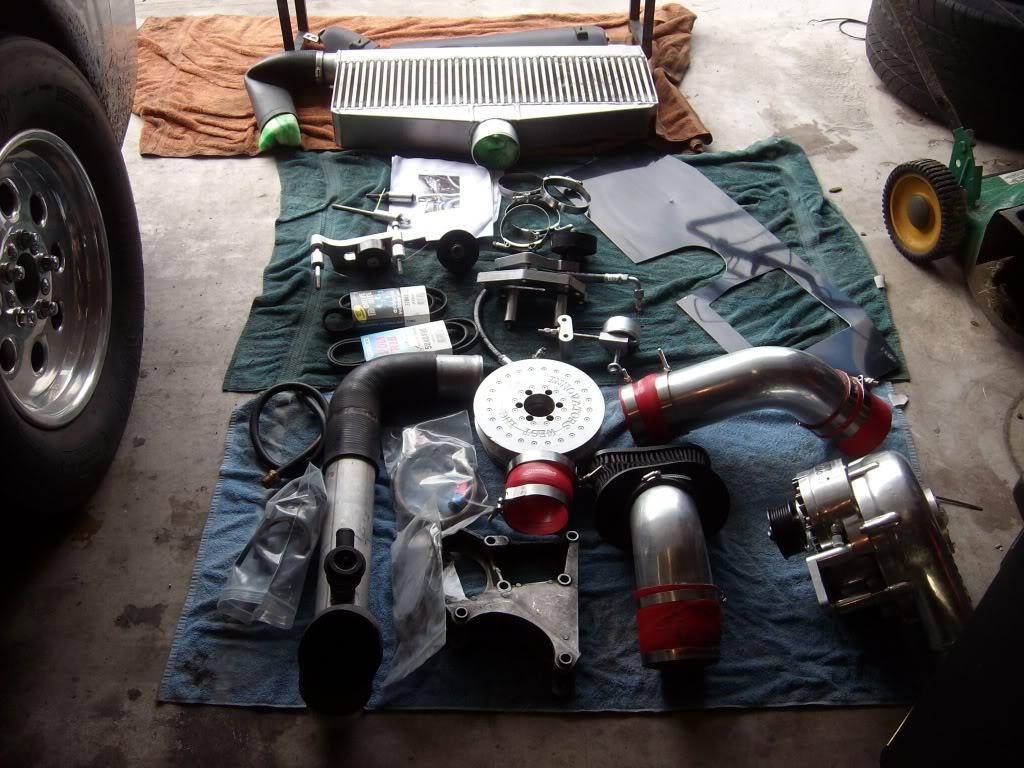
ECS Novi
ECS huge intercooler
Custom 10 rib direct drive
Upgraded HD ECS tensioner
Flip drive system
Procharger Big Red BPV
Dewitts big blower Radiator
Scorch Custom Evac system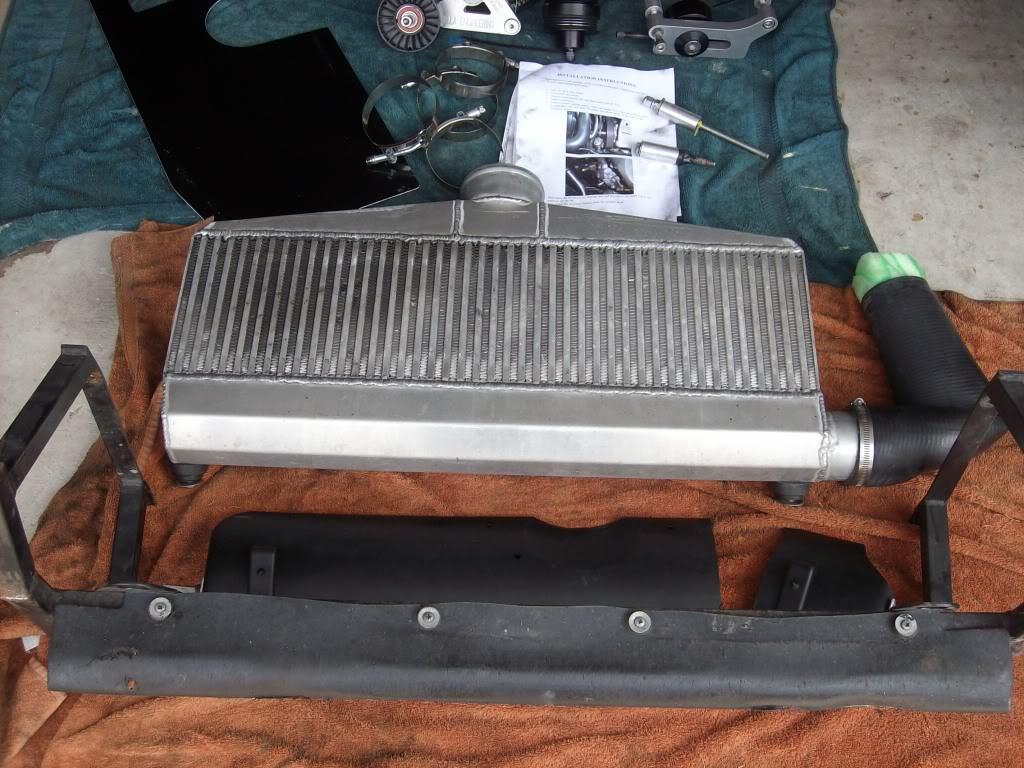
Electronics
Stock ecu
3.3 bar
SCORCH CUSTOM ALKY Meth system
SPORT-COMP II PC (boost and fuel press. w/ warning & peak)
SCORCH CUSTOM BOOST BY GEAR
Threaded IAT sensor post meth nozzles
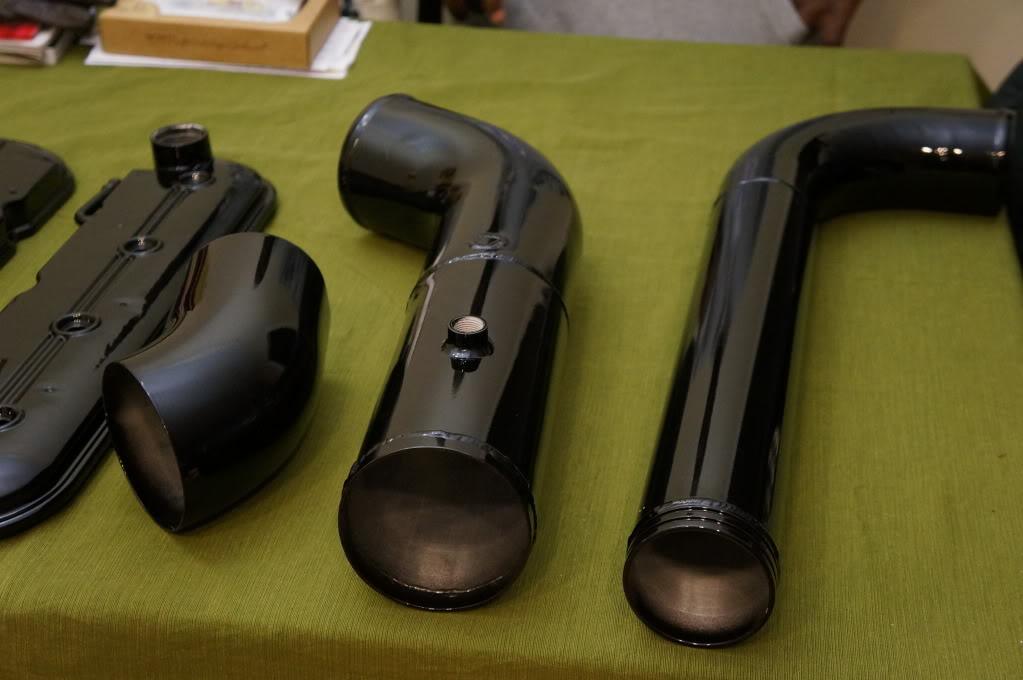
All fuel lines and intercooler piping including HU housing and all brackets will be powder coated black
BIG THANKS TO CHAD @ CBI BUILDING ONE HELL OF AN ENGINE&DRIVETRAIN! ADVICE ETC...
BIG THANKS TO BEN @ CRAVEN FOR THE PARTS
I will add more pics as I get things done. Lots of work and I'm taking my time on it.
fuel system is 99% complete just need to select head so i can get proper nasty rails.
I spent quite a bit of time on the wiring putting in redundant grounds, soldering, double heat shrinking and wire looming everything. #10 wire was used on everything along with 30amp fuses. I utilized magnafuel dual 40amp relay, I Y'd the IGN wire to the PW wire going to the ALT on both relays as both relays will be getting controlled by the hobbs switch grounding them out. Furthermore I ran an override switch to cabin in case of any scenarios such as: testing fuel system for leaks, priming the external pump (not necessary), by-passing hobbs switch or if it fails, incase intank pump fails I can turn the external on and get home/safe spot. I also wired a few safeties and extras. With the gauges they have output signals for the warning set. So fuel pressure is wired to an LED as normal and so is the meth LED along with this I took a lil tiny tweeter speaker. I have this hooked up to a WOT switch and output from gauge that opens the relay for the speaker and when at wot if the fuel pressure or meth hits the warning it will omit an audible alert in case I don't catch the light while racing (is it necessary nope, but I figured while im in there might as well just mess around with the idea. All open connection to frame were smothered with anti-corrosion gel. also got the RSD line-loc hooked up and done was pretty simple and about 5 minutes to do. lines have Heat Shield hose protectors. Next step will be finish the rails and move on to choosing cam and installing it along with installing crank pulley and spacing rack. 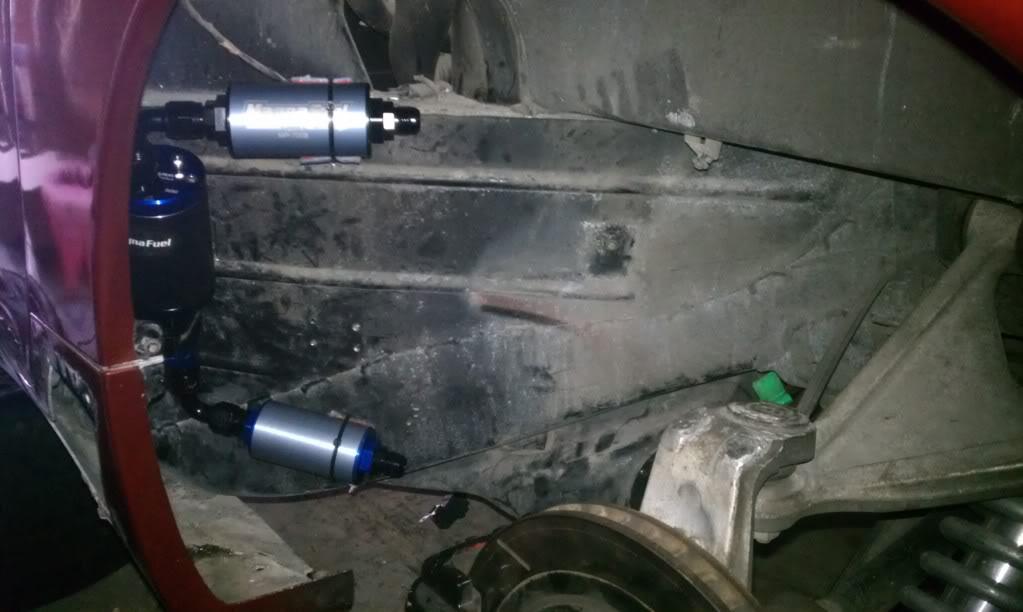
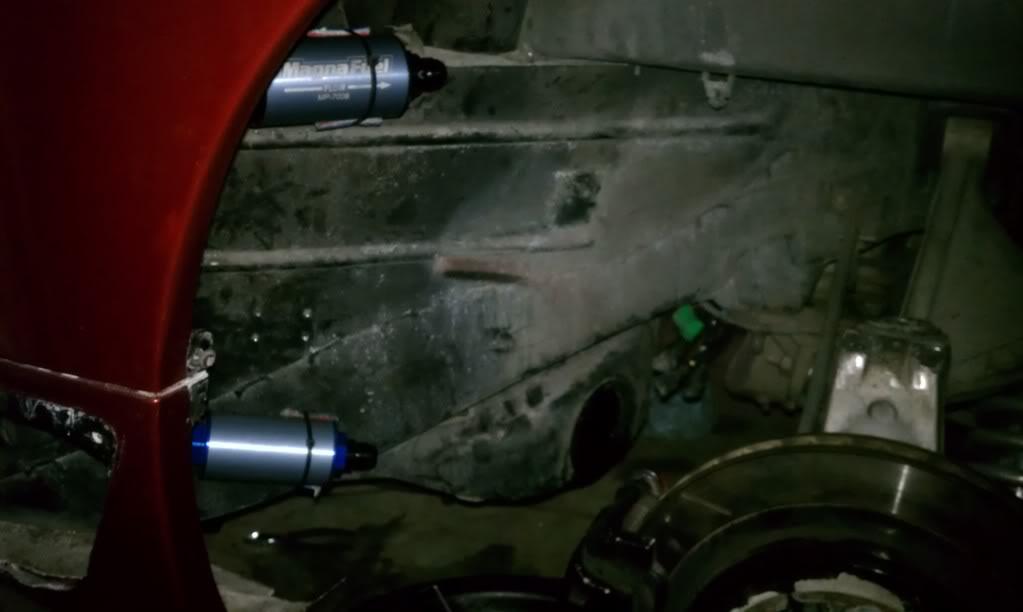
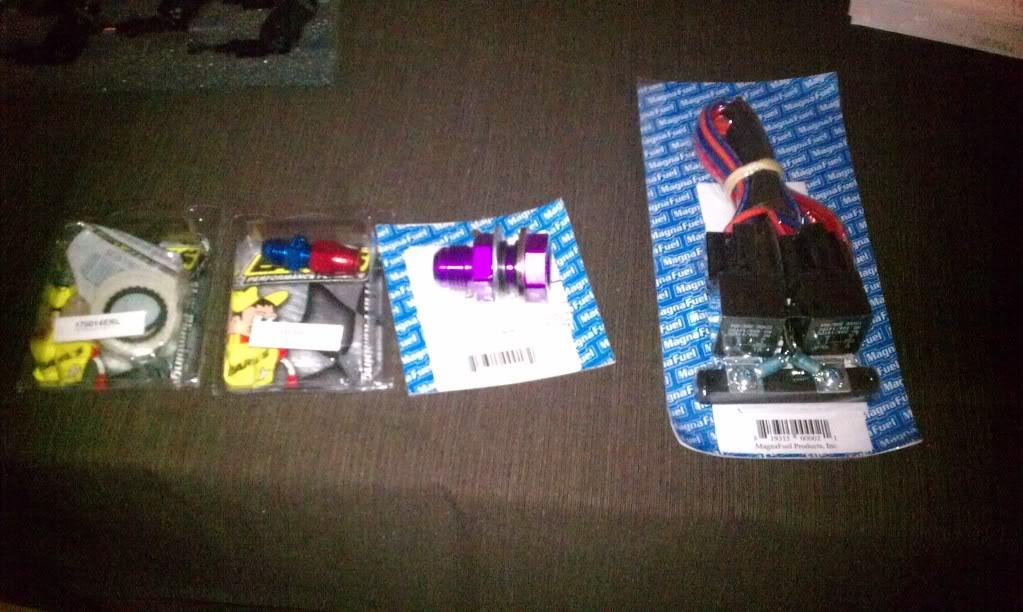
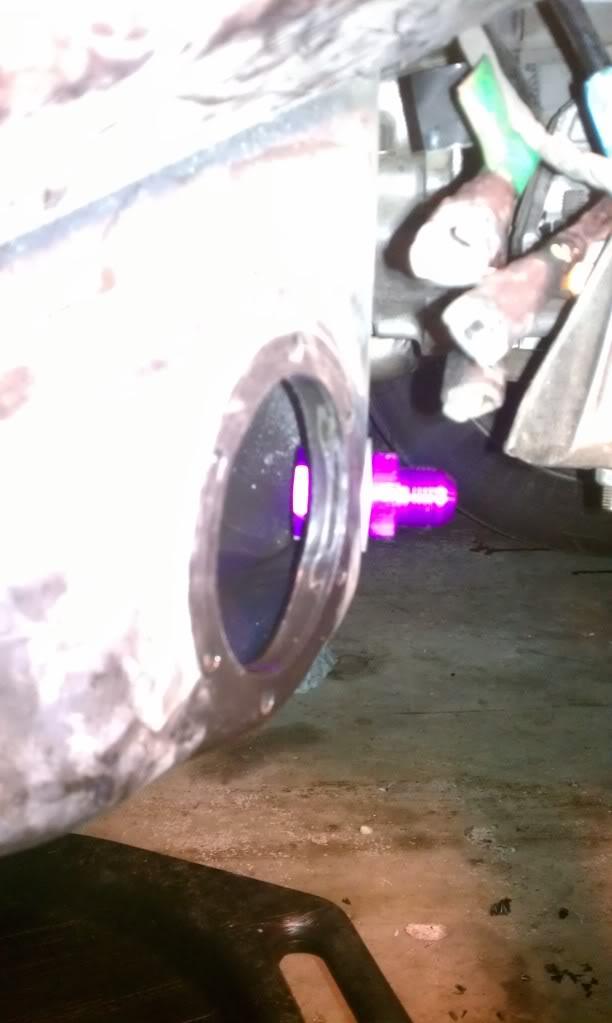
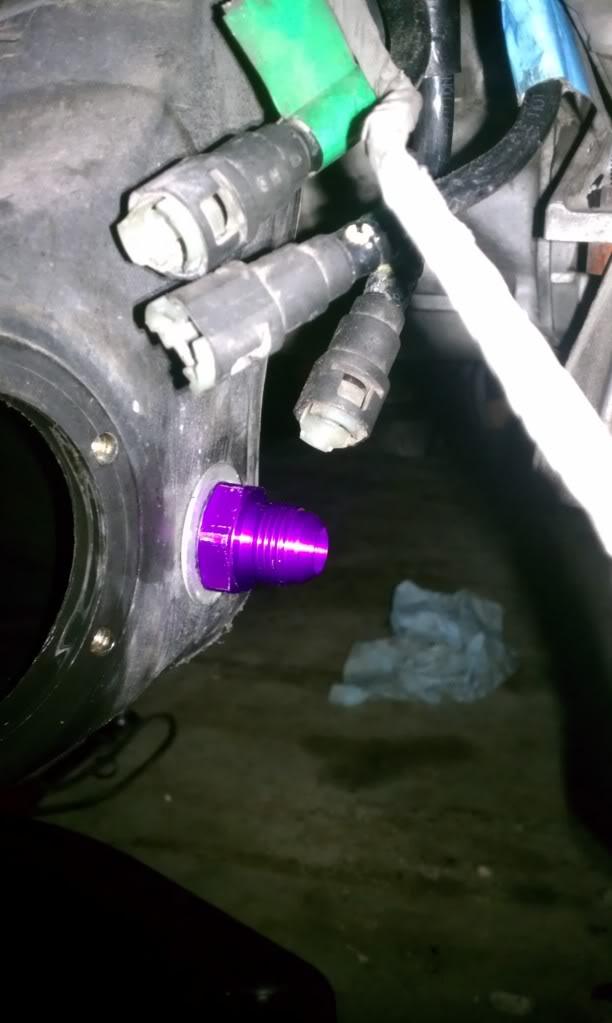
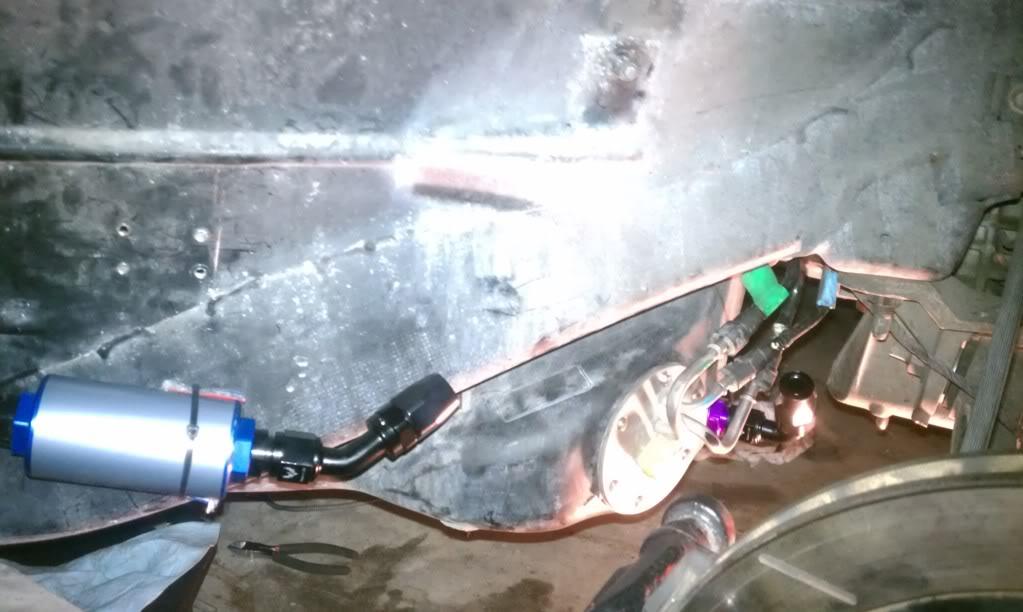
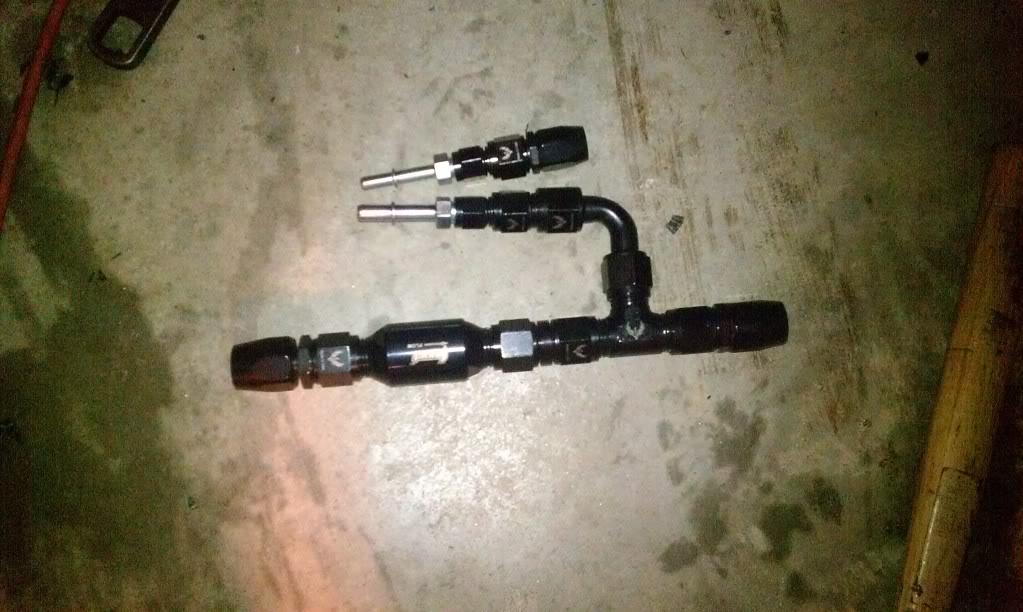
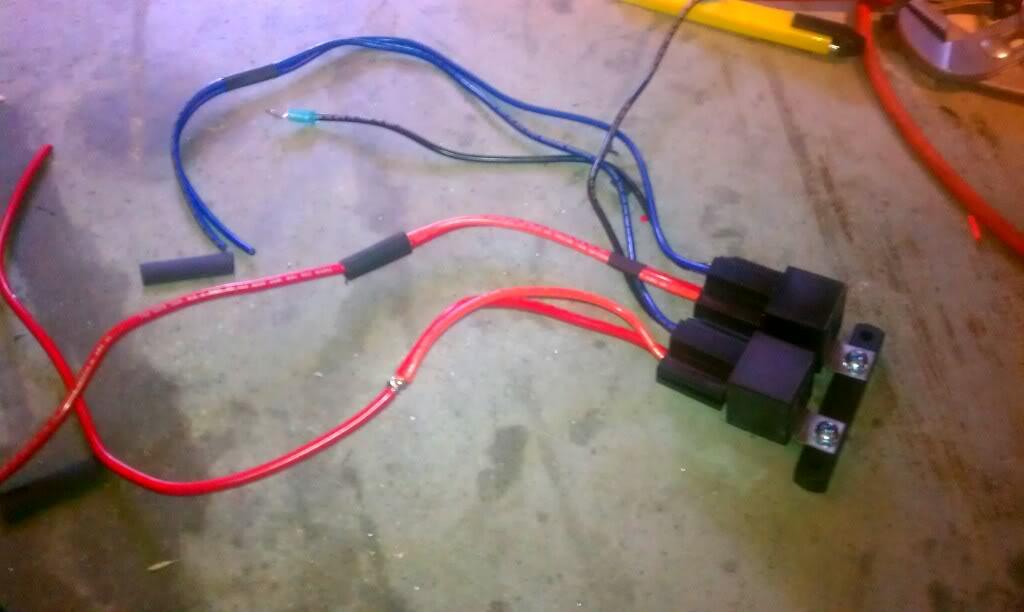
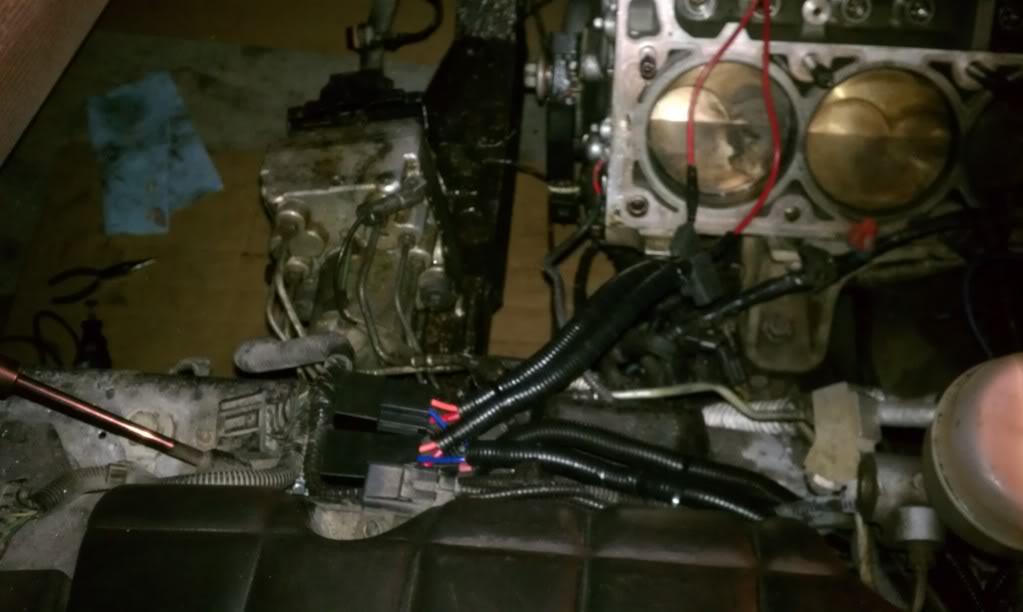
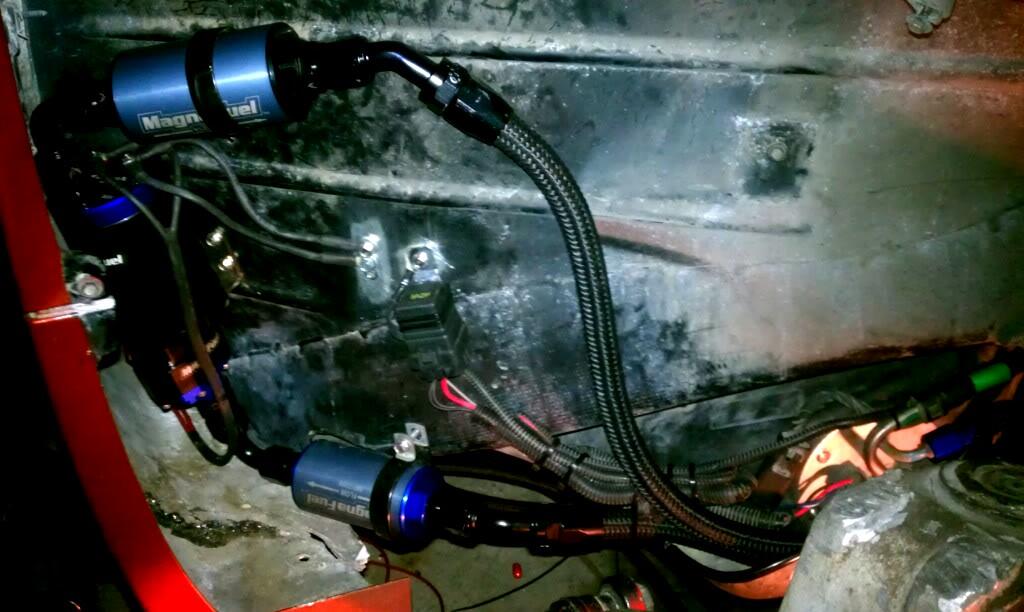
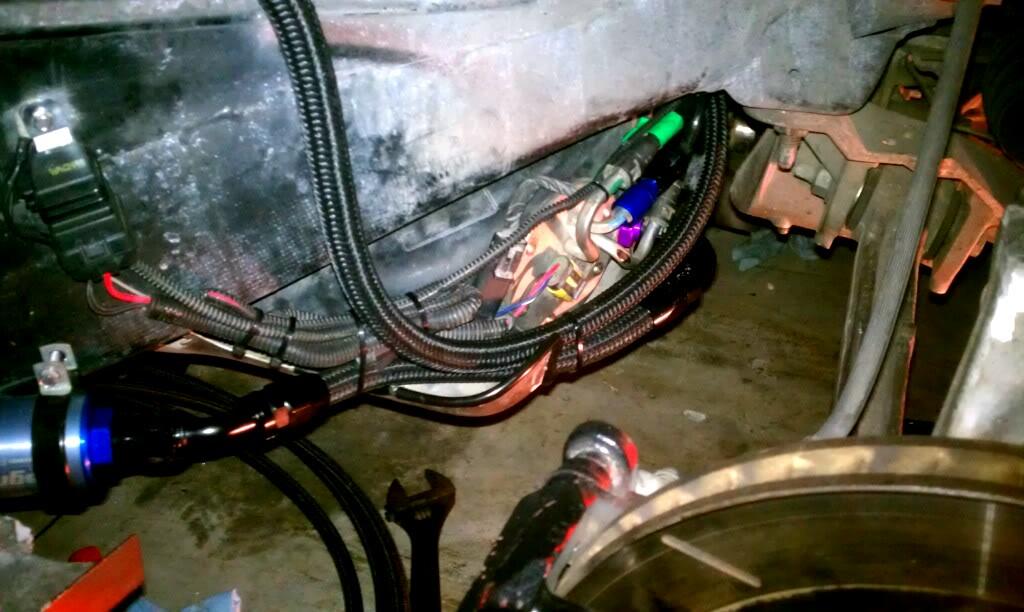
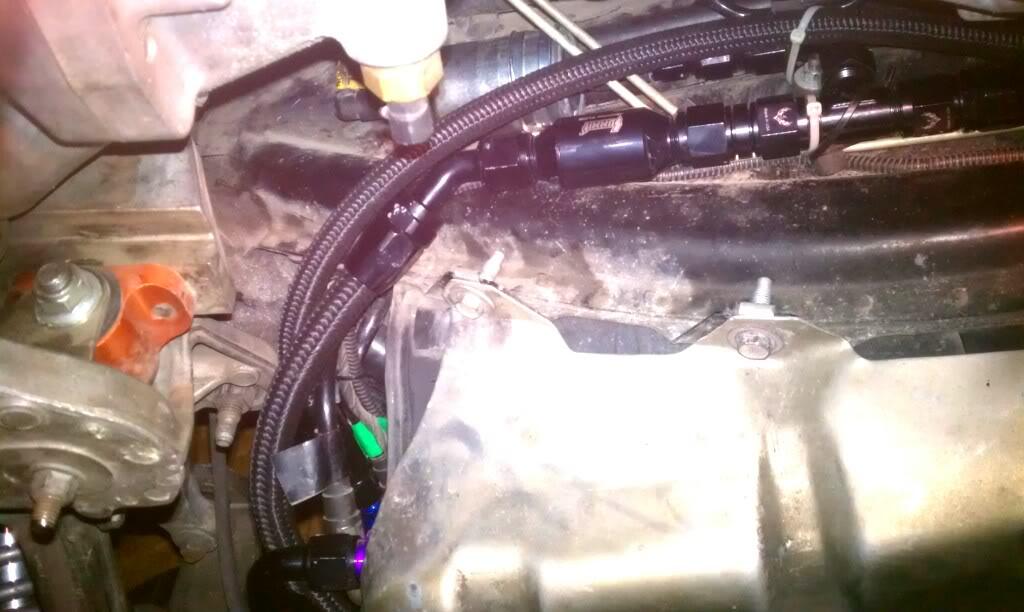
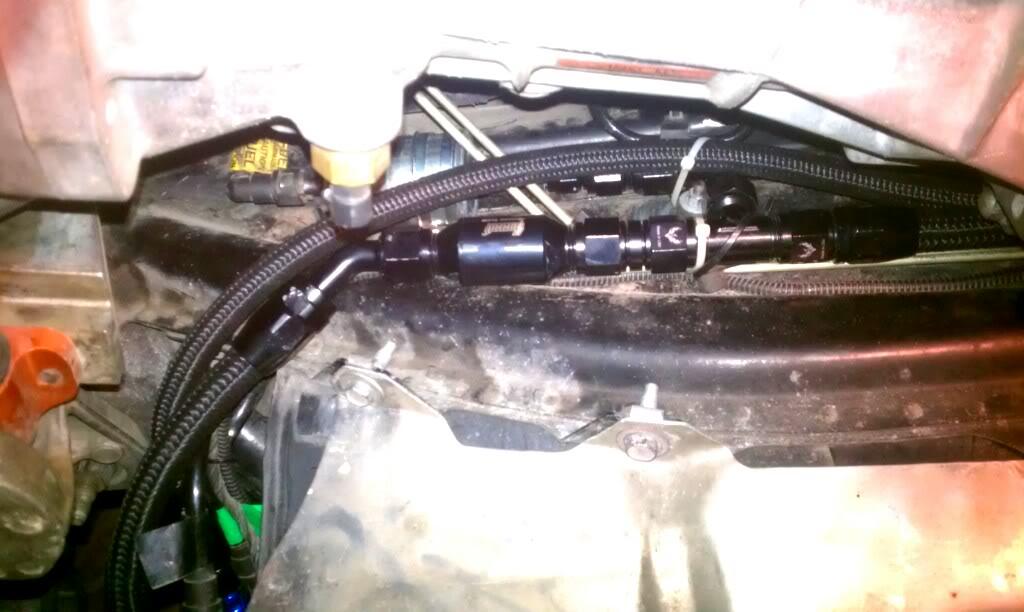
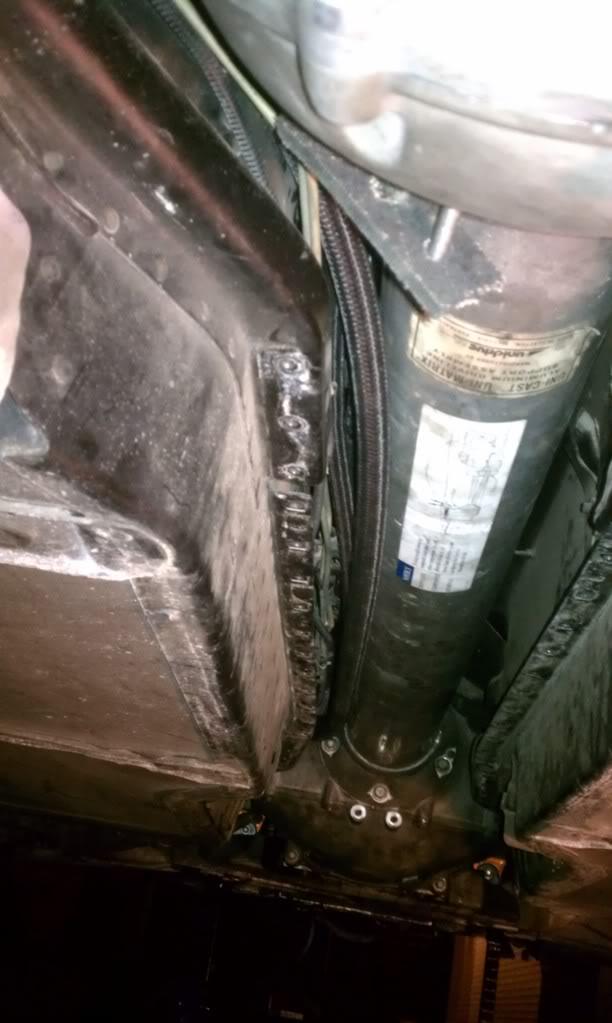
also installed the super super easy RSD line lock. marvelous product! and super easy to install. 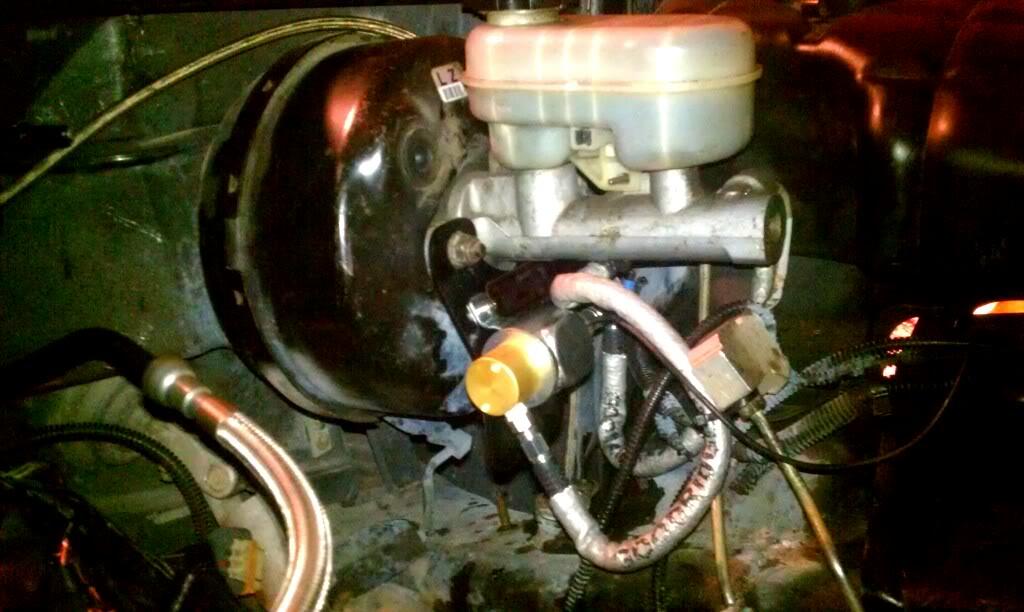
little change to the exhaust system. sold the kooks 1 7/8 and went with ARH 2" primaries. It is proven and i experienced this on my last build that the more u can flow in and out the more efficient the setup. Once you start making big power little changes like this yield worthy results. i expect to lose a little bit of low end which im not worried about in return i will get alot more top end which is basically what im gearing this build for with a powerband from 3500-7000rpm. The pulley combination im running i will be utilizing should dam near be creating boost of idle as my last build so losing a bit down low will overall help with traction and getting the car moving.
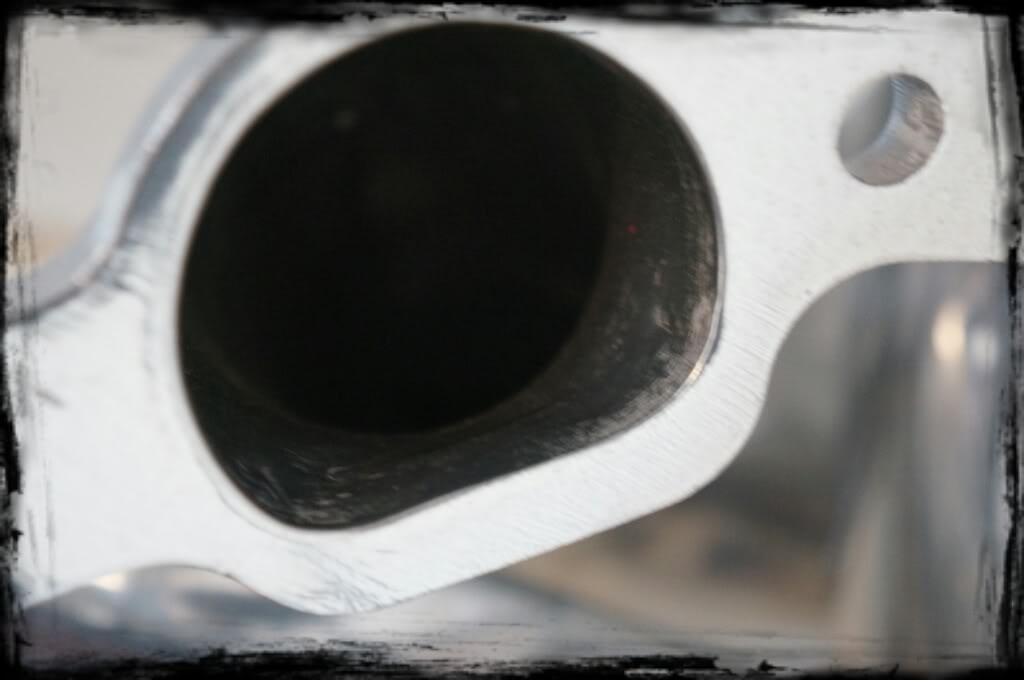
some pic of the headers.. they have been ceramic coated inside and out.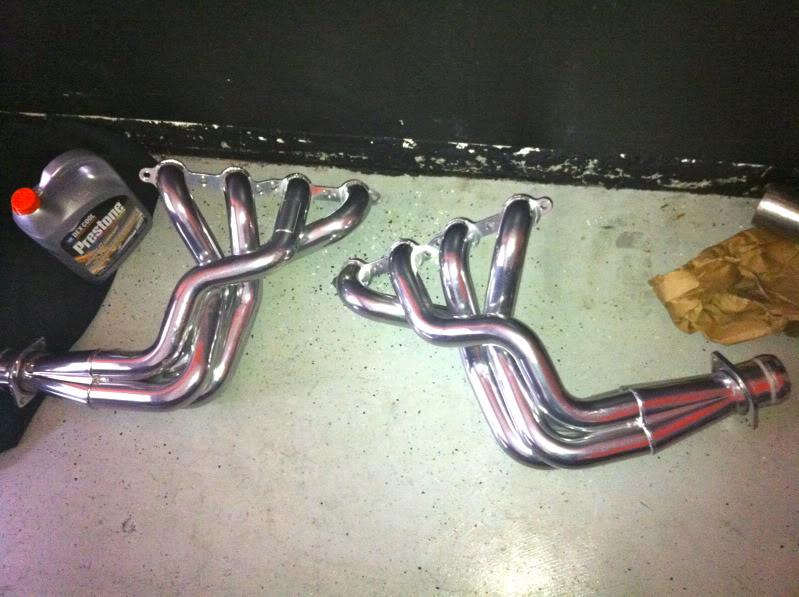
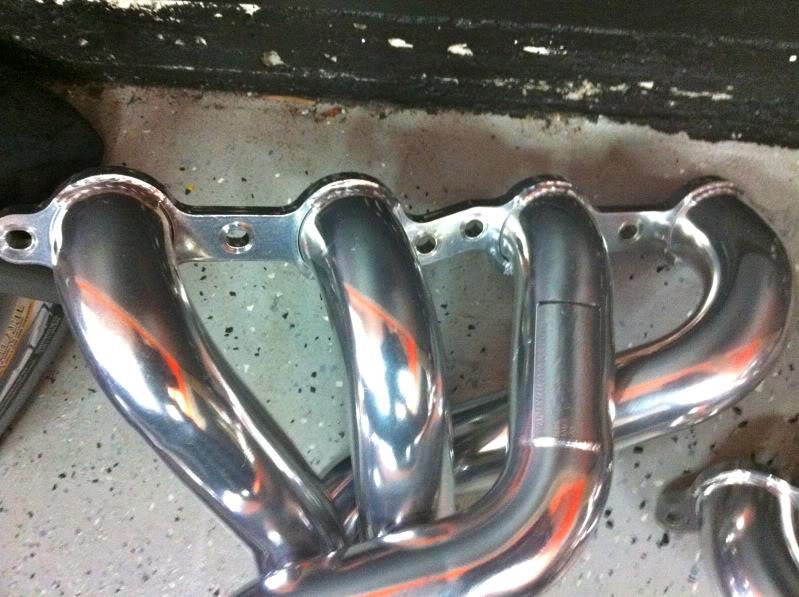
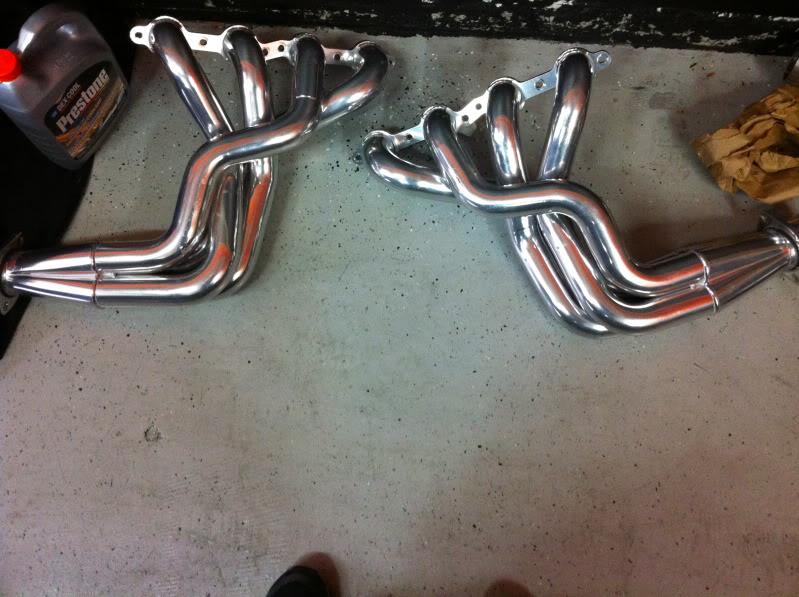
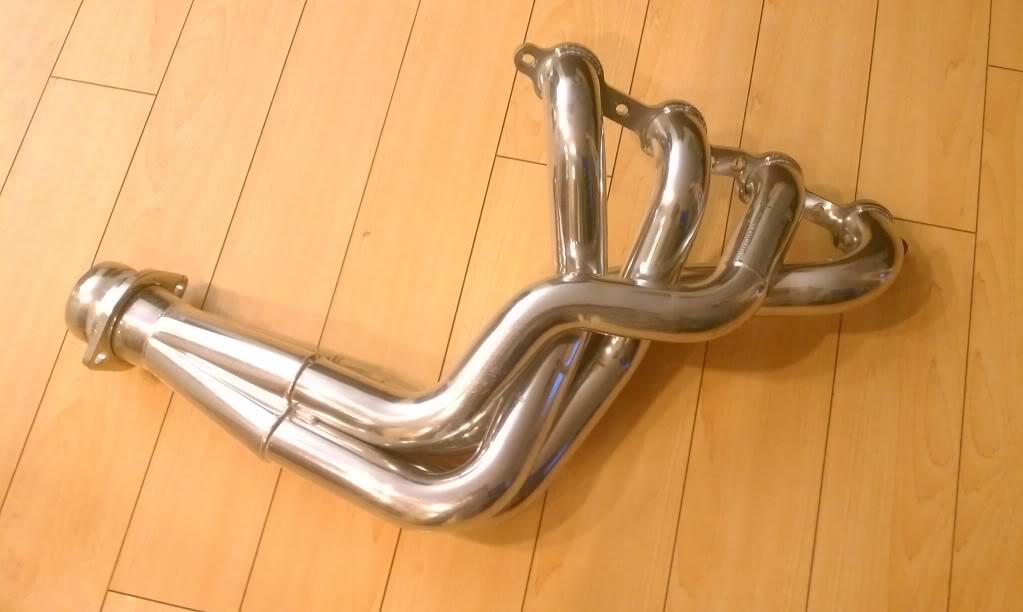
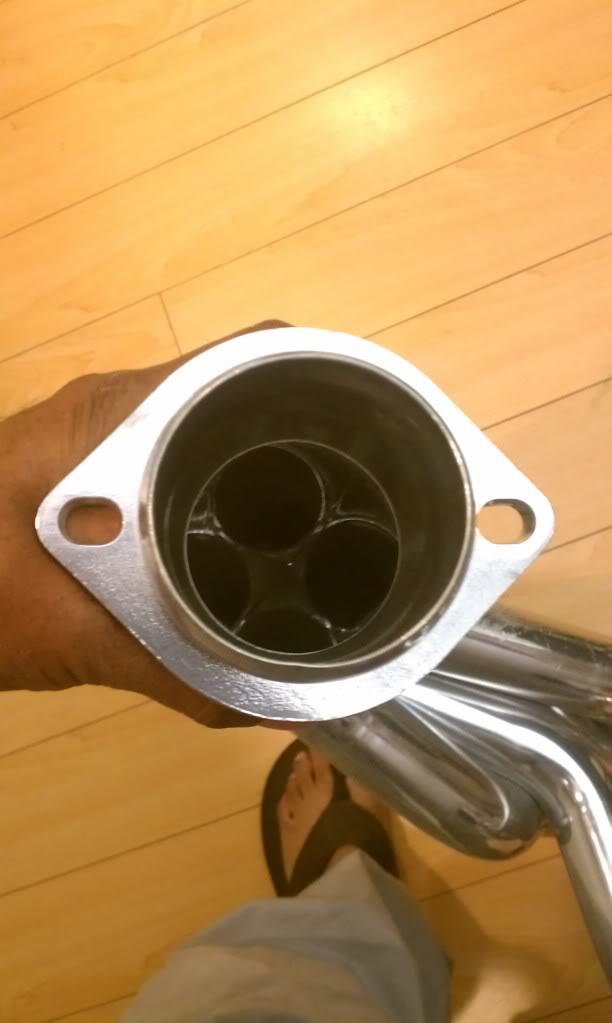
got these but since i am still up in the air with heads i sent them back. but you get the idea on routing etc.
Nasty LS7 Rails look awesome and new billet mounts 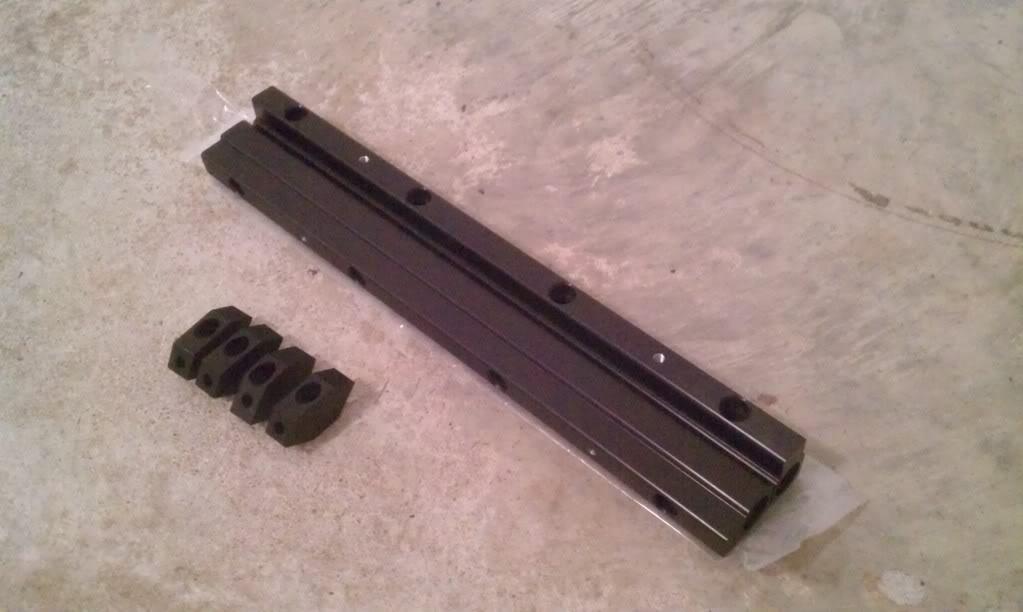
pretty much got it how i want it now im just gonna terminate the lines and secure them down...wish the magnaflow FPR came in black fml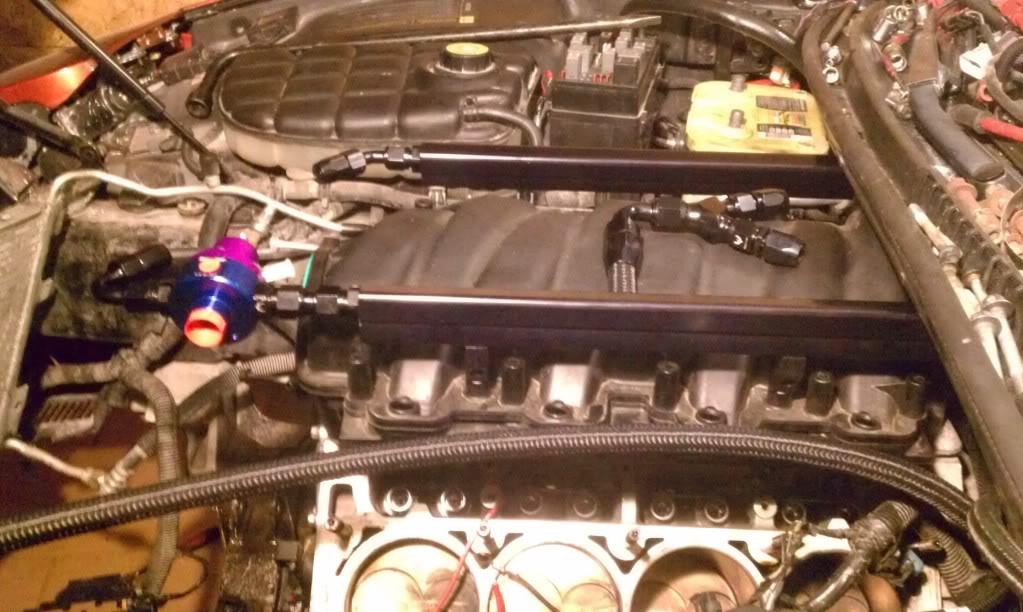
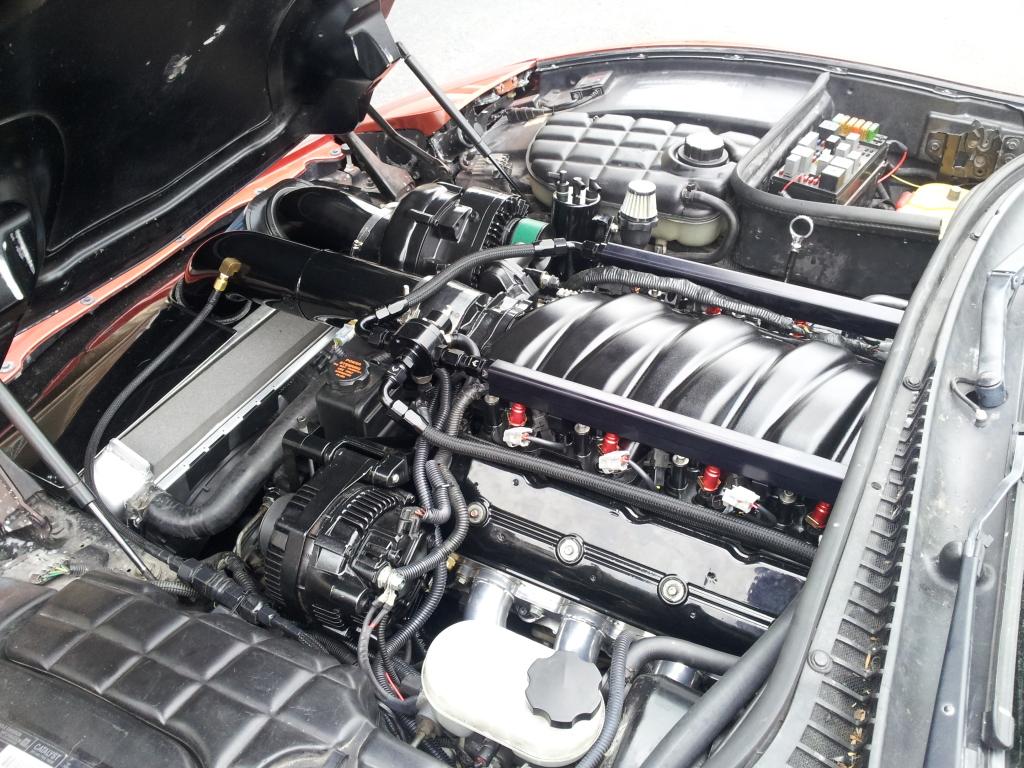
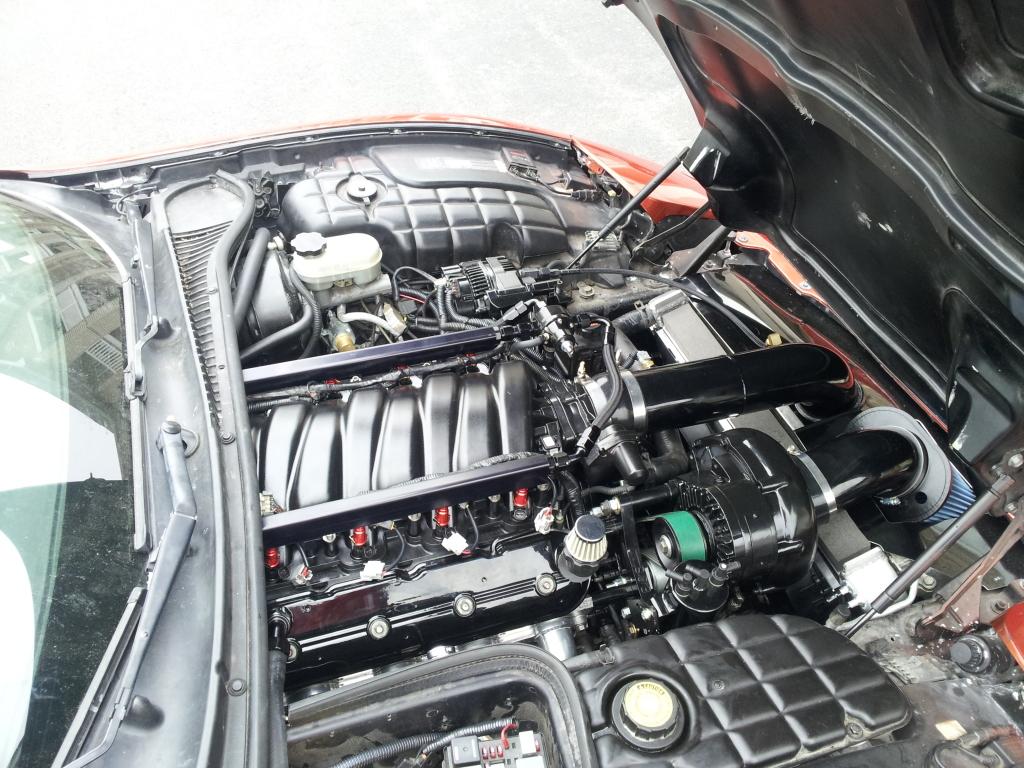
Everything black on black... some sneak peaks at what currently going down!
from this 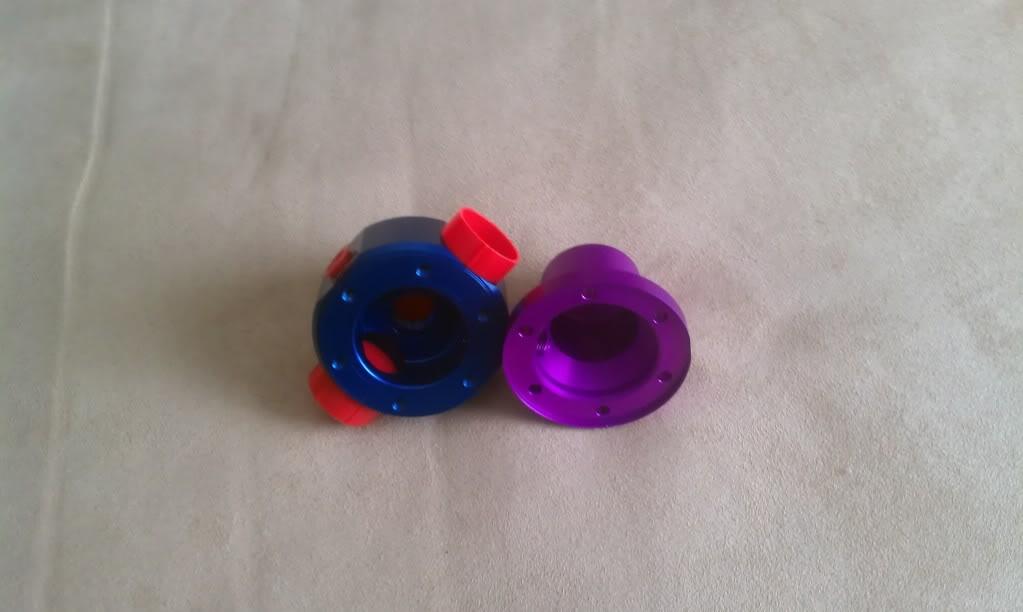
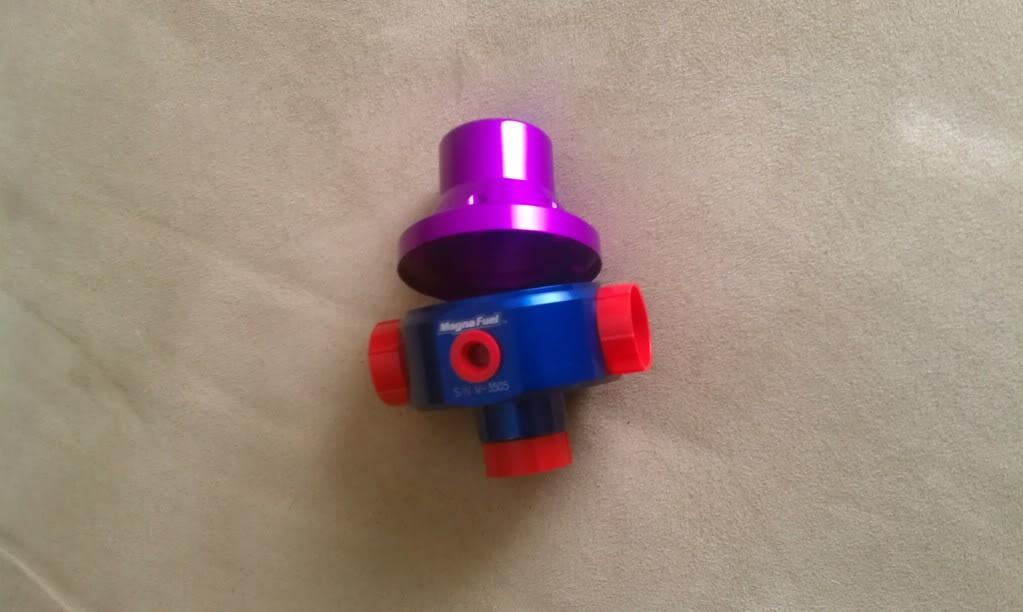
to this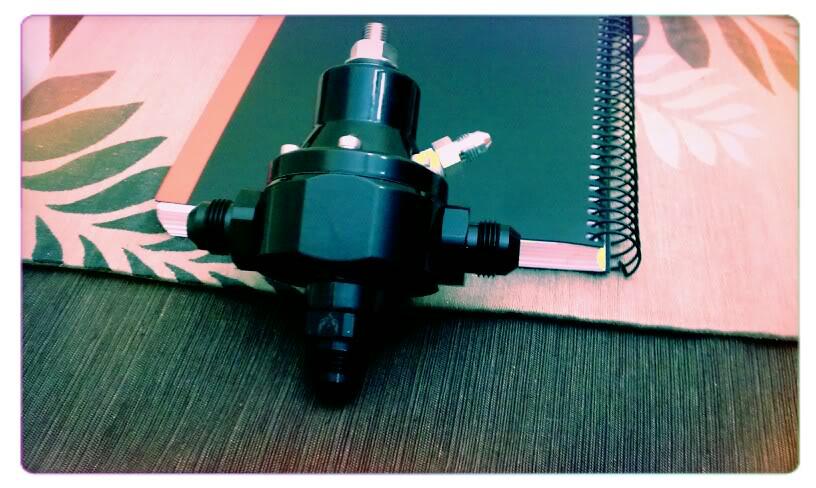
Overall routing of fuel lines and look.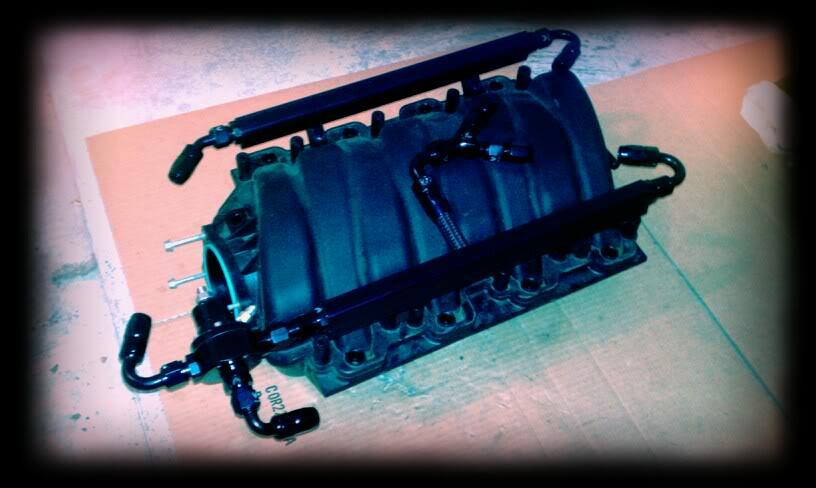
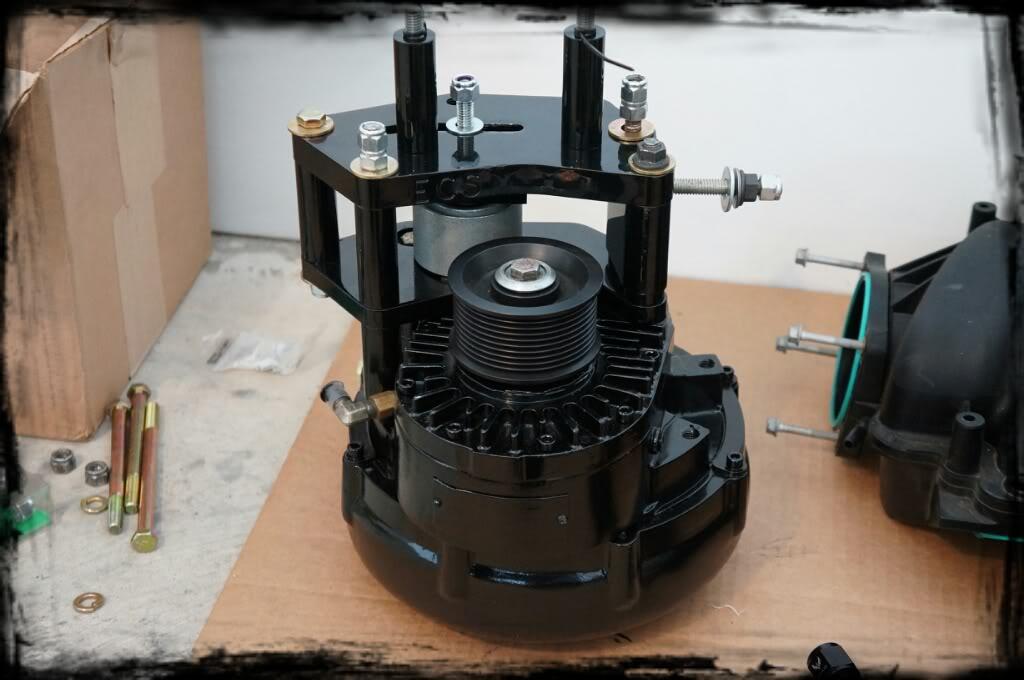
SC and Alt new look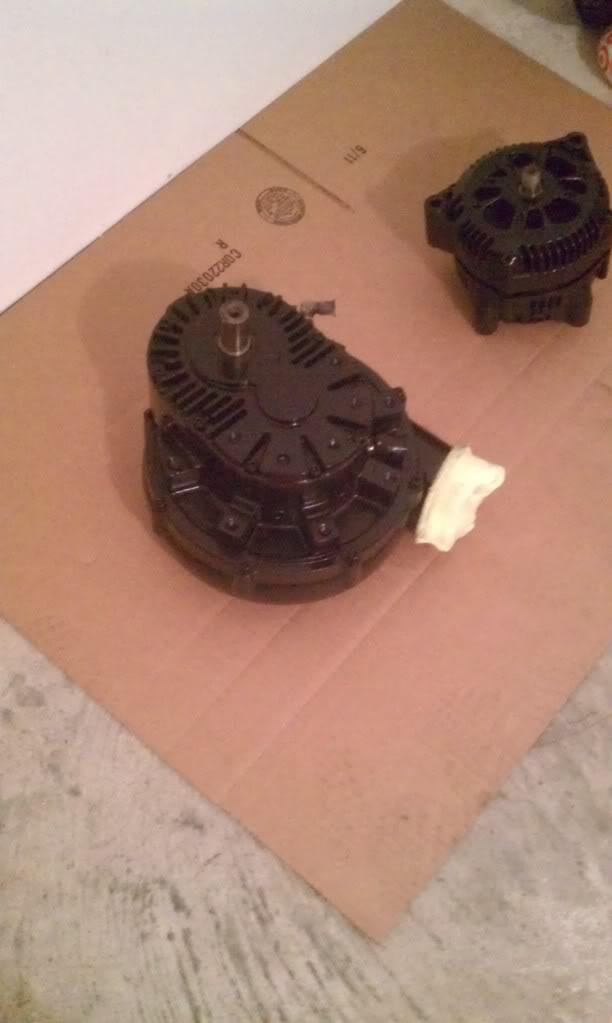
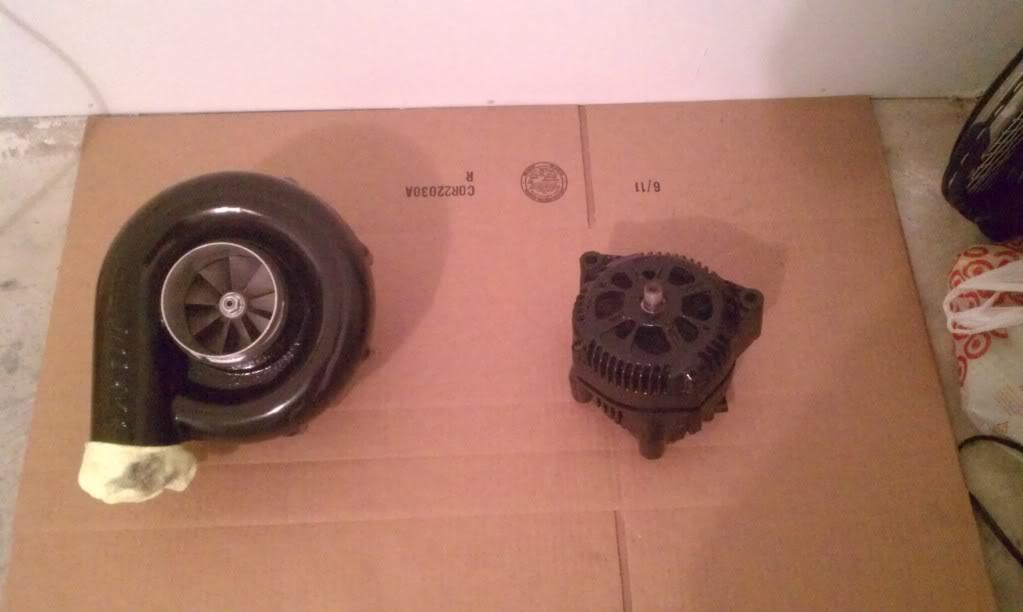
10 rib balancer mmmmm...... yummy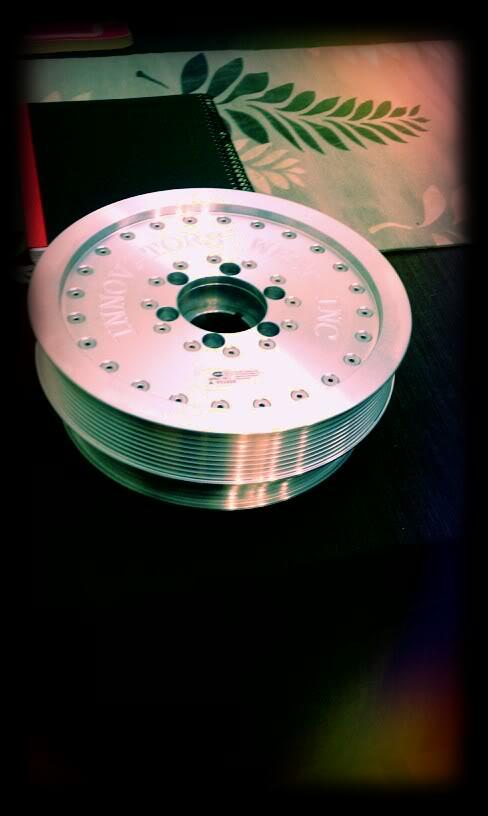
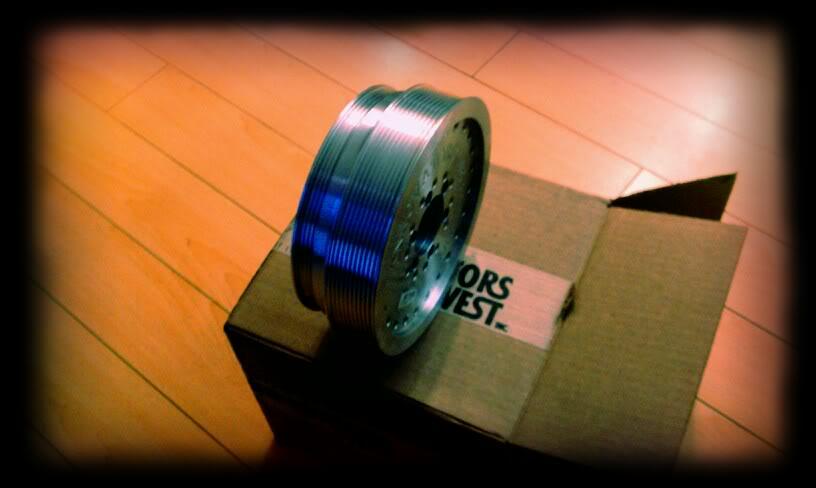
Recieved the remainder of 10 rib Hardcore Kit:
Spacer kit
Very small pulley (almost the size of an idler LOL)
misc. bolts
Oil drain line Saver* (huge huge insurance!)
Green Belt
10 rib double bearing idlers
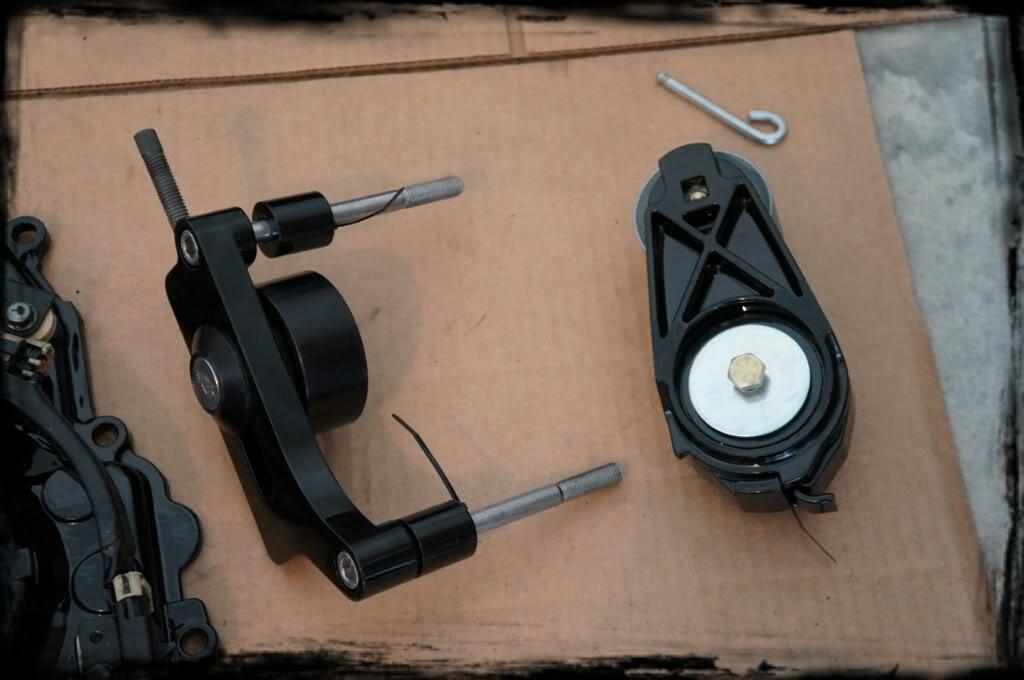
New HD tension (Magnificent piece!)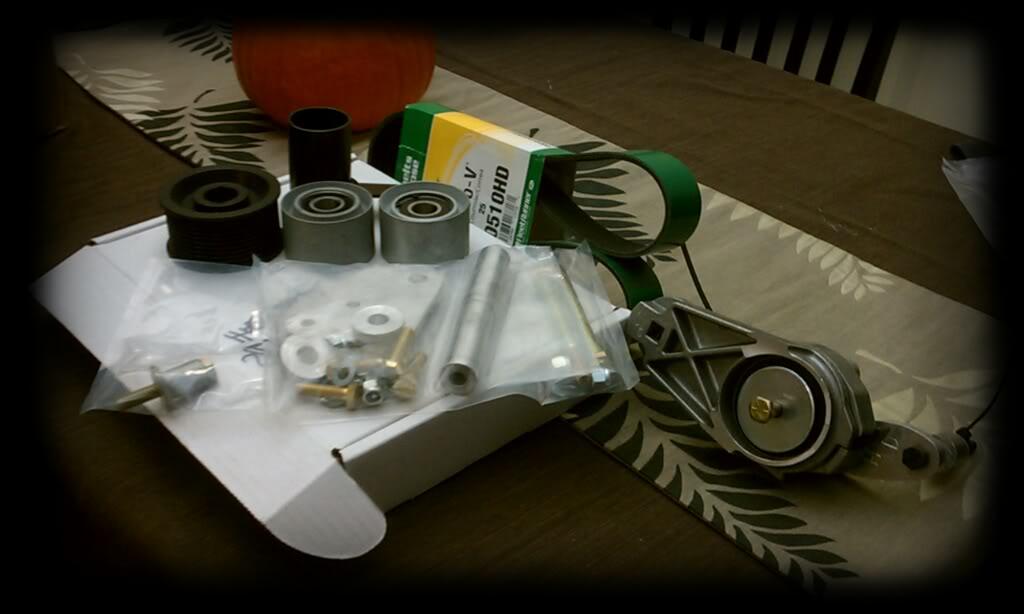
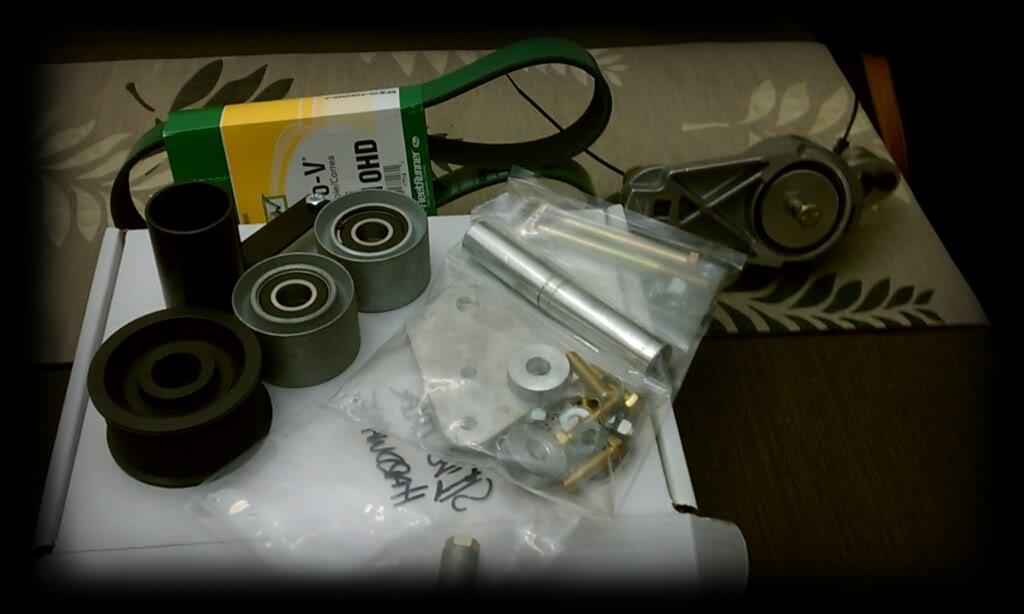
Comparison of old version vs new HD version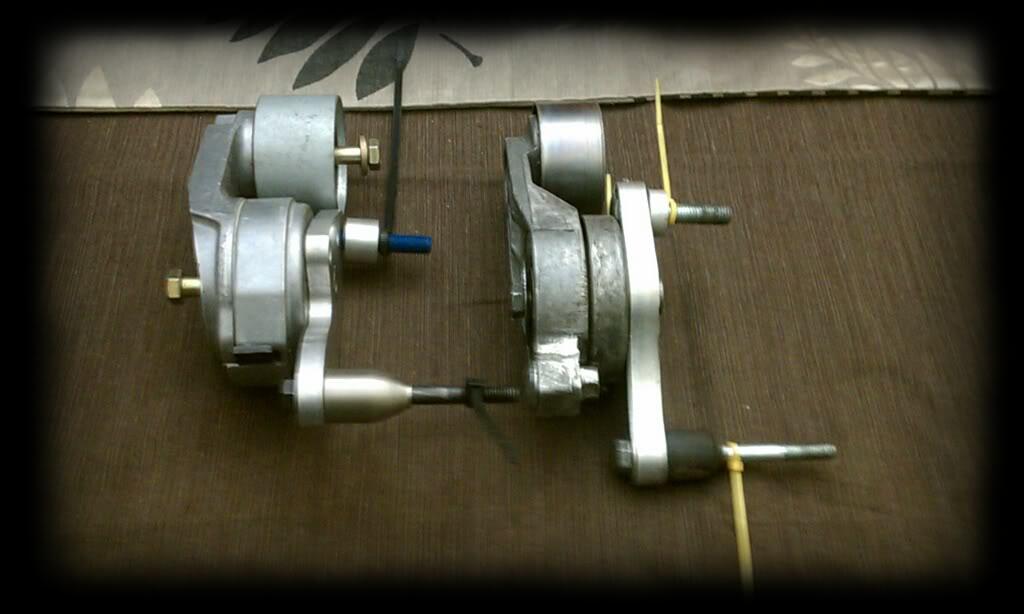
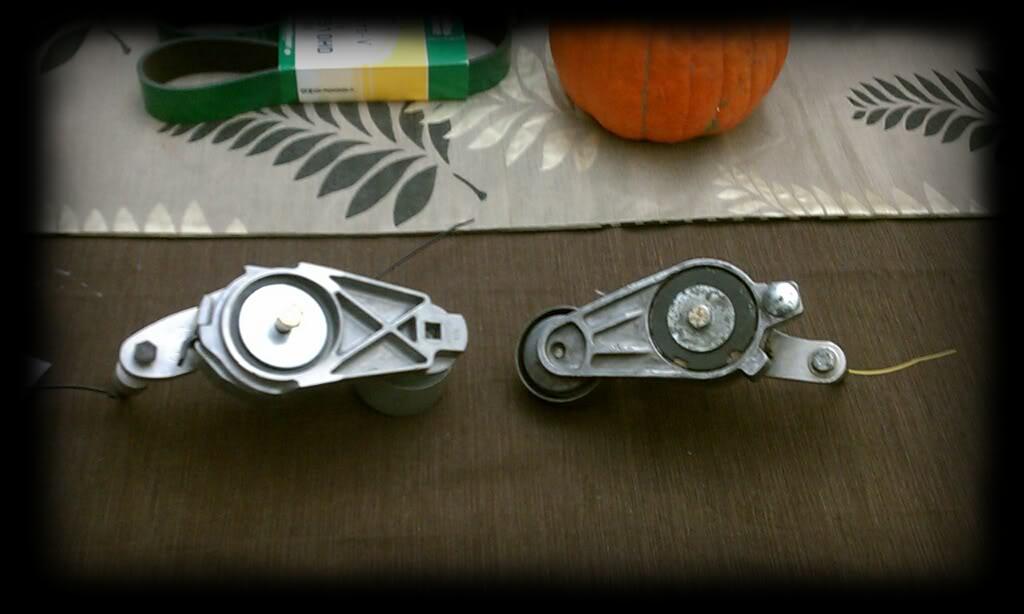
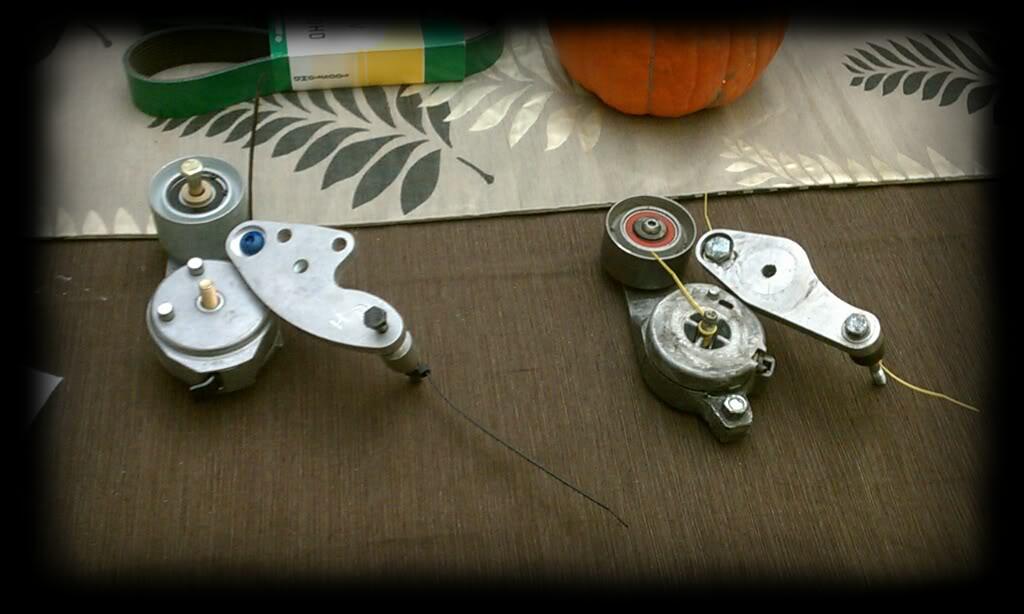
I must say ECS did their homework on these components and overall kit as its very heavy duty ready to do work and take punishment components.
11/6/11
got some work done...
trimmed front of cradle to accomodate piping and coolers, also cut off front of the sterring rack mounts off to make way for the new ECS rack relocation kit.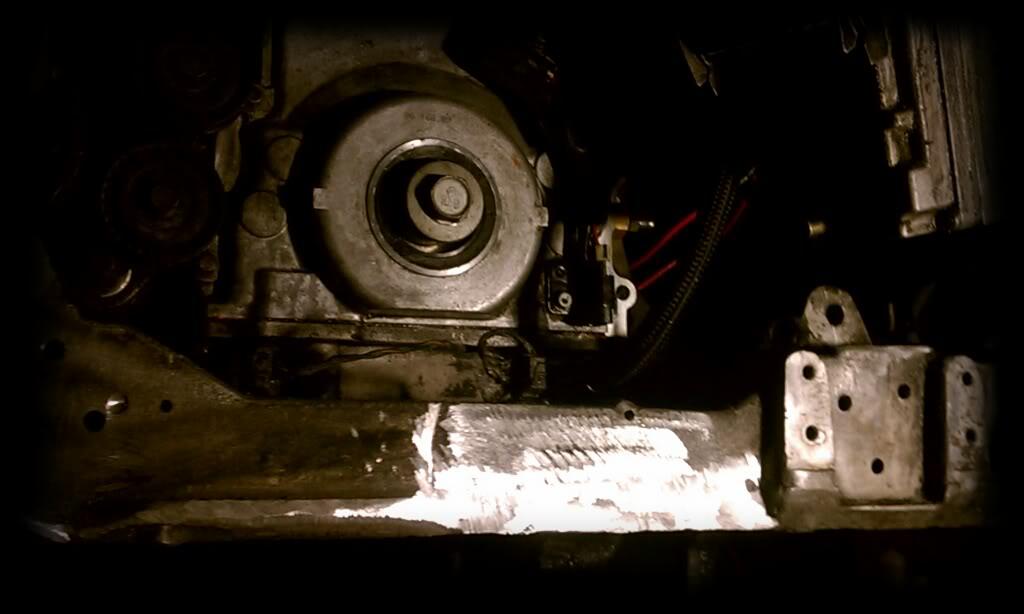
also tap oil pan and also installed ECS's oil drain guard (this product is a must have for any SC owner! cheap insurance, small cost and super easy to install, if you dont have one then you need to pick up the phone and call ECS and get one on the way or... learn the hard way.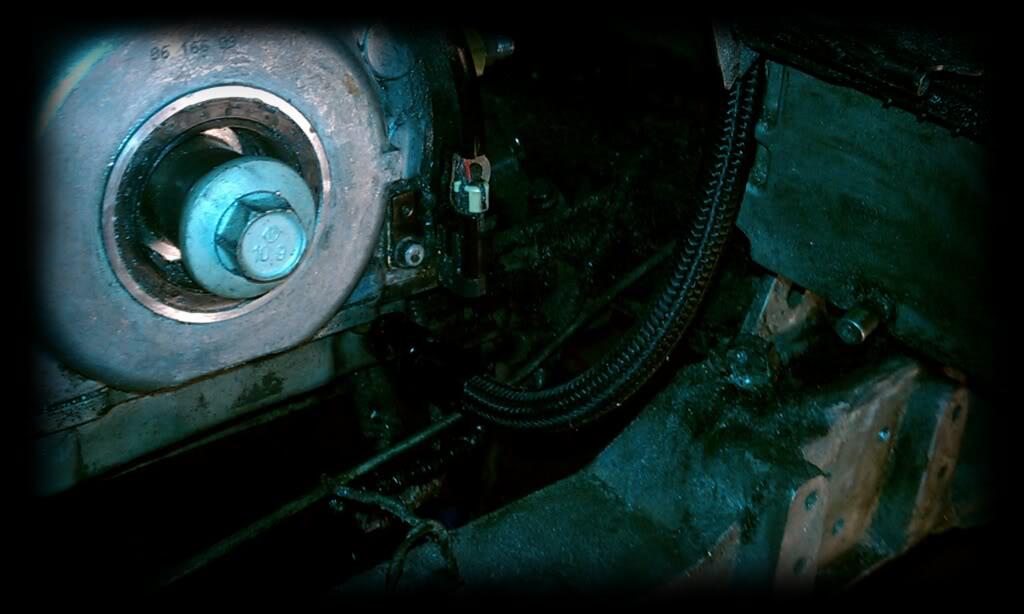
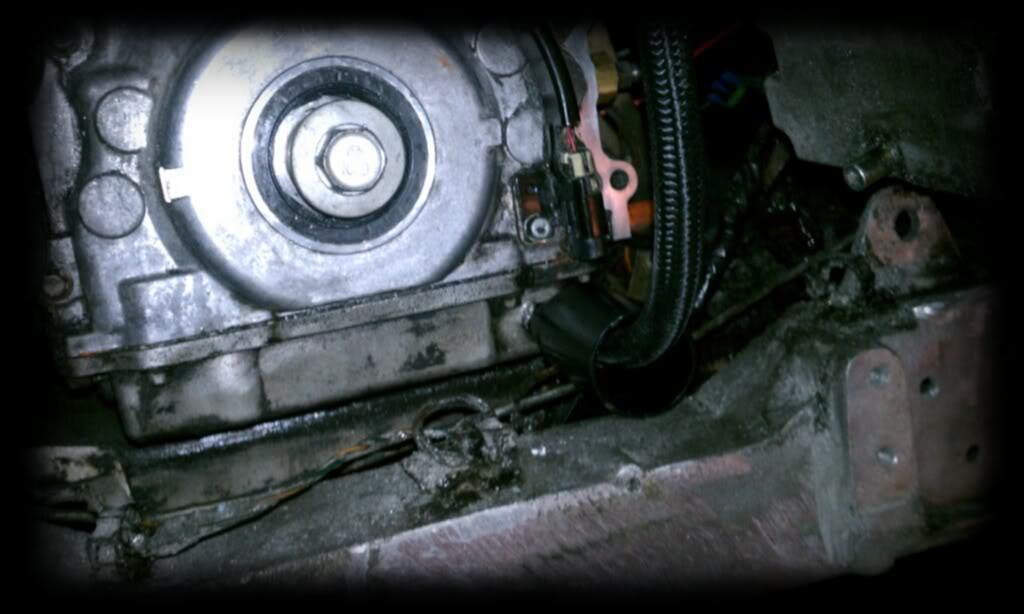
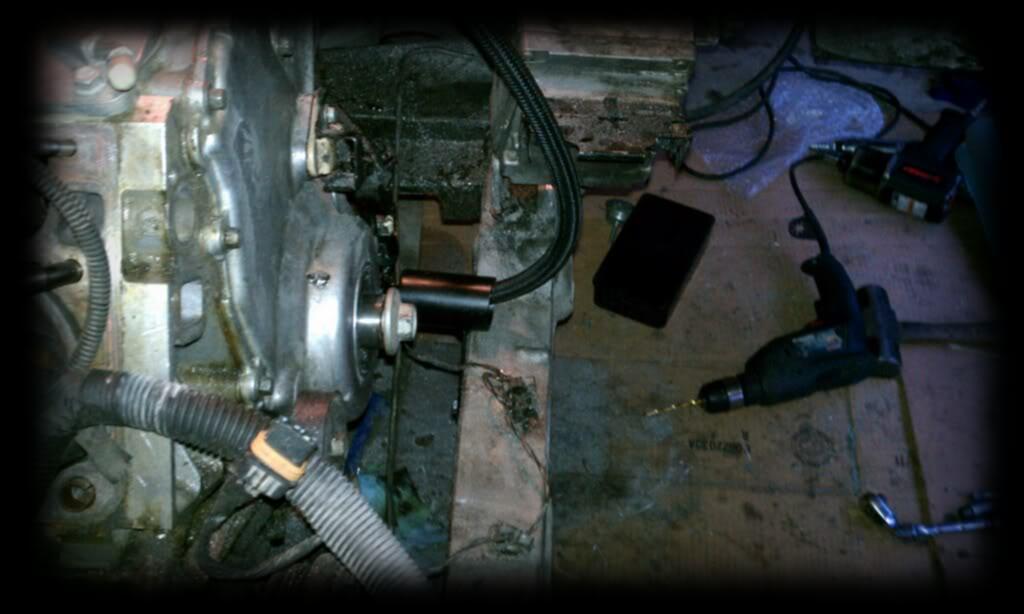
also got all the brackets and spacers etc..pretty much everything visible to the eye is powder coated! (ecs bracket kit, novi, flip drive system, ps/alt bracket)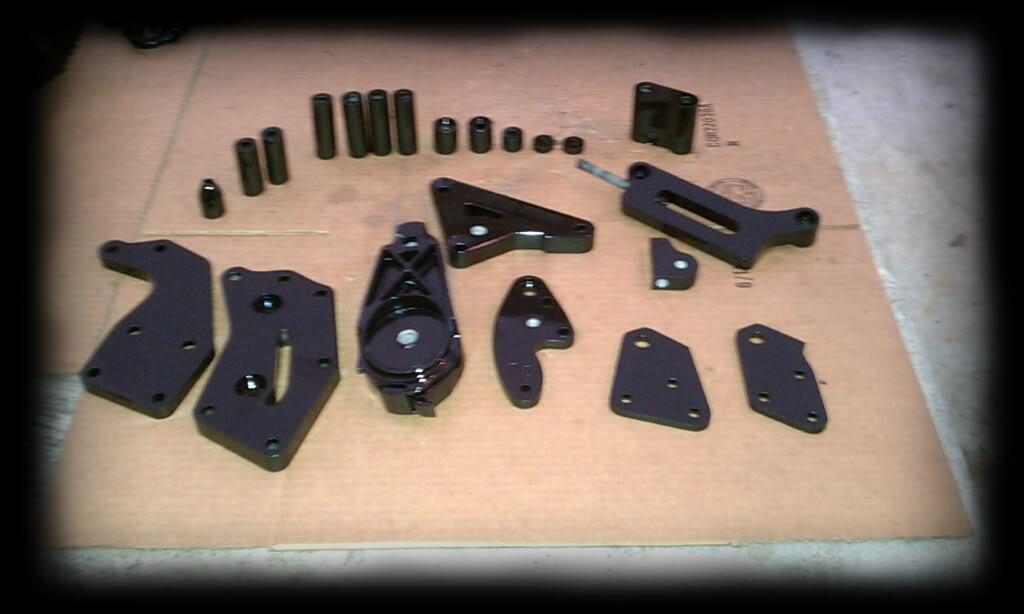
11/7/11
wish it came like this from factory lol but its not for everybody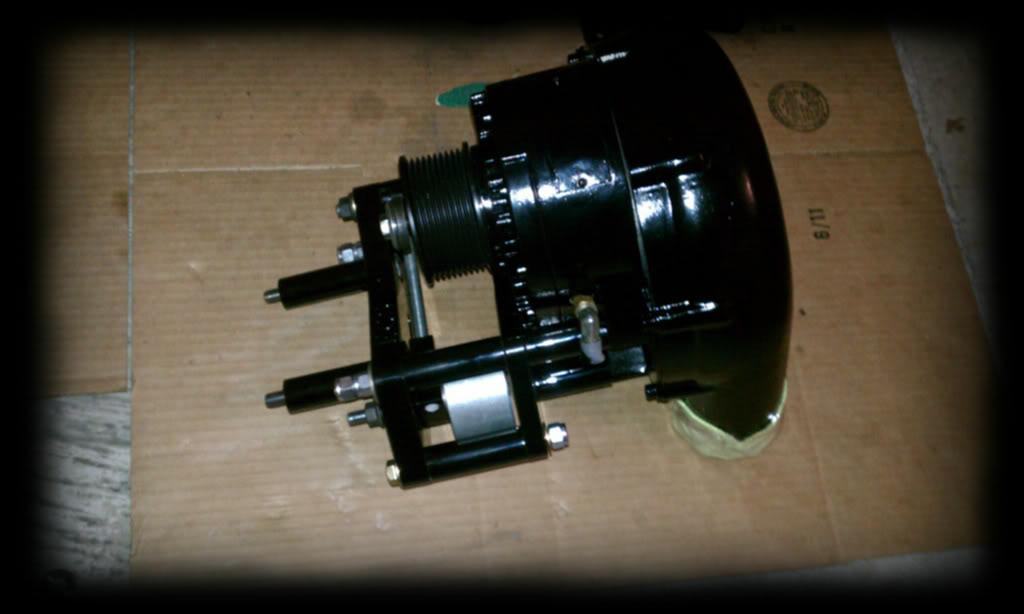
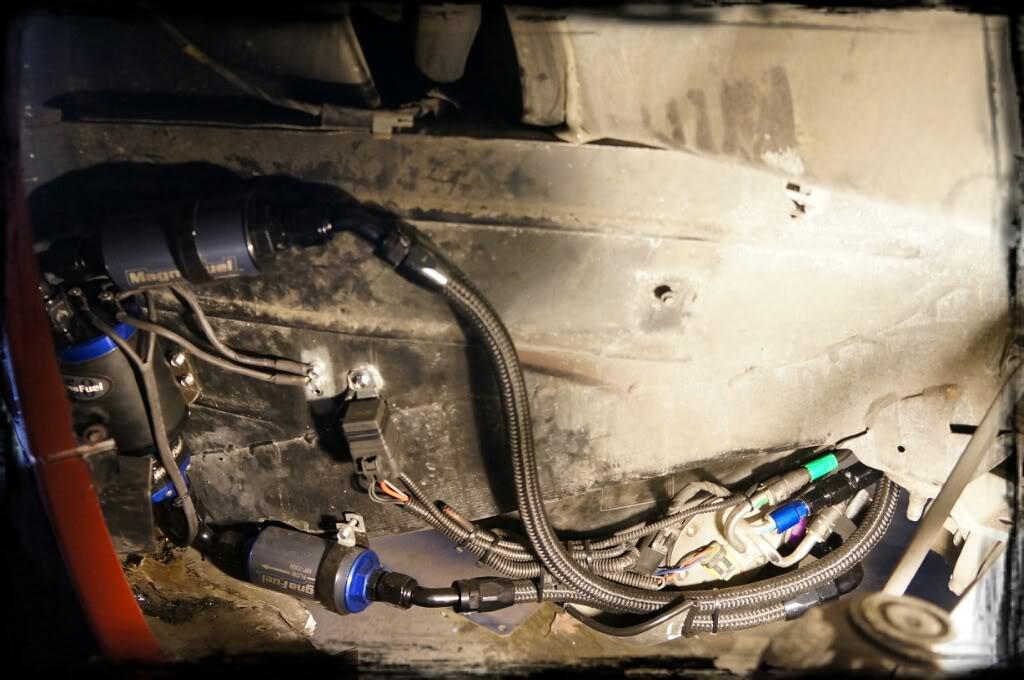
Fuel
Custom Scorch fuel system (good for 1500hp on E85)
Intank 400lph Walbro fuel pump
External Magnafuel 4303 fuel pump
Magnafuel MP-9950-B FPR
Magnafuel pre and post filter
Nasty Billet fuel rails
FIC 2000 injectors
Check valve
Dual relay #10 line(x2)
-10an feed, -8an return
All the fittings and e85 compatible lines are black!
these are 2 different systems in parallel. there is an intank walbro 400 pump that will run the car on e85/e98 during normal driving and the external magnafuel will kick in under boost through redudant dual hobbs switches or bypass switch inside the car. regardless this car will be ingesting e85 or e98 which has a lot higher boiling temp and is a pretty cold fuel to begin with. but the big pump wont be running long enough to create an issue. hope i explained that clearly
11/16/11
Slow but progress nonetheless!
Was going back and forth with Texas speed about their new LS7 heads and looks like those are the ones I'll be going with after all! Thanks Aaron!
So far Cam is out, and I have begun to clean the whole block, pistons etc. I also finished the rack relocation, installed the tensioner bracket (located on ac pulleys) and lower Flip drive bracket. 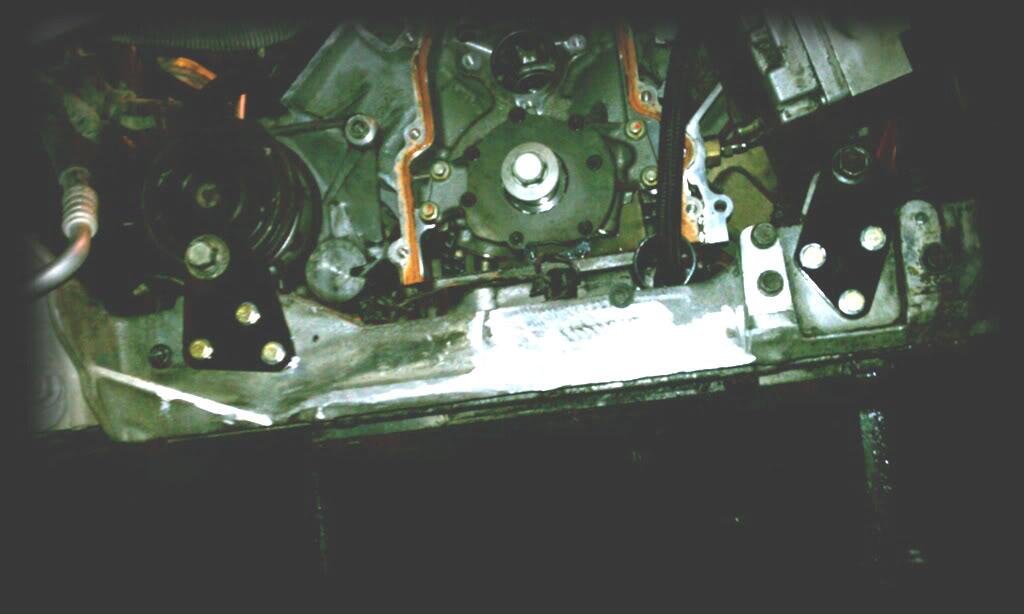
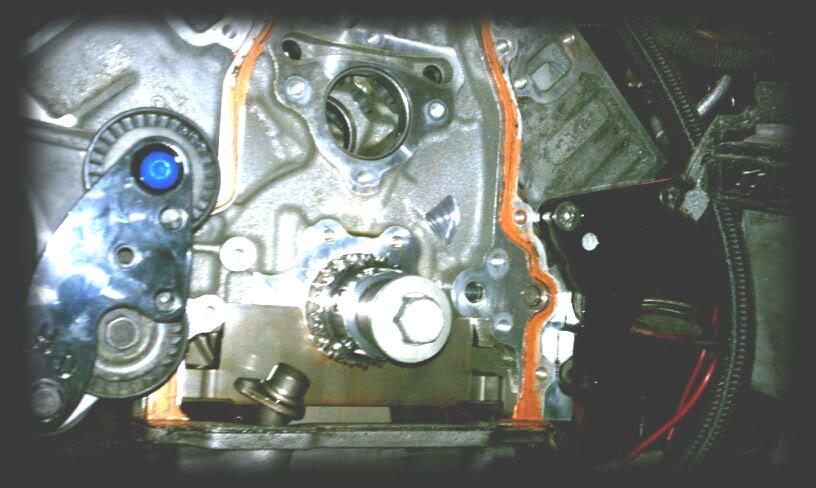
Also got the Front Cam Cover and Alt/PS bracket back and they look awesome! 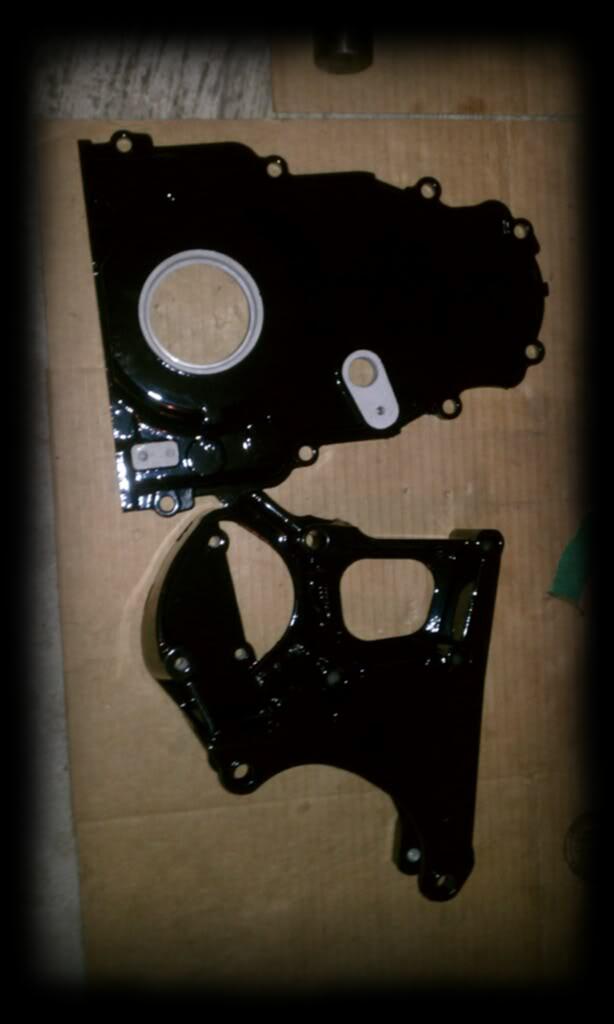
Procharger race valve is in. Next thing on the list is Cam and ALKY Meth Kit. Should have more updates by the weekend.
11/18/11
I finally got the chance to get some way better pics of the progress and actual parts.
Now that the head choice has been finalized here are the details on these new TSP PRC 265cc LS7 heads specifically made for the 416-418ci guys
chamber size - 70cc
runner size - 265cc
Valve size:
Intake - 2.200" Titanium Valves
Exhaust - 1.610" SS Valves
Springs - PRC .700 lift
compression will be around 10:8 - 11:1. Will be using E85 with Alky Meth kit
Flow Data: @ 4.125" Bore Plate Superflow 600 (i have 4.080 bore)
Intake/Exhaust
.200 - 169/119
.300 - 248/179
.400 - 308/211
.500 - 351/224
.600 - 383/235
.650 - 388/241
.700 - 393/246
Current status of everything is:
-Still waiting on Alky kit
-Procharger Race valve is in
-Texas Speed 265cc LS7 heads currently being built
-Arun Spec'ing one of his awesome cams custom for my setup
I will have more pics tommorow of all the piping fab work to be done before they go off to powdercoating. Also Aaron over at Texas Speed will be sending me progress pics of the Brand New released head for your viewing pleasure as they are being built!
Rack relocation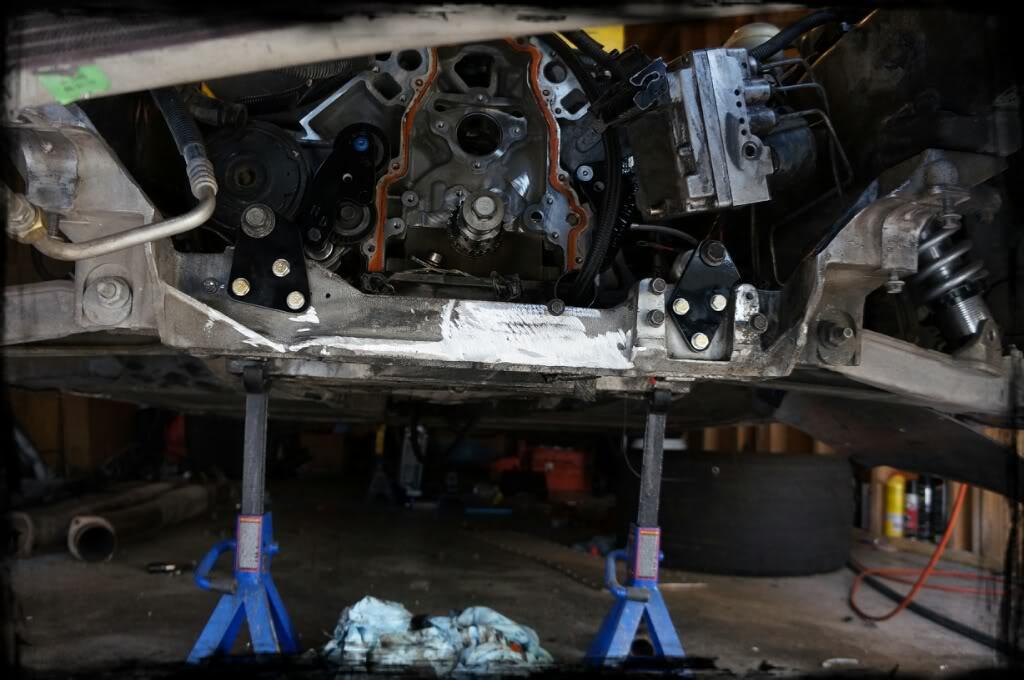
A closer pic of the how its setup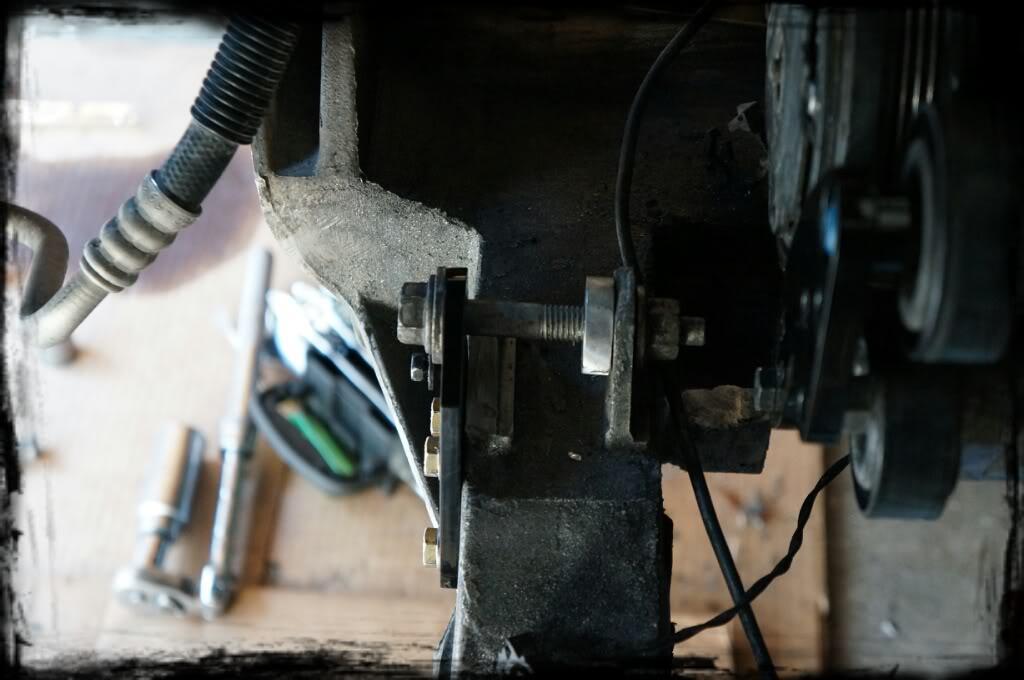
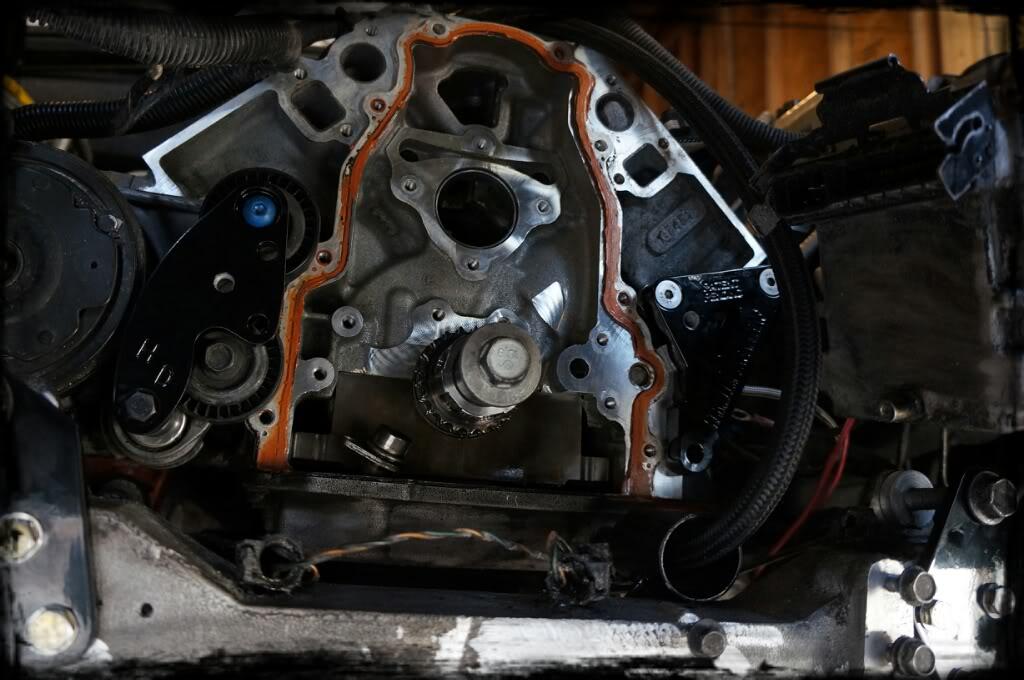
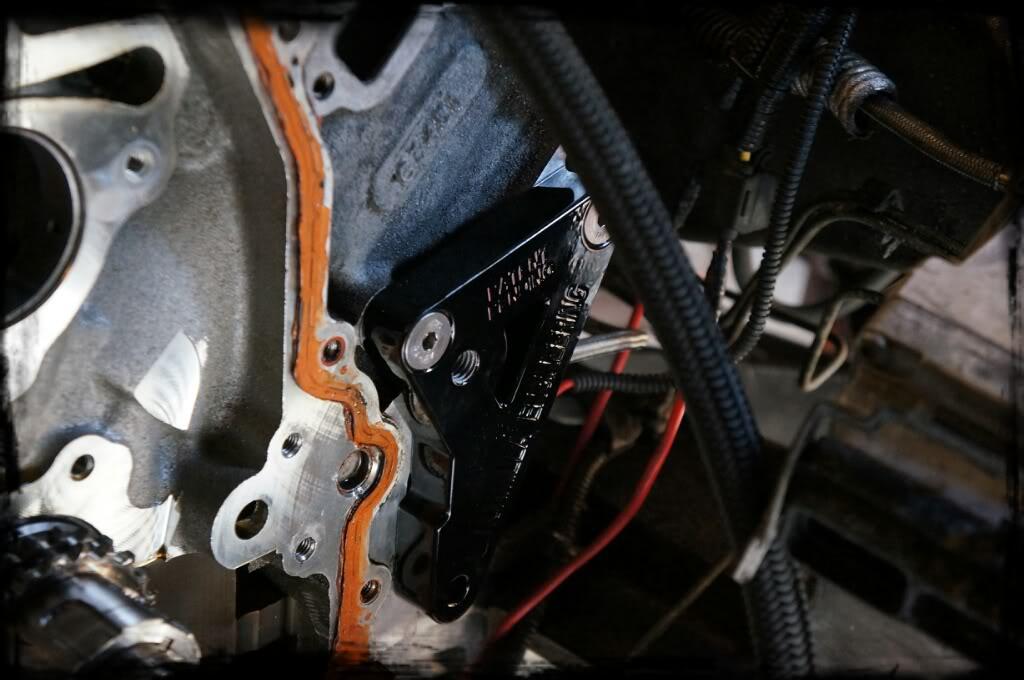
ECS did a great job when re-engineering their HD tensioner and bracket.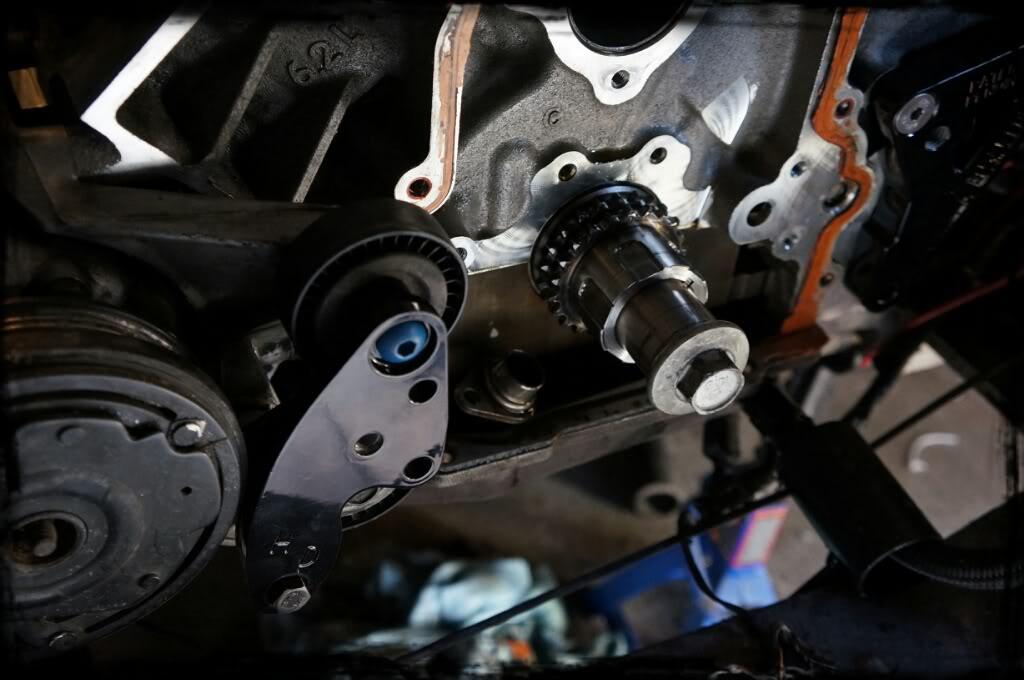
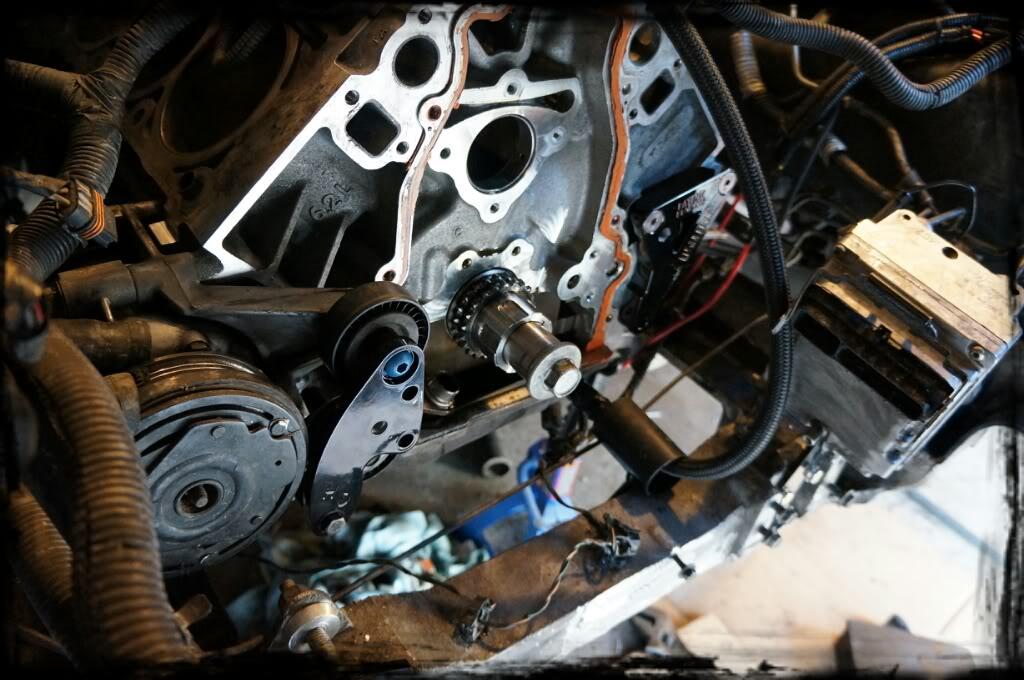
FLip drive bracket sitting lonely for now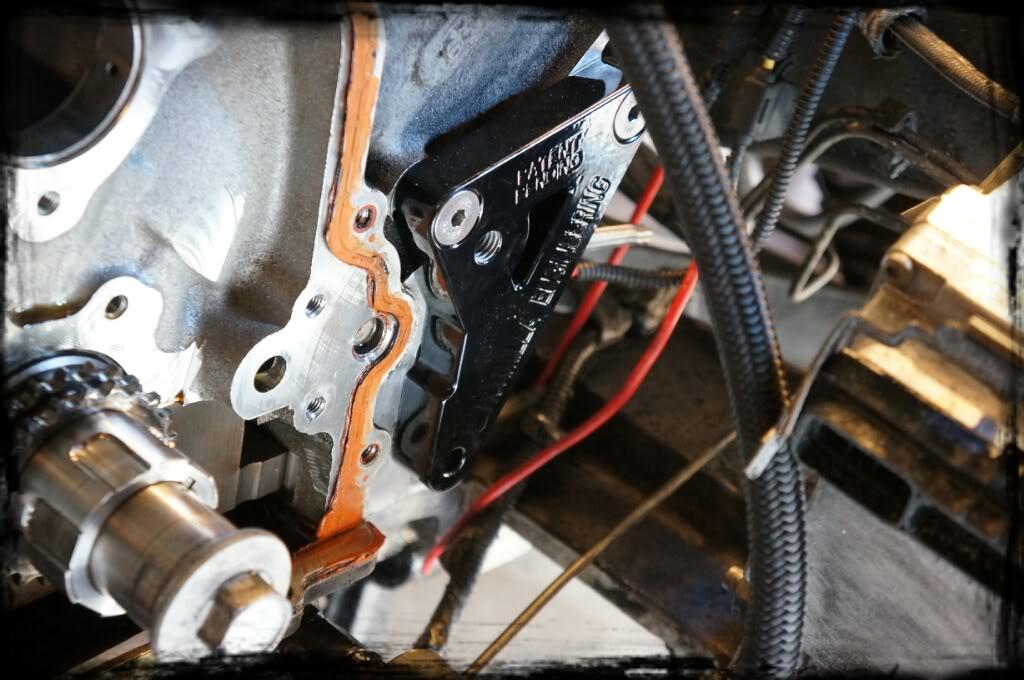
PBM(morel) link bar lifters!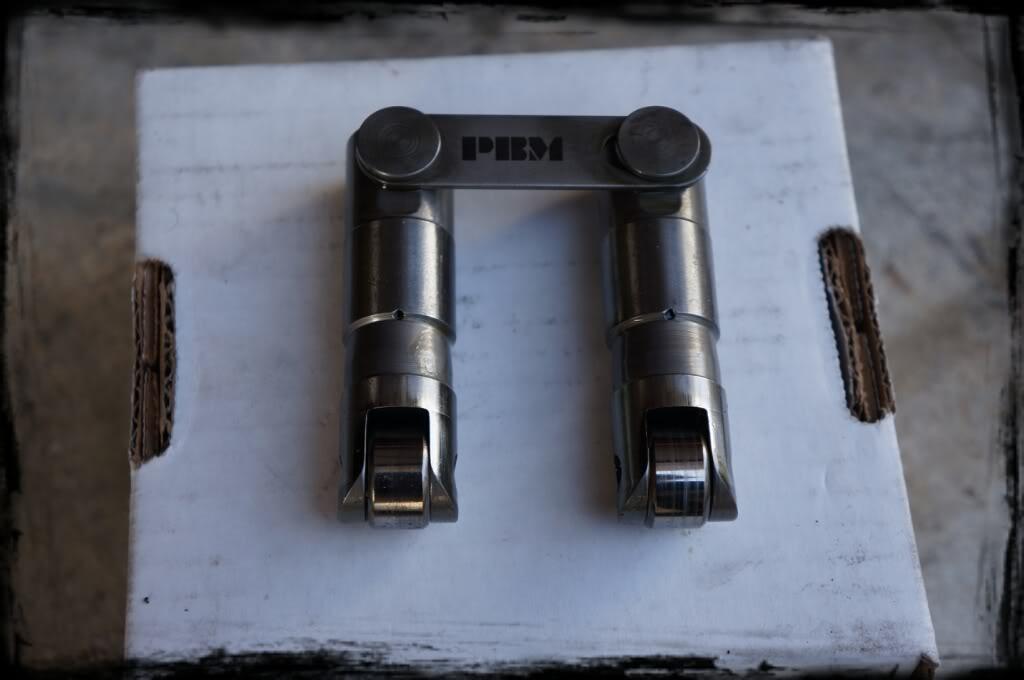
Fuel system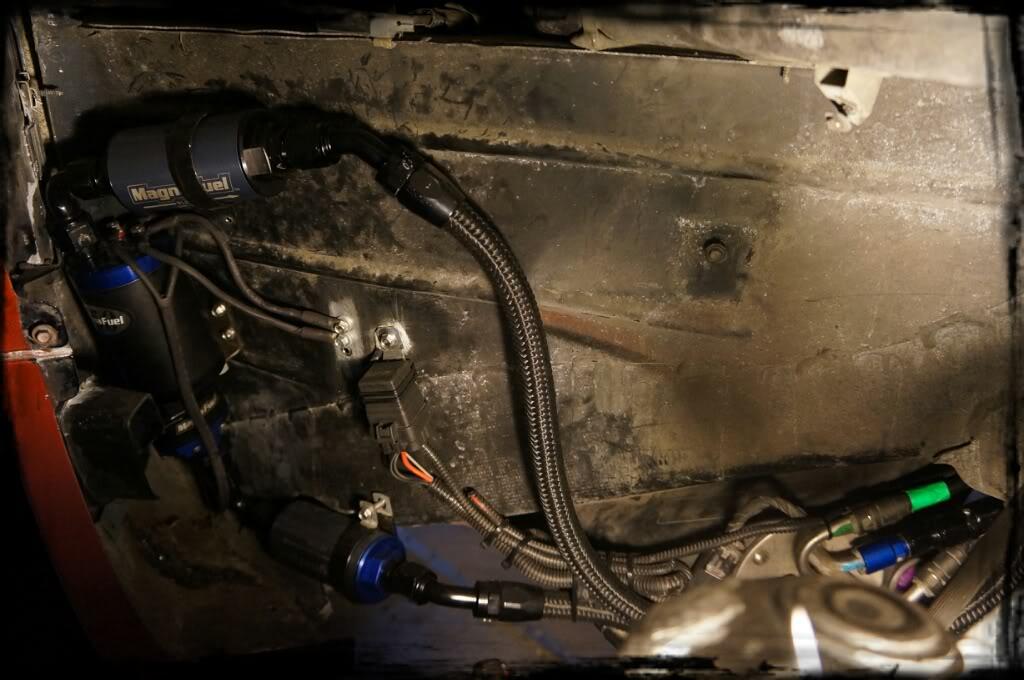
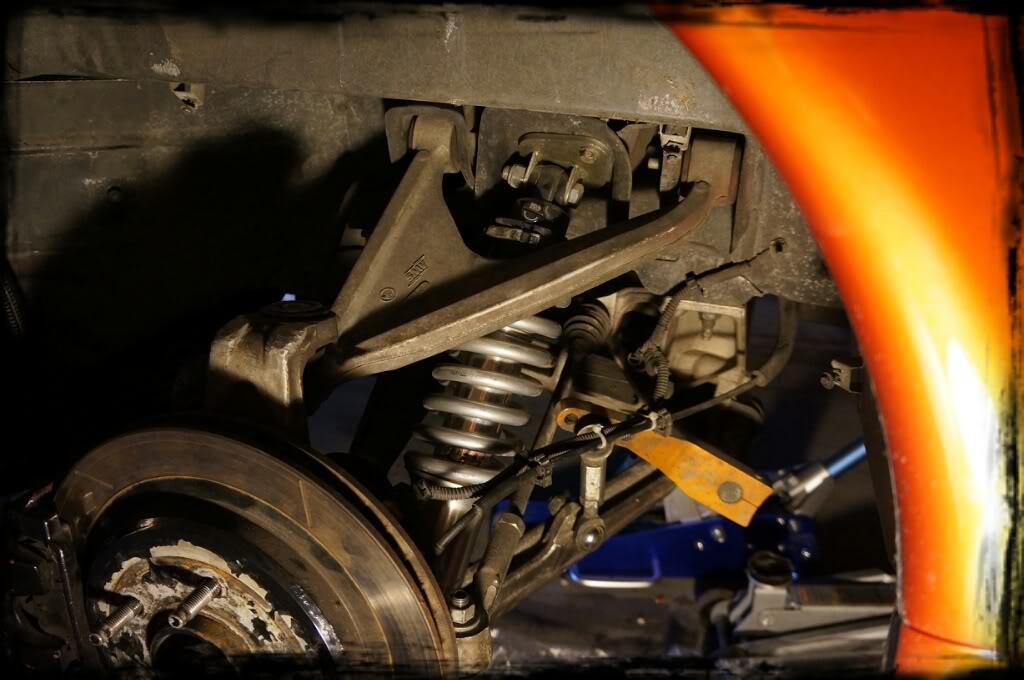
Pic of the newly released QA1 Coil over and Pfadt sway bars installed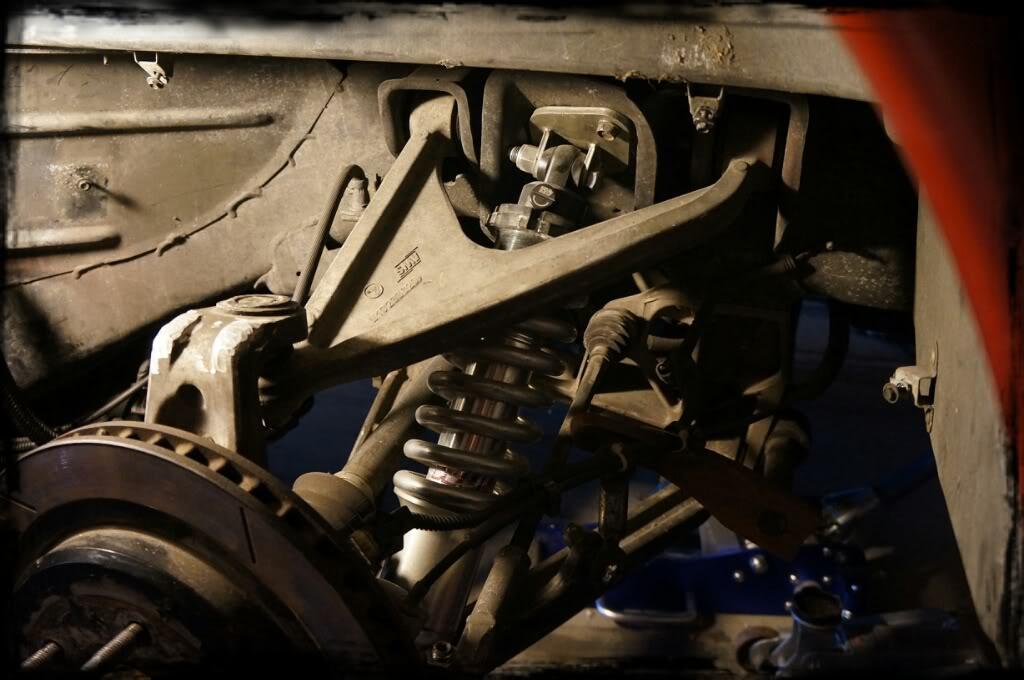
Finally have a camera that is able to capture the pure beauty of these powder coated parts over my cell phone lol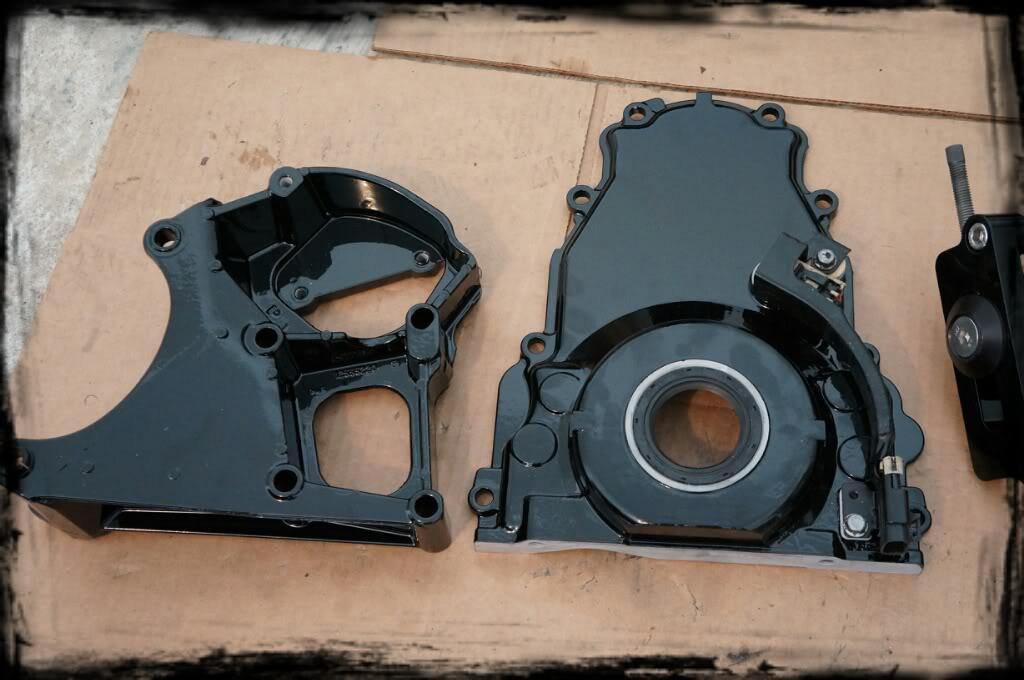
ARH 2" primary headers with ls7 ports to compliment the heads. they have been Coated aswell. quality and craftsmanship is second to none.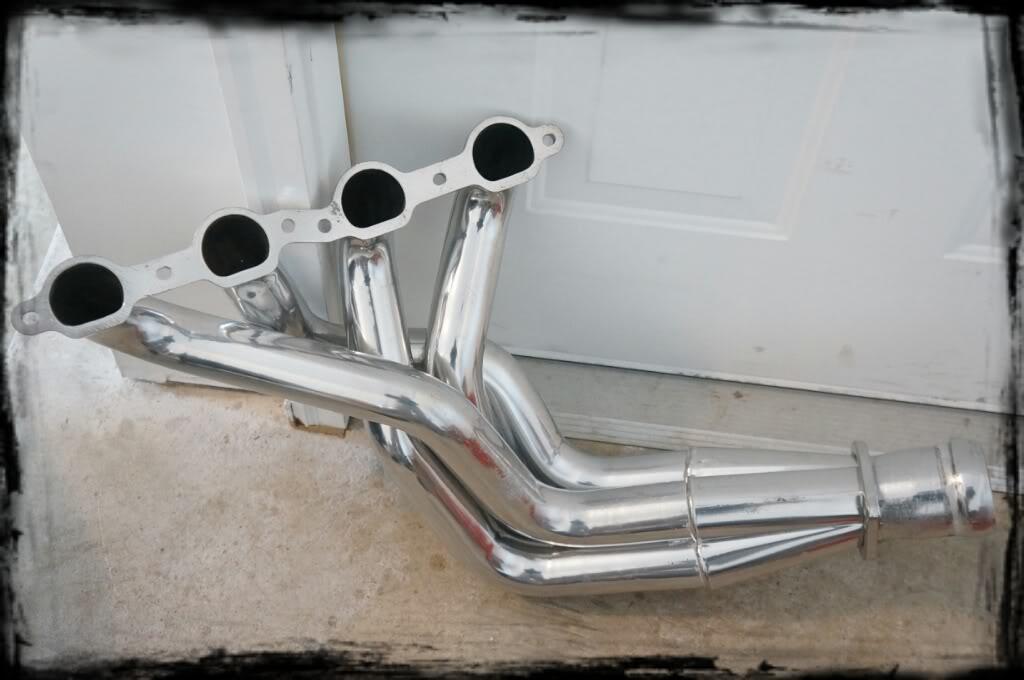
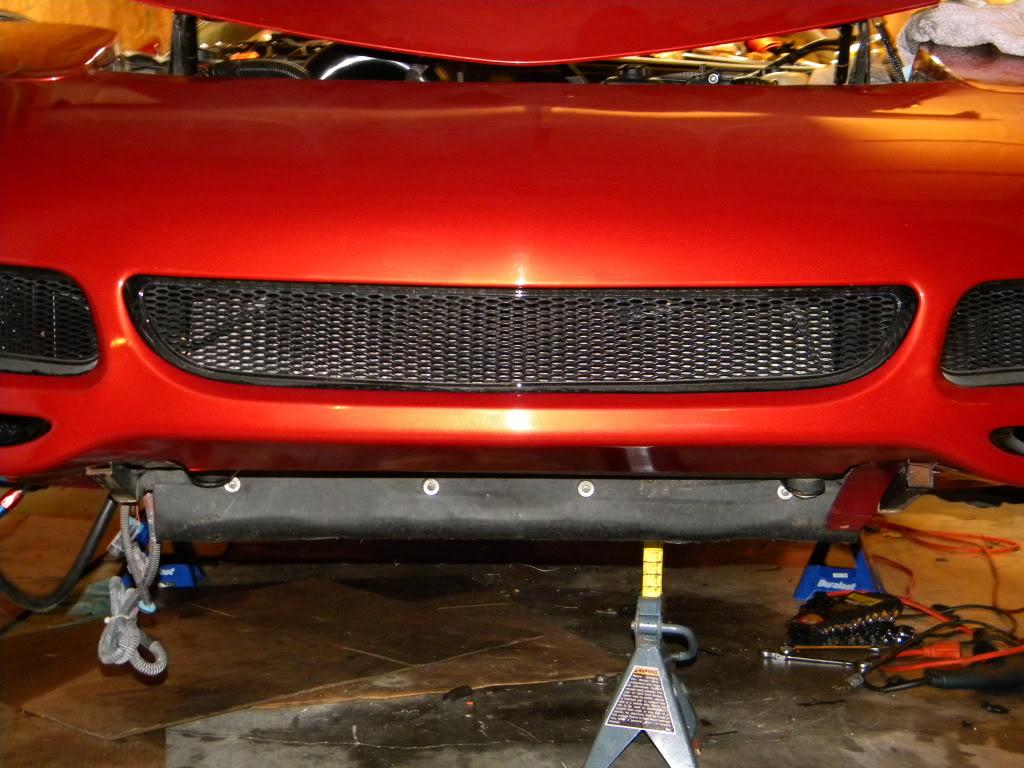
Tigershark front bumper turns car into front feed and this intercooler will cover every inch of it! The by product is awesome looks the draws function on the page at the same time making the intercooler more efficient than trying to work as a bottom feeder.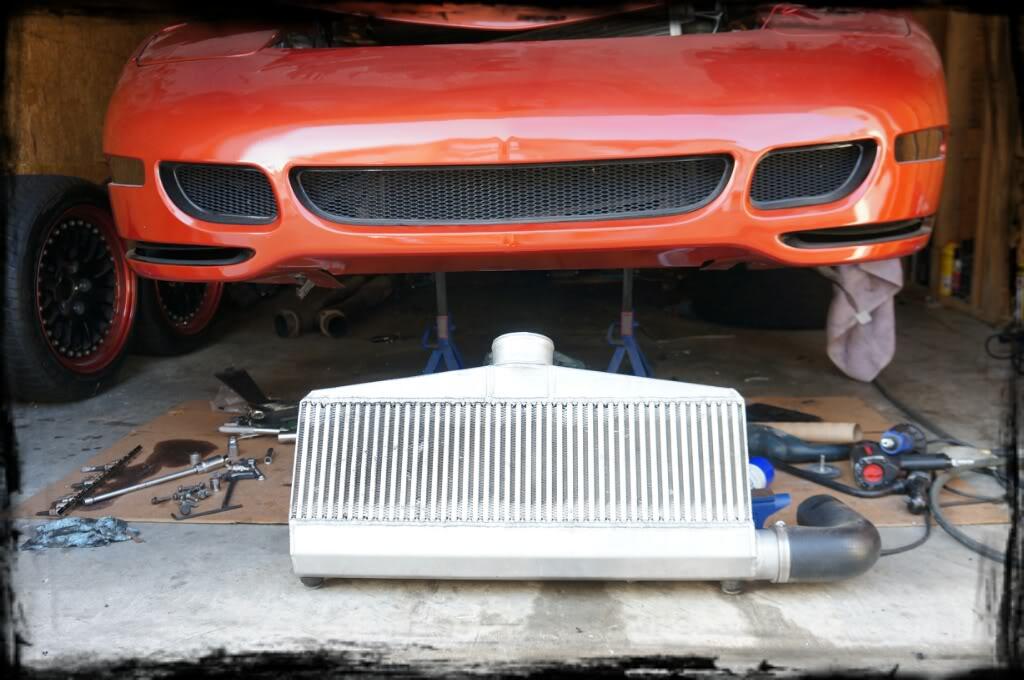
SOOOOON!
I would also like to thank Arun, BLOWNBLUEZ06, Craven Performance, CBI - quickzoh6, and Aaron Over at TSP for all their help and support on this huge build! i am really grateful!
12/5/11
Looking good...
Driver's side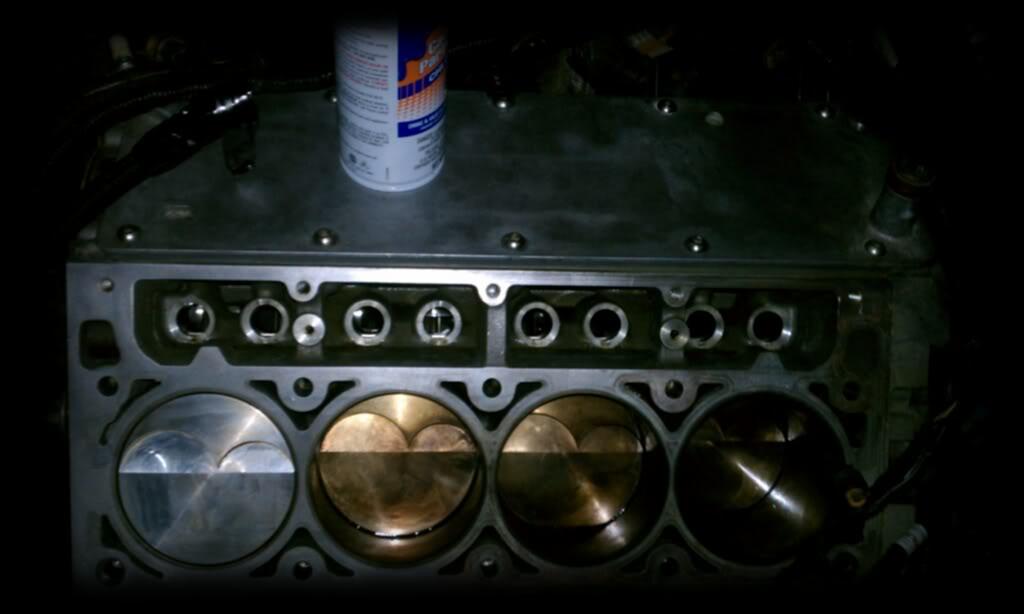
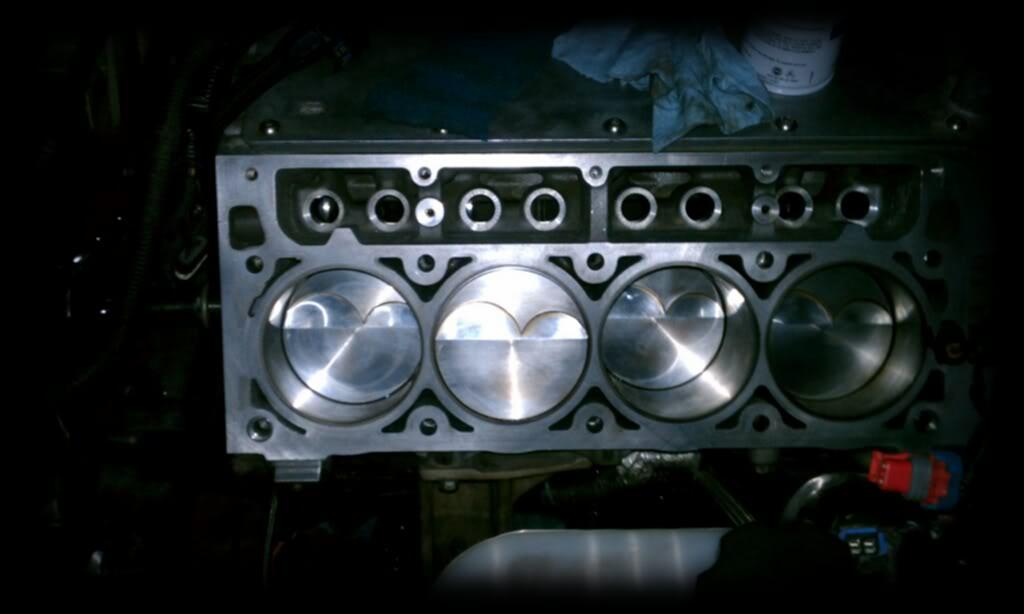
Passenger side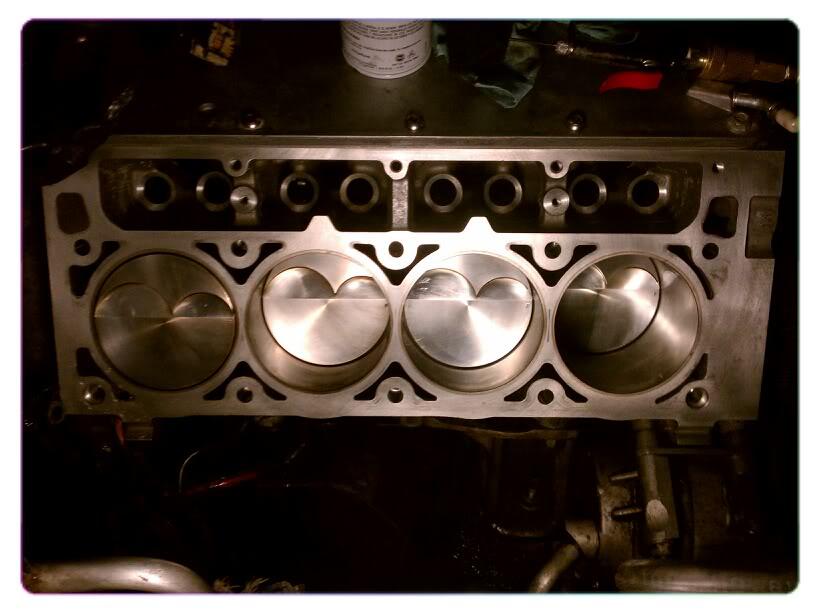
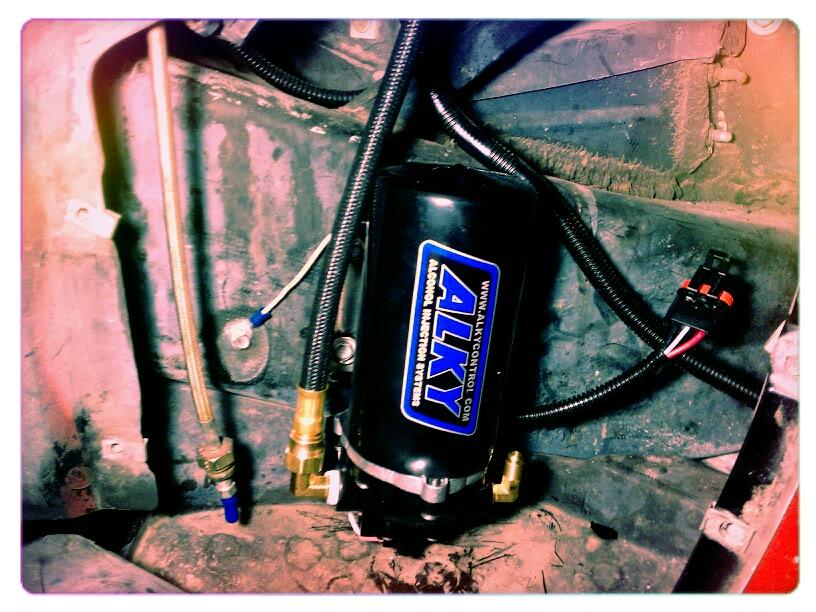
ECS ALKY kit 90% installed just need to finalize the wiring..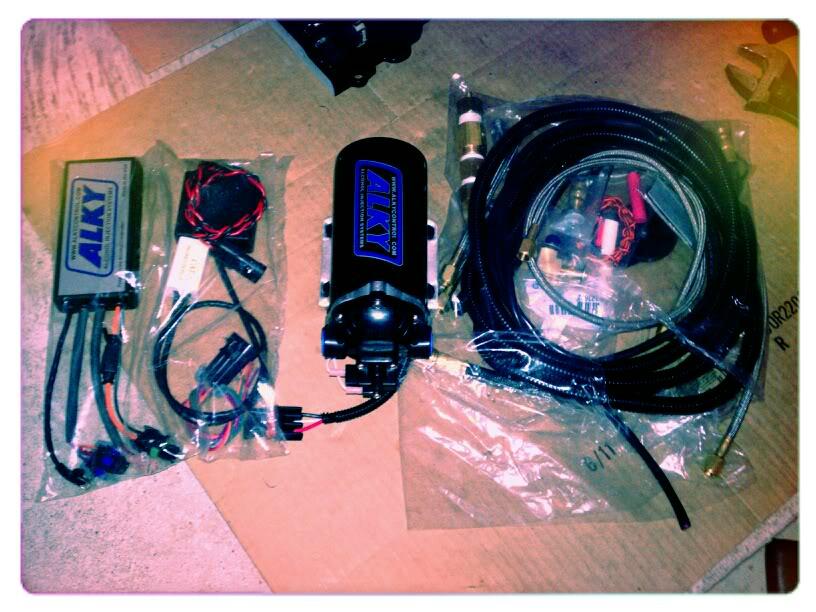
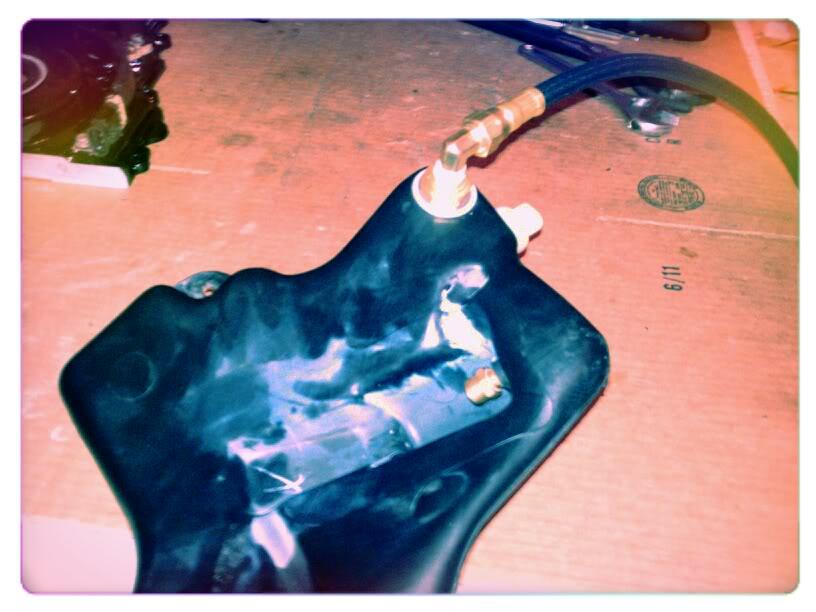
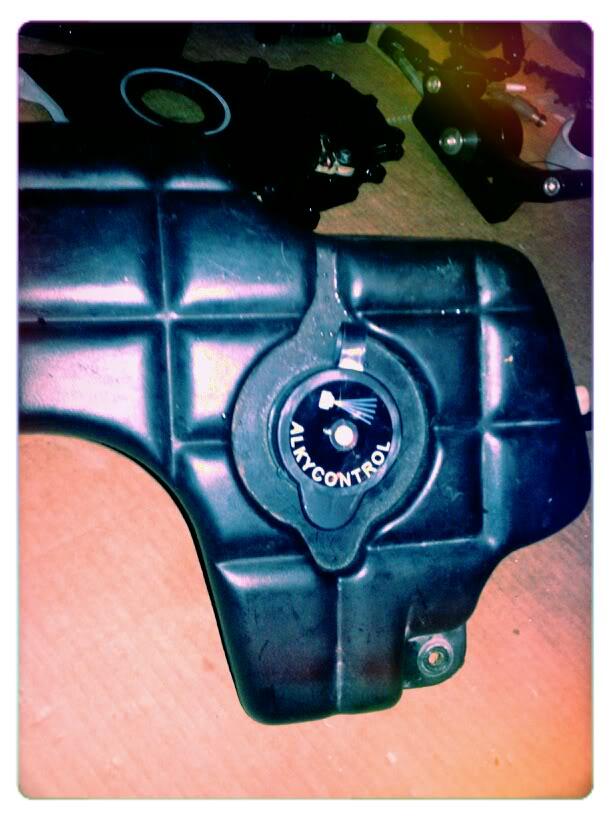
12/6/11
Some more pics(HD) Got the parts back from Powder Coating finally. I even took the Procharger big red apart and made it big Black! Lol
One thing I would like to touch on with this BPV. I don't want to step on anyones toe's as I see plenty of vendors and people using mondo's and BOV tial/turbosmarts etc but it has been my experience that those either don't flow enough (enclosed valves) or don't react fast enough (different springs needed to be changed) that it was causing me issues and trying to track the problem finally led me to the BPV I was using which was the mondo then tested with a tial and problem still persisted so I finally switched to a procharger big red problem solved. The issue was because of the amount of boost I was running and the slow or limiting flow of the BPV/BOV being used was throwing my car into REP mode because the TB was fluttering on decal in high RPM. This problem is more prominent once you really start to spin the blower hard. Furthermore I observed through logs that during just regular cruises my IATs drop considerably using the big red. I believe this issue is more focused on DBW TBs hence why you see some of the high power track cars switch to cable drive. Now I'm not saying that whatever you have on your car doesn't work this is basically just my experience and explanation of why I chose this product.
Also not seen in the picture, all my alky lines have been covered in black braided expandable sleeving to follow the engine bay theme. I also opted to only do a single nozzle as I will be using this to lower IAT's more over than utilizing it as an octane booster as I will be running a cold fuel e85.
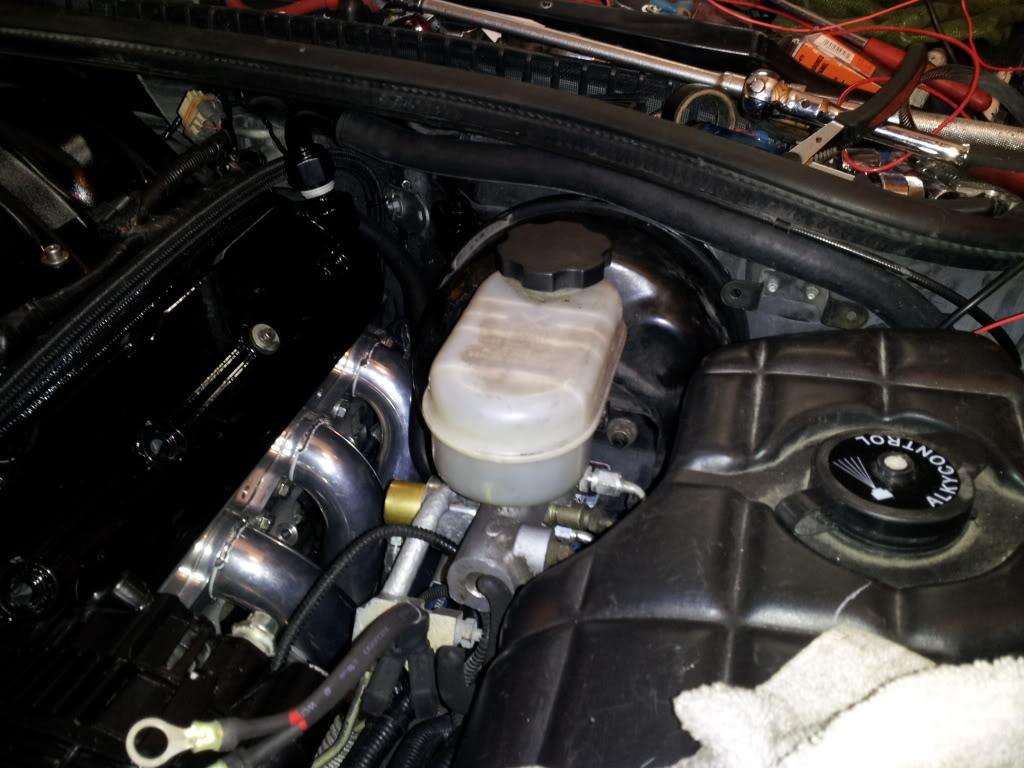
I will get the fittings black as well. On the valve covers I have drilled several holes into the baffle to make sure there are no restrictions in venting the engine through the 2 massive -12an fittings.
All piping was powder coated black and the intercooler to TB J-Pipe was modified by extending it and welding on an IAT sensor bung as I will be using a threaded IAT sensor (much better leak proof choice when going high boost)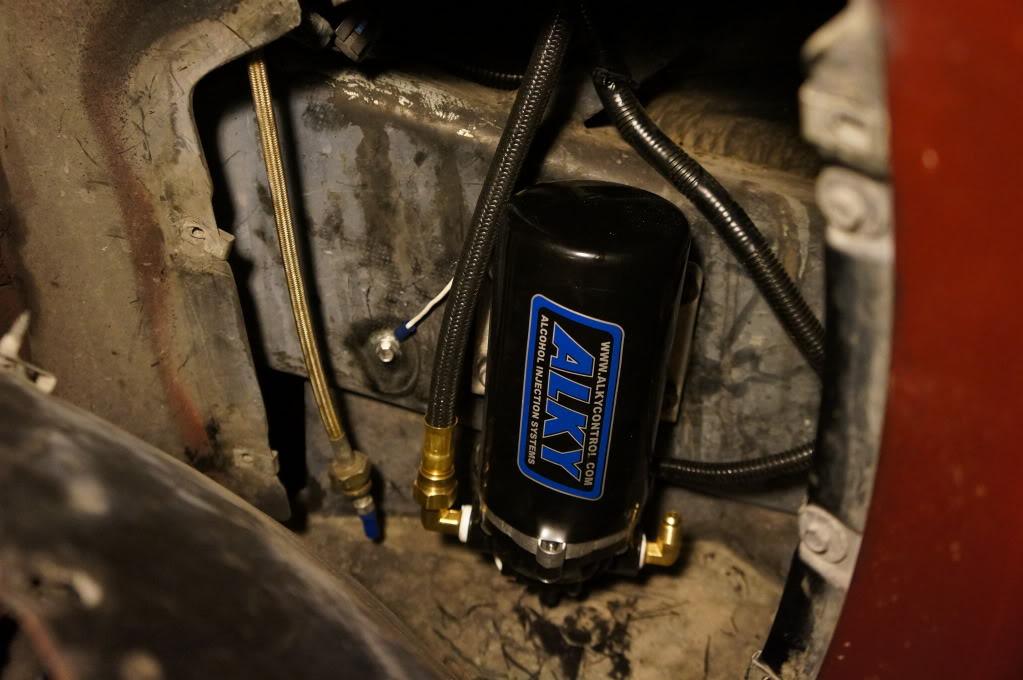
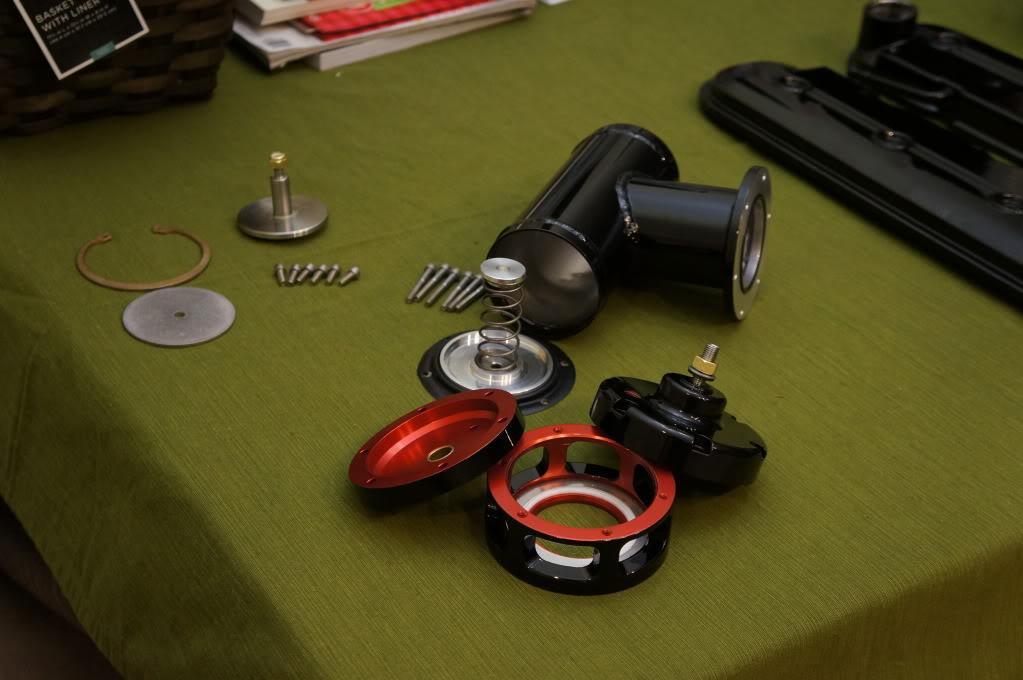
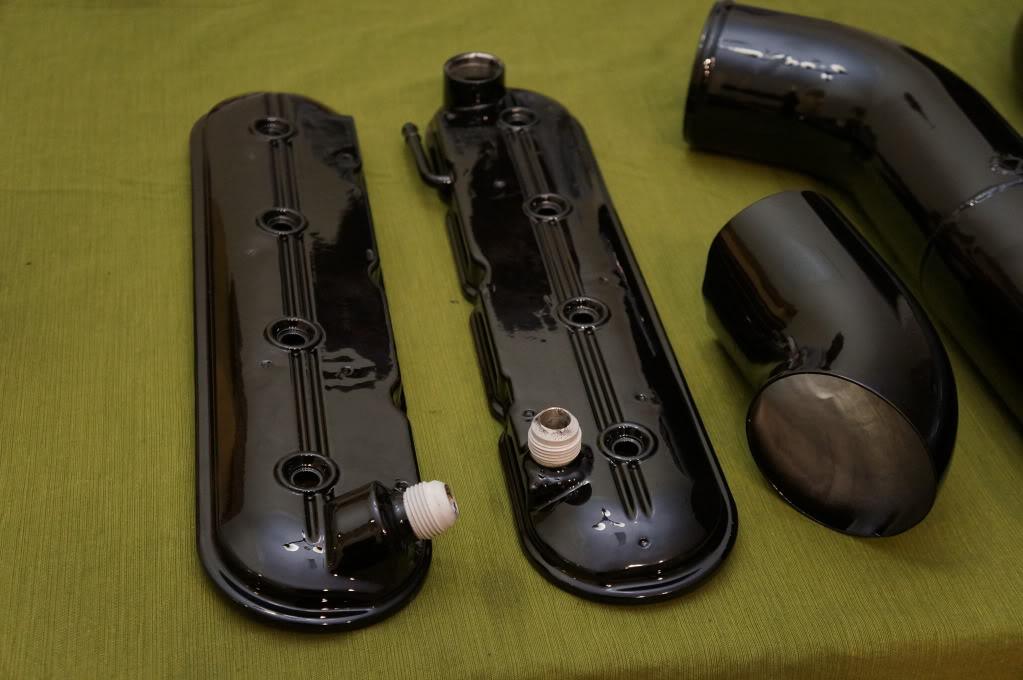
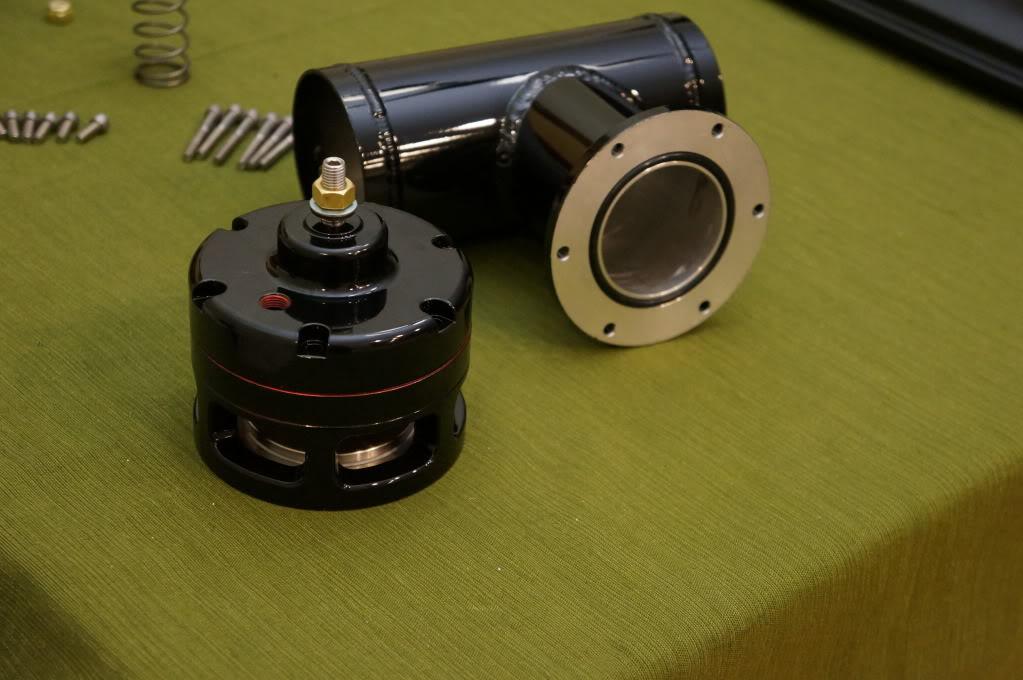
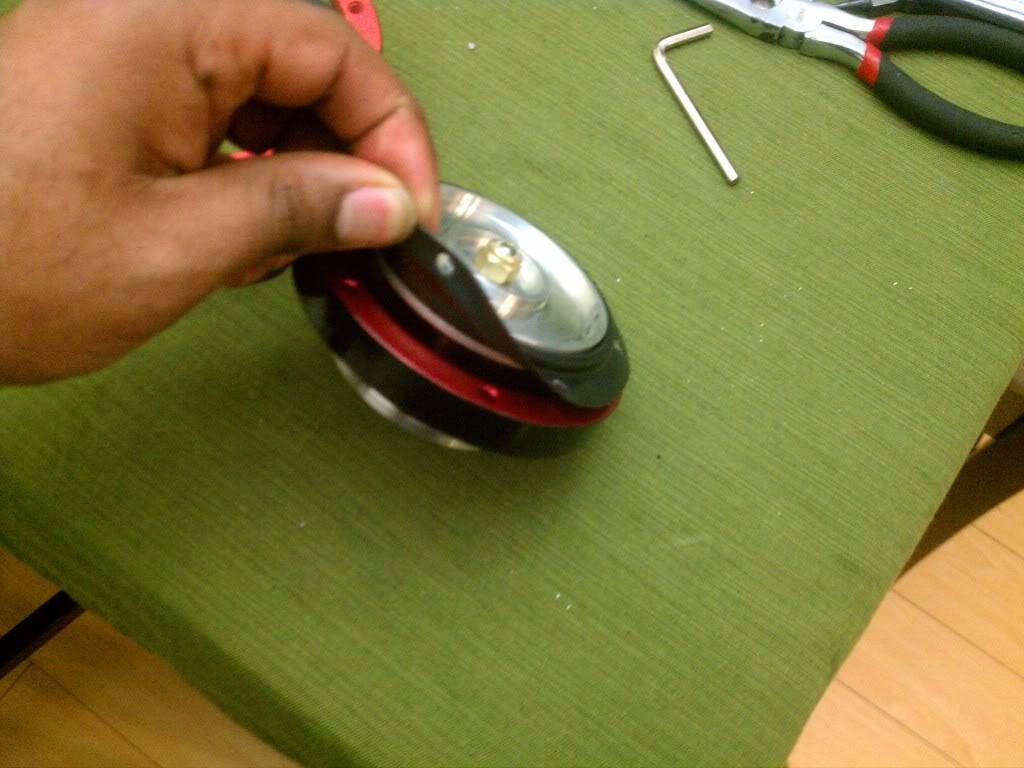
Not sure who all has taken apart their Procharger race valve but in my quick search I couldn't find any info or pictures. So for your viewing pleasure I took some pics while I was putting it all back together.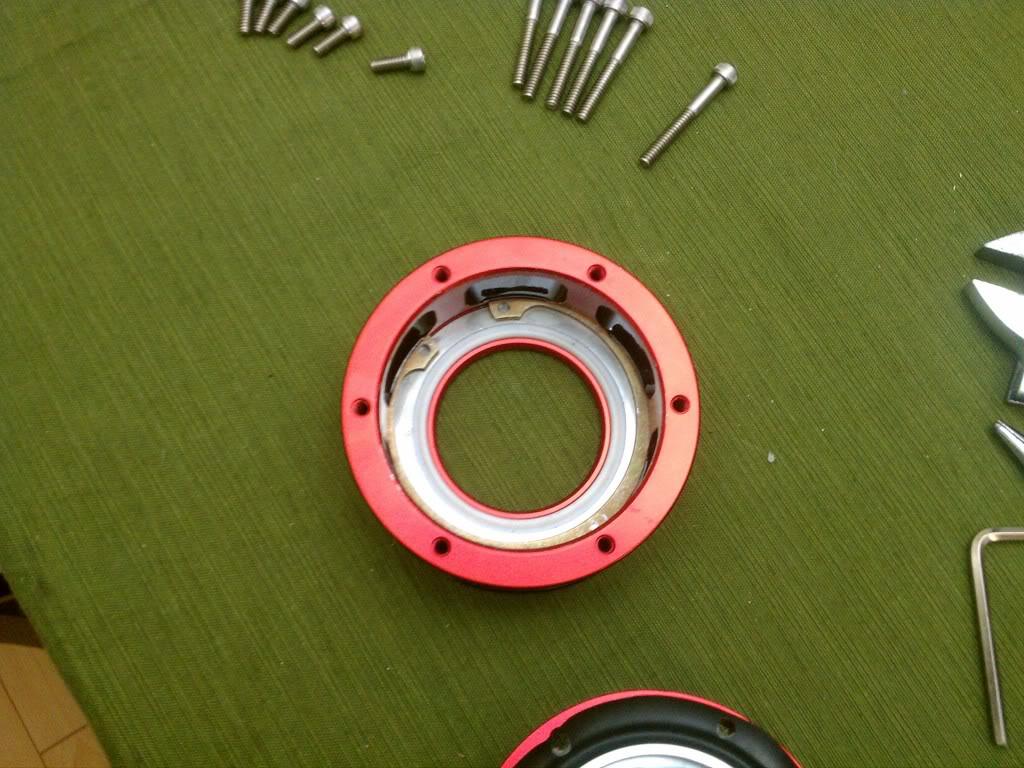
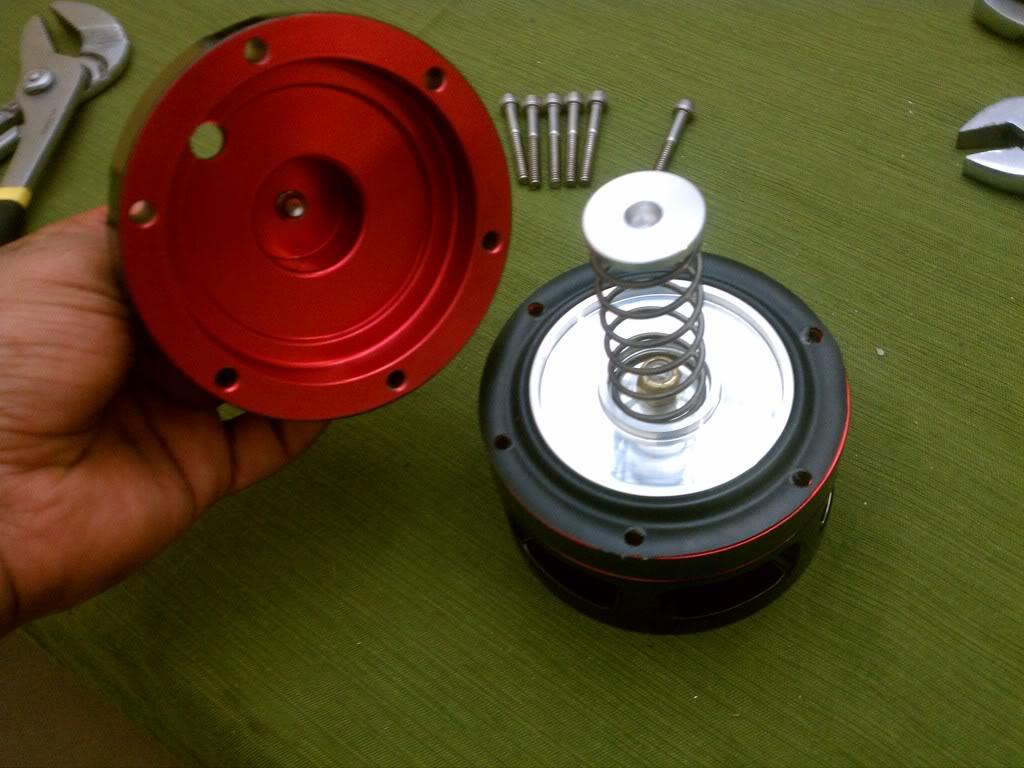
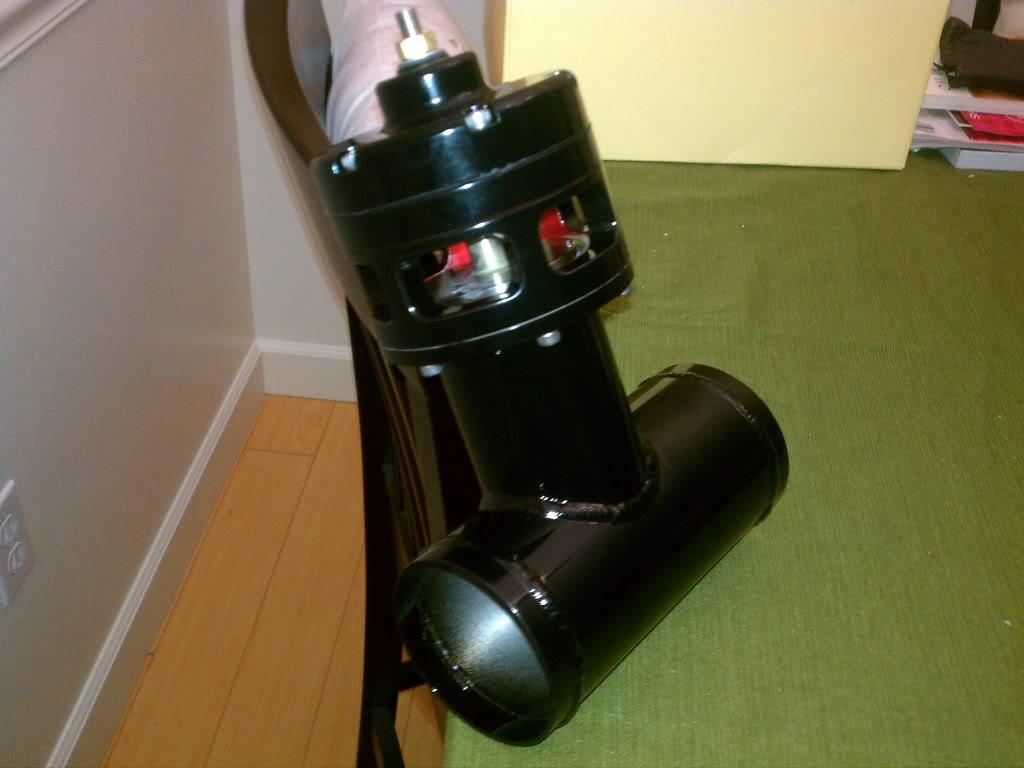
Also pics of the meth lines all done and ready.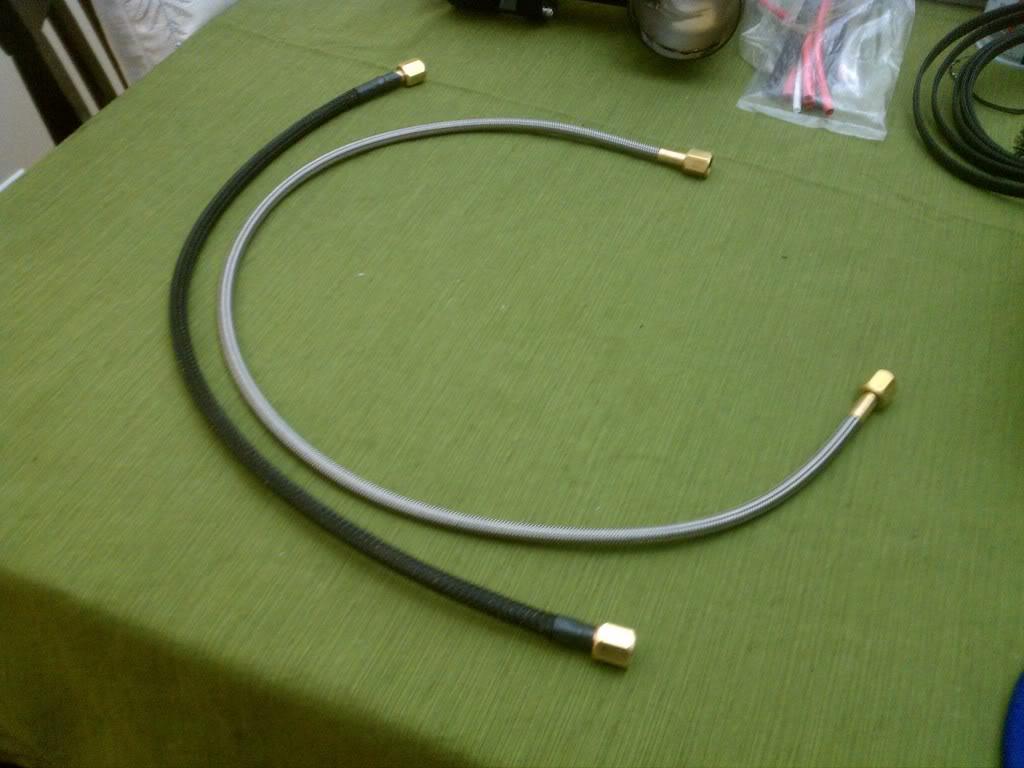
Well I guess I could have got a bit more technical in my assessment. Now I wasn't saying that BPV and BOV aren't the same for the most part. More or less they are sold and applied to applications differently (some features are there and some not)
The Mondo - it's pretty much a closed recirculated valve the problem I had was that it didn't flow enough. When at 6500rpm and letting off the throttle (unlike turbos the sc keeps pushing air as its directly related to rpm) it would start to flutter/chatter. This would create back pressure to the impeller and possibly cause future issues with the SC. In my case the air would find the weakest link (TB) and cause the tb blade to flutter/move which caused problems with the pcm throwing the car into REP mode because the PCM is reading/sending that the TB should be at a certain voltage and it's not. This was very apparent if you ever tried to peddle the car.
The Tial BOV while I would've thought that this would've worked just fine I was sadly mistaken. While the problem wasn't that it didn't flow enough, the problem was spring selection. Keep in mind with what vendors sell marketed as Bypass Valves usually display this specific characteristic they will be open during all states of vacuum and close when pressure is applied, while Blow off valves remain closed during cruising/idle and opens in a boost to vacuum scenario. The issue I encountered with this was the recommended spring for SC applications is a 3lb spring which allows for the BOV to open at idle and cruise and relieve the pressure. Well keep in mind on my application I was pretty much making boost at idle because I was pulley'd to overspin the blower. With a 3lb spring in it under boost the BOV would partially open and not hold boost. Had to utilize a 7lb spring before it would fully shut at wot and then the problem became that it would not open at idle and cruise to vent off the unused pressurized causing me surge etc (which is usually audible as chirping noise.) couple that with low vacuum from the cam etc I just couldn't get it to work properly..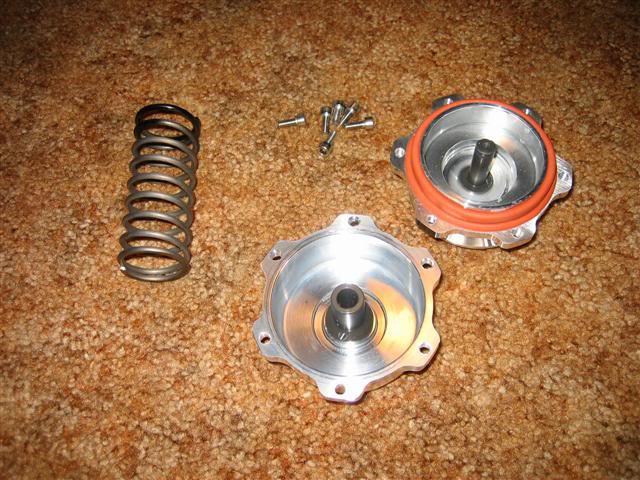
In comes Procharger "Big Red" I would say it shares the close to the same design as the tial bov but has some difference. One thing to note is that the BPV would agree The Vortech B57 and the Procharger "Big Red" mondo basically the valves that are labeled BPV all have breather/ outside vents some more apparent than others. Also they all have an adjustment screw at the top More so your adjusting the spring preload. The procharger valve def. flowed enough more so measured by the IAT logs compared to the other 2 while just at idle and cruise. Simple small adjustments could be made from the adjustment screw with no need to change springs etc. all in all maybe I had bad luck with the other 2 or just had bad valves who knows this is basically just my experience with these products not something I read about on the internet. So take it with a grain of salt at the end all that matters is that im happy with it and it works.. :P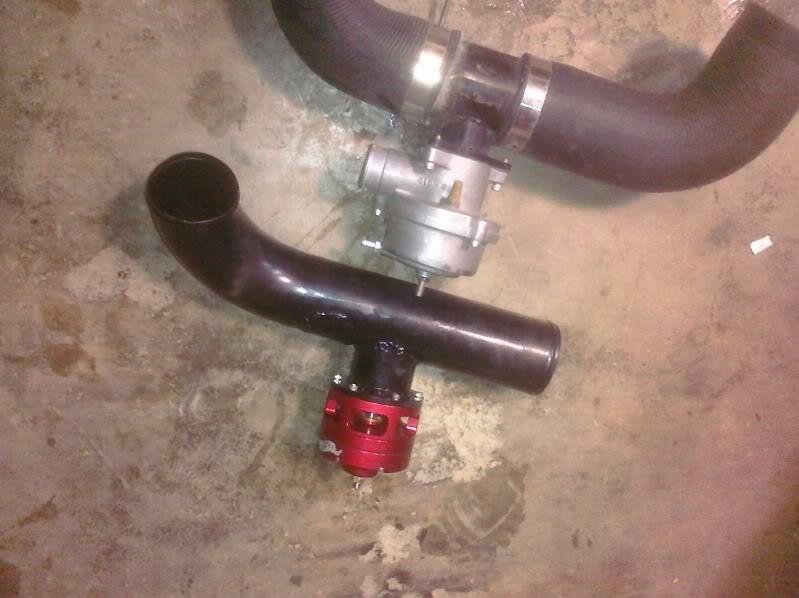
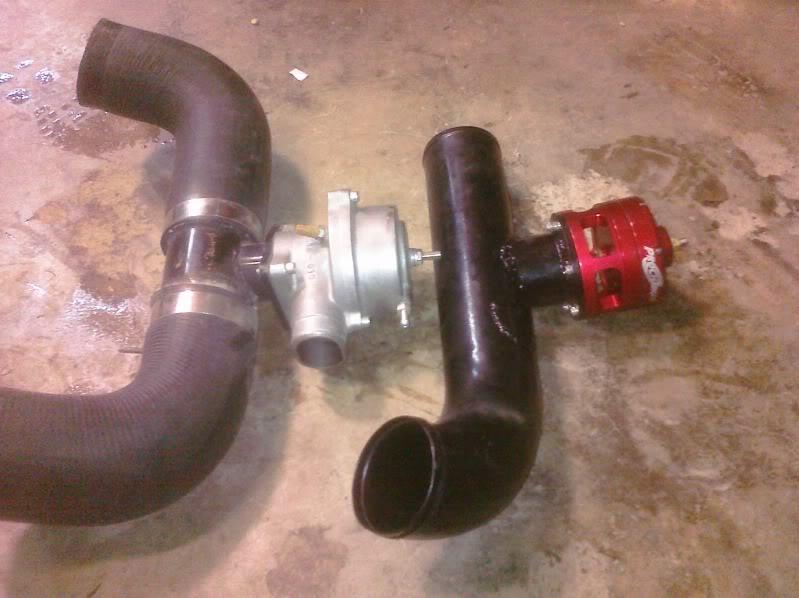
My recommendation for any all-out blower setups would be The Vortech B57 or Procharger "Big Red"
http://www.tialsport.com/prod_bv_q.htm
http://www.vortechsuperchargers.com/product.php?p=24
http://www.vortechsuperchargers.com/product.php?p=23
1/8/12
Just a couple of updates. cam should be here beginning of this week specs are 239/254 .657/.630 115+4
once that arrives the engine assembly will begin. also got word that the heads are complete so i reckon the engine will be ready to go inside this month.
the fuel system is complete and ready to go! turned out great! along with my custom scorch stealth alky system 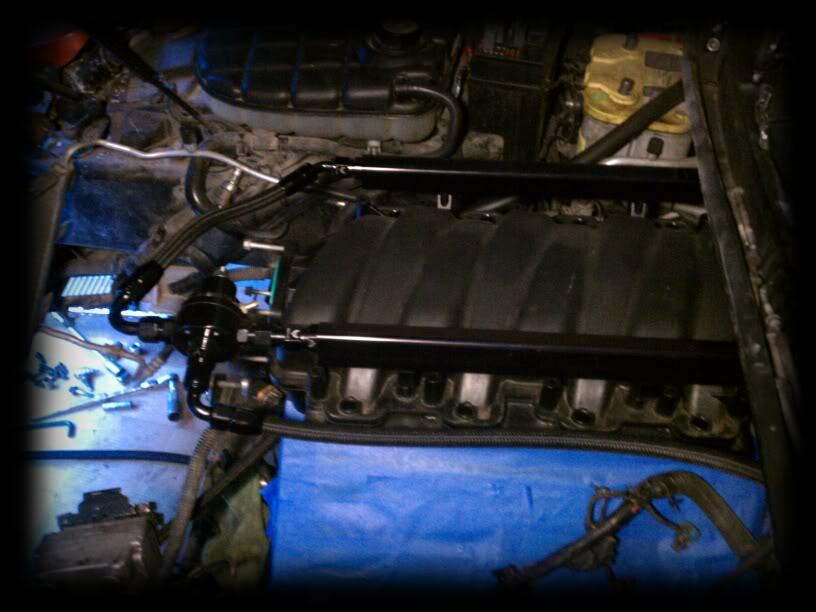
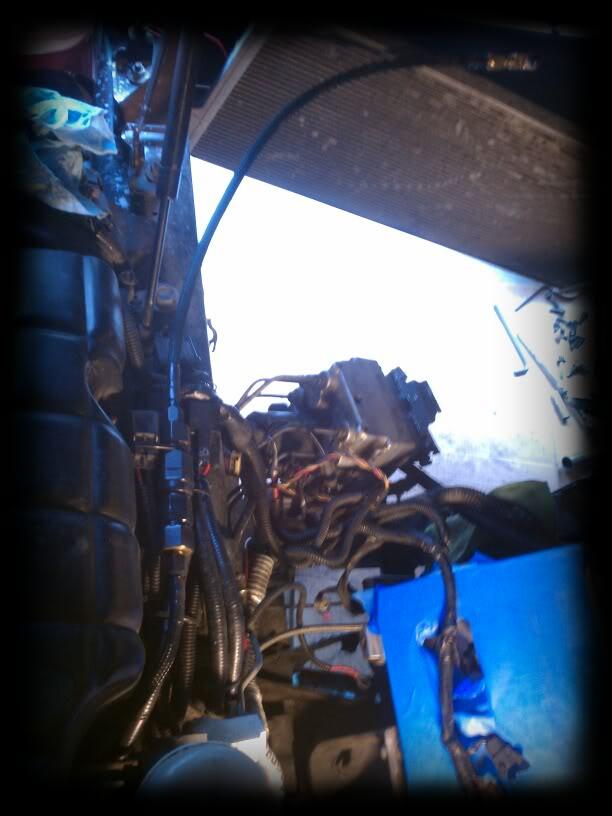
on the other end of things the build has taken a torn for the worst 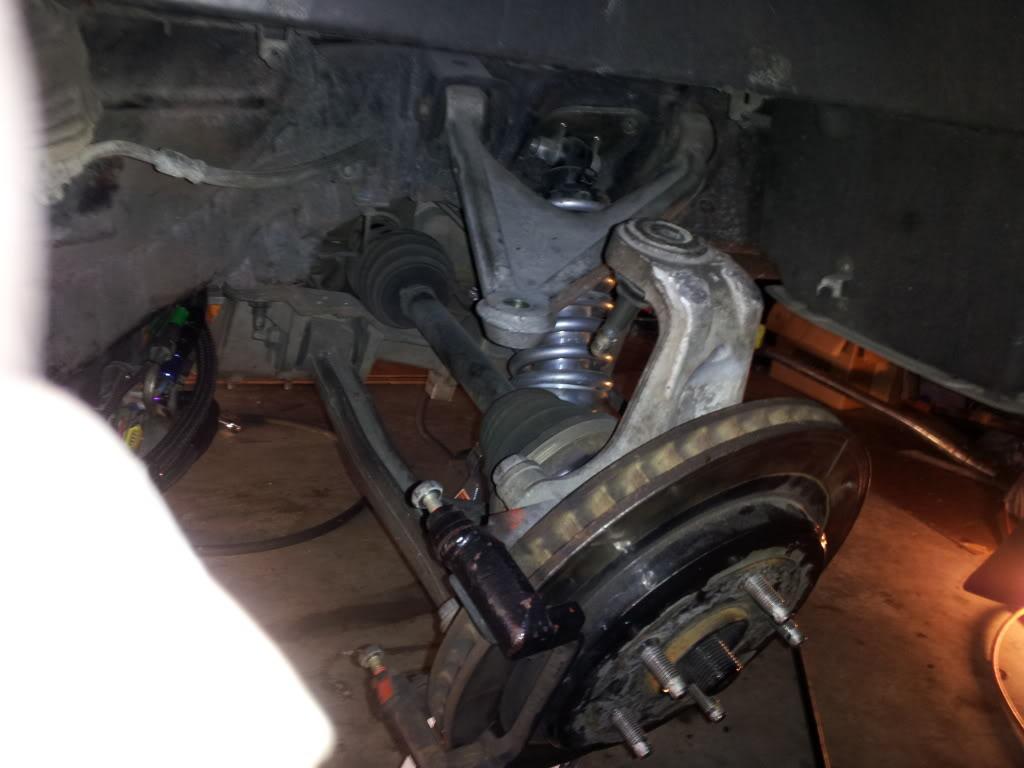
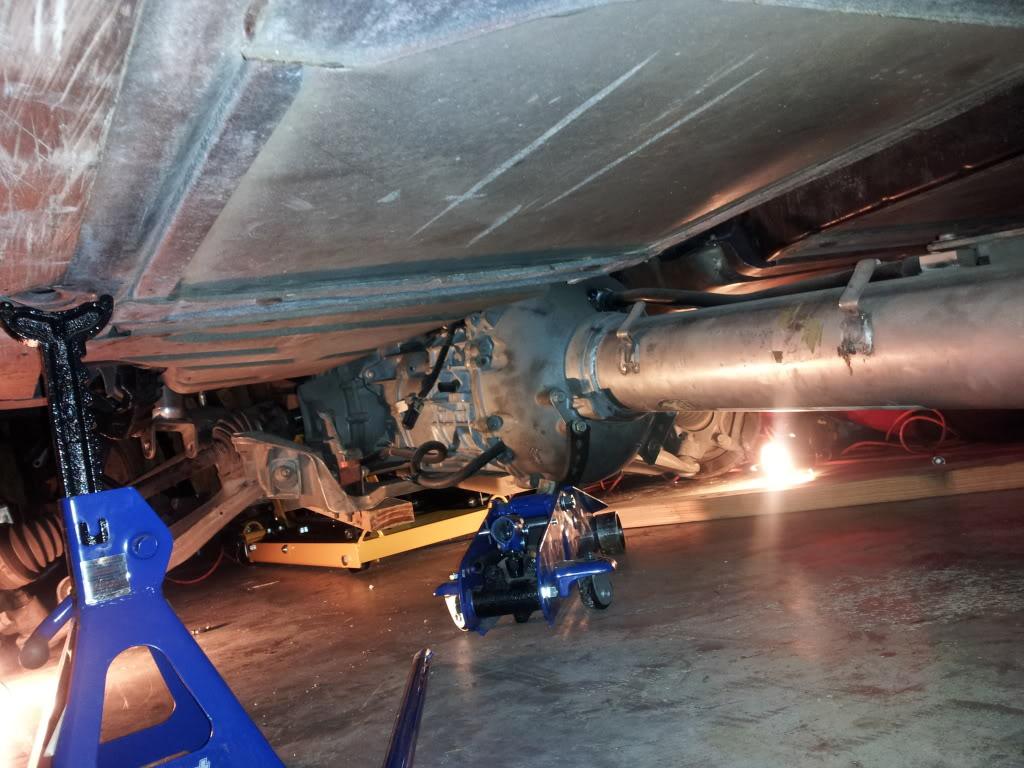
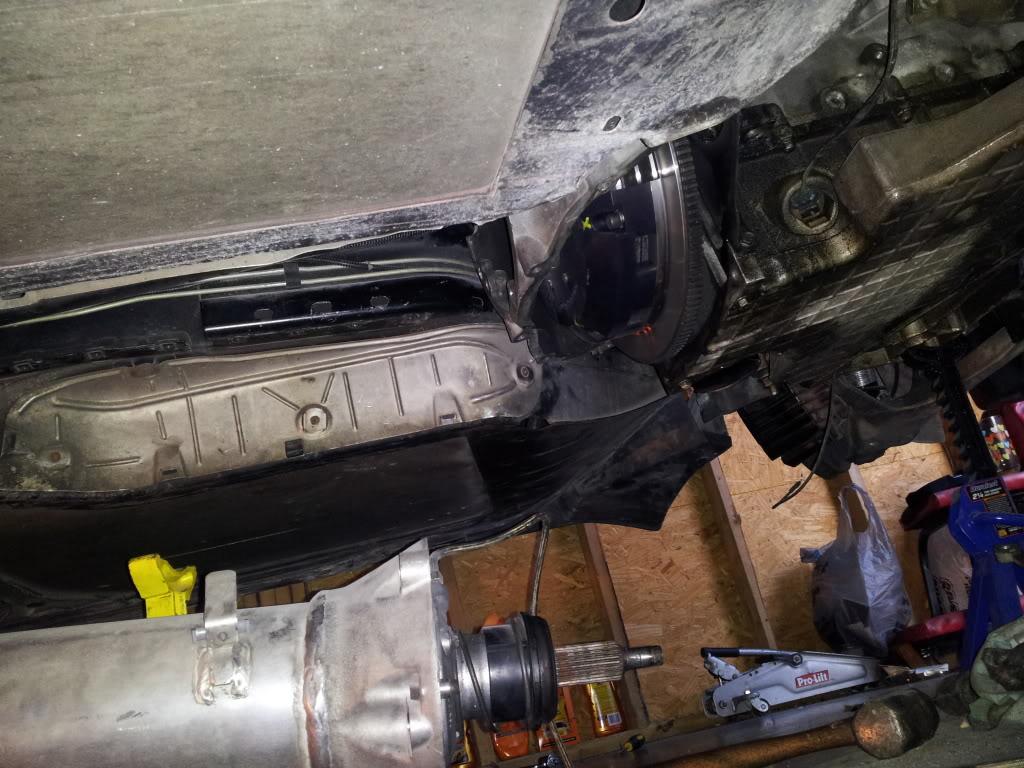
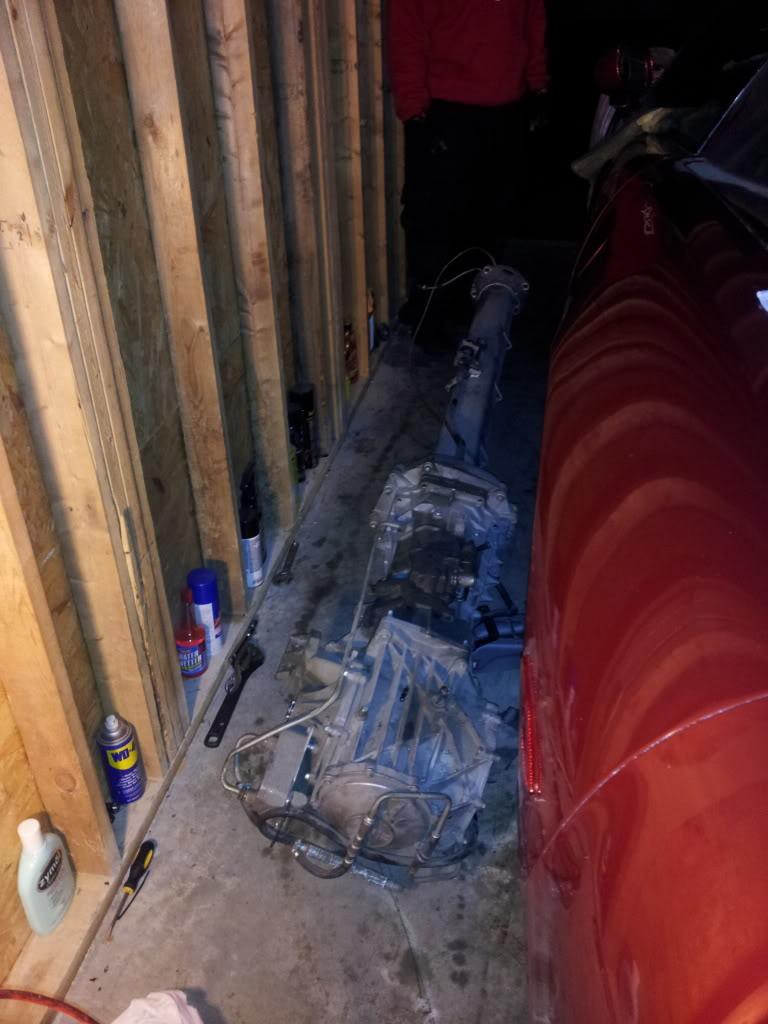
1/16/12
Few updates!
A bunch of parts have finally showed up cam is here so most of the engine should be wrapped up aside from the heads.
After much deliberation and back and forth with chad aka QuickZoh6 @ CBI street cars.. (He knows me well, and knows that the only thing that makes me happy is dew'n WORKÂ) I reviewed my goals which fell in line with being able to still drive it with no issues on the street (rear gear selection) and also be able to not just reach my mph goal but also my ET. We decided to basically stop f****** around and go big or go home! BOOOOM! Nothing was left untouched.. this should handle everything I can throw at it!
Rossler TH400 terminator 4 trans w/ tbrake, etc
PTC 9.5 billet Bolt Together Torque Converter
Fully built rear W/ 500m short & long shafts w/ upgraded clutches etc...
B&M shifter
Quicktime flywheel Flex plate
RPM Extreme duty converter drive plate
DSS propshaft w/poly couplers & Modded TQ tube
DSS 1000HP Level 5 Rear Axle/Hub kit
DTE brace
New cradle and a-arms w/Poly bushings
Ecs safety hoops
Custom scorch tranny cooler system
With good luck I will have most of this all done on Monday with the nice weather
Custom cam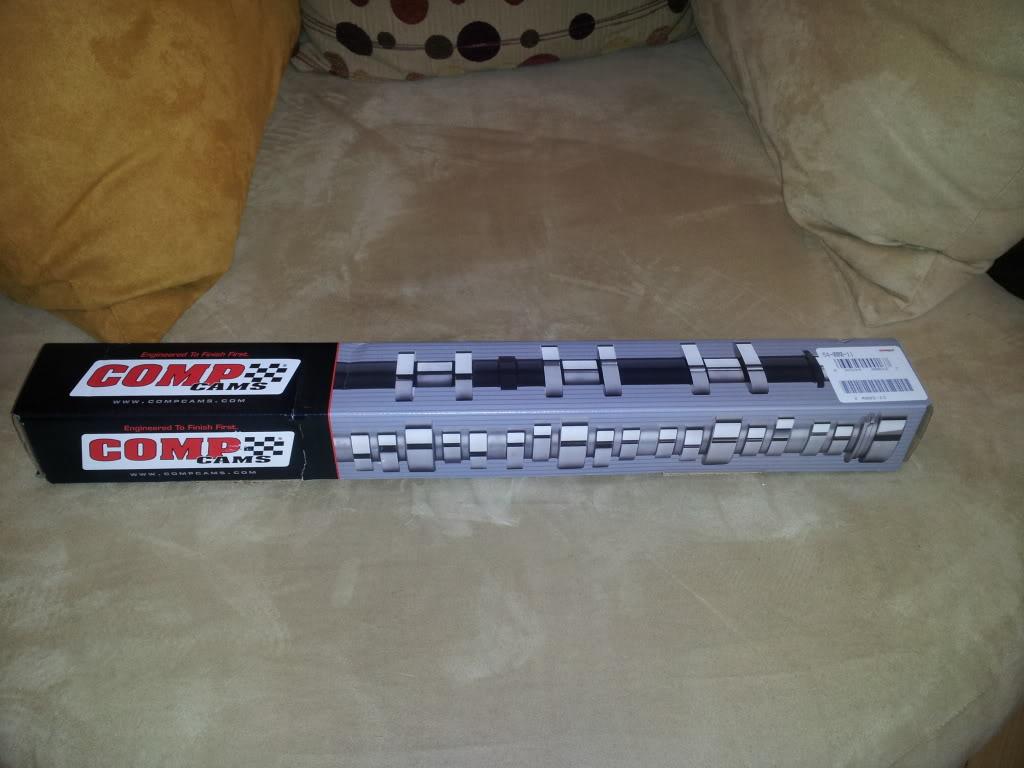
New drivetrain all laid out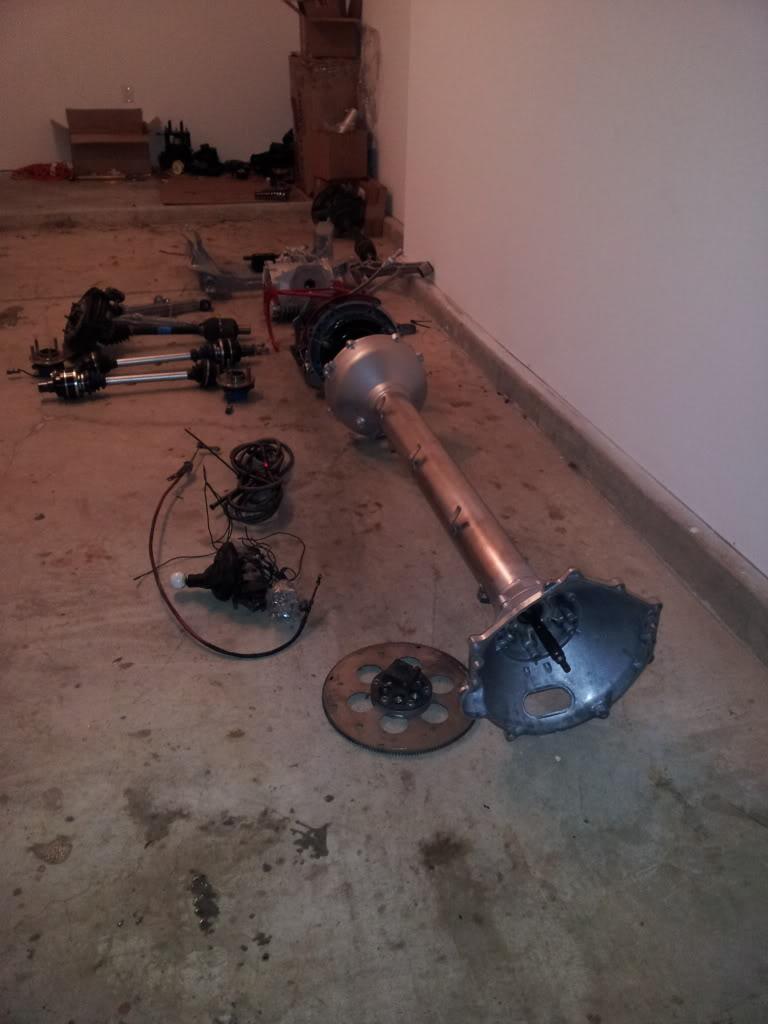
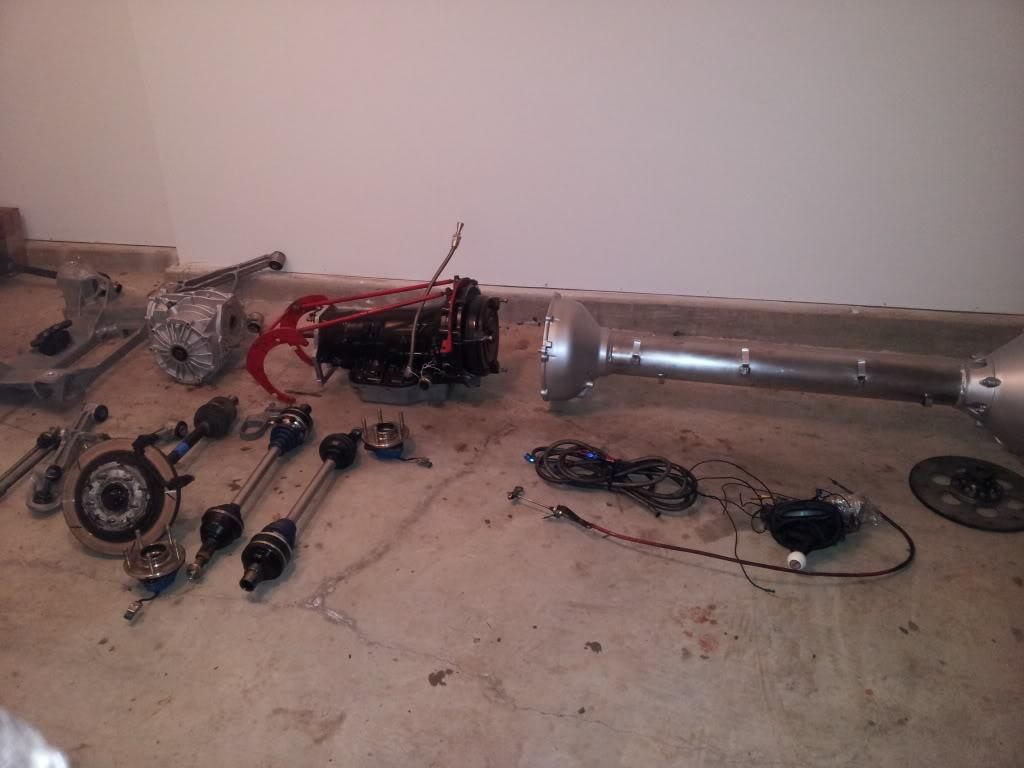
DSS 1000HP Level 5 Rear Axle/Hub kit :
Axle/Hub System for the C5 and C6 Corvettes from DSS. The factory axles are strong enough for most people but if your taking the time to read this you are one of the few who have managed to bring you car into a level not known to most. Our System starts out with a larger outer C.V. that is 33 splines (up from the factory 30 spline) we have manufactured a special hub that not only includes the ABS sensors but is a simple bolt on part. We then increased the internal spline size (bar inside the boot) to 36 spline (up from the factory 28 spline) not only did we make the bars out of Chromoly but used our special torsional design, made to twist with out breakage. So if your in the market for a set of axle that will handle the rest of the upgrades you have done,look no further.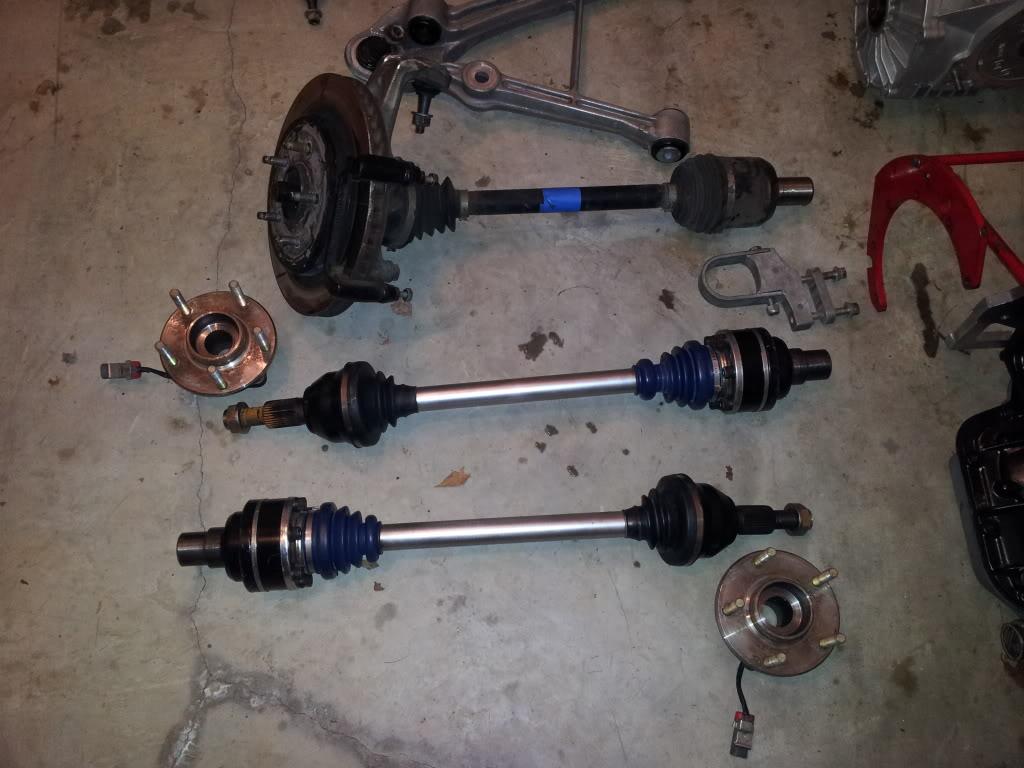
1/17/12
well got alot done and still working on her.. but less typing more pics!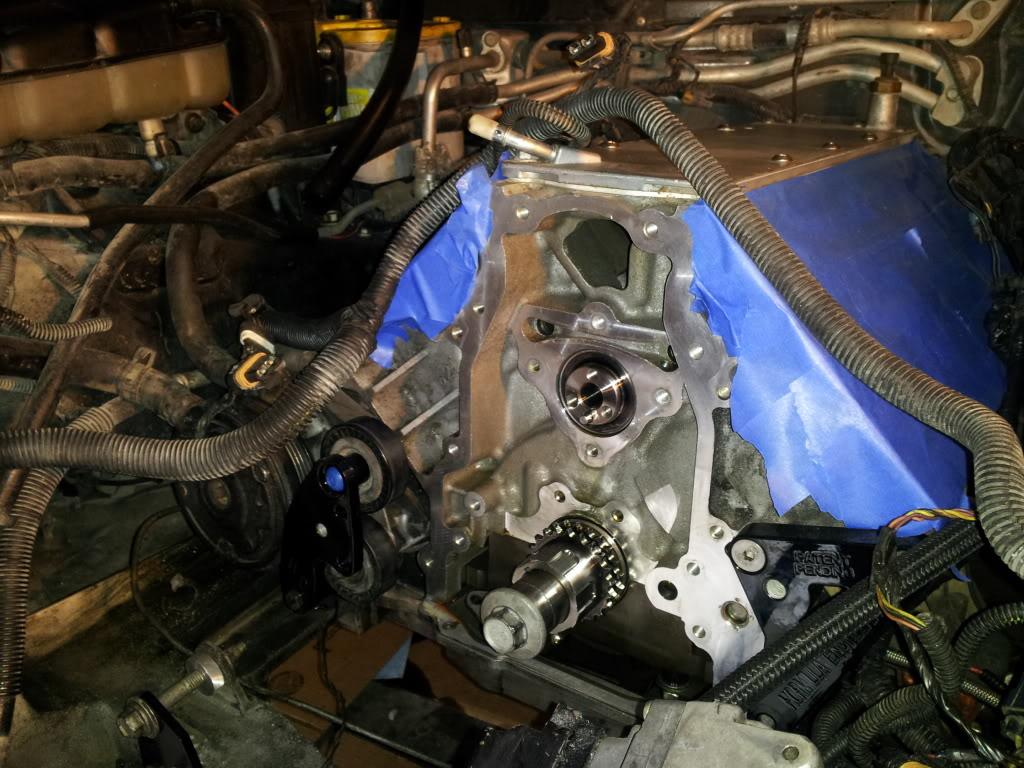
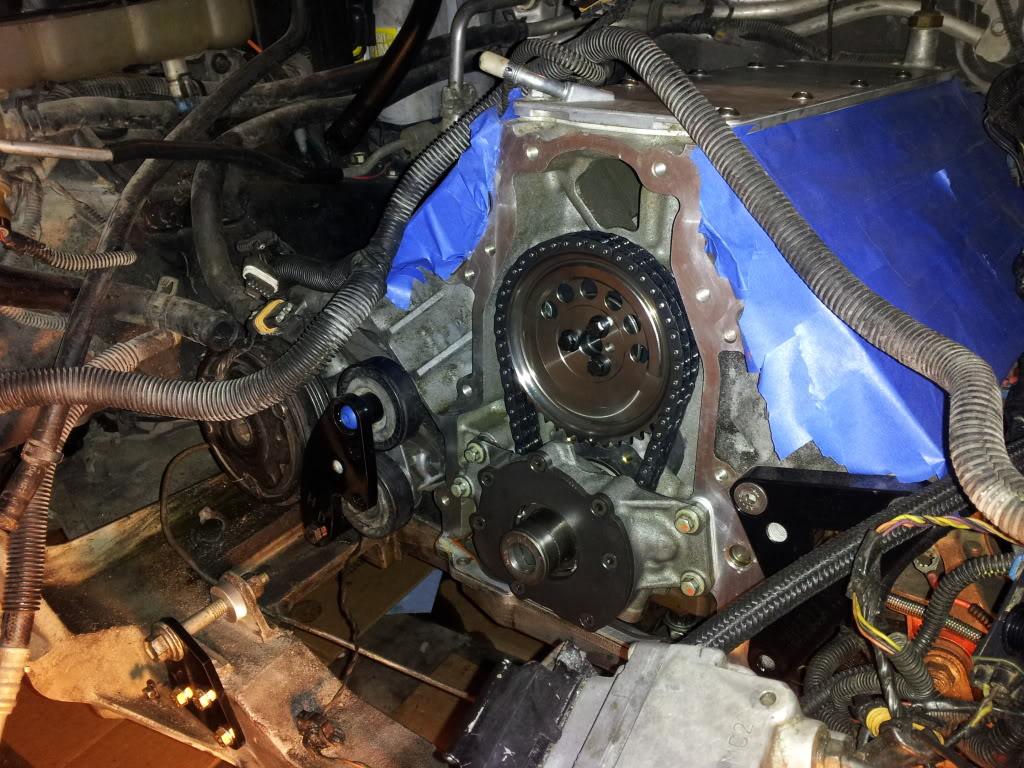
if this isnt sexy then i dont know what is...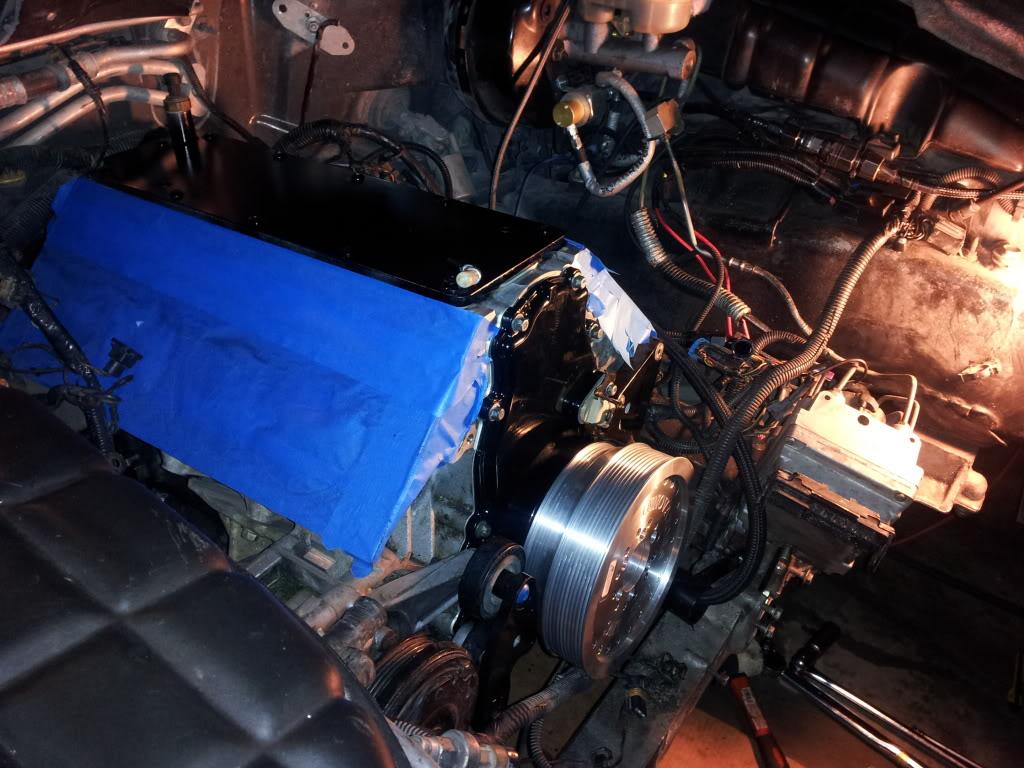
starting on drivetrain... gonna be a long night 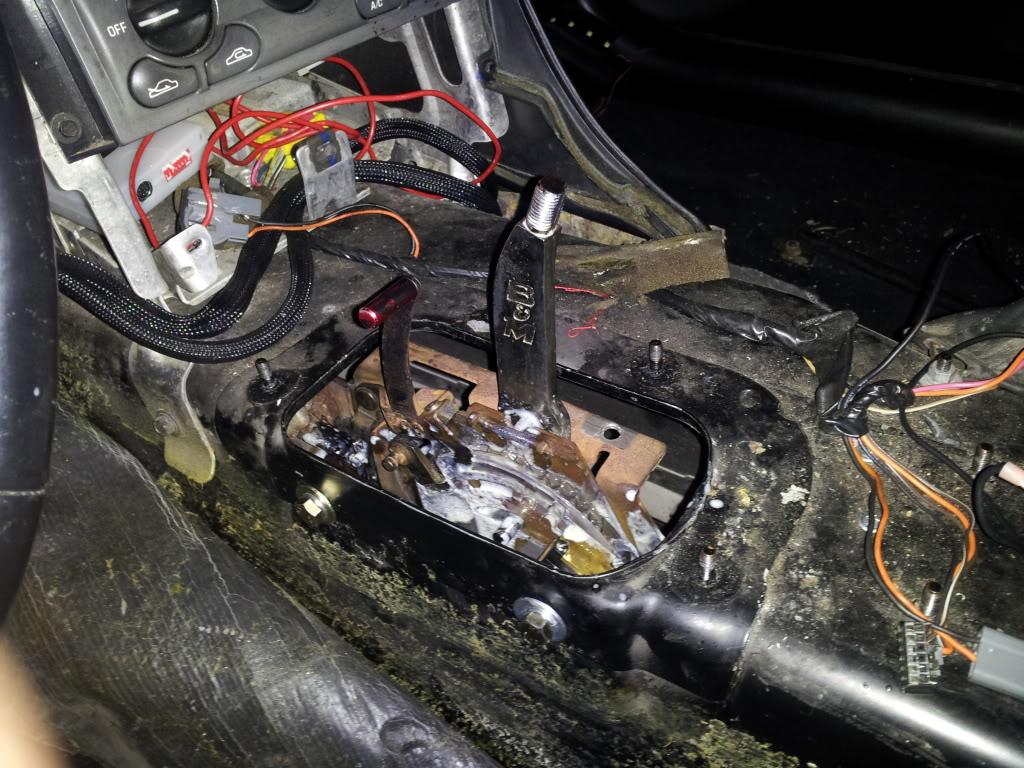
got the last of the manual stuff out of the way... go the bellhousing off and got the new auto one ready to go.. i will be mocking it up first to take some measurements and see exactly where the small cut has to be made on the tunnel!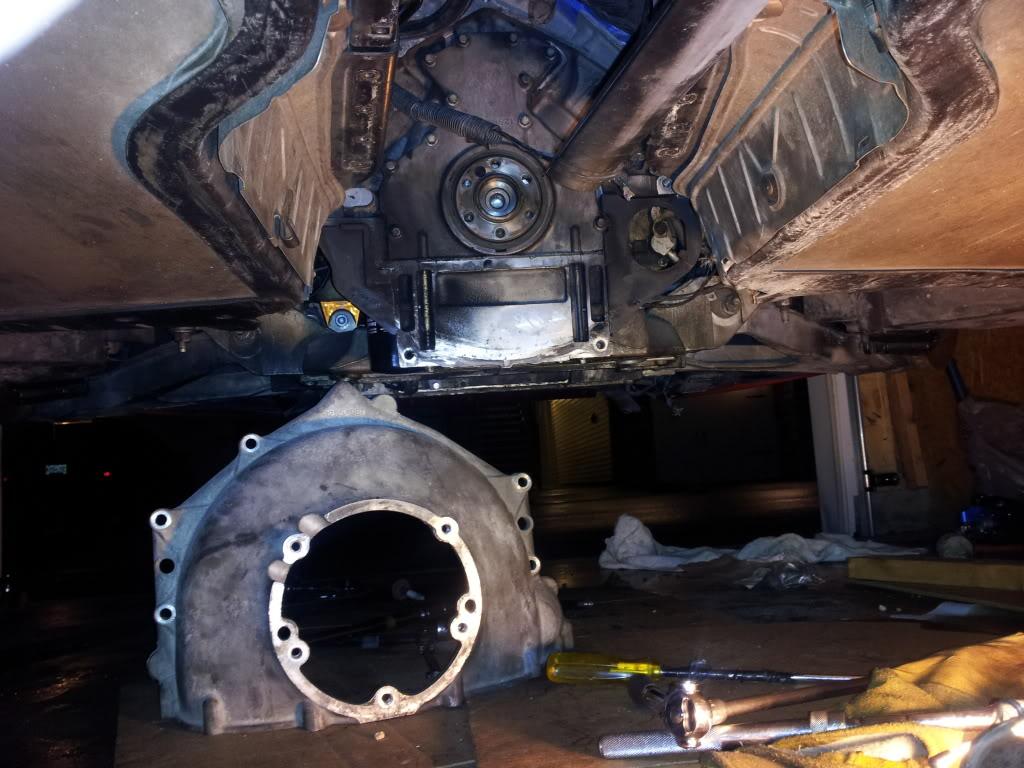
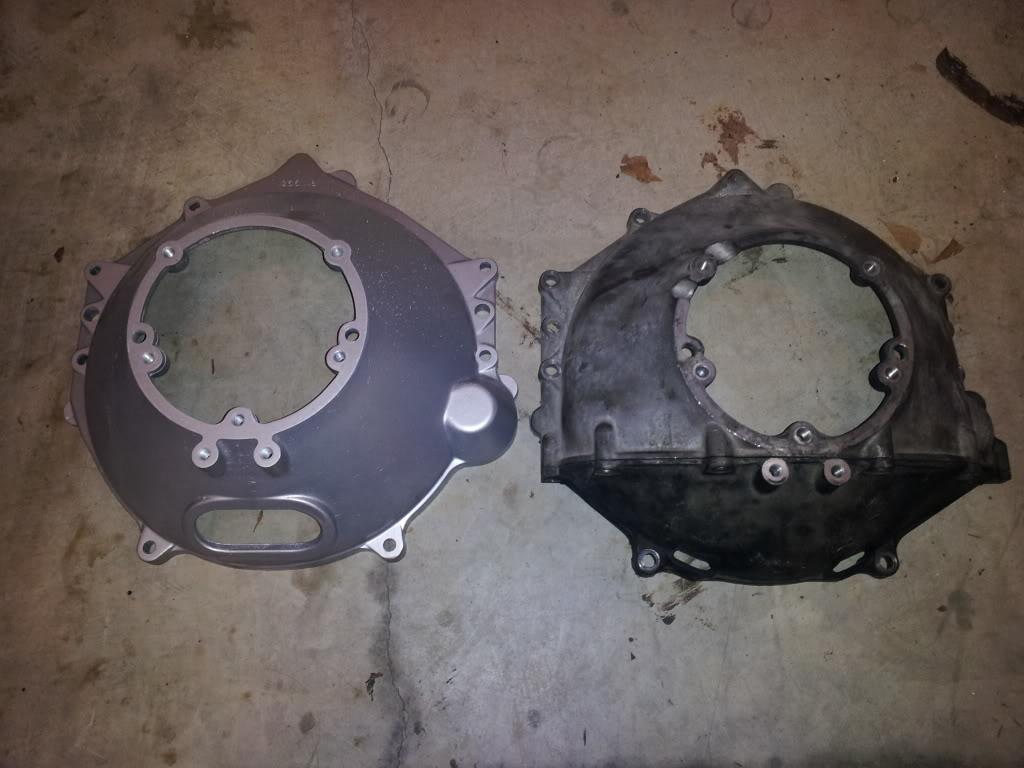
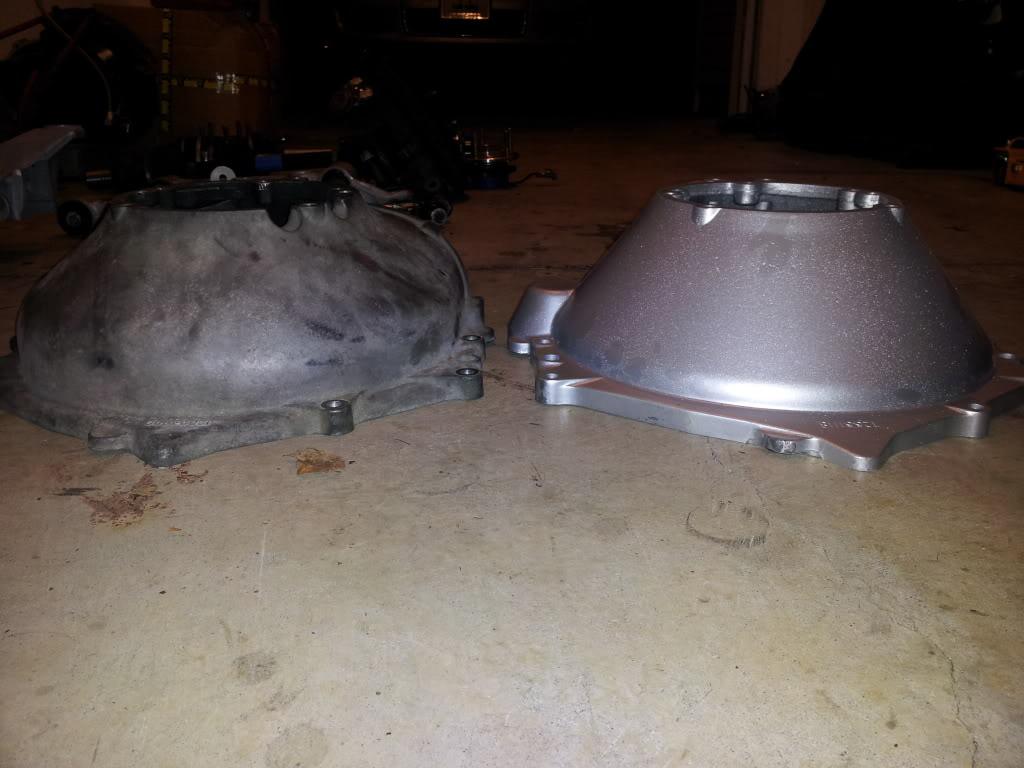
some pics of the differences of the bellhousing.. the auto one is a lot smaller a bit of a diff. design.. 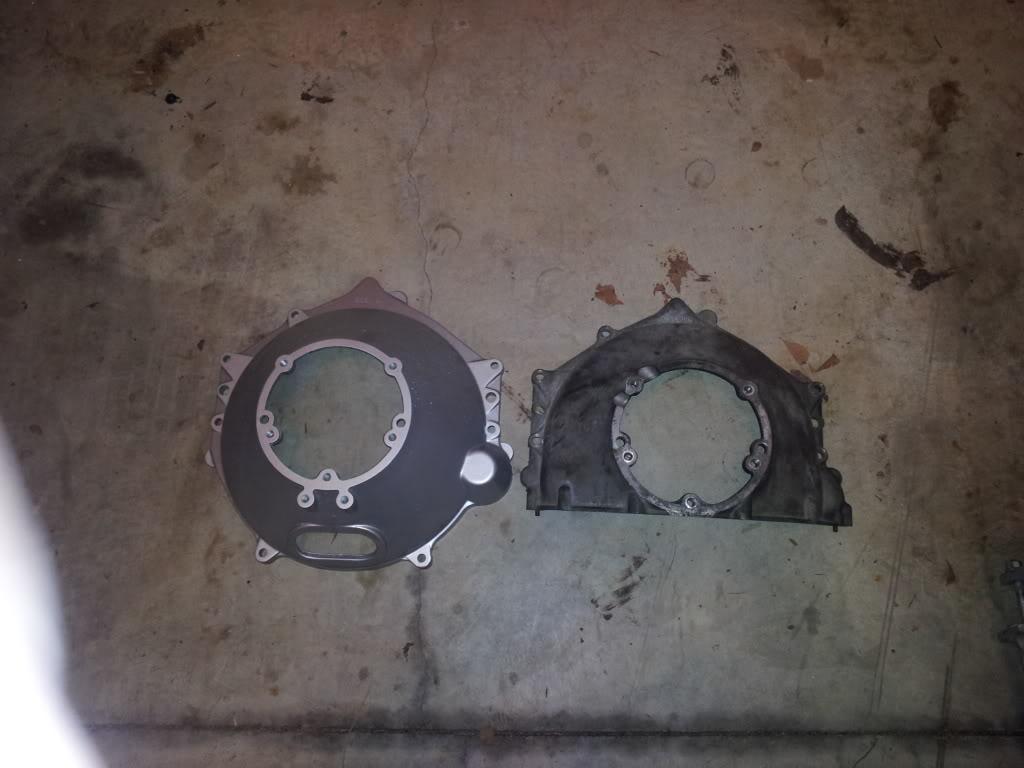
1/22/12
well got a lot accomplished so far...
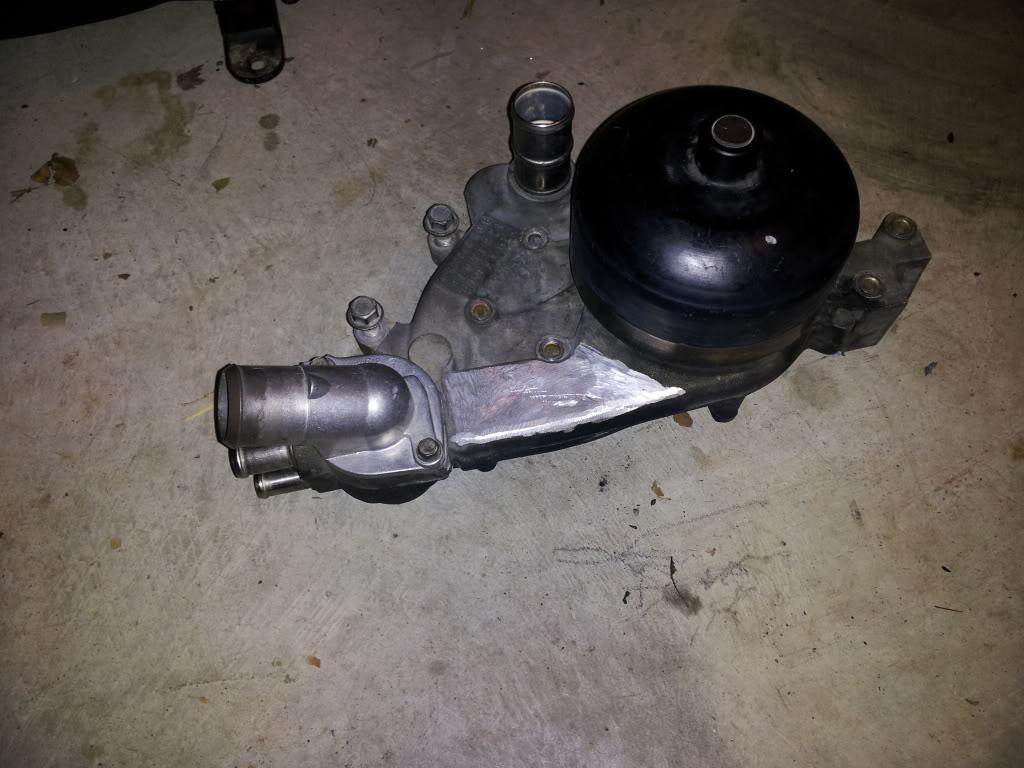
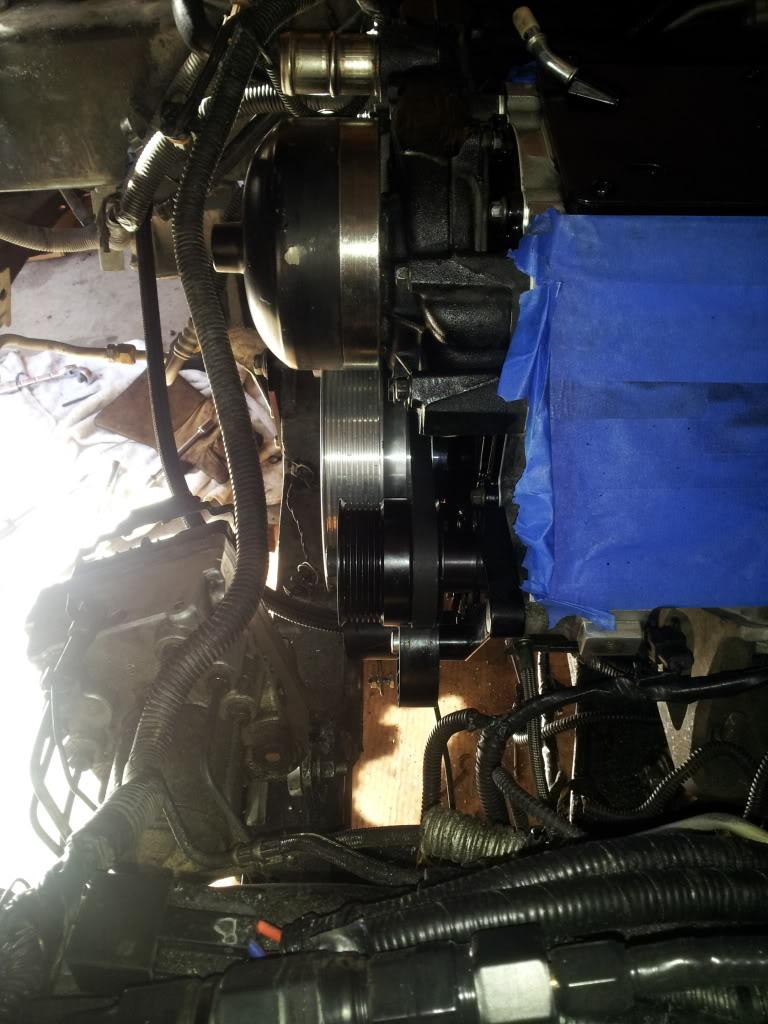
partially assembled alt bracket, alternator, and flip drive kit to check for any clearance or alignment issues. only found issue with lower tensioner and water pump clearance so i had to grind down water pump and bolt on lower tensioner. no problems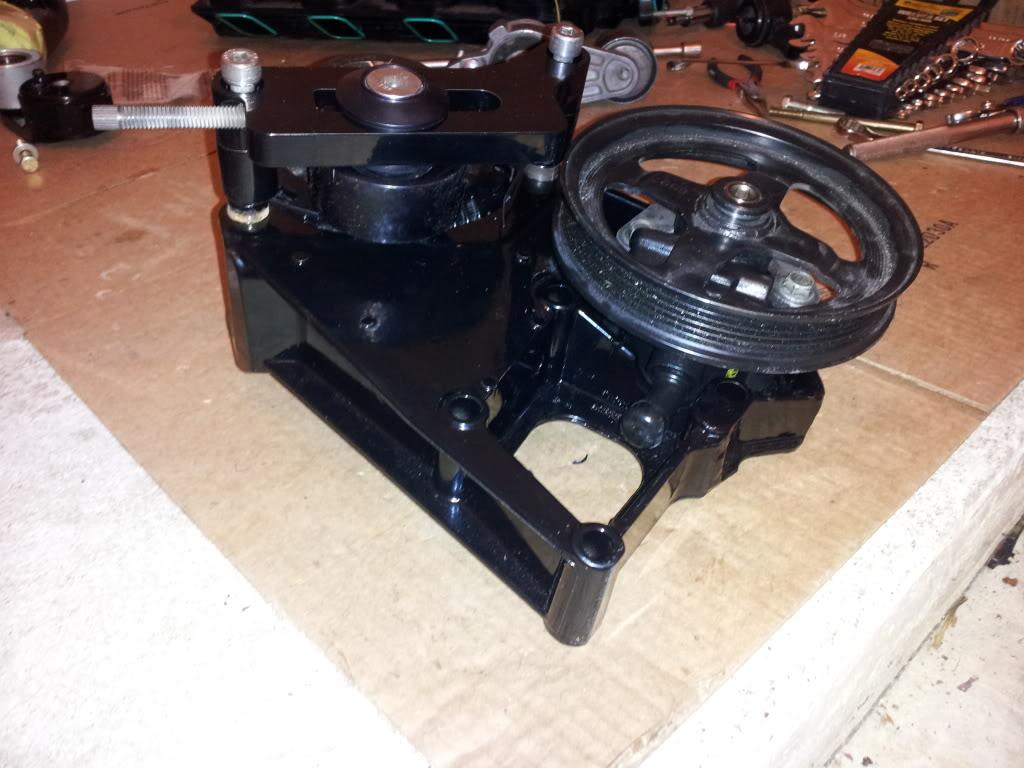
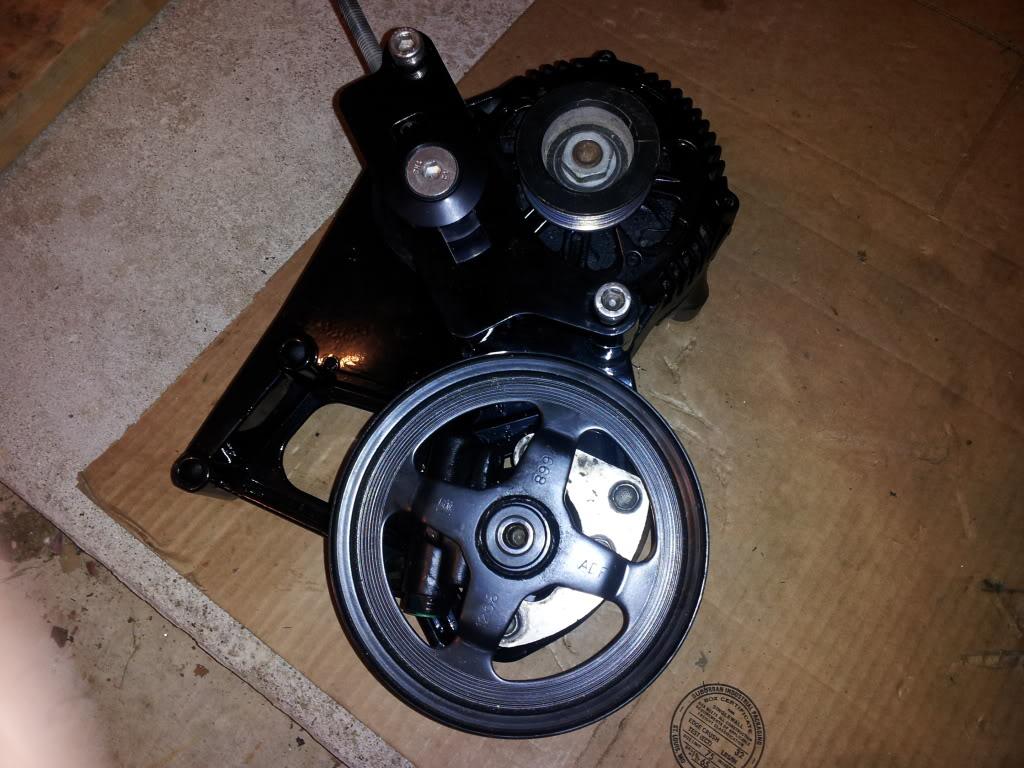
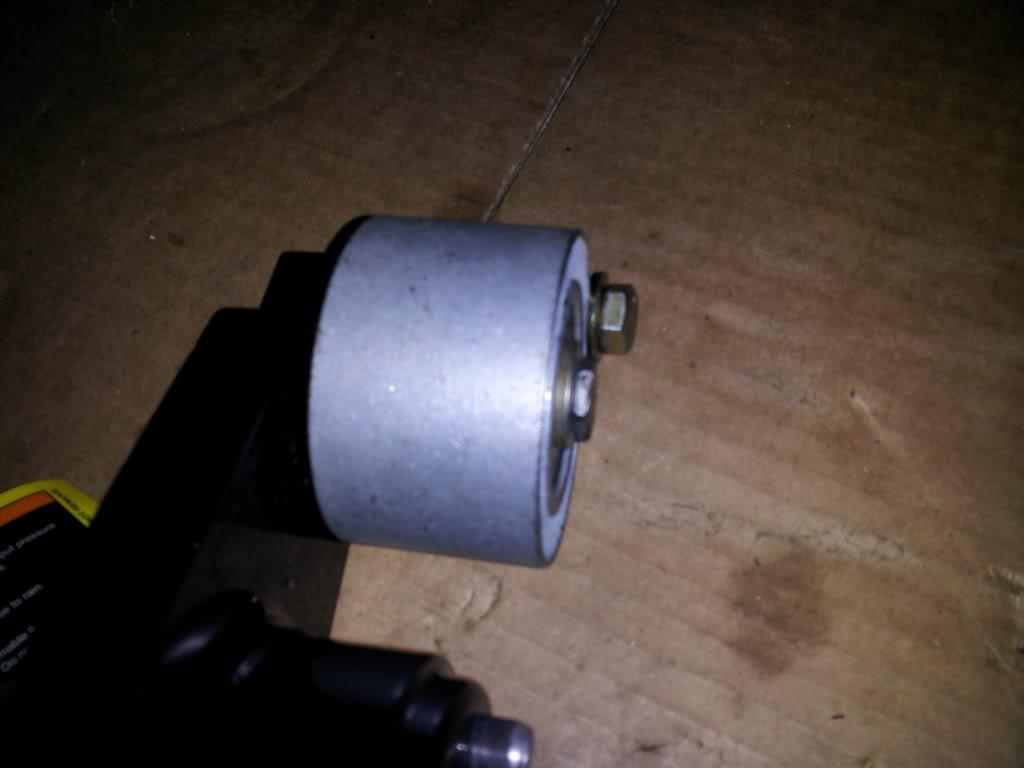
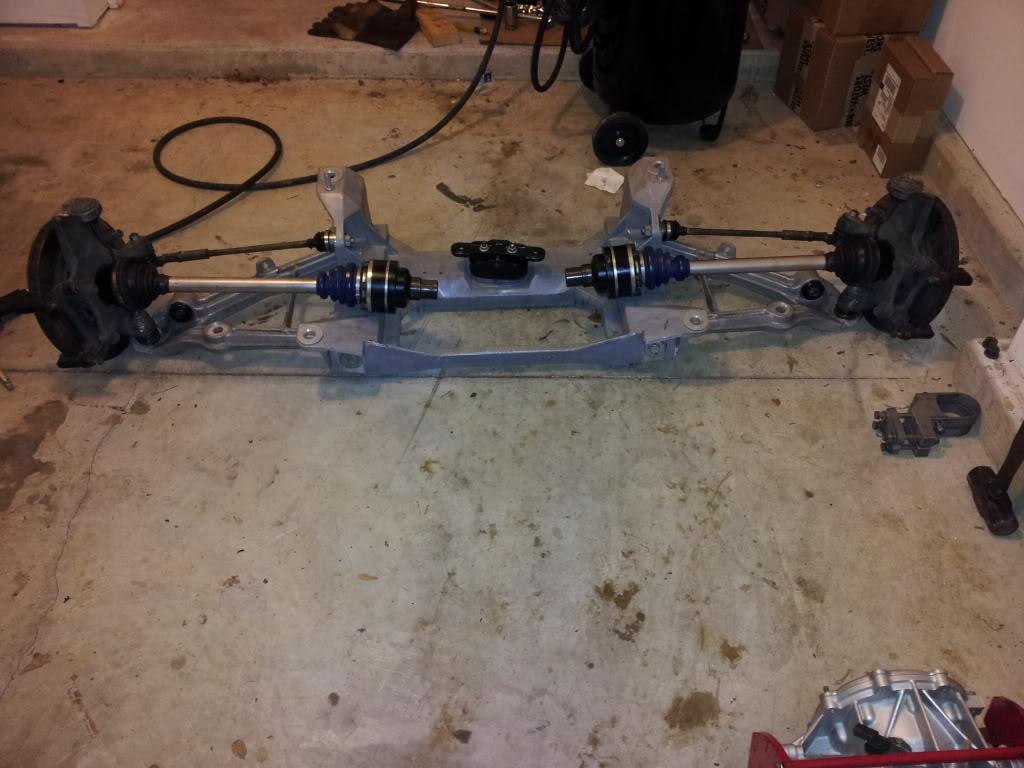
assembled rear cradle and changed out axles and spindles for the new DSS level 5 axles and spindle kit. keep in mind i wont be using the stock rear end mount, it is being replaced by Pfadt mount. 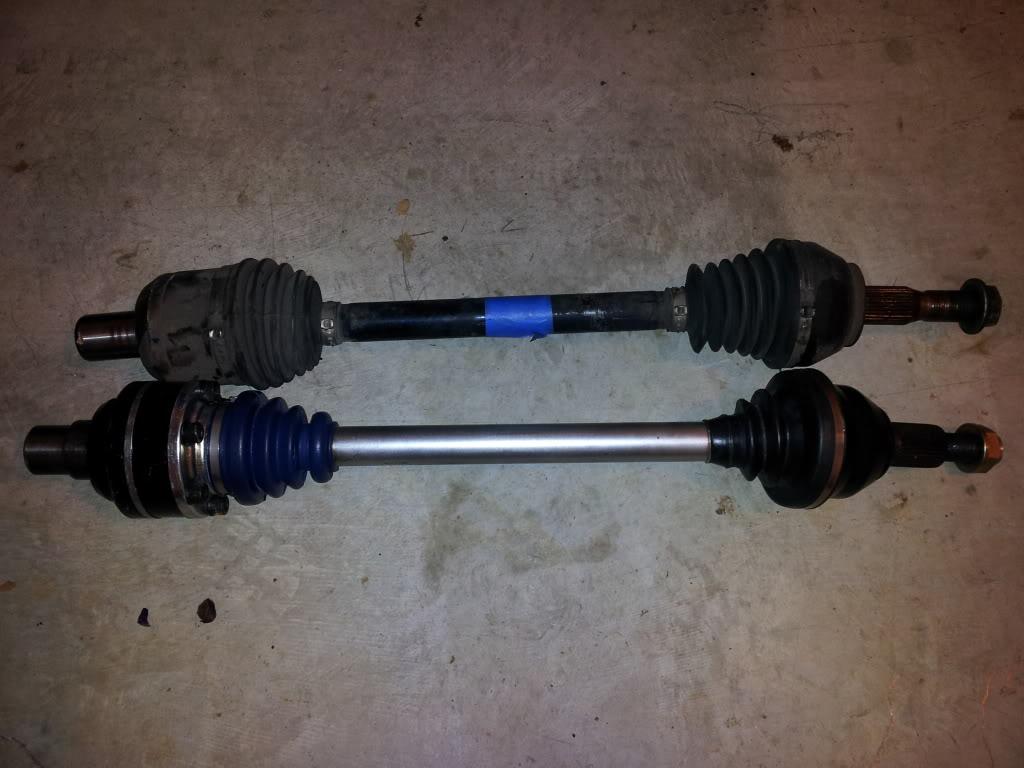
assembled Th400, rear end, along with DTE brace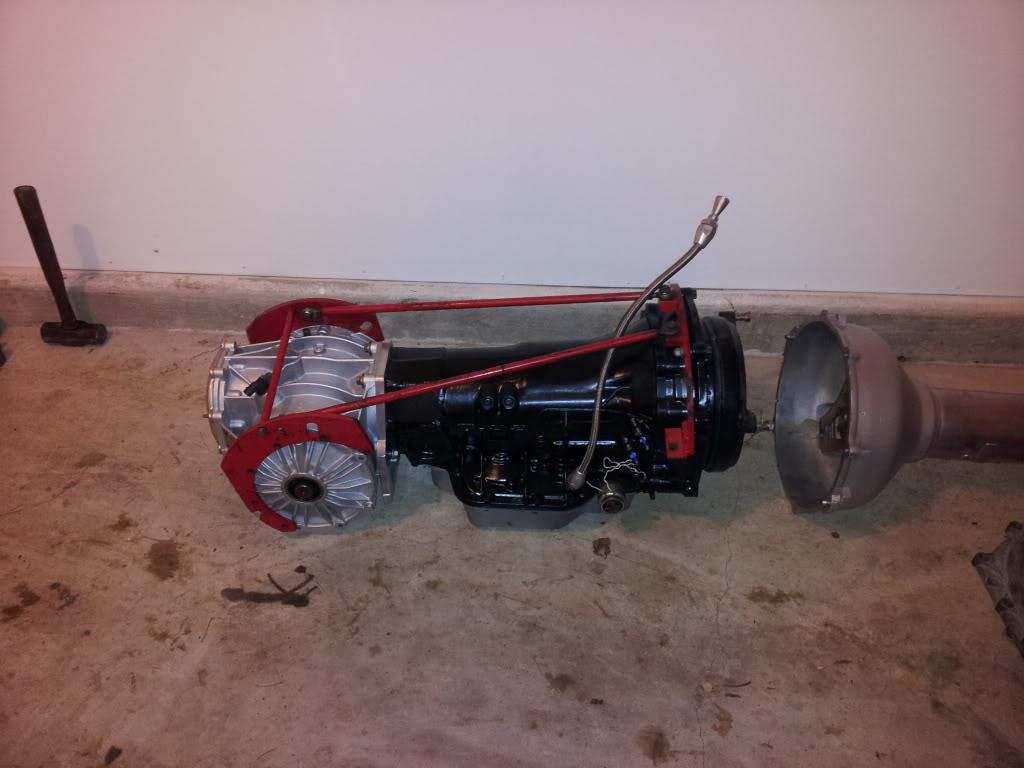
cut the tunnel (wasn't much of a big deal used a sawzall and grinder made it cake walk!) the clearances are very very tight but nothing hits about 1" on all sides.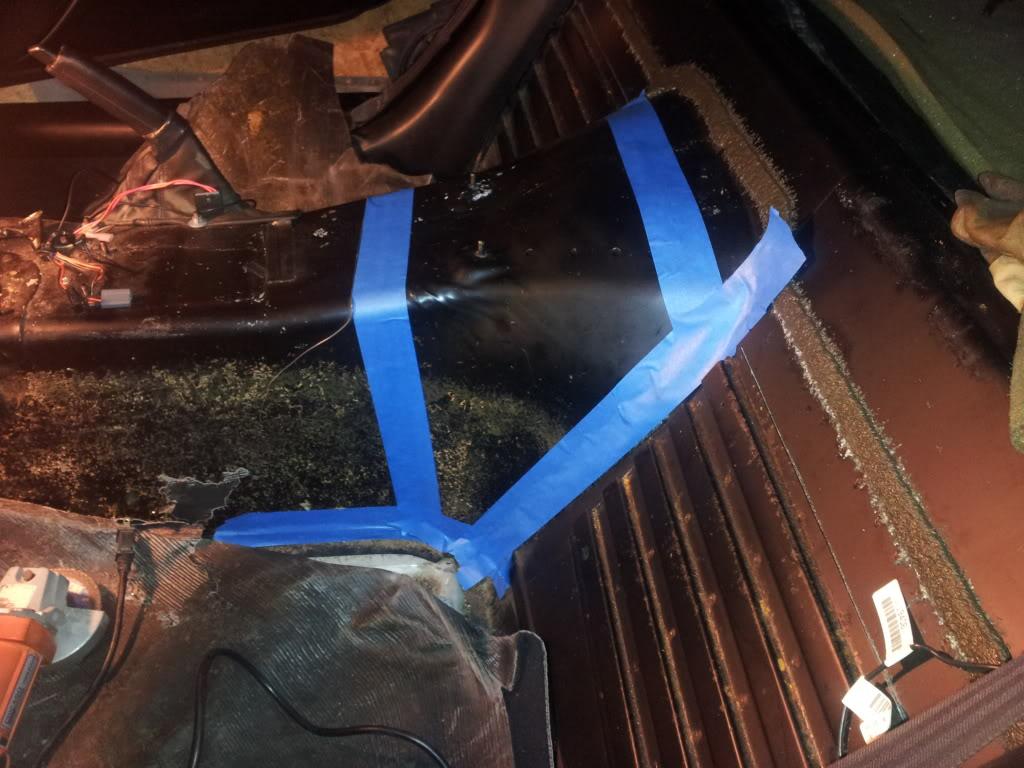
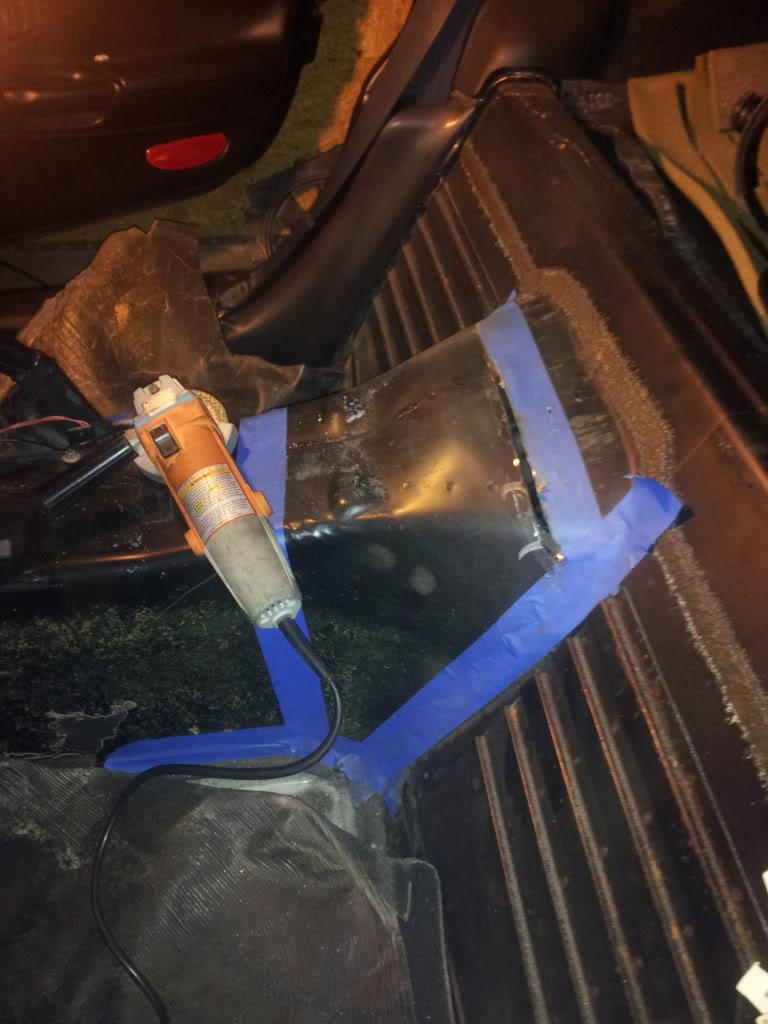

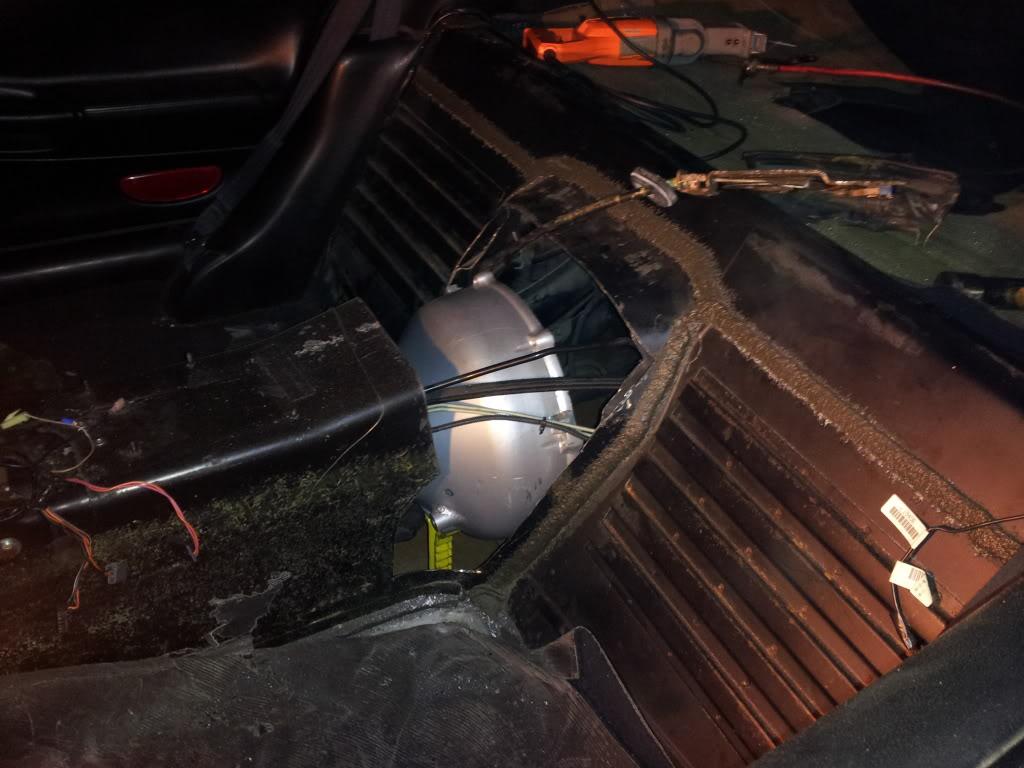
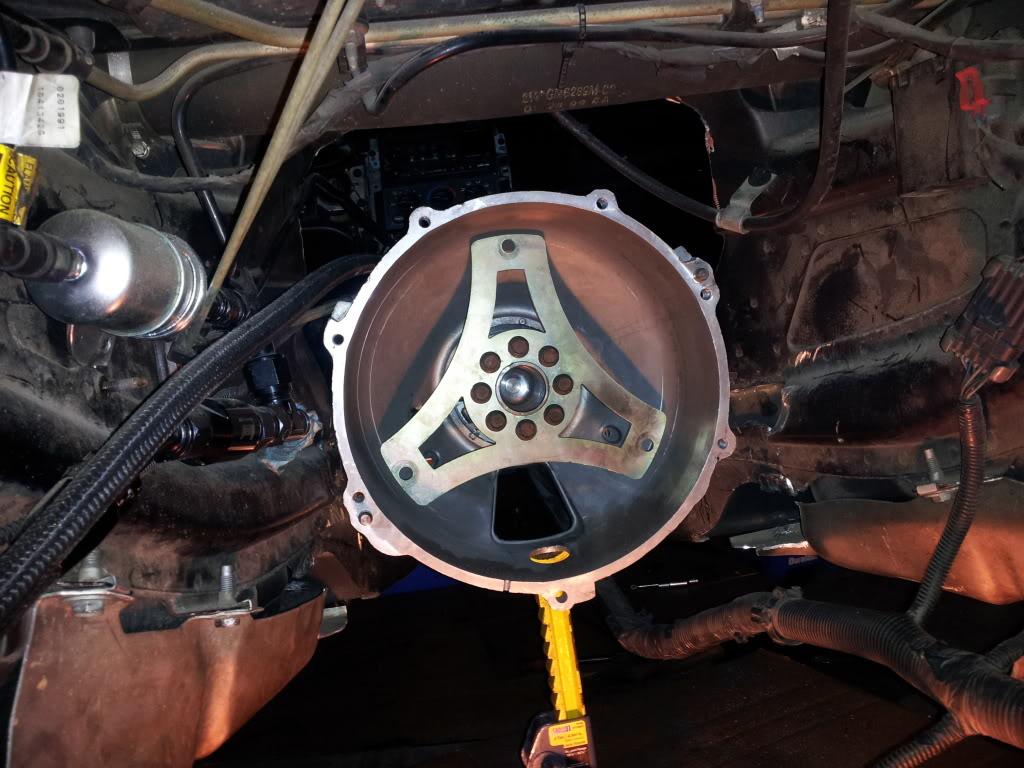
things i still need to get done:
1. double pin crank
2. install flip drive pulleys, lower tensioner, ac belt
3. install trans and cradle
4. run transmission cooler lines and mount double trans coolers shrouded w/spal fan. the fan will be wired to be on at all times. this setup will keep my trans temps at bay no matter the scenario.
5. remove pilot bearing.
1/30/12
Well got a lot accomplished during the weekend and hopefully have the drivetrain back in the car this weekend. First of all I would like to curse the world at the pilot bearing after several of these broken pilot bearing pullers I said the hell with it and drilled that sucker out!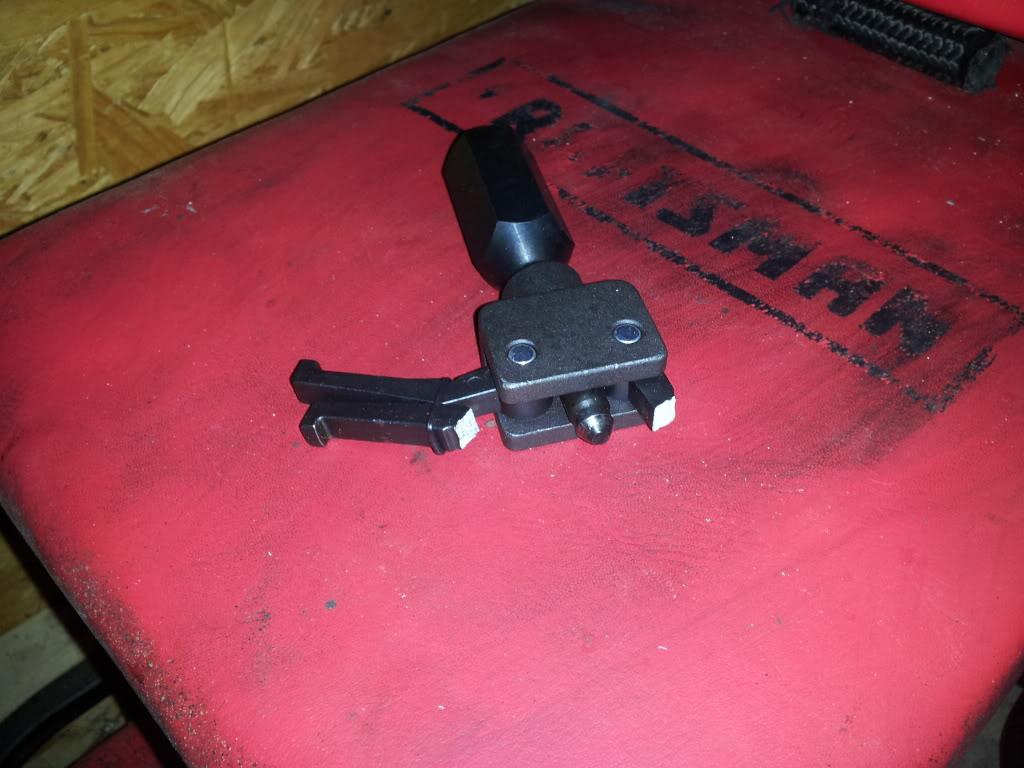
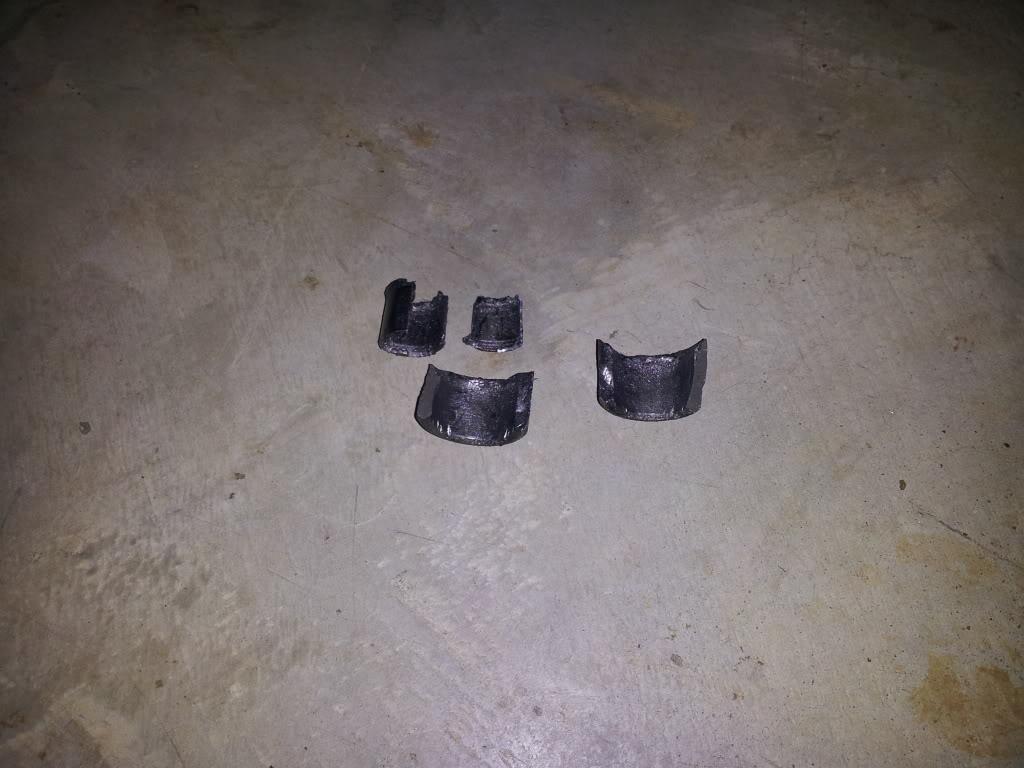
Alas got that sucker out! Go to bolt in the flexplate and wrong bolts FAIL! Now here I have to give a lot of credit to chad over at CBI as he is just a class act that will bend over backwards to help any of his customers out! Sunday delivery for ARP bolts DONE!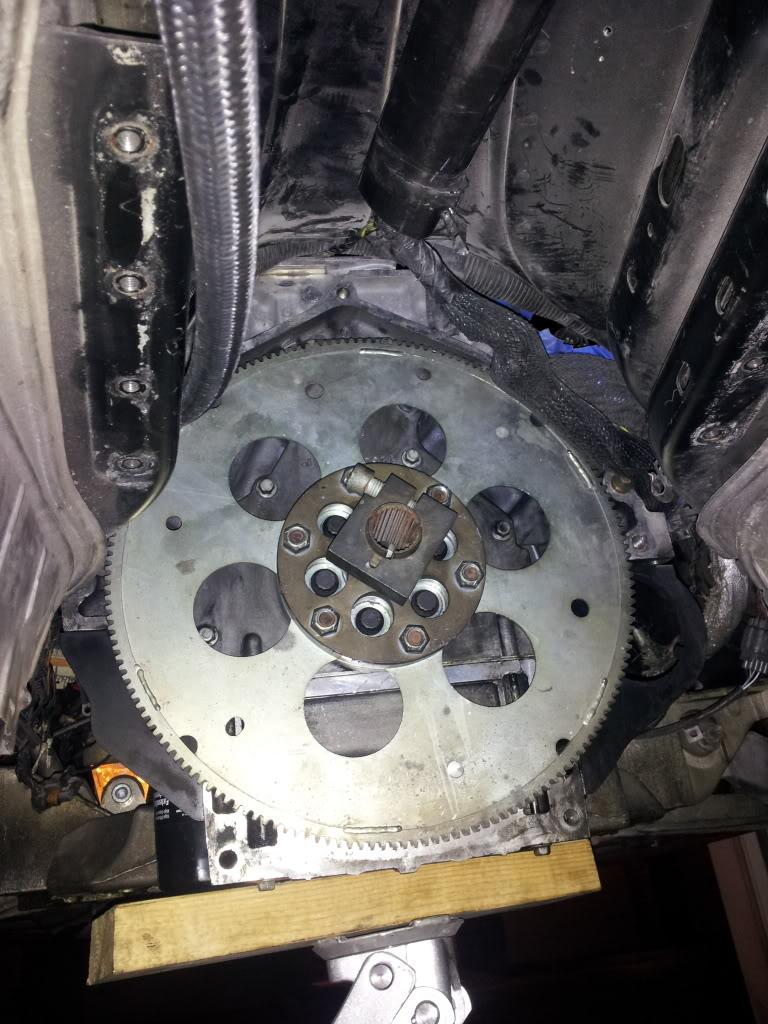
Also finished pinning the crank, mounting water pump, running ac belt to flip drive pulley jackshaft, and installing ECS HD bottom tensioner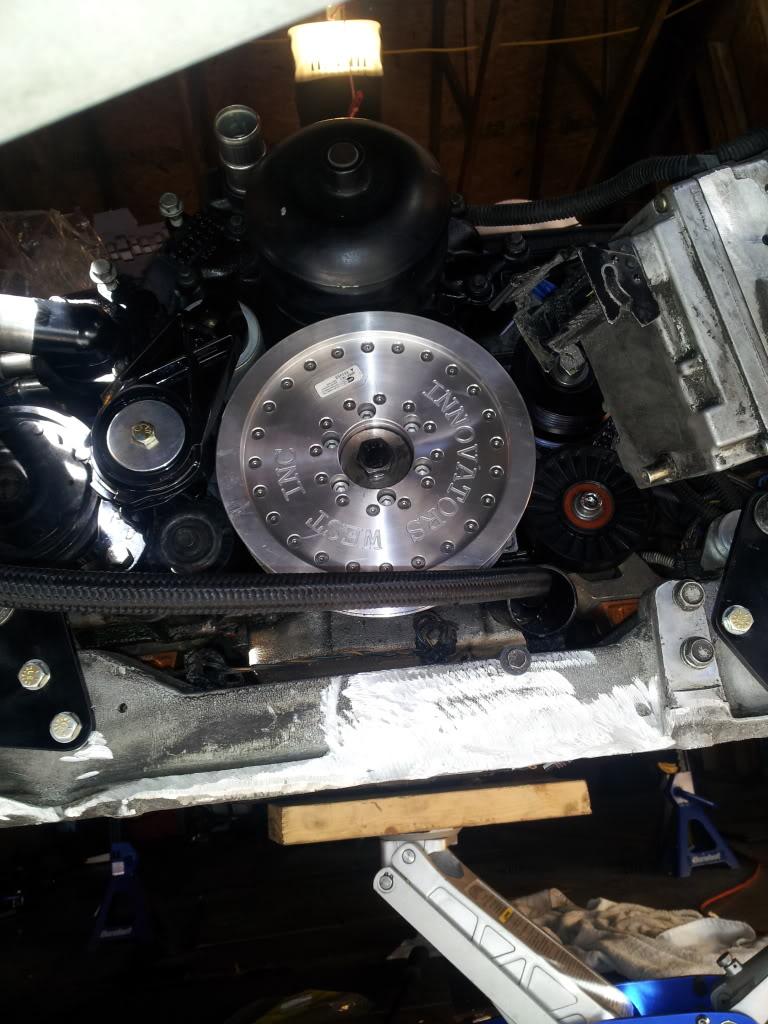
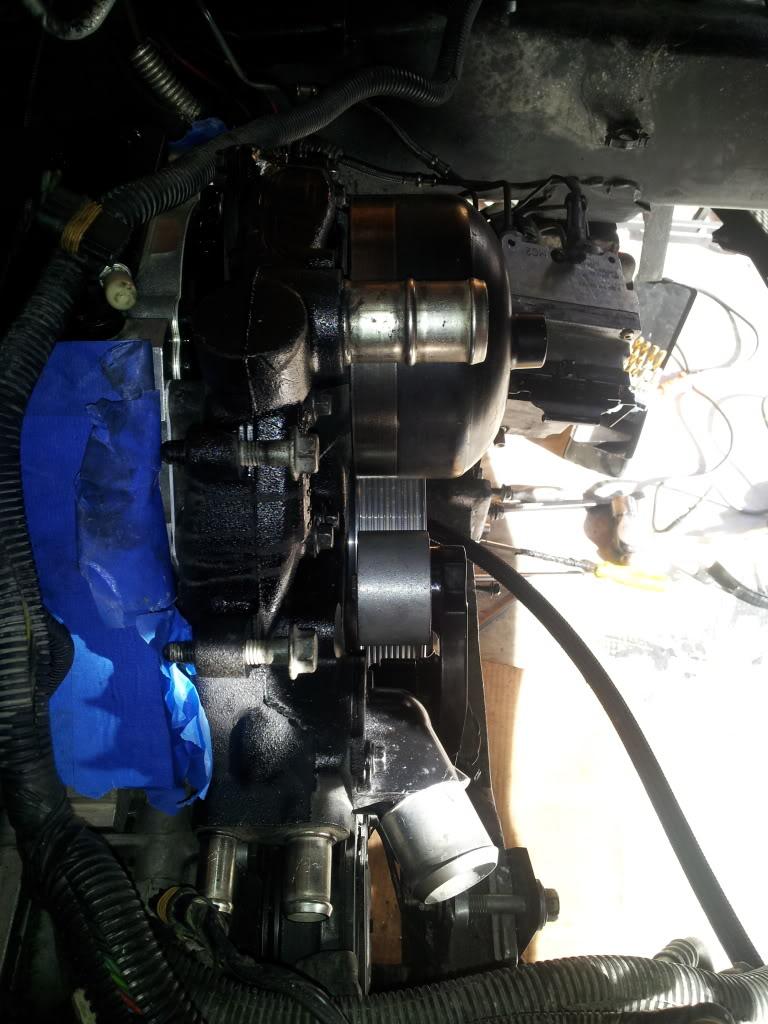
Made my own Pins to go into the crank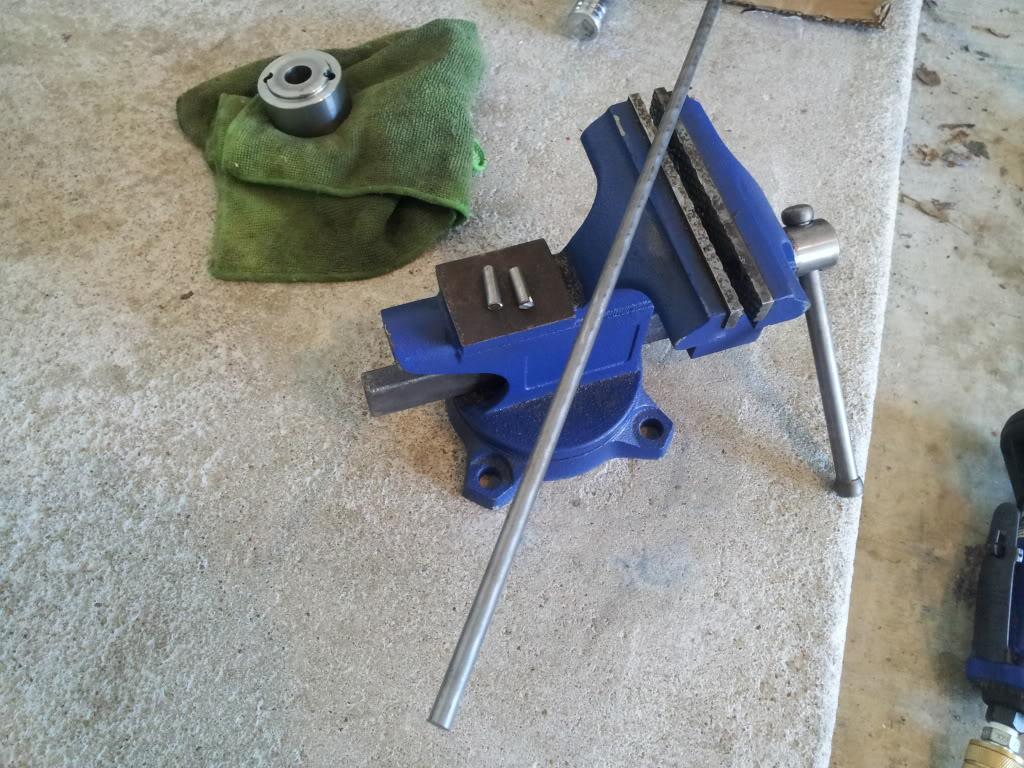
Also finished up my Scorch tranny cooler system it will sit at the front passenger side bumper with plenty of air getting to it from the tiger shark fascia as well as some ducting going to it. The fan will be ran at all times without a temp fan controller. With this Th400 and converter I won't have lock up which adds a lot of heat to the system on the highway etc The biggest enemy of any trans is hot trans temp. I made sure that this system will be up to the task and keep temps below 175 at all times.
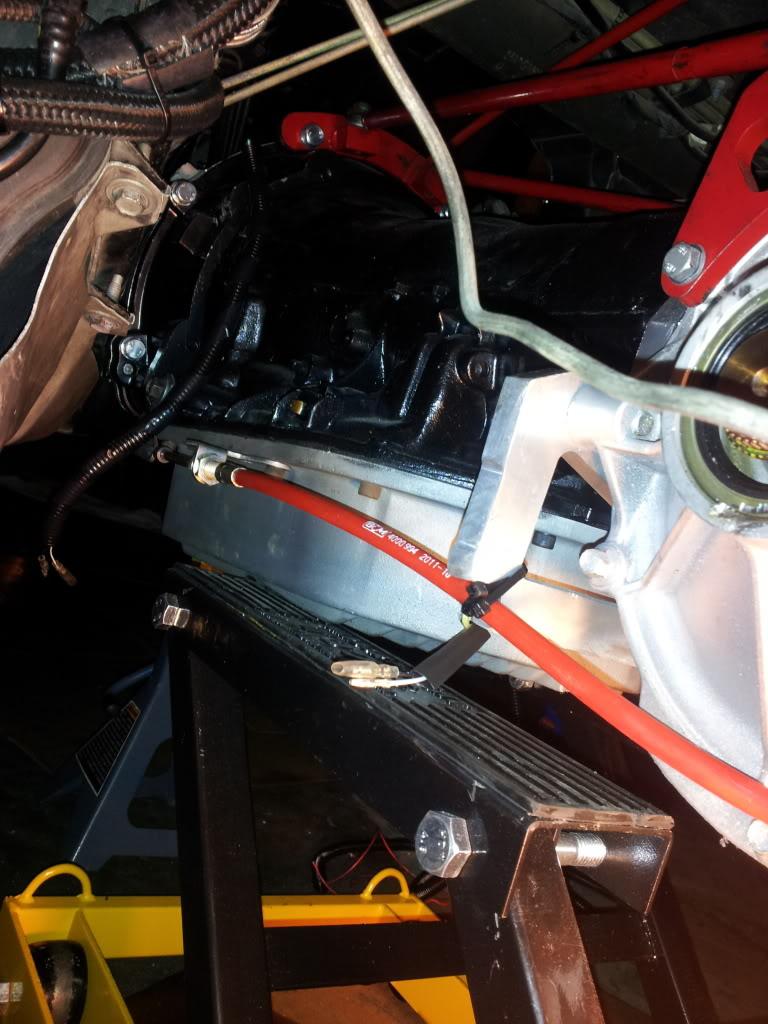
Hard to see in the pics but they are 3 tranny coolers ran in sequence with a high cfm fan. The inlet and outlet lines at the cooler will be converted to -6an lines that will go all the way back to the trans. 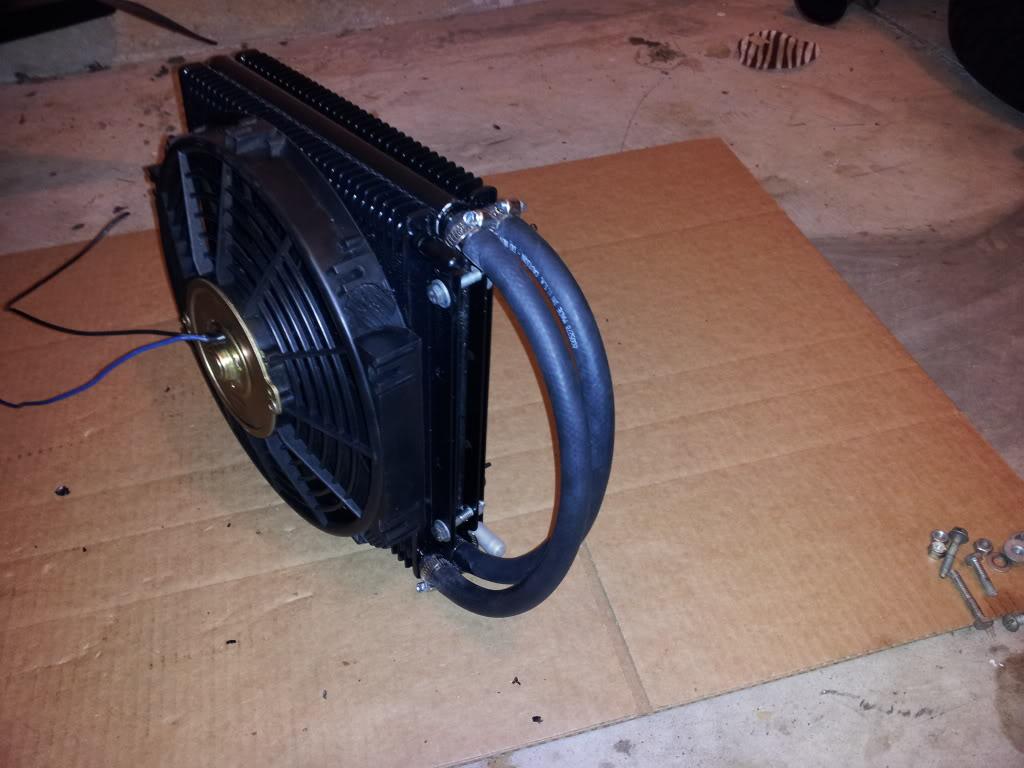
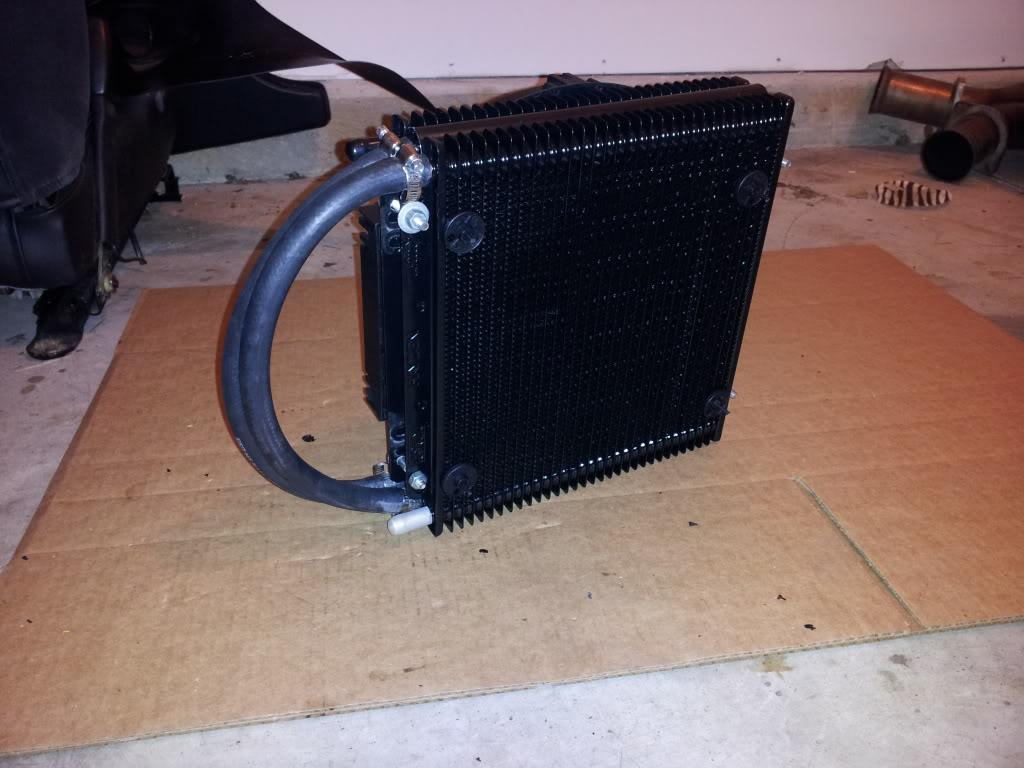
Mounting bracket will attach to frame. 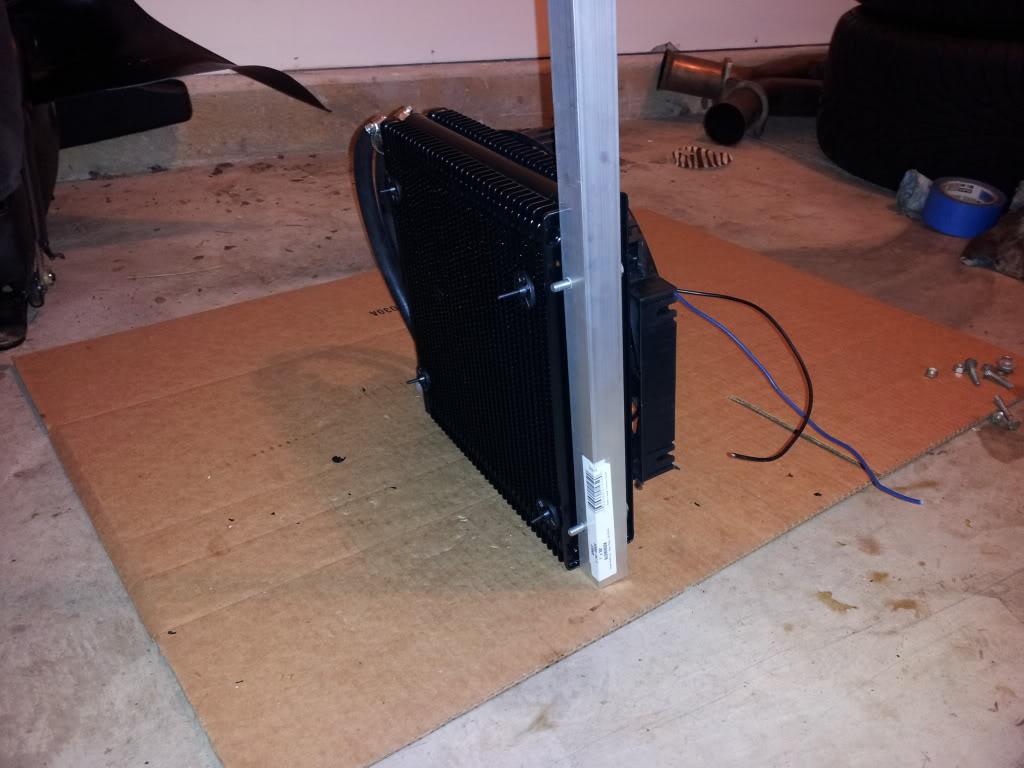
Also swapping over the c6 PS pulley to c5 ps pulley in the pic you can see the c6 pulley is a lot thicker on the sides hence the issue with it hitting the conversion fitting and needing to be milled down in order to work. 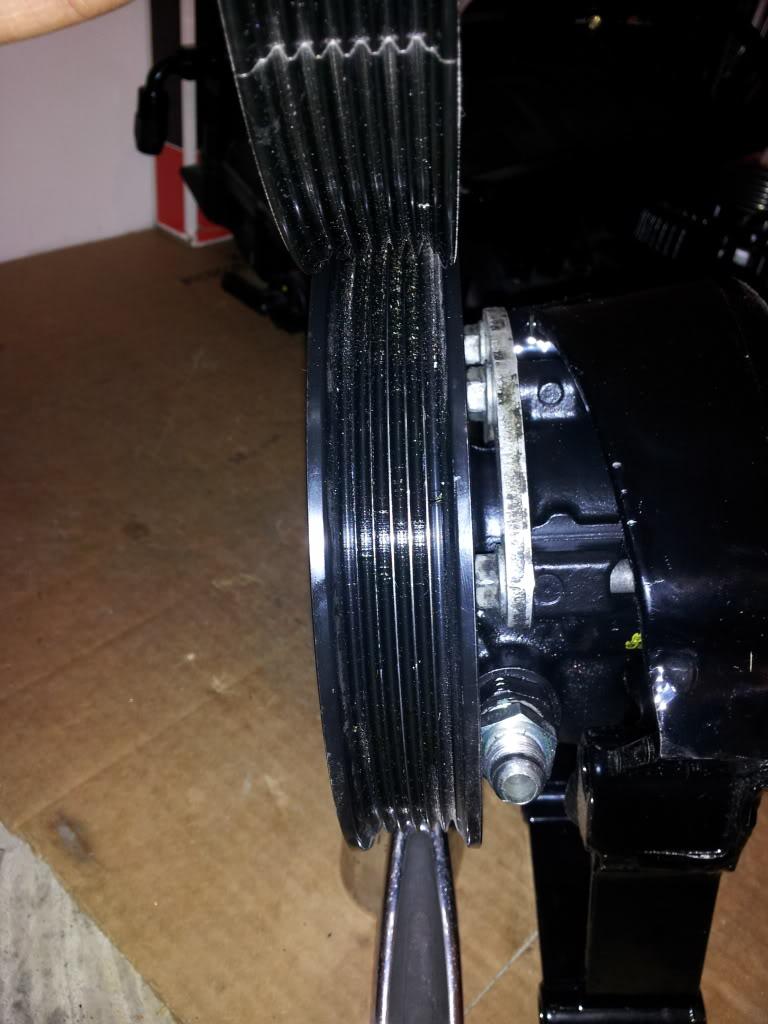
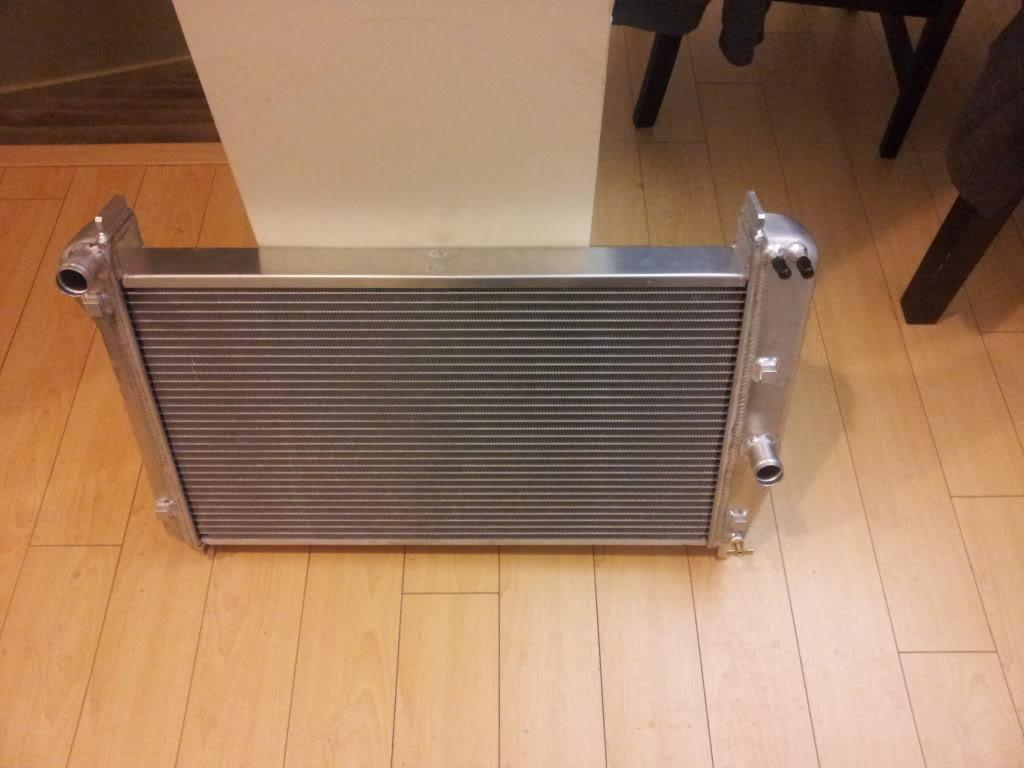
Also a couple of pics of the custom shorter radiator 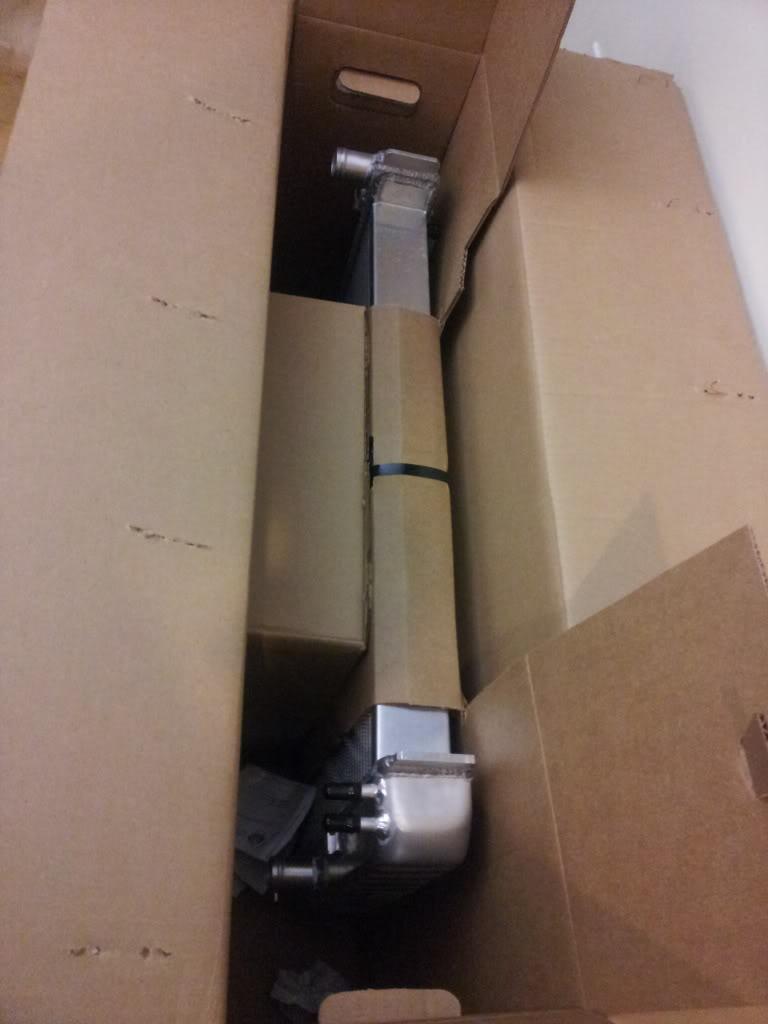
I have been getting a lot of PM's in regards to my Evac system and I figured I would just post it up instead. It's pretty simple but will work great!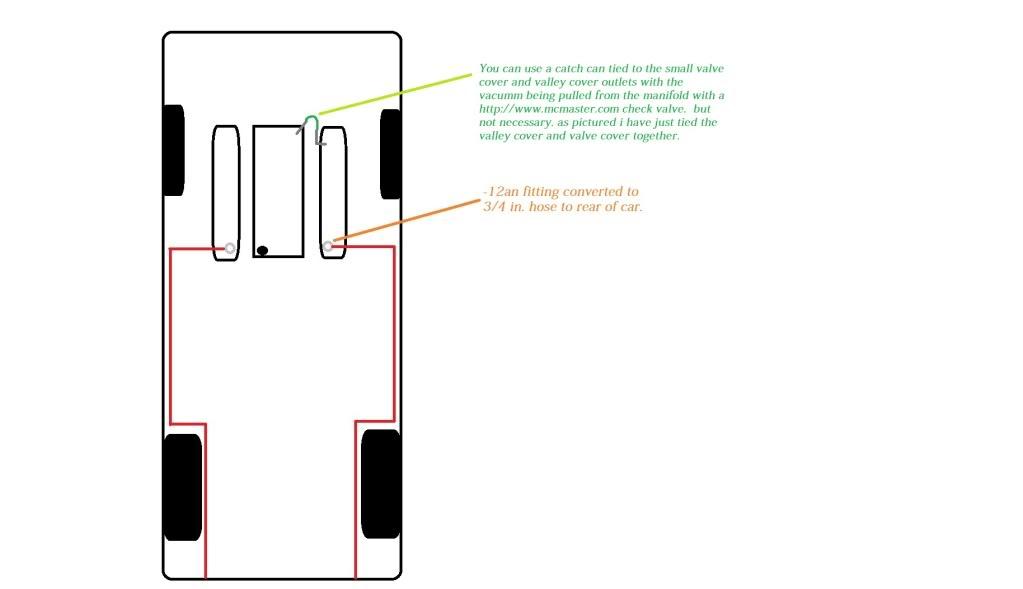
ready to go in!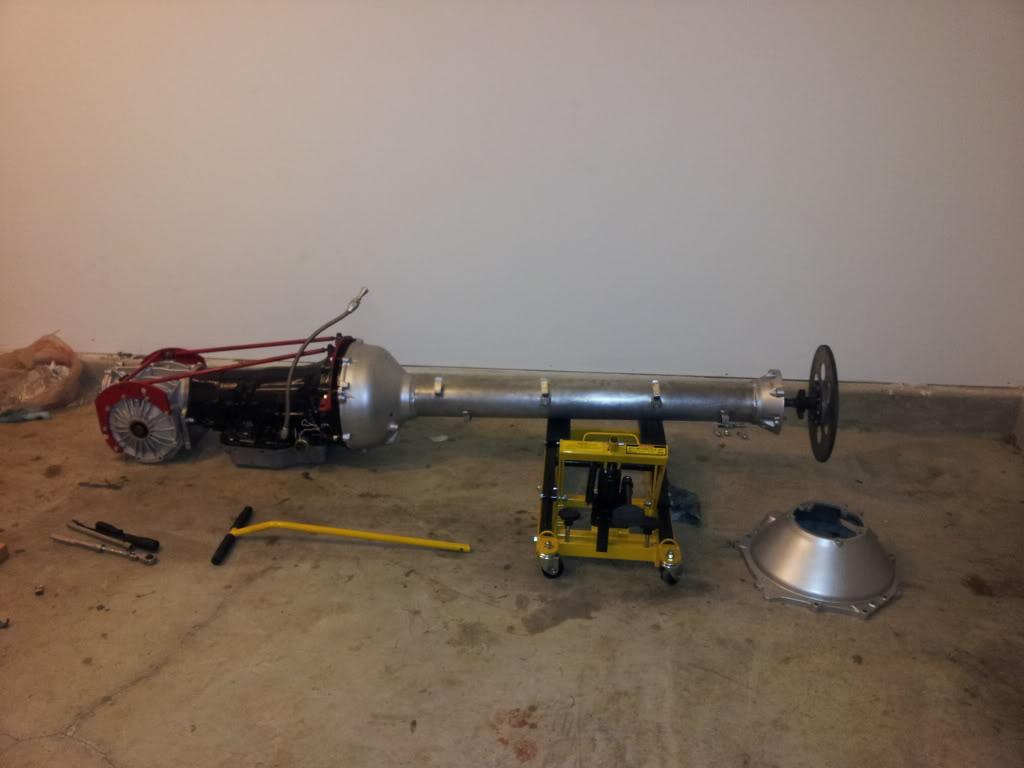
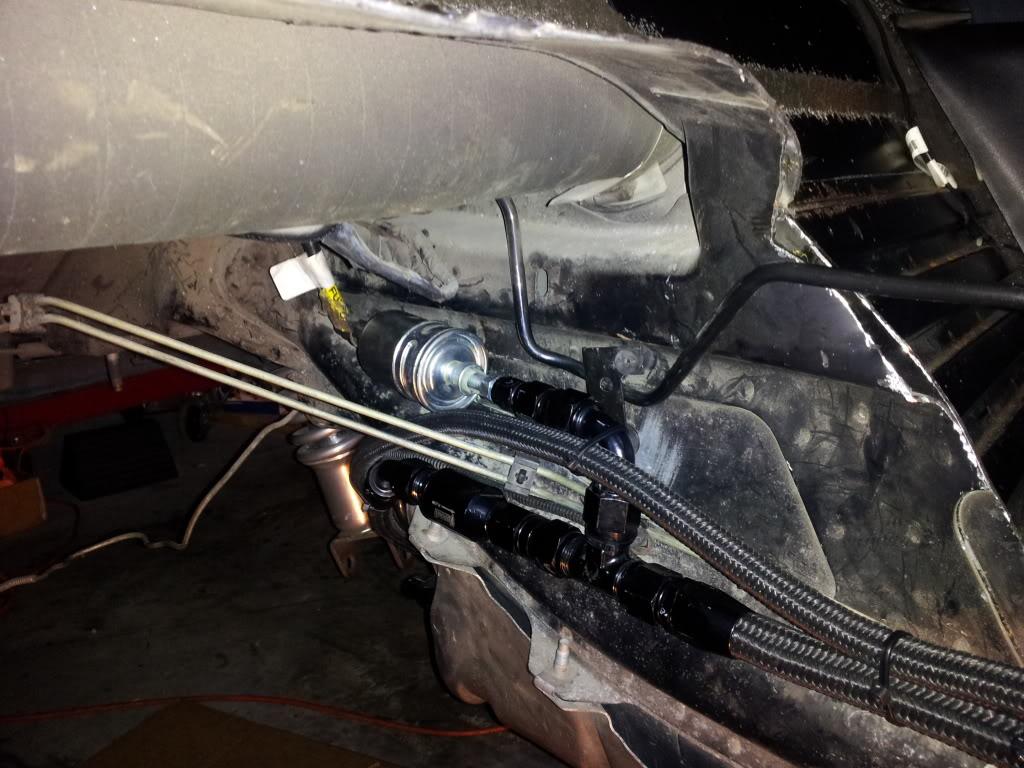
Had to re-route some of the fuel lines stuff to clearance the trans as well as protecting the lines that are close to sharp edges or heat but it's all secured now and ready to go!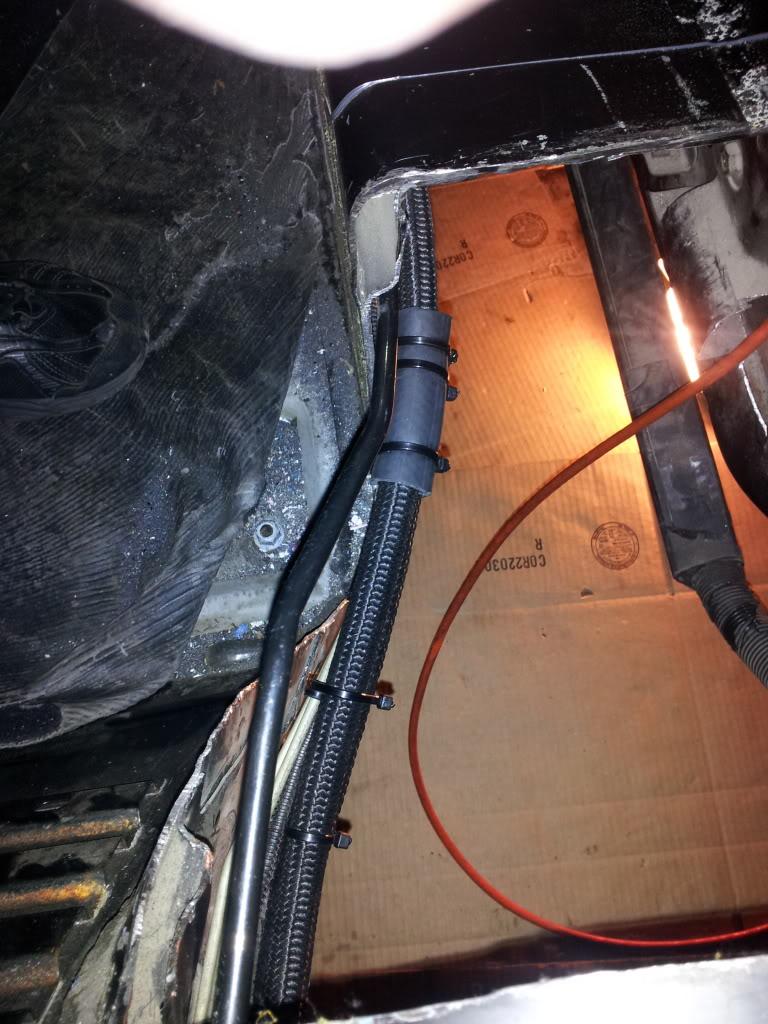
Got the bell housing on and hopefully tomorrow the rest of it will join it.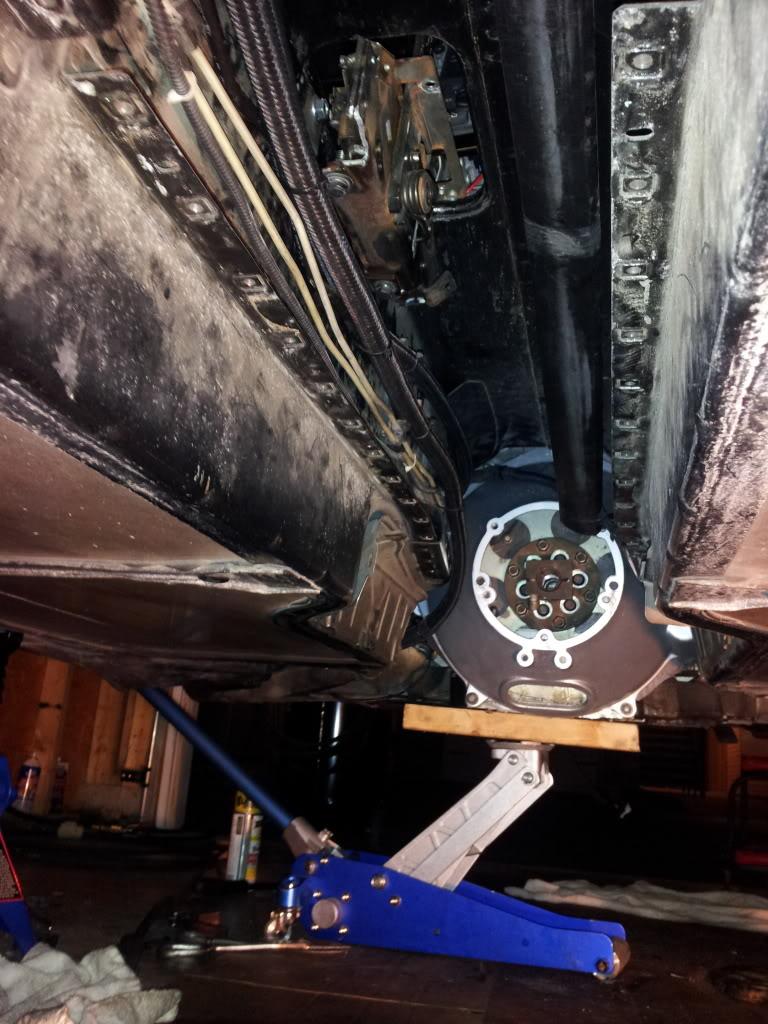
I will be keeping the clutch pedal and putting a return spring on it. The switch on the floor that was used as a neutral switch will now be utilized as my trans brake switch. 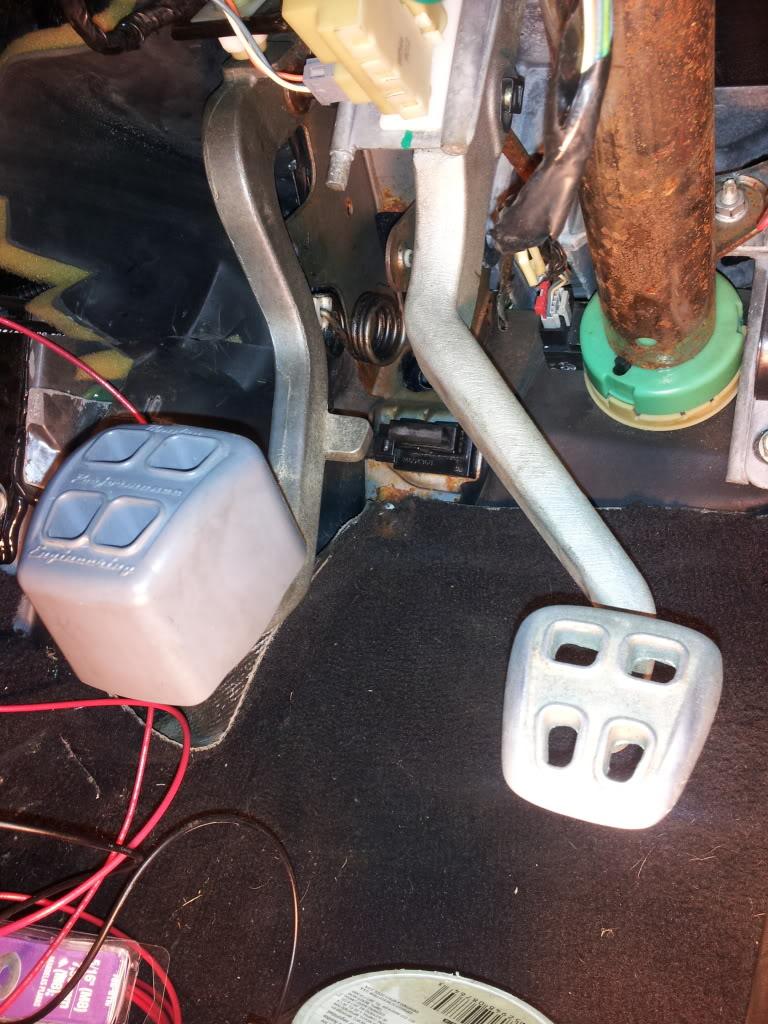
1/31/12
Well. Couldn't find anybody to help me stick this sucker in the car sooo I just had to go solo! Fits like a glove!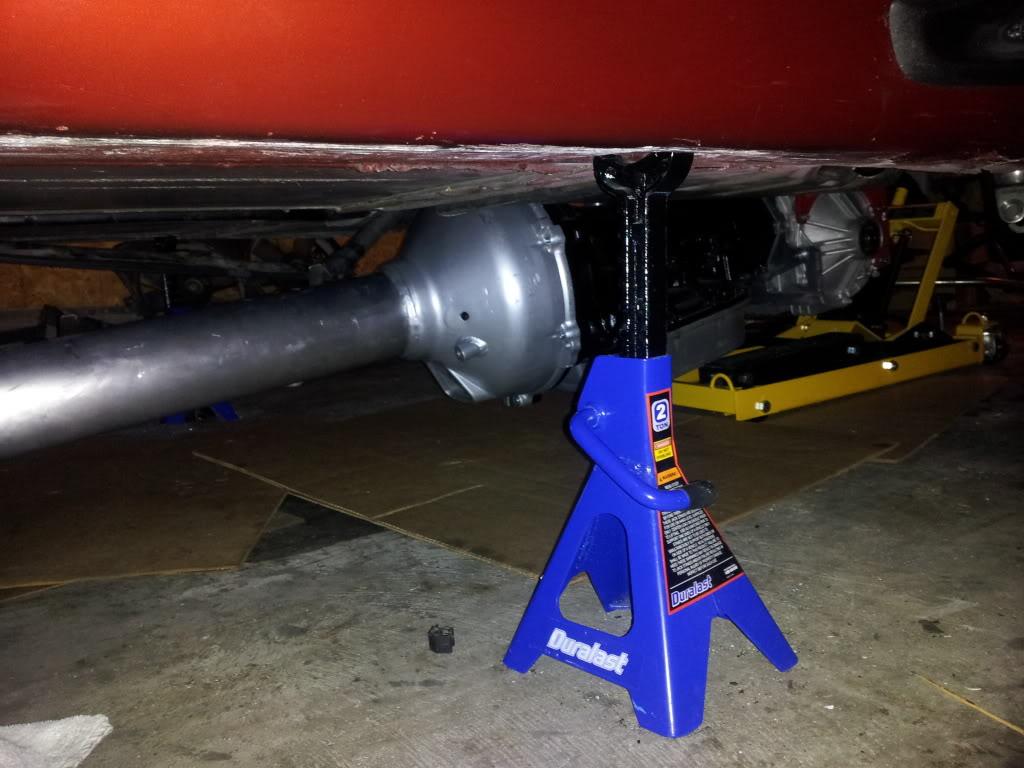
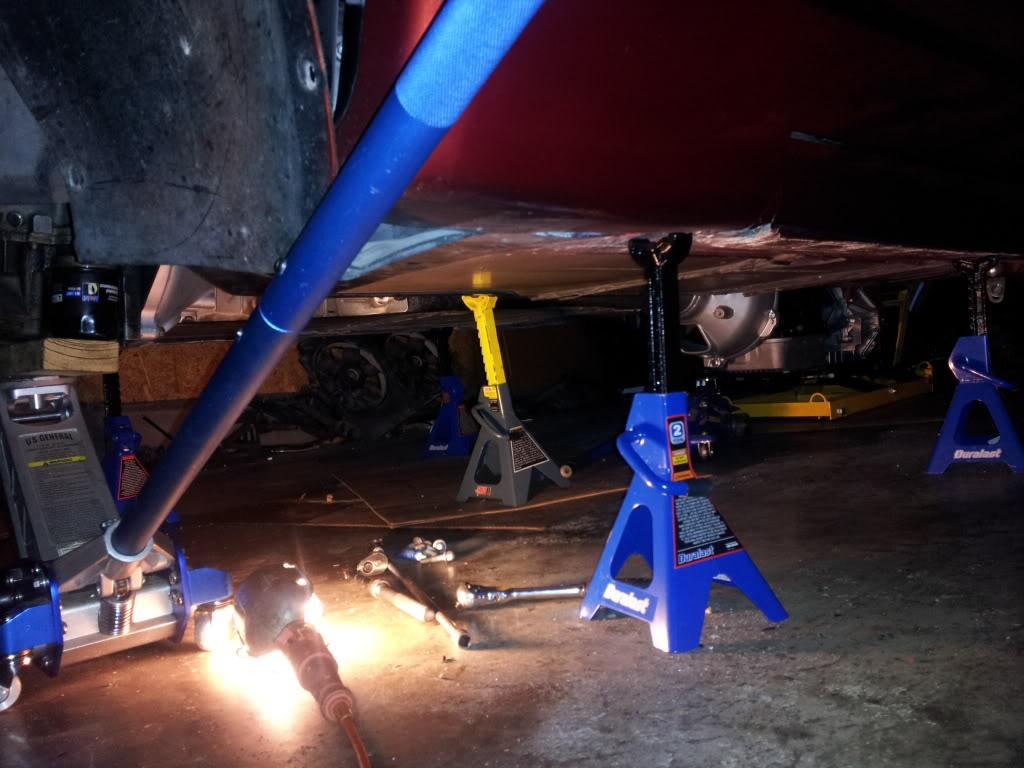
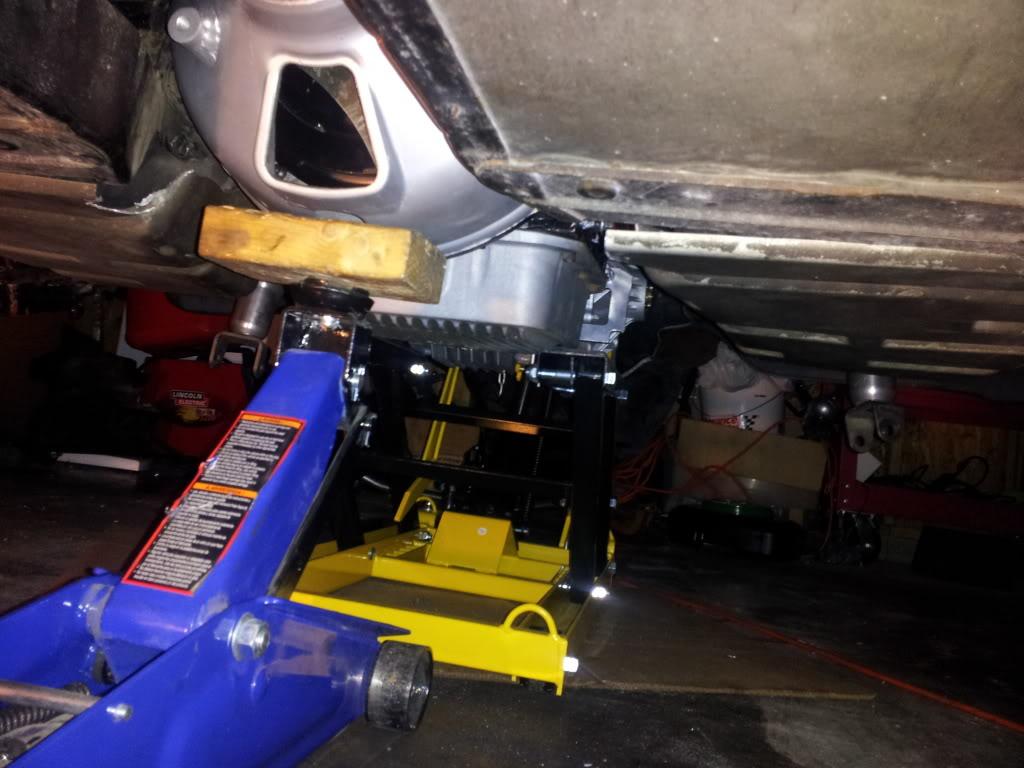
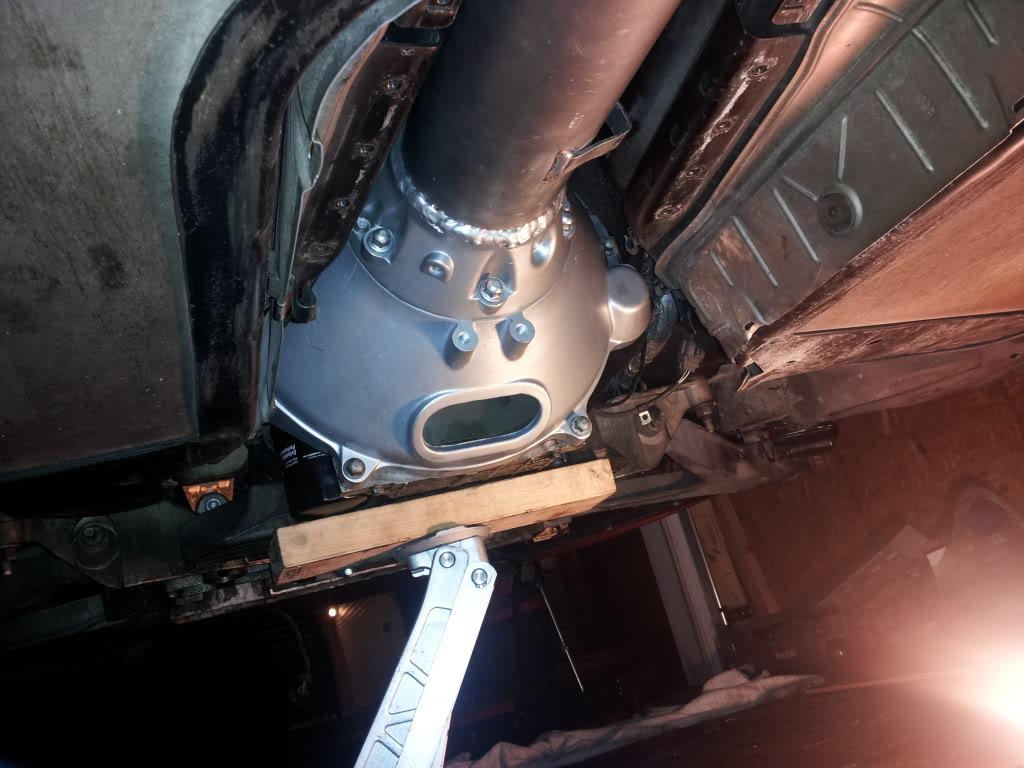
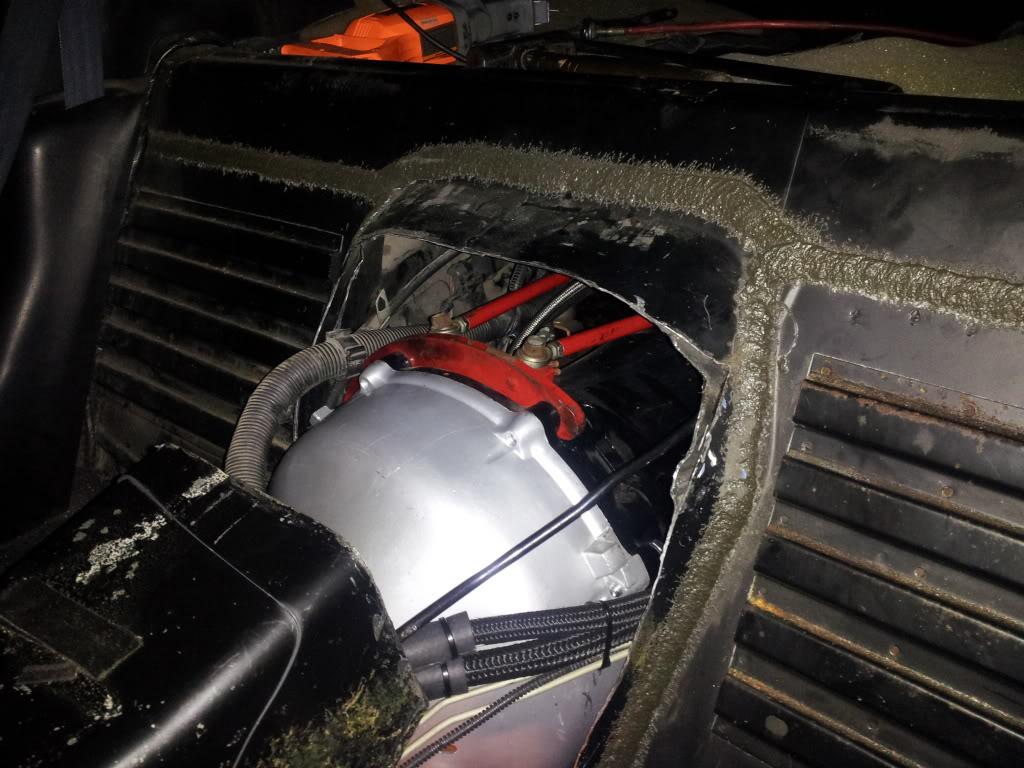
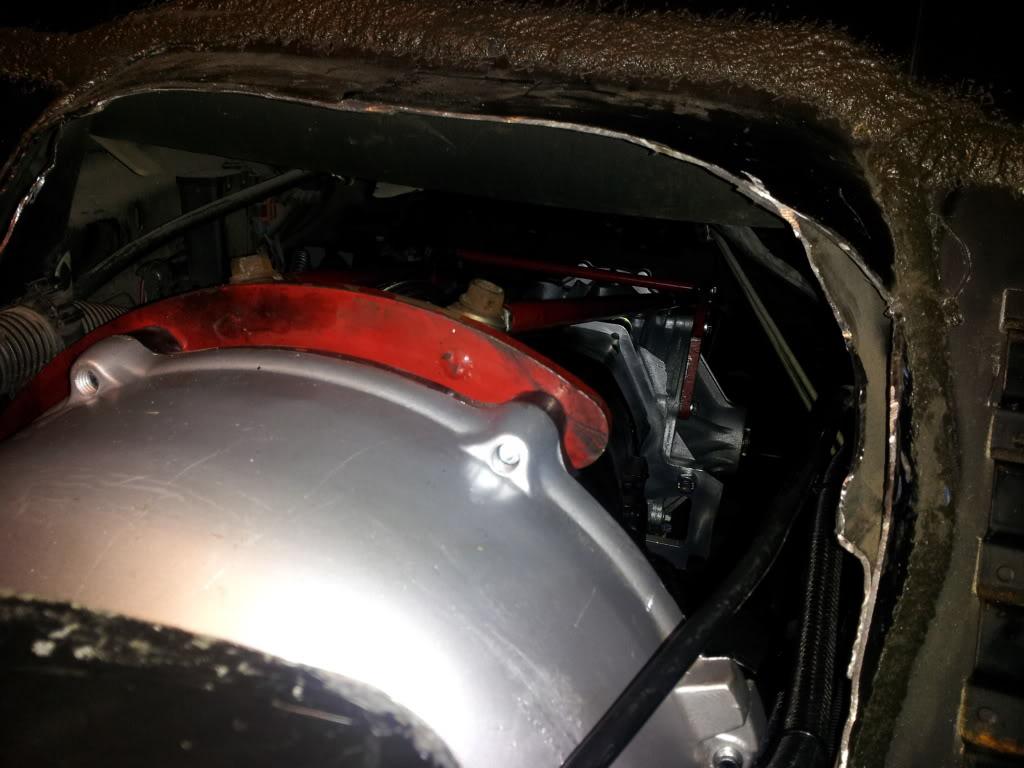
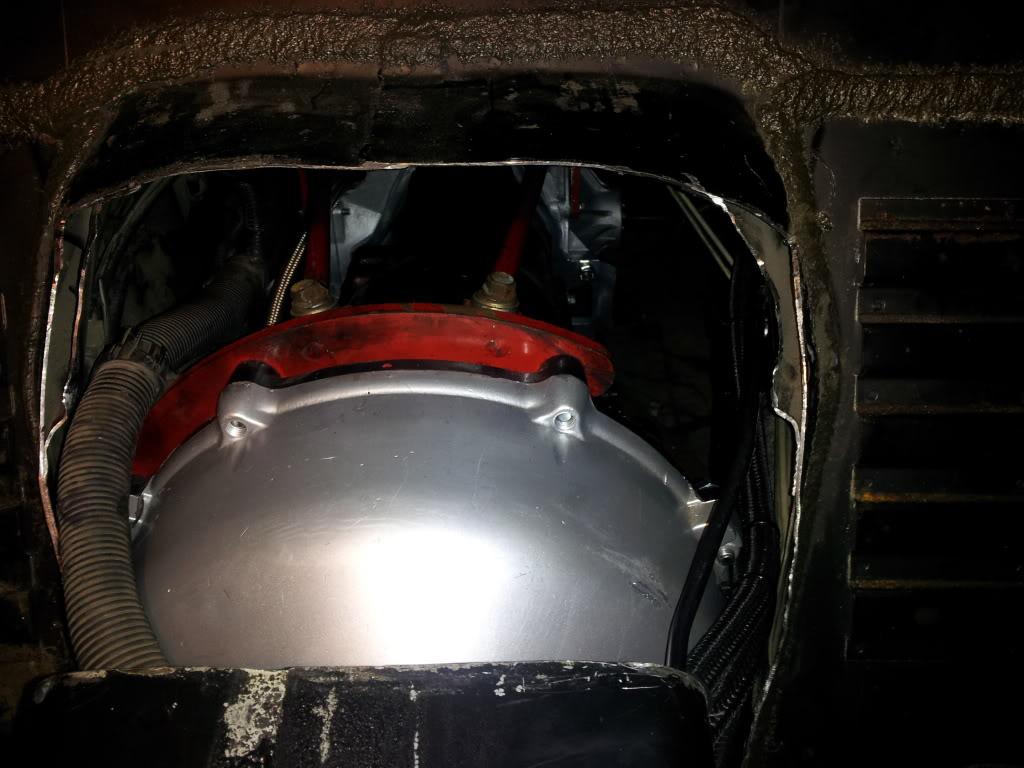
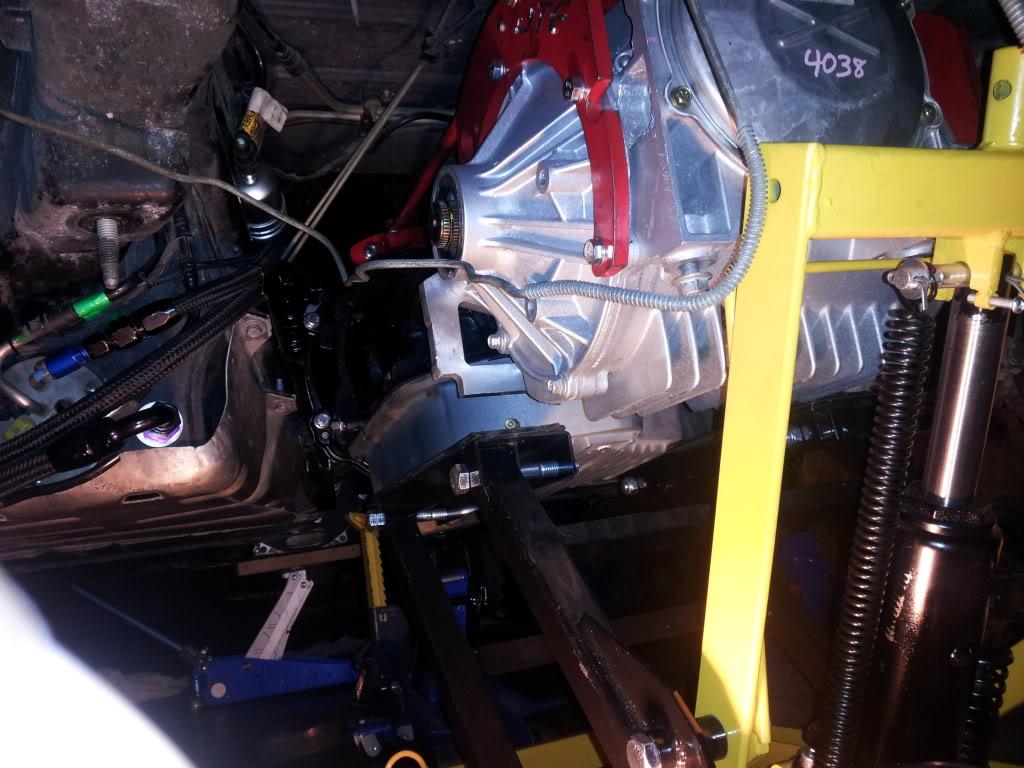
2/13/12
What do we have here all suspension gone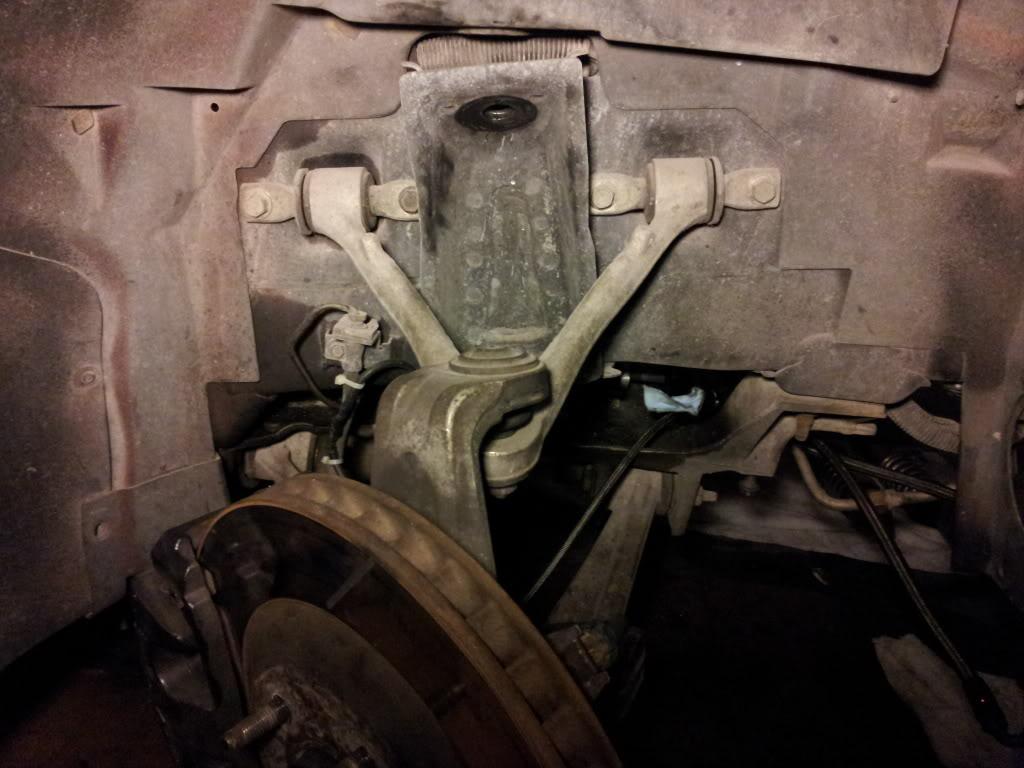
Well as you can imagine this has gone into a complete snow ball effect .
I decided to redo the suspension with all the right parts to be able to hook and book. In comes in PFADT with their unrivaled knowledge and products in the corvette market and more specific to me in drag racing.
FeatherLight Generation Drag Racing Coilovers- Single Adjustable - http://www.pfadtracing.com/catalog/p...roducts_id/260
C5 Rear Sway Drag Bar ( I will not be running a front sway bar as I will be running slicks and skinnies) http://www.pfadtracing.com/catalog/p...roducts_id/256
Haven't chosen which bushings I will be using complete poly or Drag Race Spherical Bearings as the car will still see a fair amount of street duty. I cannot say enough about the PFADT crew they spend the time on the phone making sure you're getting exactly what you need and not just trying to sell things. Let's not forget these products are proven and have def. helped cars with setups similar to mine achieve consistent 1.2-1.4 60
I have also replaced the stock trans mount with the Pfadt C5 Transmission Brace which is a must have for any high hp C5 and completes the package with my Pfadt engine mounts.
I have also changed my plans on gauges and decided to go with a product I haven't seen on here much but it is def. a high quality product packed with features for a ¼ of the price of similar gauges!
Prosport Halo gauges were a no brainer for me. I went with the Boost, fuel pressure, and trans temp gauges.
I have also been spending countless hours on wiring as im am very picky about it and like for everything to be perfect! i worked up a little system for the trans brake and line lock.
In the ash tray area the flowing switches will be housed:
1.Line lock (to utilize during burn outs)
2.Trans cooler fan (the switch will only be utilized as a ground for the relay operating it, I decided to do this so that the fan is not on while the trans fluid begins to get warm and then I will kick it on and let it run at all-time no matter the temp once its warm. )
3.External fuel pump (hobbs switch ground bypass/tester)
Now since I must utilize the transbrake to engage reverse I will be utilizing what use to be the neutral switch under the clutch pedal to engage it.
When using the Alky kit you're no longer utilizing the windshield washer pump so I'm going to be using the button on the right lever to engage the transbrake and line lock simultaneously when launching which will allow me to keep both hands on the wheel and keep the car from unloading once the transbrake is applied.
All my connections are soldered and heat shrinked!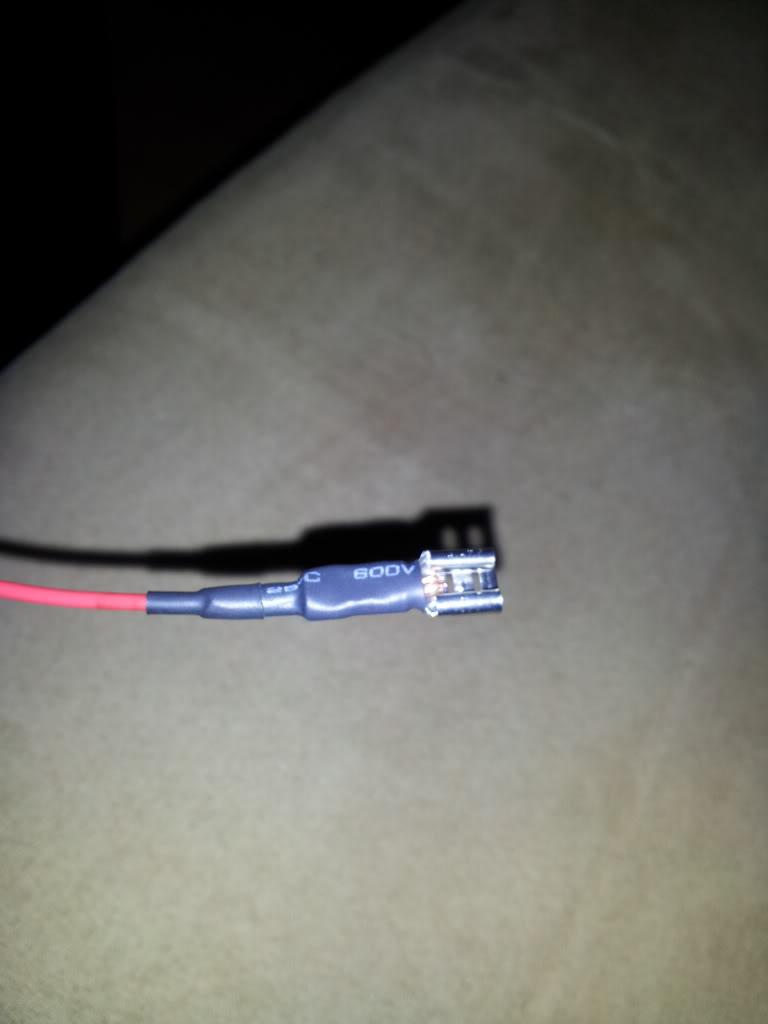
I have also went ahead and replaced my stock water pump with a Mezeire EWP LS1-LS8 not just because its verify efficient and you can run it while the car is off but because once you start to really tighten the belt on a stock pump the pulley breaks away from the HUB (ask me how I know lol) big shout out to ccajun4real awesome vendor and class act!def. recommend him for anyone looking for great deals!
I will be having a lot of pics by the end of the week.
The heads should be here and on the car by end of month as well! Things are starting to move fast now.
2/17/12
Lots of goods flowing in these had to be moved into the house because im running out of room in the garage.. fml!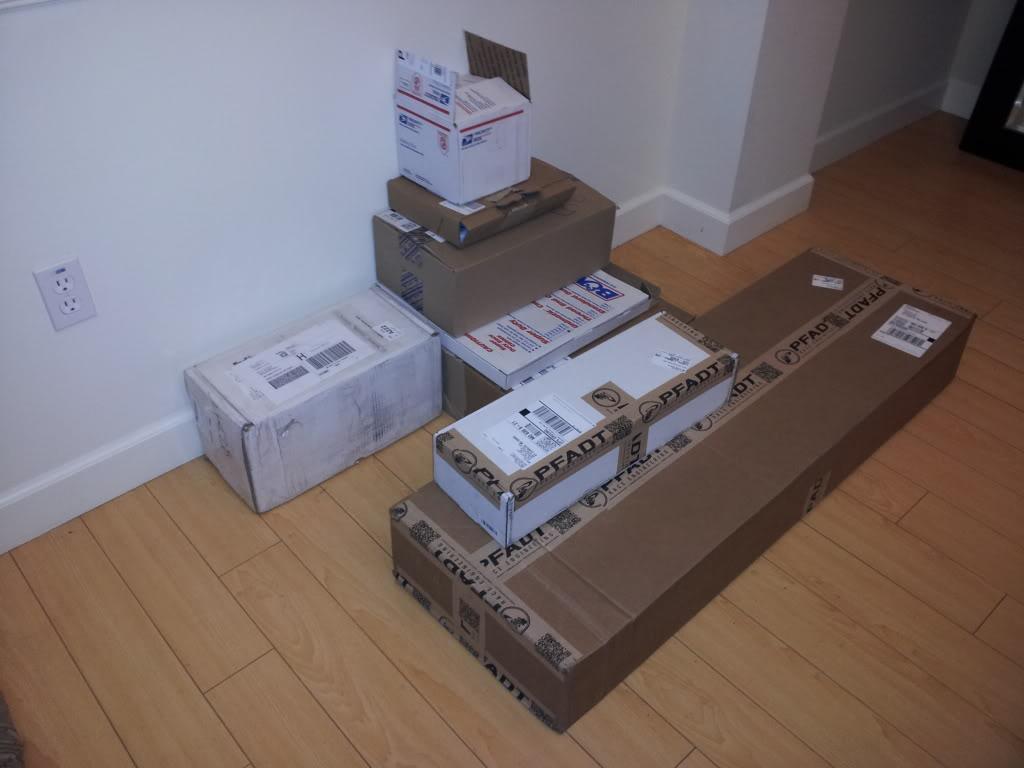
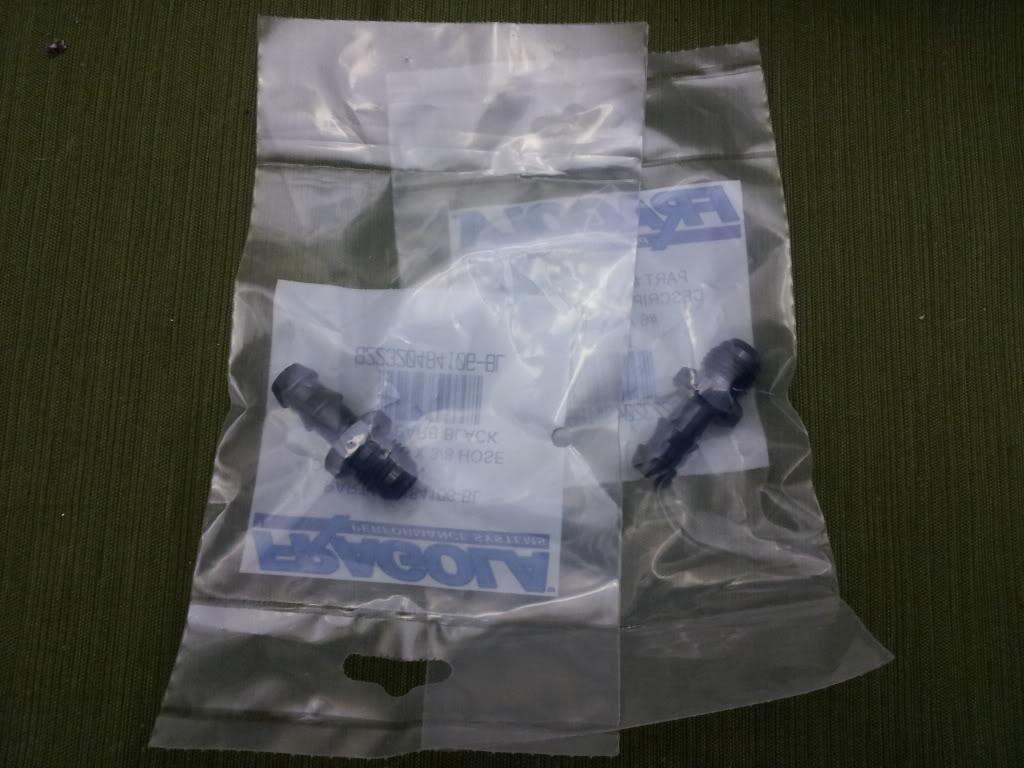
Pictured: B&M10-ft. Super duty cable, 2 derale 40amp relays (to be used for the trans cooler fan & meziere EWP), shifter bracket, 2x -6an to 3/8 hose barb fitting(these will be used to convert stainless to rubber lines at the trans coolers.)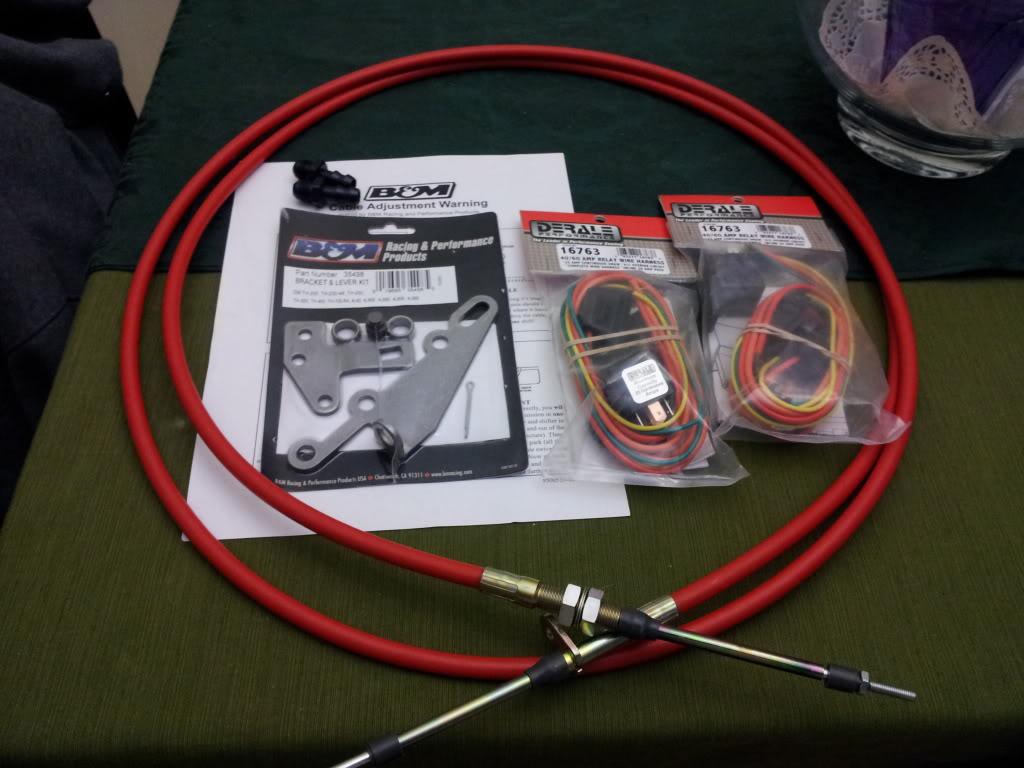
Prosport Fuel pressure and trans temp gauges are here..boost gauge on back order but should be here by end of month.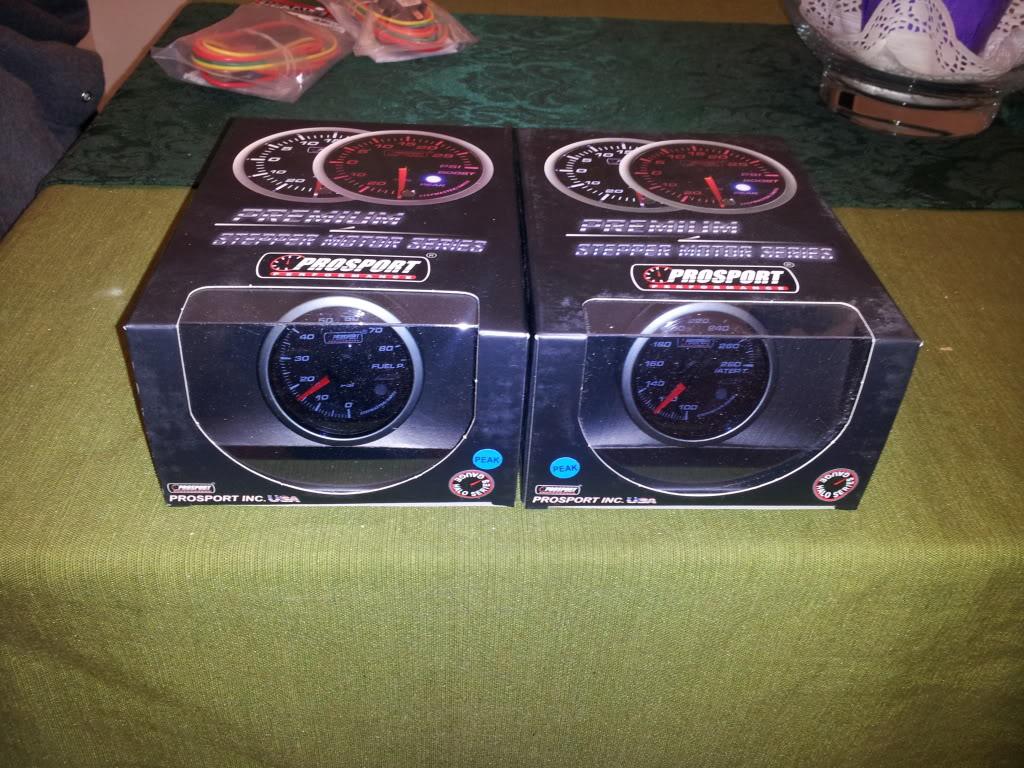
Upon inspection everything looked good and very good quality no issues at all so far 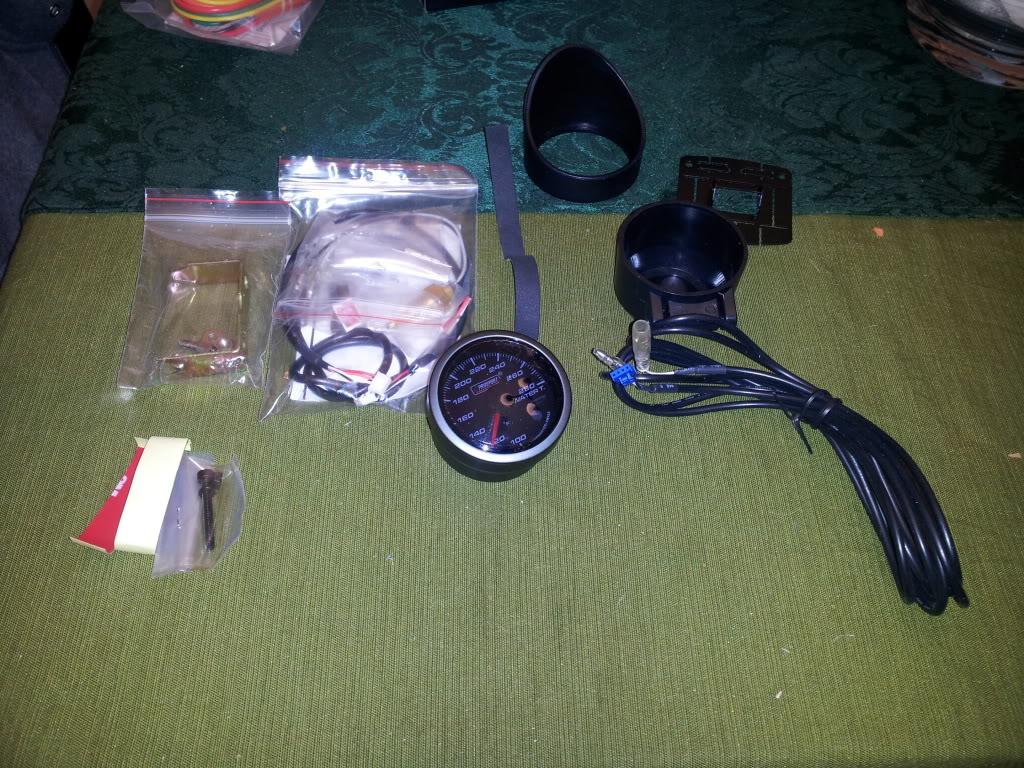
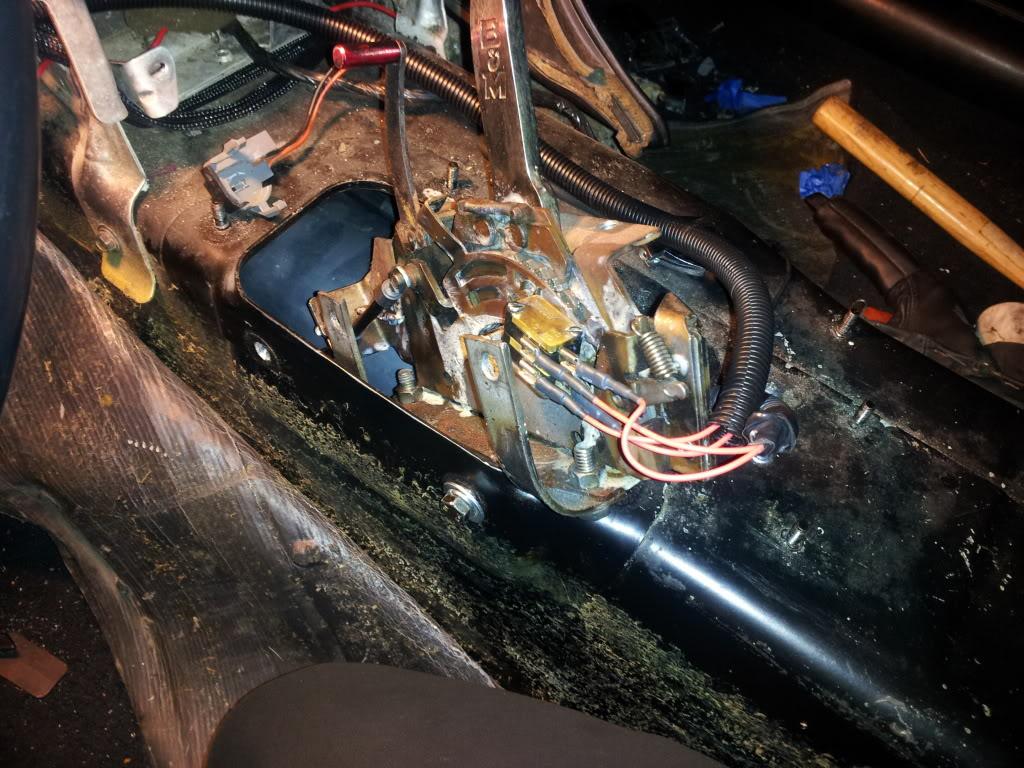
Started on the trans and pretty much finished up everything to do with it ( bracket for shifter linkage needed to be modified because im using a deep cast pan, shifter linkage ran and adjusted, new trans temp sender installed, ran and hooked up transbrake to windshield washer button, reverse and neutral switch hooked up to shifter.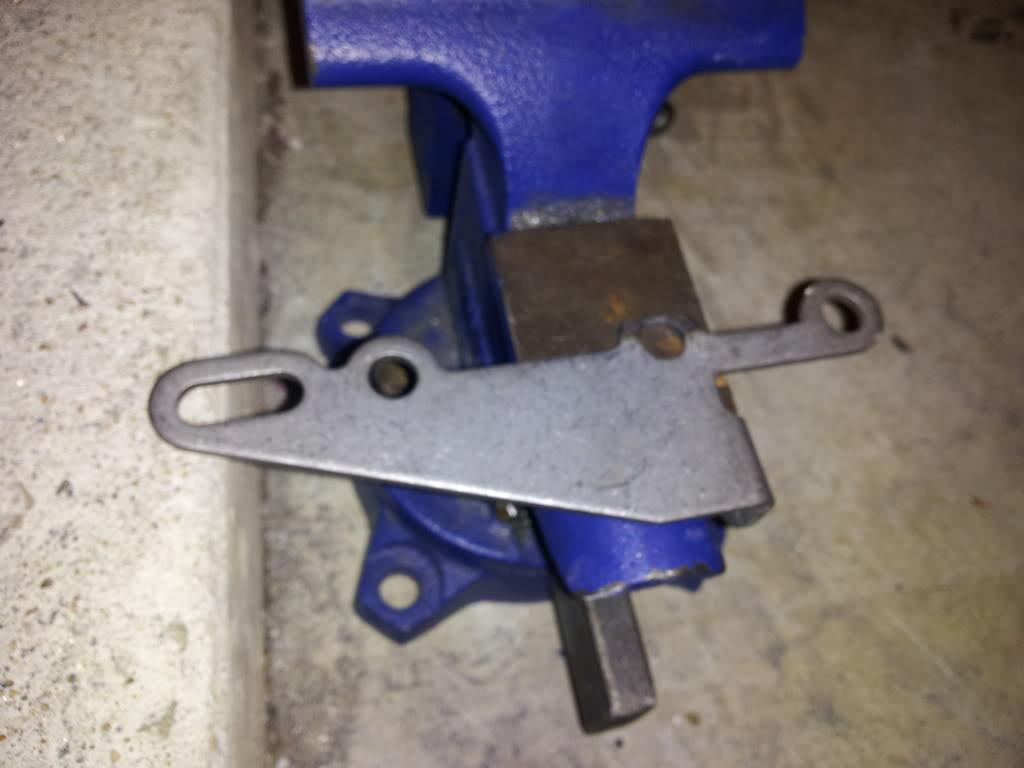
meziere EWP (not only with this help me with a common issue many experience and I myself have had a problem with on a previous build ( because of the huge amount of tension needed on the belt, the stock water pump usually breaks the pulley of the shaft. This has a long list of advantages specifically if I break my belt the car will still be able to drive with no issues as all the other acc are driven off a different belt. Another good thing is that the face of the pump has a lower profile so no clearancing is needed between it and the lower 10 rib tensioner. 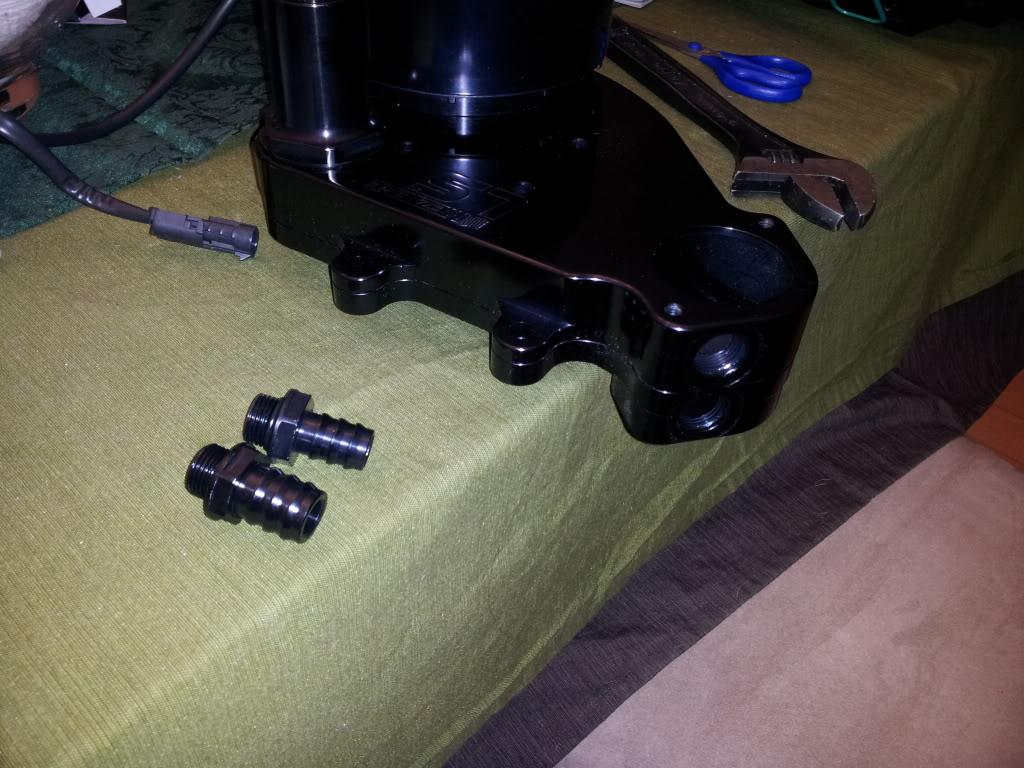
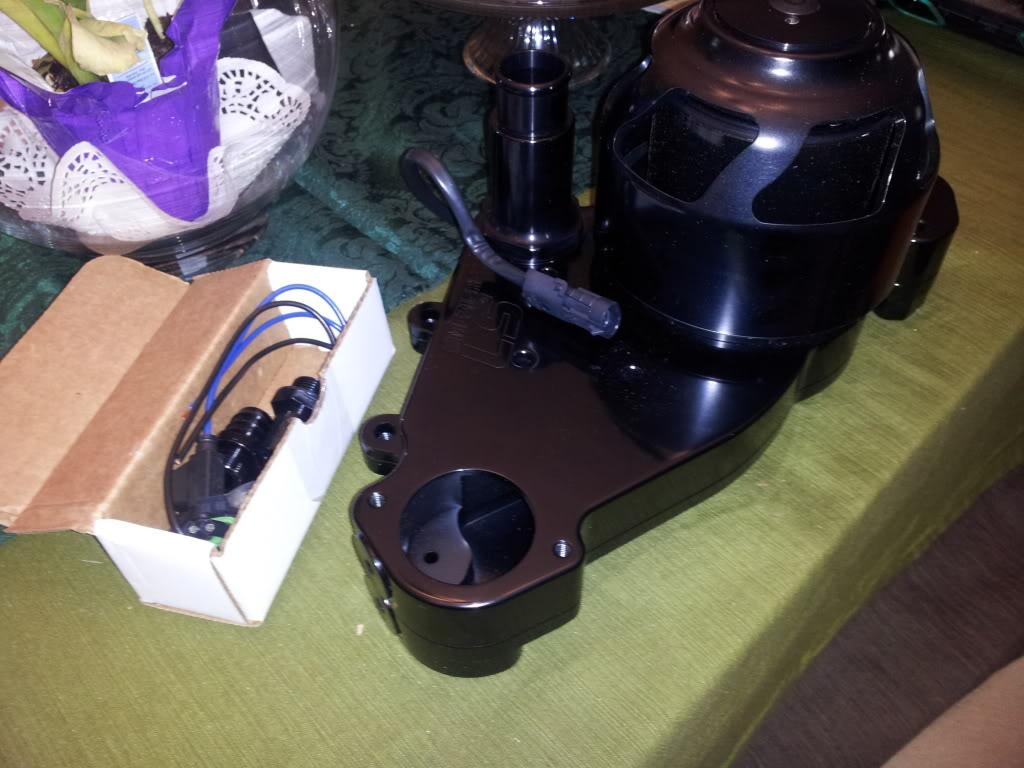
Came with thermostat already in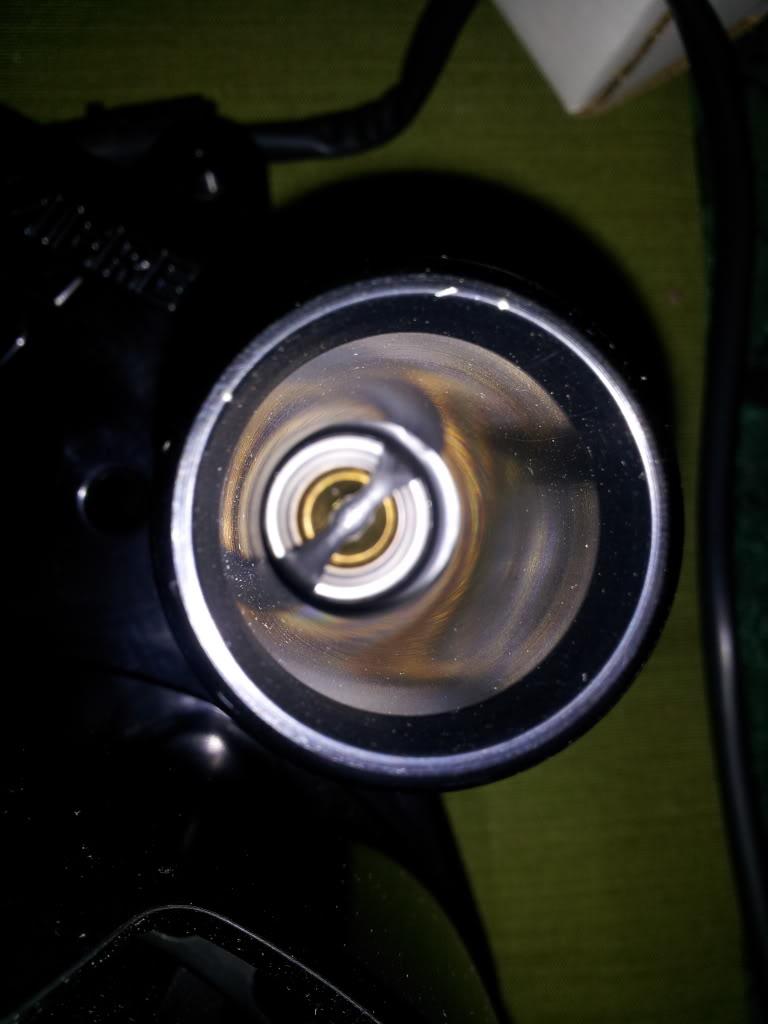
Fittings installed into trans cooler lines at front of car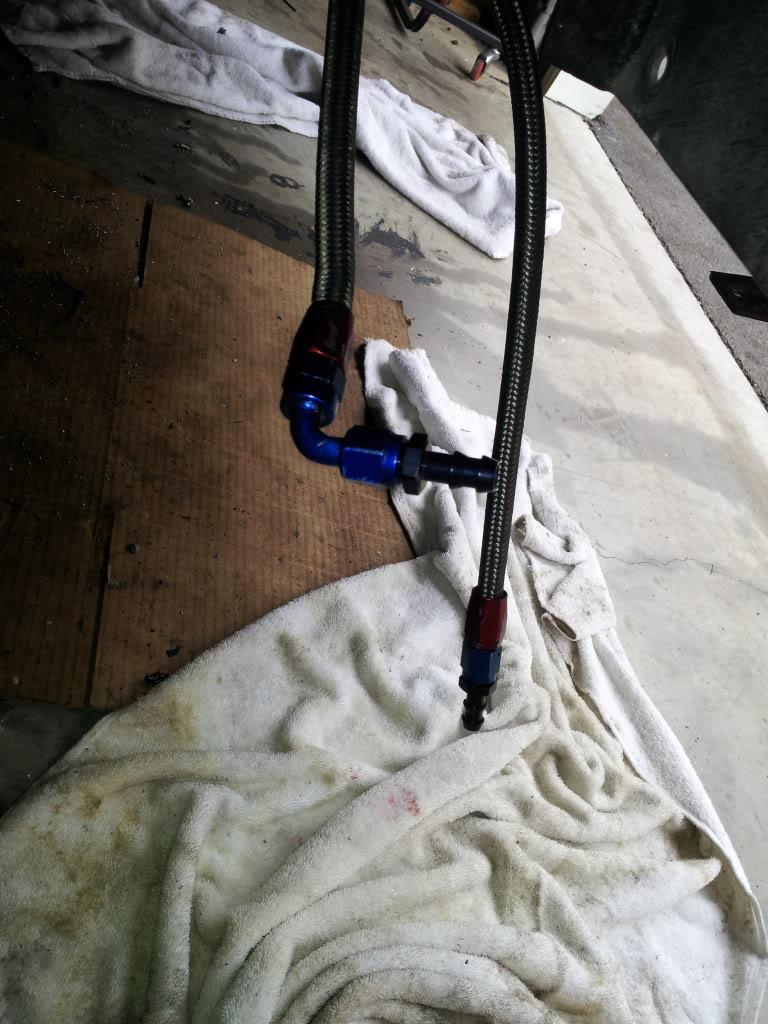
Fuel pressure sender installed and ready to go!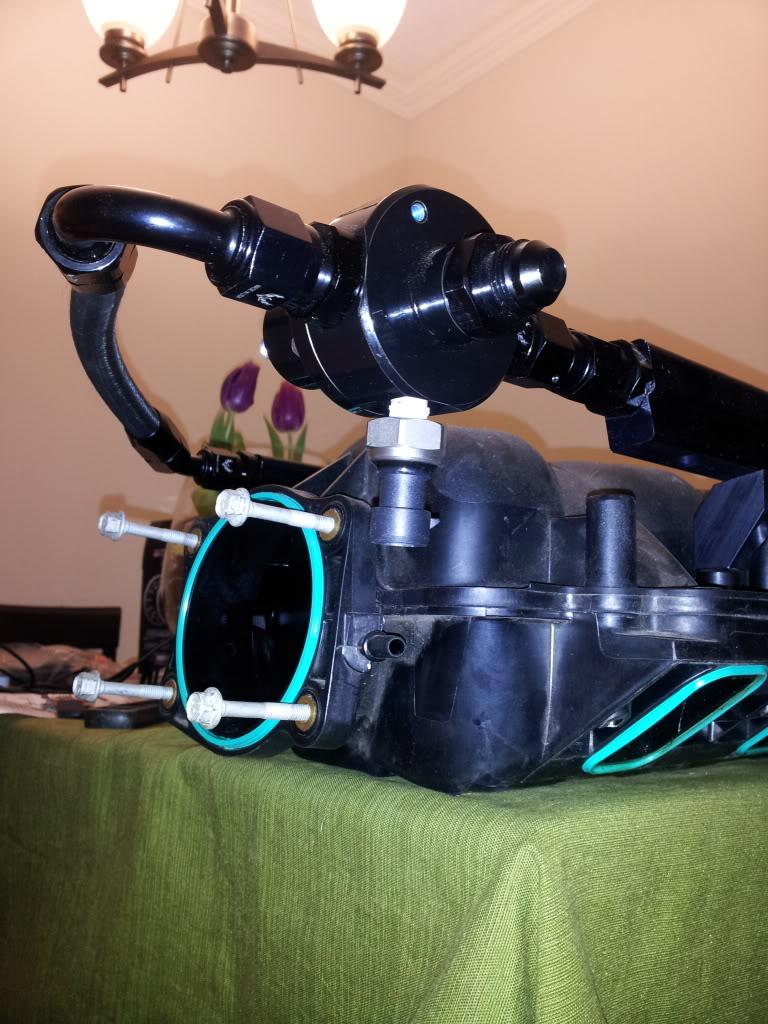
No to the meat and bones! The coil overs are on back order but should be here by end of month as well.
The quality and engineering is why PFADT is a leader in this industry, a couple of pics out with the old! In with the new!
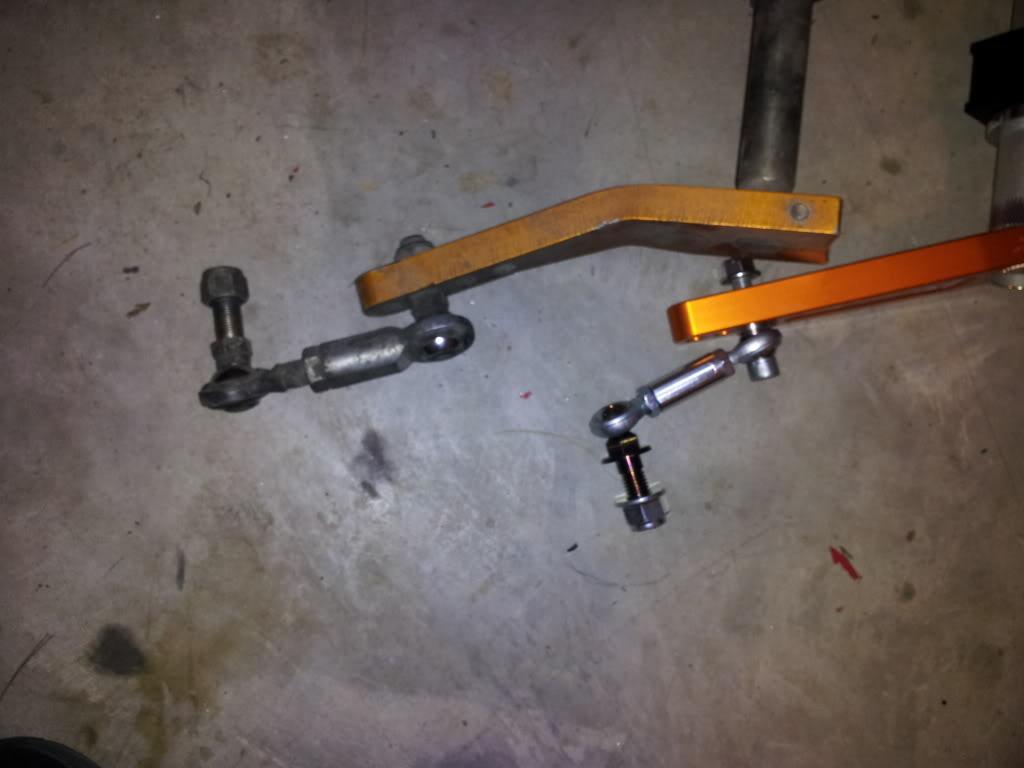
Please view the difference in thickness and size, the sway bar is surprisingly a lot lighter as well. Even the end links are completely different (lighter, smaller, yet stronger!)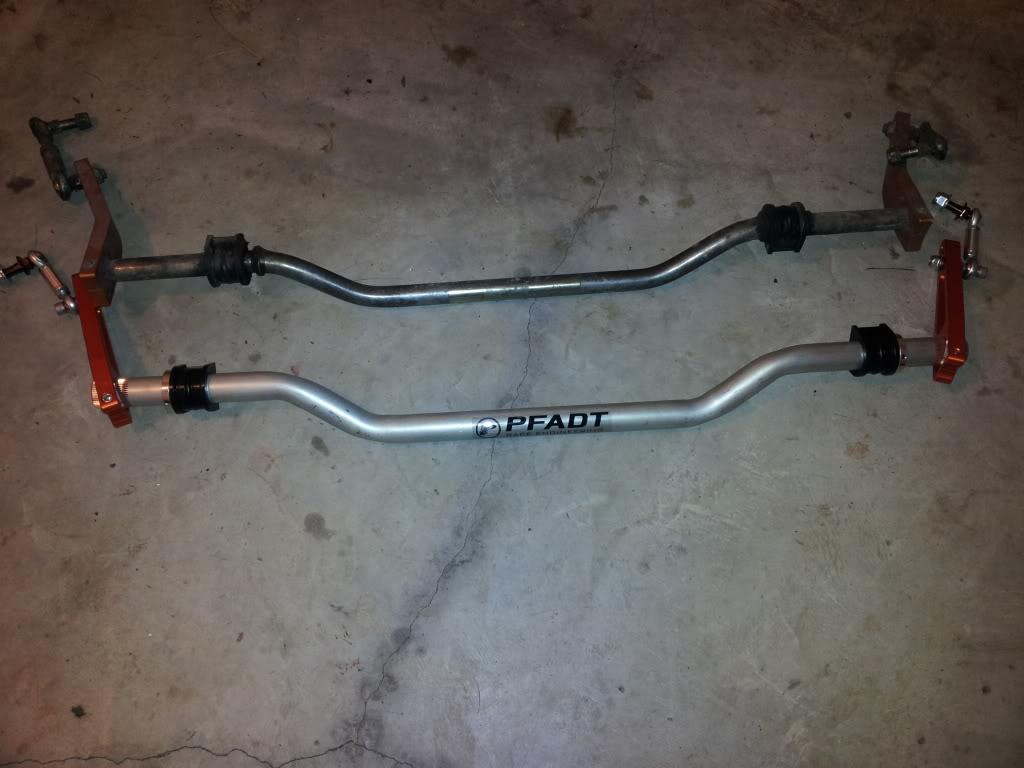
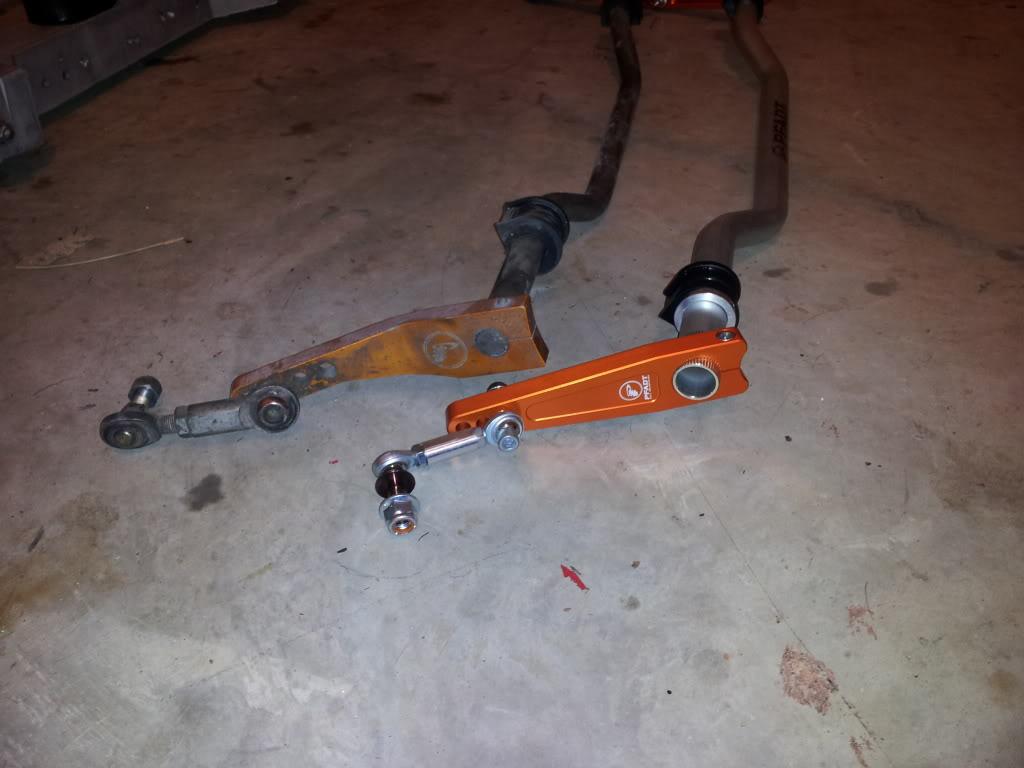
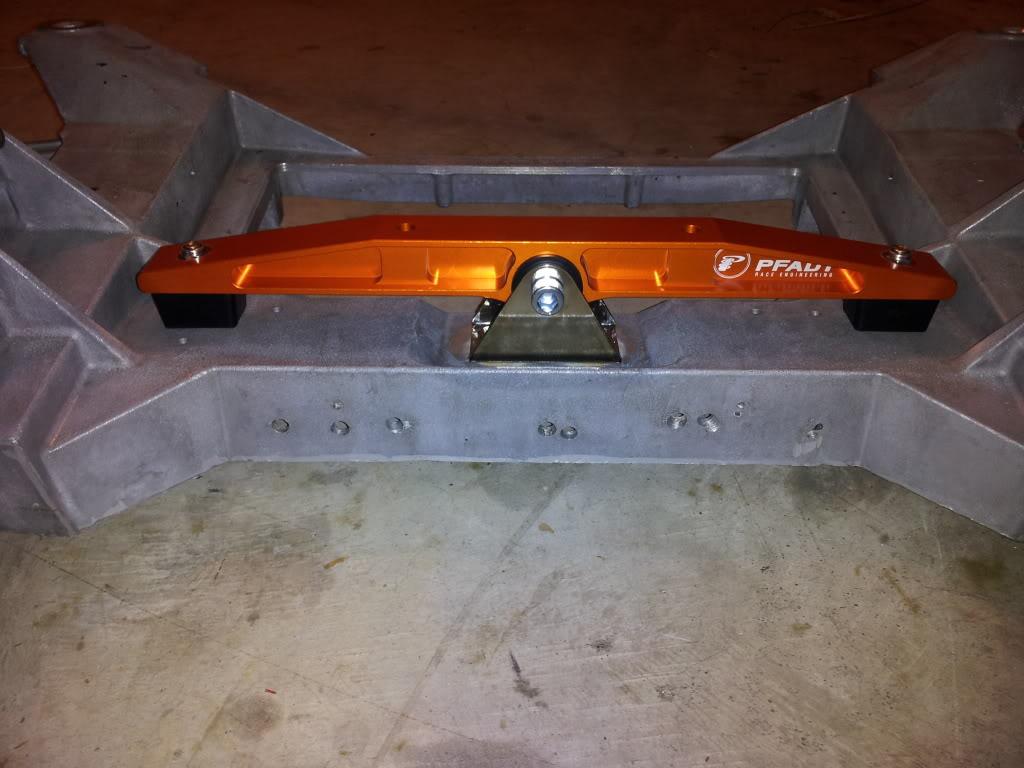
Also replaced a part that should not get skimped on especially when trying to keep the glass rear end alive. PFADT trans mount brace.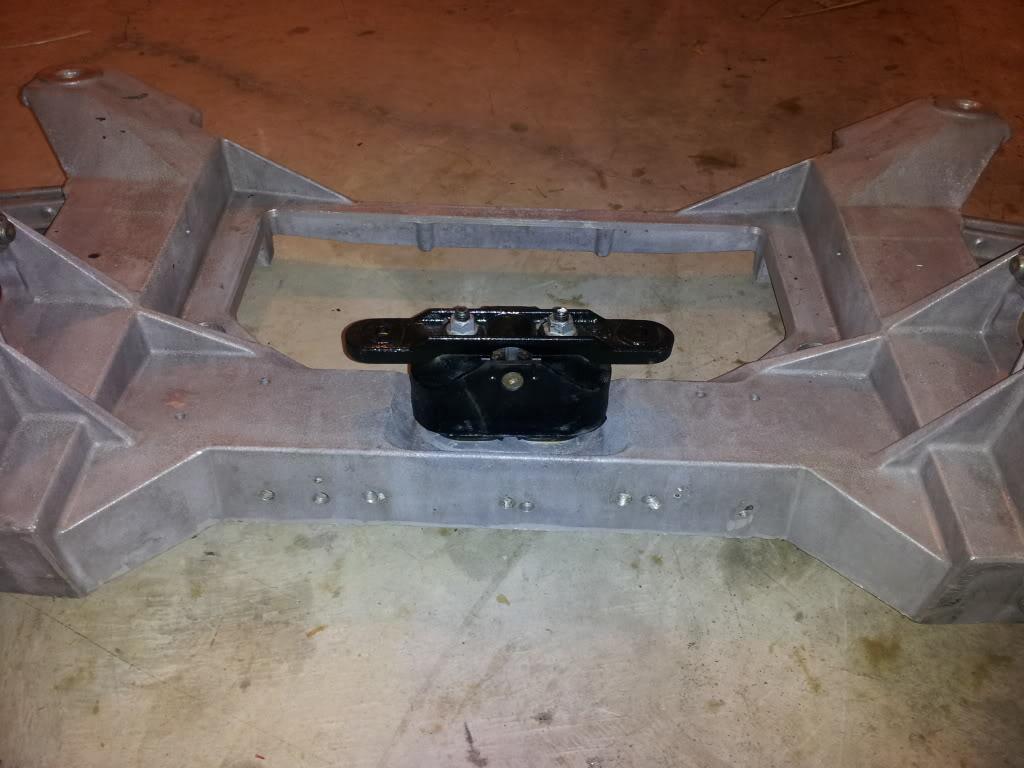
The rear cradle will be in the car tomorrow, and I will weld up the interior and wrap up the car and move back towards the engine in preparation for heads etc.. Getting very close now.
2/18/12
Go everything pretty much wrapped up in the rear.. trans mount is in, th400 swap is officially complete!
Next on the list for tomorrow is:
mount the sway bar
throw the axles in
install ECS Half Shaft safety Loops
install tunnel plate
that will pretty much wrap up the rear of the car I will await the arrival of the PFADT Coil overs and then it will be 100% done.
Once all the above is complete I will move to the front where I will install the starter, snake the new ARH 2Â LS7 port headers in, and finalize the trans cooler mounting and wiring, install new EWP and wire it, clean all ARP studs and prep for assembly. Once im done with all that I will be awaiting the arrival of the TSP 265cc LS7 heads along with LS9 7 layer MLS head gasket so that I can finish off the build.
I am considering changing the rear spindles for 15Â rims but will see.
Everything ready and prepped for cradle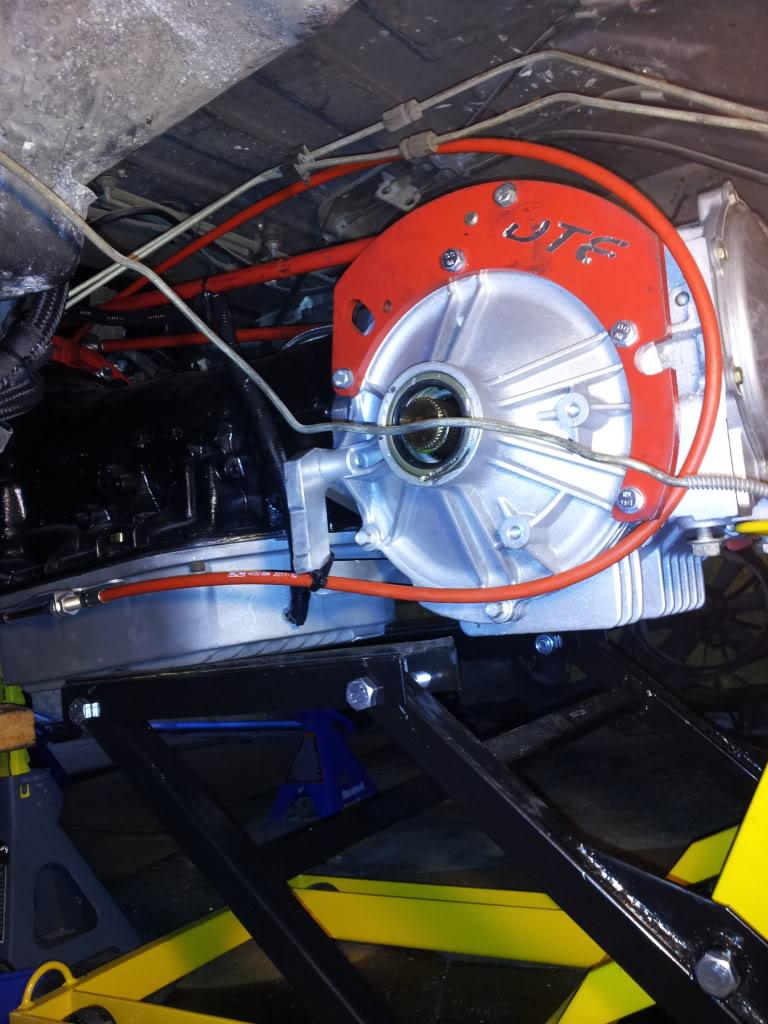
I don't know but maybe its fate that all PFADT products match the color of my car haha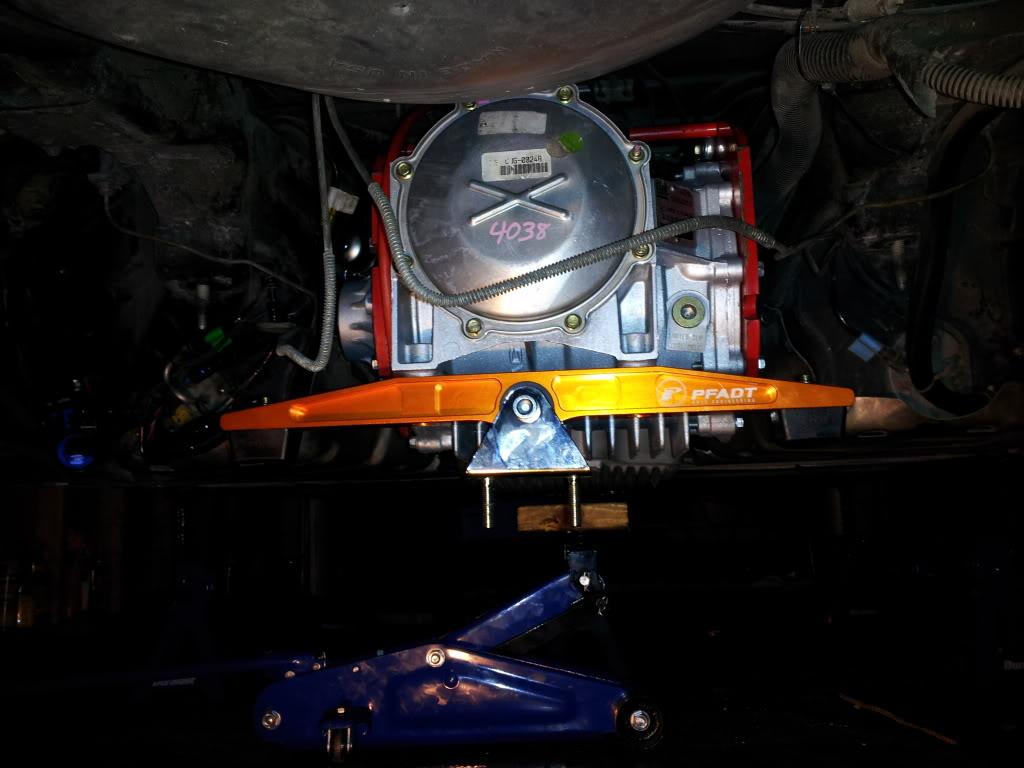
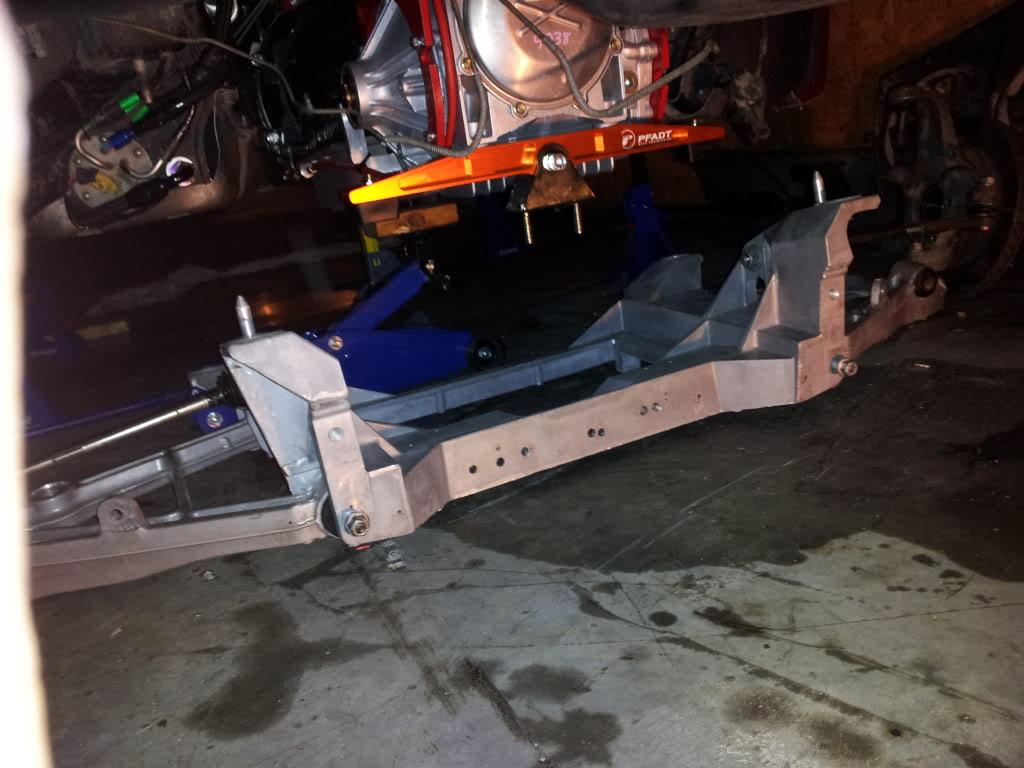
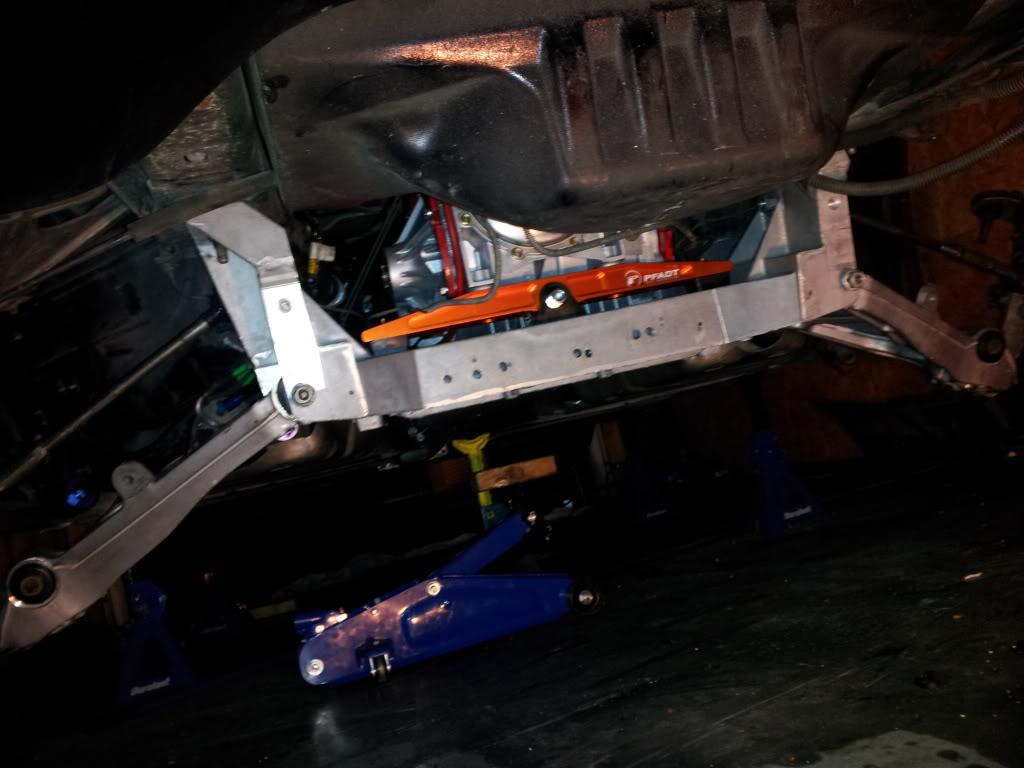
One thing to note I had to do a lil bit more relocating of fuel lines to make sure nothing was going to be getting rubbed the wrong way. Once everything was bolted up the bellhousing and TQ tube sat a lot higher than I had anticipated so I had to re-mount the shifter and ad some spacers to it.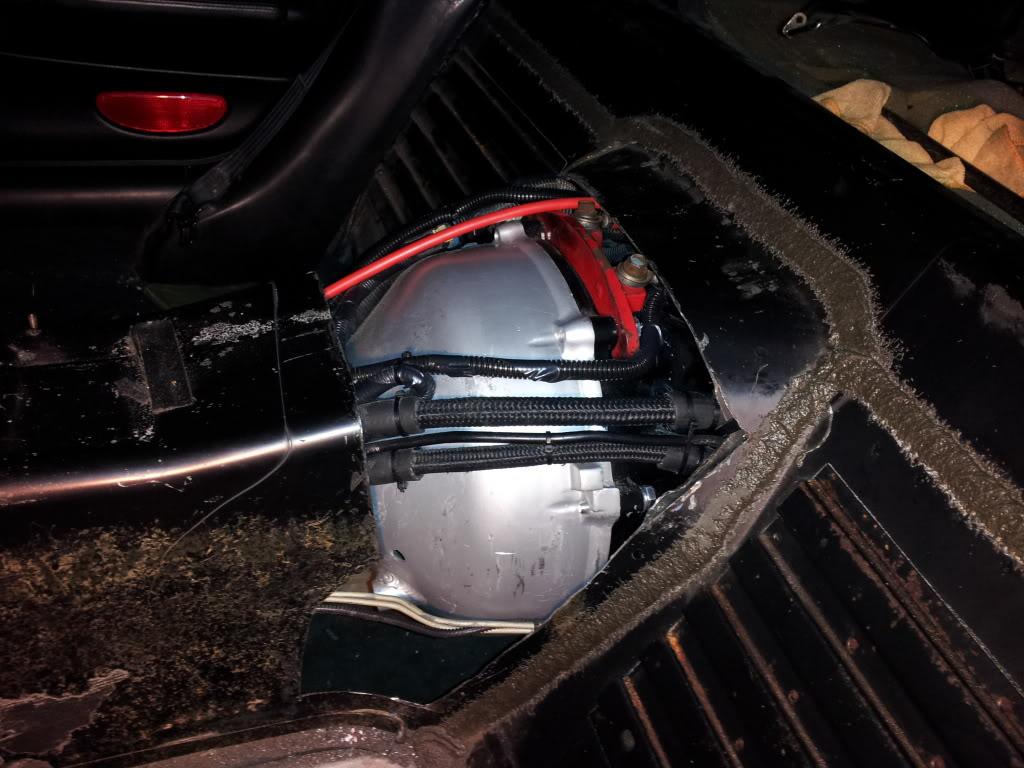

More updates and pics to come
2/20/12
Decided to scrap the TH400 swap and just threw the 6sp back in LOL jk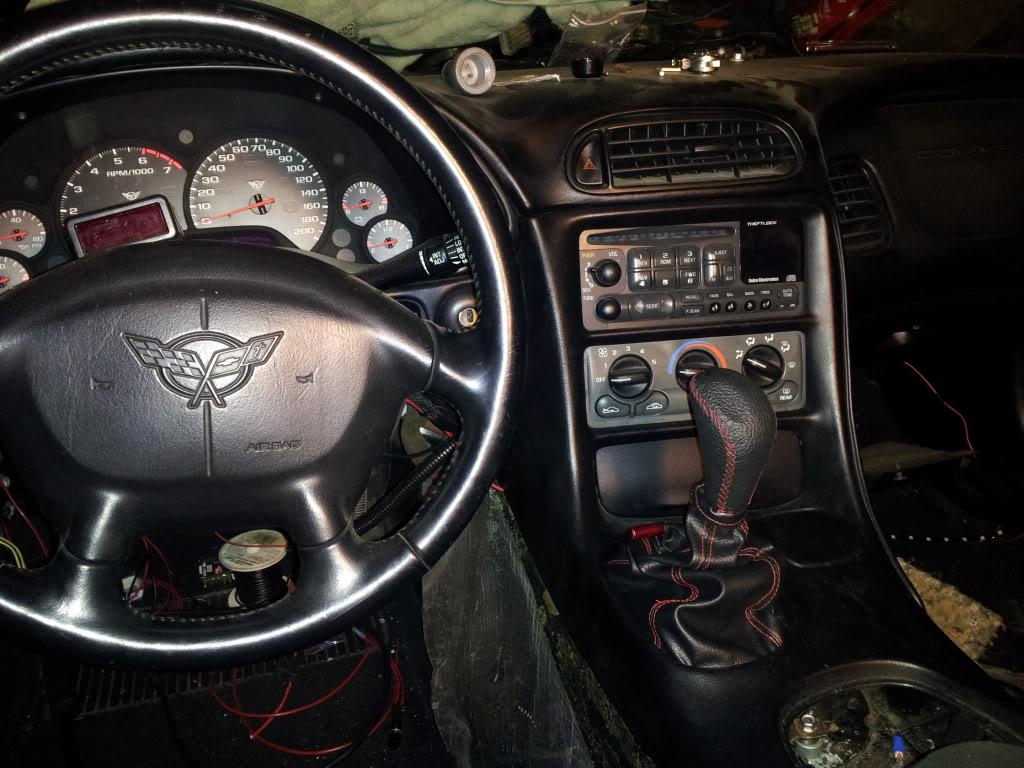
I started mocking up the gauges and wiring but I won't be finalizing that until the boost gauge shows up. 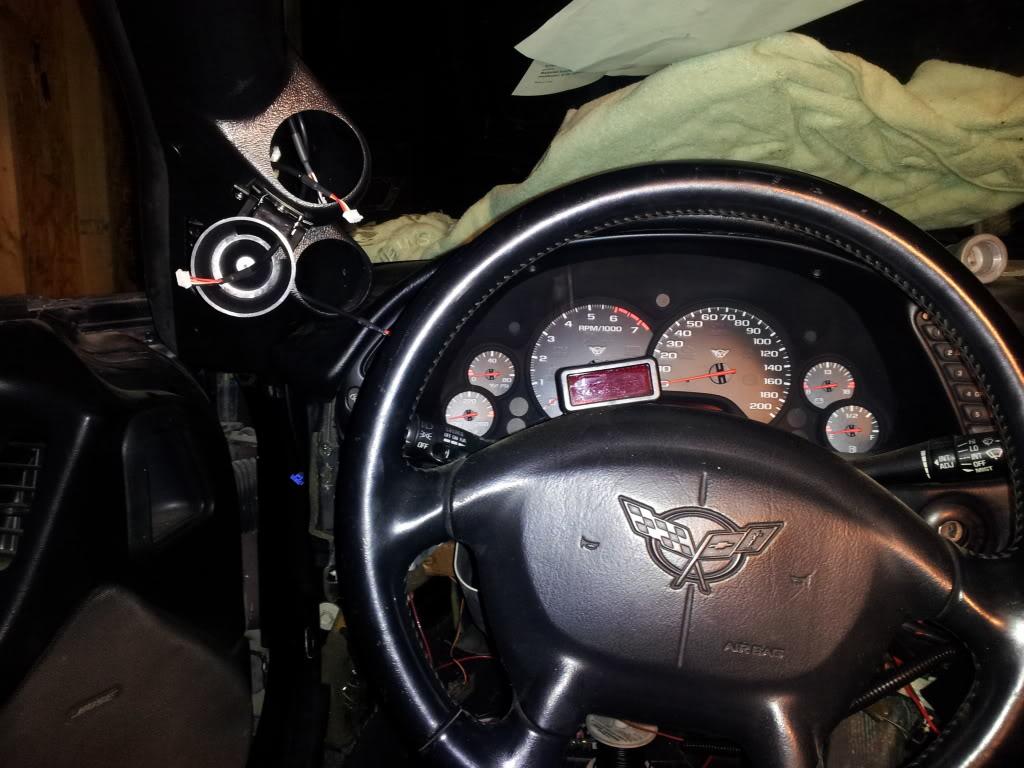
Finalized the Scorch Custom trans coolers and got them mounted up. The fit like a glove and will get plenty of fresh air from the fascia pulled through by the fan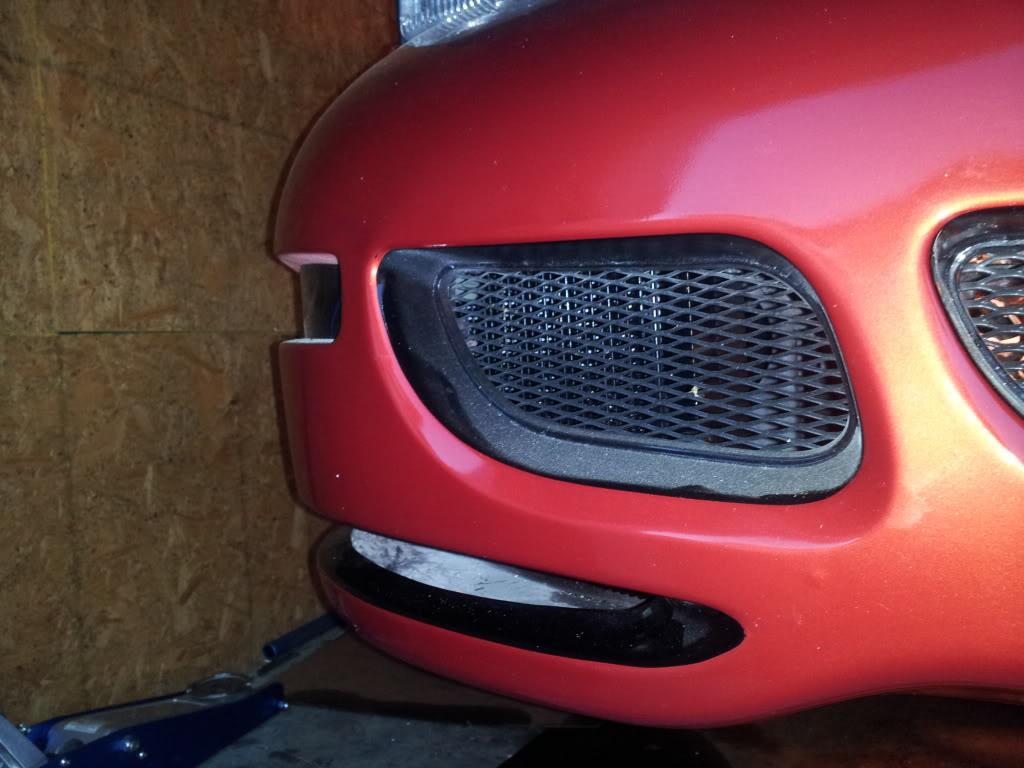
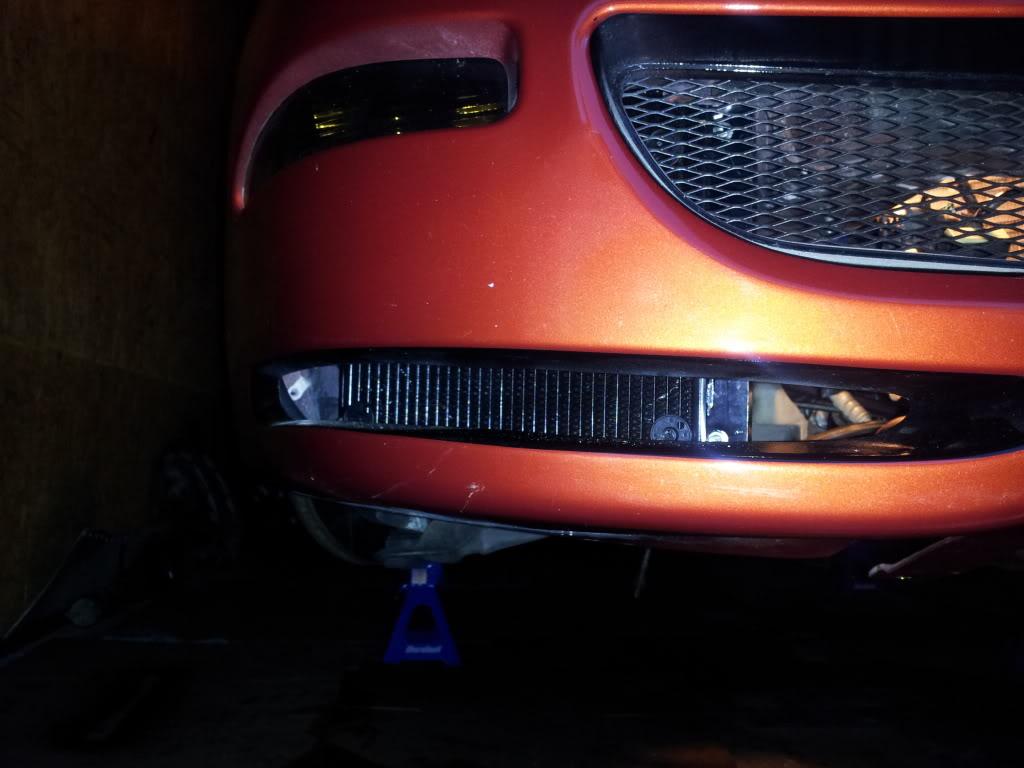
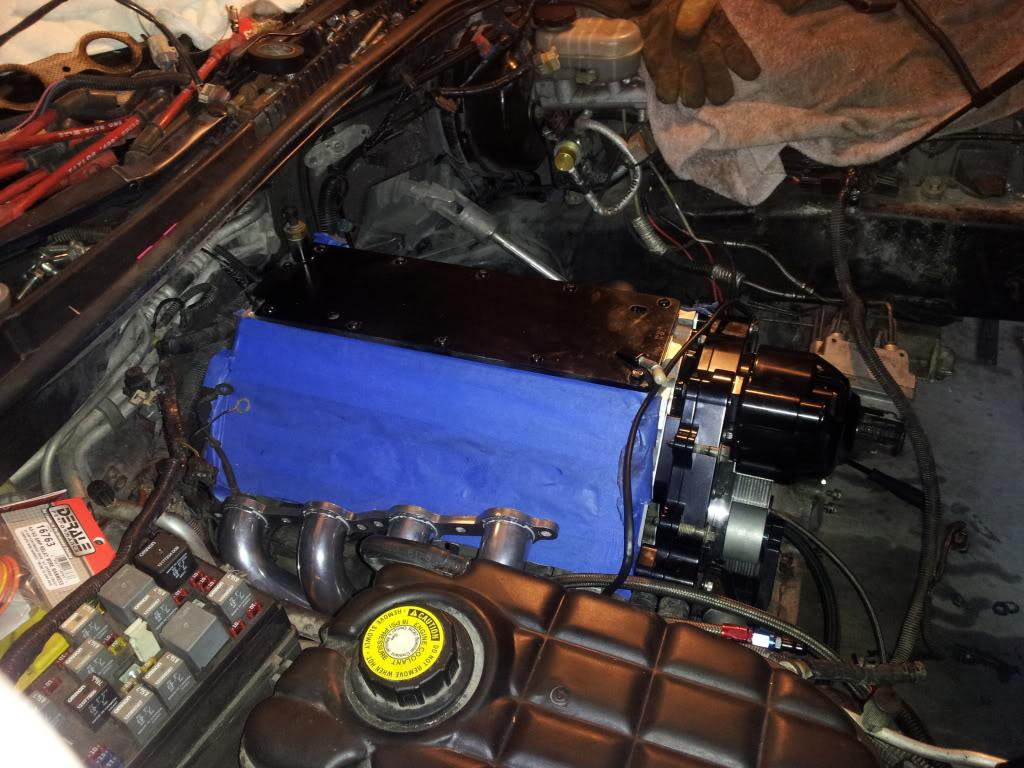
Got the new EWP on fit perfect and gives me a huge clearance on the lower tensioner. Put the starter back in and dropped the 2Â LS7 port ARH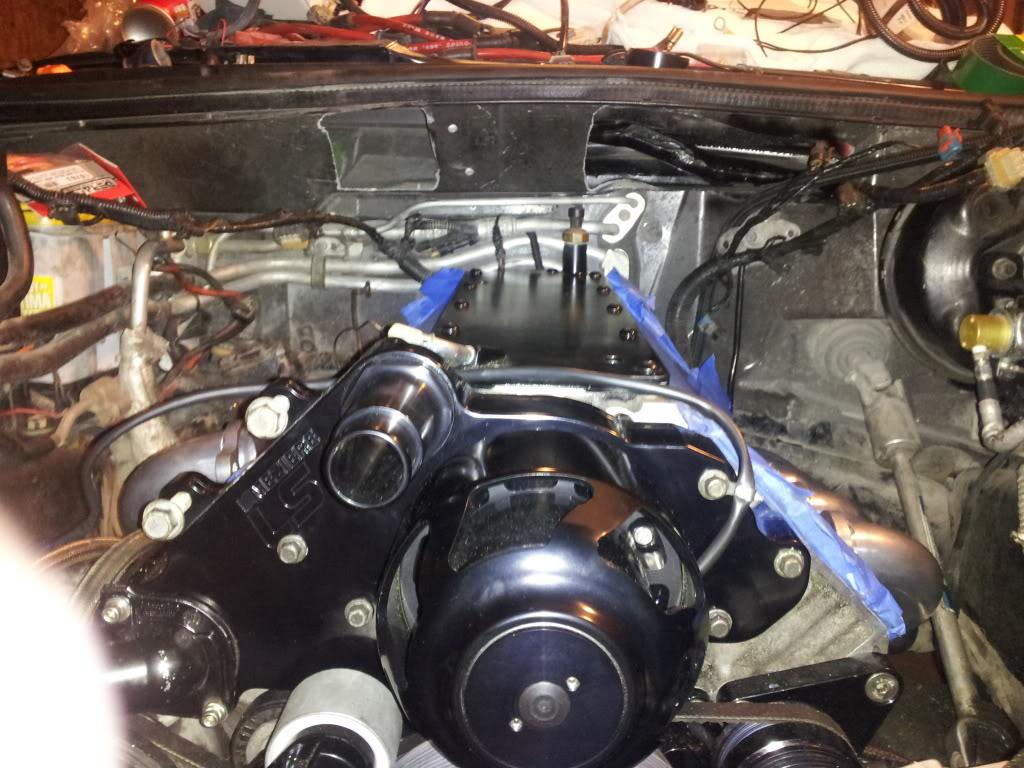
Everything buttoned up and ready to go on the bottom of the car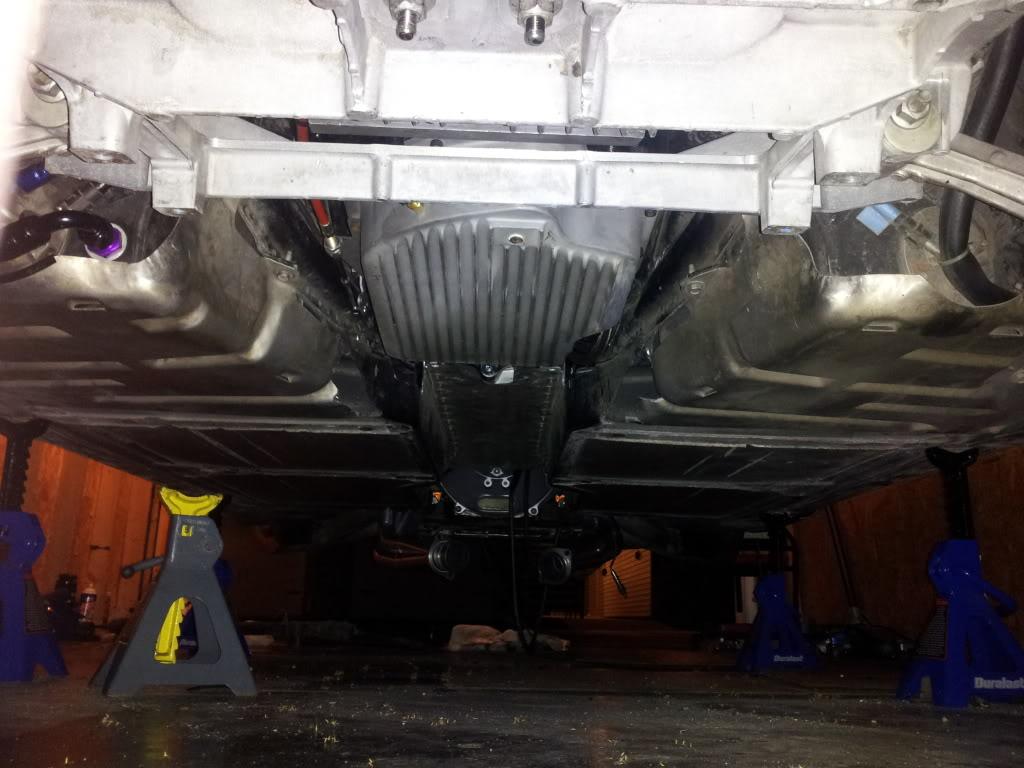
Also got the beautiful PFADT Drag Race Sway Bar installed .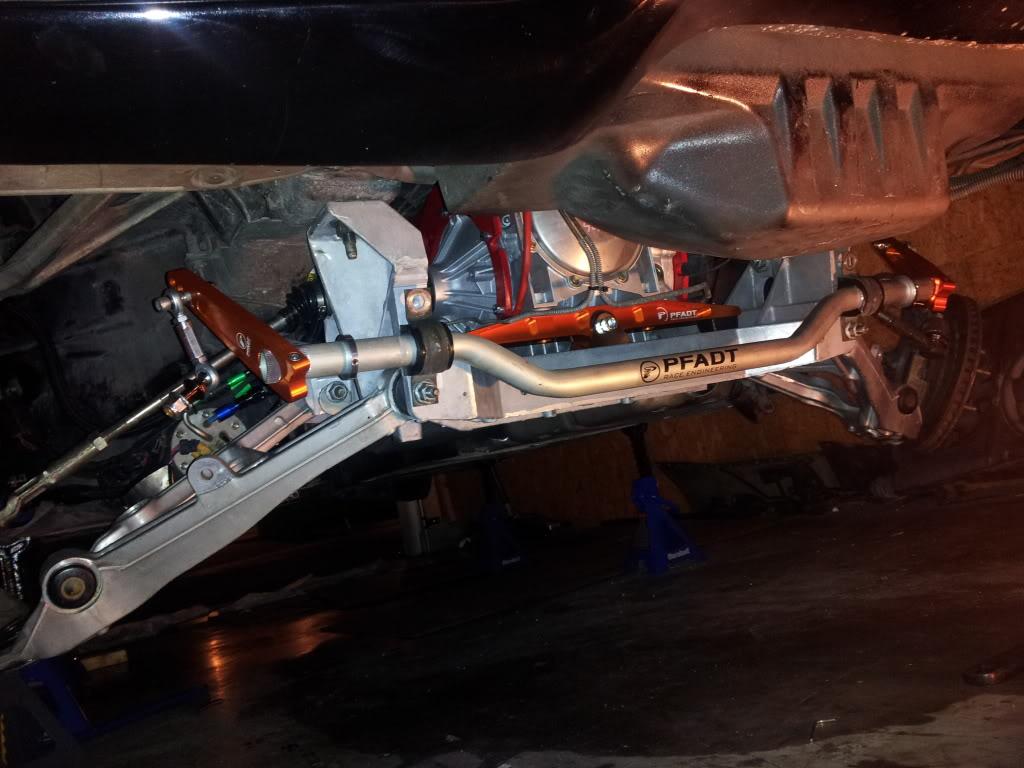
So critical item at this moment are waiting on Texas speed Heads, PFADT Coil overs, and boost gauge.
Once the coilovers arrive I will put in the axles and halfshaft loops. I'm getting really excited can't wait to finally fire this thing up
2/21/12
Got with Beer99c5 and came up with one hell of a panel I must admit im overly impressed on how quick he did it and how the finished product turned out way above my expectations!
Template render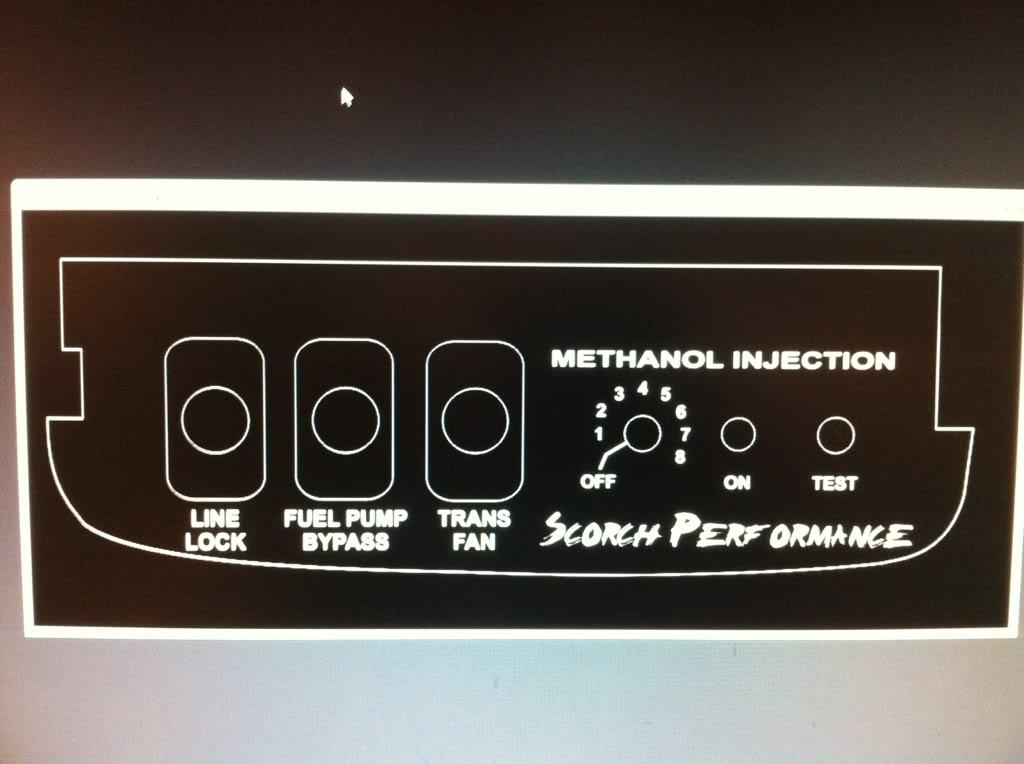
Finished Product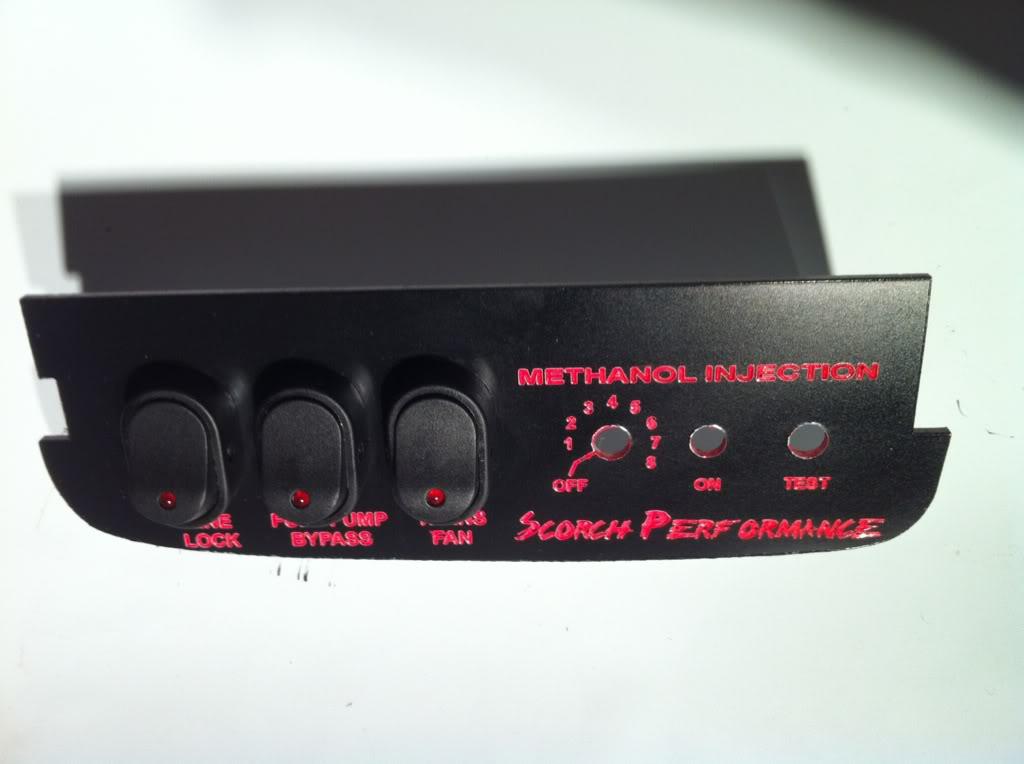
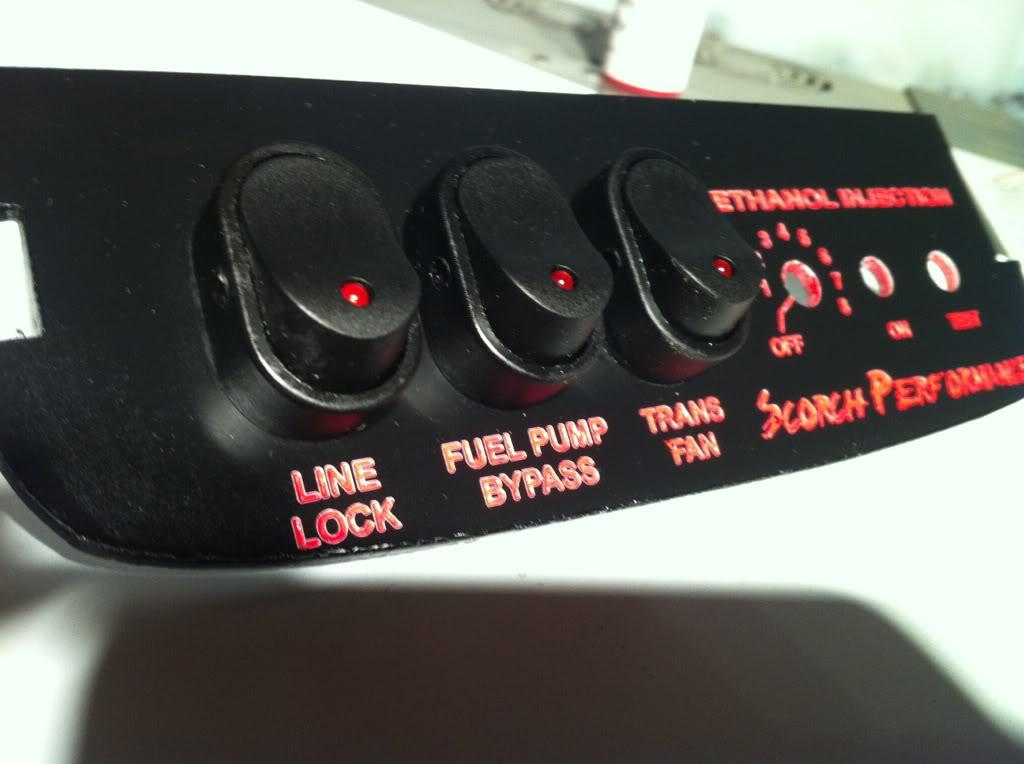
Now I can go ahead and wrap up the meth install along with linelock, trans cooler and Hobbs switch bypass! Once again thanks Beer99c5!!!
2/26/12
Got the rack back on with the billet spacers.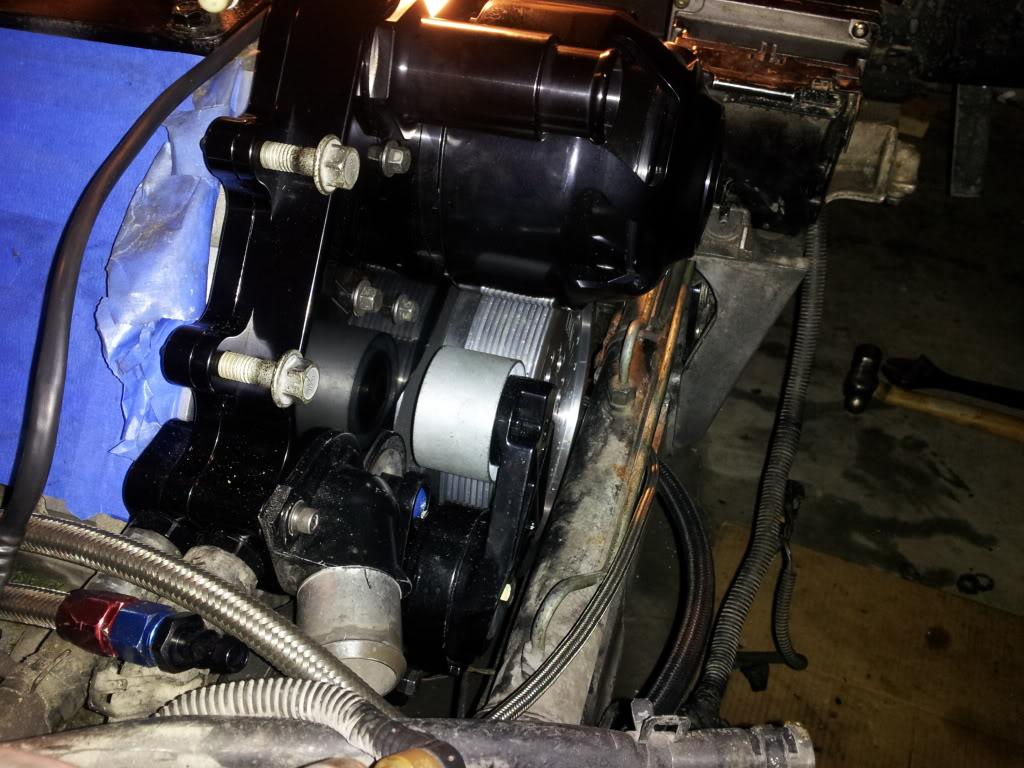
Everything lines up perfectly and clearances look good!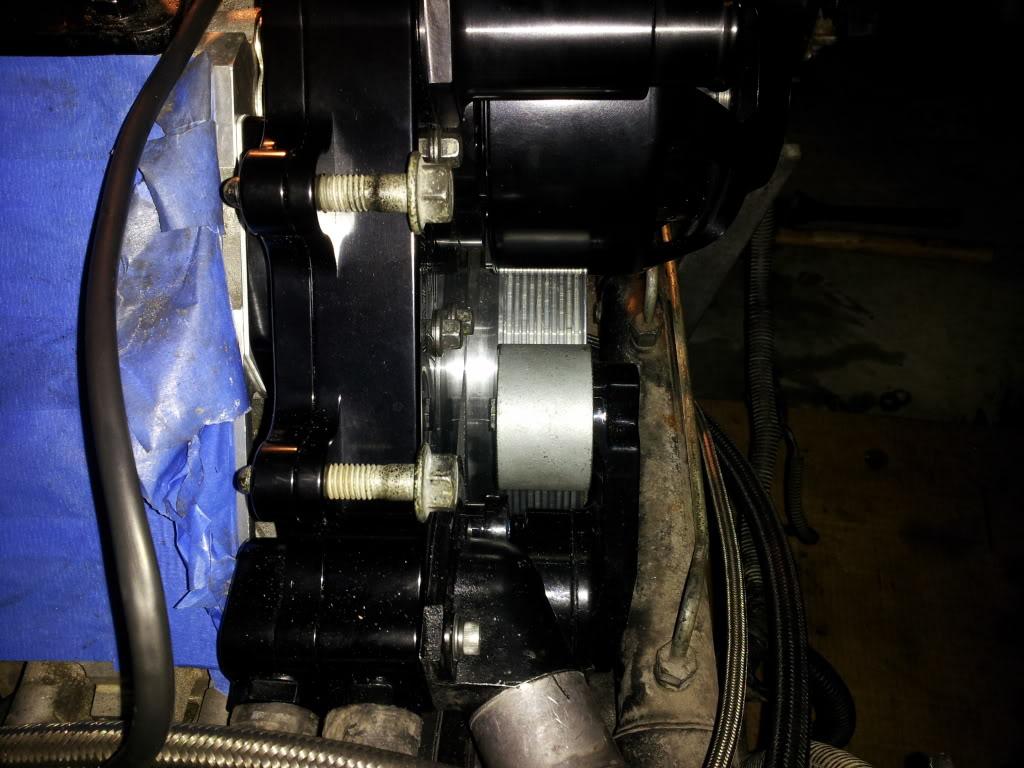
Did a lot of cleanup wiring work around the engine bay that I didn't take pictures of but I have pretty much put a lot of hours patiently making sure all wiring is soldered and heat shrinked.
Assembling the 2 relays for the trans fan and ewp.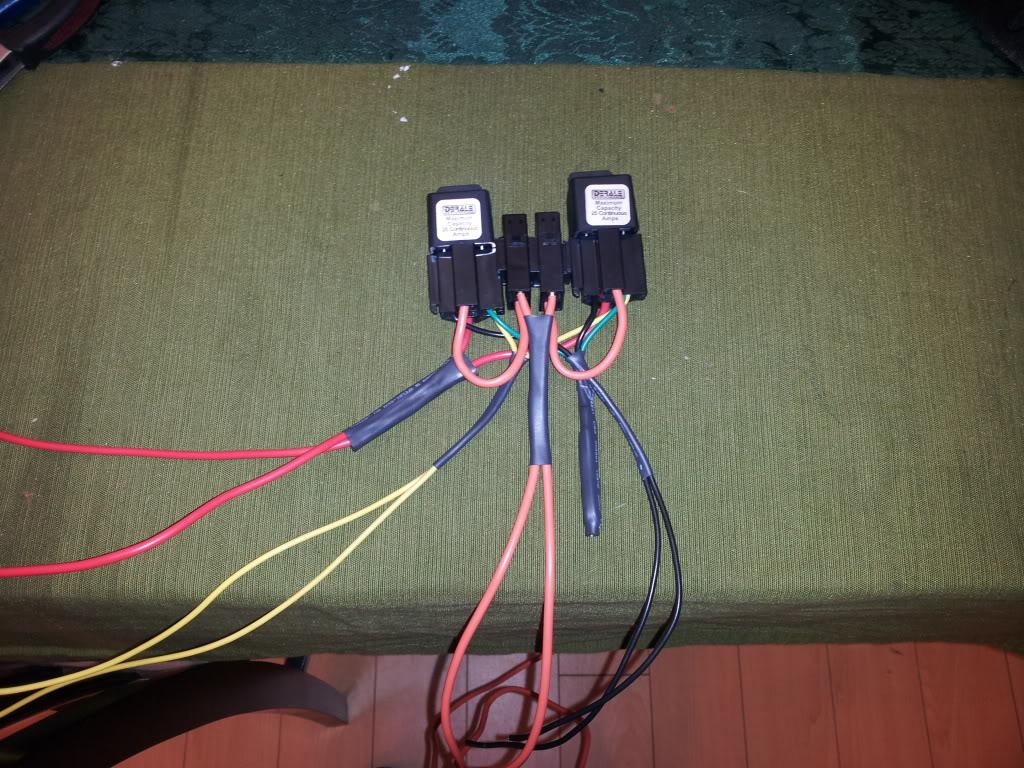
Got the beer panel all wired up and done!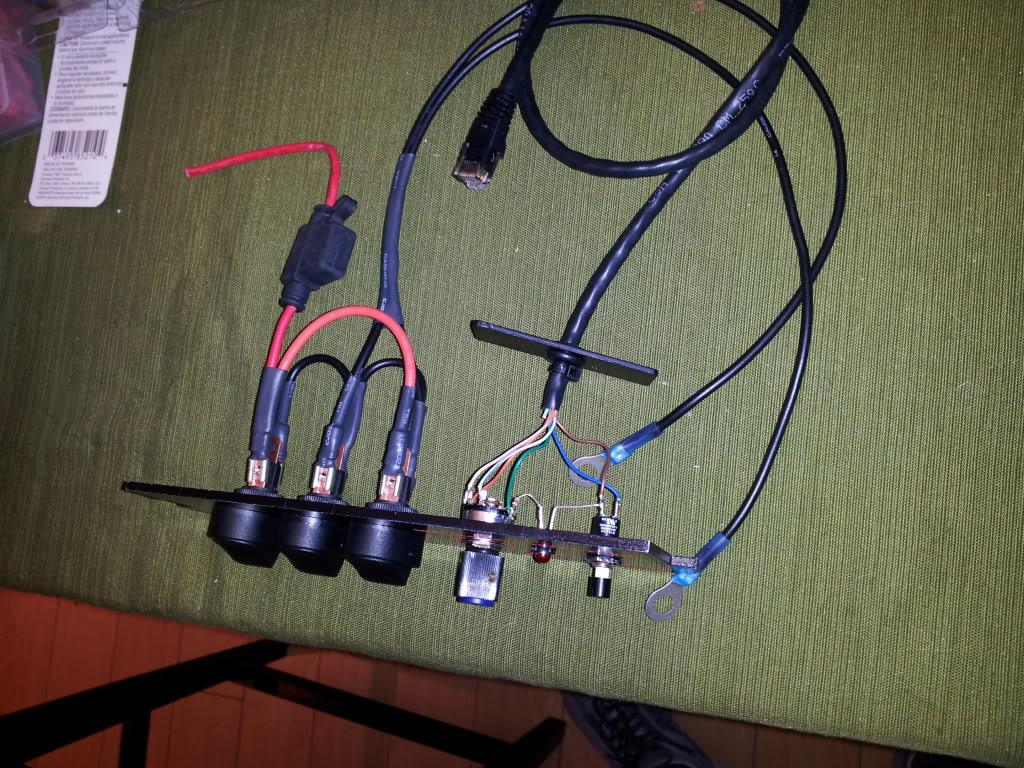
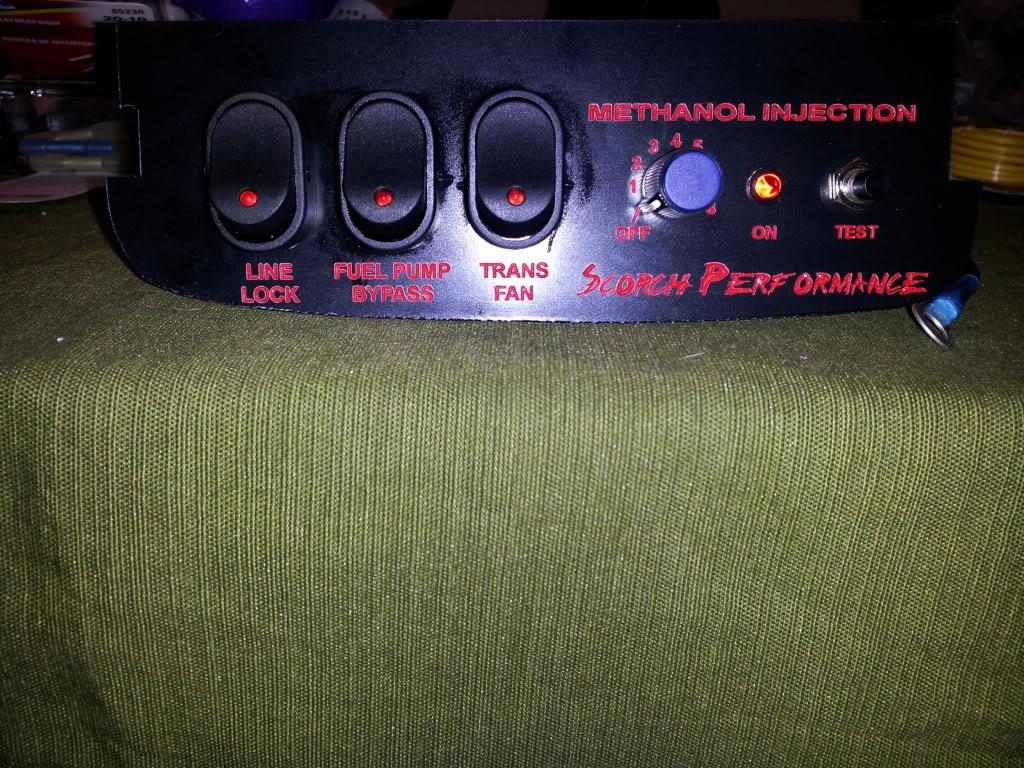
Cleaned and prepped all ARP hardware and put lifter to soak in oil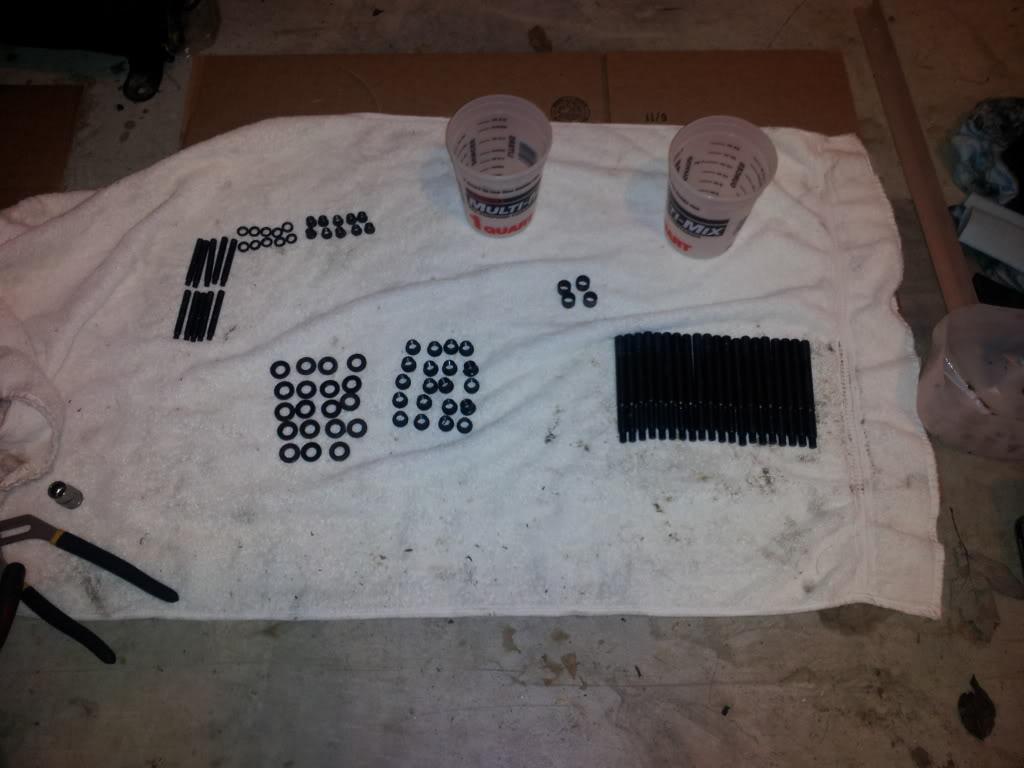
Gauges all wired up and they work GREAT!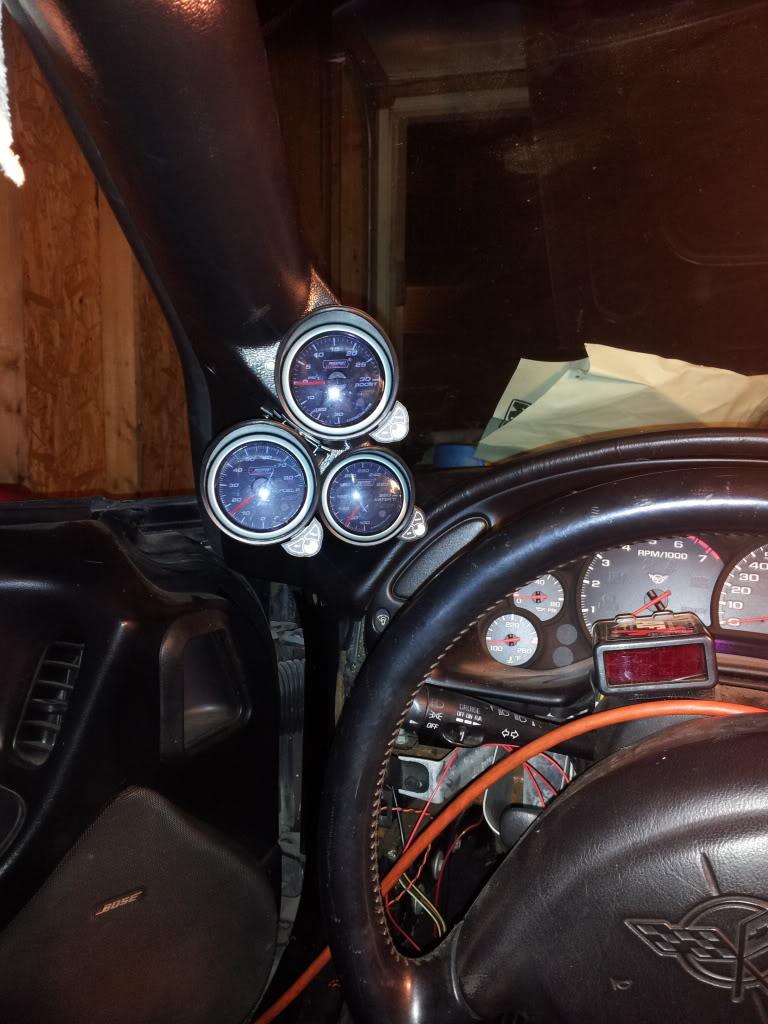
Routed the trans cooler lines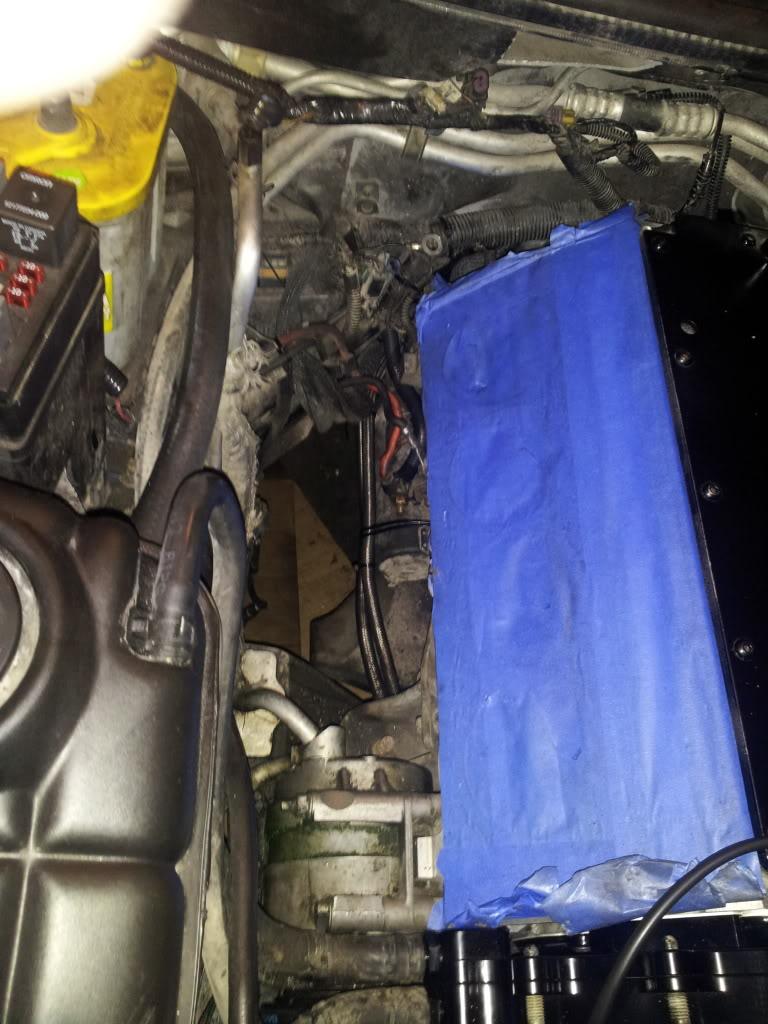
Had to space out the rear sway to allow for free movement!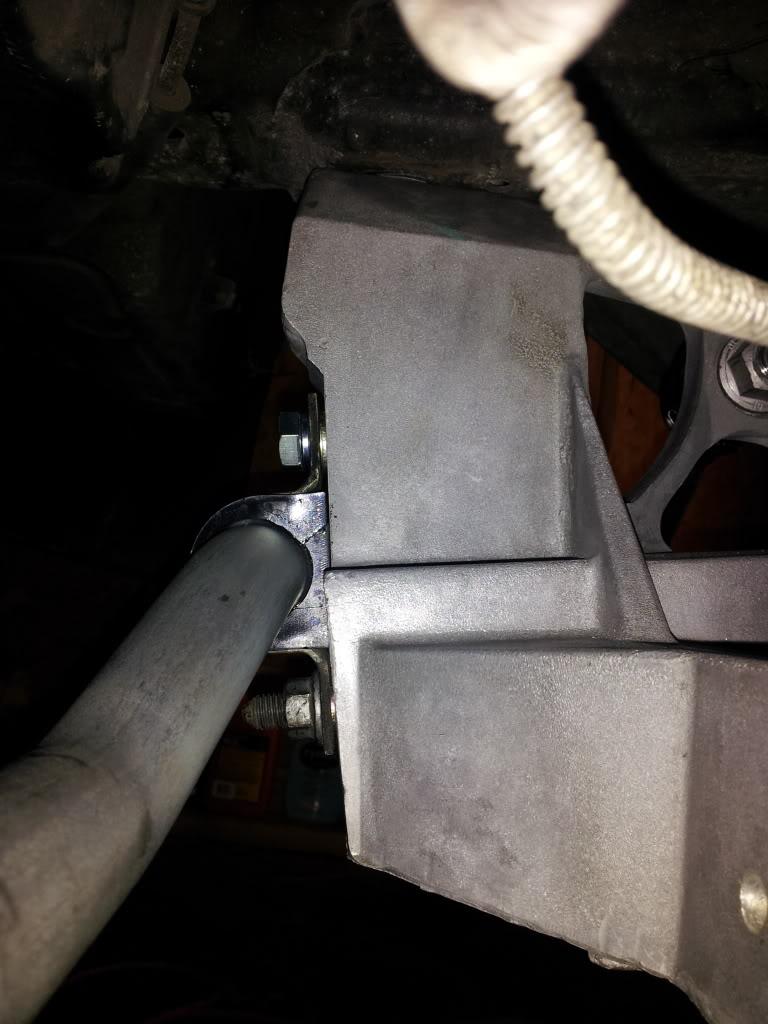
Finished up all electrical stuff inside the car and put it all back together. Also did sheetmetal wok on the tunnel and everything came out perfect!
You can see were I put the PAC controller for the Alky system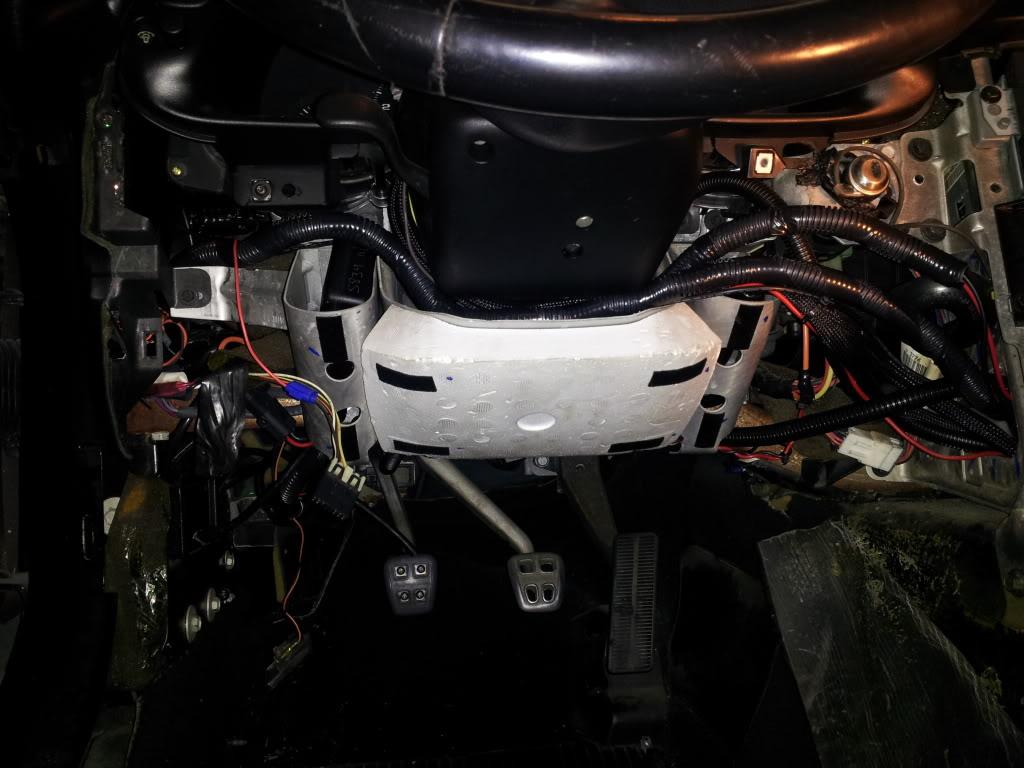
The command center!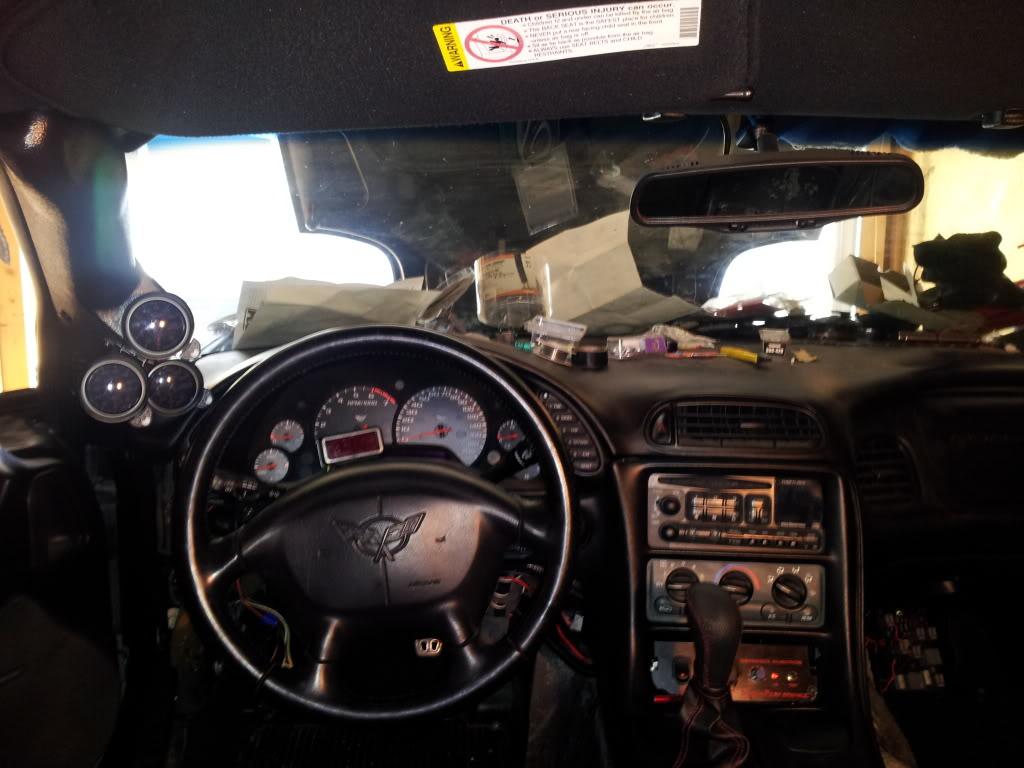
A quick video of how everything works and looks!
http://api.viglink.com/api/click?for...13484404729881
From this
To this!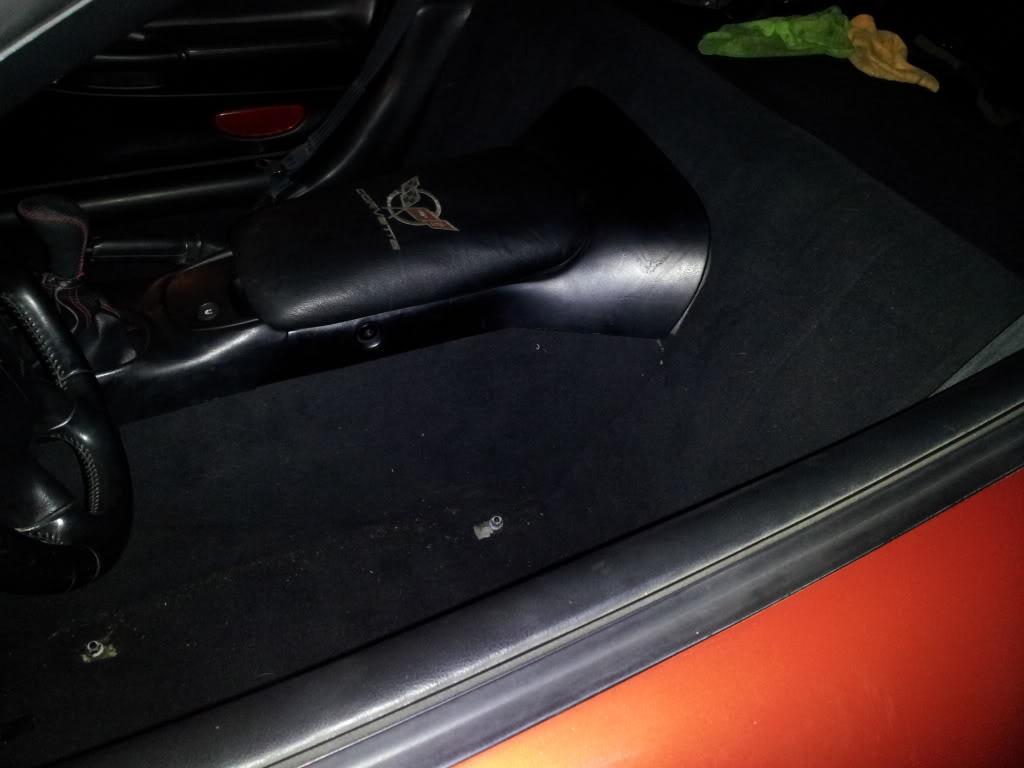
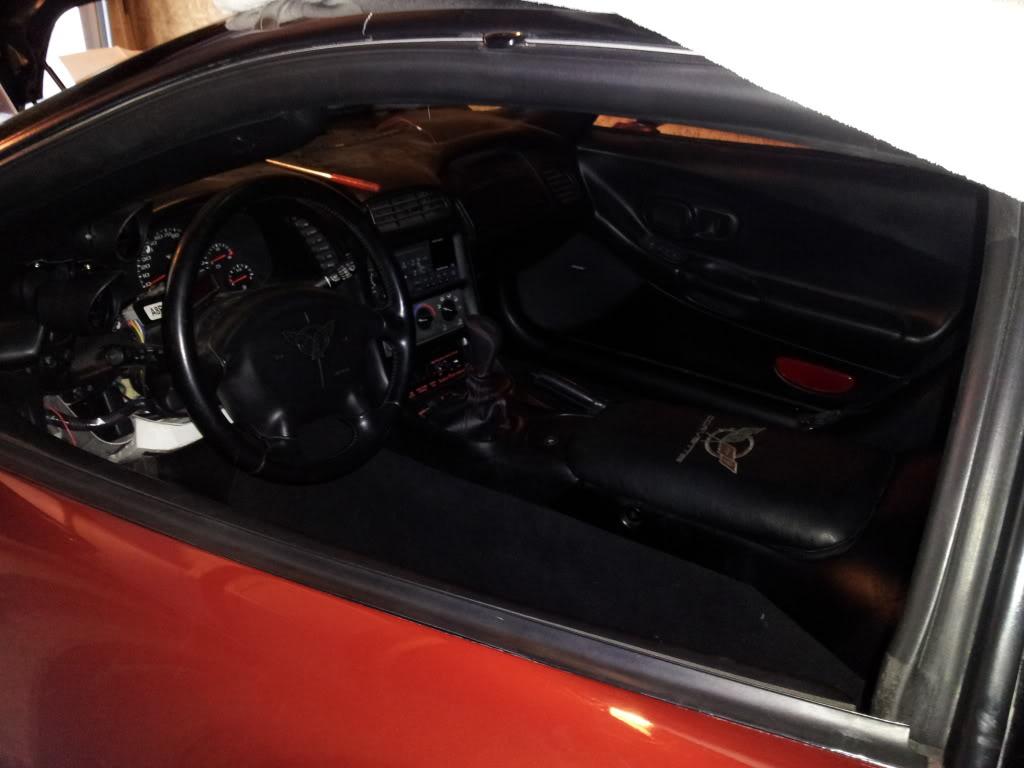
2/29/12
BOOOOM!!!!!!!!!!!!!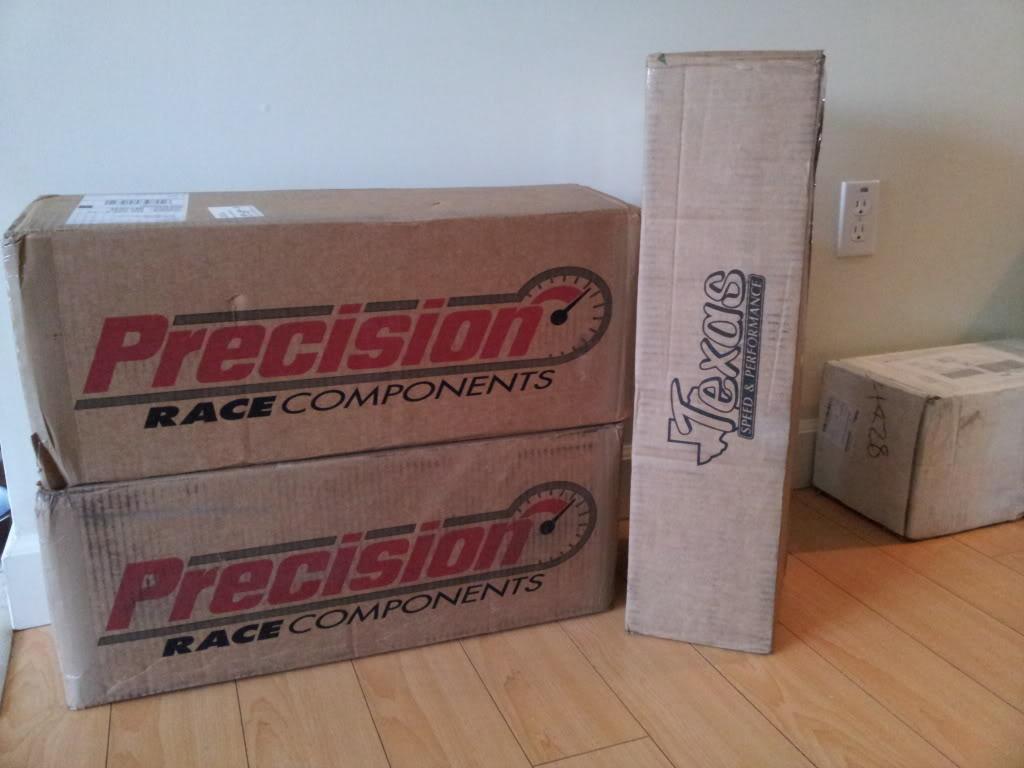
3/1/12
Time to do WURK!
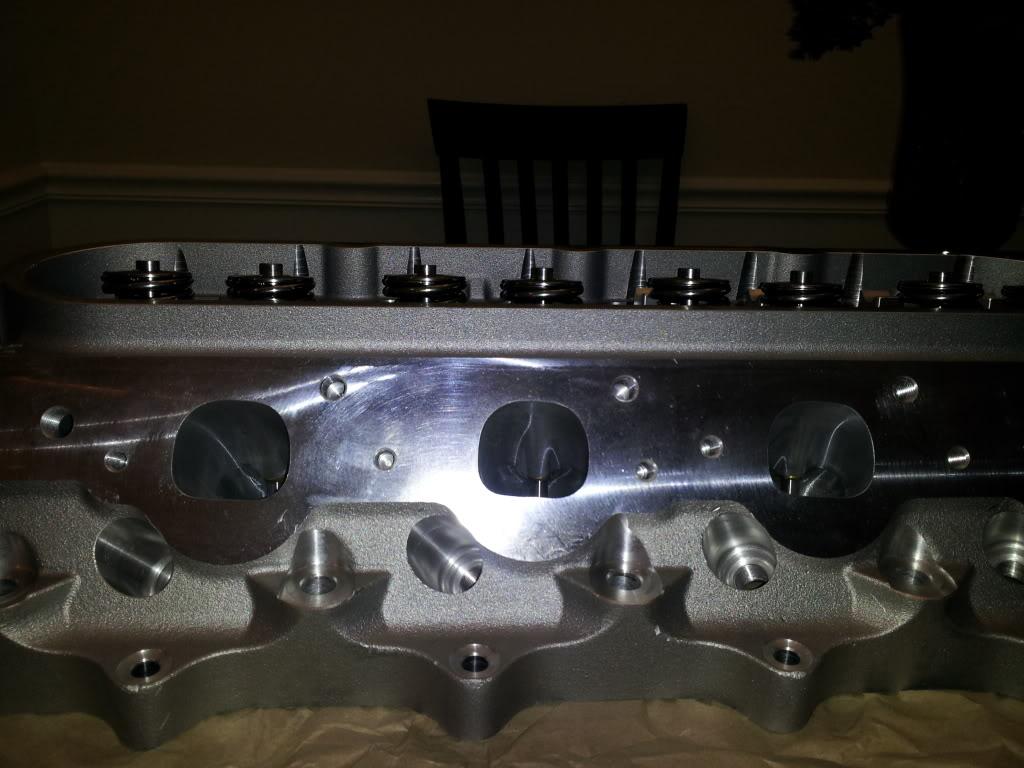
Can't say enough about these heads! If you didn't know! Then you need to know! These are the new LS7 heads for 4.060 bore (min.) engines! They are not small bore they still utilize ls7 stock valve sizing and flow close to 400 cfm! They are also 6 bolt and feature ¾Â deck. These came built to the hilt from TSP they feature:
265cc Intake Ports
2.20-Inch Titanium Intake Valve
1.61-Inch Stainless Steel Exhaust Valve
PRC .700' Dual Valve Spring Kit
The Springs were setup and verified by TSP to be installed at 1.8" installed height.
1.080"-coil bind + lift .657 + .060 from coil bind is 1.797".
The .700 lift springs are rated at [email protected] they shim them .050
Packaged perfectly! Love at first sight!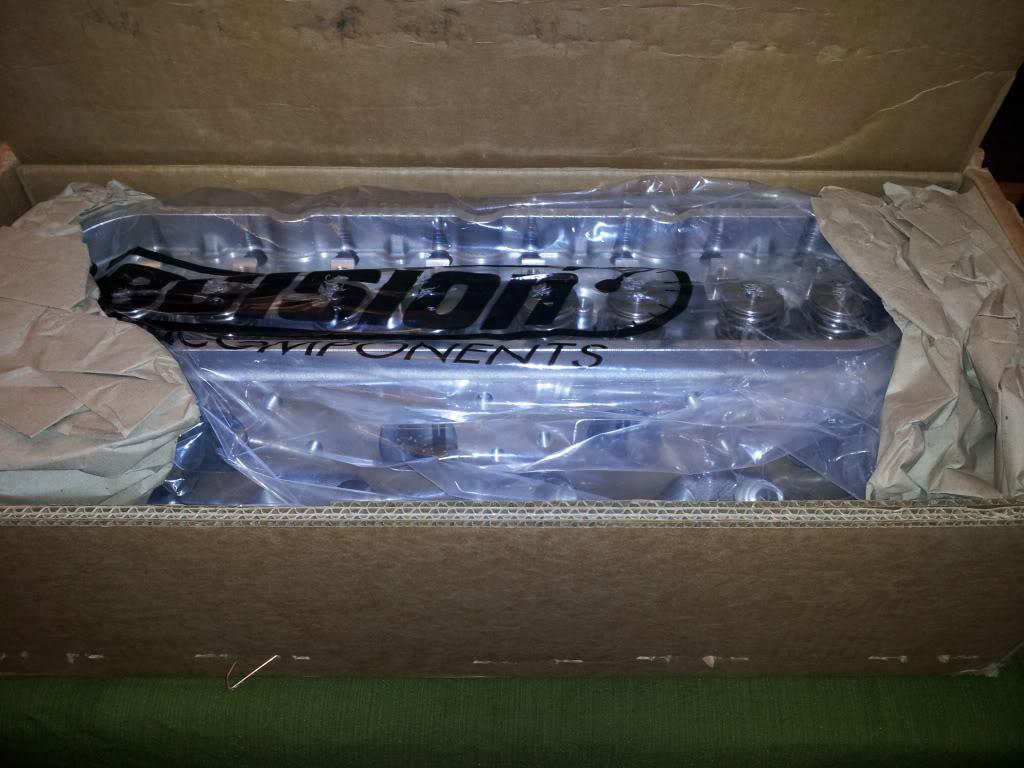
Mmmmmm CNC chambers! Please not this is how a properly ported head is supposed to look! NO CHISEL PORTING HERE!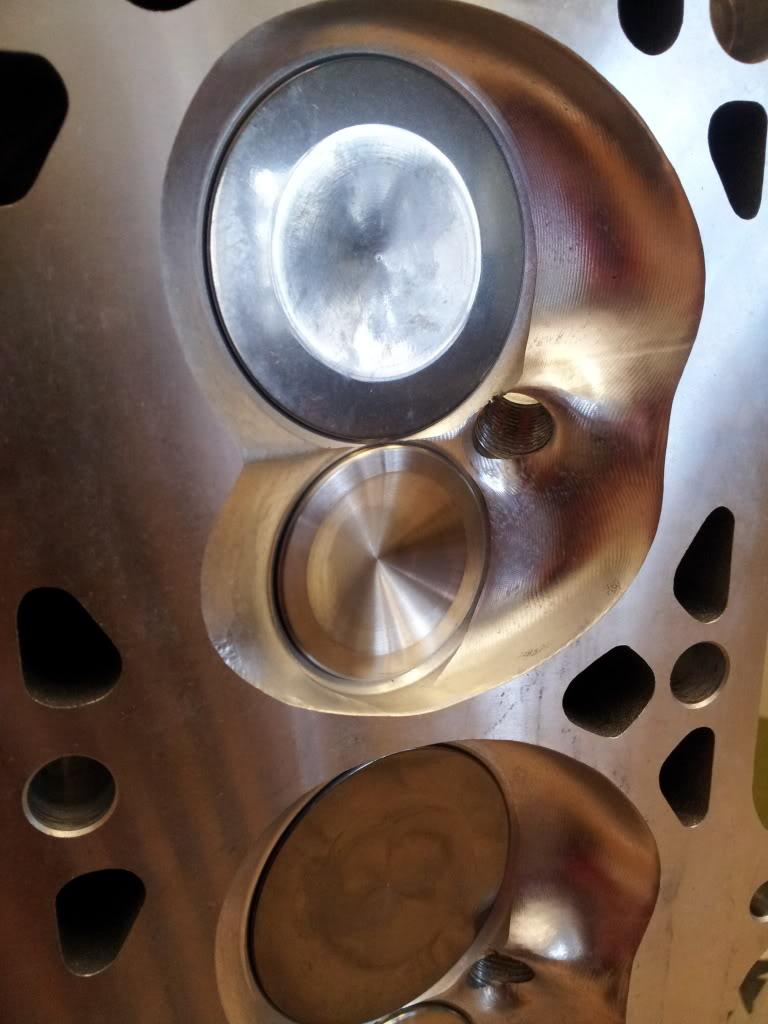
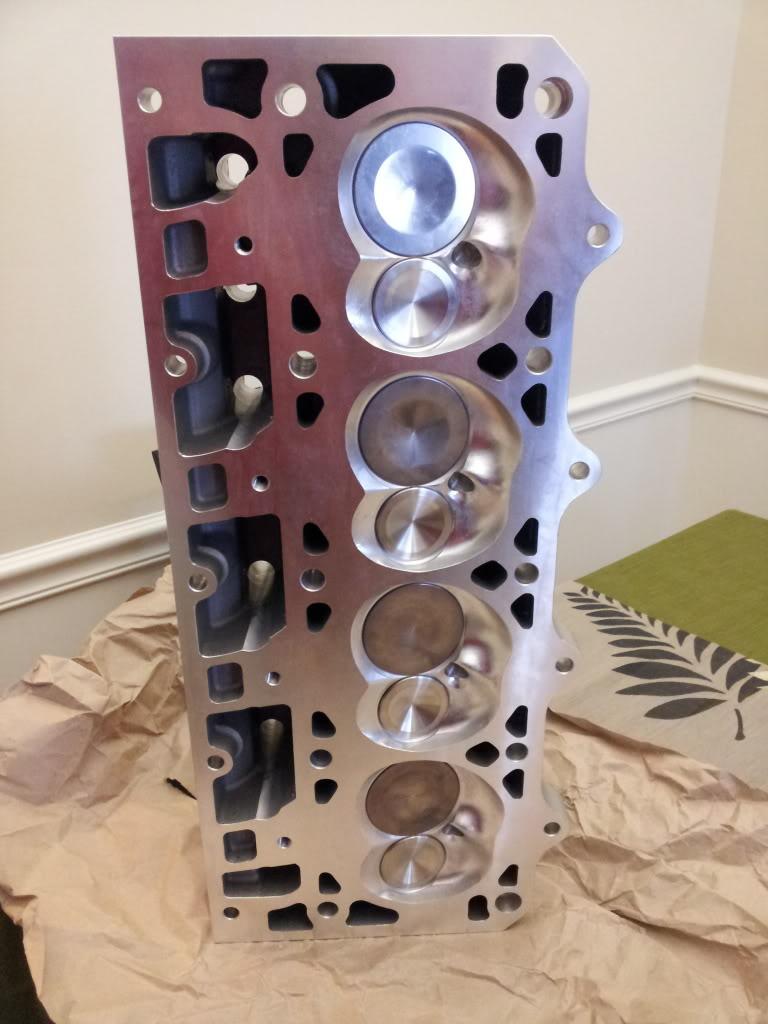
Intake side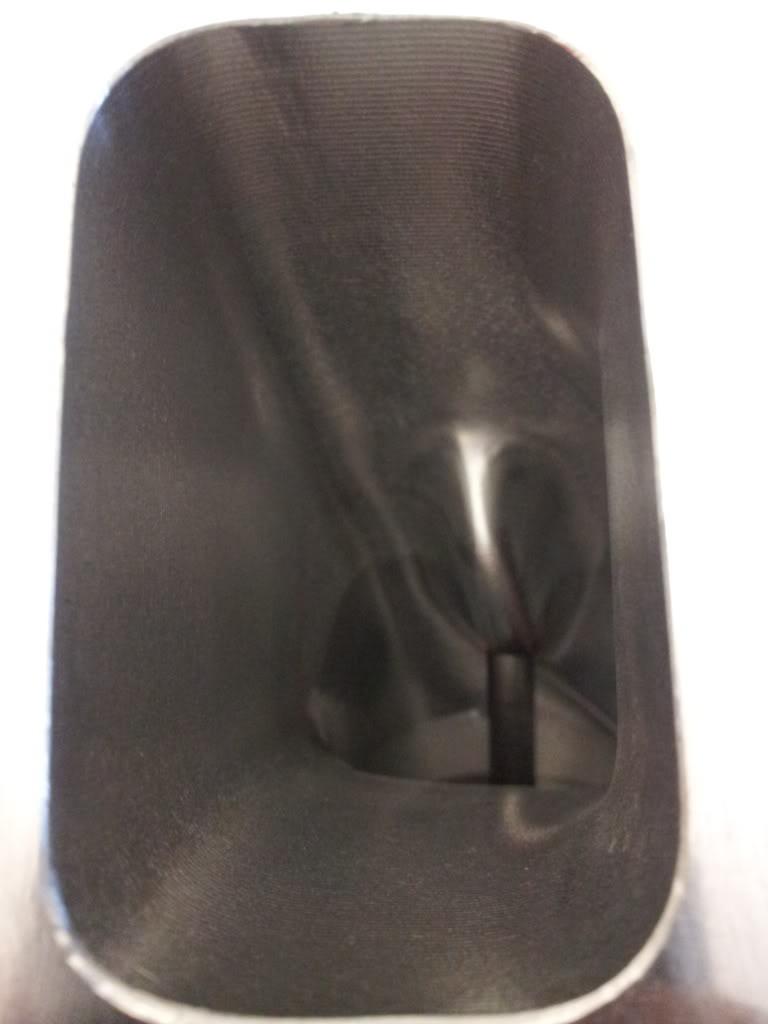
Exhaust side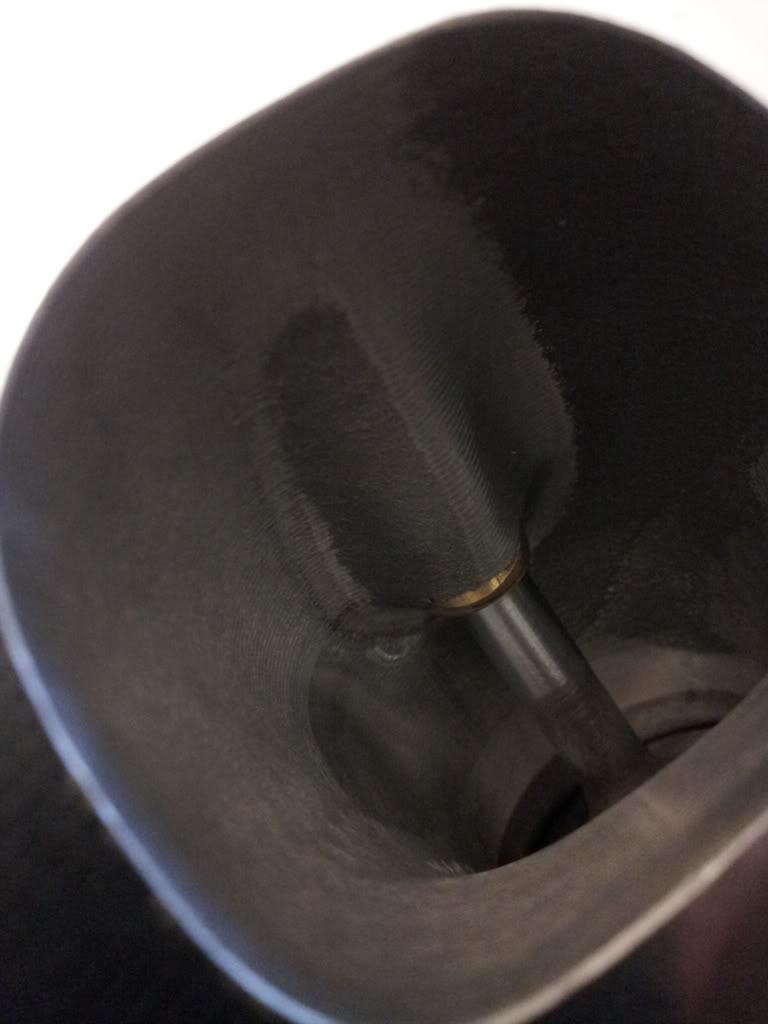
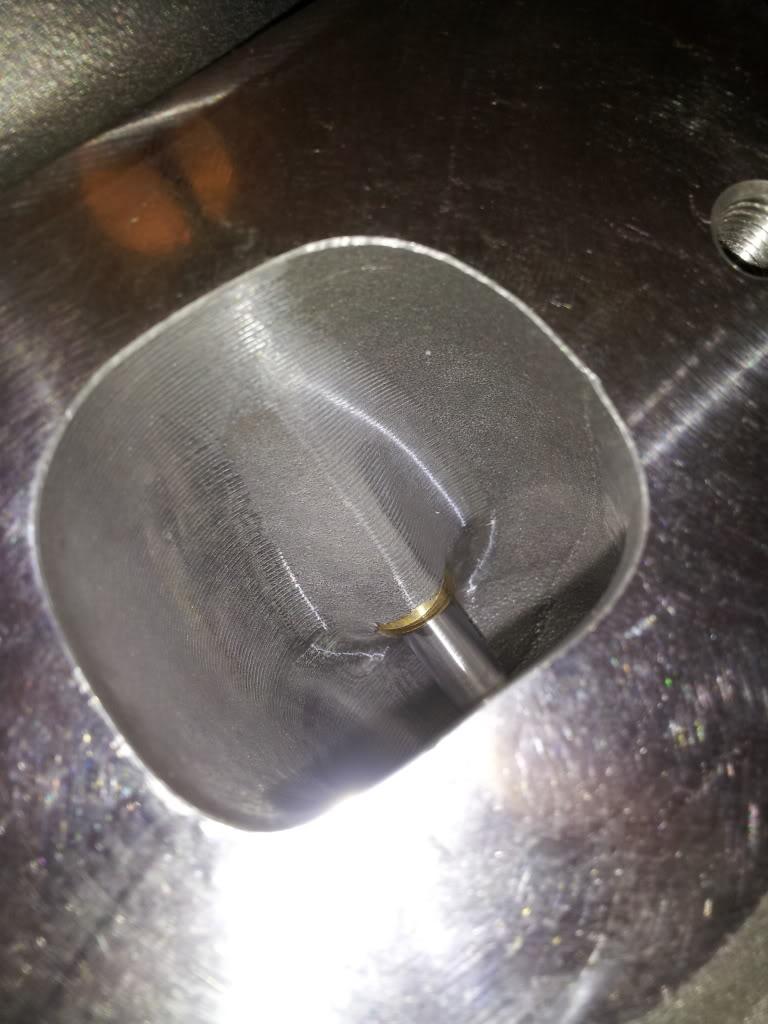
The whole shebang!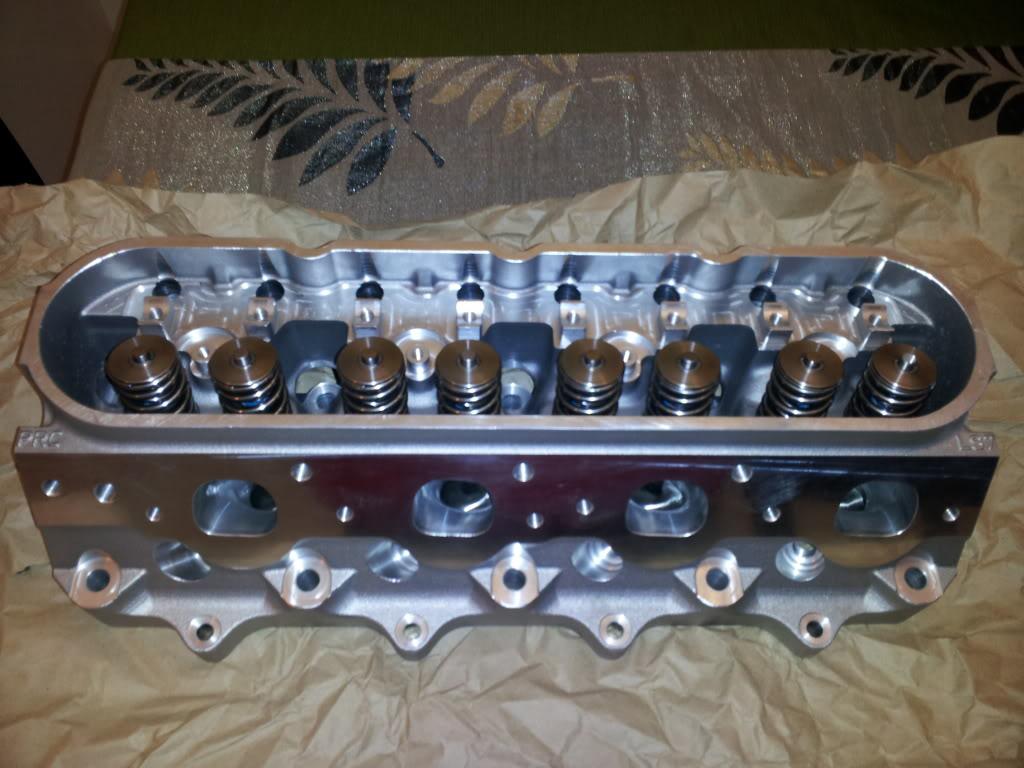
6 bolt provision and you can see the difference in spring height from ex. To int.
Per TSP recommendations and the way the heads are setup you are only able to run GM LS7 rocker arms which is perfectly fine just make sure you do a trunion upgrade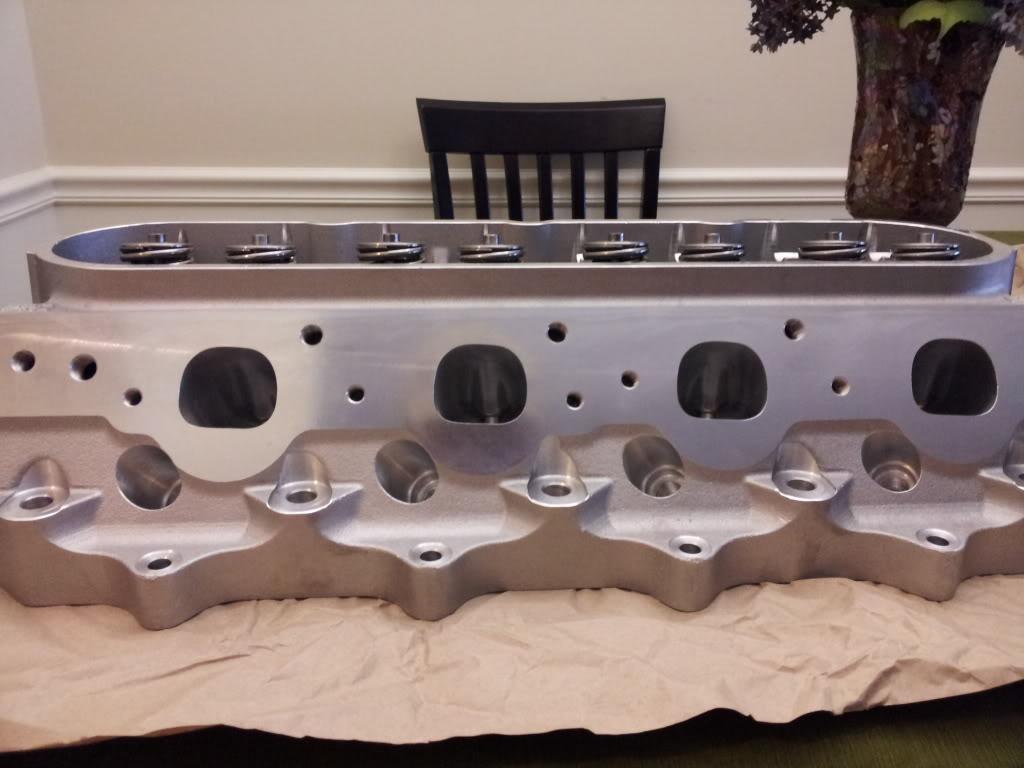
Deck Measurement! The beefier the better!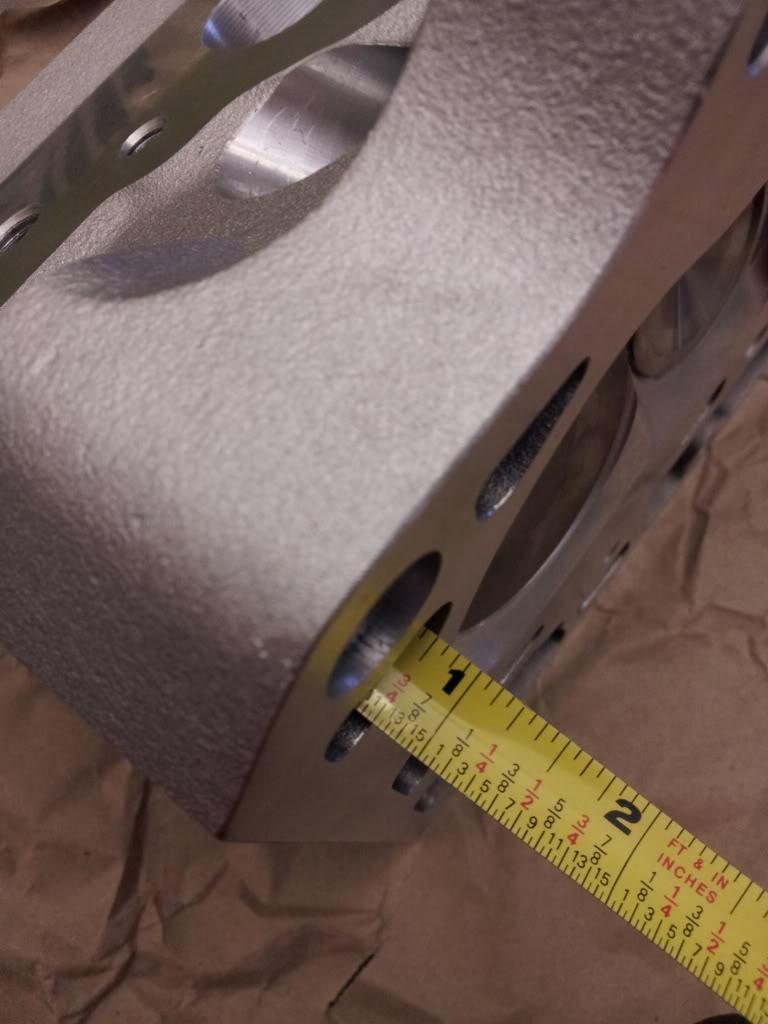
Went with GM LS9 7 layer MLS Gasket! These have done great on several high HP builds and look to be a lot better than normal cometics. These will be installed dry (no copper coating.) these gaskets are 0.051-inch thickness which will put my Cr around 11.1 perfect for boost and e85!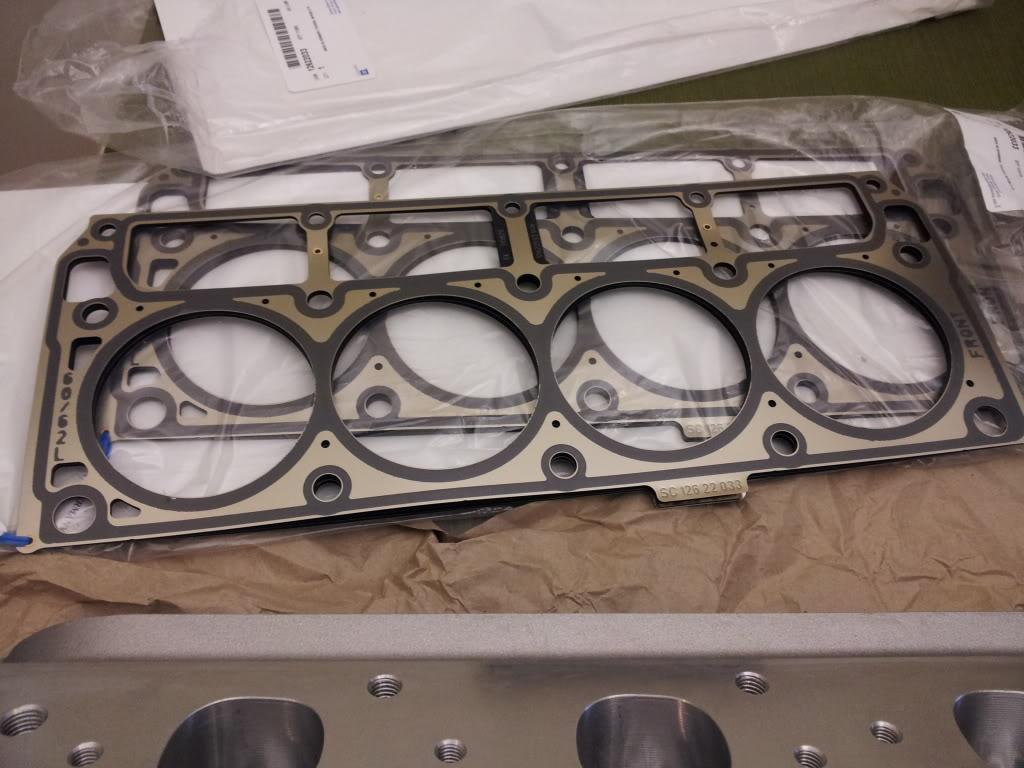
Looks good!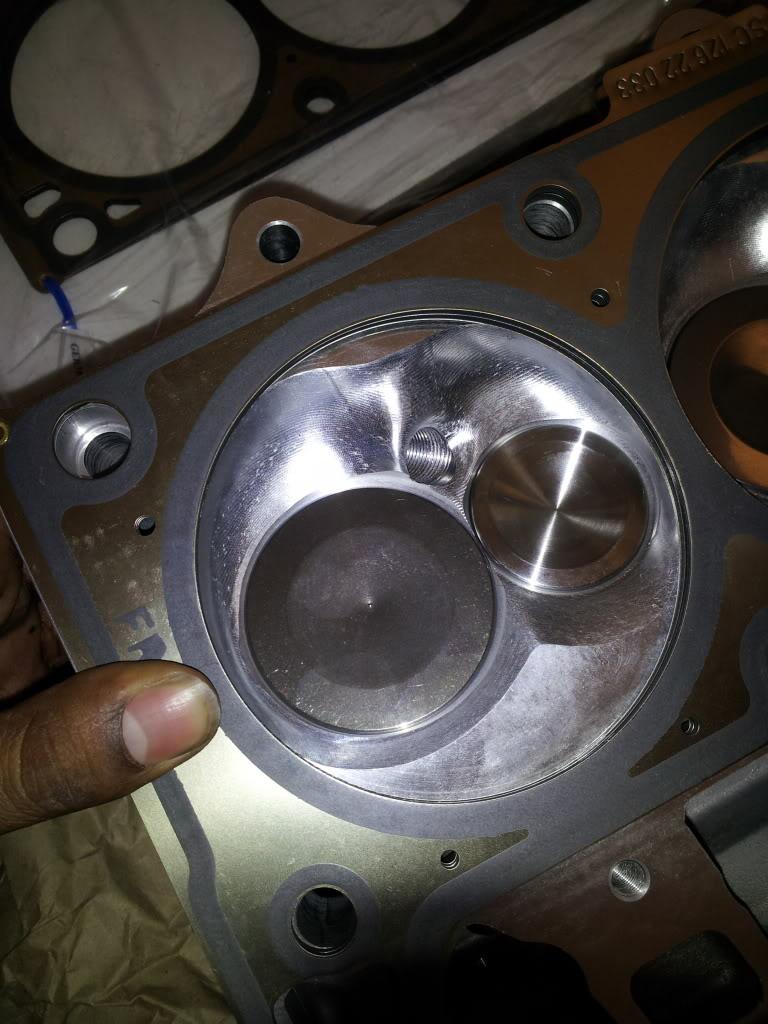
He who is rarely caught on camera came out and gave me a hand with this as it would've been a bit more challenging without him.
Sir Bentley himself! Ladies and gentlemen no but on a real note thanks a lot man I really really appreciate the company and was fun as hell for sure! (the nicest guy you'll ever meet, Dammit he makes me soooo angry LOL)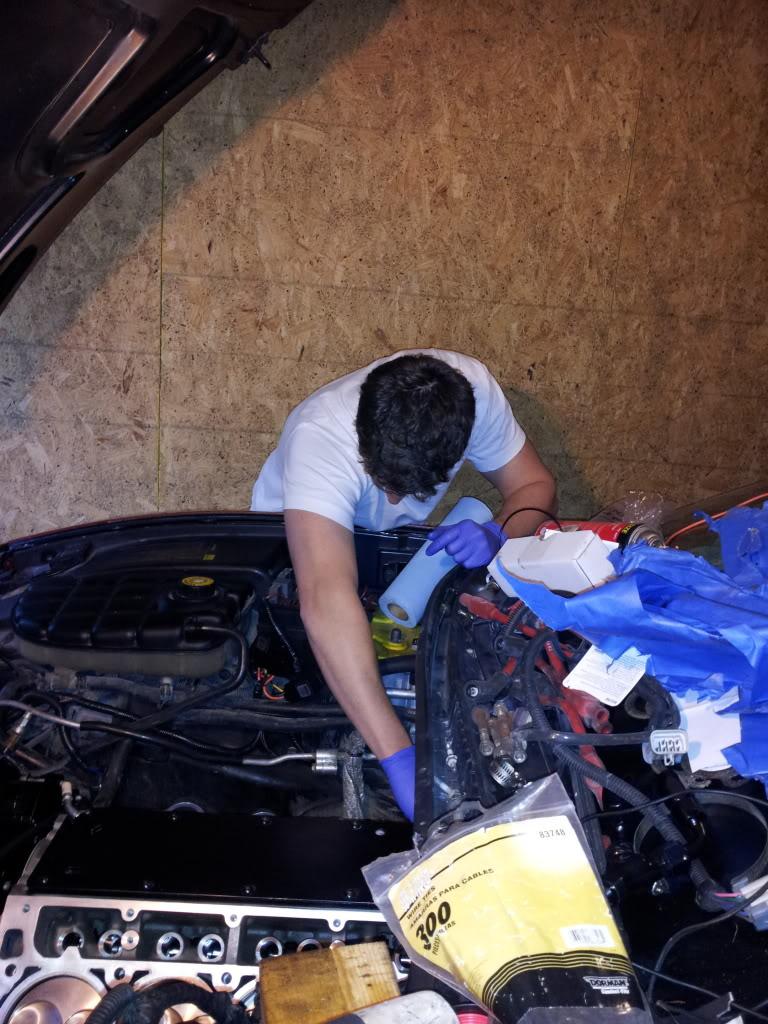
Studs in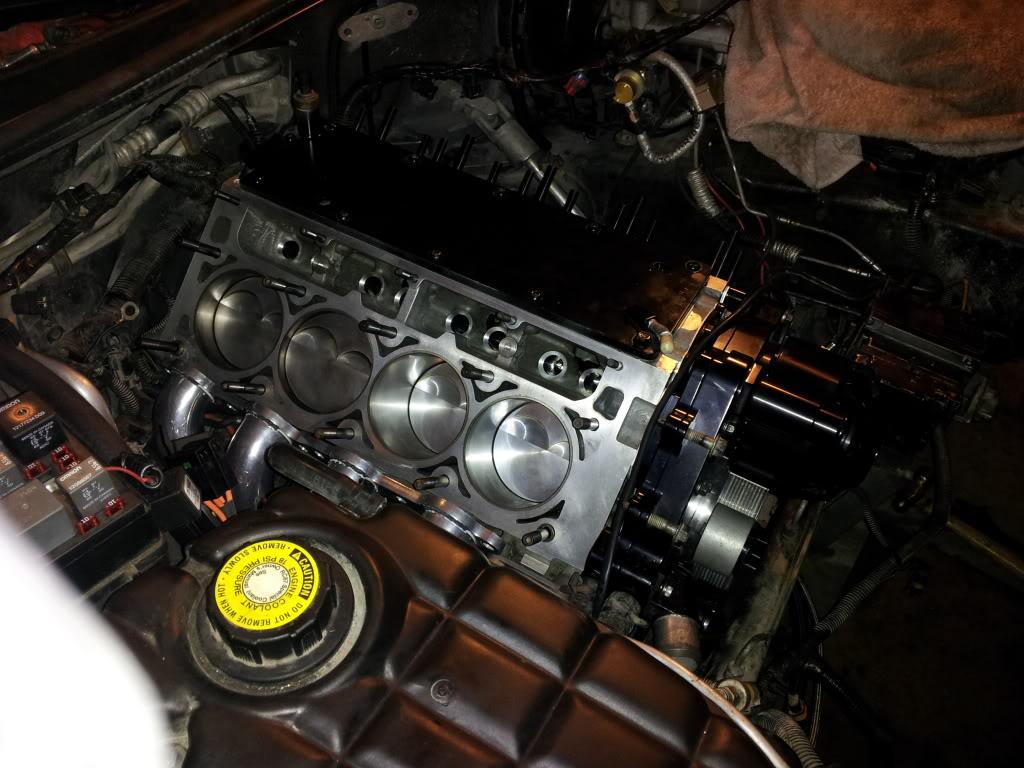
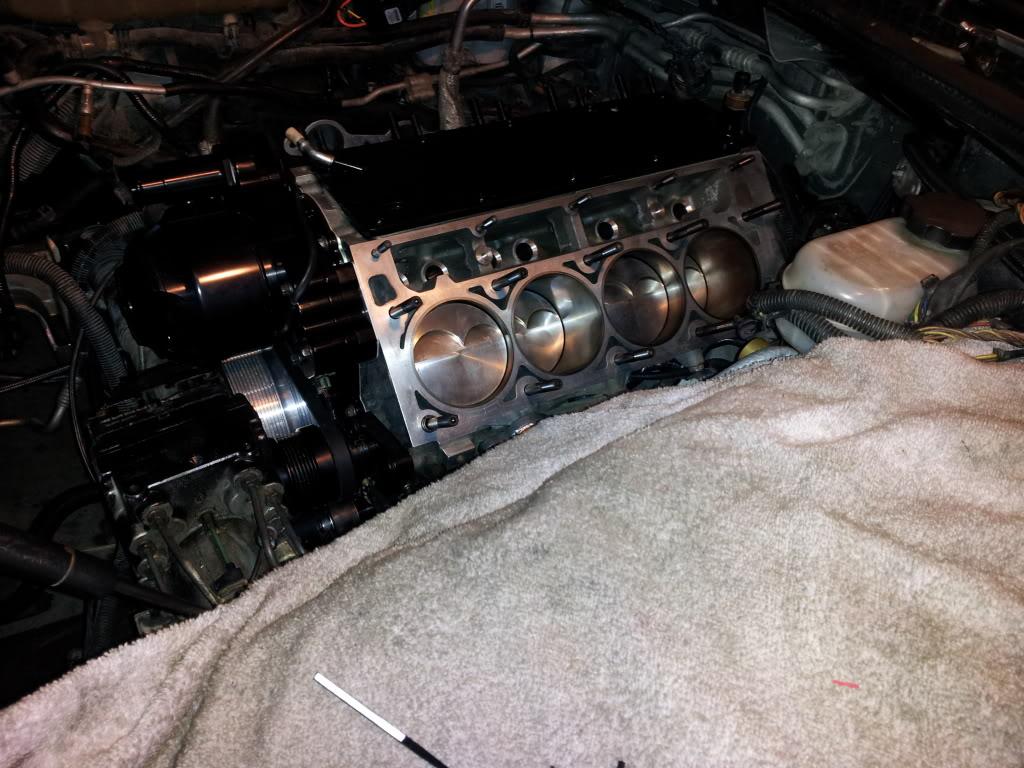
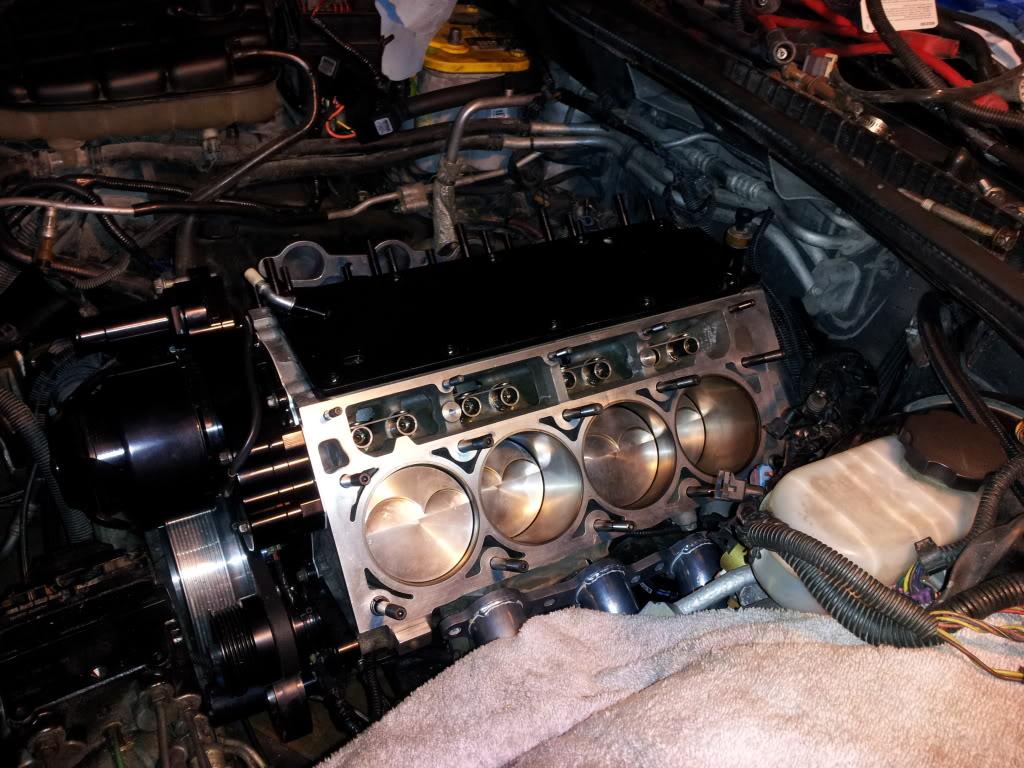
Yes I am actually in the engine bay lol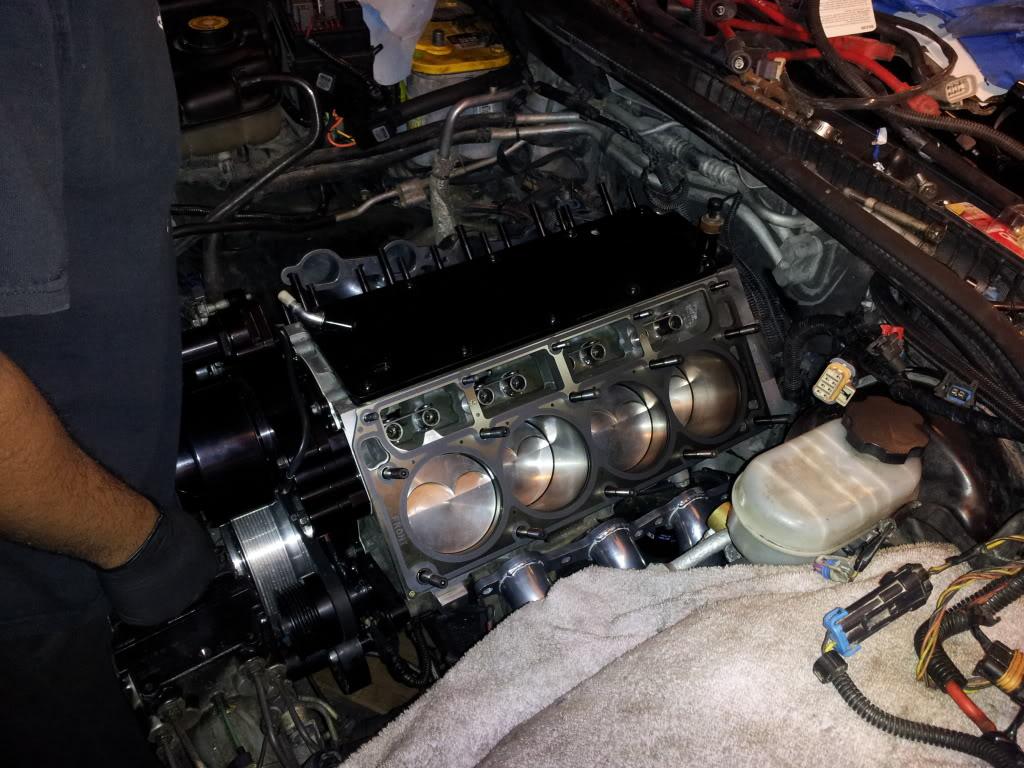
Heads on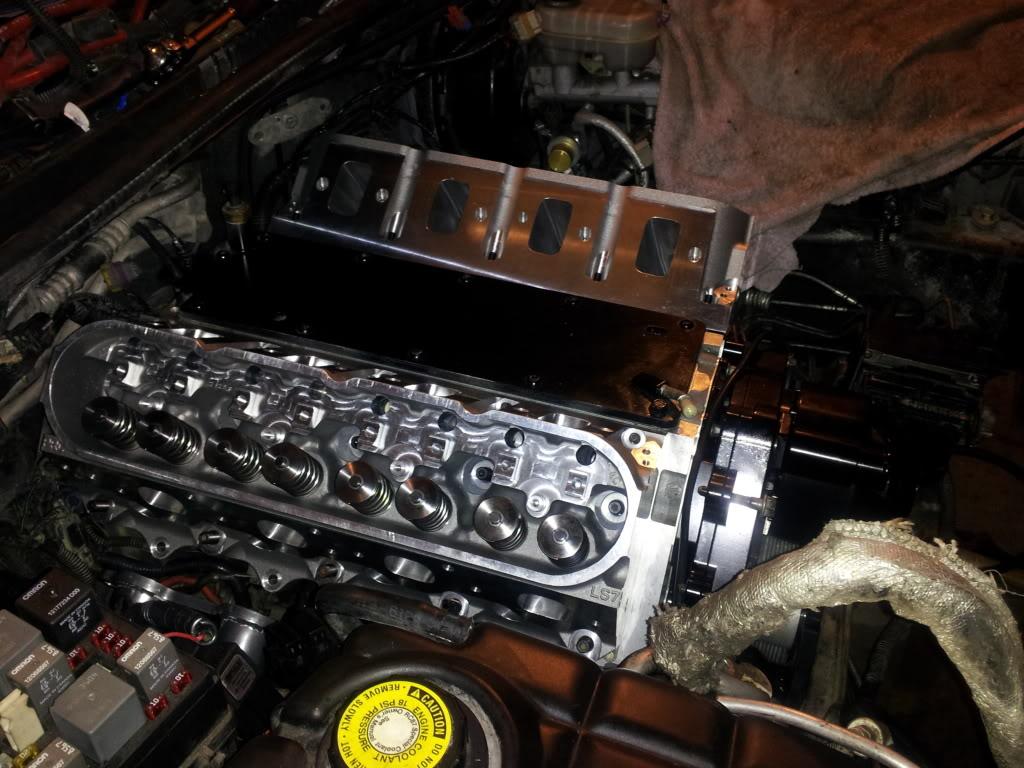
Torqueing those suckers down!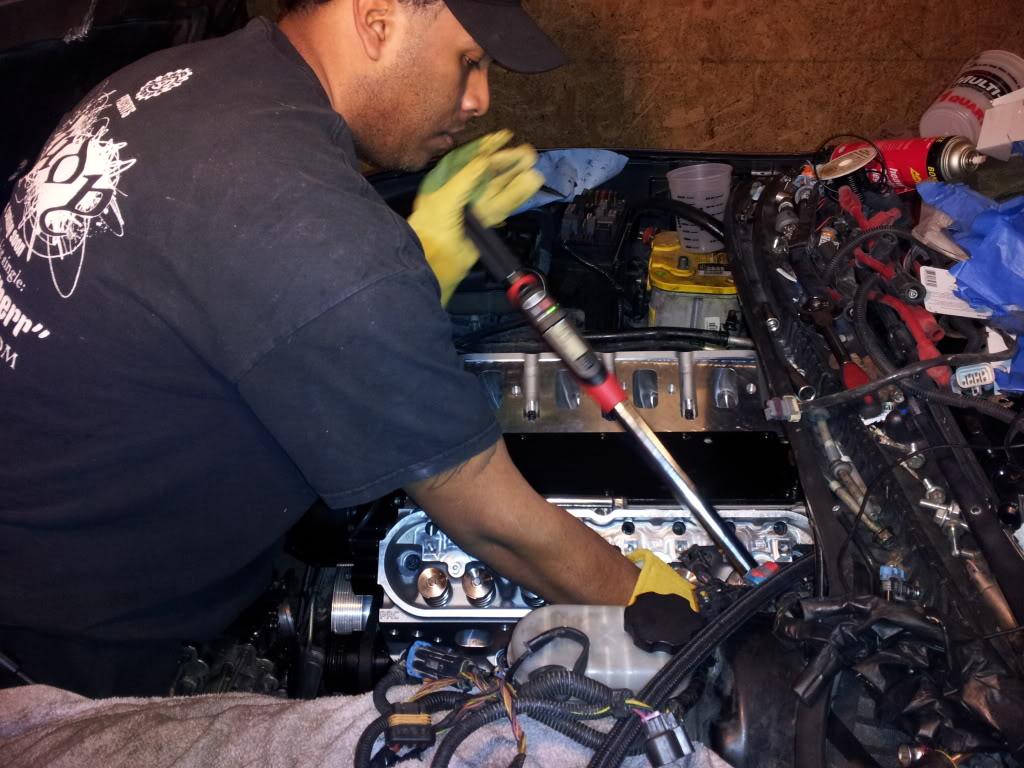
Sneak preview!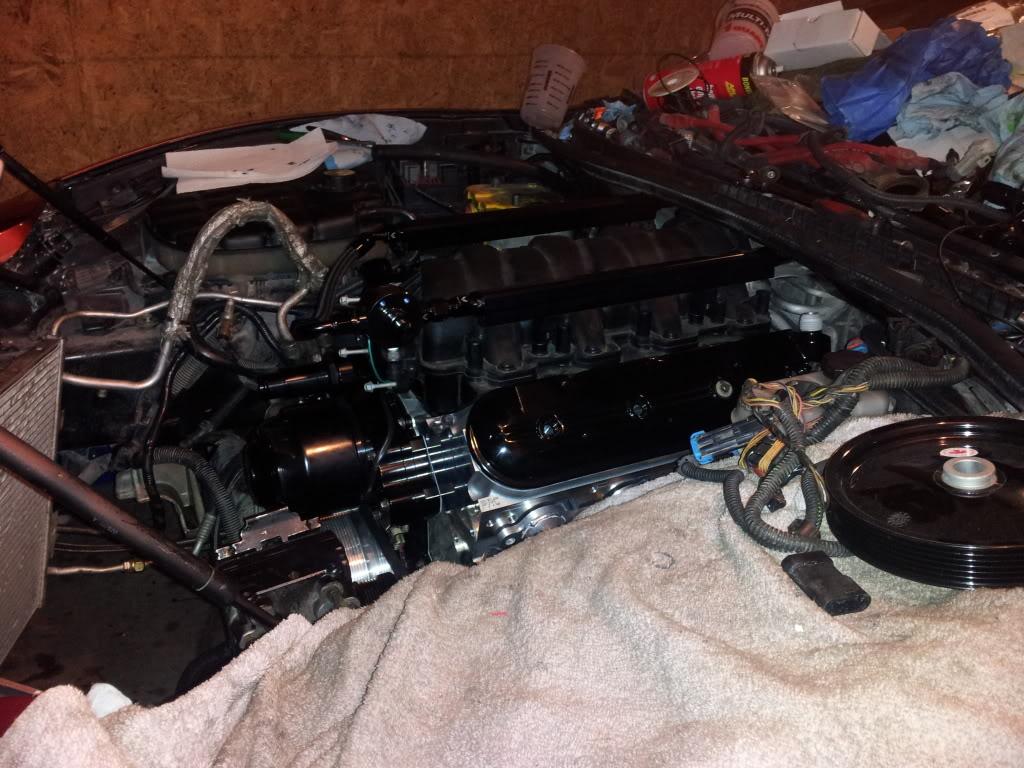
The night was cut short when we somehow ended up missing 1 washer so going to try to find one locally or source one out next day air!
3/3/12
Well CBI to the rescue once again. This is a perfect example of why he will always be #1 in MO to me. I had a mishap were I lost 1 arp washer so I couldn't finish any further until I had one. He went out of his way to make sure I had everything I needed to finish the install and keep the build moving.
Sir Bentley came out again with and we went right to work! Thanks mang!
With the heads bolted down I was able to finish the fuel lines and let me tell you everything is coming out perfect!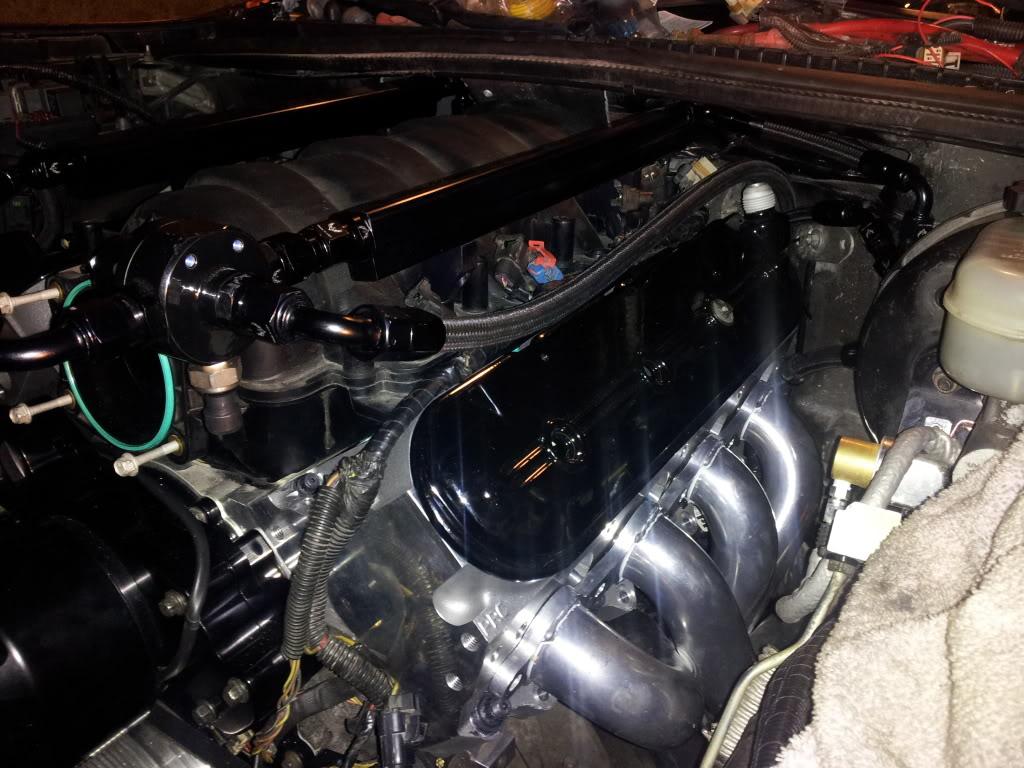
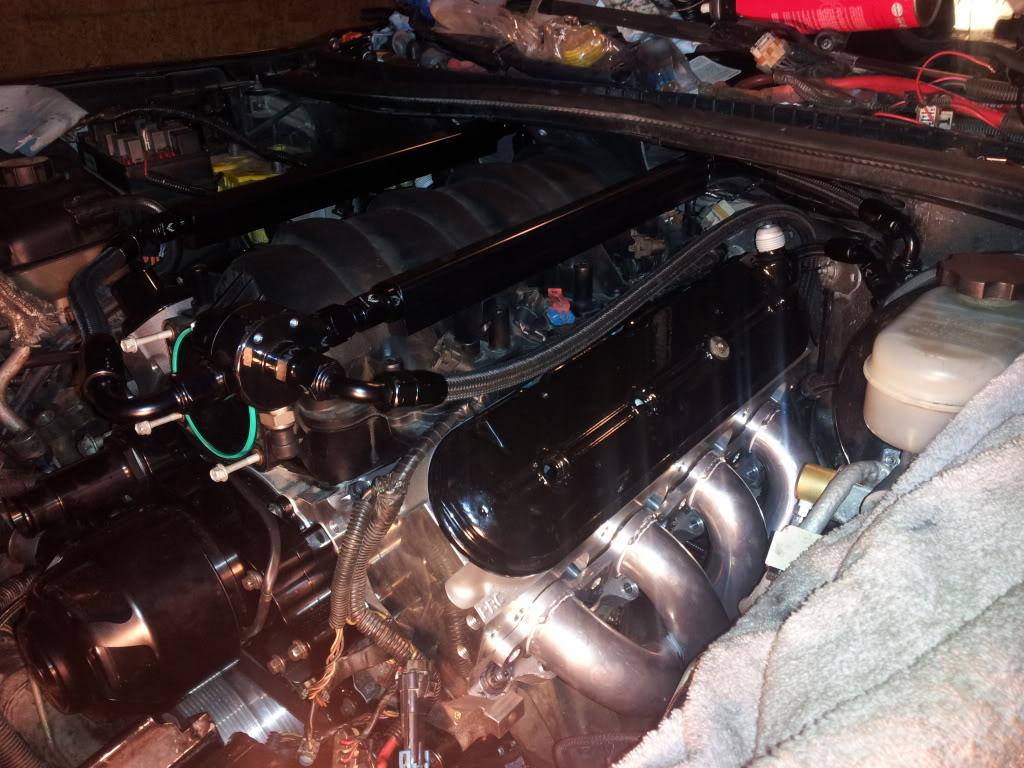
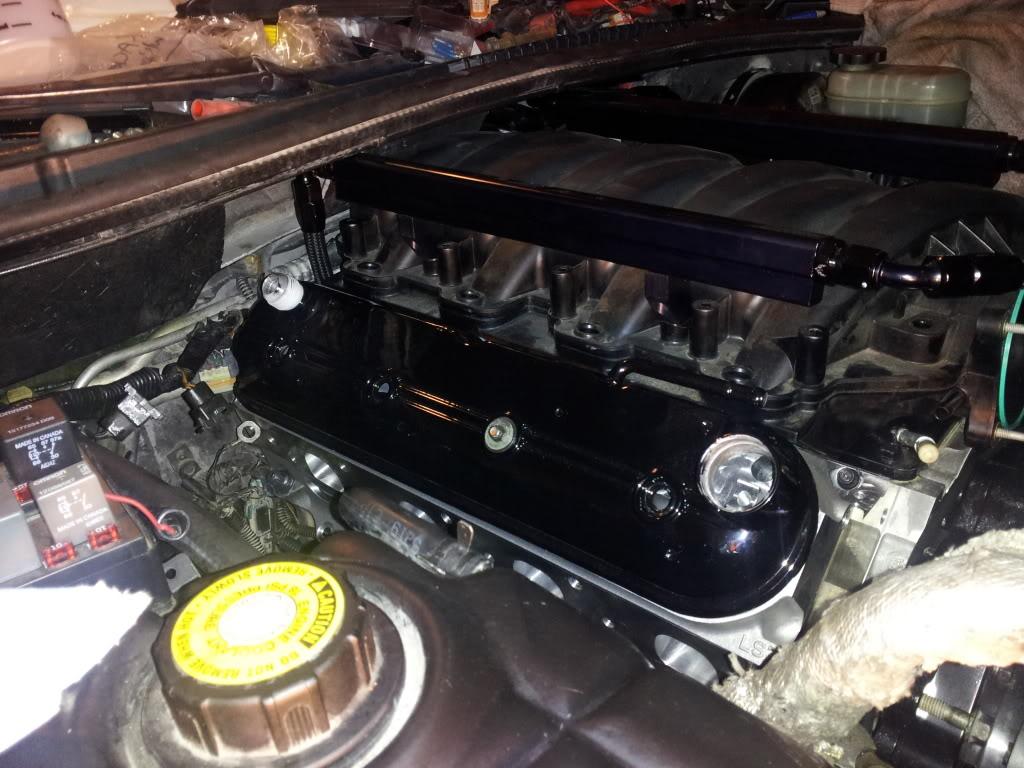
10rib! Laser aligned and everything looks good to go!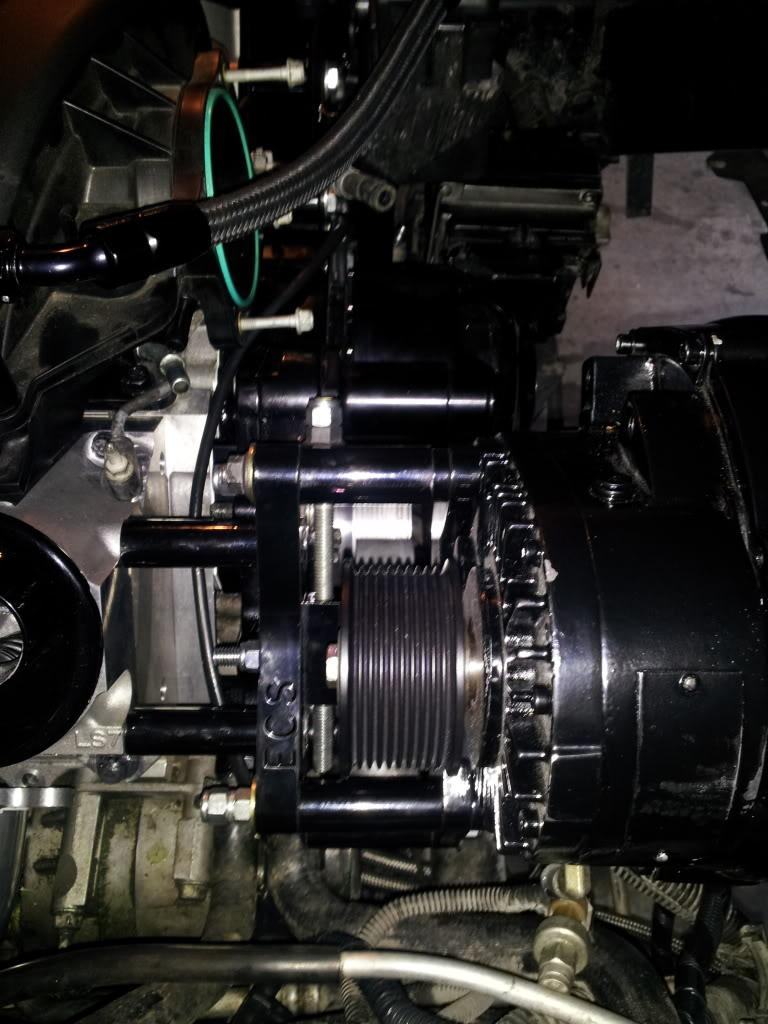
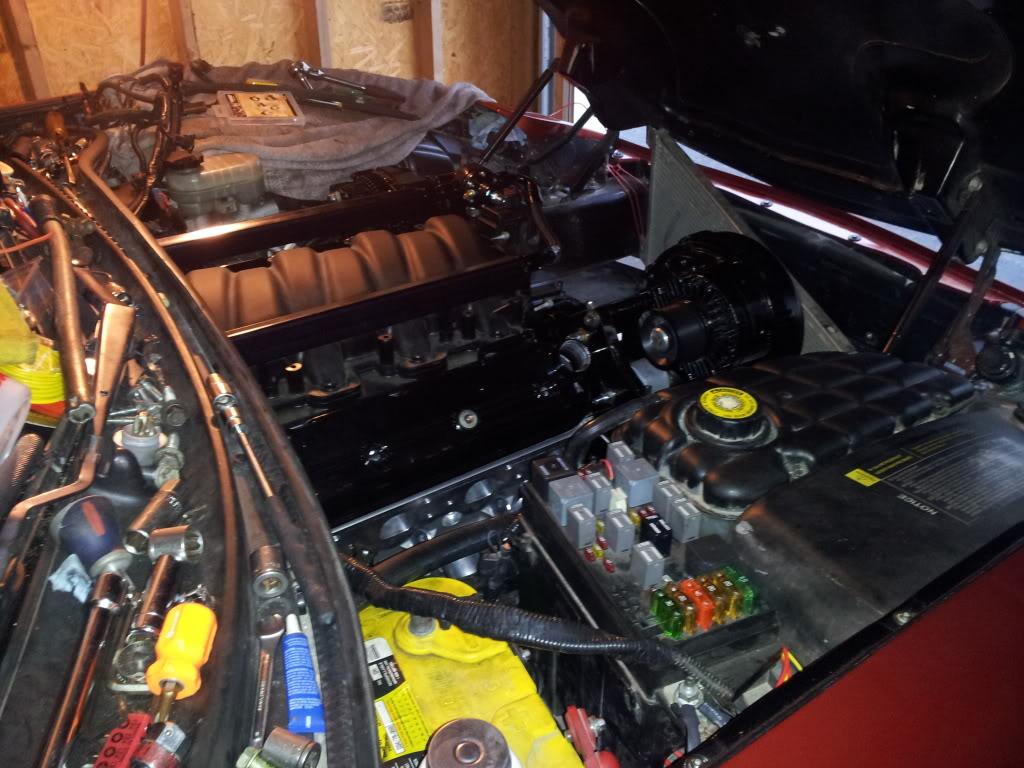

Just for you bent! MONEY SHOT lol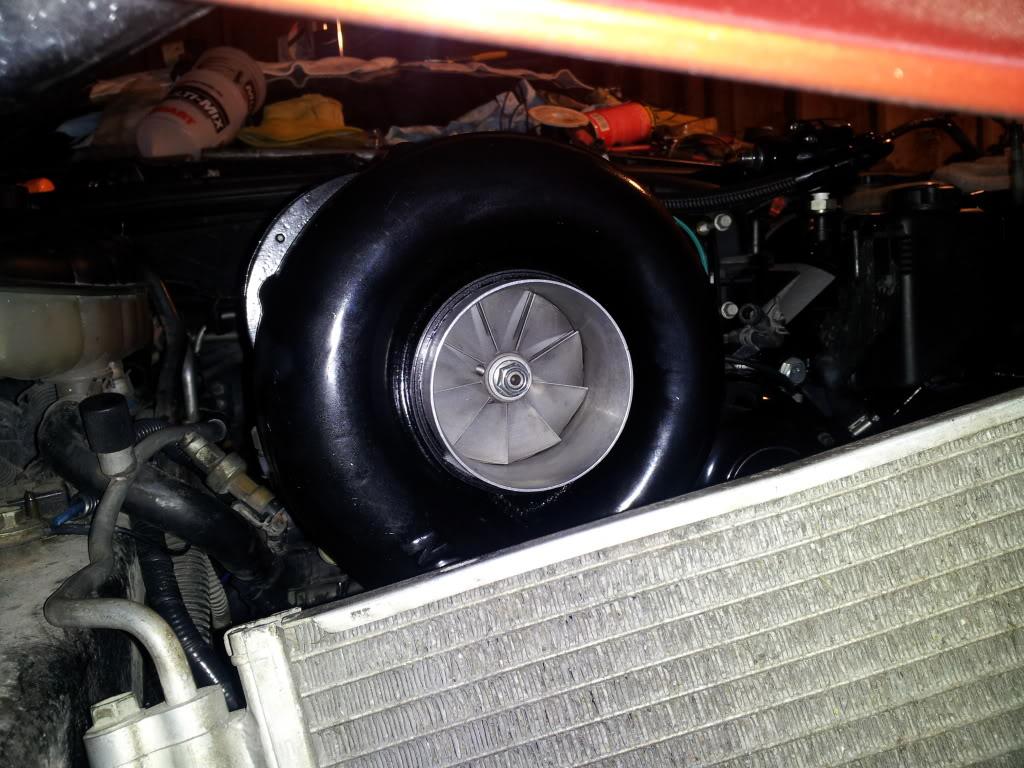
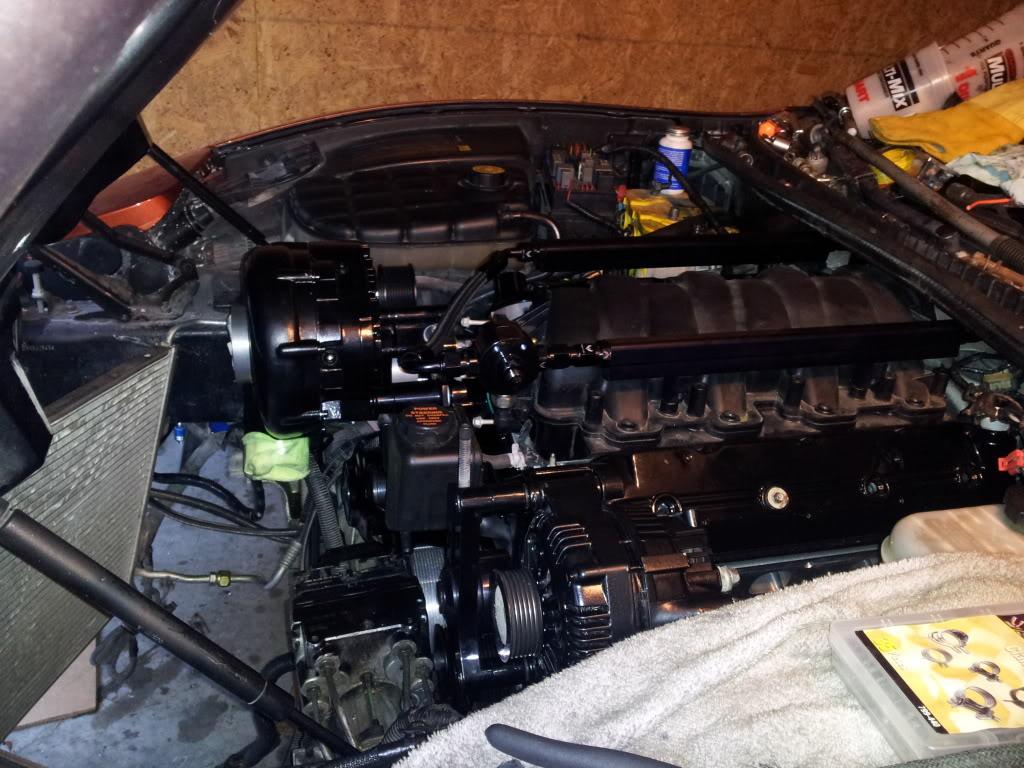
Tomorrow I will put the alt&ps belt on and get intercooler and all done! Should be starting up this month! Very excited!!!!! More updates to come stay tuned
3/6/12
getting really really close here...
putting some finishing touches on a couple of things.
i used an ls6 coolant cross-over tube in the rear of the heads instead of blocking it off..and T'd it together up front it cam out pretty nice and discreet.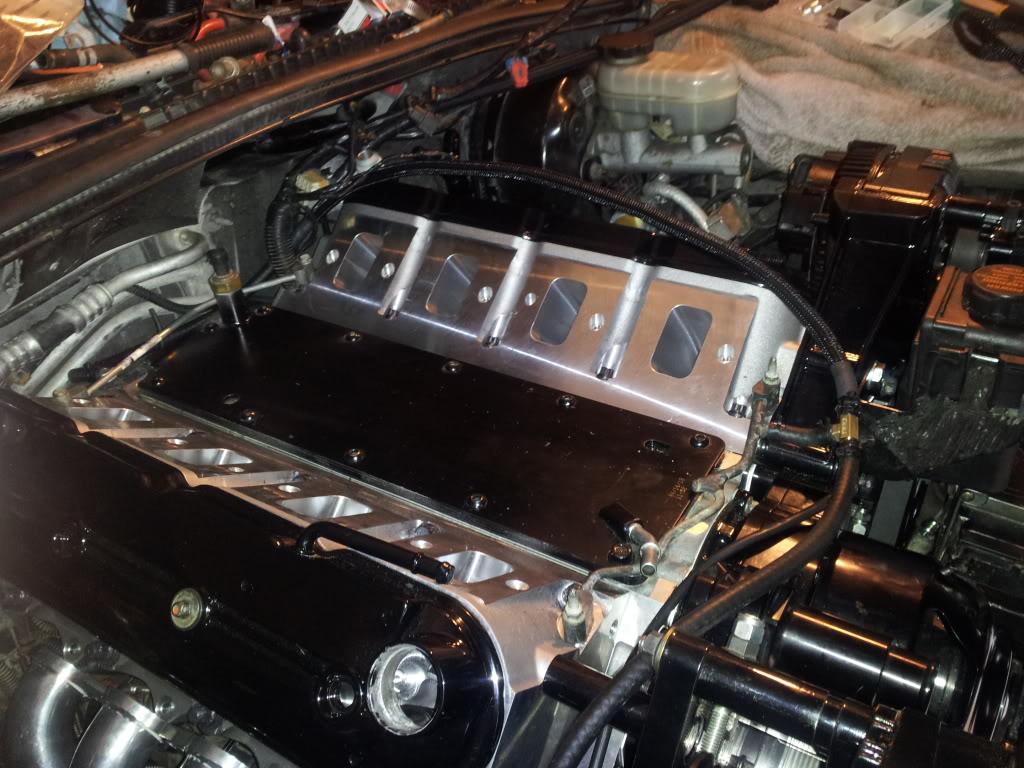
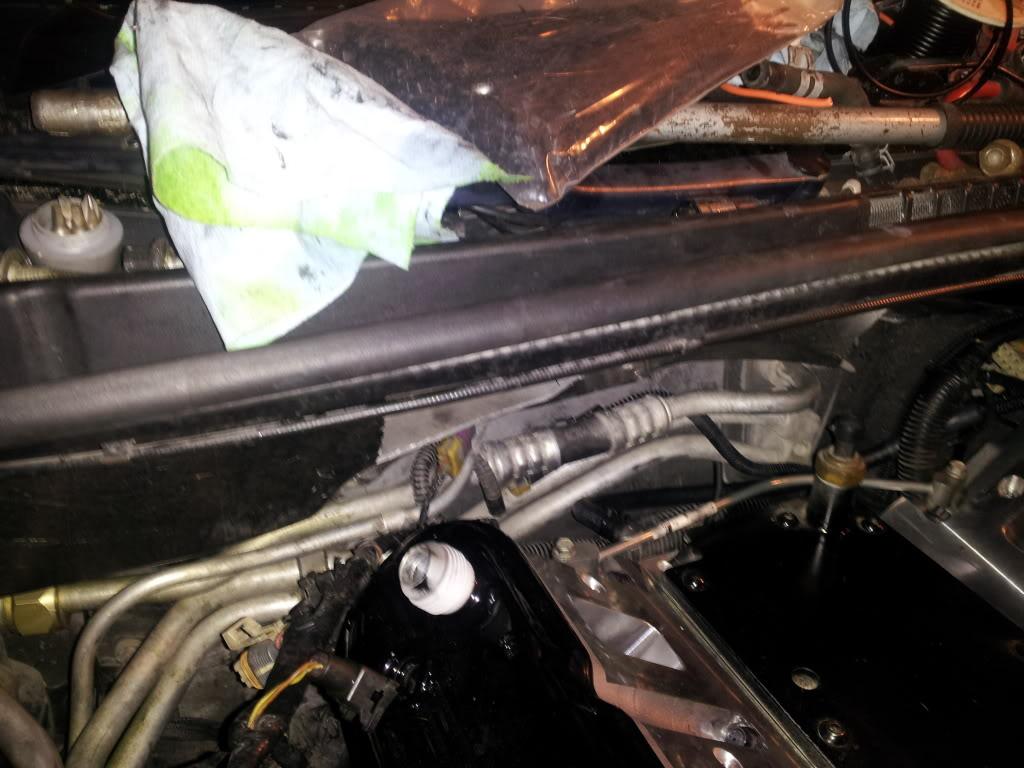
then ccajun4real came to the rescue with his ported 90mm tb! def a nice piece.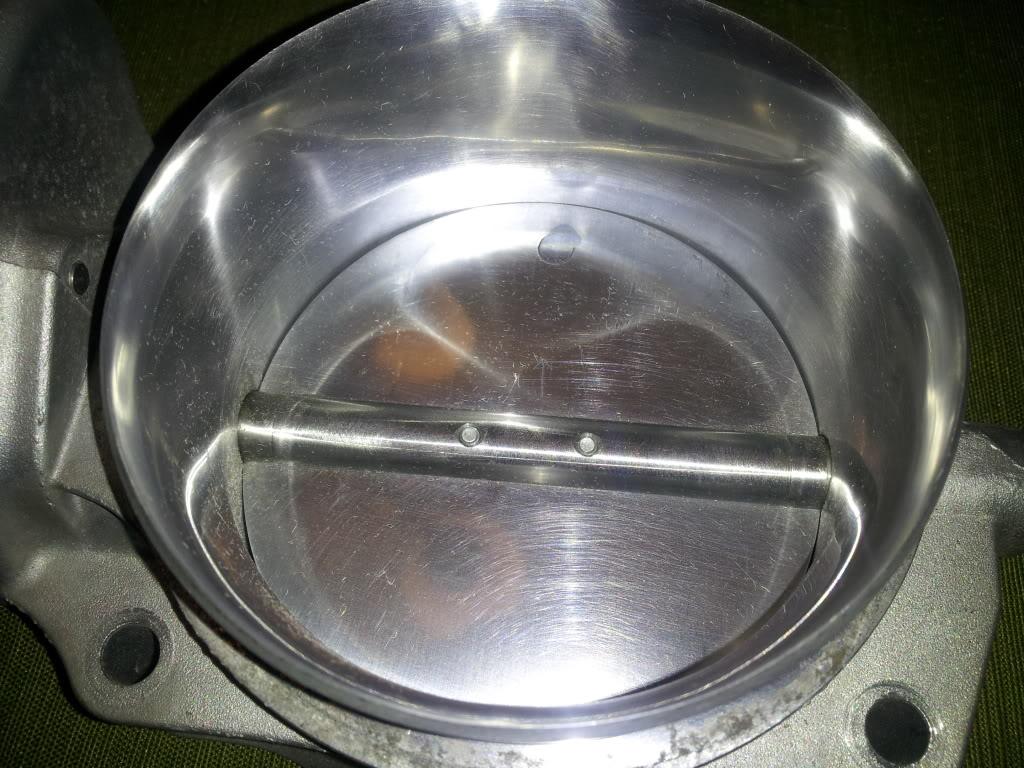
started mocking up all the piping and intercooler in place and everything looks great!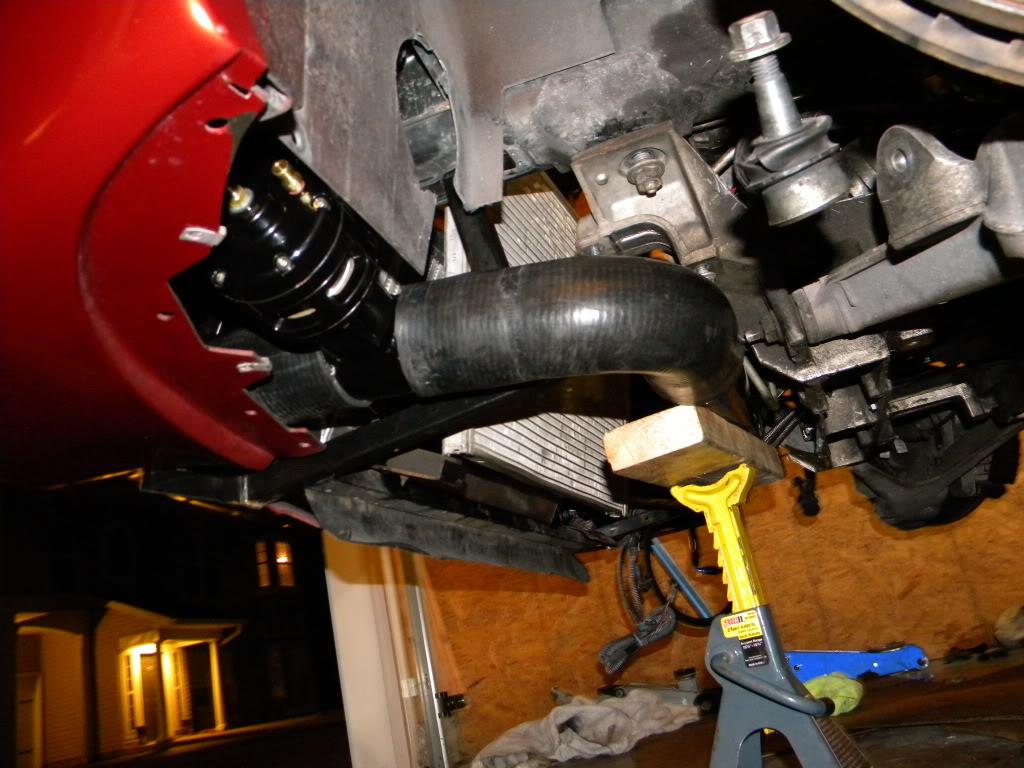
big AC condensor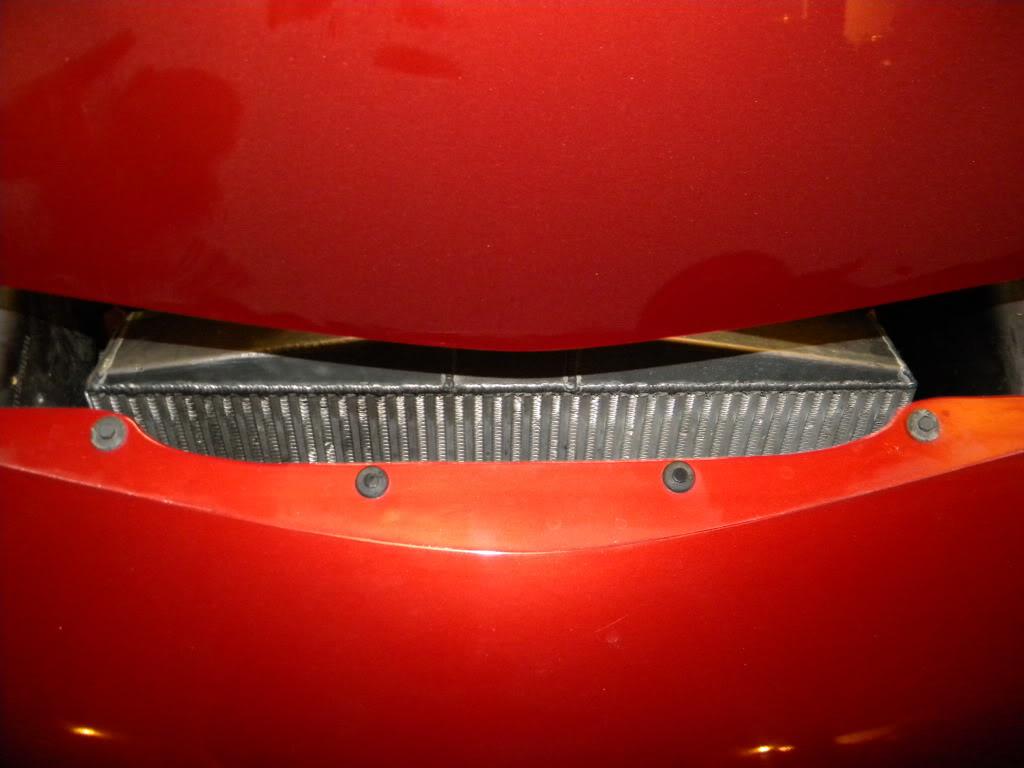
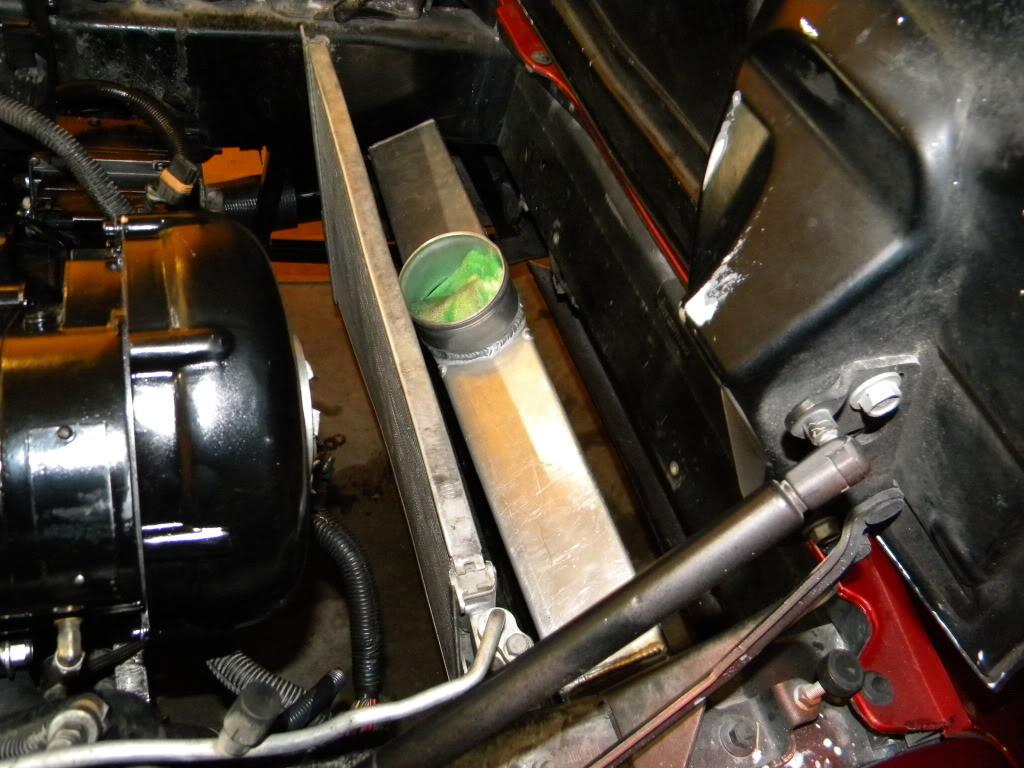
Got the intake manifold painted and on! Everything 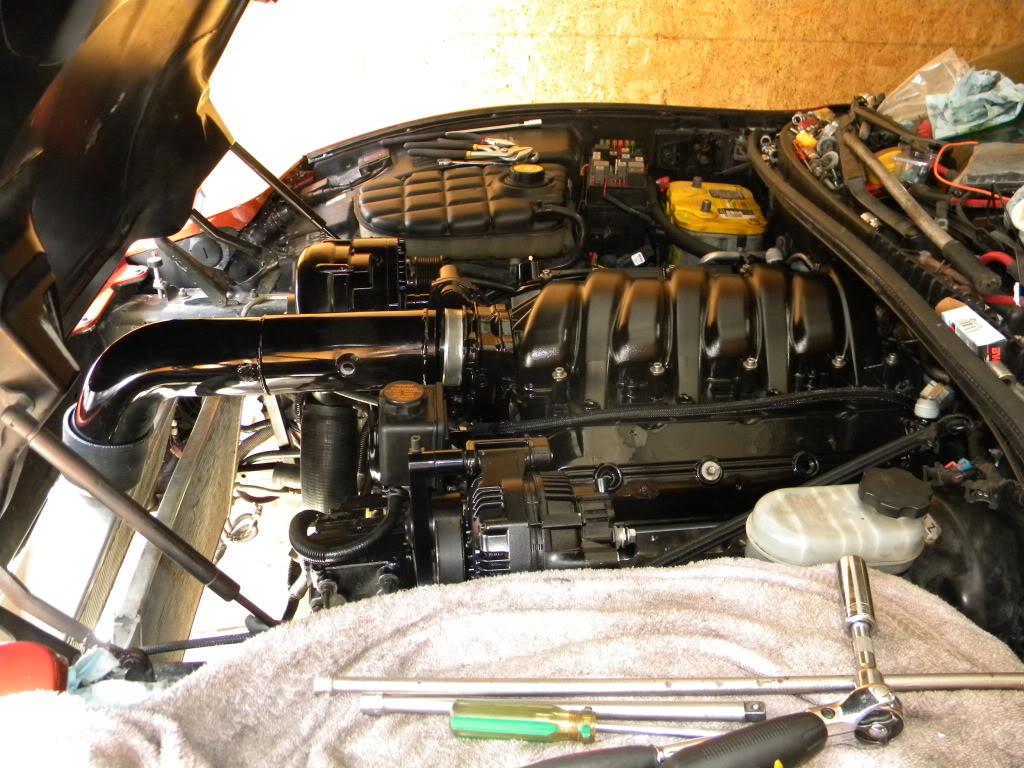
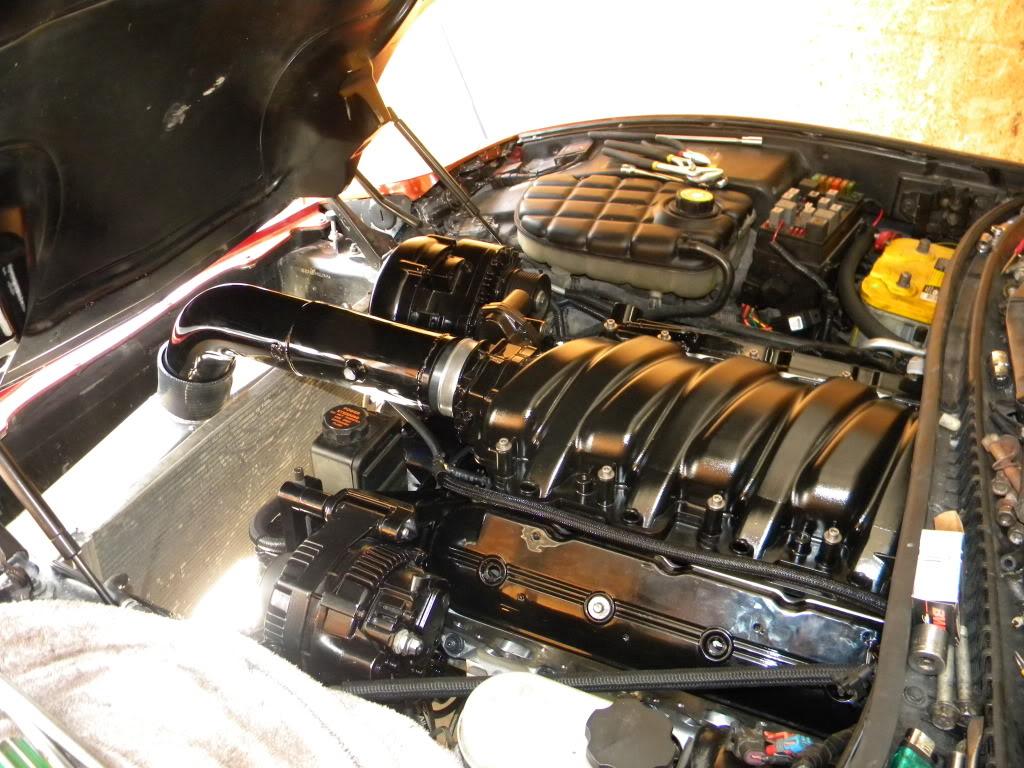
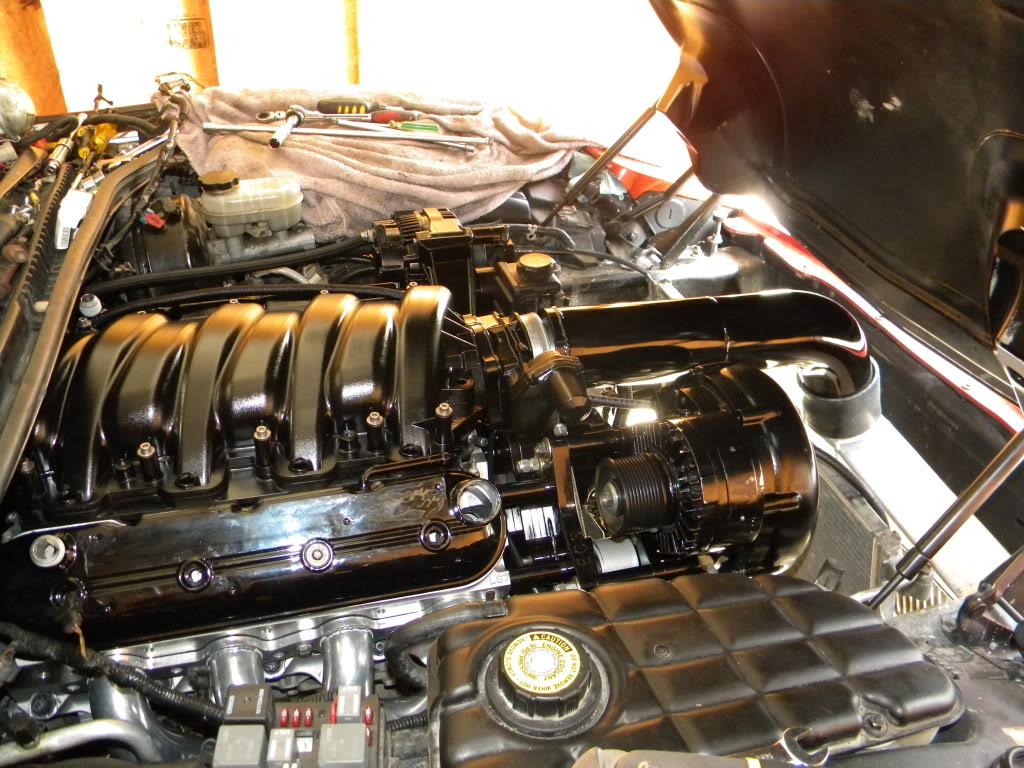
3/17/12
Pretty Much done now.. 4 more items remaining..
1.Pushrods (need to measure them)
2.Pfadt Coilovers ( last update is that with good luck they will be ready by 3/23
3.Decided to go with FIC 2000cc dynamically flowed injectors (fuel injector connection)
4.New Rim and tire package (still deciding)
Finished up the my evac system which consisted of ¾ inch heater hose
Here is the basic layout of it.
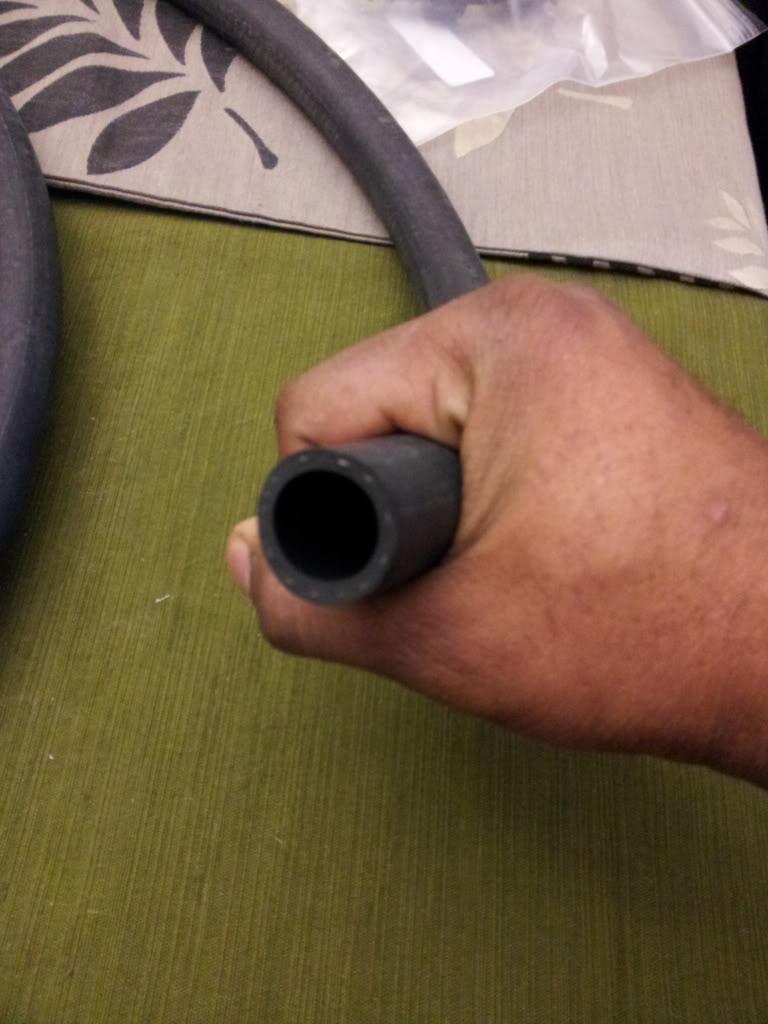
-12an to hose barb the attach directly to my baffled valve covers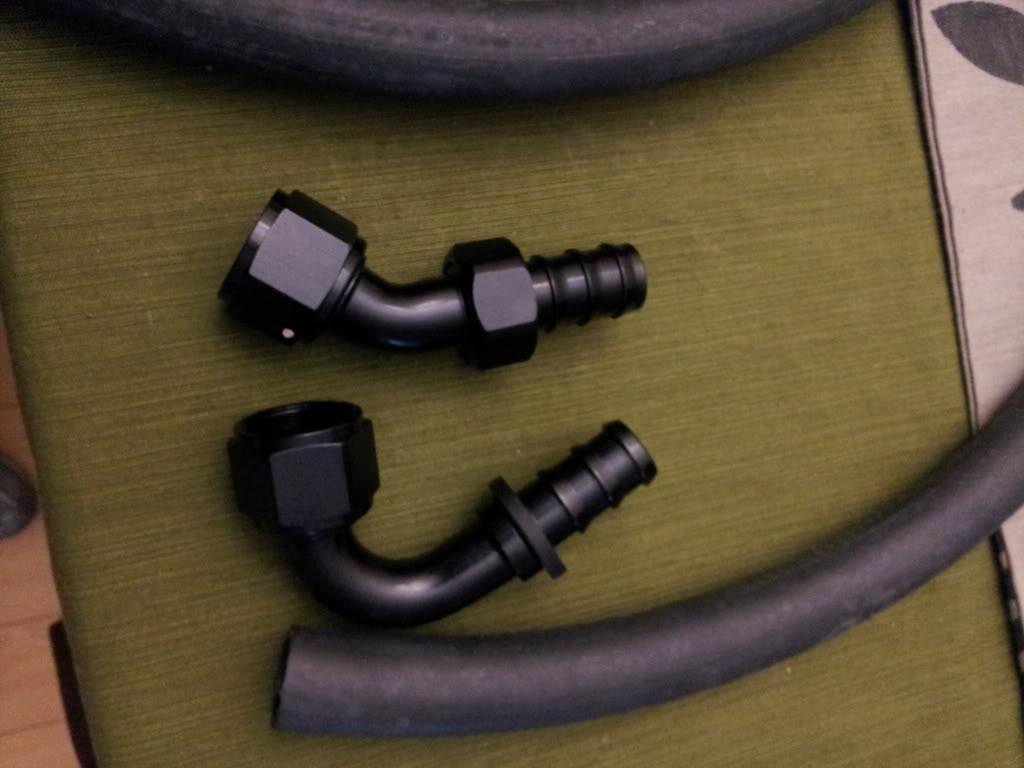
The finished product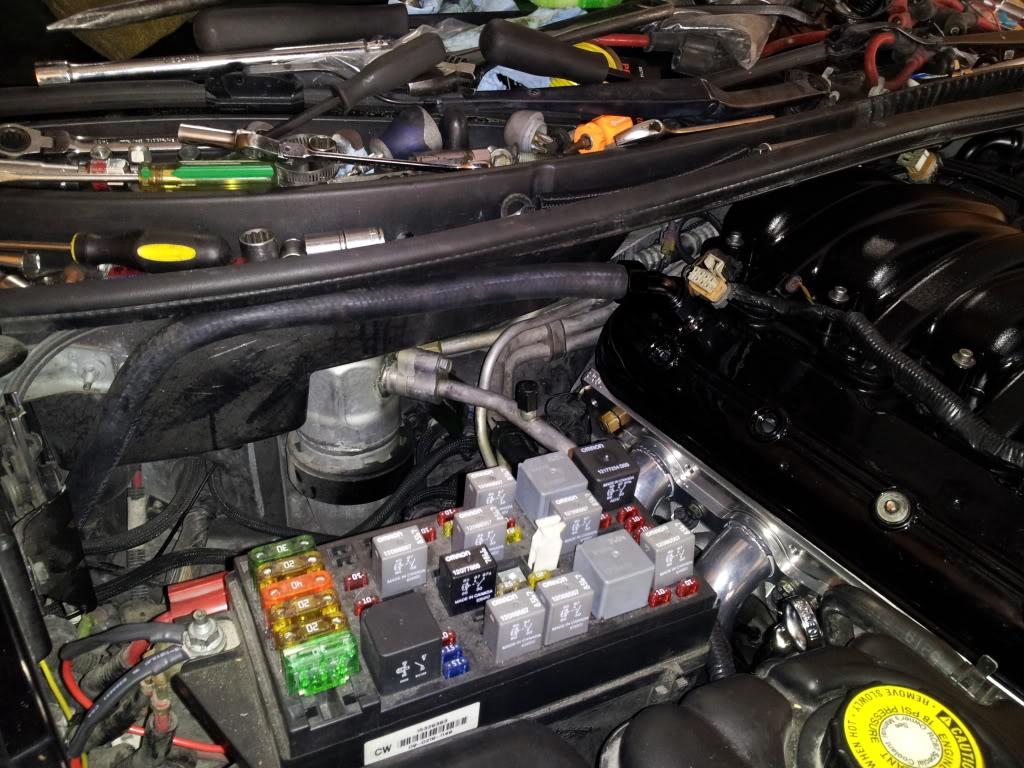
These go all the way to the rear 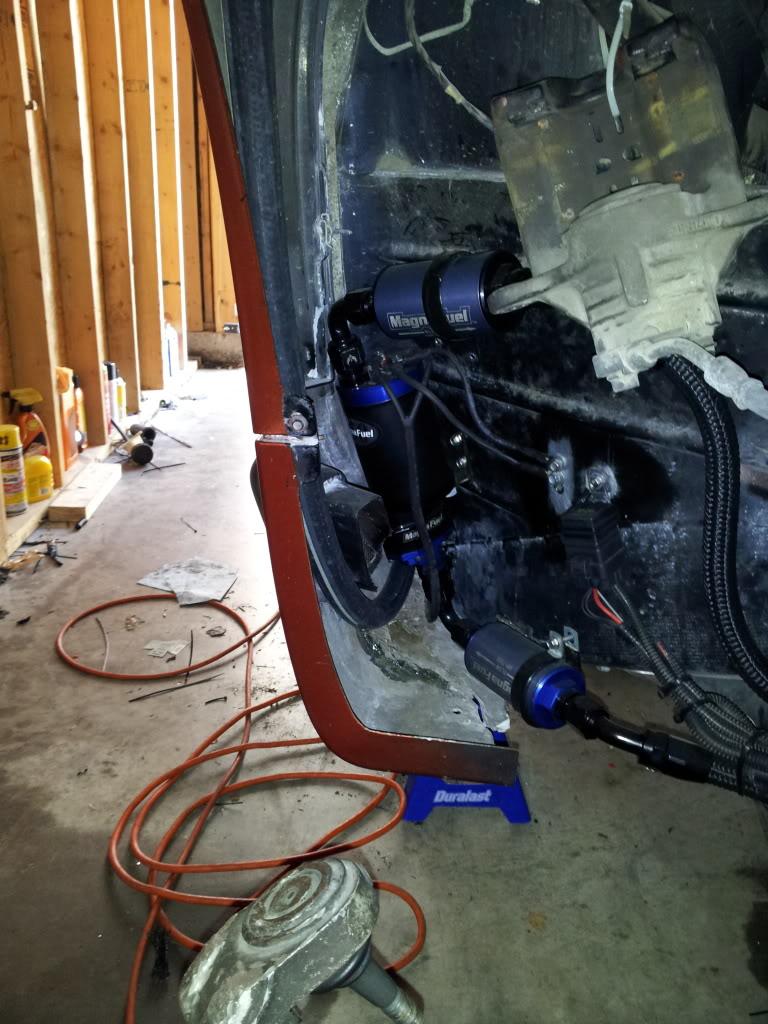
Now I'm not sure how many people are aware of this but at the 10 rib level selections on belt lengths become slim.. as with my previous project we were forced to run a 51 belt which was truly a PITA to attempt to get on.. the next size up is a 53.5 which is way to long. After a short talk with Brett he informed me just to get a 12 rib belt which comes in a 52.5 length and cut to 2 ribs off it. WALAH! Perfect!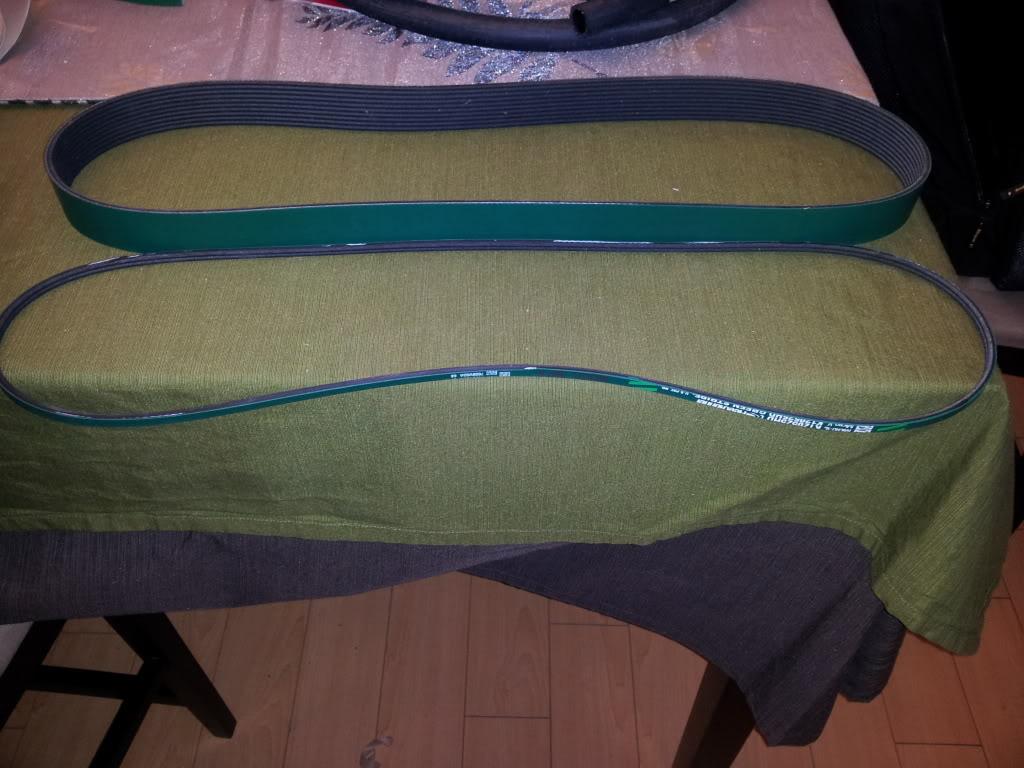
Went on without a hitch!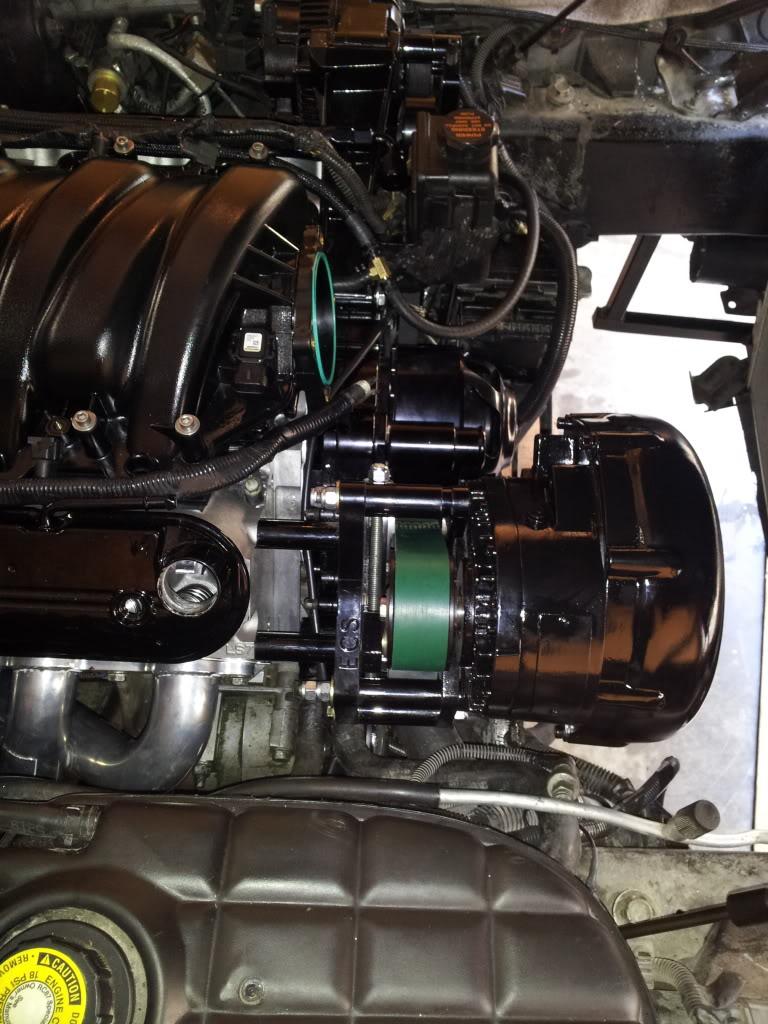
Now just as an fyi as I'm sure you haven't ran a 2.75 , 10 rib nor a 51Â belt. It is my understanding that you want maximum belt wrap along with it being tight. Well with a 51Â belt with this combo it is a bit on the short side as u experience when trying to put it on just as when trying to tighten it down. With the 51 belt on there you really can't tighten down the top idler to increase the belt wrap around the HU pulley because at that time the bottom tensioner is already pretty much at the 12 o-clock position. As you can see from the pictures below, once I tighten down the upper tensioner I'm getting full belt wrap on the HU pulley and the bottom tensioner ends up at a 12 o-clock position. If you look at the last pic you can see how open it is that it is very close to the water pump outlet (thermo housing) bolt. I hope this explains the situation better going from a 3.0 to a 2.75 doesn't really make a big difference belt wise it will work the same. The bottom tensioner takes up some of the slack and ends up at the same position. I forget the actual figure in diameter size that brett gave me between the 2 pulley sizes but its rather minute. Unless my theory is wrong about all of this, let me know your thoughts guys. 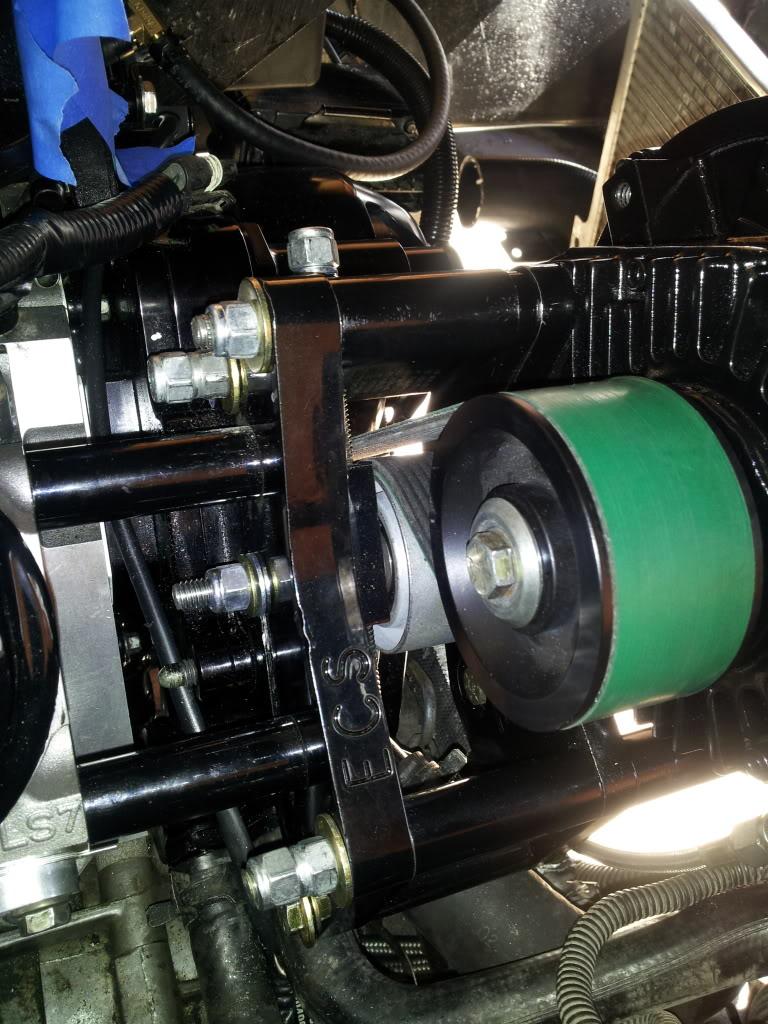
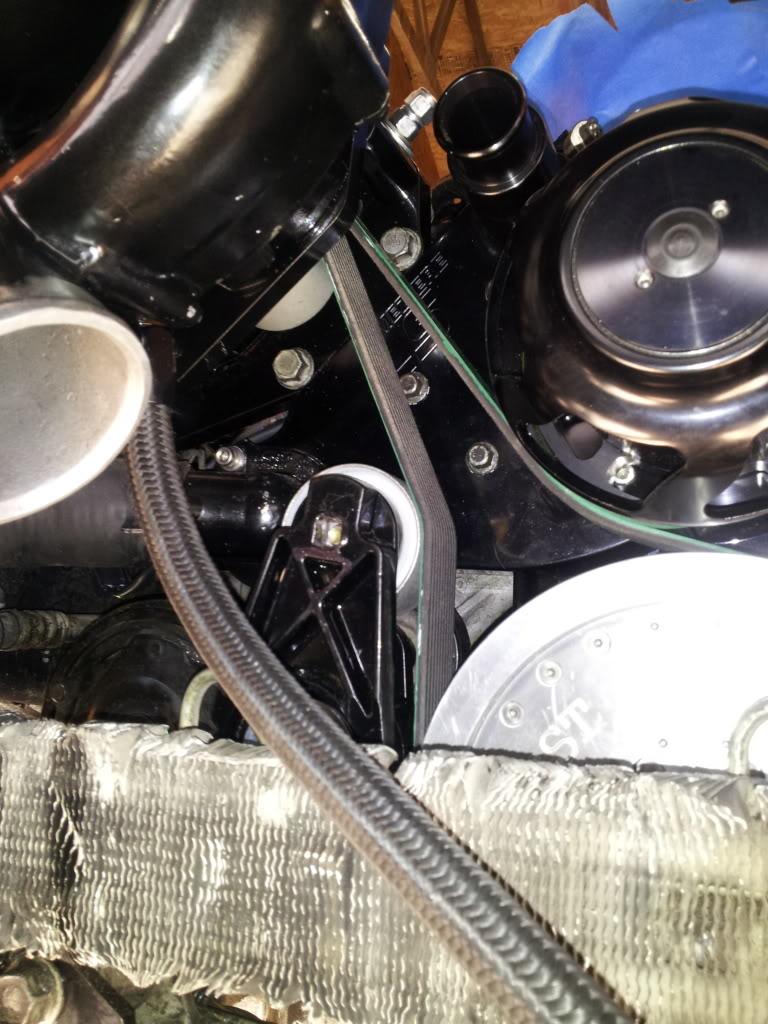
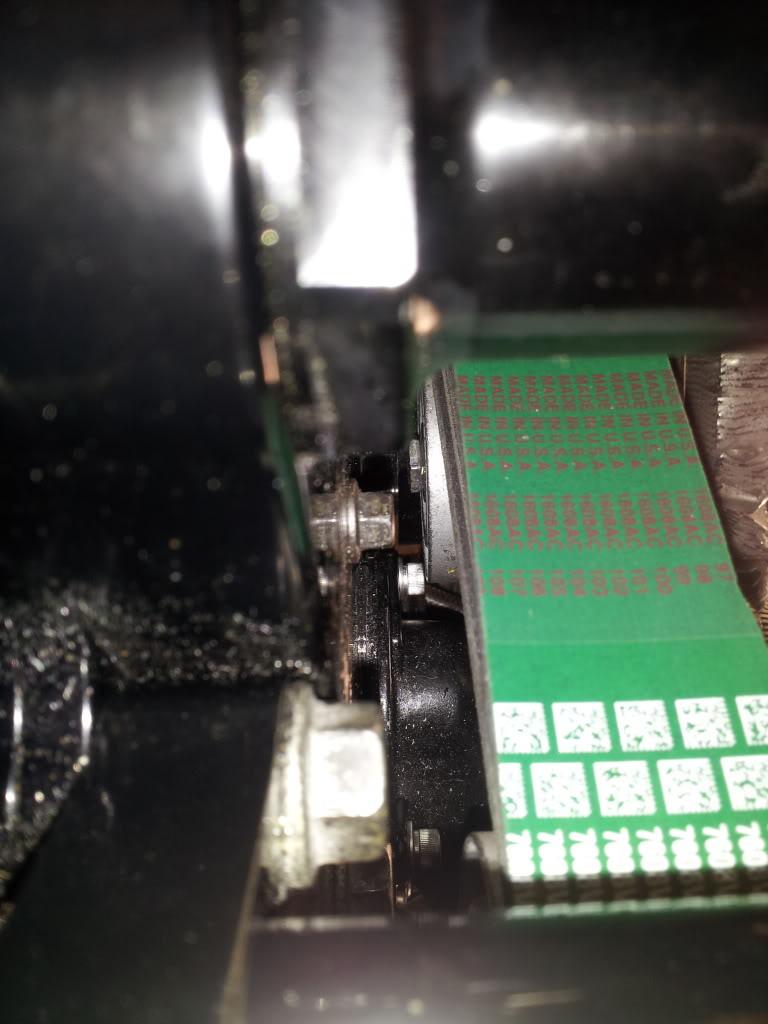
here is a shot of my other car with a 51" belt the top tensioner not tightened down and the bottom tensioner almost maxed out. 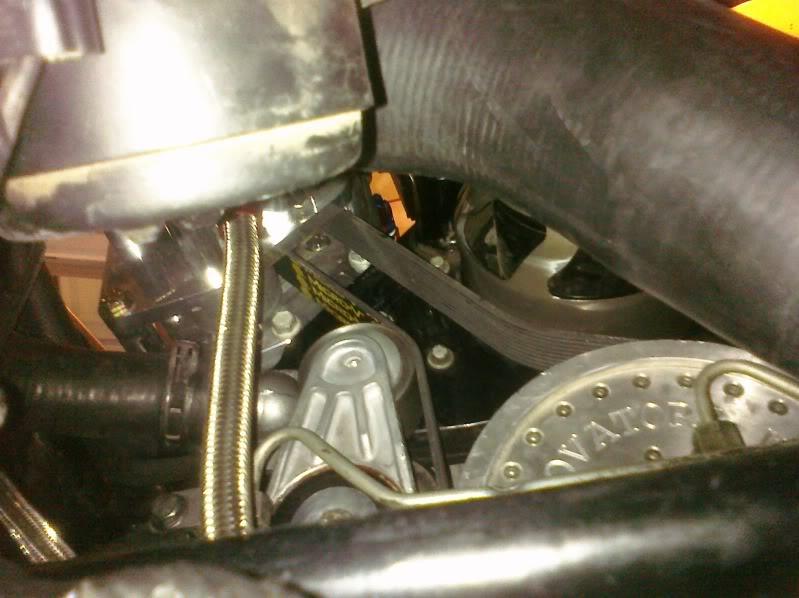
ideally the belt to have is a 52" for either pulley but the the HD green belts dont seem to really have alot of give after a while like the normal gate belts i used to use. the closest to that is a K140516HD in which you will have to cut off 4 ribs which is not a big deal at all.. If this one gives me any issues i will try that belt and that should fix any issues if any at all.
3/20/12
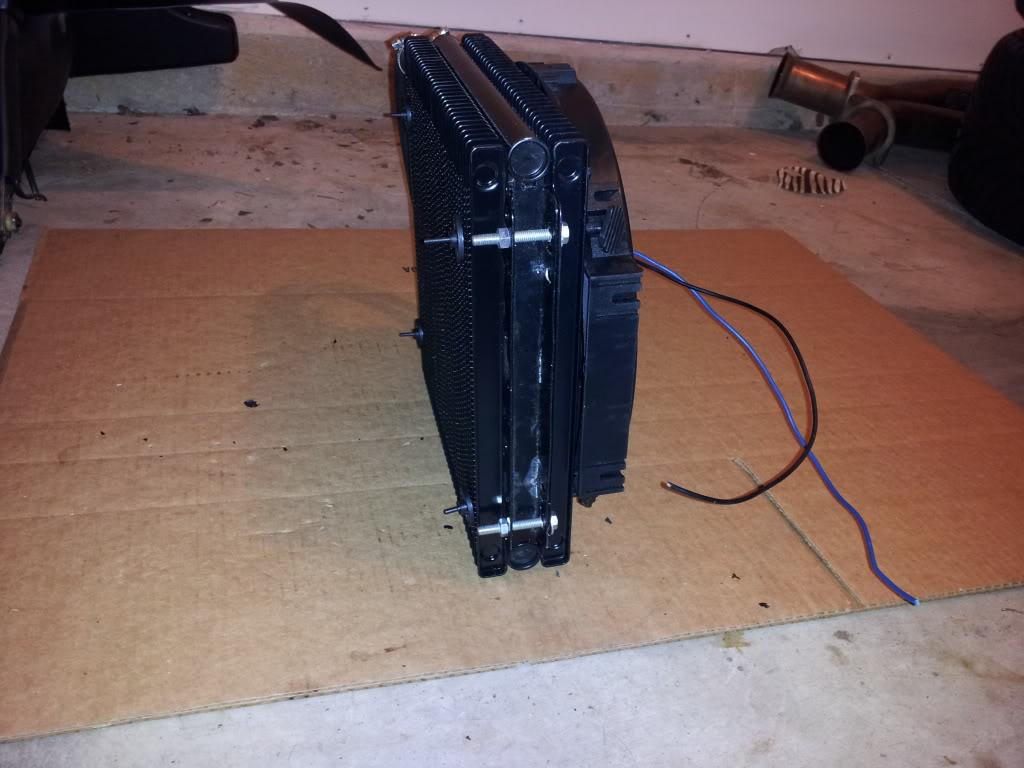
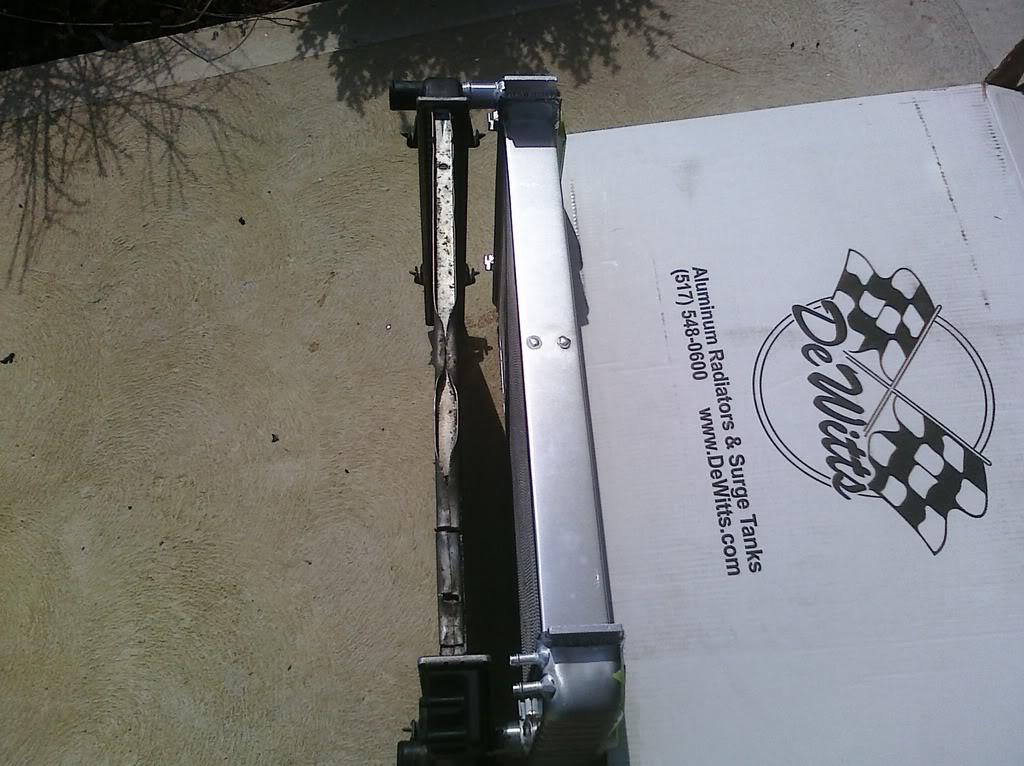
Starting to put it all together now.. here is better pictures and comparison on the Dewitts Rad and fan setup!
My Hats off to the Crew over at Dewitts for putting together a fantastic package for the Corvette crowd.
Picture comparison of the stock rad vs Dewitts custom 2Â shorter rad to give better clearance for 4 intake piping and no abrupt changes or angles in piping.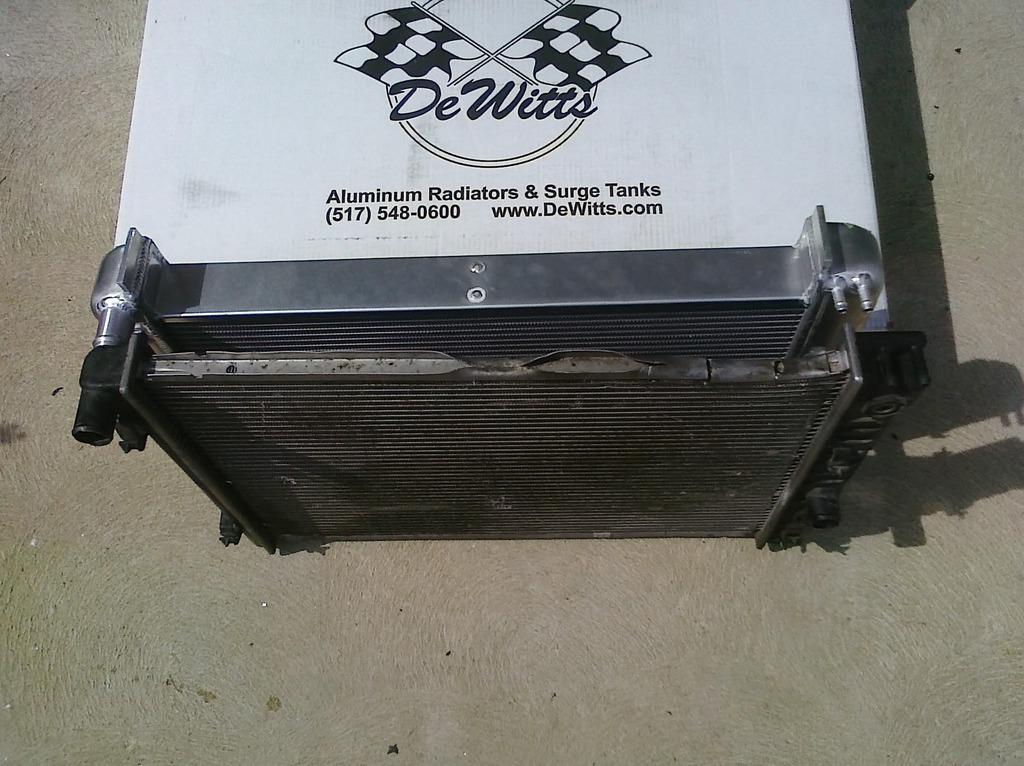
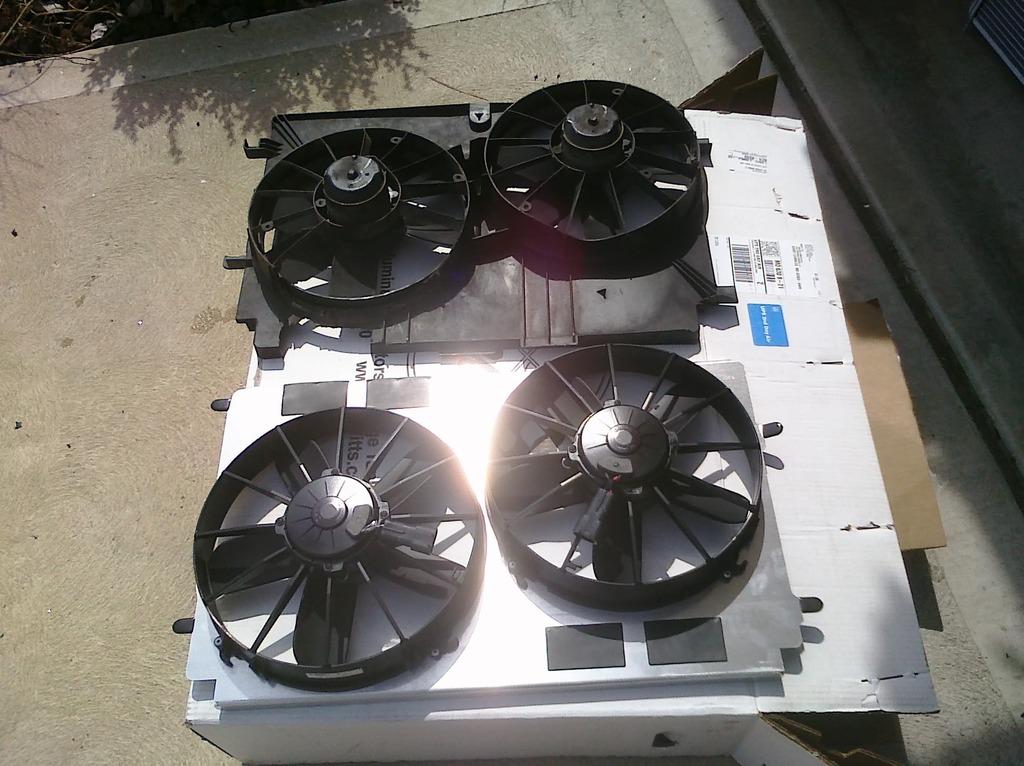
Stock fan setup vs Dewitts custom spal fan shroud setup 3200cfm worth of powa! It also has an overall slimmer profile given more clearance between it and the huge SC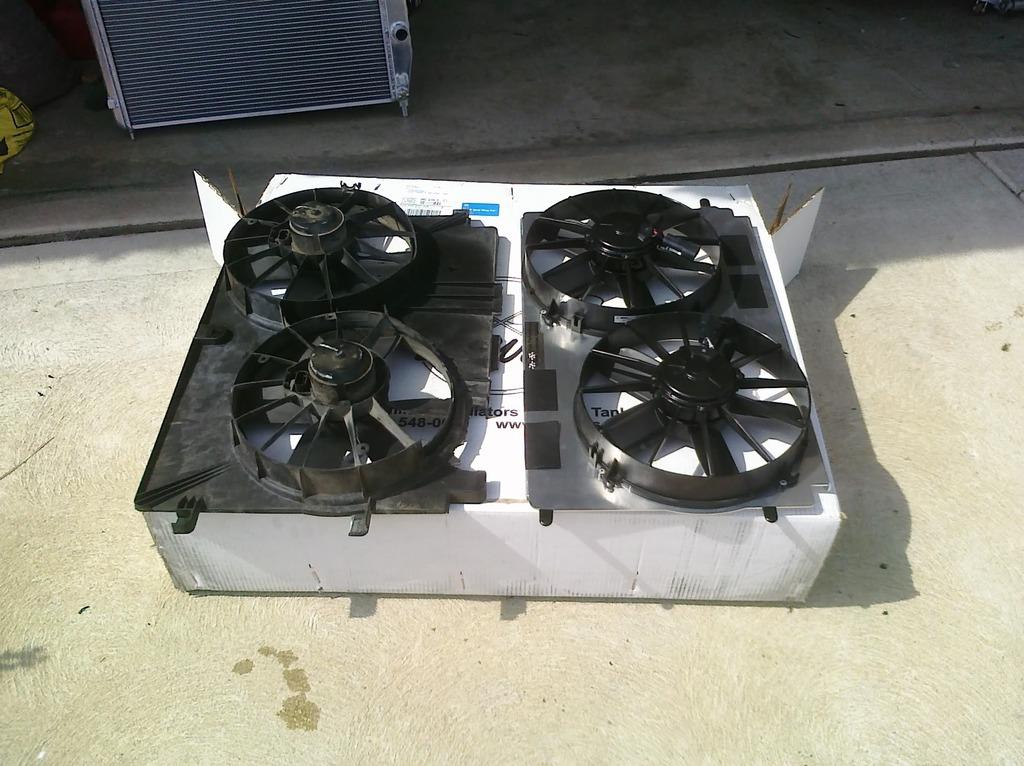
And last but not least the last piece that goes on with my custom evac setup. 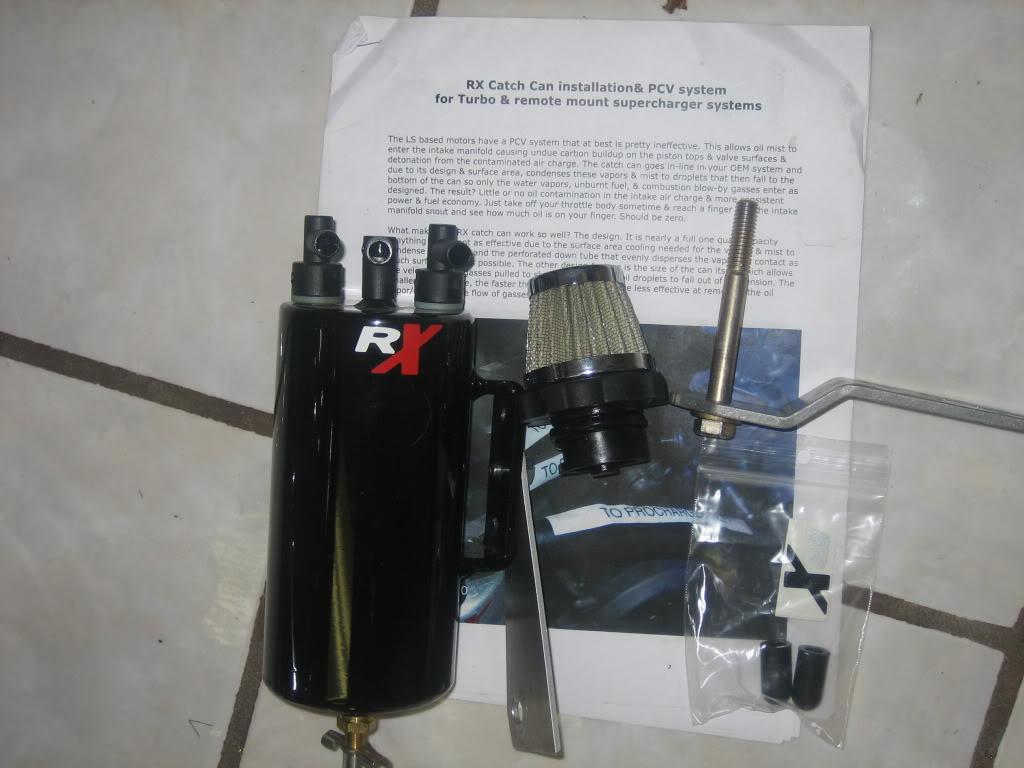
I also went ahead and traded my 52.5Â belt for a 51.6 in hopes that I can get it on their somehow lol
Big THANKS! To the crew over at FUEL INJECTOR CLINIC! They have been nothing but great to deal with and provide me with a set of DYNAMICALLY flowed Bosch 2000cc injectors! That's right they are now dynamically matching sets with data! For a third of the price!
The coilovers are ready I believe and getting shipped! Almost there now baby!
Stay Tuned a lot more pictures to come!
3/23/12
FIC 2000cc injectors! Ready to precisely measure massive amounts of e98 that will be ingested by my monster!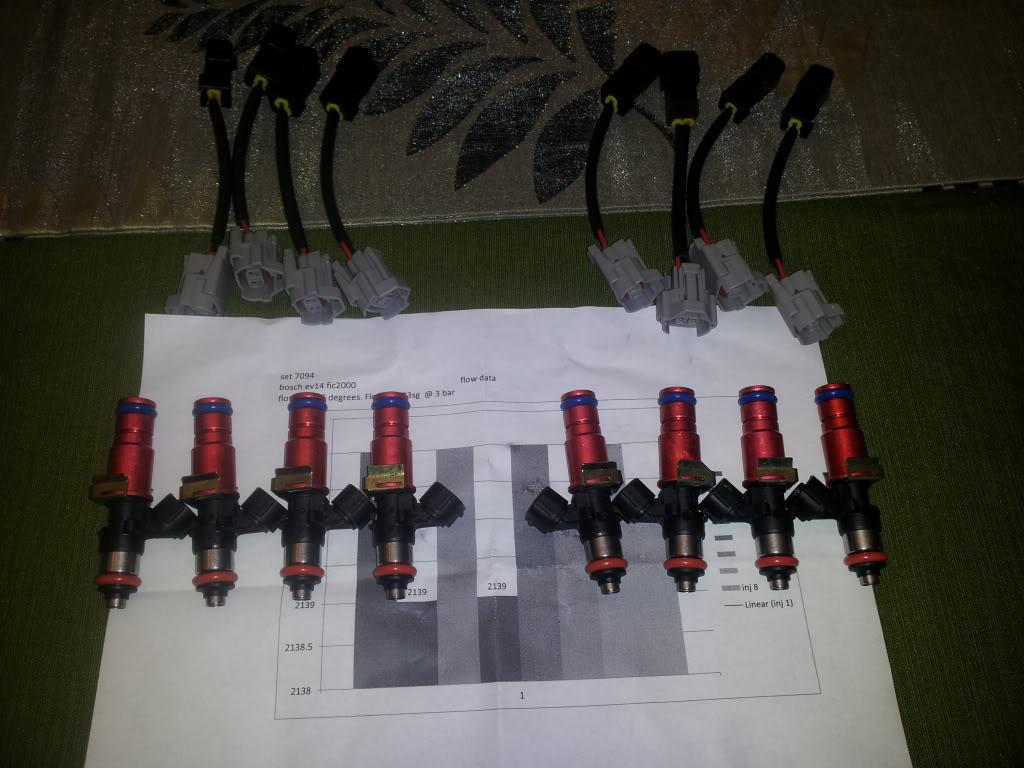
3/30/12
Feast Your eyes on a grouping of parts that's just so.. so.. dam sexy!
PFADT , DSS, ECS.
I cannot say enough about the PFADT products just top notch stuff!
Too bad once the wheels go on half of this stuff wont be seen
On with the pics!
Fronts! With custom drag springs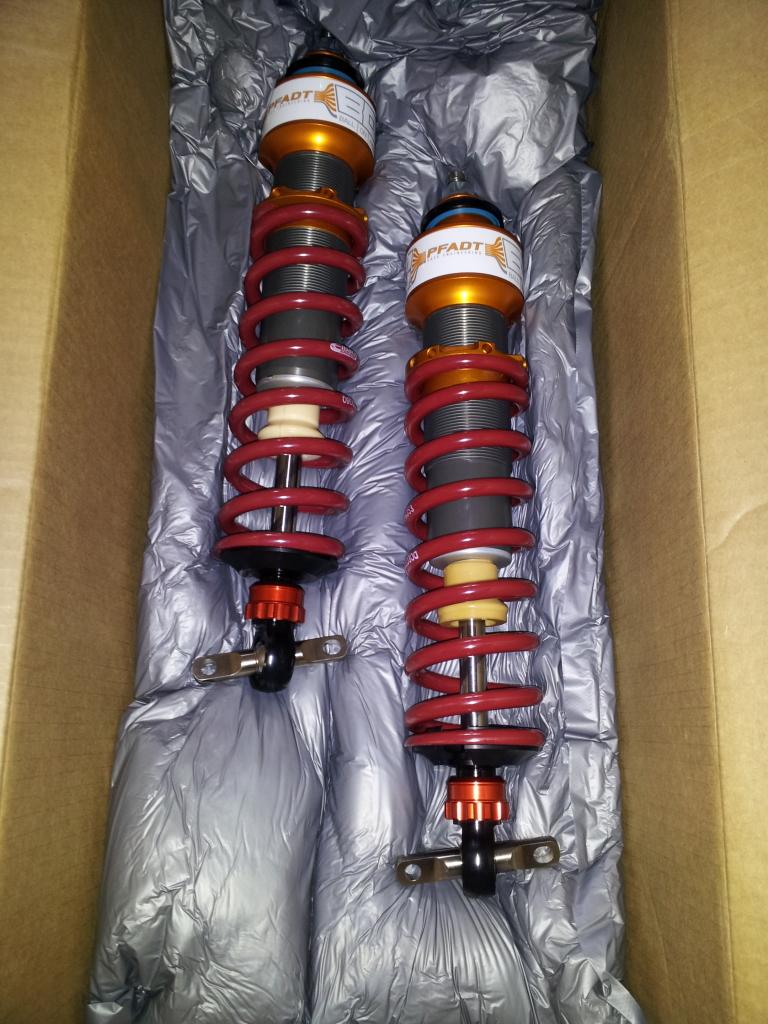
Rears!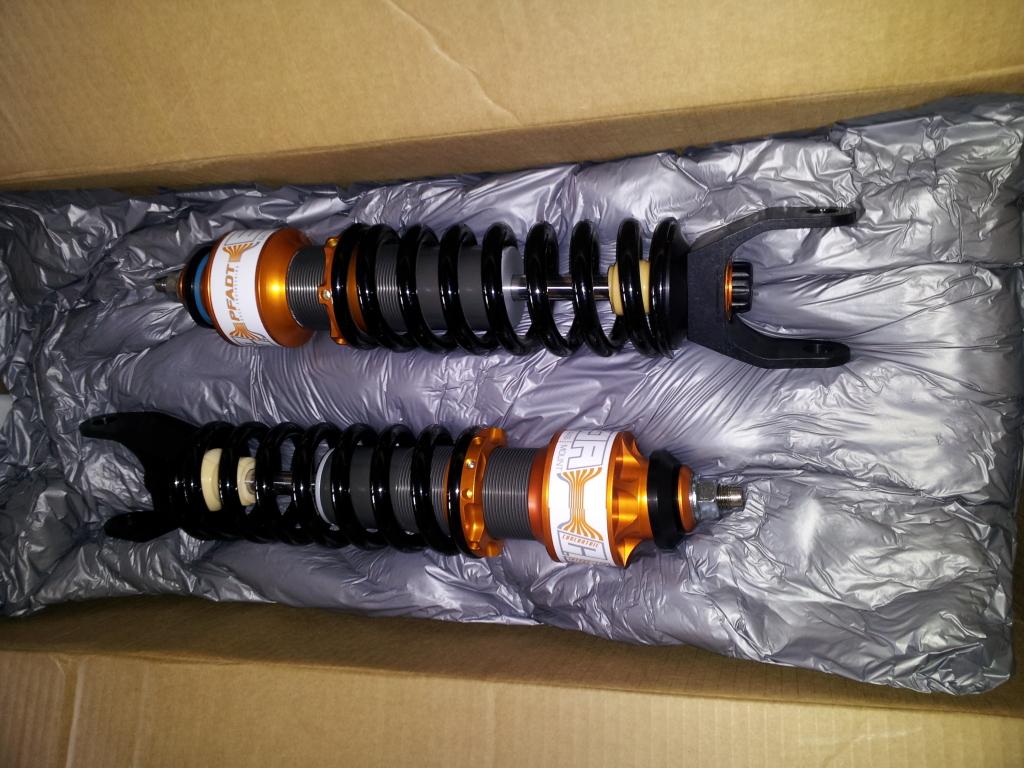
Front coilovers on and ready to go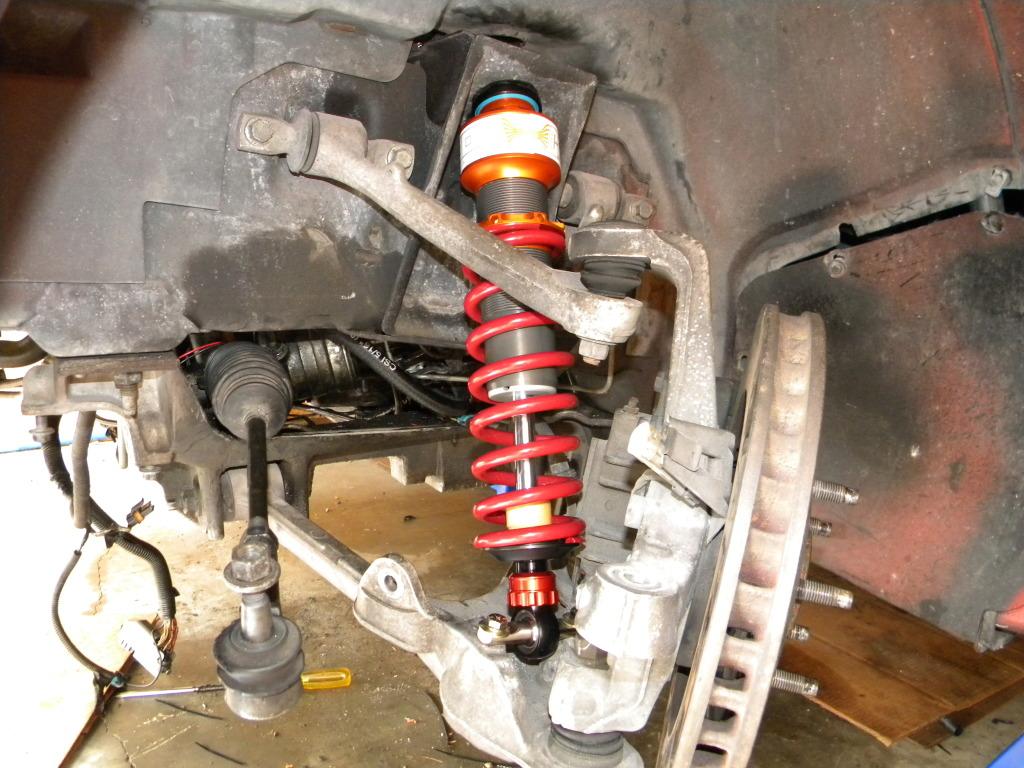
Few pictures of the rear (please note the pfadt coilovers and sway bar, DSS axles, ECS half shaft loop.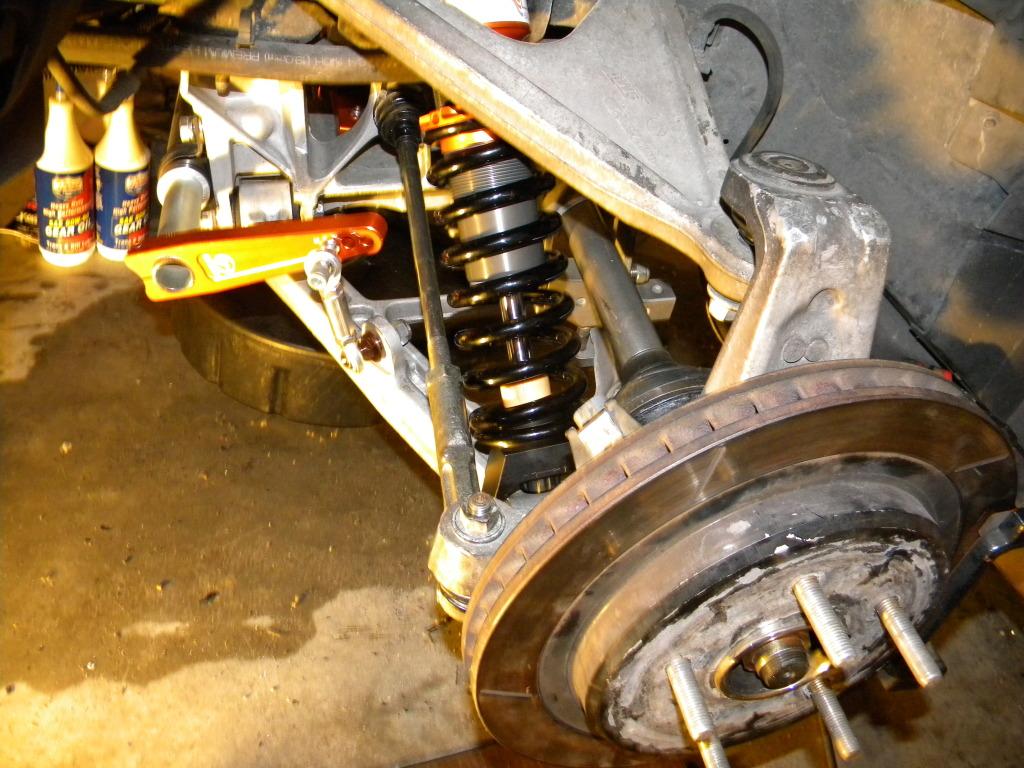
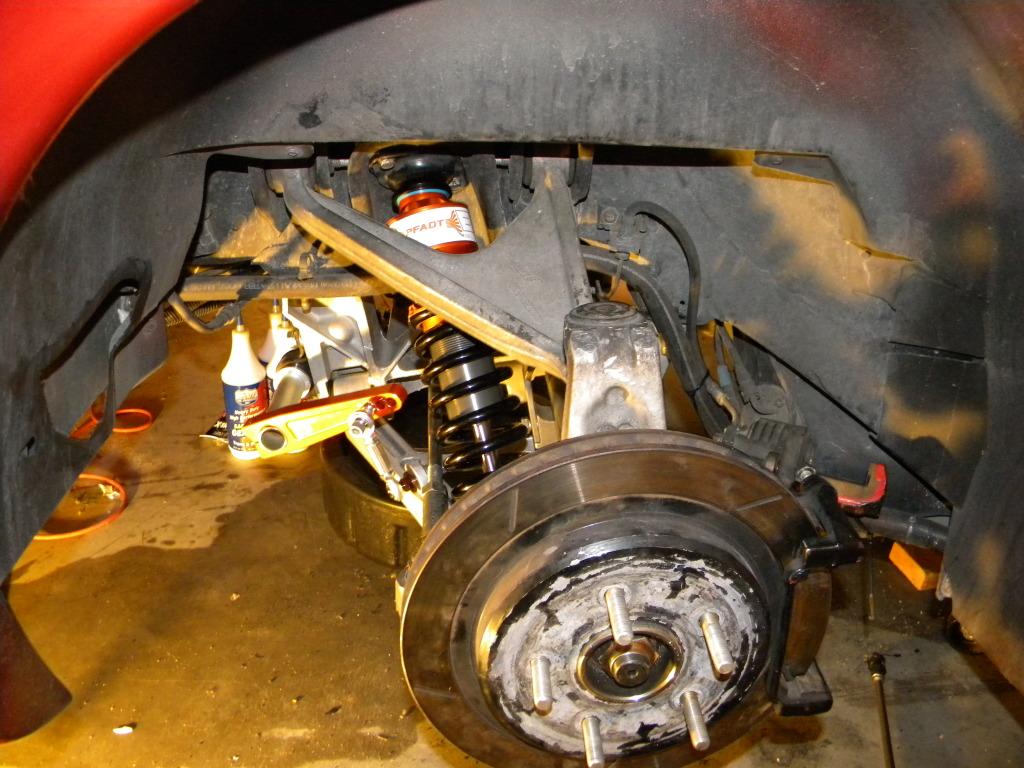
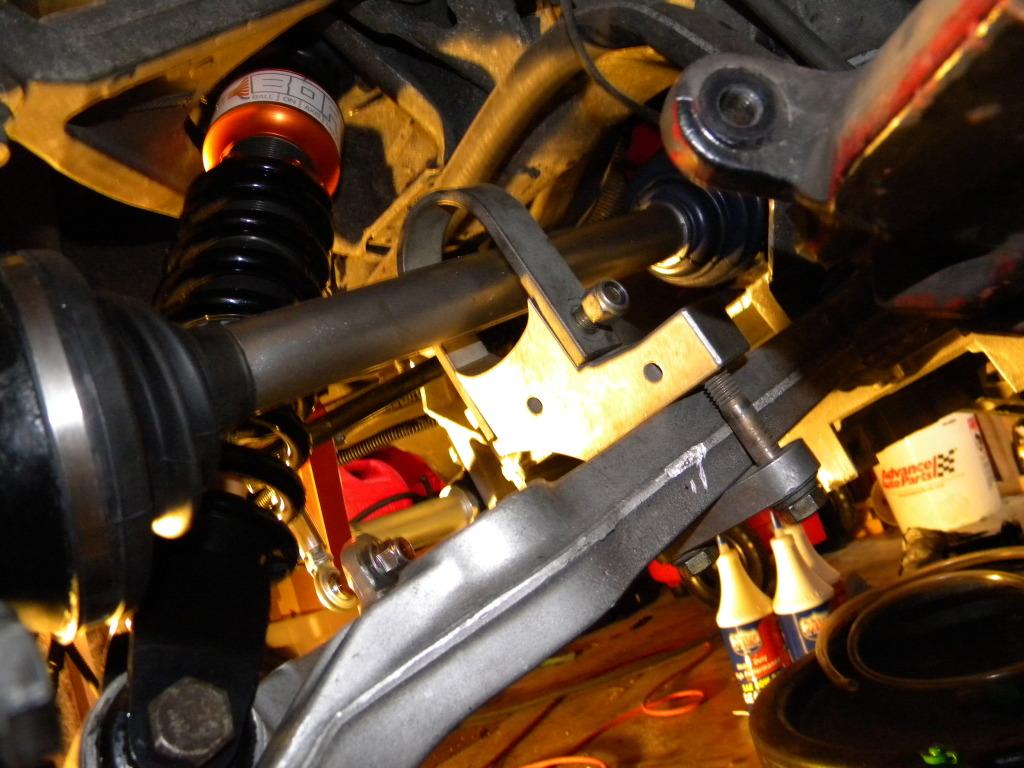
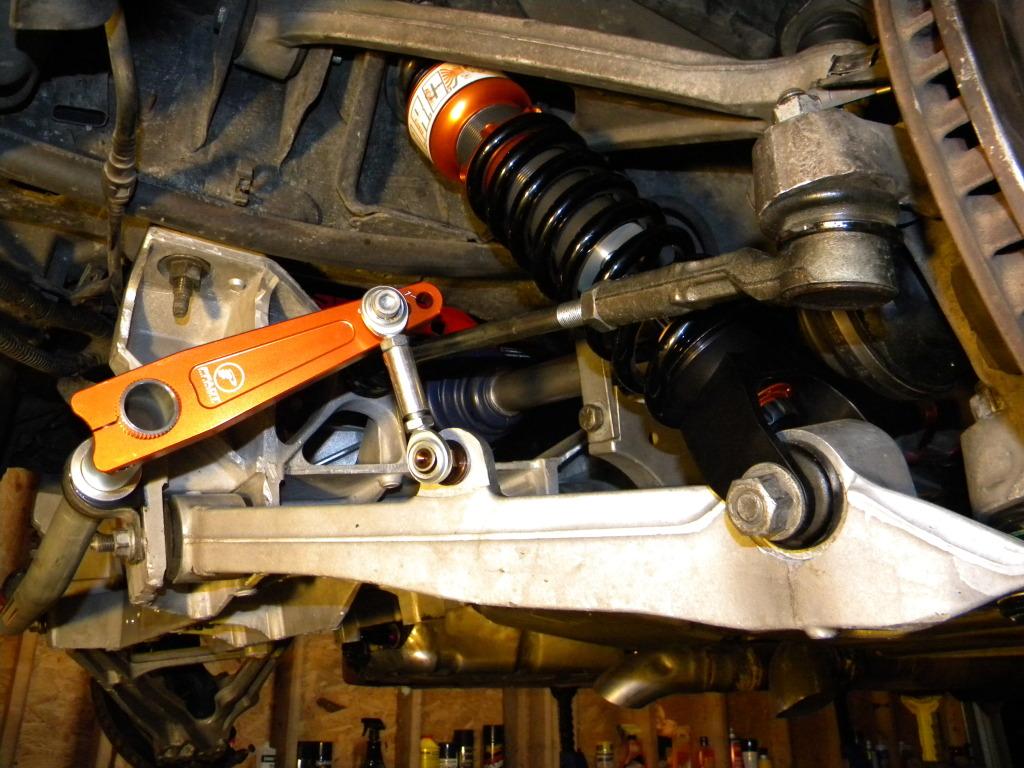
Chad @ CBI came over and helped me get an accurate measurement of the pushrods and those will be in on Monday. So the car will be ready to fire up next week!
On a side note I snatched this nice vacuum block for $25.. more pics of the engine bay to come tomorrow!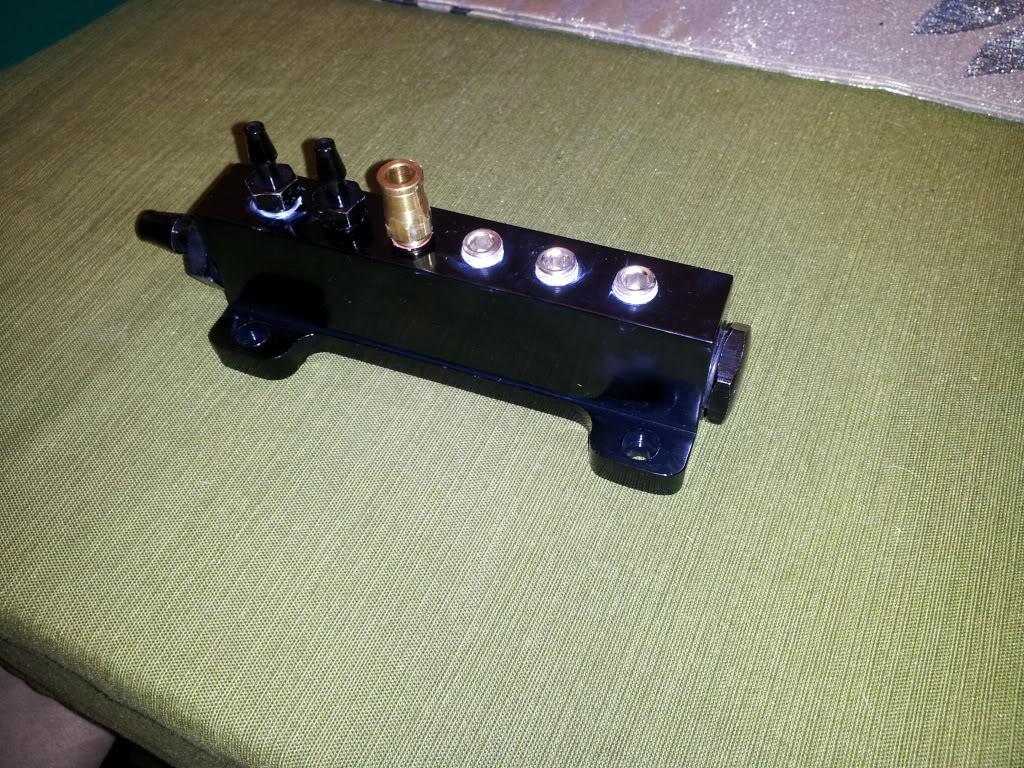
4/1/12
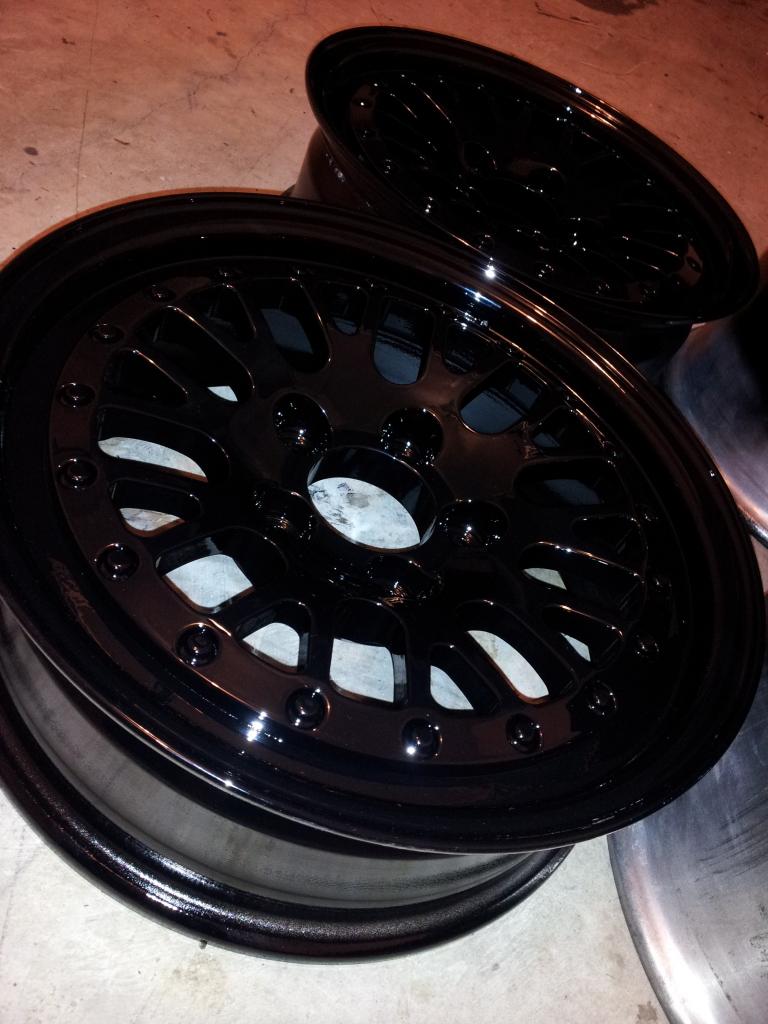
btw here is a preview the the ccw drag pack!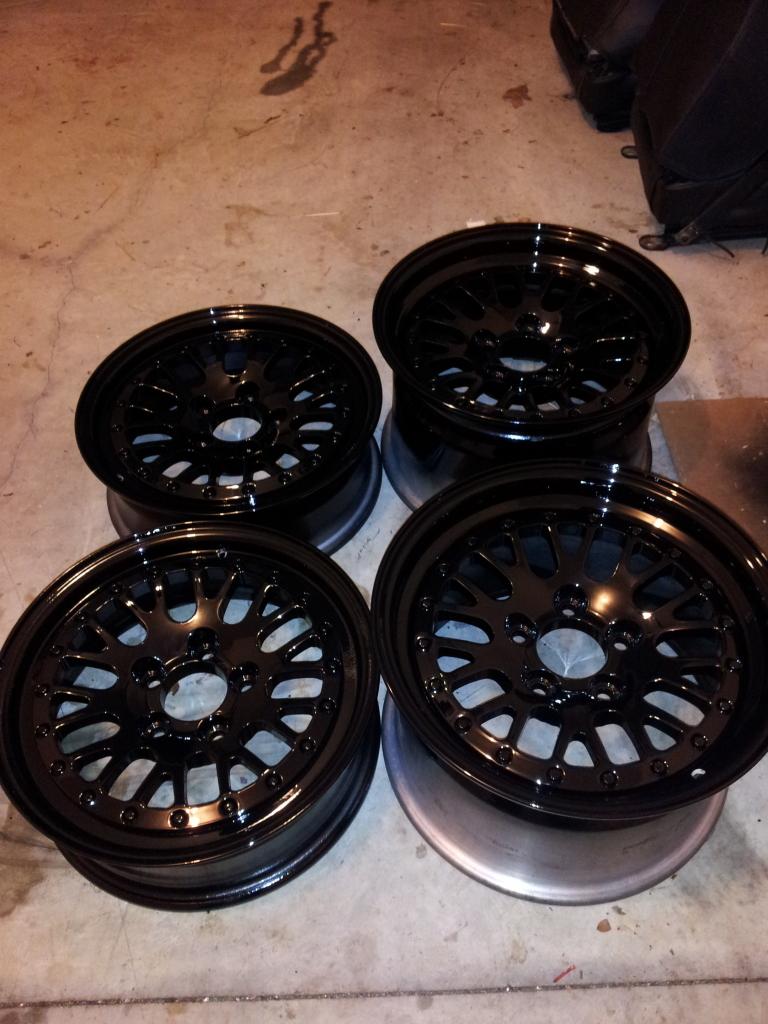
4/4/12
Quick update all the pieces are now in place.
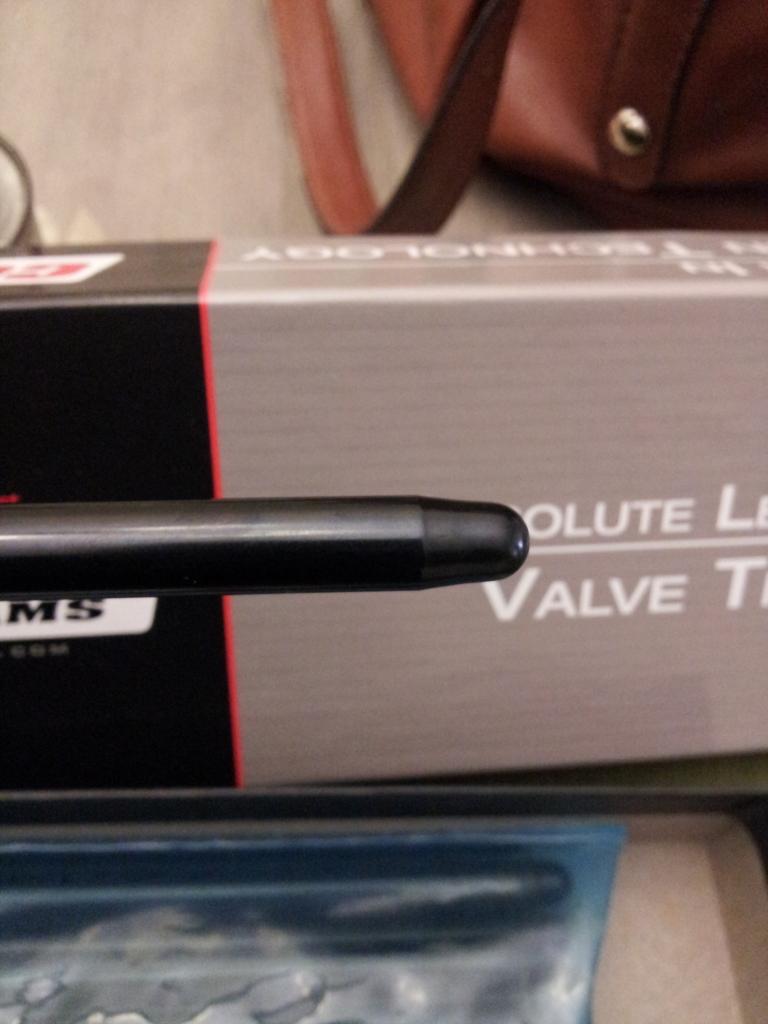
Got the pushrods measured (7.750) went ahead with some COMP Cams Hi-Tech pushrods
3/8 in. diameter Tapered to 5/16 in. this are a lot sturdier and will handle the valve train up in the high 7500rpm range without valve float.
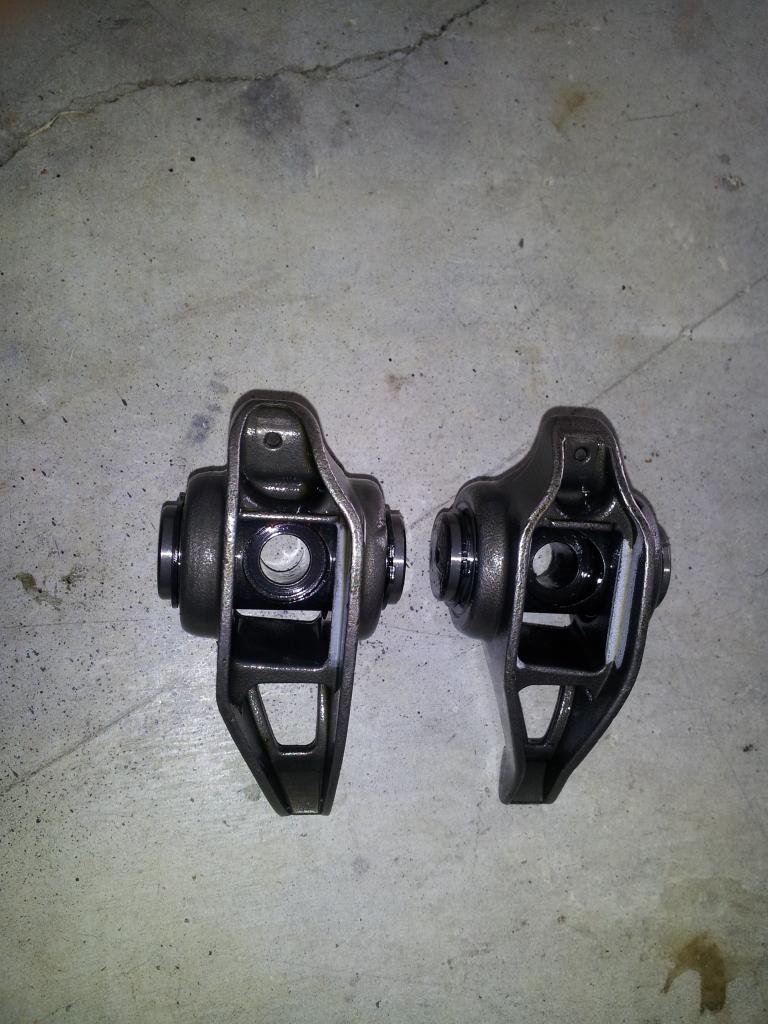
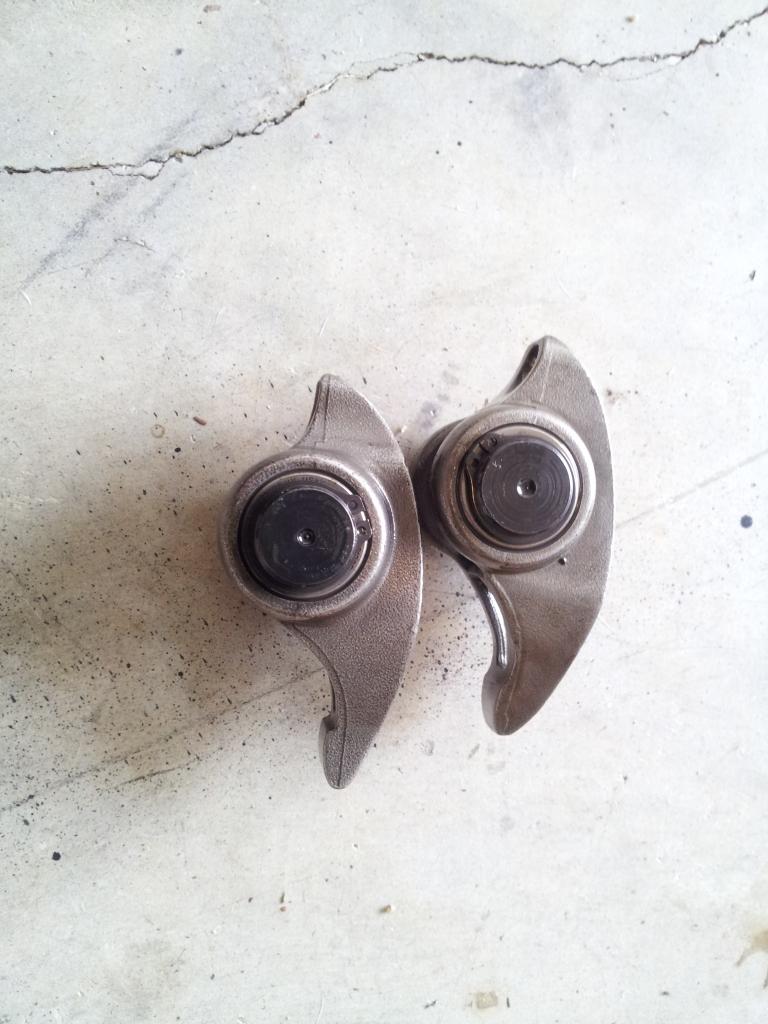
Also since with these heads and the unique valve spacing im forced to use stock LS7 rockers Chad @ CBI went ahead and took care of me on a trunion upgrade. These are the last parts needed. I will now bust A$$ to get this car all put together and ready to run by Saturday! Pending a start up tune…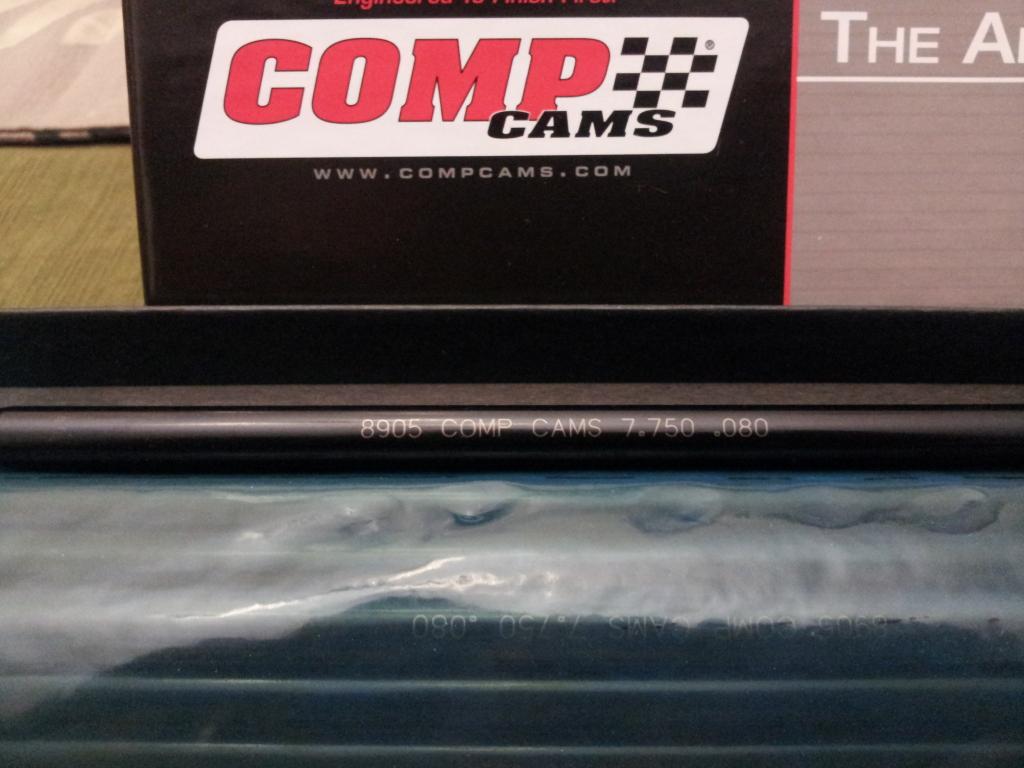
Went ahead and got the tire mounted on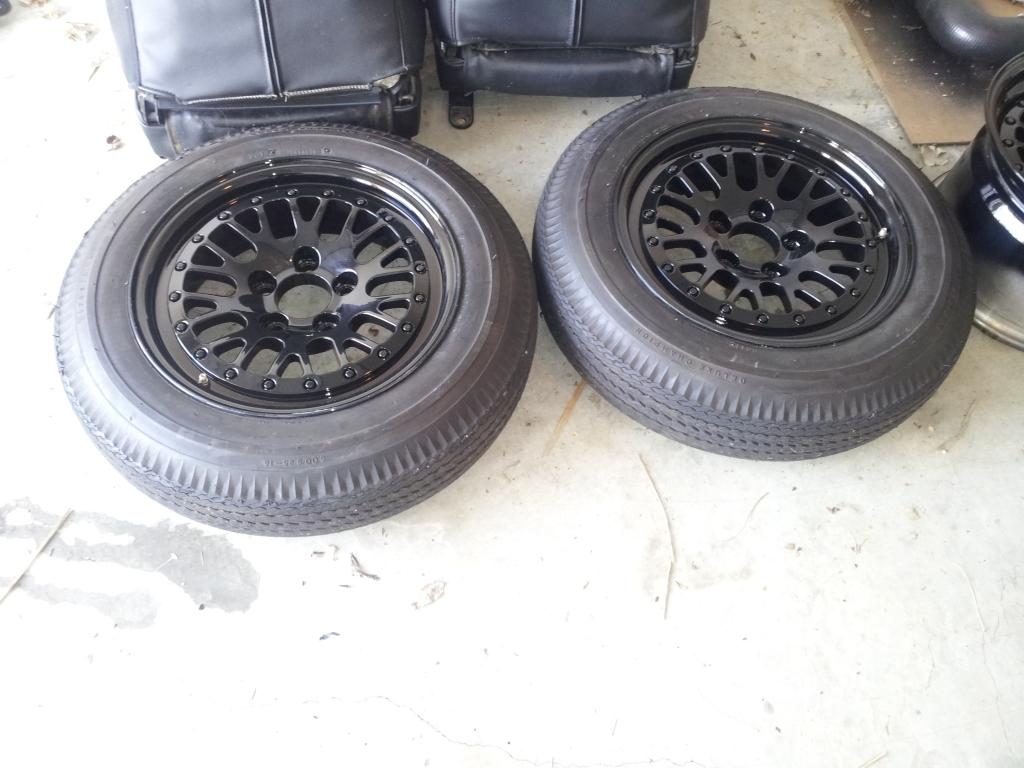
Went with Hossier Dr's, should work well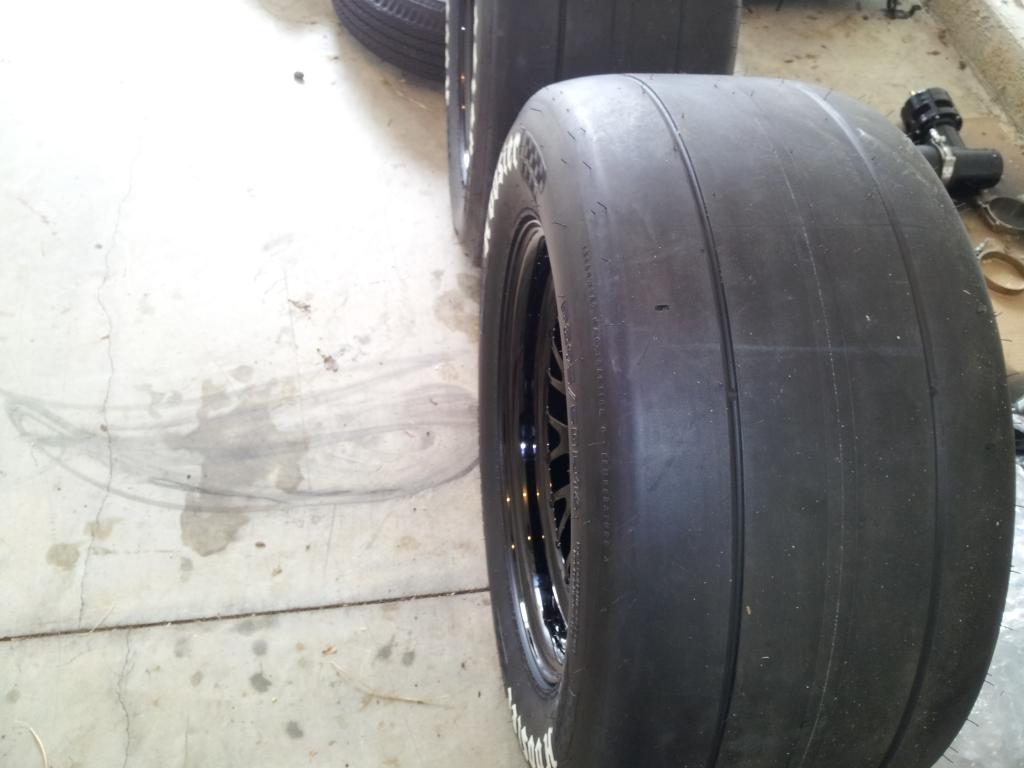
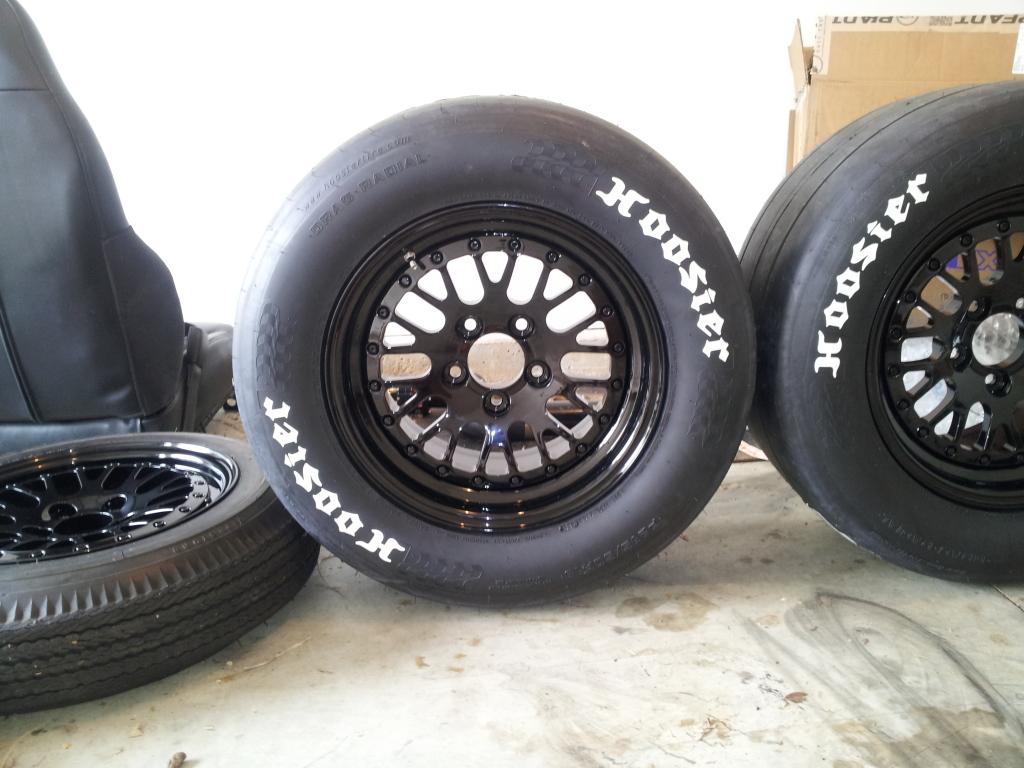
More pics to come in the next couple of days!
4/5/12
I'll just go ahead and leave these here....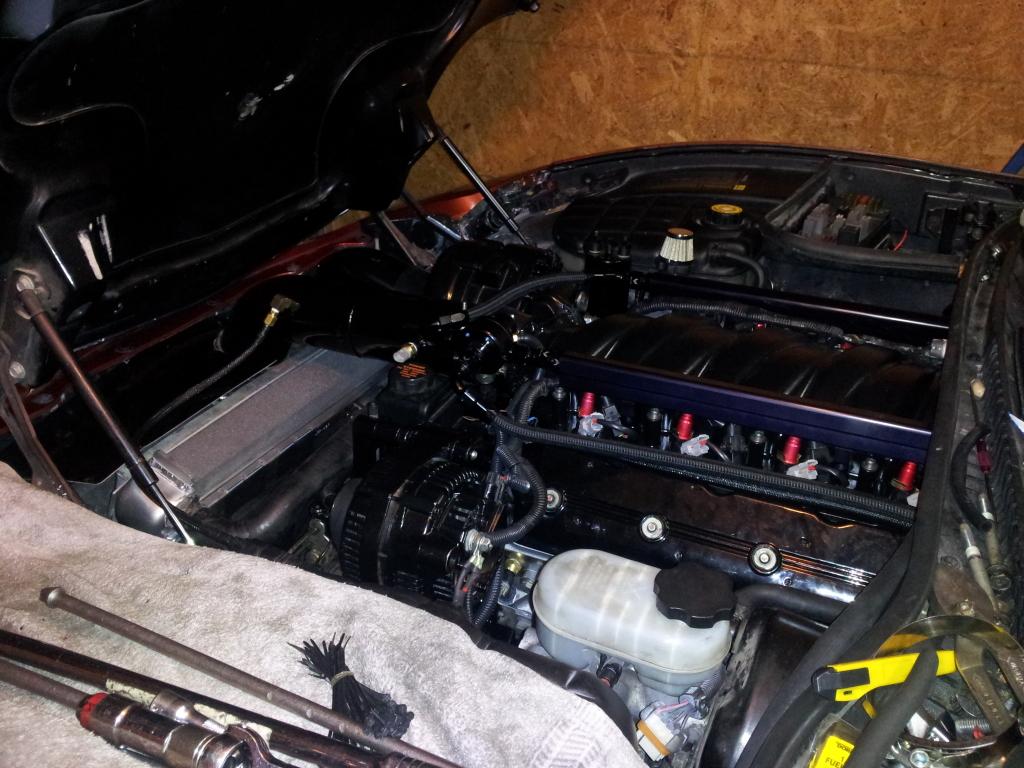
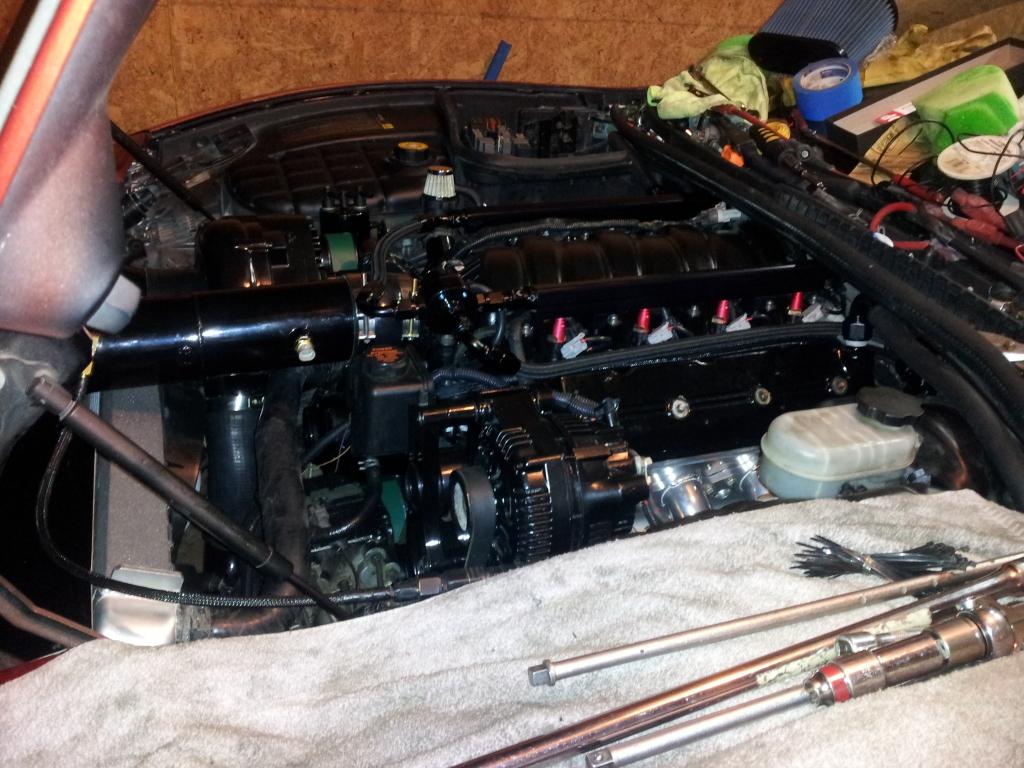
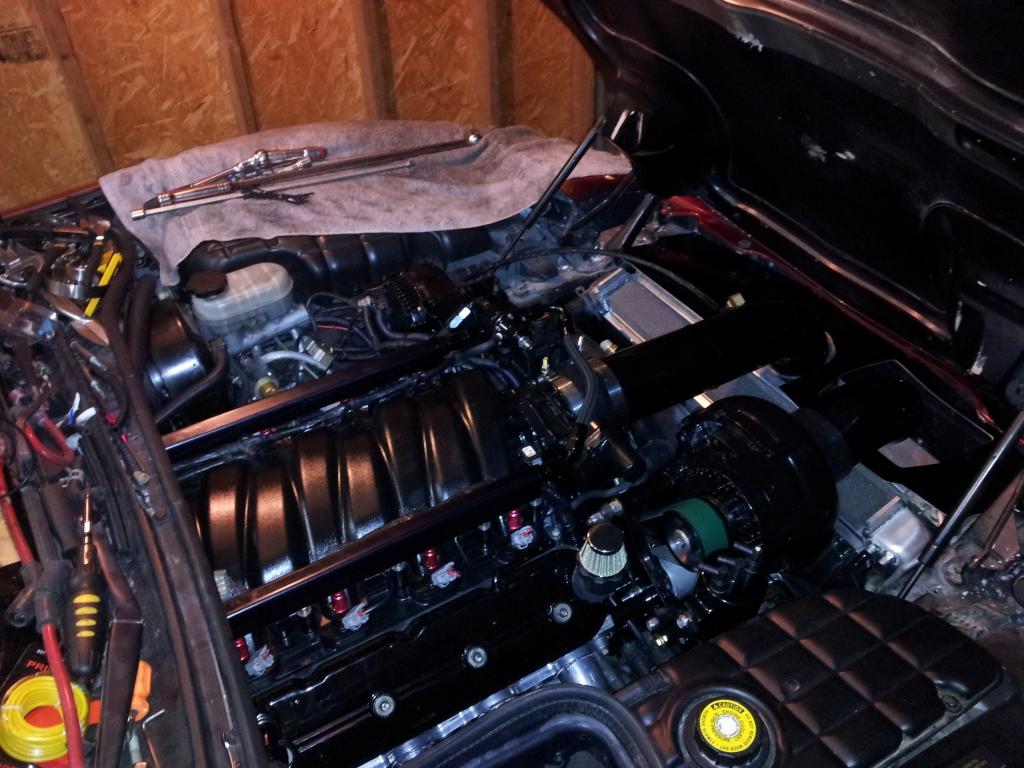
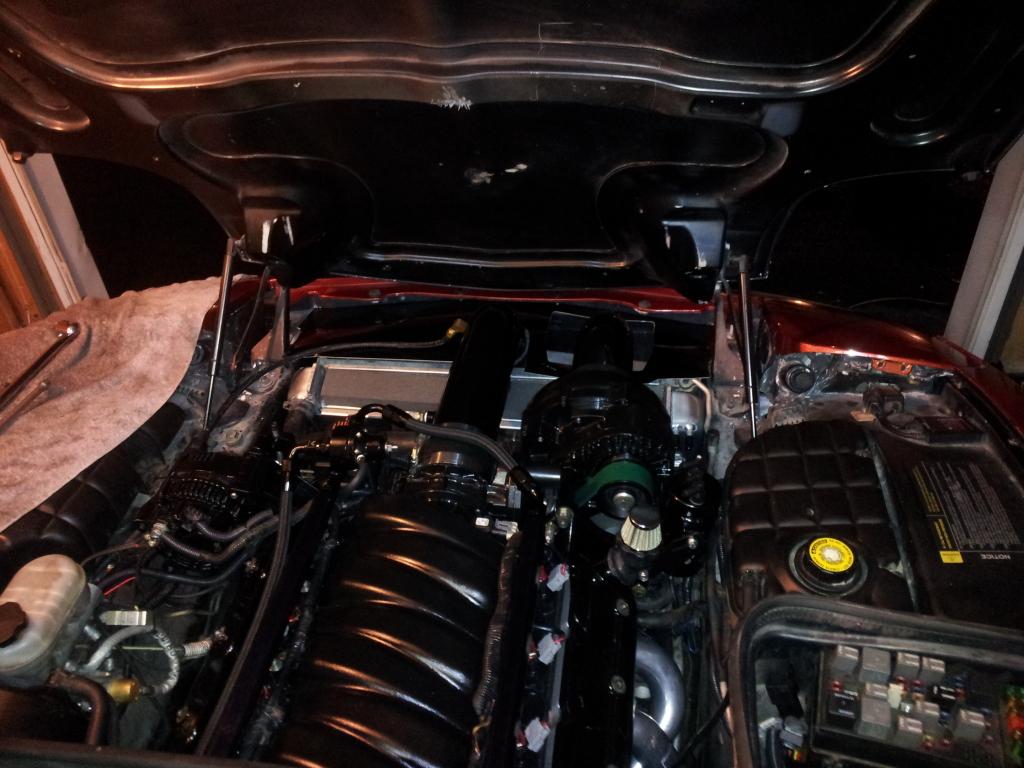
out of hibernation and pissed!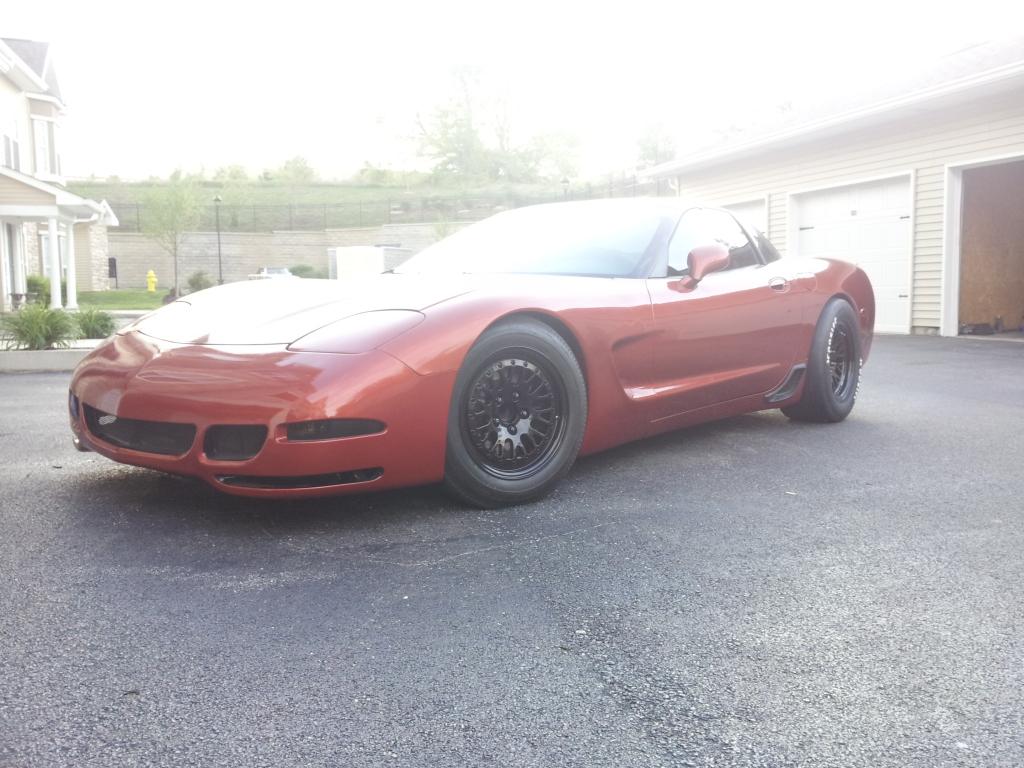
4/7/12
still need to get the ride height up haven't had time yet...but havent had time... checked fuel pressure and for leaks and it all looks good so far
here some better pics to hold you guys for another day lol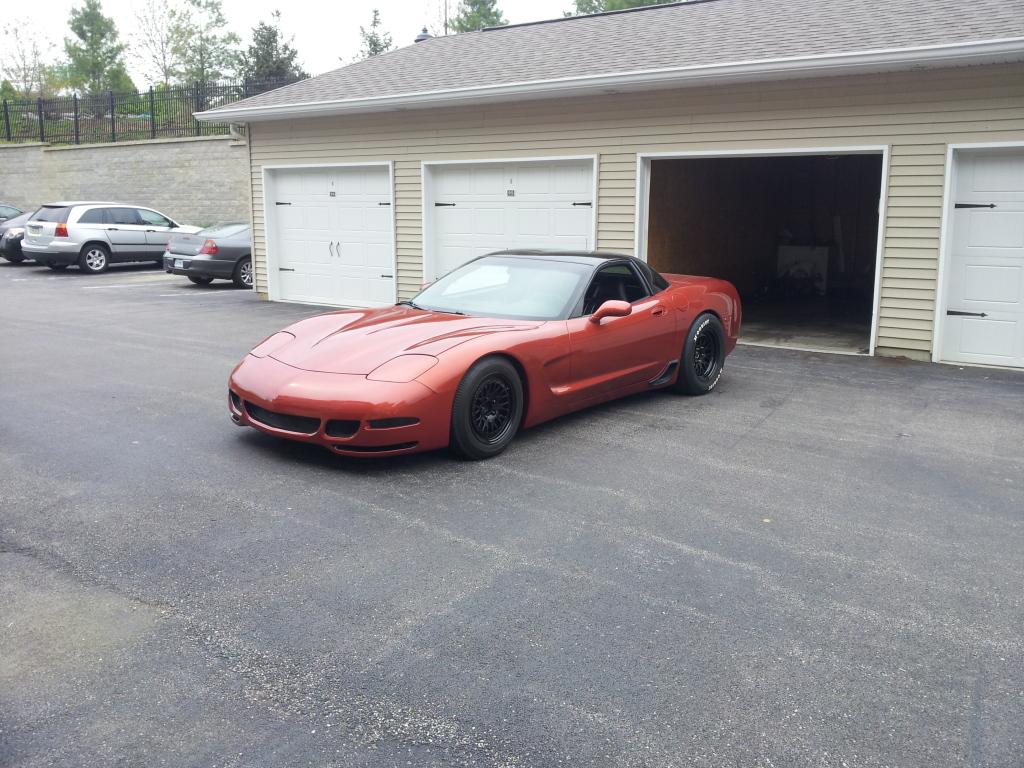
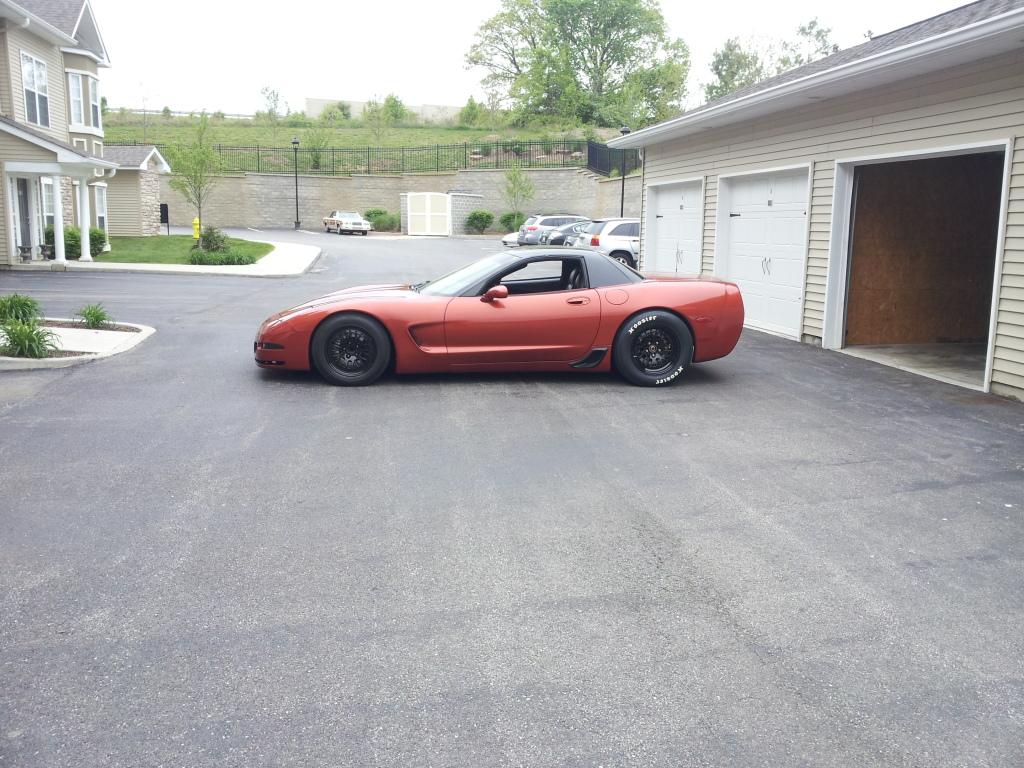
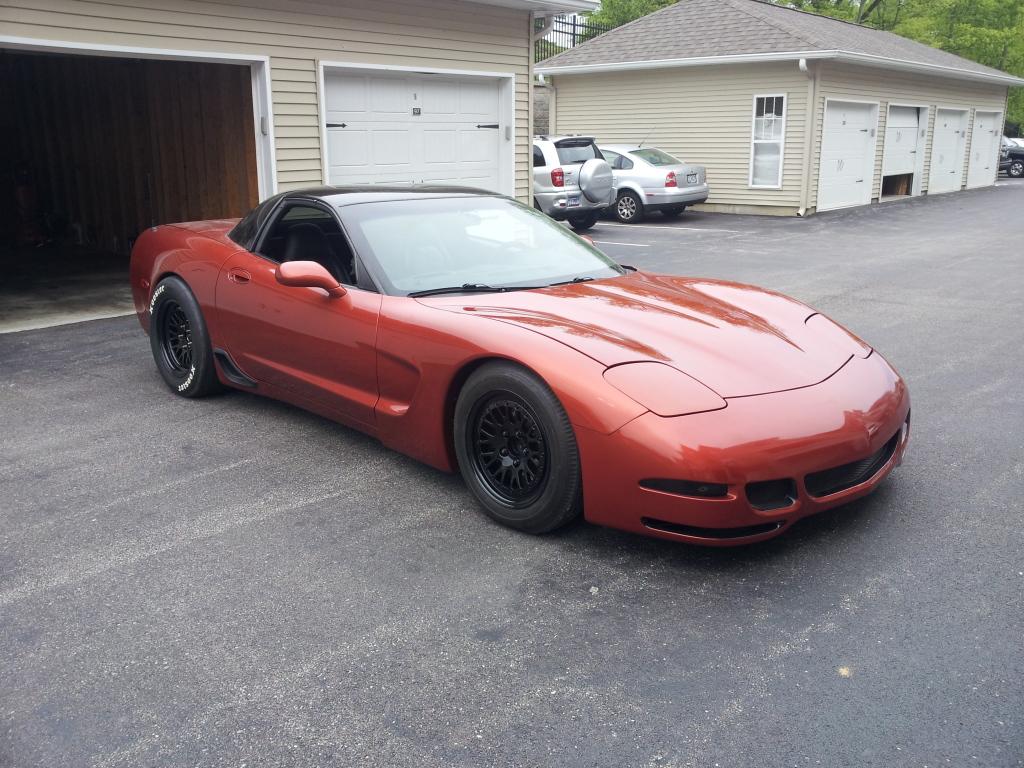
4/15/12
here is a new better video of the car

What a beast!
Posted by MPower on 11/25/20 @ 10:58:11 PM