You must be logged in to rate content!
7 minute(s) of a 636 minute read
9-15-2021
Well been busy with other things around the house and yard, but got the engine ready for paint, masked off a few places and items, and a few more things to do before paint. plan to get it on the engine stand, clean it up and paint it this weekend if the weather cooperates. getting close to paint. then final assembly and then install !!
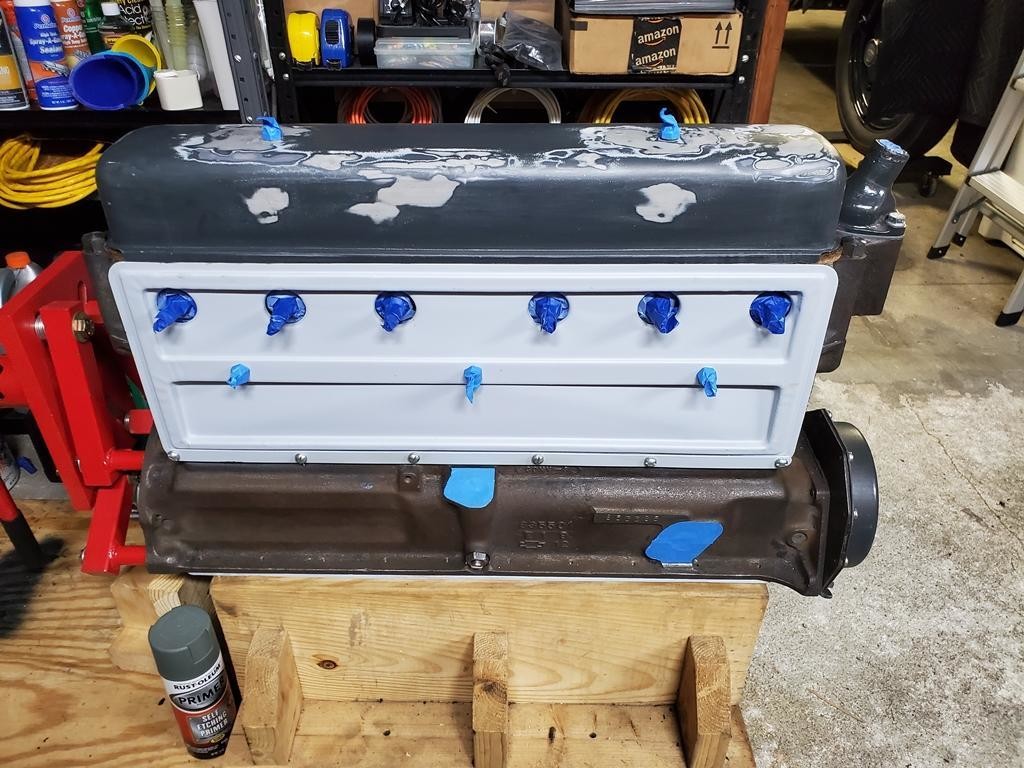
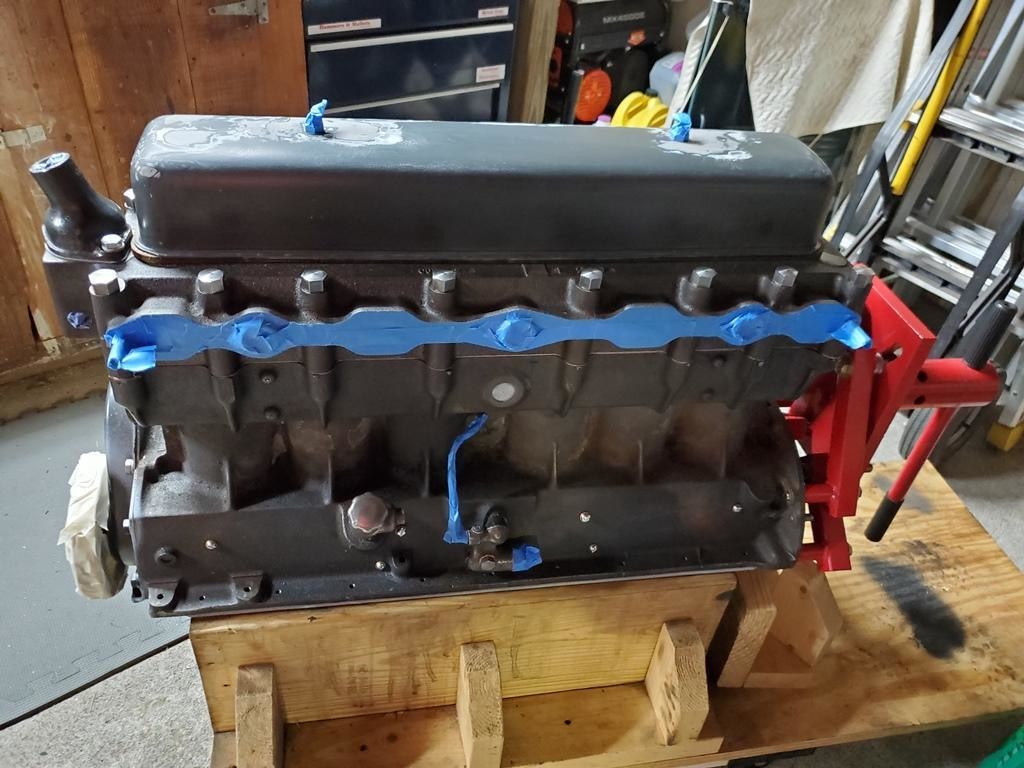
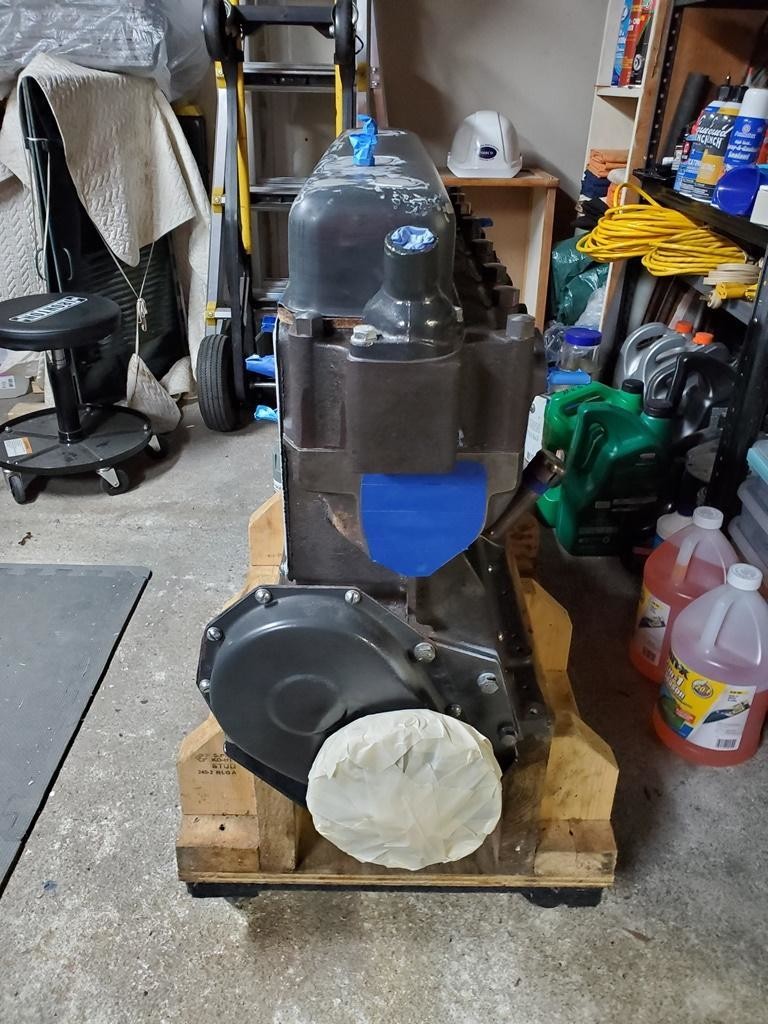
9-19-2021
Been a little slow on the restoration and rebuild of my 1929 Engine, finally was able to find a good paint prep cleaner and a good 2 day window of weather. forecast was for mostly sunny weekend with temps around 85. since i have the car in the garage i will have to paint in the driveway.
Got up Saturday morning, was a little overcast but no rain in forecast. started prepping driveway for painting, and realized the sun was beating down and making everything including me HOT. so i drug out my 10x10 pup up tent and used it to shade my paint area.
Rolled out the engine and then did my cleaning & prep. used a waterborne cleaner first, then onto a solvent cleaner. wore gloves and did not touch. then masked off the engine stand to keep it red, since it is borrowed from a friend this also allowed time for the cleaners to dry out completely.
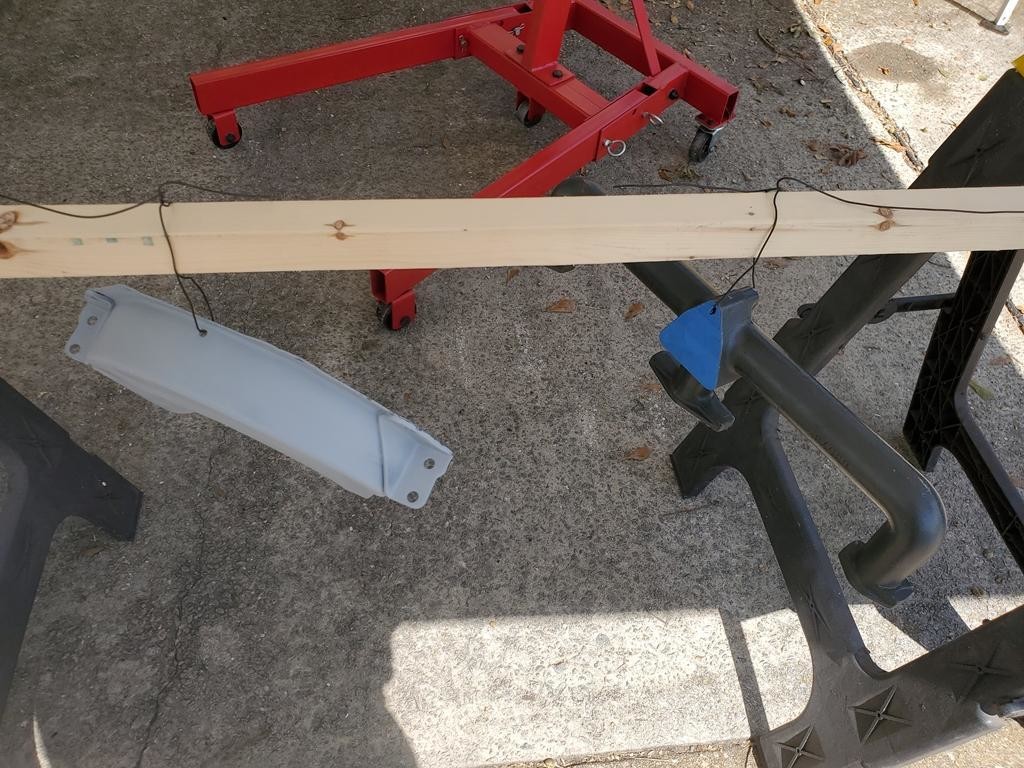
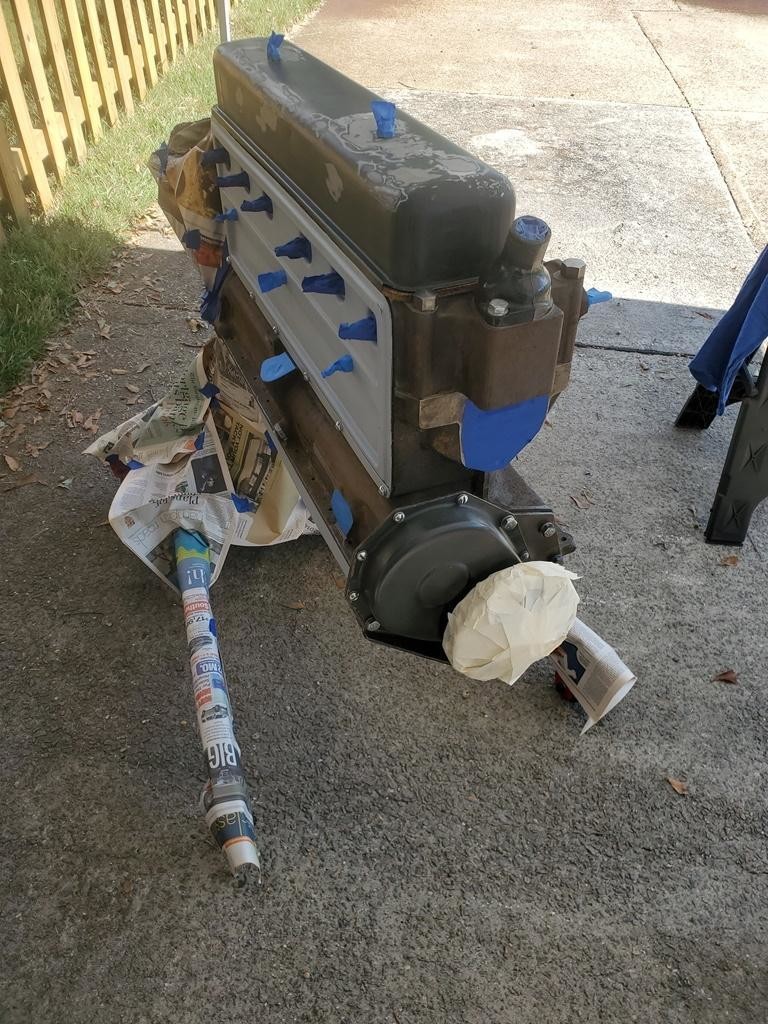
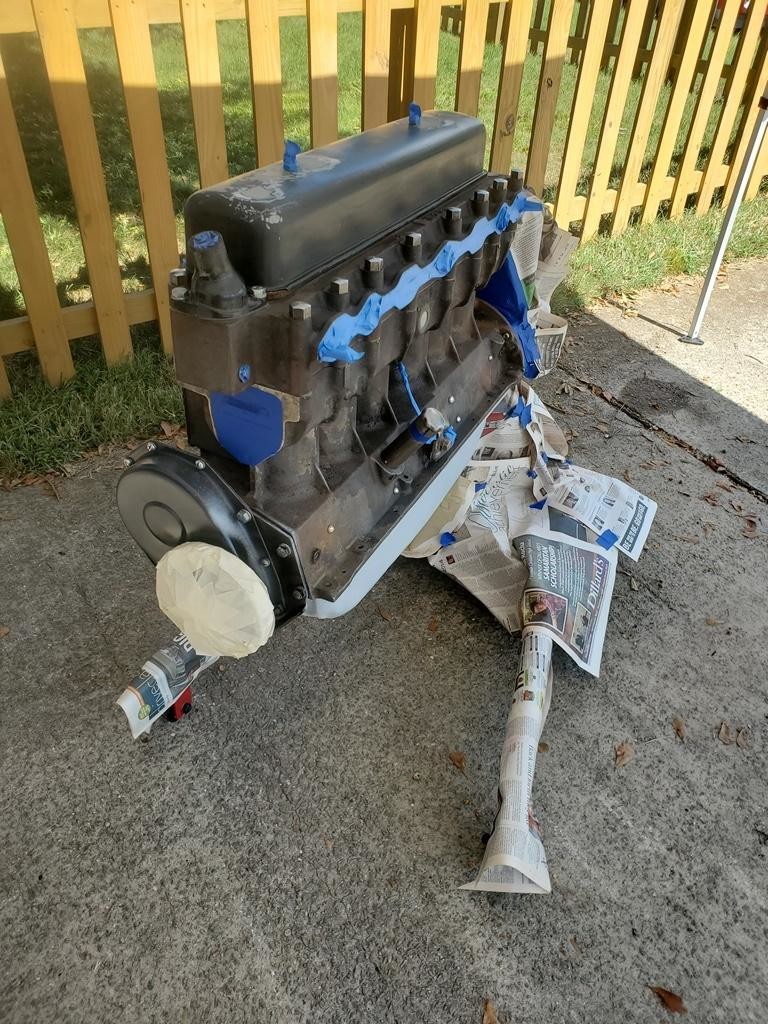
applied 2 light coats of Self Etch Primer, mainly to the block and bare cast iron parts. i was also painting the intake manifold and the flywheel cover. this was rattle can primer.
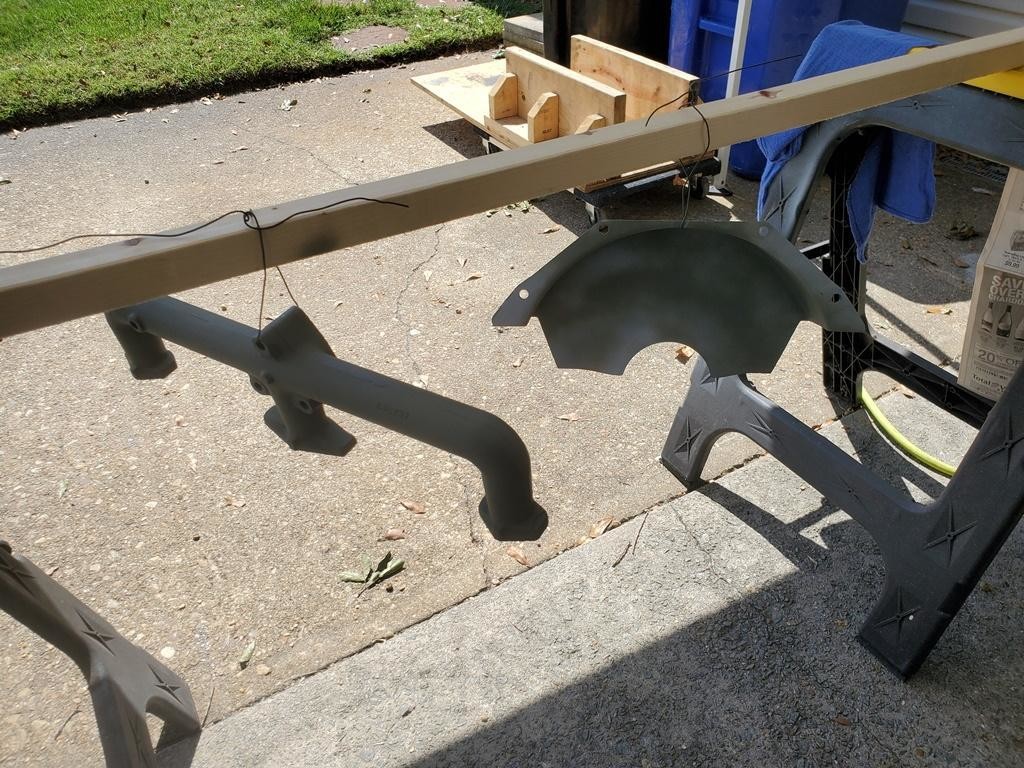
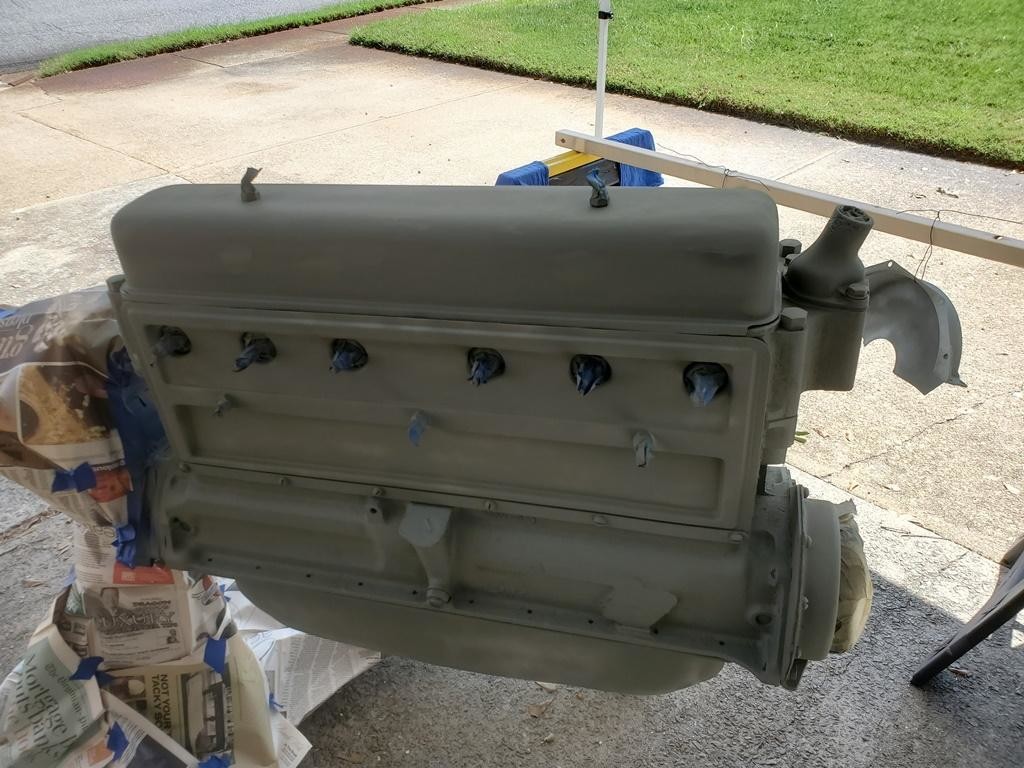
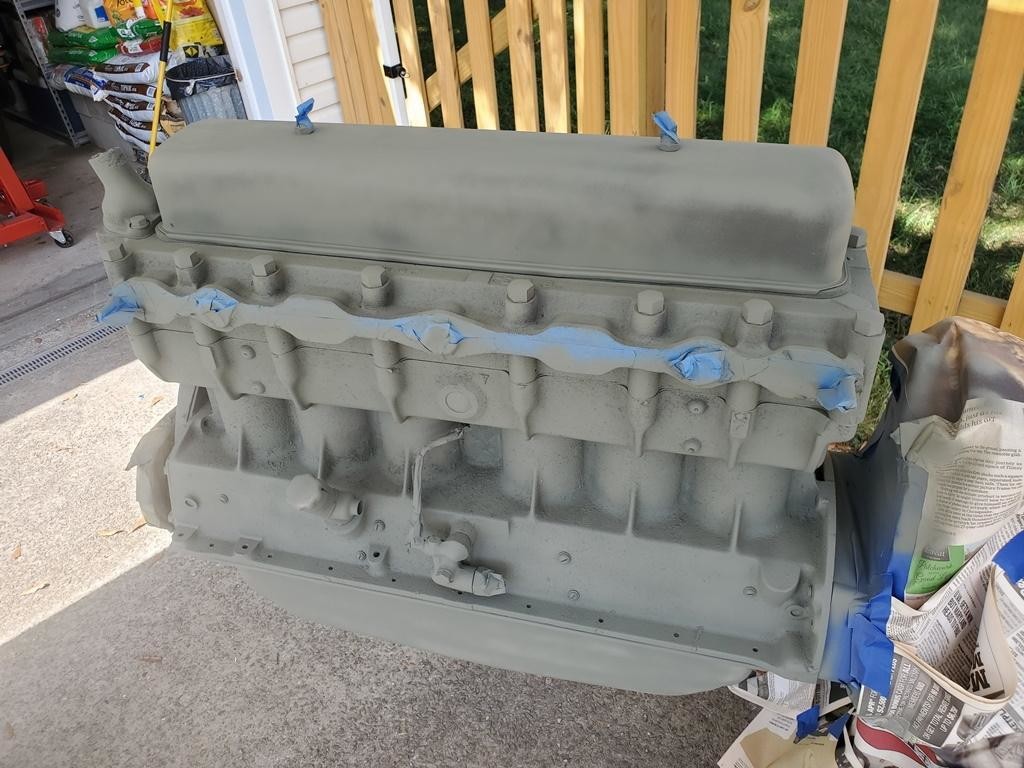
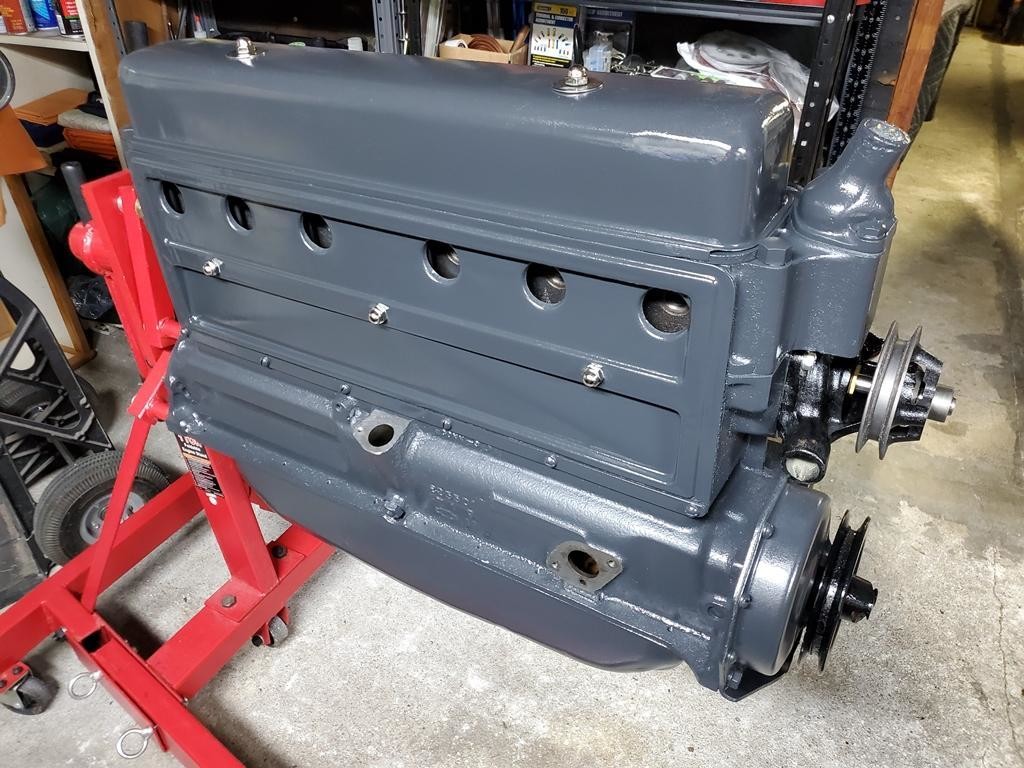
next up was to apply the Chevrolet Gray. This was a pint i purchased from The Filling Station mixed my PPG. was spraying with my HVLP, which i have never sprayed with before. so did some practicing with thinner, working on fan, feed, etc. and got it to a comfortable fan spray. then onto paint. total nightmare. it wanted to splotched out and splatter. no matter what i did. i finally got it to spray decent out of the gun and away we went. 2 light coats spacing between per instructions.
allowed it to sit and dry for a few hours, and then looking at it the cast iron looked great, but the sheet metal covers and parts had horrible orange peel. so I cleaned it up and put it away and for the night.
Sunday Morning got up and went out and did a light sanding on the orange peel on the metal, and then cleaned as before. did a once over on the engine and used a sticky to mark light spots for touch up. Broke out the HVLP and tried again. tinkering with the gun and air and paint feed and fan spread I got it to spray clean, neat, and evenly. I applied 2 light coats on the engine over the sheet metal and touched up a few light spot, spacing the coats as per directions. looked a million times better, so sit aside to let it dry.
few hours later went to look it over and it looks good, so cleaned up and drug it bag into the garage to cure. in a few days or so will start to bolt on the accessories and then the transmission and get ready to drop it in the car.
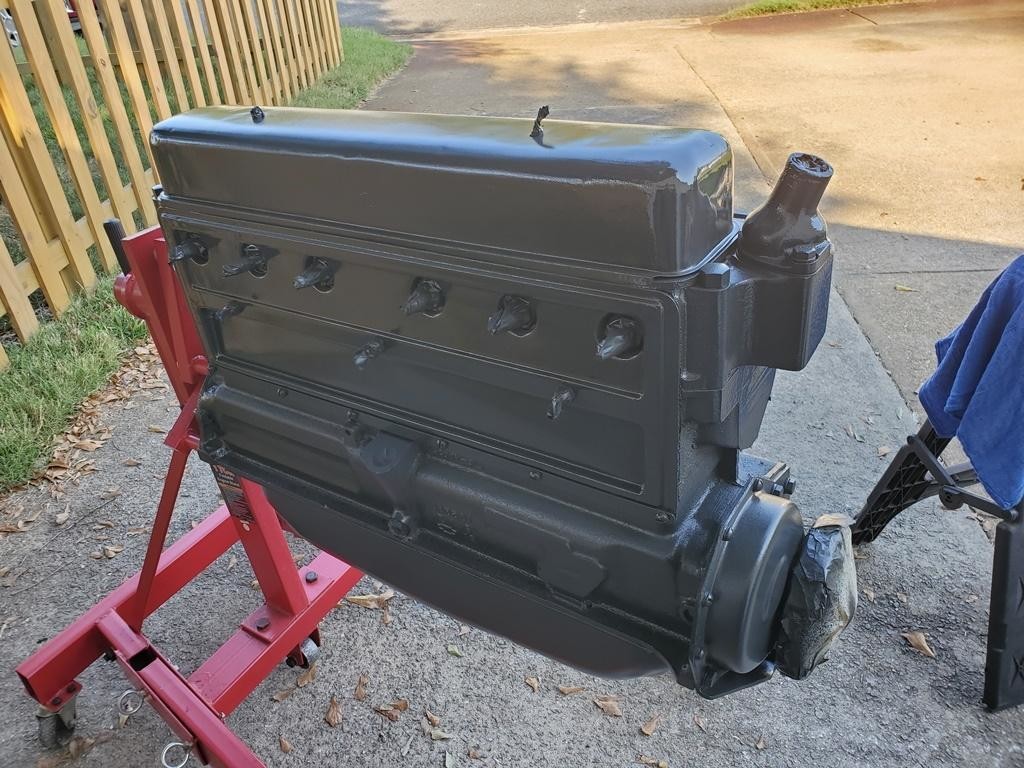
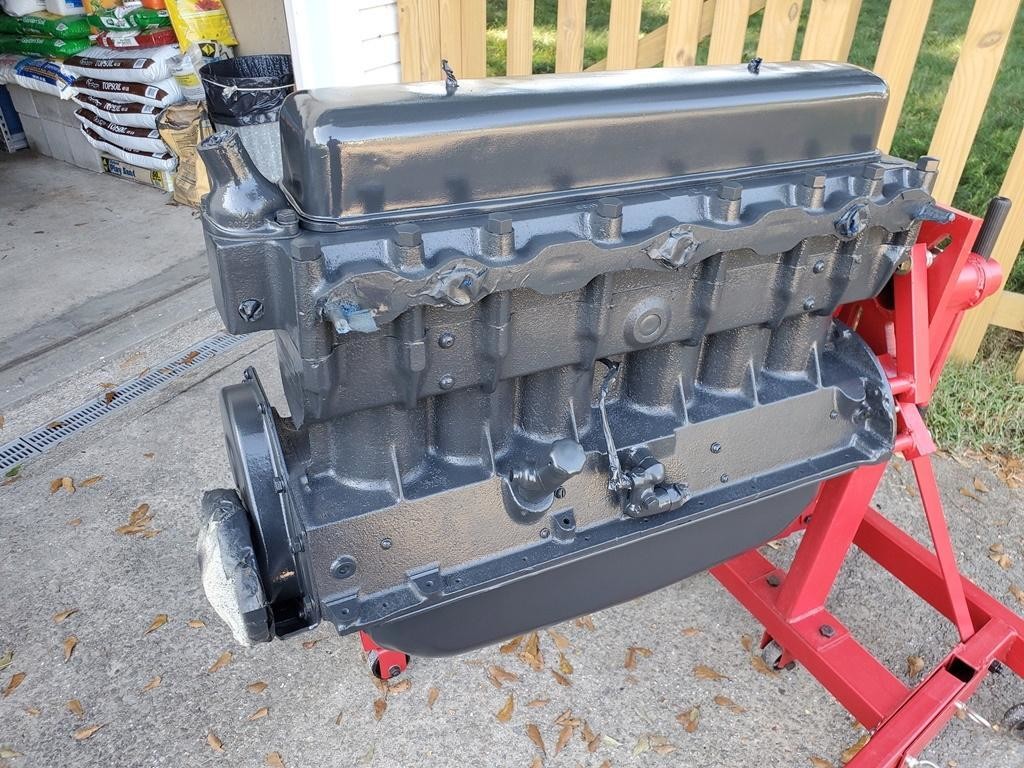
9-20-2021
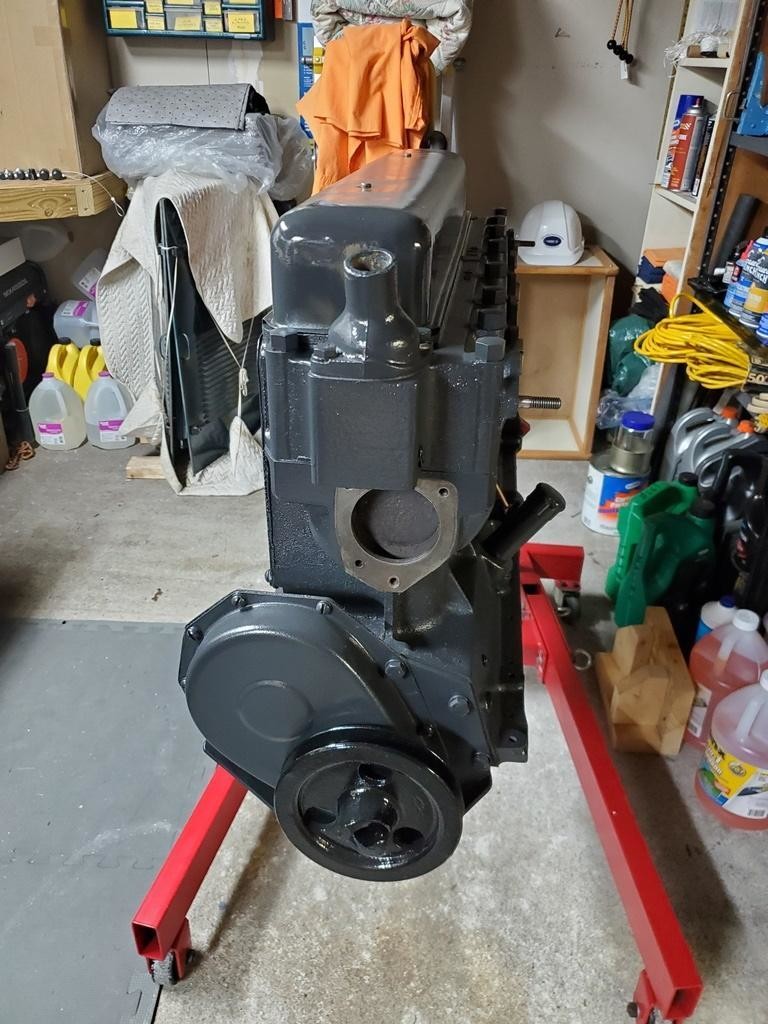
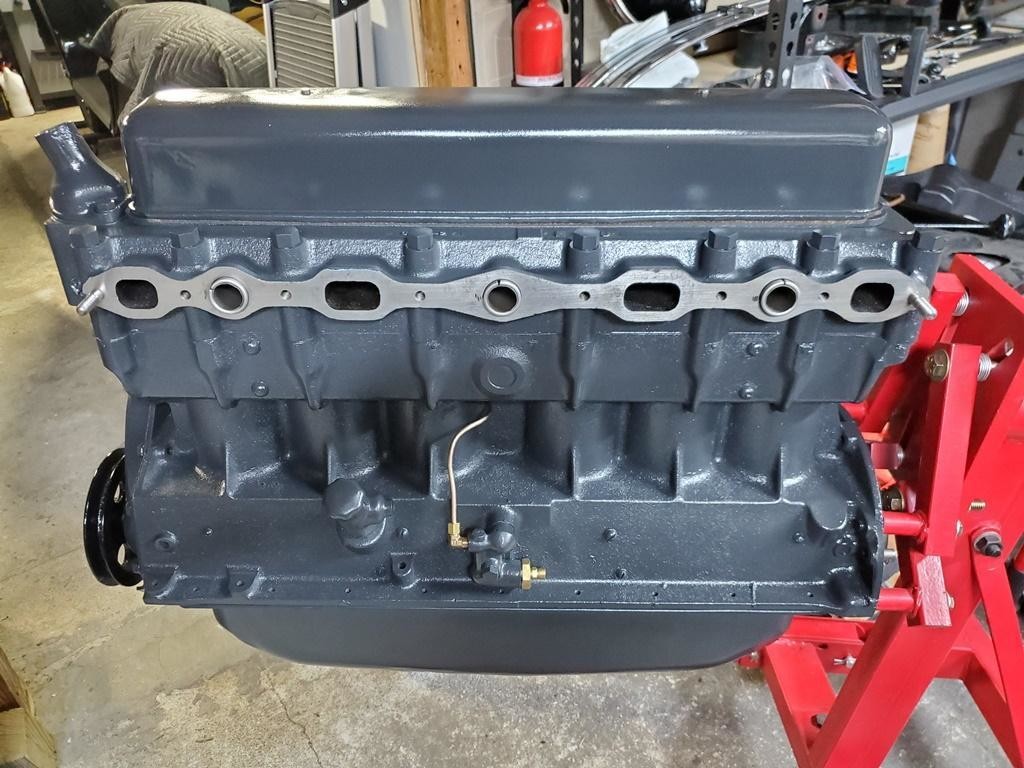
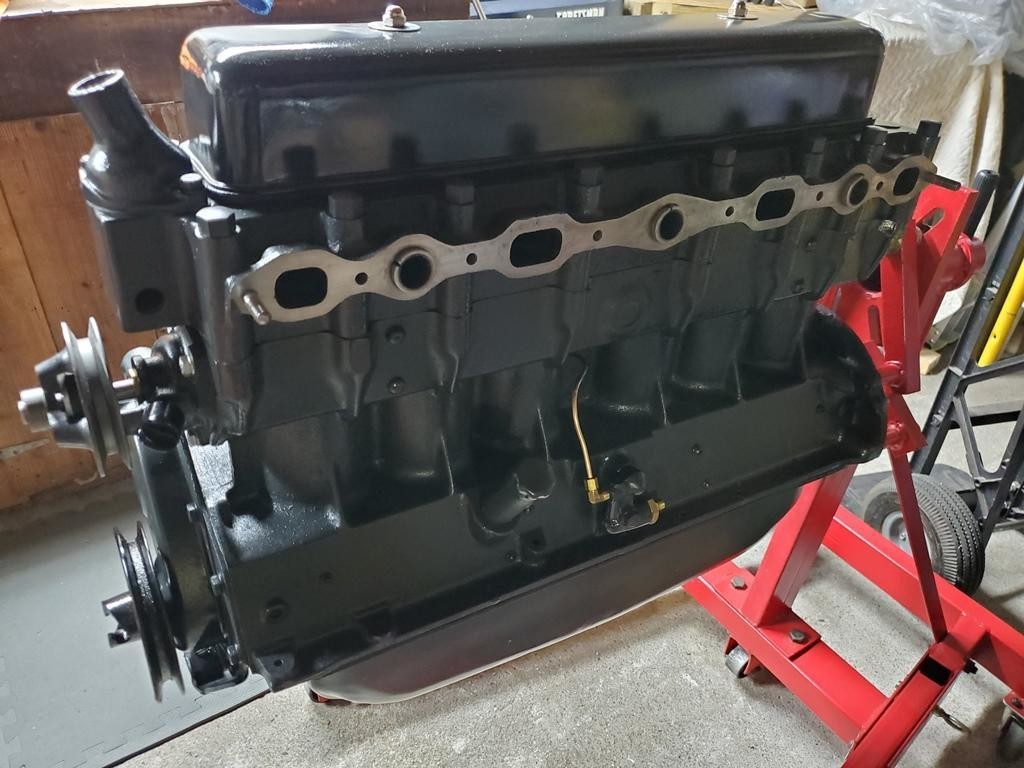
went out this morning and started to remove the masking...
starting to look more like an engine every day !!
I know the color scheme is NOT 100% correct, but it is what i like and what i am doing for my car. all the bolt on items, minus the Intake Manifold will be black i love the contrast. And i only SHOW my car to share it not to get points or trophies. i love it i enjoy it i drive it.
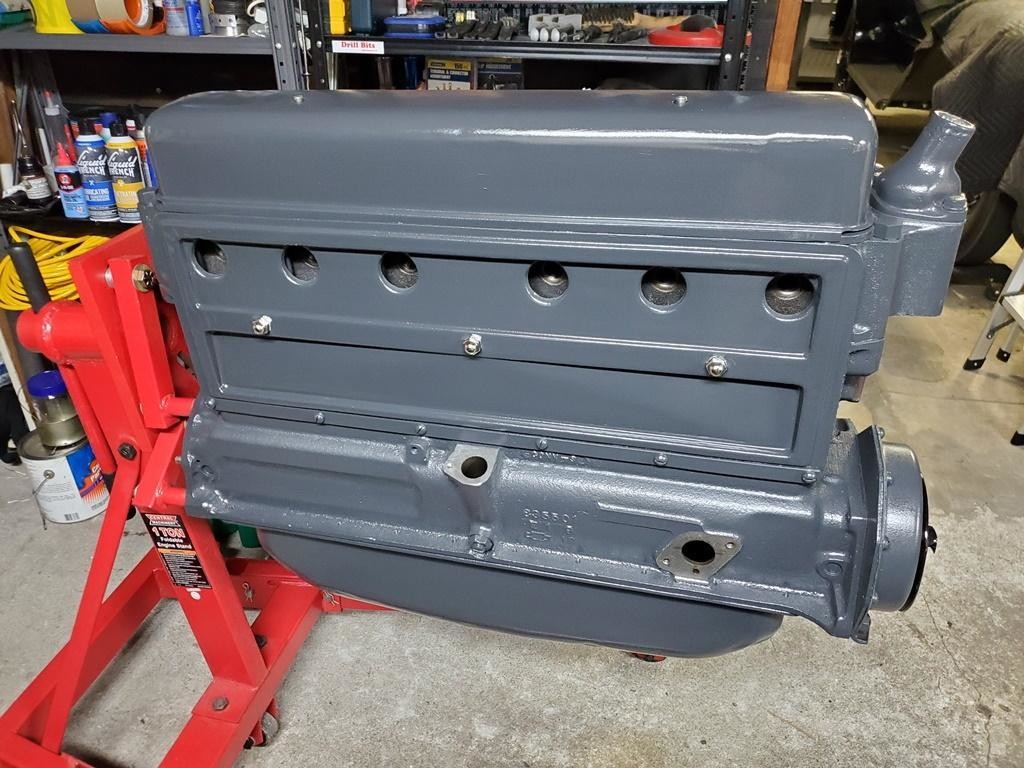
9-25-2021
in rebuilding the engine on my 1929 only problem i have had was finding someone to resurface the pressure plate. everyone i went to said they could not do it, and offered a few options. last week i called a local engine machine shop and talk to the buy about resurfacing it, and he asked about it, and said are those the old school pressure plates with the springs ? i said yes, he said that is the problem, can not machine them because the springs would cause it to walk and bounce around and get a crappy surface. then it hit me, i asked him what if i took it apart and brought just the plate, he laughed and said oh yeah should not be a problem. asked me to bring it by and let him look at it. so the next morning stopped by and talked to him, and he said no problem, give me a few hours and i'll have it ready for you. so went by at lunch and bamm all done and ready. looks great.
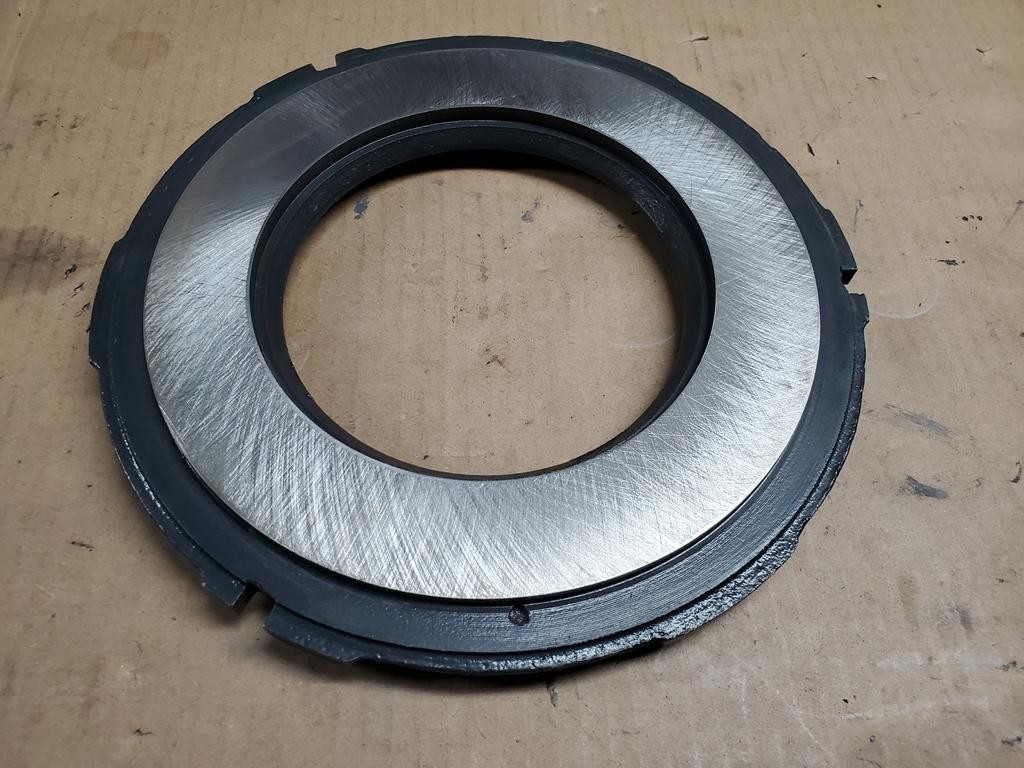
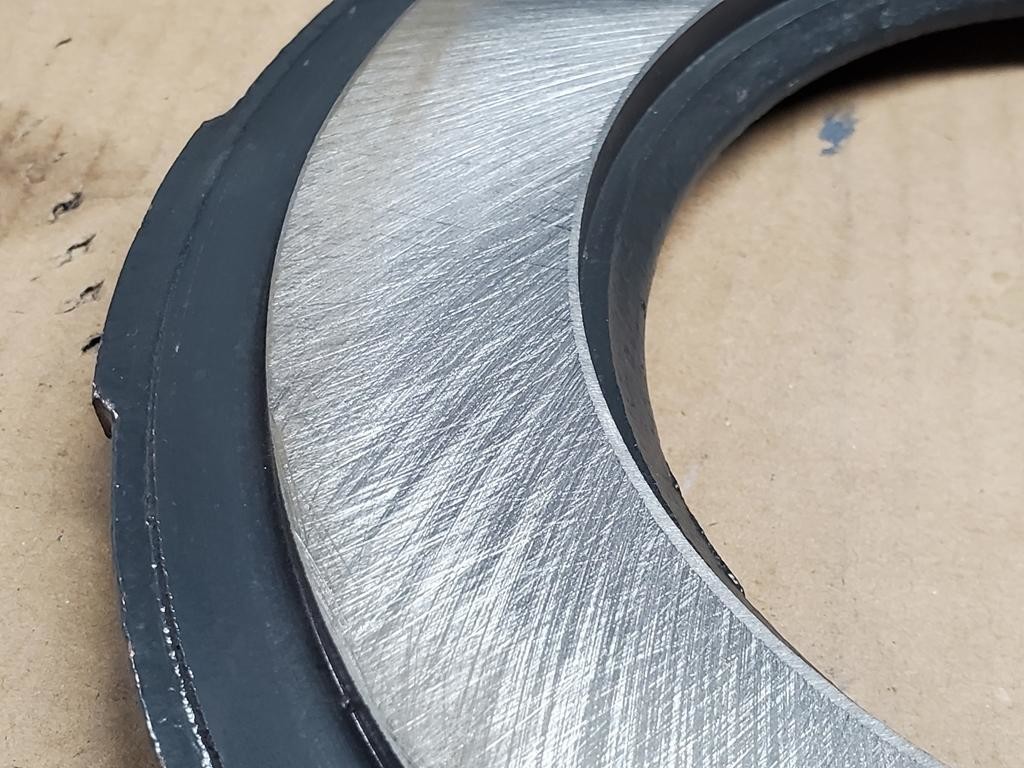
so when i got home that evening, rebuilt and put the pressure plate assembly back together.
it is now ready to be installed.
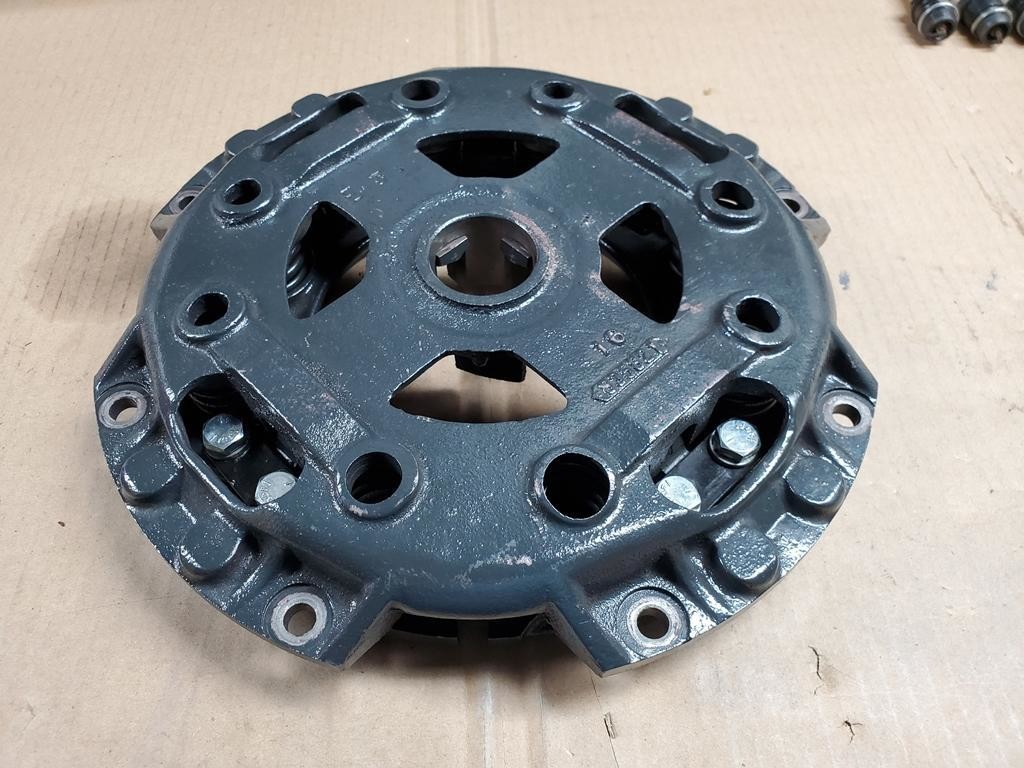
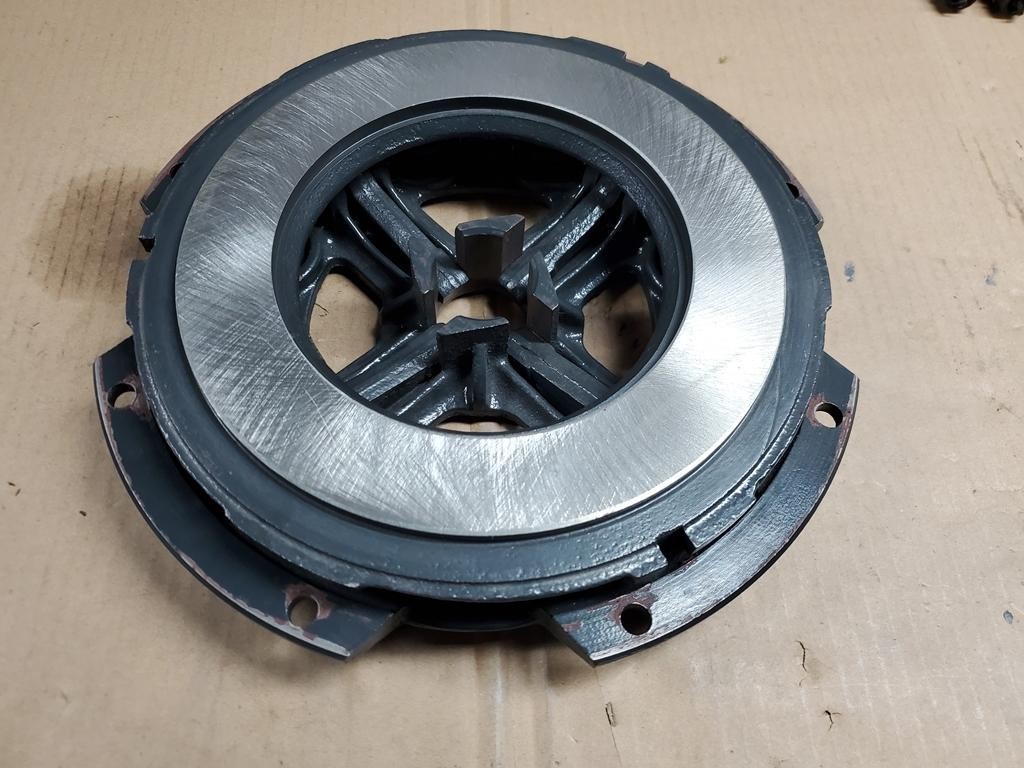
bolted on the water pump with new gasket, this is the NEW style water pump with bearing and NO packing. looks like the original without the maintenance
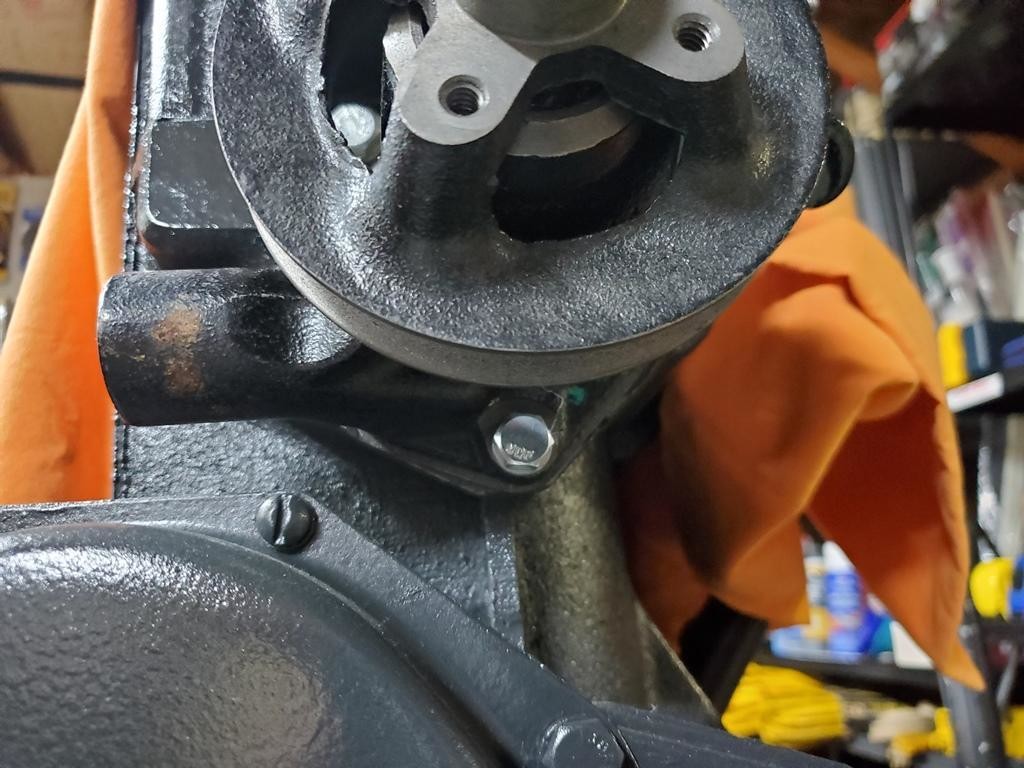
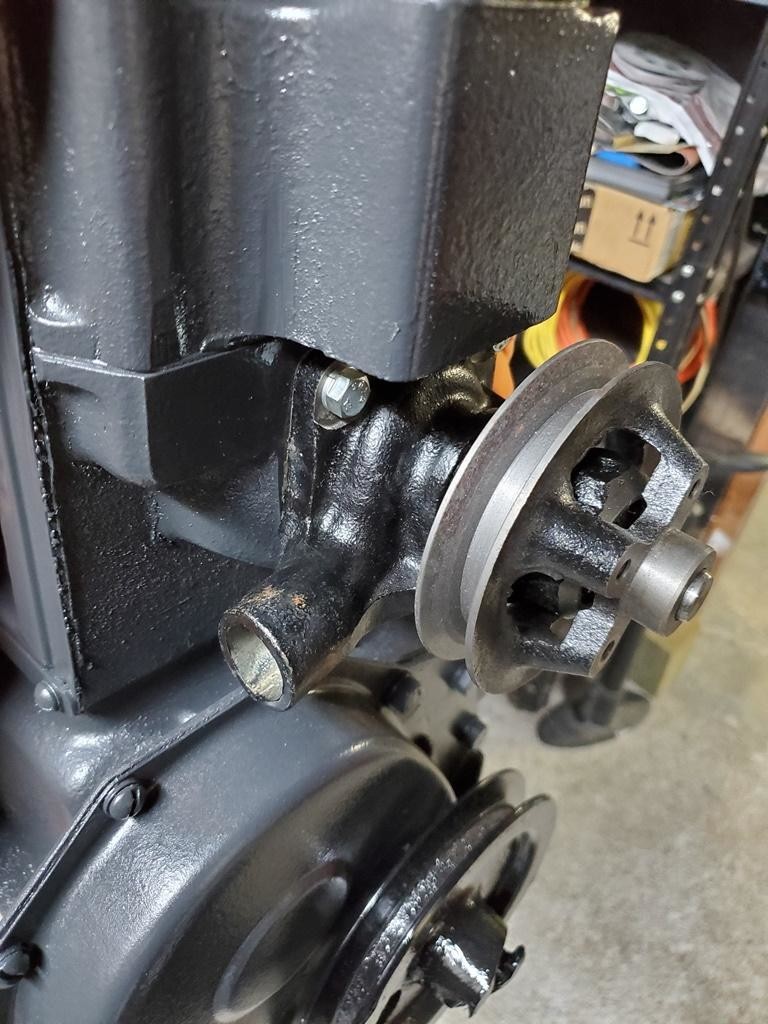
about to the point of dropping then engine onto my build stand and start bolting on the transmission components. then time to install into the car !!
Great car !
Posted by Diggymart on 9/7/19 @ 3:48:57 PM