You must be logged in to rate content!
7 minute(s) of a 636 minute read
6-18-2020
well everything is poured, and almost cured... this weekend i will finish cleaning up all the flash, and put the slit in each one. this will complete the pedal seals !! I plan to install one in my 1929 when it goes back together and then offer the rest up to anyone interested. know these are general reproductions and may not directly reflect the original seals in the 1929. I did my best with the help of others to recreate them as close as possible. if you prefer a smooth overall finish you can lightly sand the urethane to get the desired effect, just know that sanding will remove the sheen on the urethane. these seals are pretty durable but not sure what they can stand in way of abuse, use, and chemicals. i plan to use my as normal and see what happens. there will be no warranty or anything of the sorts. as is how is.
I am ONLY asking for material costs, not trying to make any money but since i went through the exercise to create a set thought i would create a few extras so if anyone else was interested in a set, they could get one.
I have several reproduced with the metal insets as provided by Chevrolet (they are semi rigid and less flexible) asking $30 per set plus shipping
I have only a few reproduced with NO metal insets (solid urethane) pretty flexible asking $20 per set plus shipping
both LOOK exactly the same on the outside except the metal inset inside.
they should be ready to ship starting monday, interested send me a PM and inquire.
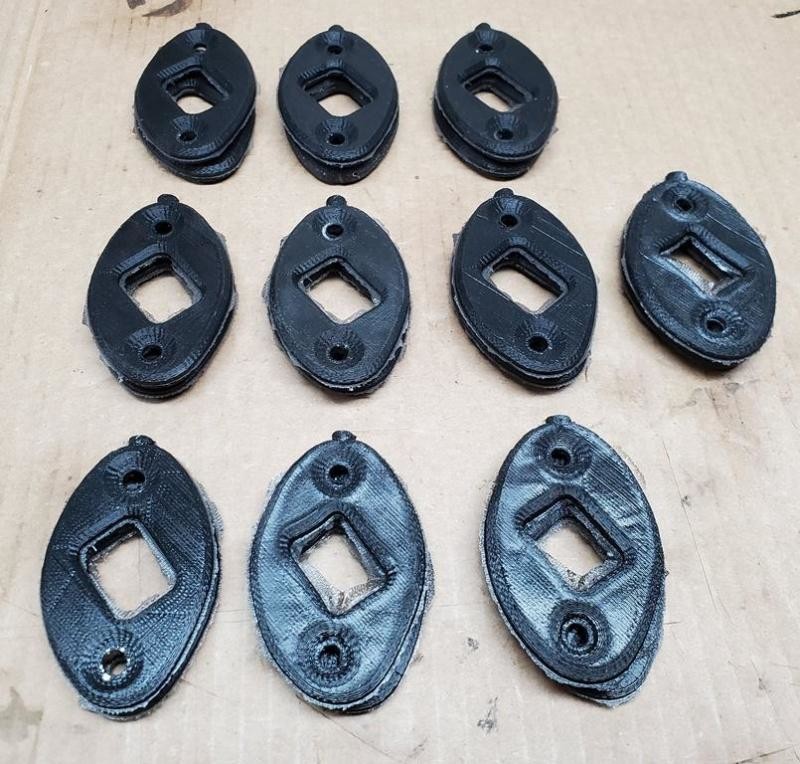
1929 Chevrolet Pedal Seals sets with Metal Insets
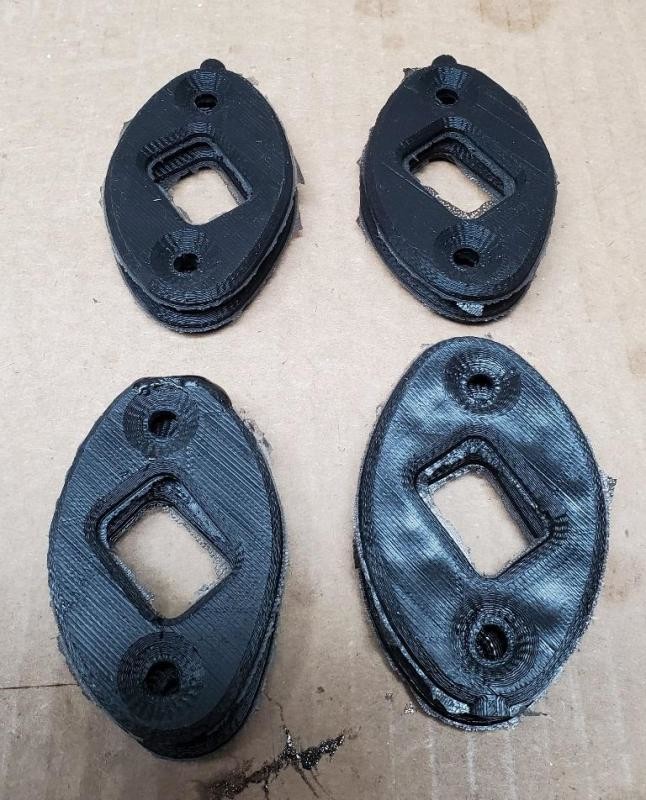
1929 Chevrolet Pedal Seals sets Solid Urethane NO Metal Insets
8-11-2020
well with all this stuff going on, and not much going on, plus waiting around for my engine to come back I decided to take on making a new updated toe board. the one i had made fit ok but i had to modify it several times to get it to work in the car properly.
so i took the original one and test fit it in the car and decided i would give it a try, worst case would be to use the modified one i have ![]()
i made a cardboard template to match the original, which is worn and busted up in a few spots.
tweaked and trimmed the cardboard to fit the cowl and match the original wood.
once i got a good fit, i then digitized the cardboard and put it all in CAD ![]()
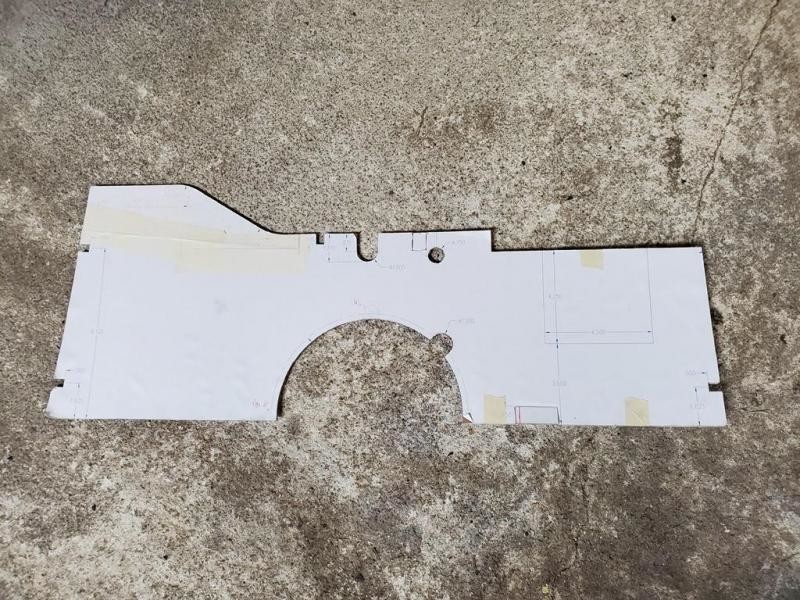
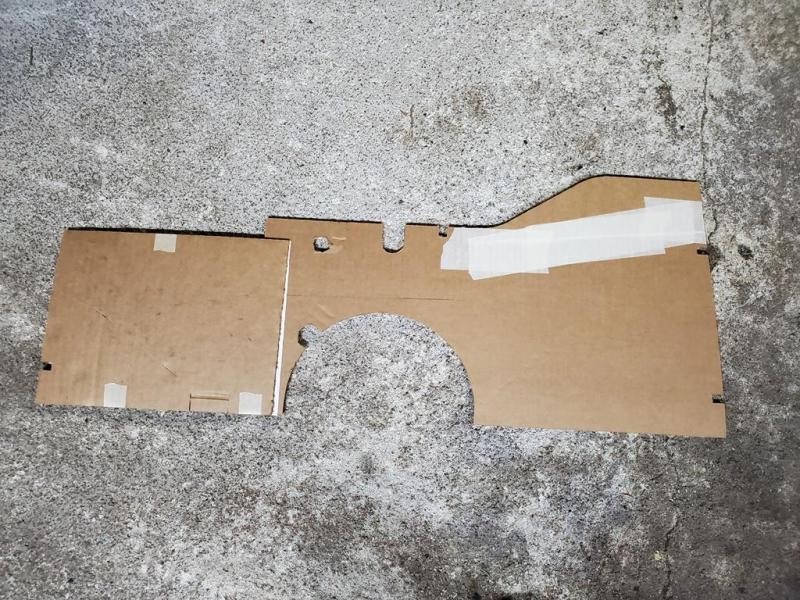
Printed out a CAD copy full size and cut it out on cardboard to validate the form fit and function to both the original and the cowl.
fit really nice, so next up was wood !! cost $30 for a 4' x 4' piece of Oak plywood 3/4" thick. went with oak as the old guys at the lumber yard identified it clearly and easily, thought i was going to have to fight them to get my original back !!
good thing was there is enough wood to make 2 out of it
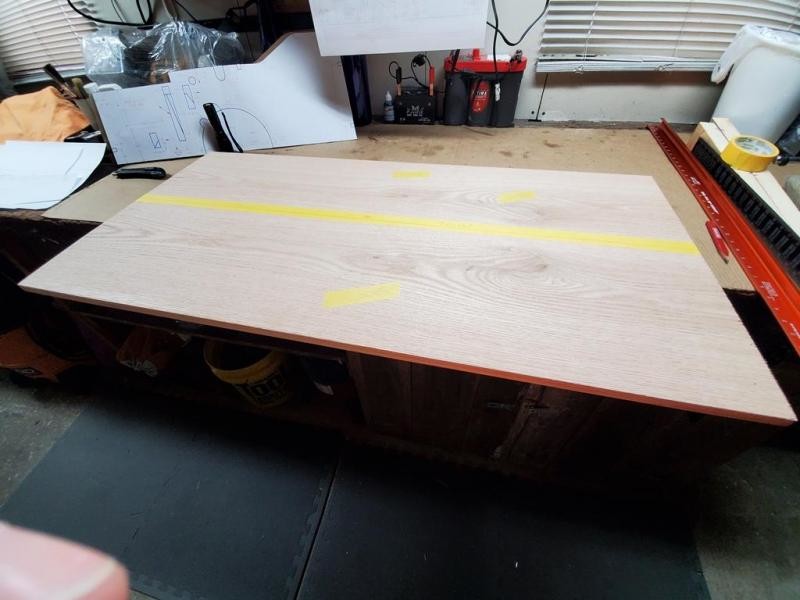
raw plywood ready for cuttin
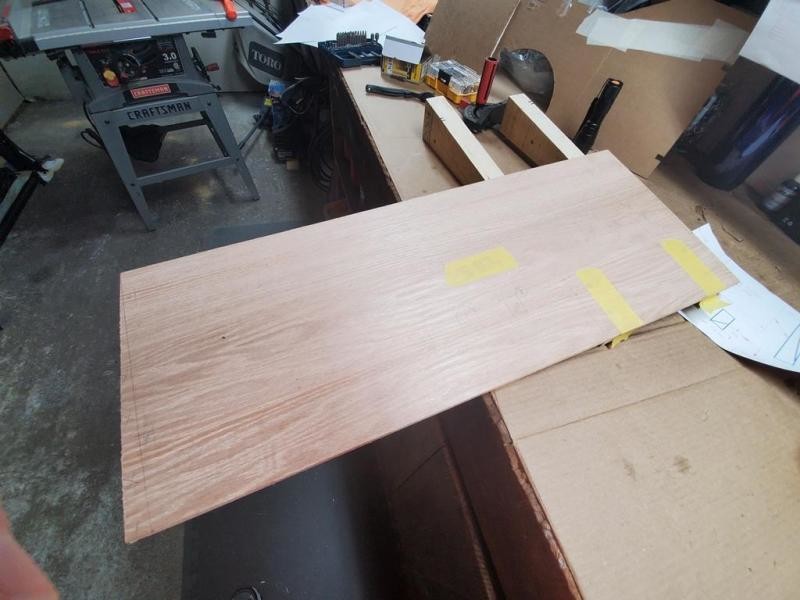
cut in half ready for angle guides
did my math and came up with a way to put in the tapered back side of the toe board for the pedal clearance.
cut some 2X4 into angles based on my math, and then attached them to the toe board in area that will get cut off ![]() this worked great on my table saw, cut each side then cut about every 1/4 of inch so that i can go back with chisel and knock out the slits and then sand smoothlot of work but worked great
this worked great on my table saw, cut each side then cut about every 1/4 of inch so that i can go back with chisel and knock out the slits and then sand smoothlot of work but worked great
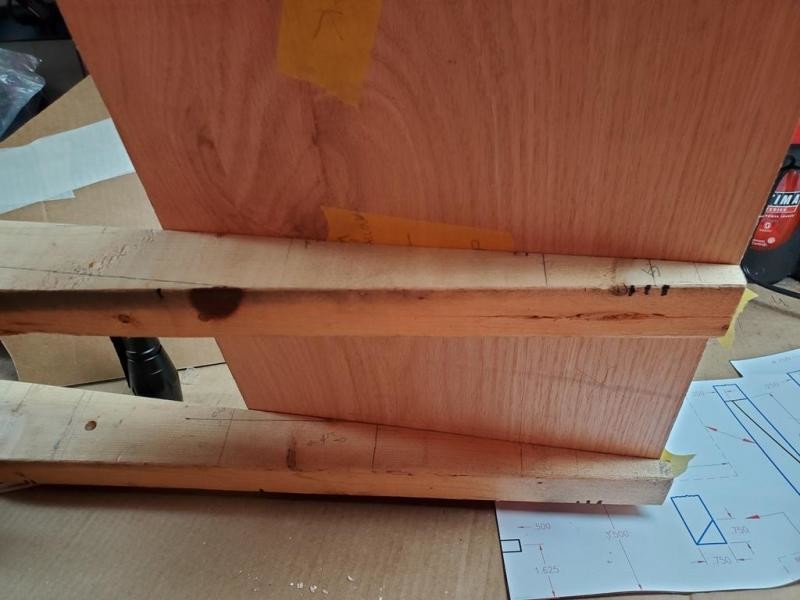
2x4 guide attached to toe board
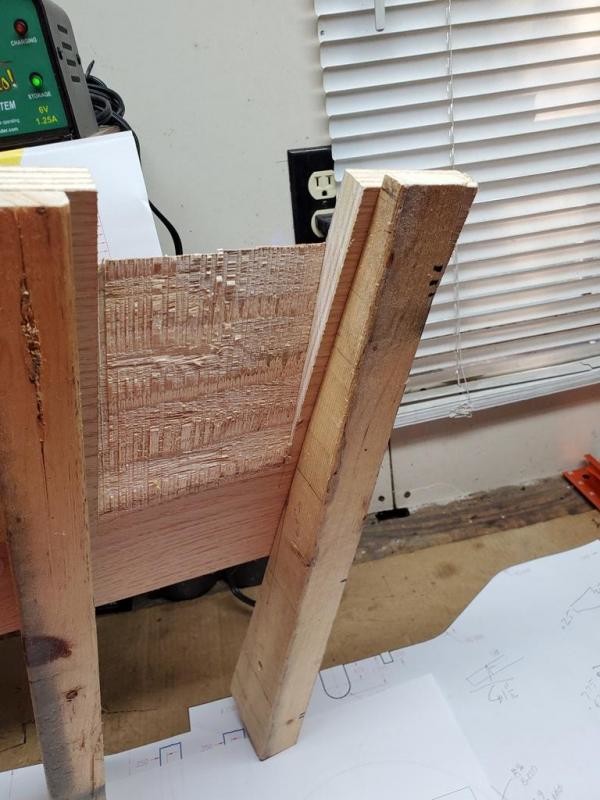
after table saw and chisel work
continued to make my cuts planning each one out, then on to the circle.
used my circle adapter for my dremel to cut large circles cleanly
did a few test on scrap plywood i cut off, to get proper speed and technique
then onto cutting out the circle...
that is where things went south ![]()
the blade came loose and walked/wobbled and circle was circle NO MORE !!
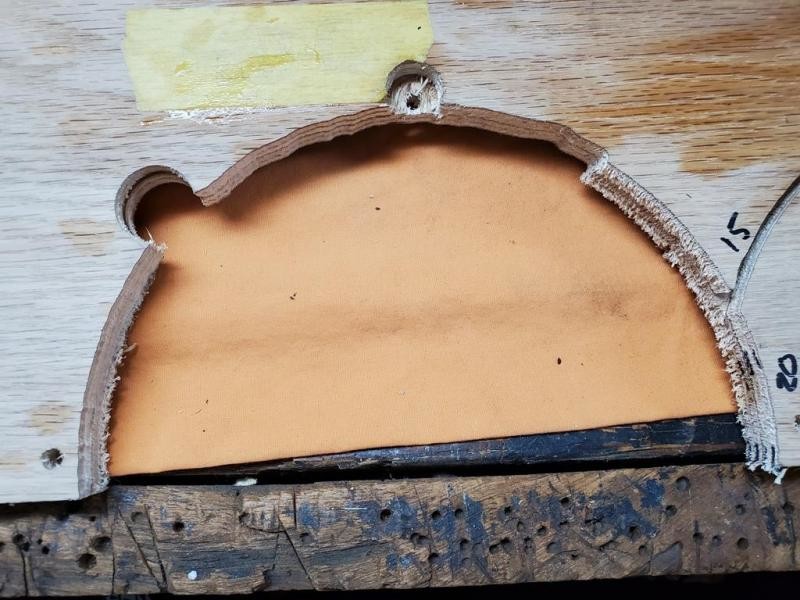
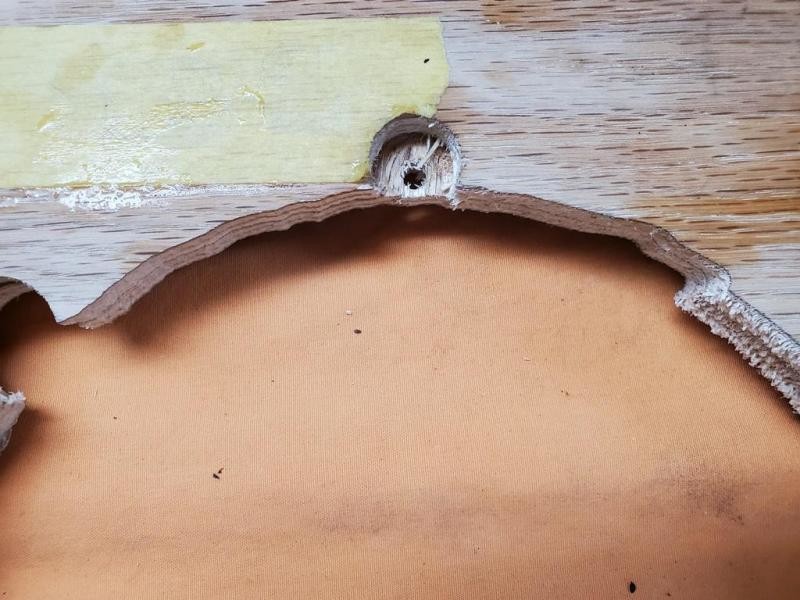
was a little upset, but took it as a learning experience, and planned out my attack on piece 2, but that will have to wait a few days.
started to work on board 2, same plan of action, just way more precarious.
laid it out and measure twice
and yes the yellow tape on board 1 is painters tape, this was a trick used to help keep the plywood from splintering, which it is famous for.
did the same thing on board 2, but had to use the blue tape, yellow was all out ![]()
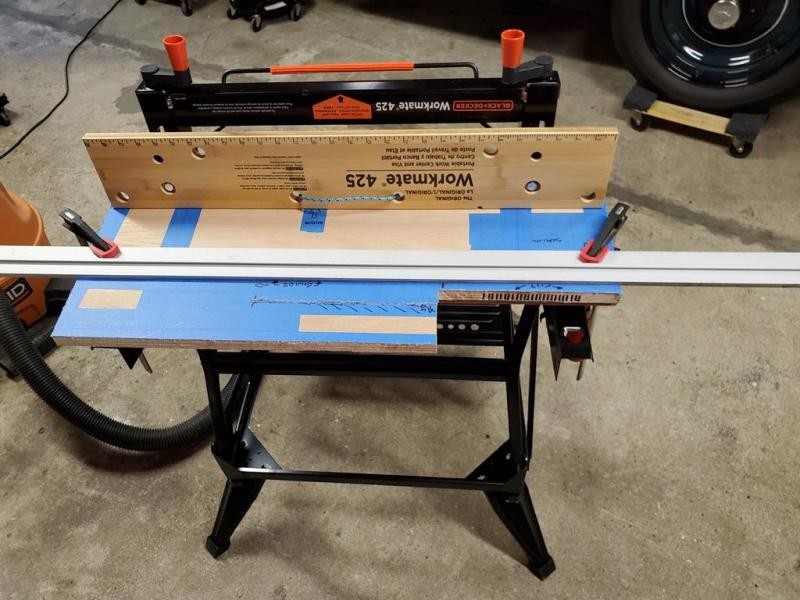
got all the fun stuff done and cut out,
everything worked great this go round, and checked and double checked blade on the dremel when doing the circle.
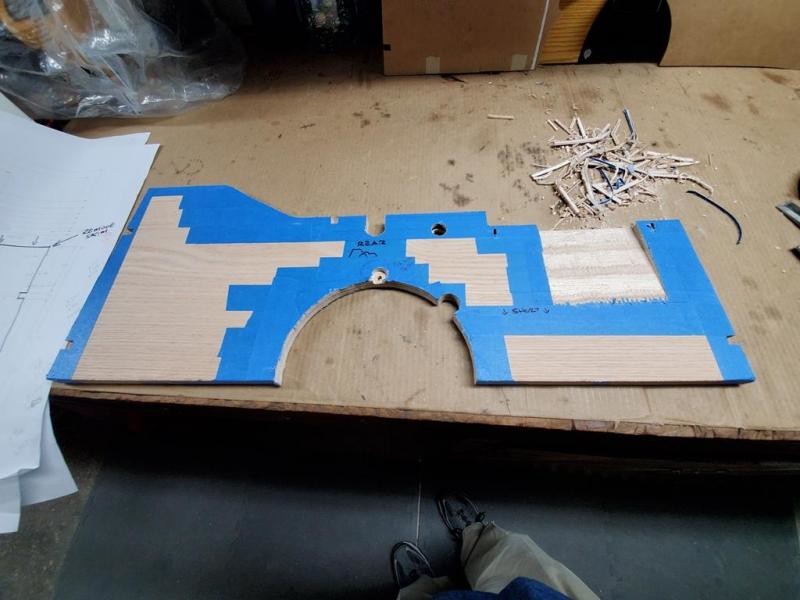
did a rough test fit, and had to trim up the top edge a bit as well as the contour
kept it with a gap around it all as i did NOT want it to fit in tight then the wood swell and be stuck !
same clearance as the original i had on hand
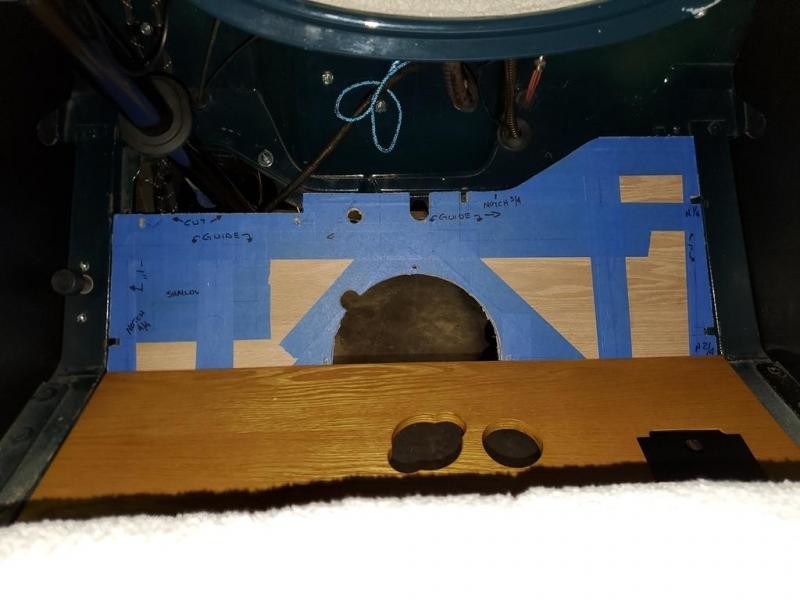
once i was happy with the fitment
removed all the tape
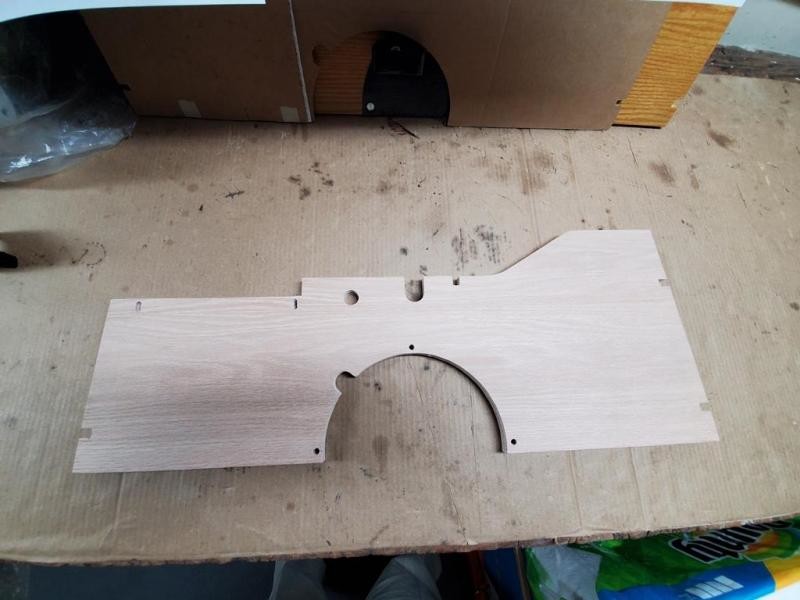
front side of new toe board
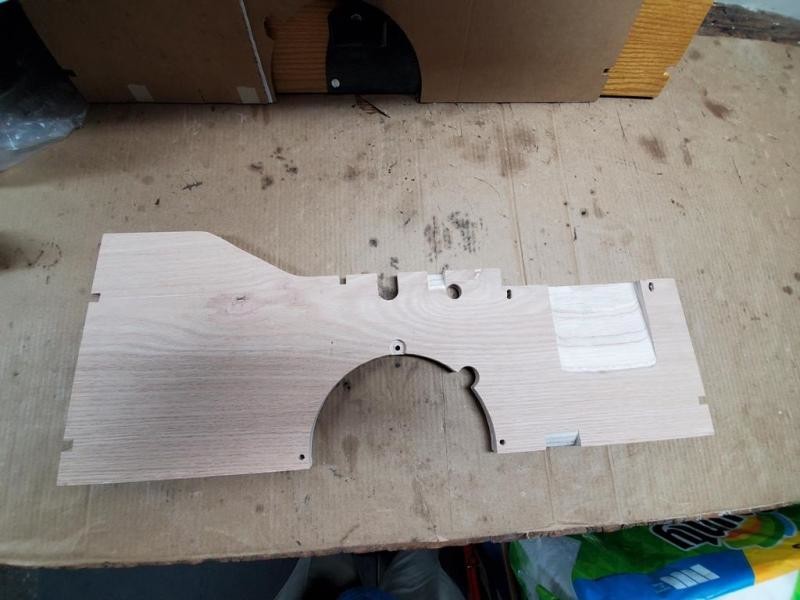
backside of new toe board
going to sand it down then give it three coats of Helmsman Spar Urethane to match the rest of the floor wood ![]()
Great car !
Posted by Diggymart on 9/7/19 @ 3:48:57 PM