You must be logged in to rate content!
11 minute(s) of a 668 minute read
7-9-2014
Thanks guys, it's been a long time project, it's not all fun. Sooner or later if the focus stays on the project and you know what the final result is going to be, you just have to keep keepin on.
I wanted to be lazy and just spray the dash and move on. I figured it would be a major pain to wet sand and buff the whole dash. Ha ha, who am I foolin, I got a bucket of hot water, 2000 grit paper and started the process.
Once done, I'm so glad I did. Here we are....
Top of dash.
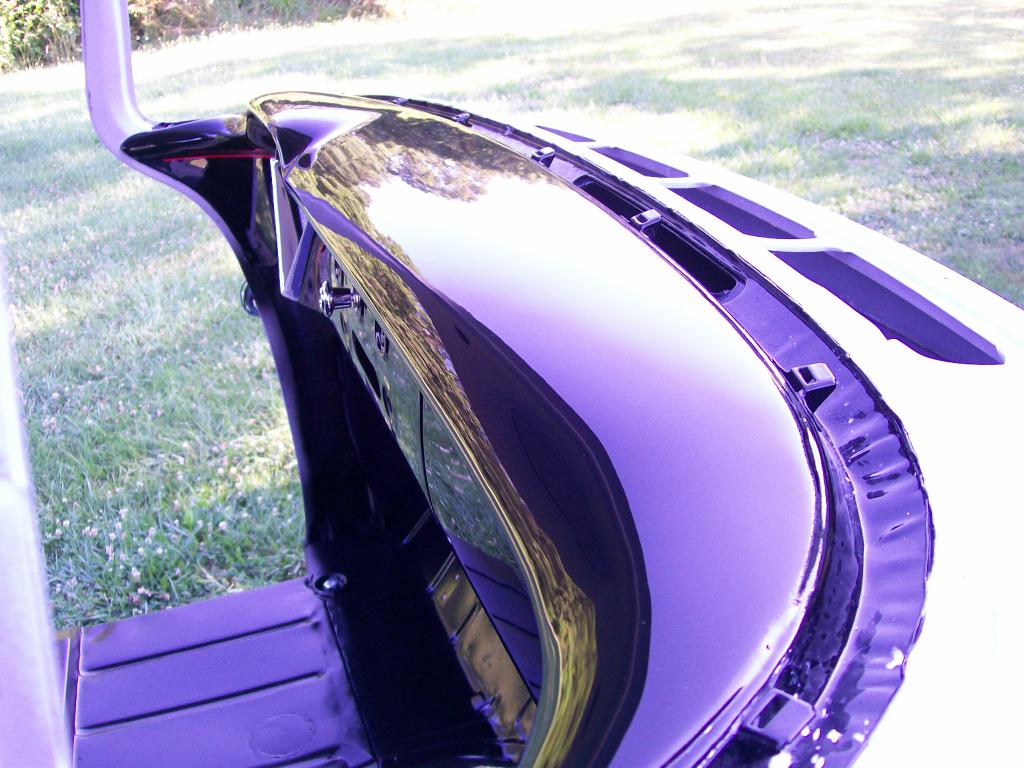
The face of the dash. (Note)... it looks like runs, sags in the glove box, it's just a reflection of something in the yard.
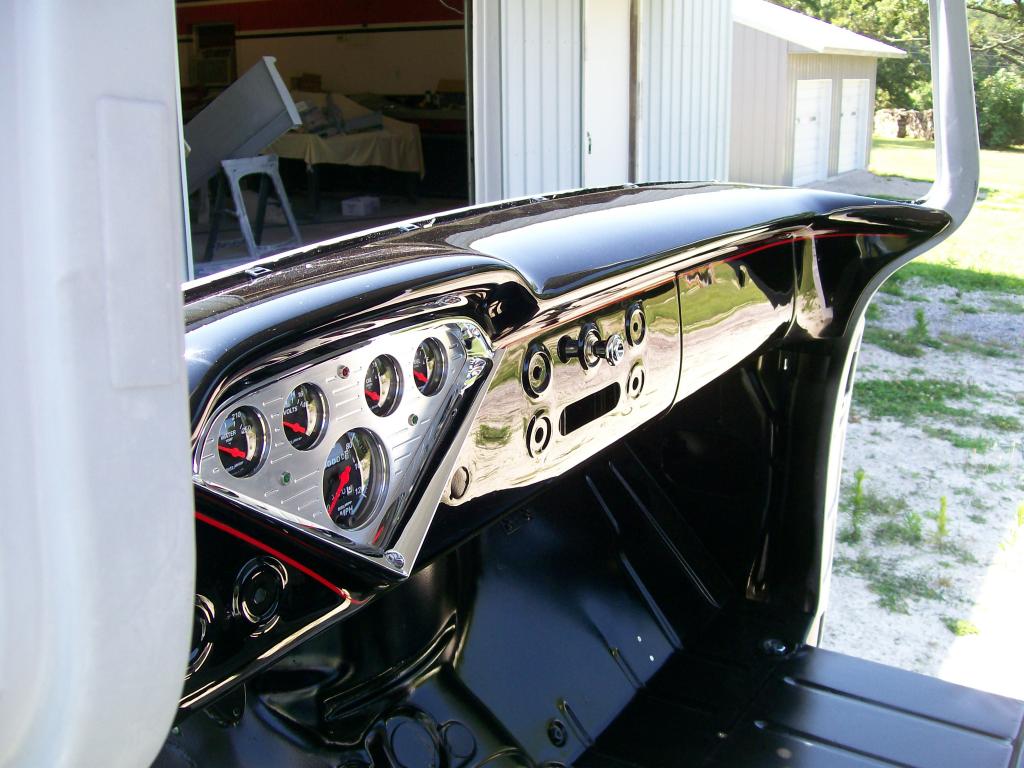
I am having a problem getting good pictures... What I mean is, I'm getting reflections that are killing the picture.
For example, here is a view from the passenger side, no glove box door fake runs, but it picked up the reflection of the drivers side door jam and kinda distorted the glove box door image.
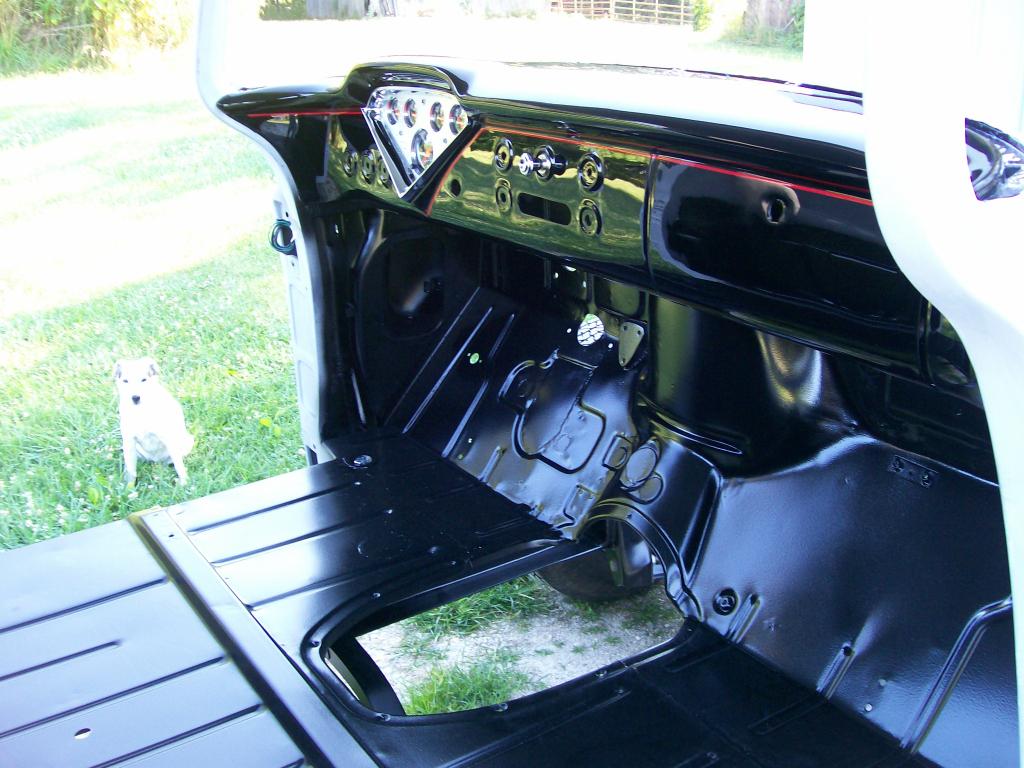
Anyway, although I'm proud of the results so far, I know many of you have followed this project. From the maroon color and all the welding and fabrication.
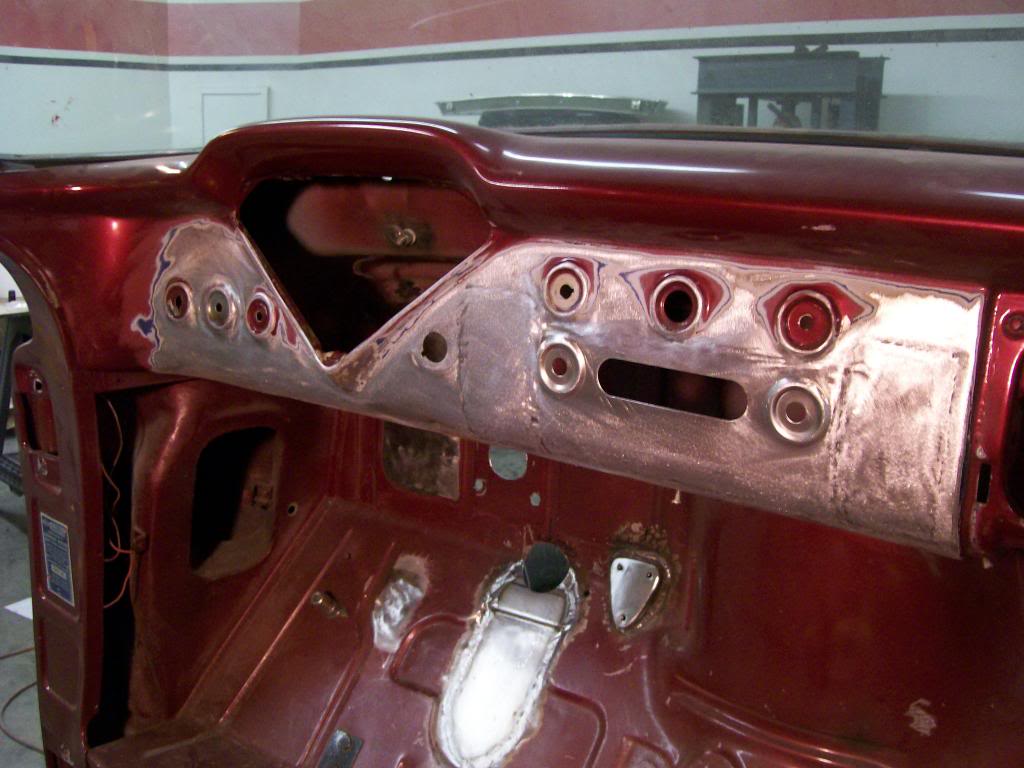
In my heart I know some of you have to be inspired to watch the transformation over real time. It doesn't happen over night, plus I'm not the fastest worker.
 Perhaps I could have done this quick and been done with two projects by now. I learned many (30) years ago, even with as painful as it gets, stick it out til the end, when I walk around this truck I'll know I had my hands on and in every part of this truck.
My point is, if you get buried into a project, just know that you've seen someone else slowly claw their way through a long term project, the pay off is out there but you really have to work for it.
7-11-2014
Thanks guys, I'm extremely excited about the way the paint is turning out. I can't wait to start the outside.
I had to do a small modification to a removable floor panel. I've had this truck's body and drivetrain together. What I noticed was a too close clearance between the top of the transmission and the floor panel.
Time to take care if the issue. I'm gonna take a slightly different approach to the modification. Not so much the way I fix it but in the way I'll narrate the story of the fix.
Often it has been mentioned about the detail in the work being done. To me, one factor that brings about the detail is the time spent in the project at hand.
Here is the cover and I've cut the section out of the cover, I then took a piece of paper to create a design then the new piece of sheet metal.
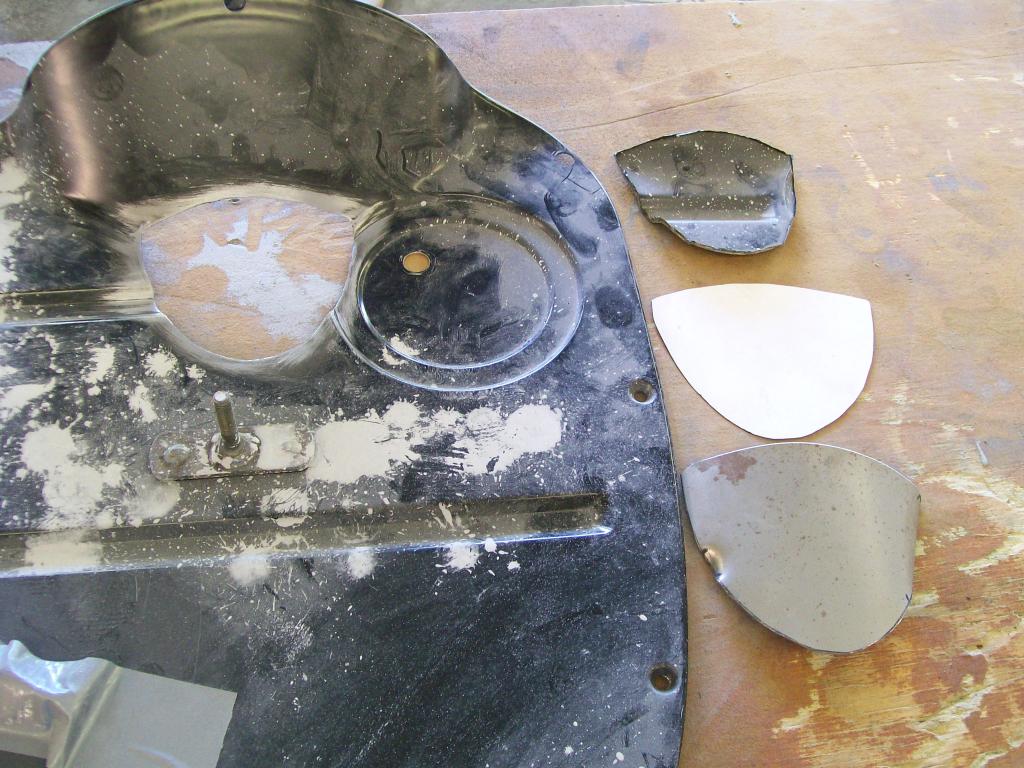
Here's the question, I only need about a half inch of extra clearance. Notice there is a pressed rib on the panel, I could simply take a hammer and smash it down and bam, I have clearance. I ask, a show of hands of who would have hammered it flat.
Now for welding, once again, spread the weld so you don't build too much heat and warp the panel.
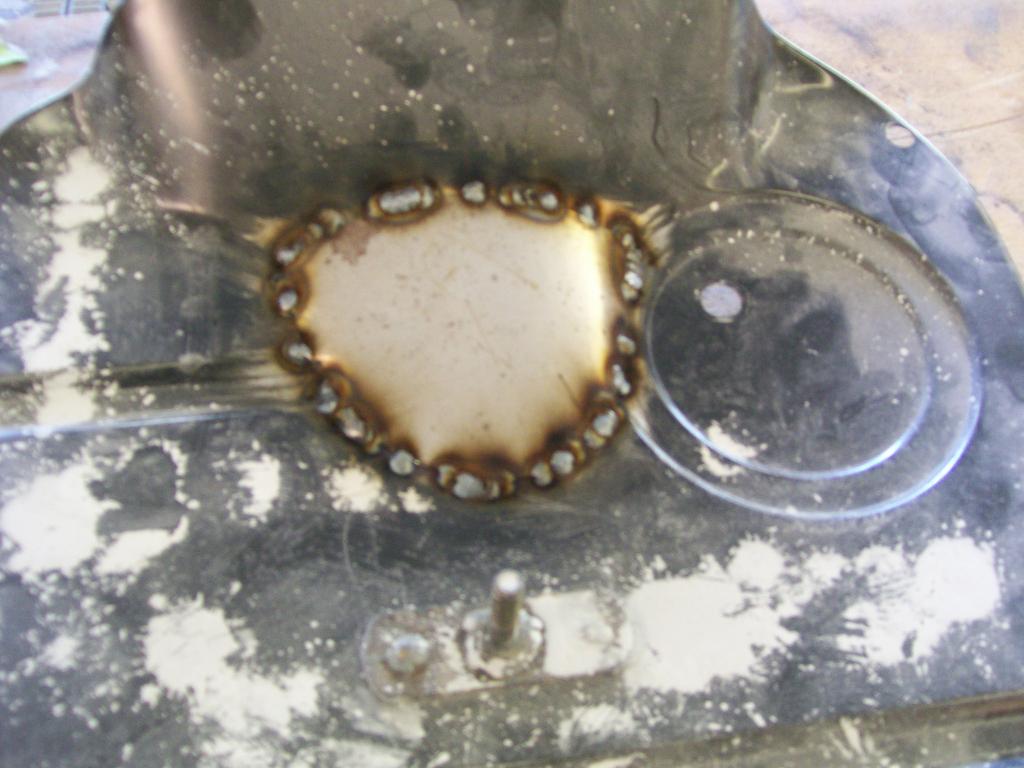
Once fully welded I took a rotary brr and groung most of the weld level.
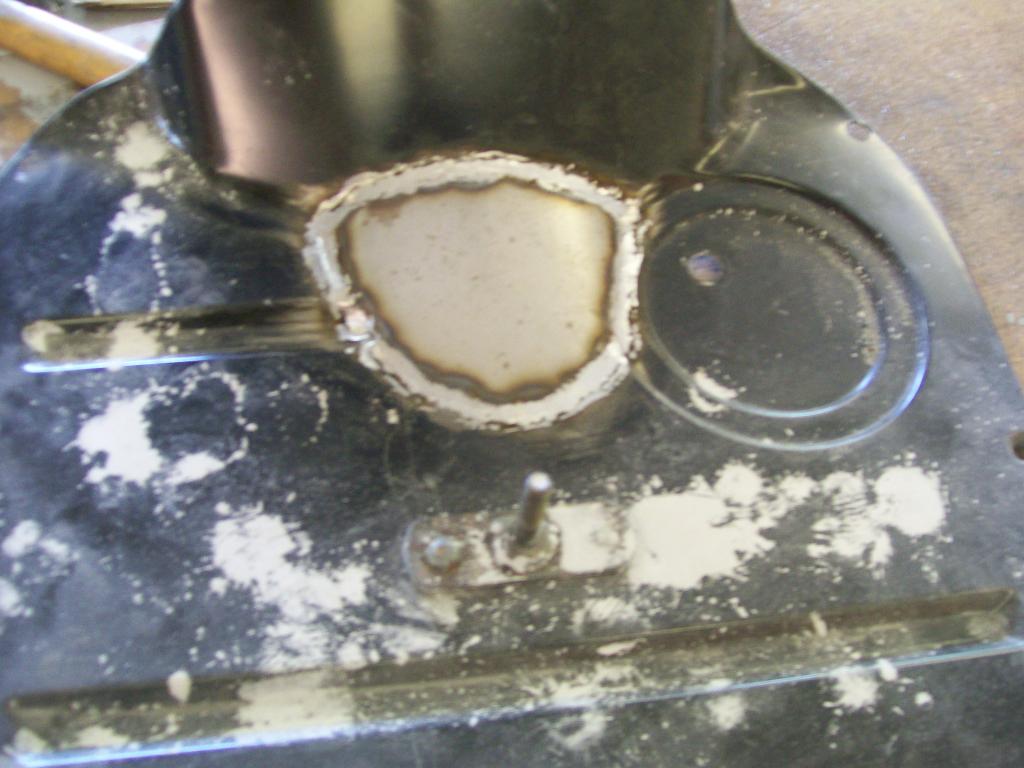
Question, after the welding, would that be a good time to stop and say I have the clearance, it'll be covered with carpet, stop, paint and be done?
On the bottom side I have a little material overlap. It's the perfect time for the flap disc.
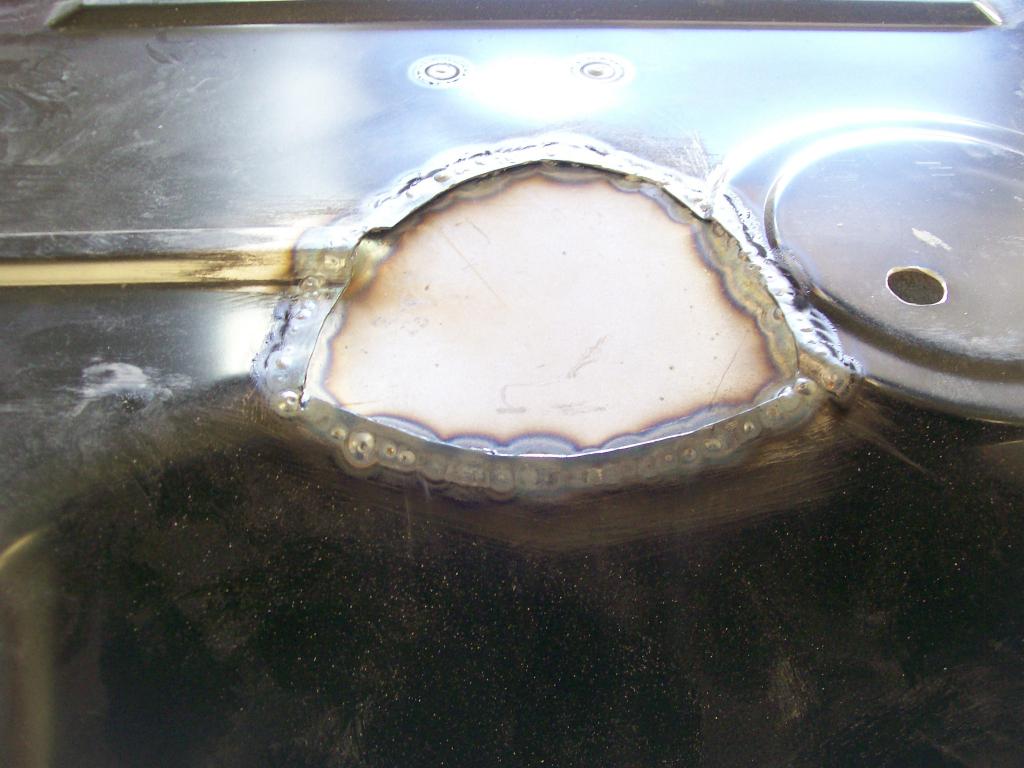
Question, this is on the bottom side, it won't be seen, perhaps a good time to paint and install?
After the grinding, I also like how the new metal was shaped to match the pressed indentation of the original panel.
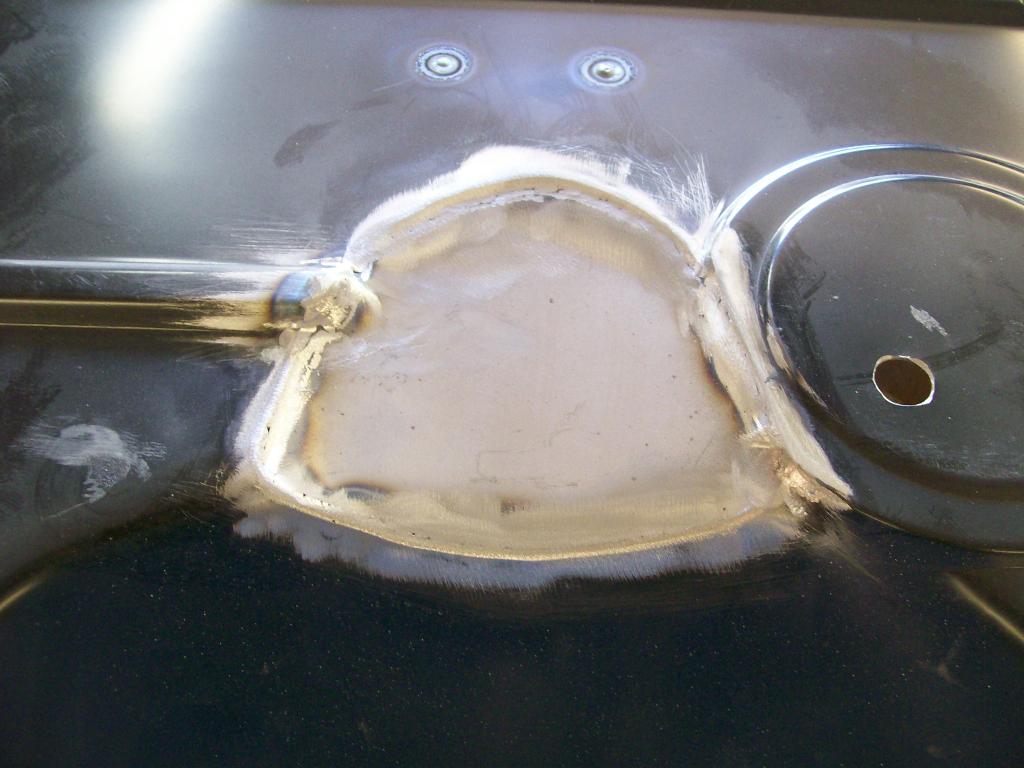
Could be a good time to paint and be done, no rough edges, not seen later?
After the welding and grinding I used the sandblaster to clean the welds and the surface. Once clean it takes 10 minutes to finger on some filler and let it dry. Then sand the filler.
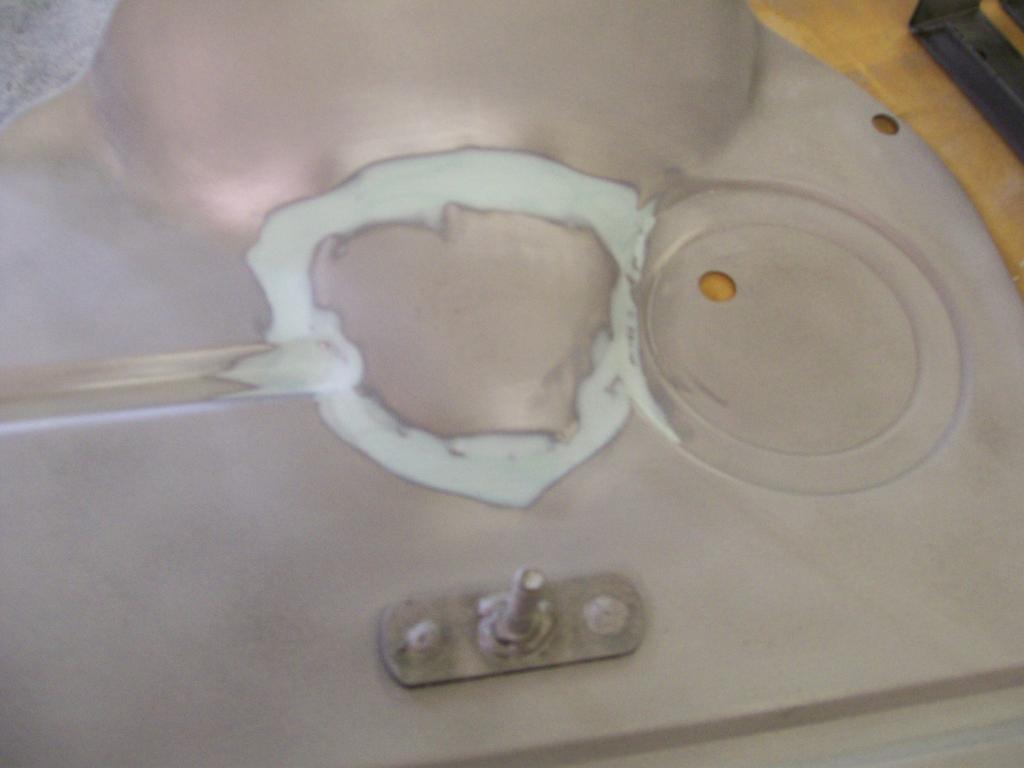
After the sandblasting the surface was clean, perhaps a good time to paintand be done?
After the sanding of the filler, of which I had to fill twice, I went to epoxy primer, let it dry for an hour then 2 coats of satin black. Bottom side.
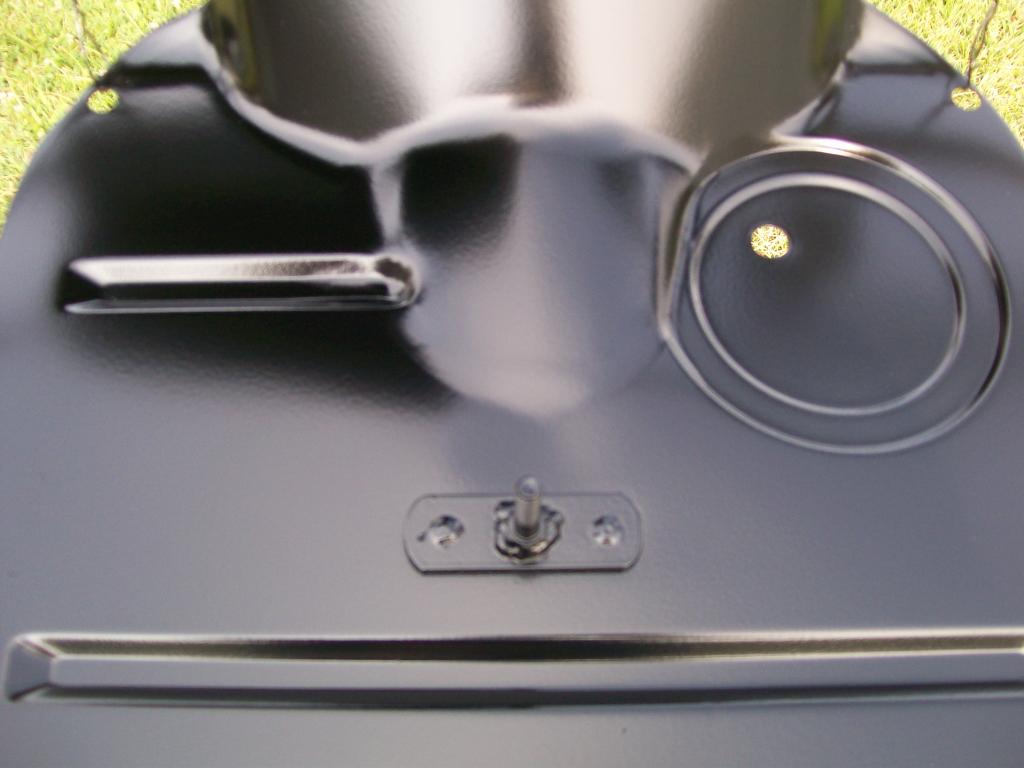
Finished and looking like factory made now that it's in the truck.
What's the point of the questions? I know much of the work I do is detail do to experience but in the case of this panel fix I didn't use fancy tools and I had multiple times I could choose to cut corners to achieve the clearance needed. Now that I took a few extra hours, I will never look at this panel and think, it looks half assed, but it'll do the job.
I will look at it and every time I look at it I will be inspired to keep the quality of craftsmanship going all the way to end of the project.
Thanks for following, Jim
7-12-2014
Normally I like to reply with a new set of pics but I must reply.....
20jeepster10, Thanks for starting off the conversation, and thanks for the compliments. The documentation is due to the many threads I've looked through and just wanted more pics and how-to's, figured I do what I was looking for.
84jeepcj7rock, sorry, I had to laugh out loud with your brutally honest reply about the patched drivers floor board. First because of your honesty, second, because I have been in the same spot.... why the heck didn't I put my heart into something that will only take an extra hour or two.
Great reply, I really liked it.
Aaleck, it has come a long ways, I know I have much more work, but I feel my efforts starting to come together and it's pretty self-motivating as it's slowly getting paint on it.
Jeff88, thanks for your smashing honesty. Did you raise your hand at the appropriate time when I asked?
LA-Sahara, fantastic, I'm almost jealous of your welder, great one to start with. Yes, I did create a larger than needed clearance with how I did the modification. Two reasons, while I'm at it, might as well. Next is it's proportions to the rest of the panel looked better than just doing a small fix.
one thing that one has to do while building and fabricating is to ALWAYS think a couple of steps ahead of what you're working on. In this case......carpet. The carpet is made for a flat surface where I added a hump. I don't want to redo the carpet.
Ahhhhh, remember though, I have a tunnel I bolt down over this area, I can cut the carpet, but it's not to be seen with the tunnel in place.
Thanks everyone for participating. Jim
7-20-2014
Oh I wish I had some color on the exterior.....
Temperature wise I need it to be not much hotter than 80 degrees so I'm hoping for the outside temps to drop.
In the mean time I've focused on the hood. The last time I primed and block sanded it I was discouraged by how weak the hood is in the center. It doesn't take much pressure and it'll flex.
Reading stuff about these old trucks I understand it is a fairly common issue. Personally I'd rather not have the flexing issue, soooooo. I have to do something about it.
Similar to most vehicles I figure I'd cut a thin plate that will follow the underside of the hood, just close enough so I can slip some sponge rubber between it and the hood to be a support.
Looking at the underside of the hood I drew some sketches to get an idea of what I want to do.
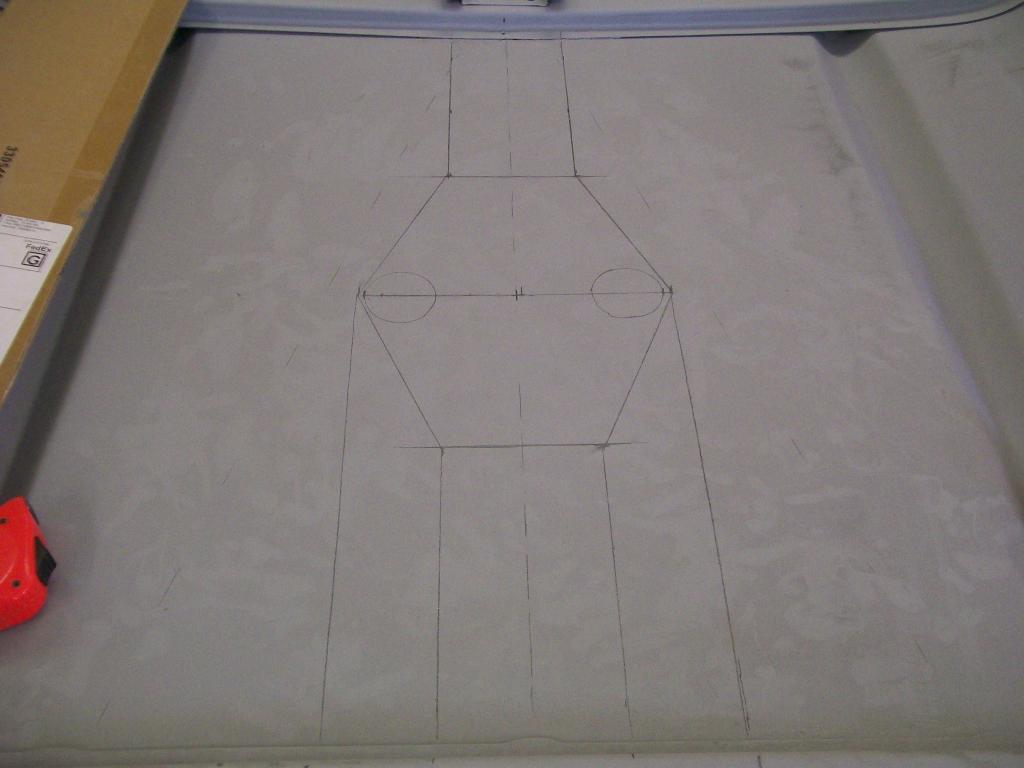
Once I had some dimensions I cut a piece of 1/8" plate.
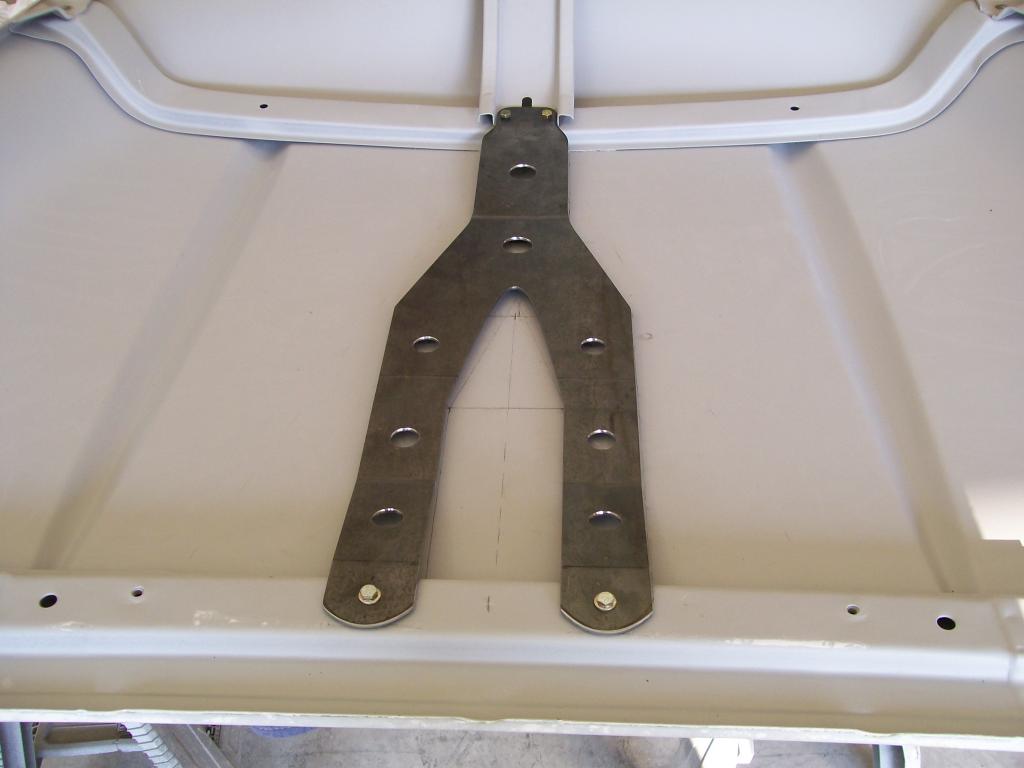
The two front holes were already there but I had to drill and insert these expanding nuts for the rear mounting holes.
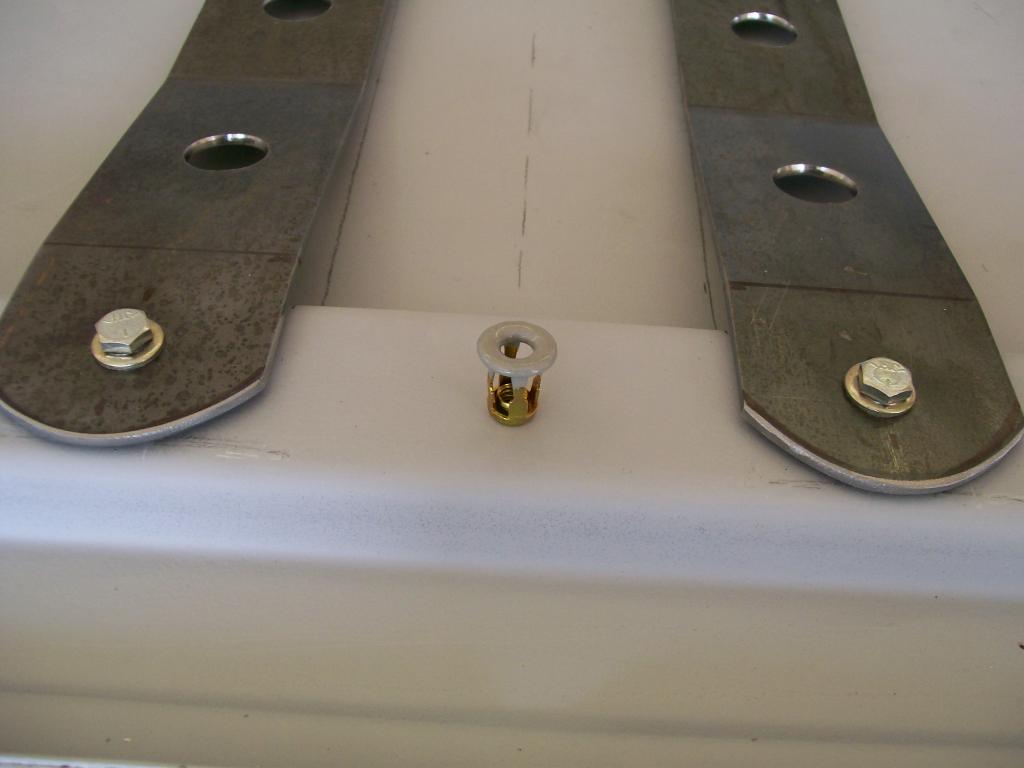
Once I cut the plate I had to put a couple of bends in it. My goal was to keep it within 1/4" clearance of the hood, just enough to fit some sponge rubber pieces in.
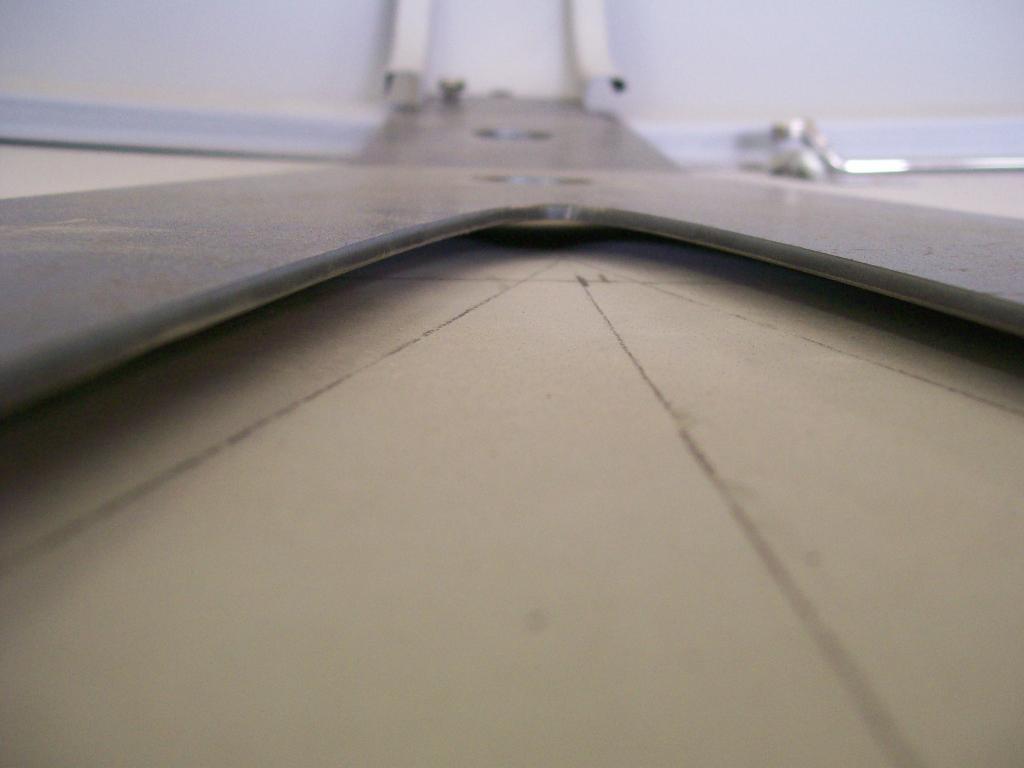
Although the weather is too hot for me to paint, it's probably a good thing, I'm able to take care of these odds and ends, vs. ignoring them and maybe dealing with them later.
