You must be logged in to rate content!
10 minute(s) of a 668 minute read
6-23-2014
Sometimes it never seems to end but this is where we separate the finishers from the non-finishers. There really is no glory in taking care of the bottom of all these pieces, they all get covered up and not seen, or do they, I know after the truck is done I will roll under it on the creeper. This will be the time I will reflect on the extra effort I put into this project and I will lay there and be very happy with the end result.
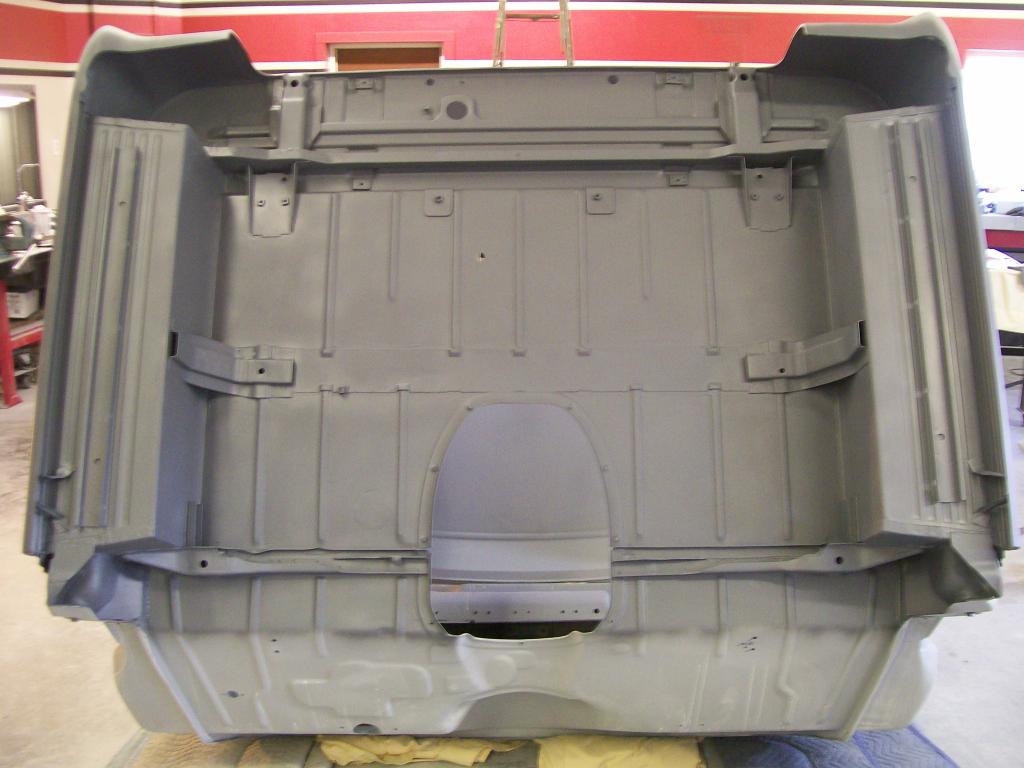
Moving on to the cab bottom. Usually I only apply one coat of epoxy when I am going to cover it with a high build primer. In the case of the underside of the cab I applied two coats, this extra material gave me enough to sand now and get ready for paint.
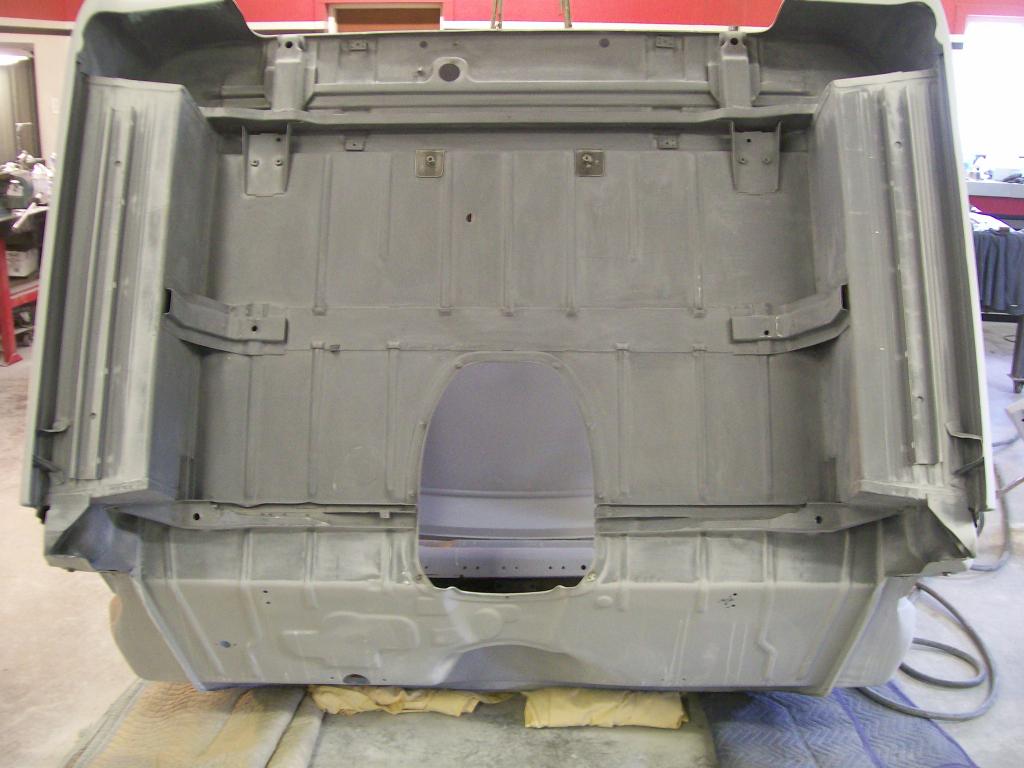
Once I scuffed the underside I sprayed one thin coat of epoxy to provide a consistent base and help adhesion for the paint.
I apologize for the mess that the camera does when I take a picture of large black areas. I did get 2 coats of satin black applied.
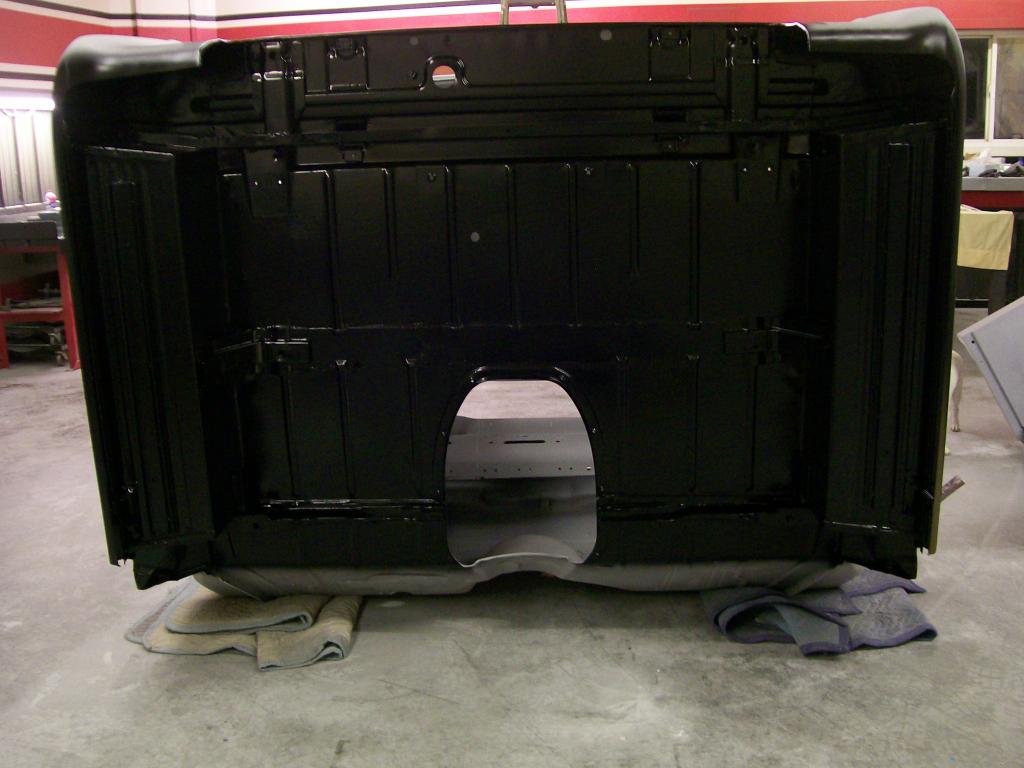
This is way more than the truck got when it was new so I figure the bottom is pretty well protected for many years to come.
6-24-2014
Three years, I figured I'd get the Willys frame fixed in a couple of months and that would be it. Here we are, three years, works for me, I think we are well over 1000 pictures also. wow.
Let's add more pictures shall we......
A couple of months ago I painted and buffed the front inner panels looking for a good reflective finish.
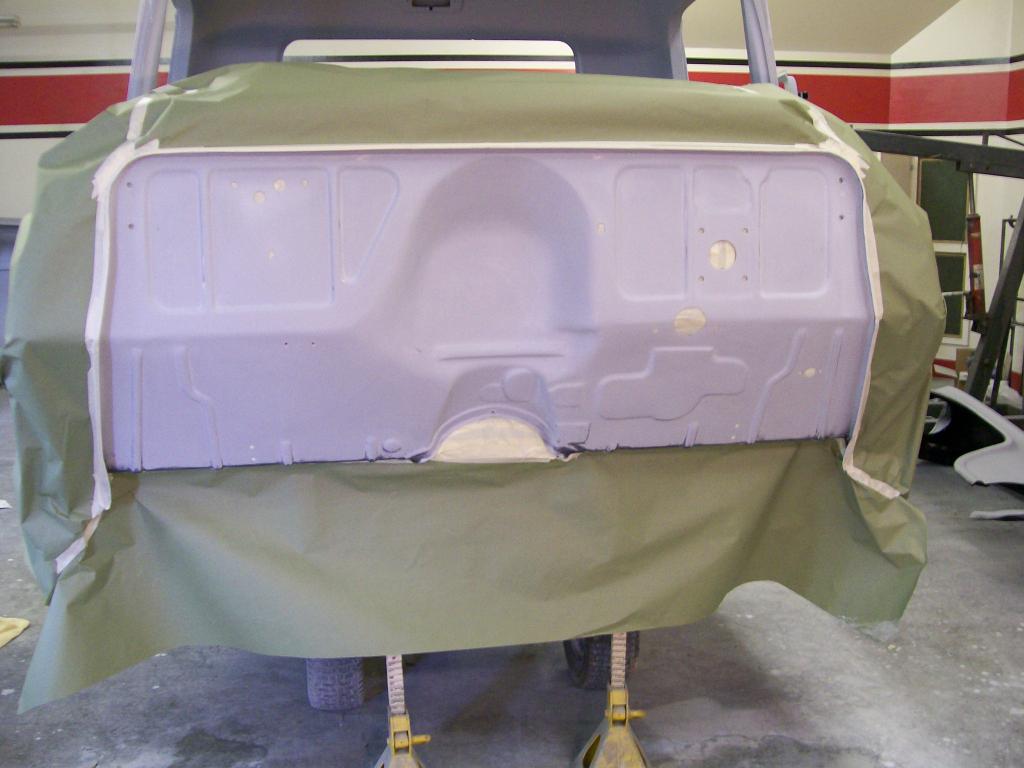
Next is to get the firewall to have the same reflective finish.
After the welding of unnecessary holes, sandblasting, body filler, priming and block sanding I final sand for a coat of epoxy.
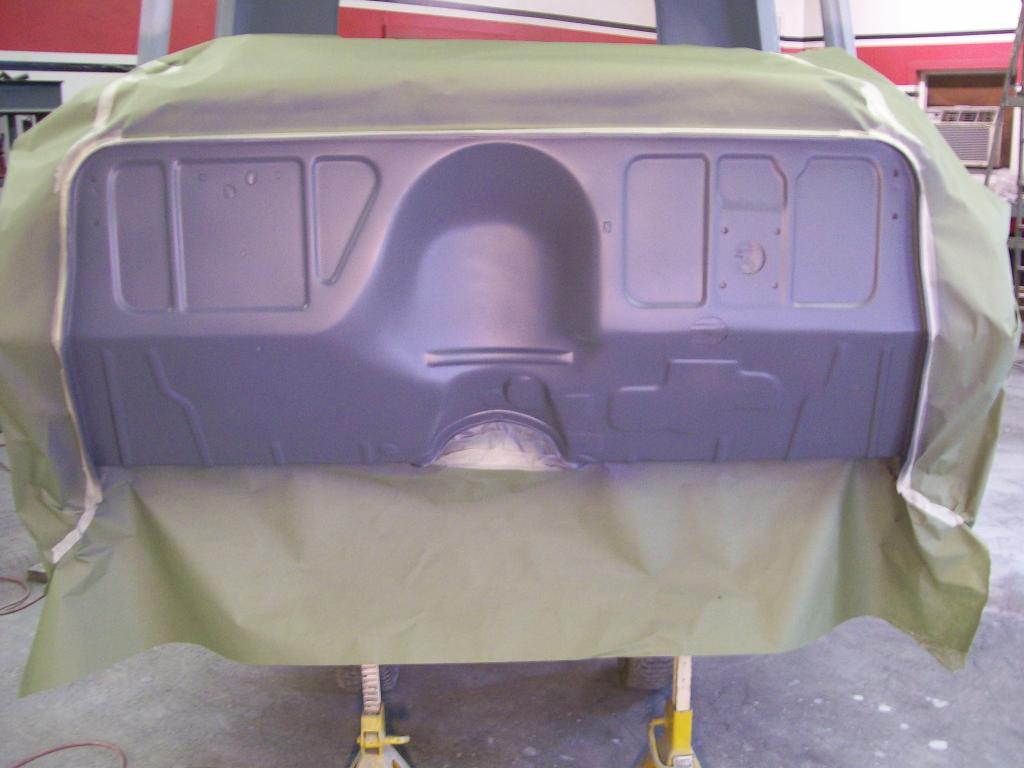
As I mentioned before, the base coat in a base coat clear coat system will be a satin/flat finish.
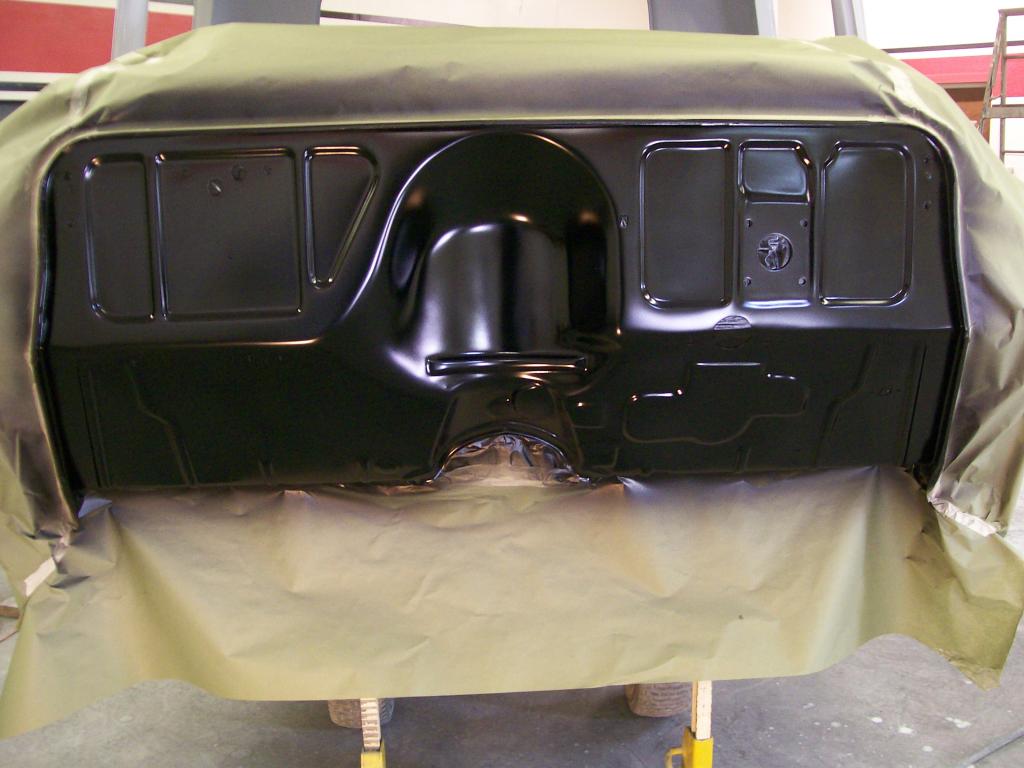
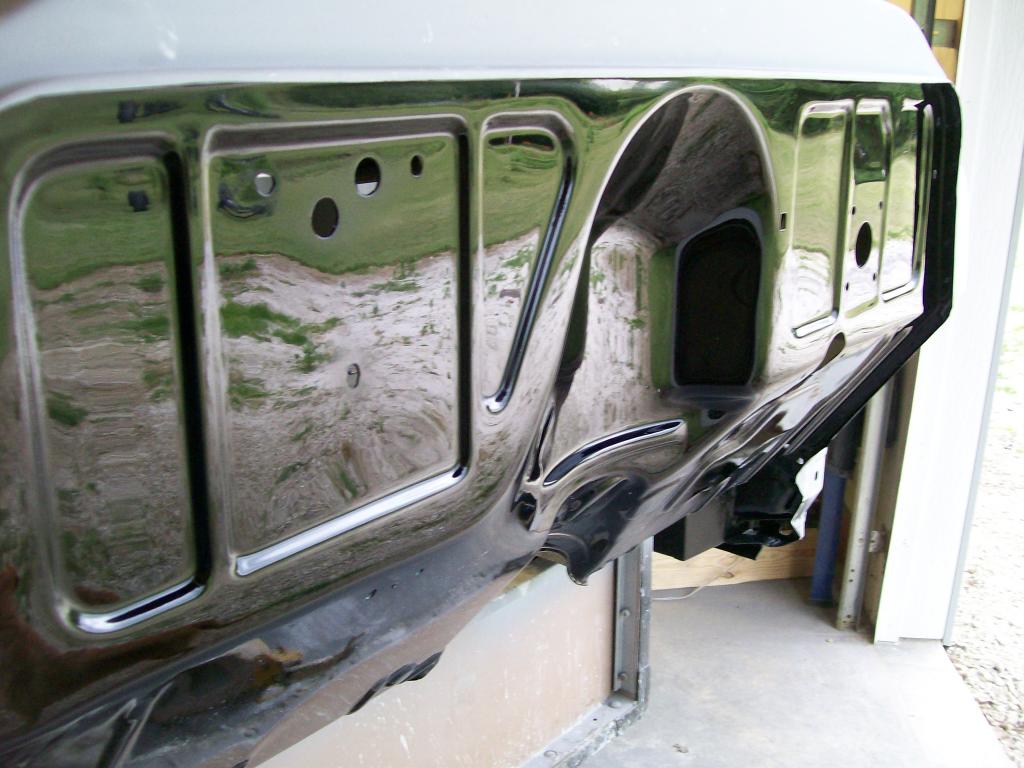
After the base coat I applied 2 coats of clear. Once the clear dried for 24 hours I began the "cut and buff" process. It sure makes a mess.
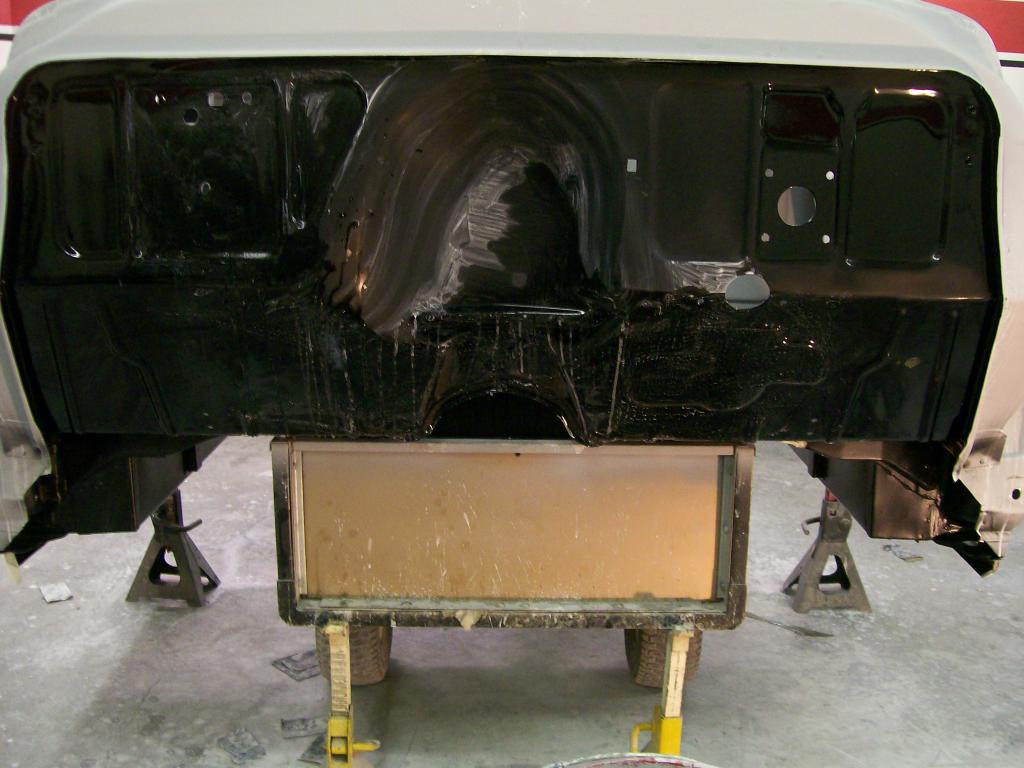
Pretty well done with the buffing I rolled it to and open door to check out the finish. sweeeeet.
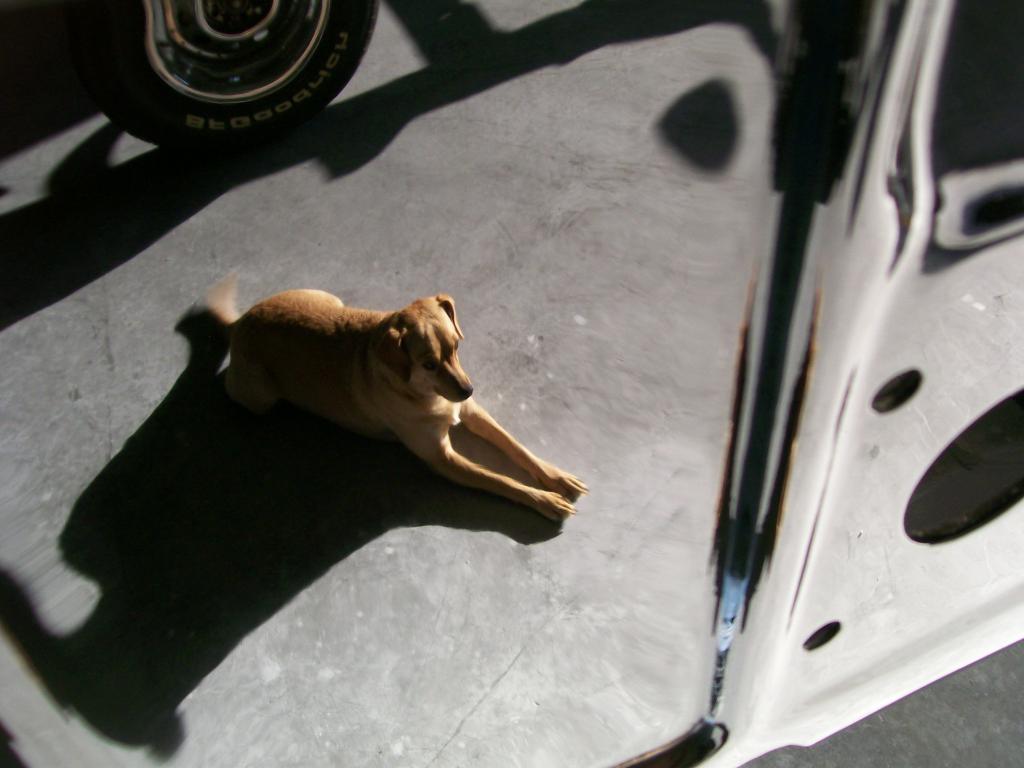
And one of the dog wagging her tail.
I have to say, this is not an easy process. It is well known that edges are very difficult to sand and buff. Once again I knew what I was after and took my time and got it right.
Patience........
6-25-2014
Let me say, you have a much better suspension than I have, I'm still running the old leaf spring set up. Great flexibility you have.
I know there is a lot of pages and pictures and write ups through the last 3 years. Just to do a recap of the three years, here we go.
The Willys, the original project, desperately needed frame repair, axle rebuild and suspension work. Once those item were taken care of I moved to fabrication of a cross member, front suspension then odds and ends on the Willys.
Once finished with the Willys, I had to move to this 57 Chevy truckproject. Knowing it isn't a Jeep thing I put the question out there as to whether I should keep posting my work.
The following has been great, I love it when someone new, such as yourself posts and asks how they've missed this thread or how it has enlightened or inspired them in some way.
I've been on the 57 Chevy for a couple of years now. I believe the idea was, it didn't matter what I was working on, as long as it was mechanical and in some way by posting, people could learn from my efforts.
I've been introduced to the other forum and what I found was many of the people who follow the Willys forum also surf over in this direction, so my posts were a double up and since I jumped from the Willys project to the Chevy project it wouldn't fit over there anymore than it does here, except my loyalty is with these who follow my work over here.
dahreno, I hope this answers your questions and thanks for checking in.
6-29-2014
Just more progress of getting parts ready for assembly......
Have I mentioned the patience required to do this restoration stuff?

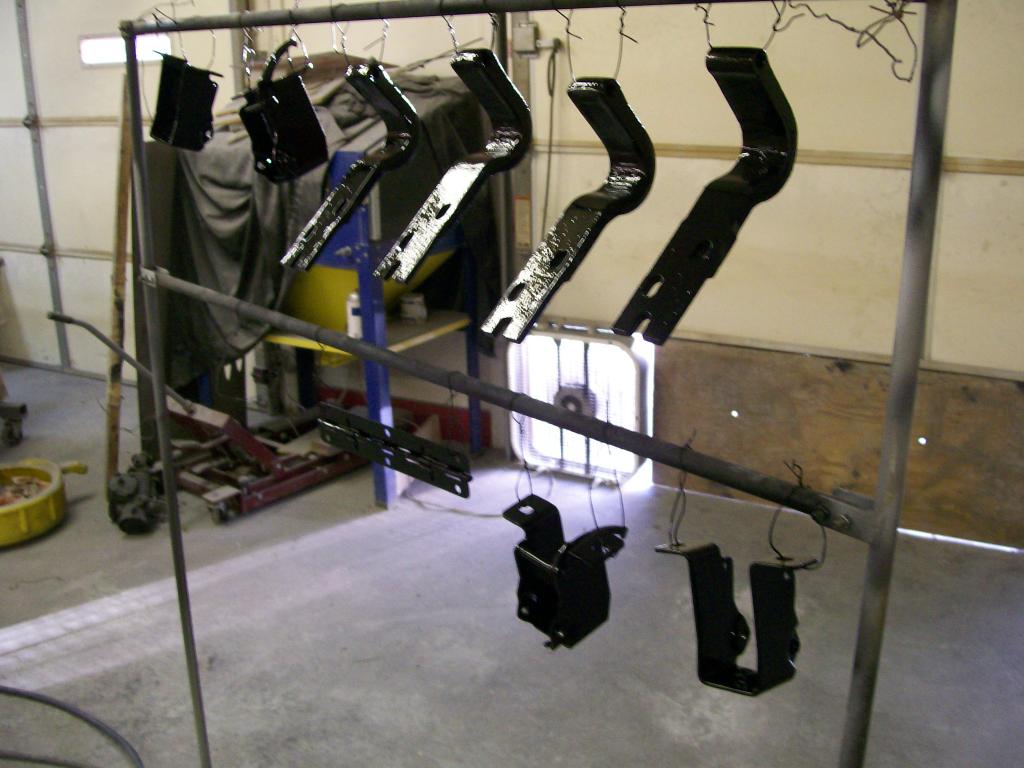
Door hinges, I have to replace the bushings and pins, there is no bettertime to get them blasted and painted than right now. One thing I've learned is, try to be at least a week ahead getting parts ready for assembly. If stuff has to be painted and you're going to have a bolt tighten up against the painted surface, one or two days dry time isn't enough, the paint will try to turn once the spinning bolt or nut makes contact with the fresh paint.
Getting rid of pretty much the last of the old maroon paint.
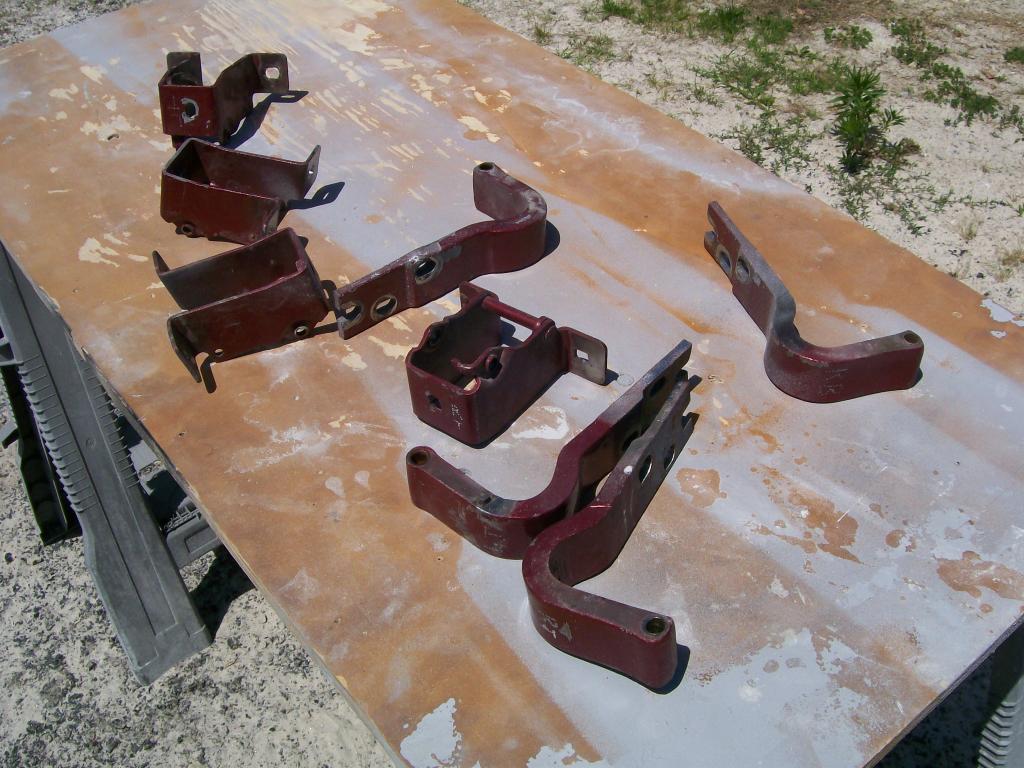
All the maroon paint is now powder and on the driveway.
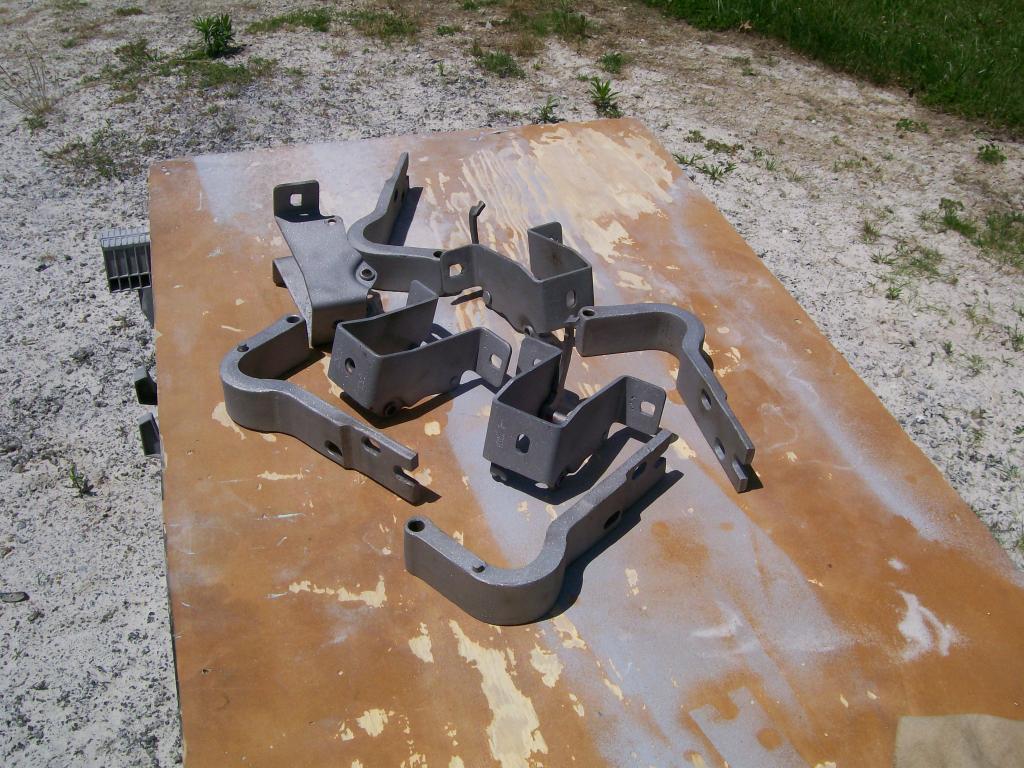
Everything is primed, and painted.
Right now I'm sanding and getting the inside of the cab ready for black paint. I don't why but I am really fighting to get this inside work done......one day at a time I suppose.
7-4-2014
Hi vstre, i'm curious as to what you mean by "that"?
Jeff88, three years, that is an accomplishment.
On the Chevy, I'm still working the 15 minutes at a time theory, well actually about an hour, then break time, then perhaps another hour.
I know one issue I have is I want to take care of as many waves and dips in the face of the dash and the seam that was surrounding most of the inside of the cab.
Problem is, unlike the outside where I can use a light to show any imperfections, then I can decide whether I want to leave it or work to remove it.
With the interior finding these imperfections are very difficult to find, they just don't stand out to fix. Then the worst part, they will perhaps stand out after the paint is applied and glossy.
With that said, today I'm finally painting and clearing the dash of the truckso apparently I've decided enough is enough, it's time to move forward.
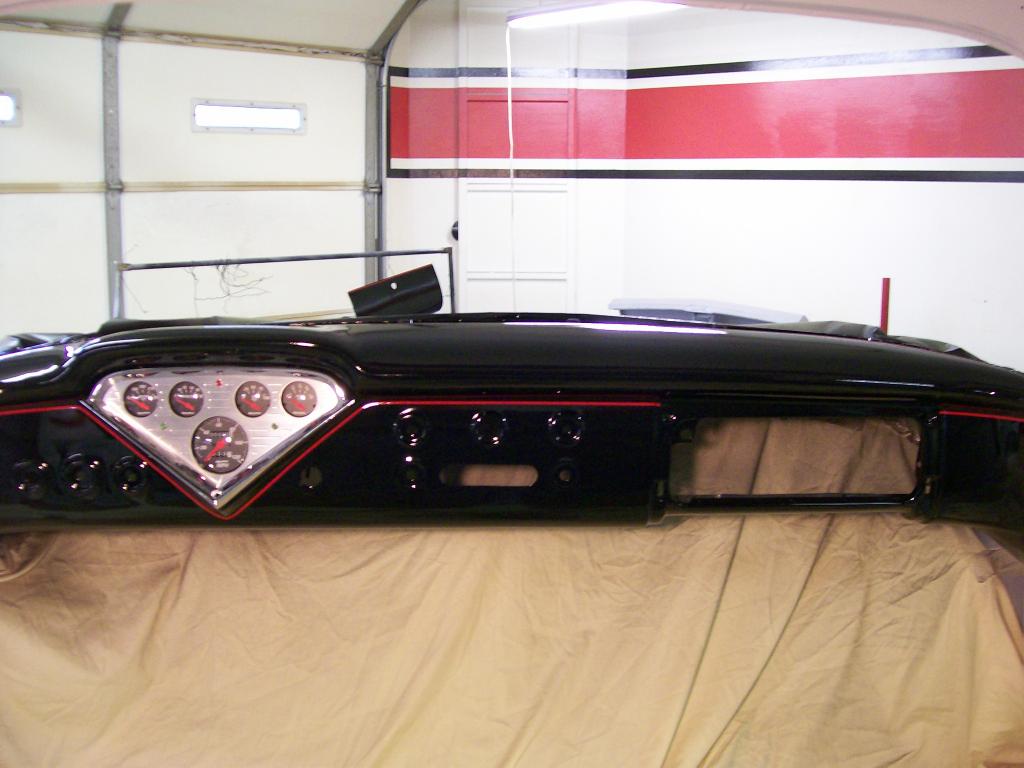
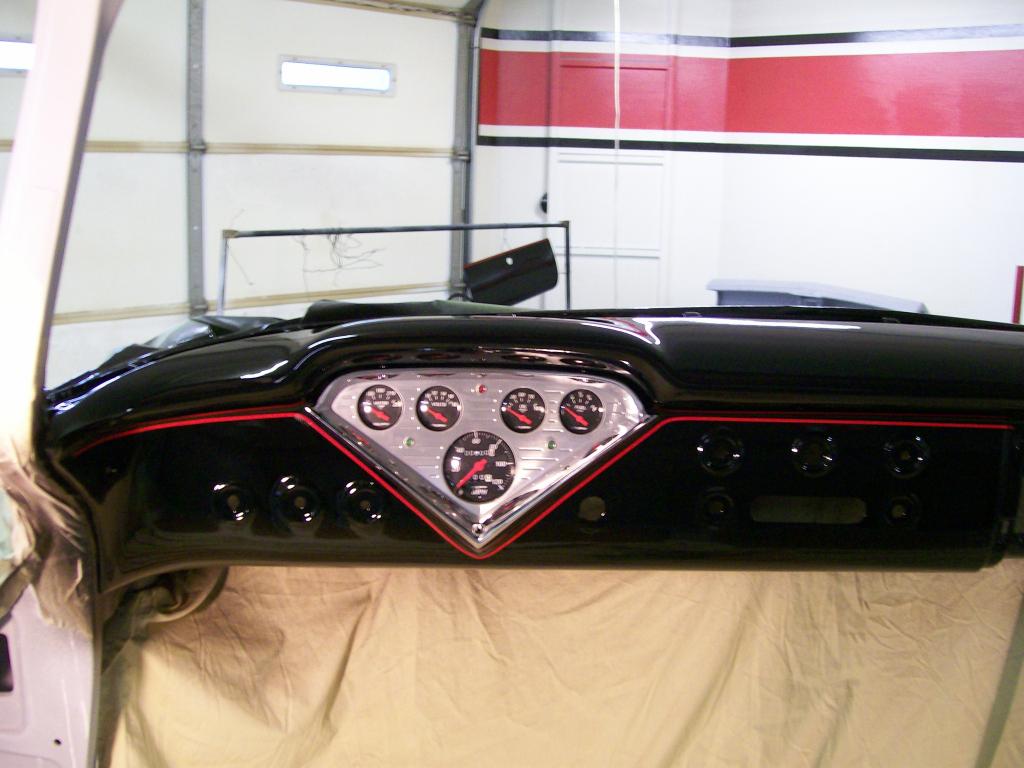
Hopefully I'll have some pictures of the priming and painting of the dash. So far I have the black and a thin red pinstripe on the dash and for an idea of how it's gonna look I carefully inserted the gauge counsel, I can honestly say, the black is gonna have a much different look than the maroon color had. In about an hour I'm heading out to apply a couple coats of clear.
I'm always nervous about doing pinstripes of my own design, I always fear it'll look overdone or out of place. Oh well, you never til you try.

Ok, it's been a full day of paint and wait. Last night I sprayed a light coat of epoxy.
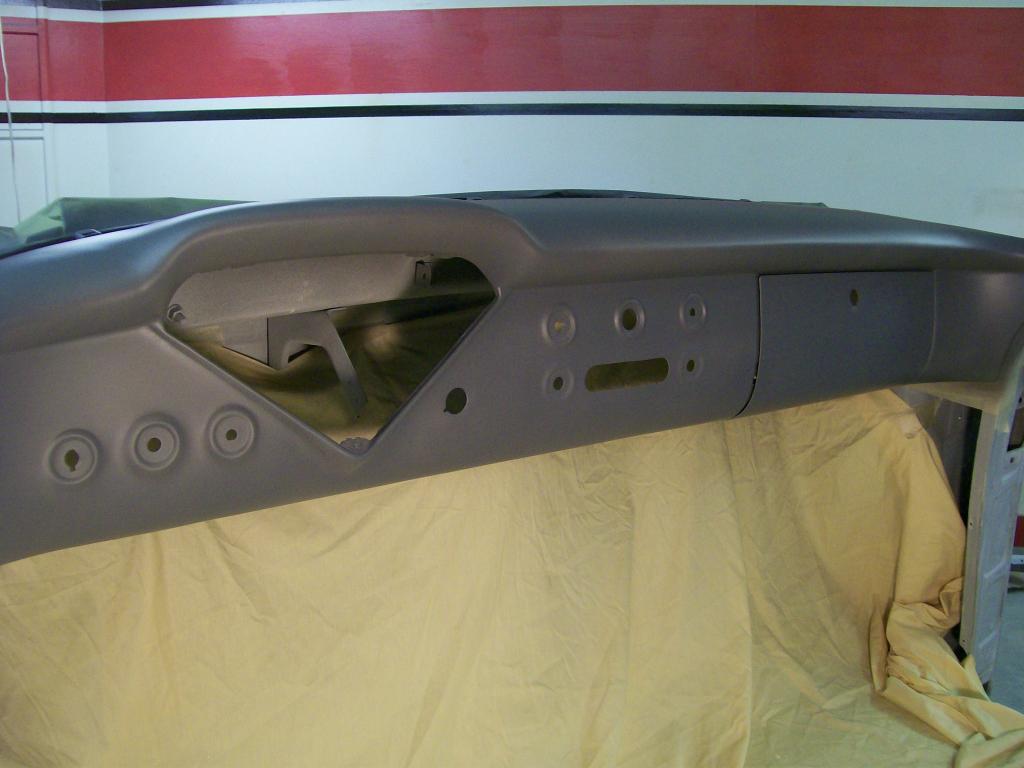
When I paint a stripe, I do it in a different order than most. I focus on the stripe color first. Many people paint the main color then the stripe color.
In the case of the truck dash I am going with gloss black with a red pin stripe. So, I spray red first.
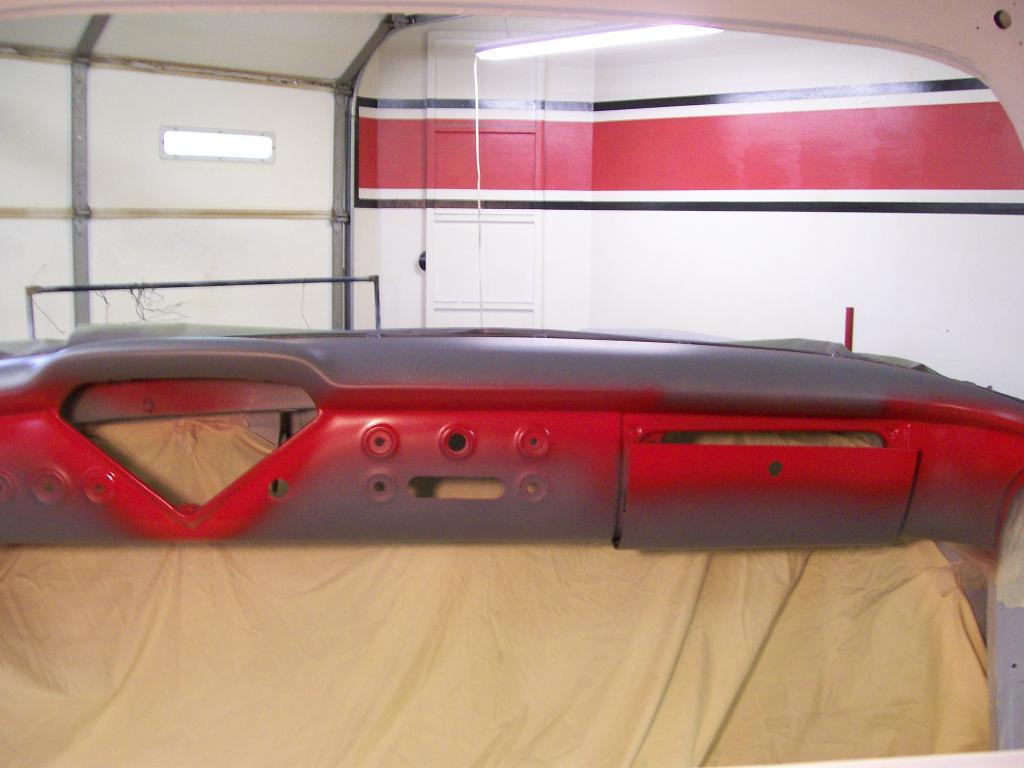
Then using a quality striping masking tape I put down the tape exactly where I want the red to stay.
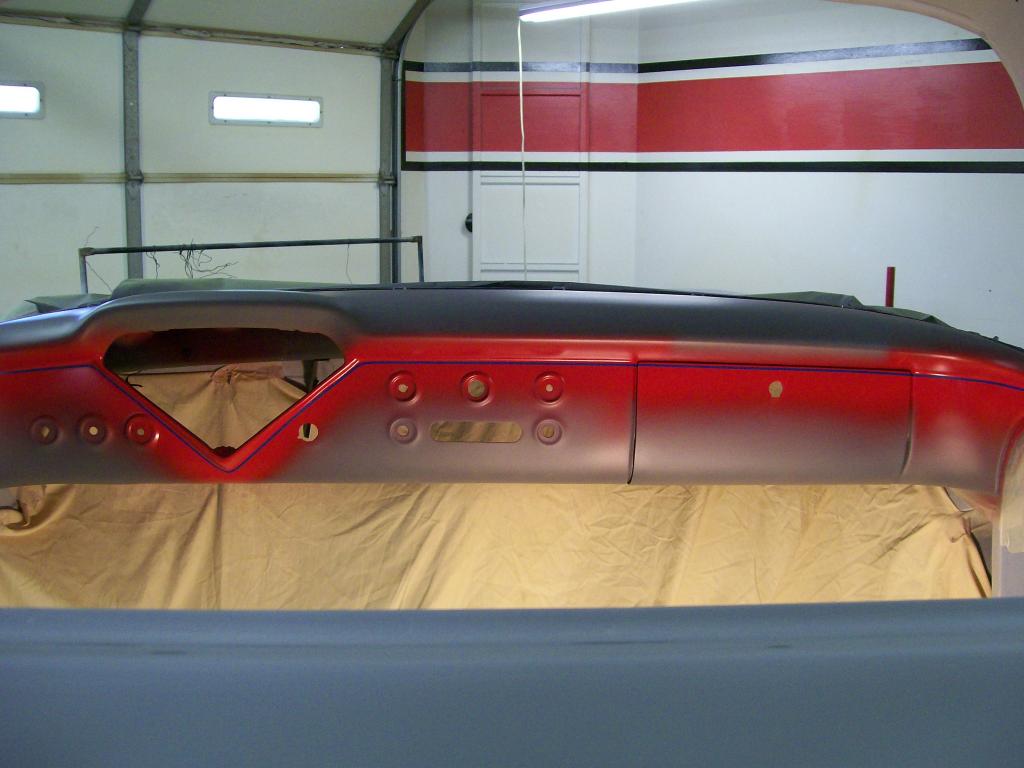
Now comes the black and remember, the red is still safe under the tape.
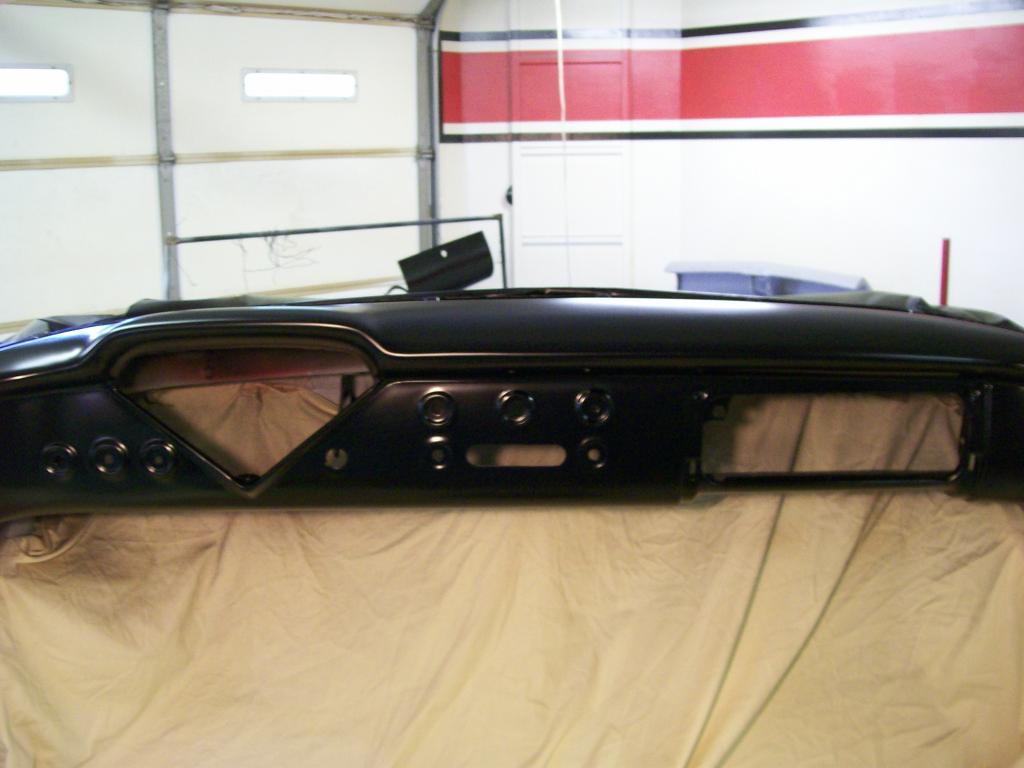
Notice the glove box door in the back ground, it has the continuation of the red stripe across the top of it.
After the black dried for about an hour I removed the tape. being cautious to pull the tape back over itself it makes a very clean edge between the red and black.
Finally to the clear. I let the clear dry for a couple of hours then to get a feel for the overall look I carefully inserted the gauge cluster. I'm looking forward to getting all the rest of the chrome pieces installed now.
