You must be logged in to rate content!
9 minute(s) of a 668 minute read
5-24-2014
Ok, so you're saying I have to go my settings, lol, I figure I'm doing pretty good just getting my pics and text on this thread.
Flashback.... Just remembering how to get the pictures to upload from my computer, then figuring how to get photobucket pictures to upload, yikes. Someday I'm probably going to do some Youtube stuff, that'll be a new experience, I maybe asking for help at that time.
Going back in this build thread I covered drum brakes with the wheel cylinders, springs, shoes, drums and self adjusters. Today we're gonna take a look at how simple the front calipers are as compared to the drum brakes.
We have the caliper, the piston, a square cut round seal and the dust seal.
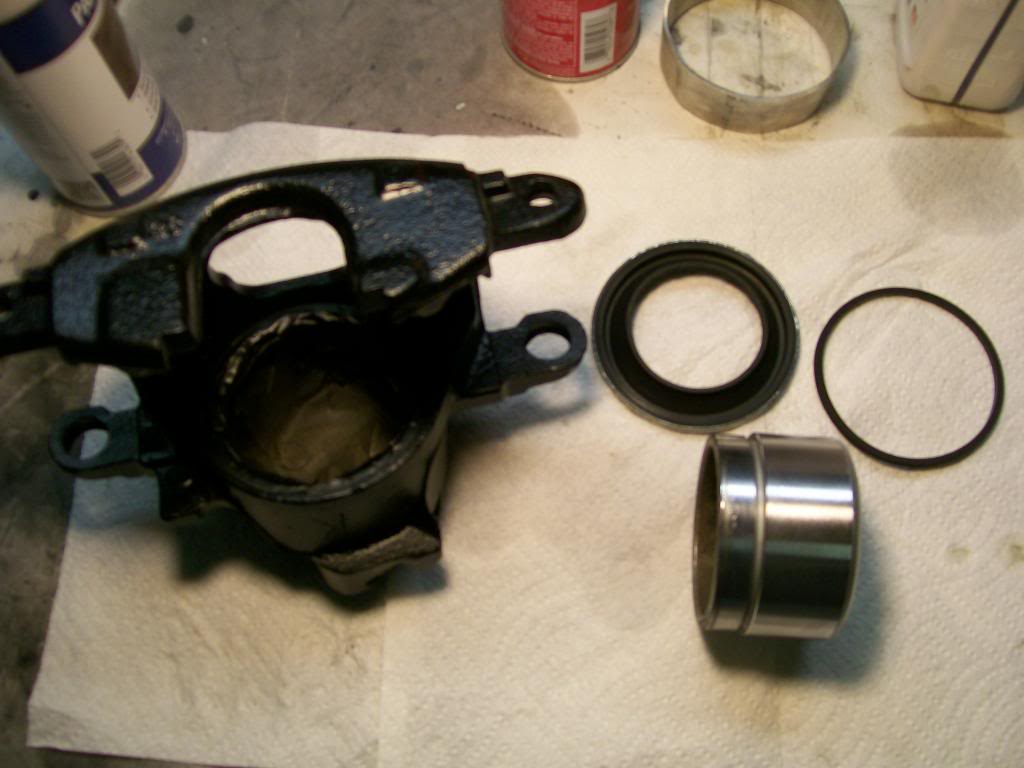
That's it, the piston fits in the caliper, brake fluid comes in from the back side and as the pressure builds while pushing on the brake pedal, the piston is forced out against the brake pads, thus pressing against the brake rotor.
I've already disassembled the caliper, the first thing I hope for is a good, non-corroded piston. Luckily both pistons were in great shape where the seal will make contact with it.
If the piston is bad, it's better to just get a re manufactured caliper, they sell those cheaper that getting a new piston.
Being in good shape I've cleaned, sand blasted and painted it.
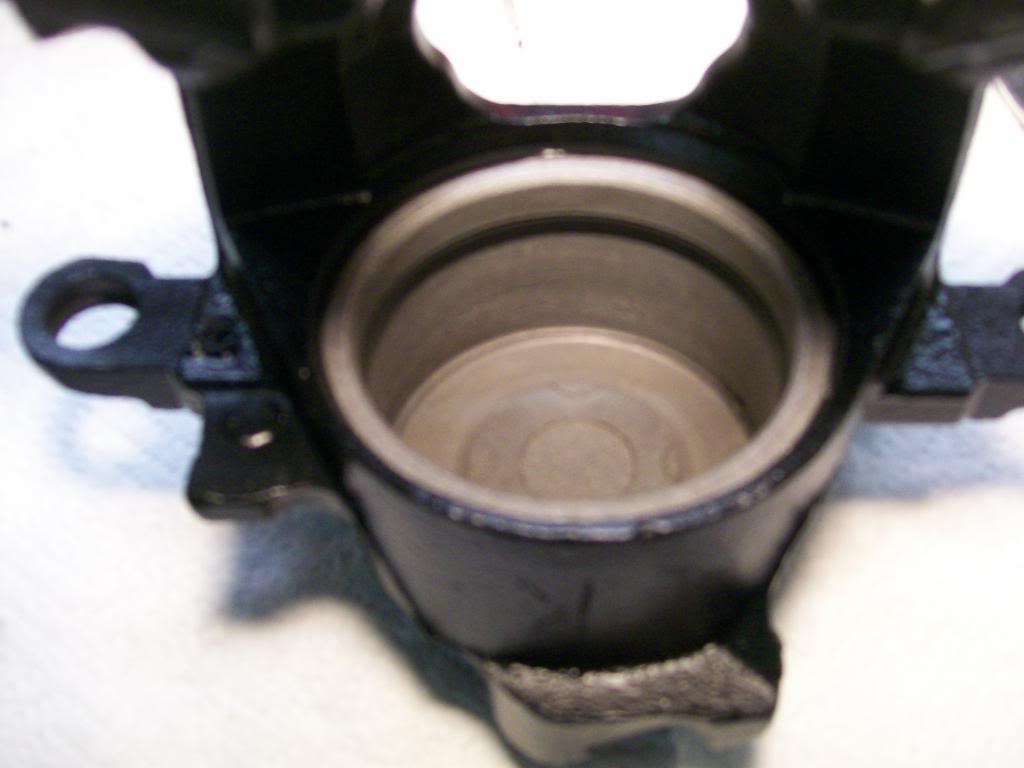
Sorry about the bad focus here. I've installed the square cut seal into the caliper.
I've installed the dust seal on the piston, it has to fit into a groove in the piston, doing this before getting the piston into the caliper is a good idea. Then using brake fluid or a special lube that sometimes comes in the rebuild kit, lube the square cut seal and the piston and work the piston down into the caliper.
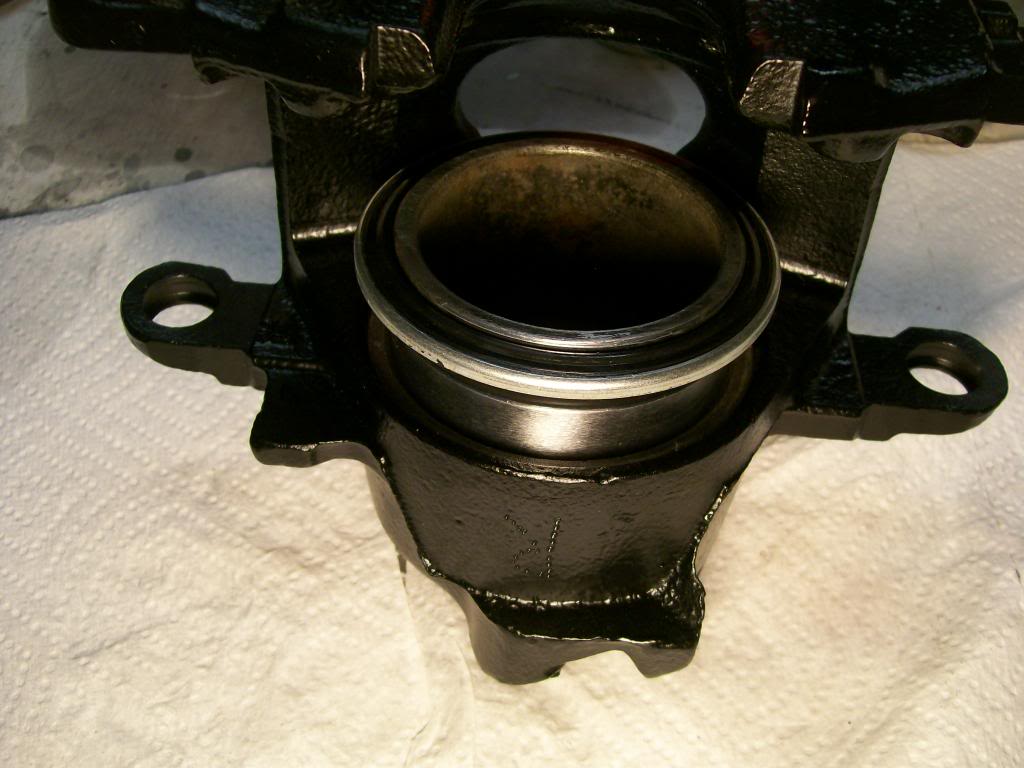
The piston will settle at the bottom and now the metal part of the dust seal has to be tapped into the caliper to keep it in place. Although tempting to start tapping it with a hammer, this usually ends up distorting the metal ring.
They sell a tool kit for this, there are different size cups that fit different calipers, I should buy the kit, but for today I have a piece of short pipe and a flat plate. Now I'll tap the flat plate and the force will be distributed more evenly on the metal ring.
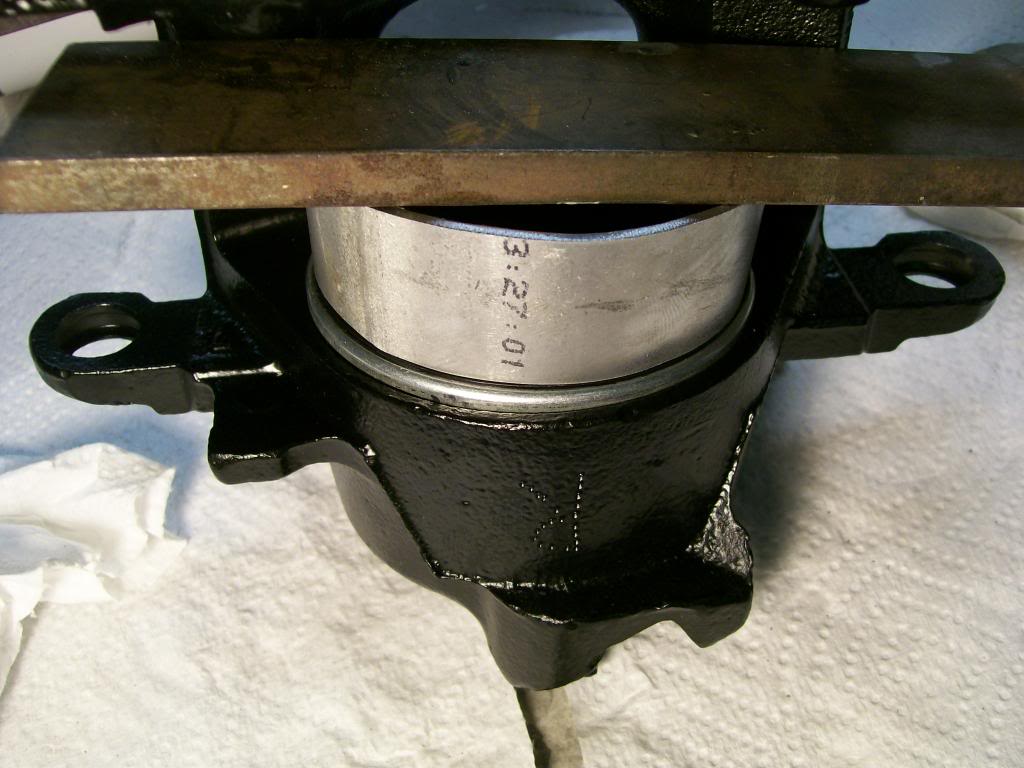
Notice the "R", one thing I do with most of my rebuilds and restorations is mark items left or right, I'm looking for anything to simplify the process when it comes to major projects.
All together now.
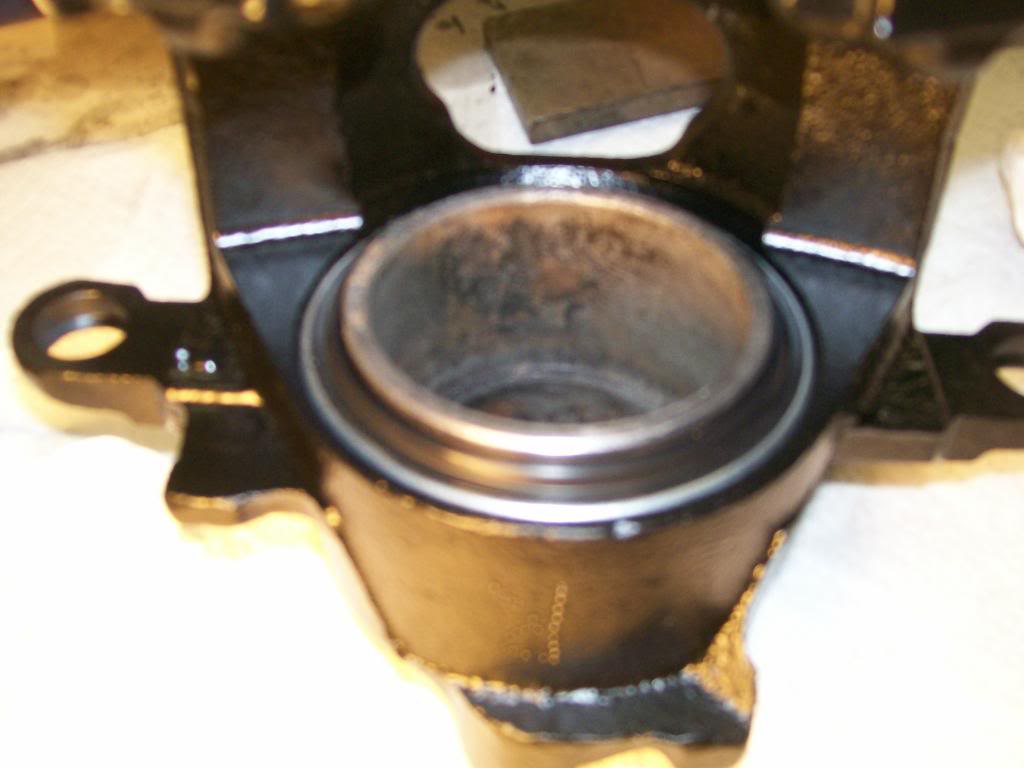
This is one of the simpler calipers. Ones that get more difficult are rear calipers. They have the same principle yet also have a parking brakefeature. This usually means the caliper piston either has to be turned in or there is a threaded rod behind it providing a mechanical means along with the hydraulic means of pushing the piston outward.
I'll be using silicone brake fluid, great stuff, especially on vehicles you plan on keeping for many years. It also is nice that it doesn't eat the paint if it gets on the fresh paint.
Regular brake fluid likes to eat paint, it also absorbs moisture, this moisture is what corrodes the internals, silicone, doesn't absorb moisture so the parts last much longer.
Of course, silicone is like 2 to 3 times more expensive.

5-25-2014
 Thanks huntinrig, I found these hidden latches to get rid of the chains.
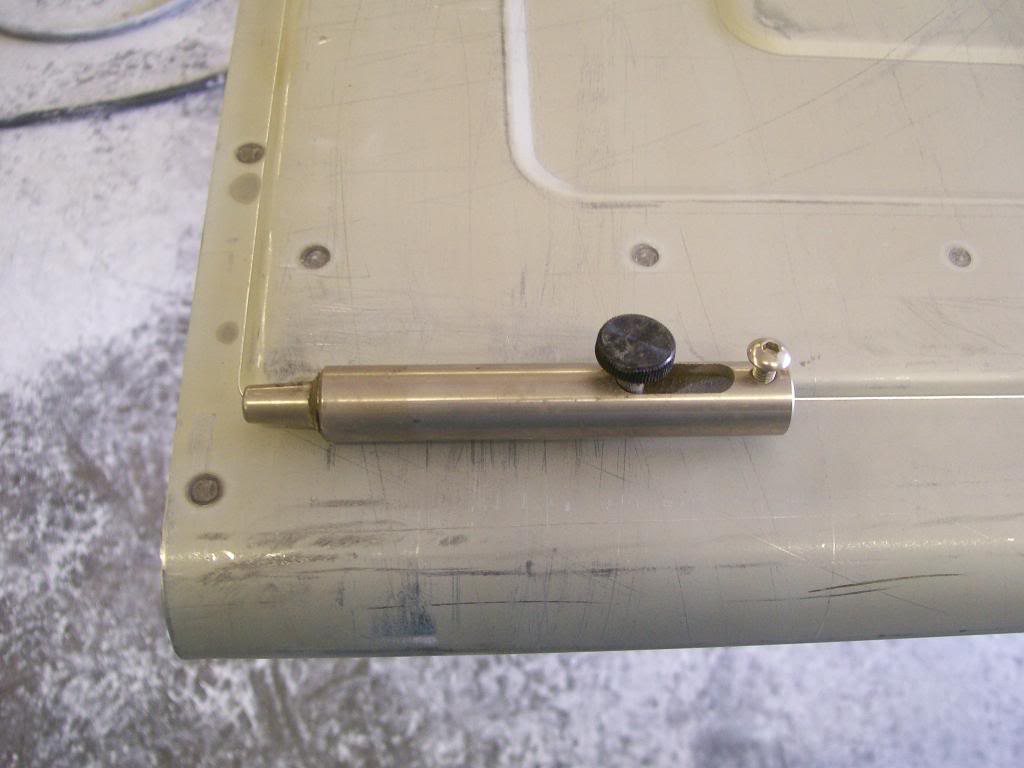
They are spring loaded and once mounted within the tailgate they will reach across into the bed sides.
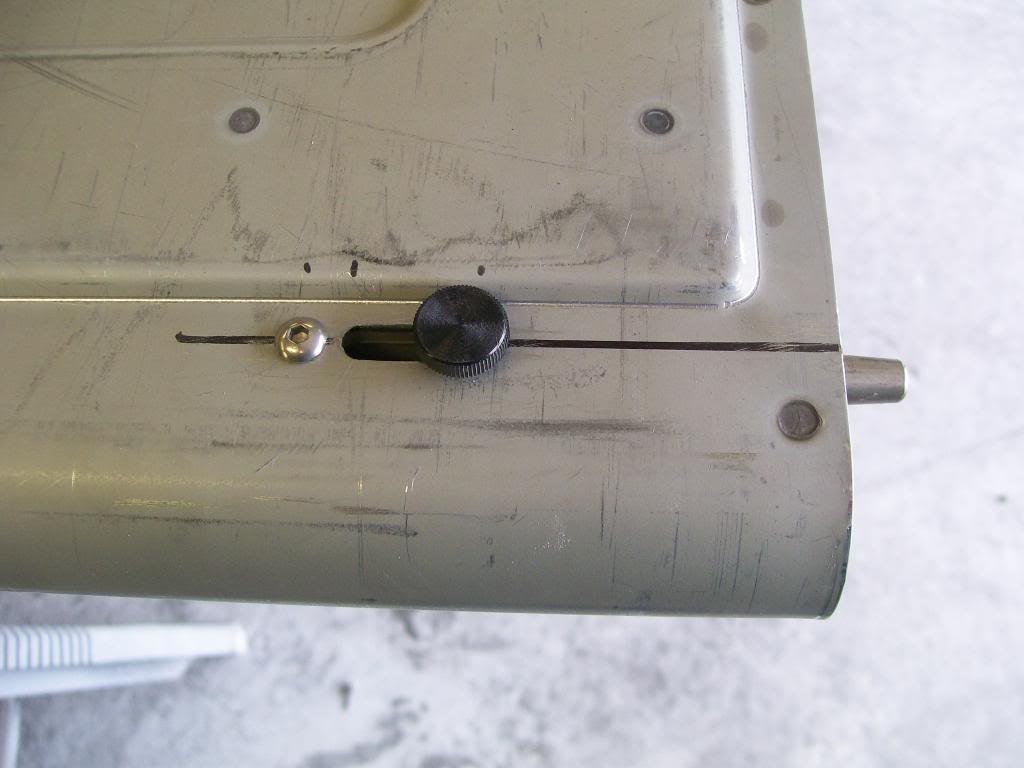
Once I put the tailgate back in place I drilled holes for them to bedsides. I drilled them large enough that I could put rubber grommets in the holes to eliminate any rattling sounds.
Disc brakes in the rear, a good idea, perhaps I may do them after I get it driving. The rear of these trucks are very light as compares to today's double wall truck beds. I have a feeling I will have to adjust the proportioning valve for the rear brakes down quite a bit with the drum brakes so they won't lock up before the fronts lock up.
If I do find the rears could use better braking, I will certainly convert to disc brakes.
Jim
Tylers88, I've spent many years dealing with people who are working on cars and trucks. I am often shocked on how many have the knowledge of what the part is and what it does, but has no idea of how the part works. Without knowing how something works, trying to adapt or modify a part to your specific needs is almost hopeless.
My philosophy is the opposite of many..... Many will hold their knowledgeto raise themselves in the eyes of others.
Me, the opposite, I know that if I give my knowledge I too will be raised, and better yet, the person learning will also be raised. What a great tradition to start and have continue.... if I freely give, you will perhaps also freely give since you have freely received.
Whoring out my counsel, that;s "whorable"!!
Just kidding, it was the only word I could think of using the word "whor". Carry on, this thread is all about inspiring fresh ideas and motivation.
Jim
5-26-2014
There is one small part of the front suspension that I always feel is lacking, nothing major, it's the washers that are on the upper control arms. They are large and need to be painted since they are seen when the project is finished.
A look at the washer in it's place.
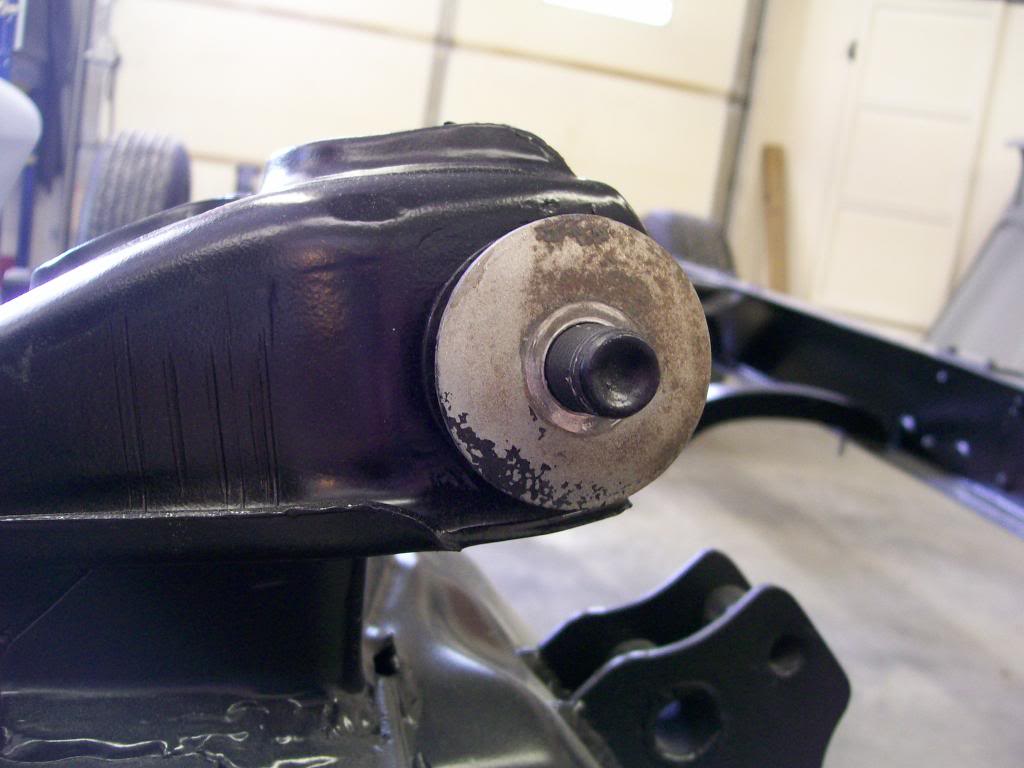
It needs to be cleaned and painted, problem is, it's bound to chip when the nut it tightened down against it. A couple of years back I showed how to make your own washers for special applications. The washers were not fancy, they were to serve a specific purpose. Today I'll need them to fill a purpose and still look good "cosmetically" when done.
Using the torchmate to make the blanks.
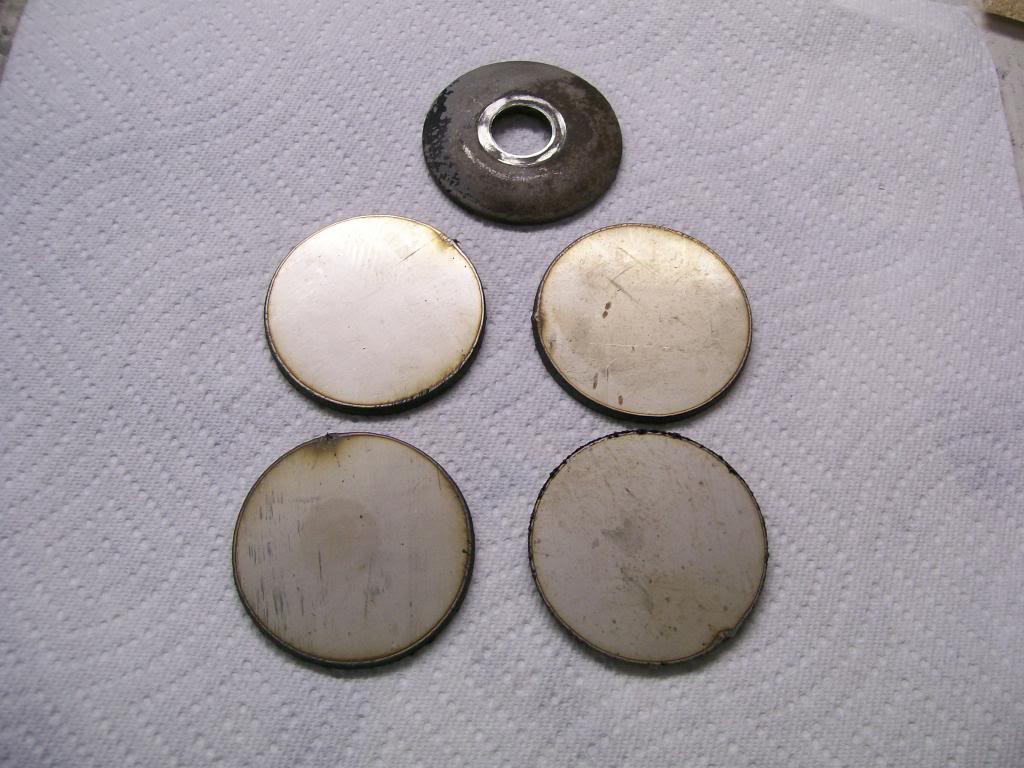
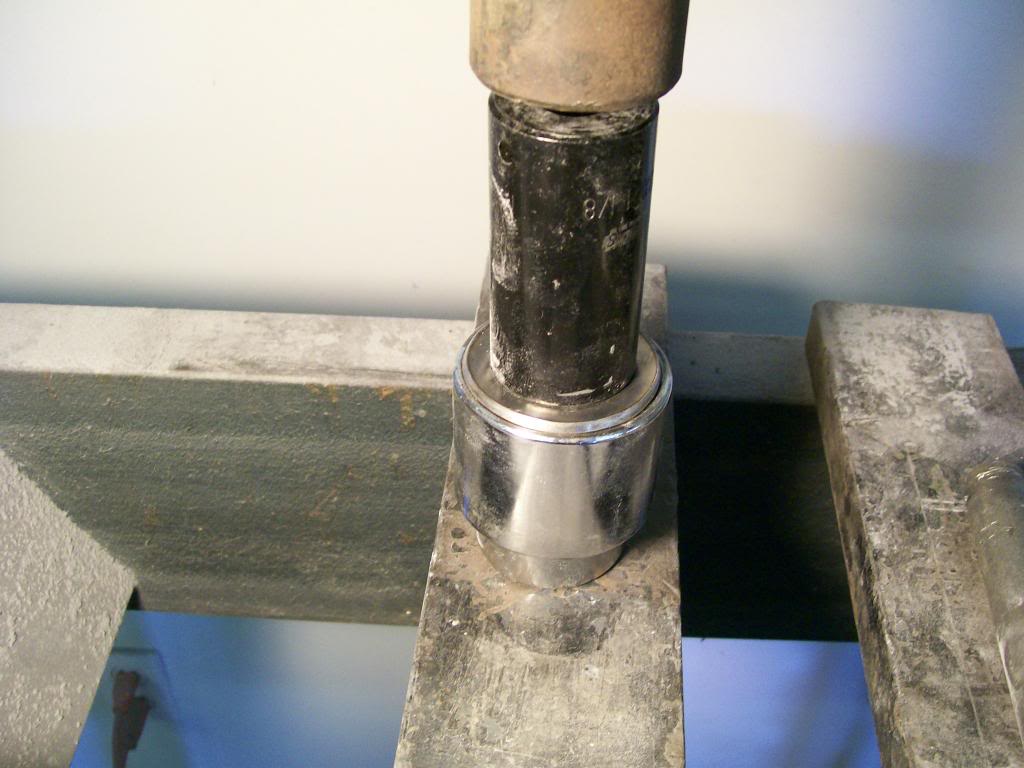
Back to the press to create a cone effect as the original one has.
Once I pressed the cone shape into it I moved to the lathe. The purpose of using the lathe vs the drill press is with spinning the washer and bringing the drill bit to it, the hole that is drilled will be automatically centered.
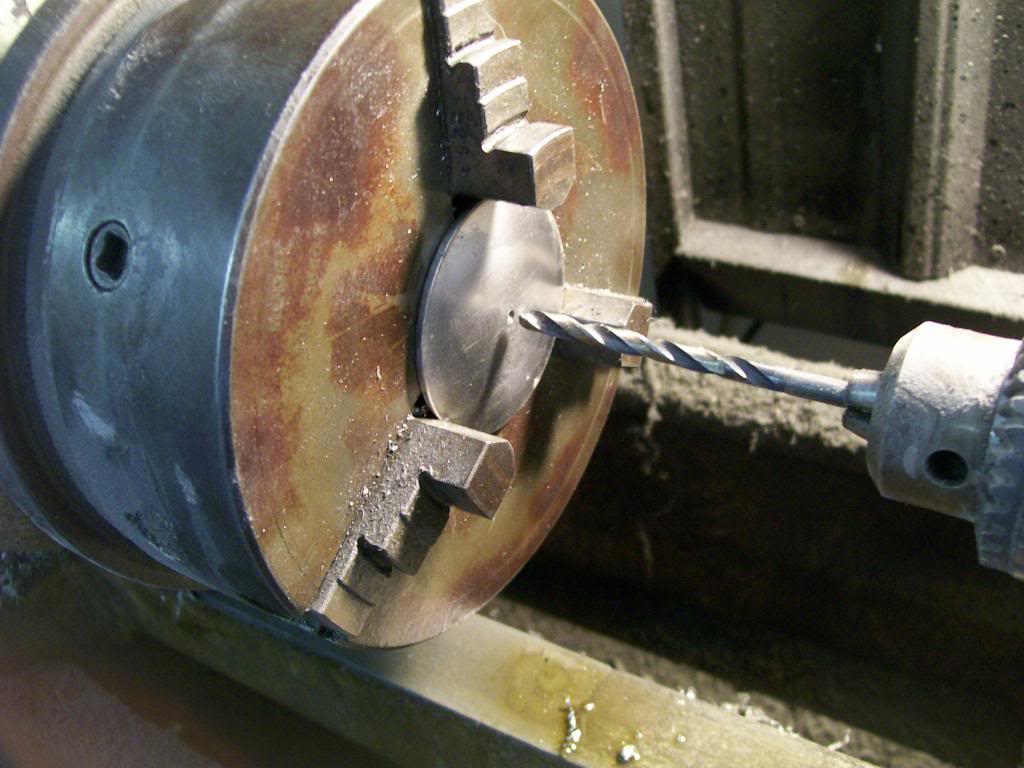
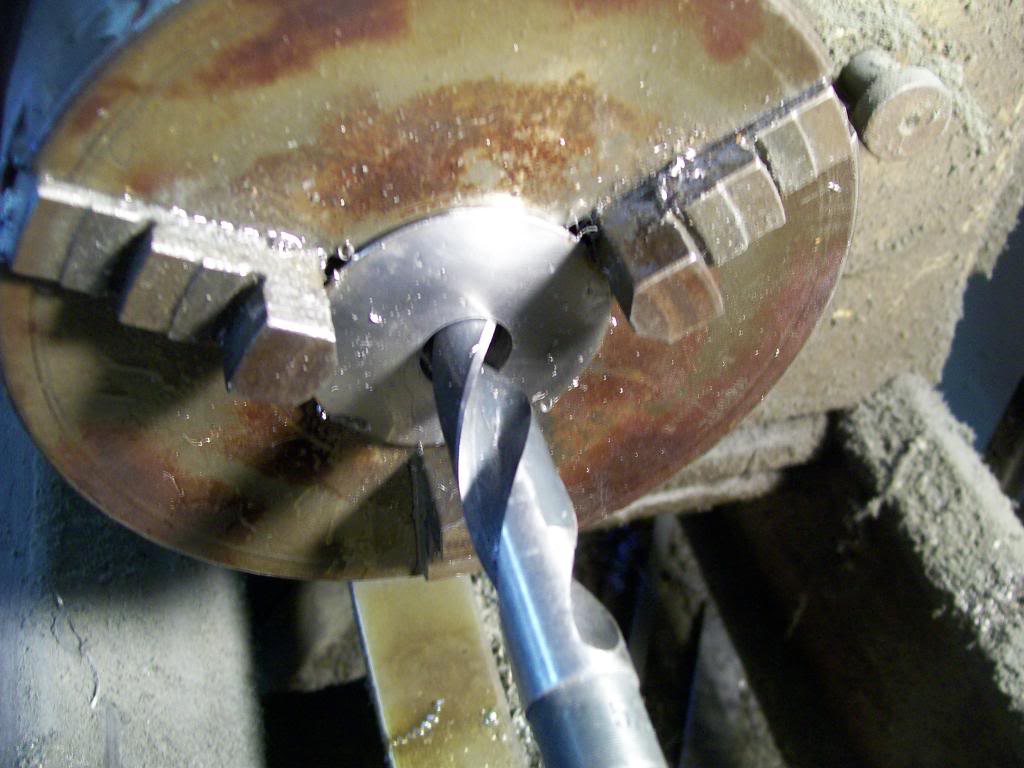
I drilled two sizes before getting to the final 5/8" size. The stainless doesn't transfer the heat very fast and I believe the heat stays concentrated right at the hole being drilled and will destroy the tip of the drill bit. By stepping up and using lubricant I can drill the stainless.
The practical part of the washer is done, now for the cosmetic. The plate I cut from is pretty smooth so I only needed to use 1500 grit to get to the polishing stage.
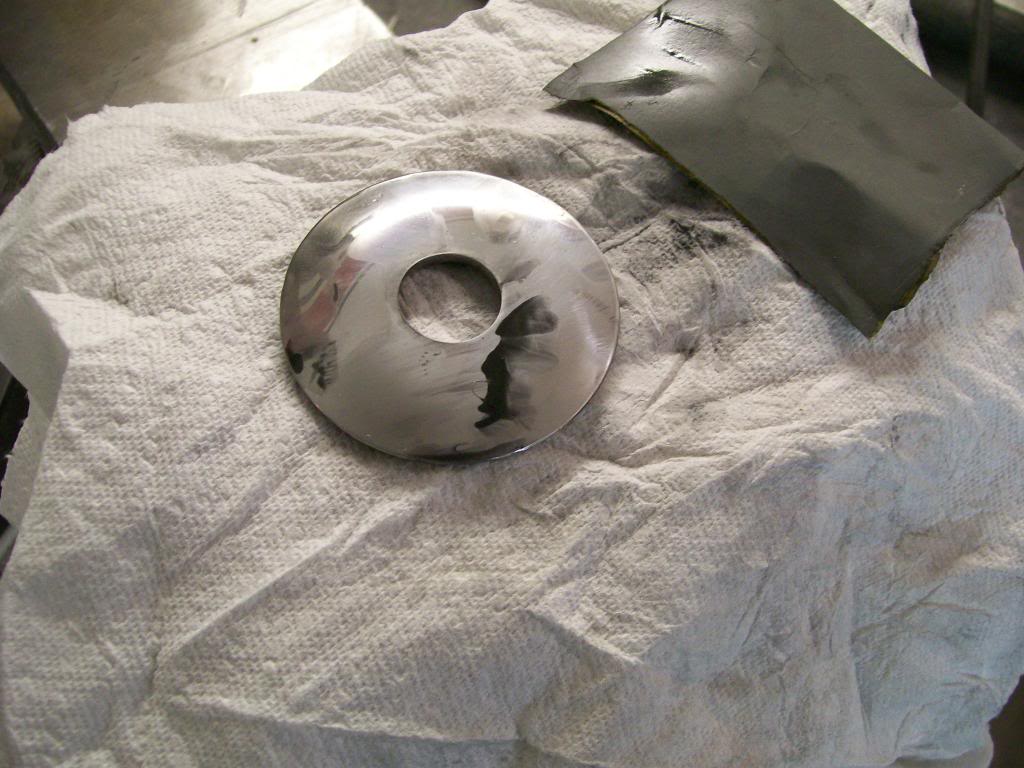
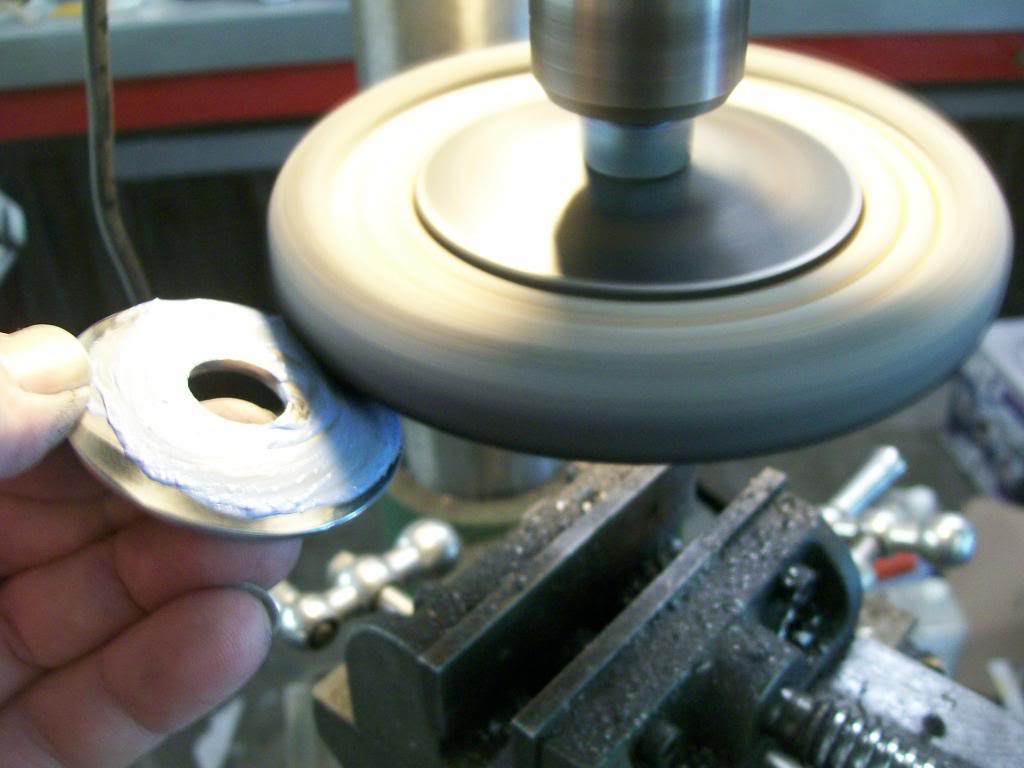
Then polishing. I adapted a wheel to the drill press then applied some metal polishing compound.
Oh so much better and no paint to chip.
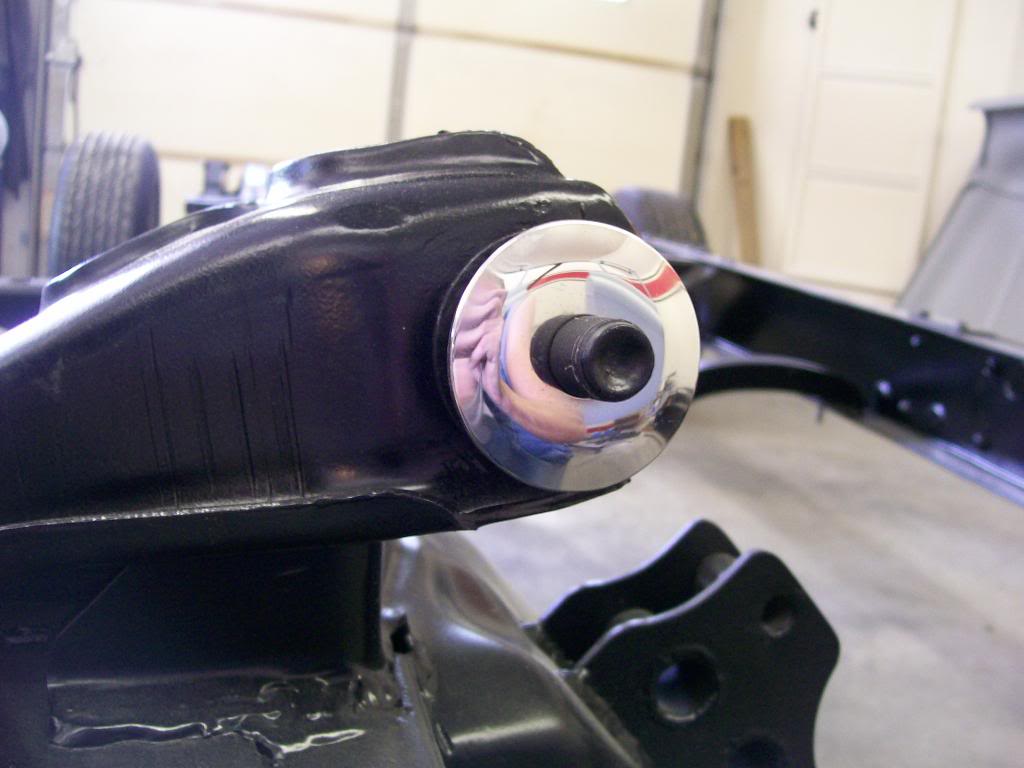
I like this shot, look closely and you can see the ceiling fan blades spinning in the image.
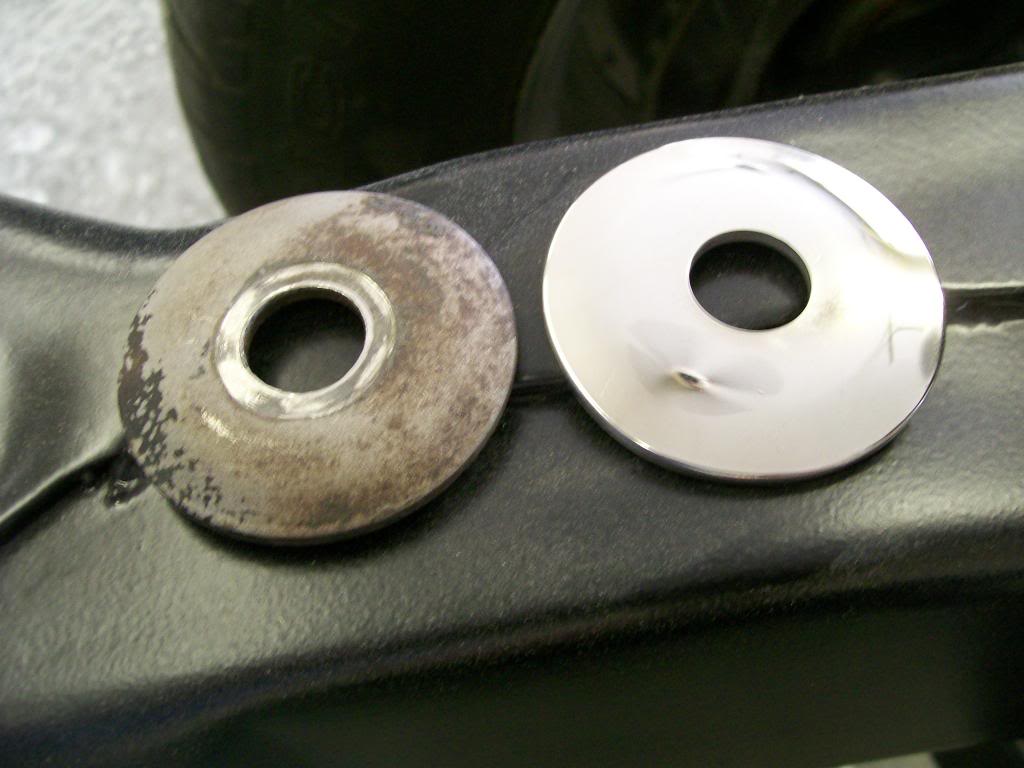
I've ordered some stainless locking nuts to finish the look.
Just another post to show how we can adapt to use our equipment in many different ways.