You must be logged in to rate content!
7 minute(s) of a 668 minute read
5-2-2014
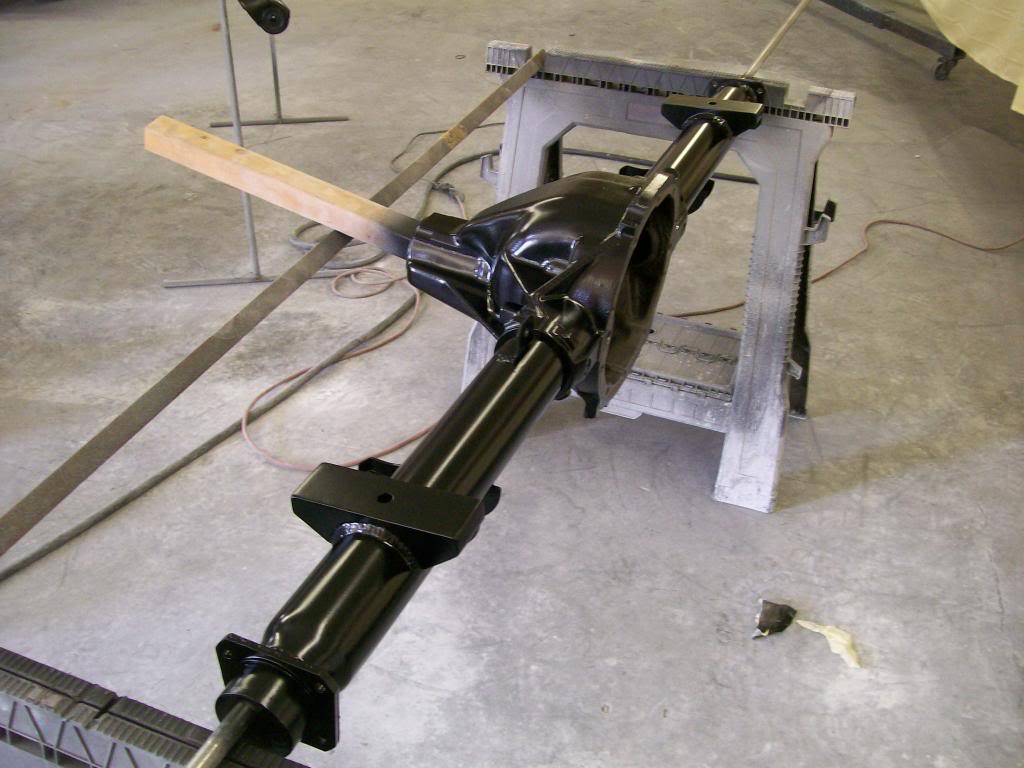
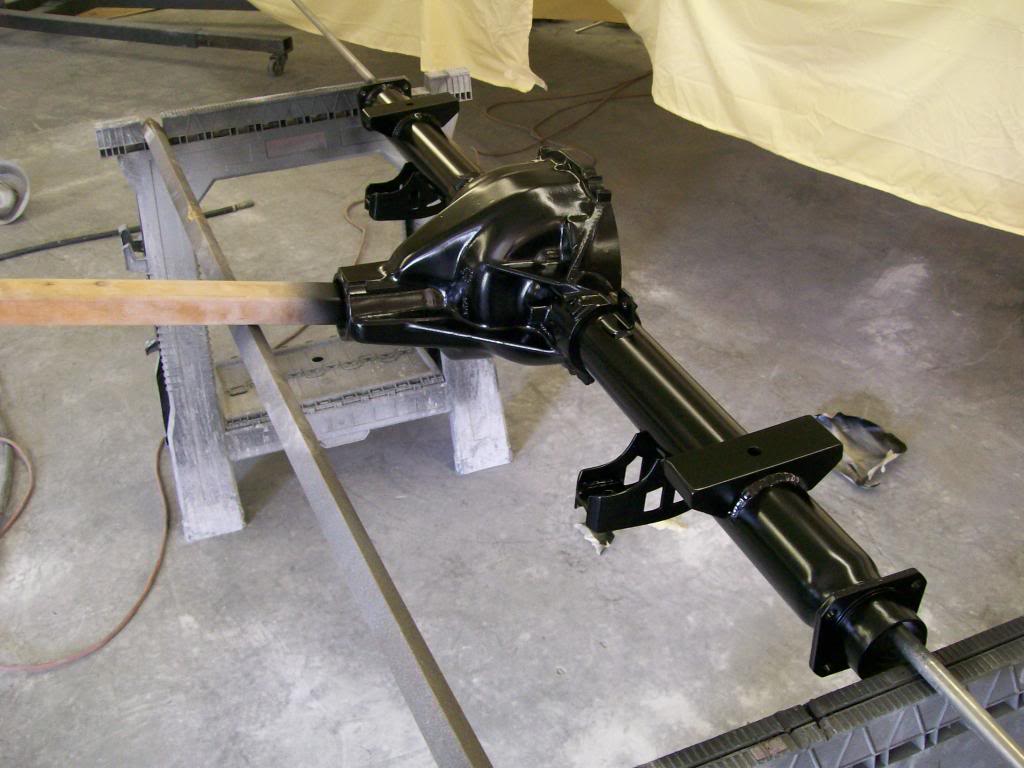
Here's an image we've seen a few years back, and axle getting painted black.
The Willys axle turned out so nice I had to do the same with this one. It was blasted, welded, grind, epoxy, primered, sanded, then epoxyed once again.
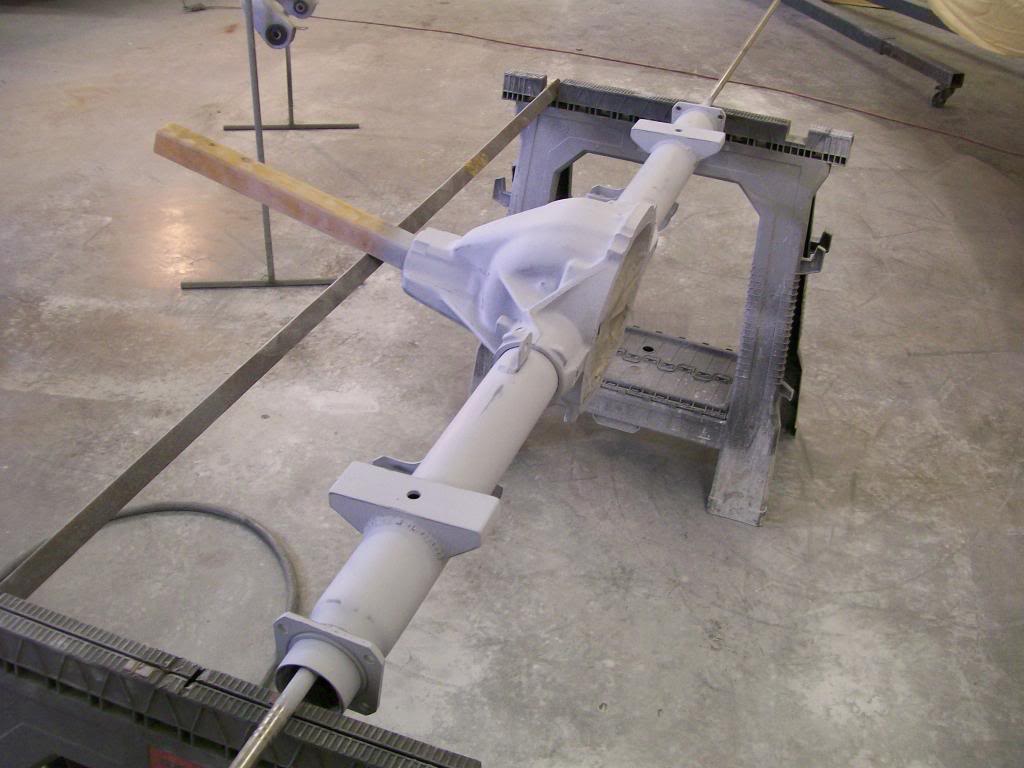
After a coat of epoxy as a sealer I sprayed the black.
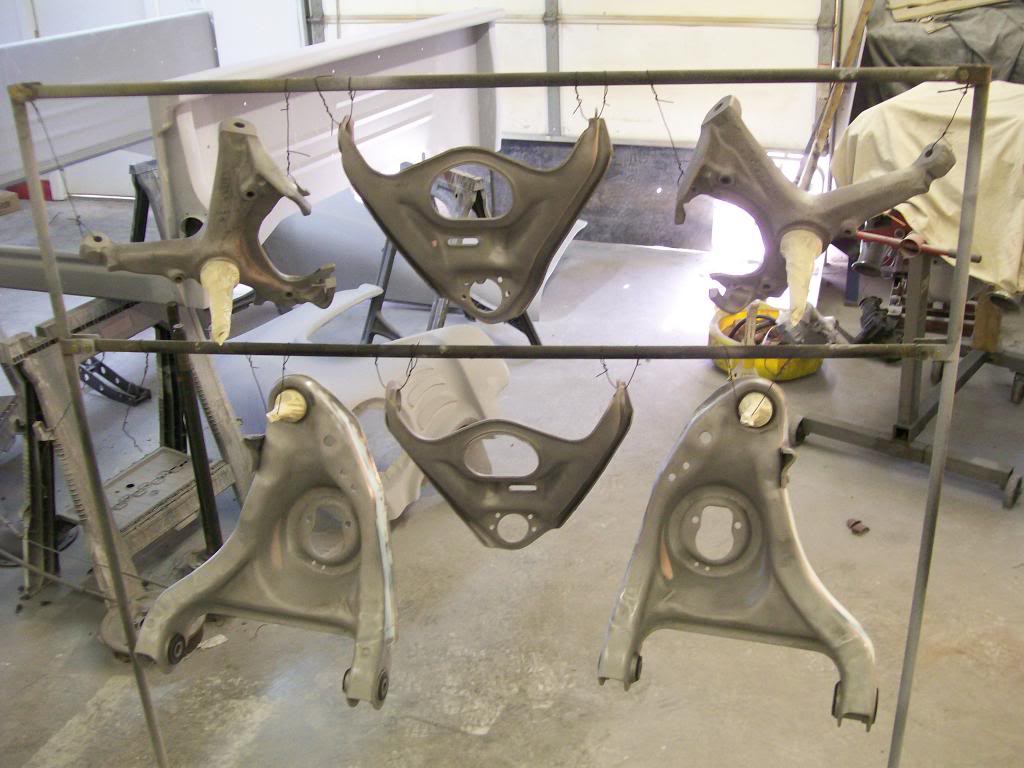
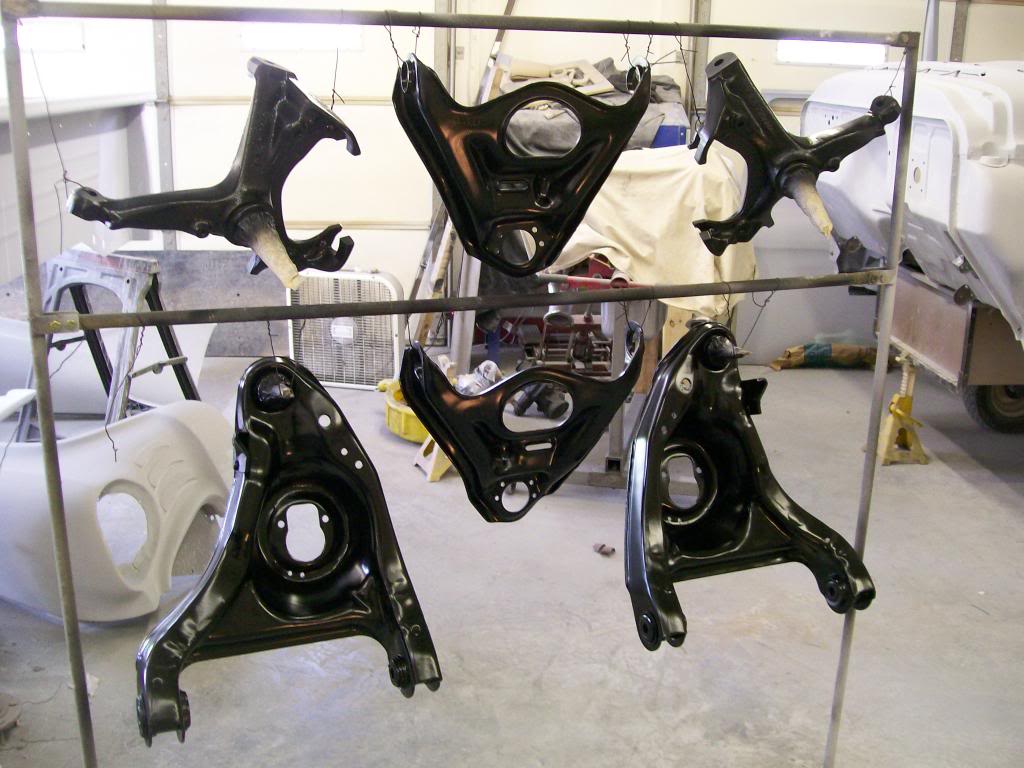
On the front suspension parts I blasted, epoxeyed, then went right to paint, worked out well.
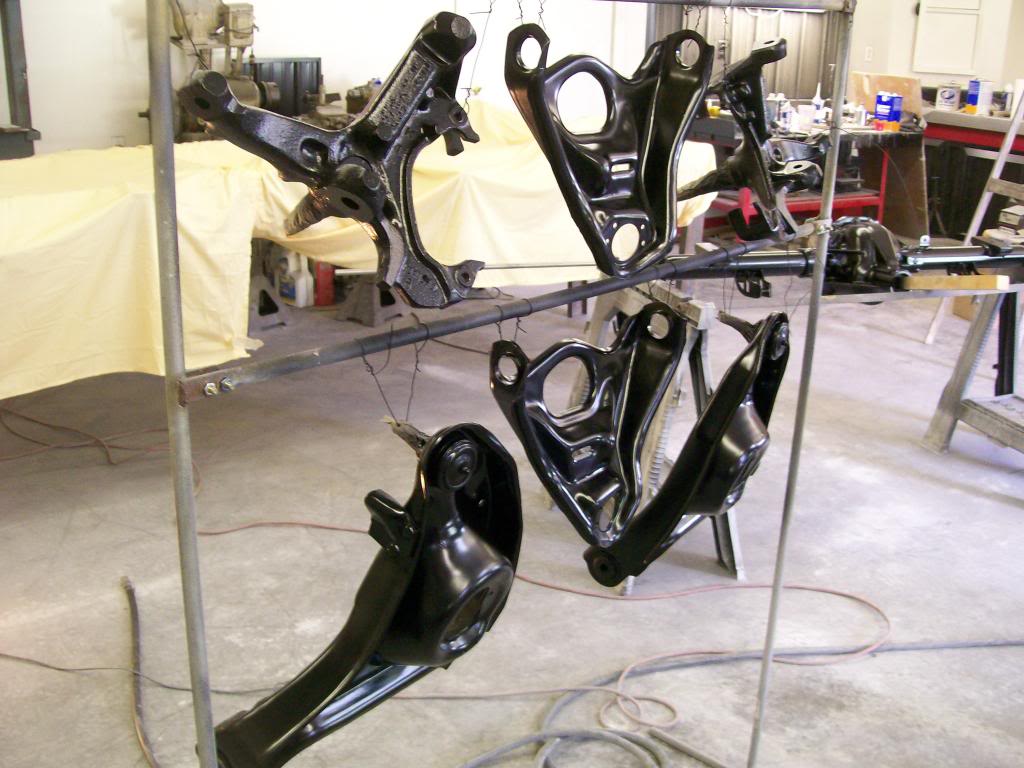
The ball joints in the lower control arms are press in. I installed them before paint because the press tool would scratch the paint if done after paint.
5-3-2014
Thanks guys, there's just something about taking the time to clean and paint your best that encourages yourself to take a project to the next level.
dukie564, if there is one tool that makes doing really clean work possible it is the sandblaster, I use it quite often. One tool that does not get mentioned is what actually powers the sandblaster and all the air tools, the air compressor.
I encourage everyone who is gonna start acquiring tools and equipment to pay for a quality compressor. Learn about 1 stage and 2 stage compressors, horsepower, rpm, ect. Mine is 10 years old now and the sandblaster is the most air consuming item I have. Mine is a Speedaire, 4 cylinder, single stage, it was approx $1000.00 on sale and worth every penny.
Nothing more frustrating that having to wait for the compressor to catch up while using it or listening to it commit suicide because it's a poor design that has to run a very high rpm designed by the manufacturer.
Getting back to taking care of the project and dealing with odds and ends and doing your best.
A while back I wanted to clean up an area that I felt could be better. There wasn't anything wrong with the old design, I just knew I could get a better visual look to the area.
The area where the Camaro frame meets the original frame.
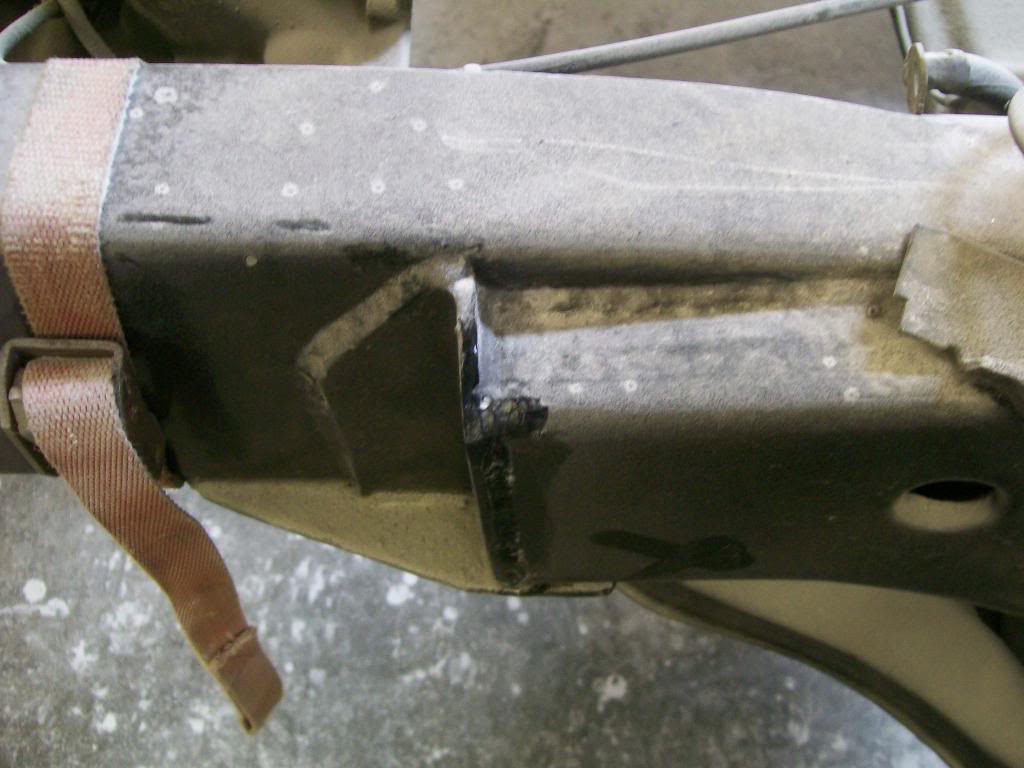
I was able to keep the 90 degree angle piece within, I mainly added the taper to blend the two frames together.
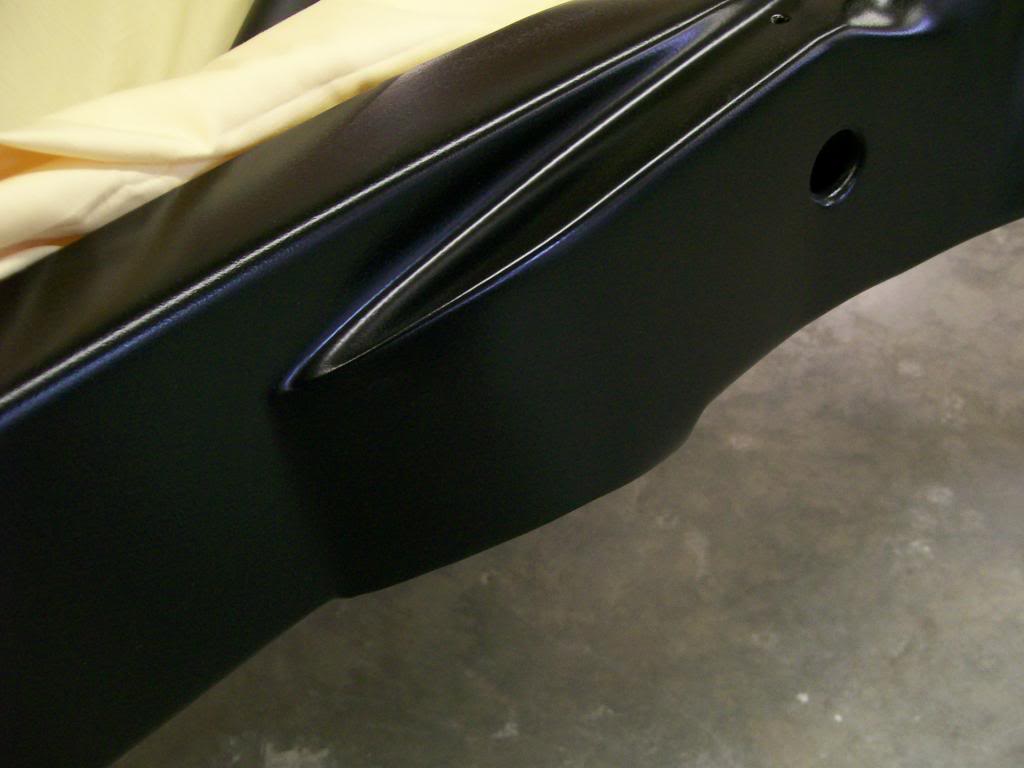
Another one of those small detail things but what a difference when done.
5-7-2014
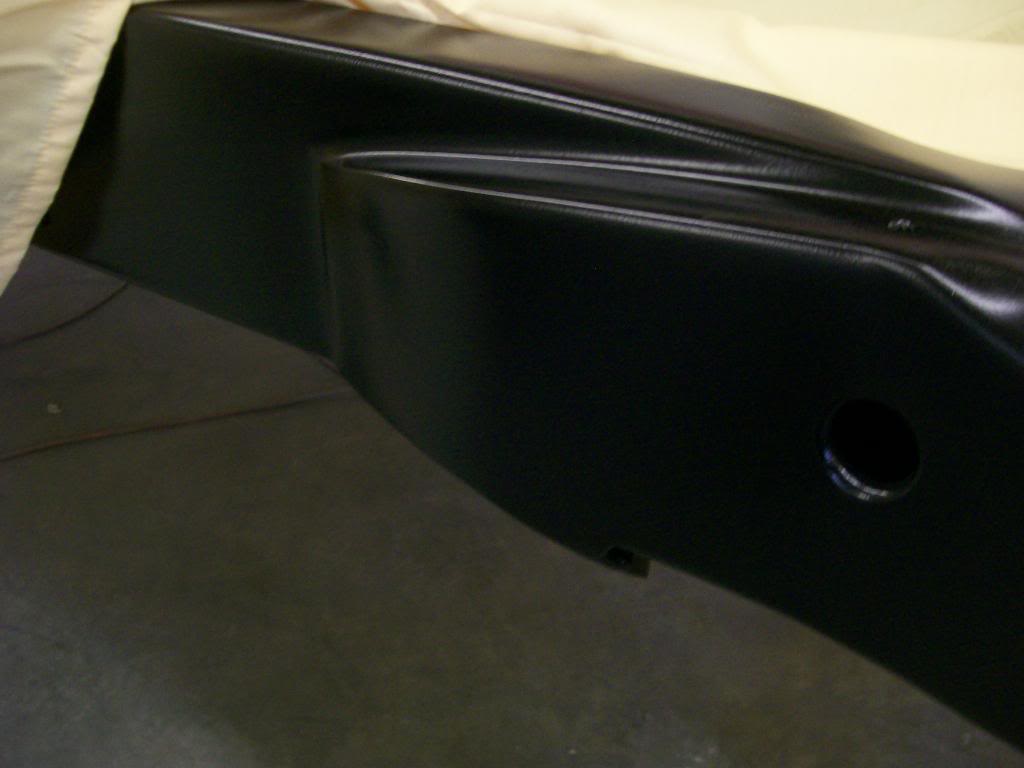
Thanks Gojeep, I really like how the light follows the contour in the picture.
Finally I get to work on the interior. I ordered this material off amazon.com, I like the material although the packaging sucked and wrinkled the material.
Anyway, I painted the parts to be covered with vinyl last fall so they would be fully cured before I mess with spraying adhesive on them.
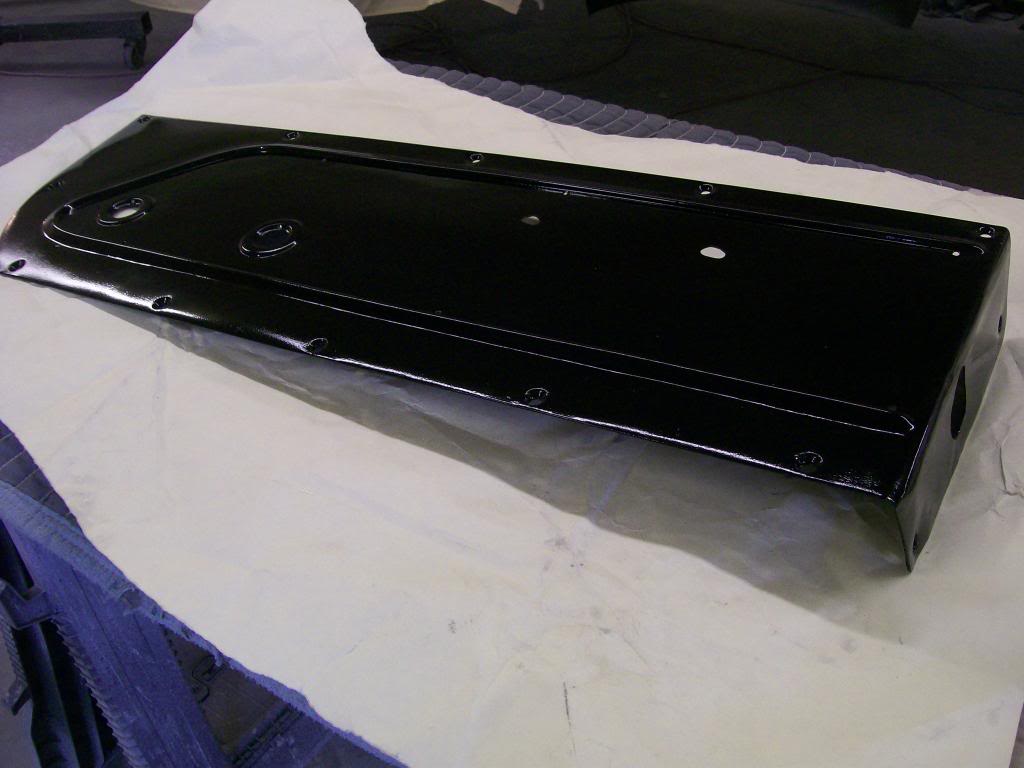
I'm working with the door panel.
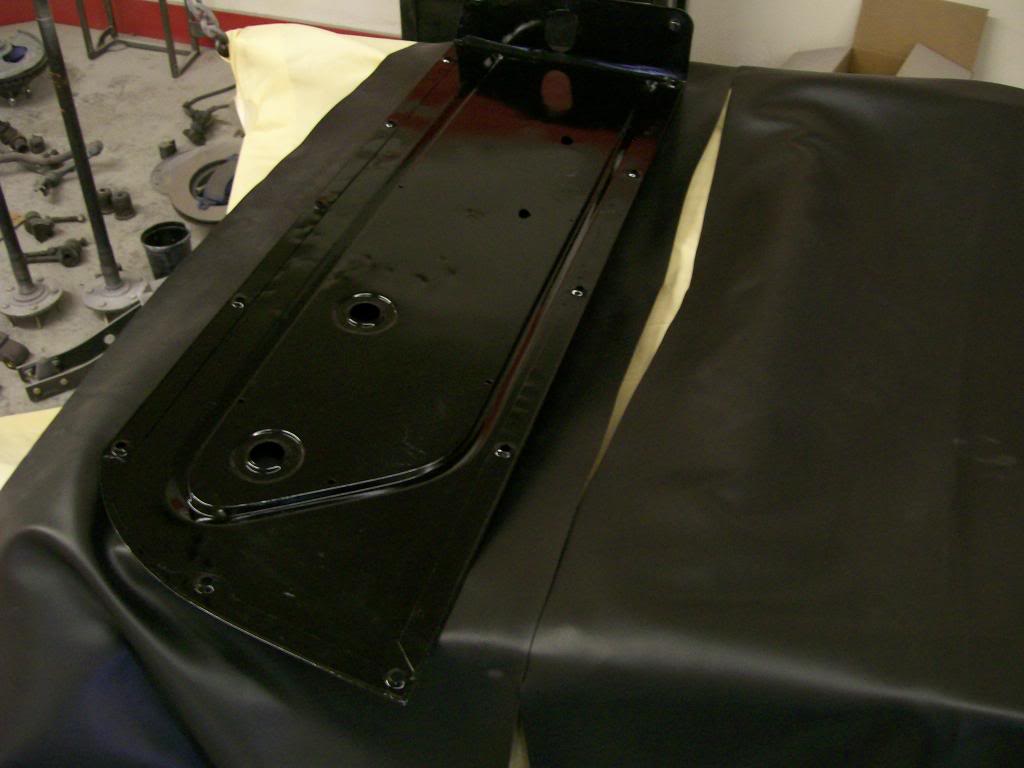
I started with the center them worked my way outward. I had to pay attention to allow the material to follow the contour of the paneldecorative bead.
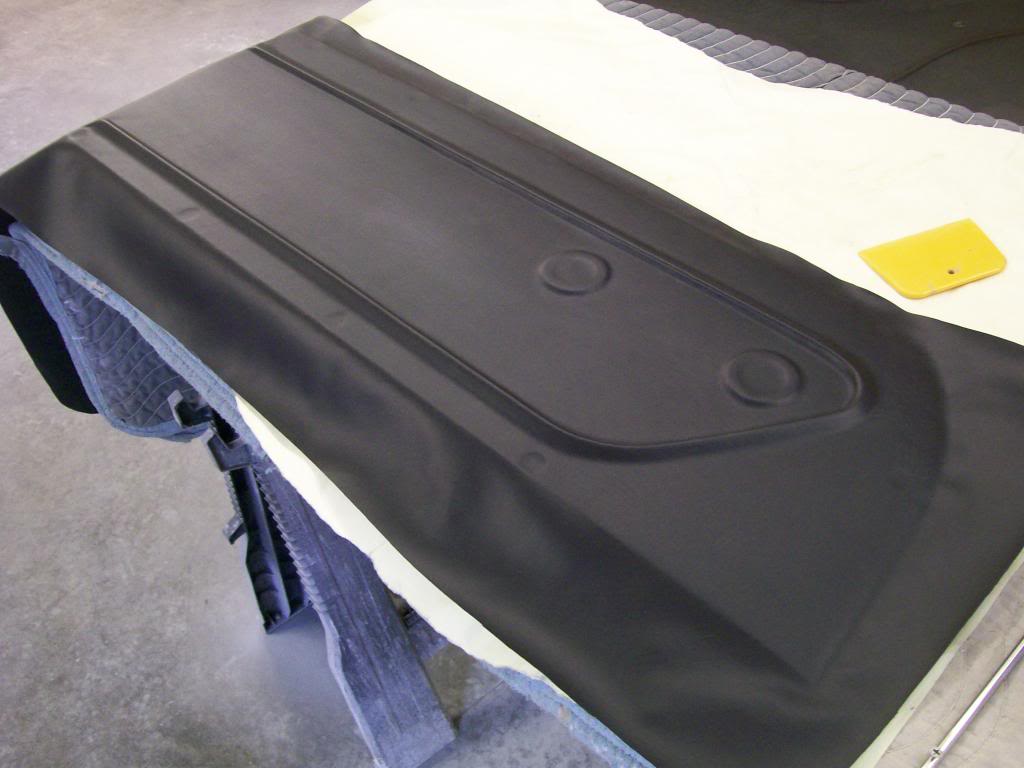
I installed stainless steel trim to help keep the vinyl in place as the glue dries.
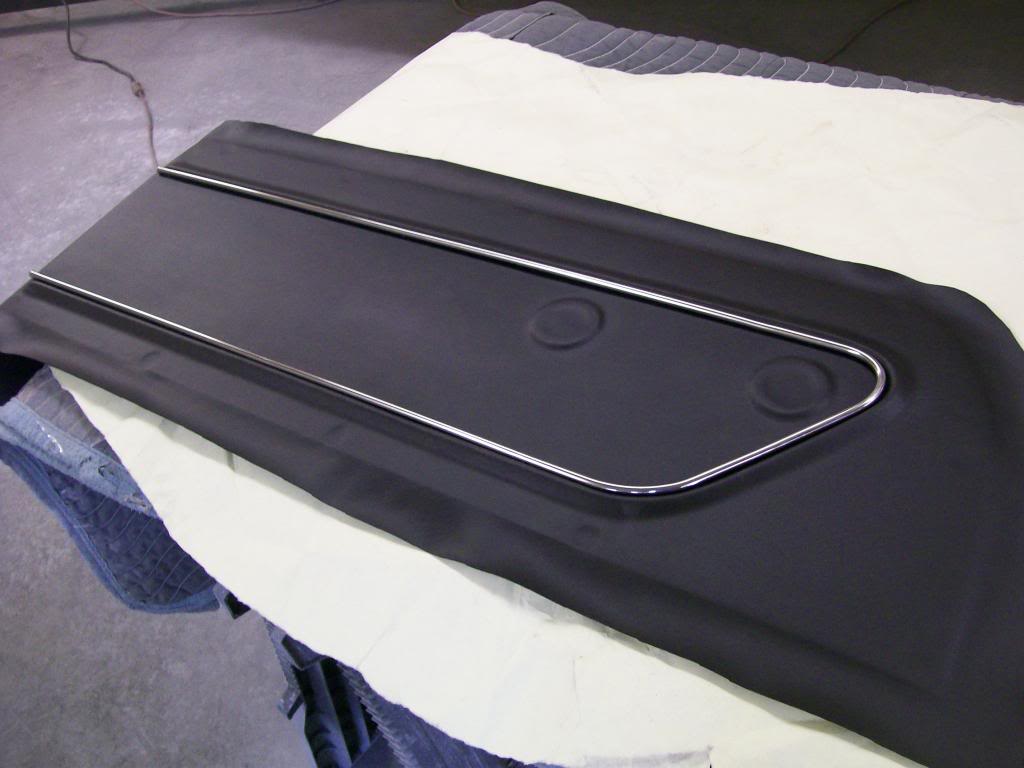
Took a little work but I made a bunch of recess cuts to get the backside corners right.
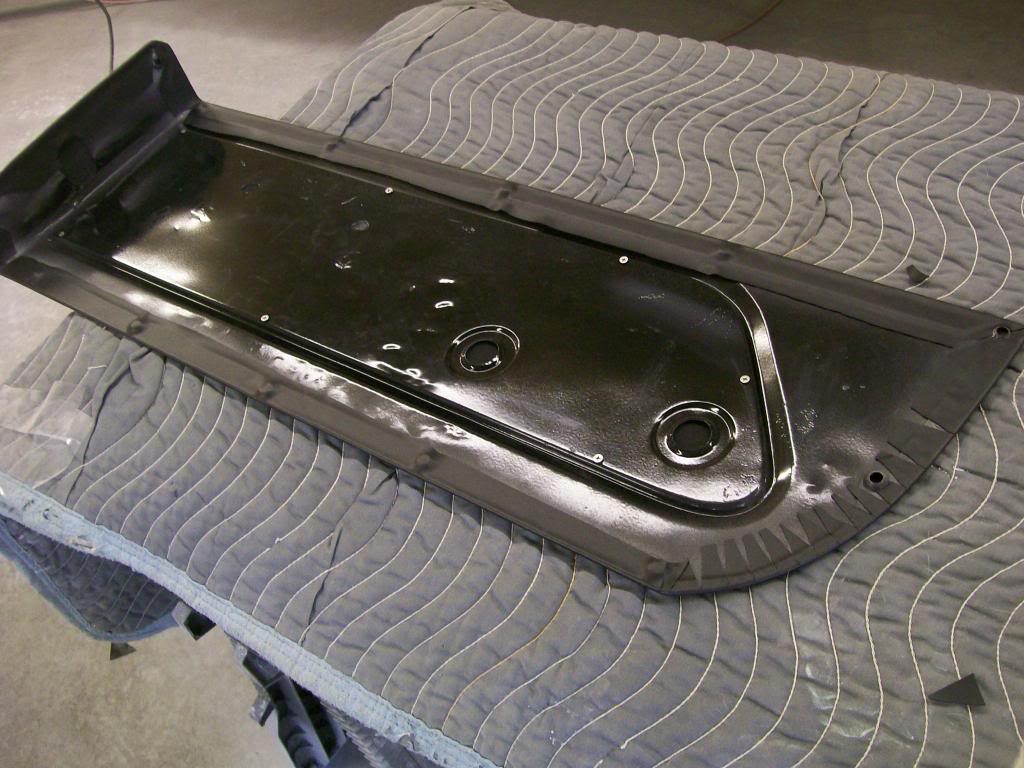
I want to angle cut the two ends of the stainless but other wise I'm pleased with the out come.
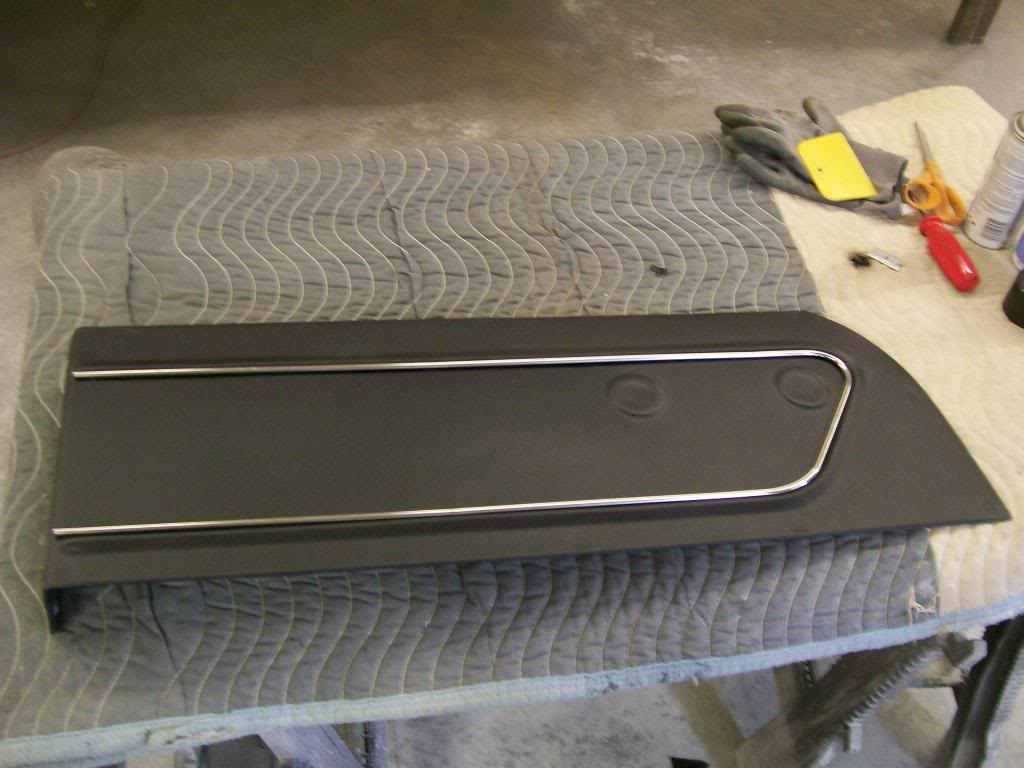
Door panels nearly done..... check.
5-11-2014
Since I don't have separations in the shop and I have parts drying, I'll keep with the interior odds and ends.
The floor hump, or tunnel, or shifter mount, needs covering also. I painted it last fall so it is good and dry and ready for adhesive and vinyl.
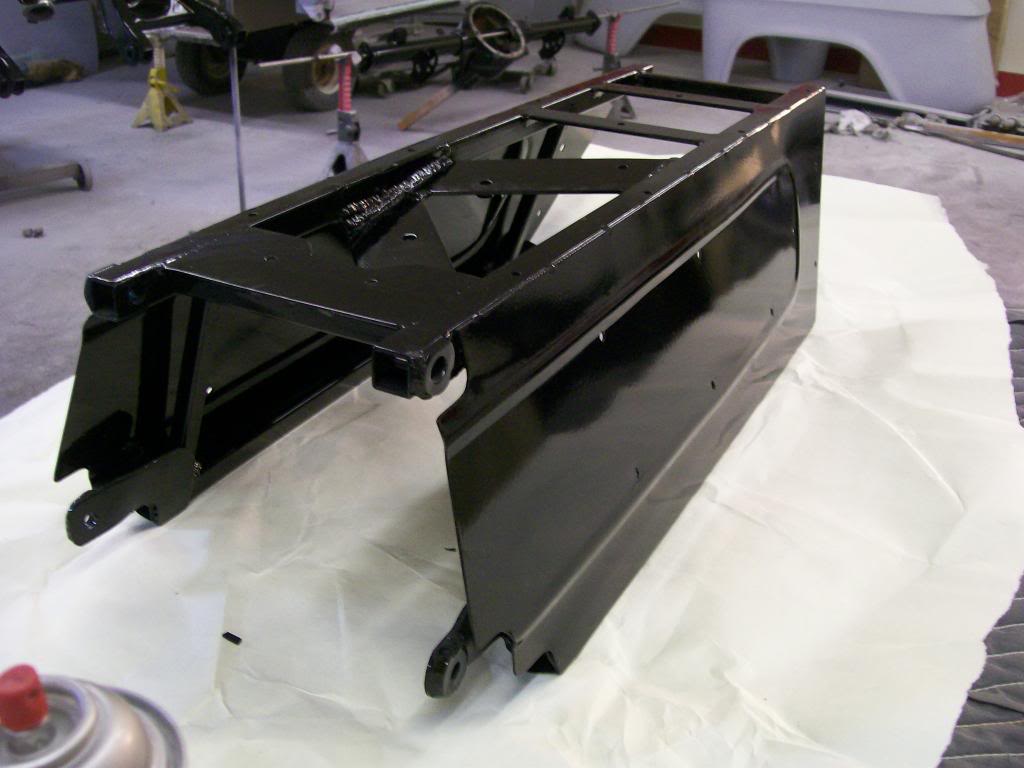
I've glued the top area so it'll stay in place now I've applied the side glue and ready to pull the vinyl down over it.
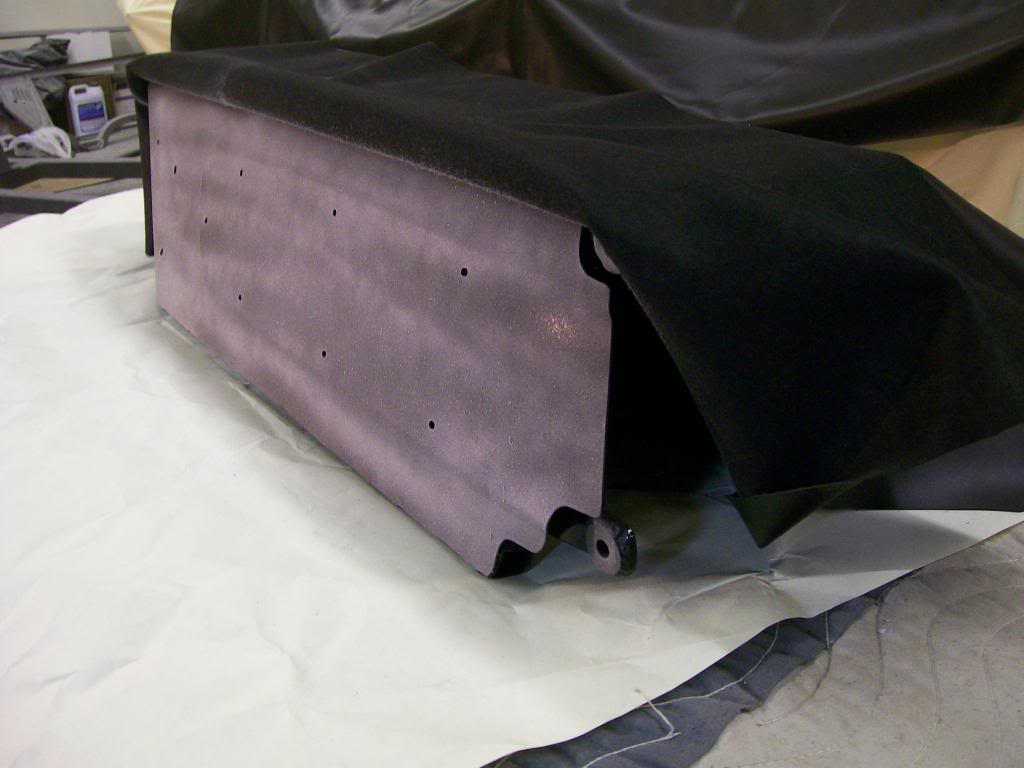
Making sure it follows the contour of the bead rolling I did last year.
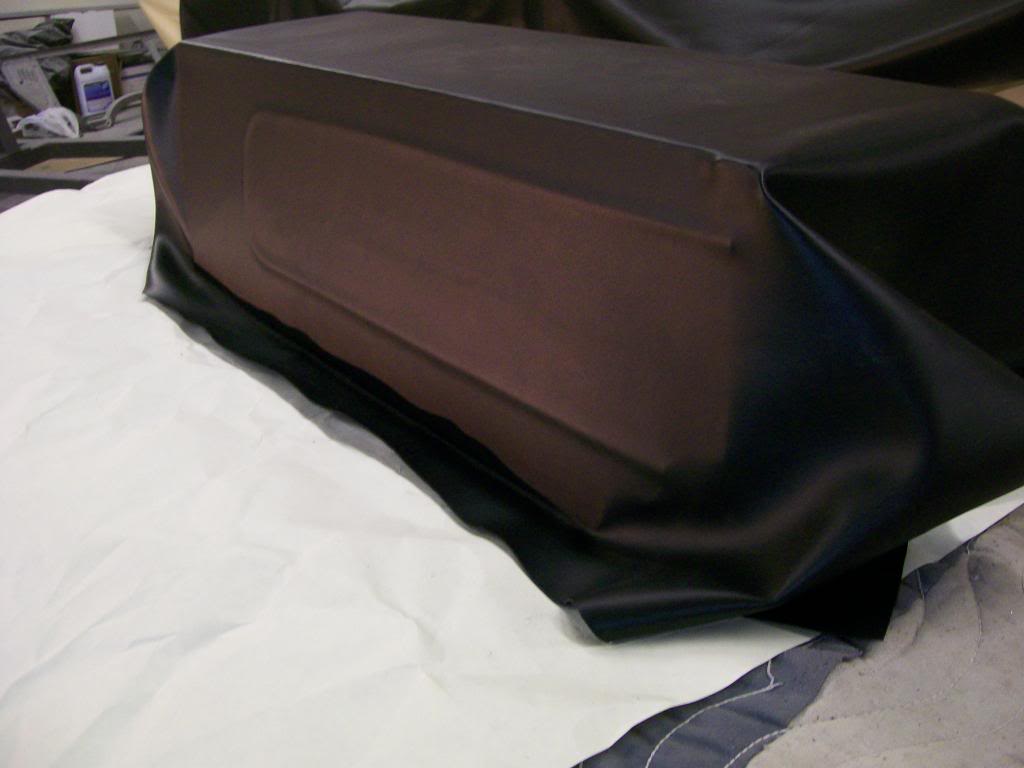
I've already covered the cup holder part.
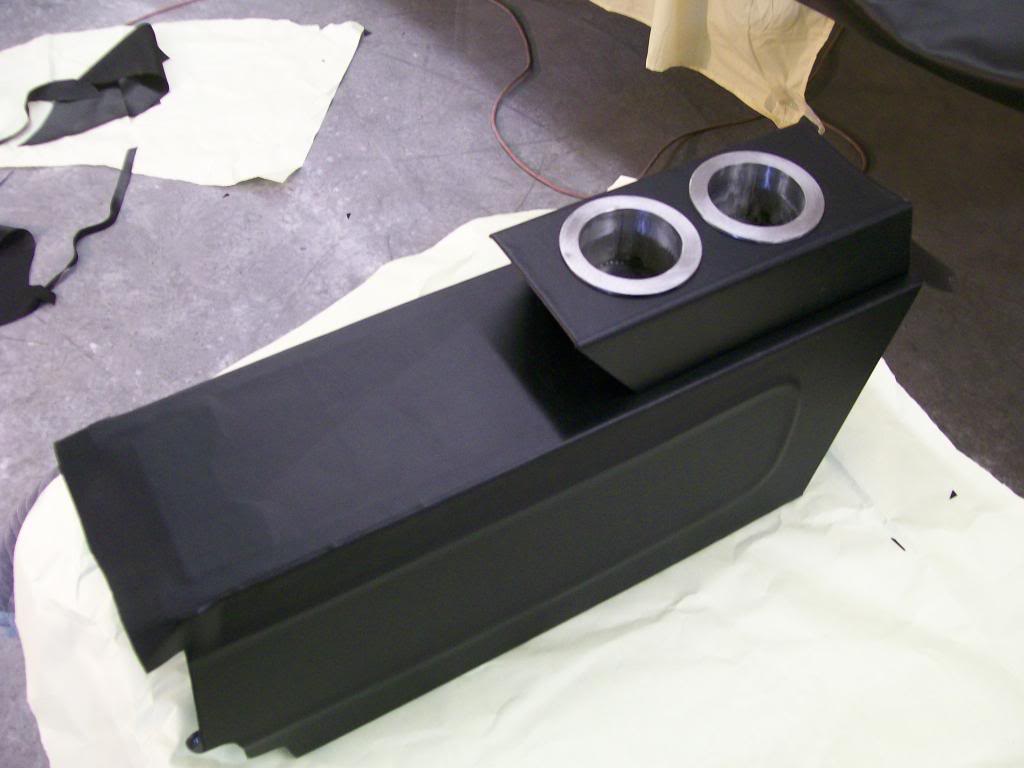
Now with the shifter intalled. This is where I was gonna leave this project til I knew it had to have one more piece, the stainless trim around the top.
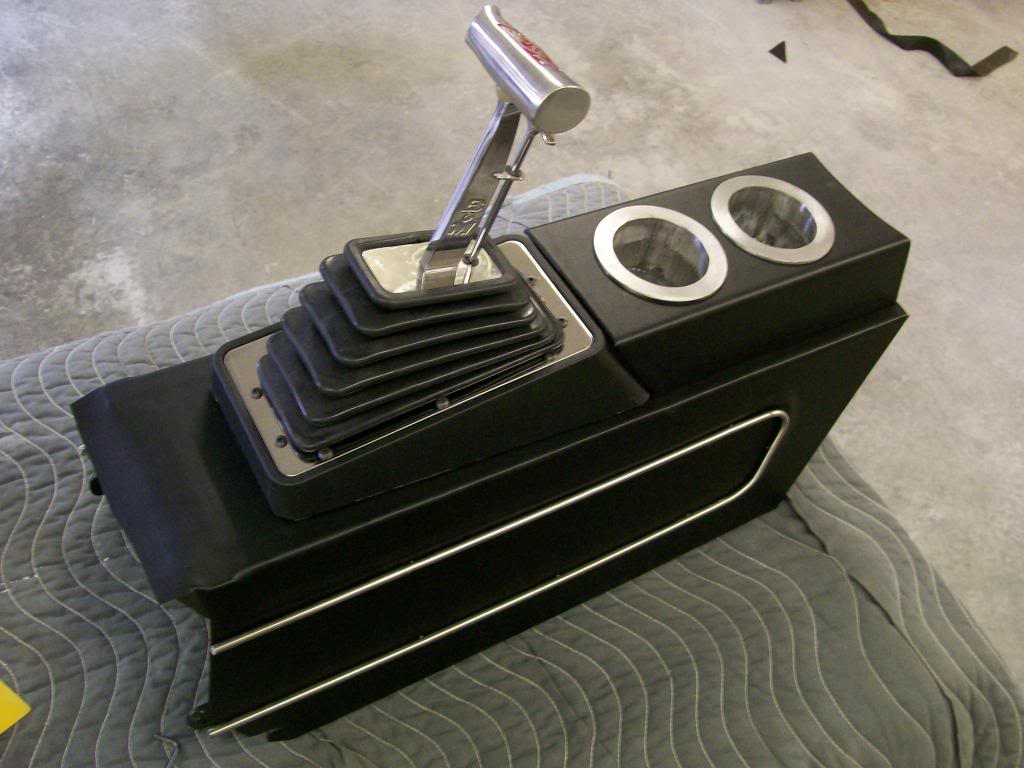
Yeah, the stainless piece that started out looking like this.
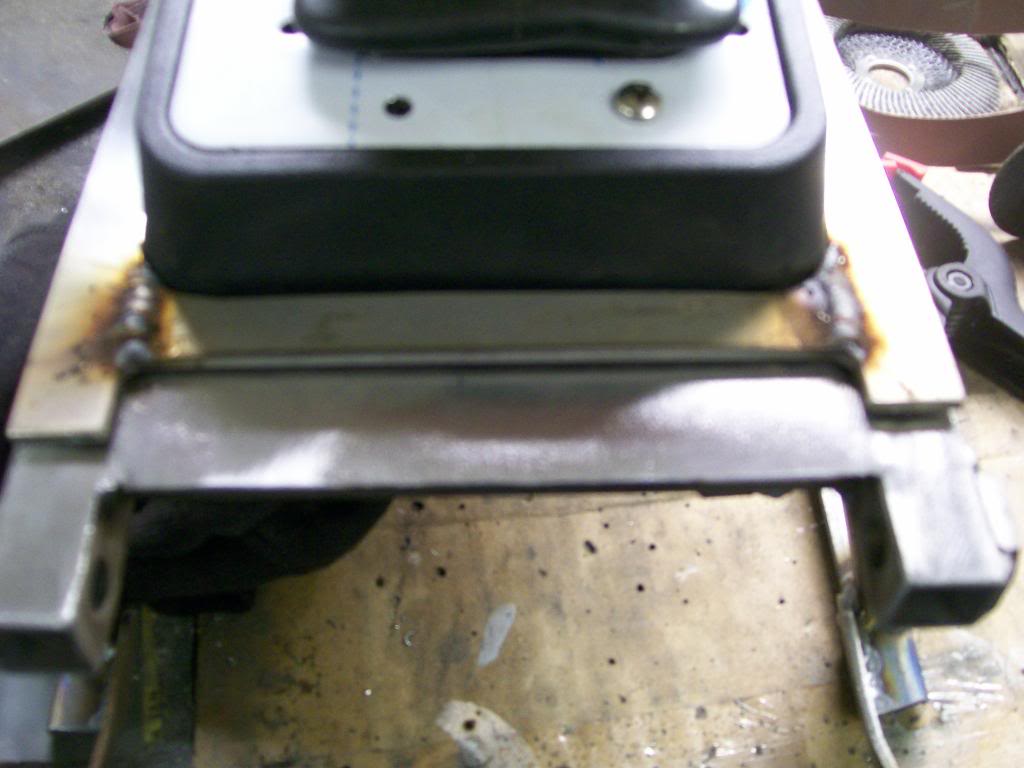
Just a little vinyl trimming to do but I'm very happy with the result.
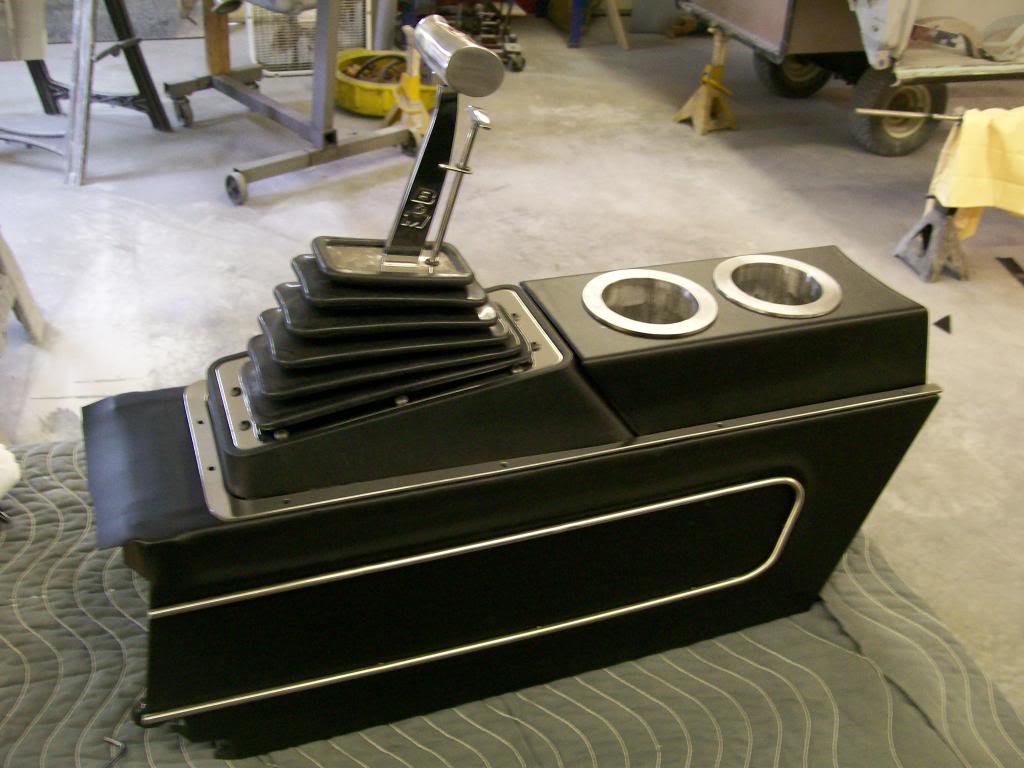
I just sent to cup holders off to be chromed. I was originally going to paintthem silver but decided that would be settling for something not quite what I want. It's my first time to send anything off for chroming, I hope it all comes out as I expect.
