You must be logged in to rate content!
9 minute(s) of a 668 minute read
3-16-2014
Still working on the 1957 Chevy Truck I've been focused on getting body parts ready for paint.
I'm at the point to where I want to remove the cab and everything from the frame, then finish what needs to be done to get it ready for paint. This is where patience has to be observed. This is about the last chance I will have to make sure things like door alignment and fender alignment is where I want it. I also have to align the door to the cab where the body line will match.
I will have a red pinstripe following the body line that follows the fender, across the door then to the rear of the cab. Back 60 years ago they didn't stamp these parts with the accuracy as they do now so some shaping and modifying needs to be done so the pinstripe can maintain a straight line when done.
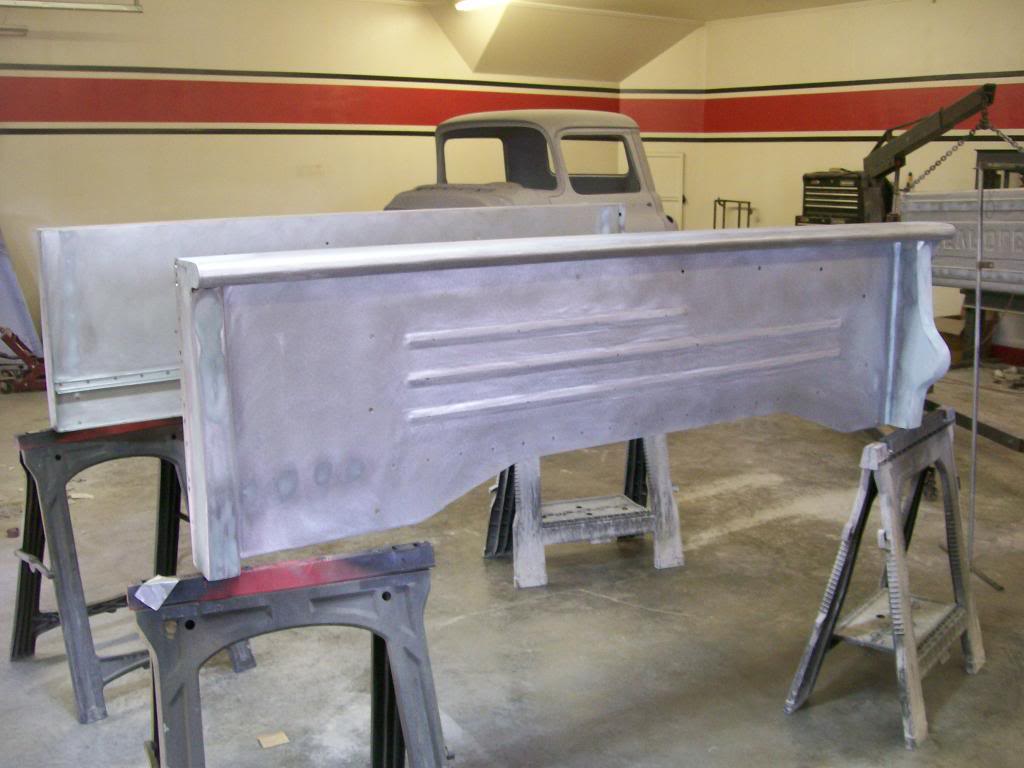
I also had a couple of warm days allowing me to spray some epoxy primer followed by a high build primer on the bed box, tailgate and the front panel.
Before the primer, I finished smoothing the body work where I welded the new tail light mods and also ground down the many spot welds that would be seen later and smoothed them with a thin layer of body filler.
This is the new bed I bought from Mar-K last year, I said it then and I say it again..... a very high quality unit, both the tail gate and the bed box. I sanded to remove the primer that was on the metal expecting to find a couple of dimples that I would need to fix, there were none, very good stuff.
Bare metal parts with filler for the tail lights and spot welds.
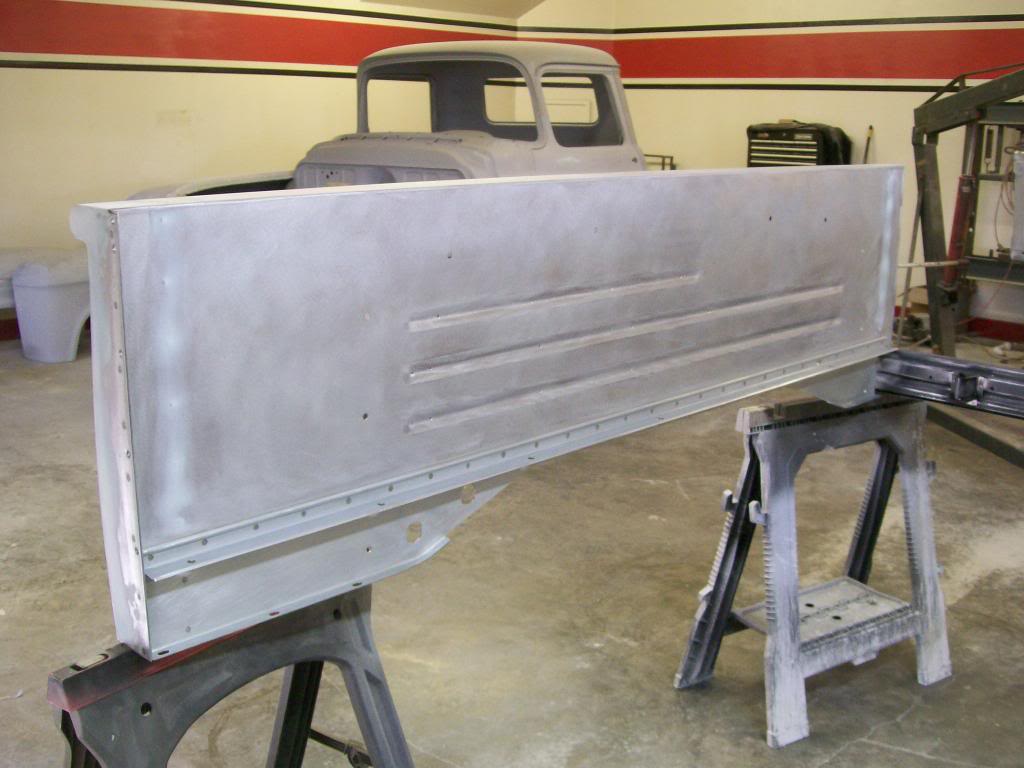
Now after the epoxy primer and the high build primer. I've moved the pieces together for this picture.
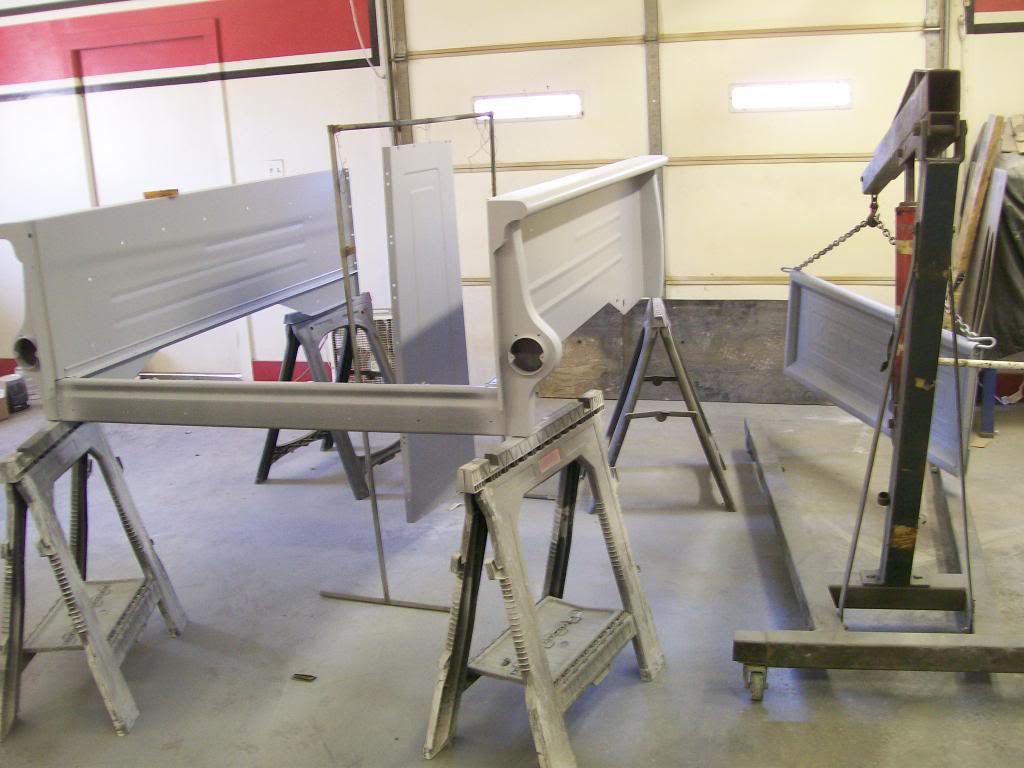
I let the primer dry for a couple of days before I start sanding. I have a slightly different technique at this stage than many others. Always let the primer fully dry before sanding.
I sprayed one coat of epoxy primer, I need it for adhesion, I don't need it for filling. The high build primer will do the filling. I spray the high build directly over the epoxy about 1 1/2 hours after spraying it. If I sprayed much more epoxy I fear the issue of trapping uncured solvents under the high build primer.
I only spray only one coat of high build at this time also.... I know the label says it won't shrink but I grew up in a time of primer shrinkage issues and I still fear it.
Primer shrinkage is usually seen well after the paint job is finished. After the job is done and especially if the vehicle sits in the hot sun, some of the scratch marks begin to show through the fresh paint job. This is where the primer filled the scratches but still hadn't settled or fully cured before painting, now the primer shrinks into the scratch and the top coat paint also recesses into the scratch.
So for the first application of primer I keep it to a minimum to be sure it has a good chance of fully curing and settling before moving on.
4-2-2014
Still working on the boring body work and the fitting of doors and fenders, ect.
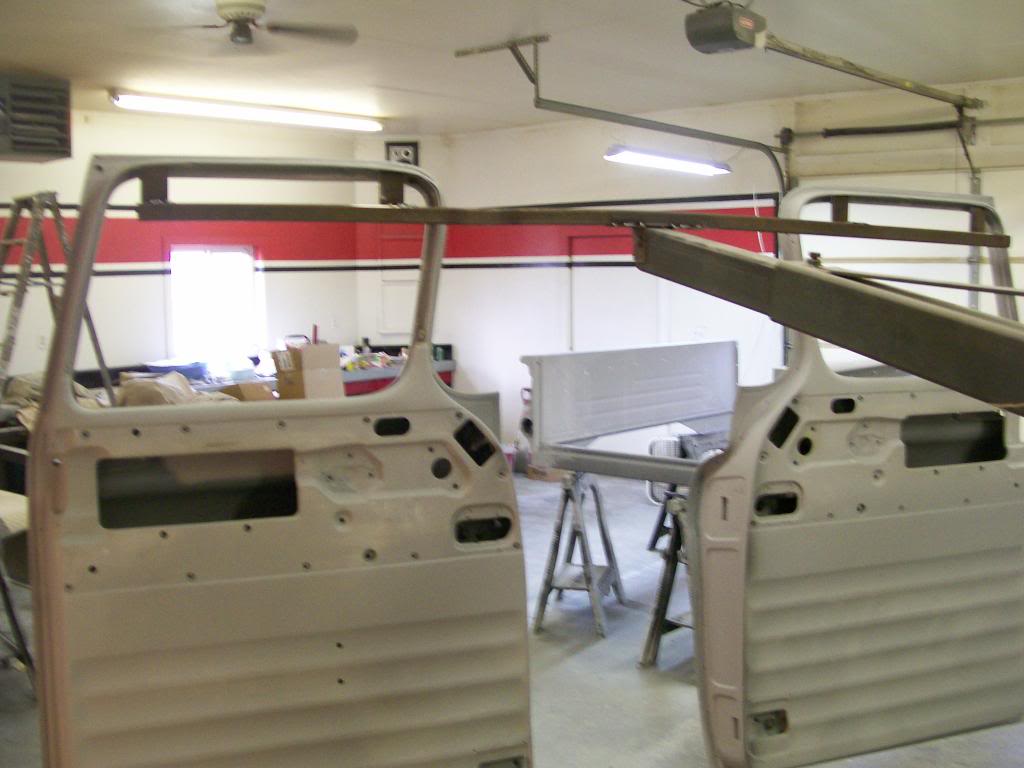
One thing I've been pondering is a way to paint both the inside and outside of the doors at the same time. By painting the doors all at once I save time and I won't had a tape edge or over spray when done.
Using the cherry picker/ engine hoist I added a bar with some 90 degree angle holders.
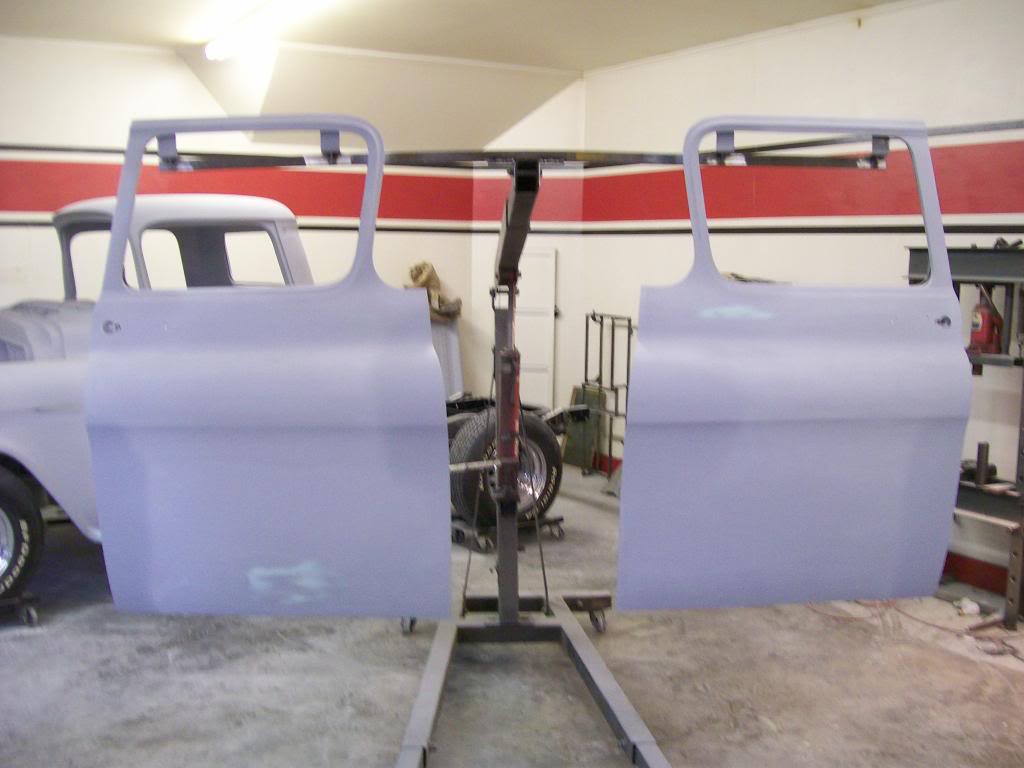
The bar looks like it's bending but it's actually a bent bar I've had.
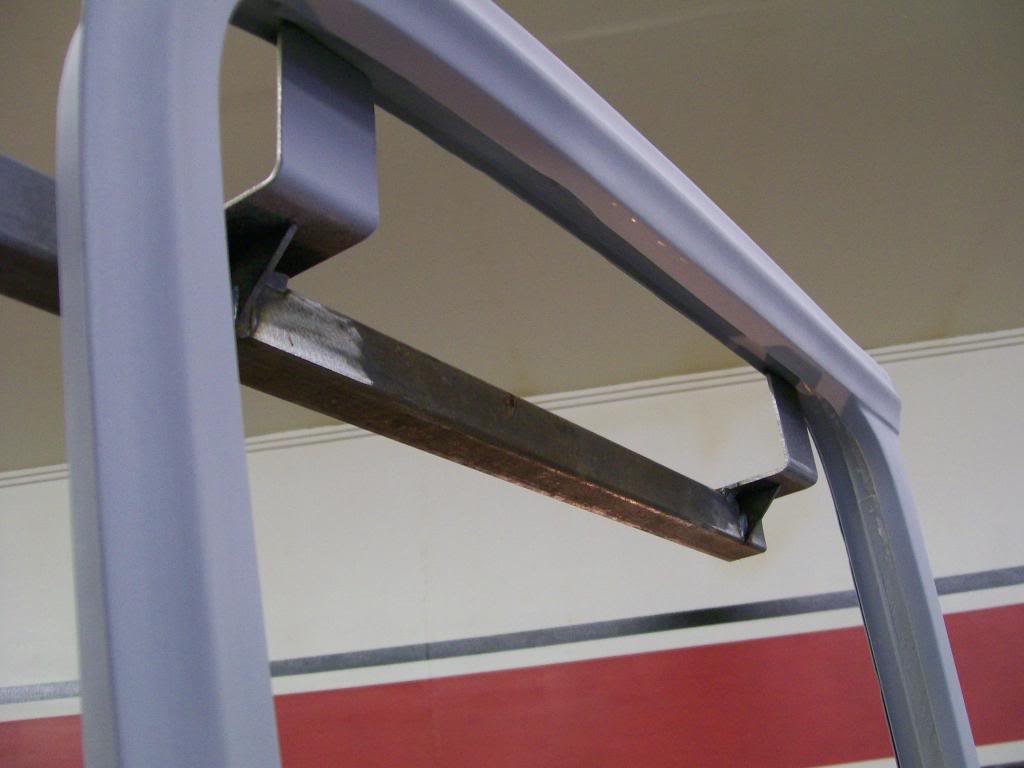
And the way the door rests on the bar.
I've also been on a very slow tear down. The time consuming part of the tear down is trying to check the fit and look for needs of new parts now vs. fighting parts during the reassemble process.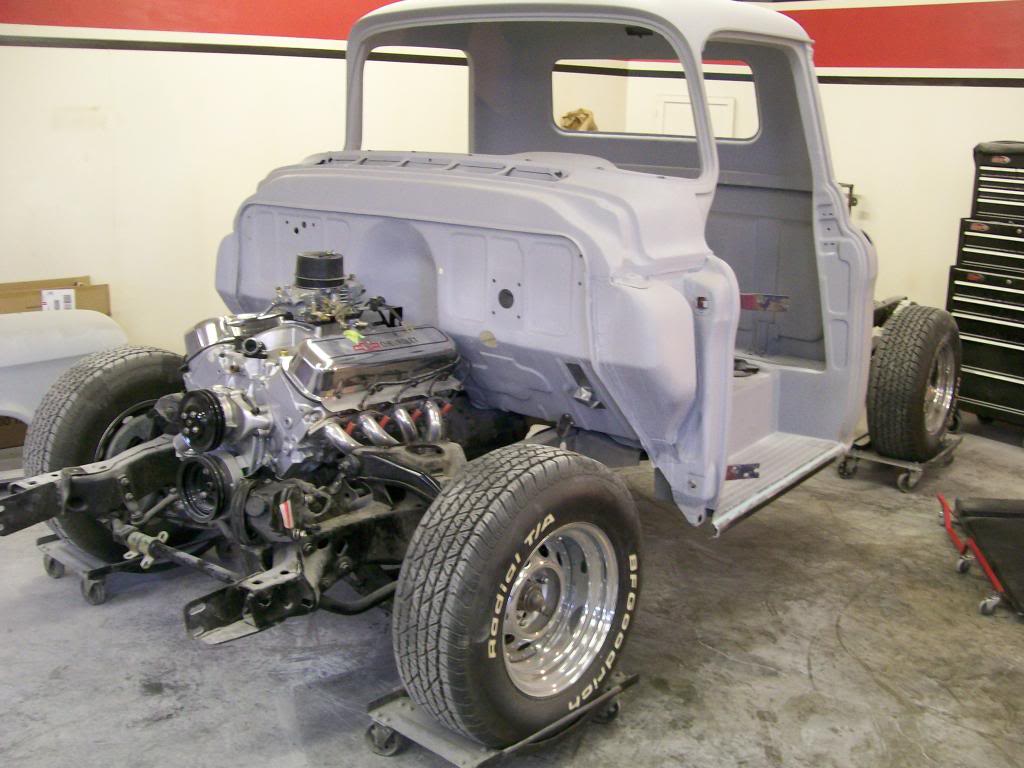
Drive train is out, now for the cab.
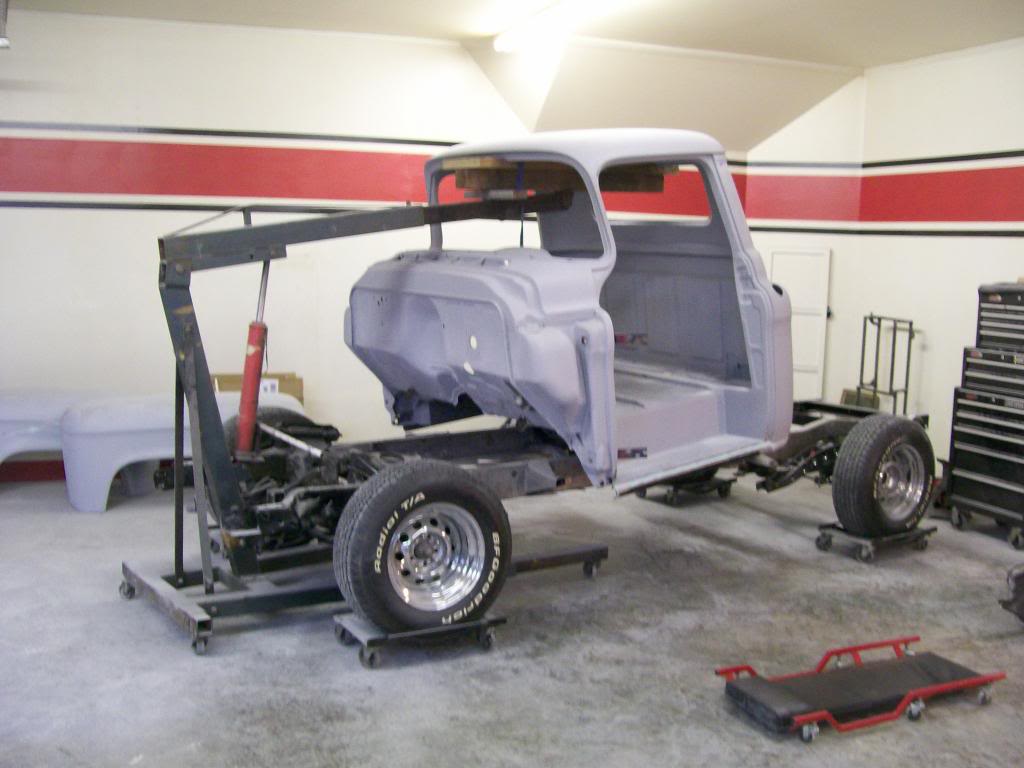
With the frame empty I rolled it outside and blasted most of it. There are spots I wanted to weld or re-weld, by sandblasting all these spots I have perfectly clean areas to weld. The cleanliness of these areas help promote very nice and strong welds. I'll do the welds then roll it back out again to blast the welded areas back to clean areas again.
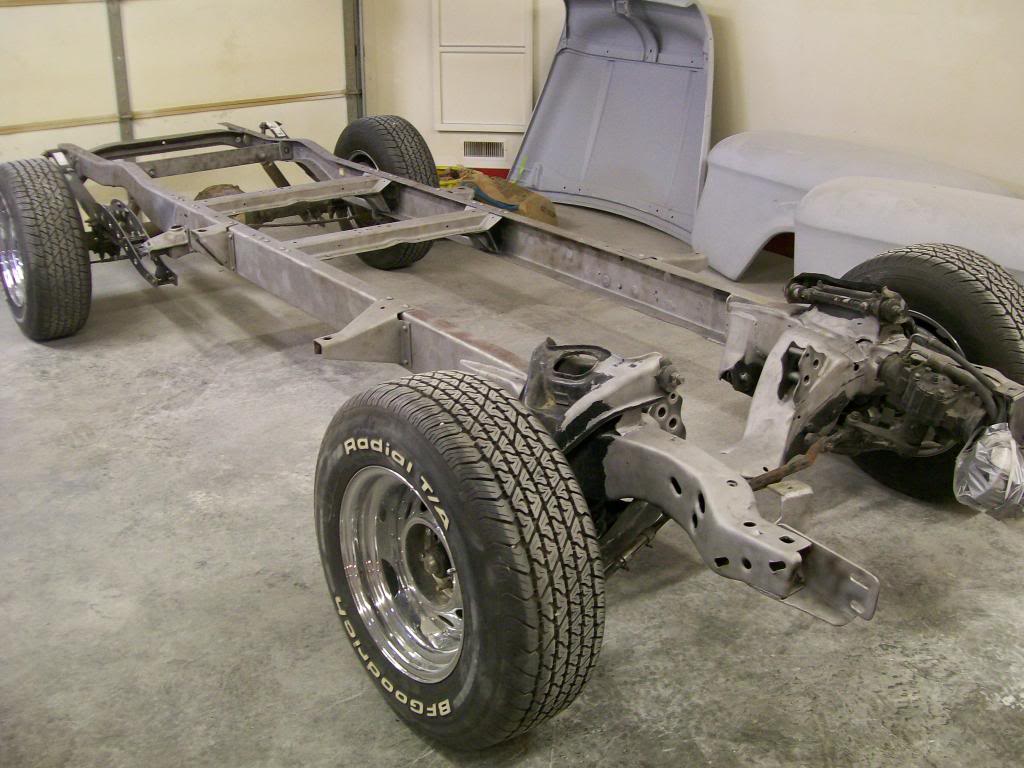
Next up I'll remove the axle and suspension parts and blast everything separately.
4-14-2014
Things are still moving along, just nothing too exciting to report.
Along these projects it gets easy at certain points to want to turn away from the project since there isn't much forward progress. It's at this point where I know many would begin losing enthusiasm, we look at how far we've gotten yet have so much to do.
The few times I've backed off a project because people say I could use a rest, I usually come back irritated because of how much farther I'd be I had stuck with the project.
Ok, enough of the deep thoughts. I've got just a few pieces to take care of. The inner front fender panels are something I could just sandblast, prime and paint but I like the shape and the angle the are in when in place under the hood. With the silver and chrome on the engine I'd like for these to be high gloss black to reflect the engine image.
Here is the angle and location of the panels.
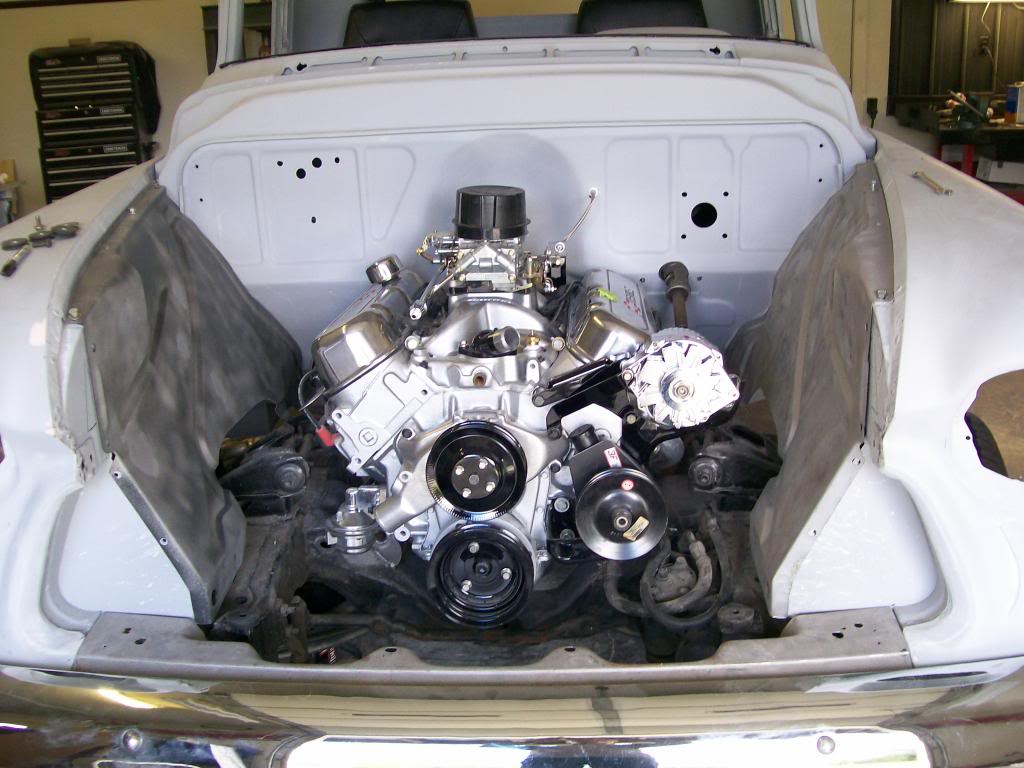
There a couple of lows and highs along with a few small wrinkles that will distort the reflection if I leave them as is. With a thin layer of filler and some block sanding I can get a nice smooth reflection when done.
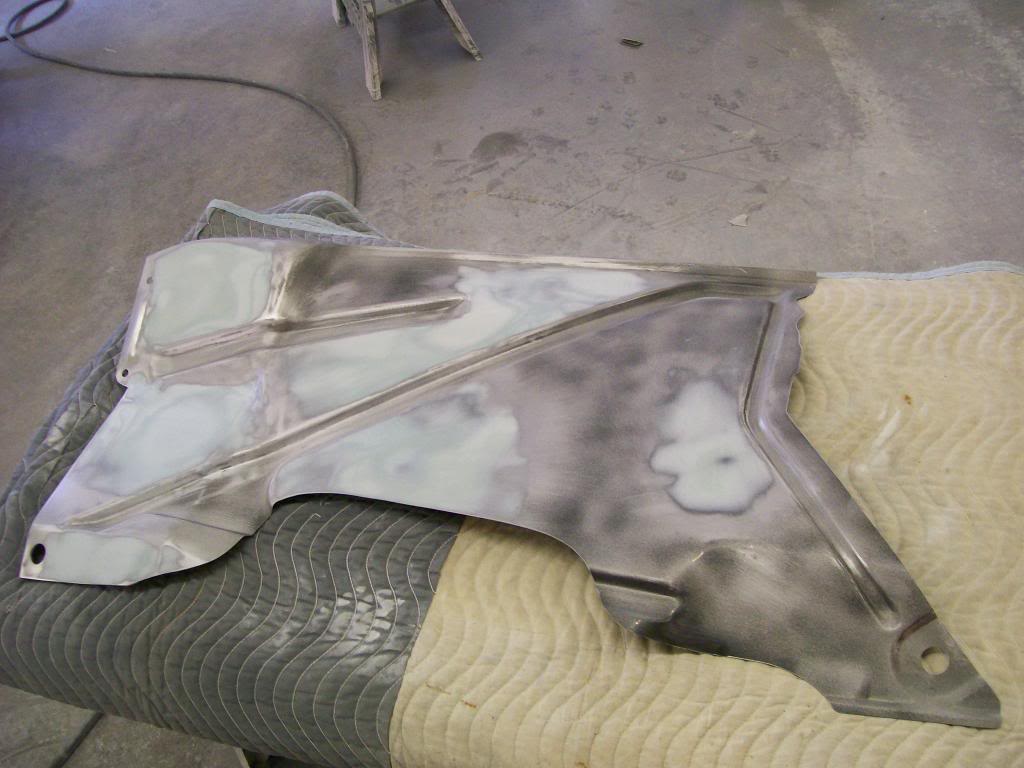
After the filler work it was time for the epoxy and high build primer.
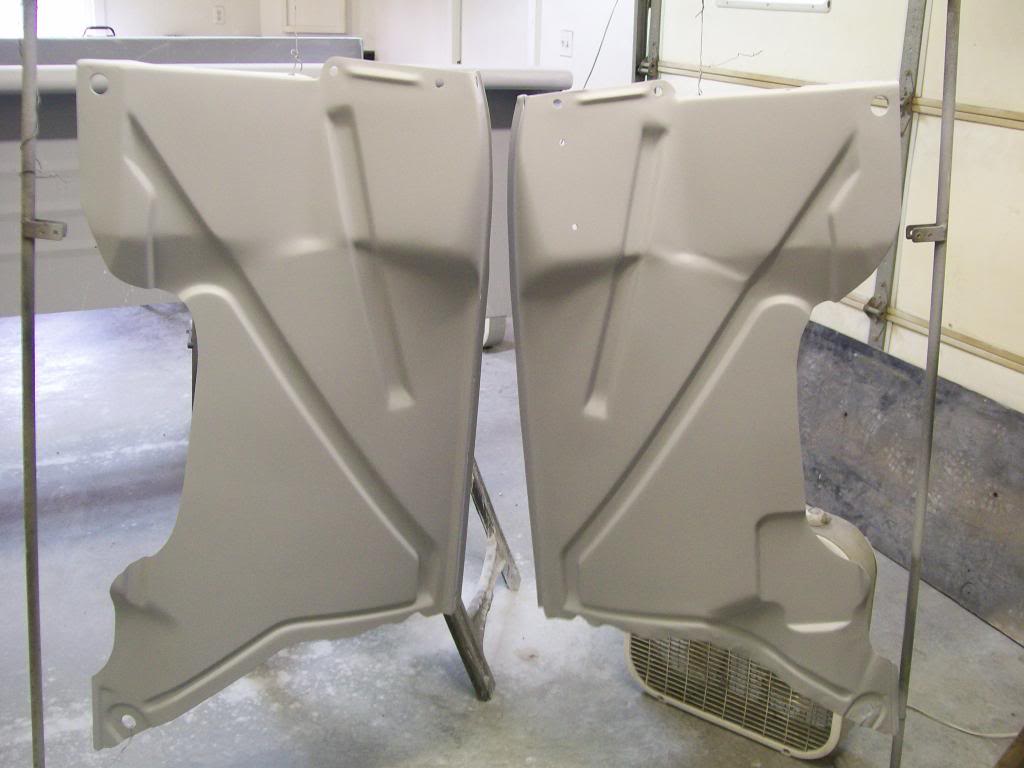
Then comes the primer block sanding and repeat the process a couple of times.
Just another one of those small projects that takes time but will pay off when done.
4-24-2014
Some pictures to get things up to date.
Someone in the past got excited with the cutting torch.
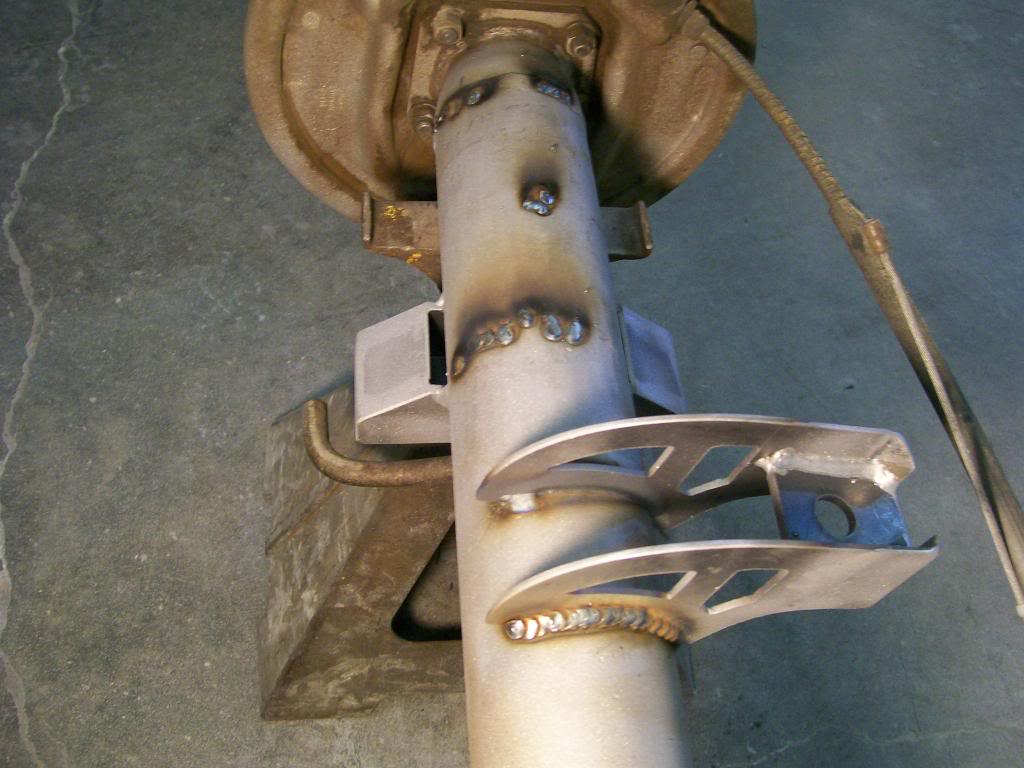
After grinding and sandblasting.
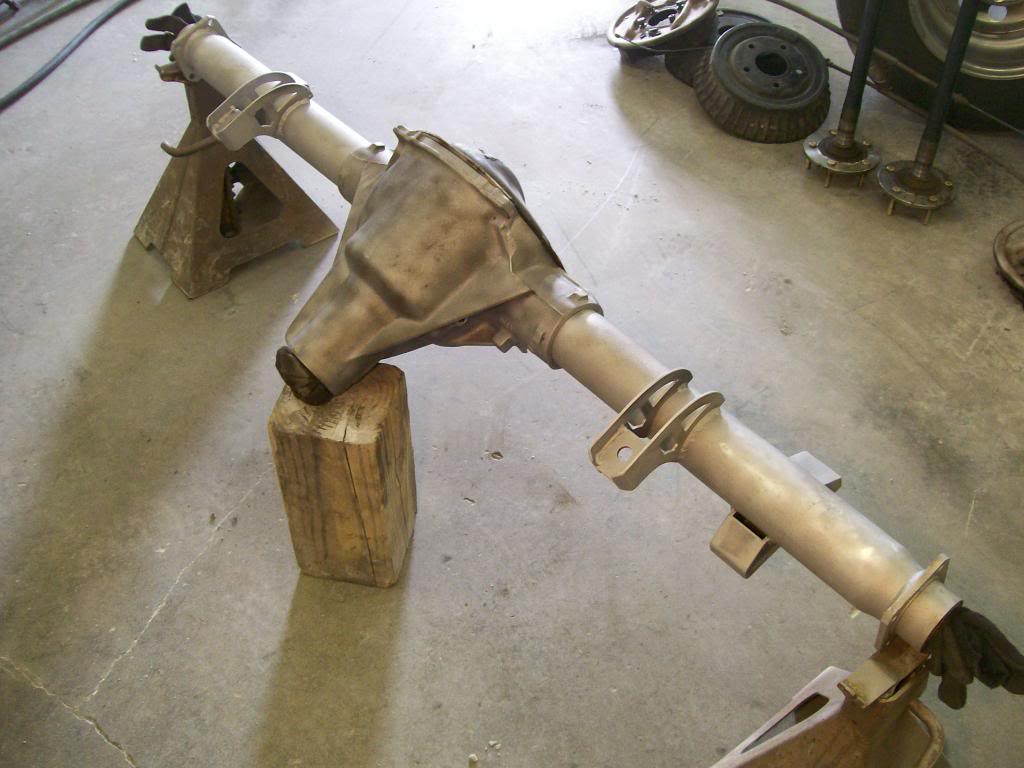
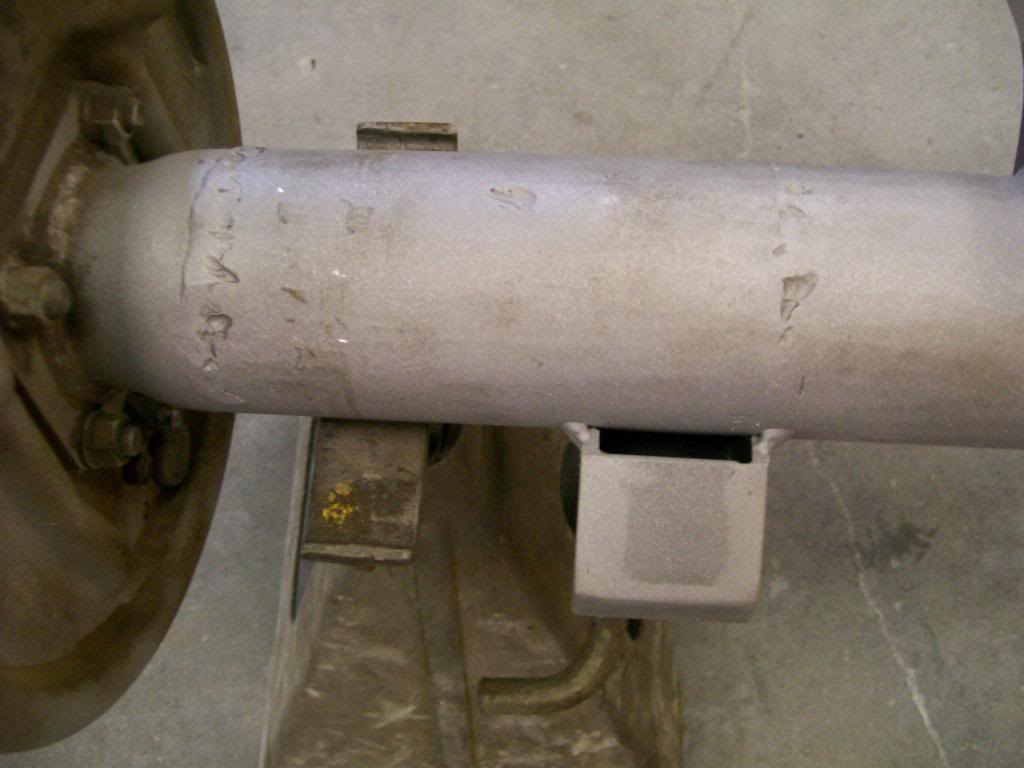
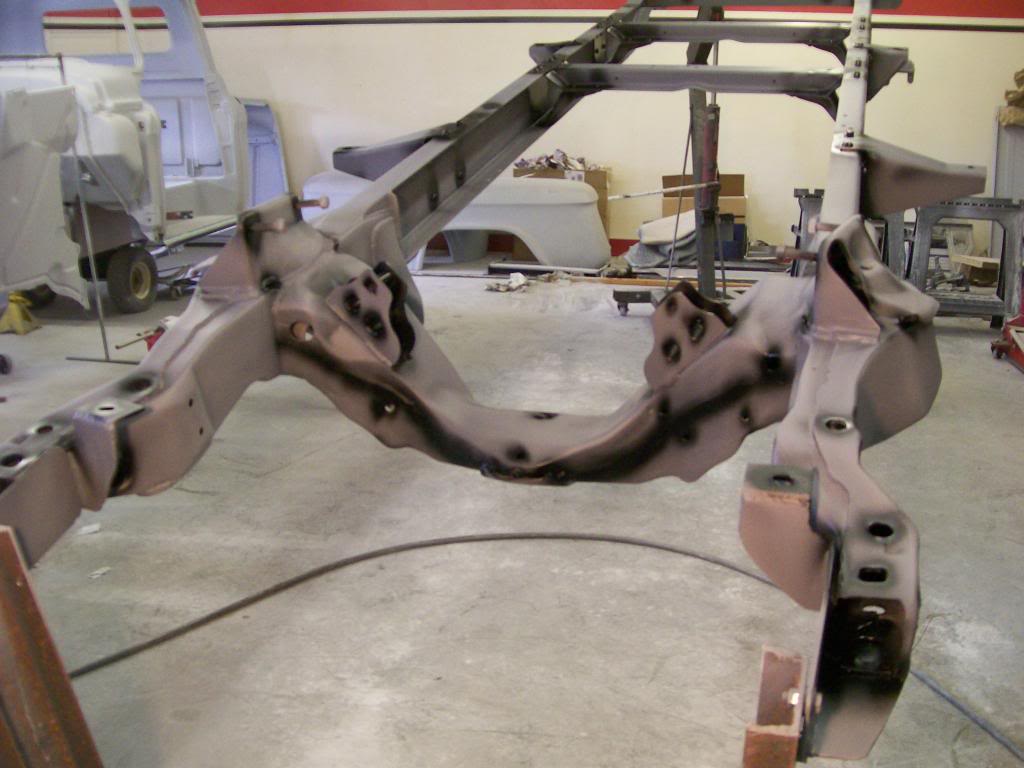
After the sandblasting to the frame I did a little filling to smooth welds and grind marks.
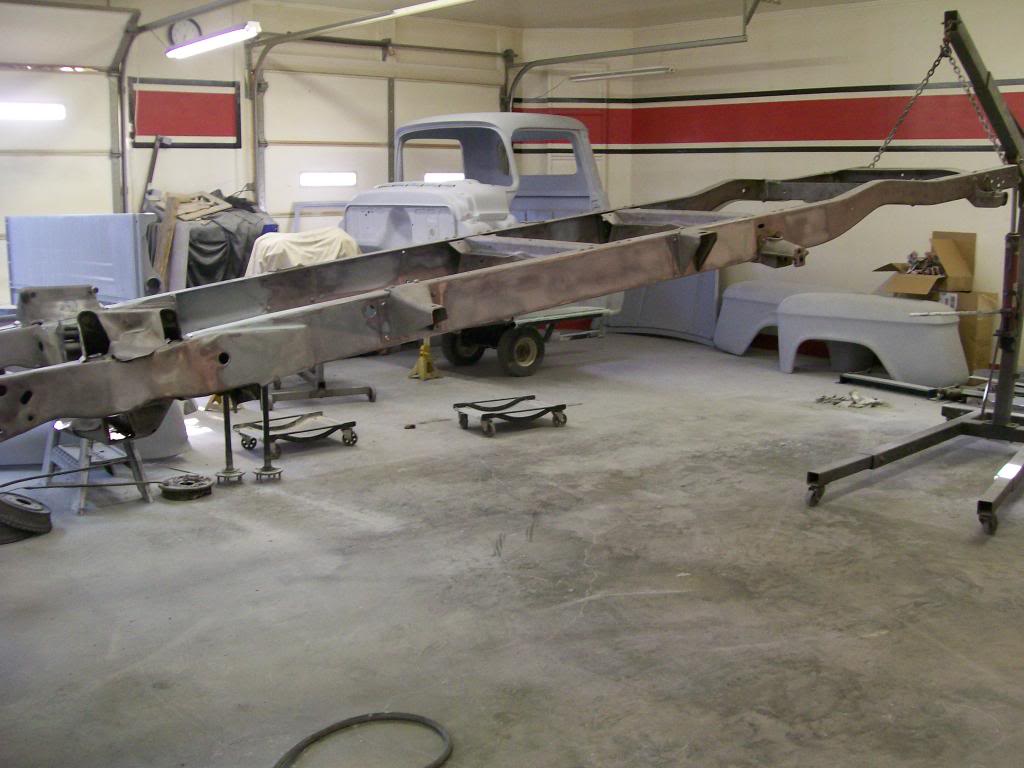
Next I applied 2 coats of epoxy primer and in this picture I'm applying Feather fill high build primer.
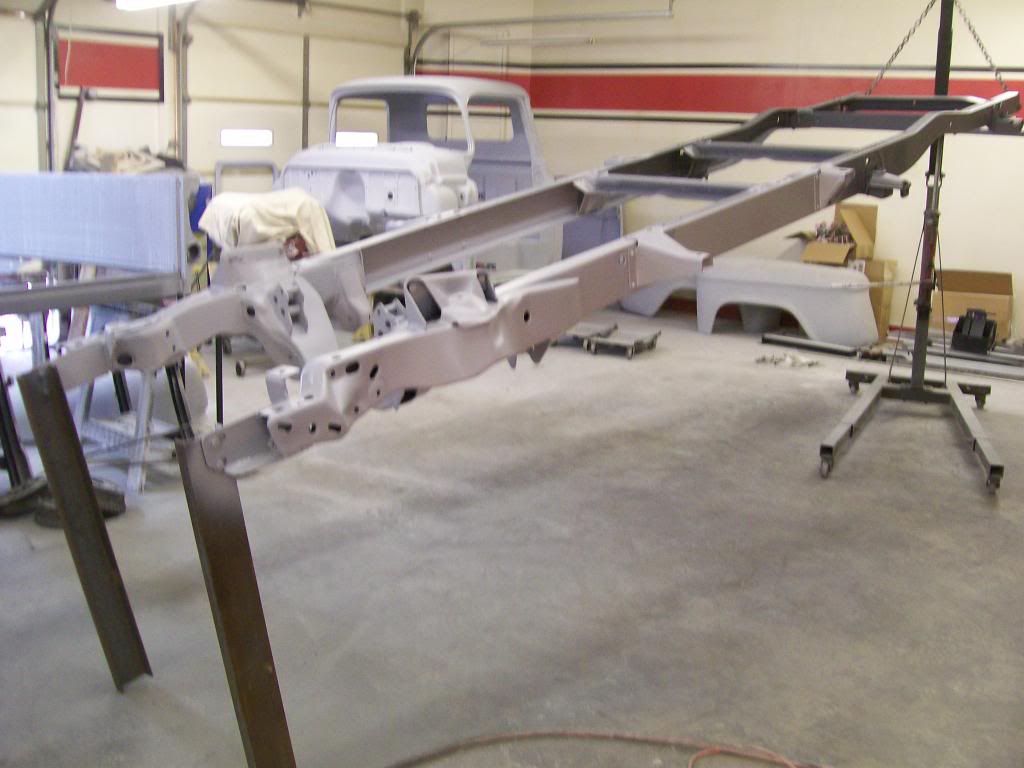
After the sanding to remove imperfections and scratches I applied a light coating of epoxy primer to seal the frame before paint.
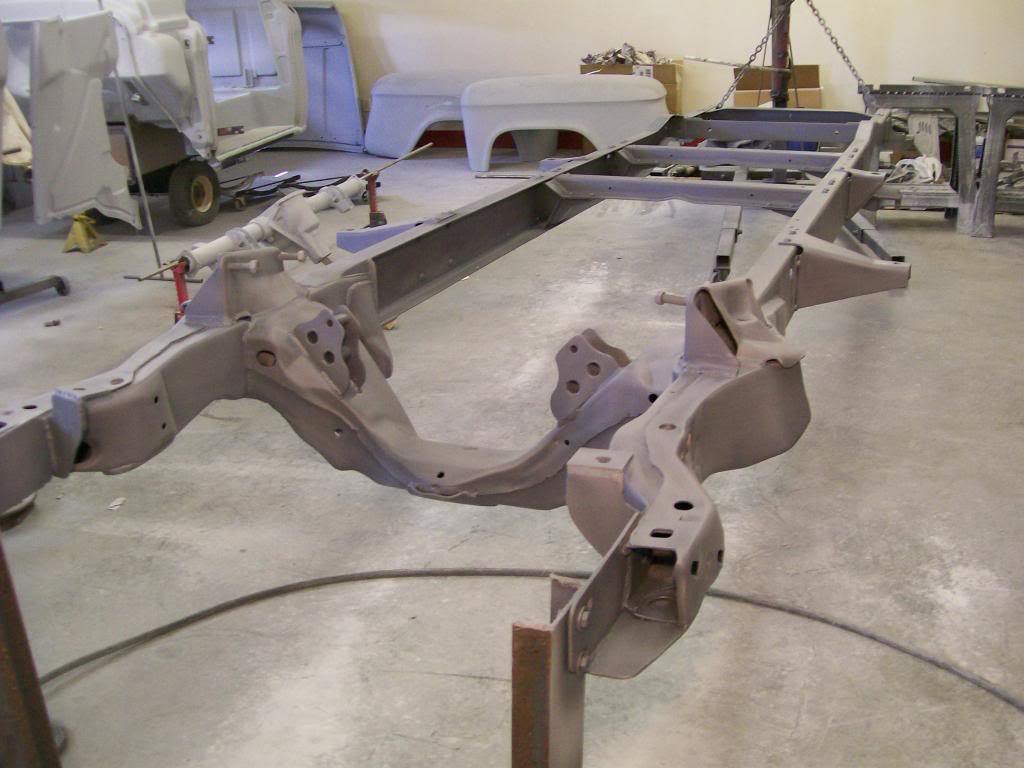
One thing I've learned is paint won't be where it isn't sprayed and there are a lot of holes and cavities that will be easily missed while painting.
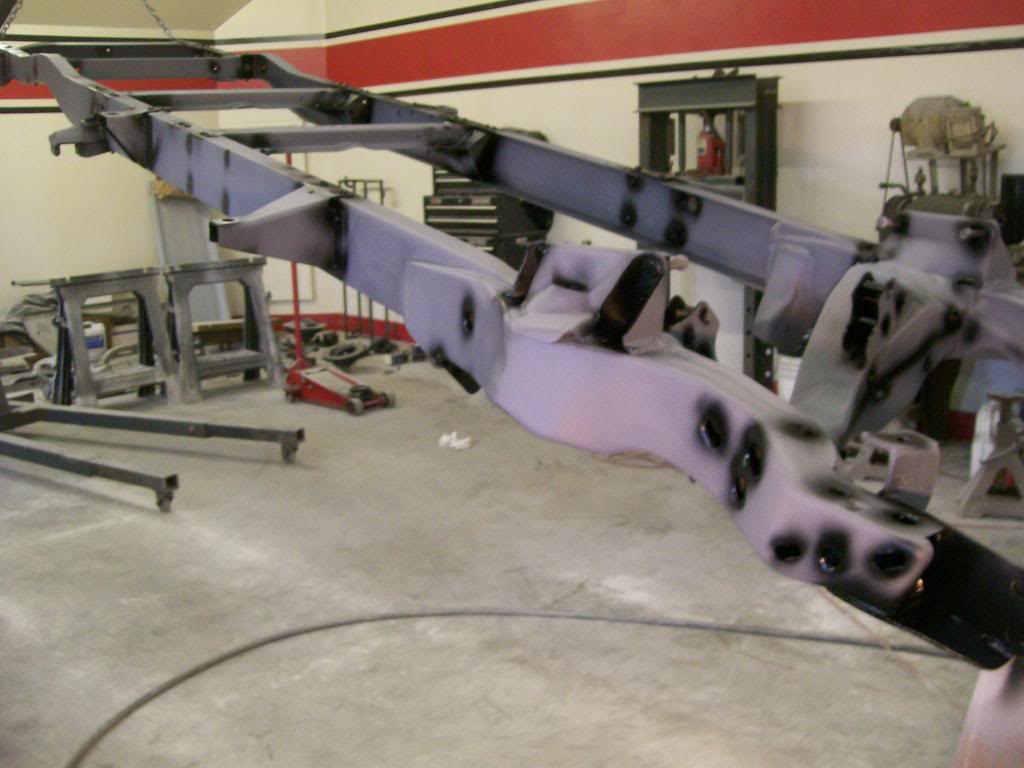
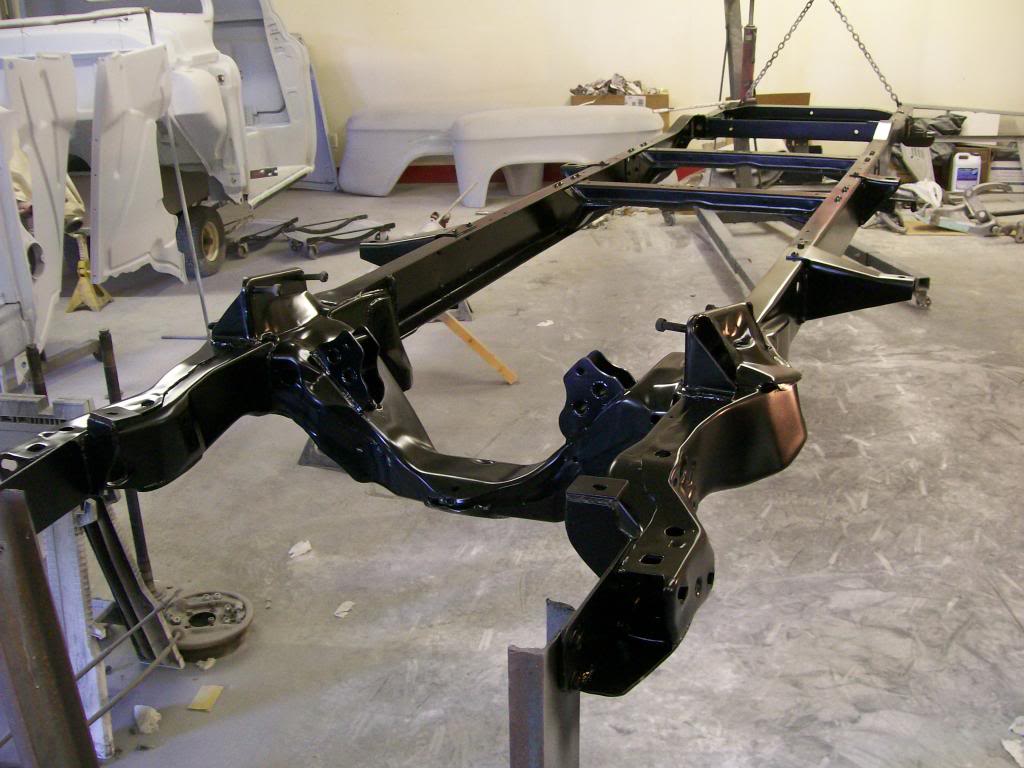
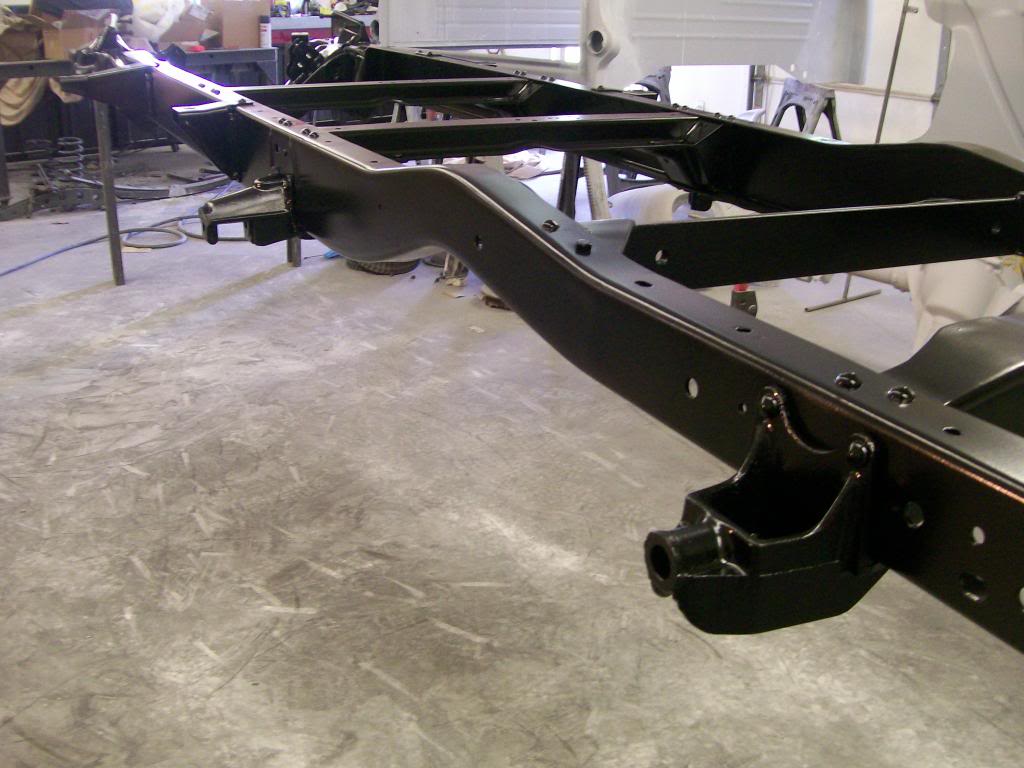
With all the easy to miss areas covered it was onto the painting. I liked the satin black I used on the Willys so I went with the same paint.
