You must be logged in to rate content!
10 minute(s) of a 668 minute read
10-10-2013
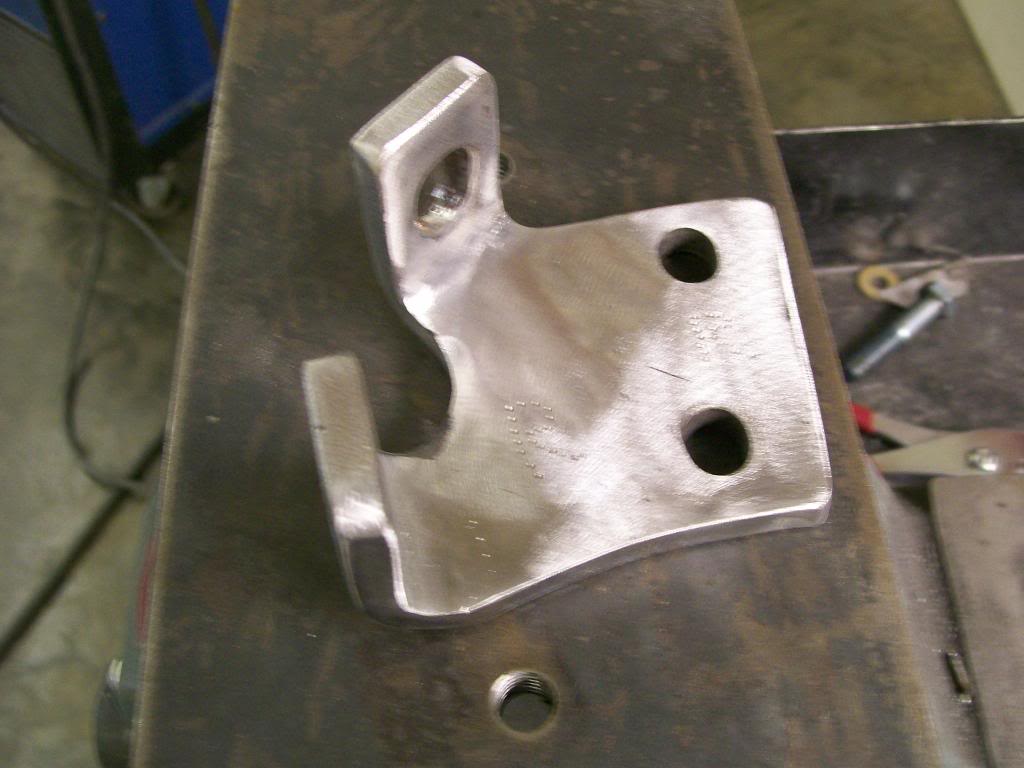
One item that needed attention was the fit of the front bumper. Since the front frame has been changed to a Camaro, the front frame extensions had to be fabricated to accept the original bumper mounts.
When I got the truck the bumper ends were pointed more downwards than I preferred, also I wanted raise the bumper about a half inch.
I ended up cutting the mount from bottom to top, this allowed me to reset the height by welding the two halves together at different places. This change and trying to rotate to ends of the bumper changed the angles where the bumper holes met the bumper mounts.
What I'm referring to is... I want the mounting tabs of the mounts to be flush and true with the bumper, if the tabs and the bumper do not meet flush, as I tighten the bumper bolts I will bend the bumper at the mounting holes and crack the chrome in that area.
Here is the bracket after the cuts to change it's profile, I've changed the height with the long cut and by cutting the tabs and weakening them I was able bend them as needed to match the bumper itself.
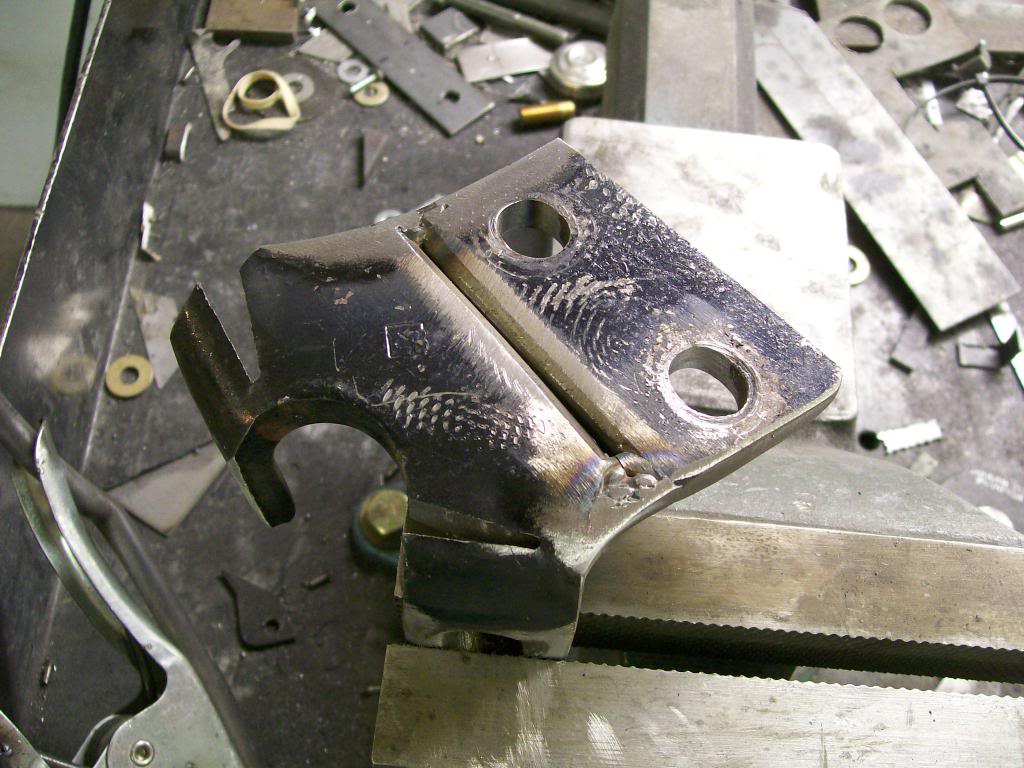
After welding and filling, you all know I went to the 4 1/2" grinder with a 40 grit flap disc. All I need to do now is sandblast to remove all grinding marks and get a good surface for primer to stick to, then satin black paint.
10-14-2013
Next on the interior was door panel work. The original door panel is steel with an outward bead pressed into it. This adds rigidity to the panel and also has a nice looking shape how it follows the panel.
Most people, including how I was going to redo it was to paint and maybe accent the bead with a pinstripe or two tone paint.
I'm not trying to go overboard with my changes on this truck but I felt I could try something different. I also knew I wanted black in the cab. With the amount of chrome and polished aluminum in the cab I didn't want to bring the silver paint into the cab, it doesn't have the "pop" that the polished and chrome items have.
I've getting more into the usage of stainless steel, it requires some labor but the end result it a nice polished finish that lasts a long time. Stainless it will be, labor intensive, you betcha, but the end result is a one of a kind finished product.
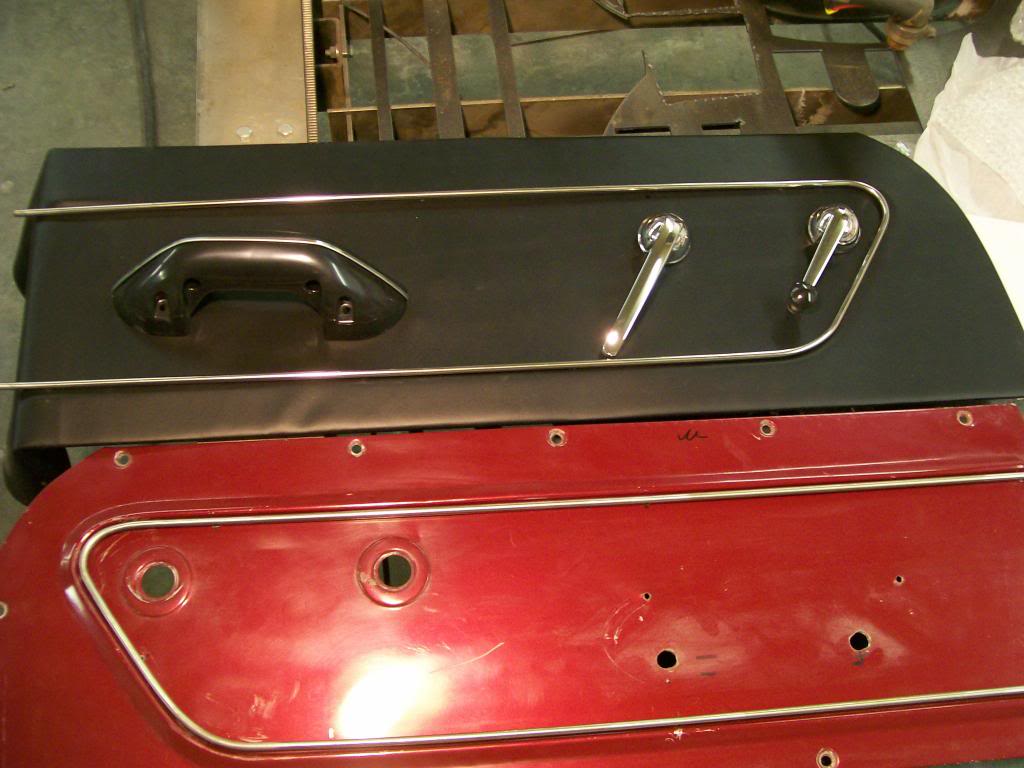
Here's the comparison, I wish the stainless trim wasn't on the original door panel in this picture but you get the idea of the change. I haven't glued the vinyl material down yet, once glued, the wrinkles will be gone.
My first concern was how well the stainless would bend, then how would it polish after being heated red hot. It was very cooperating on both accounts.
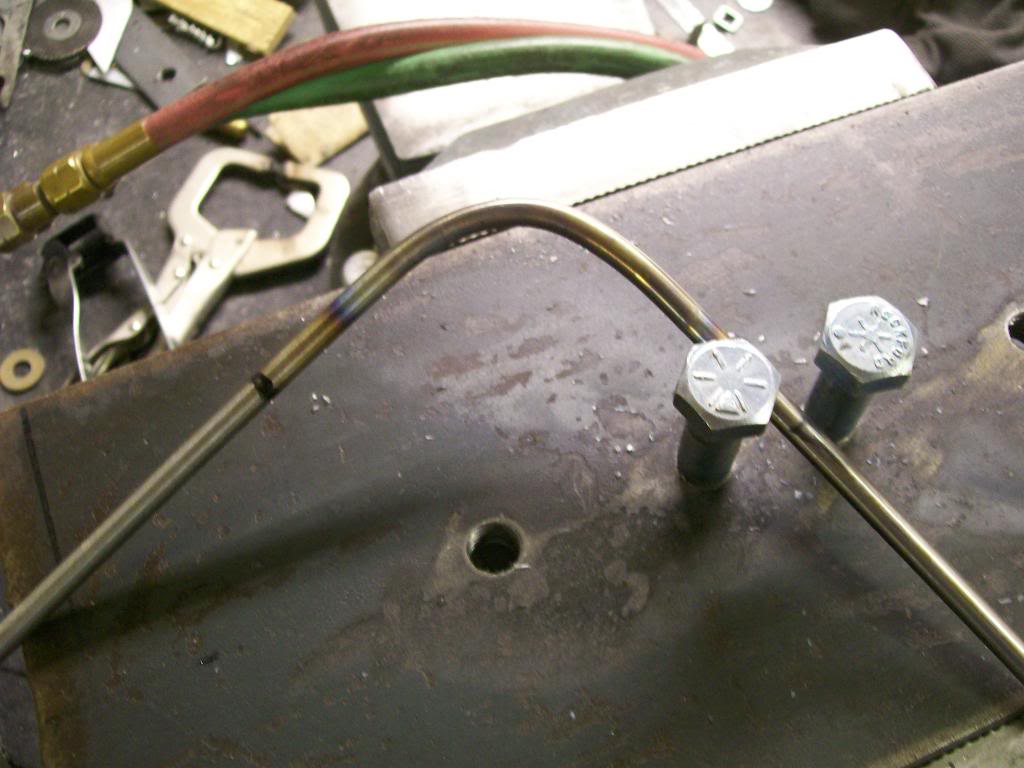
I kept heating and bending til I got the shape of the original bead edge.
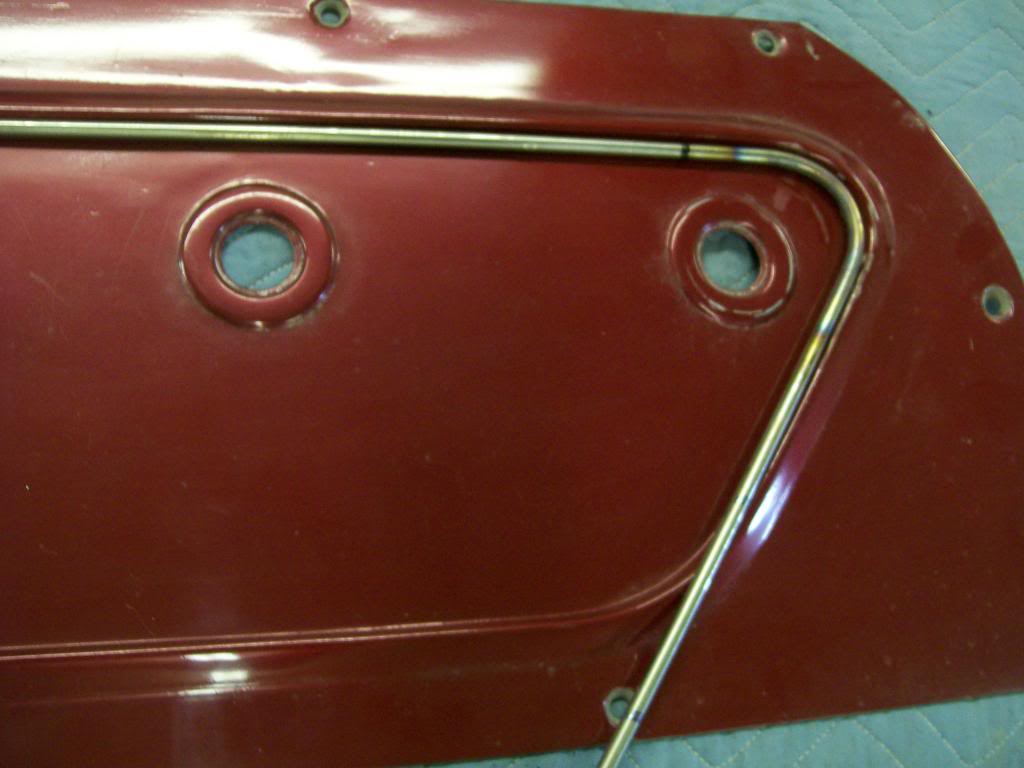
Shaping the rod is the easy part, next is..... how am I going to attach it to the door without having the attachment shown?
10-14-2013
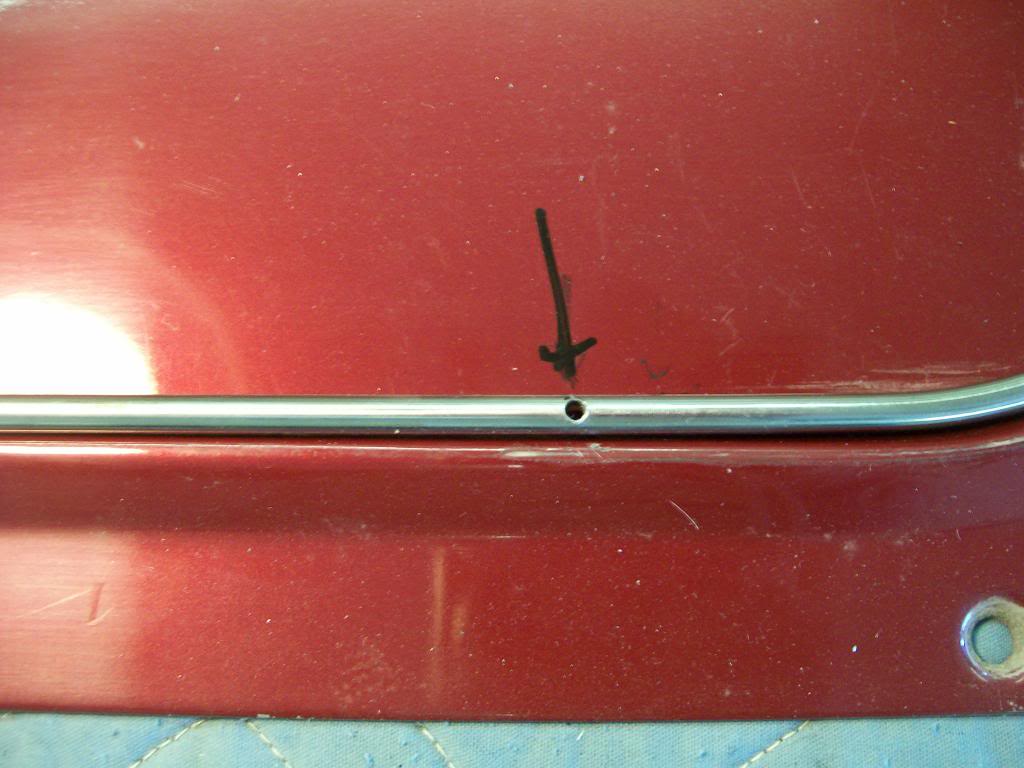
Very very close, there are some places during the stainless trim work that I did studs and there were places that I wanted to to use short screws threaded into the trim.
I'm gonna go right through the rod to get this done.
10-15-2013
Hi Gojeep, oh how I tried to do that. I just couldn't see how I was going to drill all the way through and make this look good when done. Drilling part way and tapping would have been great. Problem was, I'm only working with 1/4" rod then once I figure the slight taper at the end of the drill bit, then I am using a #6 tap, ready to snap at anytime so I need to use a tap that has the longer taper on it to cut the threads, I couldn't get any real threads to screw into.
Hers's the places we put ourselves into once in a while, we know the look we want, we have the materials, just how do we make them work together so it looks like a "no excuses" finished project.
Ok, when I ask how these things get done I'm not trying to show off. I know many of you will someday step out of the box and need to be creative, I figure by putting you all in the situation for a day it will stir your imagination and kick in the creative side of your minds, this way you'll perhaps step "up" instead of step "back" when a situation occurs later.
The vinyl was inexpensive, the stainless was expensive and I ordered 6 sticks, 6 foot long, this has to work.
Here's the same hole threaded and finished.
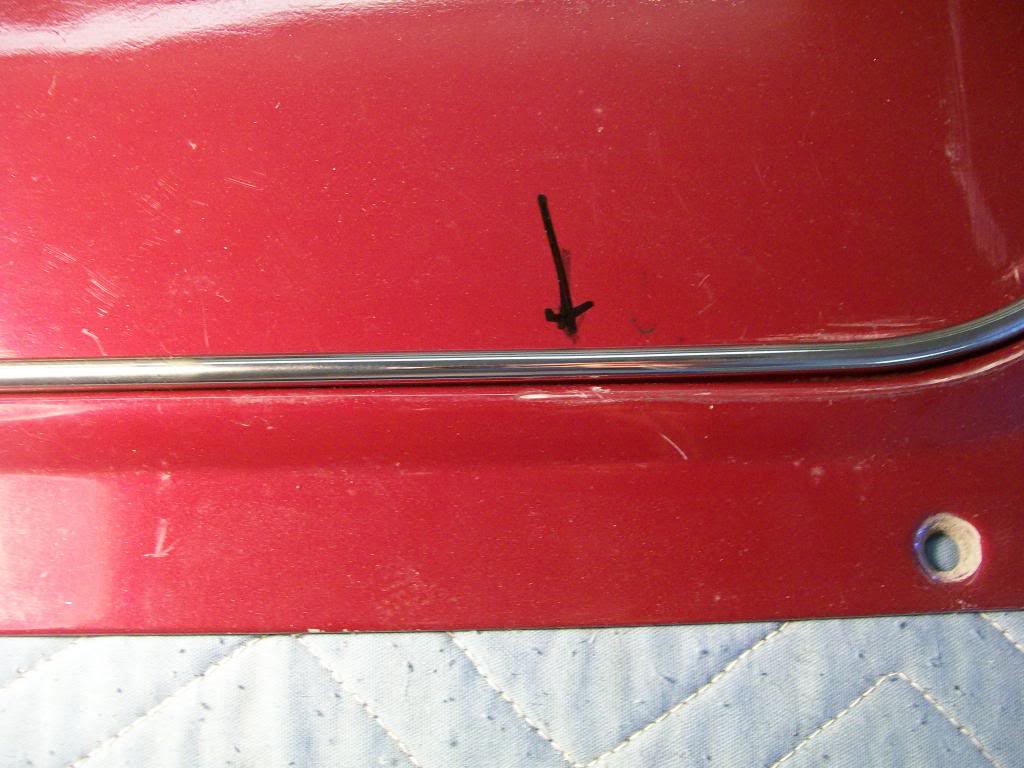
I have at least 5 to 6 good clean threads so the screw has a real good bite.
I hope you all like picture, here we go.
Knowing I had fragile threads in the rod I knew I had to weld the top shut. Two choices, either tig weld, good penetration, but the heat could reach into the threads and distort them. Next was the mig welder using the spool gun, minimal penetration, (which in this case these are cosmetic welds any way), and fast fill.
Mig it is, nothing pretty, but the hole got closed over.
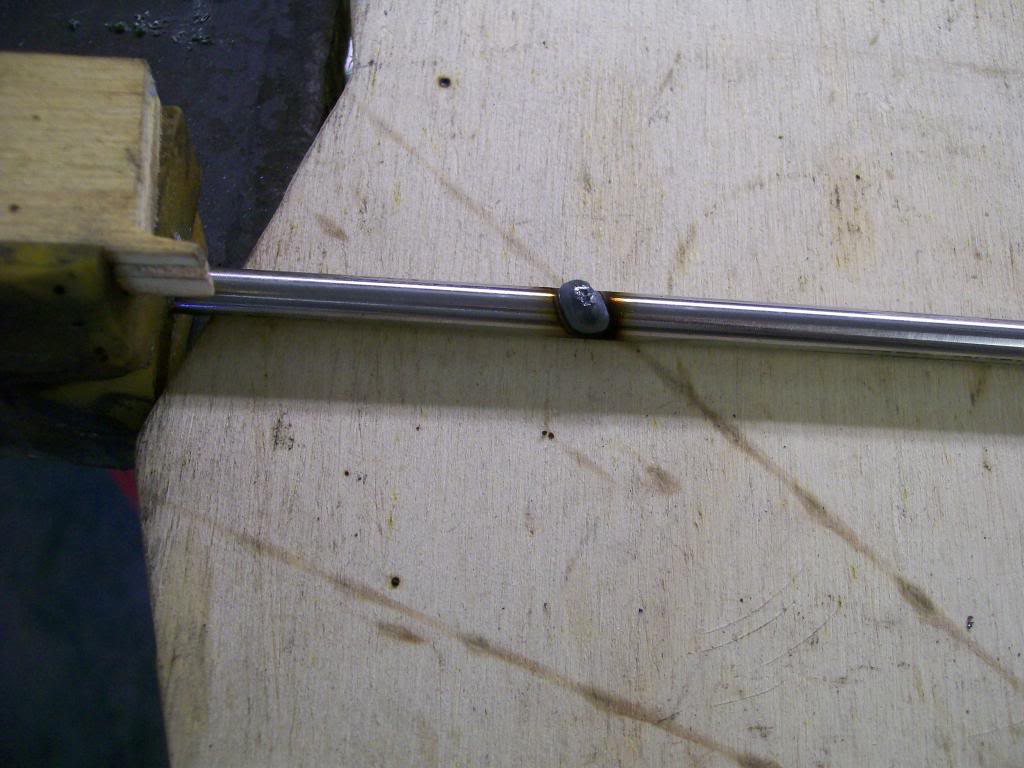
Very carefully with the flap disc I knocked off the excess.
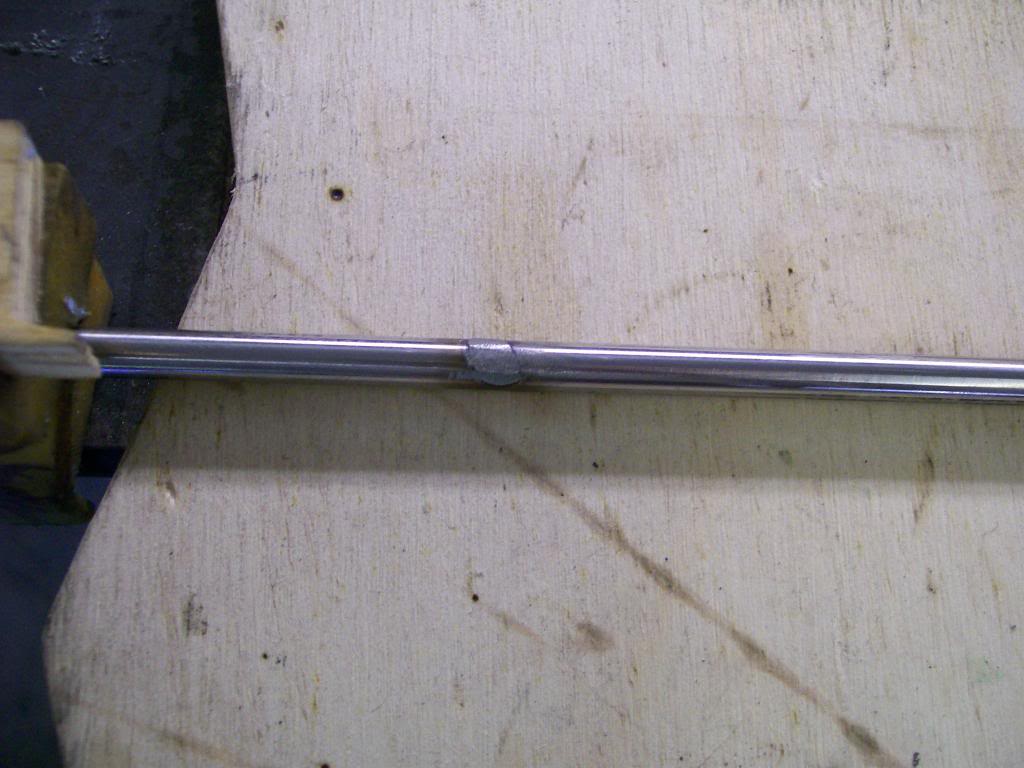
Now with a small flat file I'm close.
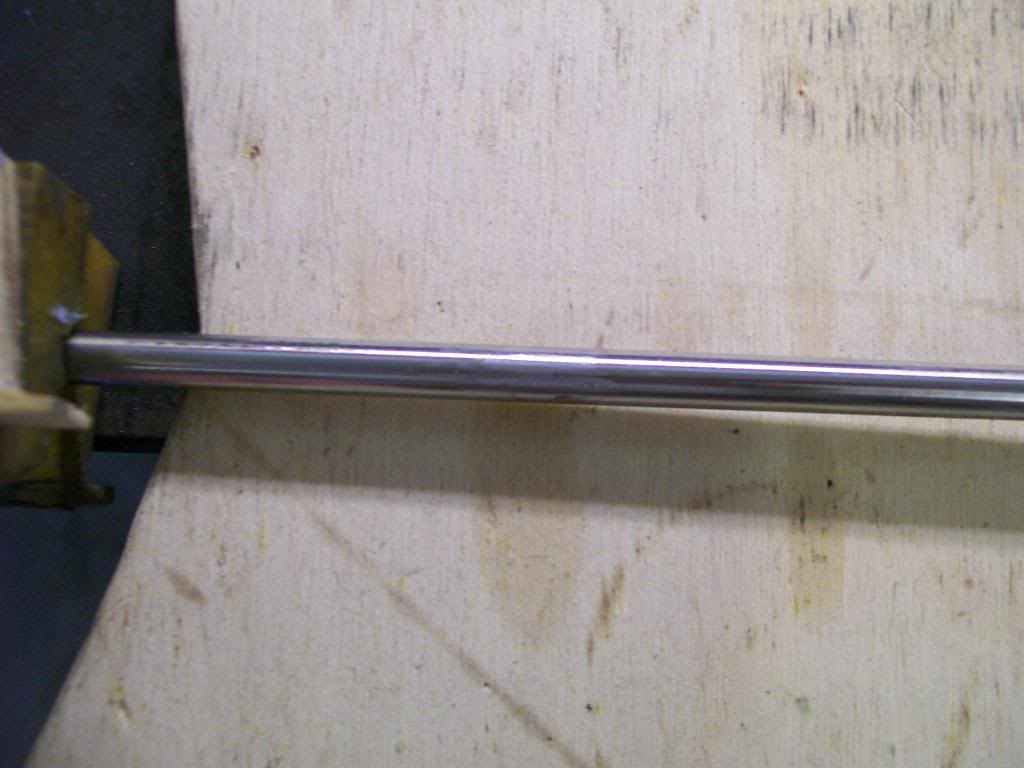
Once the filing was done I used 80 grit emery cloth and used as you would polishing a shoe.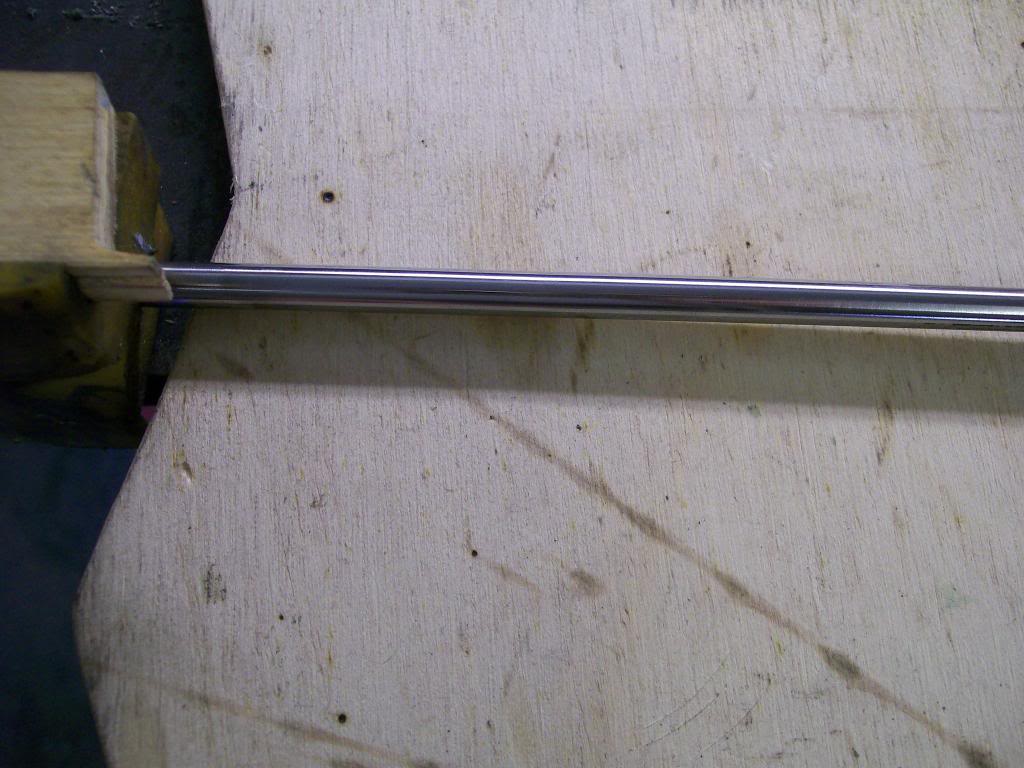
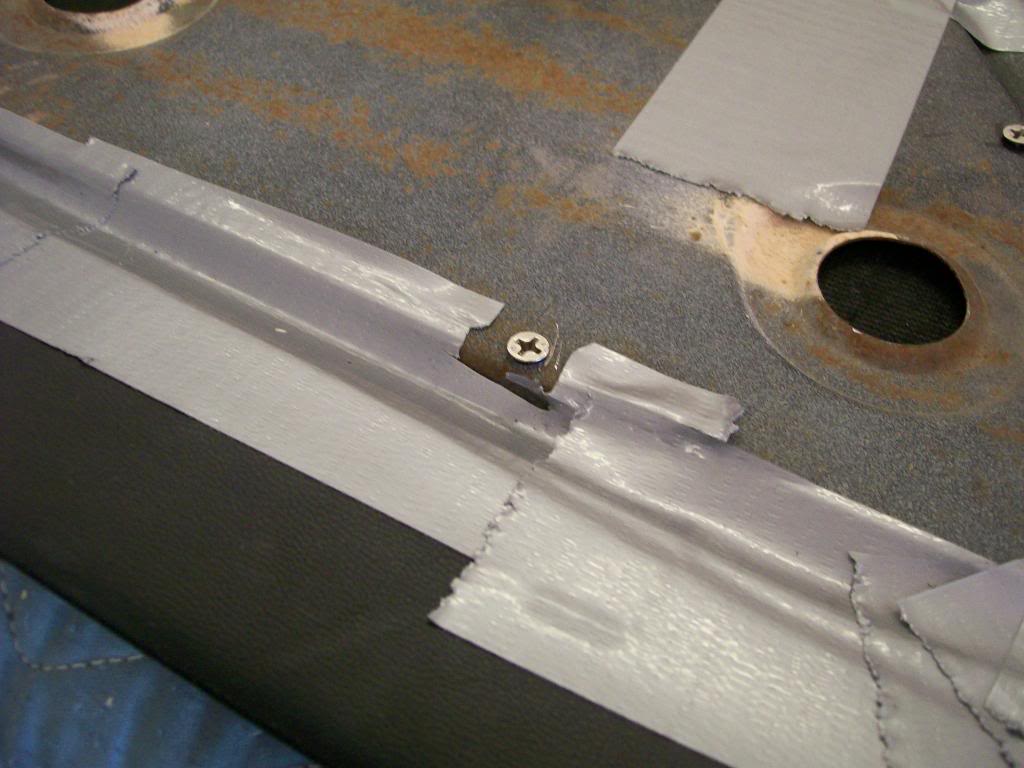
By using very short taper head screws it fits great. I had to use a taper head because the panel sits directly flush on the door when installed. This is a test run for the vinyl and the stainless trim, the duct tape is just holding the vinyl to the back side of the panel.
jpin86, I did do a stud version of this also, you were close, tomorrow I'll show how I did those.
10-16-2013
You never know til you ask. or if you're lucky, someone will ask the same question about the time you were gonna ask, which in this case, perhaps someone else was curious of the same thing but didn't ask and now with you asking they will get their answer.

I really like the stainless now that I'm working with it more. The two best parts are 1) it doesn't rust like carbon steel so I don't have to prime or paint to protect it. 2) I don't have a convenient way to get stuff chromed, the polished stainless is a great substitute for a chromed finish.
One nice accessory for the Mig welder is the spool gun. The spool gun gives the versatility of going from regular steel, a 10 pound spool in the welder, to aluminum or stainless without removing the 10 pound spool in the welder.
When the need for either aluminum or stainless wire is needed, I use the spool gun pictured below. Right now in the picture I have a small spool of aluminum wire in it, if I change to a stainless project I remove the clear plastic lid, remove the aluminum spool and switch to a stainless wire spool.
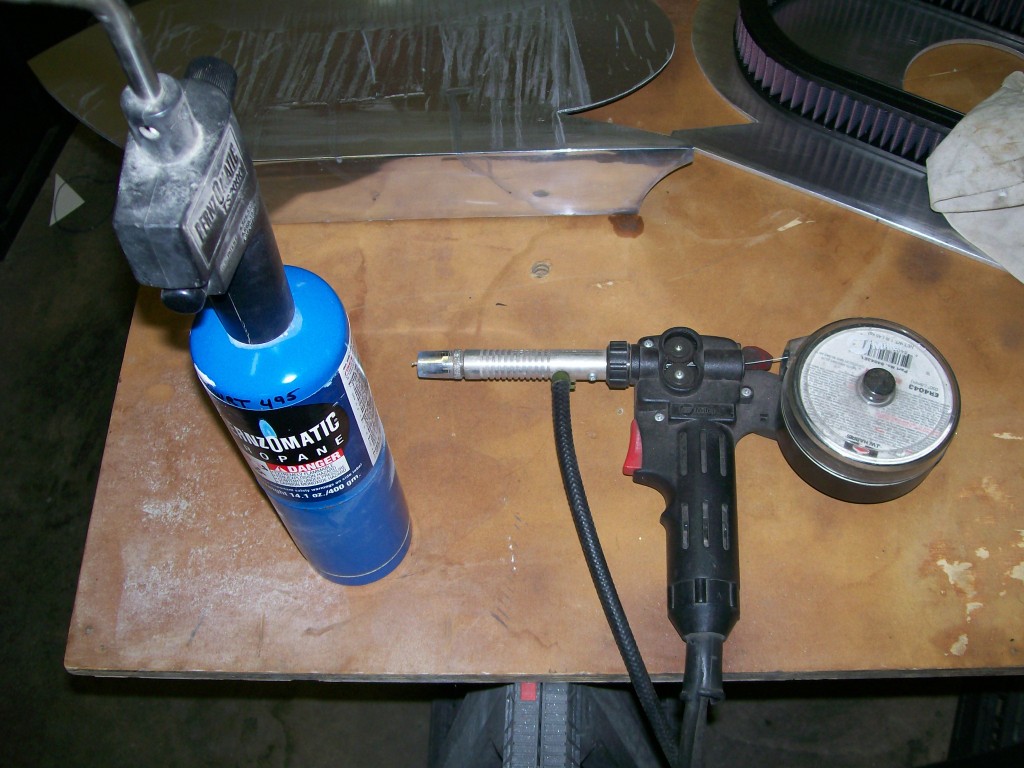
I do have to switch the input for the gas but other than that the welder knows when I squeeze the spool gun trigger or the regular trigger as to which one it will feed the wire and current.
Since I am welding with stainless wire I'm hoping the weld will never rust.
10-17-2013
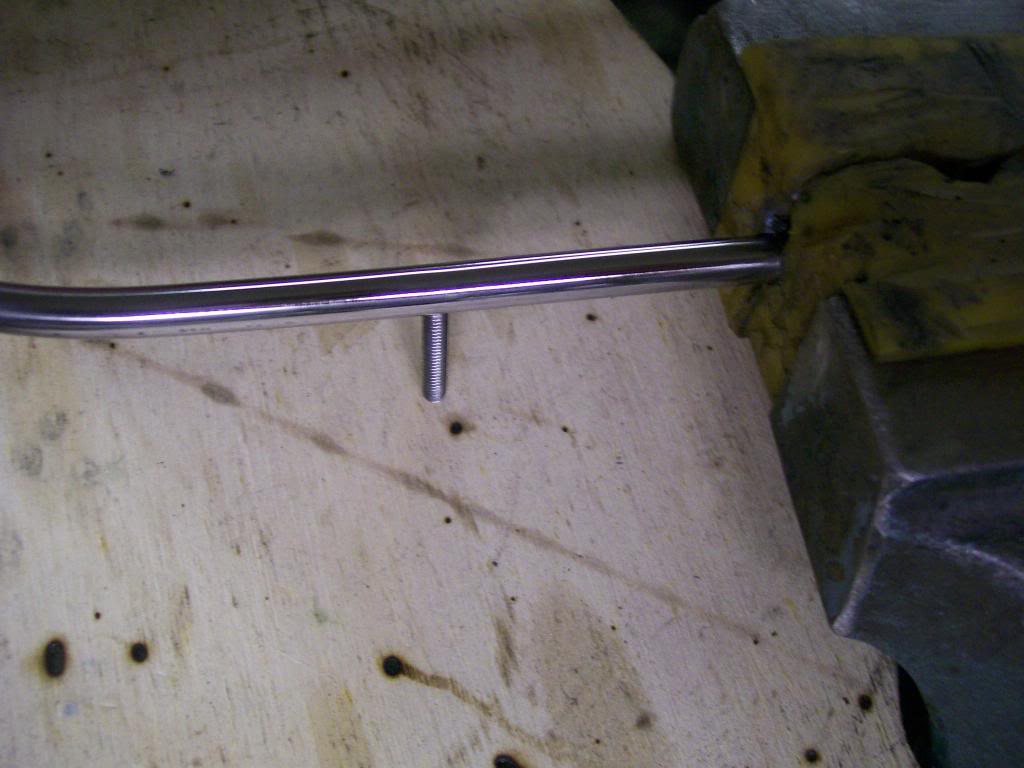
There's a couple areas that a stud would word much better than running a screw into the stainless.
I am going to drill and thread as I've done before.
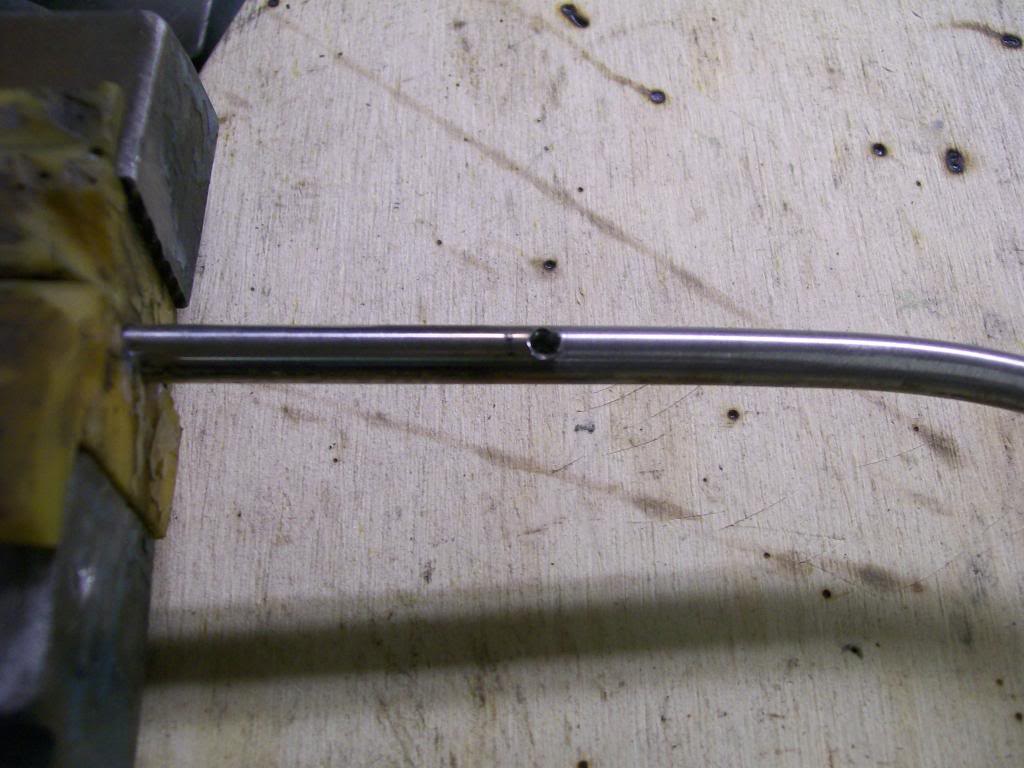
I used a taper point rotary brr to open the end of the threaded rod.
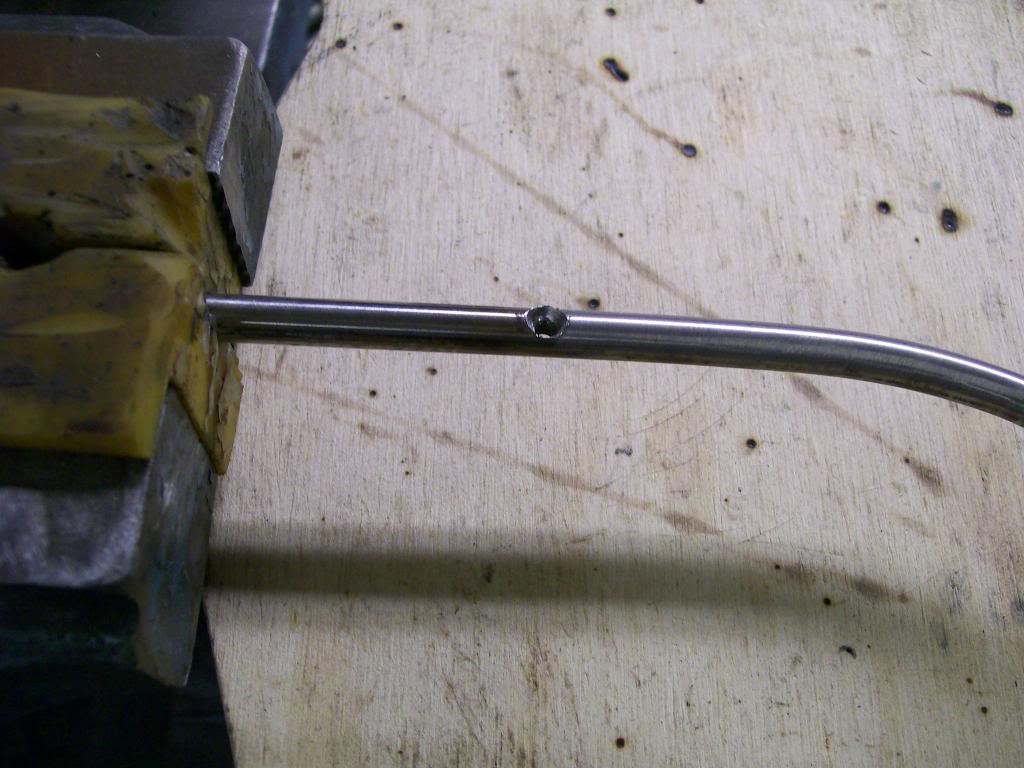
I used taper headed stainless screws and threaded it in and tightened it.
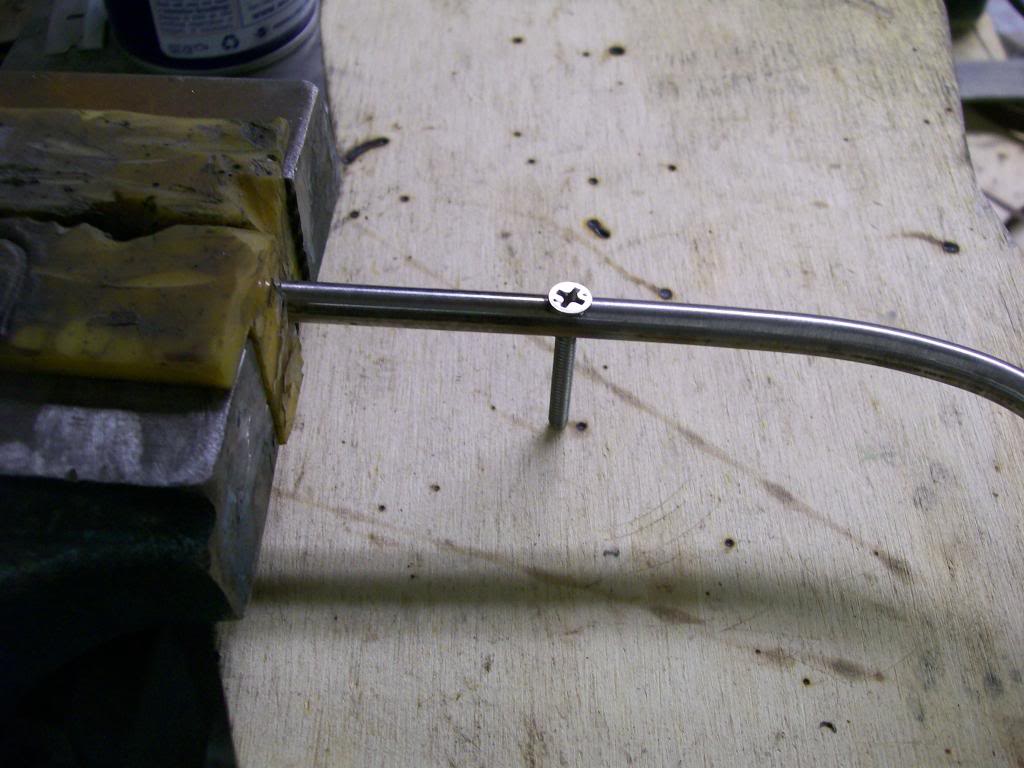
Now using the flap disc I ground down the head just slightly below the rod surface so the weld has something to fill.
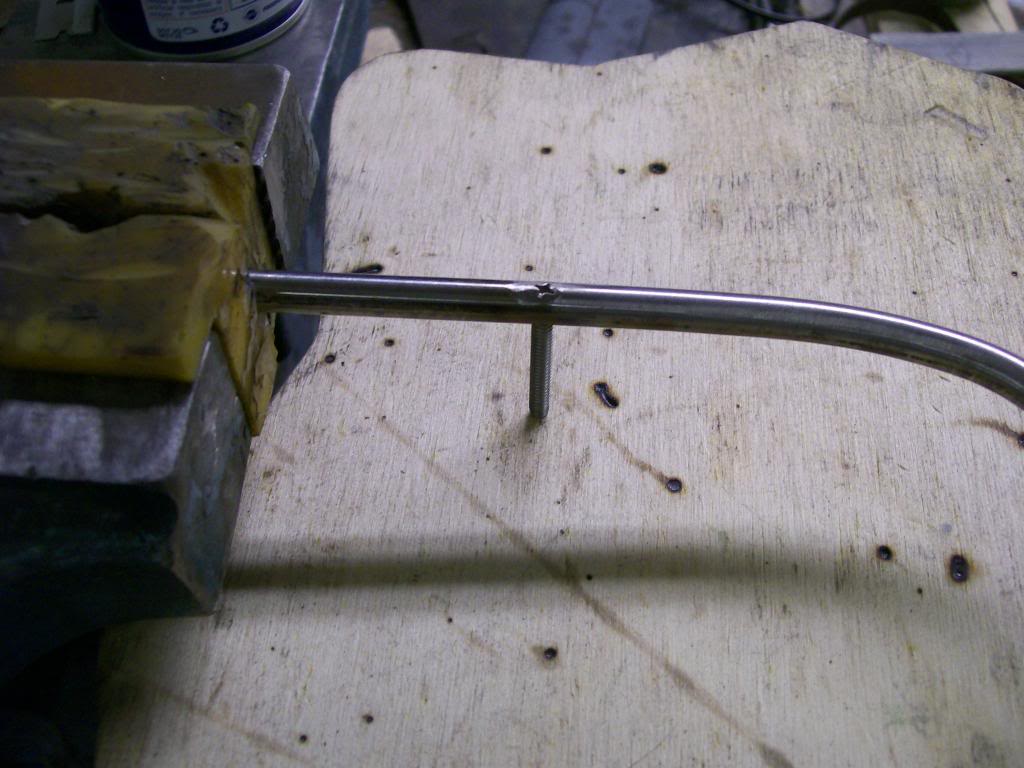
The rest of the procedure is the same, weld, grind, file then emery cloth. I did run out of emery cloth and looking for a good substitute I went to using an 80 grit belt sander that I cut into narrow strips. I found the stronger backing of the belt sander material actually helped clean up the weld much quicker.
After the 80 grit I go to about a 180 grit, then I use 400 grit.
The final result of one with the stud.
