You must be logged in to rate content!
8 minute(s) of a 668 minute read
9-18-2013
I'm glad you both like the progress. My intent on showing how it's done is to show alot of the work is more time consuming than anything else. The main thing for me is to forget a time schedule, as long as I'm working and moving forward on a project, that's what matters.
On the Willys I had a different time schedule, I knew I wan't it up and running to gather firewood and use if we had a snowfall. Because of this need I kept the project contained to mainly the rear of the truck.
Ok, a final pic from the top of the frame to show how the tapered metal plate blends the frames together. Looking at this next picture you can see the taper, looking forward and on the top of the frame is an original lip built into the frame.
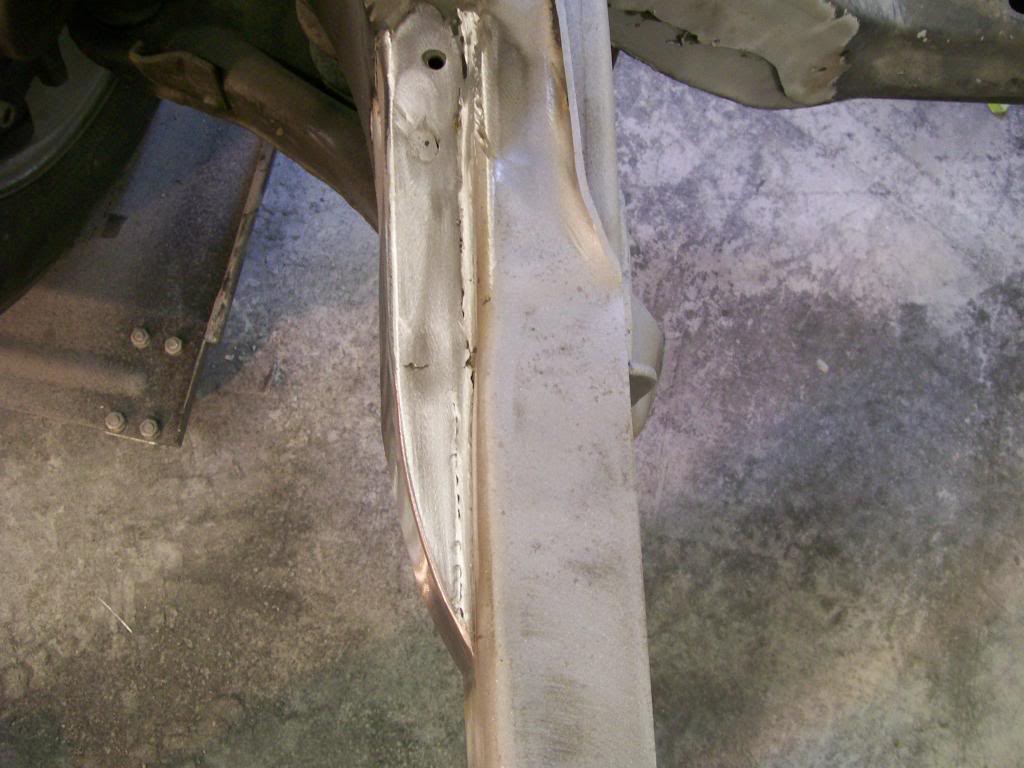
This lip has irritated me for some time now for two reasons. 1) it just doesn't fit. 2) I can not weld the old and the new frames together.
Here is a picture from The front.
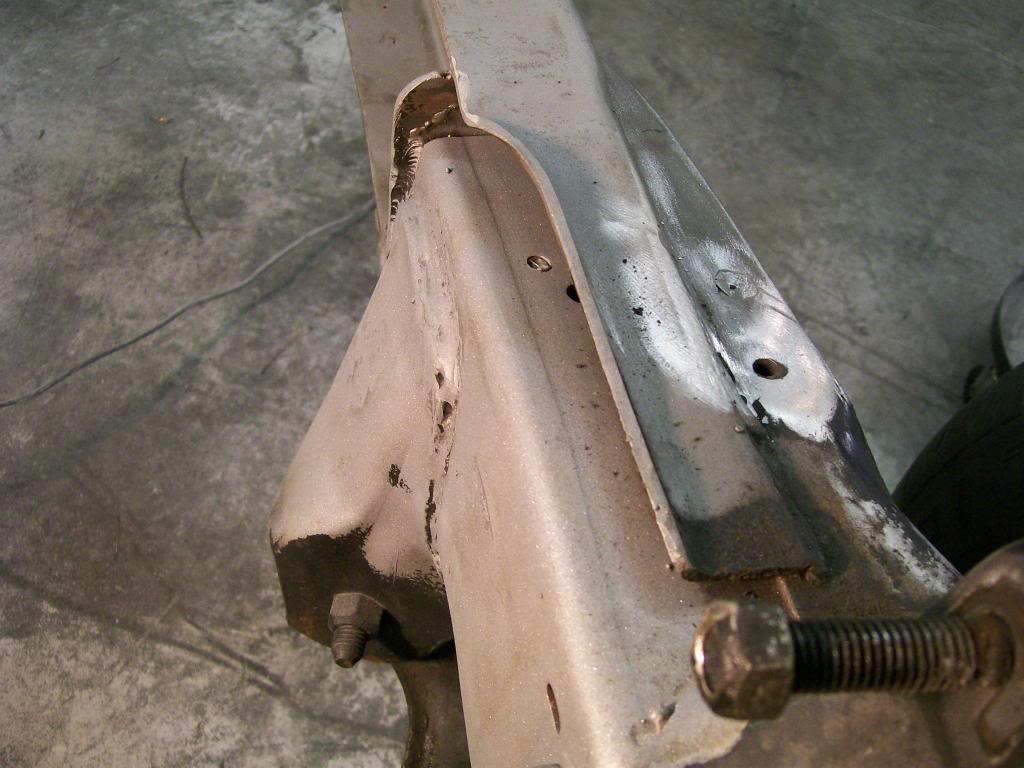
I ended up grinding away the flared lip til I had flat frame. Then got a piece of angle iron and started grinding the two to fit. Also notice the taper ground into both pieces so the weld would get good penetration.
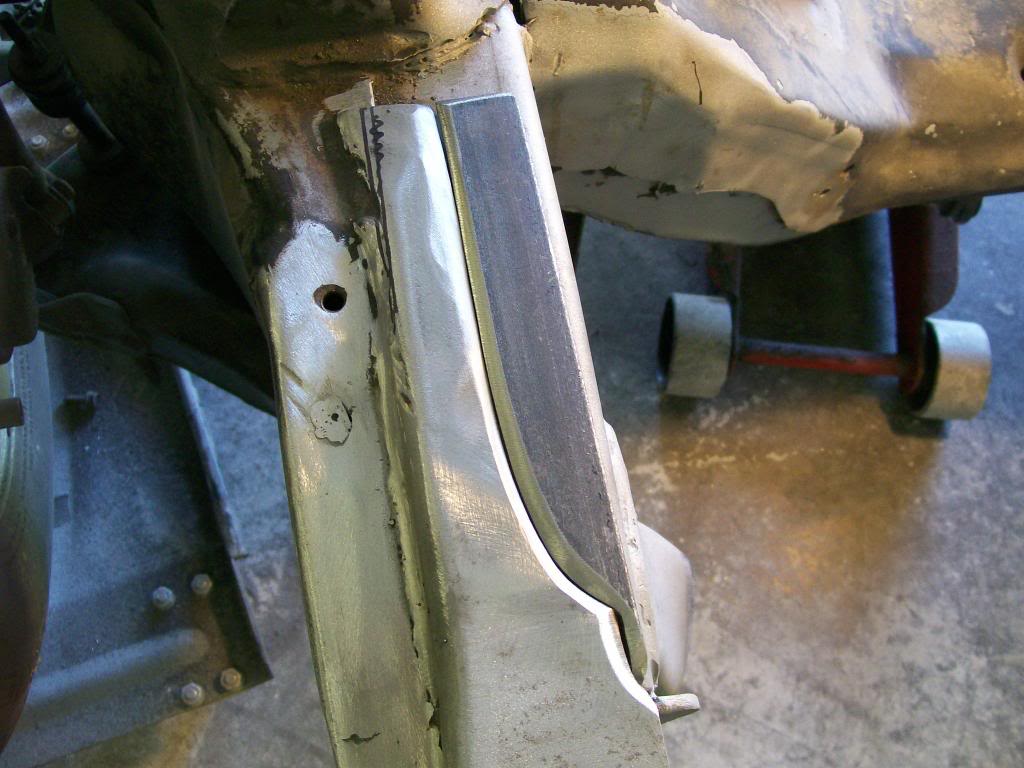
This is what I want, everything fully welded together.
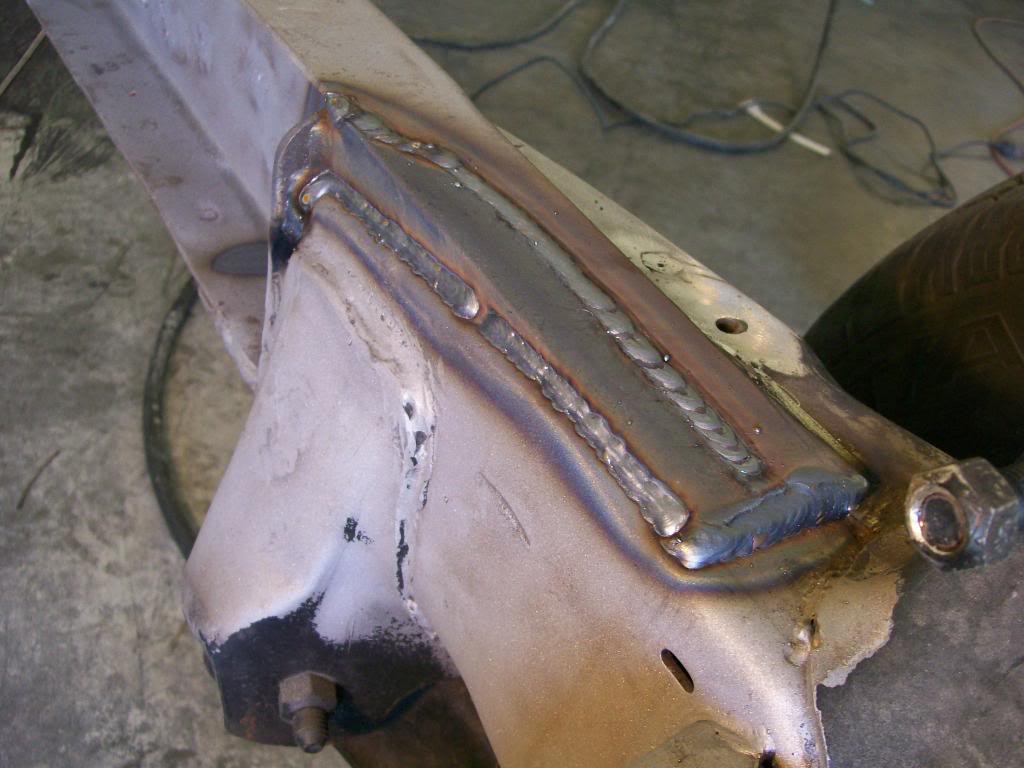
Yup, gotta go for the 4 1/2" flap disc. One could never tell there was an ugly lip here, and everything is neatly welded together.
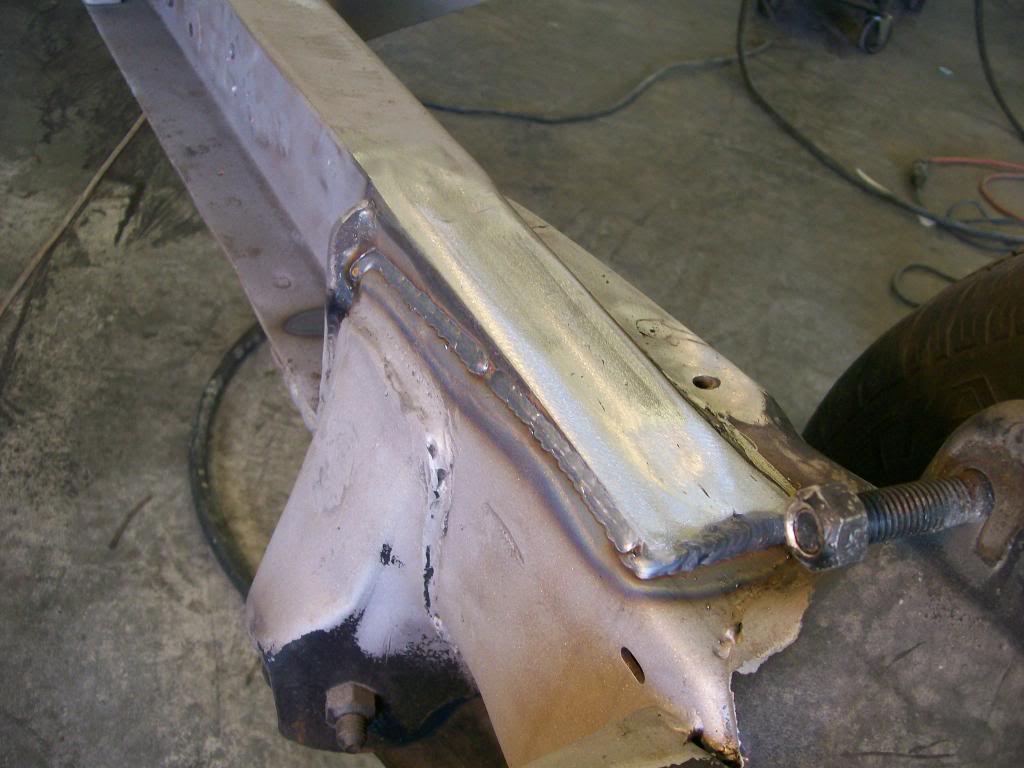
I didn't show prep pictures but, without a sandblaster the work wouldn't be as nice looking and doubtful that the welds would be as nice either. The sandblaster removes all the residue that can make a mess of a weld bead. I hate sandblasting, but I love the result.
9-20-2013
For those who have followed this thread I've mentioned the idea that occasionally you have to toss out something you've been working on to make an upgrade. Yes, the time is lost but if it doesn't match the quality of of the rest of the project, start over. Once again, I prefer to build a nice product vs making excuses when done.
Case in point, the old bed. Yes, the one that I built the tail lights and the bed caps to close the open ends of the bed rails......gone, it basically pissed me off.
The main bed side walls were warped beyond the point where the bed floor would match the warp of the bed sides. I've seen the issue but thought I could work through it. Then I realized I'd be making excuses when done, it just wasn't going to match the quality of the rest of the truck.
I always planned on getting a new tailgate, now the whole bed.....
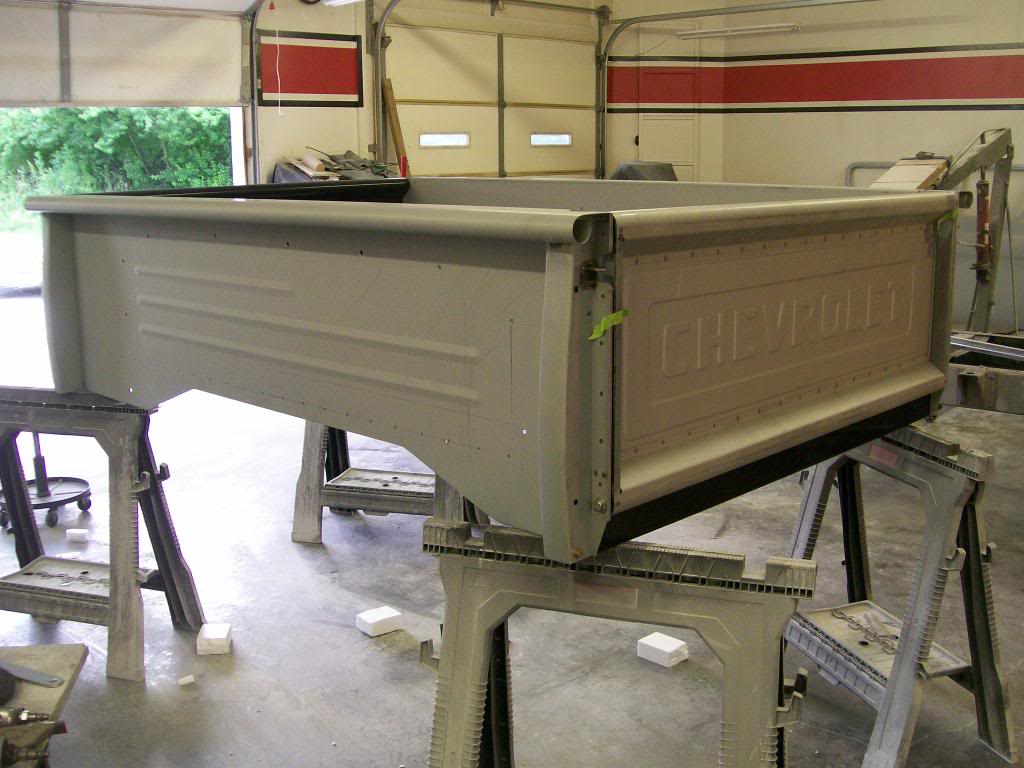
This is from a Oklahoma company called Mar-K. I must say, a most excellent product. Very square, very accurate spot welds, very straight bed sides. Over all, very nice. Now I have to cut the tail lights off the old bed and get them on this new bed.
9-23-2013
Time to start cutting and adding to the new bed.
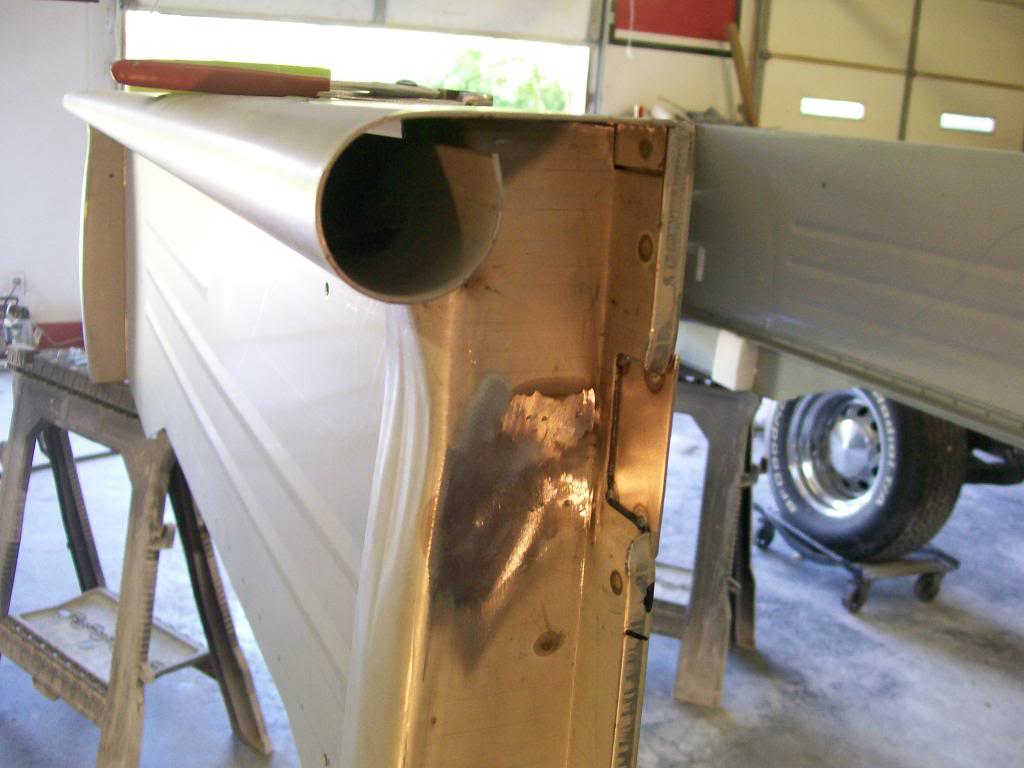
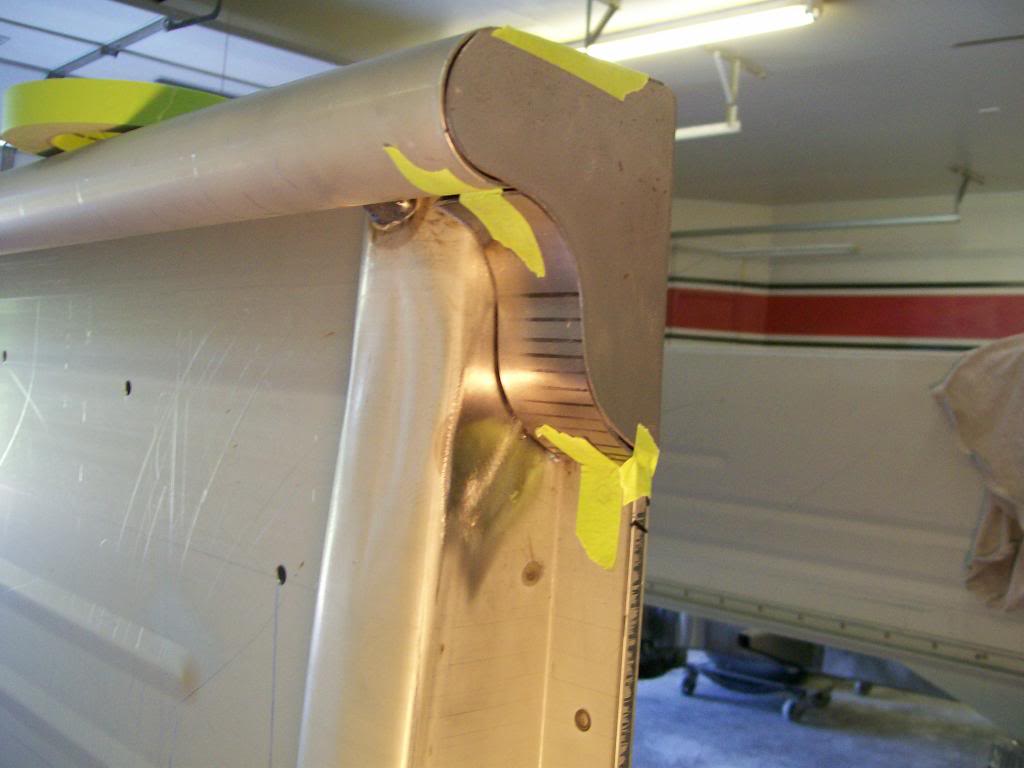
I just have to close the end of the bed rail. Time to get artistic again.
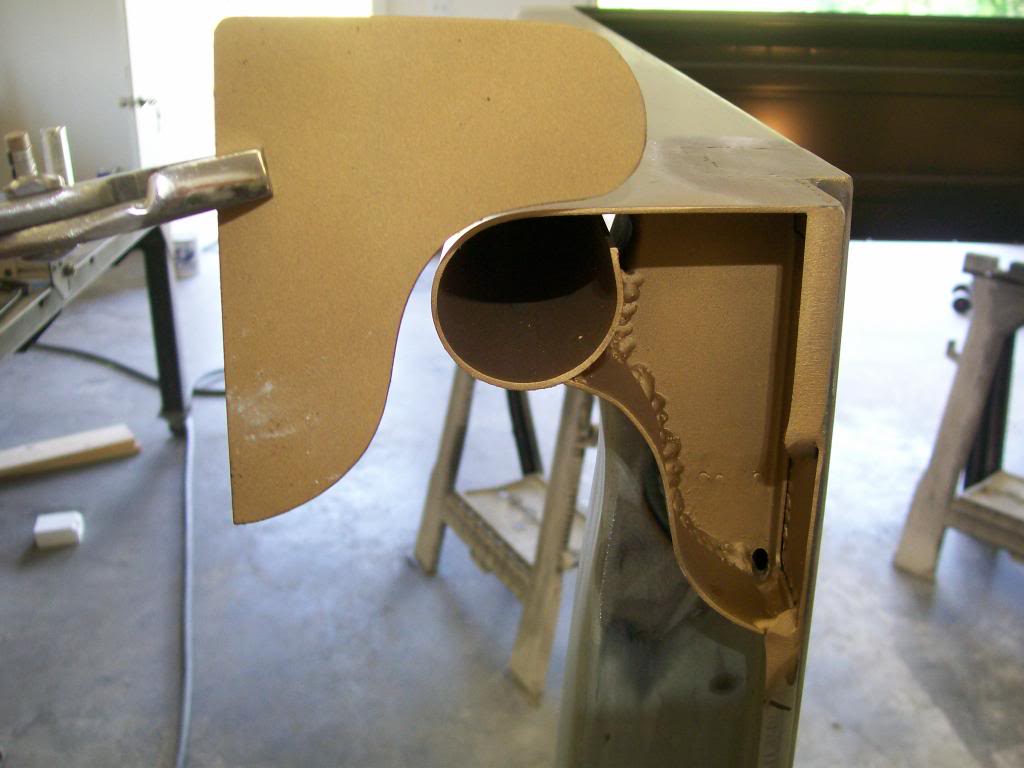
I plan on covering the rolled bed end and cover the opening where the chain and the it's bracket used to fit.
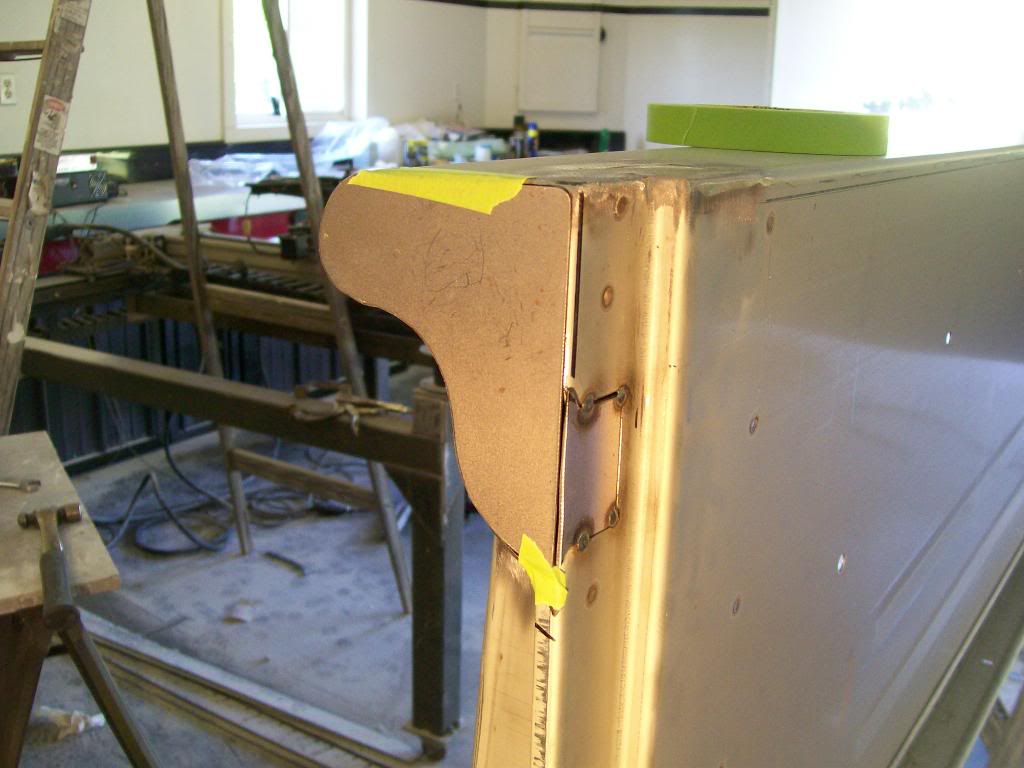
I know I've mentioned this before, always consider where the weld will happen, it can save a lot of clean up later.
By doing all the welding on the inside I have perfectly clean edges all around the outside, I don't have to grind any of these 90 degree inside angles.
I've also primed with weldable primer to help these pieces from rusting on the inside. I also drilled a small weep hole just in case water gets trapped inside.
9-25-2013
I have to agree, no matter what you do there is going to be either rust or a dry, faded paint when looking down the rolled tube.
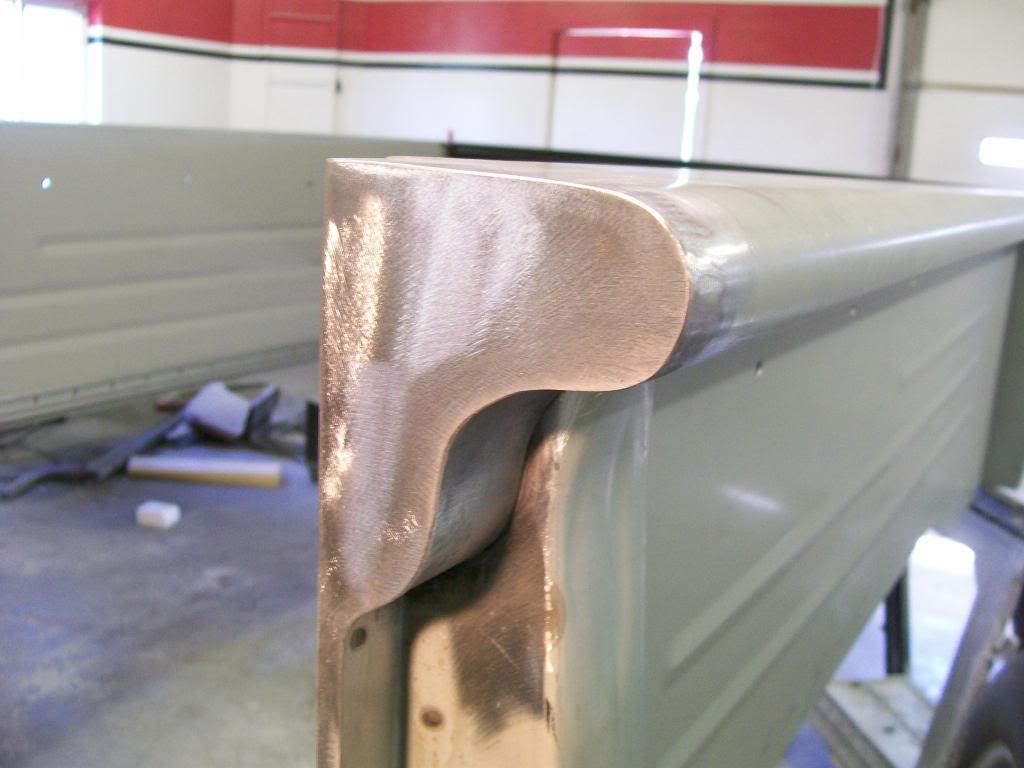
We've seen the use of the flap disc do some great work blending the welds on the frame, now I'll use it on the edges of the bed sheet metal.
I'm gonna stitch weld so I can control the heat and the fill.
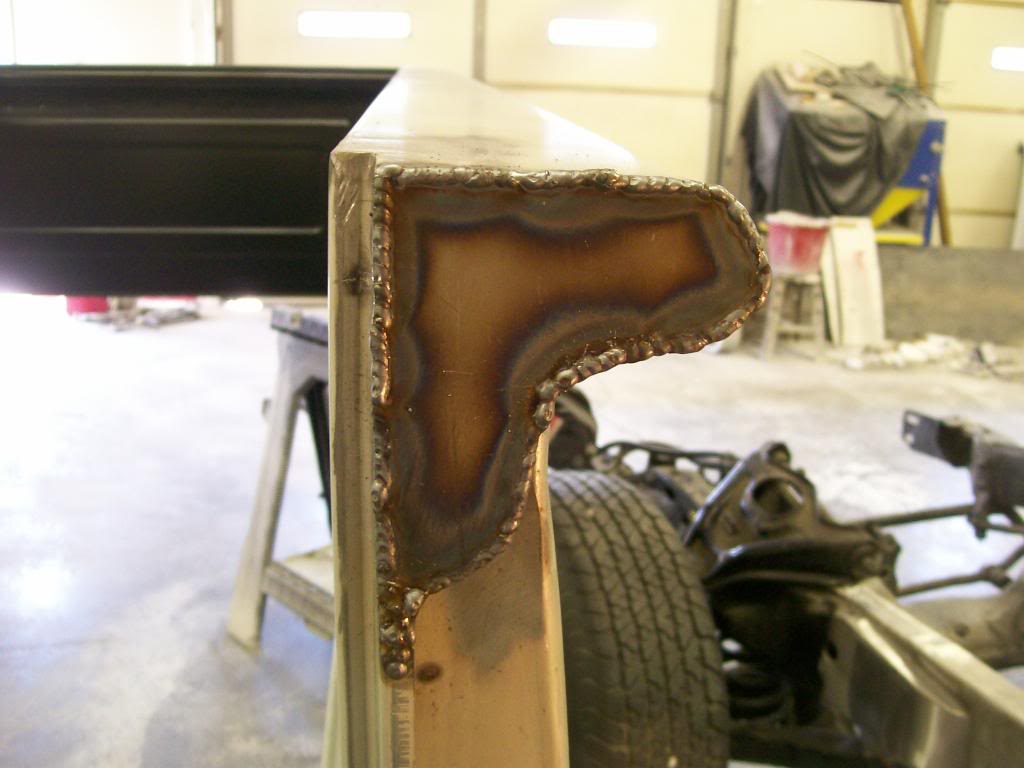
It's not one weld and done. When do the grind I'm looking for low spots, there's gonna be a few. Locate the low spots and don't grind any more than necessary on the rest of the area, you'll need the material when you grind/blend the welds that you do to fill the low spots.
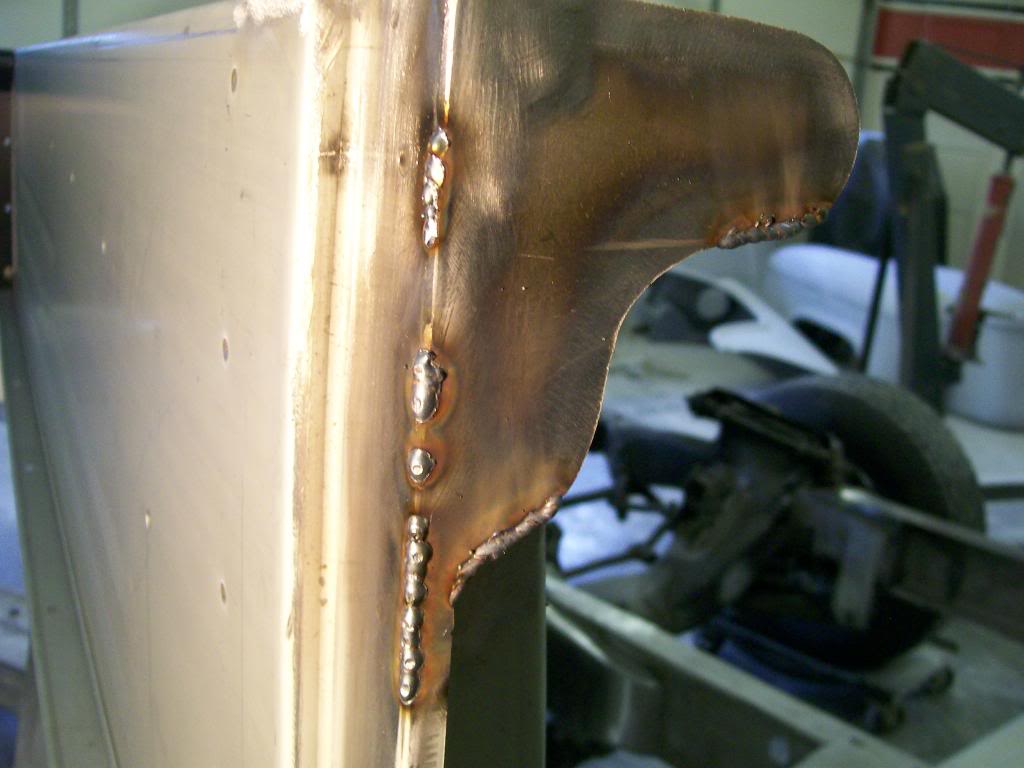
This should need very little work be ready for paint. Here you can see where it was convenient to weld the inside of the lower plate, I'll just touch it with the sandblaster then go right to primer.
9-27-2013
Hi Lee, every time someone says they've read the whole thread I flash back at all the stuff we've covered so far, wow.
And you know by now, "inspirational", always puts a smile on my face. Welcome aboard.
One other item you all watched me tackle was designing the new taillight mounting openings. It was easier transferring the ones I made on the old bed vs making new ones. Basically I cut the ones from the old bed, then used them to mark the cut pattern on the new bed.
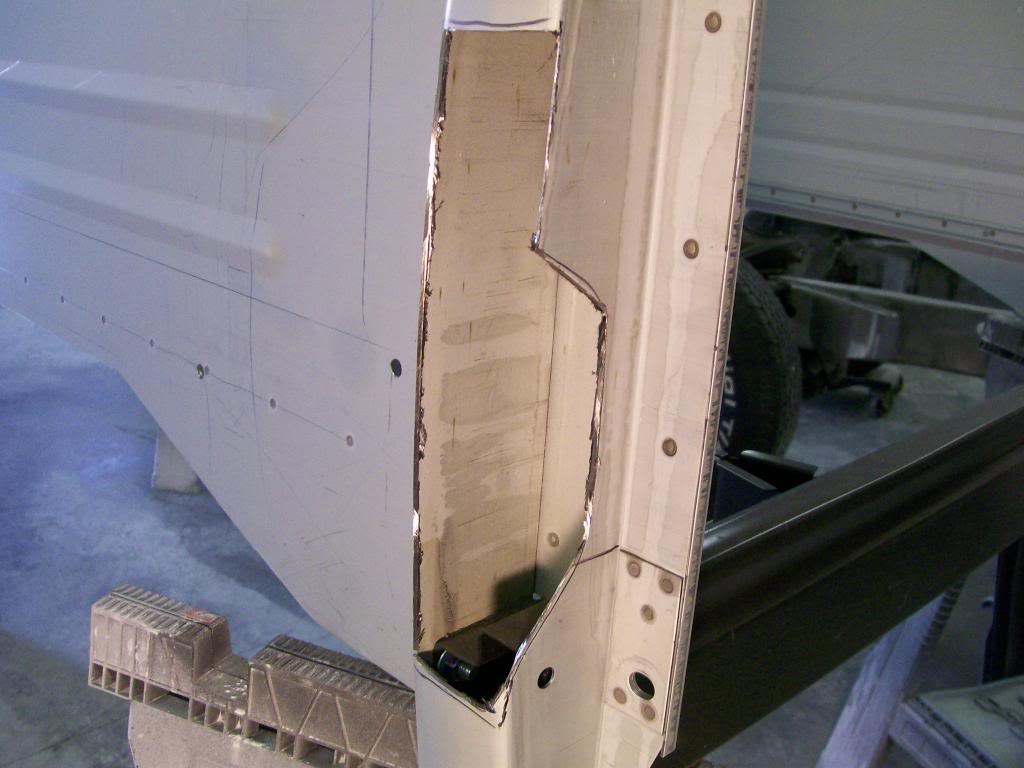
Now time to trim and trim til it fits just right.
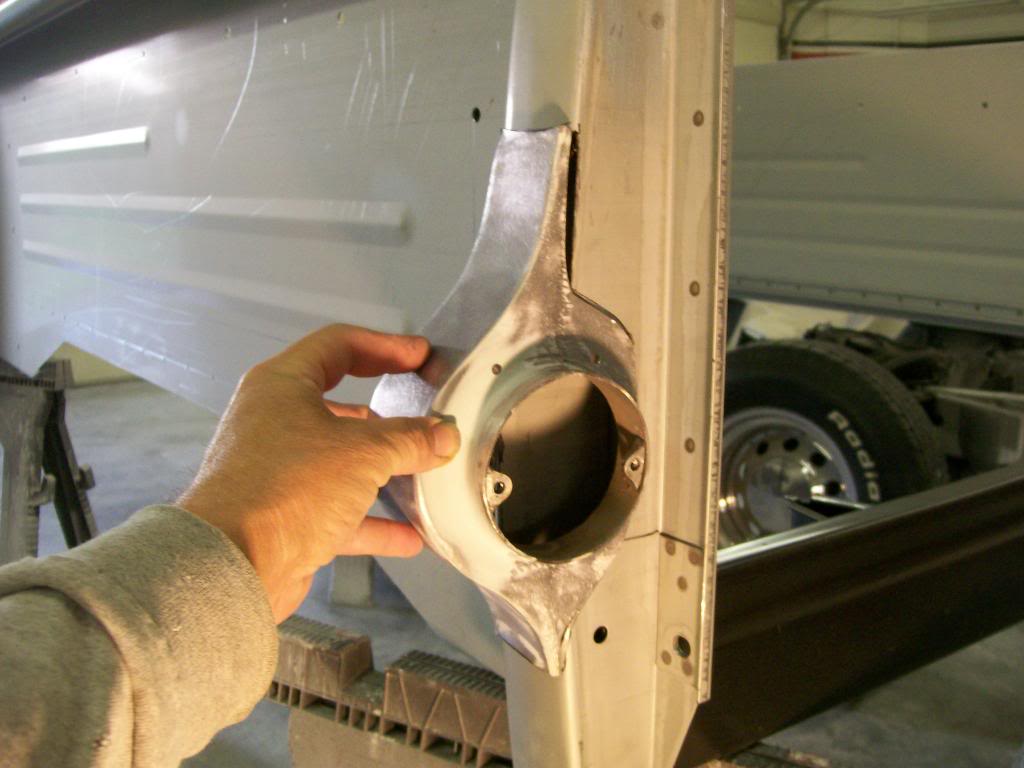
I hated having to step back and re due work that I've already done, but in the long run, the bed will now meet the standard of the rest of the truck.
Now sitting on the frame for the first time.
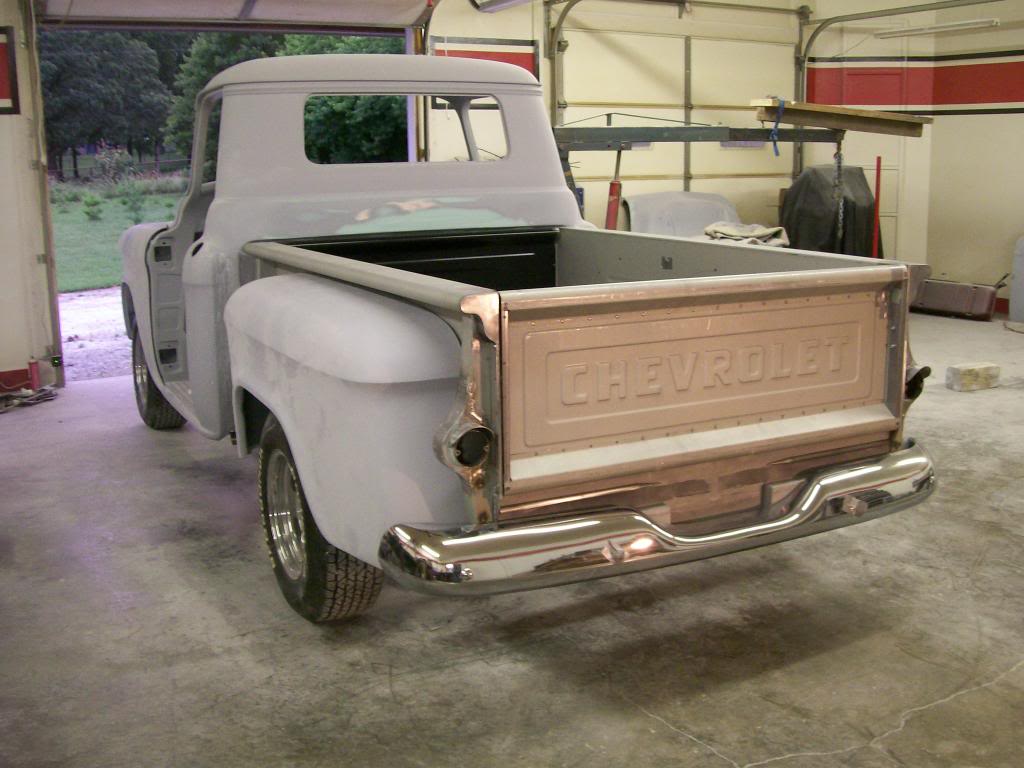
Now when I walk by the truck I don't try to look away from the old warped bed. I found it to be very "uninspirational" with the old bed. Now I'm very please to look and absorb the new straight bed sides.
