You must be logged in to rate content!
8 minute(s) of a 668 minute read
9-8-2013
Let's move onto the 1957 Chevy Truck. Since the last question was about the interior, we'll go there.
This the first vehicle I've basically designed the interior myself. Oh sure, I've assembled a lot of interiors, but that was all about buying pre-made parts and getting the vehicle to look it did new. The Willys would be the closest I've done but it was more of just making a working, driveable vehicle.
I waited til I bought the shifter, then once I had that I placed it where I wanted it to be, I built around it.
A quick pic of the truck about a year ago.
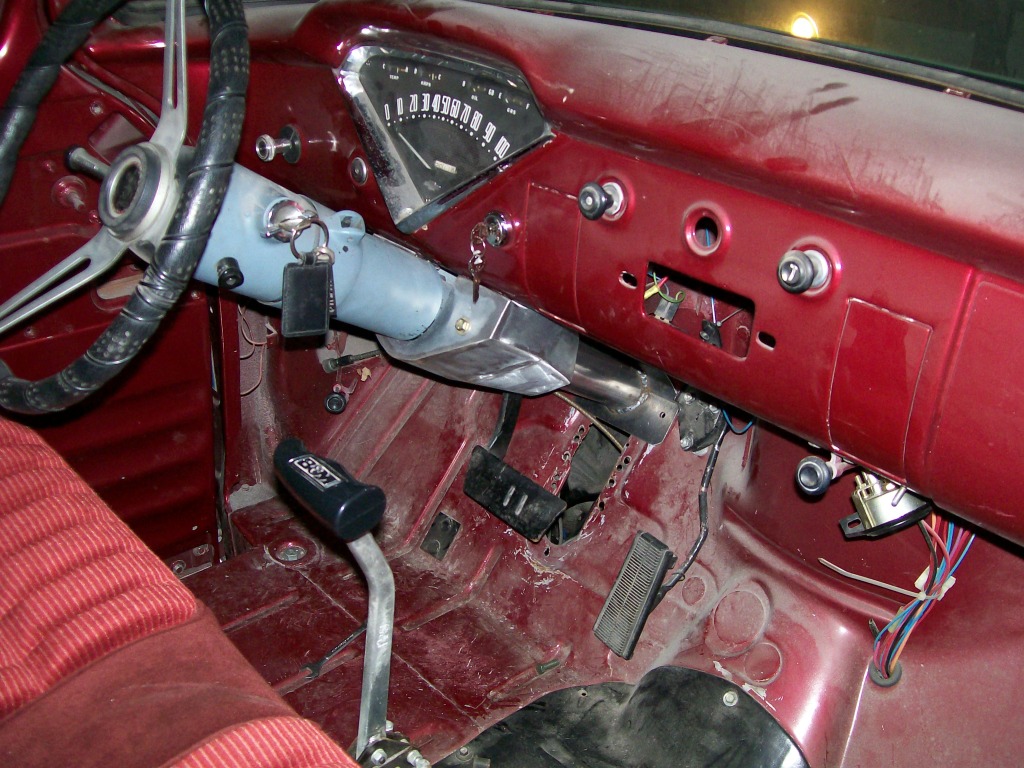
One thing to go was the bench seat, the next was the old floor mounted shifter. I have no issue with a floor mounted shifter, I just want one that has a ratchet design keep the shifting precise and not finding reverse unexpectedly. Oh, cup holders are also needed.
This is where I am now. I still have areas to finish but this gives an idea of the changes.
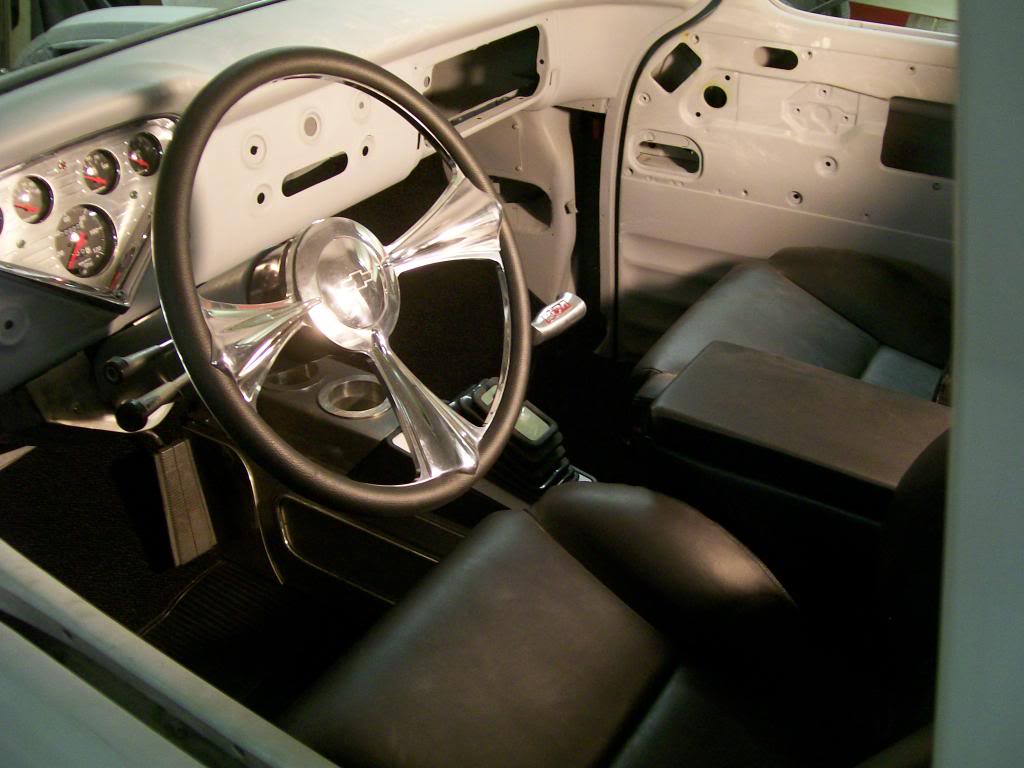
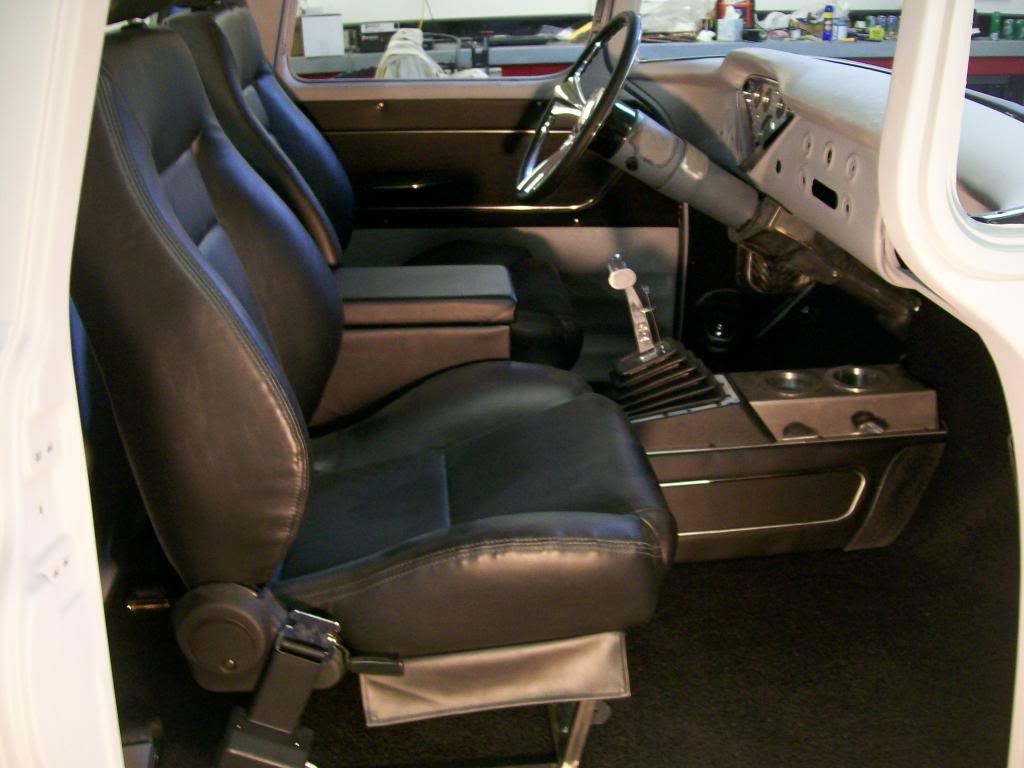
I have more to finish but I'm extremely pleased with the look and fit. Don't worry, I've got pics of the process.
9-10-2013
Ok, thanks guys. Harold_Ray, my goodness, your age is showing.

tj98, the shifter location was the first focus of the whole interior, it just says performance at first glance.
Here's where the truck is on the outside.
It is in a mock-up stage right now. The truck was totally torn down a few months ago and now back together. I have dropped the suspension, and to get the ride height I had to get all the weight back in place. I've decided on wheels and tires, I had to check the clearance on them also.
Basically right now is the time you want to check all bolt hole alignments, bumper alignments, ect.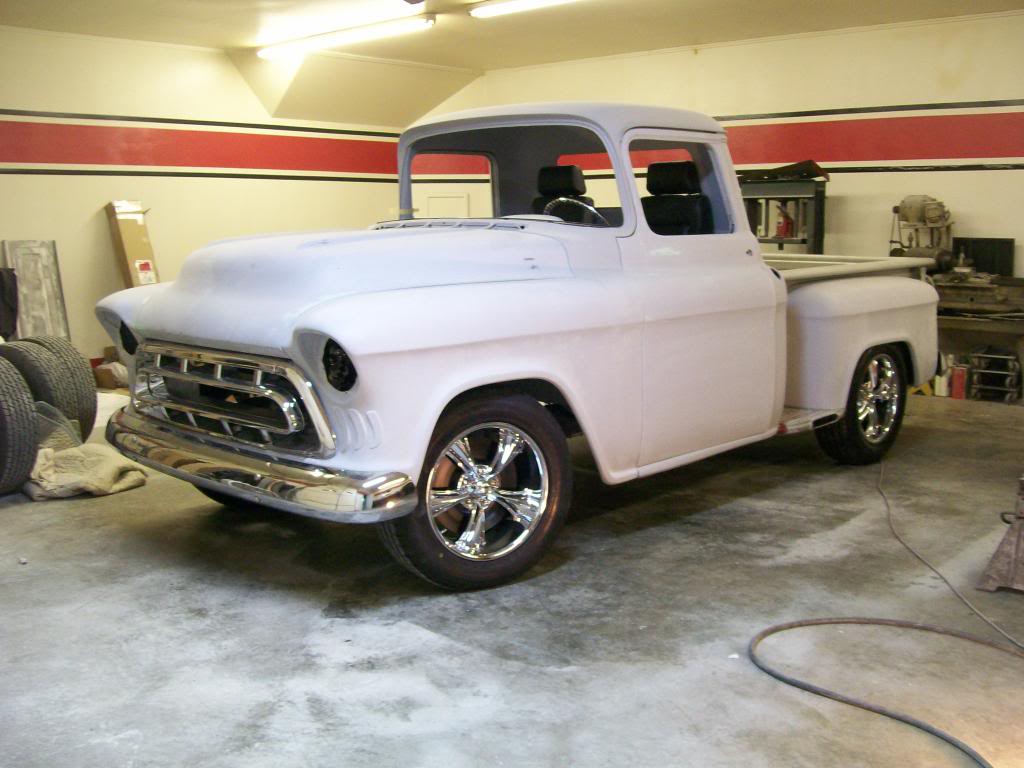
9-12-2013
Time to get the cab off of the frame now that most of the body alterations are finished. Since I pretty well work alone, I had to find a way to get the cab mobile.
Using the most universal lift I have it was time to make an attachment out of some lumber and lift the cab.
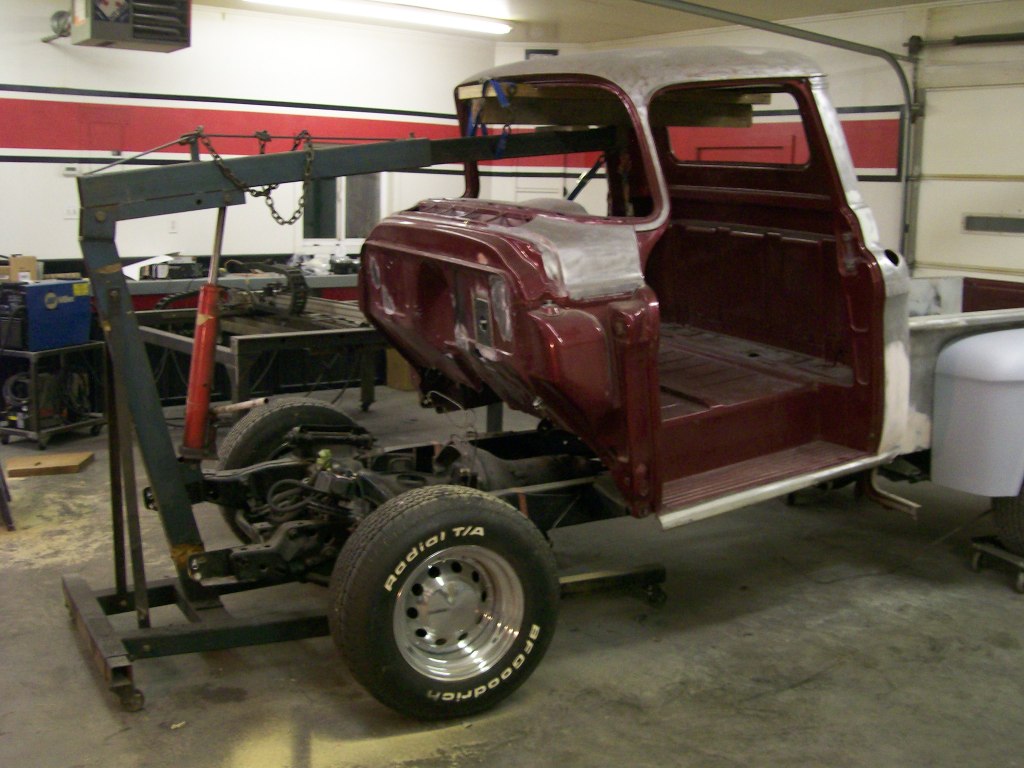
Little higher to clear the front wheels.......
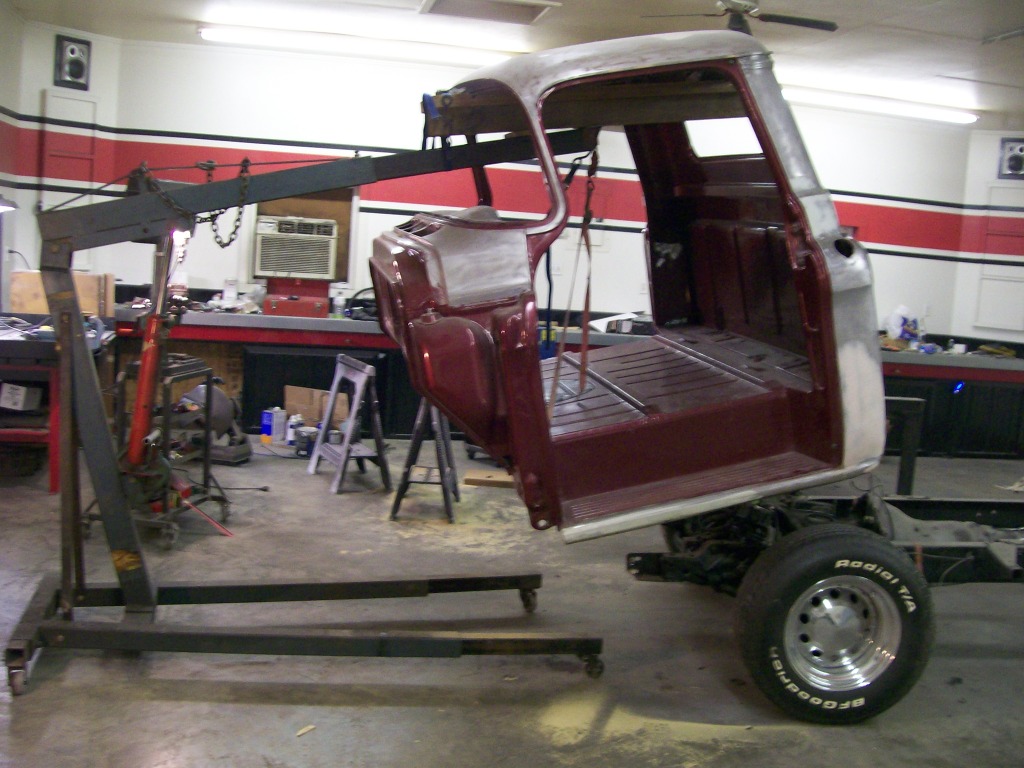
After this I had to find a way to roll it outside to sandblast it. Hmmmmm, what shall I use.?
9-14-2013
Thanks tj98, I've had visitors along the way and both the gills and the exhaust outlets have been the top eye catchers.
8pitcher, thanks for making a guess. As the project was moving along, in the back of my mind I knew I was going to have the move the cab outside for sandblasting. I had images of building a rolling dolly, ect. My issue was I have a gravel driveway and that was going to be trouble for small diameter wheels.
Sometimes you just have to work yourself into a corner and force yourself to make a decision......wasn't so complicated after all, the yard wagon.
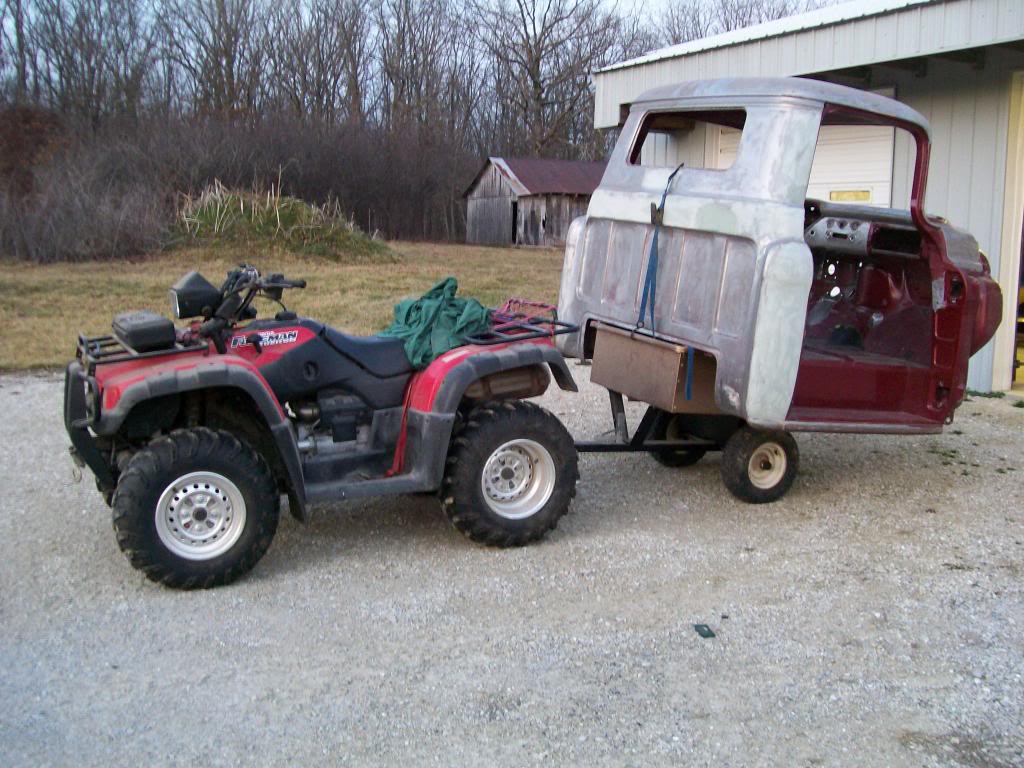
Now I can really focus on clean metal and I can see what has been done to the cab before I got it.
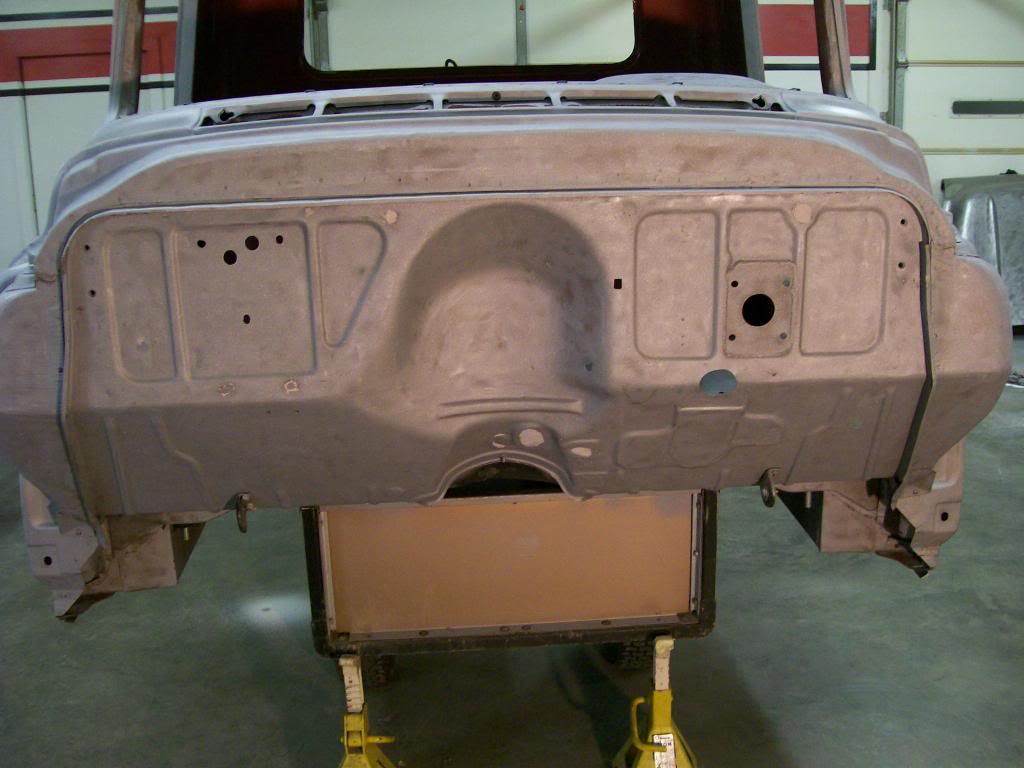
I'm extremely lucky for the shape of this old cab. I don't know it's history before 1984ish, but I'd guess it didn't sit exposed to rain and salt much.
I can see where the drivers side of the cab has been in an accident, but nothing too bad.
9-15-2013
As every year passes these old trucks, even ones that were not all that good looking back in the 60's and 70' just seem to gain become more attractive just due to their unique body designs back in the day. I saw a 58 or 59 chevy truck roll through town the other day, I just couldn't keep my eyes off it.
Because building a fine project is all about the details, this is a small yet noticeable spot when you open the hood. After tapping and bending this seam edge straight it still needed a fine smoothing. Just rough up the area with course paper and apply a thin layer of spot putty.
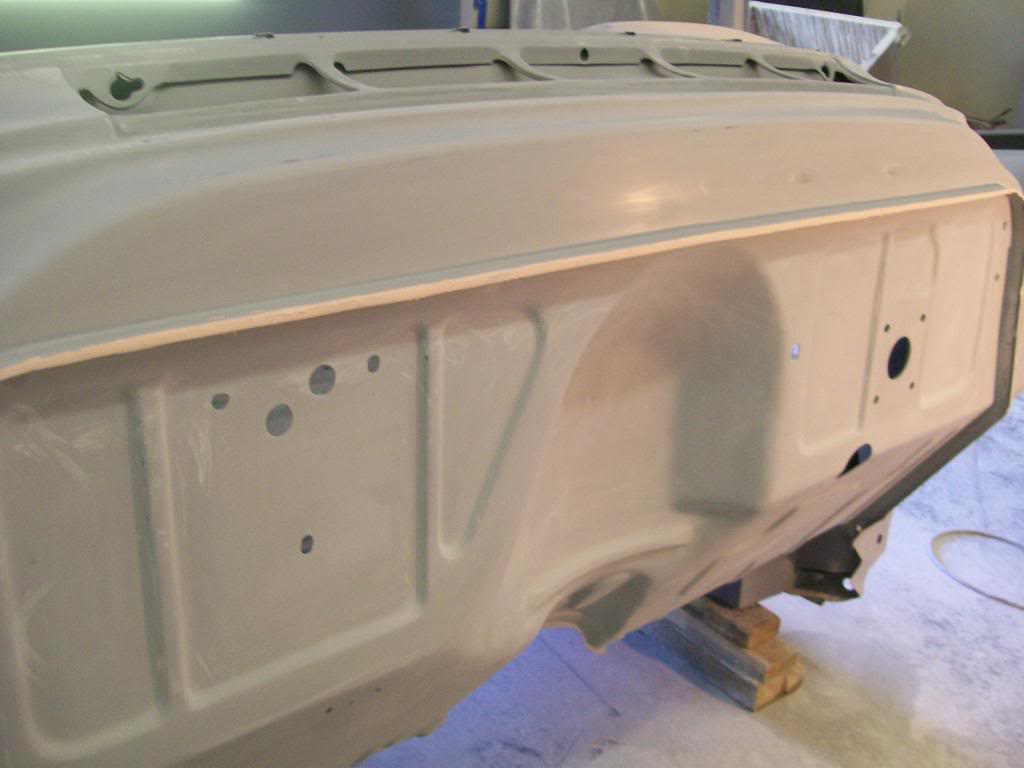
Now just block sand the whole edge. What's left is just a couple small areas of putty, but the look will be smooth all the way across now.
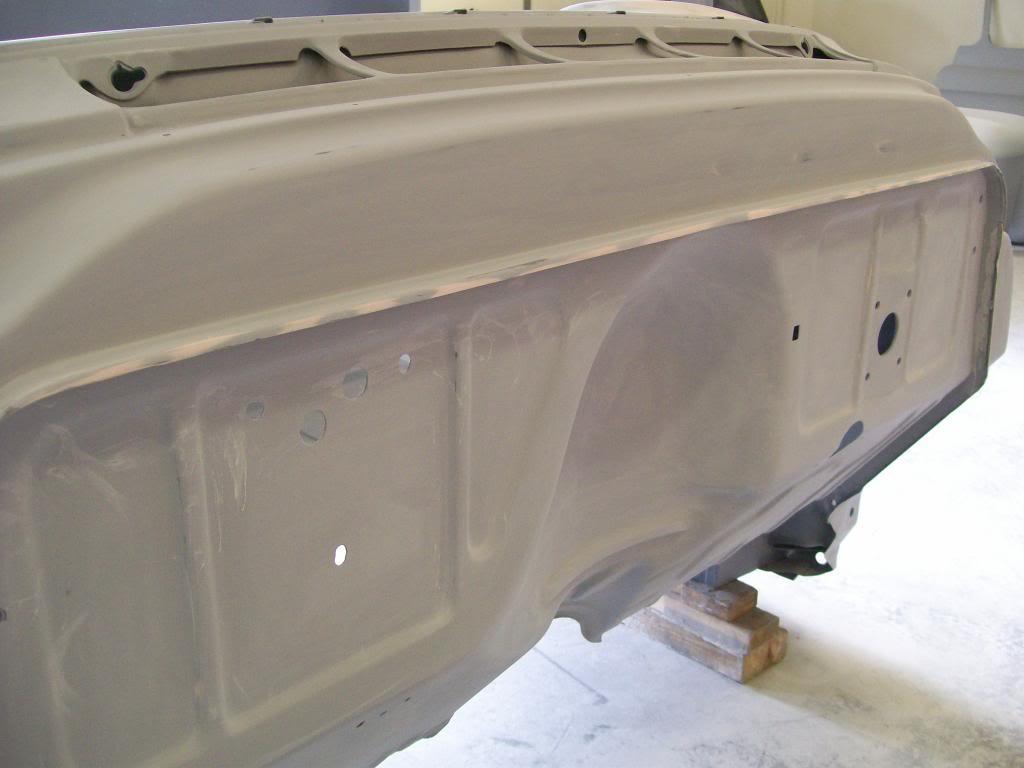
Had I dealt with each individual low spot I wouldn't have the uniformity that I have now dealing with the whole thing at one time.
9-16-2013
Way back in the 80's this truck had a sub-frame from a Camaro installed. The benefit is getting rid of the original straight axle. This helps the ride height, handling, braking, ect.
I feel who ever did the changover has done this work before. Everything looks clean, I don't see any overcutting, and my dad had the truck aligned and it didn't need any extreme shimming to get the alignment set.
There is one cosmetic upgrade I'd like to make. Where the two frames meet they used a piece of angle iron to tie them together. I would like to get rid of this dead end stop.
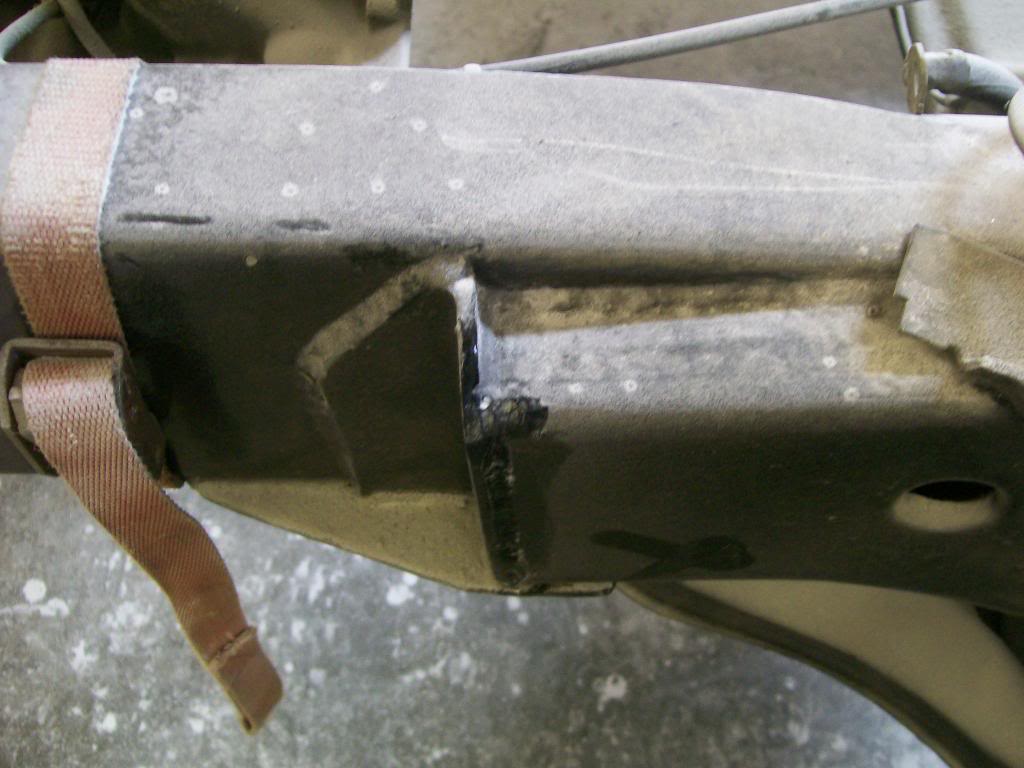
After sandblasting the area I cut the weld and cut the angle iron down slightly below the height of the frame.
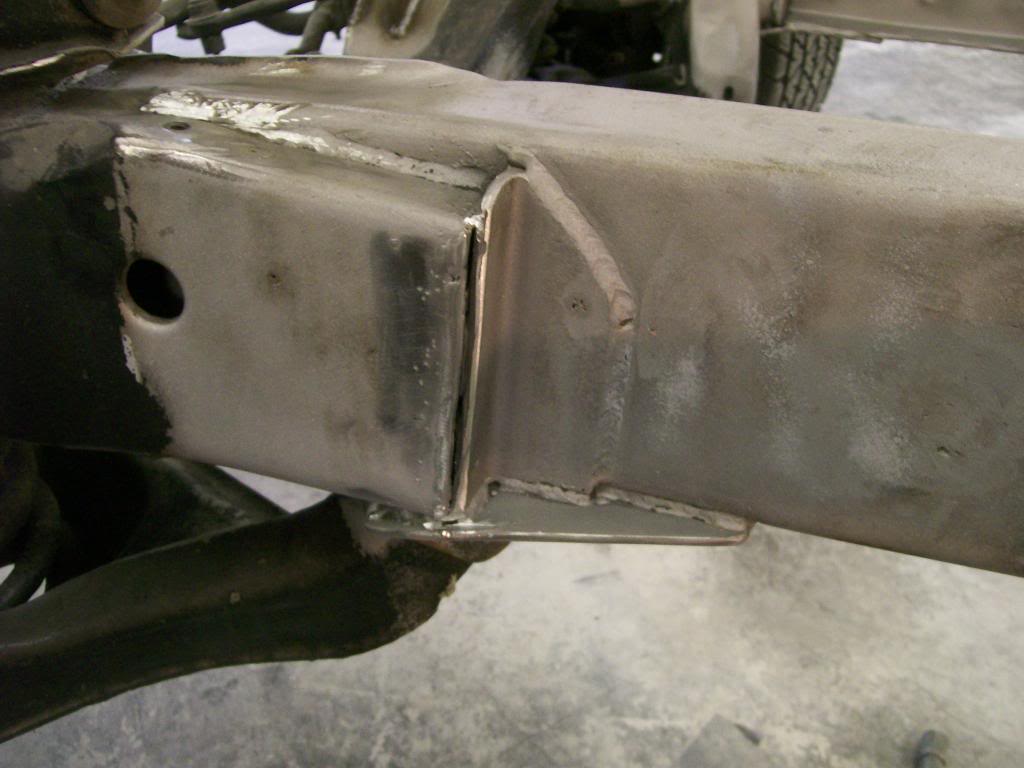
By grinding the angle iron down and purposely leaving a gap, I can lay some good deep welds that will attach and fill the joint. Then getting out my trusty grinder with a 40 grit flap disc, I should be able to smooth the weld to where it looks like the new and old frame blend together.
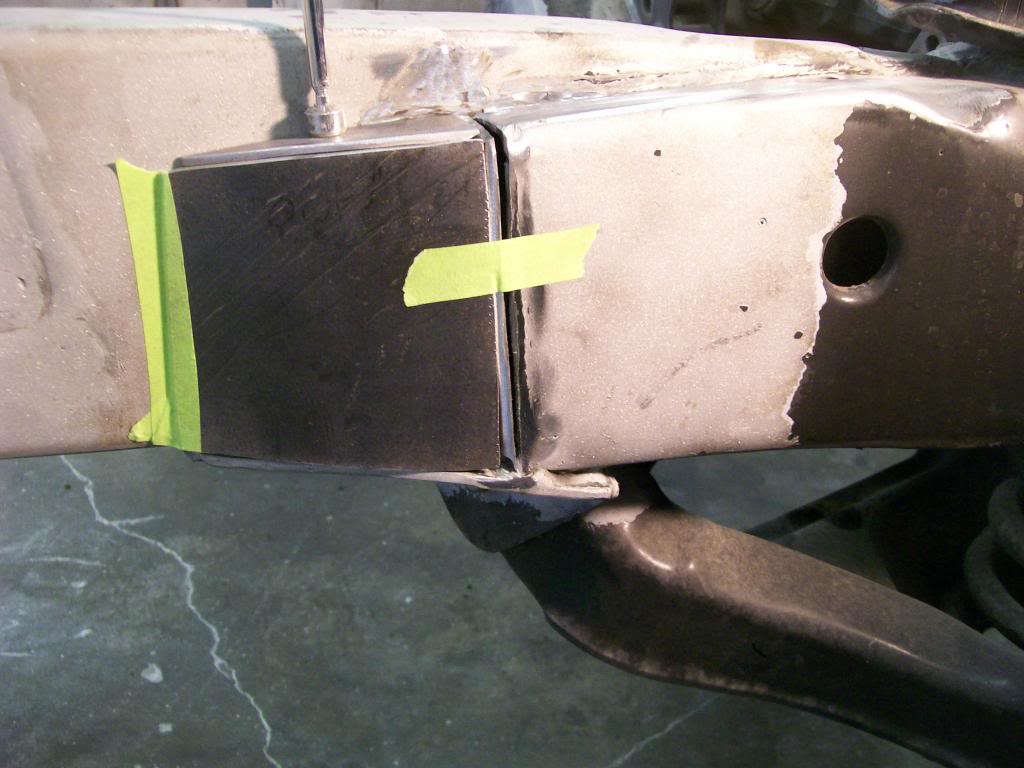
It's been a while since we've posted any frame welding. But here are the pieces welded together.
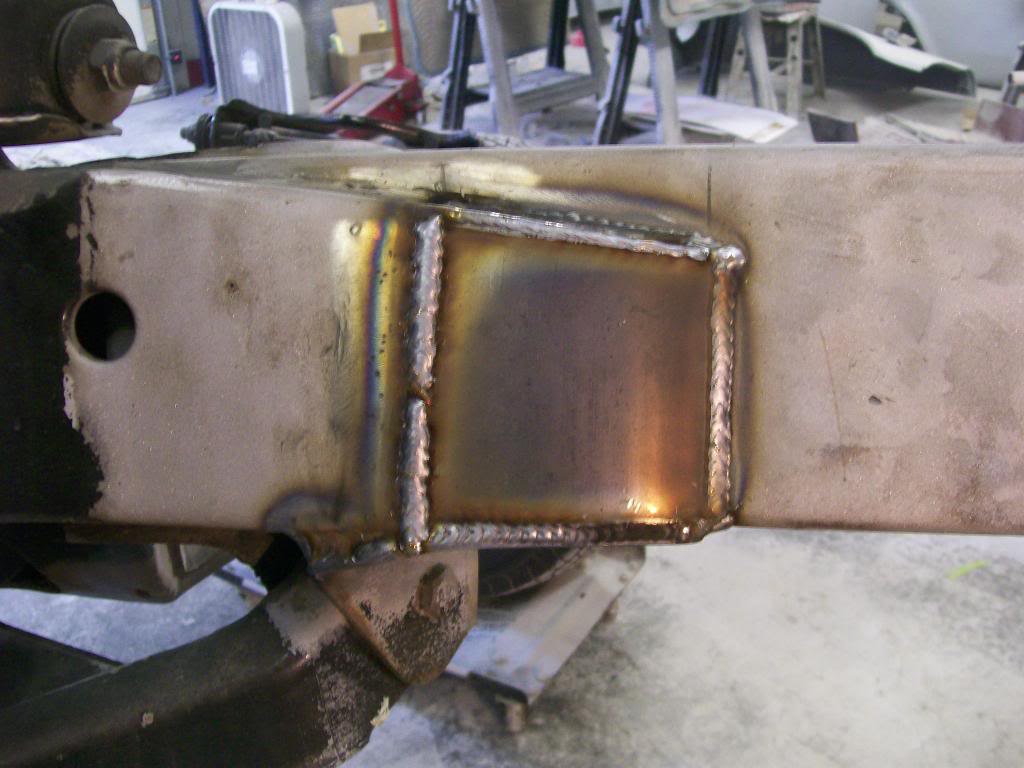
Now ready for a touch of body filler to smooth the edges, then prime and paint.
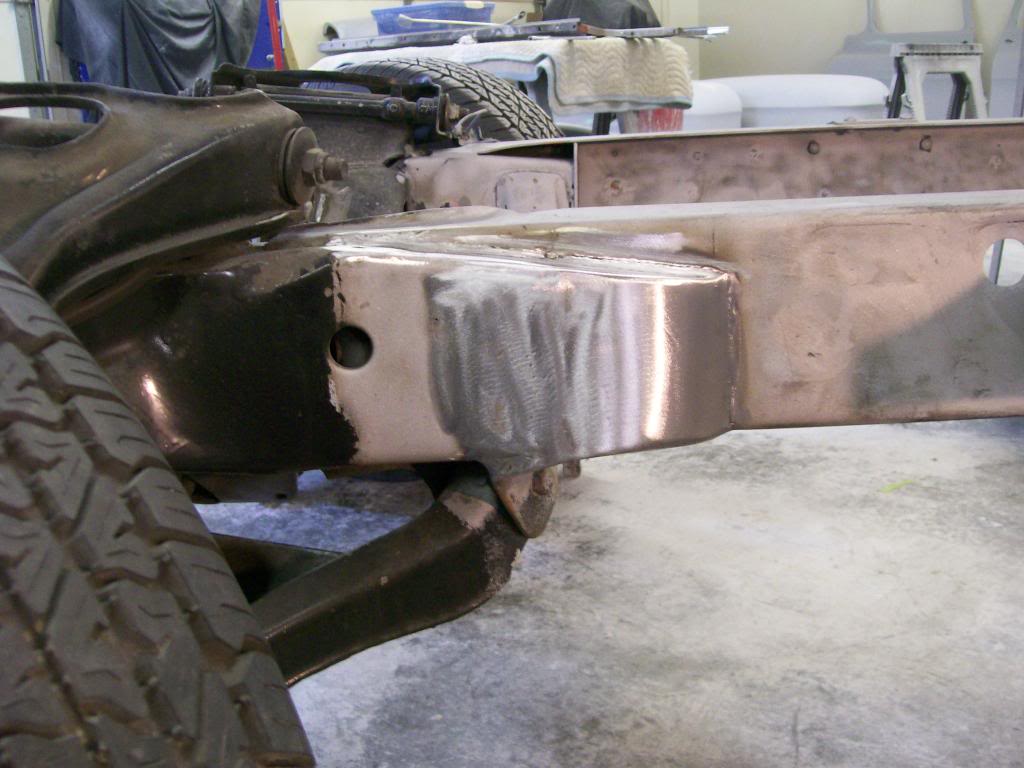
This part of the frame isn't real noticeable without really looking under the truck, but when you open the hood it can be seen. Now is the time to clean up the loose ends.
