You must be logged in to rate content!
6 minute(s) of a 668 minute read
9-23-2012
Luke95, if you're welding in patches in sheet metal, you're dealing with one of the most difficult welding situations.
One, you can burn through at any moment. Your desire is to start a weld bead and keep going, then as soon as you continue the weld, bam, a burn through. Welding sheet metal takes patience.
Two, warpage, the possibility of warping the surrounding metal is always there, patience again.
Three, cosmetics, it had to look good when done. I don't necessarily mean the weld has to look good, even mine that I showed earlier didn't look nice. It's the idea that you penetrated and filled enough so after the grinding, it looks nice.
These are just a few issues with sheet metal welding. It sounds like you stuck with it til you learned a technique Luke95, good job.
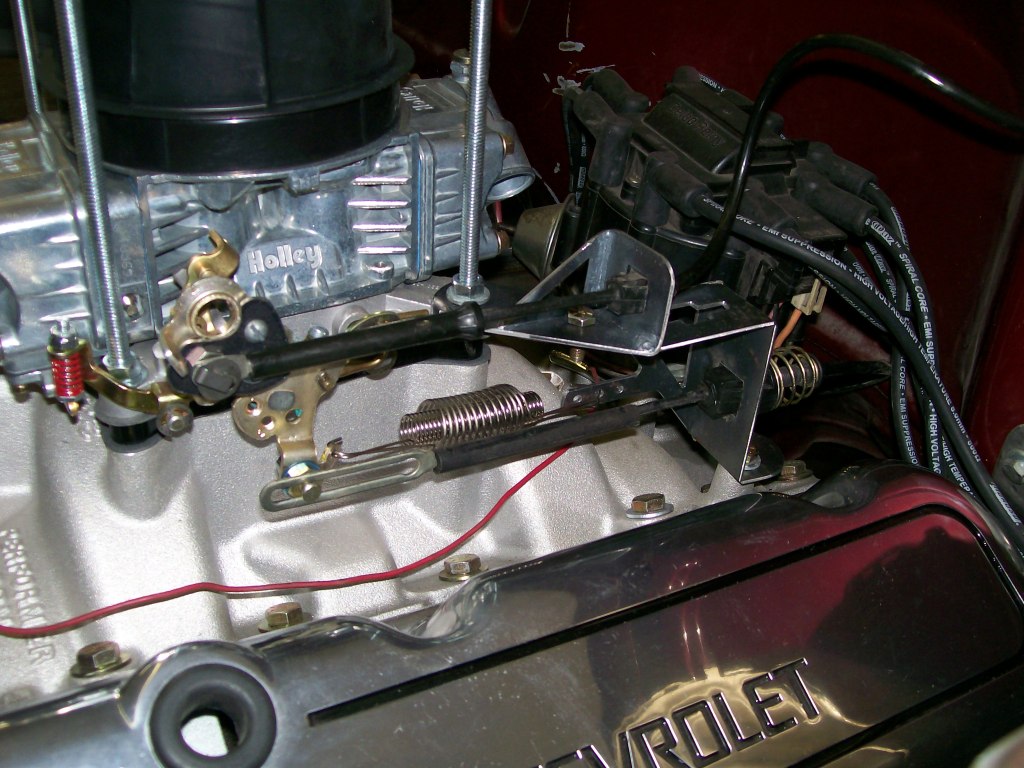
I had one more triangle gusset to fit into the bracket. I have also been looking for a good place for the return spring. I kept trying to drop a bracket down from above to hold the return spring. I drew ideas on construction paper, I tried to picture ideas in my head, but nothing flowed with the rest of the bracket.
Then bam, I got it, the gusset and the spring holder blended together. Is it just me, sometimes the ideas are right there, it just takes me time to get it in my head.
Here's the gusset with spring holder blended into the cut.
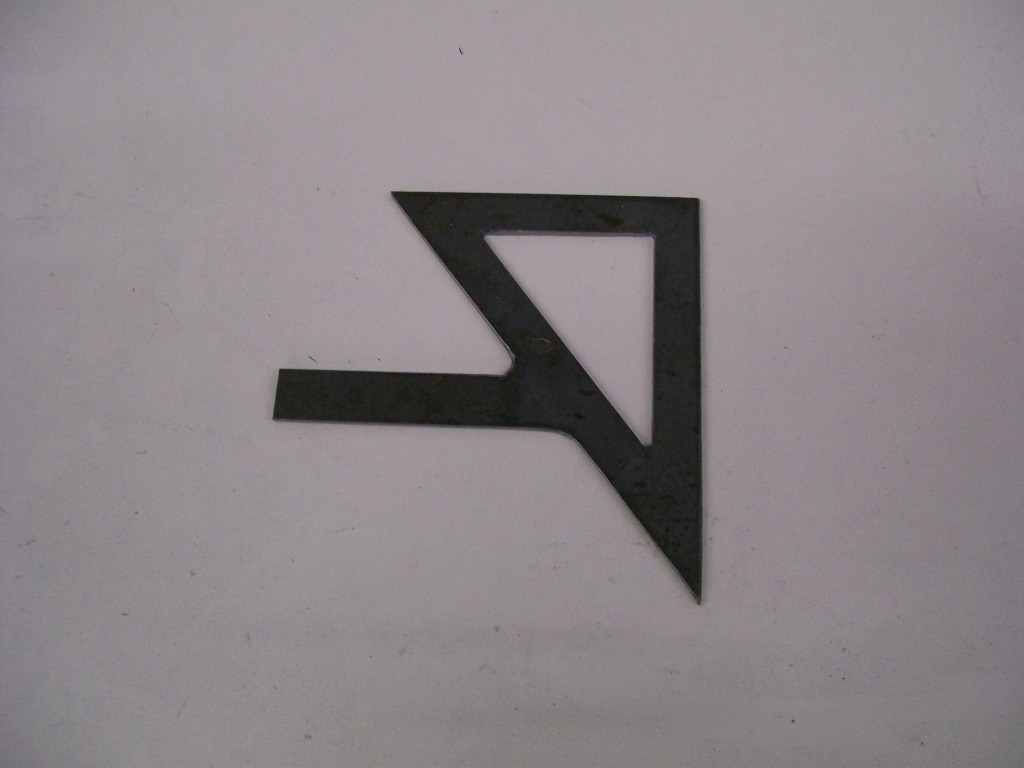
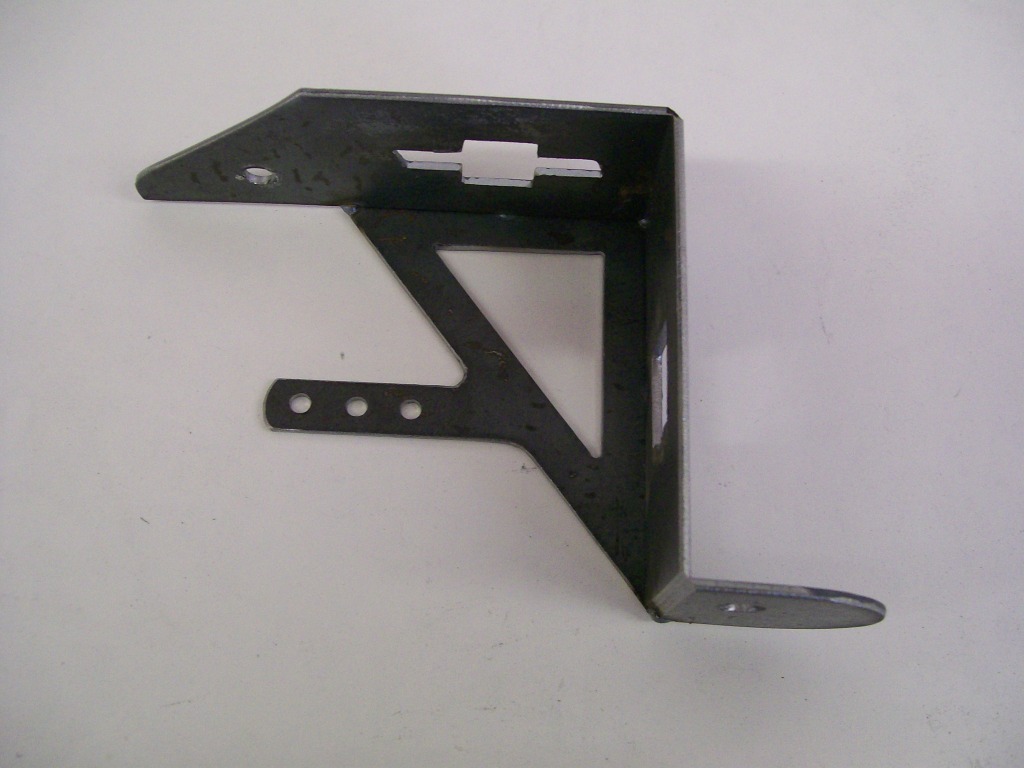
I made the spring holder tab a little long. I'm using a dual spring, and I want the tension to be adjustable. Neat thing about the extra holes is the inner spring and outer spring can attach to the same hole, or I can have the springs attached to different holes. Now I have multiple variations to suit my need.
9-24-2012
Luke95,yes, always start somewhere that will be hidden. No matter how your welds look when done, know that you stepped into a new world when you decided to start welding body panels, something that many would not attempt.
I see you mentioned personalizing you vehicle, oh yeah, I can understand the concept.
Thanks tj98, I look forward to sandblasting and a couple coats of gloss black.
Thanks for checking in cbpldc. My goal through out this thread is to show the steps on how to get from beginning to the end. You're right also on the buy it and bolt it on. I tend to build or modify so much stuff anymore, it slows the projects way down during assembly, but the personal touch is always cool.
I like the Jesus concept. I'm trying to follow the same mindset, my skills are not of myself, so I give the knowledge freely. I'm sure you understand.
Ok. til painting time, the bracket is done. I'm real happy, it serves the purpose, looks good, an it even has a technical look to it.
Moving from the engine compartment to some interior work. There was a tilt wheel from a buick? when I started working on it. I'm happy with it, I just need to get some better mounting brackets.
The next issue I have is I don't want to see the wires that will be seen along with the bracketry that will hold the column to the dash.
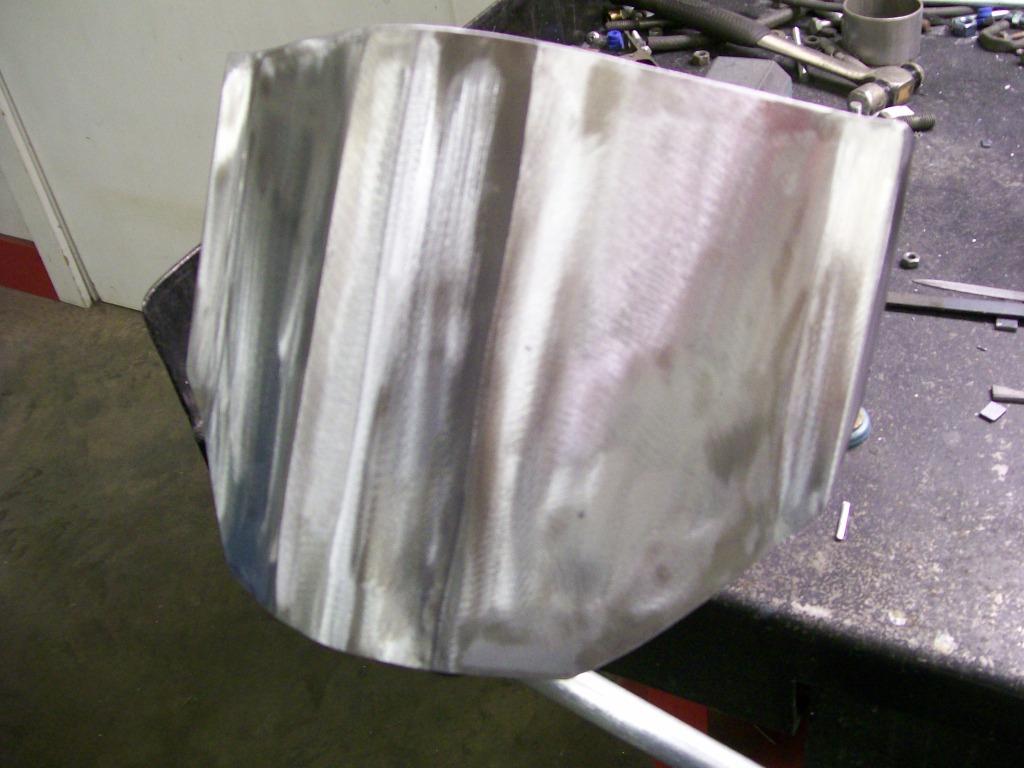
I did some sheet metal work to cover this area.
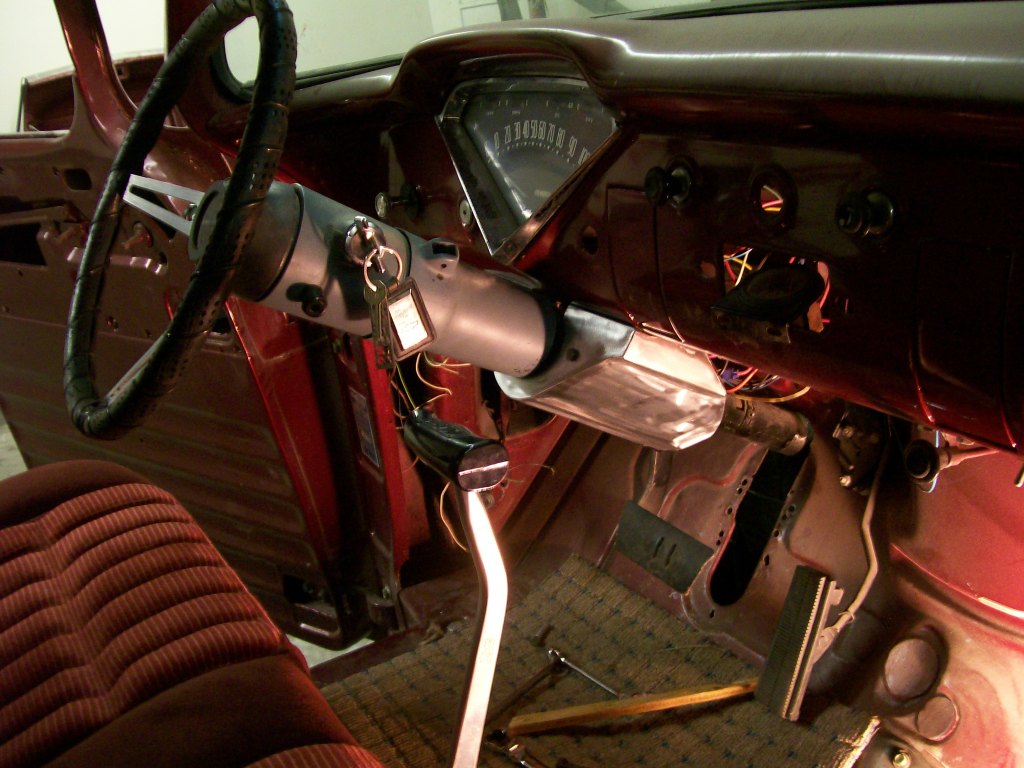
This is my first attempt, it does the job but physically it's a little big. In the next pics I'll show the welding and grinding. Then I'll take the cut off wheel to it to down size it.

9-25-2012
Yes LA-Sahara, finally the inside, I think I'm as excited as you are.
I am very fortunate that the inside, including the floors are in good shape. Rumor has it this truck was a farm truck most it's life. It must have been kept under a roof also, there is virtually no rust. It has dents and dings, I've got most of those taken care of.
One thing I have to deal with is all the wiring, this is one reason my dad didn't drive it, most of the electrical system was not hooked up.
Hi Jeff88, I know He was a carpenter, Indiana Jones said that in the Lost Ark movie. I could read into your statement, I love to talk theory, but for respecting the forum, I'll just say, you might have a point there.
Just for an idea of the electrical mess I have to deal with, here's a picture. Other than the wiring, I have perfect dash to work with. Over the years nobody has taken and cut extra holes or messed up the dash to install a different radio.
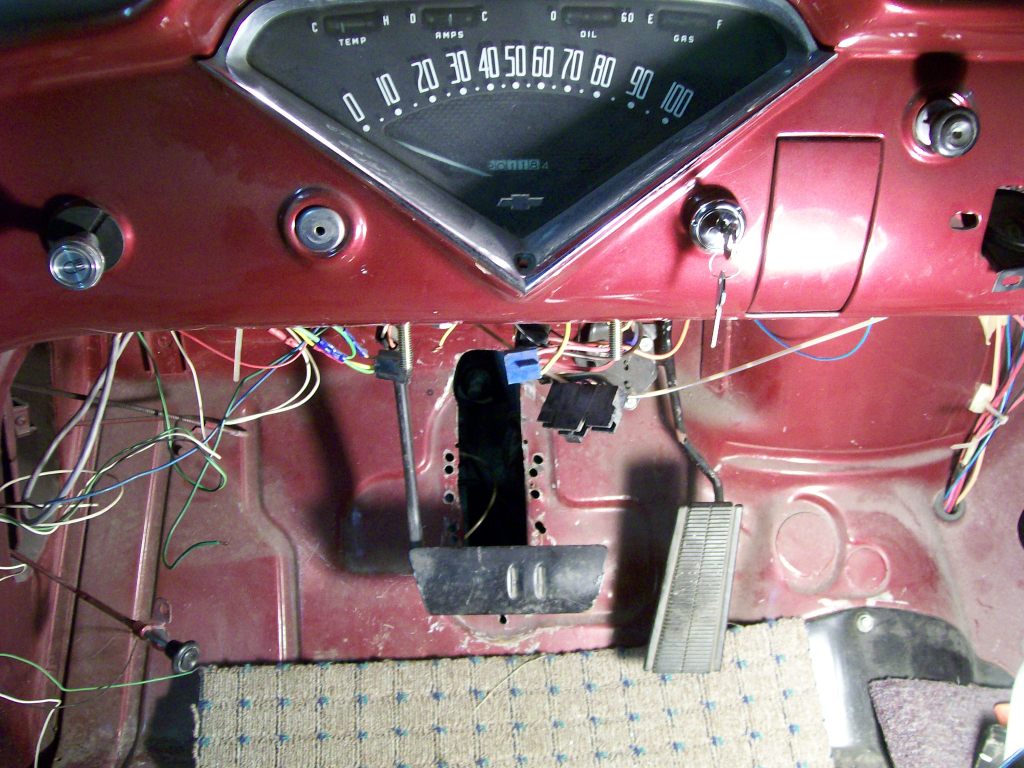
Just one view of the cover I made. Yup, once again, the 4 1/2" grinder comes to the rescue.
