You must be logged in to rate content!
9 minute(s) of a 668 minute read
8-29-2012
I have no idea of the end result concerning strength. When we covered this procedure when I repaired the frame, a couple guys thought that since it wasn't a hardened steel to begin with, it would be close to the same as original. Otherwise, it would be an interesting test.
Once the filling was done I used the 4 1/2" grinder with a flap disc. I was able to flatten the surface and reshape the offset edges til the bracket had a smooth flow all the way.
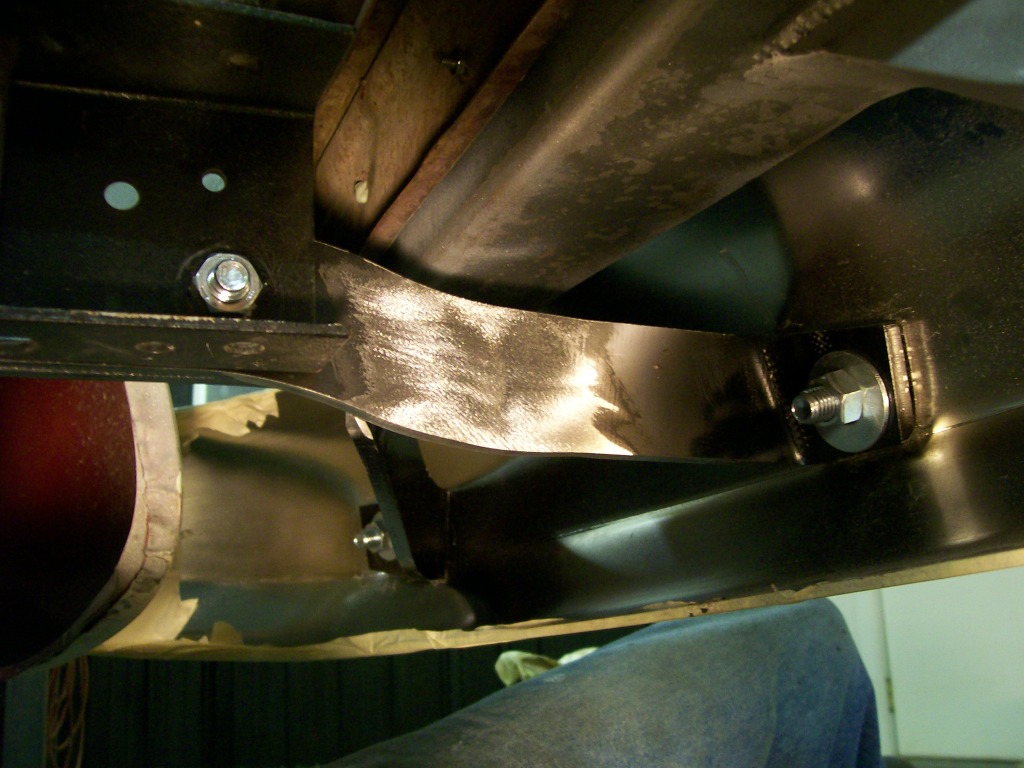
A look at the mounted bracket. Once I sandblast these brackets the finish will be consistant and no one will ever know they were welded on.
8-30-2012
Hi Gojeep, how's it going. Is this thread traveling half way around the world? How cool is this with todays technology.
The copper is a great backer for filling, we gave it a try when I was filling holes in the frame, worked great.
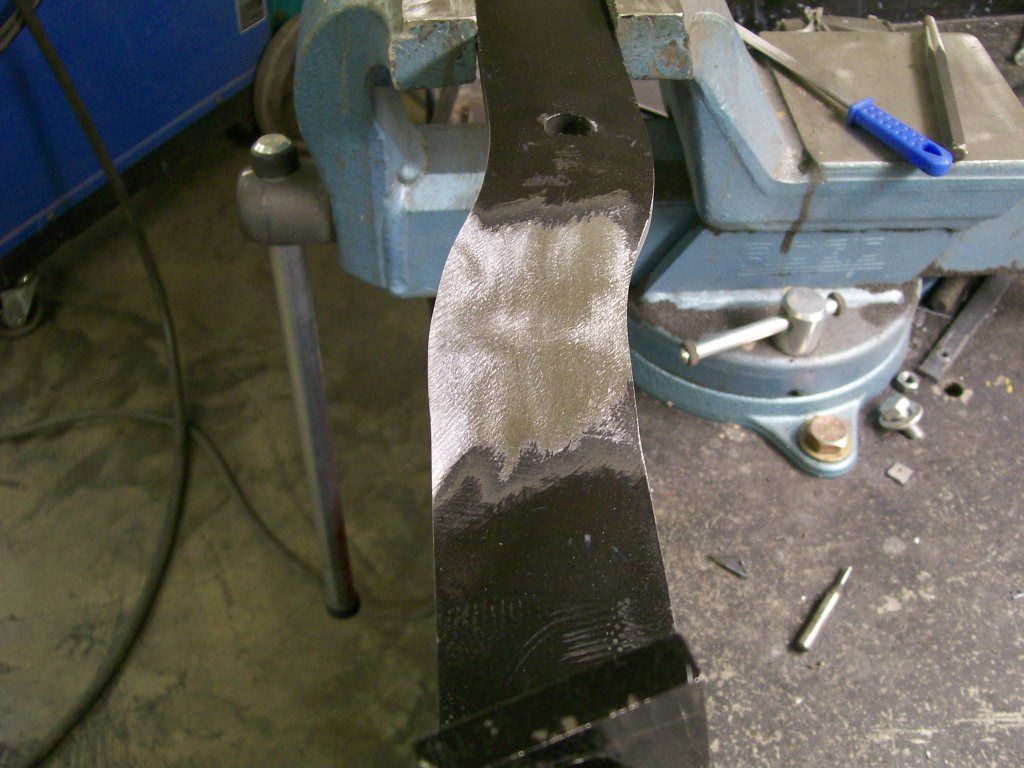
The brackets that went straight back were nice, the ones that go to the outer areas of the bumper have an extra angle to worry about.
I decided the best place to cut them is at the place where the have a sharp bend. This way once I refit the two pieces to match the new angle, I can weld and grind my own new angle into the brackets.
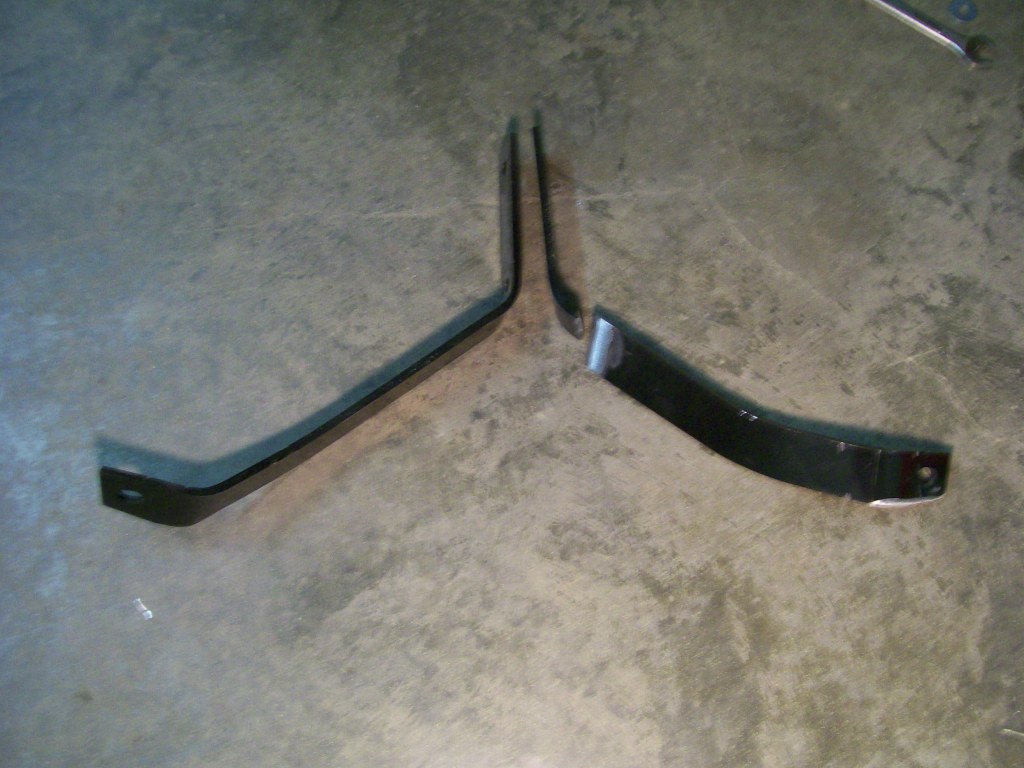
A look at an original and the one cut to fit the bumper placement.
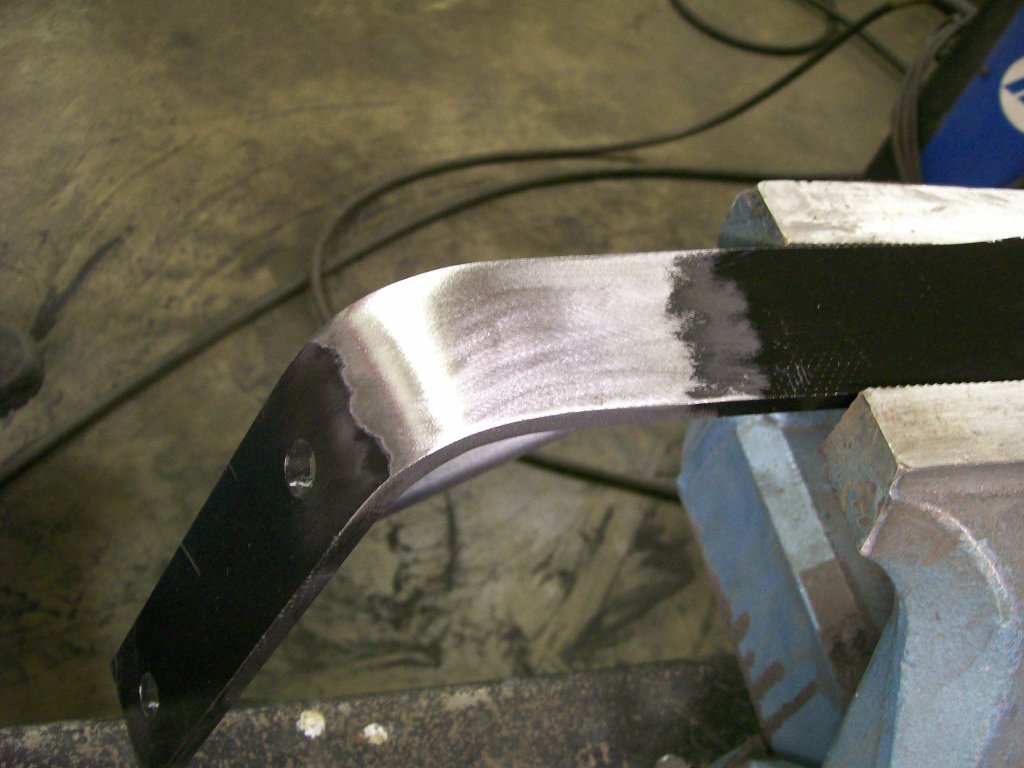
It's the same process as the flat brackets, just have to flow the curvature on these.
9-1-2012
So true, so true.... I couldn't count the amount of times I have people here in town that ask what I'm working on. Often times I say go to Google and punch in 1950 Willlys truck re-rebuild, you'll get the full story. Do they do it, nope. Yet, as you mentioned, I have people from all over the world, with a clear idea of what's going on in my shop. Go figure......
Oh well, if it's people from all around the world that get inspired to start fabricating because I posted a picture, I'm happy with that.
By the way, that's for checking in Gojeep, I've seen your work, fantastic, in detail.
Now that I'm done messing with the rear bumper, I took off the masking tape, it's good to see the chrome shine again.
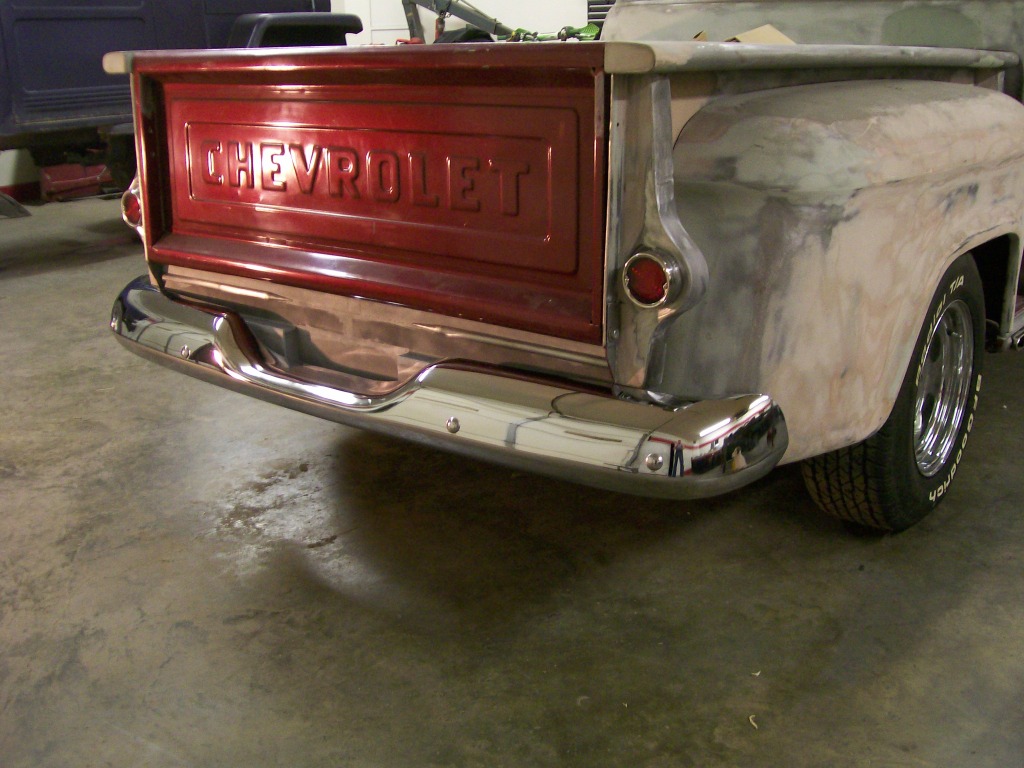
Ok, I stepped out of the box with mounting the tail lights the way I did. I still feel that there is something missing. As I've mentioned before, I'm no artist, but I am forcing myself to become one. According to Jeff88, I'm already there, thanks Jeff88.
After looking and thinking and rubbing my chin, I realized what was missing. Once again, it is personal preference, but here goes.
The idea started with a piece of construction paper. Then transfered to a piece of 4" exhaust pipe.........
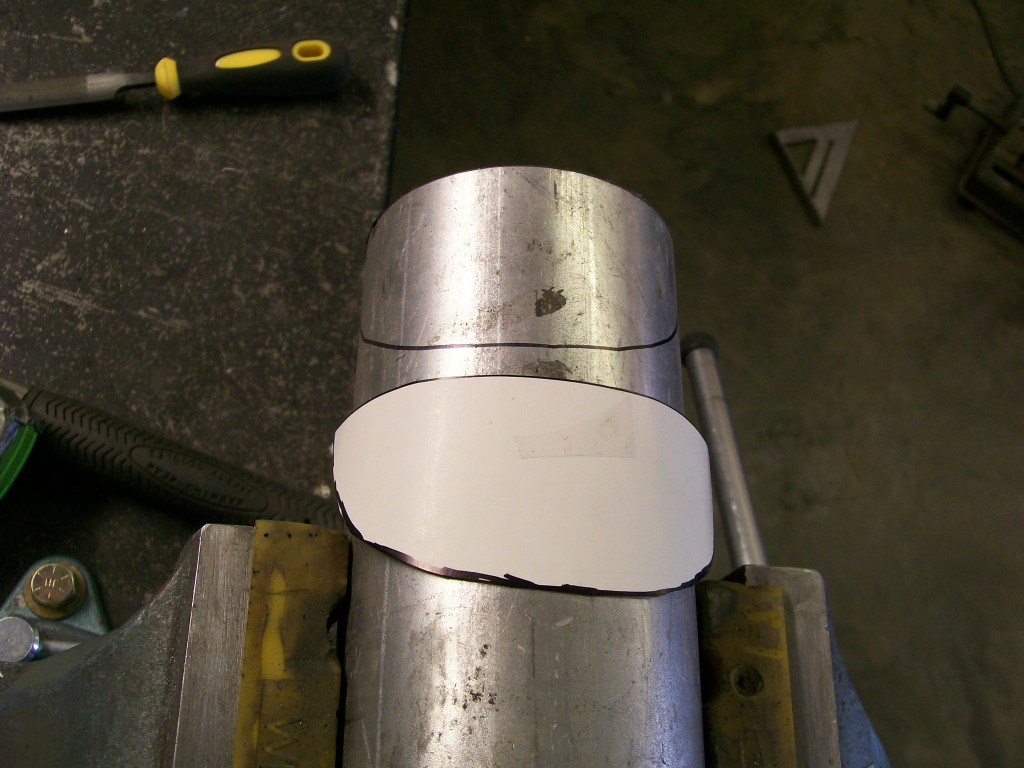
There will be two of these when done.
9-2-2012
Viper723, let's see if you're thinking what I'm thinking.

jbjorgen, not reverse lights, but thanks for checking in.
I don't know when, or who, but I'm sure many years ago I saw these on an old vehicle somewhere. Now I have to search for where I've seen them.
9-4-2012
Thanks for the input on the eyebrows, for me, they were a big decision.
I get alot of ideas, then I sit back and wonder if the idea actually enhances the project. I really like how these add to the lights also.
On the license light bolts that tj98 posted, fantastic Idea. I clicked on the link and with my dial-up about 10 minutes later I had the full e-bay page to read. I wrote down the phone number of the seller and will order a couple. Great idea, thanks for posting them tj98.
No reverse lights though. I'm still working with the foundation of keeping the nestolgic (old) feel to most of the truck. For instance, the steeringcolumn from an early 80's GM. It has the key like every other newer GM. I just purchased an original ign. switch for the dash. I'll smooth the steeringcolumn so there will only be the dash switch when done.
I'll get some pics downloaded to show the fabrication of the eyebrows tonight.
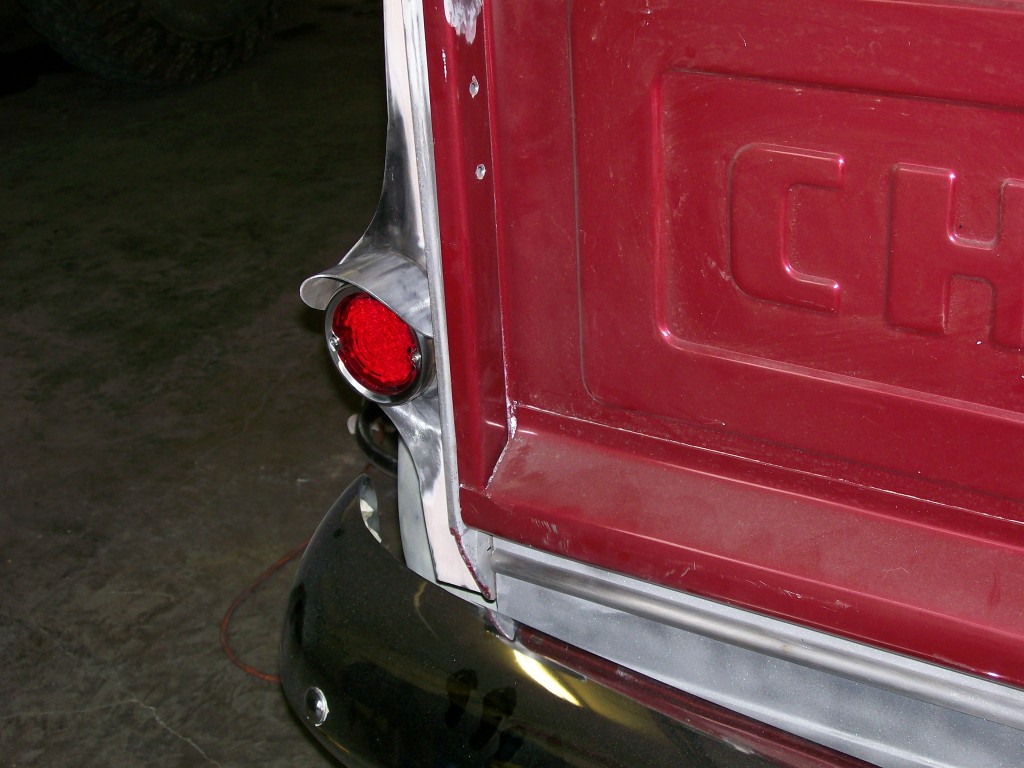
Gojeep, it was the factory look of how the original sheet metal hangs over the headlight that helped me get the idea for the rear lights. They'll stay as they are.
I was thinking of you when I mentioned the dial-up Jeff88 and yes, it was time for a dial-up joke.
Gojeep. I think one thing I really like about this style of truck is it has a forward lean to it vs most of todays vehicles that are designed with aerodynamics in mind. This stance gives it a natural bull dog attitude. Pretty cool.
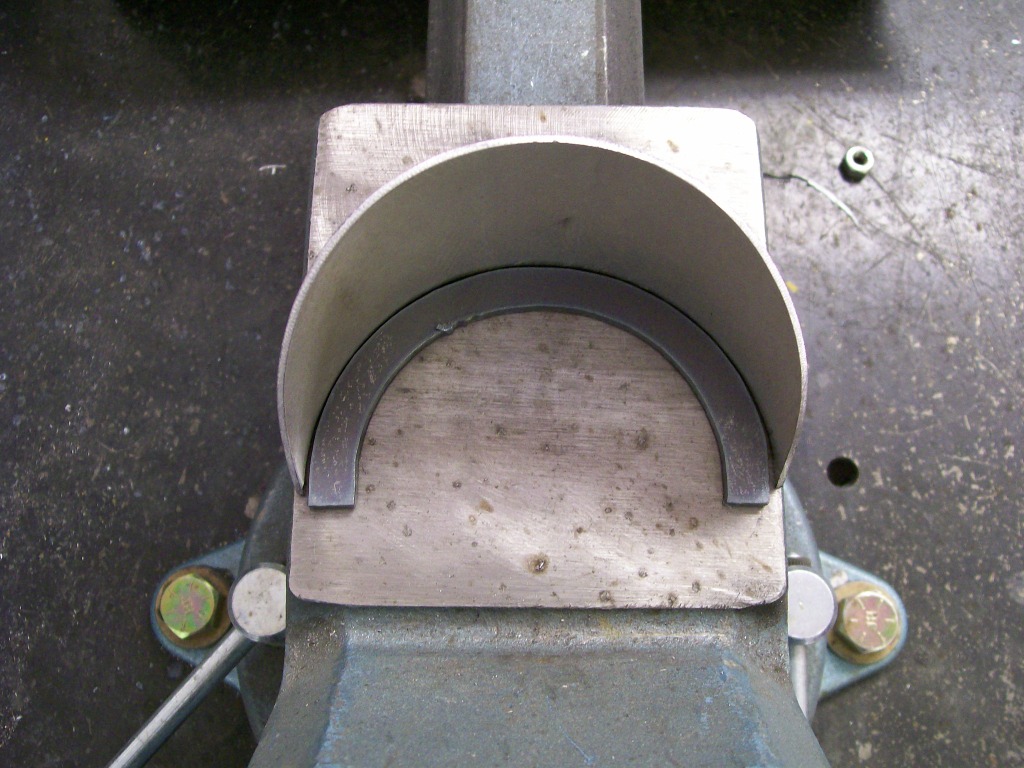
On the eye brow, I didn't want to weld the in place on on the truck. First, they would get in the way of painting later. Second, the weld would leave a bead that would be difficult to grind clean later. I needed a small flange on the underside that I could run a couple screws through for mounting.
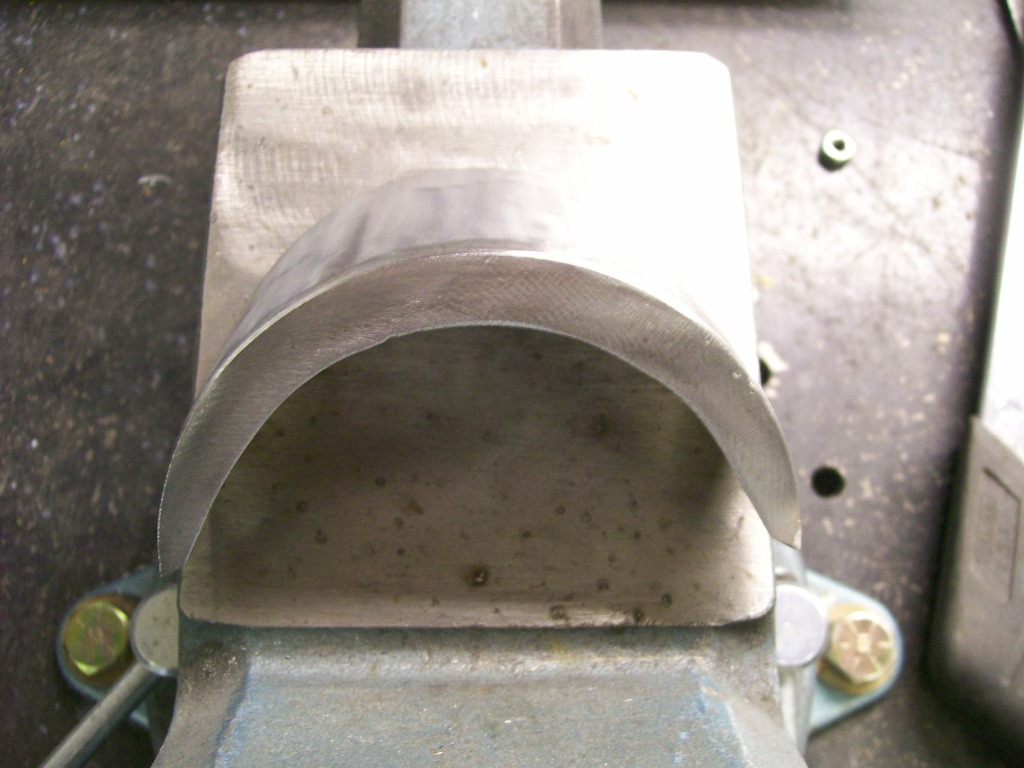
After I cut the 4" pipe for the eye brows, taking measurments, I used the torchmate to cut the small flanges.
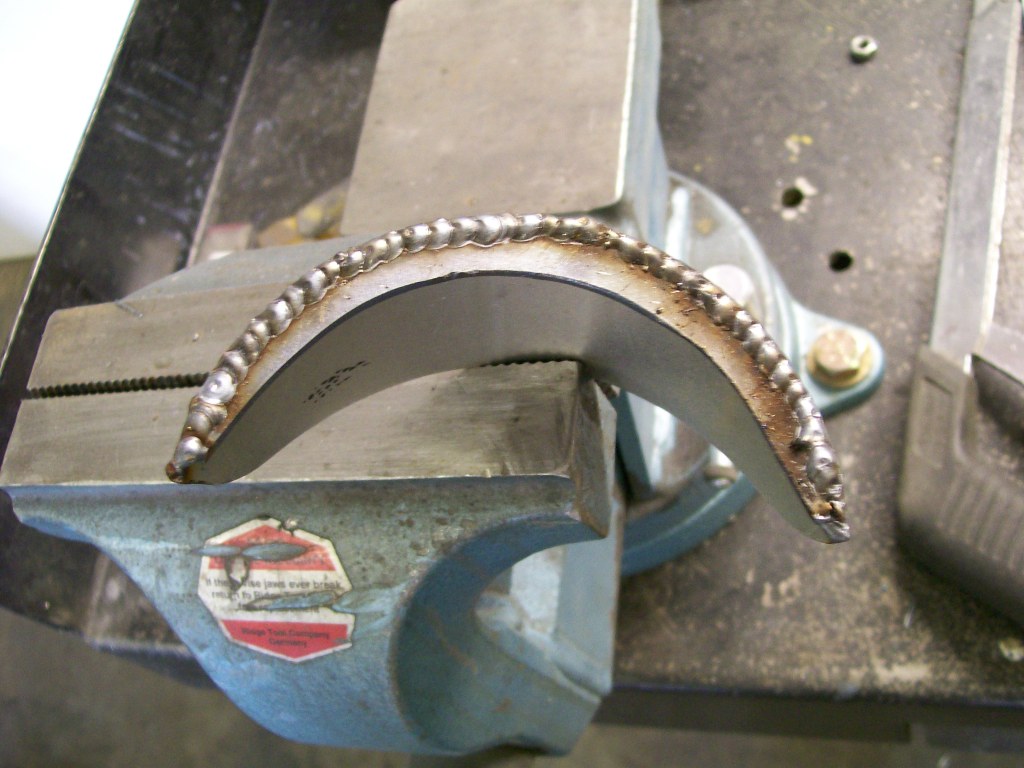
Yup, here goes the stitch welding again. I'm welding on an edge and I don't want to burn any of the edge and I don't want the penetration to go through to the inside.
I did grind the edges to a "V" but not too deeply, just enough to have some weld left after I grind this smooth.
Looking good. Now I just have to drill a couple holes and it's attached.
9-5-2012
tj98, even better yet, I deal with LMC trucks parts, these will be on the next order. I never saw them before, I see them now on my page 42, thanks.
J-Quad, the other side shouldn't be an issue with rust once it is primed and painted. My need for not getting any weld on the backside of the mounting flange is it would be difficult to grind clean any weld. Plus there are two mounting screws that I wanted to have a good flat surface.
Here is a view from the backside after the weld.
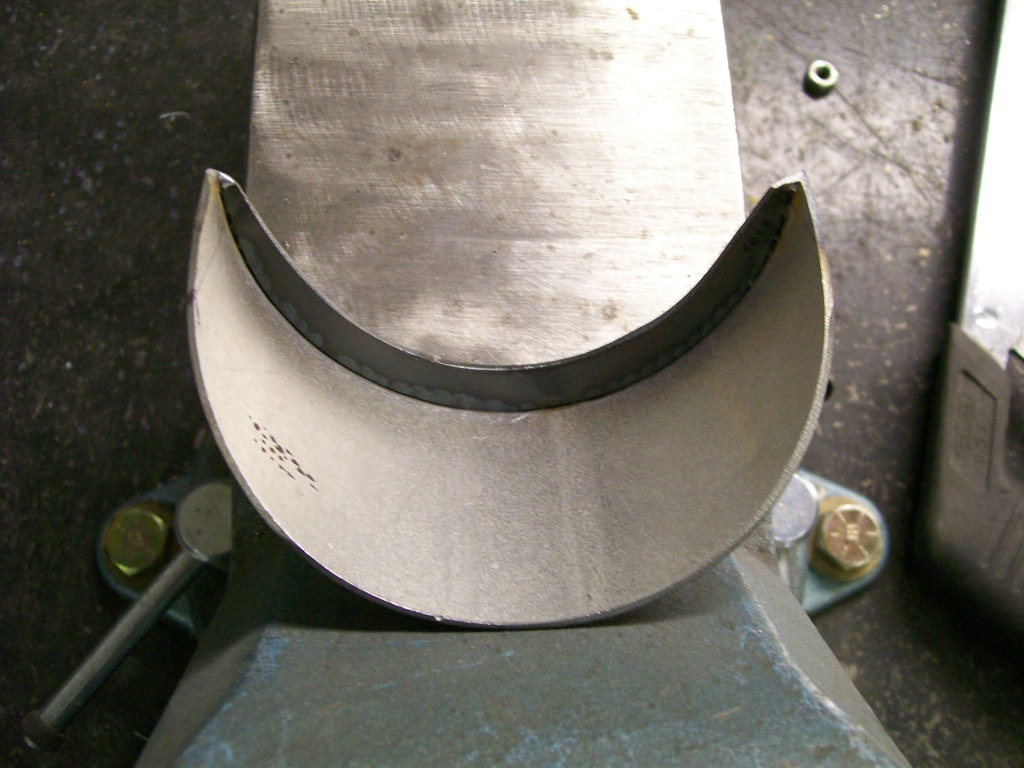
A look from above the mount. The two screws, once tightned, pull the eyebrow tight against the body.
