You must be logged in to rate content!
13 minute(s) of a 668 minute read
4-18-2012
timmytimm3, I'd gladly like to see some pics of your family's project. I haven't gotten to my e-mail in months. It would be nice to compare projects, a couple of pics pertaining to the engine compartment and perhaps some fabrication would be nice to see here if you don't mind everyone else seeing also.
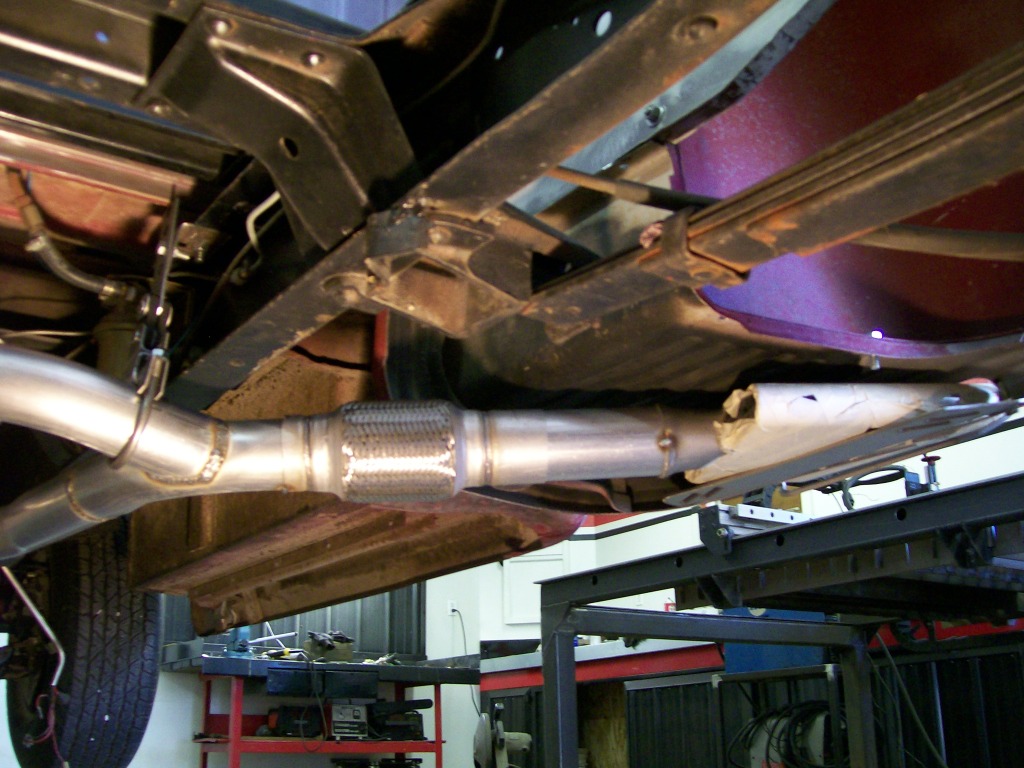
Jeff88, you are sooo correct, I didn't take the easy way out. At first, the most I wanted to do was put in a crosspipe and create a "H" pipe situation. Then I just couldn't see it creating the sound I was looking for. So then the "X" pipe had to be made. By time I finished, this is the result.
Rumor has it high speed internet is working it's way down to my area.

Getting the exhaust assembled has got me excited about getting the truck running also. I can't wait either.
bradw76, I've never seen anything like either. I've done a shallow check on the internet to find similar systems that I made, but none like it.
It's interesting how we can work ourselves into a corner while building a project. We either have to rise to the occasion, or back out and try a different way of getting past the issue.
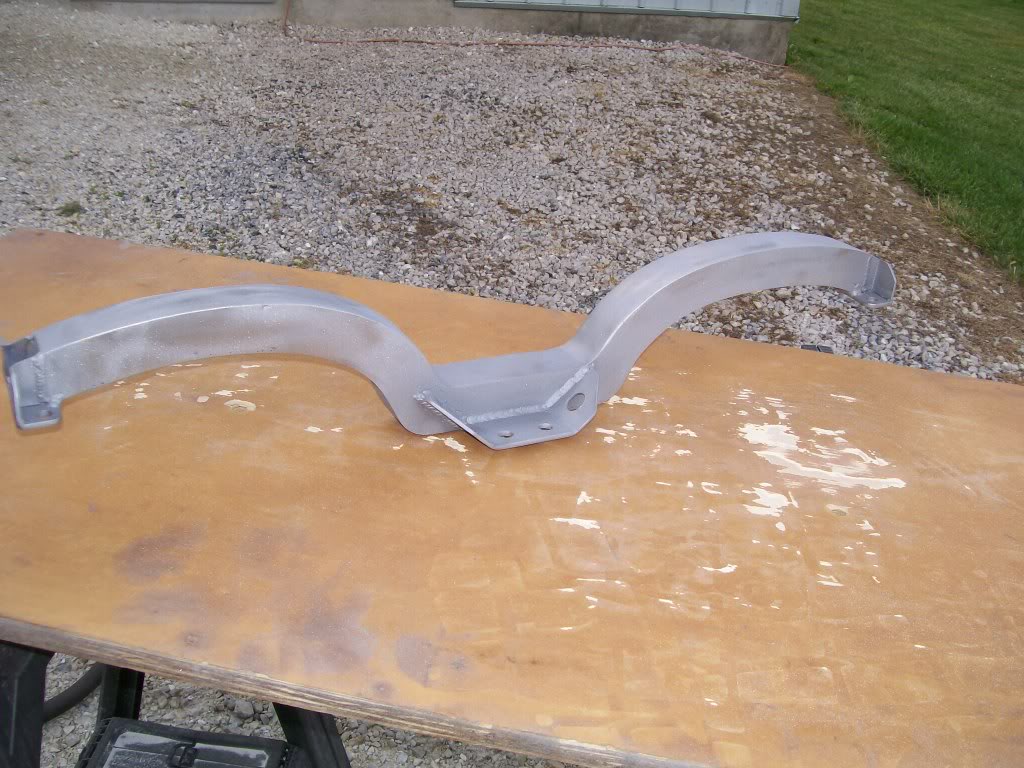
Example, the crossmember for the Willys truck. That was the first time I attempted to build a crossmember from scratch. My patience was certainly tested. Now tonight I've nearly finished the one for the 57 Chevy truck. Had I not challenged myself to build the first one, my confidence wouldn't be what it is now while building the second one.
Interesting how a little adversity can build character in ourselves.
4-19-2012
Scooter, I've seen so many vehicles rot away out in fields, makes me sick. I understand the emotional tie she has with the old truck, but to let it rot away... bummer.
I had a picture of halfway through the assembly. It gives an idea of how it fit under the truck.
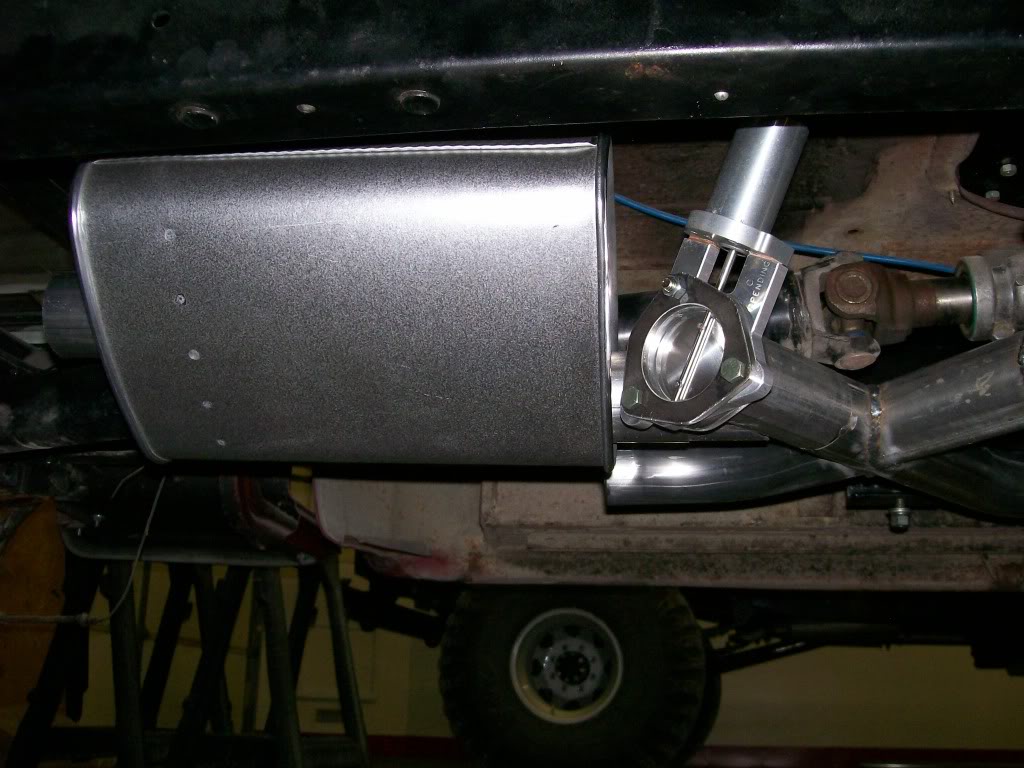
With all the talk about exhaust cut outs, I figure a picture is due. There are different versions. I'm using this design because I could sandwich it between two flanges easily.
Here's the cut out in the closed position.
4-22-2012
Lol, I know, I got started, then I just couldn't stop.

As I've done before, I don't like to give the impression that this fabrication stuff is easy.
Building the exhaust took alot of time a patience. One thing I hate to do is over cut material. Such as fitting all the pipes together. All the grinding and "fish mouthing" the pipes to fit together was enough work. Before the grinding and fitting was cutting the pipes to length. This next picture gives an idea of the cut and checking that took place.
Some of the left over pieces, just a small cut at a time.

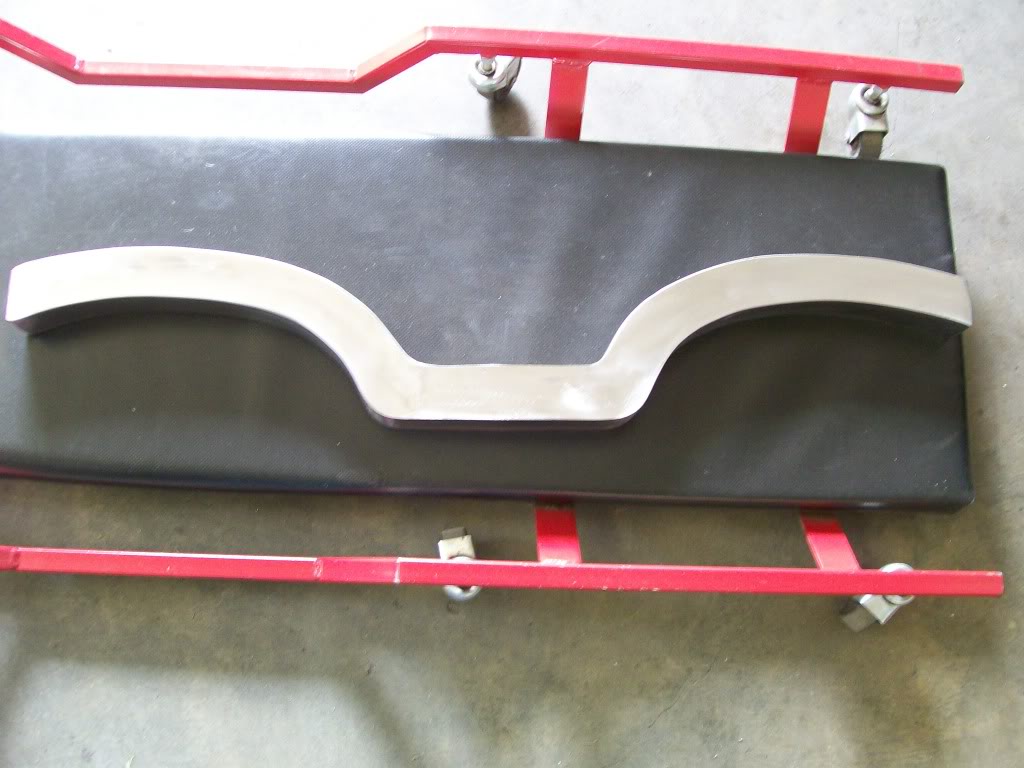
I finished making the crossmember. This is a picture of it shaped, welded and cleaned up. After this point I still have to build the ends that will bolt to the frame and the plate that will reach forward to bolt to the transmissiom rubber mount.
4-23-2012
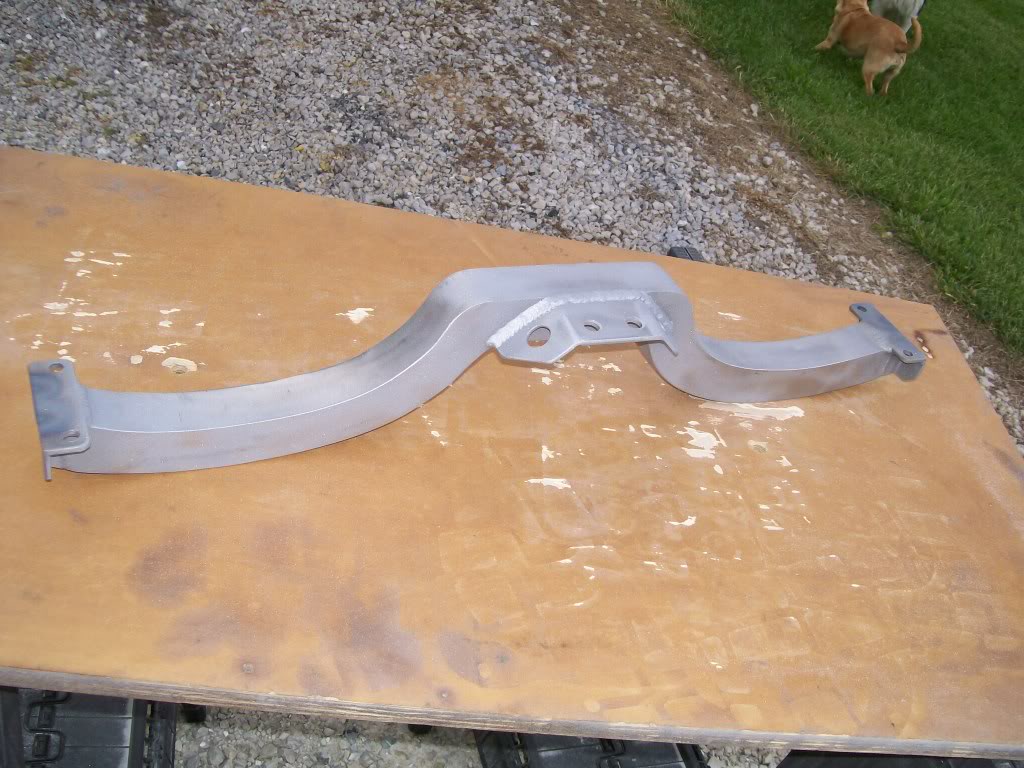
In the last picture I had the main section of the crossmember built. I still had to create a way to mount it to the frame on both ends and bolt it to the transmission.
The transmission mount needed a flat plate and the frame mounts just needed flat plates to bolt to the frame. In each case the flat plates had to have webbing or gussets to either support or distribute the weight from the crossmember to the plates. I suppose this is where we get to be individuals and decide how to go about this.
Here's how I finished mine.
4-24-2012
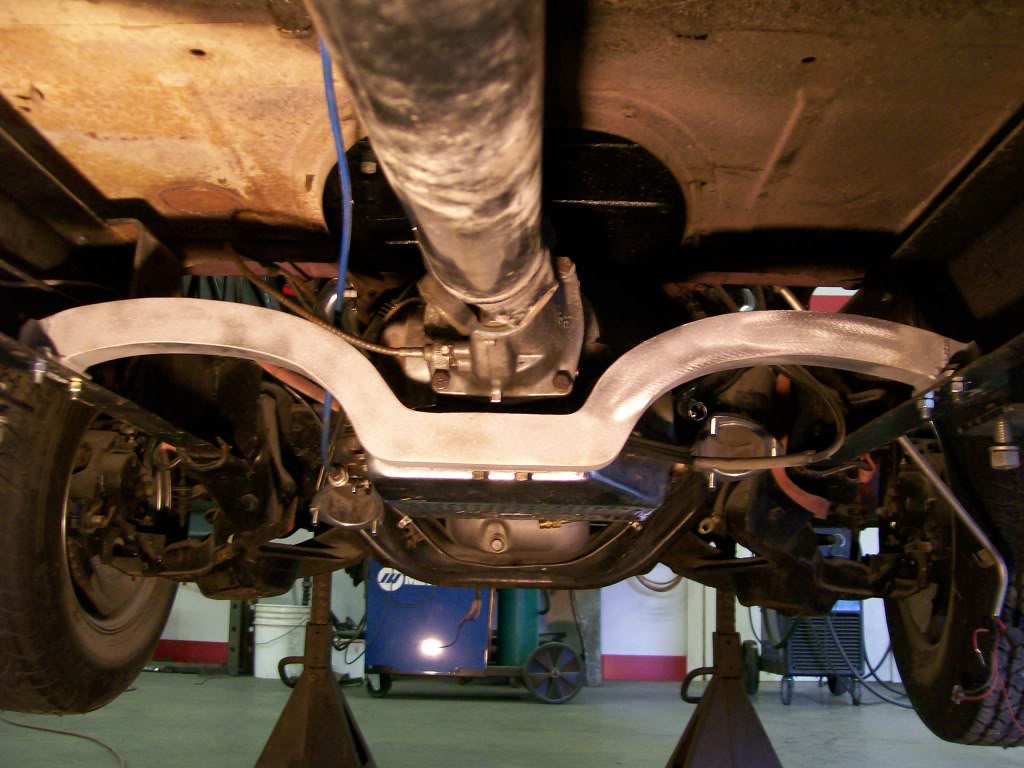
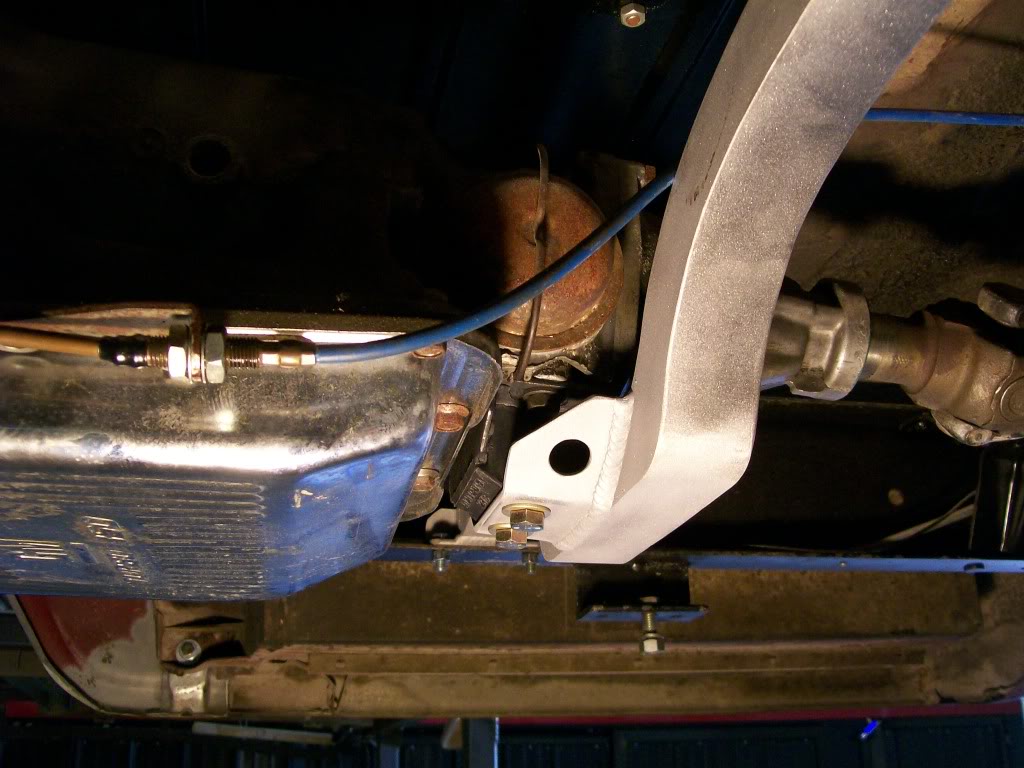
 Thanks little_Jeep, Ok, how 'bout this... It's art sitting on the table, but under the truck I'll call it a crossmember, as in these next pictures.
Just to sum up the 57 Chevy truck so far.... As I recall, I dealt with lining up the front pulleys and had to make one pulley from two pulleys.
Then made the plug wire holders, of which I didn't like my first design. Then made a second design I really liked.
Had to make header spacers to make room for the oil filter.
Reset the alternator back to get the wires where I needed them to be.
Then the exhaust system.
Then the crossmember.
Along the way I had to make the motor mounts that went to the frame. Make the bracketry to hold the dual electric fan set-up.
Just trying to make the point that if I had put a time schedule on this project I would become frustrated. During this Chevy project, with a time limit, I'd have settled with ideas that just weren't my best. I'm not a fast worker, but I keep walking into the shop and slowly make a difference when I can.
4-26-2012
You guys are giving me flashbacks of many years ago.
Back in the '80s and "90s I was spending most of my time in the shop. My creative thoughts were very active back then. I had a yellow chair, don't ask where it came from, but I spent alot of time sitting in it just trying to picture my next move on a project. As a matter of fact, the Willys was built through images captured while sitting on the chair.
People who came to visit understood the chair, the chair became a standing joke. If time passed between their visits and I did some good work, the comment always refered to "looks like Jim spent some time in the chair again."
This time, I layed on the creeper and looked up at the exhaust for a while, so yes, I'm with you guys, sit (lay) back and enjoy your work, absolutely.
On the project now I'm at a standstill for a couple days. I've been waiting for the copper gaskets that go between the cut out flanges to come in, they finally made it. I held off welding the completed exhaust until I could put them inplace so everything was as it will be when done.
I had a mild cam in the engine, but decided to go with a new grind by comp cams. Now that I'm the primary owner/driver, I want a more agressive sound. Comp cams has a new series called "thumper" that is focused on having a rough agressive idle, yet good streetability caracteristics, I look forward to hearing this thing run even more now.

Otherwise, I have a couple yard projects to take care of also. Hang in there, I'll be back with updates as soon as possible.
Thanks everybody for your enthusiasm.
5-12-2012
Two weeks, wow how time flies. Sorry for the wait.
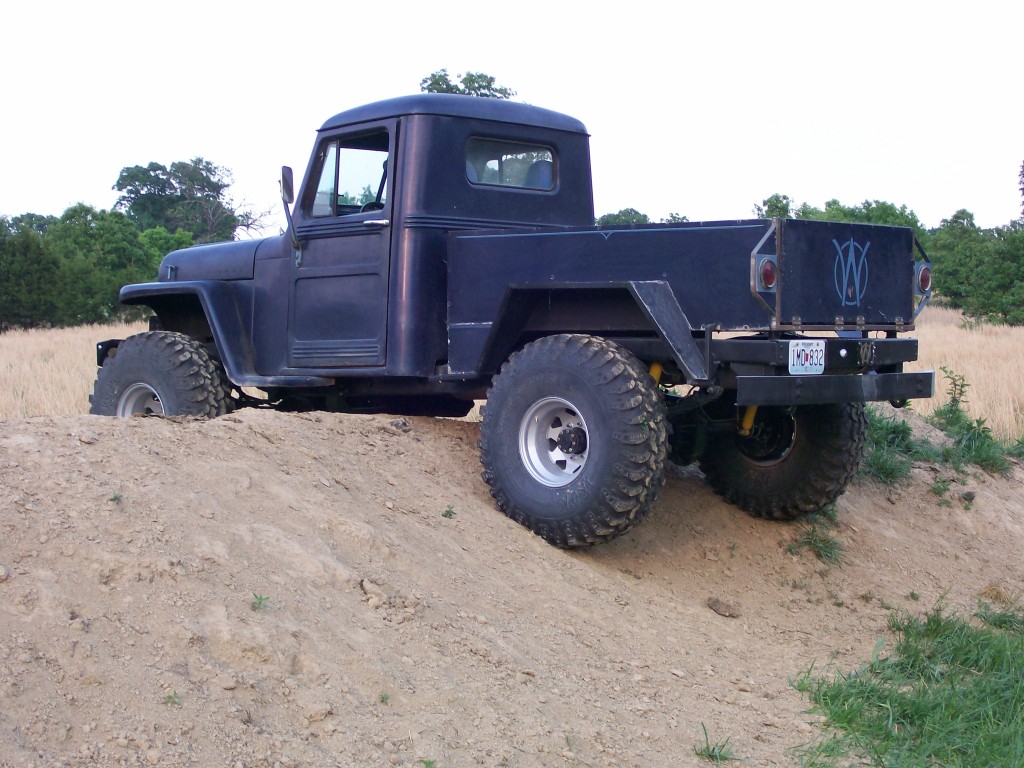
Yard work..... I got a bunch of white pine trees planted, cleaned up some rough edges and yanked out some old fencing that had been eaten up by the ground. The old Willys has been working earning it's keep.
I've been asked to enter it into the 4th of July parade, guess I'll have to keep it driveable at least til then. We'll see how it works out.
Of course I got to roll a couple dirt hills and obsticles while working.
As for the 57 Chevy... I'm at the point were I'm showing my age and experience. Although I've got the exhaust pretty well set, I still have hangers and the final mounting to finish. Years ago I'd get to this point and start slapping things together. Not any more, I want many years of usage, so I'll take the time to get the mounts right.
In meant time I have removed the system and dissassembled it so I can fullly weld all the pieces together.
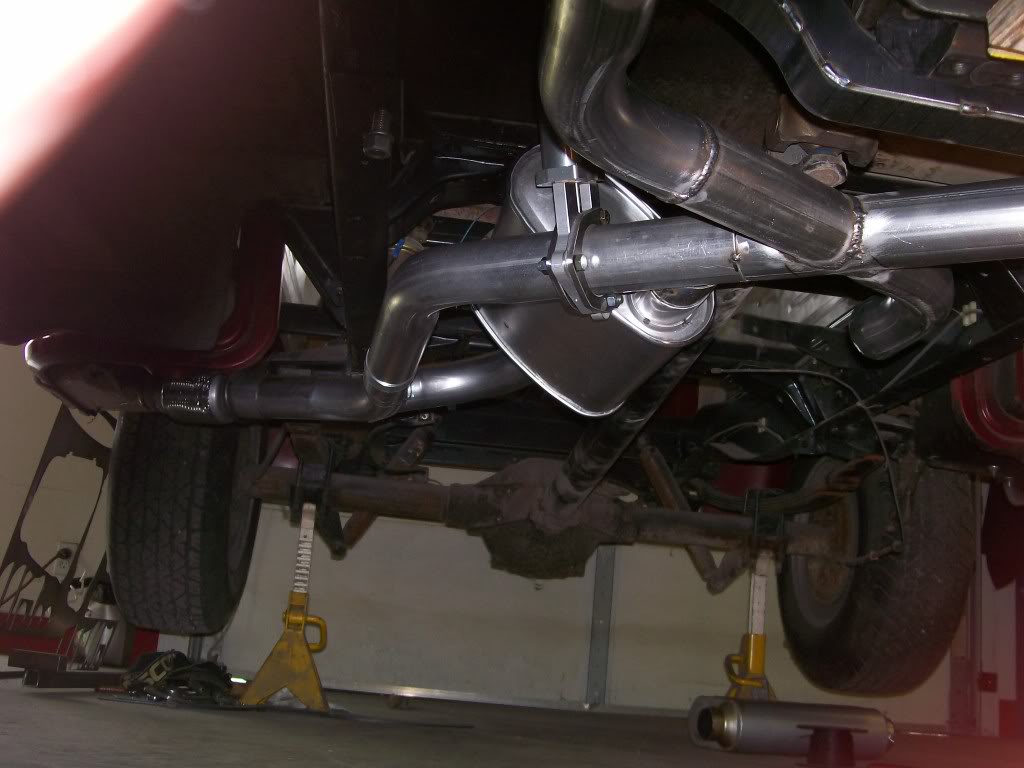
I took this picture, I thought it looked awesome, kinda like I ordered a "dual exhaust with "x" pipe splitting into 4, with two mufflers and two exhaust cut outs, converging back together after the mufflers, with the tailpipes exiting through the bed steps exhaust system" exhaust kit for a 57 Chevy truck.:2
thumbsup:
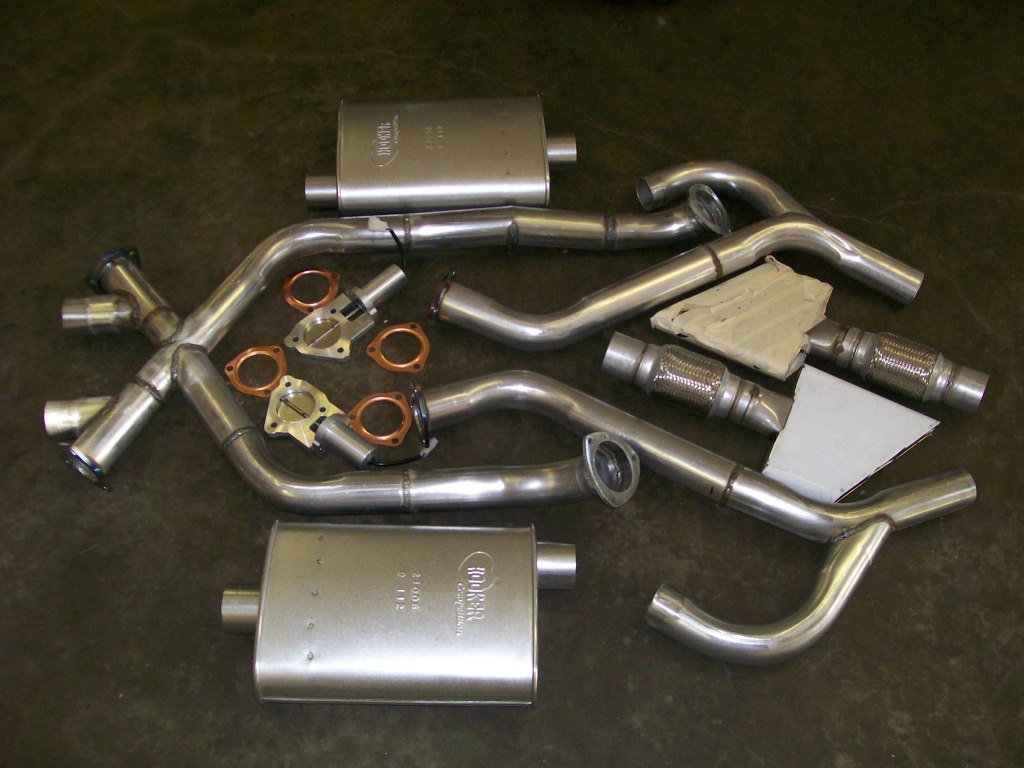
I realize there are many choices of mufflers to go with anymore. I chose turbo mufflers because they flow pretty good and the have a fairly quiet sound to them. With the exhaust exiting right behind the cab, I don't want to listen to barking mufflers while driving down the highway.
5-13-2012
Jeff88, the parade, if I do it will be interesting. I'm not not much for decorating, if there will be any, I'll leave it up to who ever organizes the float build. I'll be at the mercy of whoever decorates the truck.


mudcrawler90, then it's a good thing we took a couple weeks off from posting, less pages you have to catch up on. Also.... thanks for the compliment on my work. Part of my goal here is not only to show what a little patience can produce, but also to instill a mindset of what happens when you put your heart into what you're trying to build.
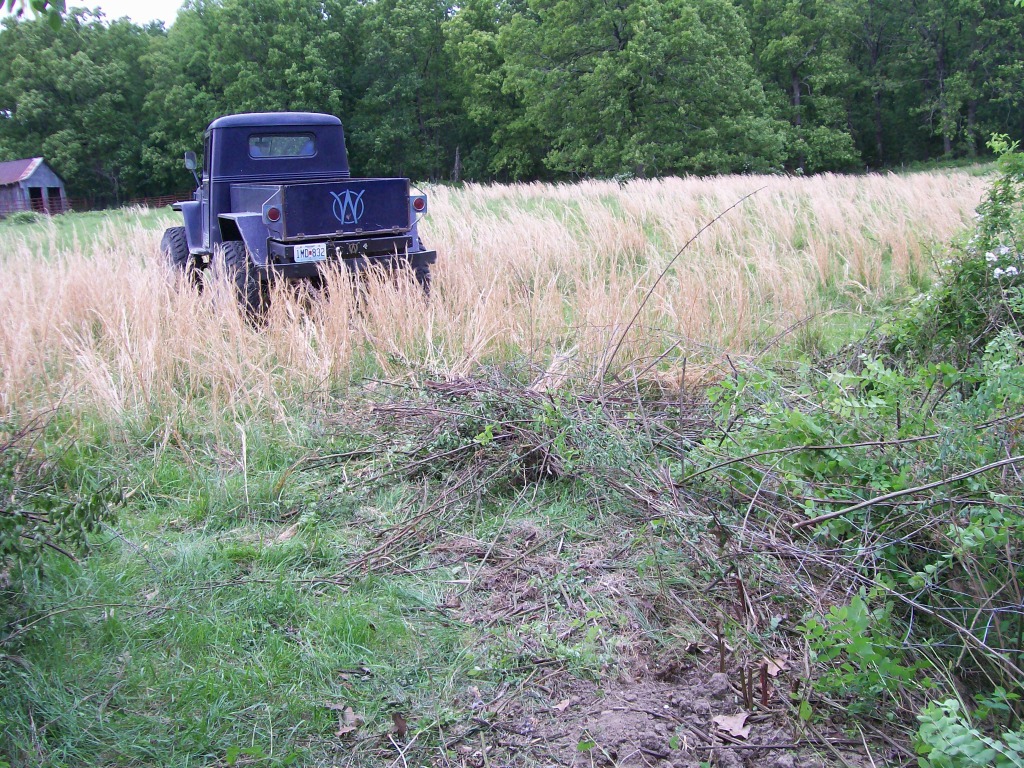
Another picture of the Willys doing it's work. Nothing special, just draging about 100 feet of fencing that became entangled in weeds and the ground. I suppose I just get excited about a 62 year old truck still doing work in the fields, then taking me to work nearly everday, hauling scrap iron to the recycling place, ect.
Over on the other side is the 57 Chevy truck. I've had to change my way of how I finish the exhaust outlets. Originally I tack welded the flex joints to the oval tips. What I am concerened with is how close this was putting the flex joints to the bottom of the step. Heat is my concern....I don't want over heat the paint on the step. I already plan on using a heat deflector on the bottom side of the step, and I'd like some space in this area.
So... I cut the welds holding the flex joint to the exhaust tips. Now I moved the flex joint back about 4 or 5 inches. With this spacing I have plenty of room to install a heat deflector under the step.
Moral of the story, always tack weld while building projects, it allows you to achieve your best outcome.