You must be logged in to rate content!
7 minute(s) of a 891 minute read
5-22-2018
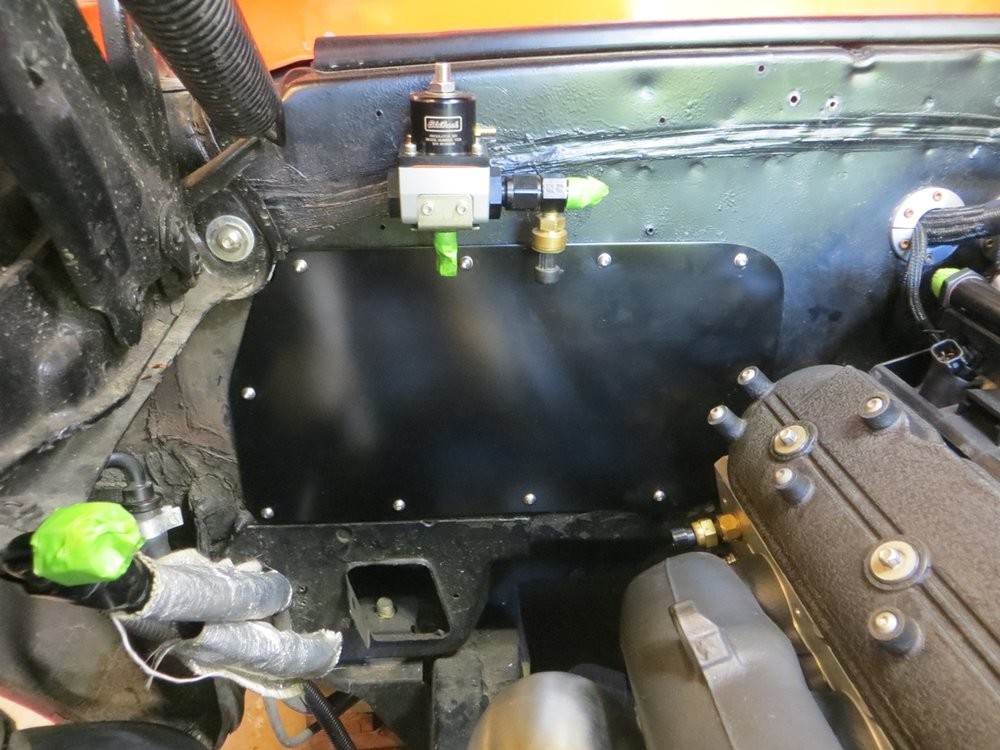
The panel is 1/8".. it's plennnnnnty stiff, I don't envision it vibrating at all.. I plan to put sticky foam tape on its backside to seal the panel off to the firewall for noise and vibration.
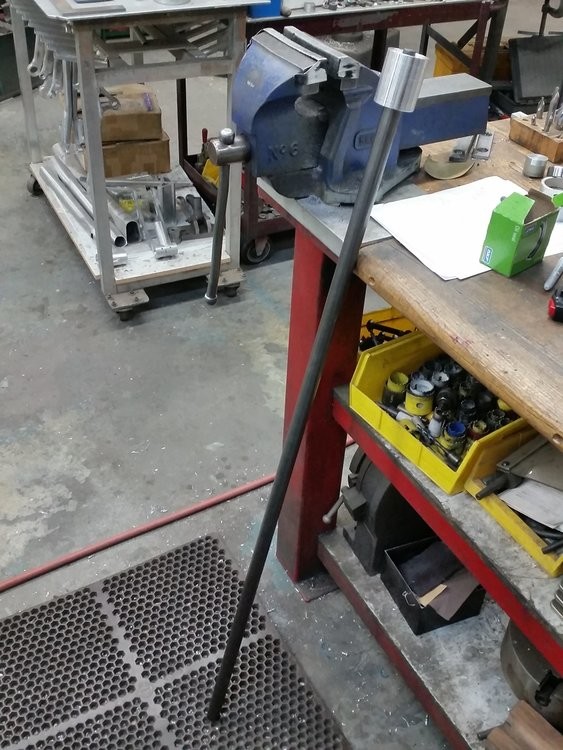
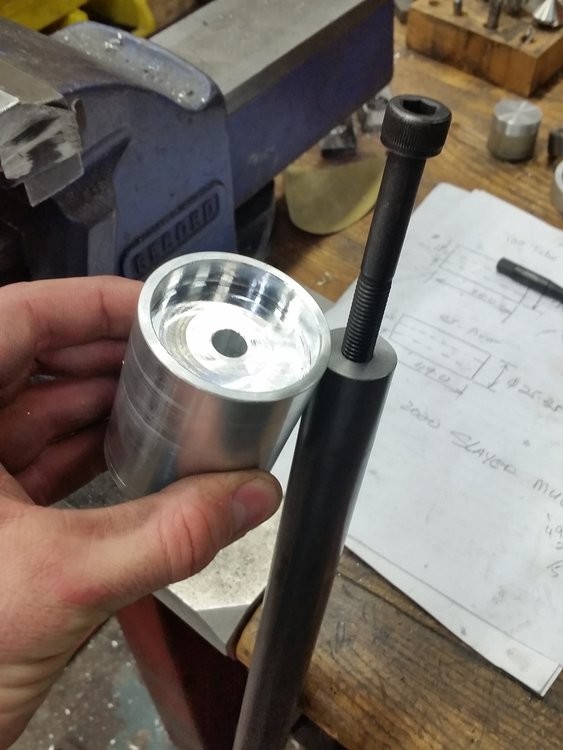
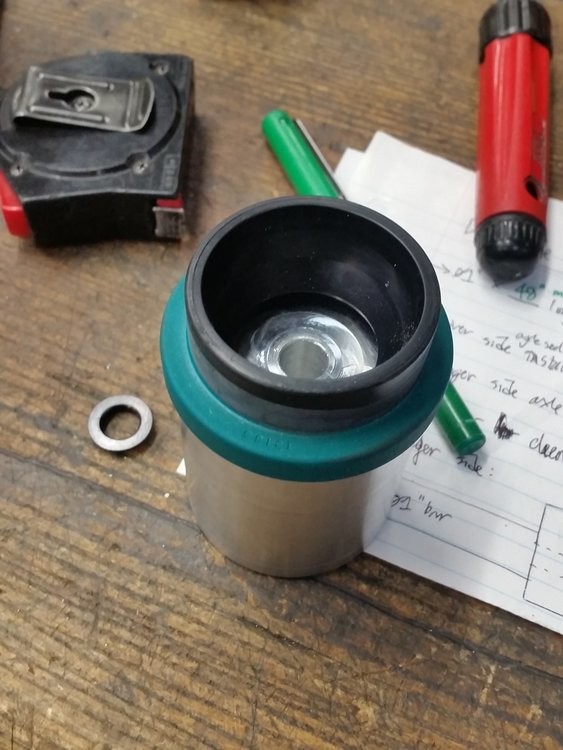
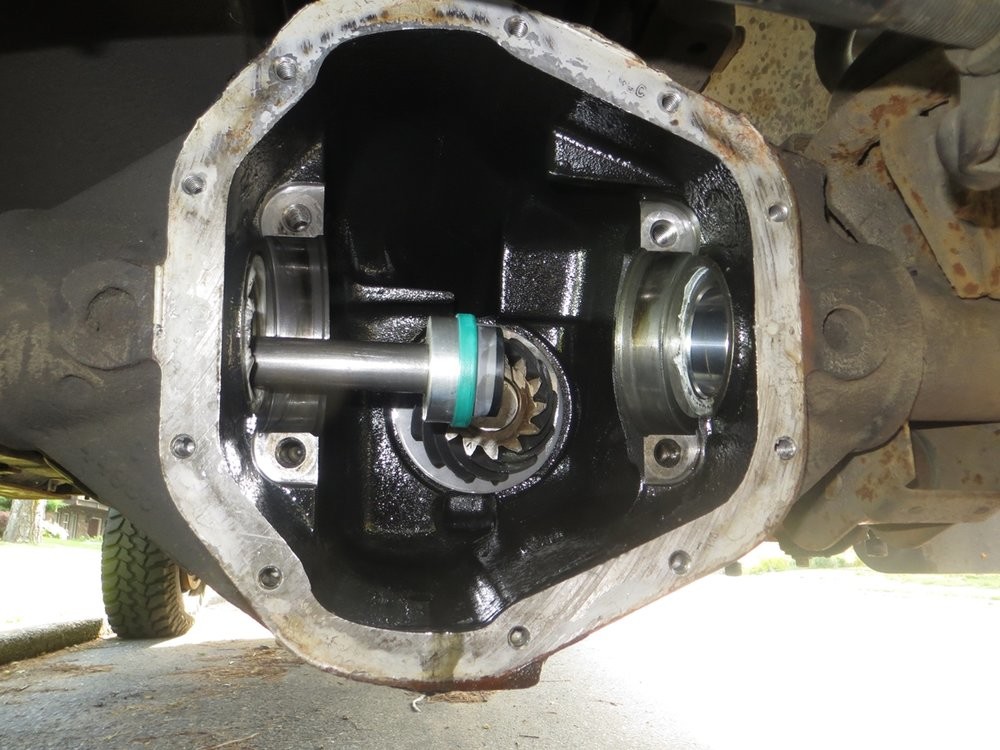
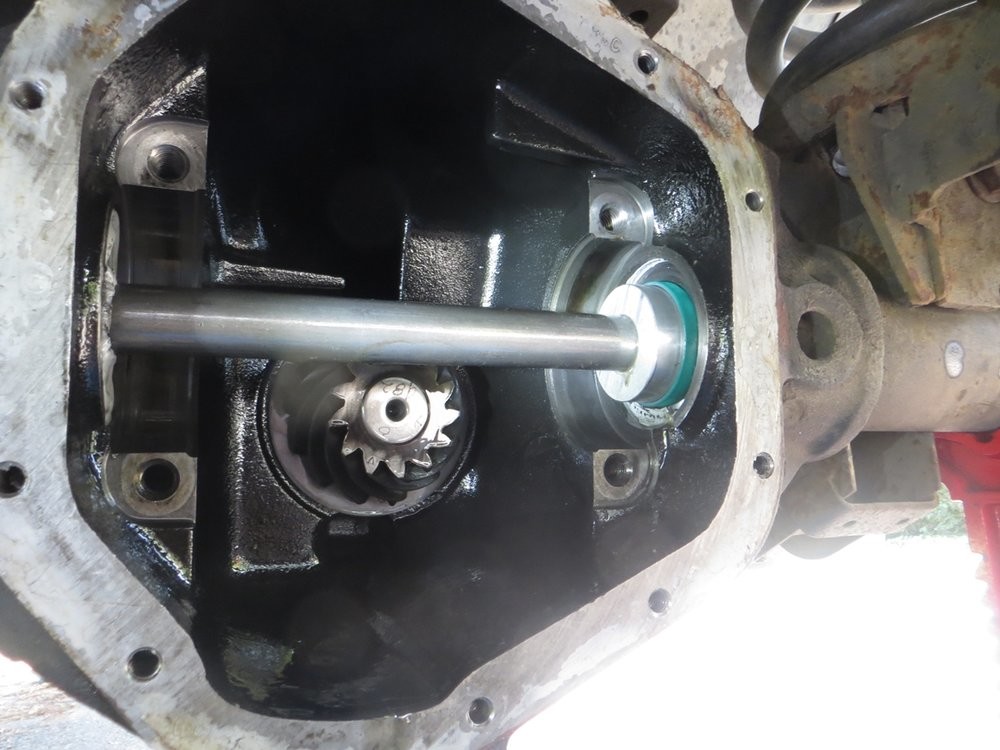
I was replacing the inner axle seals on the truck.. they're just outboard of the carrier bearings, and have to be removed from the outside pounding inboard, and new ones installed from the inside pounded outboard.
5-27-2018
Wrapped up the heater firewall blockoff panel...
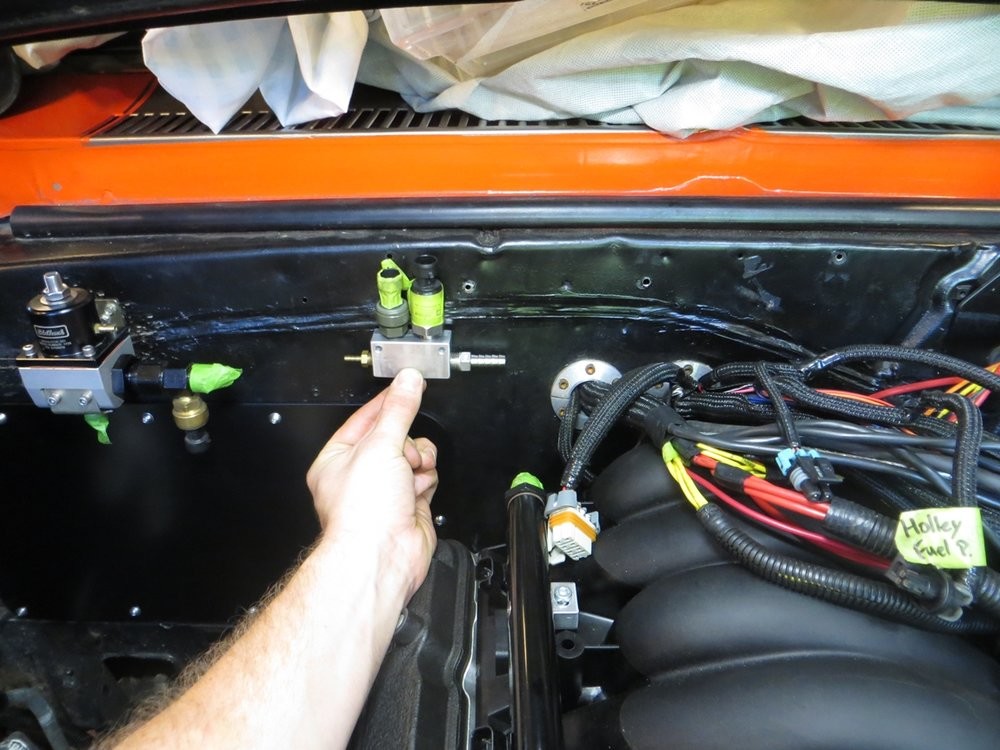
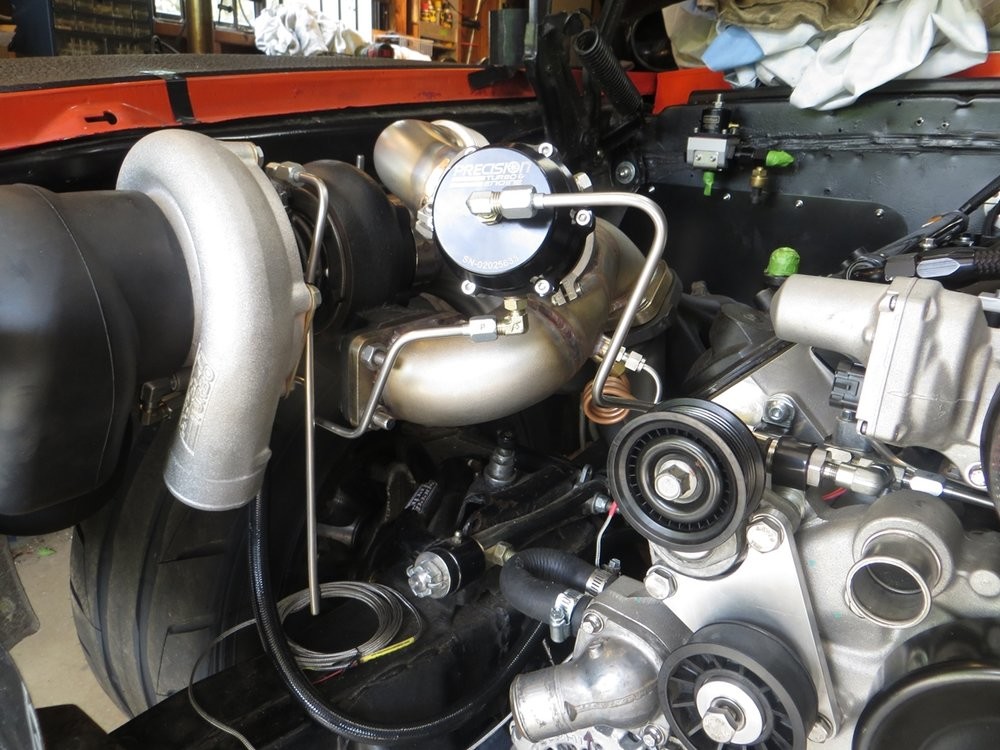
Made a manifold air pressure distribution block so that the boost gauge, FPR, and BOV all get their pressure from one tidy location. The second (right) sensor is actually the Holley wastegate dome pressure sensor, I just threw it on there as an extra future-proofing port to make sure the spacing is okay.
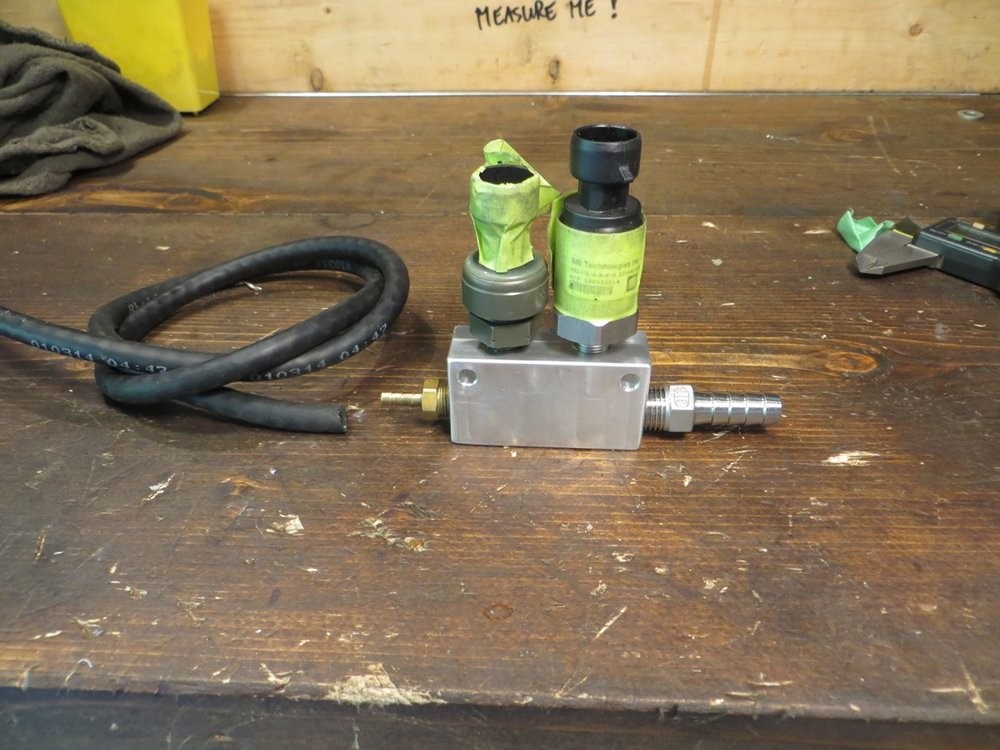
The boost manifold pressure distribution block will be fed by a single (10mm?) hose barb on the back of the L76 intake manifold.
Not sure where exactly I'll put the distribution block, need to install fuel lines and coil brackets and then I'll figure out its final location...
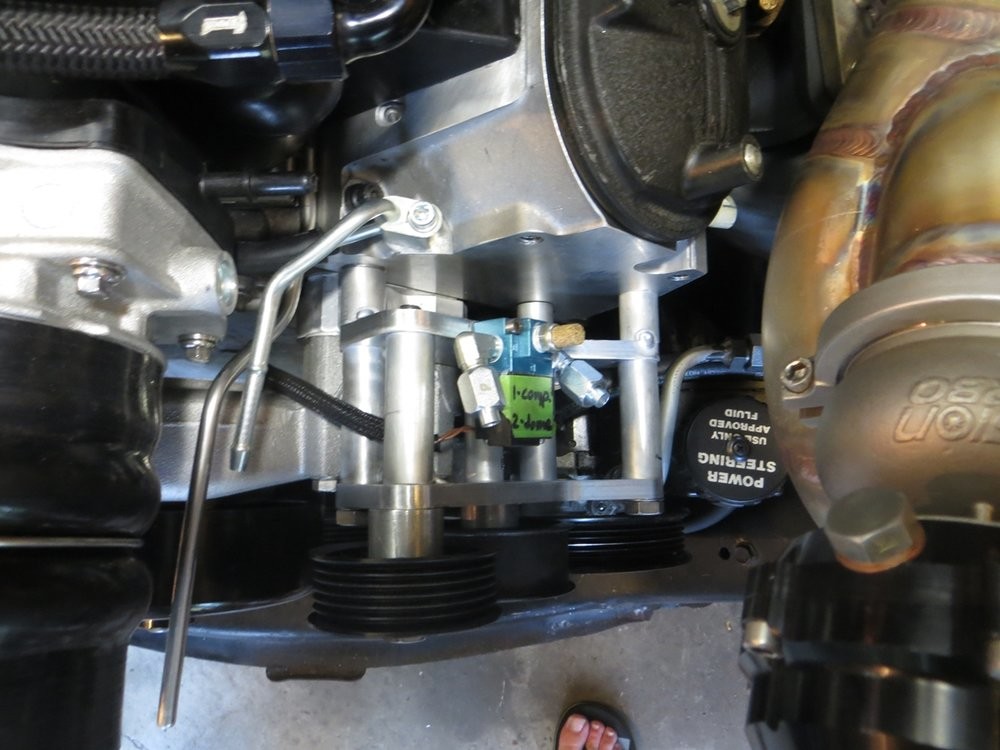
Also found a location for the Holley wastegate solenoid. Since my P/S pump bracketry is 3/8" plate, that was enough thickness to tap some M4 threads into and mount the solenoid in a convenient and open position...

After a long week and writing off last weekend with truck maintenance, I wanted to bang out a bit of "quiet" work in the garage Friday night.. aka stuff I don't want to be doing during the daytime which I would otherwise need to be doing loud things like cutting exhaust piping. Well I ended up going 7hrs straight and practically finishing the wastegate & solenoid hardlines by 1am.
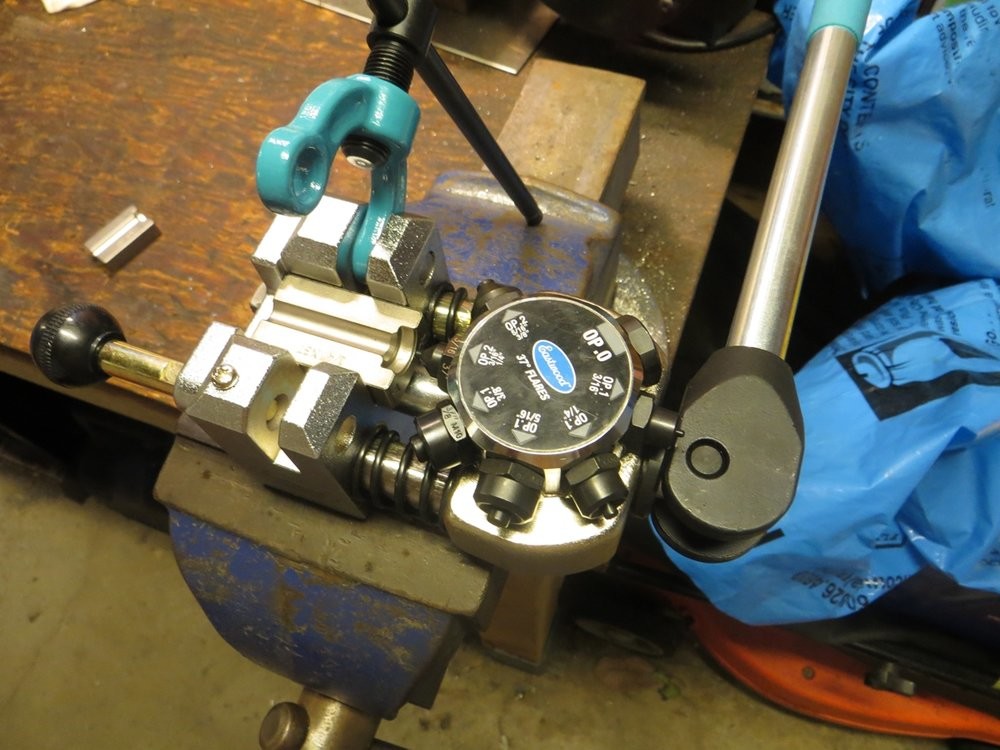
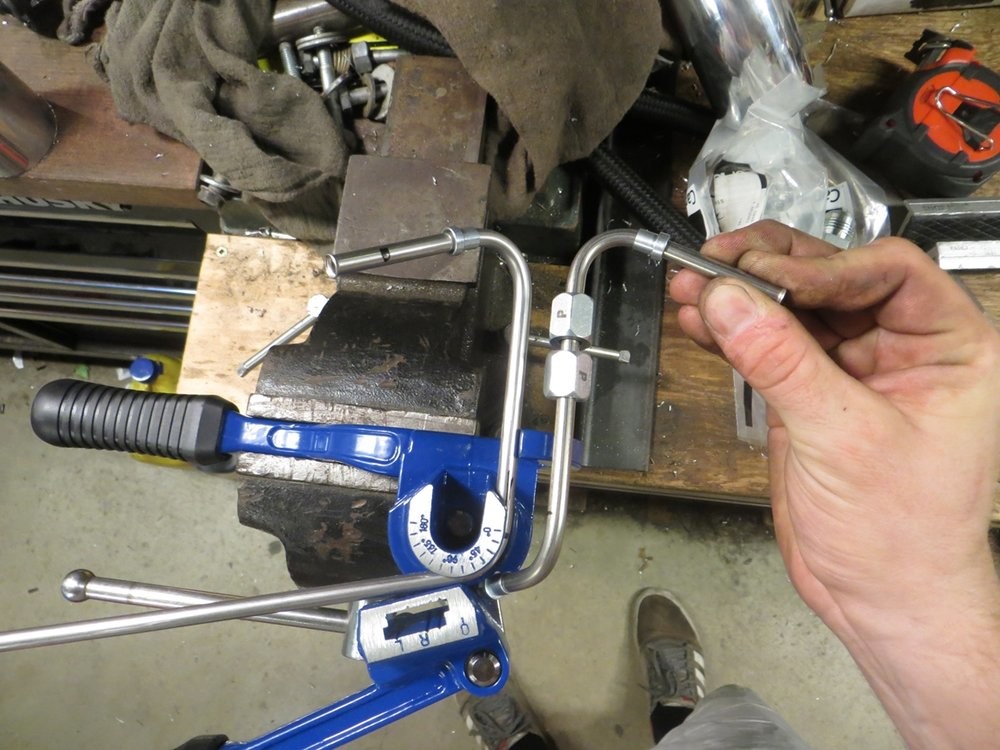
This Eastwood flaring tool is super awesome.. I could have a mint looking flare in under 10seconds. One of the best tool investments I've made in a long time...
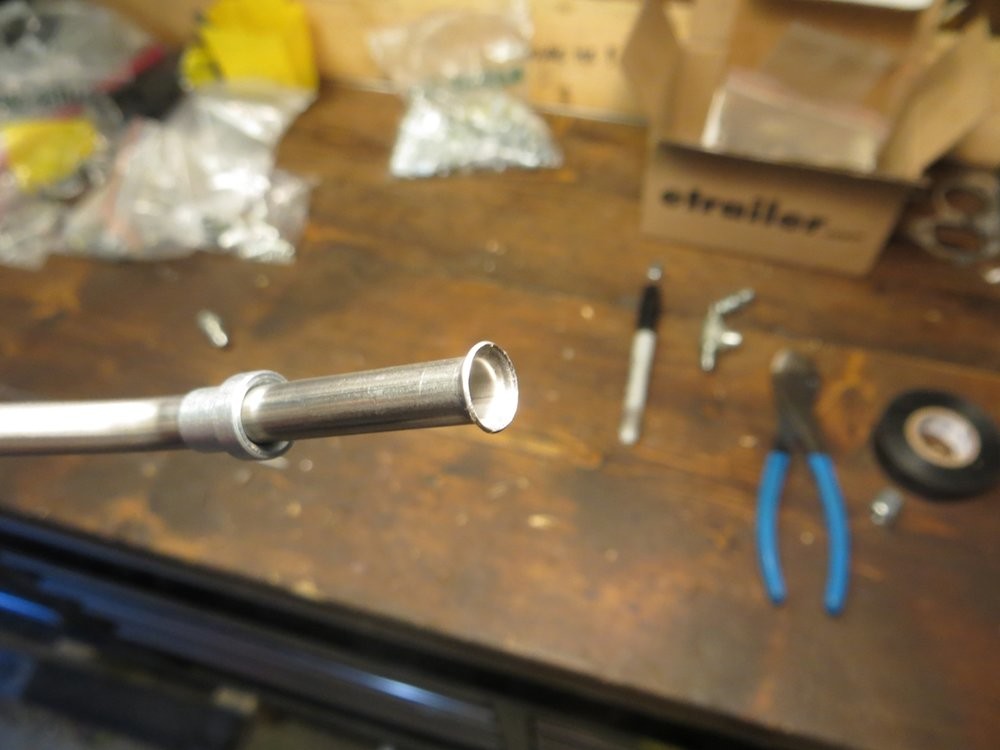
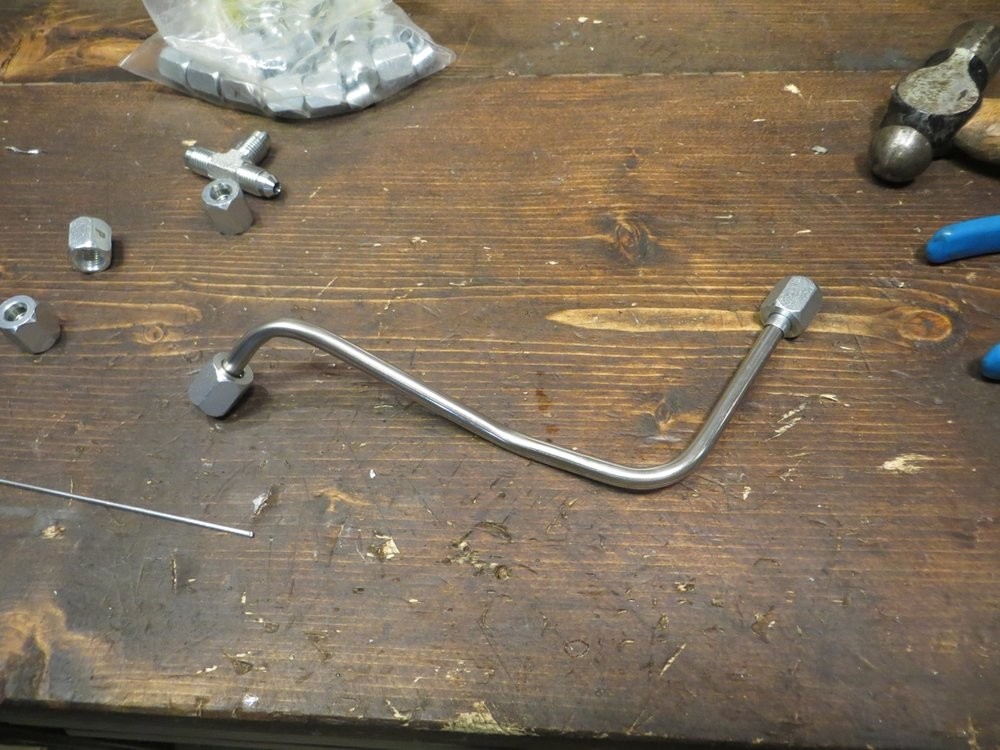
I started off trying to get pretty fancy with prefectly bending welding wire as a guide, but I ended up scrapping that pretty quickly and just going freehand and eyeballing it..and nailed most of the pieces on first attempt. Below is the first piece I bent and flared, the wastegate supply pressure (bottom side of wastegate diaphragm) connected directly to the compressor housing, on the passenger side...
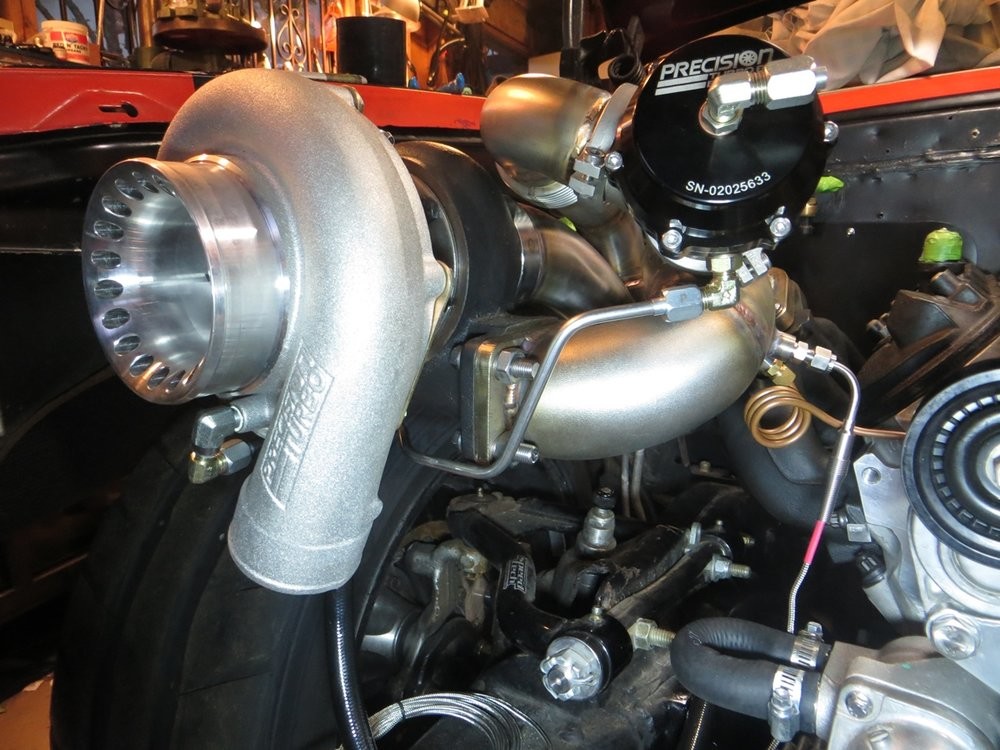
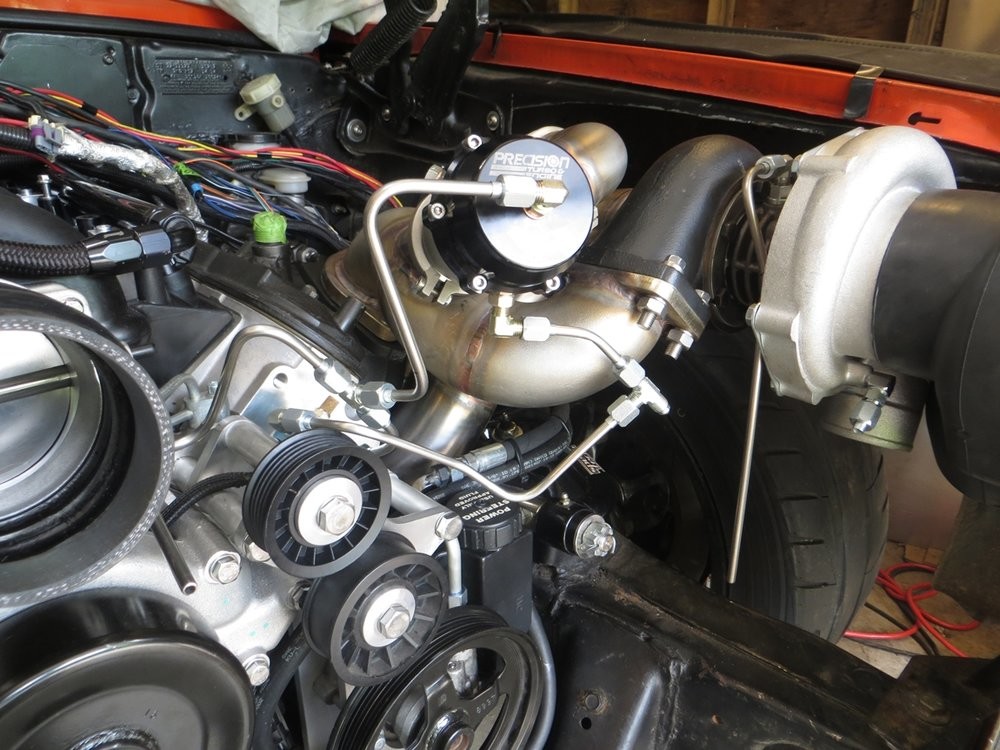
Wraps around the backside of the turbo drain to access the compressor housing port, the way the housing needs to be clocked...
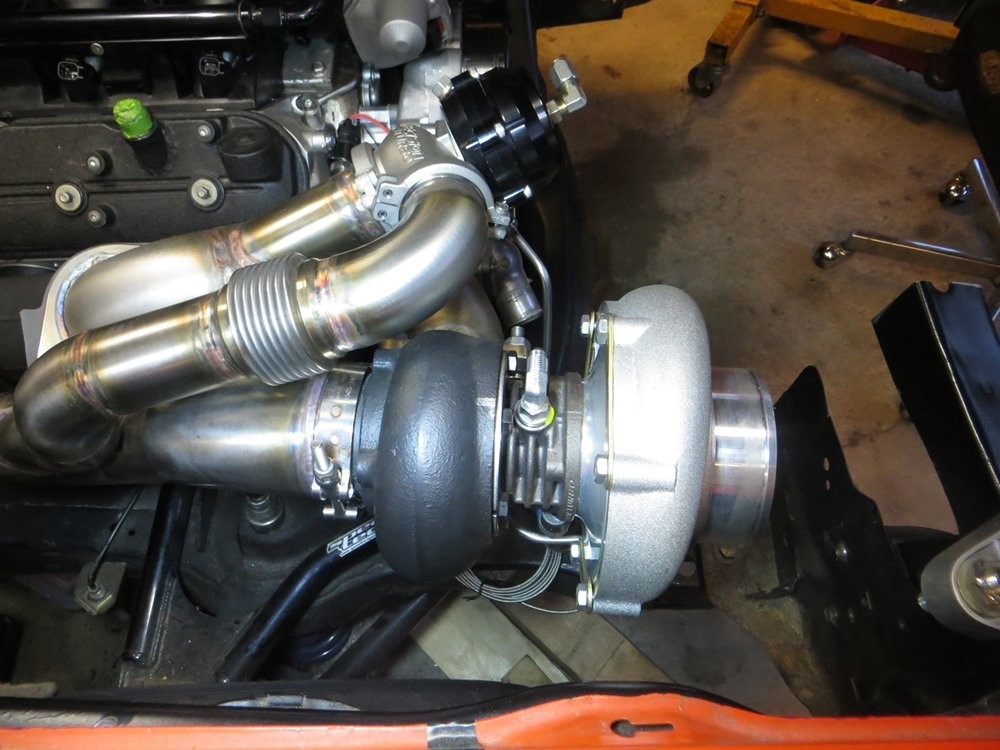
This is the start of the boost solenoid to the driver side wasgate bottom. For the boost control, I'm running the solenoid off the driver side turbo for supply pressure. Technically this is lobsided as well as unequal length, but in the real world for a street application that isn't on the ragged edge searching for that last 0.2psi boost, it should be fine controlling the passenger side off what the driver side is doing.
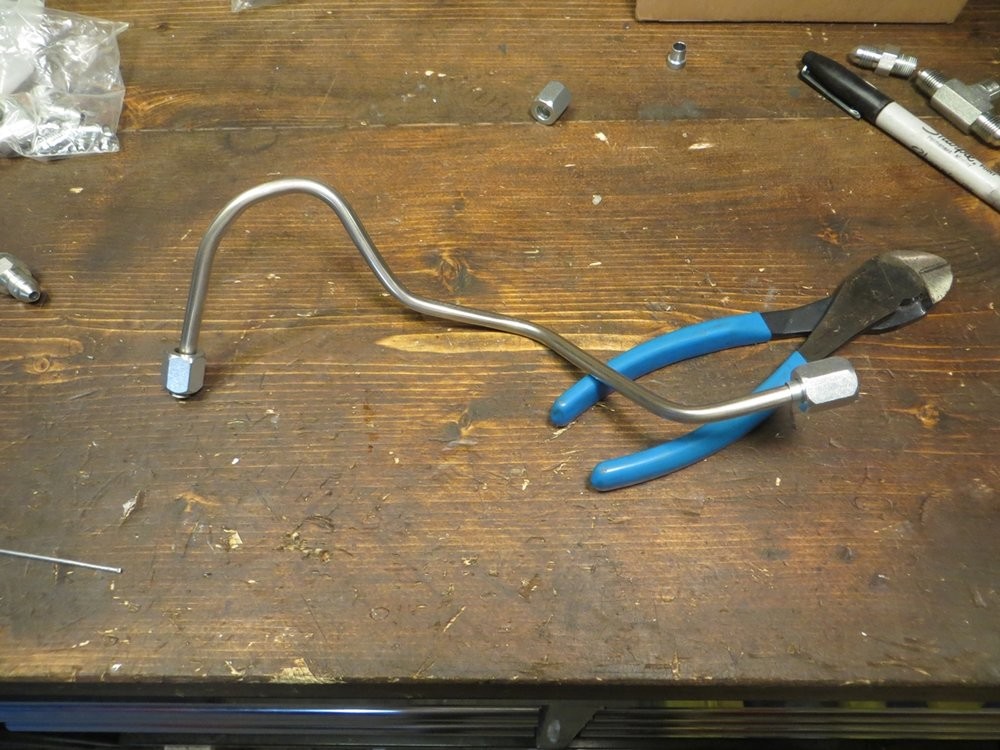
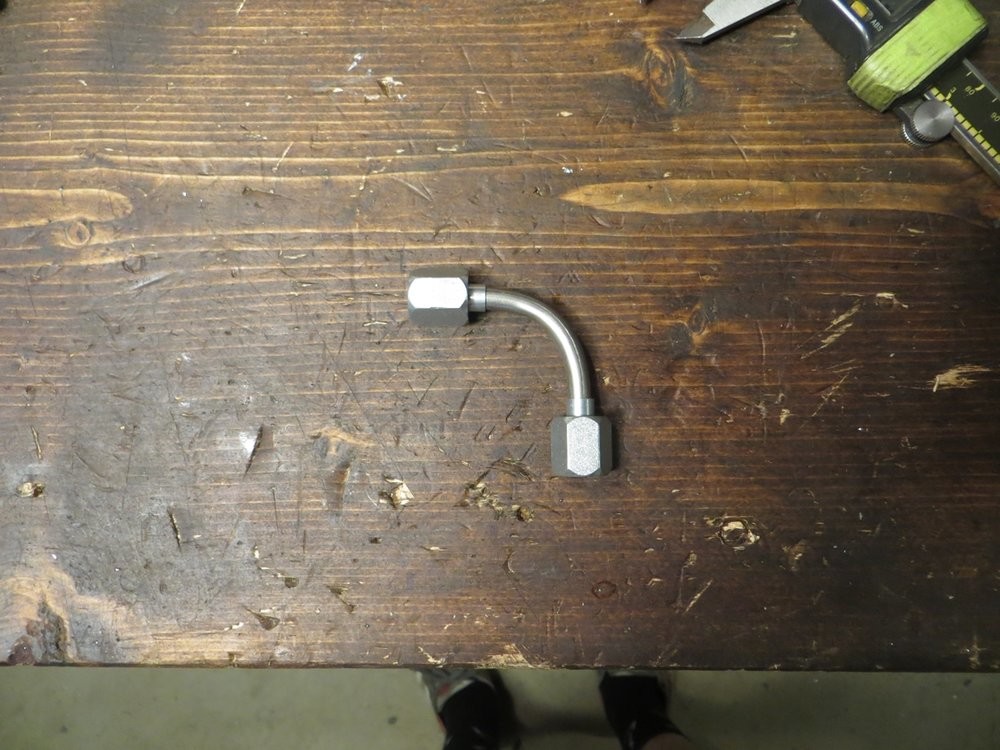
I wanted a super tight bend to make things more compact around the solenoid.. such a tight bend that my bender wouldn't fit it.. so I added some fittings on each end for extra leverage and just worked the tube around the bender's die by hand. Worked pretty well for a stubby little 90 degree bend...
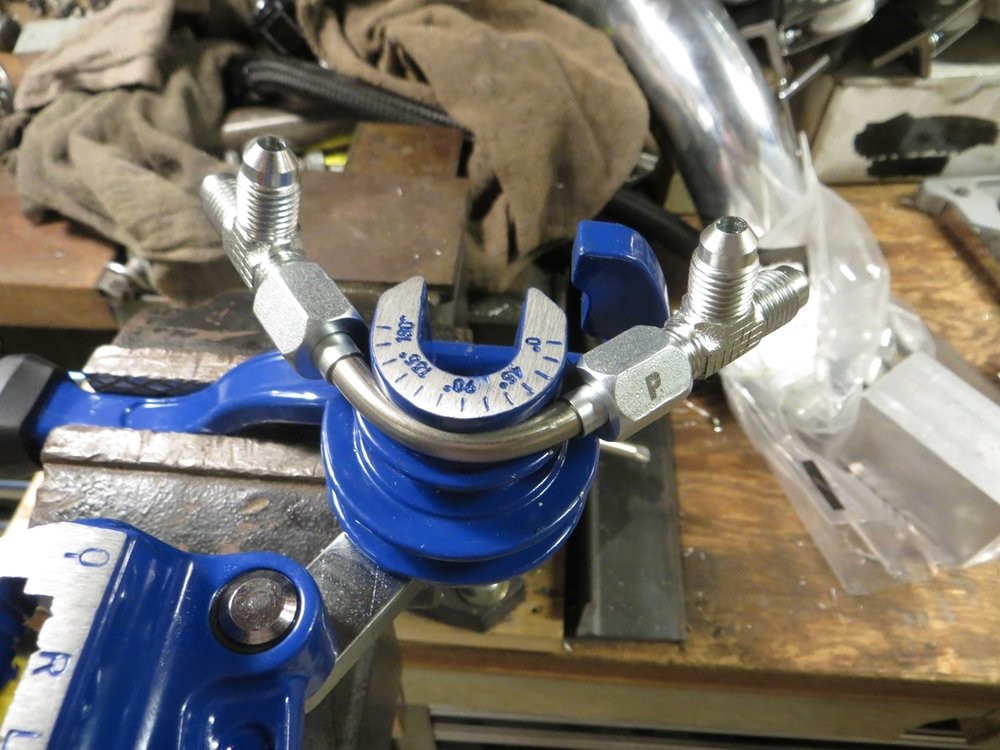
Using one side as the length/angle guide for the other side.. gotta nail that symmetry!
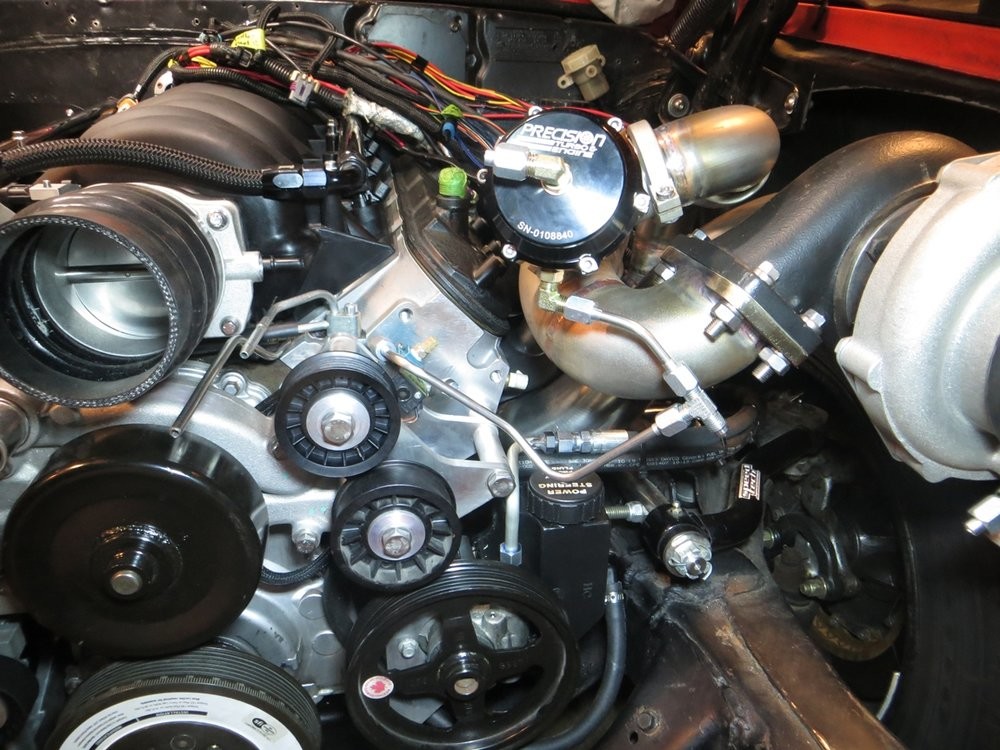
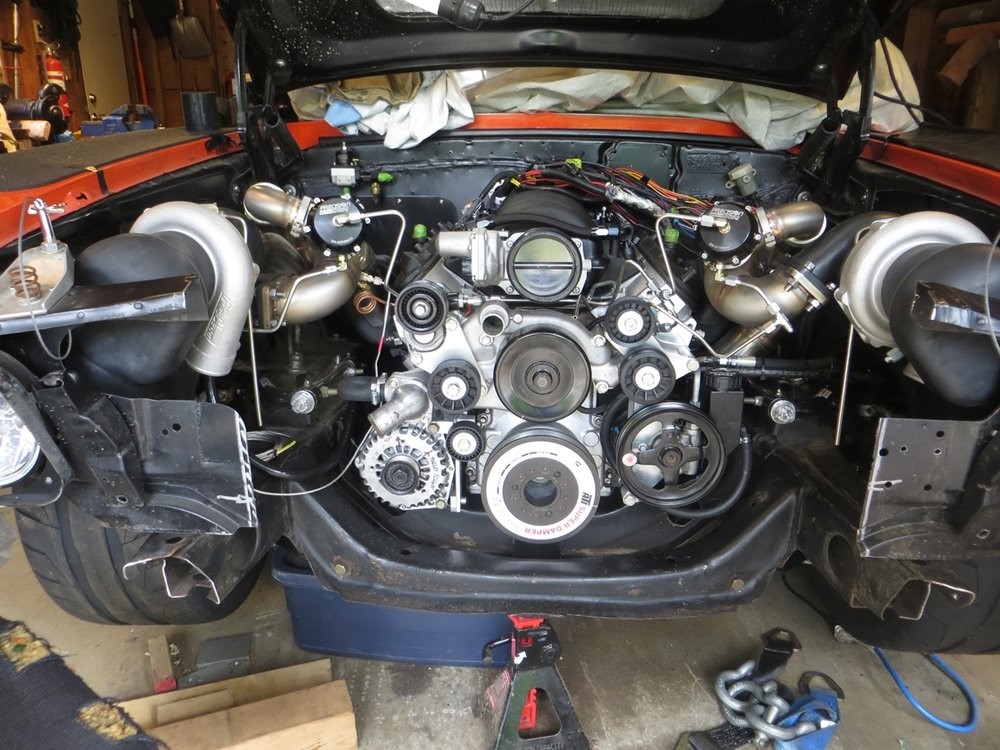
Also bent 1/4" tube as the turbo oil feeds, to keep the feed line hugging the backside of the compressor housings. I'll terminate each hard line at its closest respective compressor housing bolt, add a P clamp to secure the hard line to the housing bolt, then run braided line from there to the junction block I'll make...
Driver side boost lines have one segment that I didn't finish, as I've still yet to decide on the exact compressor clocking for the best charge pipe routing.
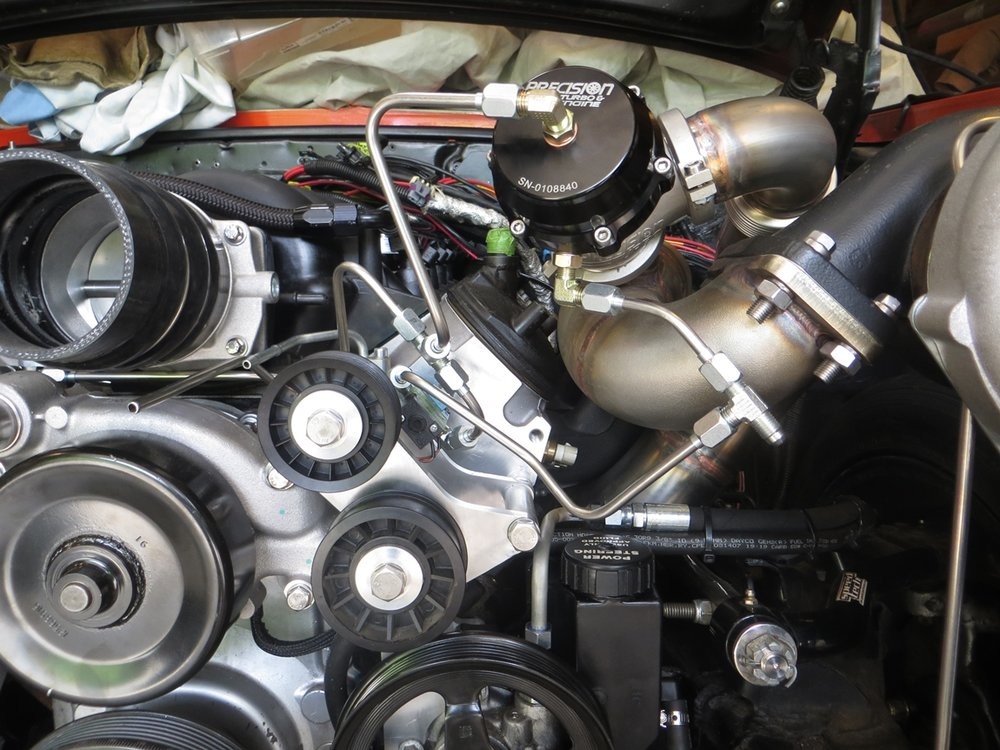
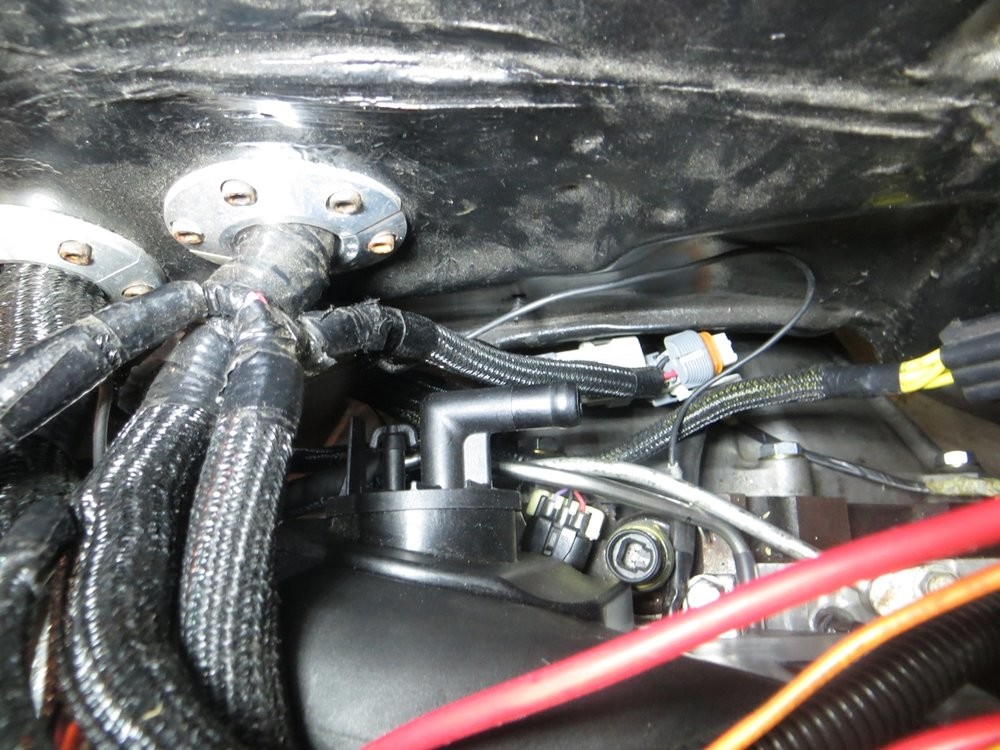
The passenger dome control line is tee'd from the solenoid and crosses under the throttlebody, and has the Holley dome pressure sensor tee'd into it behind the belt tensioner. Like the exhaust gas pressure sensor, I P-clamped the sensor to the belt tensioner bolt to keep things from vibrating...

Wow thanks for sharing!
Posted by Diggymart on 3/3/19 @ 12:40:25 AM