You must be logged in to rate content!
6 minute(s) of a 891 minute read
2-12-2018
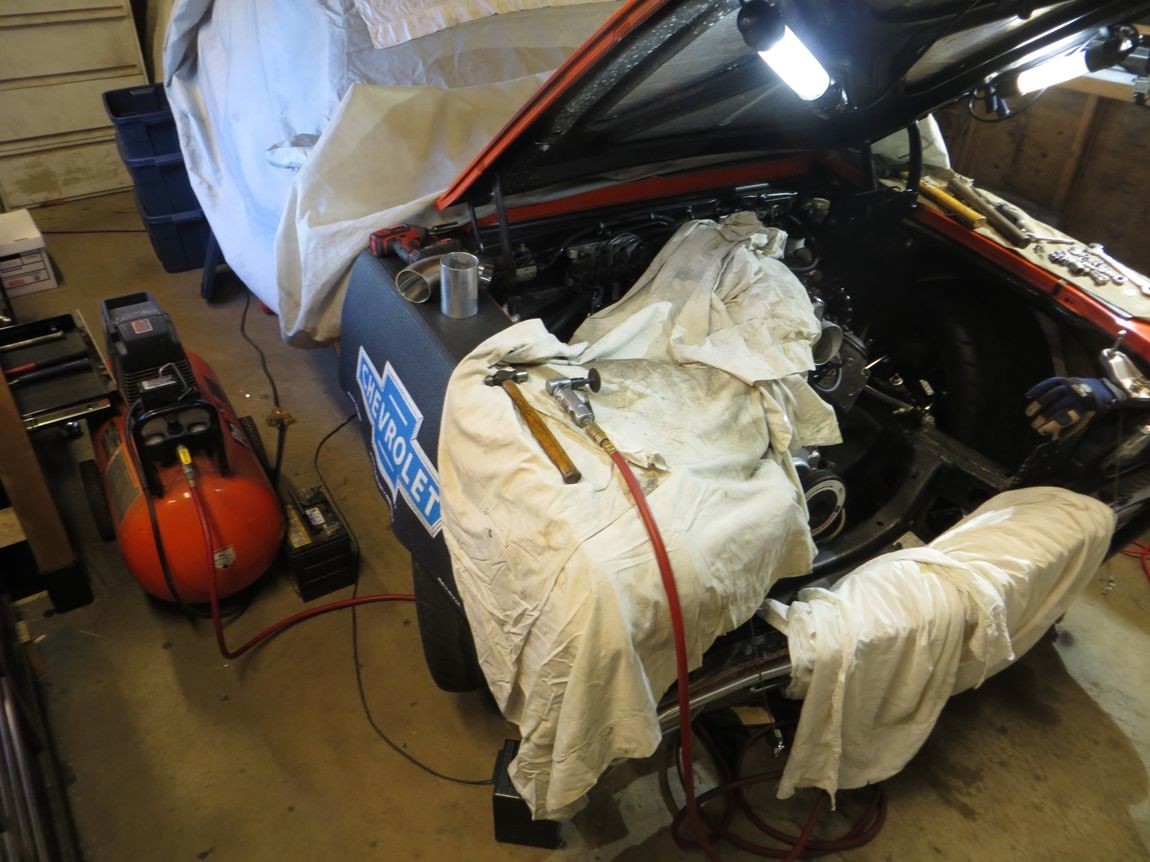
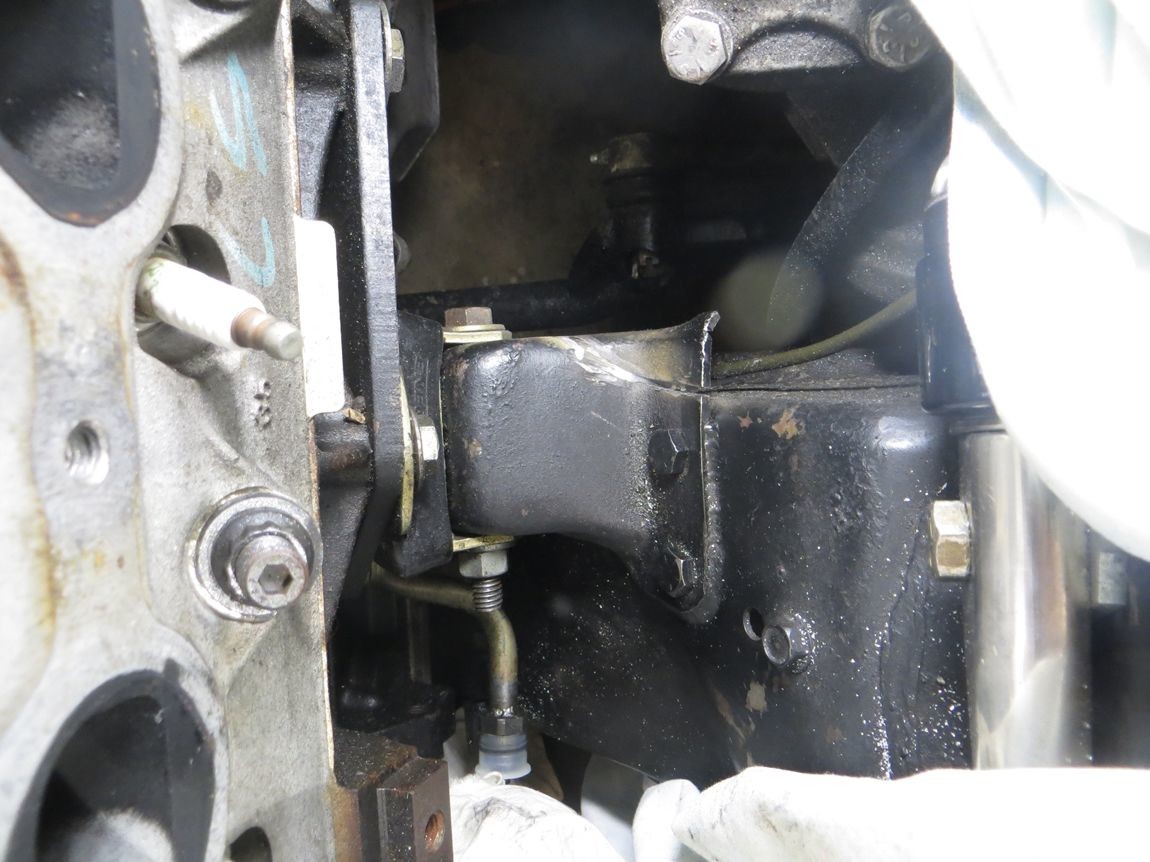
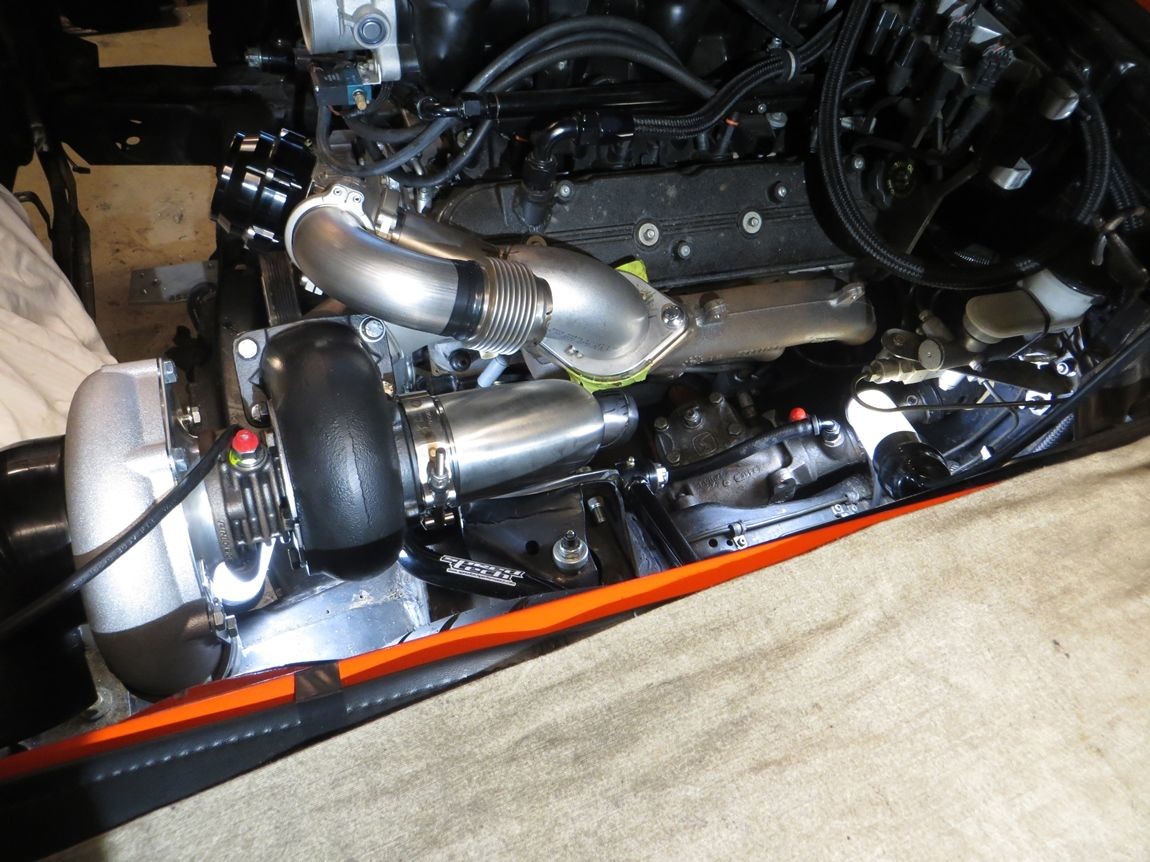
Broke out the air tools today to do some trimming on the subframe.. trimmed the corner of the frame-side motor mount to gain as much room as I can for the driver side downpipe...
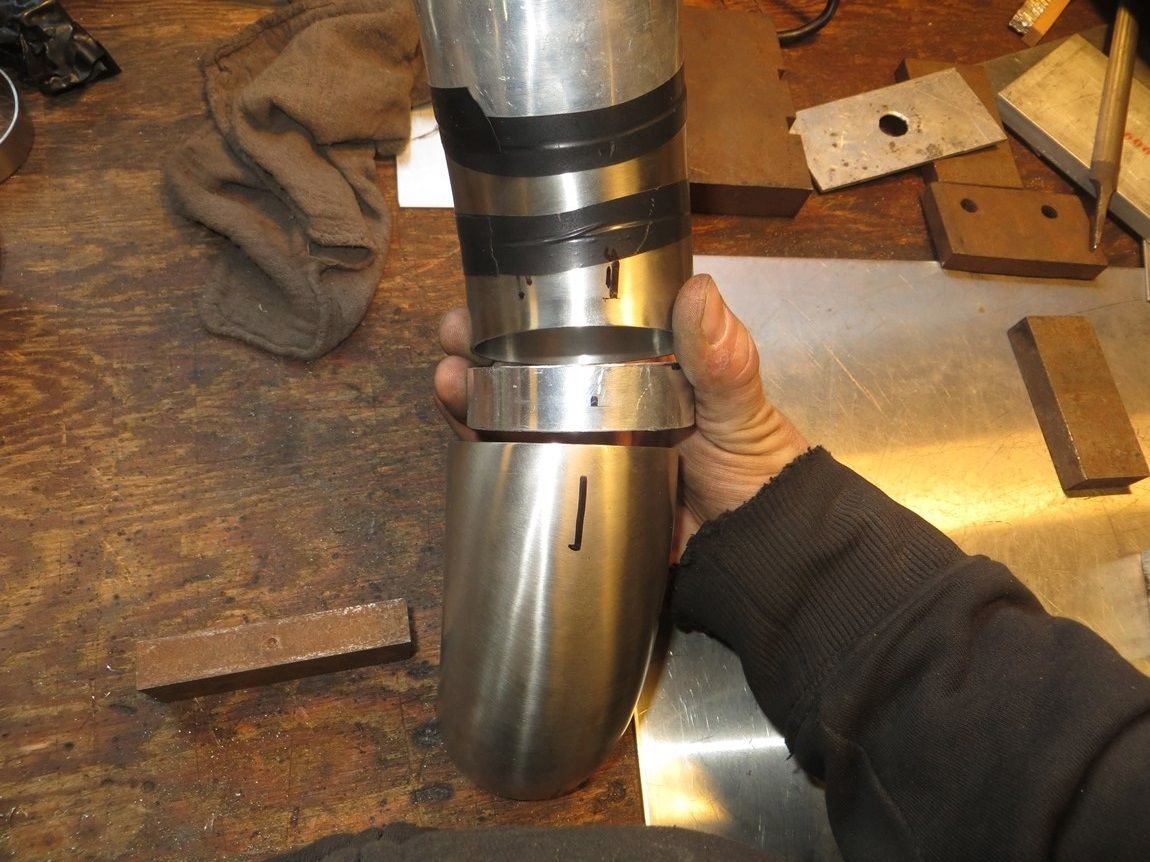
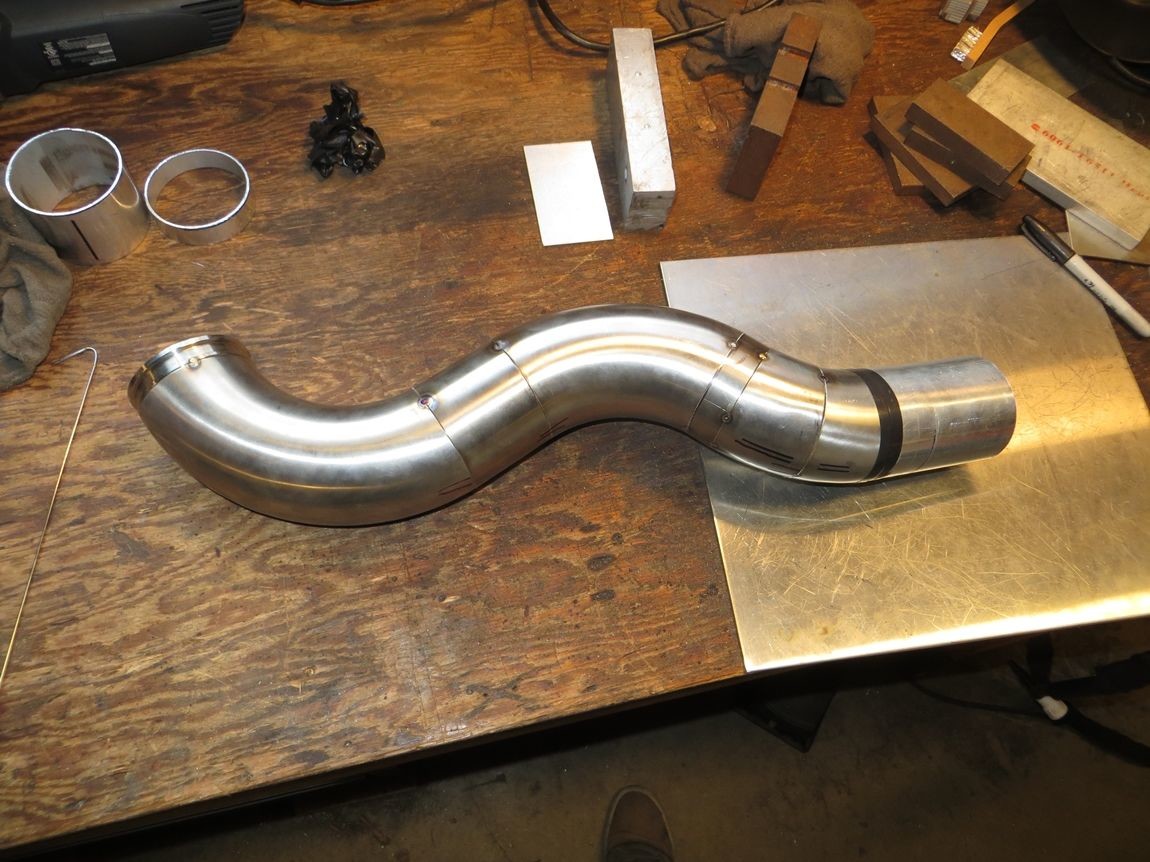
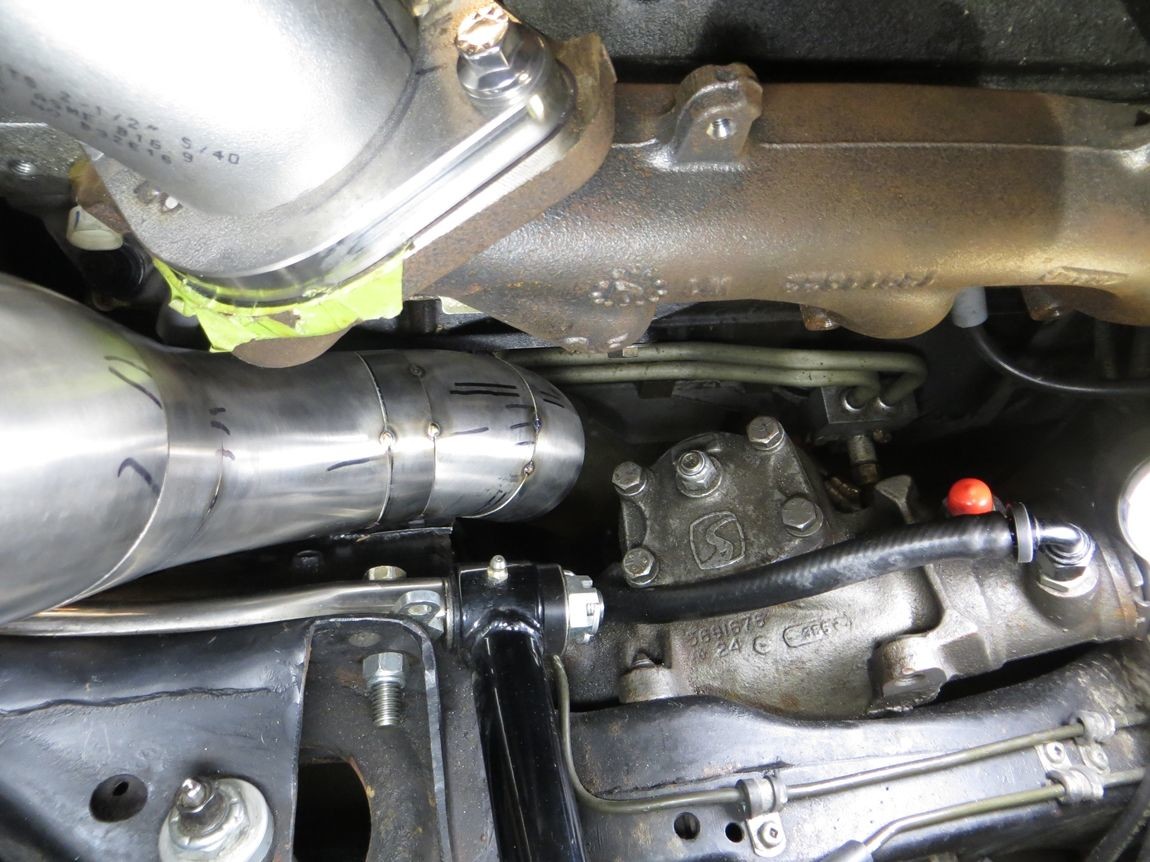
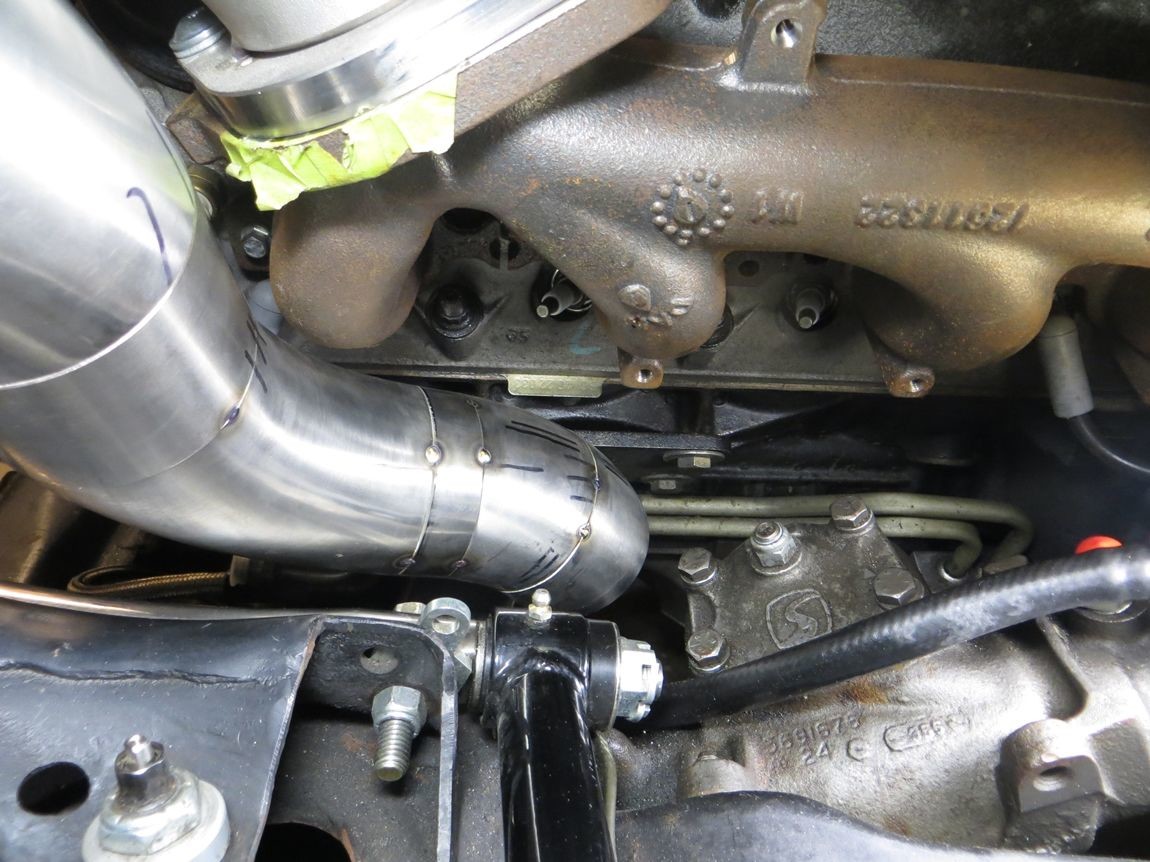
And now things get serious. Not a lot of room in here. Because I had no idea what the shape would, instead of guess-cutting stainless I instead made up the downpipe from existing SS cutoffs and some easier-to-cut aluminum tube. The straight aluminum tube right next to motor mount will end up being some round straight that I'll squish oval for more clearance.
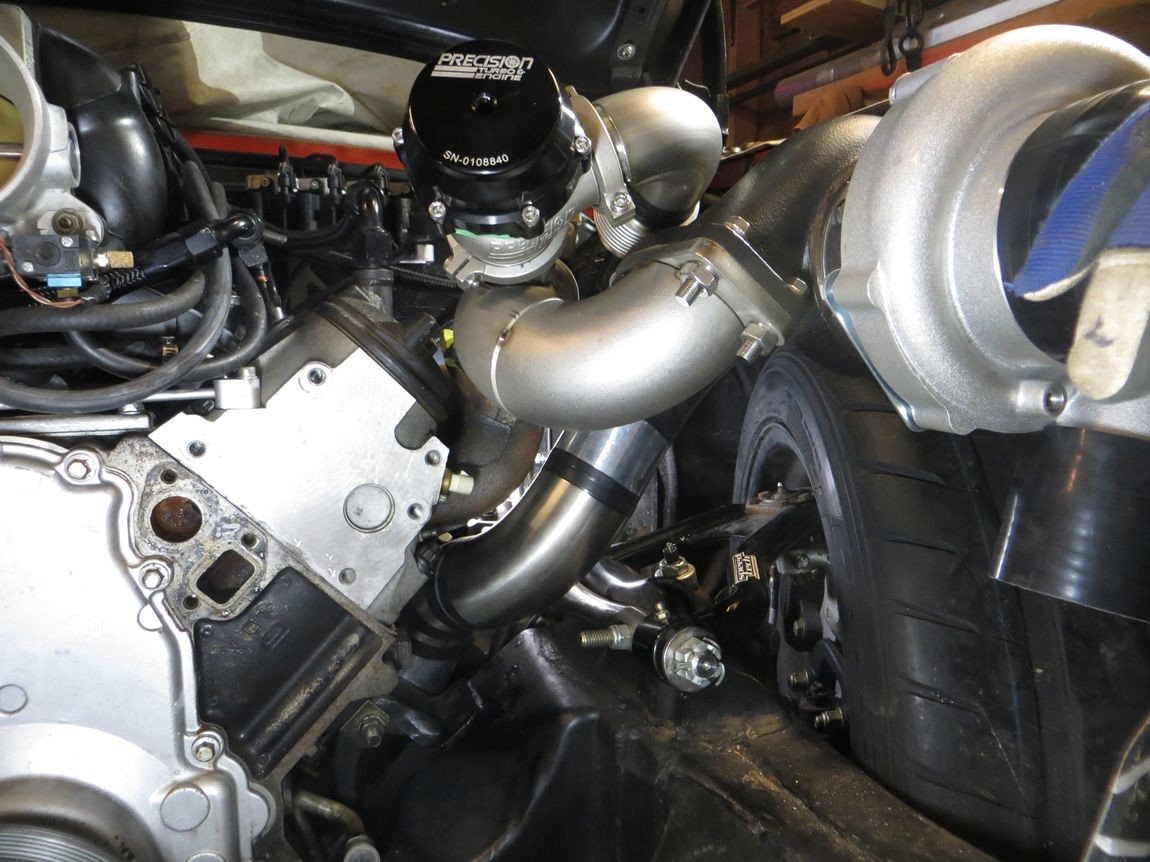

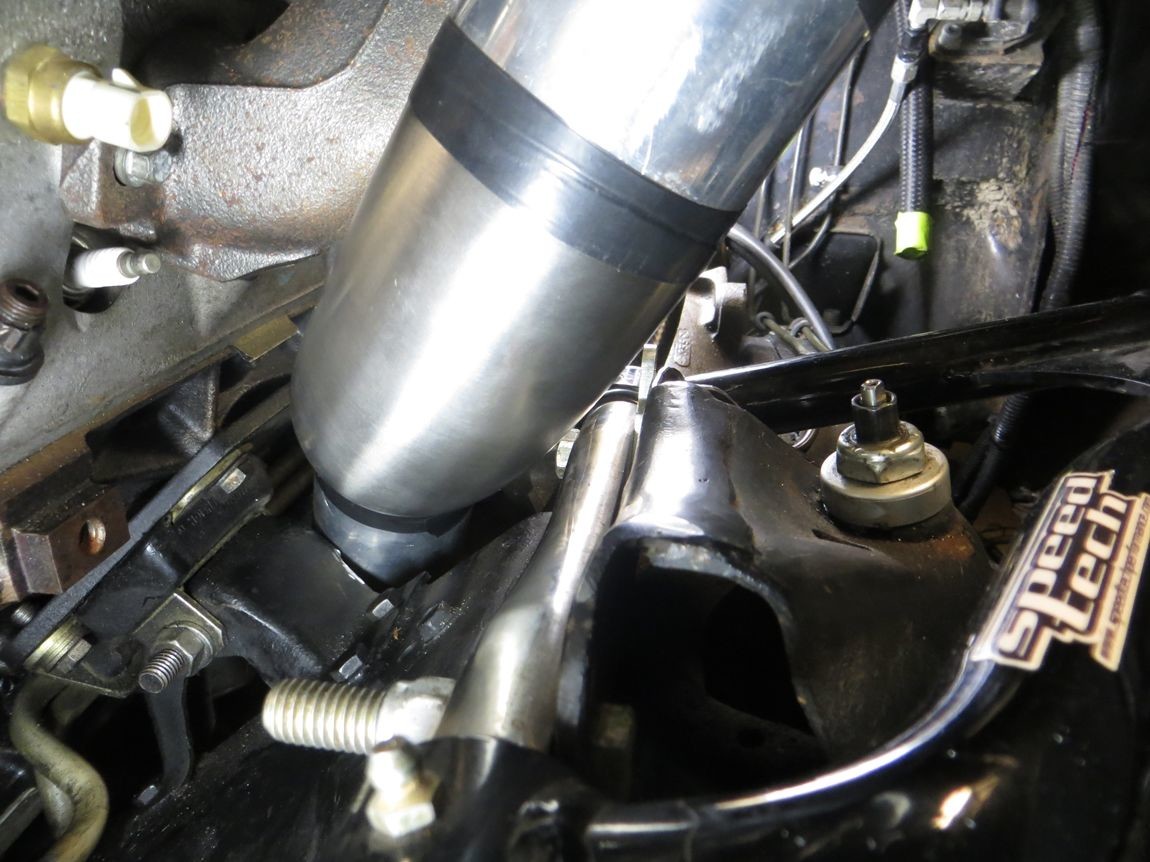
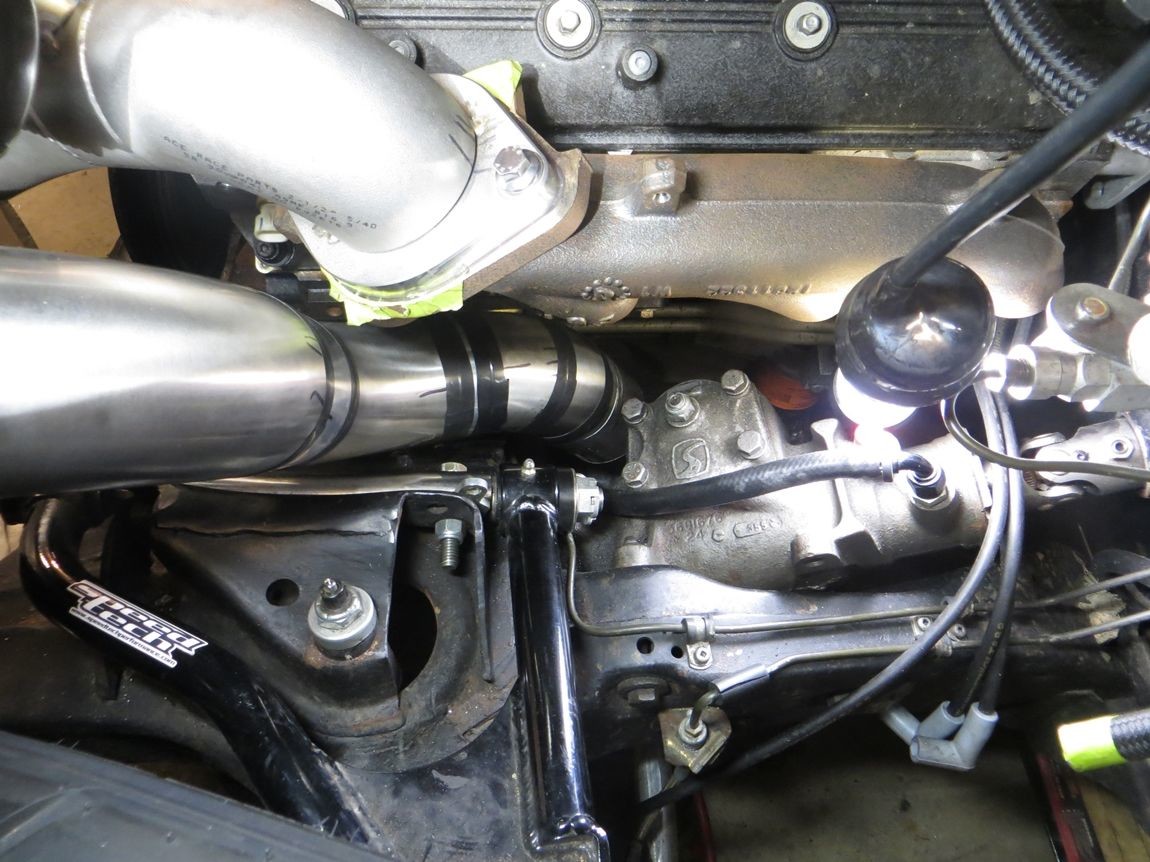
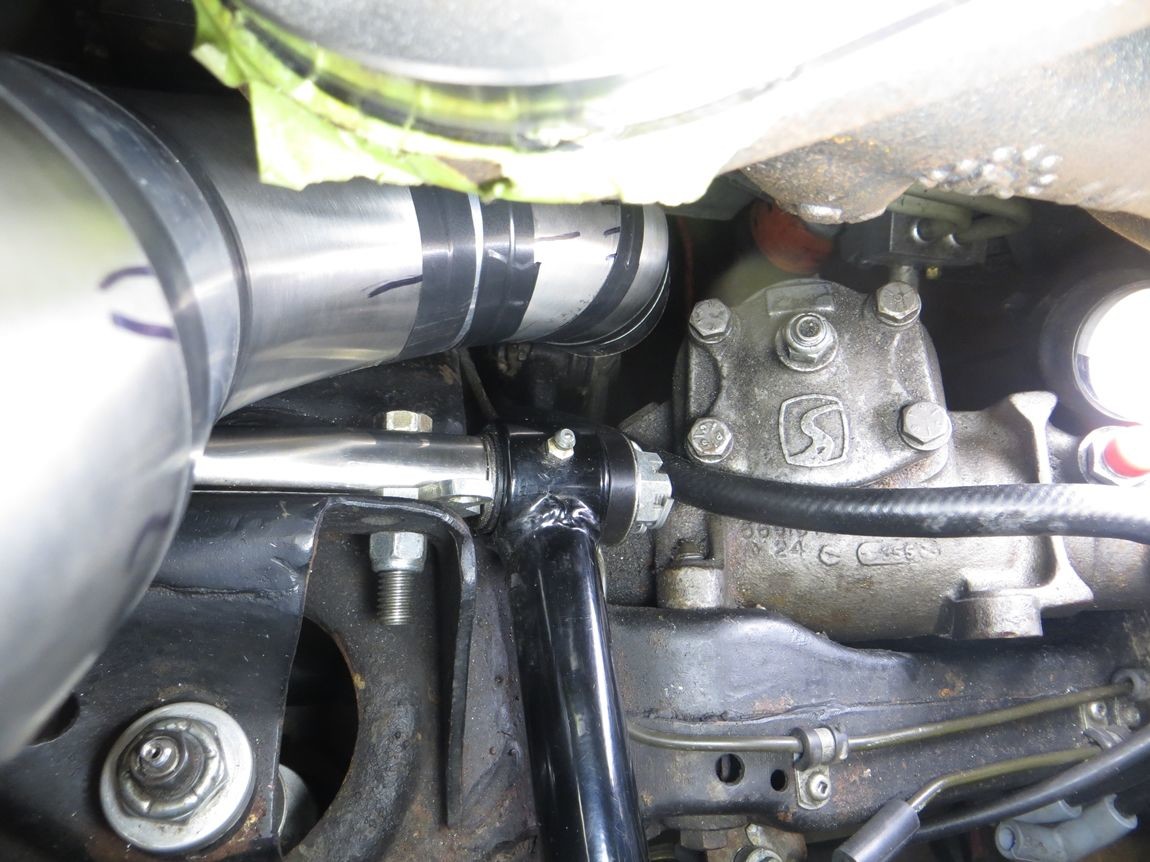
This is about a 3/4" air gap between the round aluminum 3" tube and the steering box, and the aluminum section will be squished-oval pipe that I'll then heat wrap and then add a heat shield on the backside between the downpipe and the steering box. I'll be routing the power steering lines over the downpipe, close the block, and covered in some legit DEI high-temperature heat protective sleeving.
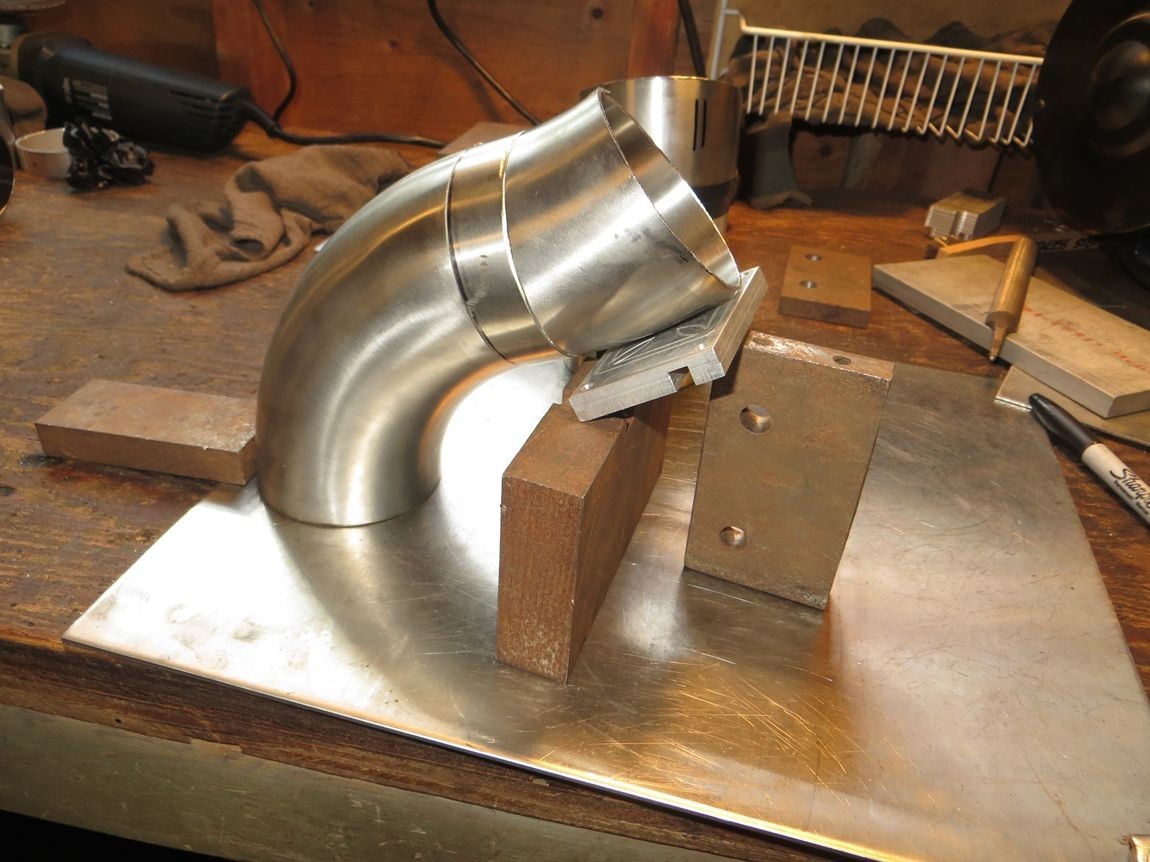
Since Clint is so good at writing up how-to's, I thought I'd share some of my methodology too. This is how I route pipes in complex areas. Since I had a bunch of aluminum straights and bends I try to use those to test cut and hash out routing if I'm really not able to picture how it's going look in my head.
I use electrical tape to temporarily hold together the sections.. it's easy to stretch a bit and sticks well enough, and is reusable a handful of times if it doesn't get greasy on the sticky side.
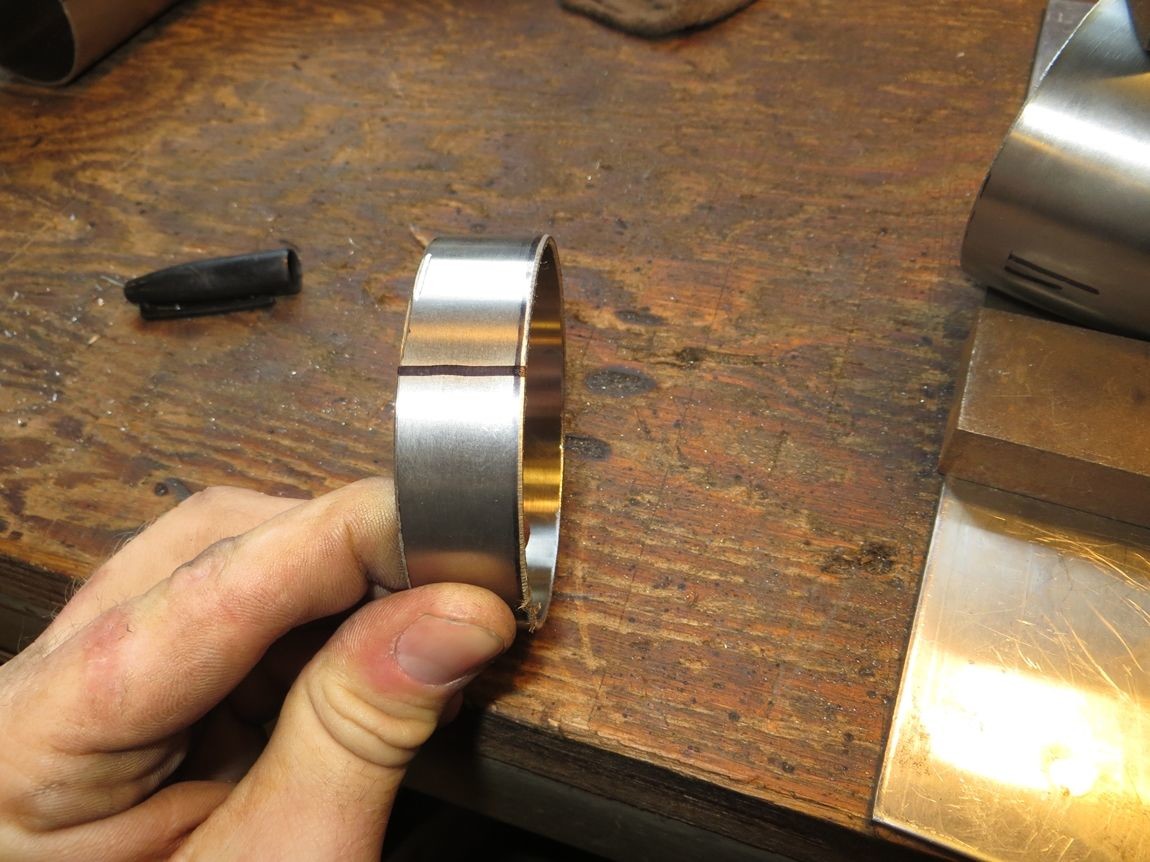
Once I finalize a section, if there's an aluminum piece spliced in the middle I angle the section appropriately and use a large block as a height reference, and draw a line across the 3 members....
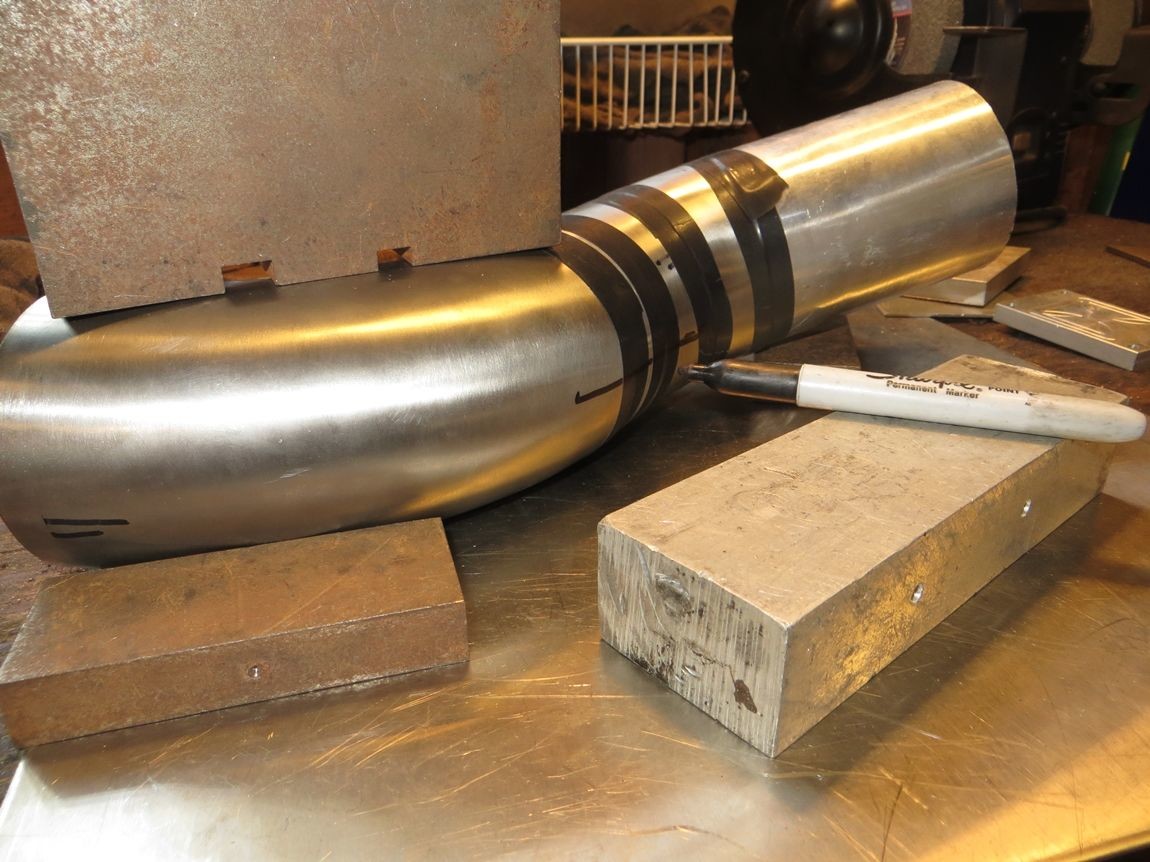
Remove the electrical tape and the lines are still present but not as well defined....
Mark a nice straight line on the stainless piece to get spliced in...
Extend the lines and throw the replacement piece in there...
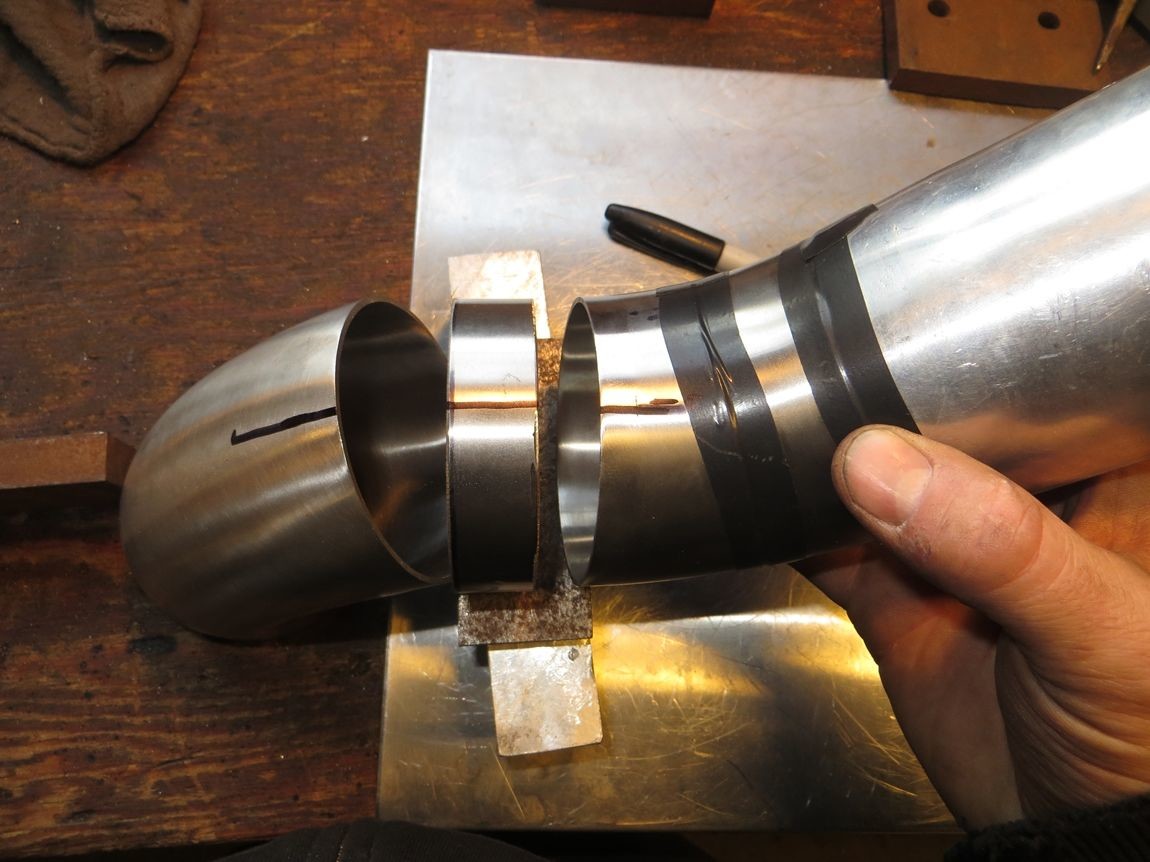
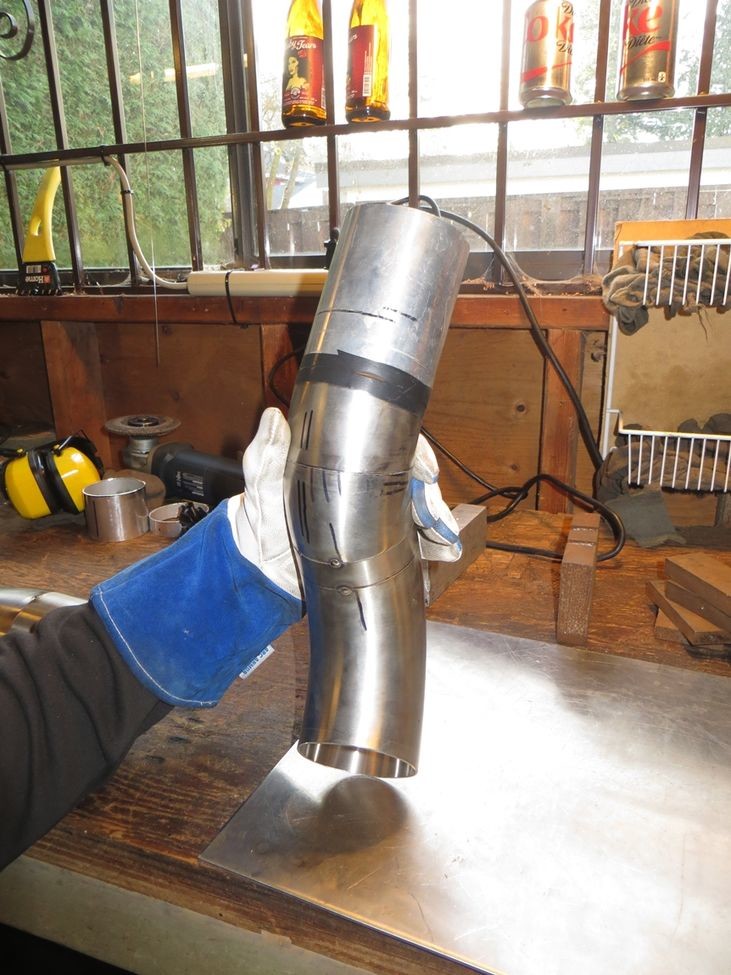
Then start tack welding the sections together one pair at a time. Probably one of the most helpful things for welding is having a bunch of miscellaneous steel/aluminum medium and big blocks to adjust heights, support things, etc. Also especially helpful to have an assortment of thin gauge sheet/plate to slightly adjust/shim the heights of multiple pieces, etc...
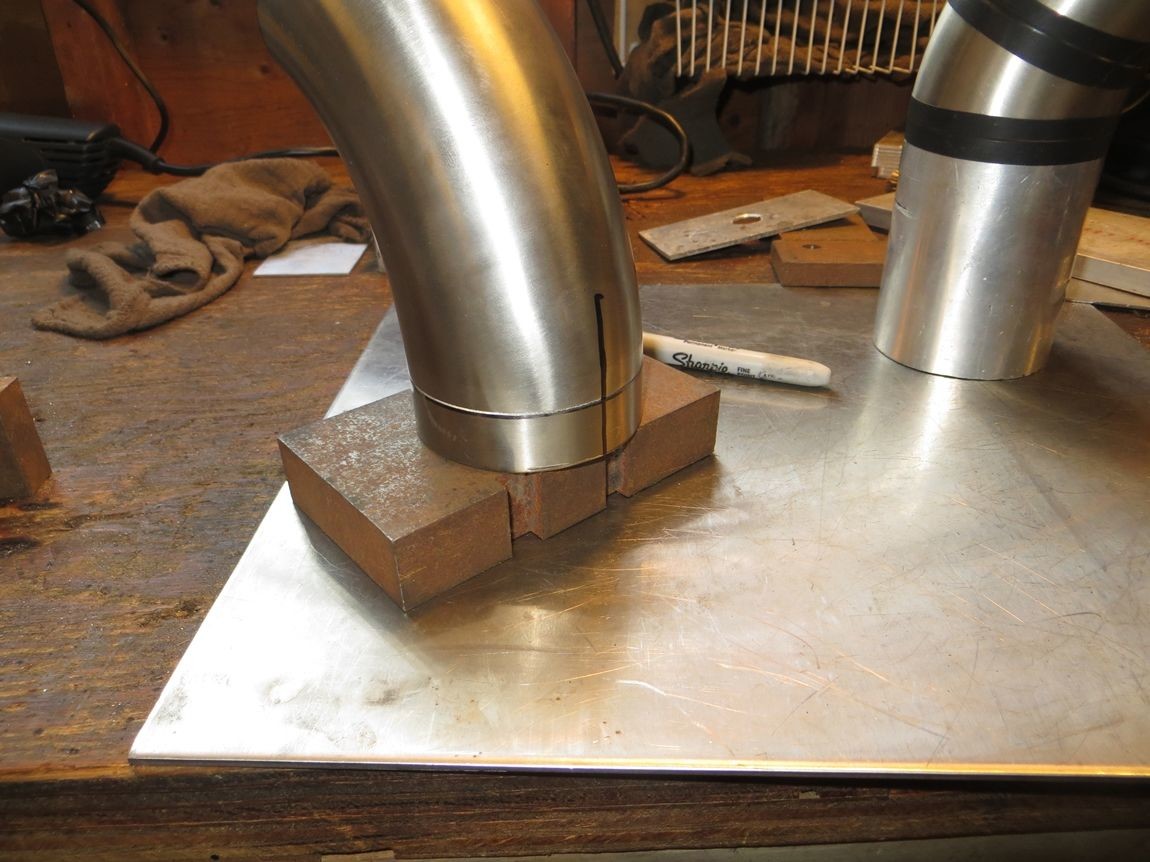
Case-in-point, sometimes you have to get fancy and creative for supporting weird angles... at least when you're working at home and don't have the same awesome fixturing table that you have at work...
And sometimes something is just so awkward that you have to hold it by hand and hope that you can squeeze in a filler-less fusion spot weld. This is especially true when you tack weld on one side of a weirdly shaped tube and wait too long after, the tack cools and shrinks and then you have to put some body weight into closing the gap again and fusion tack weld on the opposite side of the first tack weld...
Left the bottom end of the downpipe as aluminum for now while I figure out what oval/bend shape I want snaking past the steering box...
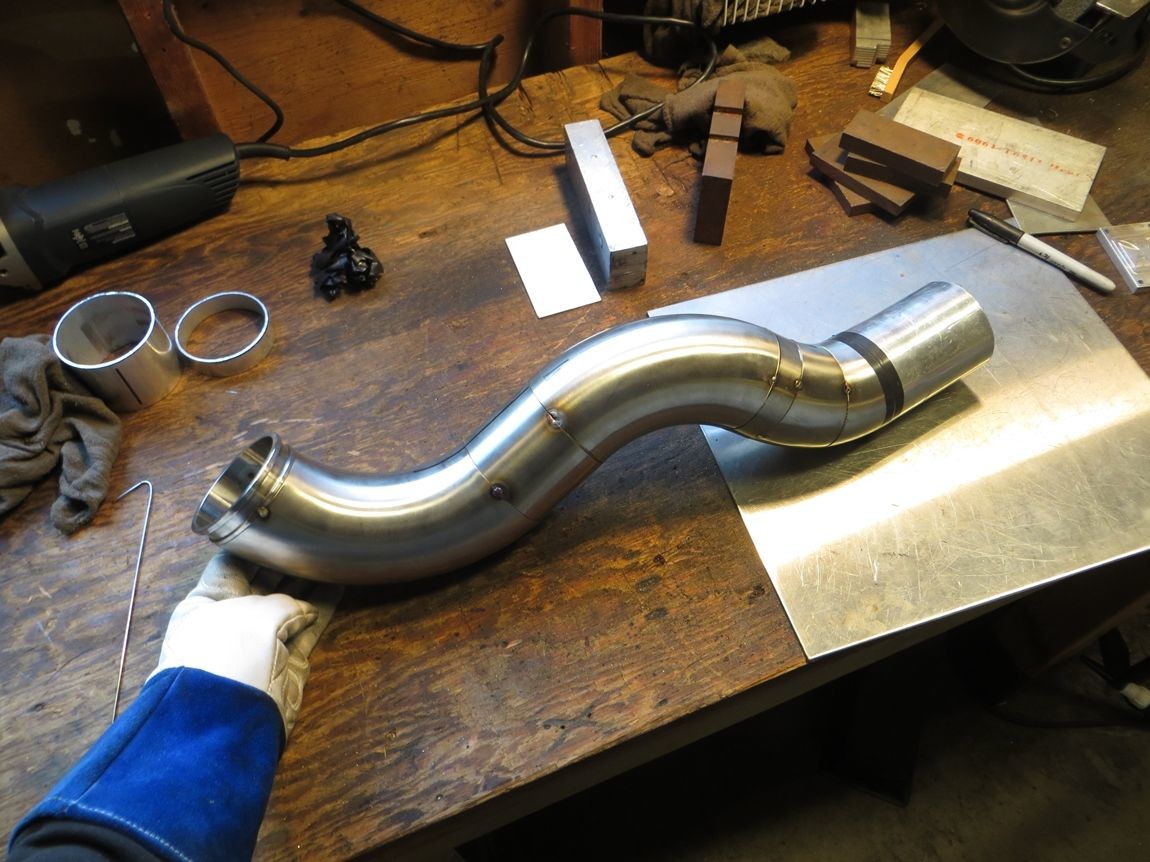

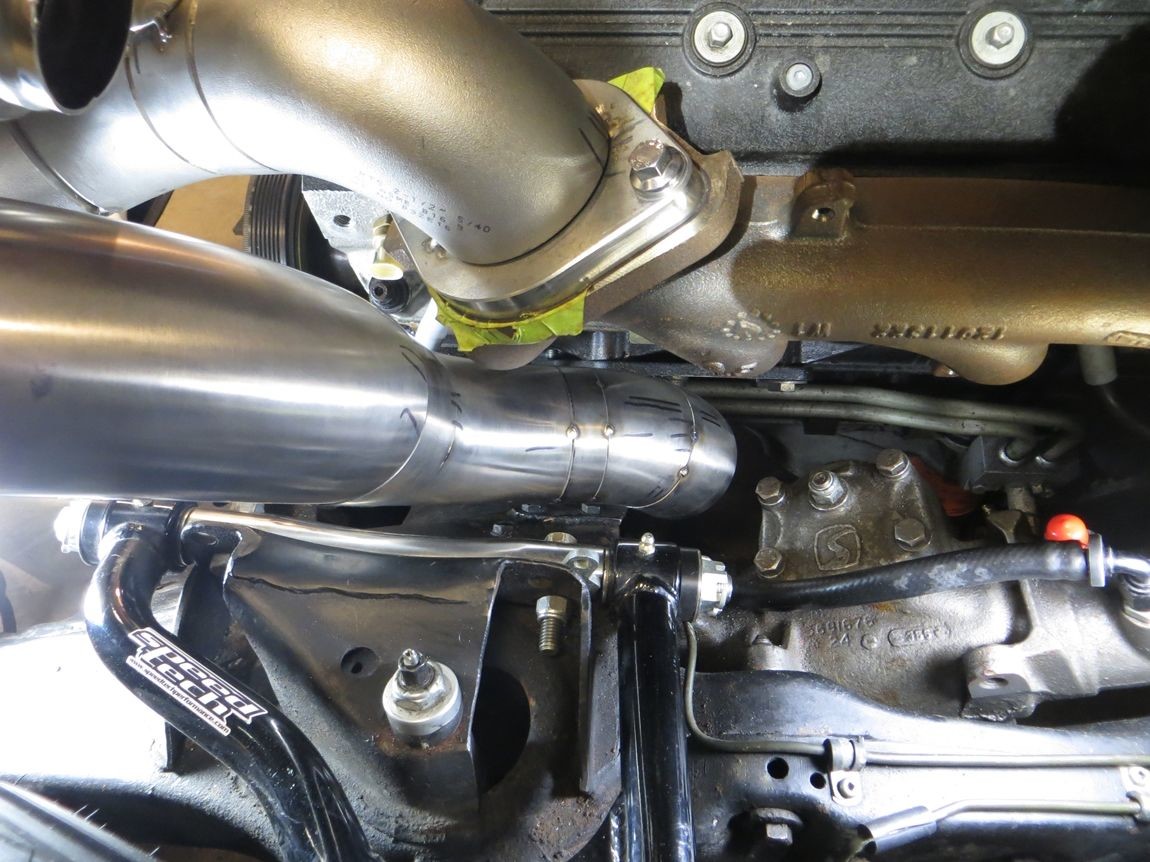
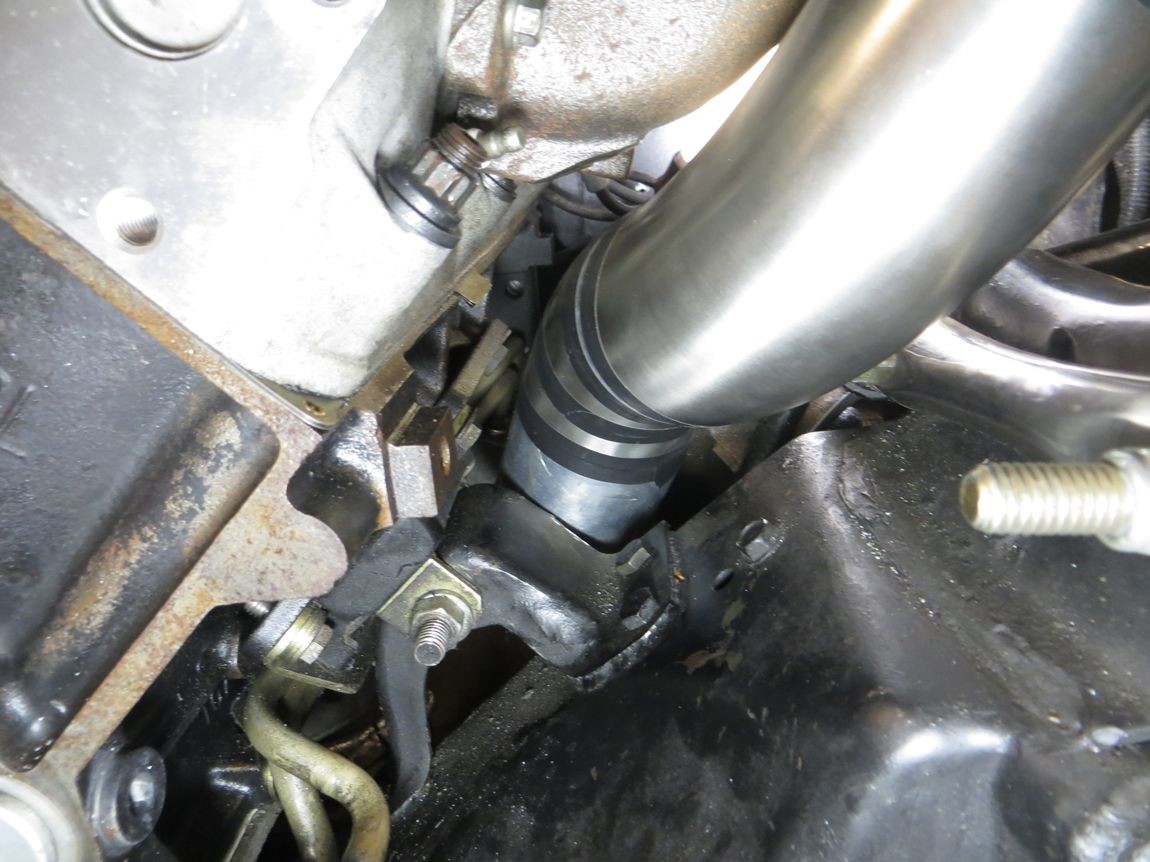
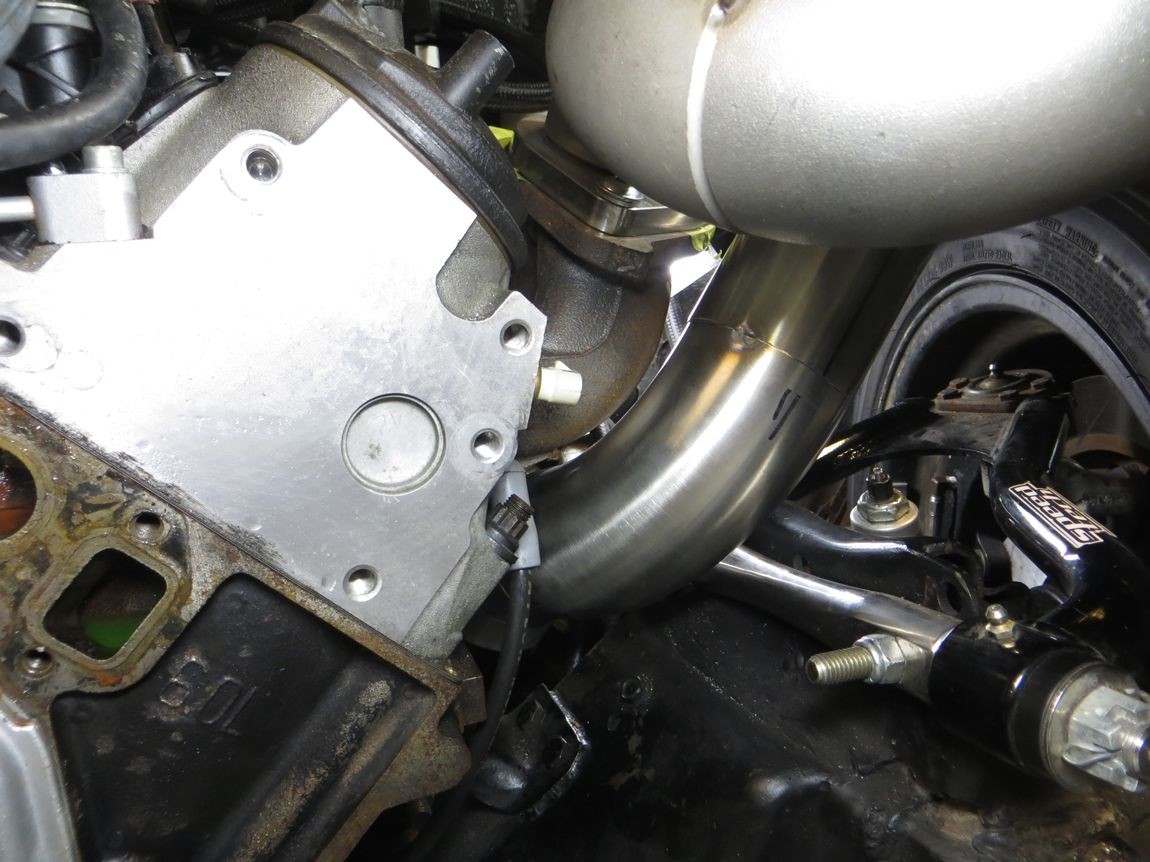
Downpipe is close to the exhaust manifold, but it has about 1/4" clearance which is more than enough for heat expansion and installation misalignment...
Pretty decent air gap for cylinder #1 spark plug wire, but I'll still cover it in heat protective sleeve. I'll also be running this plug wire directly down and underneath the motor mount, close to the block, but naturally heat protected this whole length.
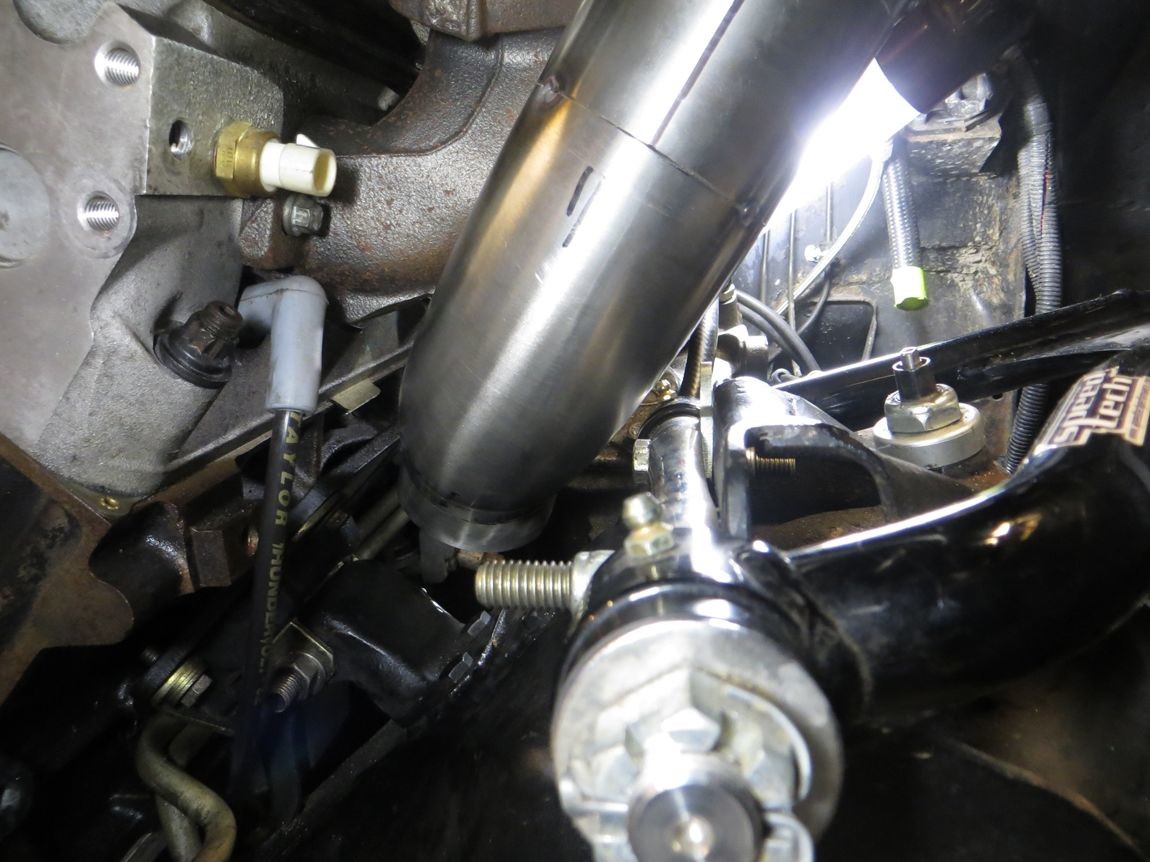
Like cylinder #1, I'll wrap cylinder #3 spark plug wire in heat protective sleeve and ziptie the wire to the cylinder #5 wire to keep it out of the way of the downpipe.
Wow thanks for sharing!
Posted by Diggymart on 3/3/19 @ 12:40:25 AM