You must be logged in to rate content!
12 minute(s) of a 206 minute read
2-3-2009
About an inch and a half.
I finished hanging the exhaust today. I had to drill a new hole for the hanger.
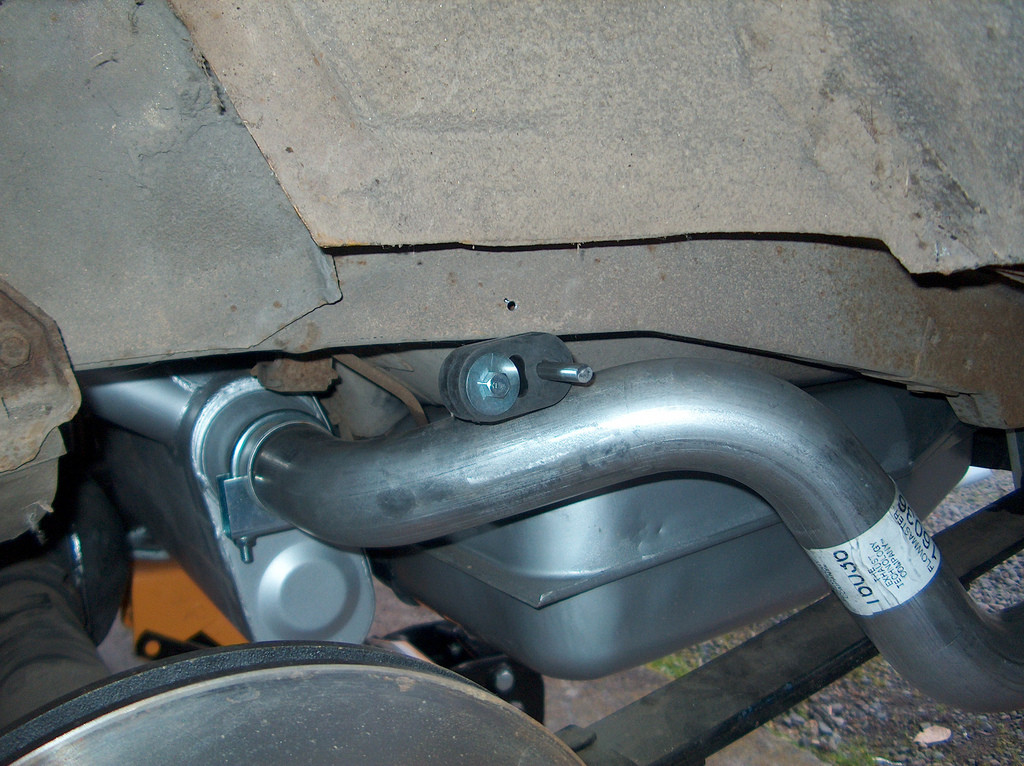
I'm not completely thrilled with how it turned out, but I guess it's good enough. I can have a muffler shop do some tweaking when I have it welded up. I think it's better than having two mufflers with turn downs.
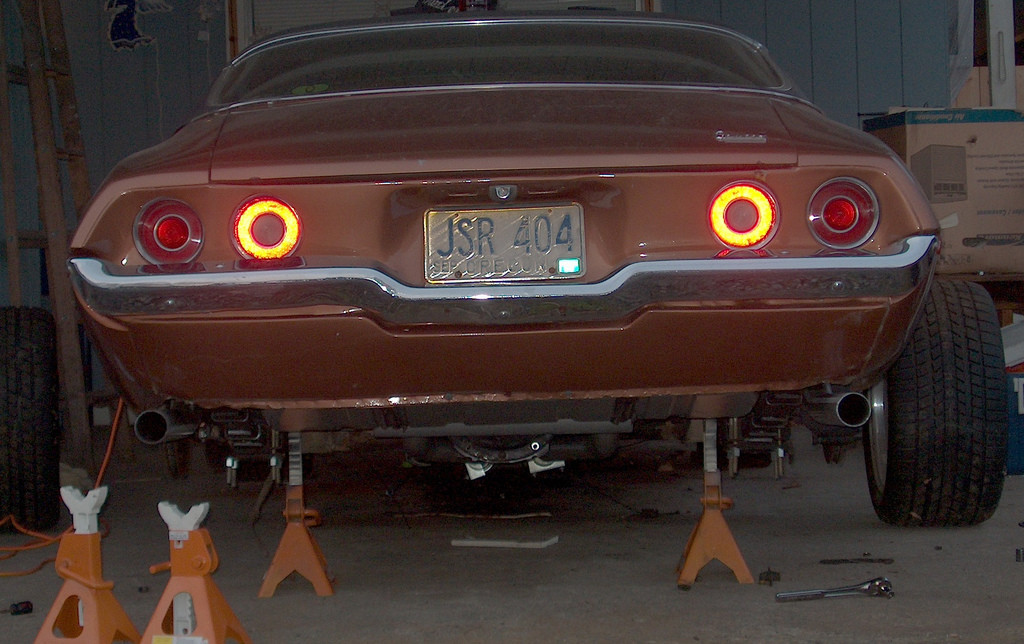
Next, I went and degreased the brake lines that go over the rear axle.
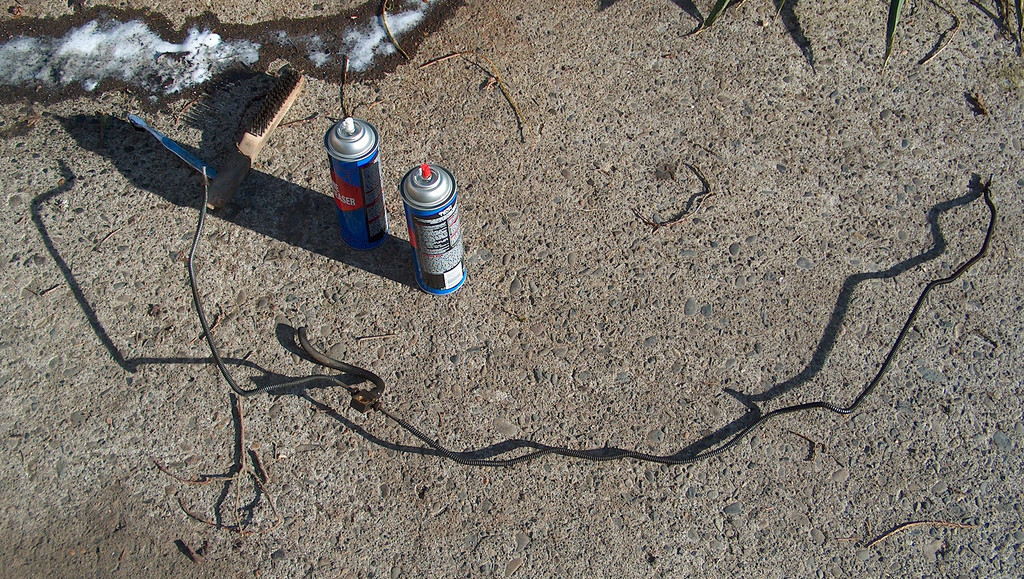
Then I moved on to replacing the U-joints. I used a u-joint removal tool. It's basically a "C" clamp with a hole in one end.
First remove the clips.
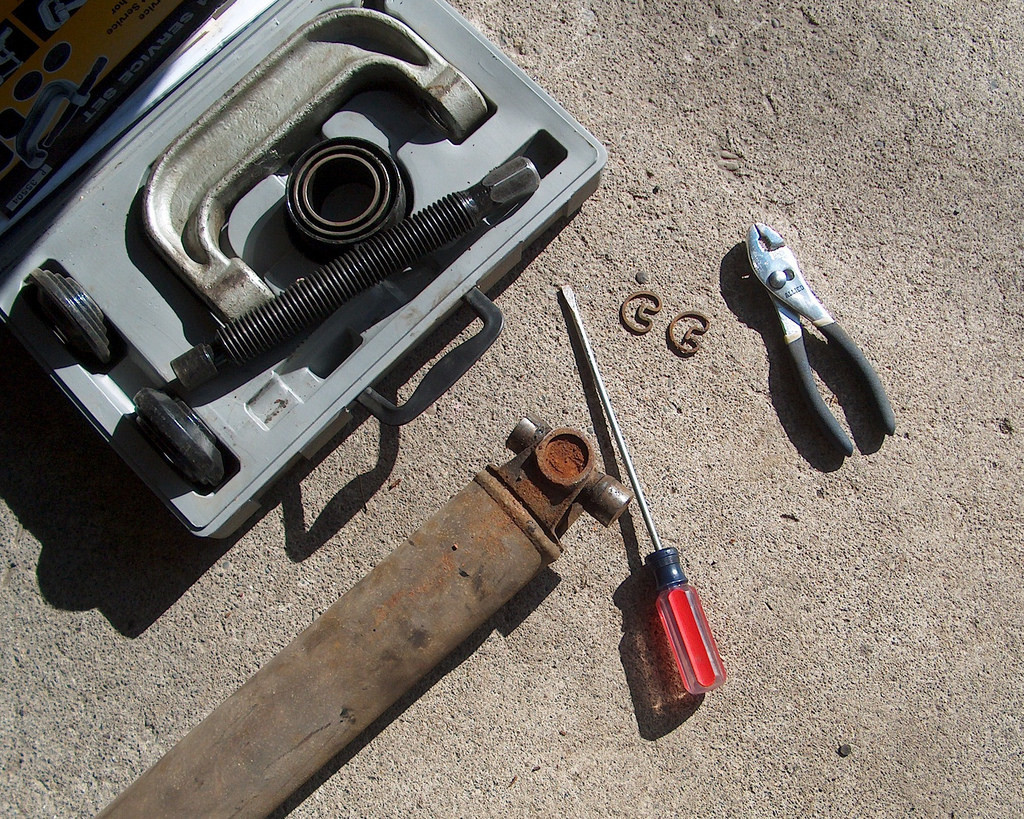
Then, push one side out.
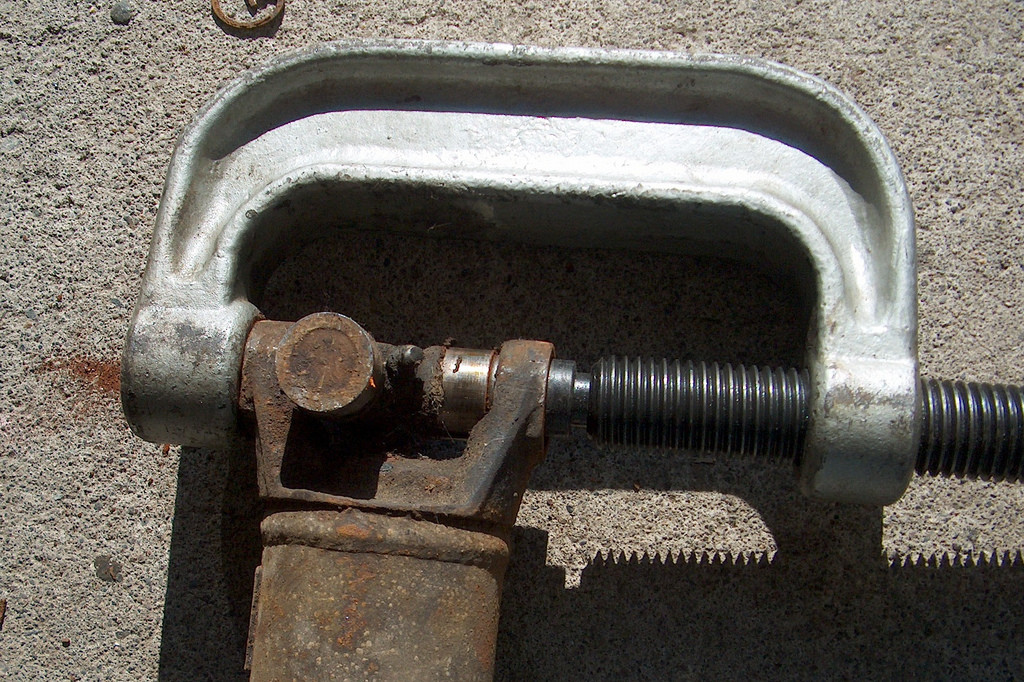
After that, remove the cap, and repeat for the other side.
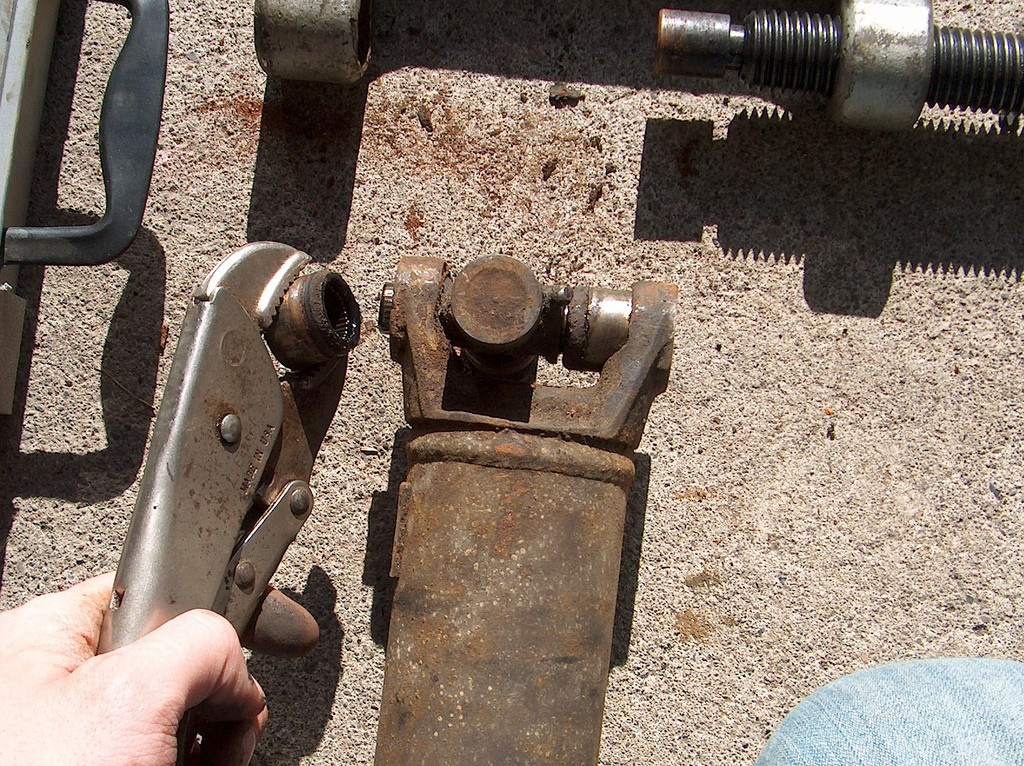
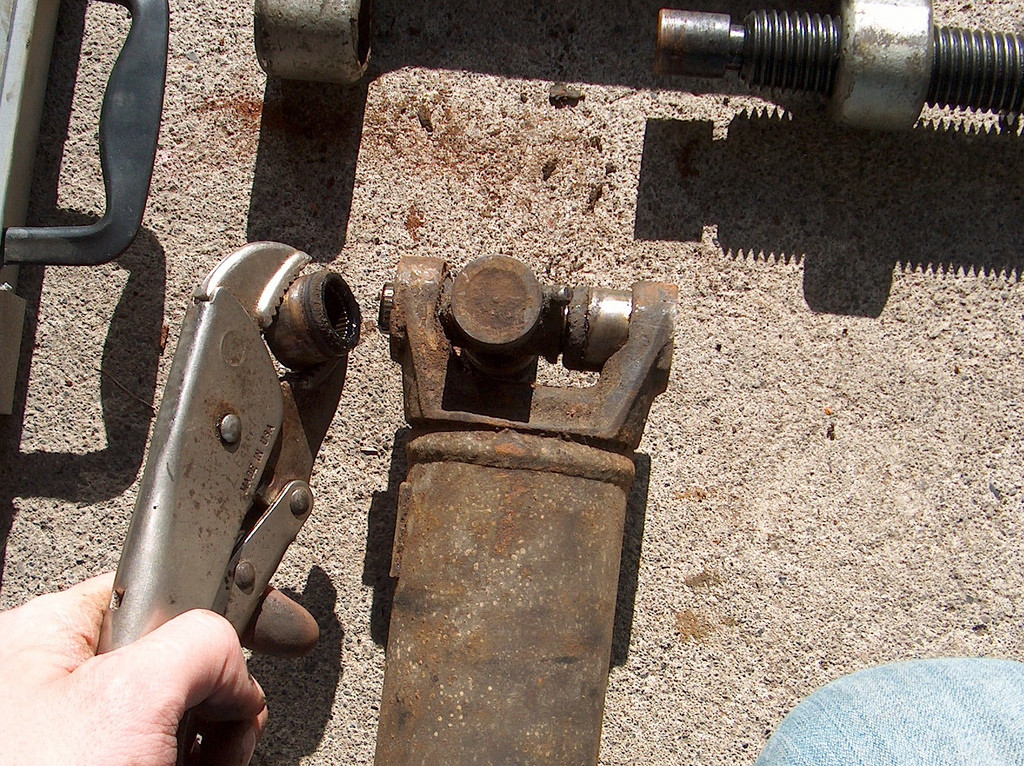
After you're done pressing the new joint in, be sure to put the clips back in.
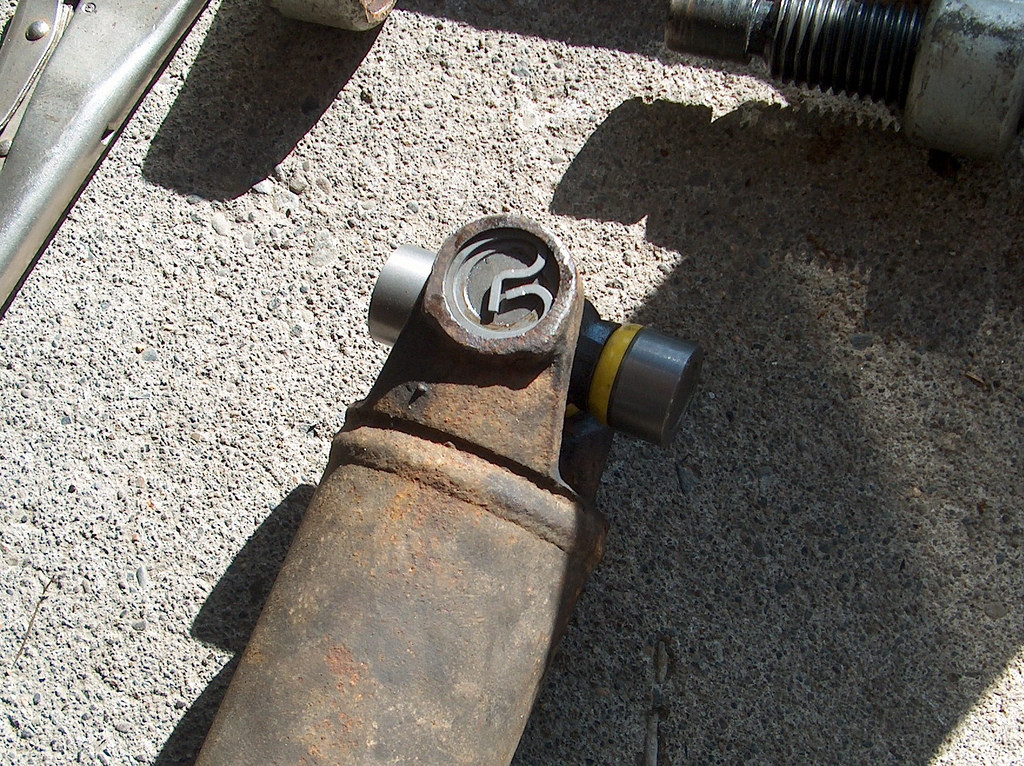
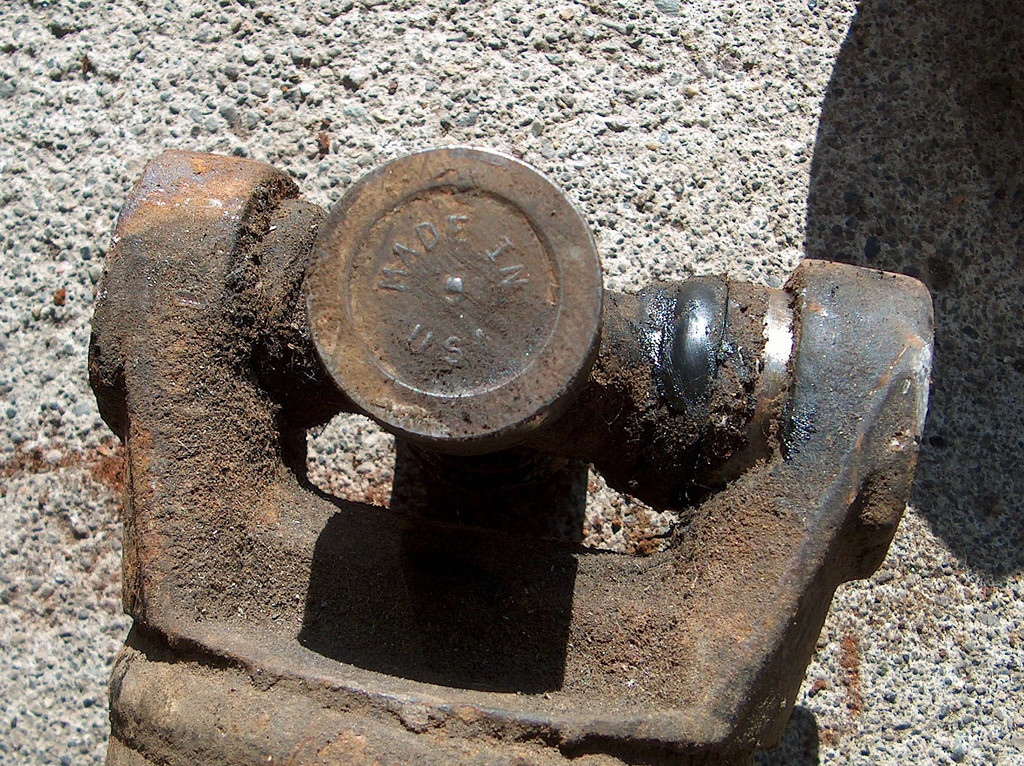
Here's something you don't see anymore. Made in the USA! Wow! These must be original...
So, I have been having problems with it starting. At first when I turned the key, nothing happened. After thinking that one over for a day, it occurred to me that the neutral safety switch was located in the center console in a 1970 Camaro, instead of the steering column. Once I wired the purple wire together with a toggle switch, the car immediately turned over. She still wouldn't fire though.
So I started tracing wires. I printed out the wiring diagram. Everything checked out. I decided to look in the HI-6's instructions to make sure that I wired that correctly. I did. After that I broke out the multimeter.
Here was the problem:
While cranking, the HI-6's "sensor wire" was only getting 4 volts. It appears that it needs a full 12 volts. That's how the HI-6 knows when to fire. I took the relay out of the equation, and wired the "sensor wire" directly to 12v, hot.
She started right up! And, as promised, a crappy video.
Okay, two crappy videos.
Sorry the sound sucks so badly. I didn't think it would be that bad! Maybe I'll try again later.
2-9-2009
Better quality videos.
I love how excited Ethan is.
I still have to modify the alternator bracket. That should fix that squeek. Also, I haven't done any tuning yet. I'm just happy she runs..LOL.
Edelbrock Performer RPM intake
Barry Grant Speed Claw 750 double pumper carb
Sportsman II heads, 2.02/1.60, swirl polished valves, upgraded valve springs
Cant remember if they are 67 or 72's, but do remember the build having 9.7 to 1 compression ratio
Crane Roller Rockers, 1.52 ratio
Hydraulic Roller lifters/cam
Speed Pro Cam specs(CS-1071R)
Valve lift Duration
Intake .480 306
Exhaust .480 306
Center Lobe 108
Crank Timing .006 Valve Lift
int open 47
exh close 43
int close 79
.50
int open 9 degrees
exh close 5 degrees
int close 41 degrees
exh open 45 degrees
gross lift@cam duration @ .50 cam lift
intake .320 230 degrees
exhaust .320 230 degrees
maximum lift intake 106 degrees A.T.C.
Chevy "pink" rods
Steel crank
Forged pistons, .20 over
4 bolt main, out of a 70's blazer
Full assembly balanced, down to the flywheel
Hooker super comp headers
3000 stall torque converter
TCI th350 transmission
3.73, Lockrite locker, Richmond gears, 10 bolt
I know it all seems a bit outdated now, well...because it is! LOL. I built this engine when I was 15, 14 years ago.
2-15-2009
Currently the CS130 alternator output is wired to the + front post.
Ironically, I had planned on rewiring it the way you suggested. Electrically, I don't know if it makes any difference. I assume that most batteries don't have both front and top posts. That's why most people wire it to the distribution block.
The reason that I didn't do it that way to begin with is because I didn't have enough wire and I didn't think about it.
Hope that helps.
As far as the sensing wire goes... I don't know if it would make that much of a difference having it wired to the distribution block or not.
2-21-2009
Okay so lets start with my first hang up. When I was painting my axle housing the wire wheel accidentally caught a rag that I had stuffed in the end of the axle tube. When that happened it ripped the spring out of the seal. So since I am taking apart my rear end, AGAIN, I figured I would go ahead and replace the axle seals.
Here's what I have:
See how it says MADE IN USA. I'd like to keep those there as long as possible.
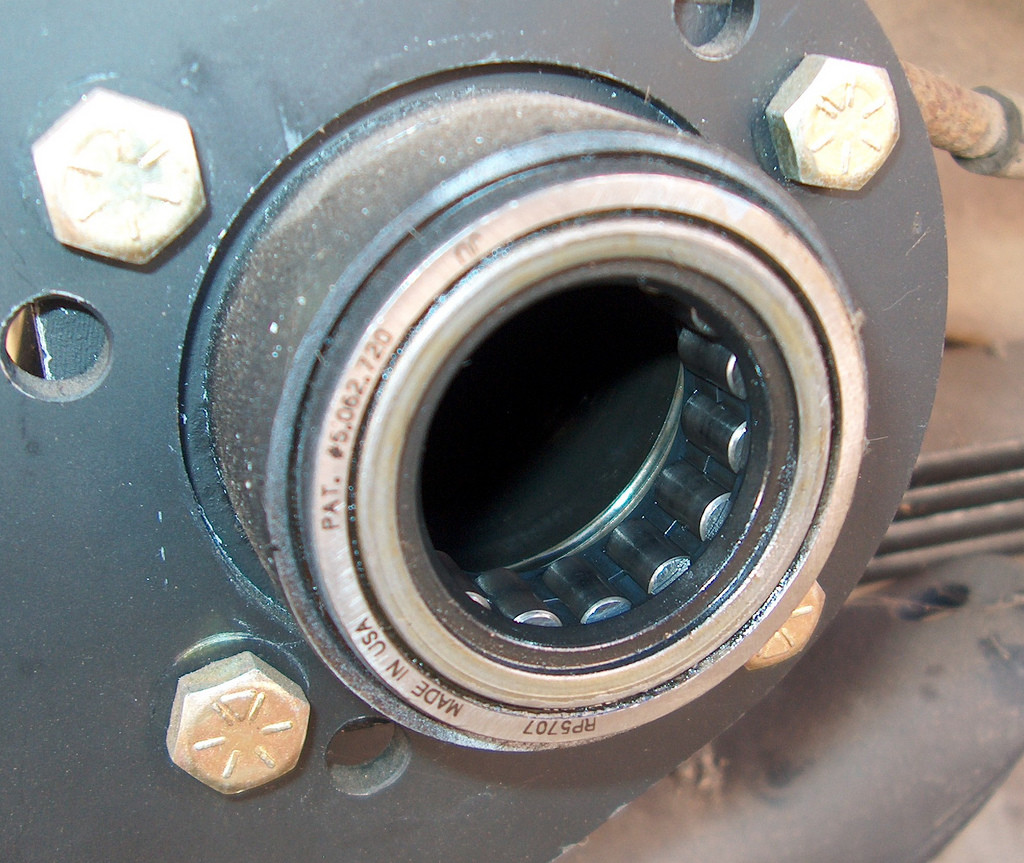
Here's what I found out...
There are at least 4 different versions of this axle seal/bearing combo. At Autozone the sell an axle bearing/seal "saver" kit. Basically, it moves the bearing outward(kind of like what I have) and has a seal incorporated into it as one unit, with an o ring where the bearings used to ride. This option costs 20.00(Each) at Autozone. For a very similar unit it costs 40.00(Each) at Napa or Shucks. The difference? Autozone's has a 90 day warranty and the other two have a 2 year warranty.
Another option is what would have been stock replacement. You would press a bearing in, and then the seal afterwords. Also, when you take that route, you can get a bearing that has more balls(smaller) or less balls(bigger) in the unit. That route will set you back about 20.00 total at Autozone. At Napa? About the same, except you can buy everything individually, instead of a kit.
Guess what I did. I bought two axle seals and took the springs out of them, and installed them into my existing axle seal. I wasn't about to plop down 50-80 bucks to replace good bearings...
So, that's that.
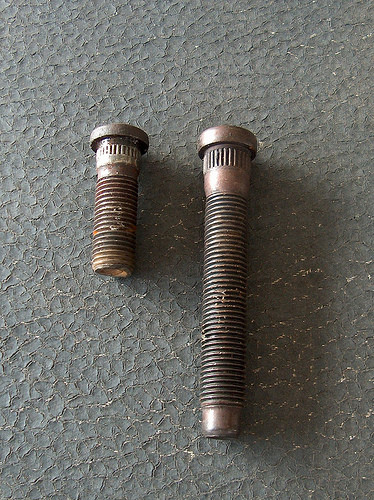
Here are the difference between my old and new axle studs. The old ones are too short, the new ones are too long..LOL
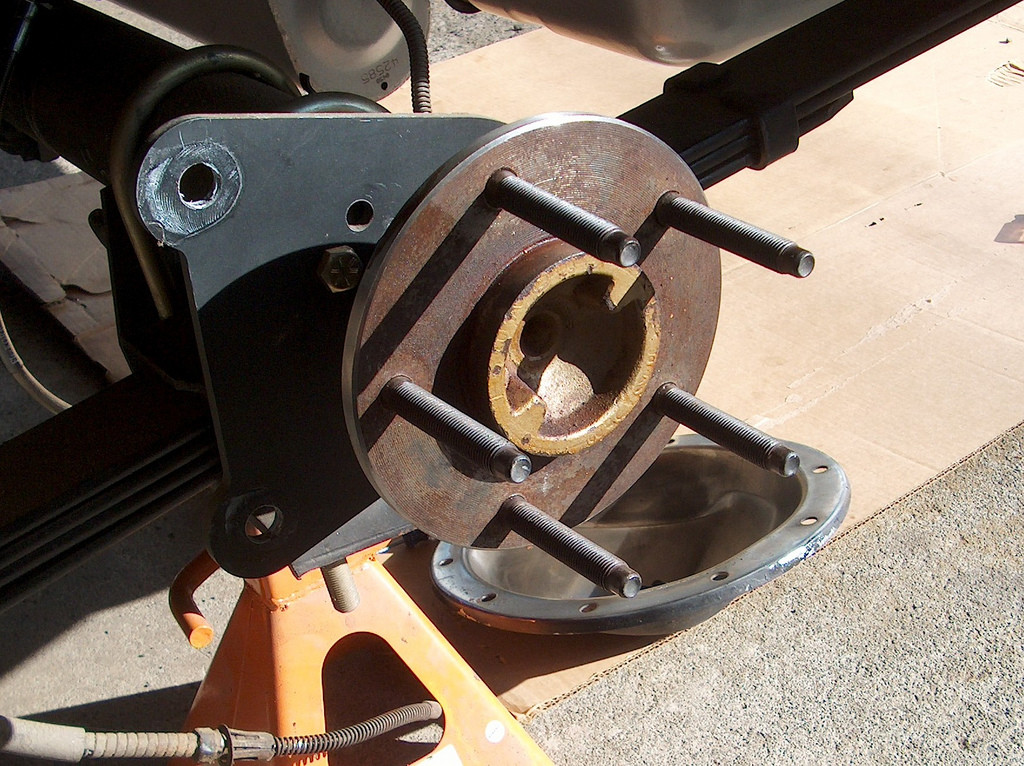
After fighting with the press(and breaking two arbor plates ), and then fighting with my locker, I finally got the axles installed.
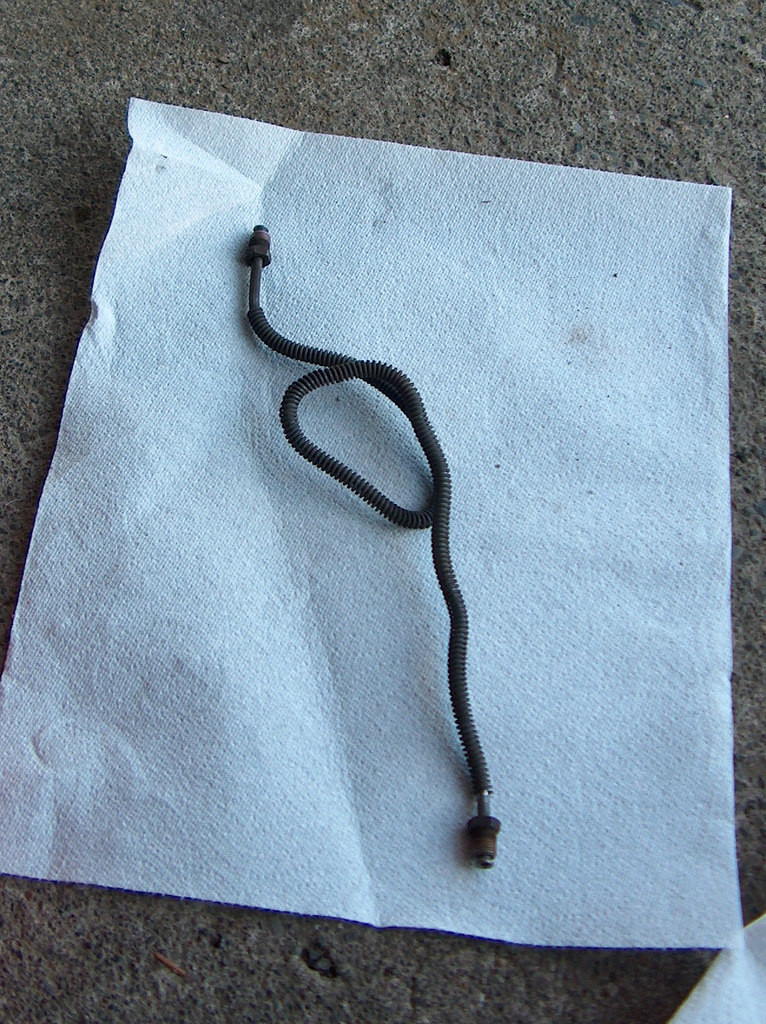
Then I moved on to brake lines. I had planned on just buying hard brake lines that all ready had ends on them, so I wouldn't have to deal with making my own. In the past I haven't had much luck making custom brake lines. So I thought before I went and bought more brake lines, I would use my bender and bend the existing ones in a loop and see if it made up the slack. It did.
I know its kind of ghetto but... okay I don't have an excuse. I just don't care that much. No one is going to be looking at my rear brake lines. LOL
Installed the shocks and brake lines.
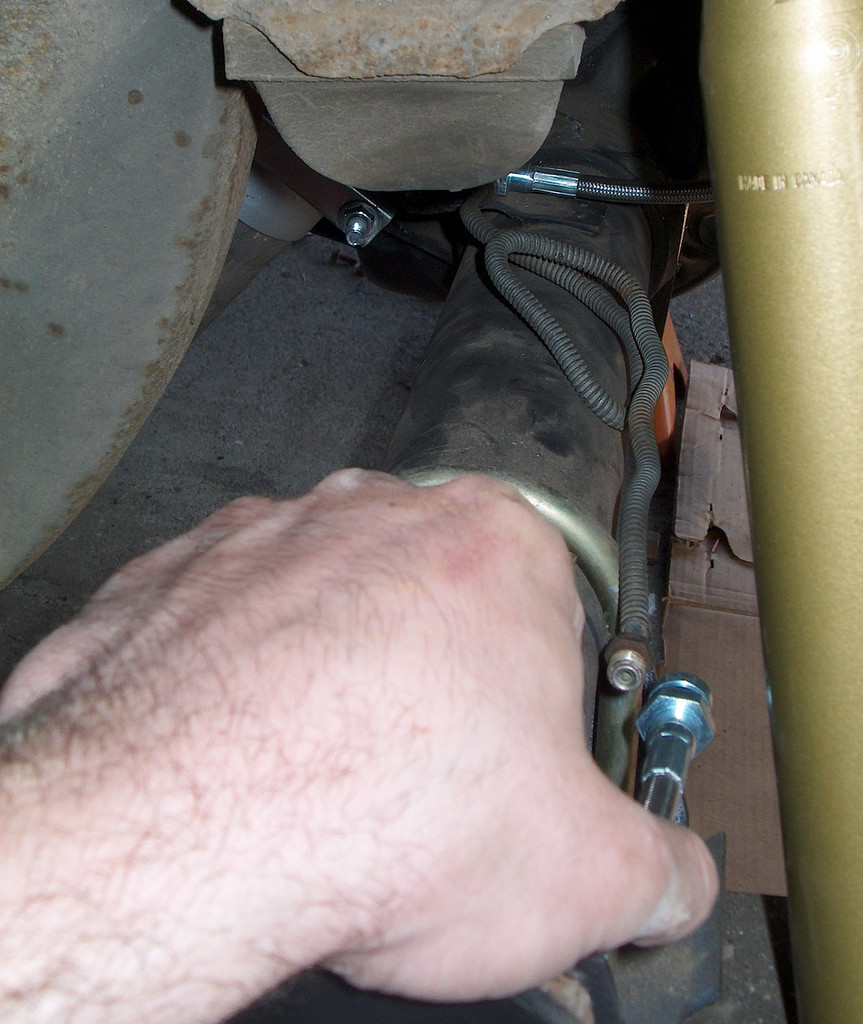
Same thing for the passenger's side.
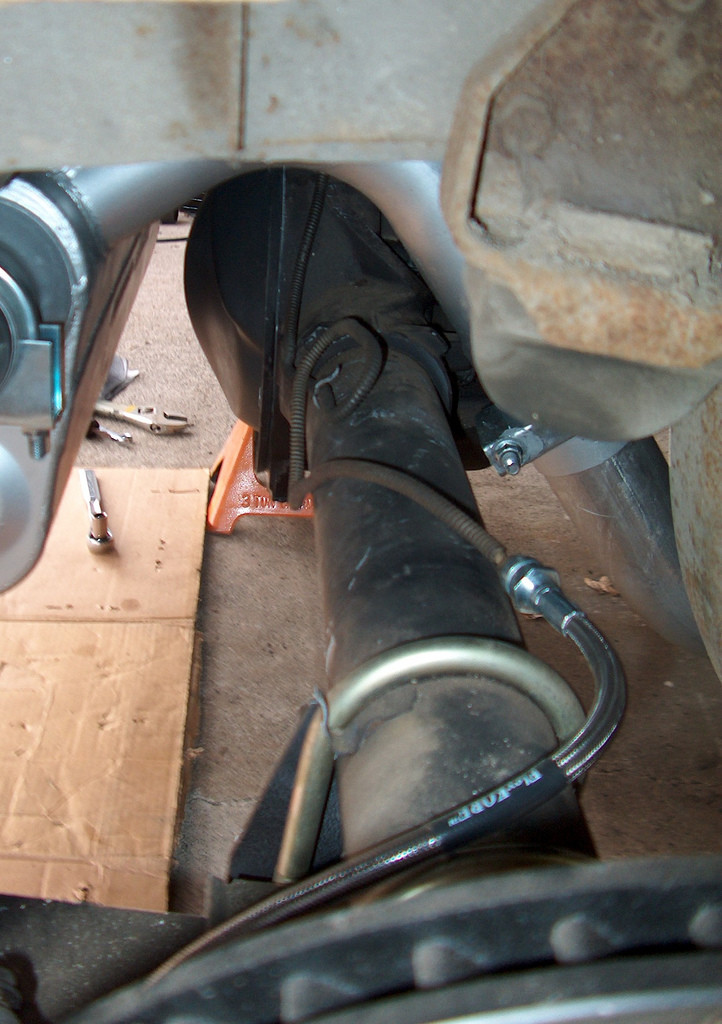
Then I installed the "drop" brake line, reassembled the rear brakes, and torqued everything down.
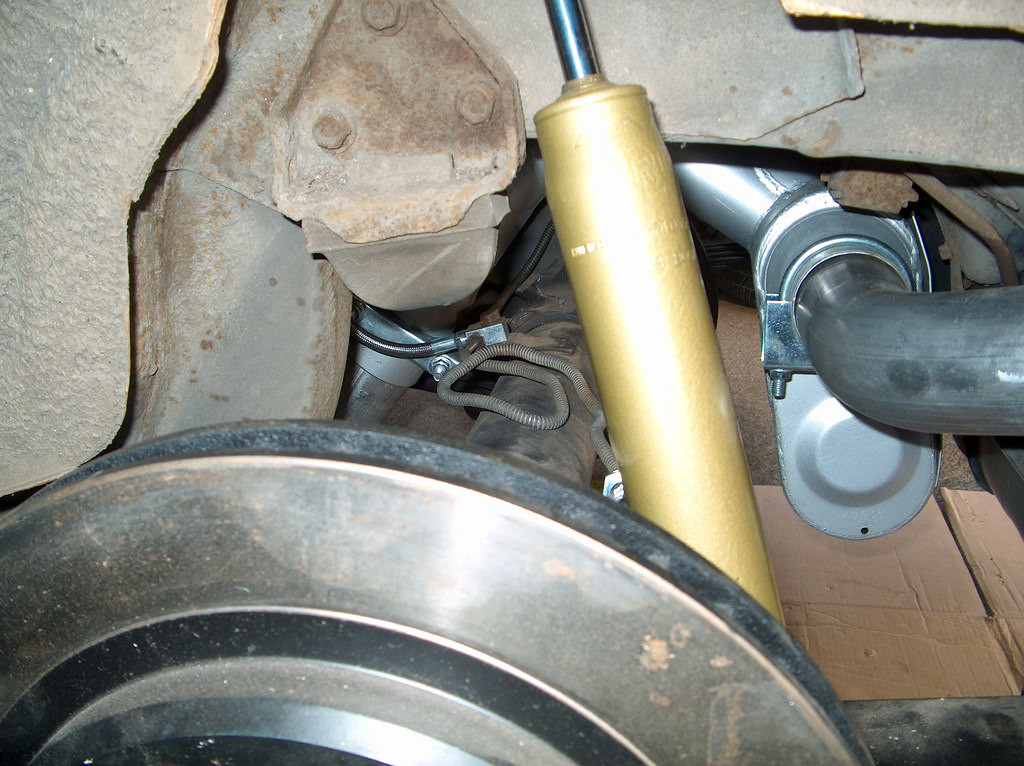
One thing I do want to mention is how nice the brake lines I bought from Kore3 are. It makes adapting to Corvette brakes a snap! LOL
2-25-2009
It stopped raining for a few hours today. So, I decided to take care of a couple of small things.
First off, I cut all of the axle studs down.
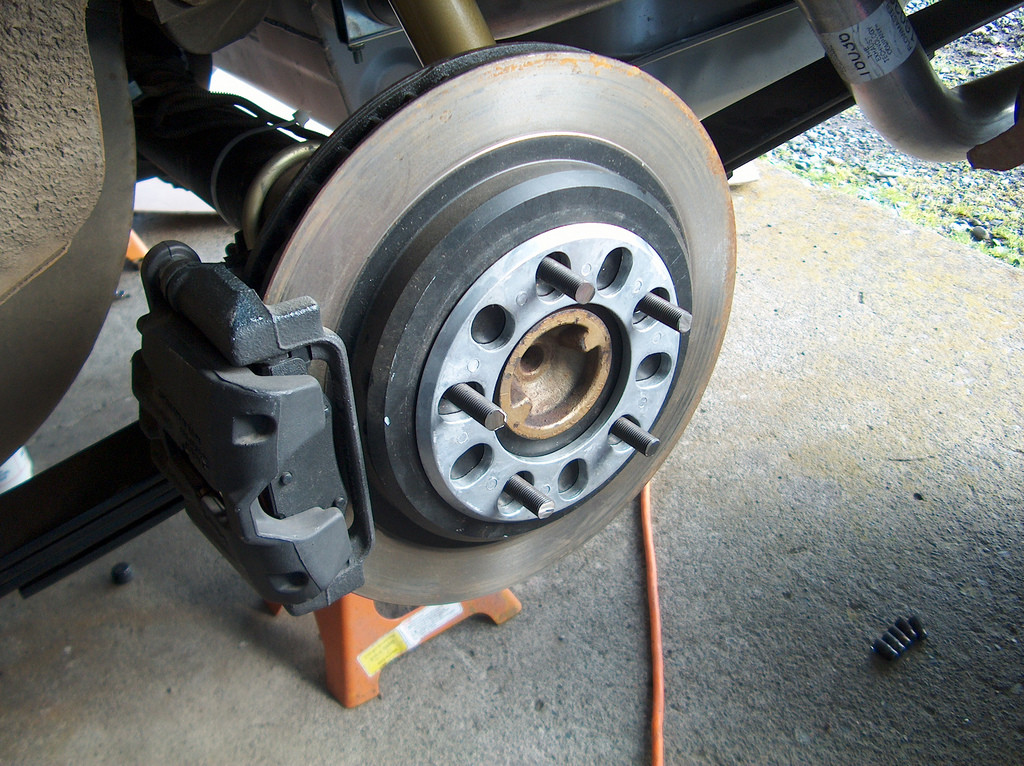
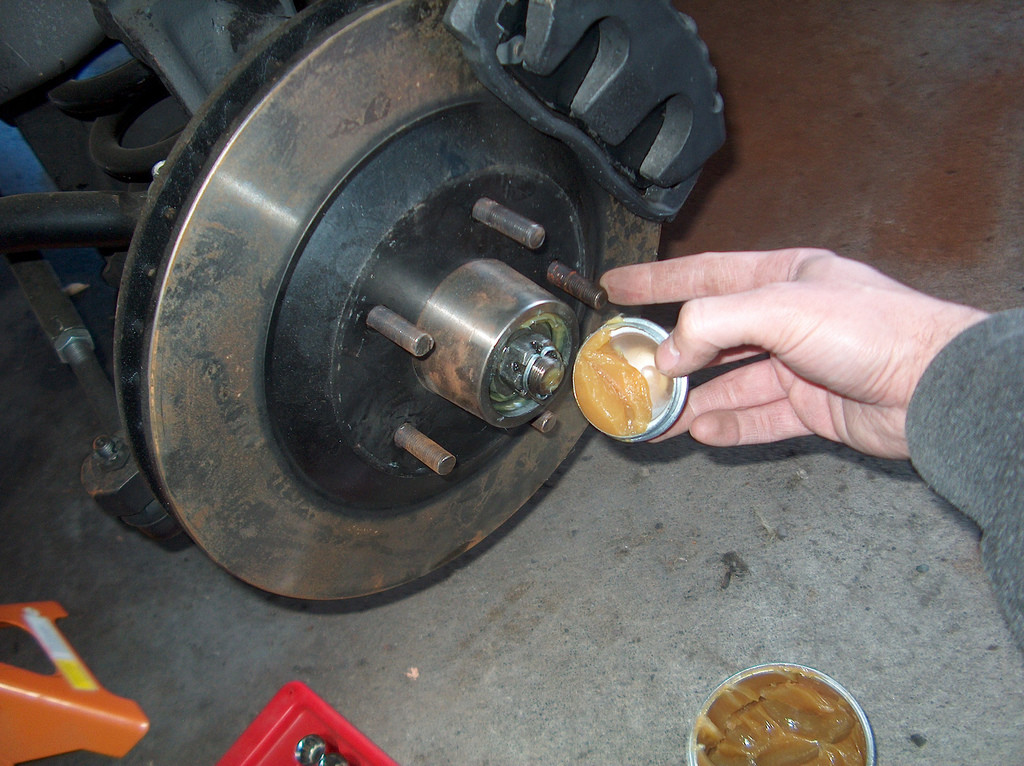
Then I moved to the front and put the cotter pin in the spindle. Doesn't it seem like the nut should be a couple of turns out?
Then, I replaced the stock rubber brake hose, with the flex hose from Kore3.
Driver's
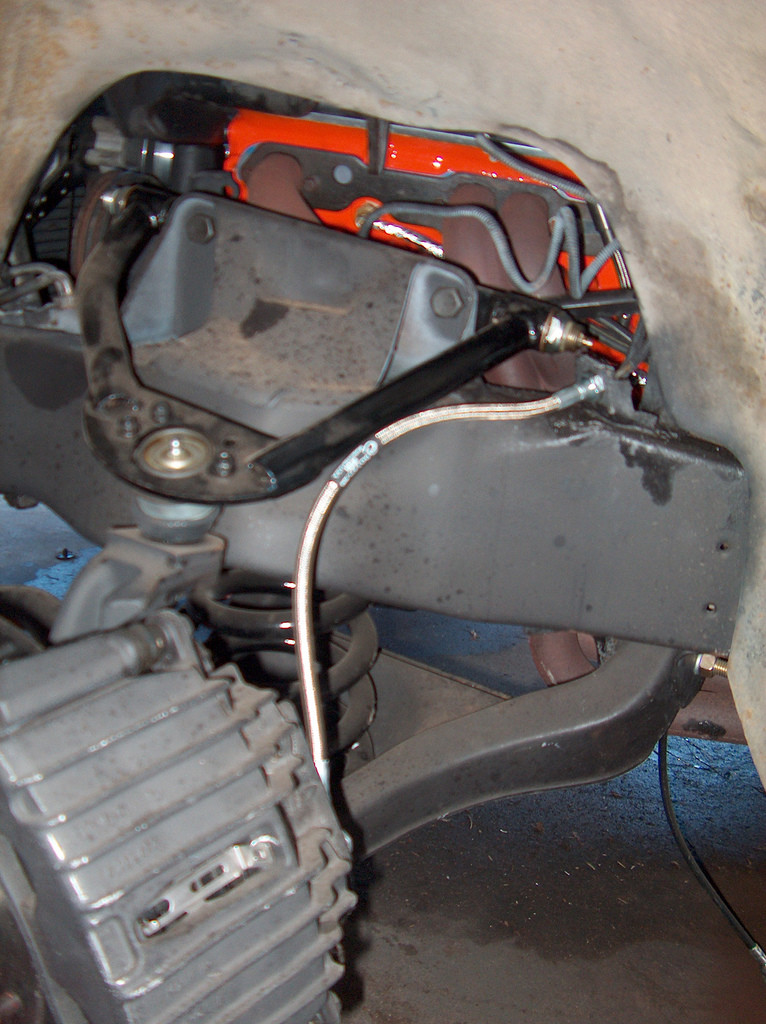
Passenger's
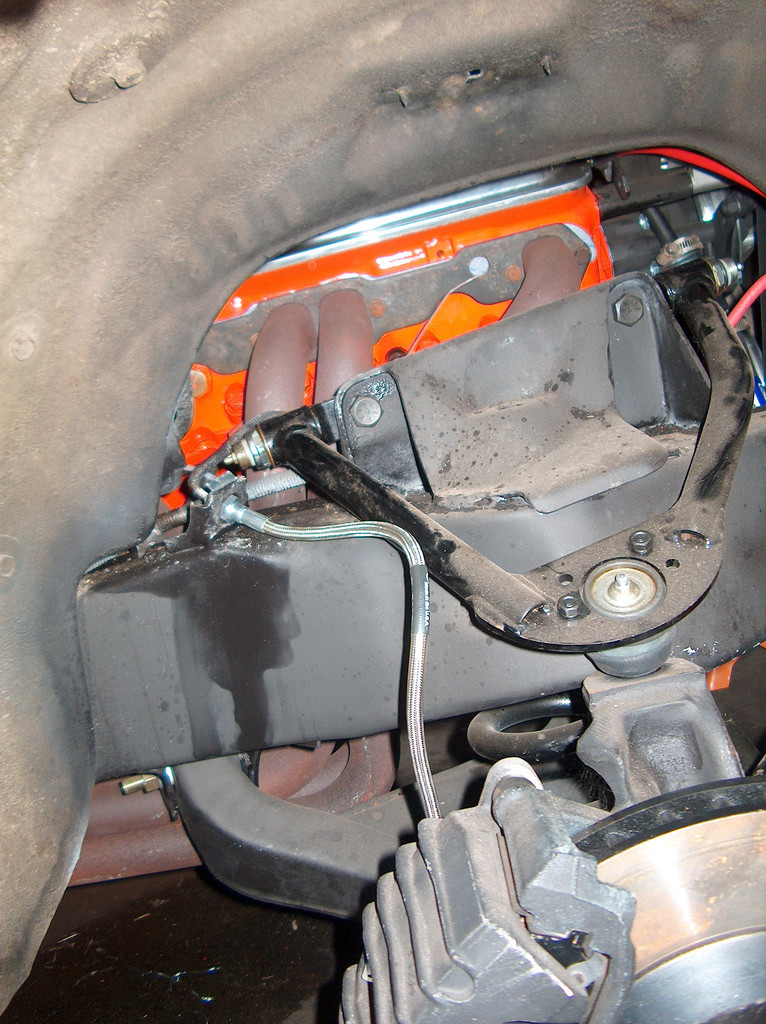
I really like those lines! I still have a bunch of small things to take care of. At least I'm a tiny bit closer.
2-28-2009
Today I messed around with my line lock and hydroboost.
First I mounted the line lock and bent the stock brake lines to reach it.
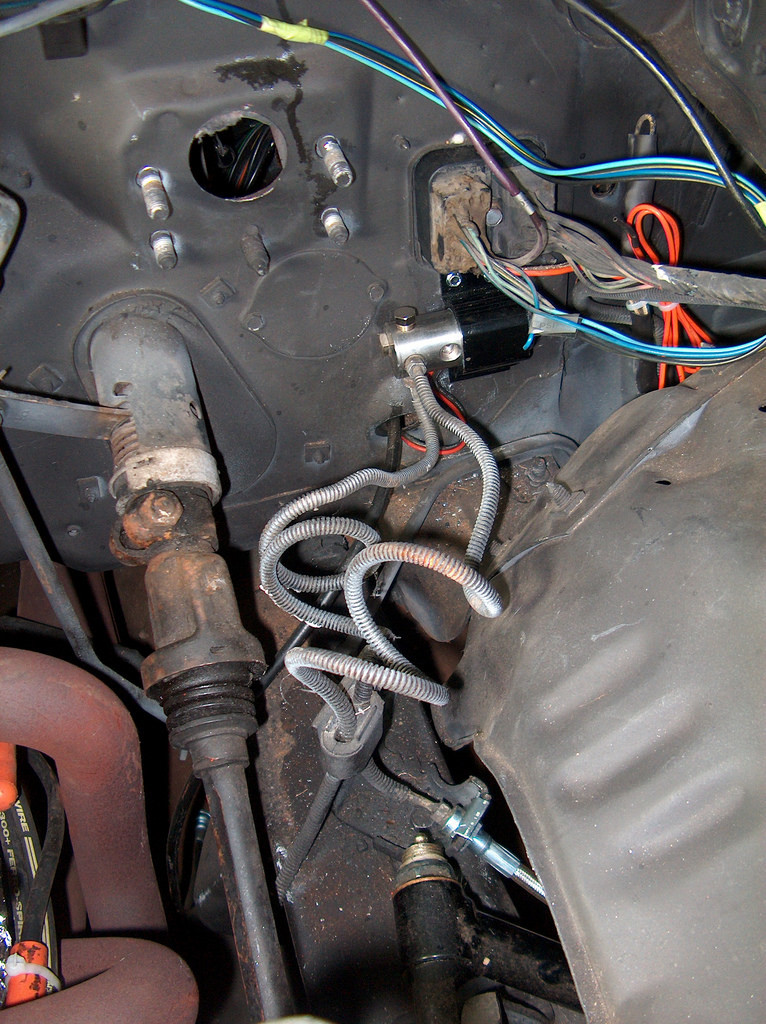
Then I mocked up my hydroboost/master cylinder and roughed out how I would have to bend a new brake line up. I just went to Autozone and bought a brake line that already had the ends done. I have had terrible luck attempting a double flare in the past.
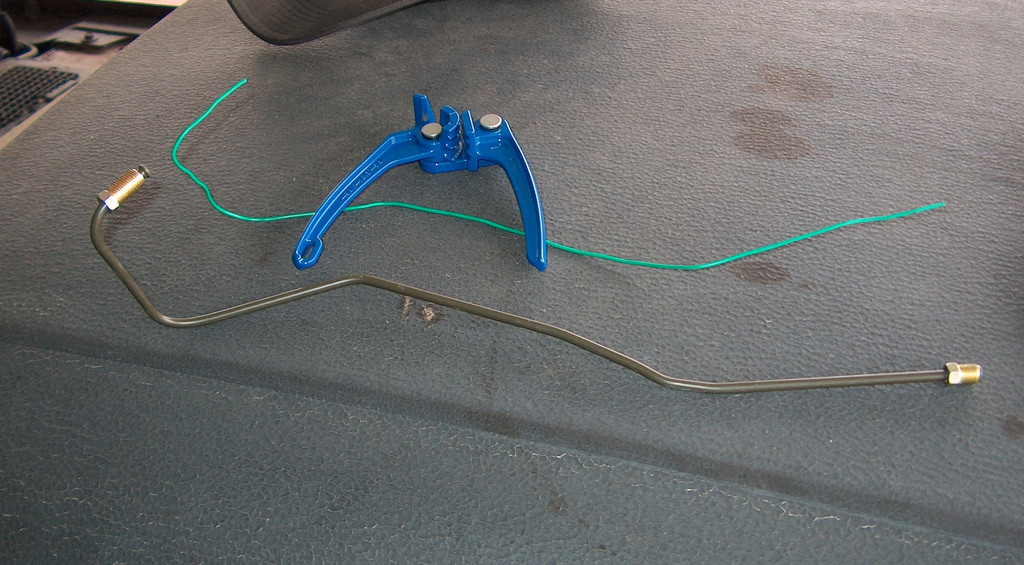
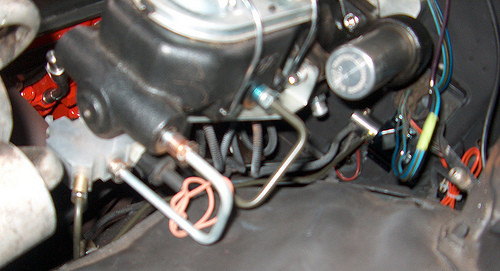
Sorry about the blurry pic, but here it his roughly installed.
I had to run to NAPA to get an adapter fitting for my portioning block to hook up to my rear brake lines and that's when it occurred to me. There are no compression fittings on the line lock. Summit's instructions say to use teflon tape, but I thought the were referring to pipe thread. Hmm...
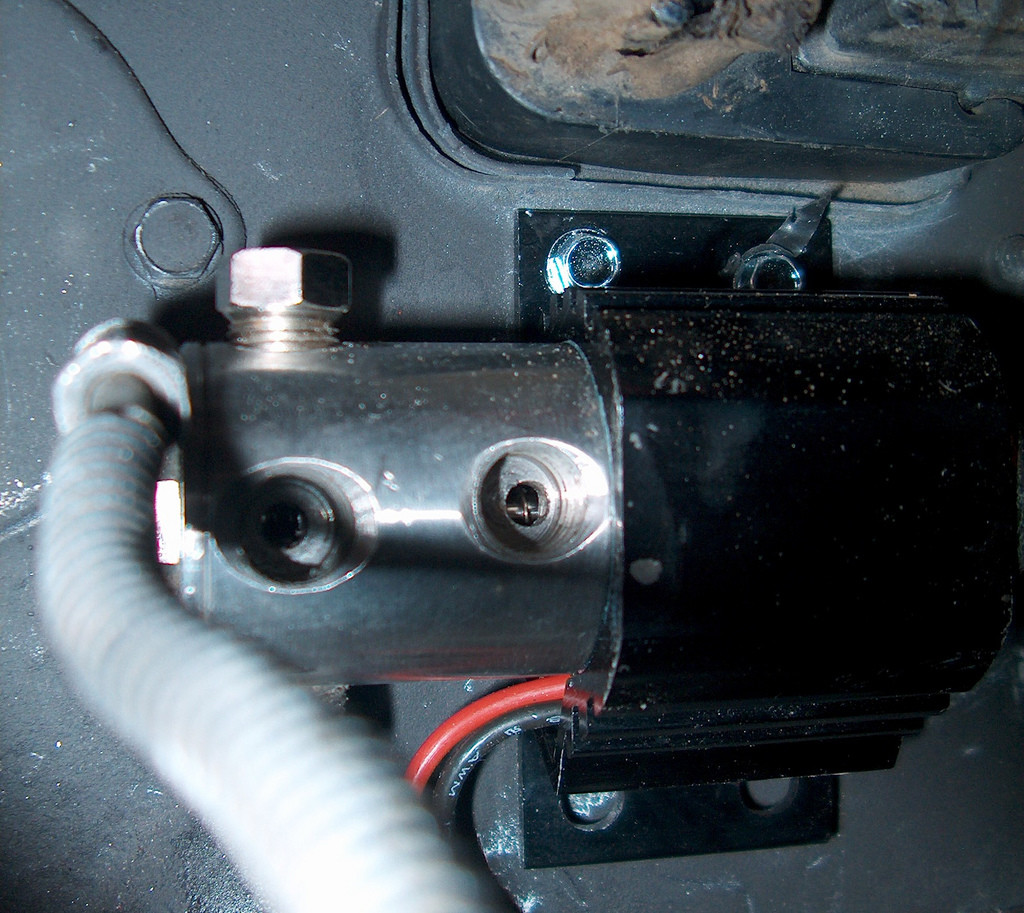
So now I'm wondering. Do I use teflon tape on the stock brake lines? Or, do I find an adapter to use to adapt the line lock to a compression fitting?
3-5-2009
First thing I did today was stop by NAPA and pick up these three little adapters.
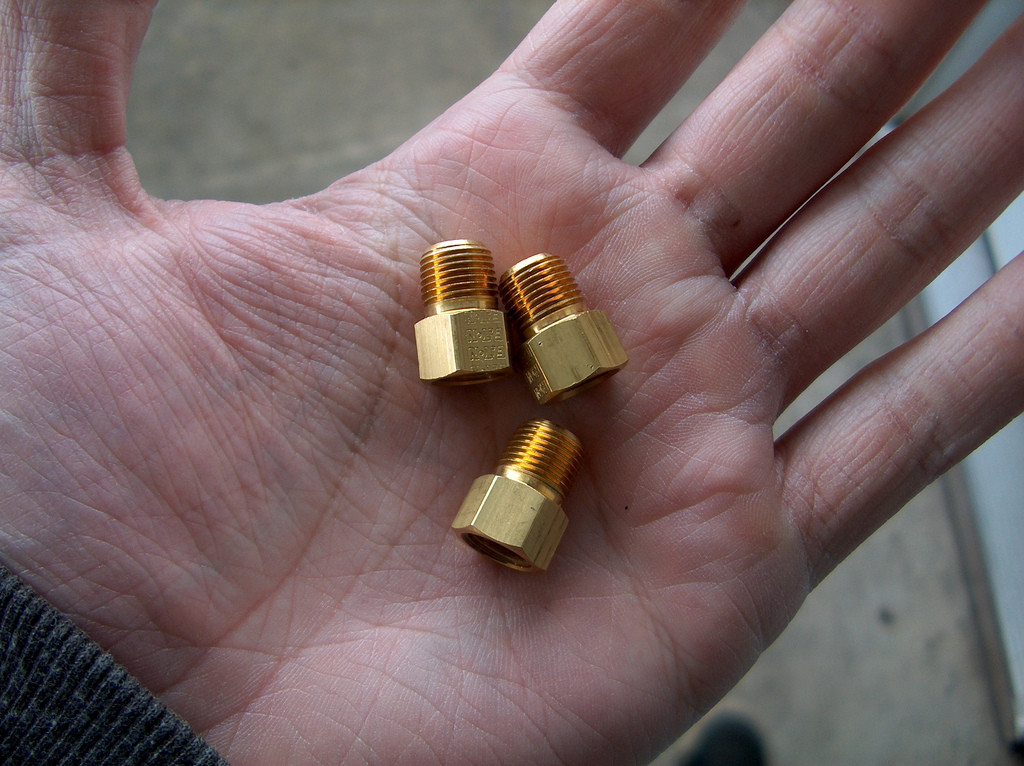
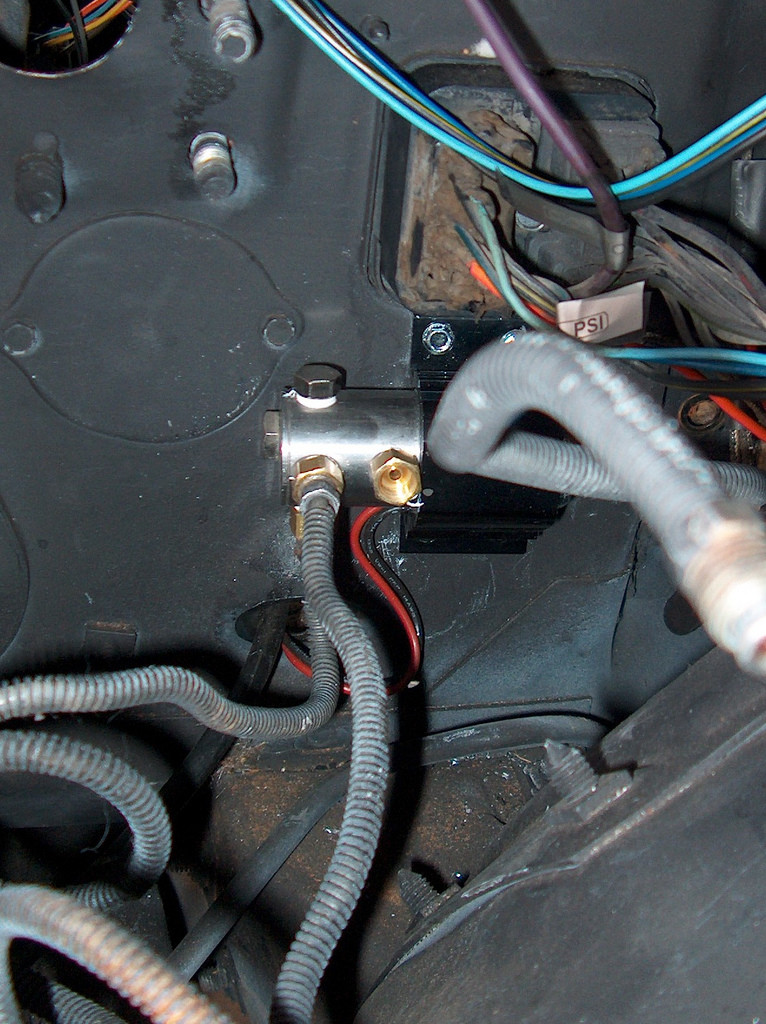
Then, I put teflon tape on and installed the adapters into the line lock. I had to bend the brake lines a little bit.
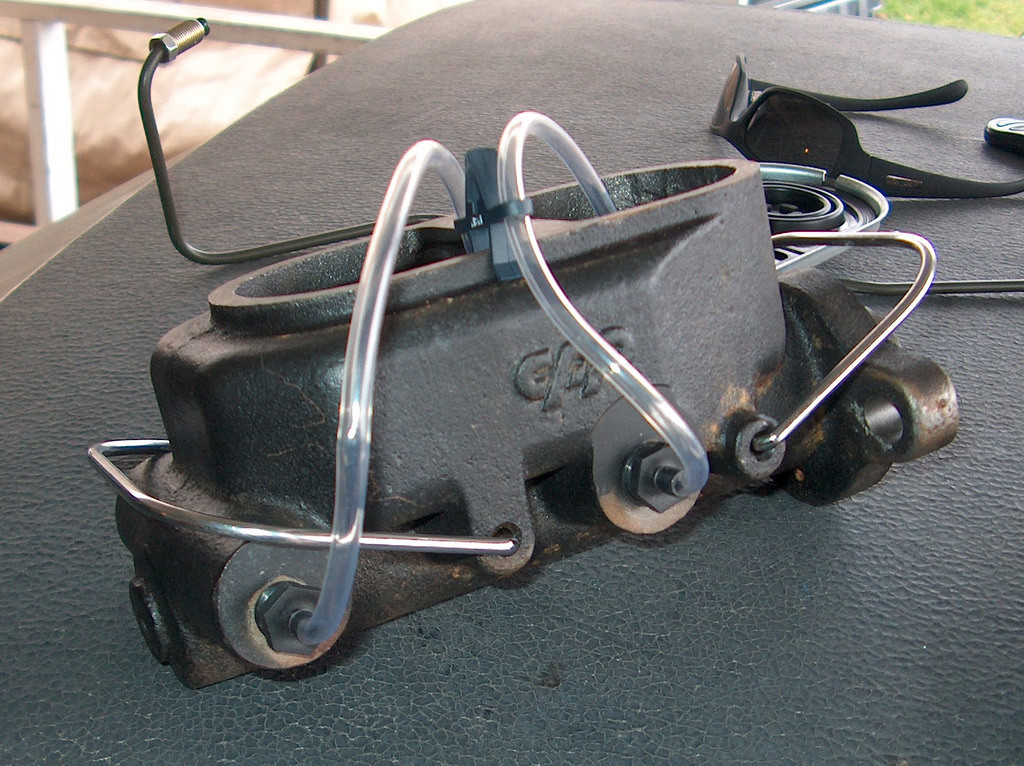
Next, I removed the master cylinder from the hyrdoboost and bench bled it.
While I had the master cylinder off, I went ahead and installed the hydroboost half to the firewall. Then I hooked all the brake lines up. After I was done bench bleeding, I put the master cylinder back on the hydroboost and tightened everything down.
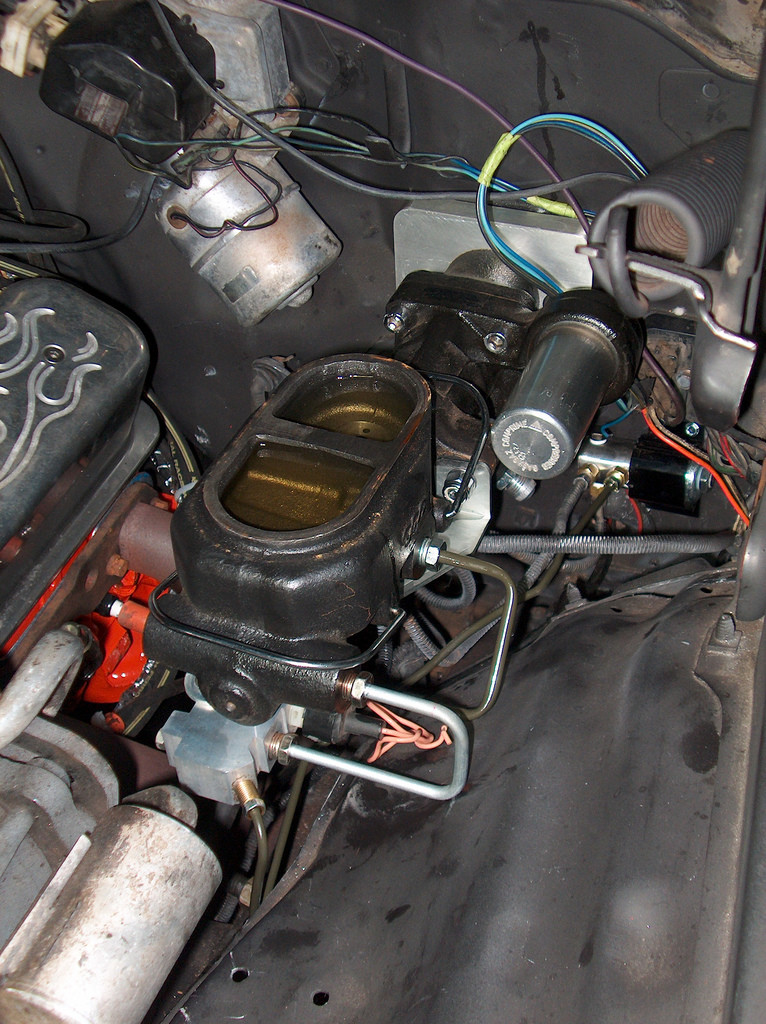
Then I hooked the hydroboost up to the brake pedal.
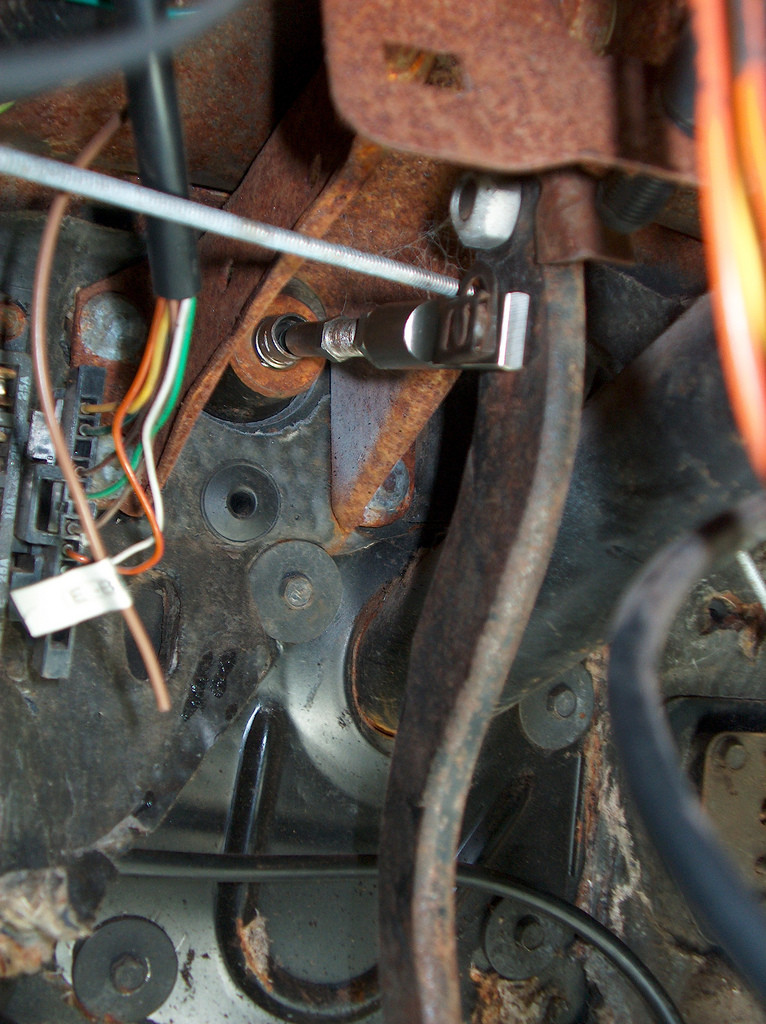
While I was doing all of this I also filled up the rearend with 80-90w oil. Also, while I was cleaning up, I opened all of the brake bleeders and kind of "gravity" bled the entire system.
Hopefully tomorrow I can actually bleed the system and hook the hydroboost up to the power steering pump.
Love the old camaros
Posted by Diggymart on 4/27/20 @ 2:39:52 PM