You must be logged in to rate content!
12 minute(s) of a 206 minute read
10-7-2008
After that I put the two halves on the gas tank straps and installed the tank.
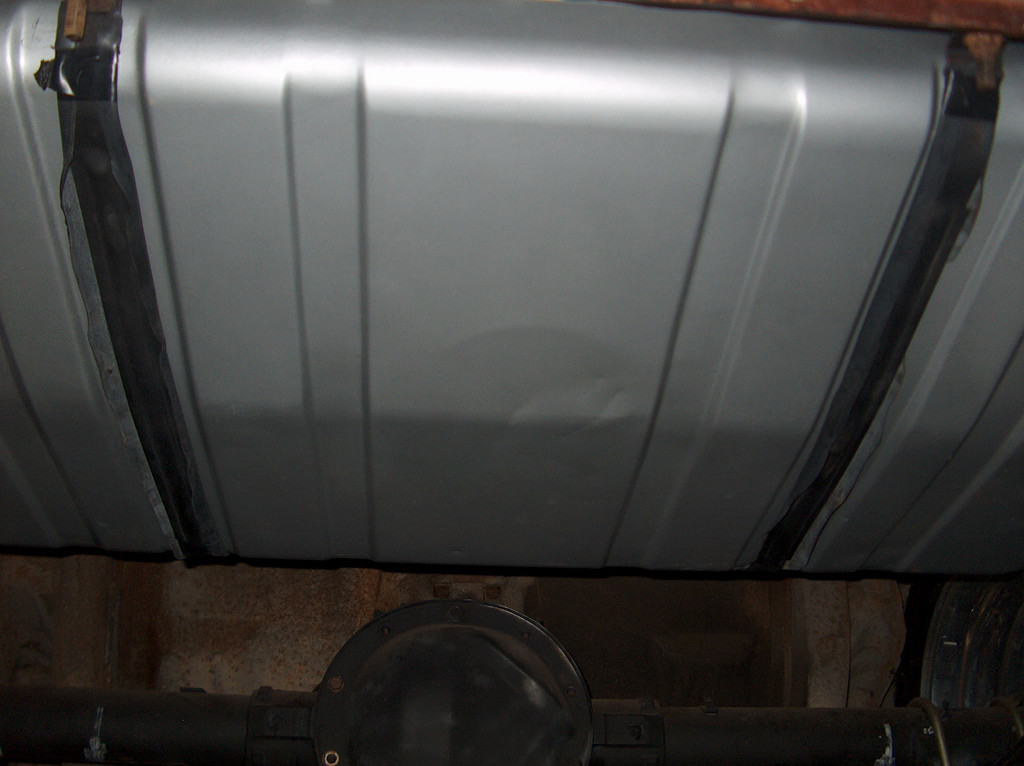
It was getting dark, so I had to quit. Next time, I will tighten everything up, and cut off the excess tubing.
One step closer!
10-10-2008
Thanks! I just hope it works. I think it will...
Today, I took apart the interior. Here is what I started with.
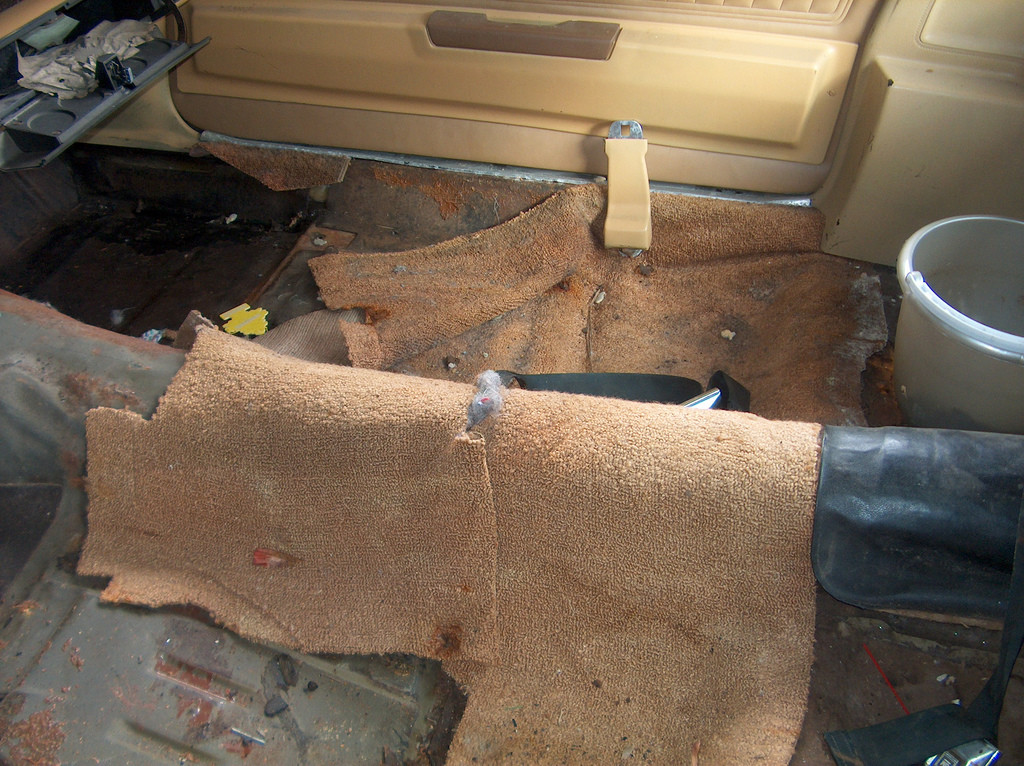
You can see that I started taking the carpet out at an earlier time. I wanted to see if there was any rust damage. Thankfully it wasn't that bad.
Here I am a little while later. Man, it took quite a while to get all that factory sound deadening out!
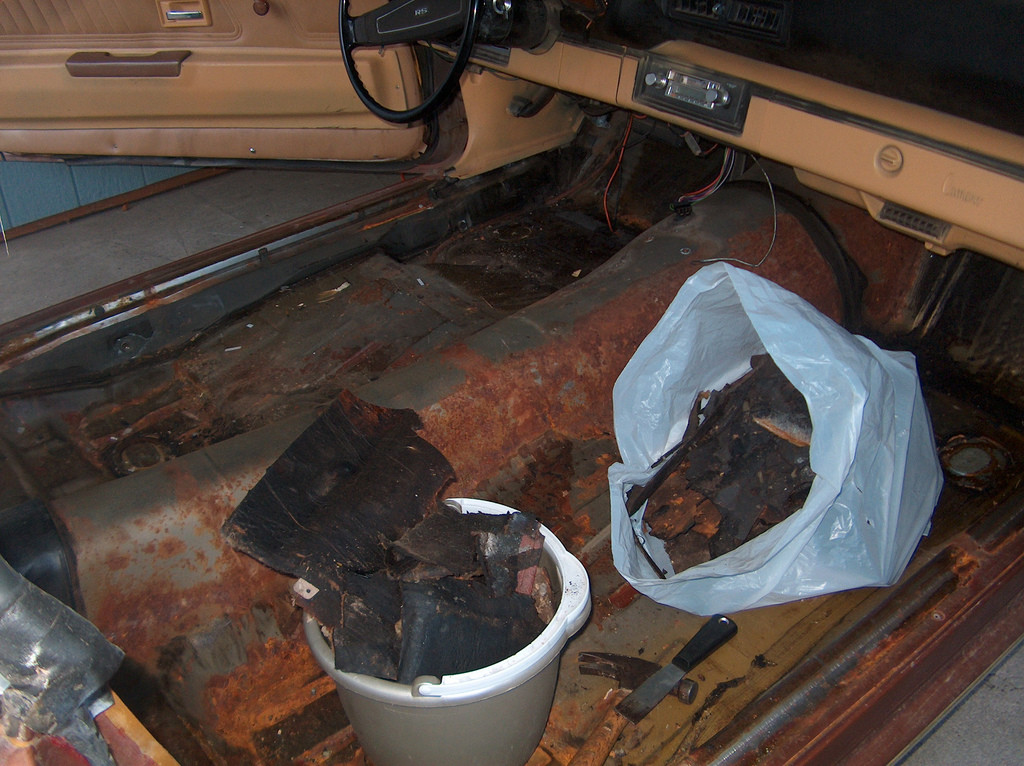
After that I started removing the rust with a wire wheel. It was getting dark, so I had to call quits. Hopefully, I will be able to pick up where I left off tomorrow.
(The rust looks much worse than it actually is.)
10-11-2008
So, today I started by taking out the parking brake mechanism. I won't be using it anyway since I have C5 brakes swapped without e-brake provisions.
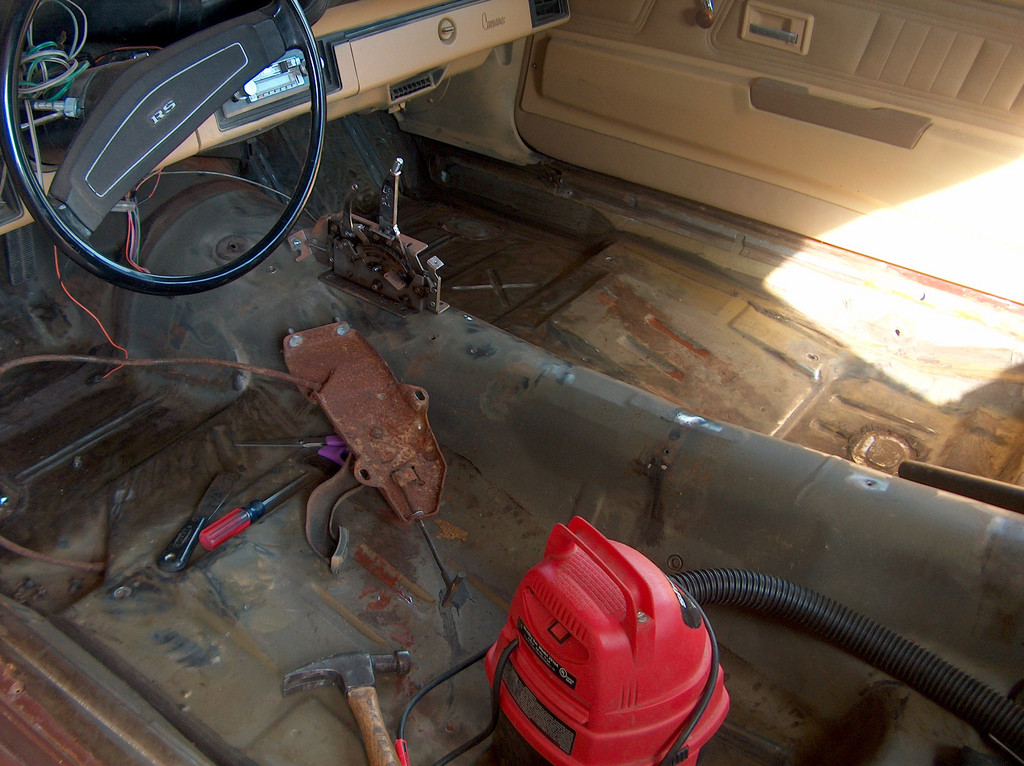
It's pretty easy to do. I had to remove three nuts from the e-brake peddle, and two from the inside of the firewall.
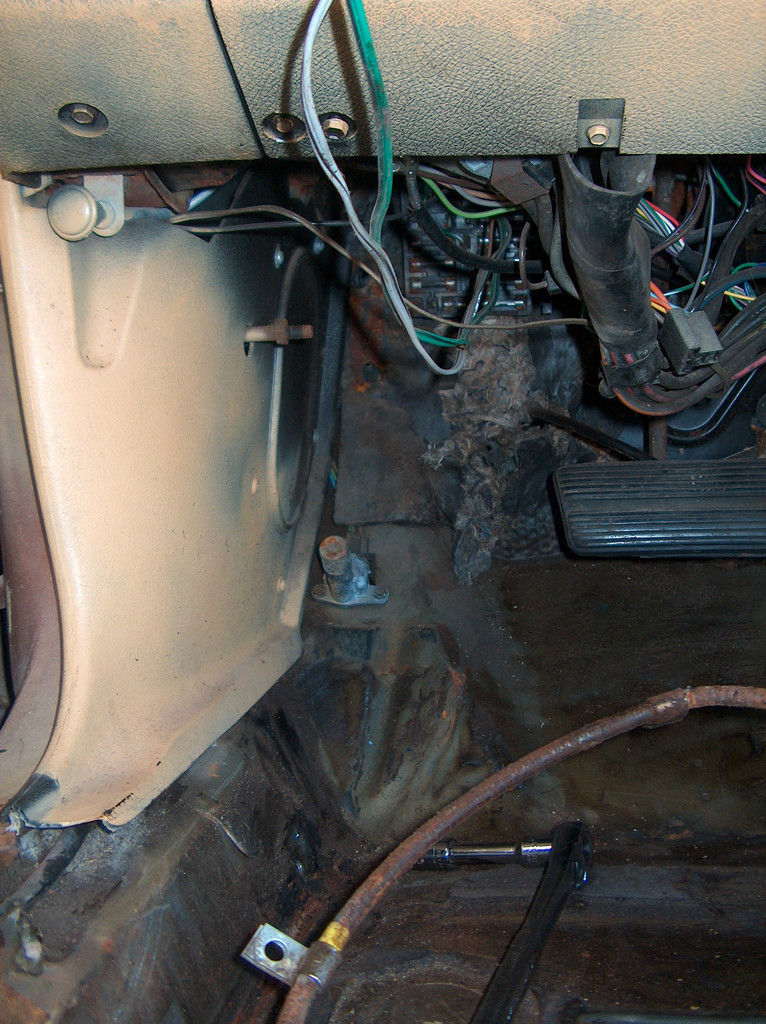
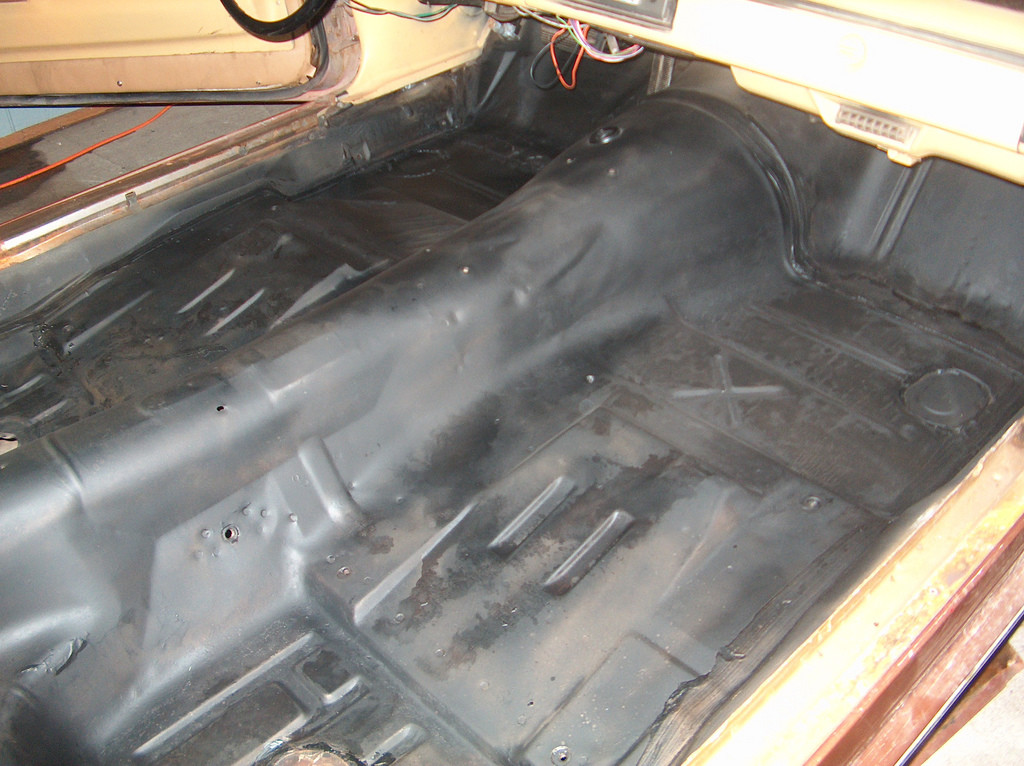
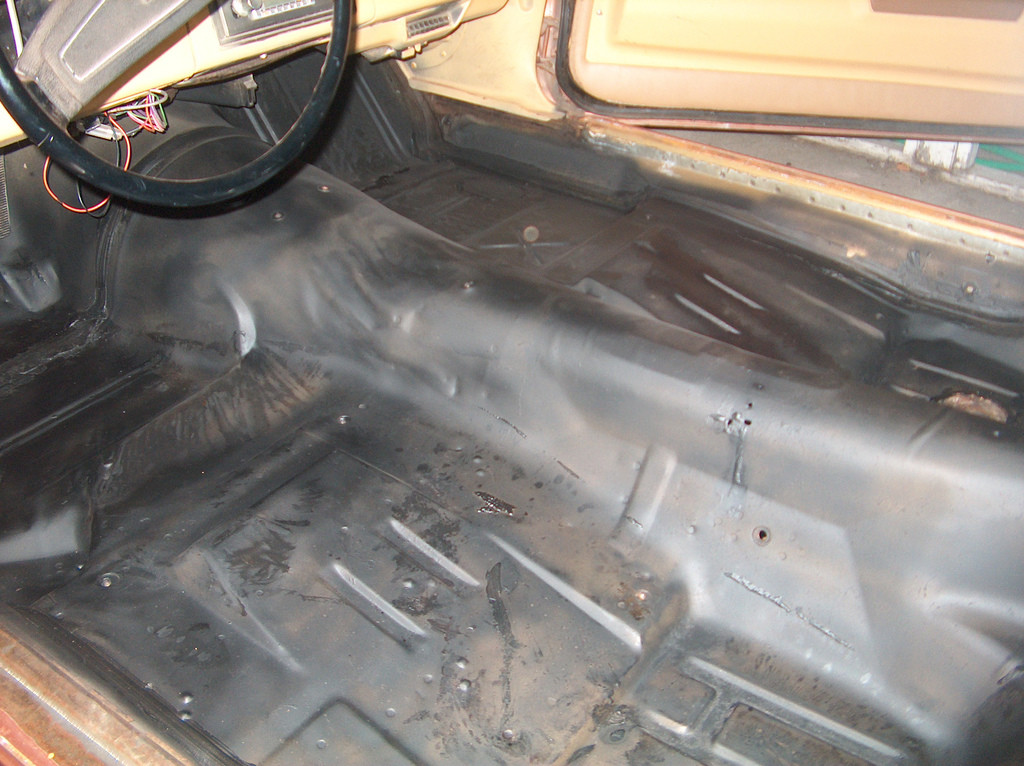
After that, I went over everything with a wire wheel and removed a bunch of rust. Then I vacuumed up all the dust. The pic looks worse that it actually is. I don't know why it looks so rusty here. It's really not that bad. Then, I went through and washed everything with a scotch brite pad and soap and water, rinsed, and dried with a towel. Next, I went over everything with a blow drier and made sure it was all dry.
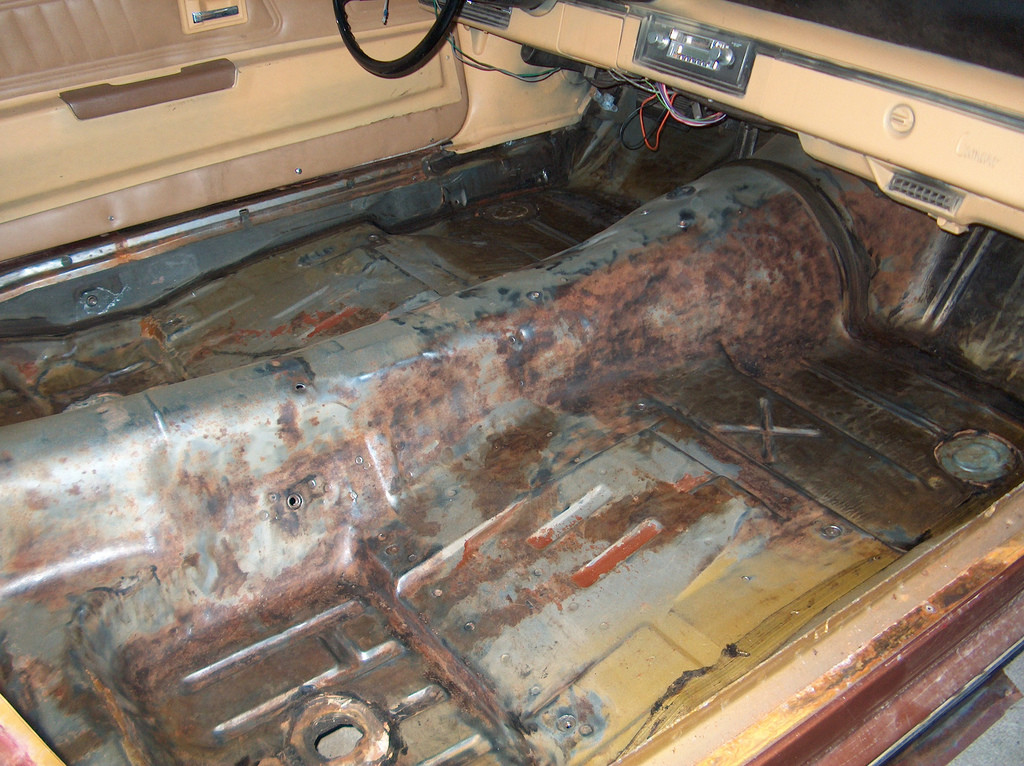
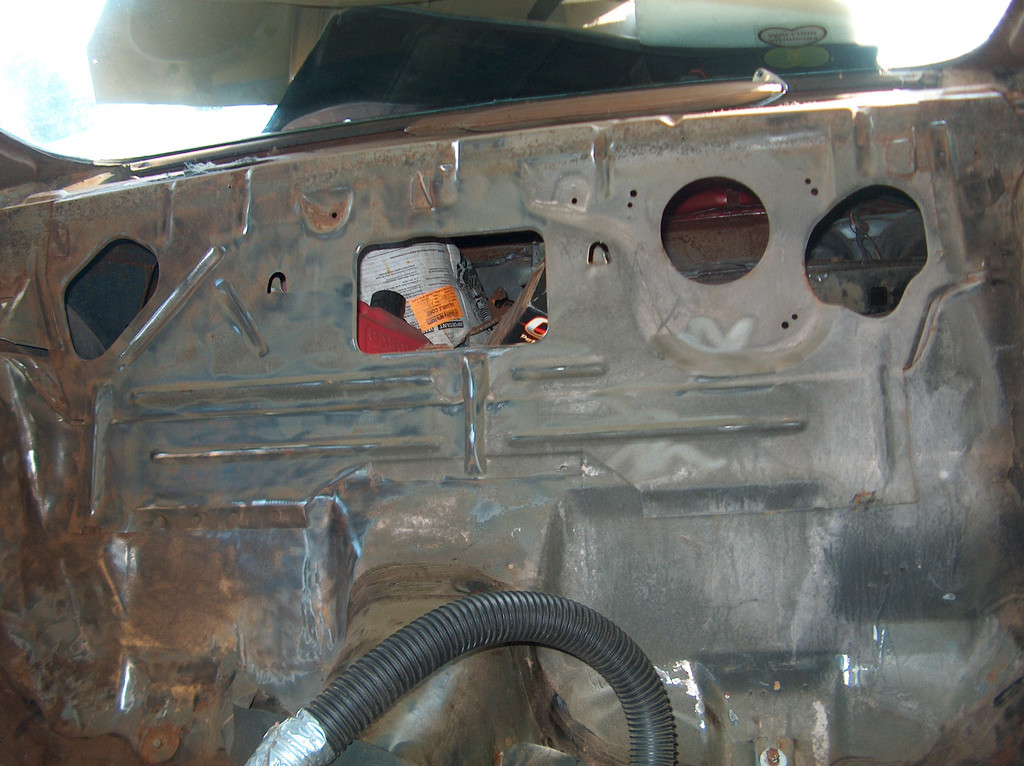
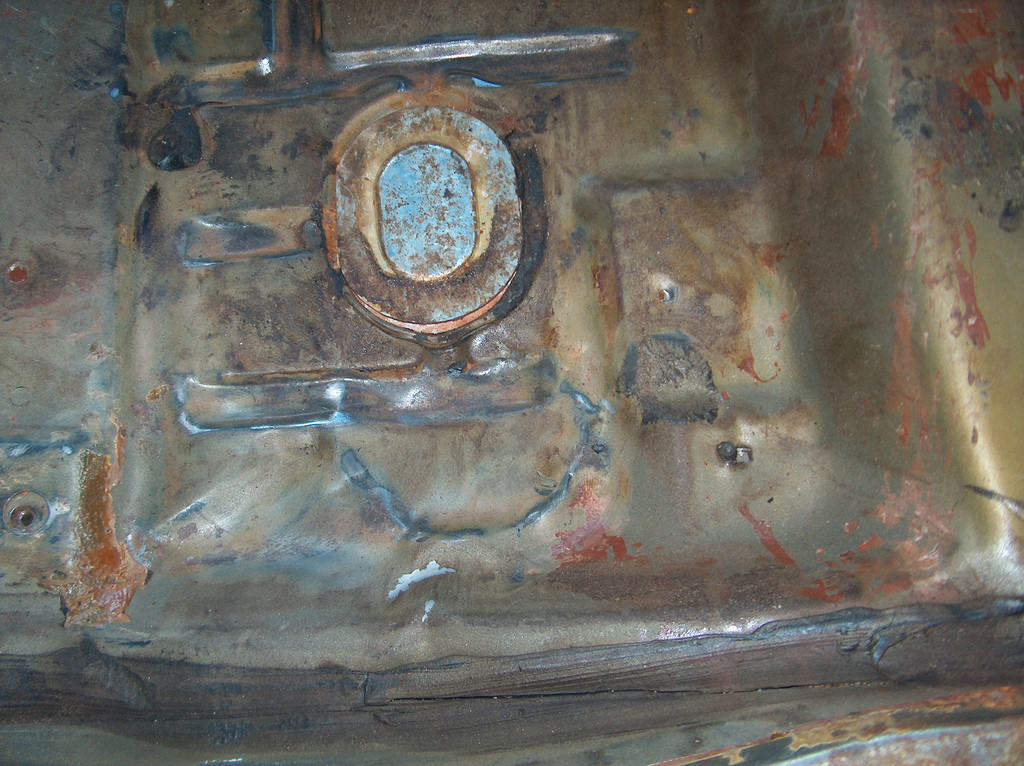
Then I painted everything with a rust prevention paint.
10-12-2008
I've been working on this Camaro for about 3 1/2 months.(On the weekends) But, I have been planning/buying parts for more than a year. That's how it appears that I have gotten so much work done, in such a short amount of time. Also, this is my 2nd, 2nd gen Camaro. So, most of my parts are taken off of my 80.
The first thing I did today, was to lay out my sound deadener in the sun. I wanted it to soften up, so its easier to lay down.
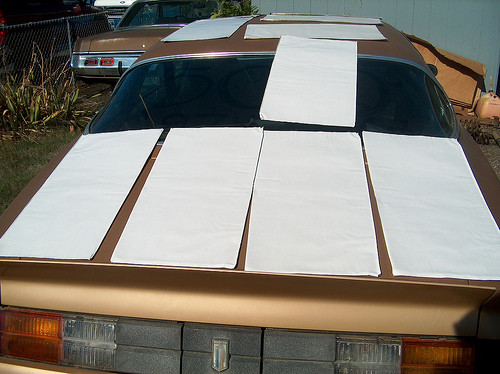
I decided to use that "Seal All" to seal the "drain holes" behind the front seats. Also, I used "Water Weld" to seal all those little holes.
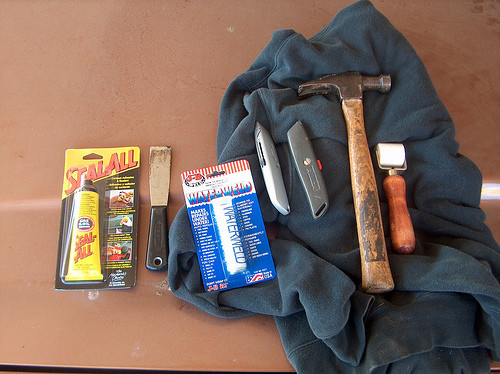
I mixed up the Water Weld, and applied it to all the little holes.
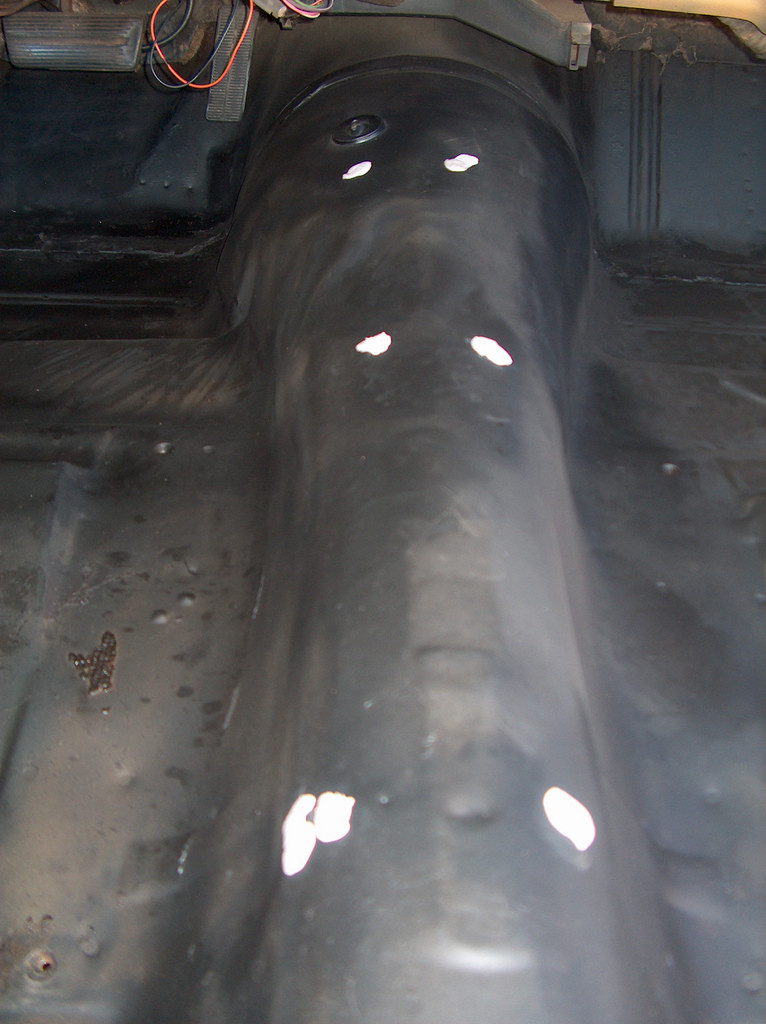
Next I went on to install the sound deadener. First piece down.
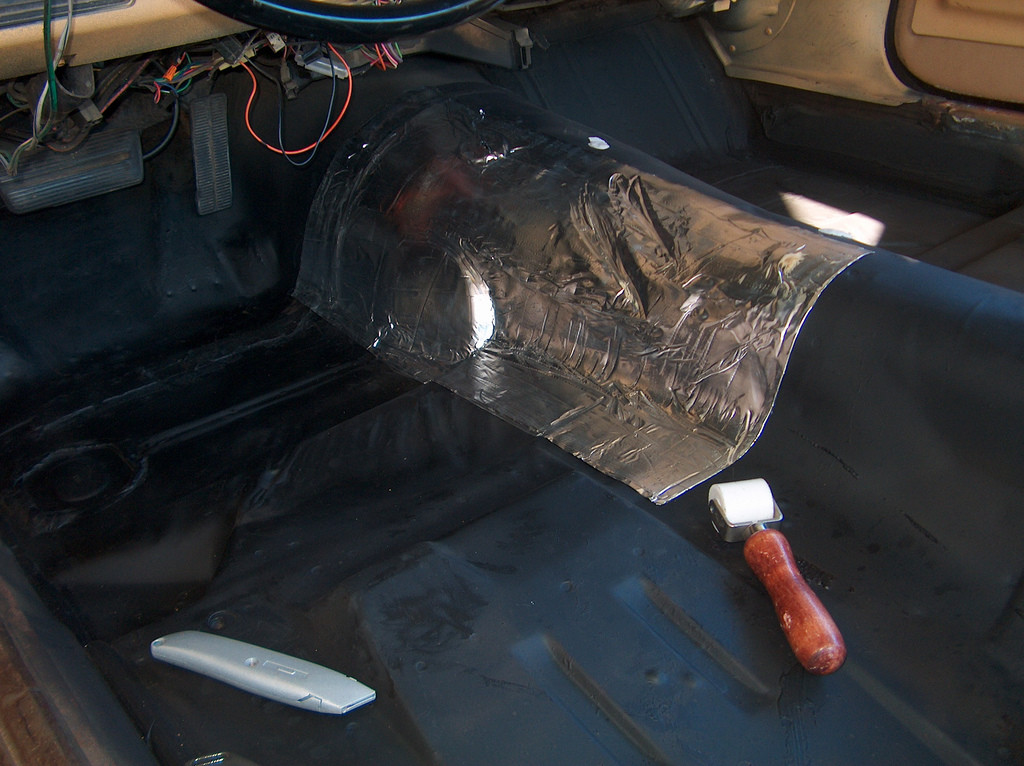
Several hours later.
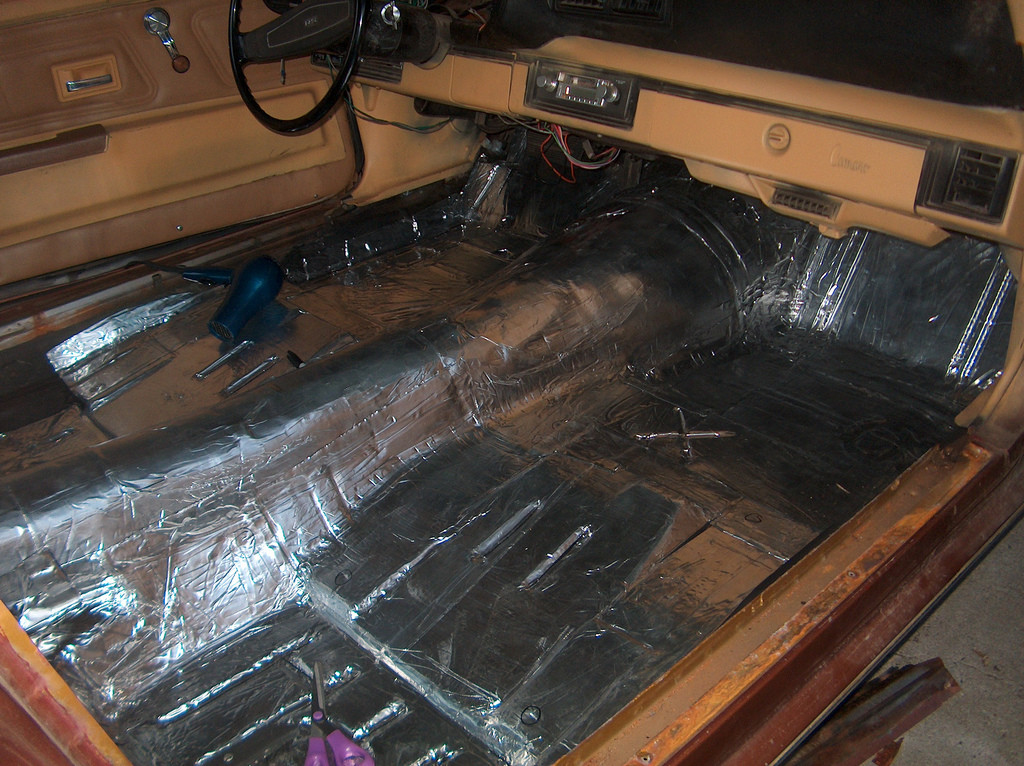
I'm still not done. It was getting dark, so hopefully, I will get a chance to finish installing tomorrow. I only have 5 or so pieces left.
10-13-2008
Thank you very much. I am trying to be careful and document everything I do. I want to print out the entire build and put it in a binder.
Okay, so what I did today was fill the holes behind the backseat. I did this so the sound deadener has something to stick to.
So, first I wandered around Home Depot looking for something cheap to fill the holes. I came across this "Round Pipe". It was a thicker gauge, and cheaper than, just buying a sheet of galvanized steel. I also bought some self tapping screws, and some caulking. All said and done, about 8.00.
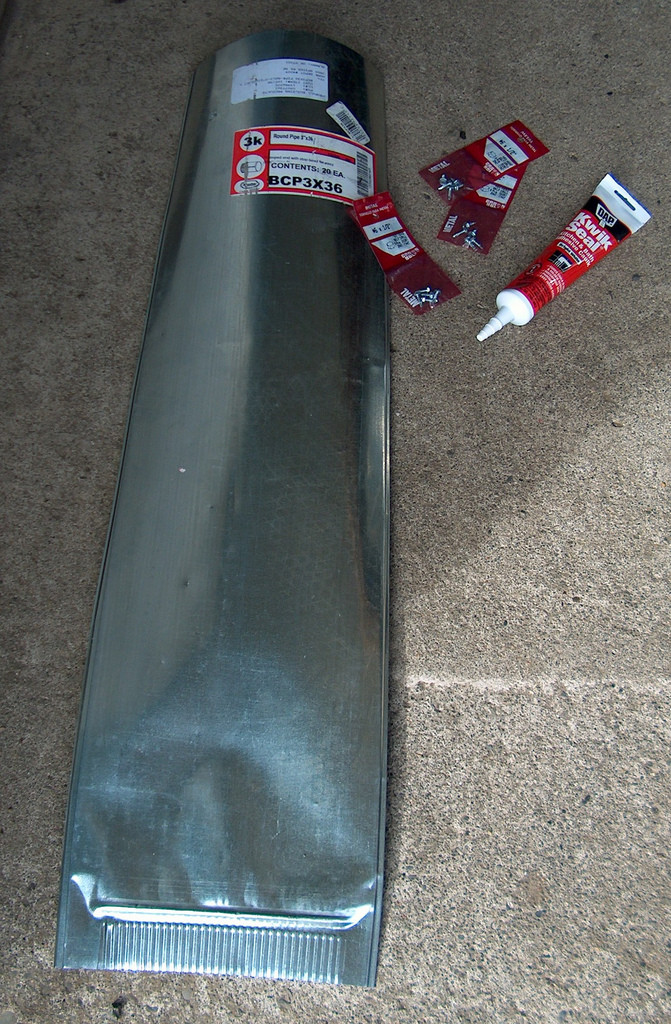
First I cut out a piece of card board slightly larger than the hole. Then I traced the shape from the inside.
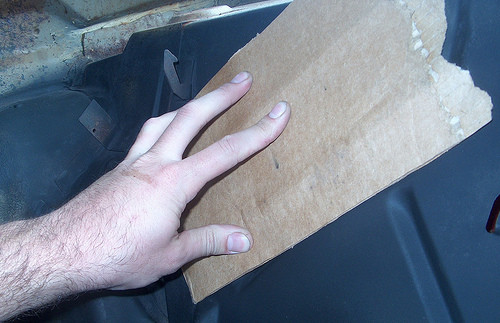
Then I cut the shape out.
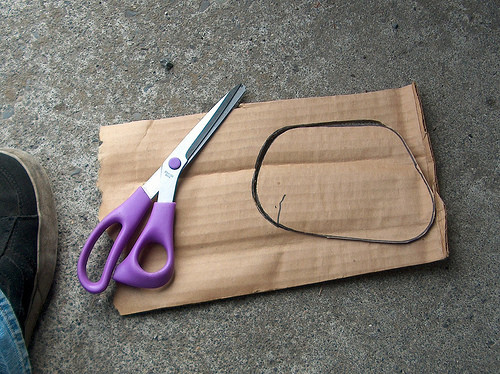
Next I traced the shape onto the metal.
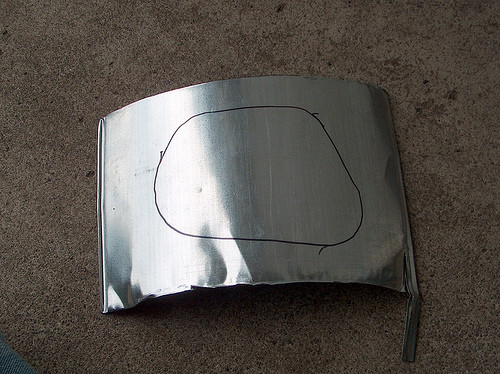
After that I cut the shape out, slightly larger than the original one so there is room for the caulk and screws to grab.
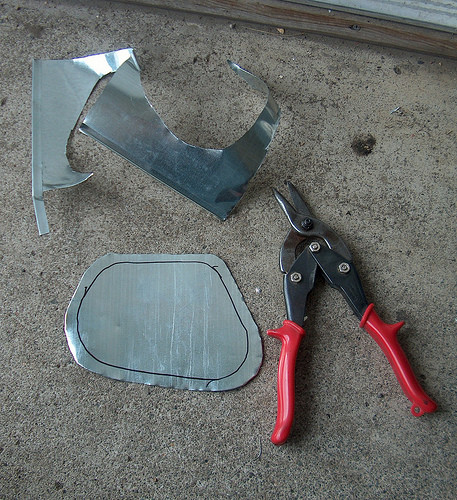
Then I laid down a bead of caulk and stuck the piece in place.
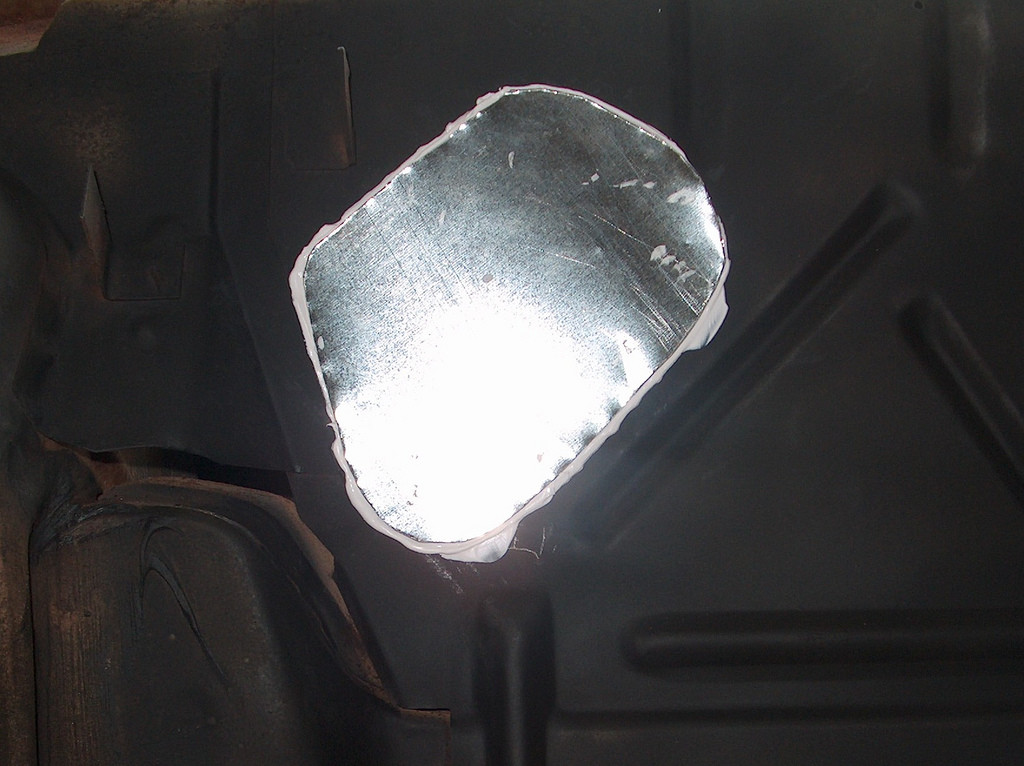
Repeat for all the holes.
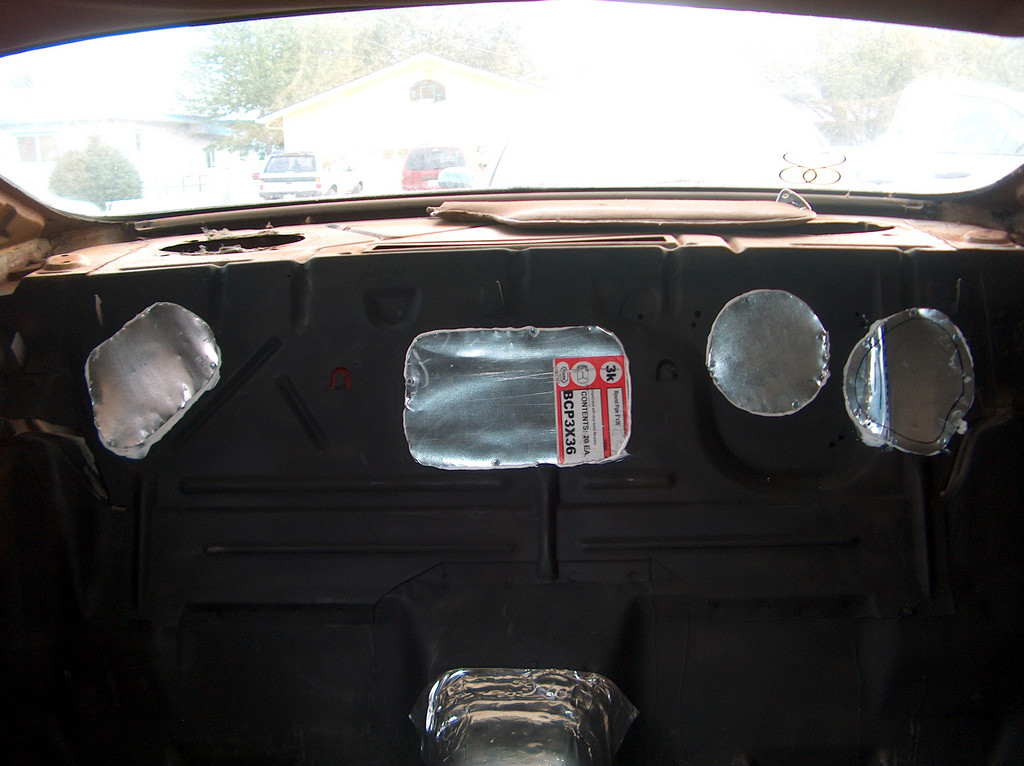
I ran out of Second Skin, I will have to order some more. I also have to cover the roof, and the doors, but that's another project all together.
At least the first step in sound deadening is done!
10-14-2008
I didn't have much time today, but I did manage to squeeze a few hours in with Cindy.
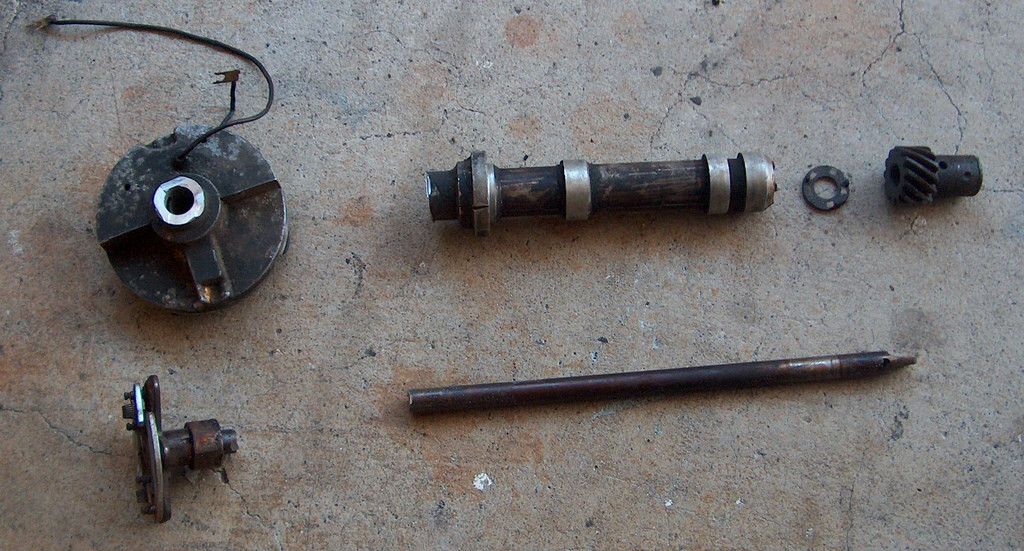
First I modified the old points style distributor. I plan on using this to prime the engine when the time comes. I will just put the bottom right piece in the top middle piece and put a drill on the exposed end. I have electric gauges, so I suppose a minute or so of spinning would do. I could also take off a valve cover and look for oil.
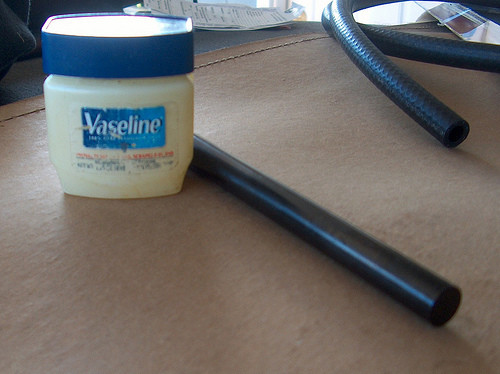
Next, I installed the fuel pump push rod. I lubed it up with Vasoline and stuck it in the block. The Vasoline will hold it in place while you put the fuel pump and plate on.
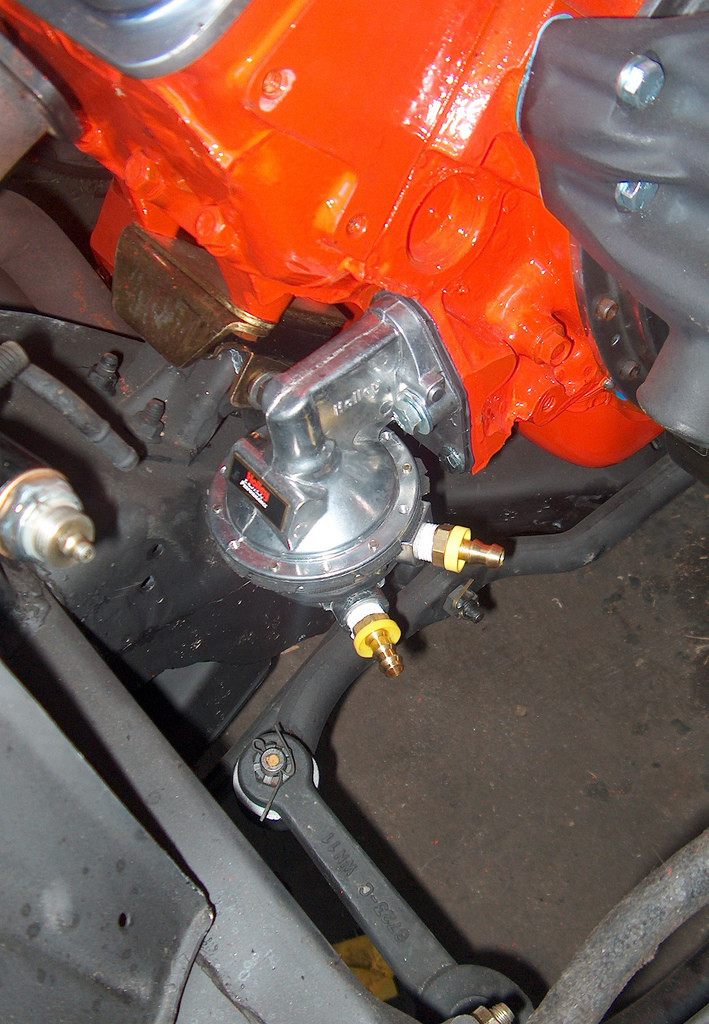
Then I installed the fuel pump. I put black silicone on the mating surfaces and lightly tightened down the four bolts. I cleaned up for about 20 minutes and then torqued them down.
In hindsight, I should have mocked up the fuel pump and moved where the inlet and outlet are. It will work, but moving it slightly would have been better.
The rest of my time was consumed by trying to get the transmission cooler lines to line up. After quite a bit of struggle, I finally made it happen. I also ran down to my local parts house to grab a kick-down cable. They looked at me like I didn't speak English, and told me they could order me one. Oh well... I'll figure it out later.
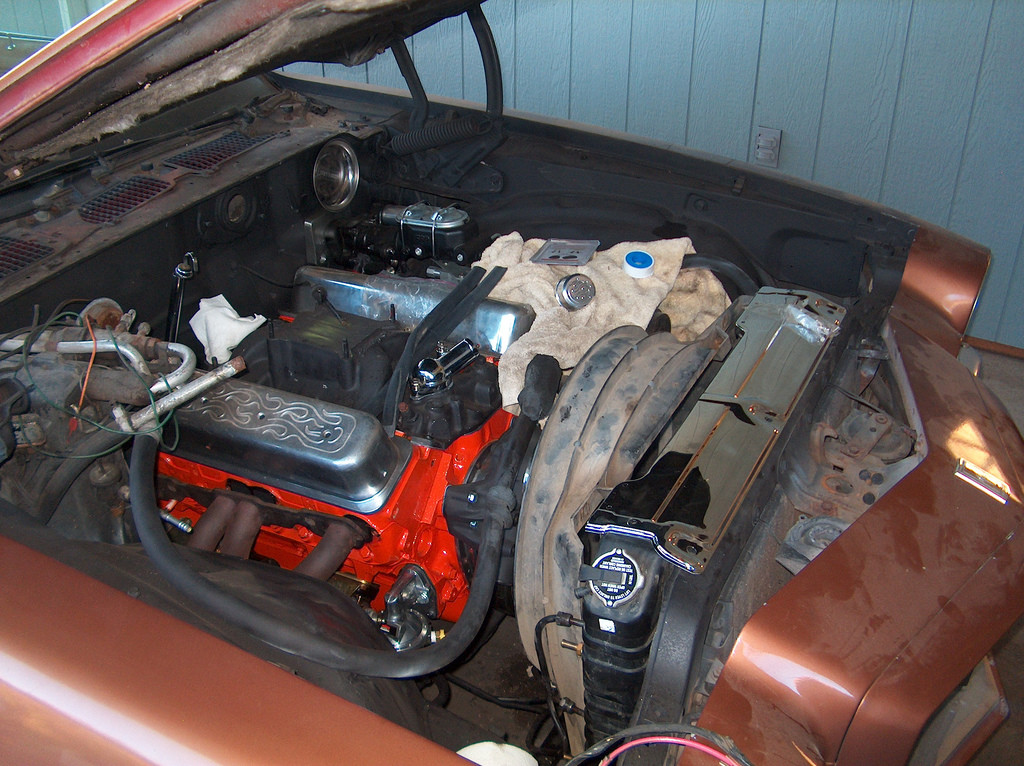
Next, I mocked up the radiator, fan shroud, and hold down. It looks like I will have to modify the hold down to fit my radiator. I have a huge 4 core radiator, so that's most likely the issue.
It's starting to look like an engine bay again!
So, lets see....what's left.
Figure out A/C mounting.
Torque down ball joints.
Install cotter pins.
Torque down lower control arm bolts.
Replace rear-end wheel studs.
Replace valve stems.
Install shifter.
Bolt down transmission.
Install/Wire dash.
Engine Wiring.
Finish engine install.
Install HI-6.
Finish brakes.
Install exhaust.
Install Carb.
Install driveline.
Install transmission cooler.
Things to buy.
Antifreeze.
Spark plugs.
Belts/Hoses
ATF.
Gear oil.
CS130.
Filler panel.
Dash Cap.
Carpet.
Dash LED's.
Cotter pins.
Speedometer gear.
Rear-end cover gasket
Kick-down cable.
A/C Bracket.
I'm sure there is a bunch of other things I'm forgetting...
10-19-2008
So today I installed my transmission cooler. I had more room up front in my 1980 Camaro, because I didn't have A/C.
I looked all around and this is the best I came up with. It's not perfect, but will have to do for now.
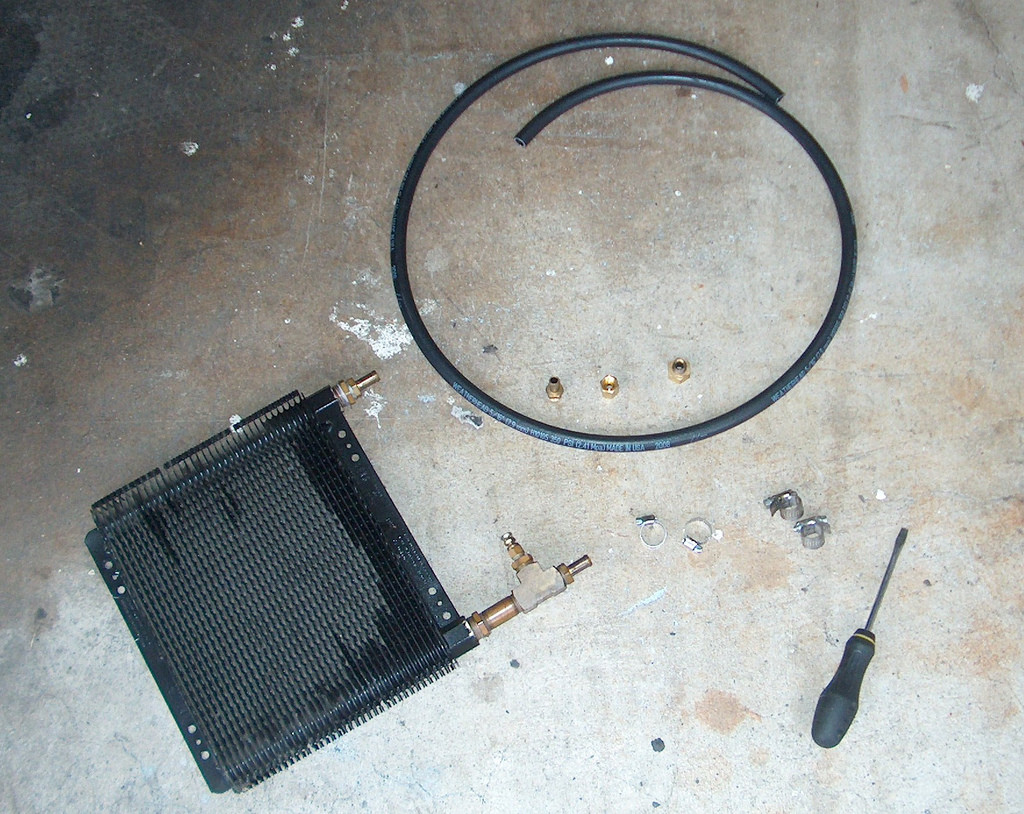
Here's my transmission cooler, hydraulic line, and some hose clamps.
Just about the only place I had upfront to mount it was here. Sorry for the blurry pic. I actually ended up zip tying it in place. Probably not the best solution, but I think it will be fine. I used really nice zip ties.
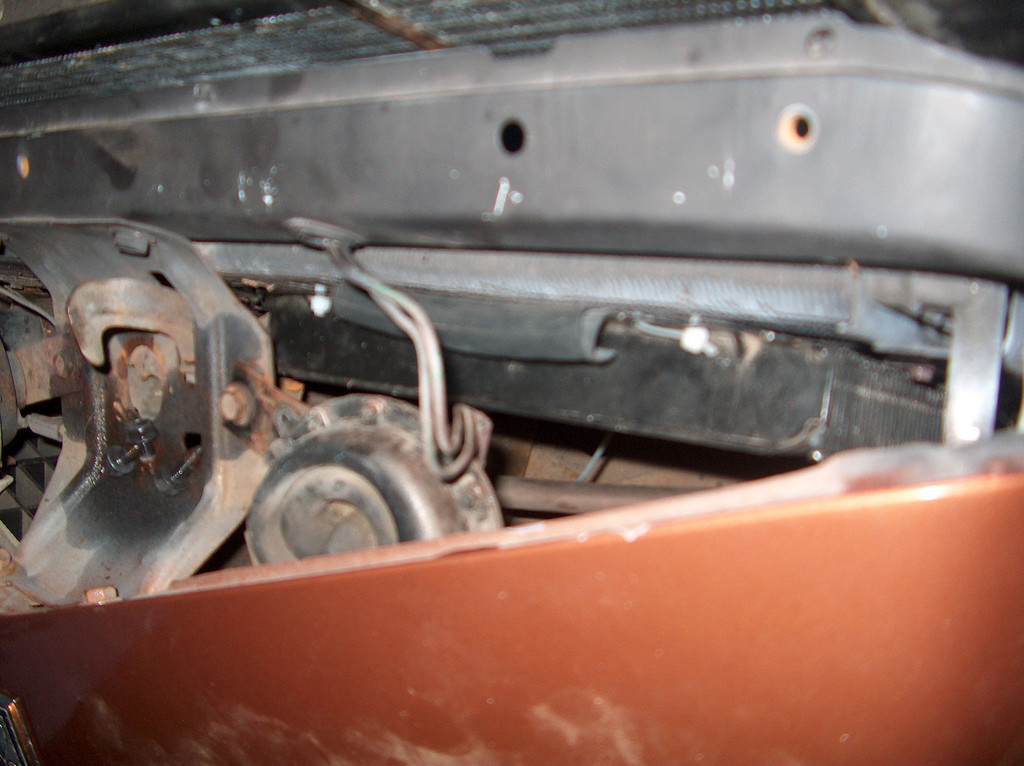
Okay, so there isn't a really good spot to drill some holes, and I had to mount the cooler with the inlet/outlet facing downward. It was to wide the other way.
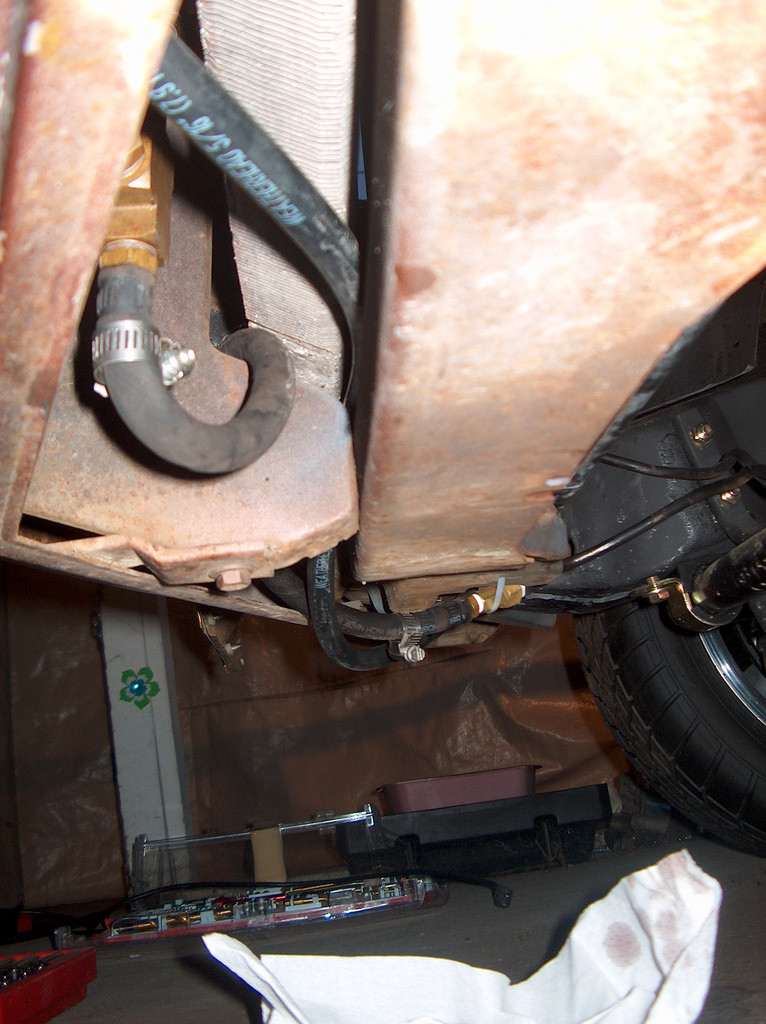
I'm a little bit worried about the exposed lines under the radiator support. I think they will probably be fine, but it bugs me that they are potentially vulnerable.
Then again, I have seen where others have mounted coolers beside the transmission under the passenger's seat. The lines seemed to be fine mounted there. Perhaps I will just wrap them to protect them a little.
Today I decided to deal with the power steering pump. I bought a replacement when I originally built the engine, (1997) I just never installed it. I thought about installing it today, but decided that I would just reuse the original 1970 one. I mean...how often do power steering pumps go bad? Don't they just usually start leaking?
Either way, I have a replacement if need be. I started to take the brackets off of the pump, so I could clean them up and paint them. It started becoming a hassle, so I just removed the entire thing from the power steering box.
There was a ton of build up on the pump, so I cleaned it in the usual fashion.
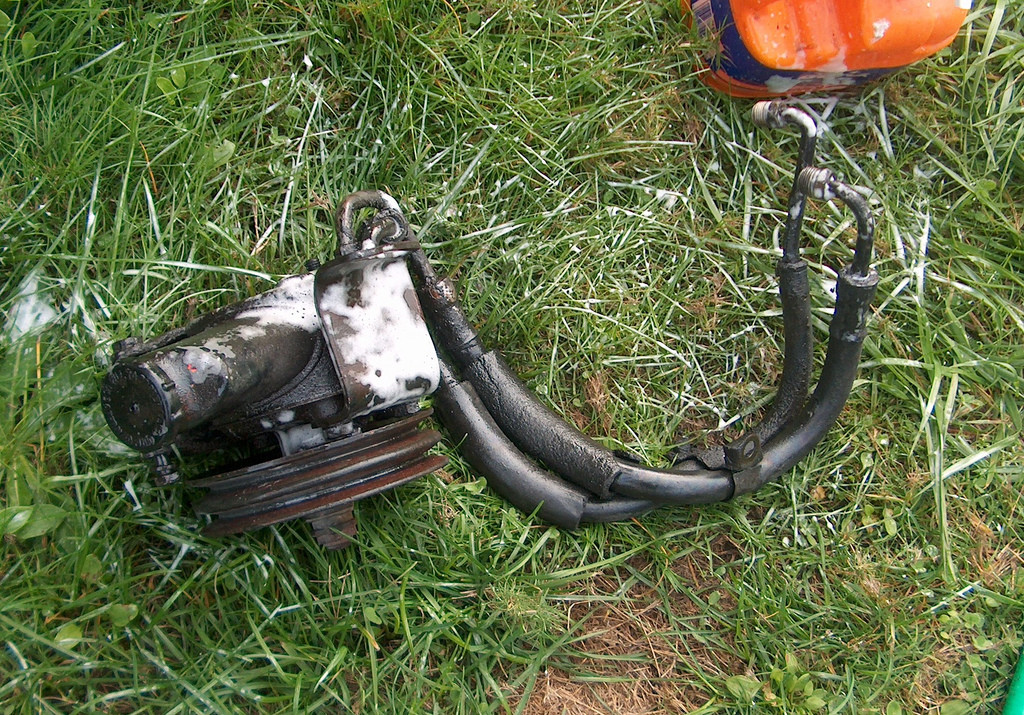
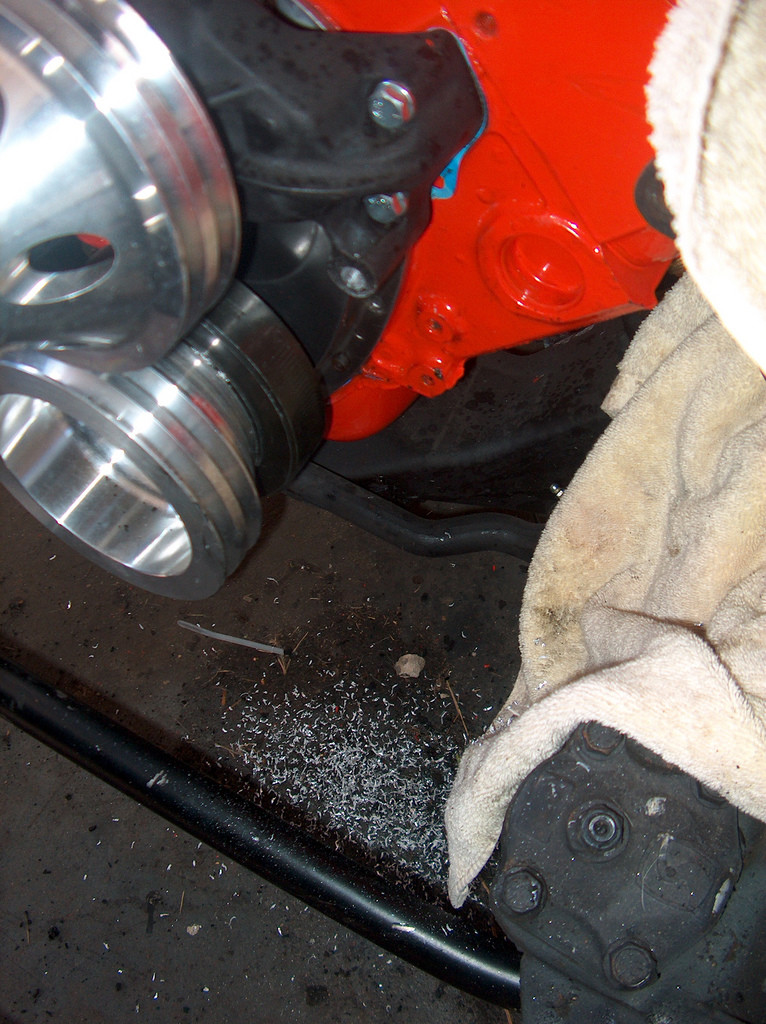
The first problem I ran into was how my power steering pump mounts. I suppose there is a different style mount that I don't have. My power steering pump has a bolt that slides completely through the water pump. The Edelbrock water pump is threaded, as was my replacement Napa one. In later years they must have switched mounting styles.
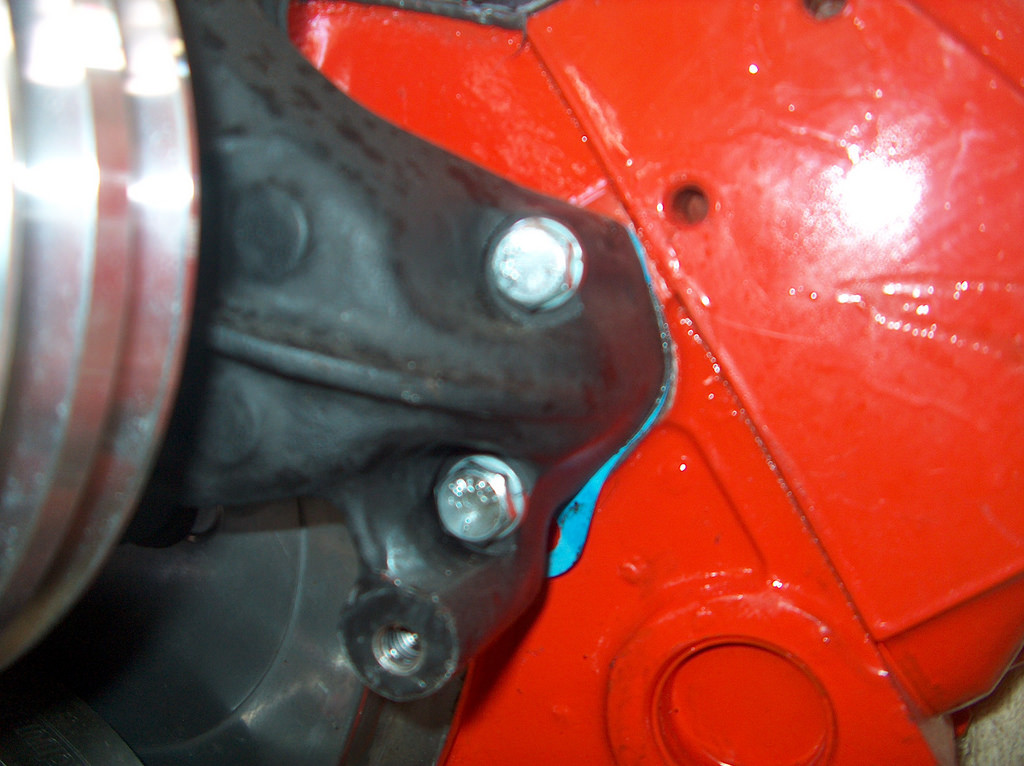
There were a couple of options I could have went with. I didn't like the idea of just having the front mount on the power steering pump, and the other tension mount. So I just drilled out the hole, so I could use my style mount. The other option would have been to cut my bracket. The only issue with going the route I did, is the fact that my timing pointer doesn't have the clearance it needs. So I wont be able to use it. Ugh...
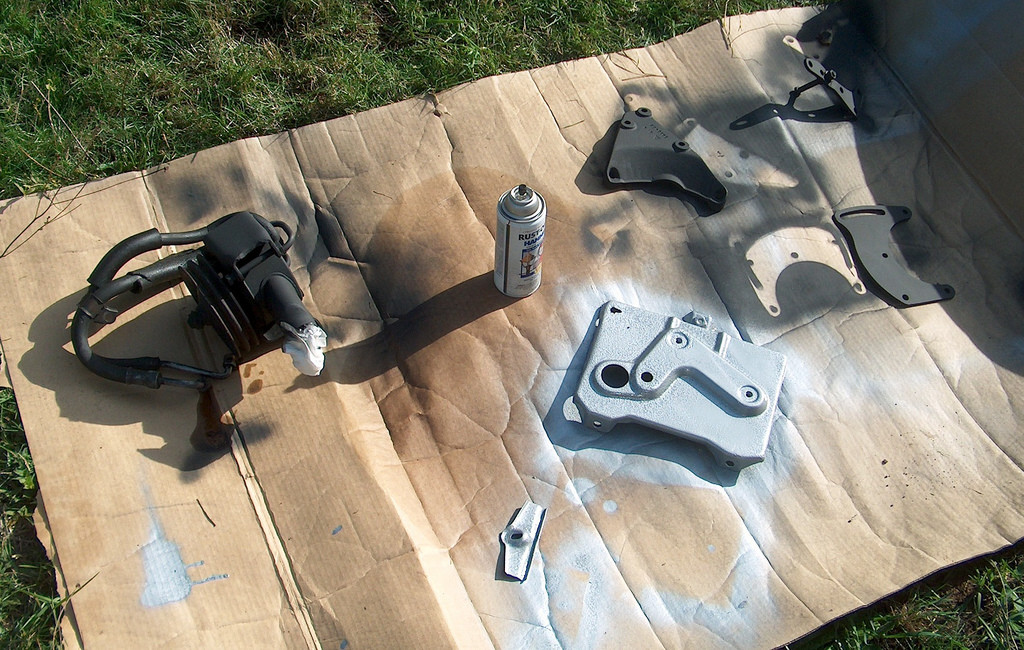
My son cleaned up and painted my brackets. He decided that it would be neat if we painted my battery tray Hammerite Silver, so that's what we did.

Love the old camaros
Posted by Diggymart on 4/27/20 @ 2:39:52 PM