You must be logged in to rate content!
6 minute(s) of a 206 minute read
7-2-2008
Okay, so lets start with this. I've been pretty busy the last couple of days...
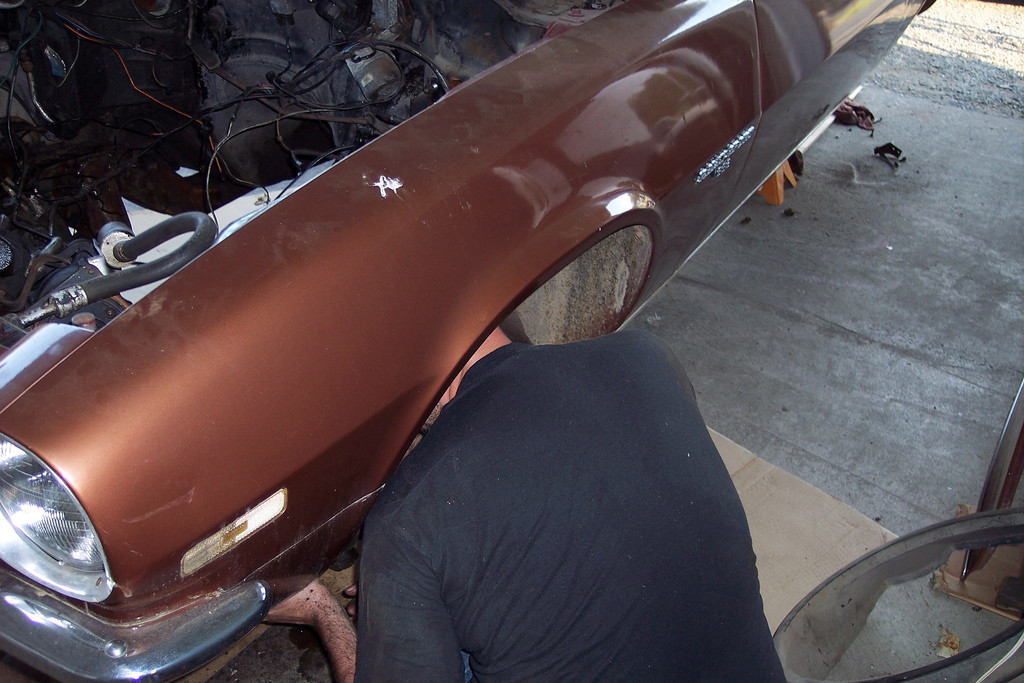
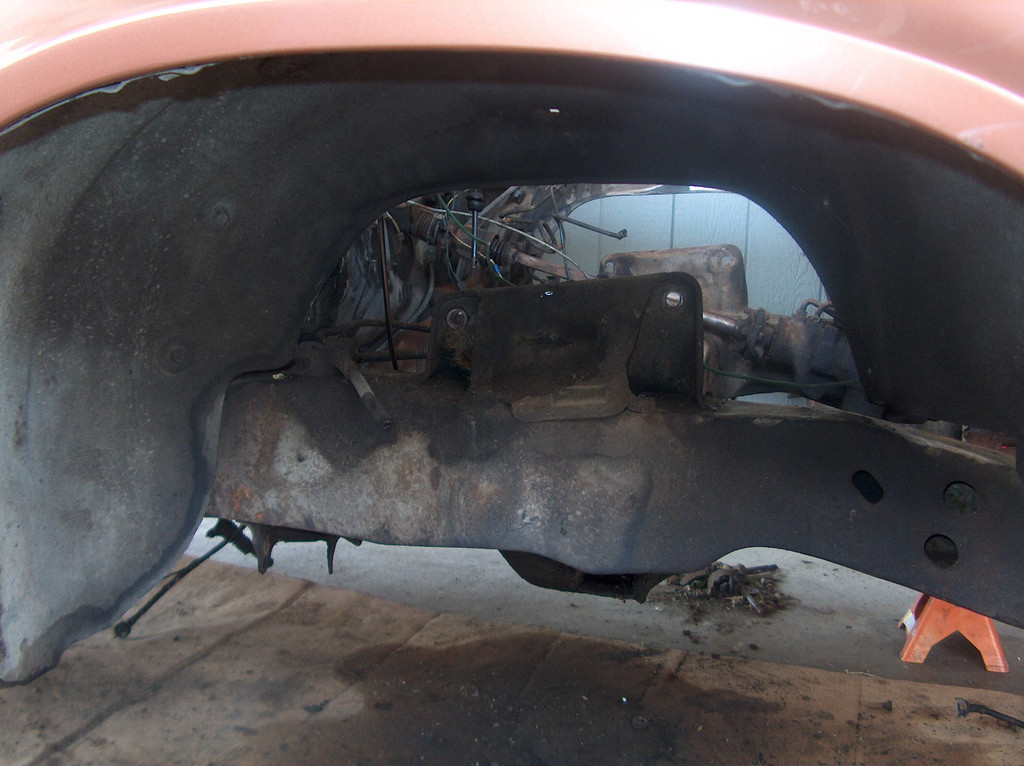
I started tearing apart the front suspension...
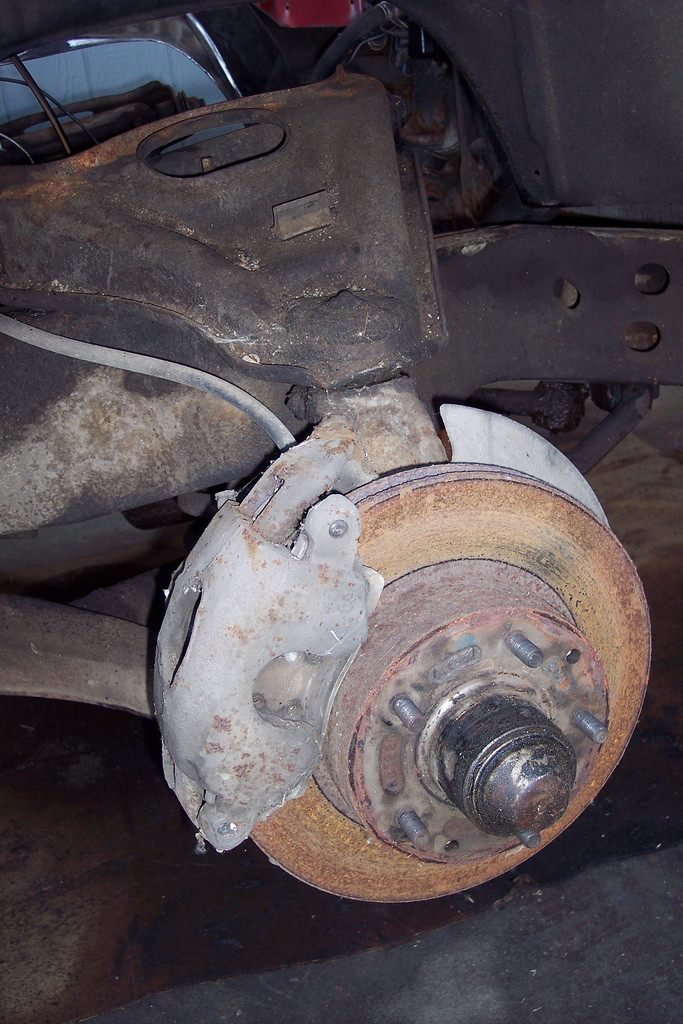
First disconect the sway-bar, and all the steering linkages.
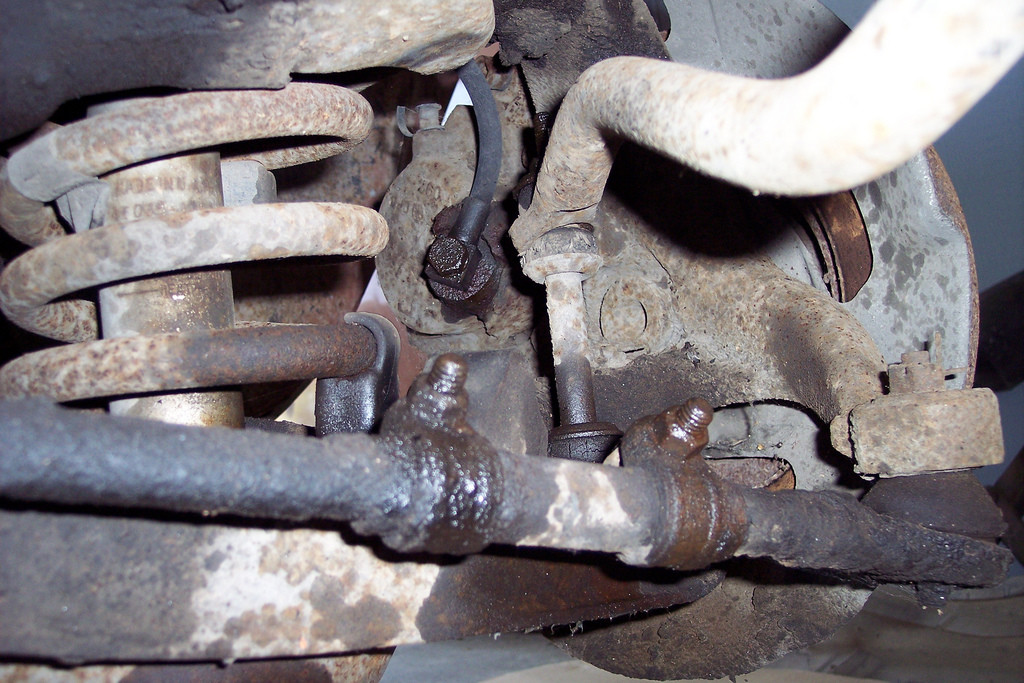
Don't forget these! Make sure you keep constant pressure on the backside of these bolts. You wouldn't want to loose them in the frame!
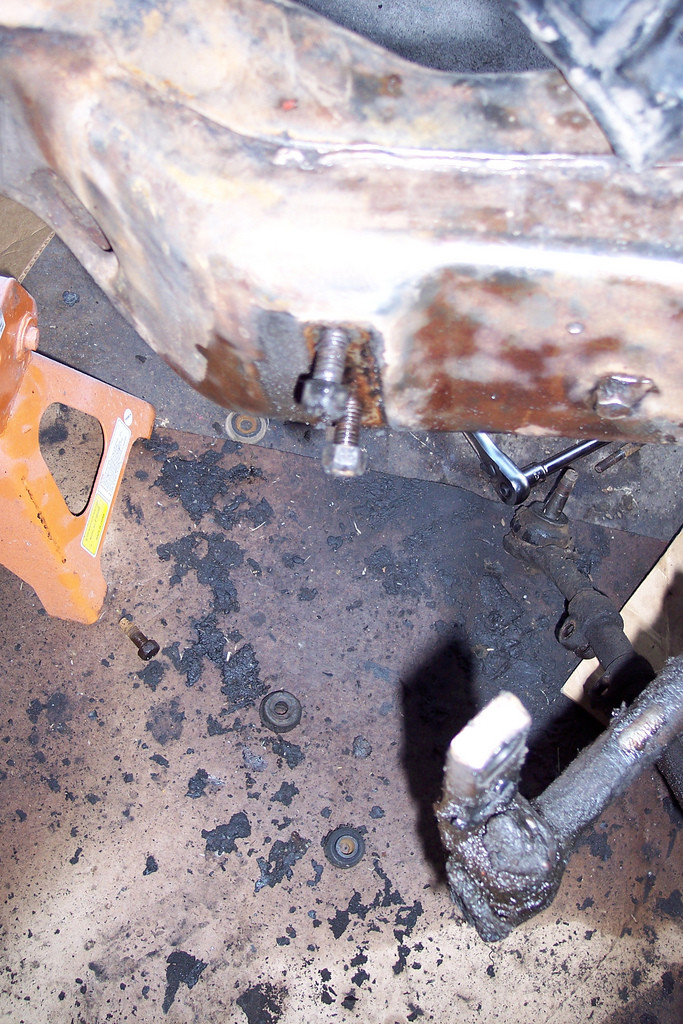
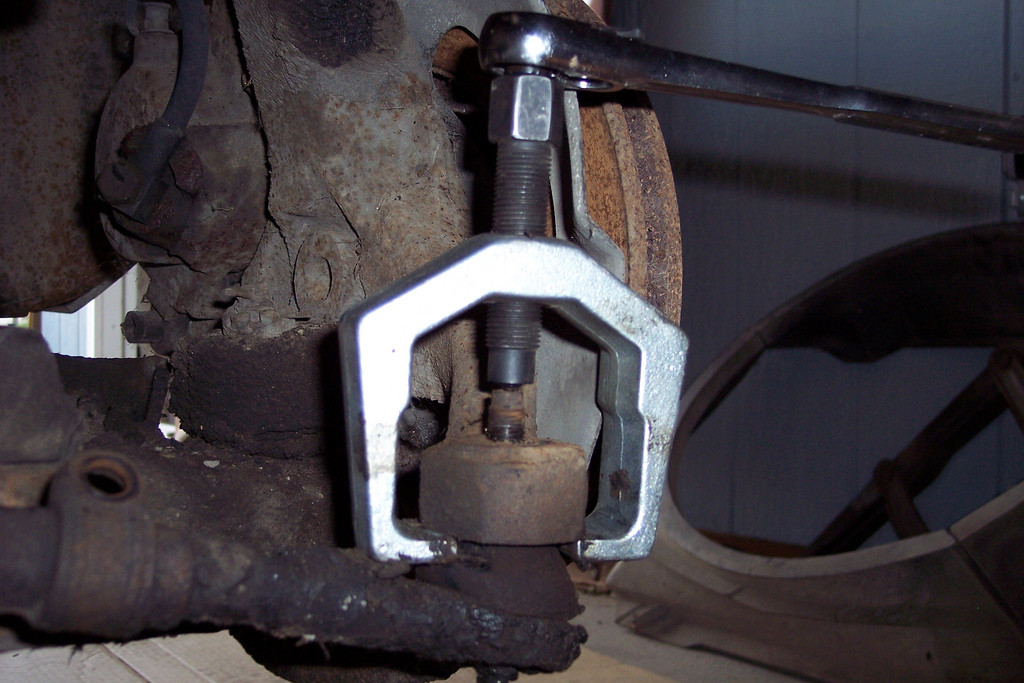
I used this to disconnect the linkage from the spindle. Made it just pop off. You could bang it with a hammer as well. I wasn't as careful as I could have been, because I am replacing everything!
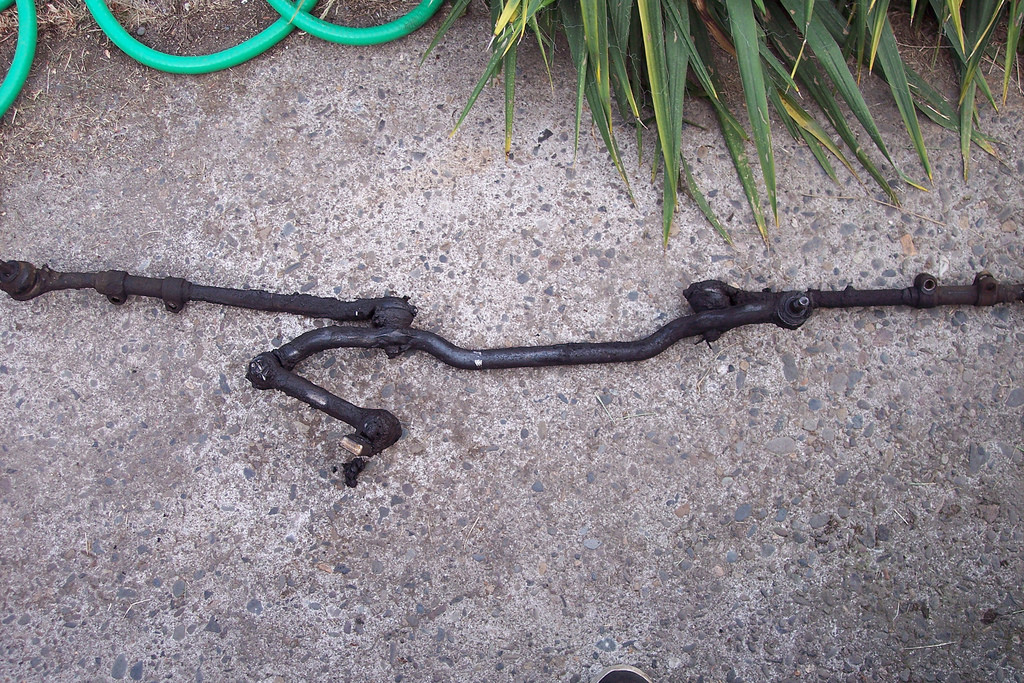
Steering linkage out!
Then I tried using a saws-all to cut the springs. I don't have a torch handy, that may have worked better. After two saw blades, and very little progress, I abandoned that idea!
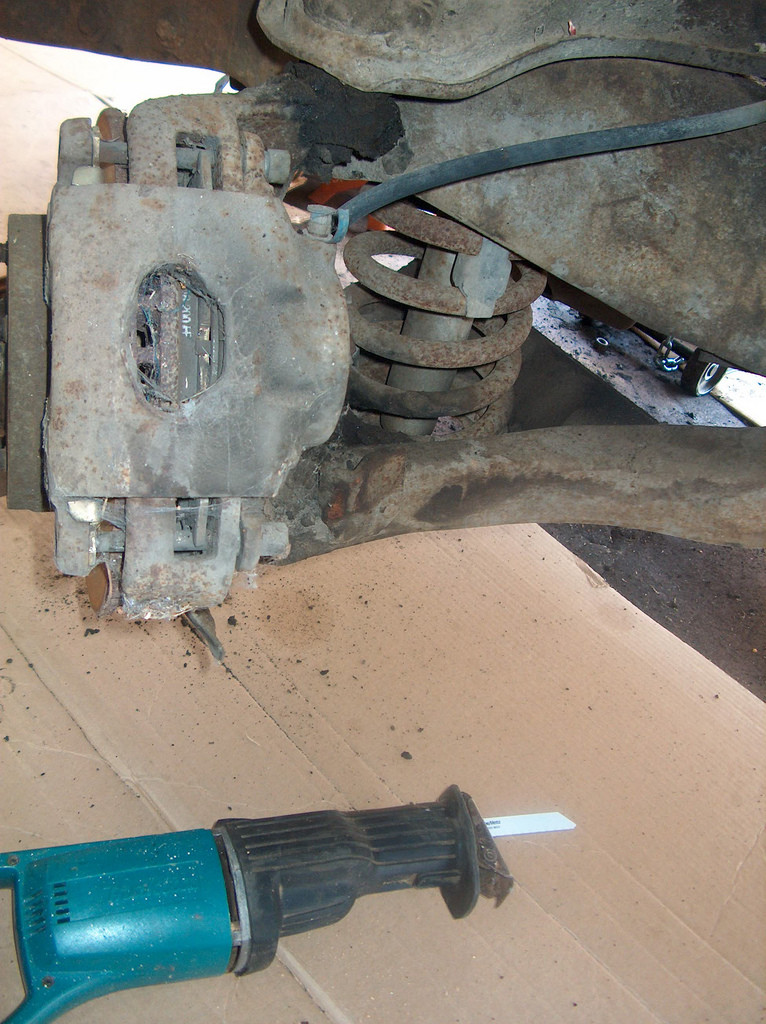
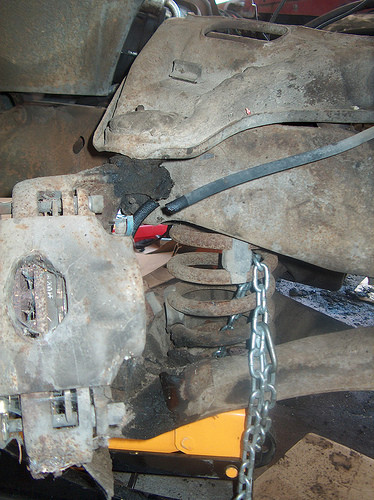
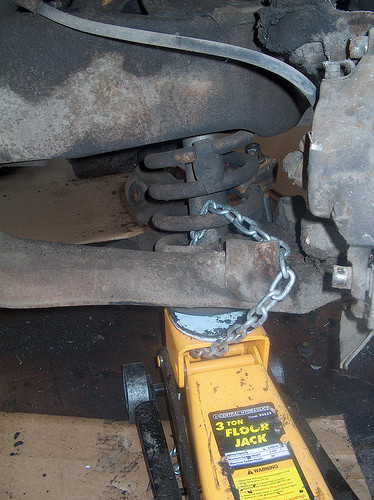
I just cut the brake line. I plan on replacing it with Tobin's Flexcore stainless steel brake line. I placed a chain around the spring, and tied it to the jack. I applied upward pressure with the jack, and proceeded to unbolt the bolts from the upper and lower control arms. The upper control arm fell right out. I then lowered the jack VERY SLOWLY, and in a controlled fashion.
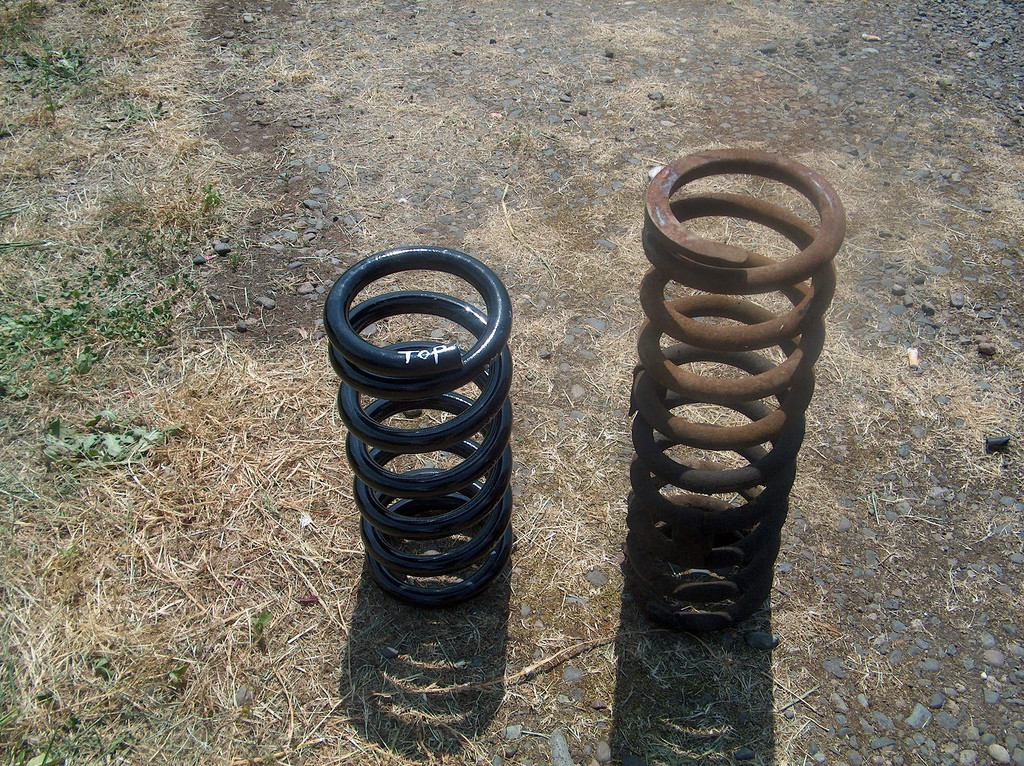
New springs VS old springs.
AAAaaaahhh. Cindy's naked!
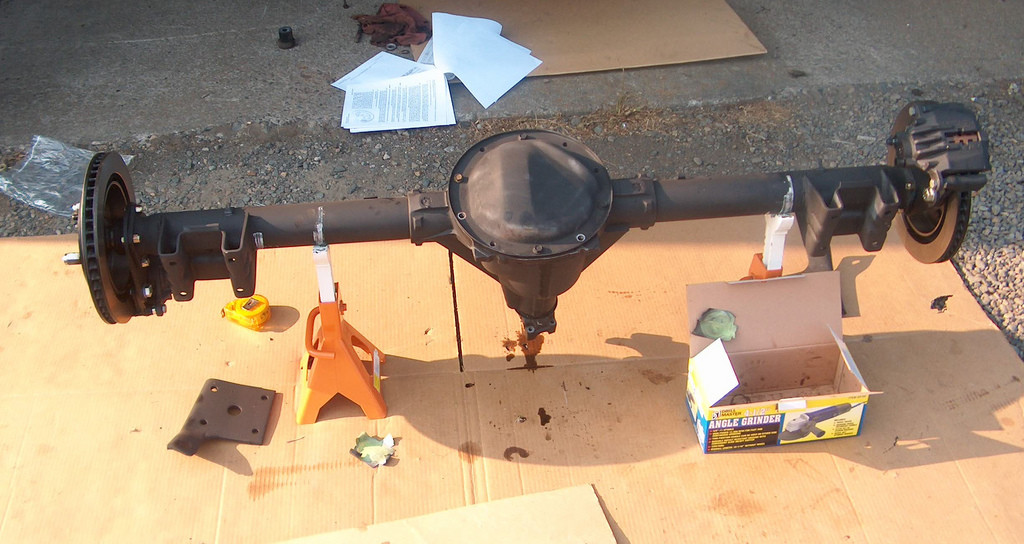
I finally got my axles back from the machine shop. I had them turned down to 5.940 inches so they would clear the rear C5 brakes. If you were to run aftermarket axles, you would probably be okay. For the rear you are going to need two left calipers. This is because of the use of staggered shocks on second generation Camaros. I am not interested in having a parking brake, so I can not cover installation for that. However, Kore3 does offer a rear kit that does use a parking brake.
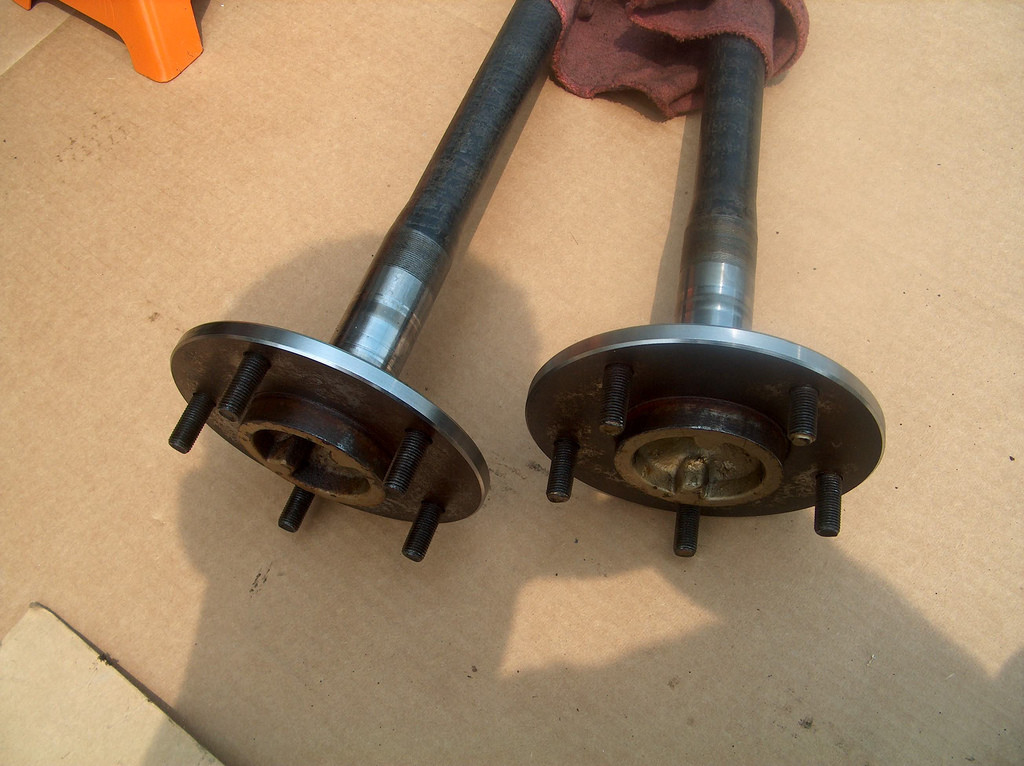
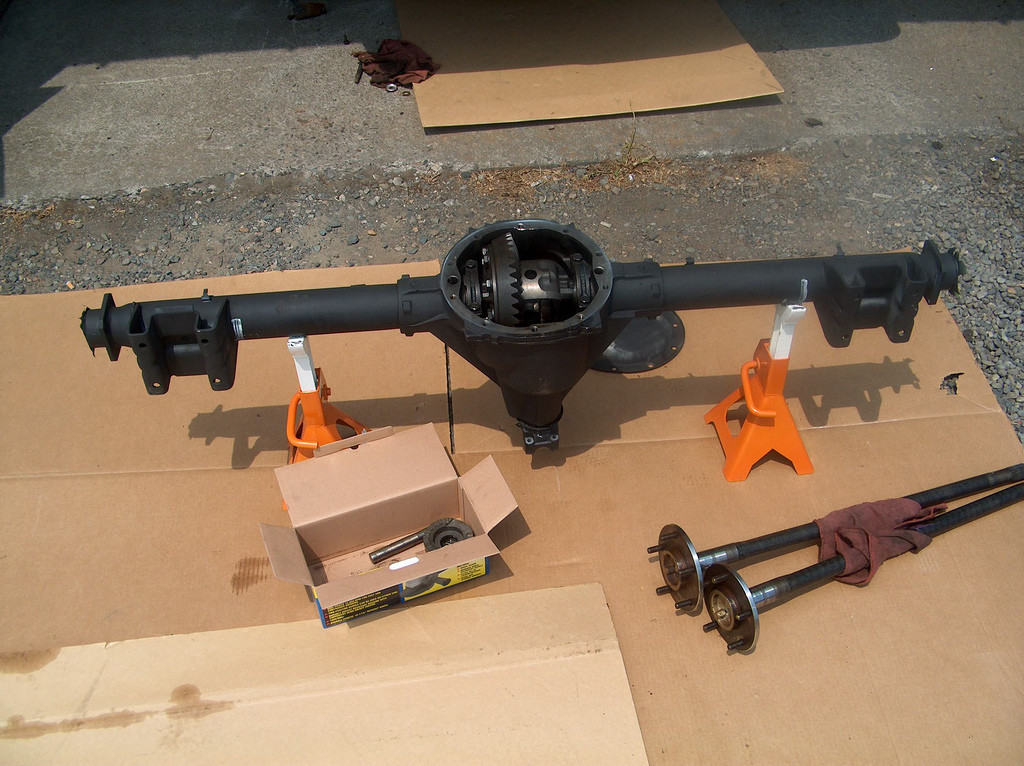
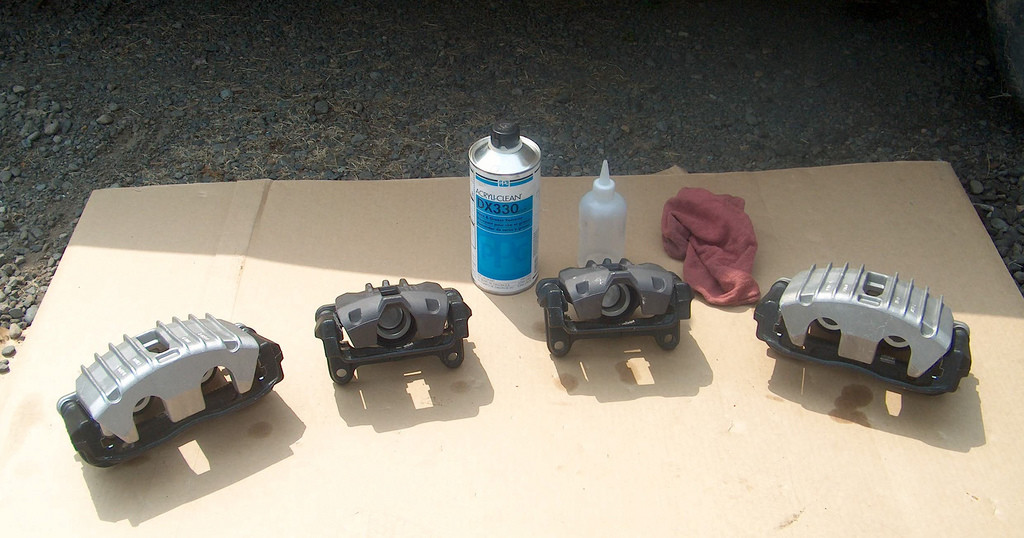
I wanted all my calipers to match, so I degreased them, and painted them flat black.
Then I mocked up how I wanted the calipers to face. Make sure that you have the bleeding screw facing up. Since Cindy has staggered shocks, you have to use two left calipers, and face them opposite of the shocks.
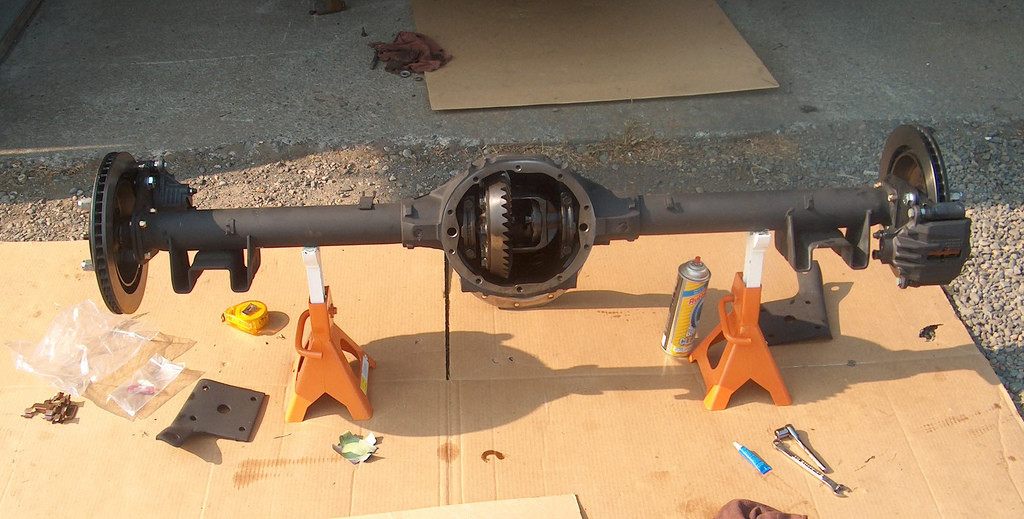
Next, I re-installed my locker, and loosely put the cover back on.
Then, I loosely bolted up the rear tires, and leaf springs.
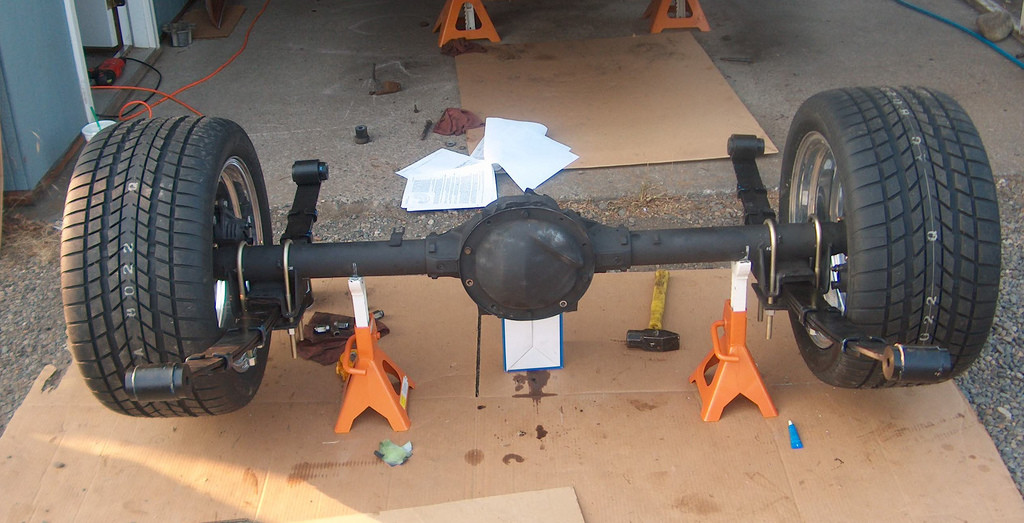
You're starting to look good Cindy! I also installed the front leaf spring mounts.
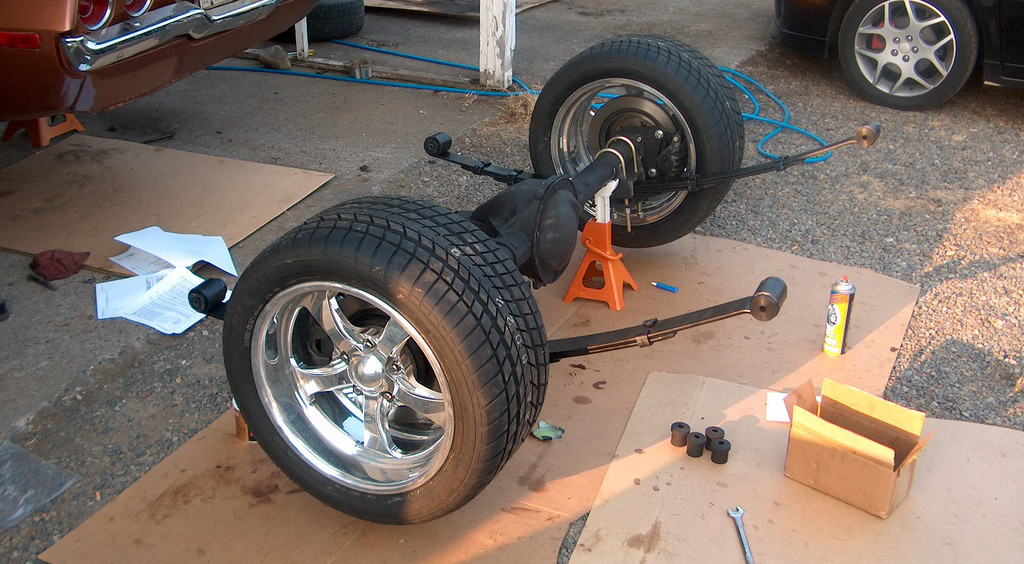
After that, I installed the rear-end, opposite of the way I took it apart. I rolled the rear-end under the car, and loosely installed the front leaf spring mount. Then, I moved to the rear shackles. You want to have the two shackle bolts to fact opposite ways. This is another reason why dropping the tank makes things a tiny bit easier. Don't torque down the shackle bolts until the car is under its own weight.
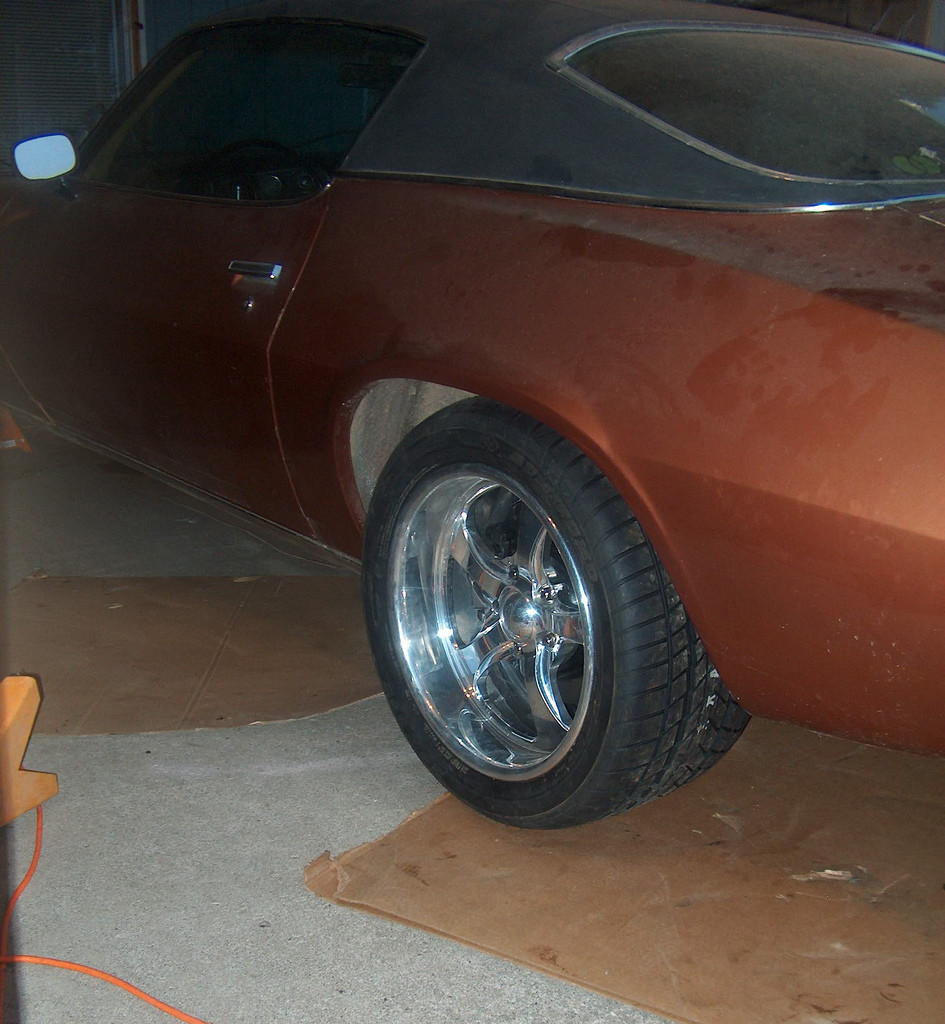
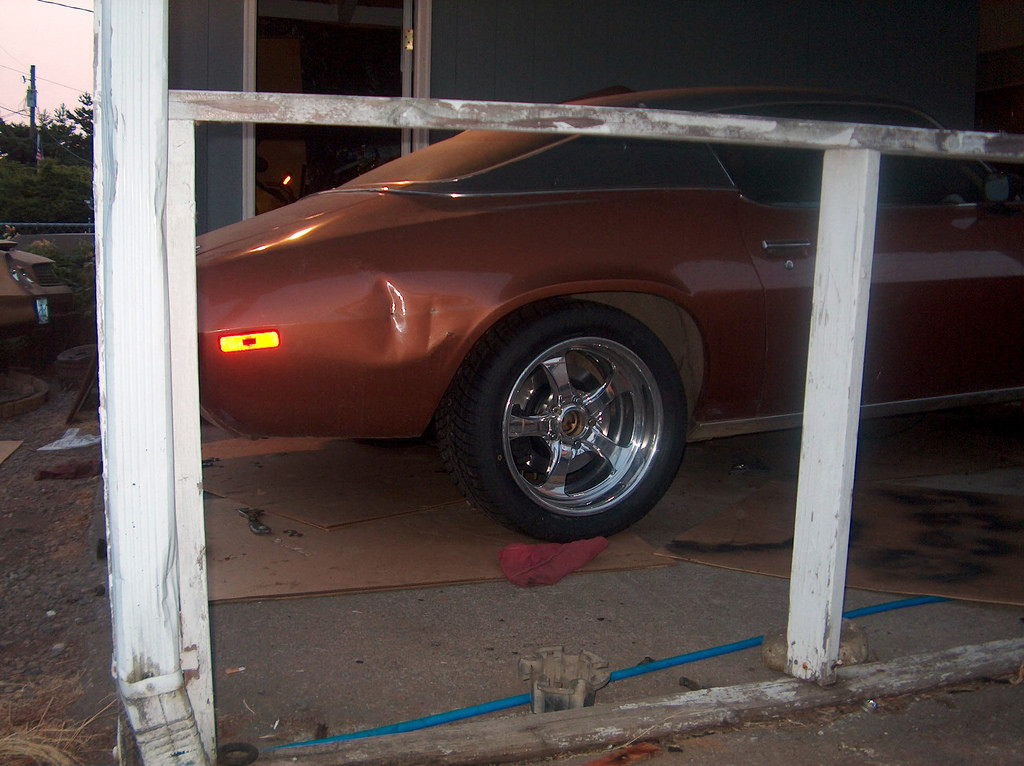
I can't believe 315's fit under there!
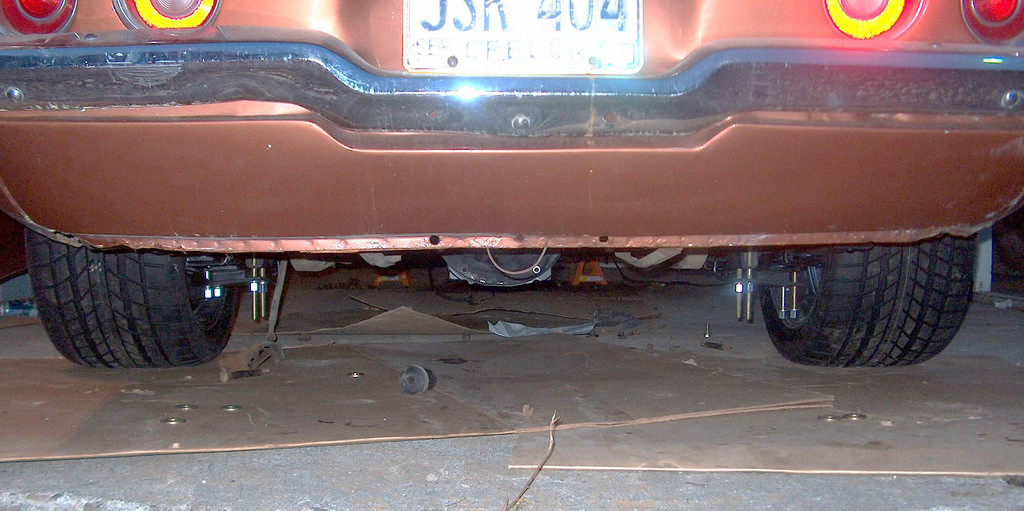
I still have the finishing touches to complete. I ran out of time. I have to tighten down the U-bolts, and cut them down. They didn't fit right, so I forced them in at first, and messed up the first half inch or so of the threads. Then, I went and got a drill, and drilled them out a bit so the bigger U-bolts would fit properly. Nothing is quite torqued down yet, and Cindy is sitting on jack stands in the front. I am waiting on my upper ball joints to arrive, so I can tackle the front end.
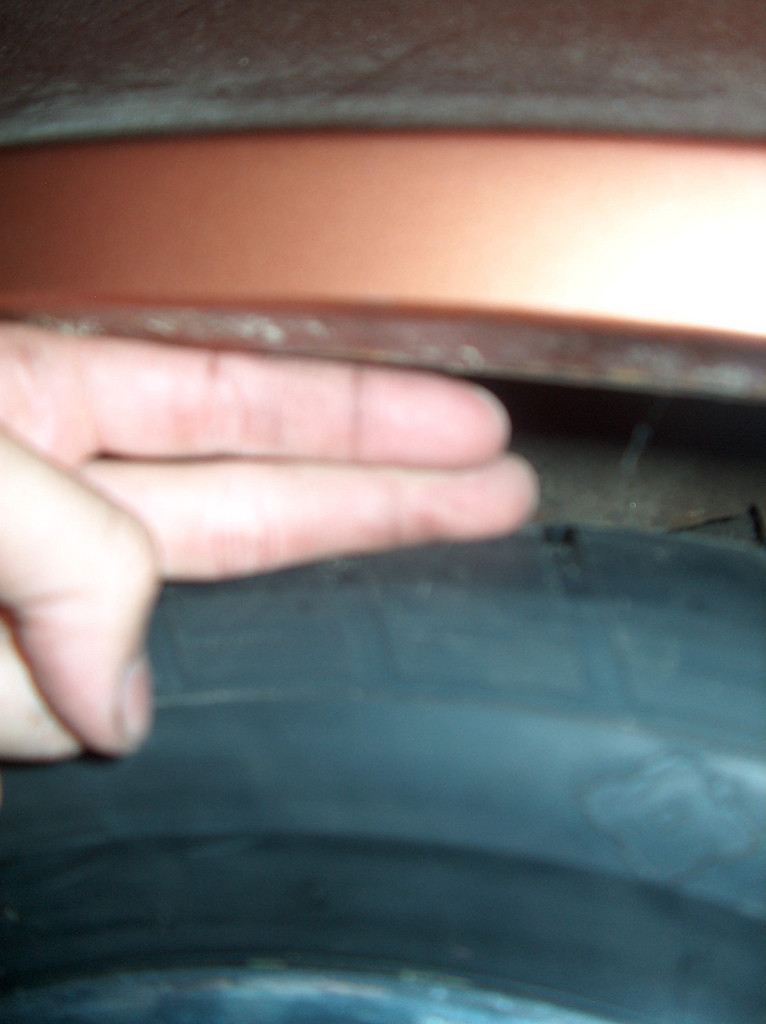
Also, I was really worried about the tires clearing. My shackles have to different heights. I did install the rear as high as possible. Also, the springs havent settled at all, and there are no shocks installed. I choose not to do the Herb Adams mod because I was concerned with ride height. Well, it turns out, that I have miles of room! At least at this point I do! I may end up doing the Herbs Adams mod after all...
Love the old camaros
Posted by Diggymart on 4/27/20 @ 2:39:52 PM