You must be logged in to rate content!
11 minute(s) of a 767 minute read
9-24-2013
Update time! It's a good one this time, but I'll leave the best for last and start with the random stuff first.
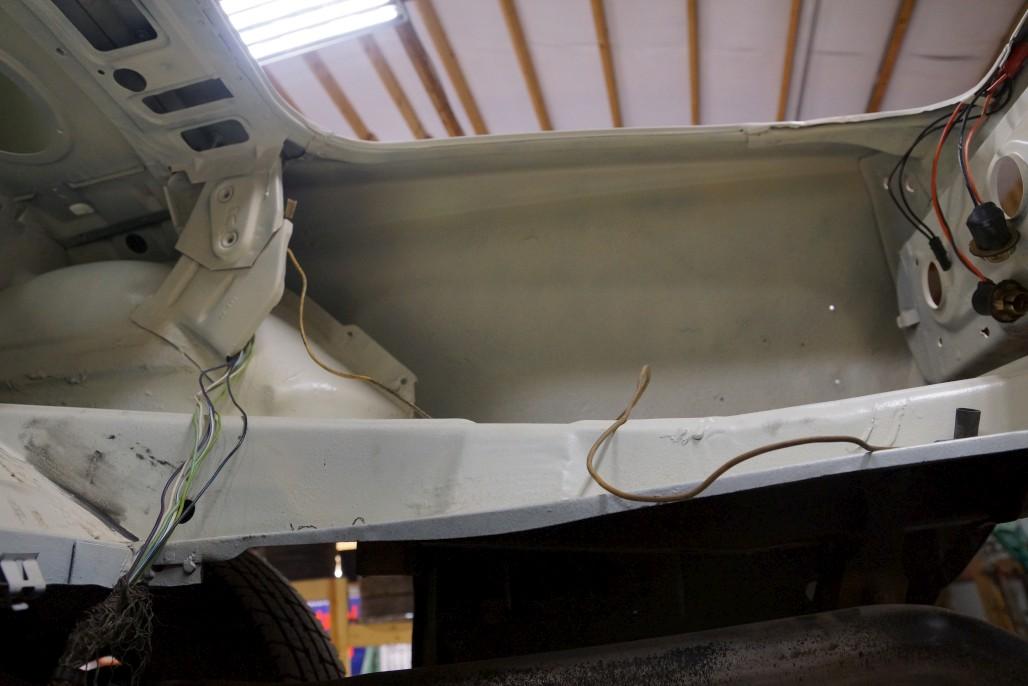
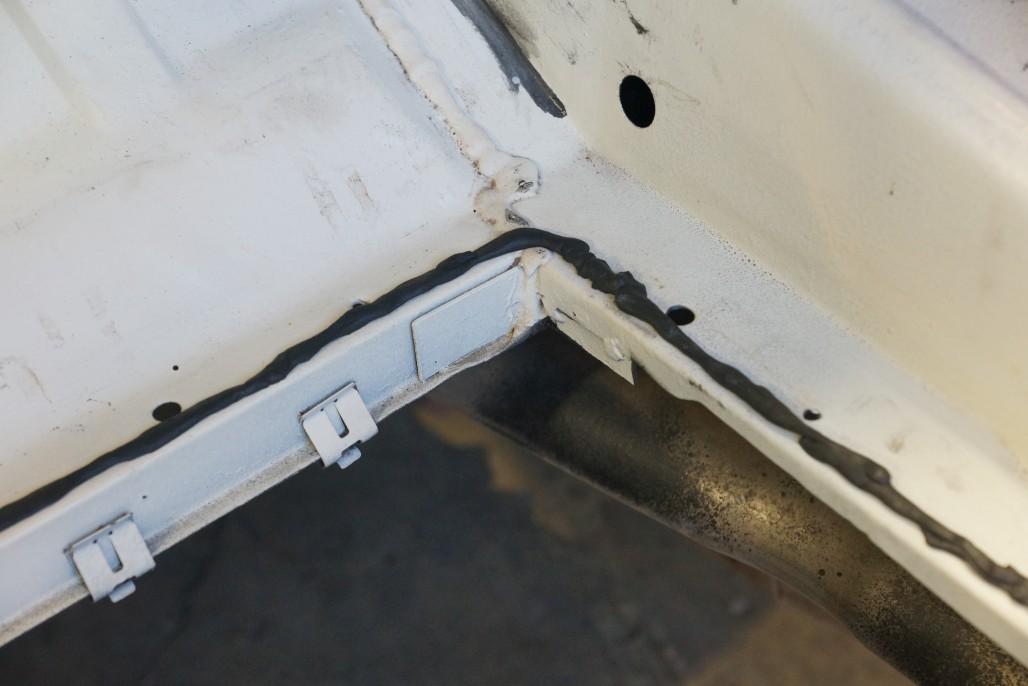
After I finished the undercoating, my next little project was to cover up the black anti-rust paint and undercoating that was in the trunk area (backside of quarter panels / underside of package tray). I got some rattle cans of Dupli-color "Perfect Match" in Wimbledon White and went to town. It looks much better now. You can still see a little bit of the black peeking through but I don't think anyone's really gonna stick their head in my trunk with a flashlight to see if the color is perfect. So I'm content.
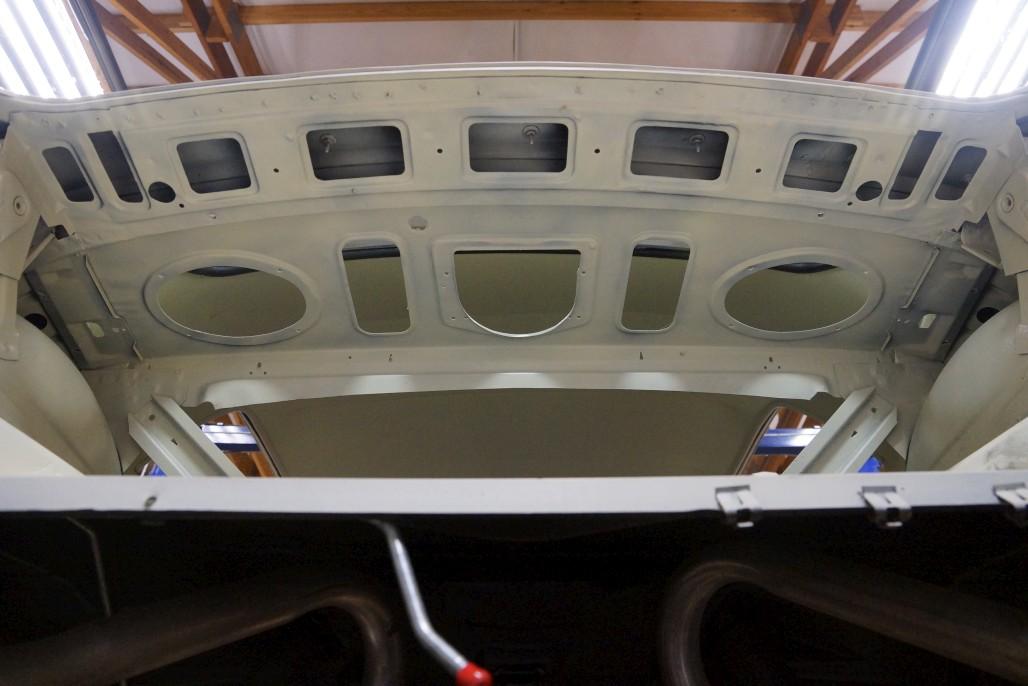
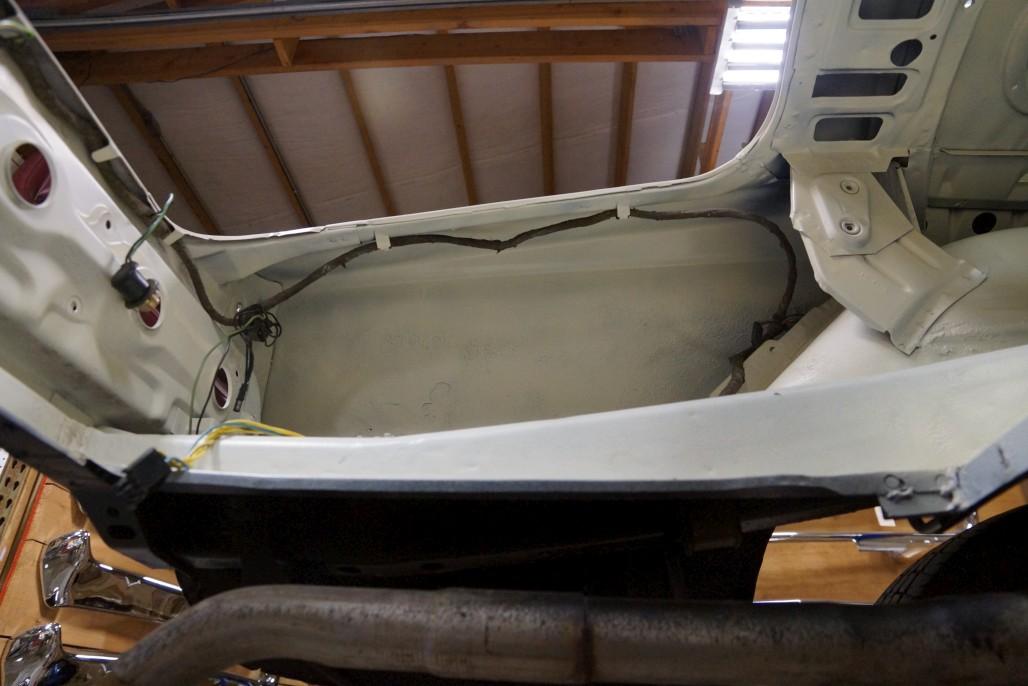
Also started feeding through the taillight wiring harnesses, which had been shoved up over the wheel wells by the painter to get them out of the way. More on the wiring soon.
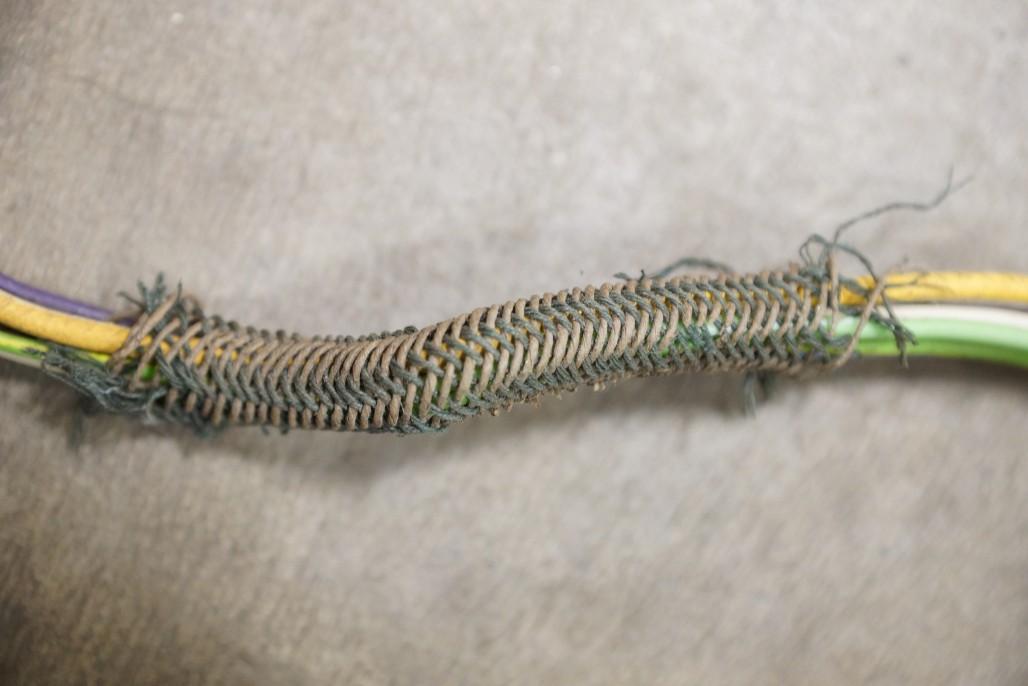
So, once I started messing with the wiring, I noticed that the original cotton braided sleeving was almost entirely gone.
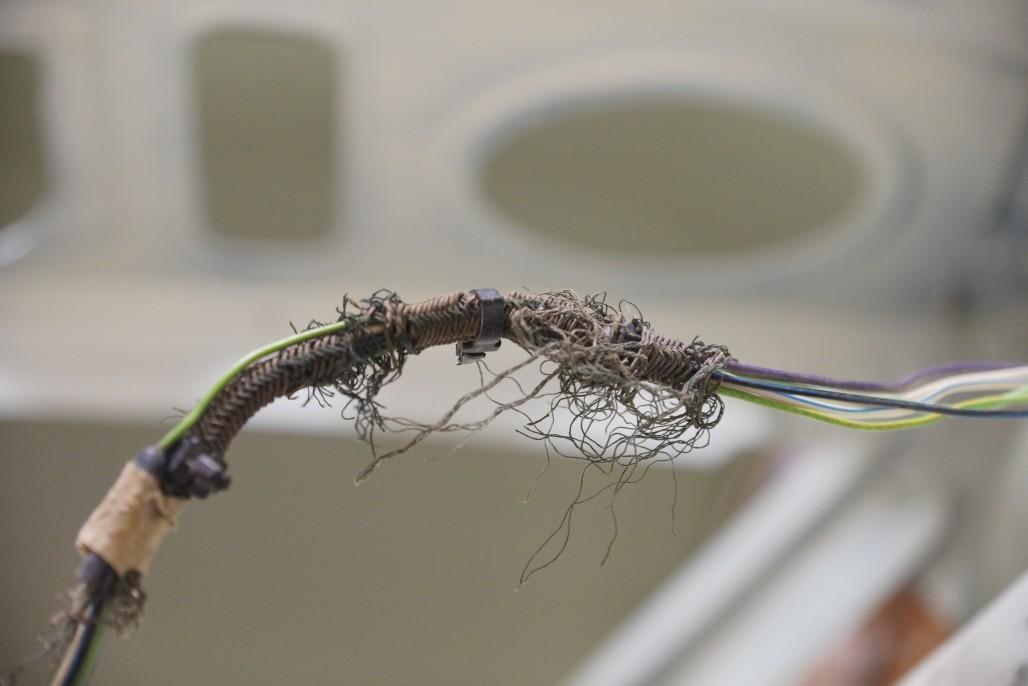
(Below is a section showing how it should look... interesting. Larger beige threads woven with smaller green ones.)
So, I did a little research and formulated a practical plan to revitalize the wiring. Removed both sides from the car and here's how they looked. Not much of the sleeving left intact.
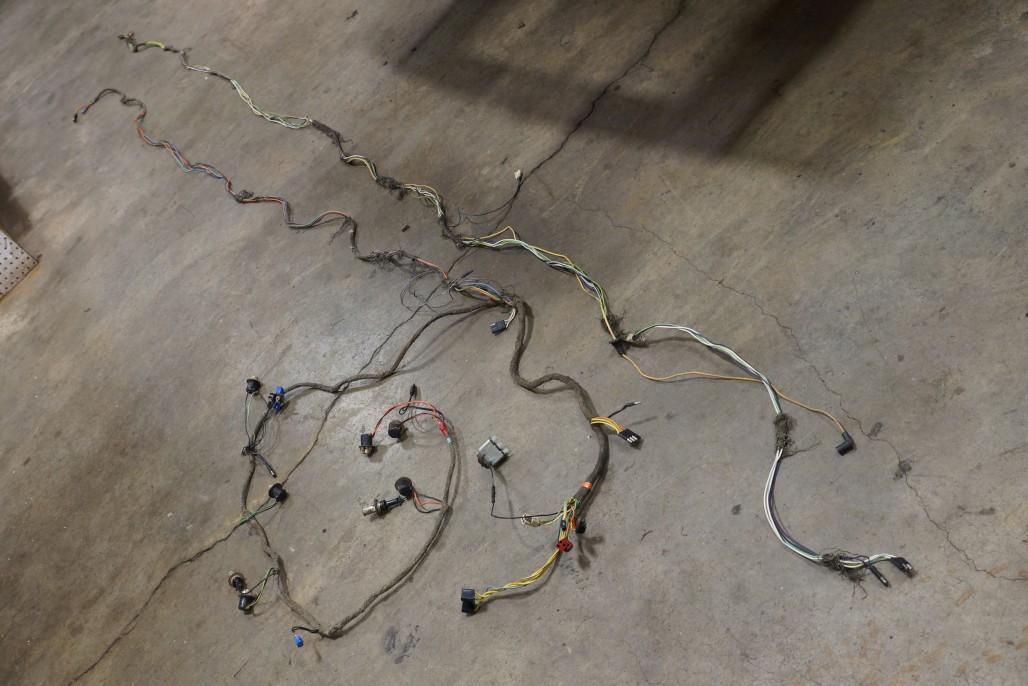

Fast forward and.....
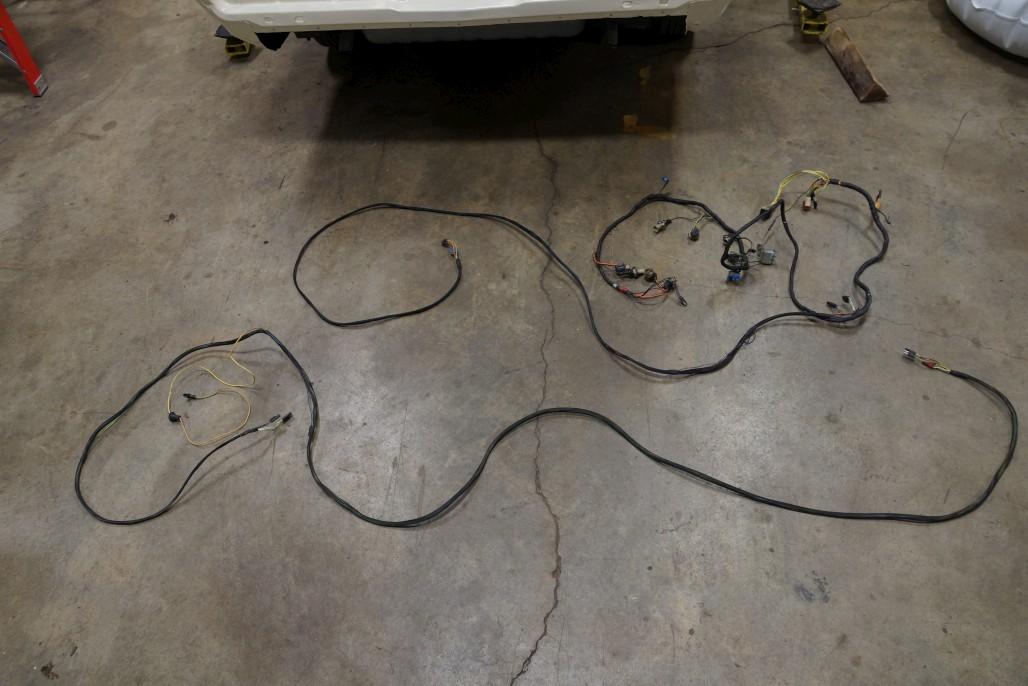
For the rear section originally wrapped in cloth tape, I simply wrapped some new cloth tape over the old, trying to leave the colored tags visible.

For the rest, I used an expandable plastic wiring sleeve from this place 25 ft. was enough to do both sides. I got the 3/8" [nominal] diameter one and it worked perfectly, expanding over the plugs and tightening down over the wires when finished.
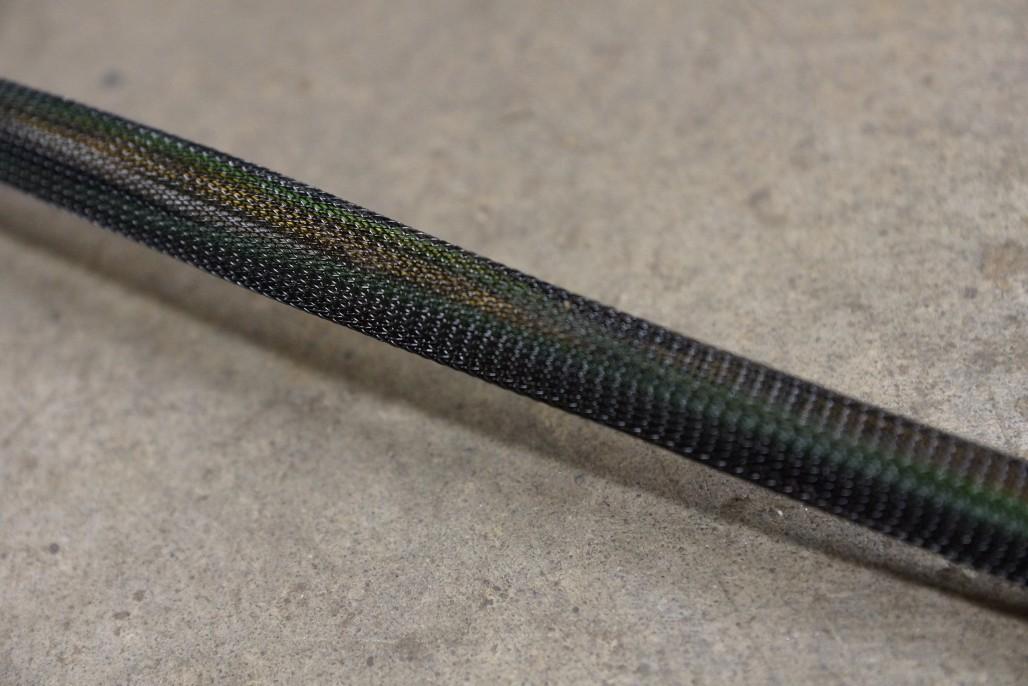
Obviously it doesn't look anything like the original stuff, but it's a good modern solution to achieve the same thing. Anyway, I secured the ends with more cloth tape.
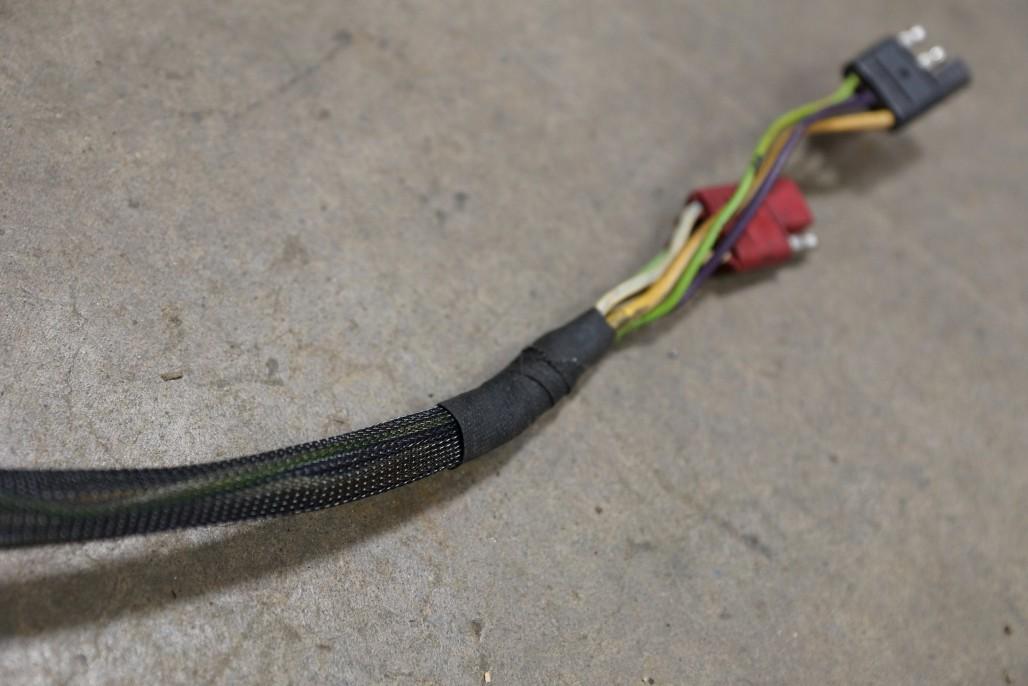
Also made the accessory wire exits where appropriate and secured the plugs kinda like factory.
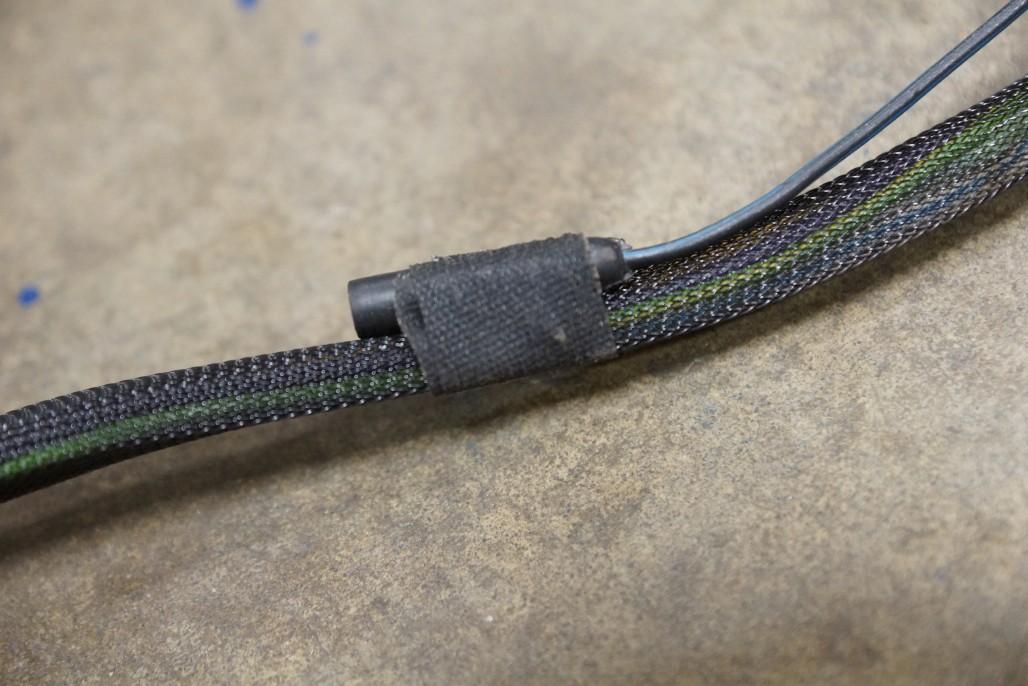
The RH side harness was a little tricky because I could only go so far in one direction until I ran into rubber plug for the yellow fuel sending unit wire, which was too big. I ended up going from the other side and meeting in the middle and it worked out well.
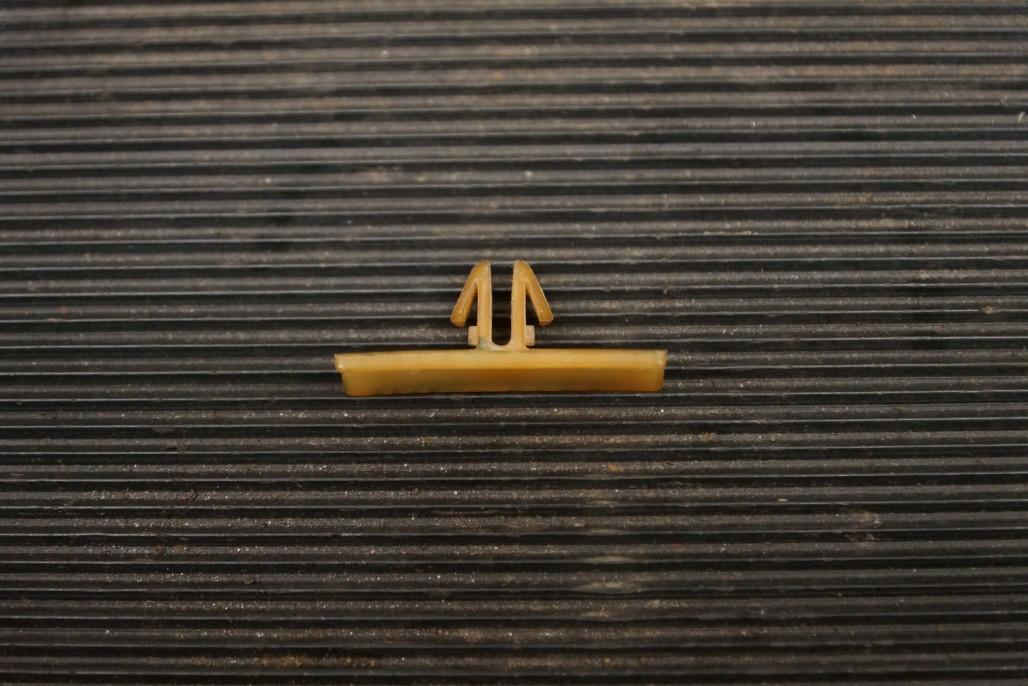
Anyway, the last thing will be to re-attach these little clips and secure them in their appropriate places. Still on the to-do list.
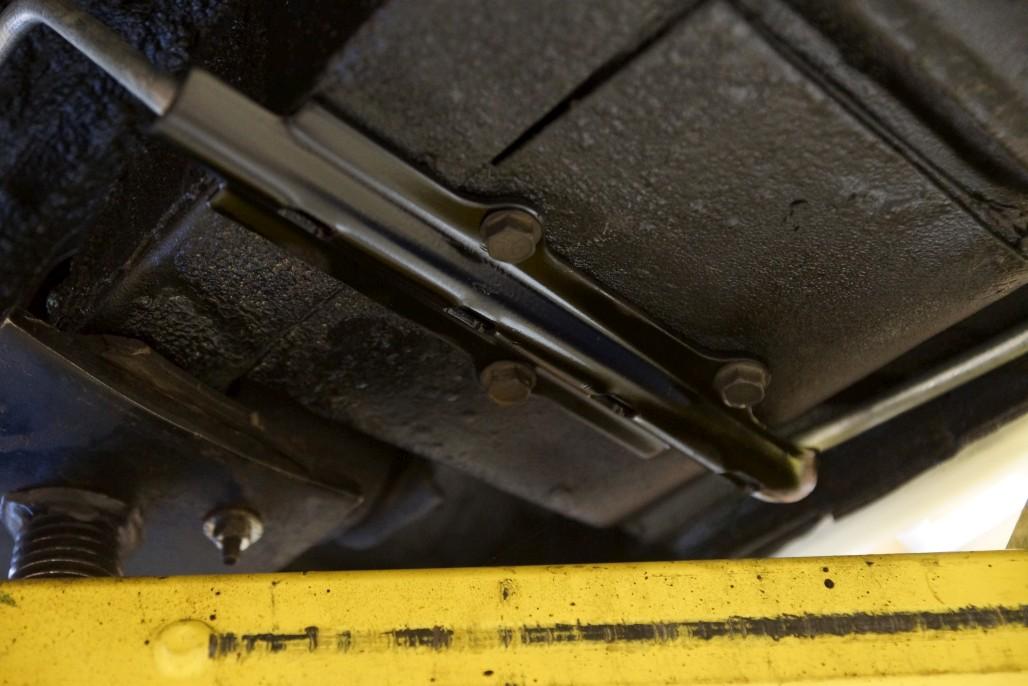
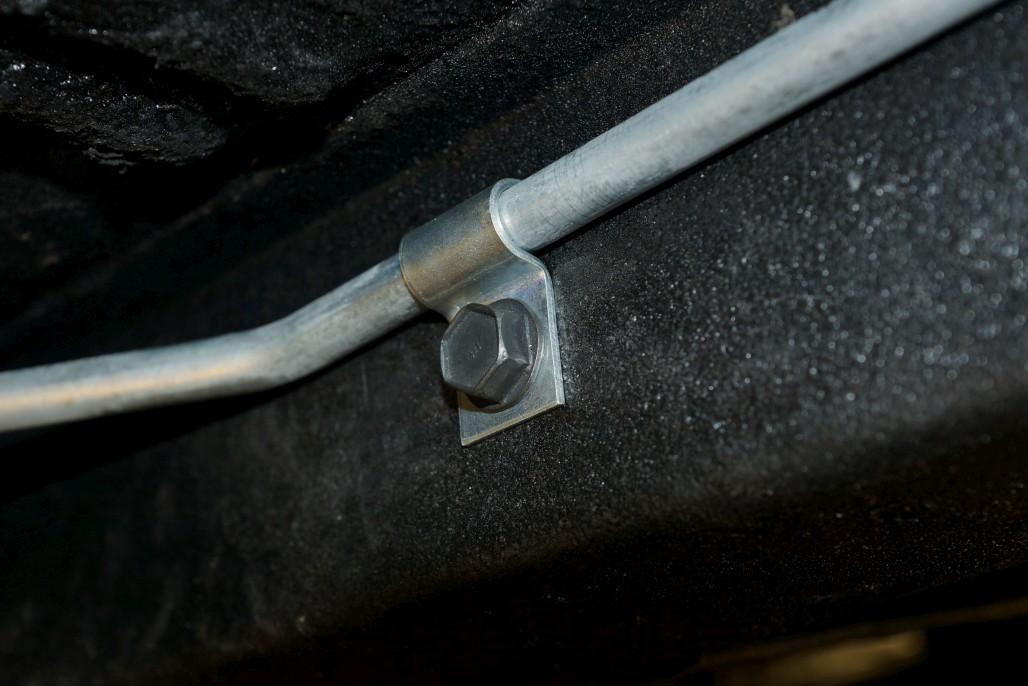
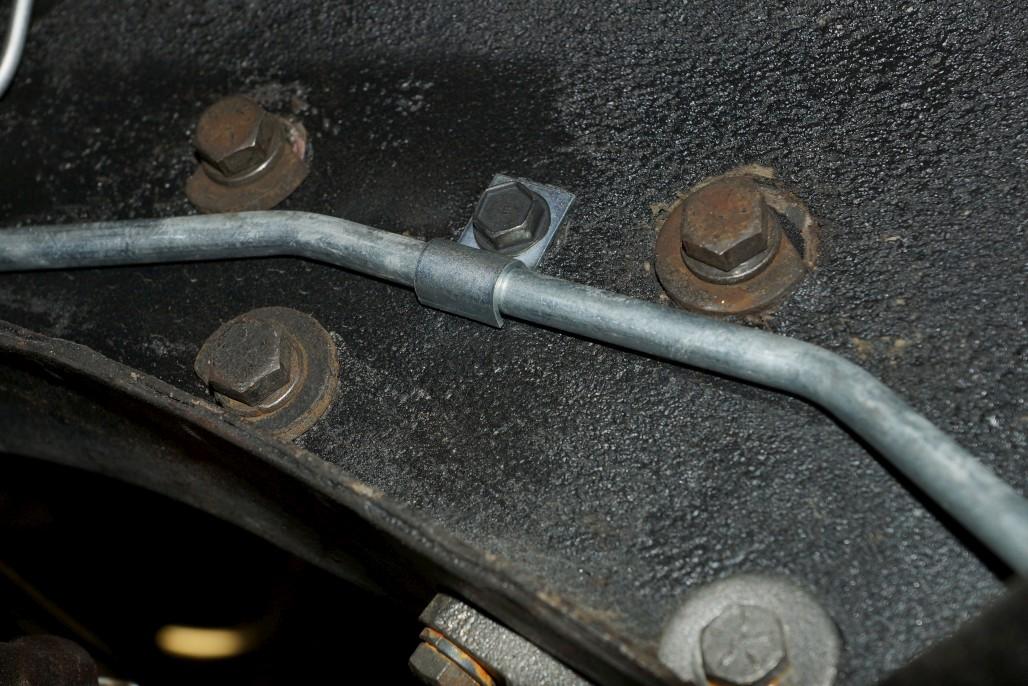
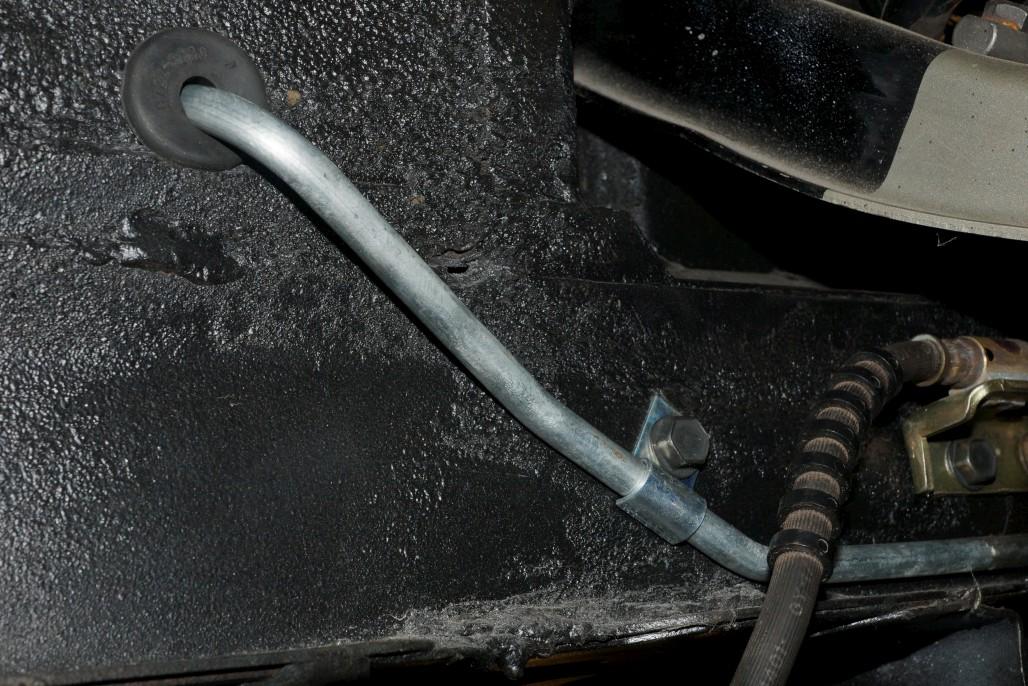
In other news... I installed a new fuel line. Some thrilling pics of the routing and fasteners... I'll leave a couple out.
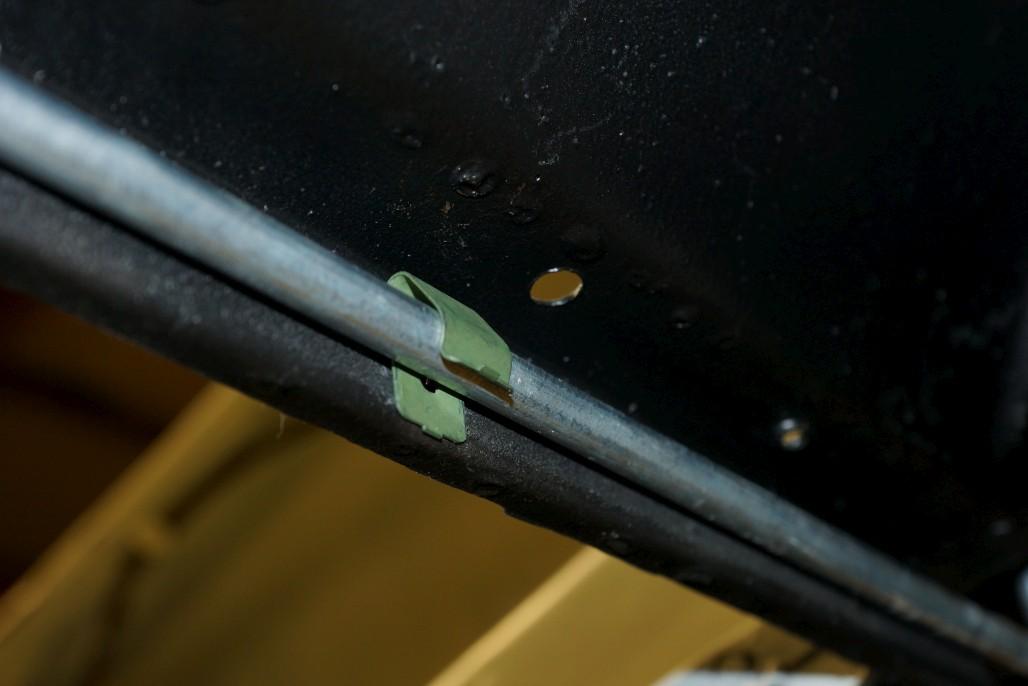
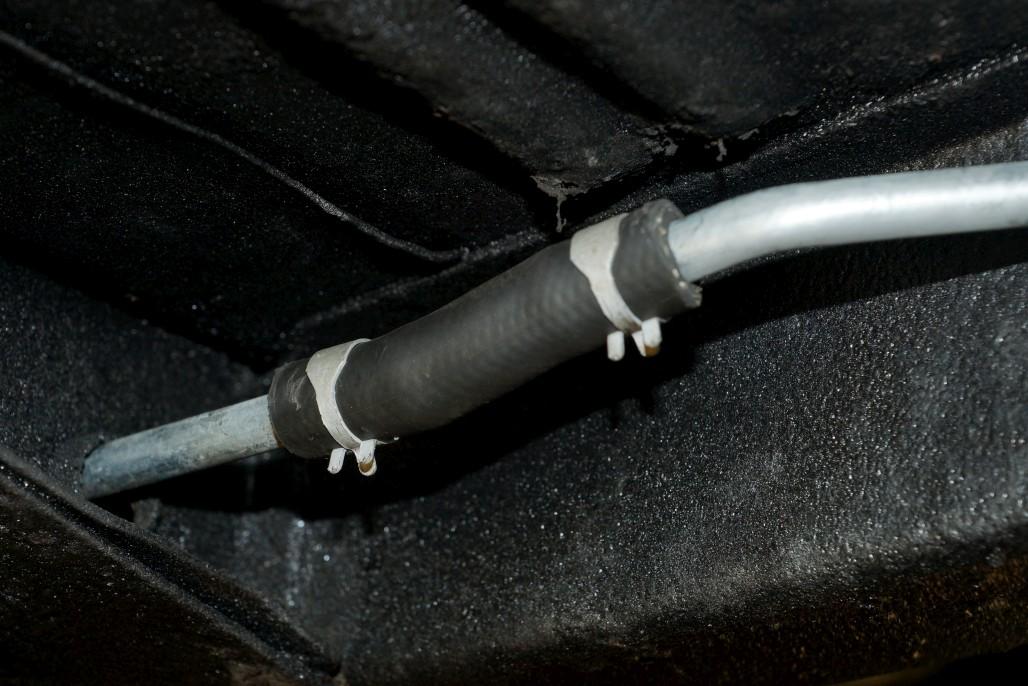
Original protective cover cleaned up and reinstalled over the new line:
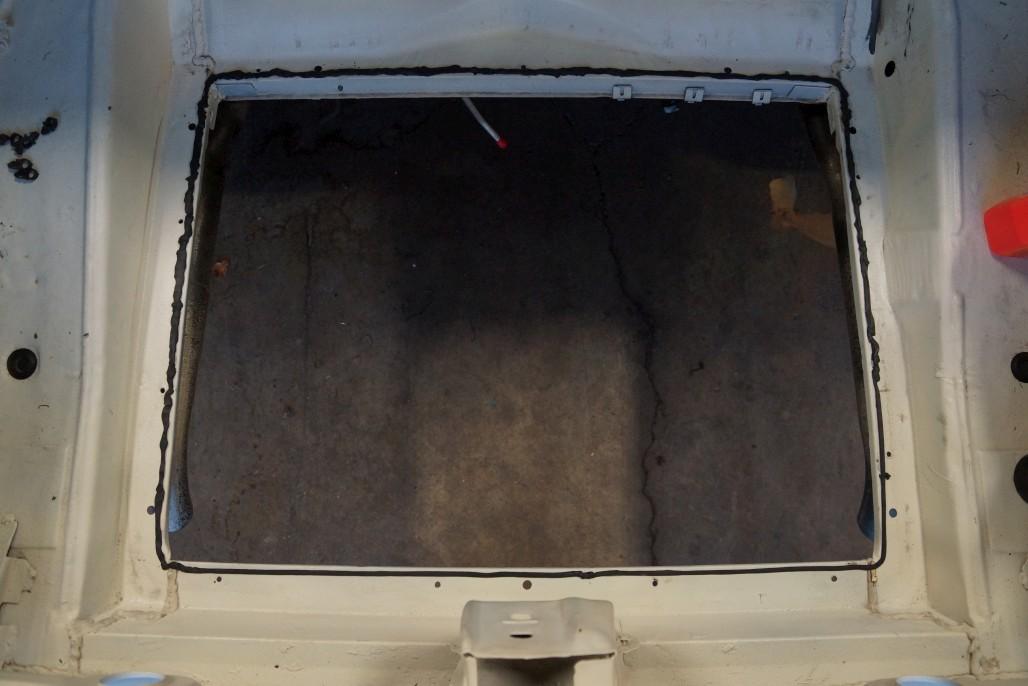
NEXT: I was ready to install the fuel tank, finally. I started by putting goop (3M Strip-Caulk) around the perimeter of the mounting area.
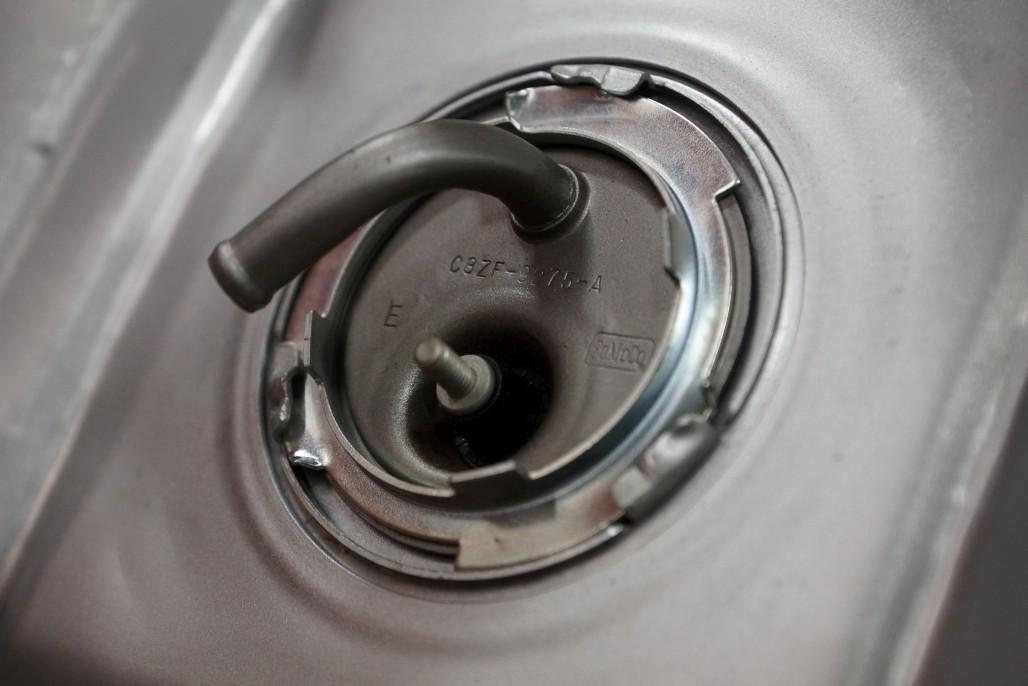
Then, before installing the tank I figured it would be easier to install the fuel sending unit first. Here it is ready to go:
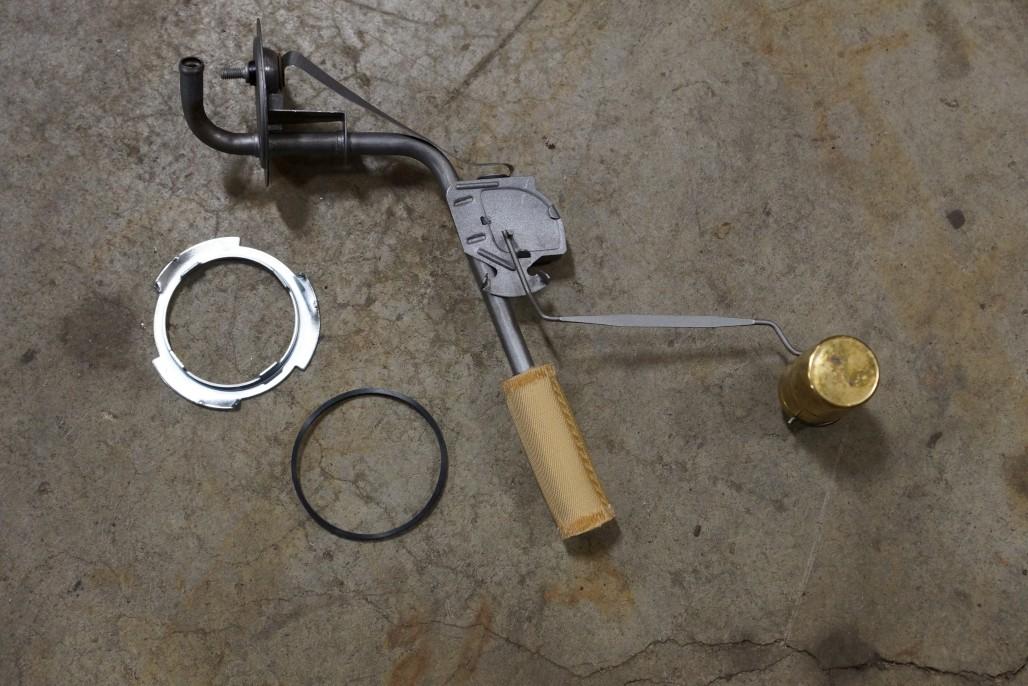
Strangely, I ended up having to use the smaller 5/16" filter sock (which is supposed to be for 67 only) because when I tried to fit a 3/8" one, it was clearly not snug enough to stay put for long. Other parts shown above are the gasket and retaining ring, and the brass float. Anyway, here it is installed:
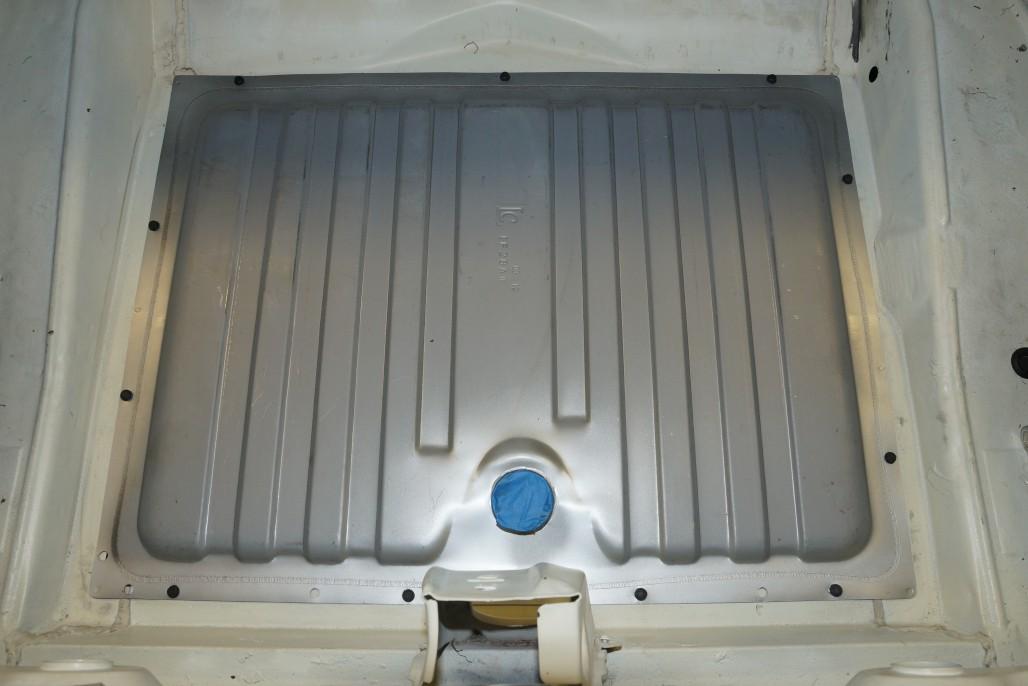
And in goes the tank! The timing was perfect because we had just gotten the proper screws for mounting the gas tank.
Finally, hooked it up to the fuel line:

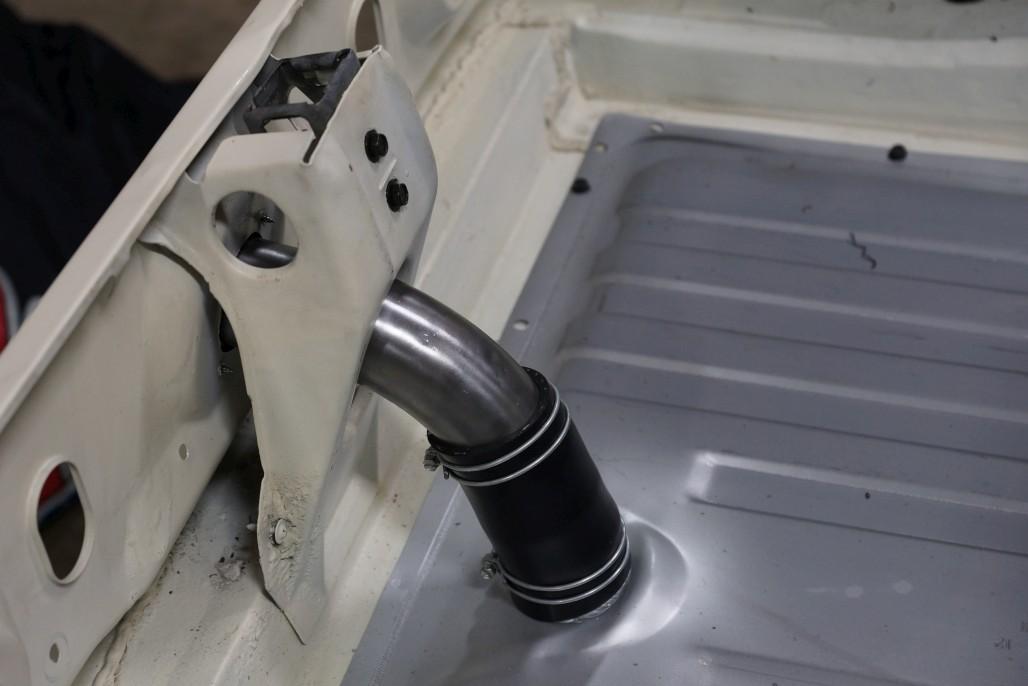
Then I cleaned up an original filler neck (my original one vanished) with the bench wire wheel and soaked it in WD-40 to hopefully preserve the bare metal. Then I splurged on the new rubber hose, the proper clamps, the gaskets for the neck (got 2 as recommended on the site) and a new cap. Also while I was at it, I installed the trunk latch striker.
Now for some other miscellaneous stuff!
Cleaned up and installed the cigarette lighter assy. New rubber bumper for the lid installed.
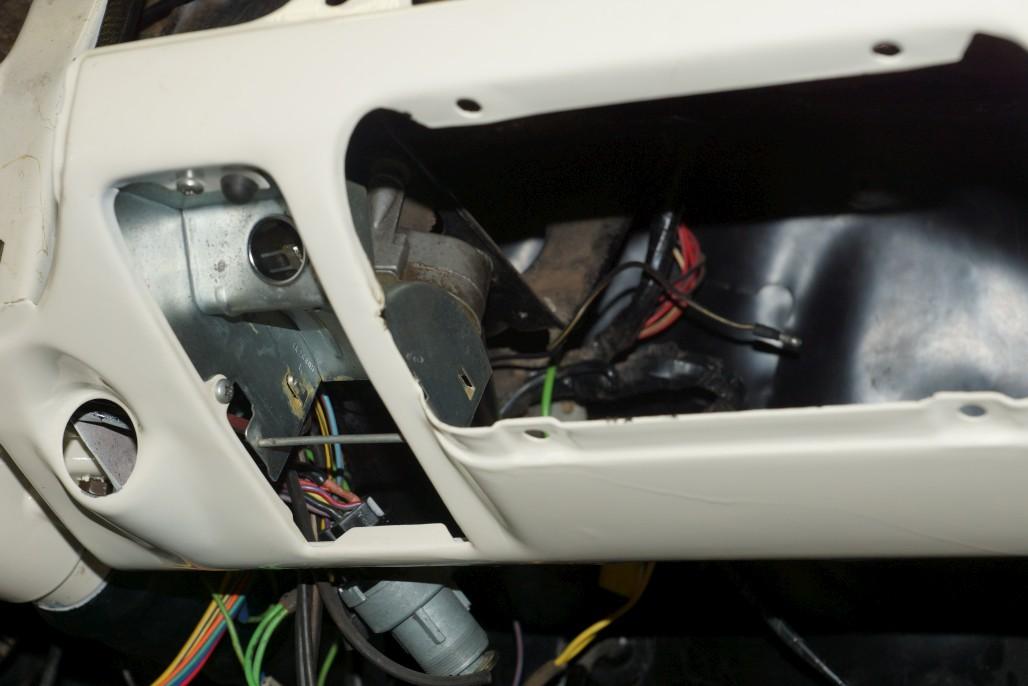
Ignition switch retainer blasted & painted. There is a repro one, but why bother when you have a decent original.
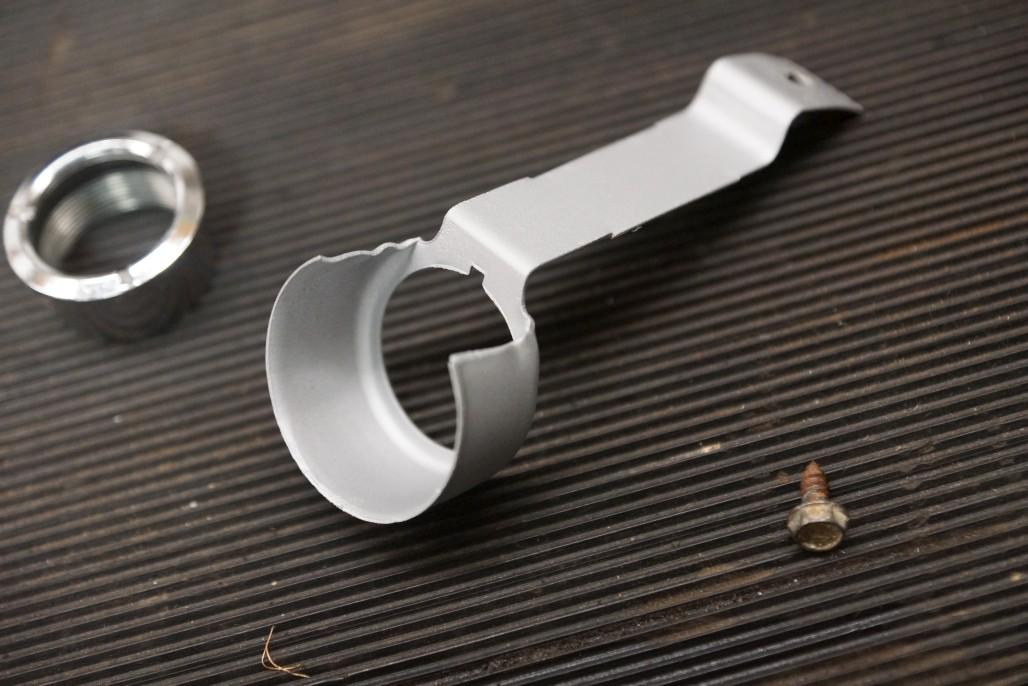
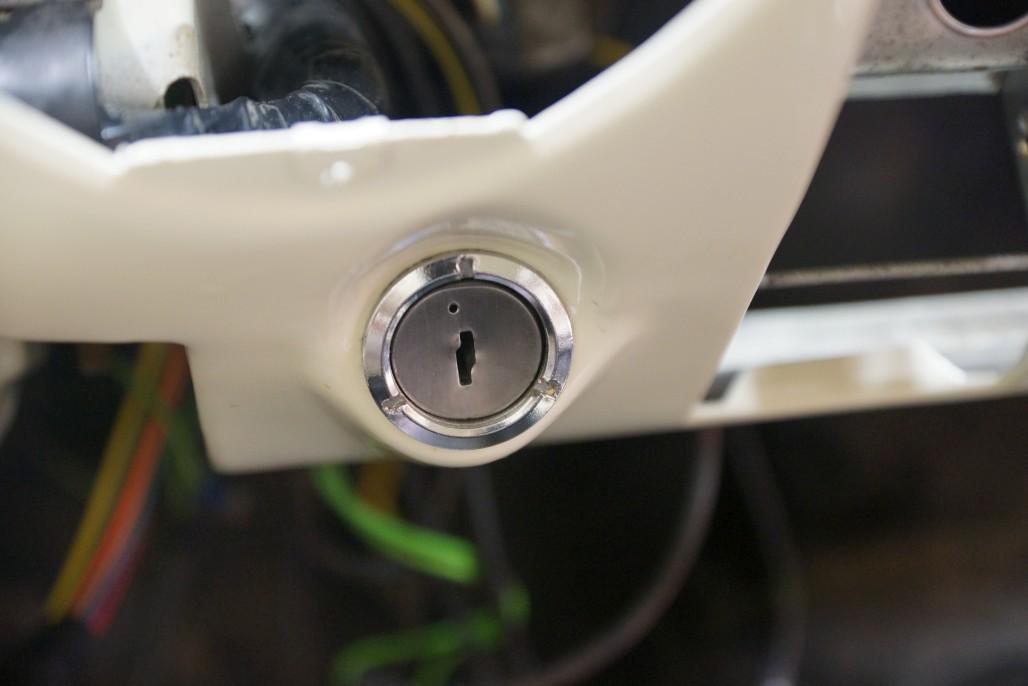
Ignition switch installed, using original trim bezel thing for now. It looks fine but I might be tempted to get one of the shiny new ones. Also cleaned up the face of the key slot since it was scratched up. Now it's just scratched in a uniform direction.
Also, I had to scrounge in the junkyard to find a couple decent wire harness retainers that go on the driver's side. No idea where mine went...

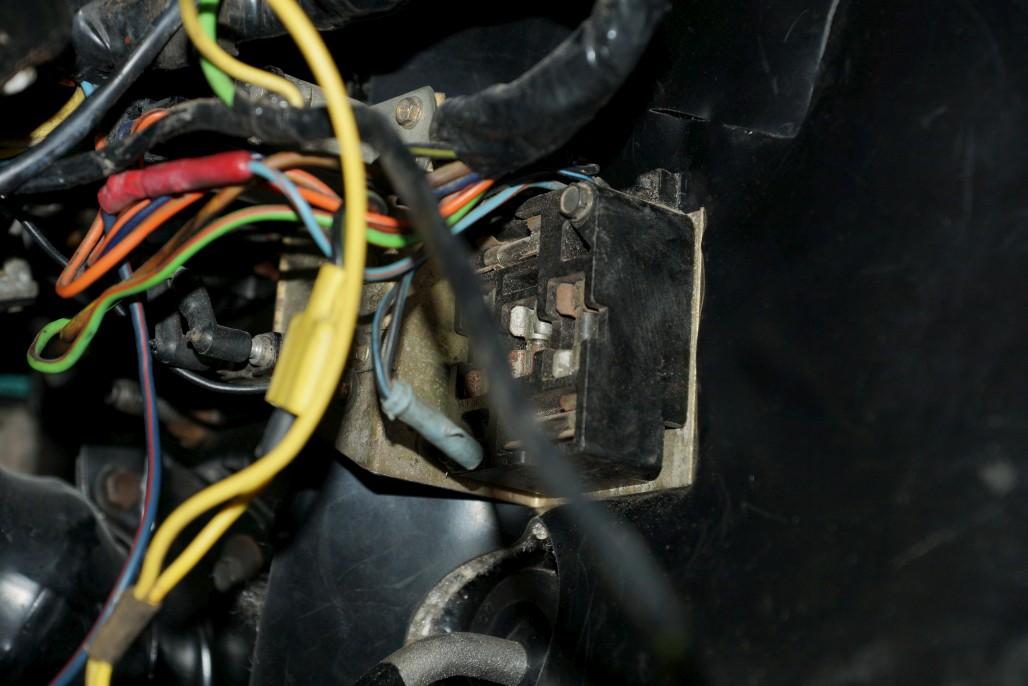
Managed to get the fuse block attached to the firewall through the insulation pad... Awls poked from the opposite side made it reasonably easy.
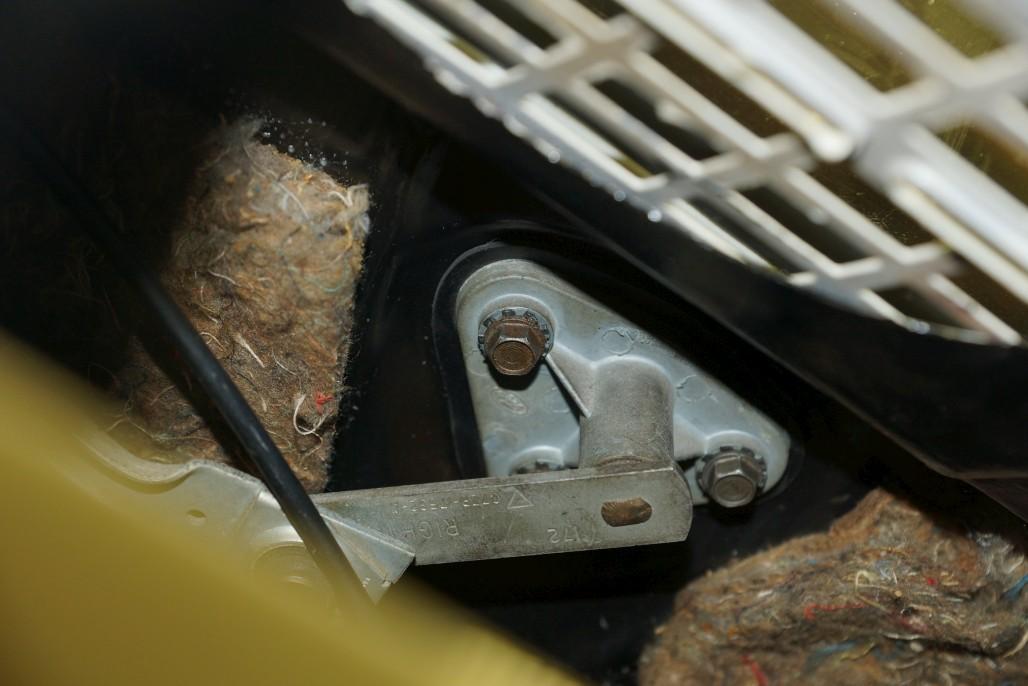
More scrounging in the yard resulted in the acquisition of proper fasteners for the wiper arm pivots, so I installed them along with new gaskets.
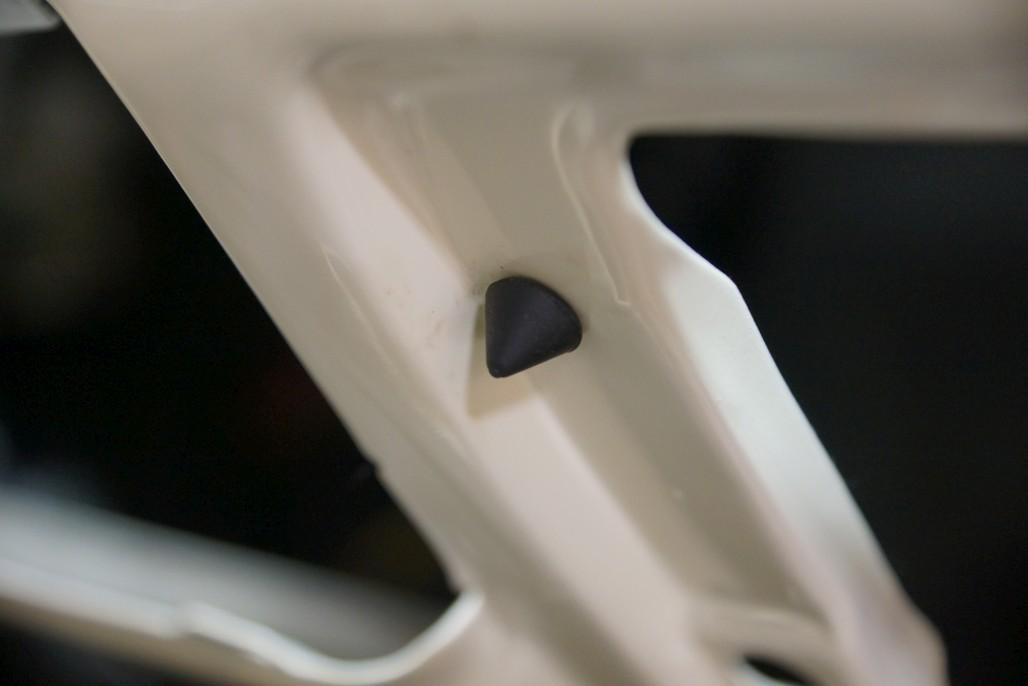
This next one is major, I managed to install these little bumpers for the glove box door. Pretty amazing accomplishment and I'm glad I documented it.
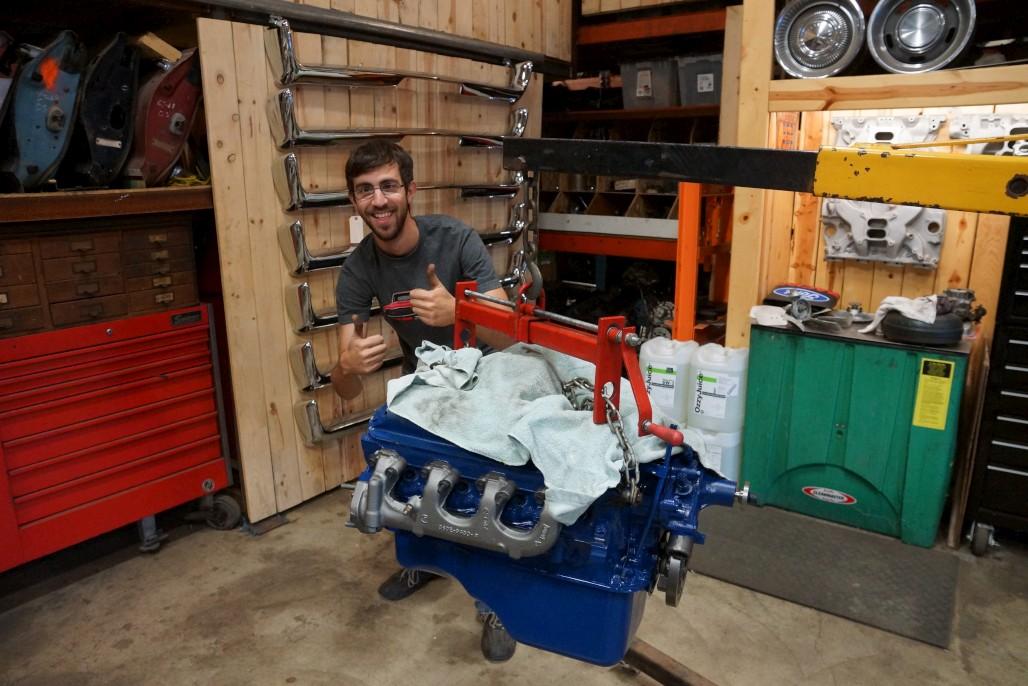
Now, on to something that actually IS a major accomplishment. Last week I got some help from coworker Darrell and we prepared the engine and transmission to put in the car. When Thursday rolled around, we were ready to drop it in. Here's me posing by the engine before we married it to the trans.
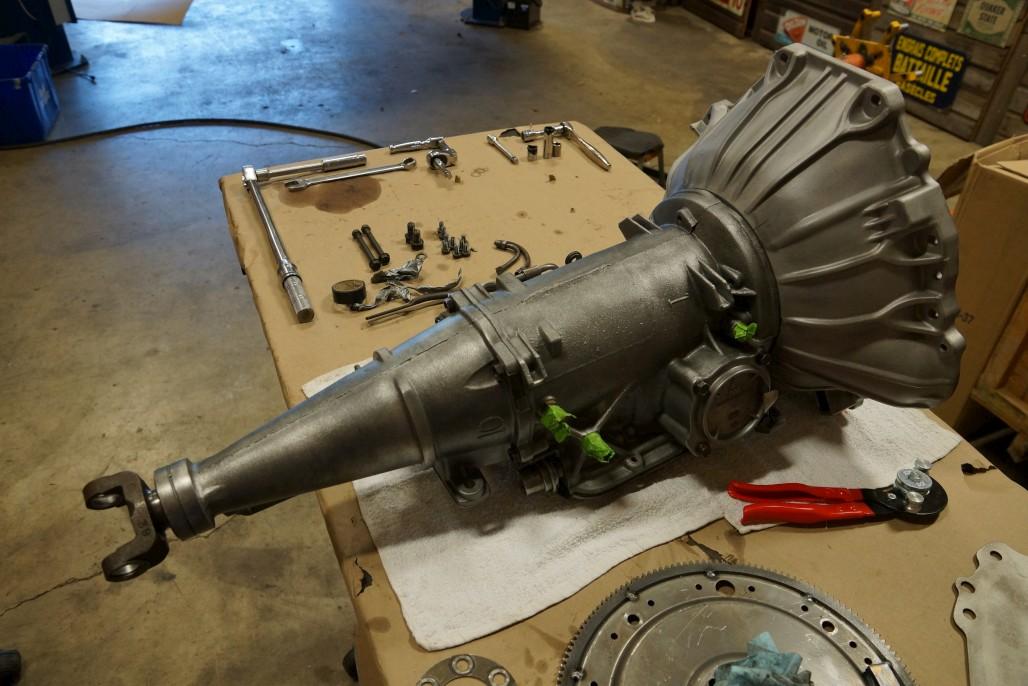
Here's the trans. cleaned up and basically ready to install. Darrell went to town cleaning it up with wire wheels + brushes, and blasted the bell housing. Then I degreased it and painted over the outside with a VHT "flame proof" satin clear coat. I like how it turned out, you really can't tell there's any clear coat on it at all. Hopefully this will help keep it somewhat clean.

Unfortunately I didn't get any pics of the marriage of the engine and transmission, which is a bummer because it looked awesome. Kinda had my hands full though. By the time I was able to pick up a camera again, we had the job basically done.
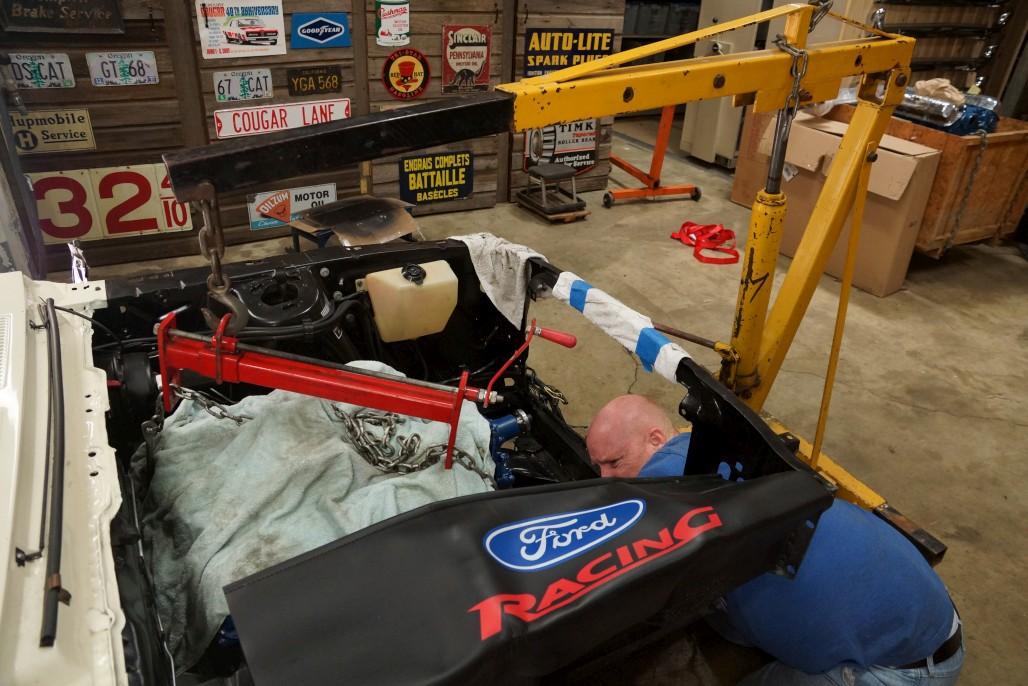
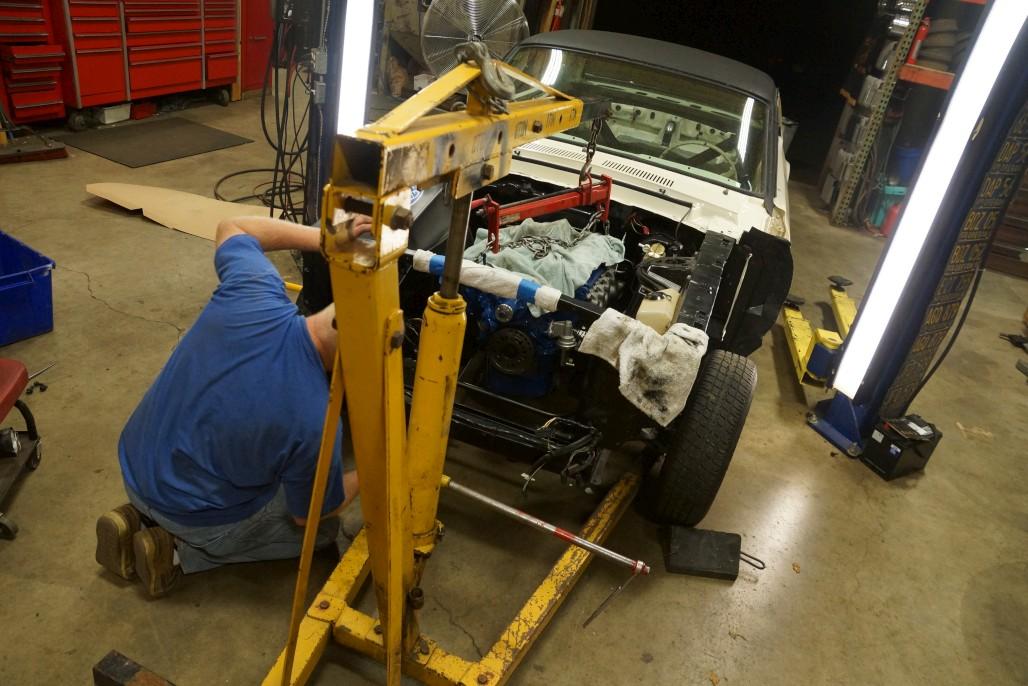
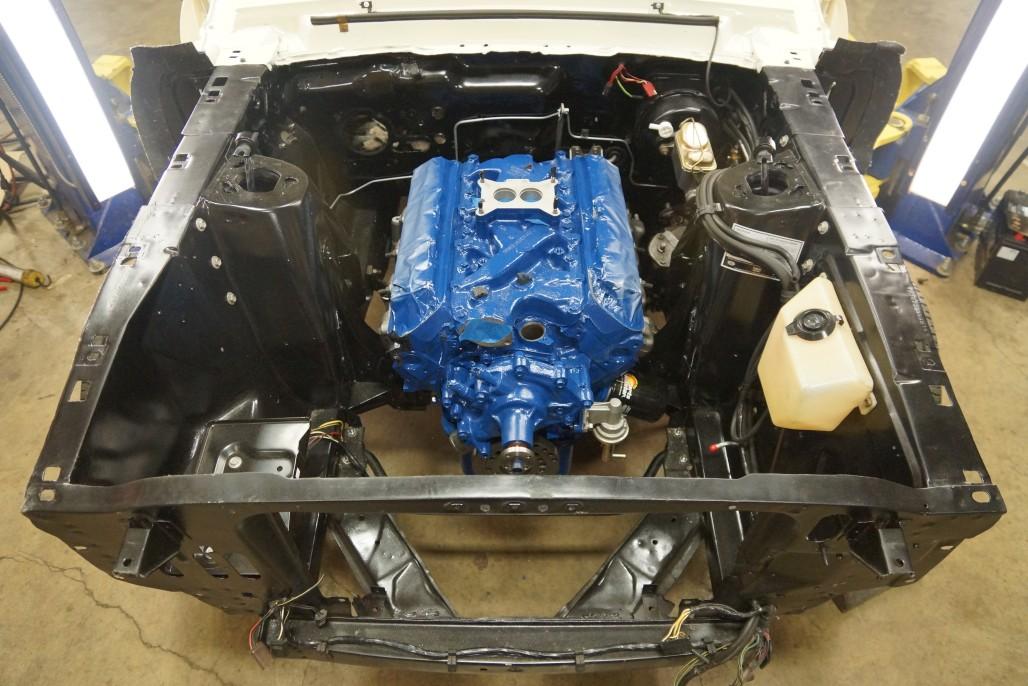
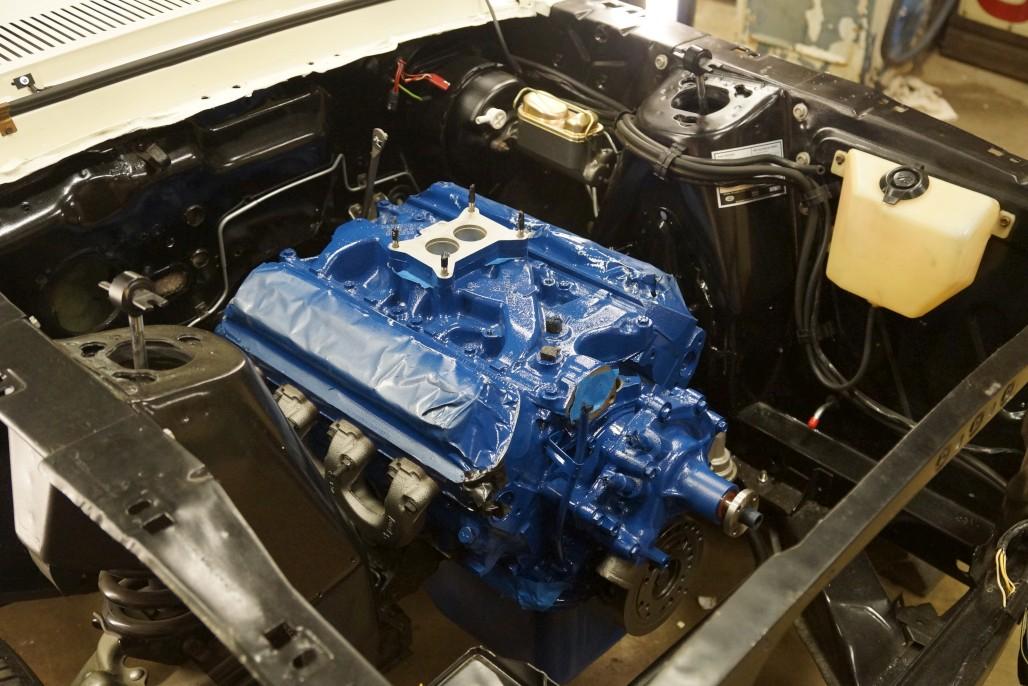
Ta-Da! My first reaction was "wow, it actually looks kinda small in there!" There is more space to work around it than I remembered.
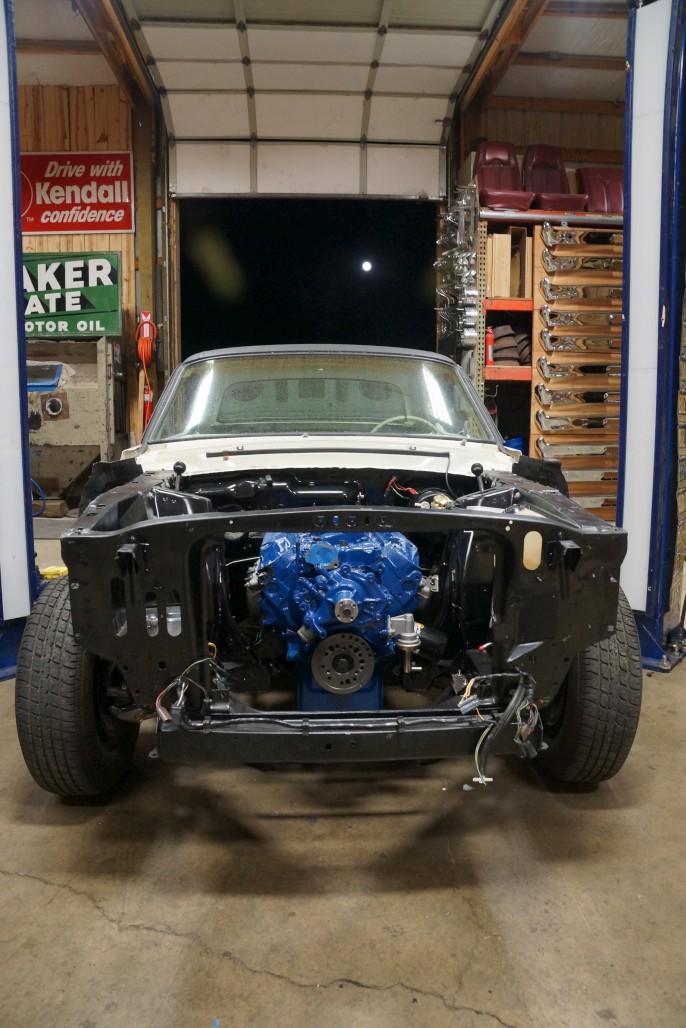
Yes, that's the moon in the background...
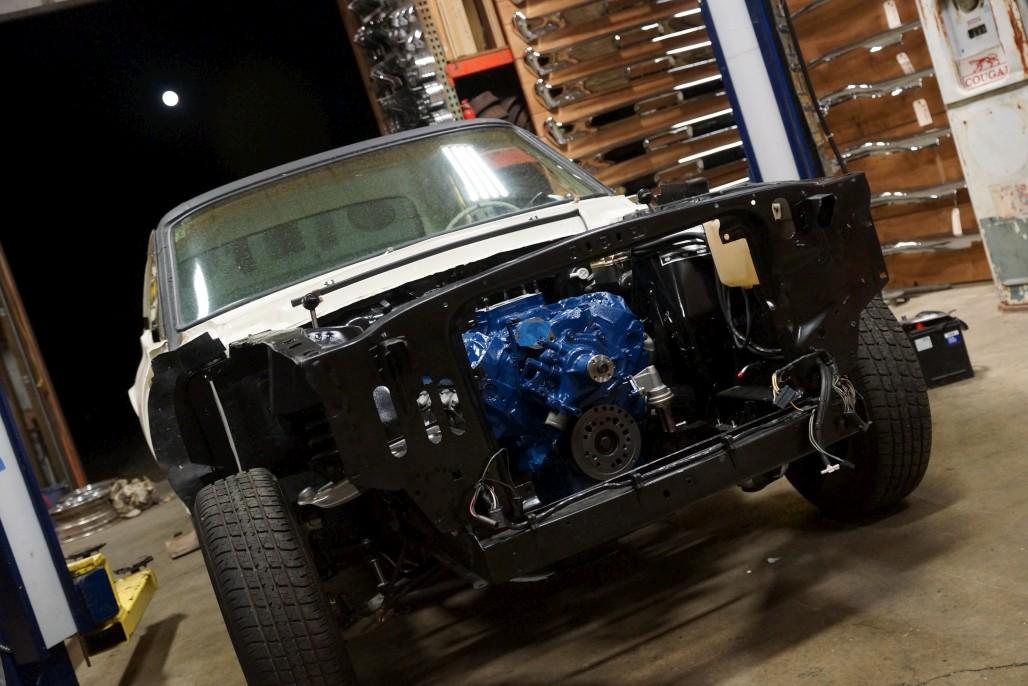
Threw the valve covers and distributor on to make it look more finished..

So that's the big news! It felt great to get that step done, and I'm grateful for Darrell's help. After we were done I kinda stood there and looked at it in awe, with a stupid smile on my face. It's so cool to see a shiny blue engine in there finally. Looking back at my photo files, it's been 1 year and 1 month since Scott and I removed the engine + trans from the car in the first place.
Well, that's all for now! Still a ton of stuff left to do, but it's coming together!

So nice in honor of your grandparents.
Posted by Diggymart on 1/3/20 @ 8:04:16 PM