You must be logged in to rate content!
8 minute(s) of a 767 minute read
5-30-2013
Well, how did you spend your 3-day memorial day weekend? For me, it was spent in uncomfortable, awkward, rusty places with messy, smelly paint. Not the most fun I've had working on the car, but something I wanted to address.
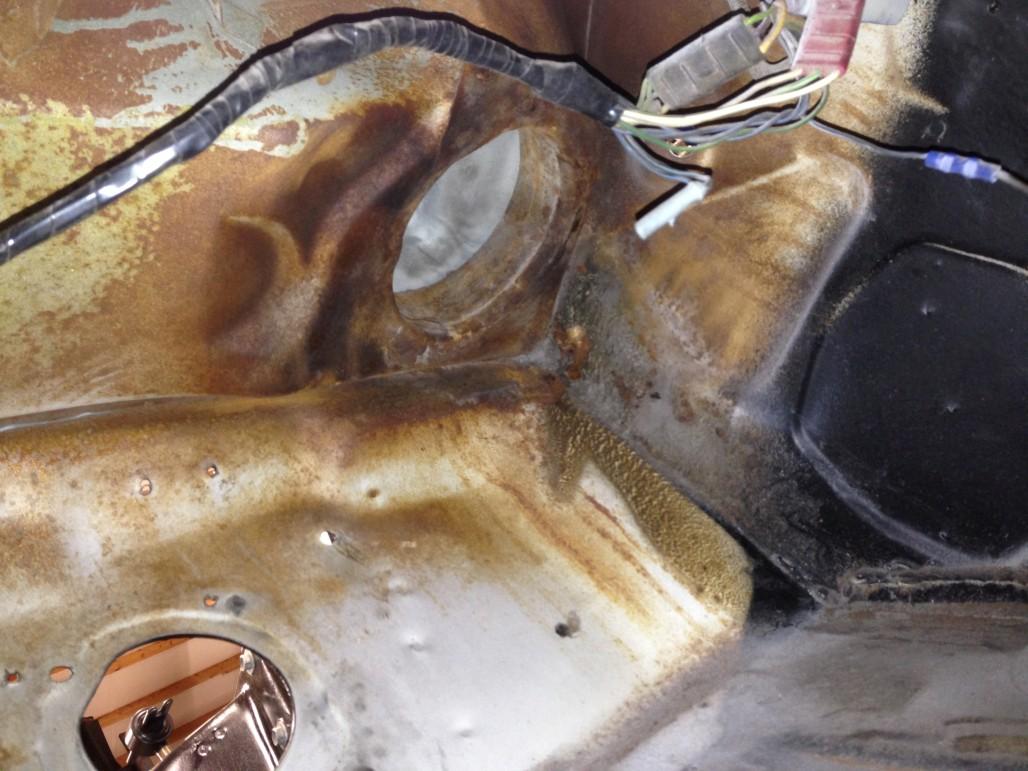
Areas like the firewall / underside of cowl / backside of dash still had some surface rust that I wanted to neutralize while I have things this far apart. None of it was really that bad, but I figure that I don't really want to have the car this far apart again, and ideally I'd like it to last for the rest of my life if possible. Here are some before pics.
After some prep with a wire wheel
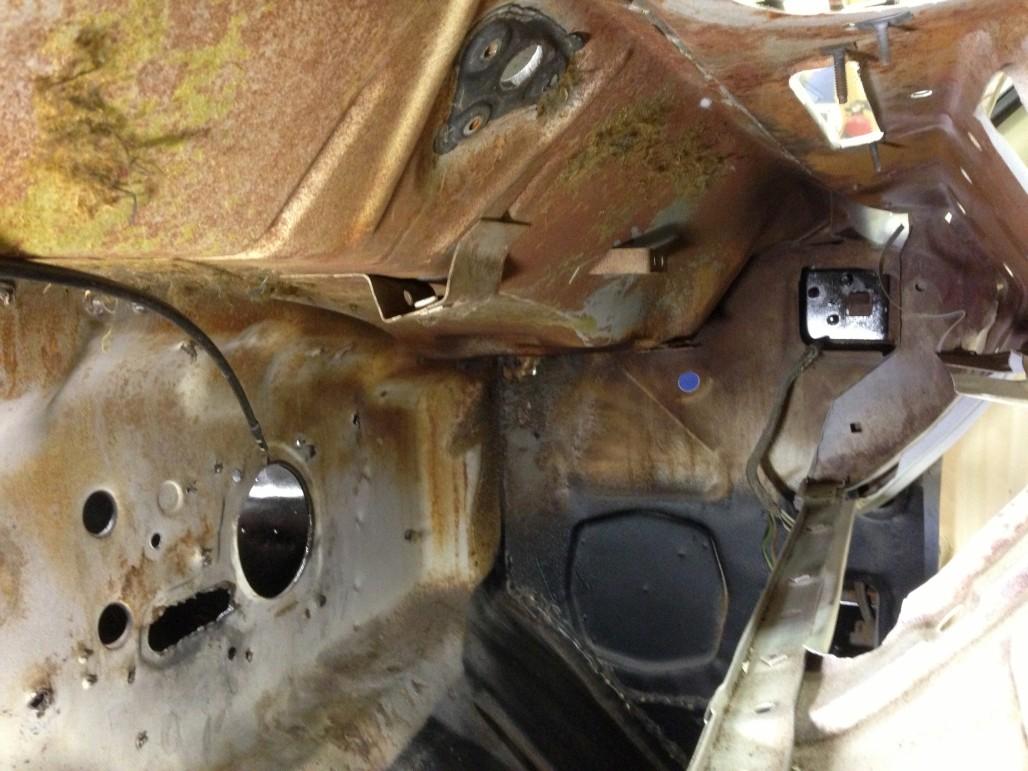
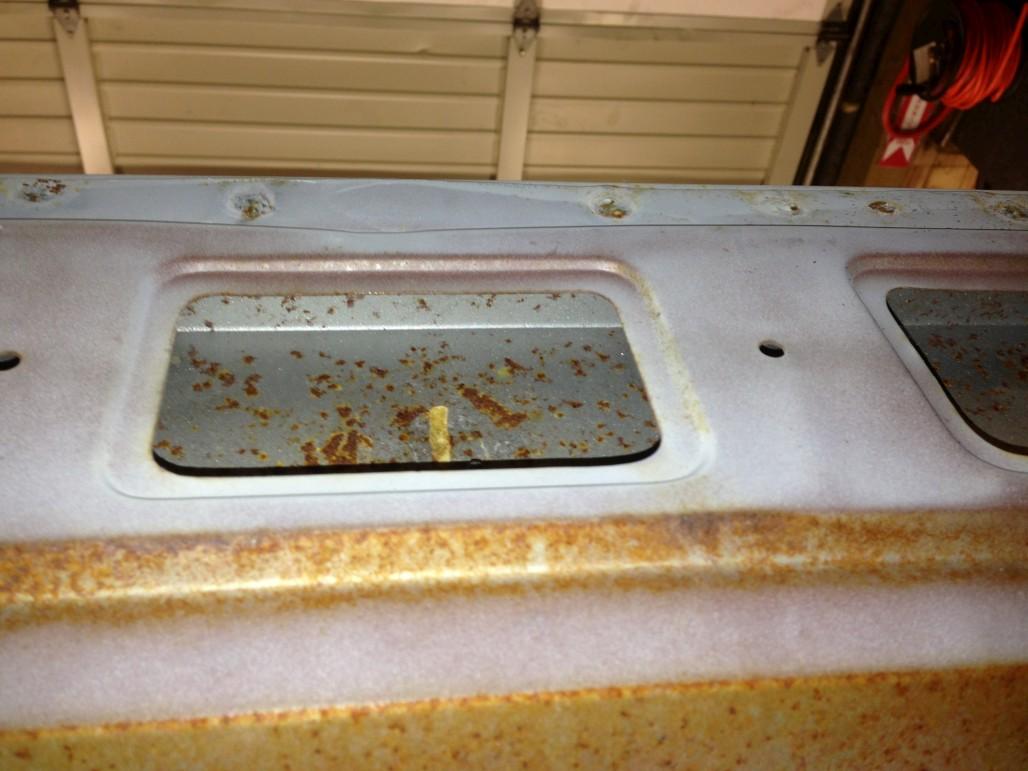
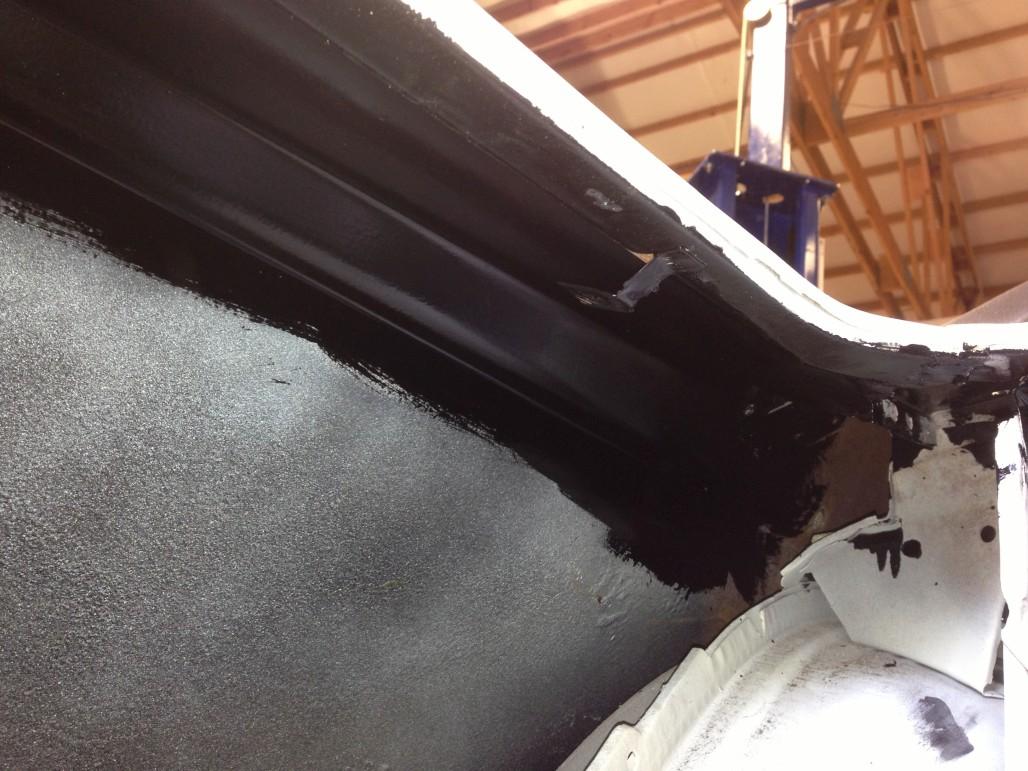
Also, there were some other areas around the car that I noticed were untreated and showing surface rust. For instance, the bottom of the package tray, and perhaps more importantly, the underside of the rear window channel sheet metal that got patched.
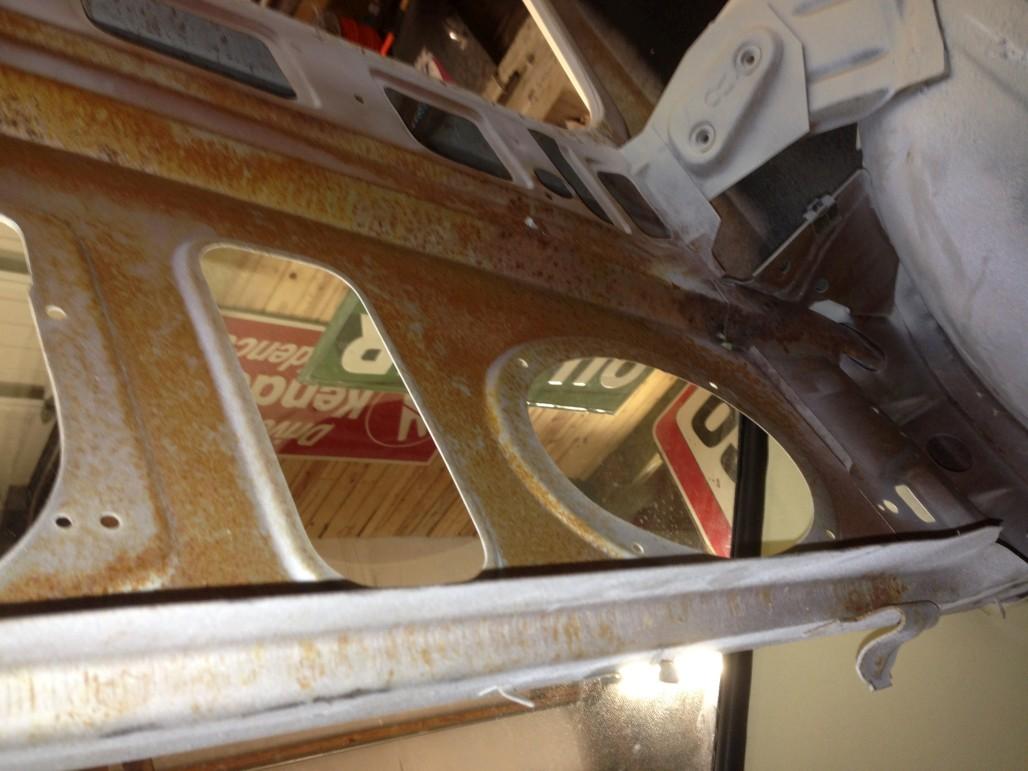
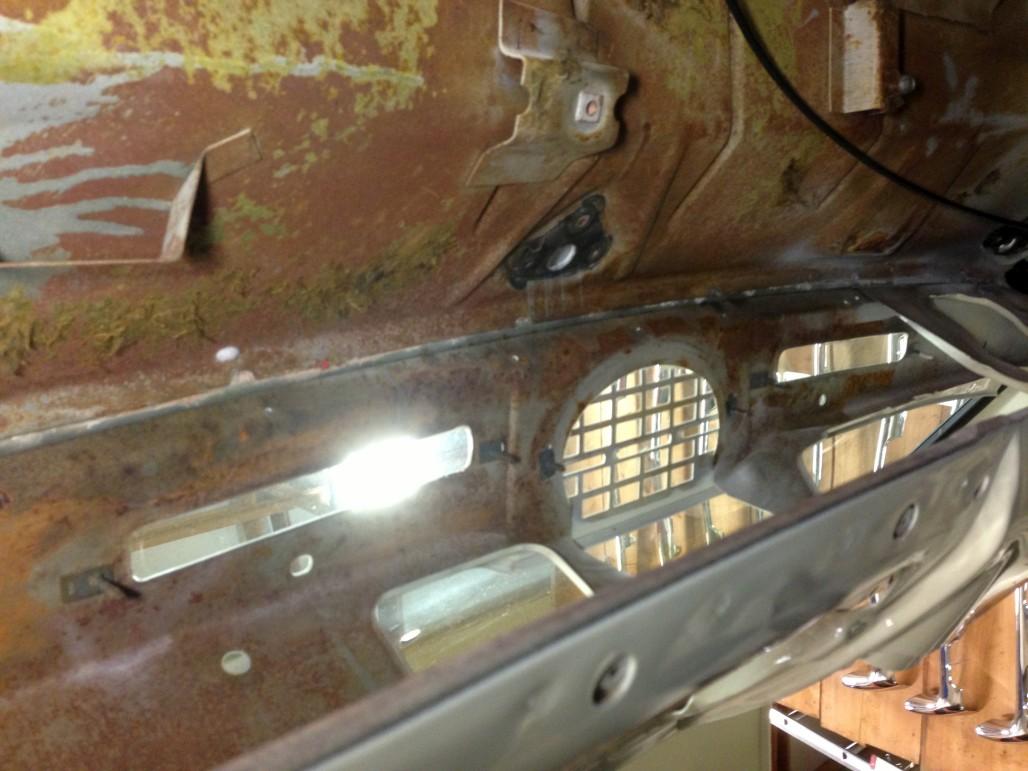
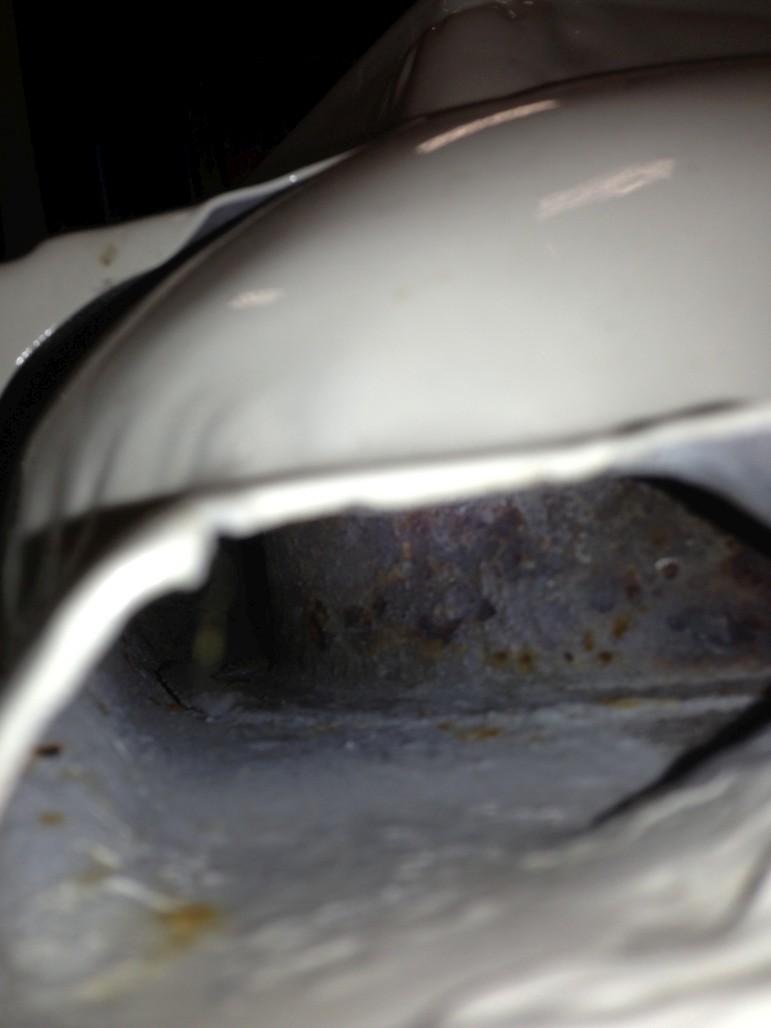
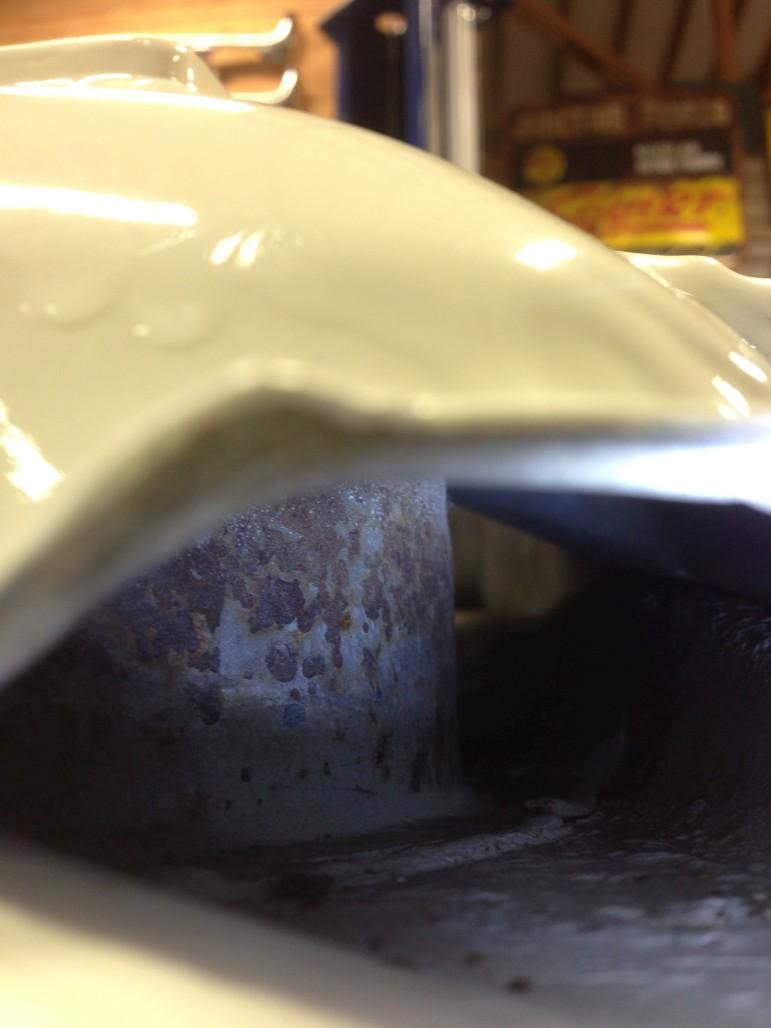
Also, the upper part of the quarter window areas on both sides looked like this:
And the bottoms:

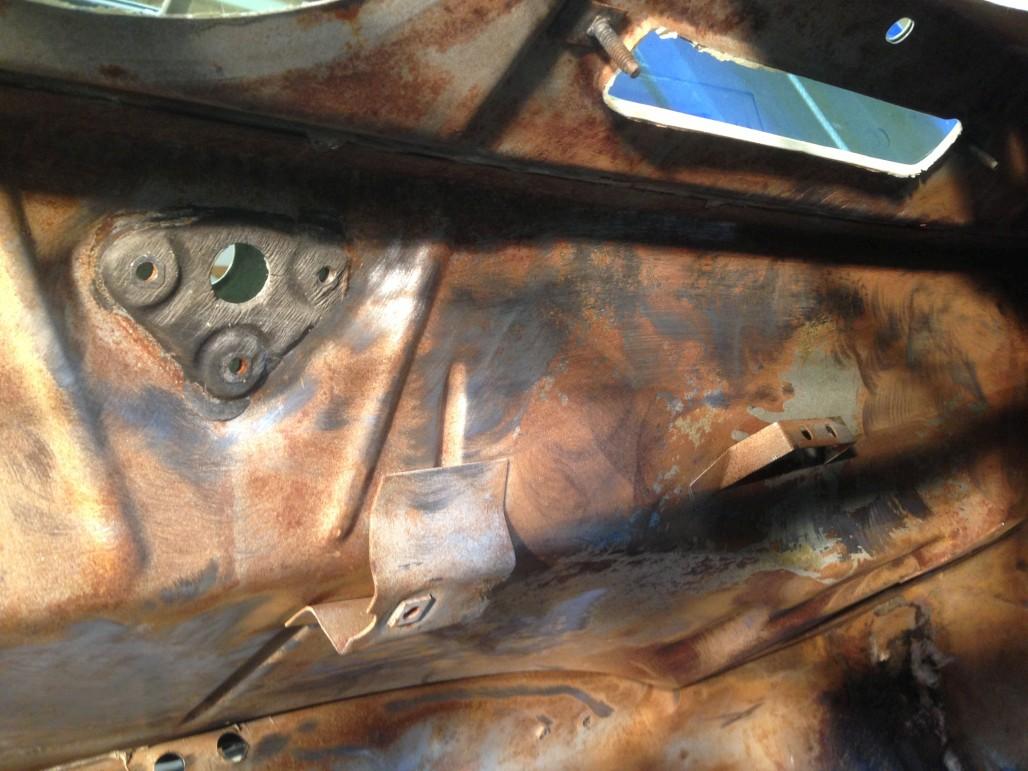
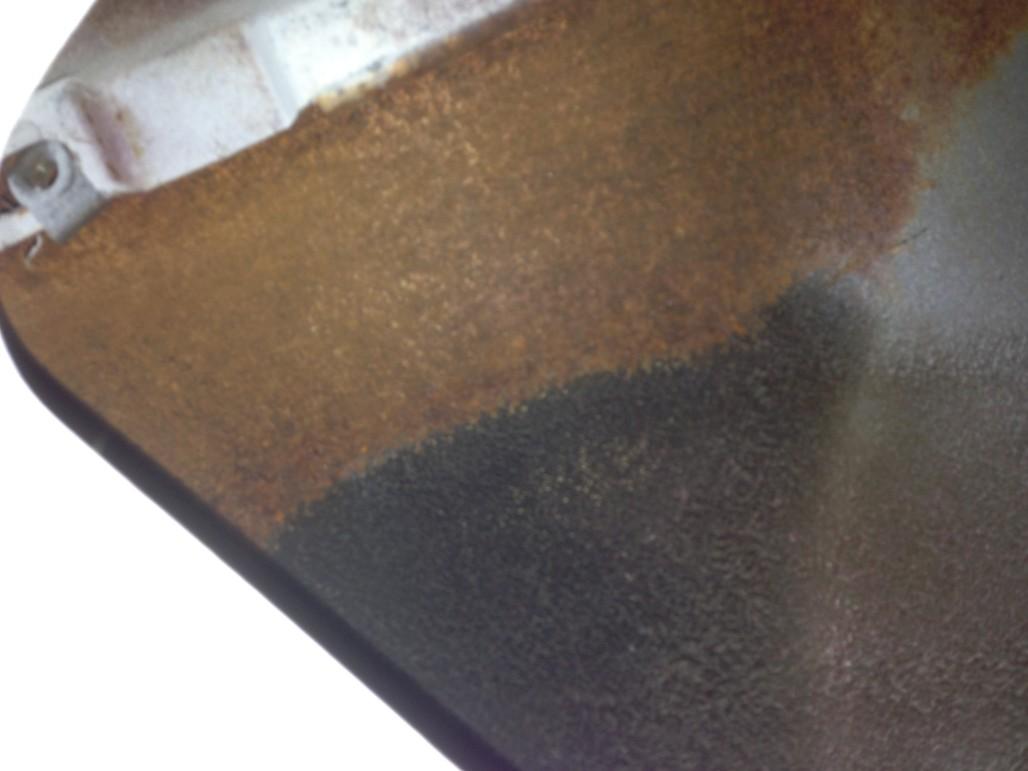
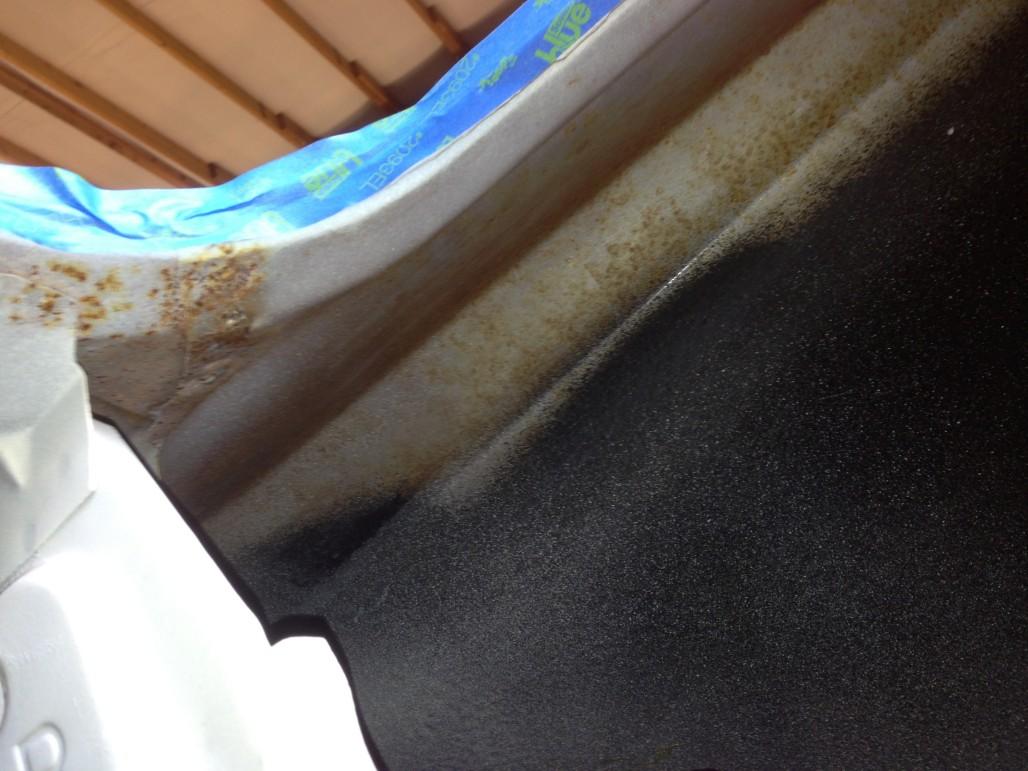
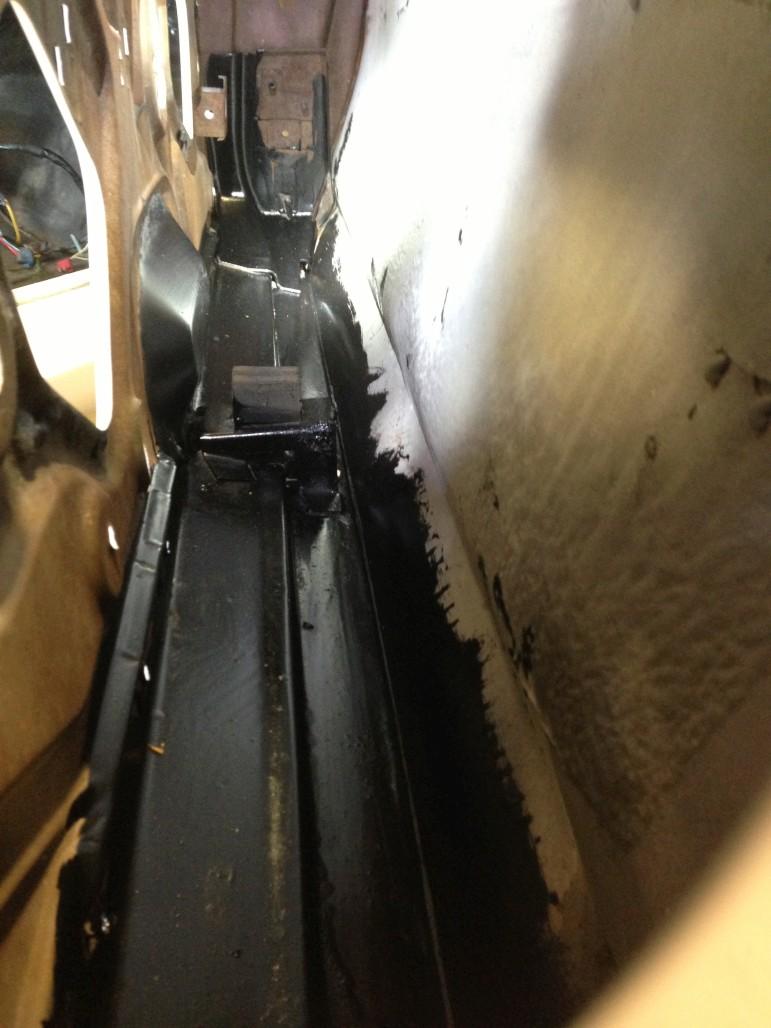
And in the trunk, the body guy didn't go all the way up the quarters with the black undercoating stuff, so these areas were untreated on both sides:
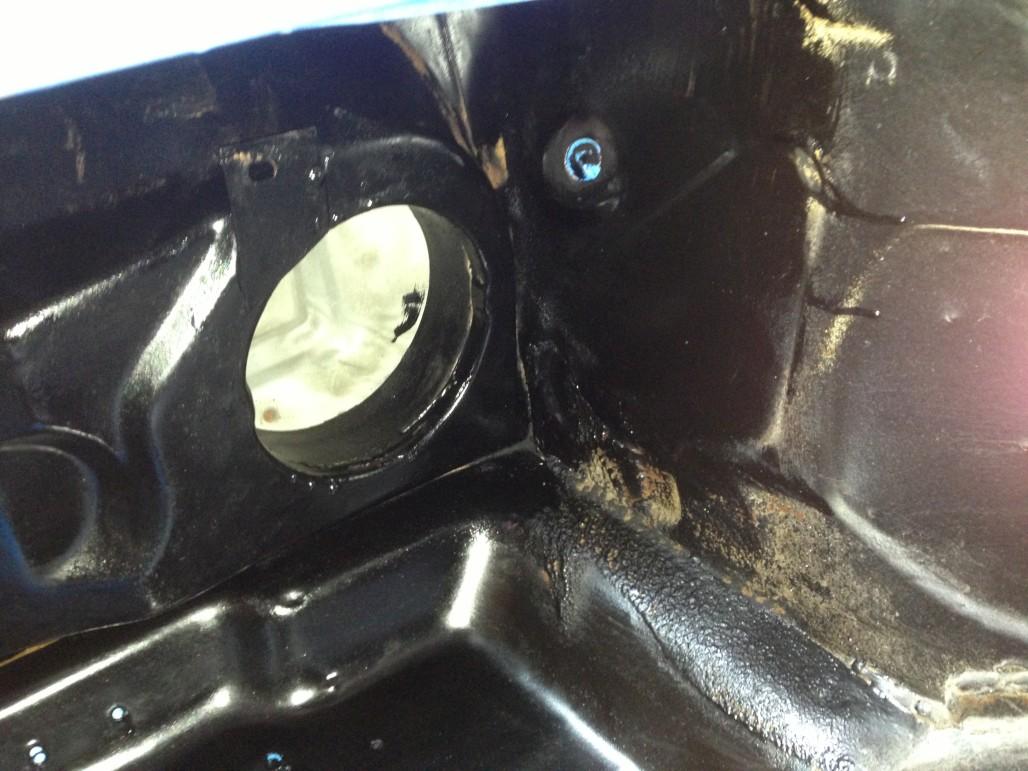
Finally, here's looking inside the cowl from the drain holes on either side. Not bad, but an area that is very prone to rust and should be addressed too.
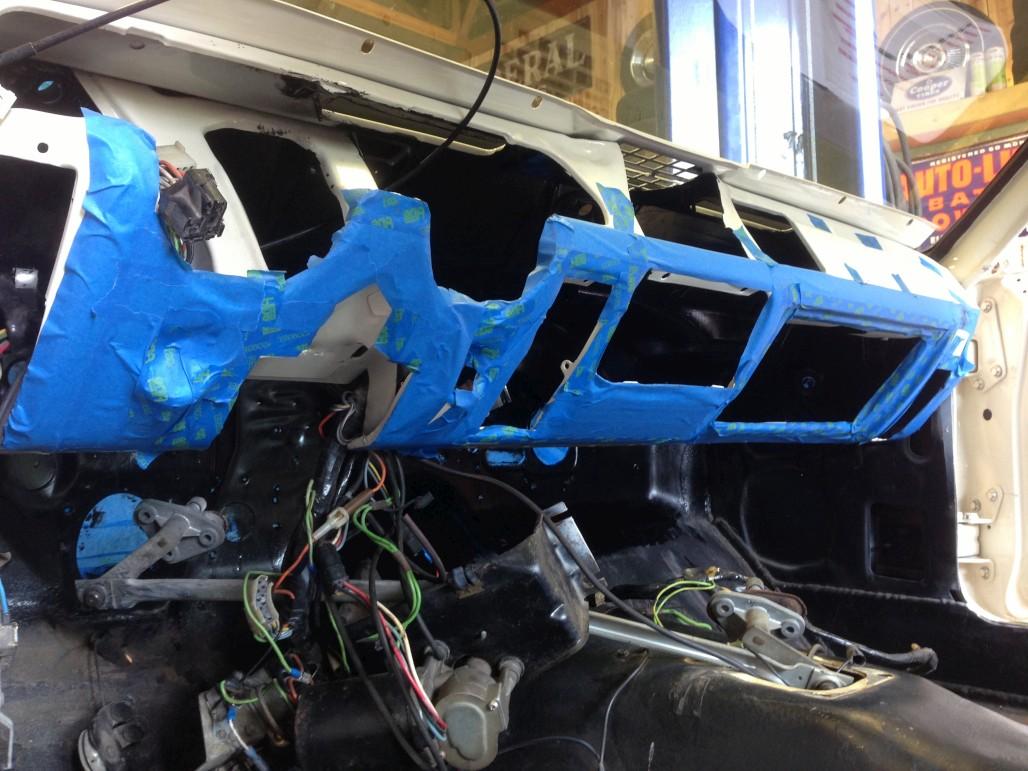
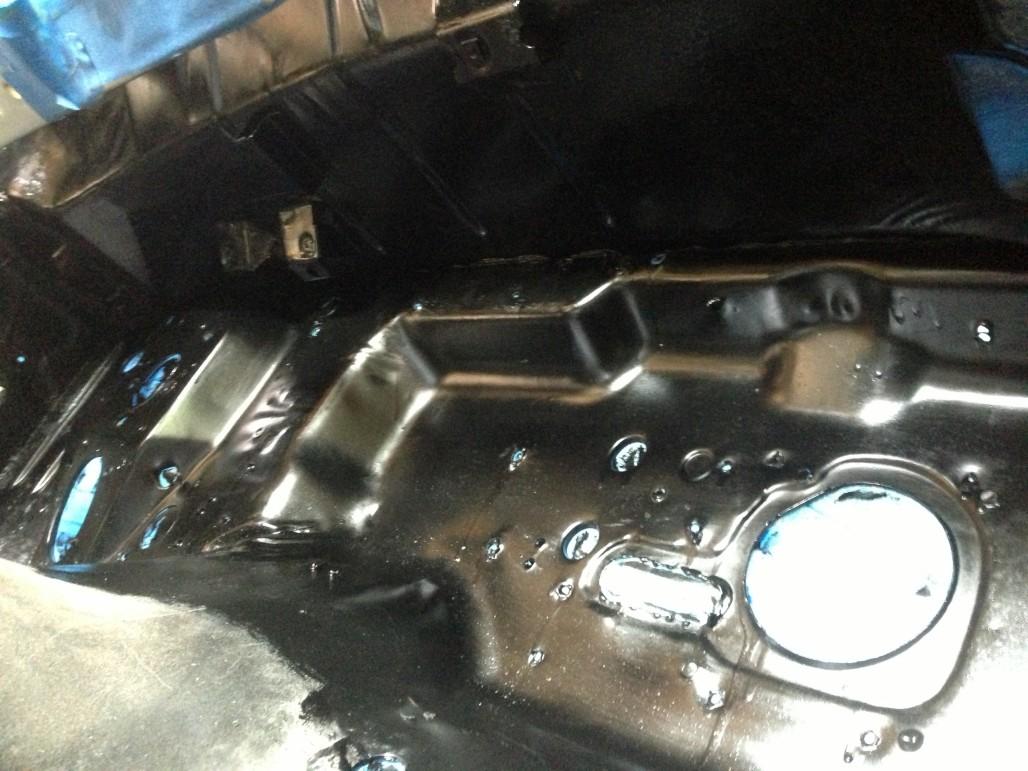
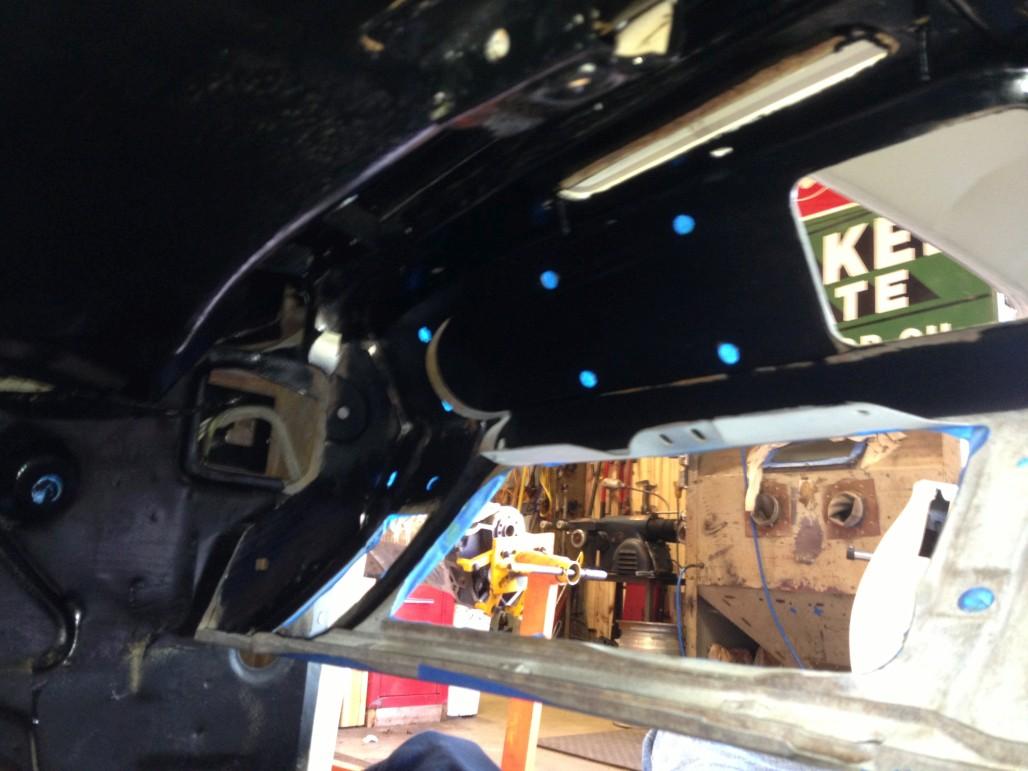
Fast forward to the end of the weekend, after many hours spent in uncomfortable positions on the floor, in the trunk, etc, scuffing away with wire brushes, cleaning areas, masking off holes and edges, and smelling toxic fumes while brushing on some gnarly anti-rust paint. (I used the Chassis Saver paint that we carry, it's basically a POR-15 knockoff.) Can you tell I didn't enjoy it very much? ![]() But in the end I was glad I got it done. Should help the longevity of the car a little. Anyway, pics.
But in the end I was glad I got it done. Should help the longevity of the car a little. Anyway, pics.
As I see these pictures I notice I missed a few little spots. Oh well.

Also decided to coat the bottoms of both doors. They weren't rusty, but I figured it was an area worth protecting.
And of course I did the quarter window areas - the higher portions that had surface rust, and the bottoms.
Here's where it gets a little crazy. In order to get to the inside of the cowl area, I had to get creative. I poured some paint into the outer wiper arm hole, which leads directly to the inside of the cowl. I masked off the inside wiper hole under the dash to be safe. Then used the lift to tilt the car to the passenger side to help the paint flow around the area.
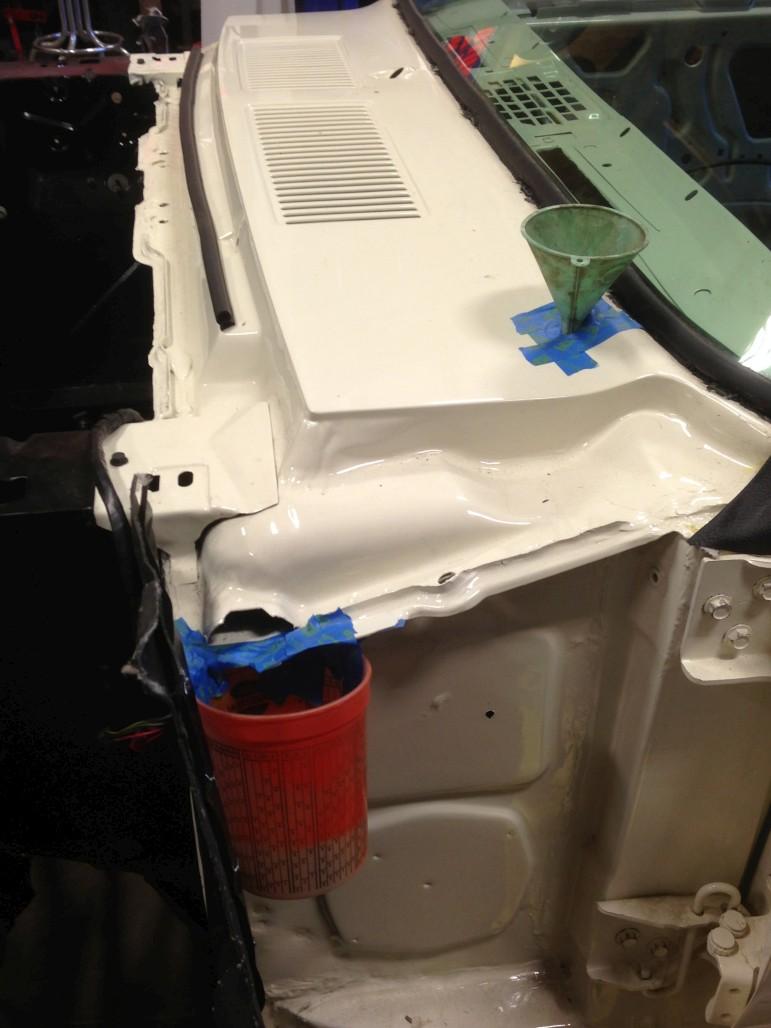
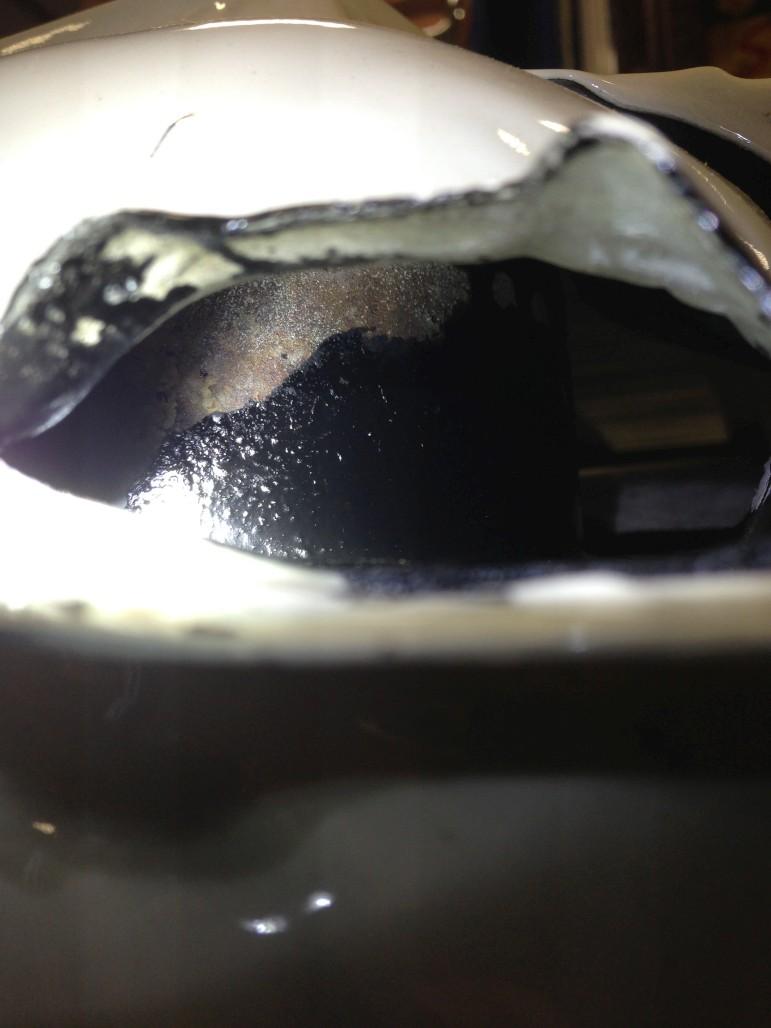
For the other side, I ended up using the lift to tilt the whole car towards the driver's side so I could pour the paint into the drain hole. Then I re-positioned the lift arms a couple times to tilt the car forward and backward, so the paint would flow around a bit more. THEN, I crawled inside the car, smeared my gloved hand in the remaining paint in the can, and attempted to reach up into both cowl "hats" and coat the outside of them with my hand. I couldn't reach all the way around but did the best I could, and think I got some decent coverage in the critical areas. Finally, I used a small brush and stuck it in the drain holes and tried to cover the "hats" as much as I possibly could. It's hard to even show the results, but this gives you an idea.

So there you have it, that was my weekend in a nutshell. Not fun, and not very pretty, but I think it's a good preventive measure. I might end up spraying the trunk area later with polar white, it doesn't look very clean right now. To be determined. More interesting things coming soon...
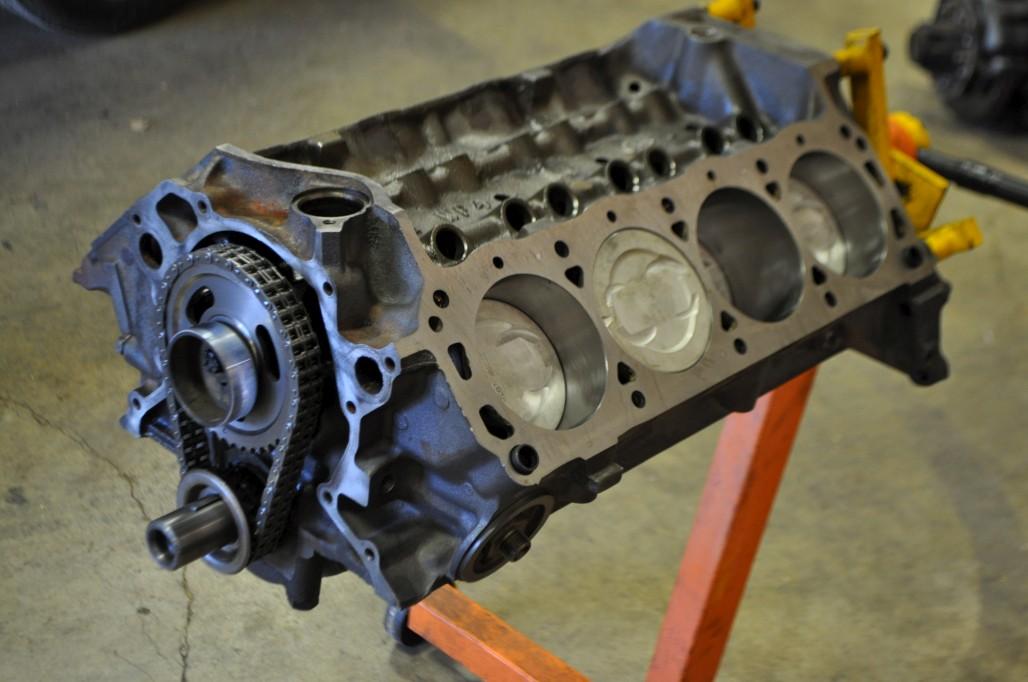
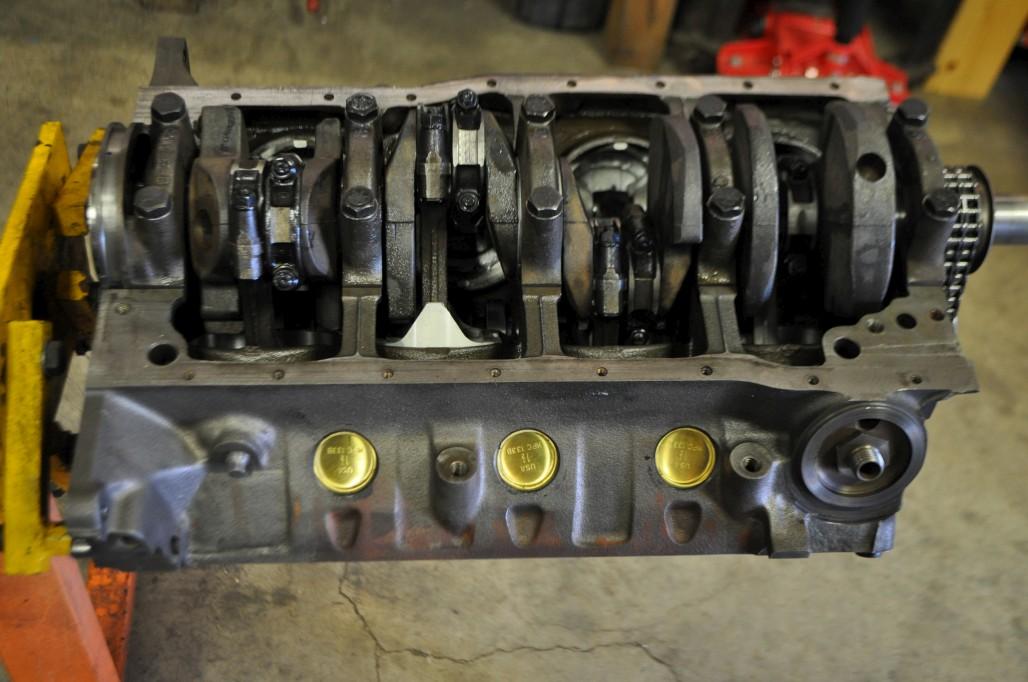
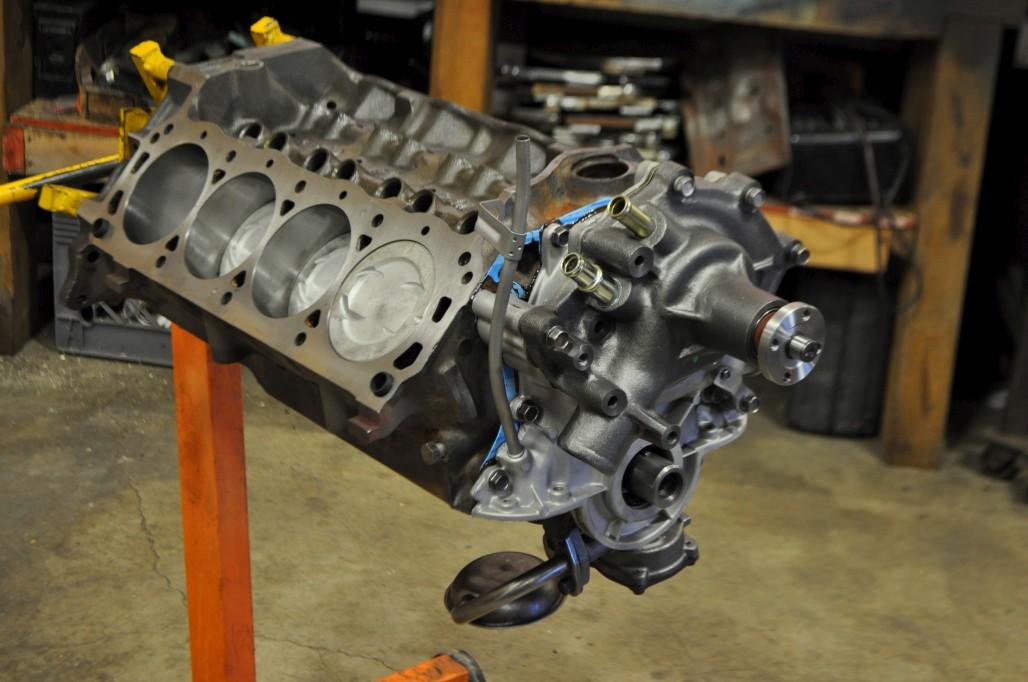
So, on to something a little more fun. I got a call from the machine shop on Friday that my engine was ready to pick up, so I drove out and picked it up. Here is how it looked when I got it:
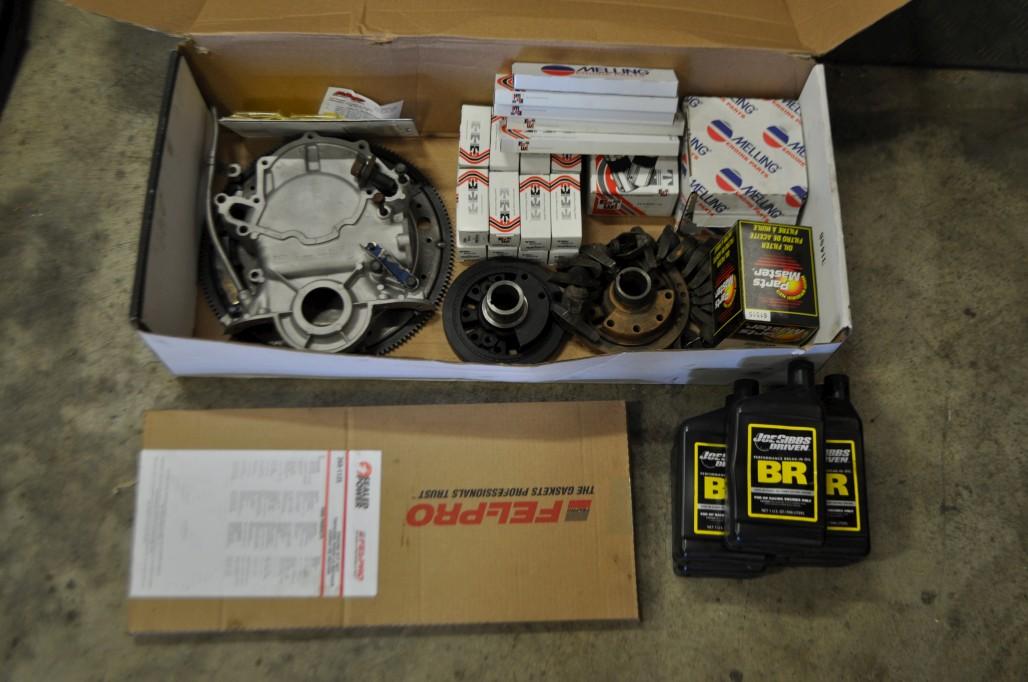
Box of goodies... and some of my old used stuff. He decided to get me a new damper instead of having the original one rebuilt.
I will get some shots of the heads soon, probably when I put them on. For now they are wrapped in plastic, waiting for their moment.
After work last night I started into it, with some help from my coworker Darrell. Thanks Darrell! It's good to have a more experienced dude around to stop me from doing something stupid. This is as far as we got. I cleaned up the oil pickup tube / screen as best I could, which had a bunch of small plastic chunks from the old timing gear bushing (?) embedded under the flat metal portion over the screen. Attached it to the new oil pump, and installed that on the block. Then we did the timing cover, installing the round seal in it, then applying sealer to both sides of the gasket and installing it. It took a little trial and error to find the right bolts and clean them up. Should have kept better track when they were removed. Then we started to put on the new water pump (just a standard cast iron one) but needed to figure out hardware again, and it was getting late, so this is where we stopped.
That's all for now, but I'll be making a little more progress every night this week hopefully. More to come soon! 

So nice in honor of your grandparents.
Posted by Diggymart on 1/3/20 @ 8:04:16 PM