You must be logged in to rate content!
12 minute(s) of a 767 minute read
5-10-2013
Well, I guess I'd better post some kind of update. It's been a while. I didn't do much to the car during the winter months. It was too cold and dark and depressing. But now that the sun is shining and the days are longer, I am much more motivated to get back on it. Here are some of the random things I've done since the last update.
One of the more interesting things is that the engine compartment got painted. I had my body / paint guy do it. Really, I'm sure I could have done a good job myself with rattle cans, but I figured it would be worthwhile to have a pro do the prep work and use a high quality paint and spray gun. Currently I just have crappy cell phone pics, but I will get better ones soon.
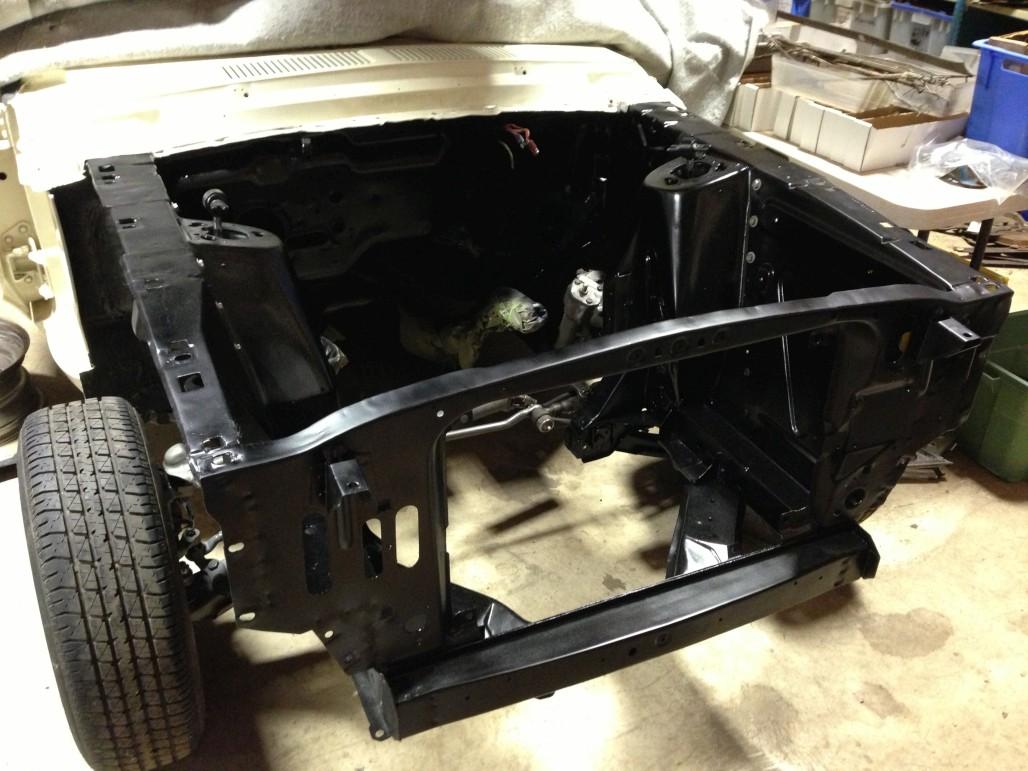
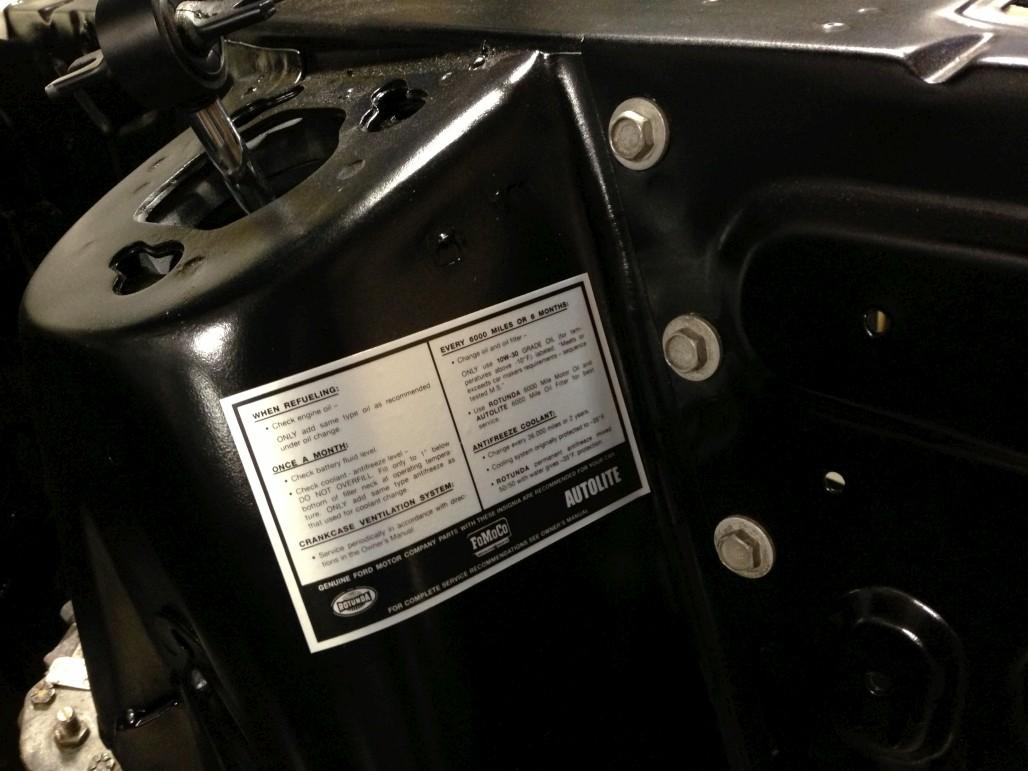
Also went ahead and slapped on the service decal, woohoo! Plus if you notice the bolt heads there, I installed the the spring covers, which I cleaned up, refurbished the original rubber, sprayed with undercoating, and put back together. You'll probably spot them in a future pic, not that it's that exciting.
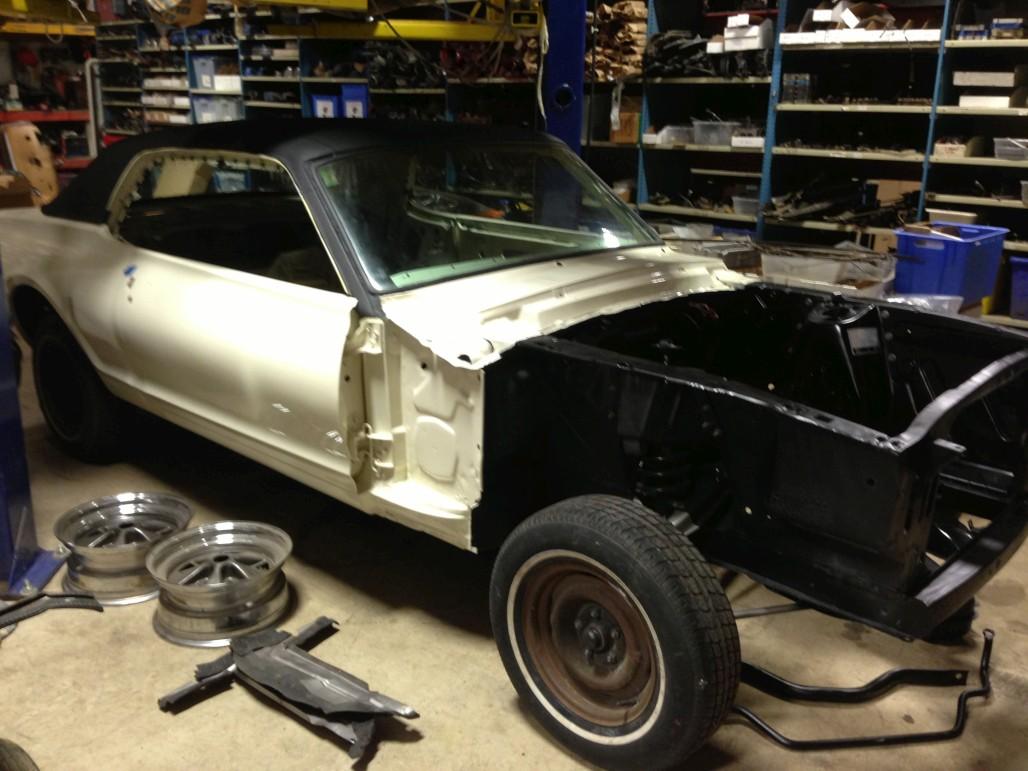
Also, the doors got put on. I need to take a better pic, but this works for now. The bad news is, the body guy didn't bother to use any masking tape or anything, so he ended up messing up his own paint job in a couple places. There is a chip on the front edge of the RH door, and the door sills took a little damage too. Not happy about that, they will have to be touched up.
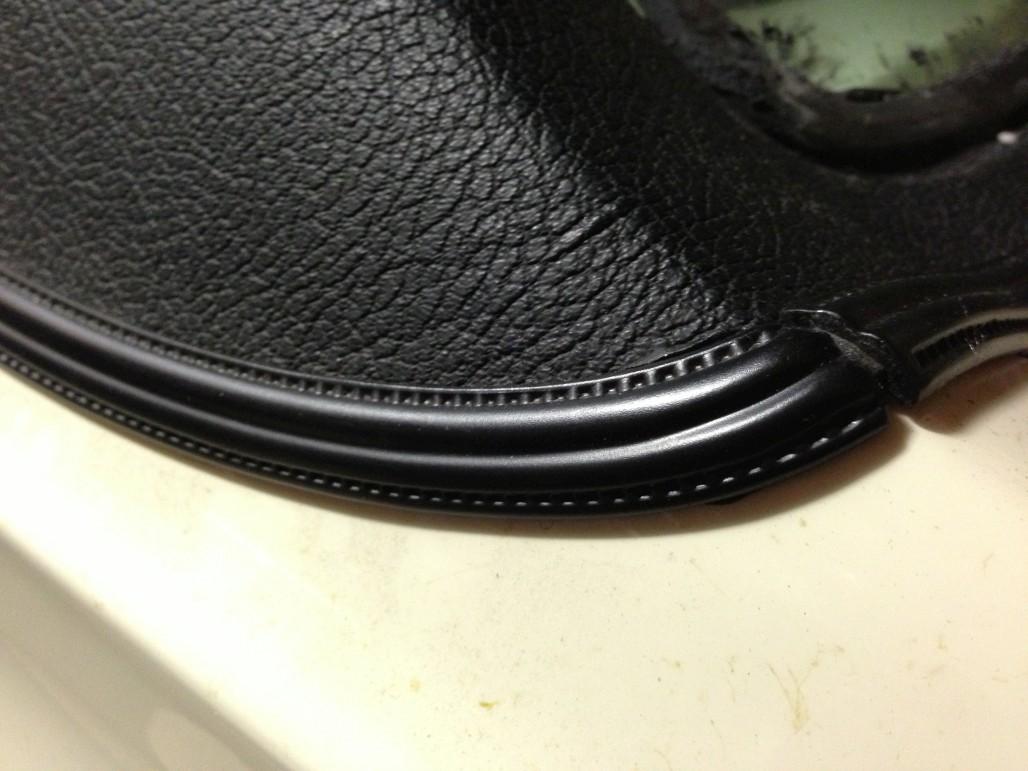
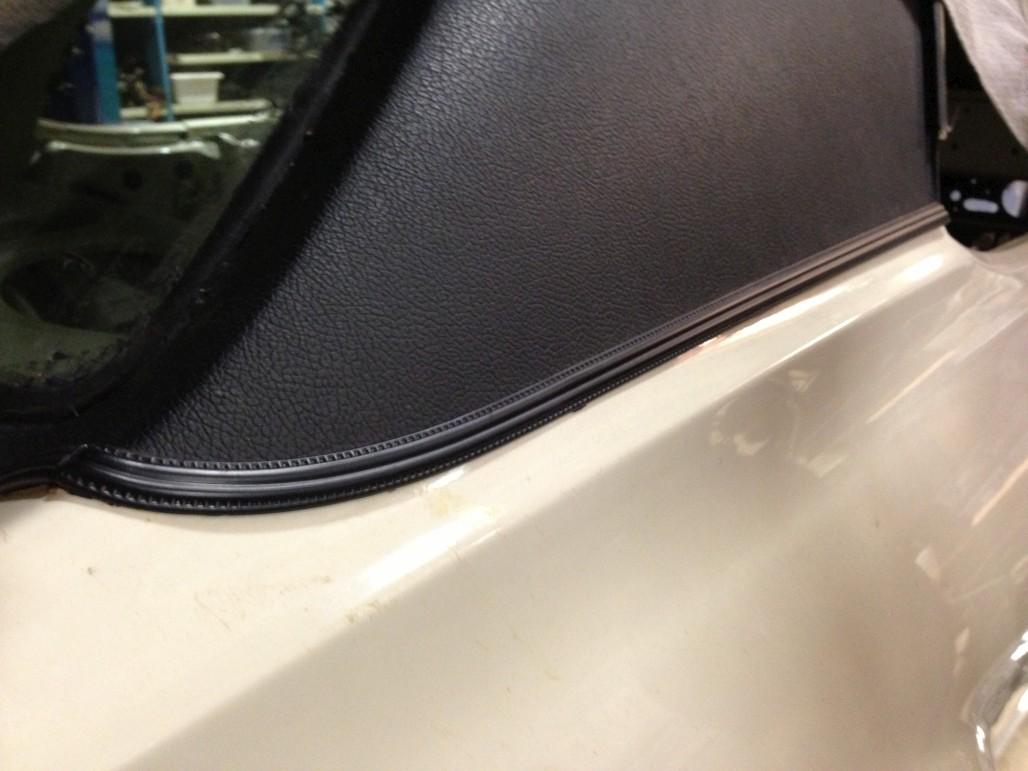
Something else I did was to clean up and paint my vinyl top trim pieces. I actually had to scavenge some other pieces, as mine had mysteriously vanished. I bet Don sold them. That's the danger of keeping your Cougar parts in a Cougar parts warehouse. ![]() Anyway I used SEM Trim Black for the first time and was surprised by how nicely it smoothed out. The can says to spray medium coats, so I did, and didn't get any runs at all. I recommend this paint! (Again, cell phone pics...)
Anyway I used SEM Trim Black for the first time and was surprised by how nicely it smoothed out. The can says to spray medium coats, so I did, and didn't get any runs at all. I recommend this paint! (Again, cell phone pics...)
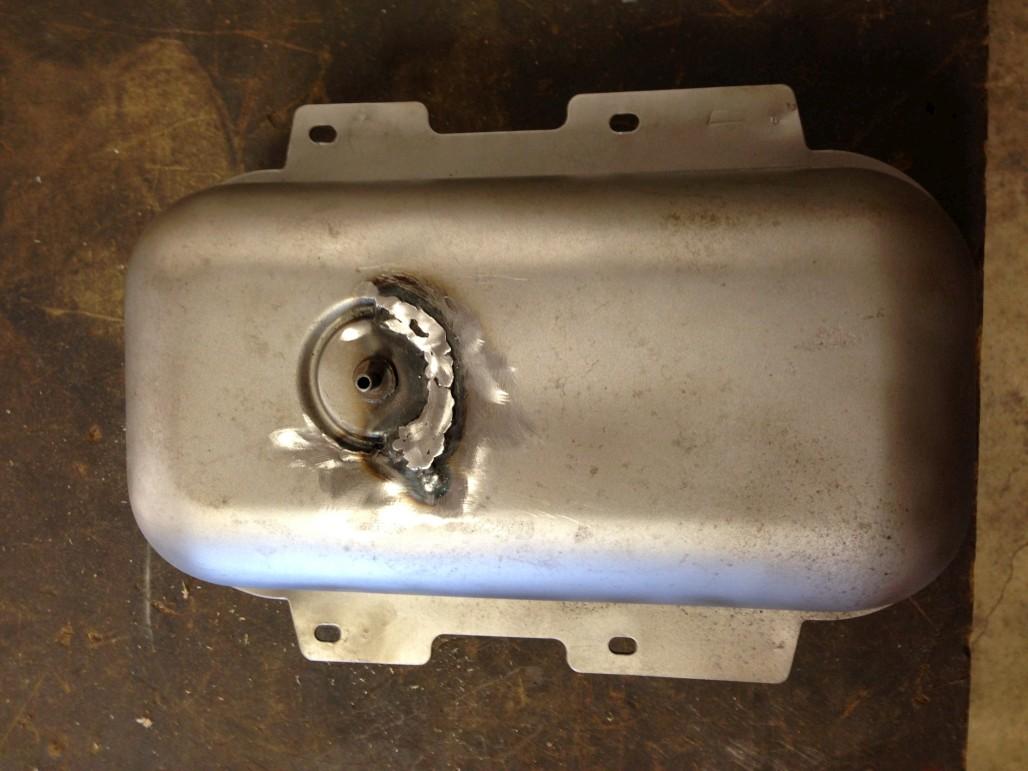
So then I started thinking, hmm I should probably focus on the things I need to clean up / put on the car in the front fender area so that I can get the fenders put on. So one of those things was the headlight vacuum reservoir. Mine was in pretty good shape, as far as not being rusty, but unfortunately it was cracked about halfway around the check valve, and out towards the side. So I sandblasted it and handed it to Felix, the resident mechanic here, and he was kind enough to weld it up for me.
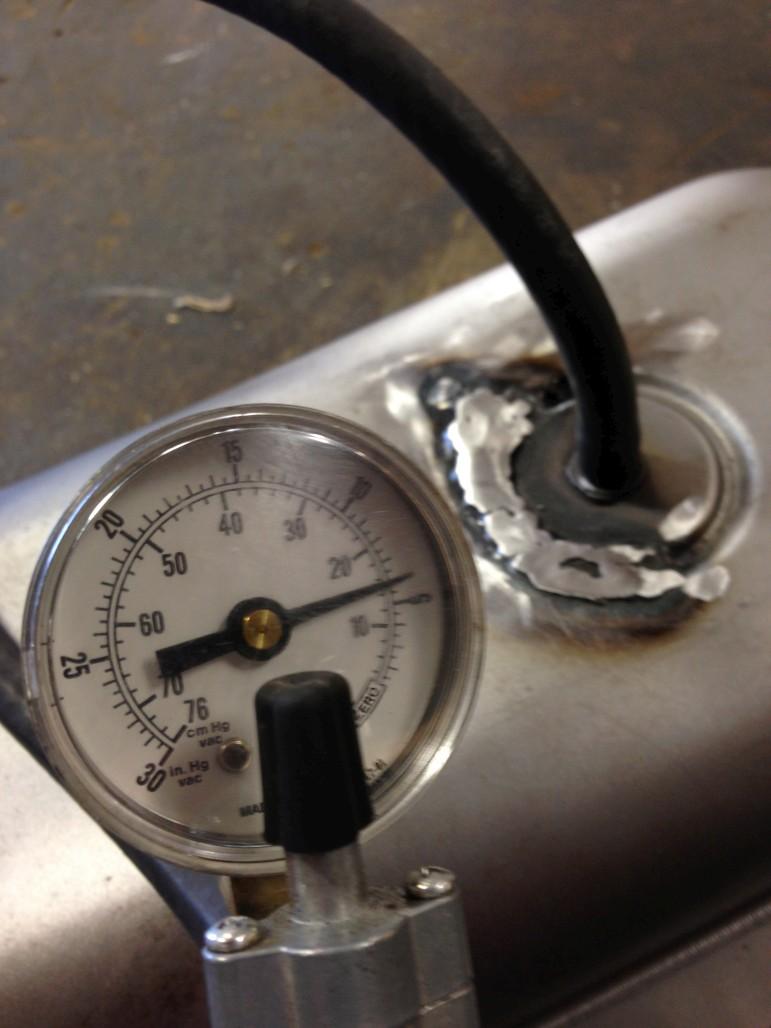
Then, to make sure the repair worked, I hooked up a vacuum tester to see if it would hold 15 lbs for a while. It did.
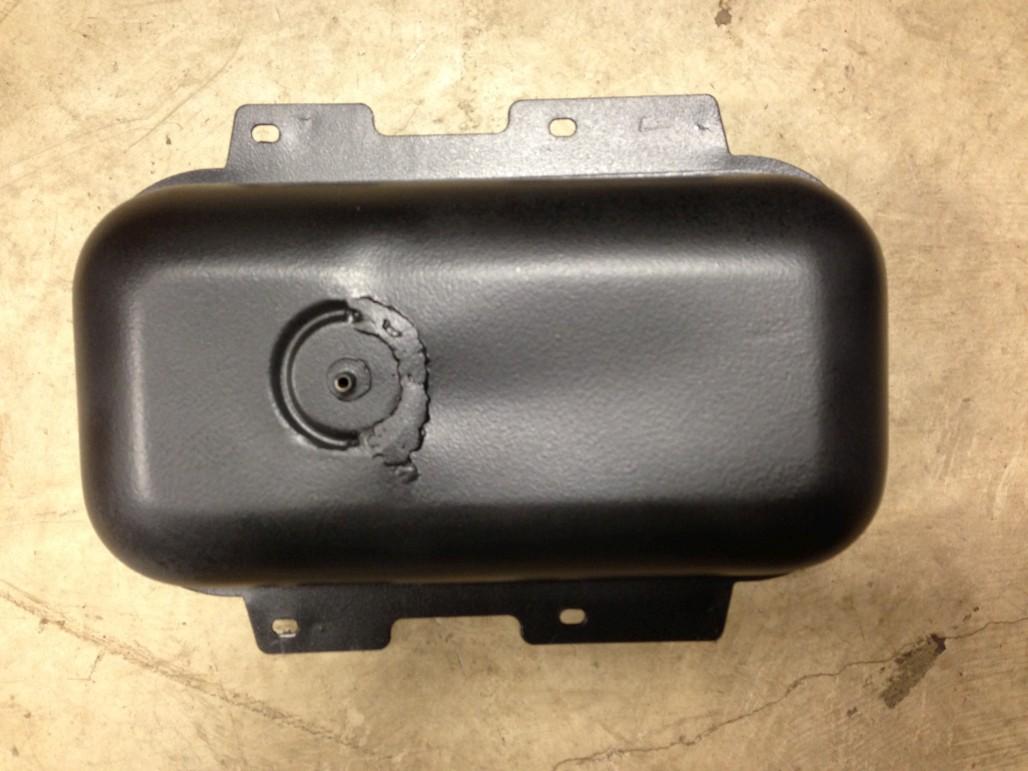
So then I cleaned it, sprayed it with undercoating, and called it good. It may not be pretty but it will work. And it's not something you can see anyway.
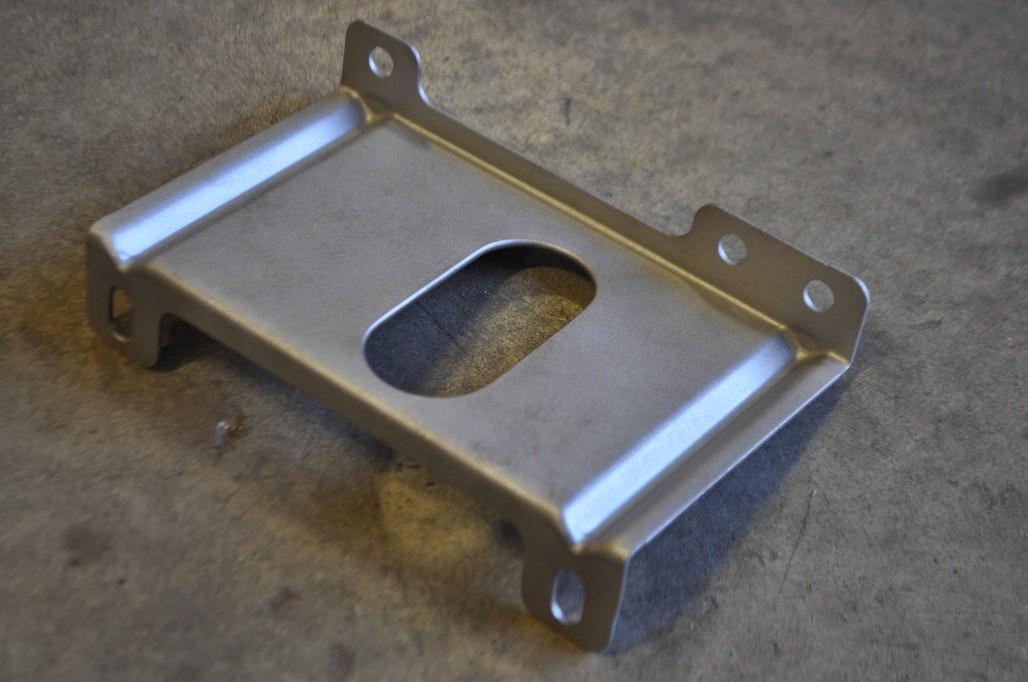
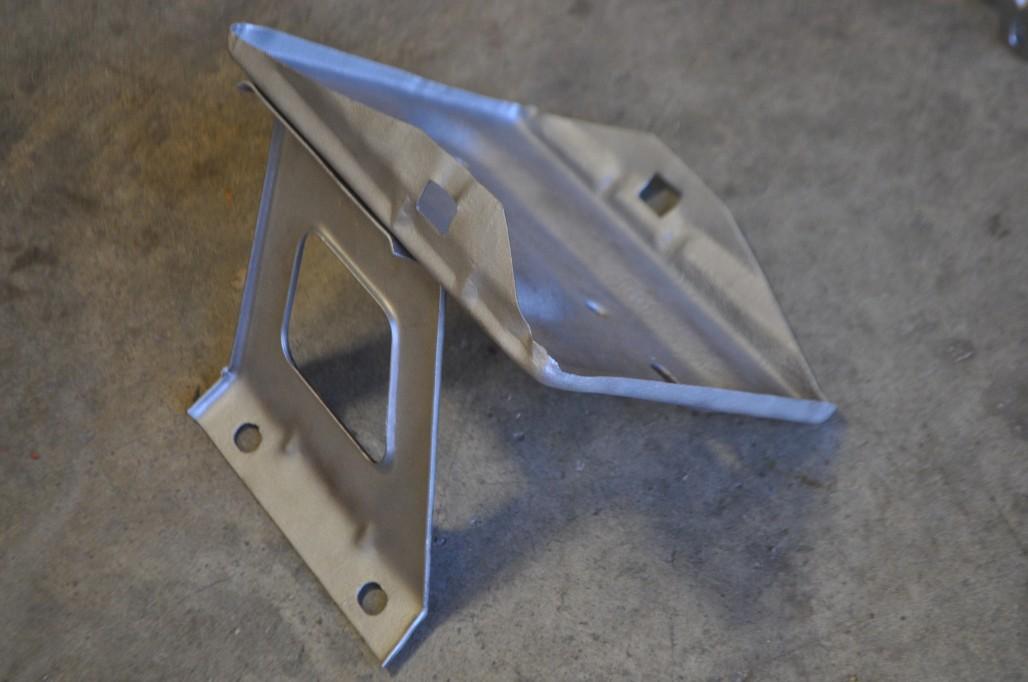
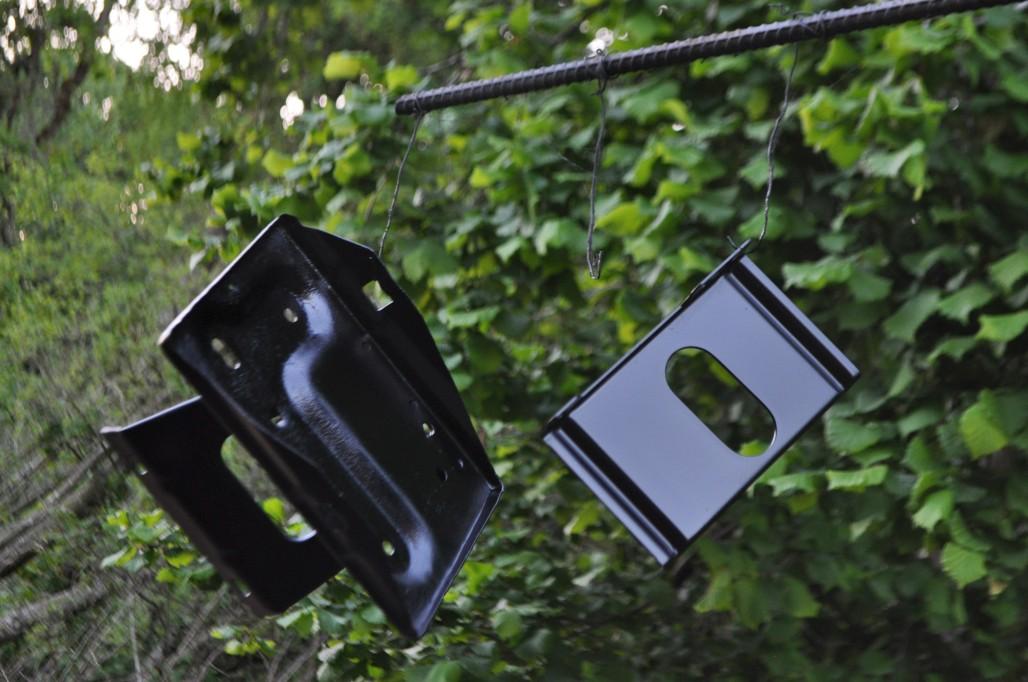
So then of course I had to strip and paint the bracket for the tank, and for some reason grabbed the battery tray at the same time. (Turns out that was probably a waste of time since it was the smaller type of battery originally and it looks like I'll be upgrading to a bigger one, so I'll need a different tray. Oh well.)
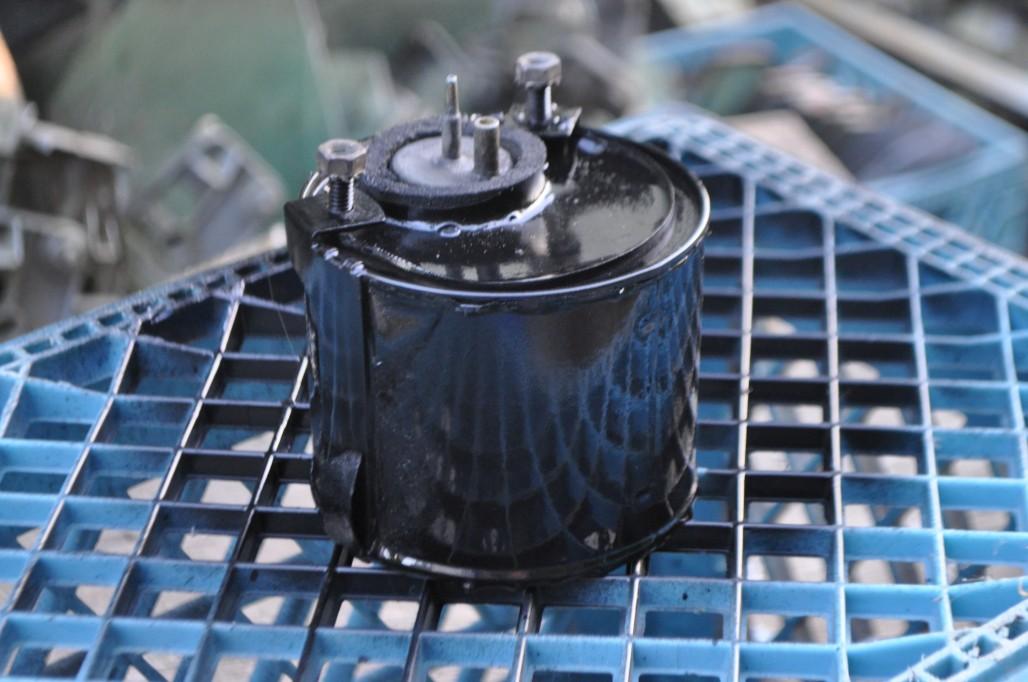
Also, one of those other items that hides under the fender... this A/C vacuum tank thingy. Luckily mine was in pretty good shape, just dirty and tired looking. I tested it to see if it held vacuum (same method as with the headlight vac tank) and it did, so I just cleaned it and sprayed some paint on it just to make it less ugly.
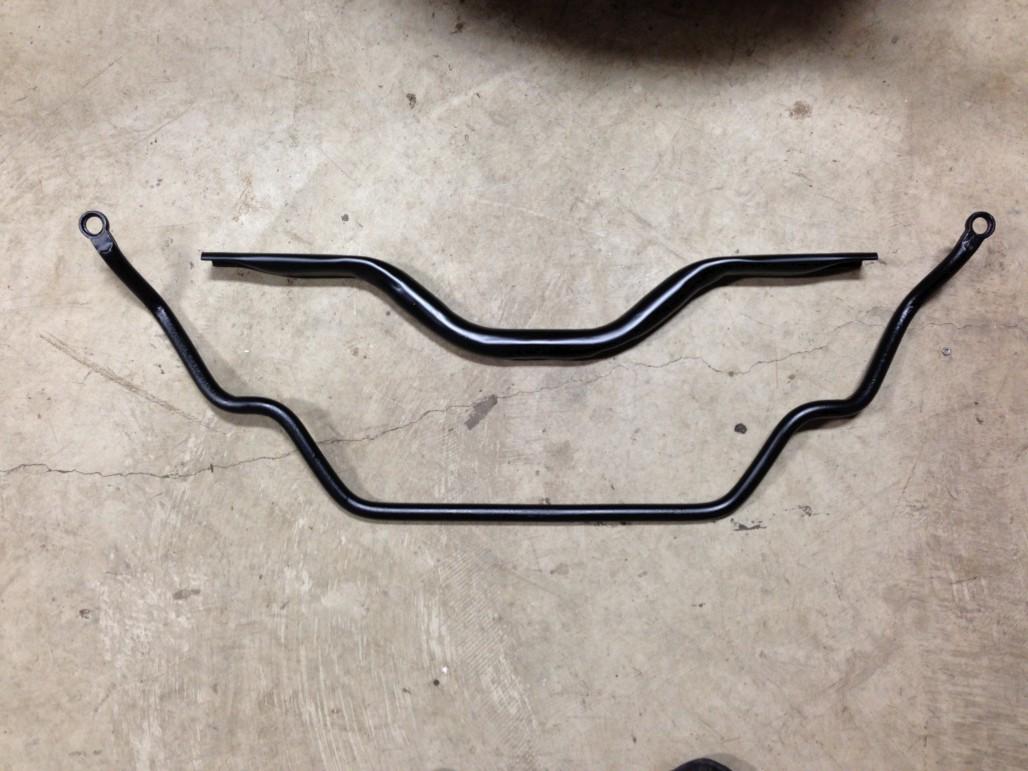
Also stripped and painted my front crossmember (which is now installed, thank goodness I didn't lose the special tapered bolts) and the 390 GT sway bar Don was kind enough to donate. Still need to locate the hardware / bushing kit I got for it... where did I put that?
So, other big items that hide under the fenders: the splash shields. Fortunately for me, my original rubber was pretty good. The only bad part is that the bottoms of the metal brackets had some rot. But I decided that it was not bad enough to affect the functionality of the splash shields, so I went ahead and refurbished them. I separated the rubber from the metal (those are some tough staples...) and sandblasted the metal brackets before giving them a fresh coat of black paint. I also carefully sandblasted the rubber strips to clean them up, then continued cleaning them by hand. Once that was done, I used some galvanized steel wire to replace the staples, re-using the existing holes in the rubber and metal. It wasn't too hard to match up the right pieces to the right place because the staples were done by hand, so they are irregular & unique. Anyway this is the end result. Should have taken "before" pics. Oh well.
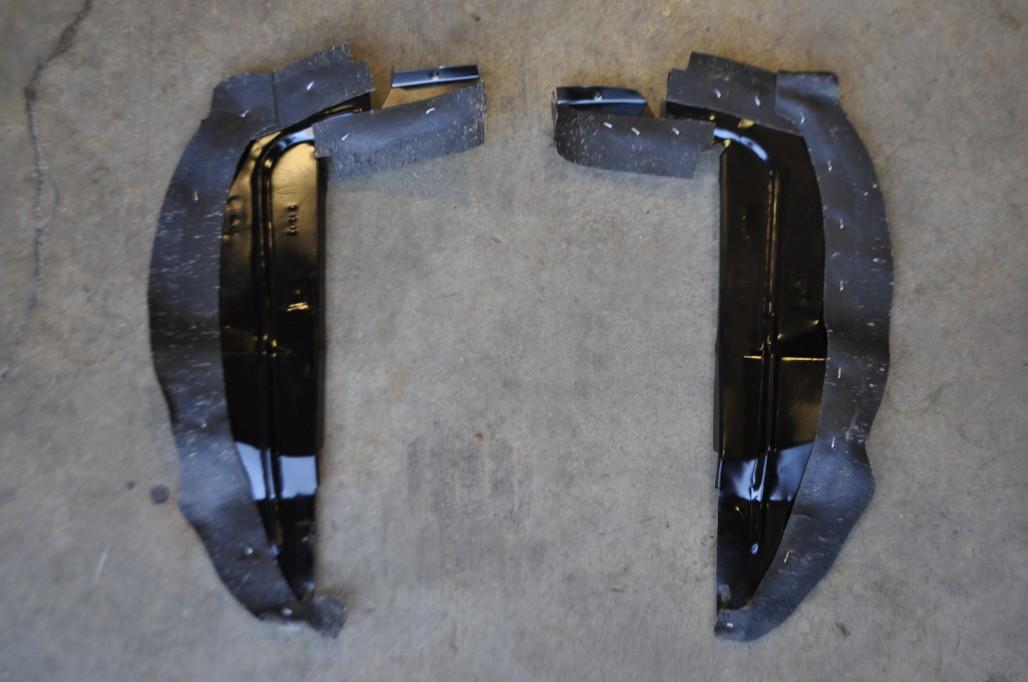
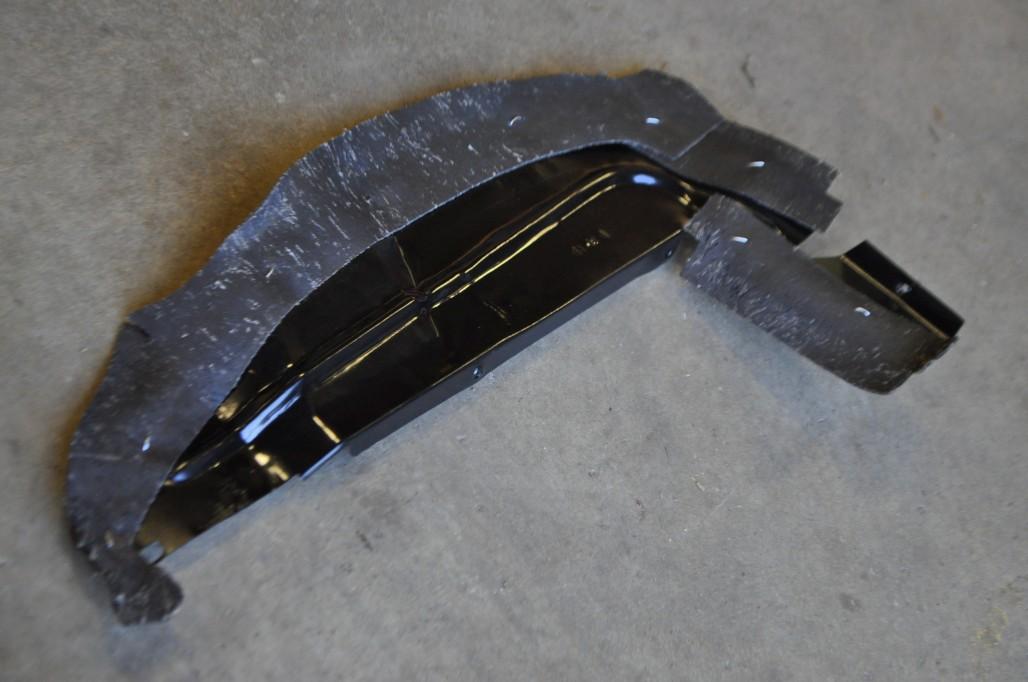
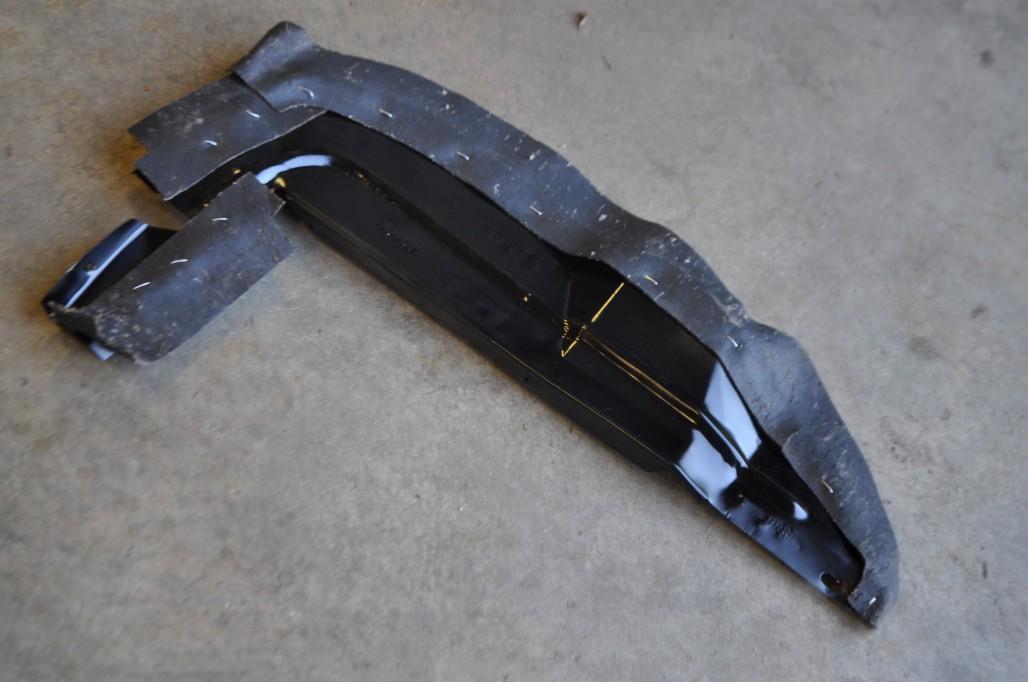
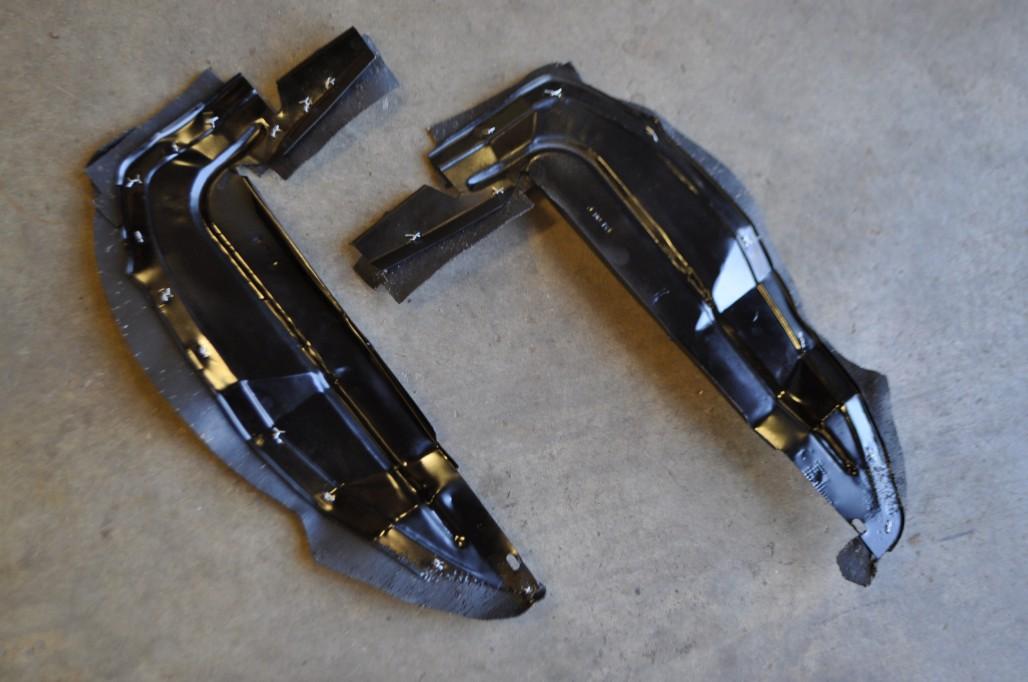
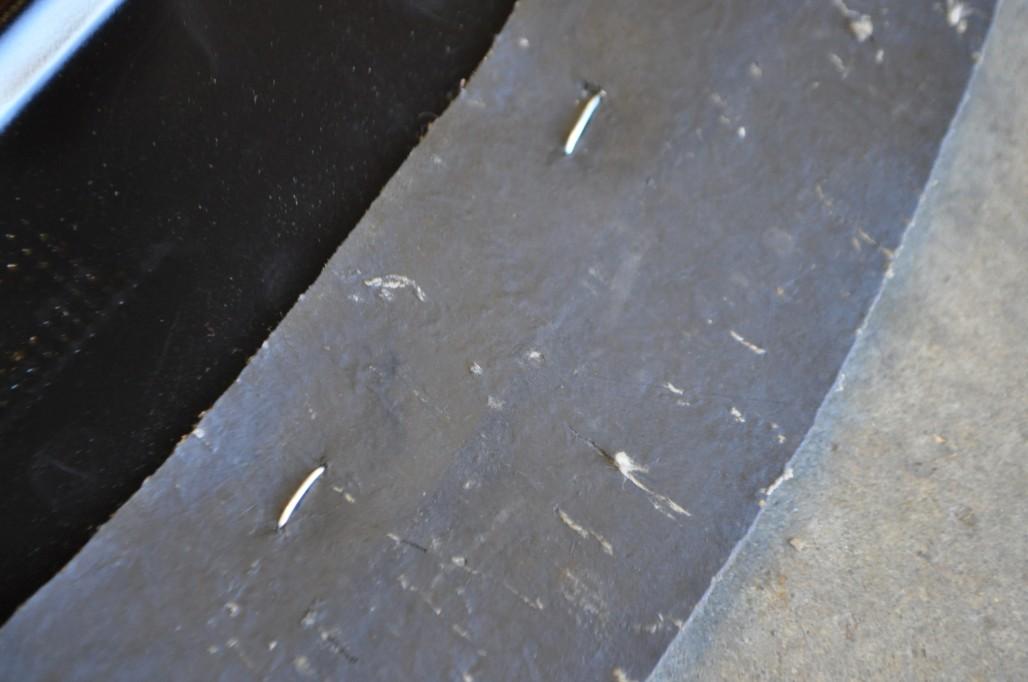
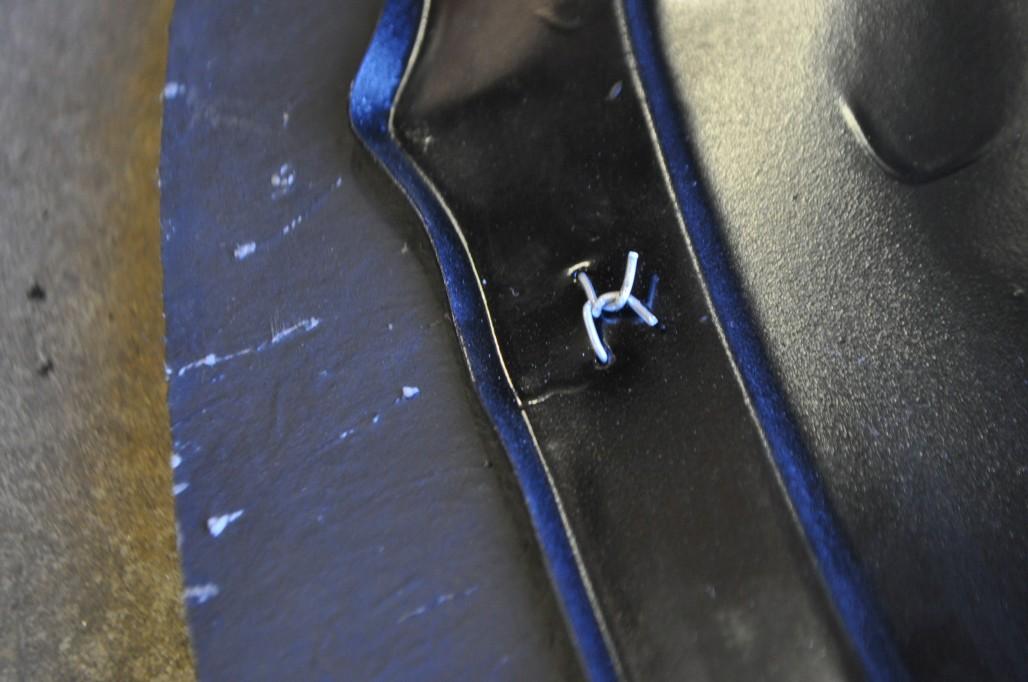
Now I just have to find the hardware so I can put them on the car... I didn't do a great job of bagging + tagging everything, so putting this car back together might be kinda tricky at times. Luckily I'm at the Cougar Mecca.
More to come in next post...
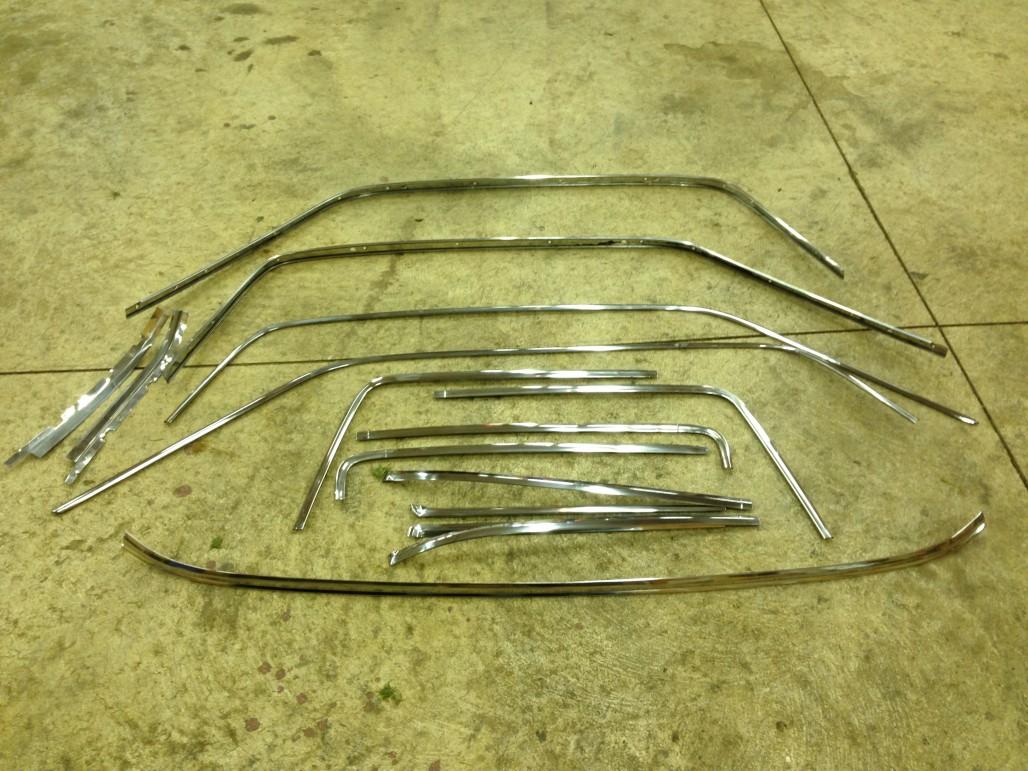
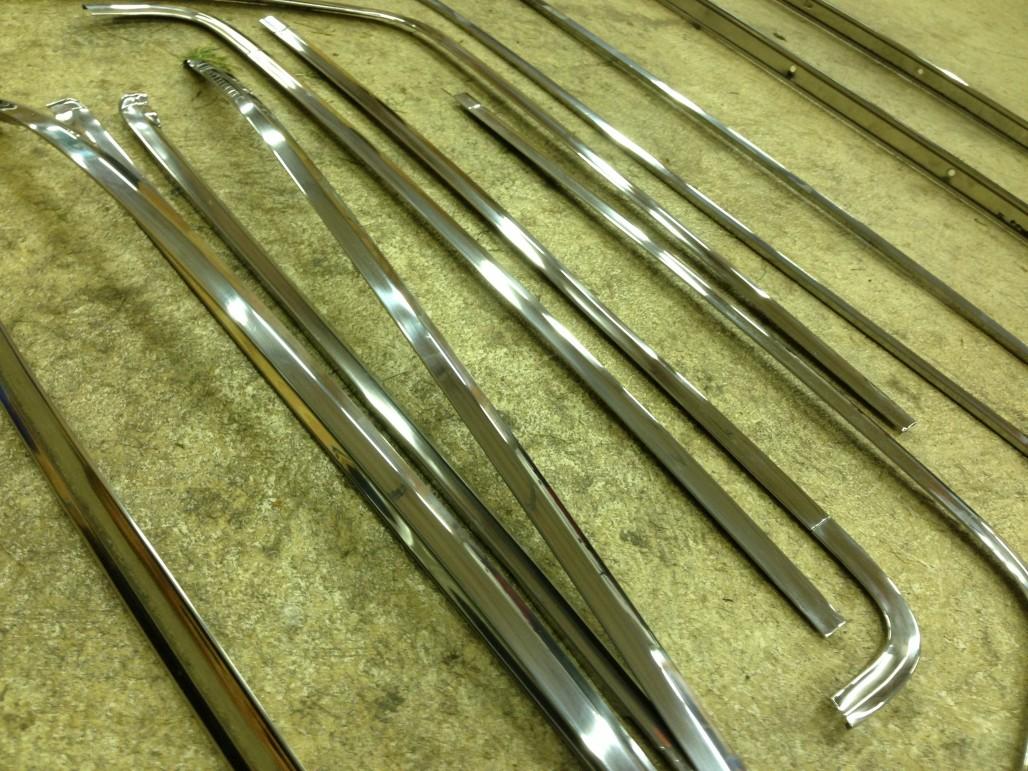
So, another thing I worked on for a while was my stainless steel trim. My original pieces were in pretty good shape, with a few minor dings and scratches here and there. So, I decided instead of spending hundreds of dollars on restored trim, I would just try to polish up my own stuff.
So, with the advice of Brian Aust, who attempted this himself when restoring Gunner, I started wet sanding all the pieces with 400 grit, then 600 grit. After getting them all sanded, I went over to Brian's house 3 or 4 times to utilize his buffing wheel, and to work on some of the dings and other issues. I ended up re-working some of the pieces a couple times. Luckily, I was able to almost completely remove all the dings. Some are still barely noticeable, but much better than they were. FYI - to remove dings, what I did was carefully tap them out from the other side, with a wooden tabletop supporting the front. Then when they were slightly sticking up on the front side, I sanded them down with a wooden stick for support, starting with as rough as 180 grit dry, then 220 dry, then 220 wet, then 400 wet, then 600 wet. Anyways, it took a lot of work and trial and error. Then of course I buffed all of them on the wheel using whatever compound Brian had leftover from his polishing days. I ended up with some nice shiny trim that doesn't quite look as mirror-shiny as the professionally restored trim we sell, but I'm pretty happy with it. If you look closely you can see some sanding lines parallel with the trim, so they have a slightly "brushed" look to them, while still being bright and shiny. If I would have continued on to 800 wet, or 1200 etc before buffing, I probably would have ended up with a more mirror-like shine. Oh well, I was tired of messing with them. It took a long time. And I'm happy enough with them for now.
Here's what they looked like after sanding:

Here's a ding that I ended up working on and pretty much eliminating (before):

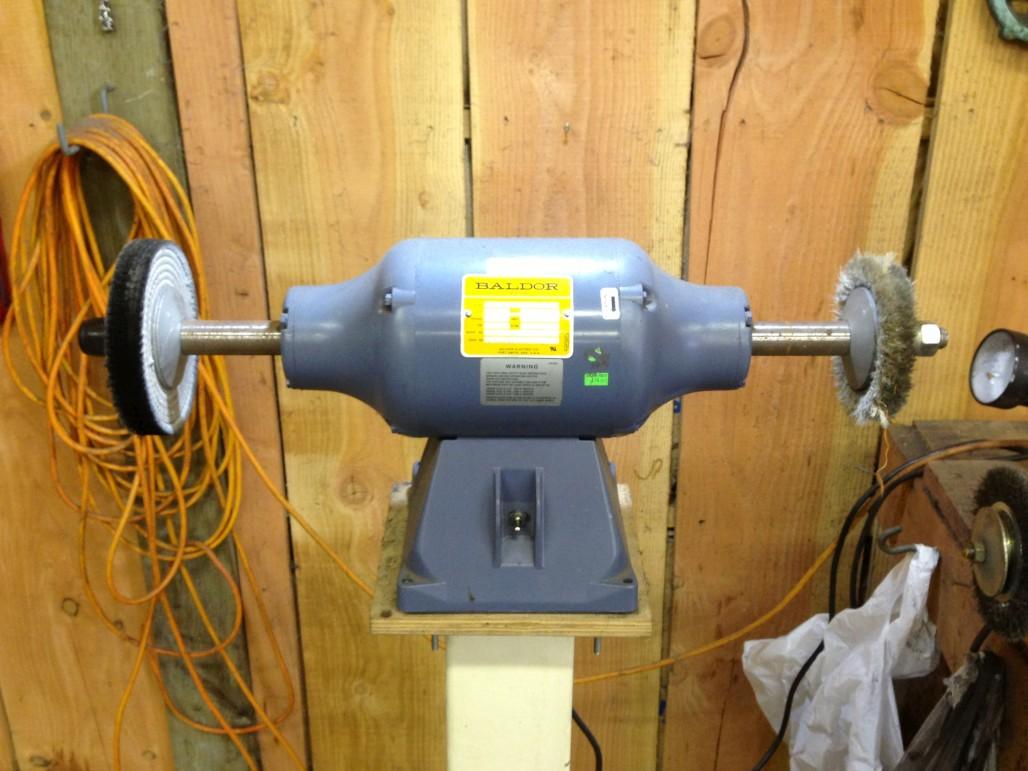
Here is the beast... spent some solid time in front of this wheel.
And finally here are some finished shots. You'll notice the "brushed" look I'm talking about on the closeups.
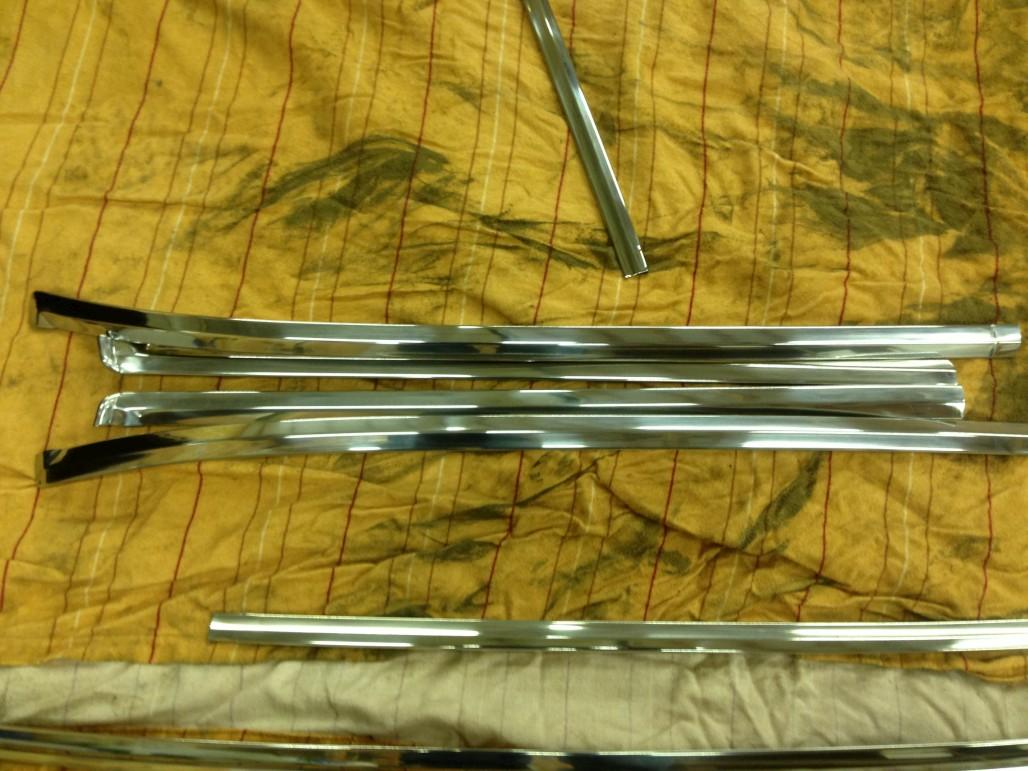
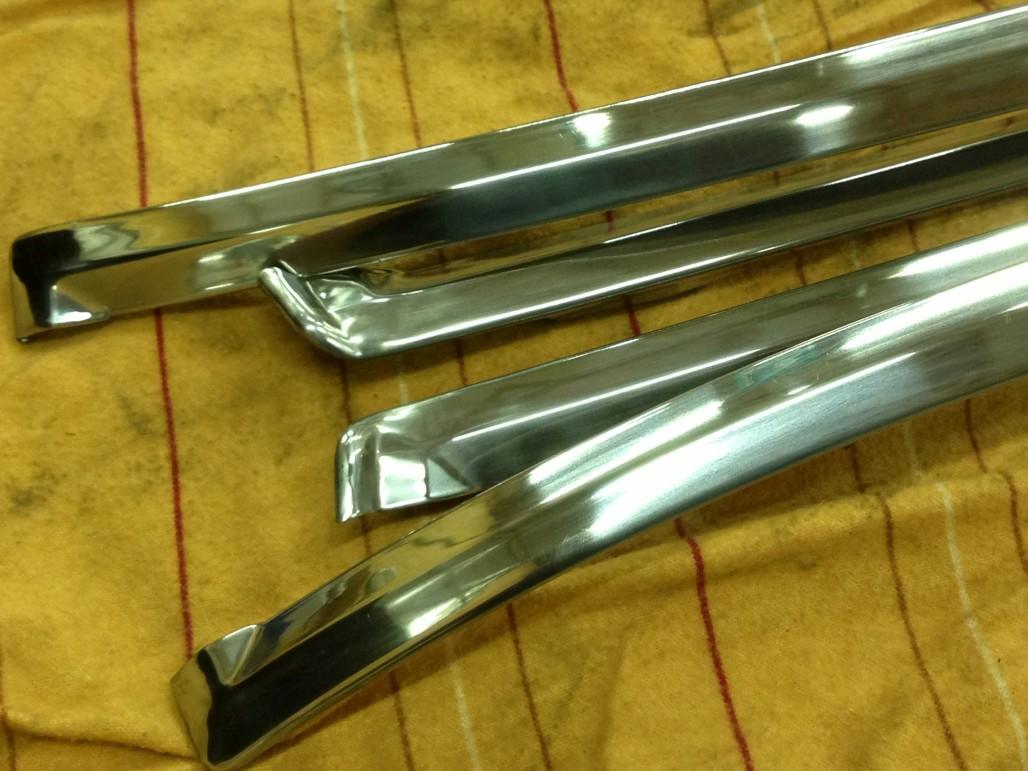
I want to say thanks again to Brian for the help and hospitality. It was fun to drive out to Silverton and hang out at his shop and eat his wife's food. Good times, and good progress. That's what it's all about.
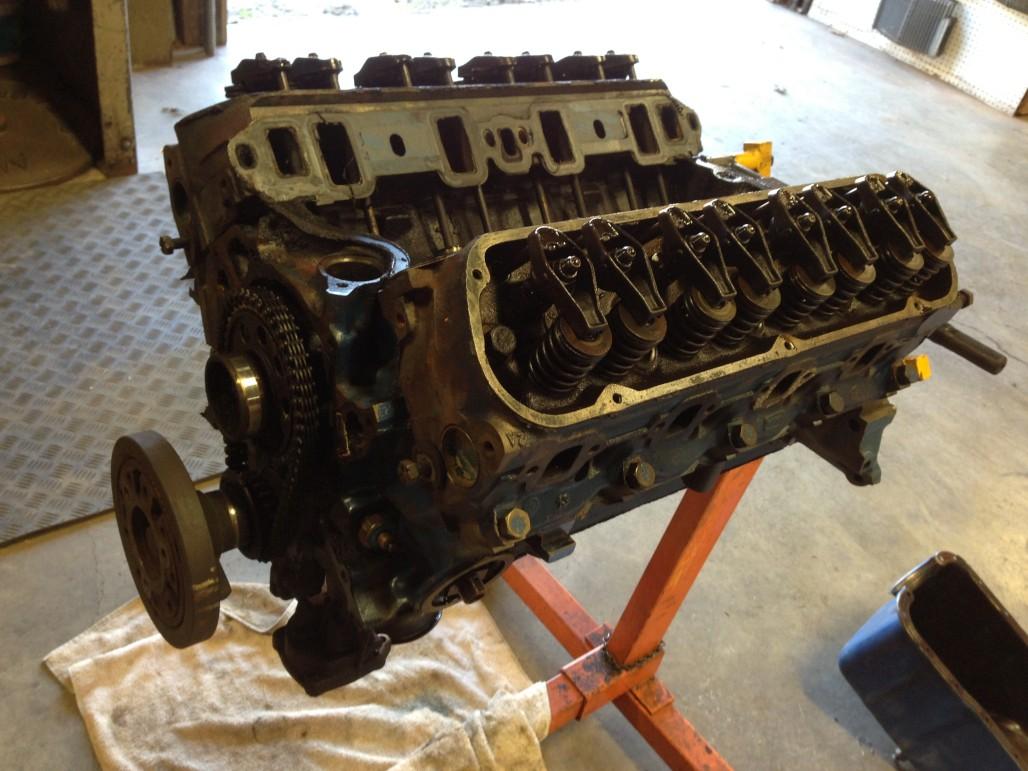
Finally, the last thing I'll talk about in this update - the engine. Just a couple weeks ago I bit the bullet and took it down to a reputable machine shop in Albany, OR. The guy has done work for Don before, including a CJ or two. Anyway he's going to do a complete short block rebuild on my 289. I'm keeping it 2V, just because I consider this car a driver / cruiser and am not too worried about making big power, though I would obviously love for it to have more guts. A stock 289-2V is rated at 210 h.p., and I asked the guy "what kind of horsepower do you think we'll get out of it when you're done? Around 240?" He just smiled and said "that's conservative." He is going to balance it, put in an upgraded cam (nothing crazy) do a 3 or 4 angle cut on the valve edges for smoother airflow, and so on and so on. Sounds like he knows what he's doing and I'm that much more excited to get it back in the car and find out how it runs before too long.
Anyway here are some "before" shots. This is the short block before disassembly.
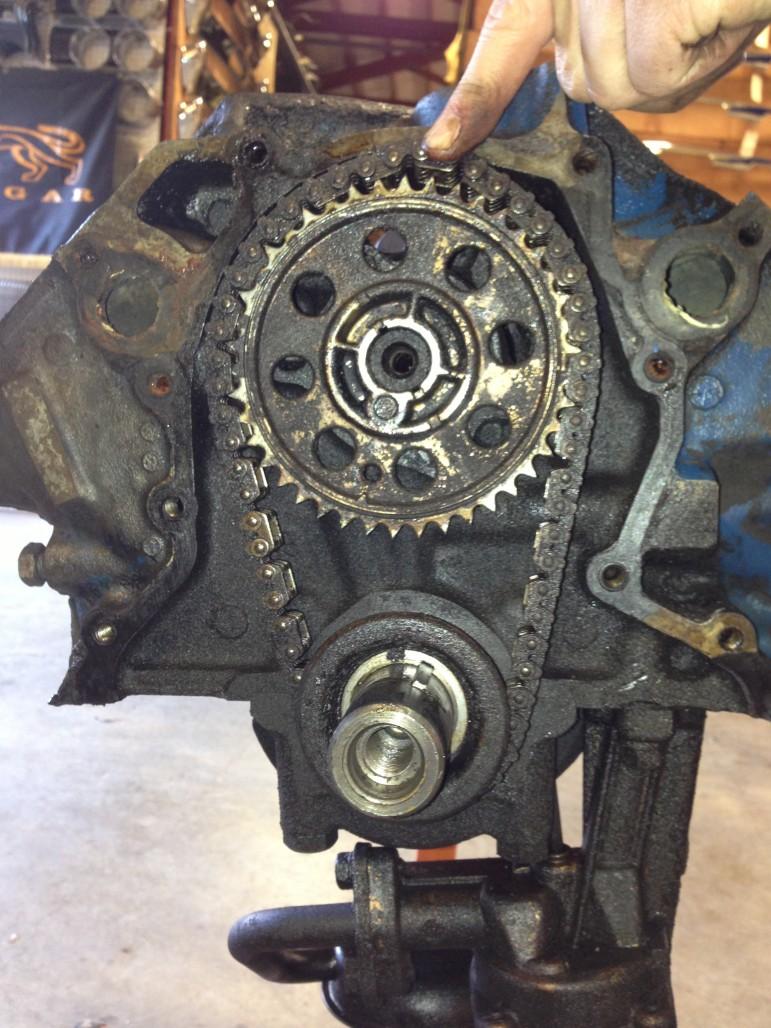
Check out how loose my timing chain was. I'm surprised it didn't skip a gear. Finger courtesy of Scott Behncke (CougarCJ).
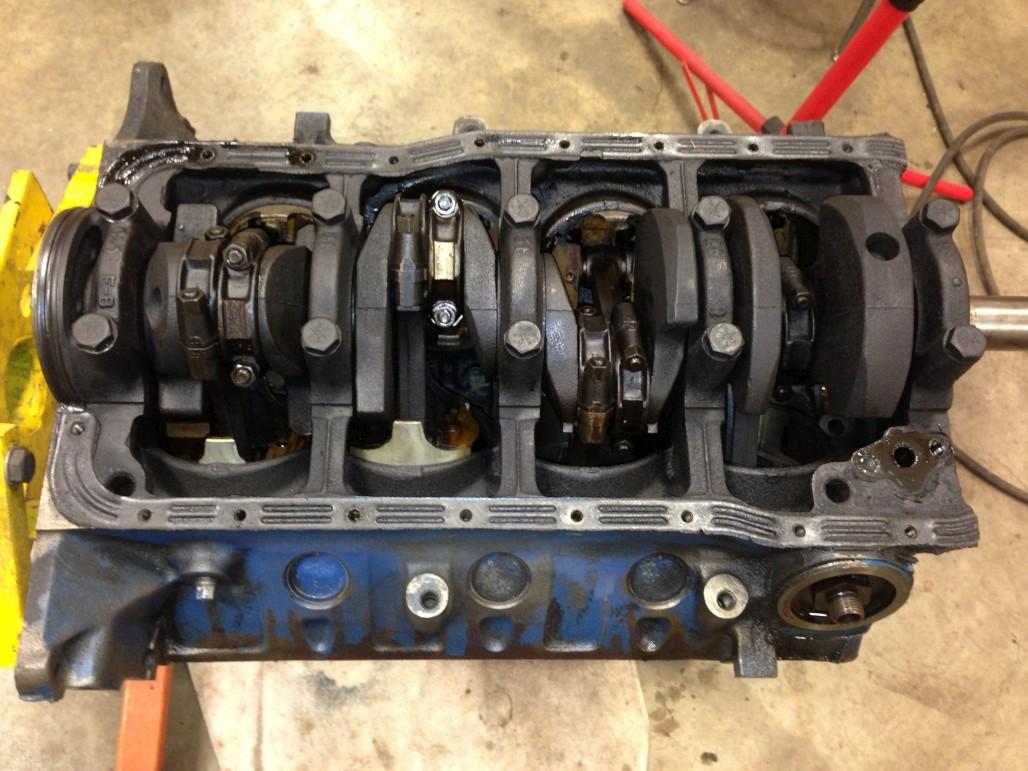
Heads off. Plenty of carbon on the pistons. Don't worry too much about the rust in that one cylinder, it's most likely from when I steam cleaned the block after yanking it from the car. In hindsight, that was unnecessary.

Bottom end:
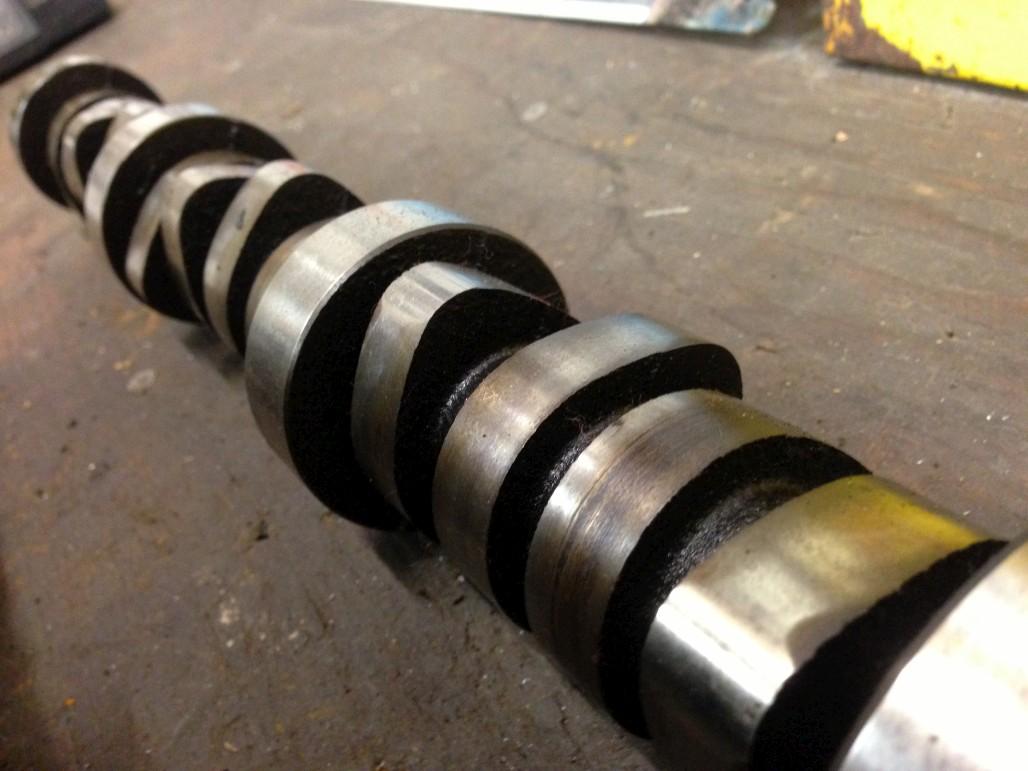
...And the old cam.
I forget if I mentioned this before, but my engine was actually a 302 block with 289 heads. Supposedly that was a pretty common thing at the time.
Anyway, that's all for now. Things are happening. Like a slow-moving freight train, I will keep chugging away a little at a time until I get there. It just might take a while. Thanks for the interest, and I'll be posting a couple videos soon!

So nice in honor of your grandparents.
Posted by Diggymart on 1/3/20 @ 8:04:16 PM