You must be logged in to rate content!
4 minute(s) of a 767 minute read
10-15-2012
10-15-2012
Time for an update.
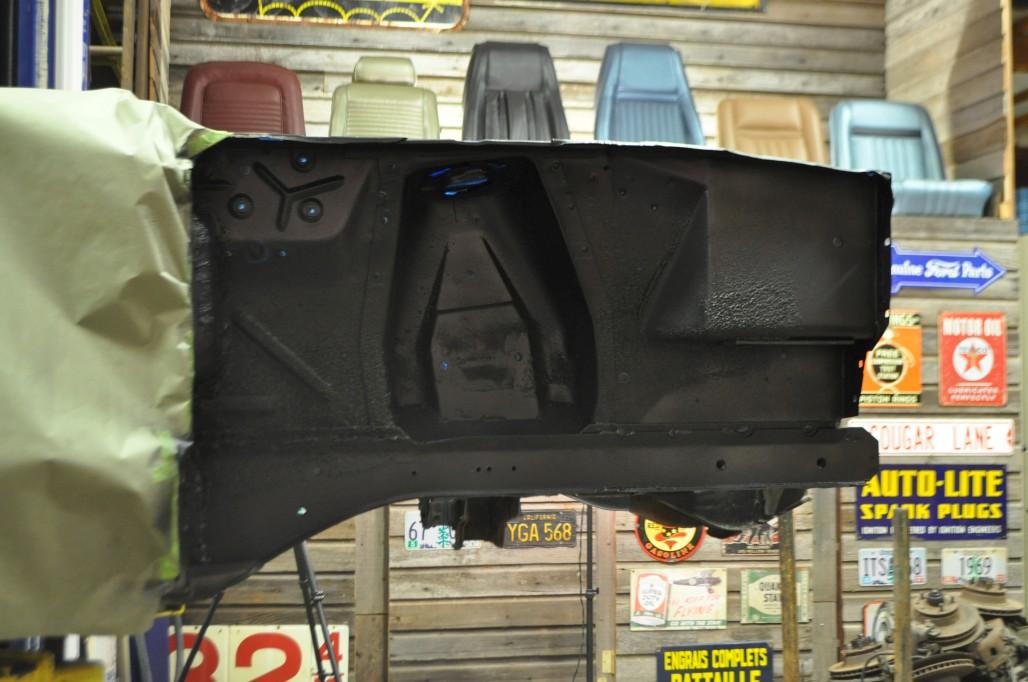
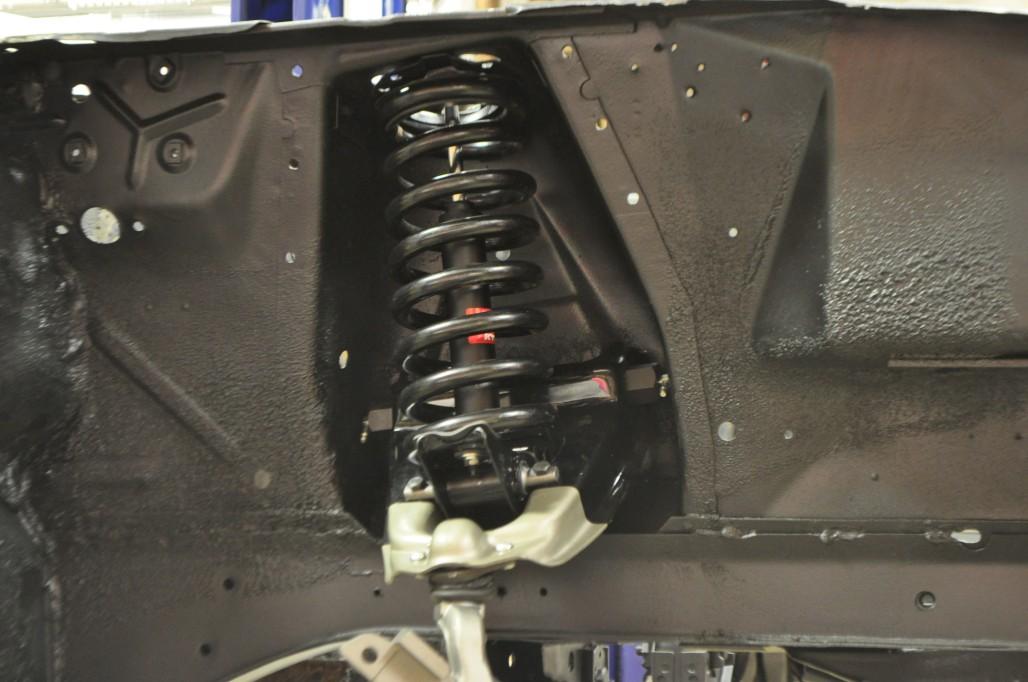
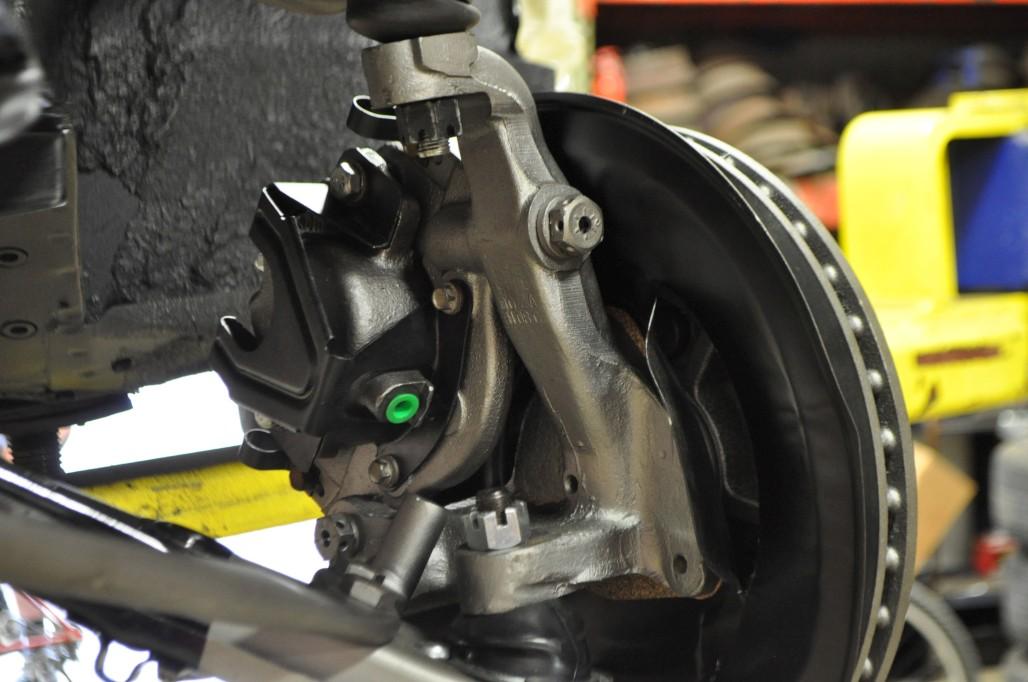
Naturally, now that the front end was completely empty, it was the perfect time to throw on some fresh black undercoating. The original stuff was still stuck on there pretty good, so all I really did was clean / degrease the whole surface, mask off, and spray the new undercoating over the old.

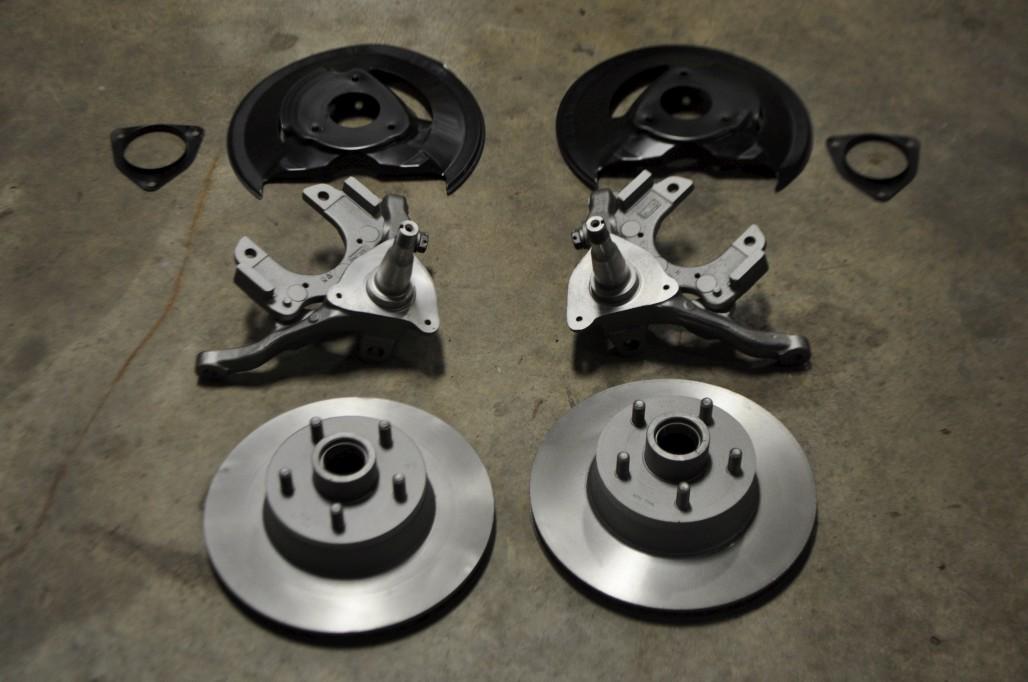
Also, I got to work on cleaning up the new brake parts. The rotors are new re-surfaced and I even painted the centers and outside edges so they don't get rusty again. Also painted the spindles and dust shields.
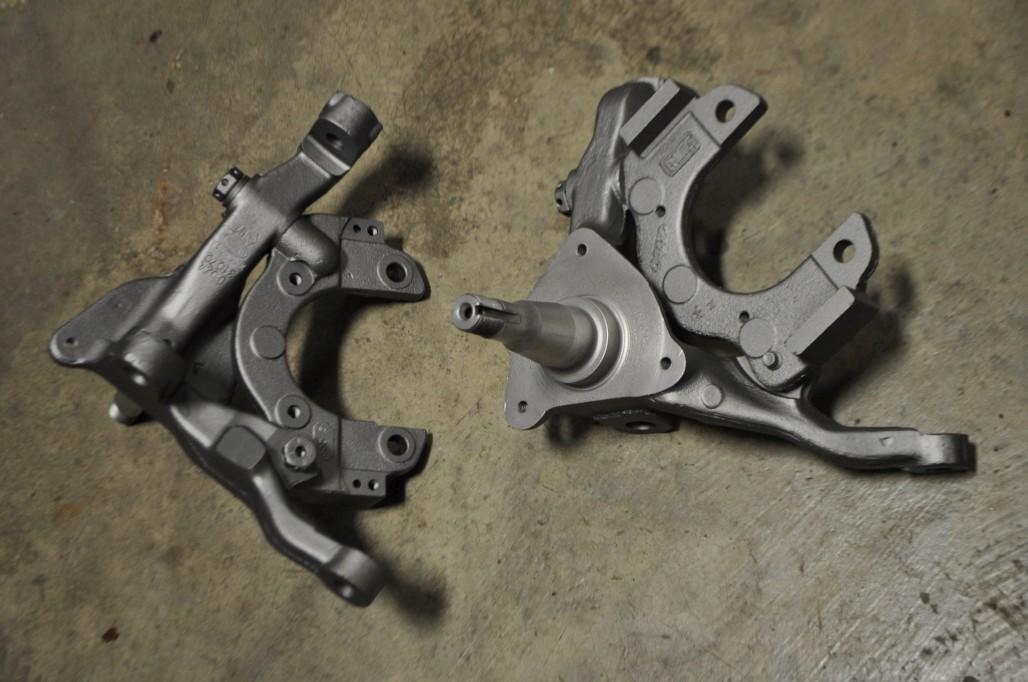
I used leftover exhaust paint on these and love the results. You can hardly tell that the central shaft and flat area are still bare metal, and the rest is painted.
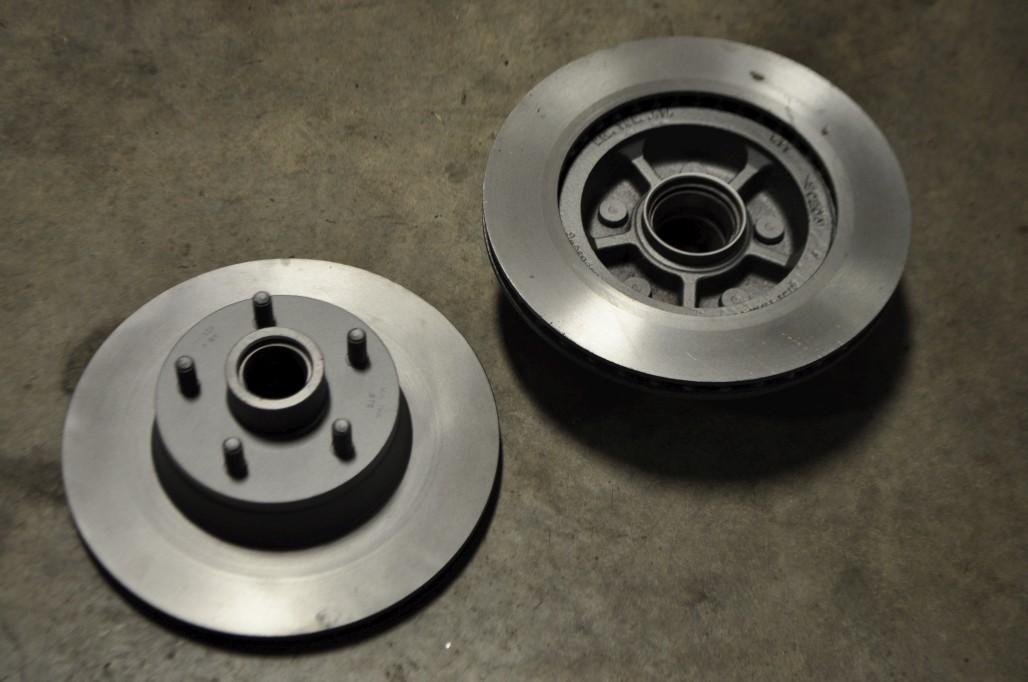
Same on the rotors. Even painted the back side because I'm crazy like that.
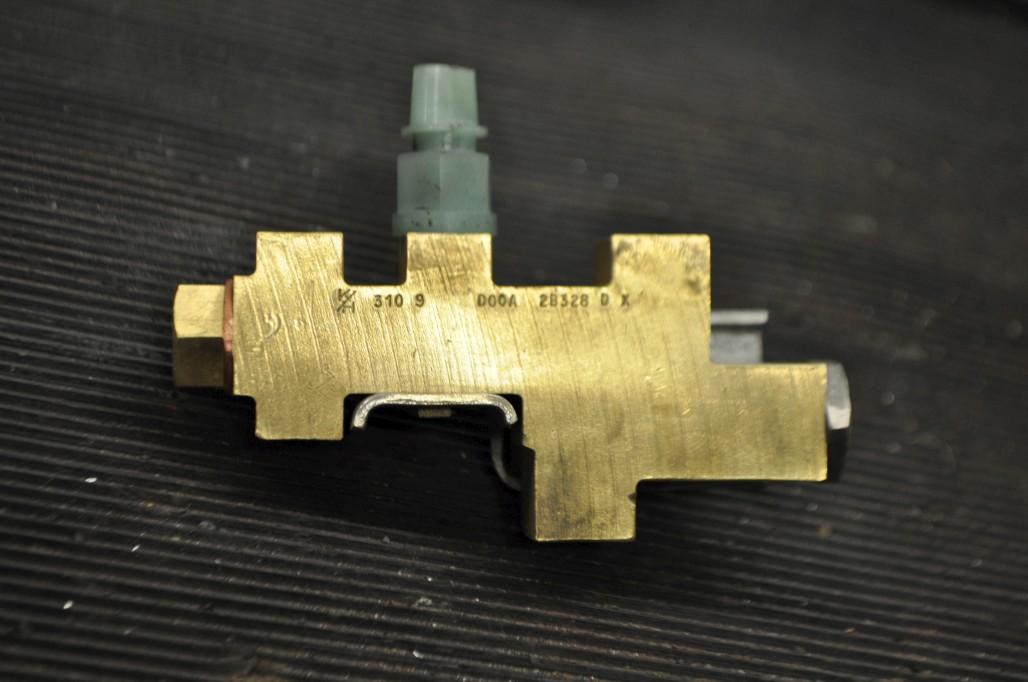
Here's the dist. block cleaned up externally, though I still need to pull it apart and replace the seals. Don't know for a fact that I need to, but "While I'm At It..."
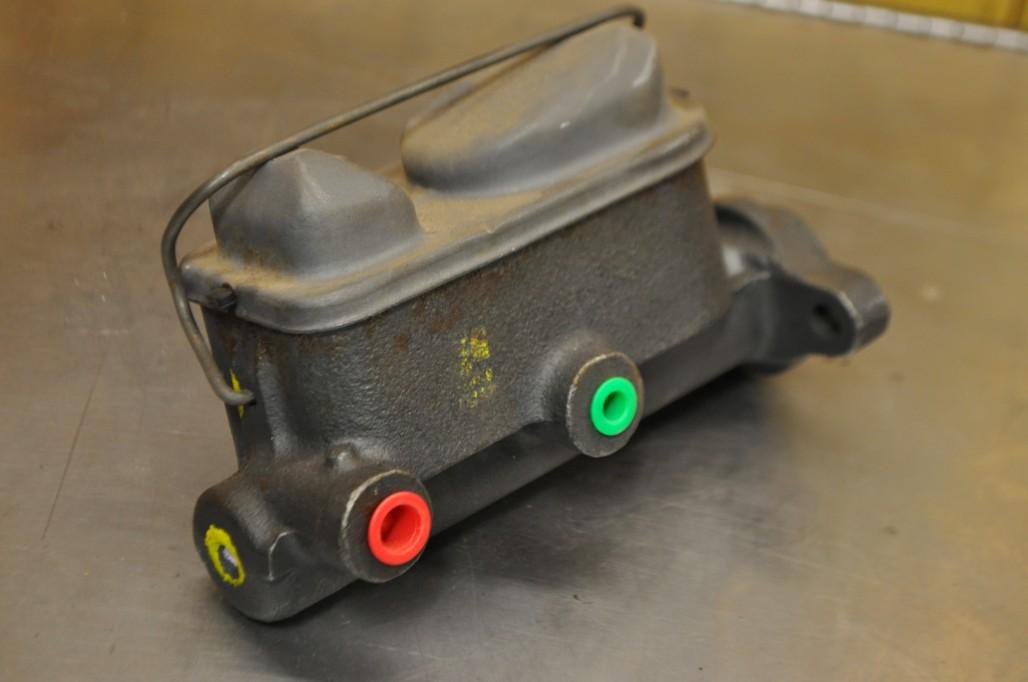
And here's a "new" MC that I got a good deal on because it's been sitting on the shelf forever:
So, before I started putting the brakes on, I needed something to attach them to. That meant it was time for new upper and lower control arms, spring perches, springs, rubber isolators, and shocks. The springs are the 1" lower Scott Drake "performance" ones, and are a little thicker steel than the originals. Hopefully they aren't too harsh. The shocks are pretty ordinary KYB's, basically a stock replacement (looks like I need to update the pic for the website, it shows a gray one, but they are black now). Oh, and don't forget to do the 90 degree grease fitting adapters on the upper control arms if you ever want to grease your suspension.
This weekend I got the driver's side brake put together. I exchanged my core calipers for rebuilt ones and got the semi-metallic pads. Did this side first to figure out how to do it, then I'll do the other side in the video ![]() Somehow, I think what took the longest was installing the little rubber insulators. The bolts kept wanting to push them out the other side. Kind of annoying, but I got 'em eventually.
Somehow, I think what took the longest was installing the little rubber insulators. The bolts kept wanting to push them out the other side. Kind of annoying, but I got 'em eventually.
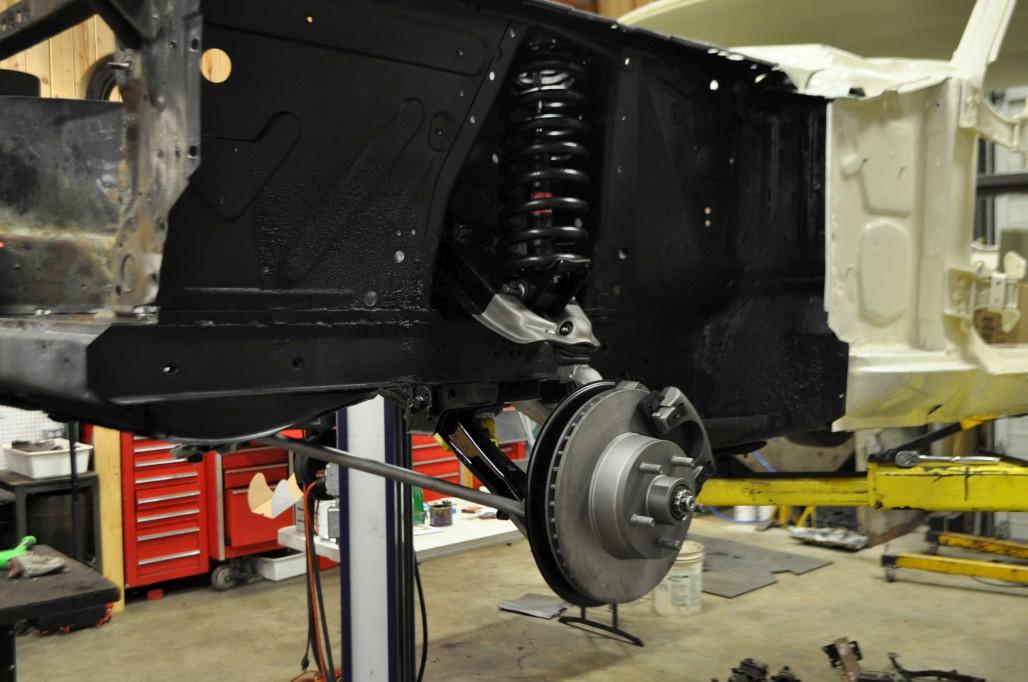
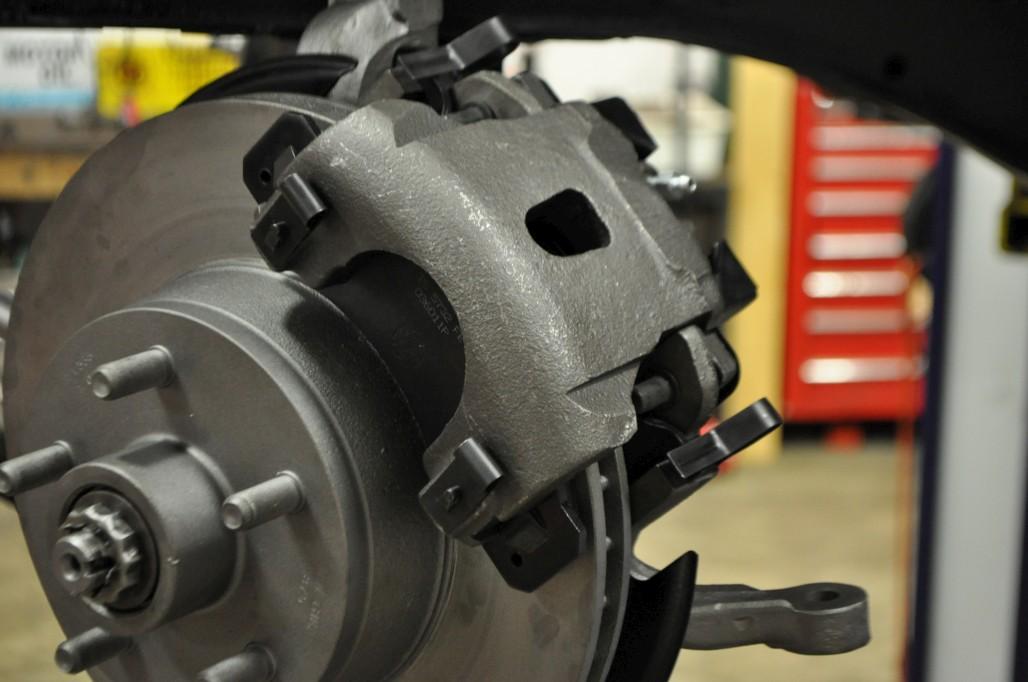
(I know, I still need to install the cotter pins)
Stuff is looking gooooood! One thing I realized is that I'm finally at the point where I'm putting stuff ON the car instead of just taking things off! It's a big turning point... Also in the works, I've been cleaning up / painting the steering linkage stuff, struts rods, etc so they look presentable as well. Had to get a new idler arm too because mine was a little wobbly. Anyway, hopefully this week I'll finish up the other side, and on a slightly unrelated note the vinyl top might get done this week too. Then I'll try to throw the front and rear glass in, with some help of course. Then there's no reason not to hang the doors, and paint the engine compartment, and start on the interior, and....... you get the idea.

So nice in honor of your grandparents.
Posted by Diggymart on 1/3/20 @ 8:04:16 PM