You must be logged in to rate content!
7 minute(s) of a 187 minute read
8-20-2014
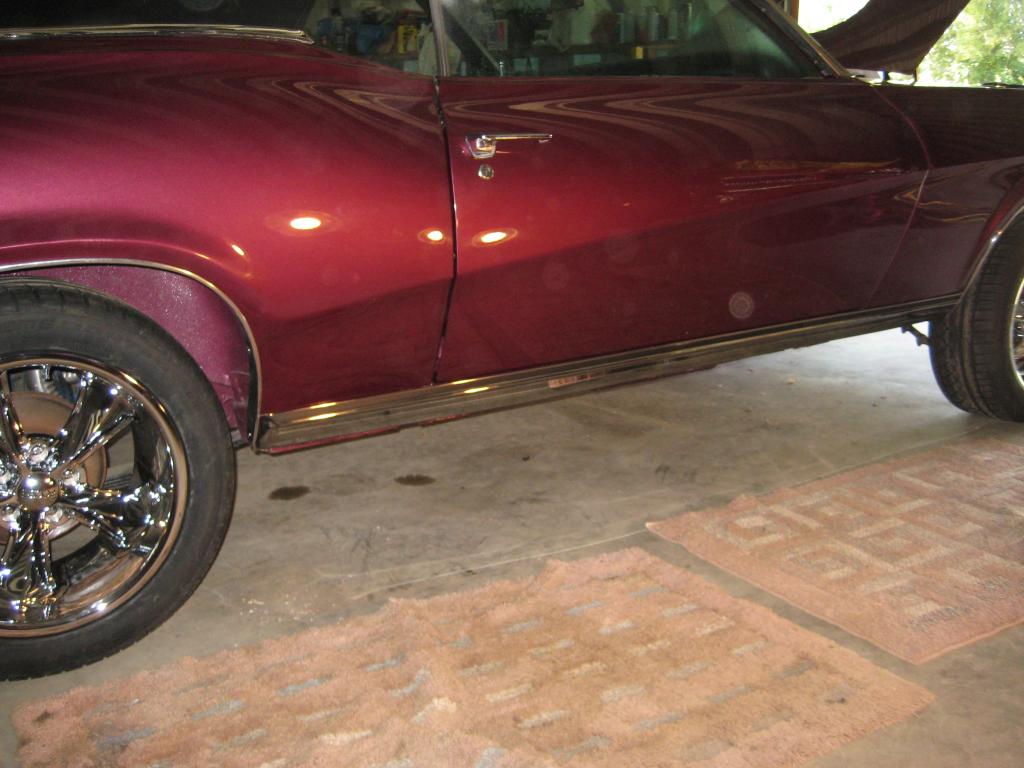
Thanks very much Robert. Today I put on the passenger side rocker moulding. These are a high quality part. I used a couple of the OEM mounting holes, but found out I had to drill some holes to ensure that they went on dead straight. The template I received with the rocker mouldings didn't have the end holes in the place I needed them, so I used a three foot yard stick along the top of the nylon mounting pads once I had them attached, to draw a straight line and then measured down for the hole for the end mounts which are made of metal and the hole goes in the middle vertically. I learned the hard way to protect the paint when installing these parts. I will never use pop rivets on this car again!!!! Don't ask.
Here are some pix of the covers on the car. I verified with WCCC that the panels have the more pointy-top end facing front. 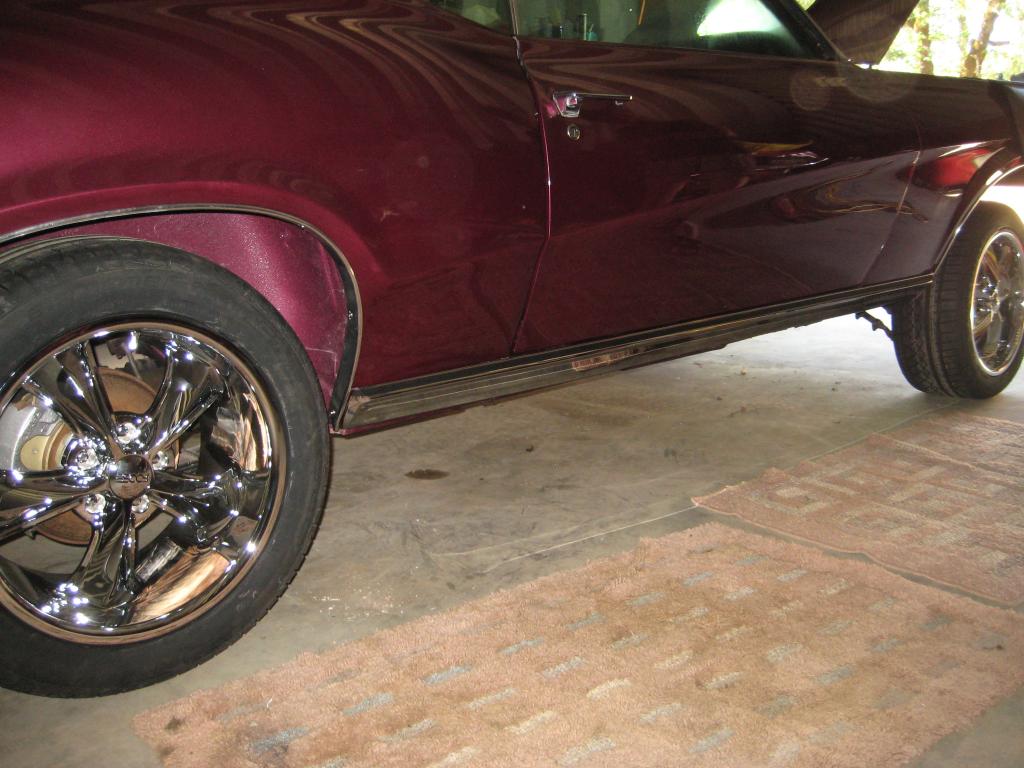
I also received the seat hinge covers and repainted them and then installed them. 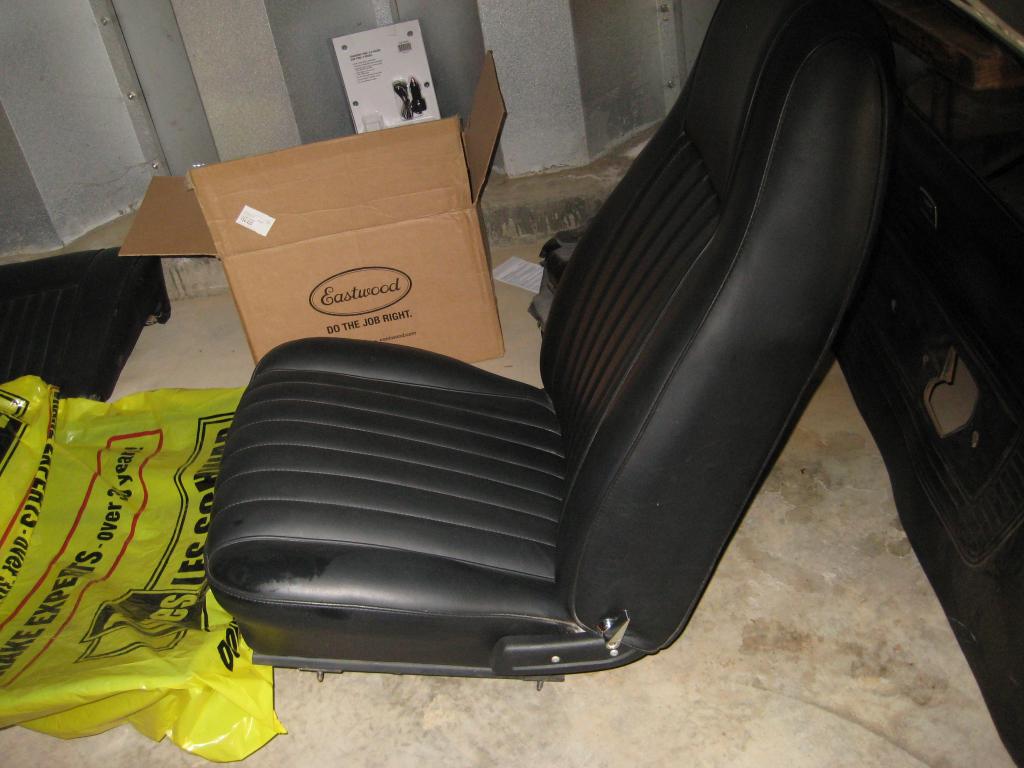
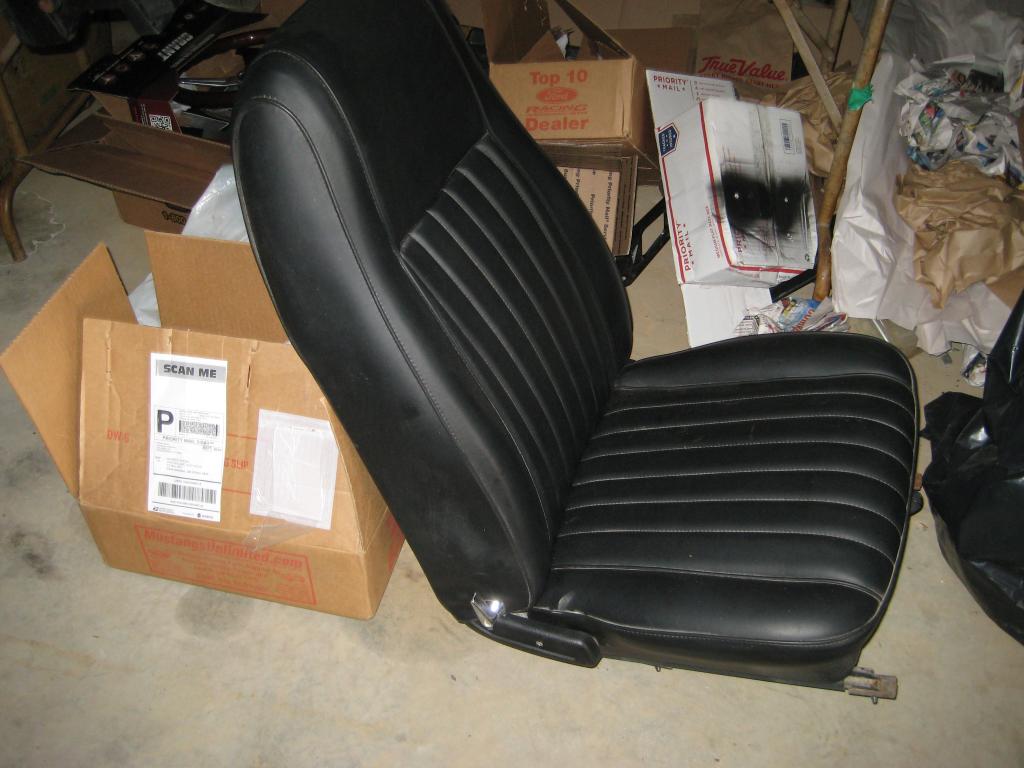
I also received the set of front fender extenders I will be repainting. They had the front Cougar emblem, which I put on the car for a look-see. What do you think Robert? If yours is better I definitely want it, as this is OK but not show quality. Still better than nothing.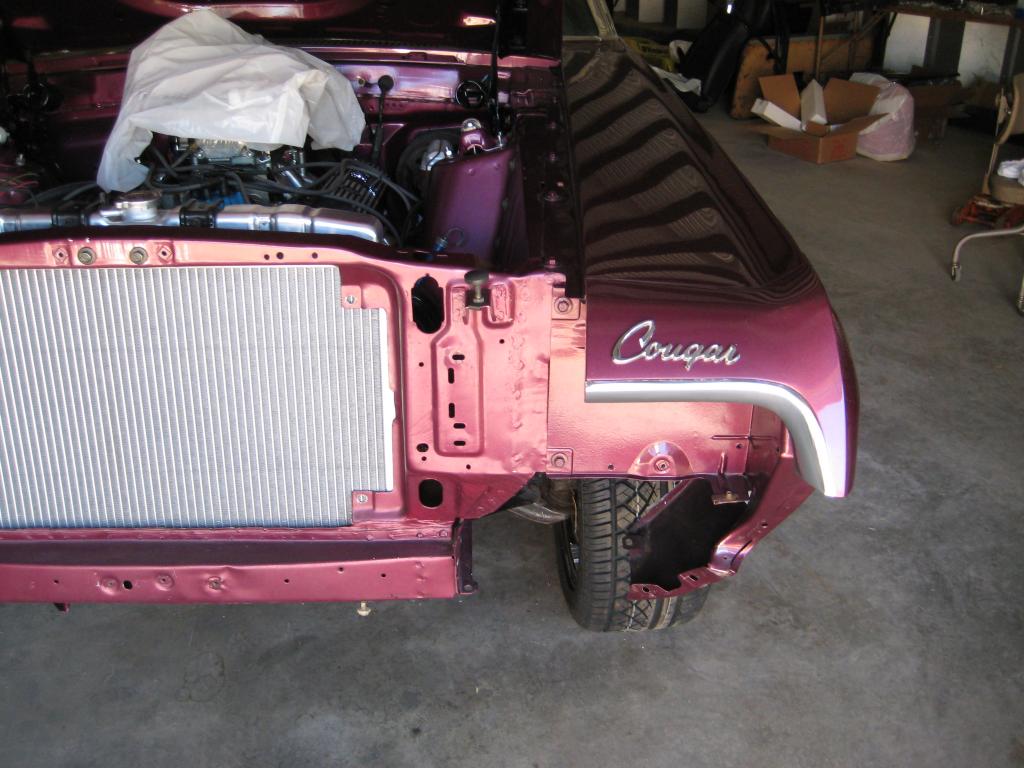
Parts keep arriving daily. I received a chrome alternator but it doesn't fit the stock mounts, although it was advertised as for a 351 Windsor. So I need to look into that. More goodies are on order and I am looking forward to making more progress in the coming days.
8-21-2014
Here is the info on the chrome alternator I bought that is smaller physically than the one currently on the car, and hence doesn't fit the mounting points. Even the chrome mounts are different!
http://cgi.ebay.com/ws/eBayISAPI.dll?Vi ... 1415646392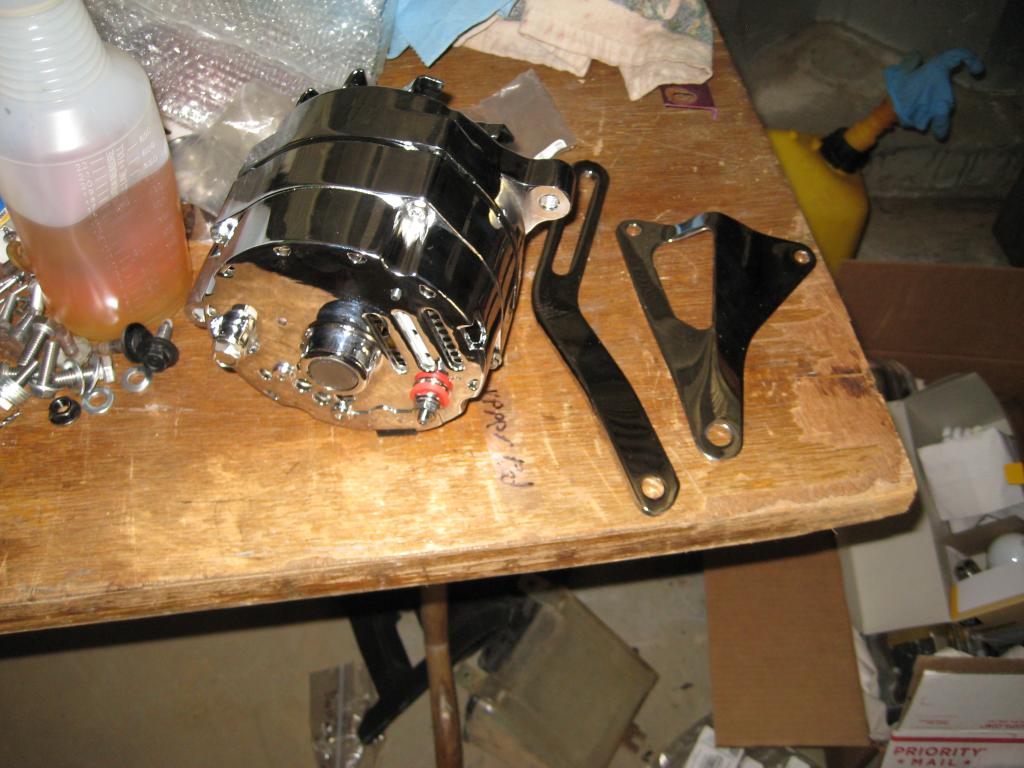
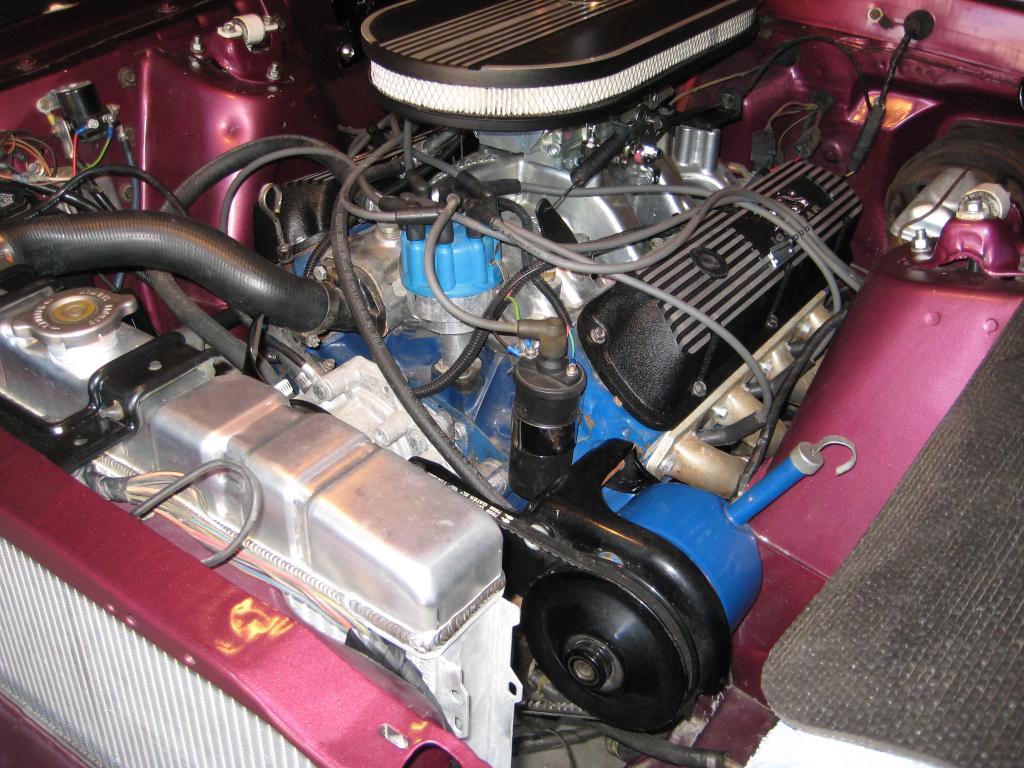
Today I tidied up some of the engine compartment with new mounting hardware, plus painted the coil and put on a new chrome mounting bracket.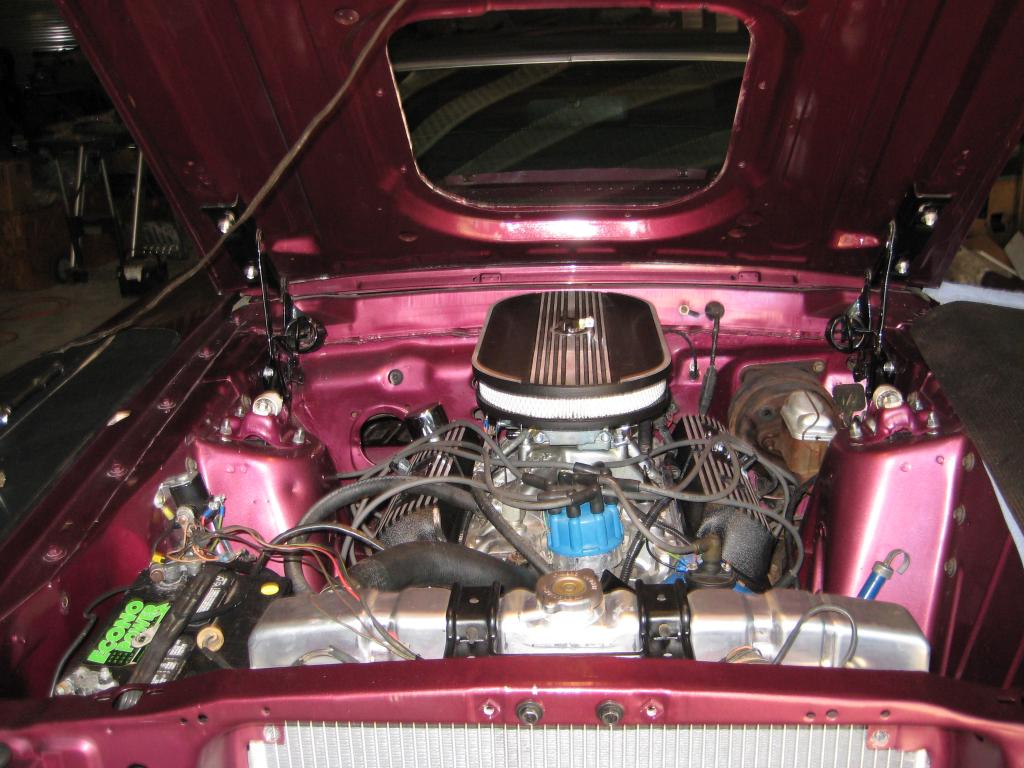
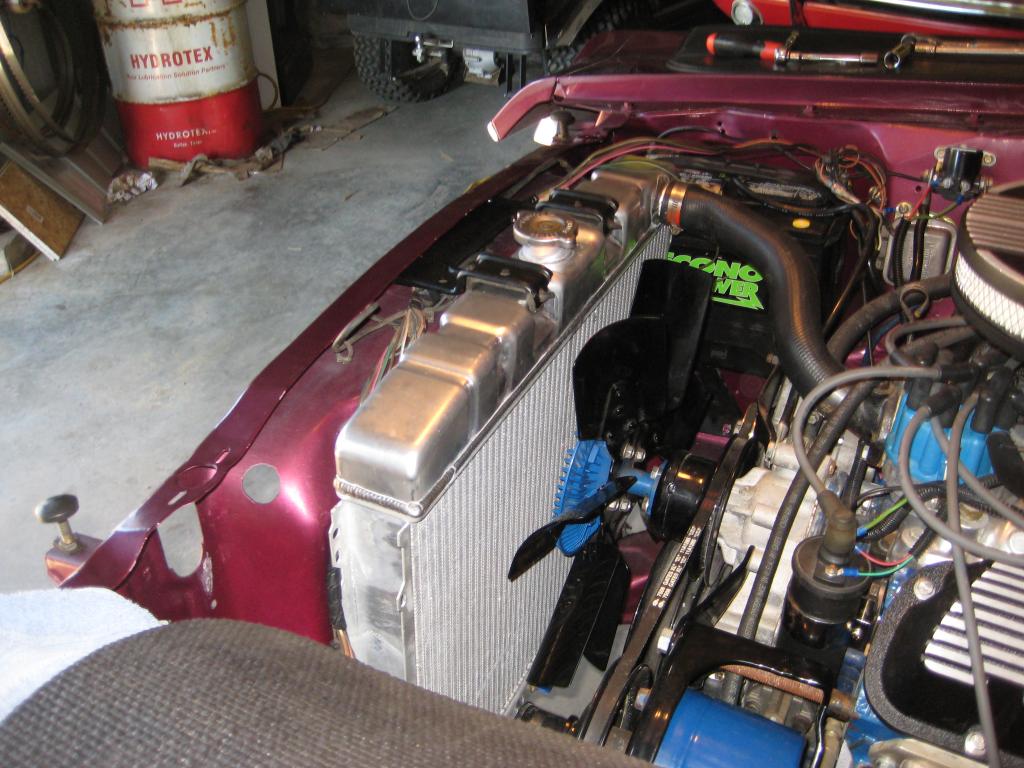
I also received the missing screws for the lip moulding, so I was able to get the last piece mounted.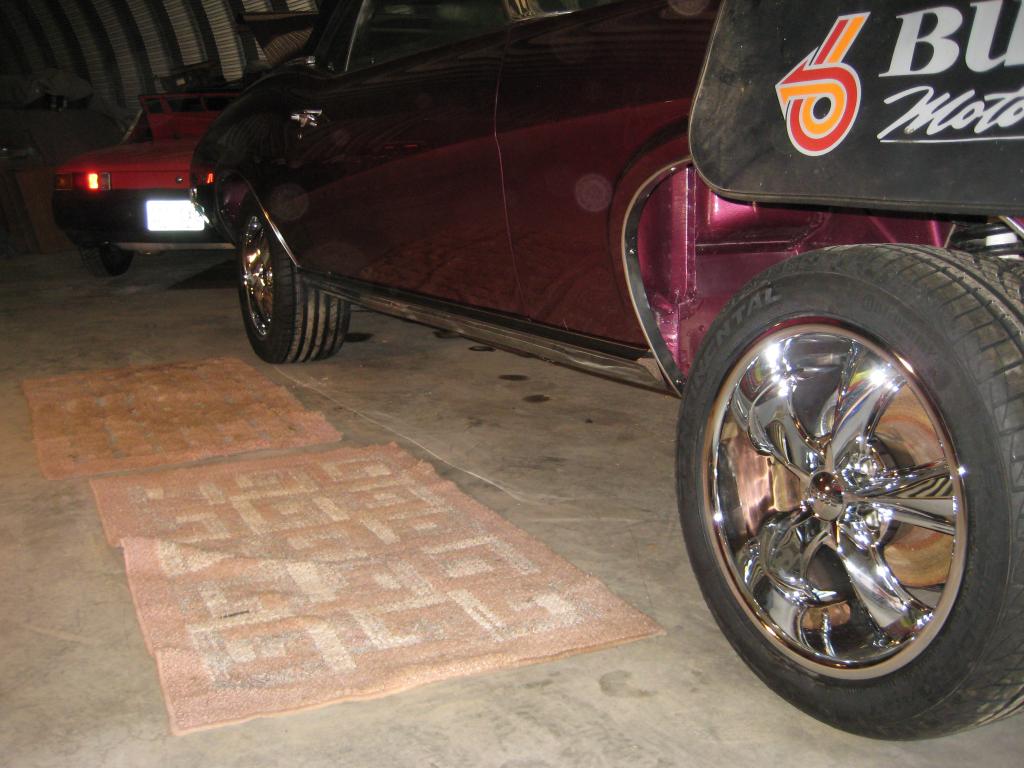
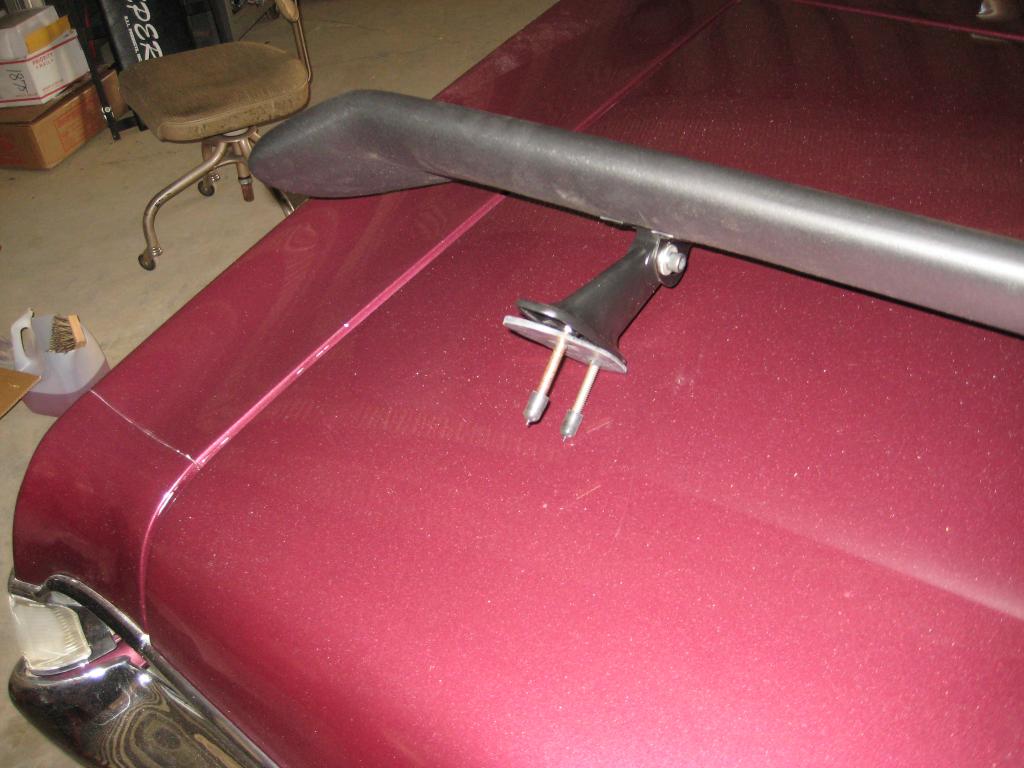
I received the mounting pieces for the rear spoiler. I don't have any instructions, but I figured out how the pieces from the spoiler to the deck struts go. I still need to figure out where they mount to the trunk lid. Any measurements for this referenced from the bottom of the rear of the trunk lid??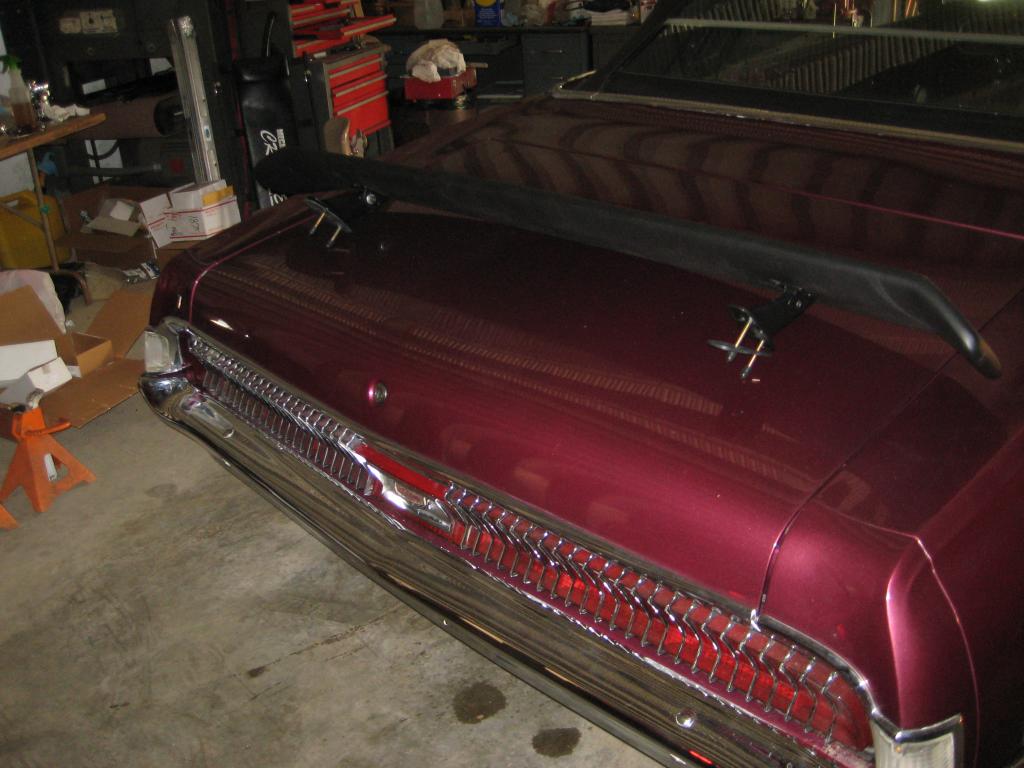
Tomorrow is my 33rd wedding anniversary. I won't get much accomplished on the car, but sometimes there is nothing better than to spend time with those you love. Life is short!
8-24-2014
I was able to get the driver's side stainless steel rocker moulding mounted without incident. I also used a brass wire brush on a drill to knock the rust off the disc brake rotor. It looks a lot nicer behind the wheel and I need to do this to the other three rotors.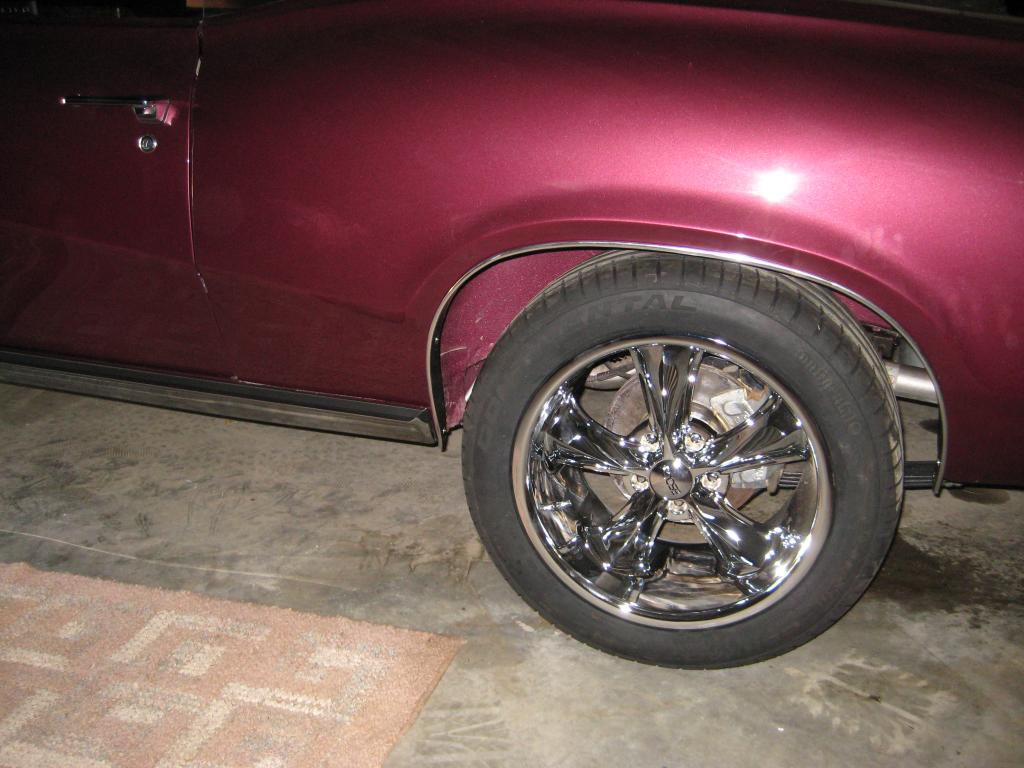
The Eastwood paint for the brake resevoir and gas tank arrived yesterday, so I think I will go and finish off the trunk, where the PO never mounted the tank. He just set it in place with no mounting hardware and then the d@mn rug that boogered everything up so it has to be repainted.
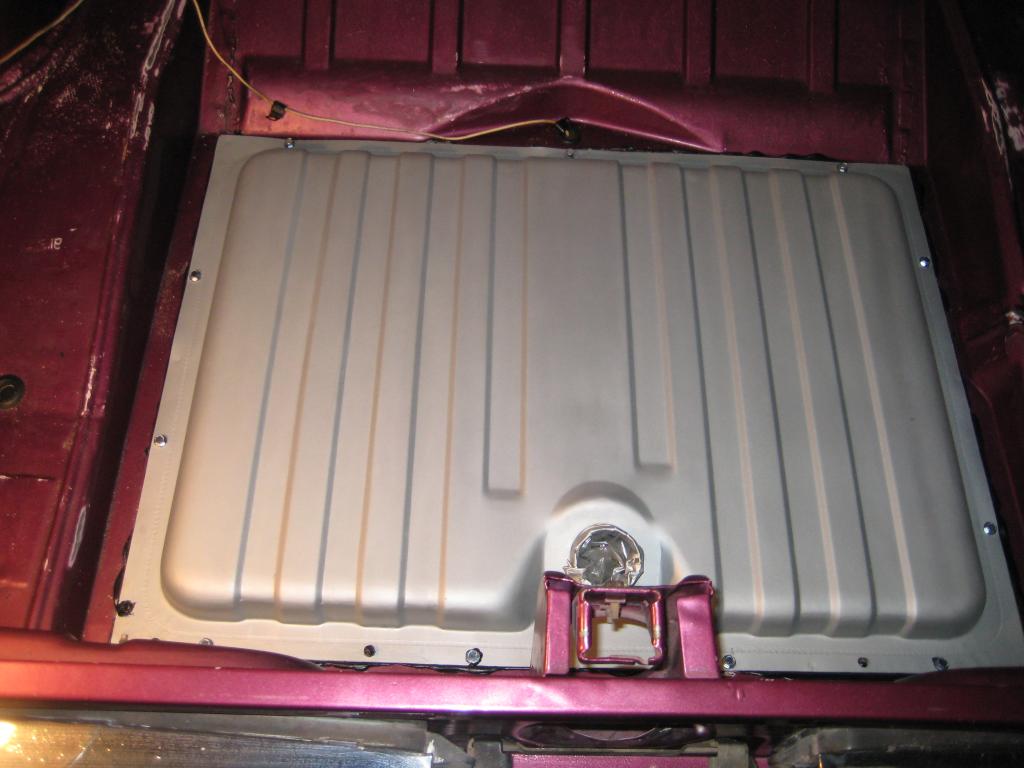
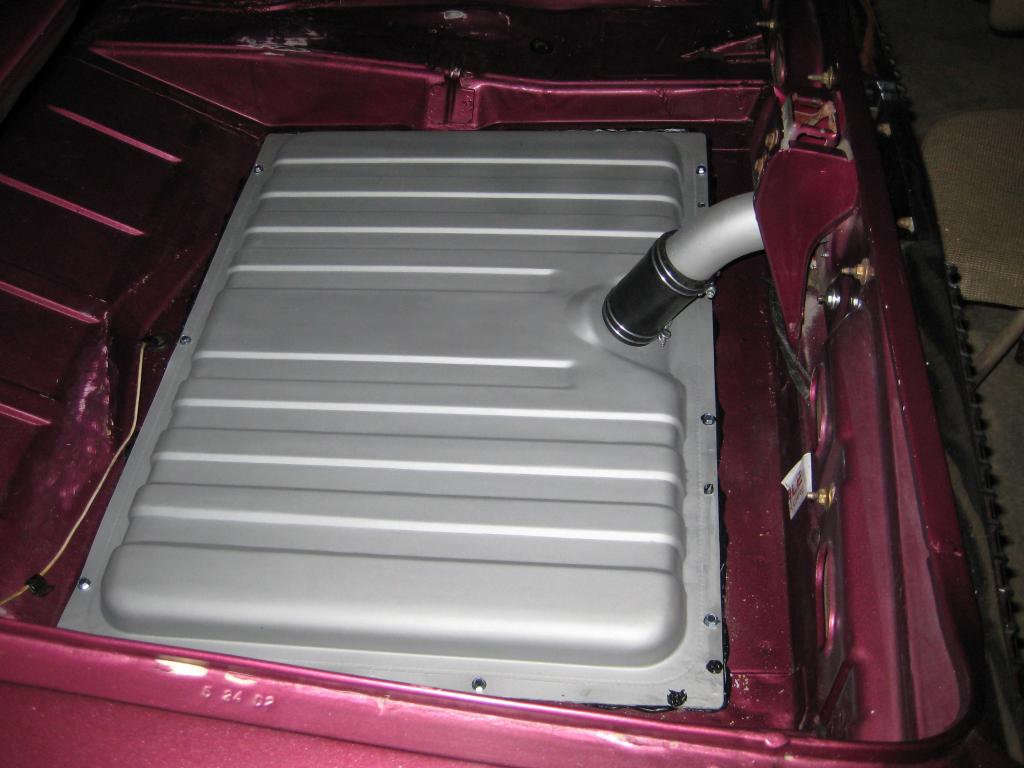
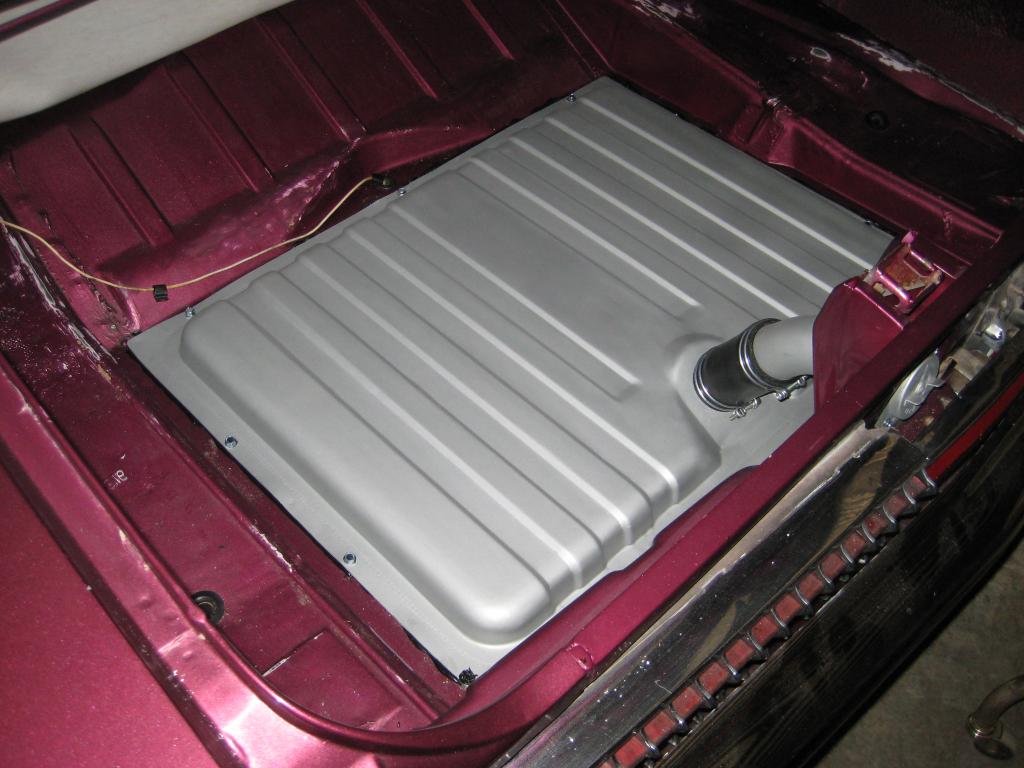
Today I was able to finish off the gas tank install. I started by removing the tank and sanding down the original paint, which was damaged by the PO putting a rubber backed rug in the trunk, which managed to glue itself onto the paint to the point it took paint removal tools to remove the embedded rug. I used Eastwood's Tank Tone paint, which I thought looked pretty good. 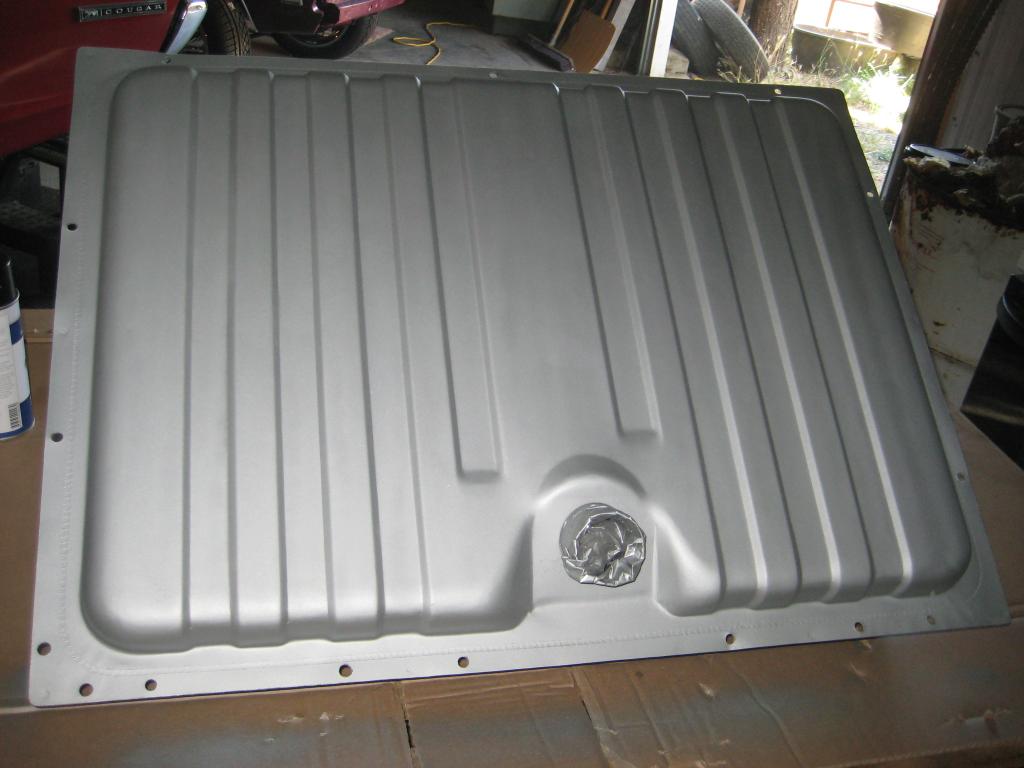
I spent some time cleaning the trunk area, as well as the underside of the rear of the car while the gas tank was out.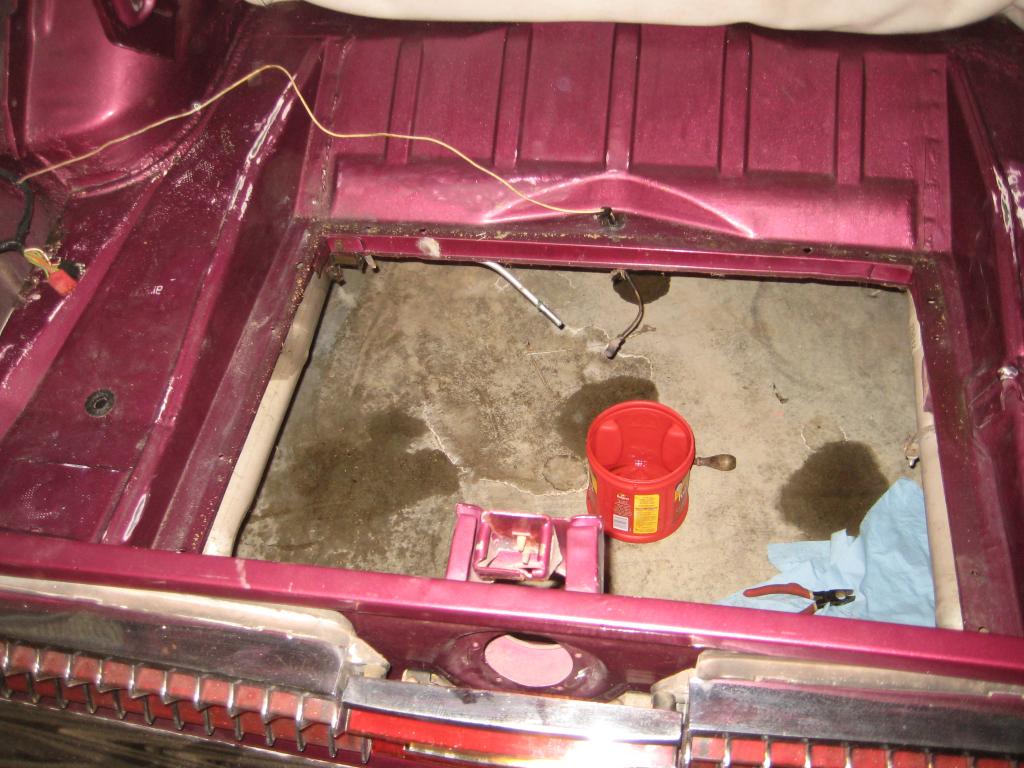
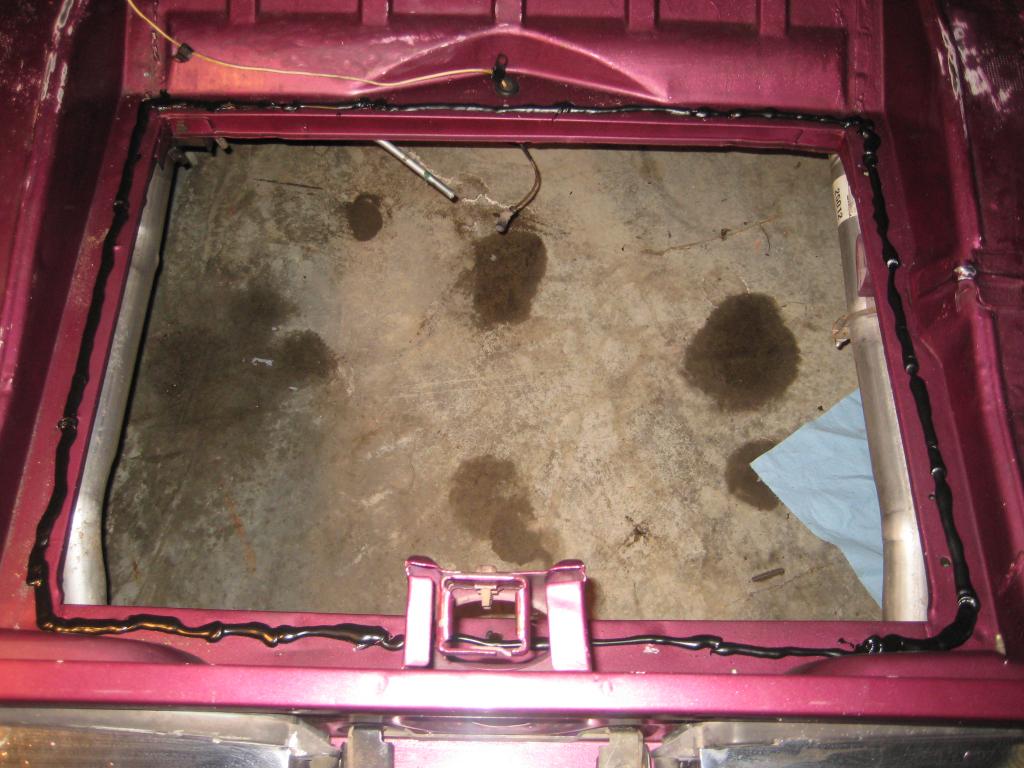
After the tank was painted I used Eastwood's seam sealer to lay down a generous bead before I put the tank back in the trunk. I then used new tank mounting screws to secure the tank back into place, re-installed the gas line and fuel guage sending wire, and put a new rubber sleeve and new hose clamps between the tank and fuel filler pipe, which I also painted with the Eastwood tank tone paint.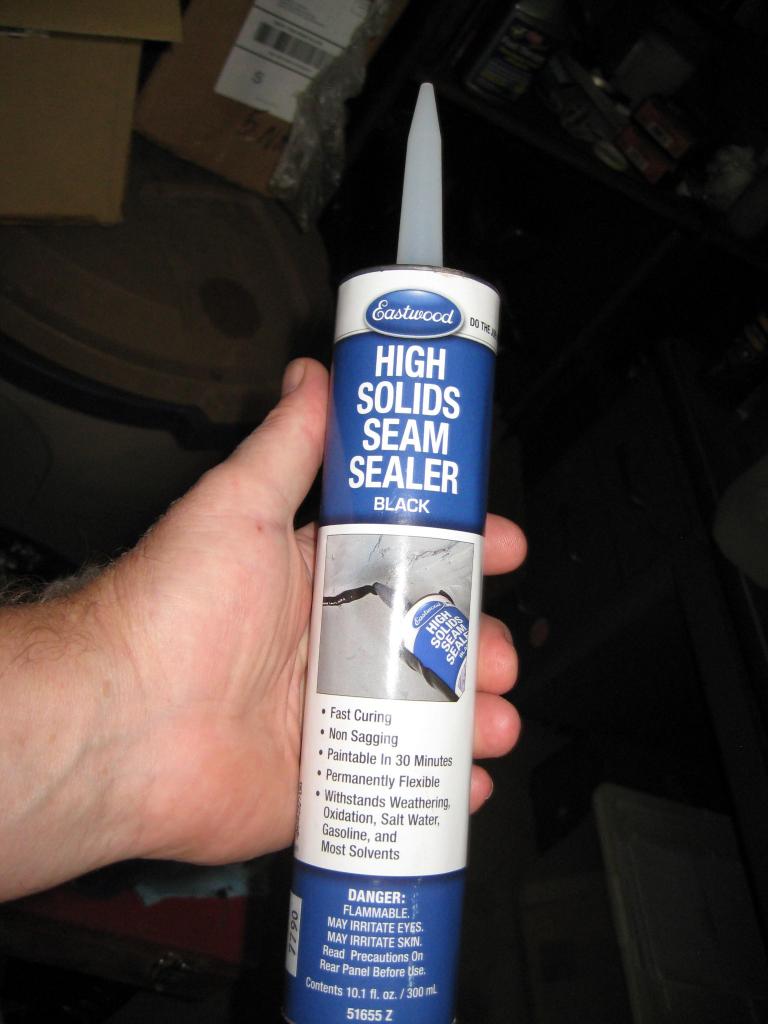

My wife wanted something nice on the back of the trunk lid, so I obliged by installing a new aftermarket Cougar emblem.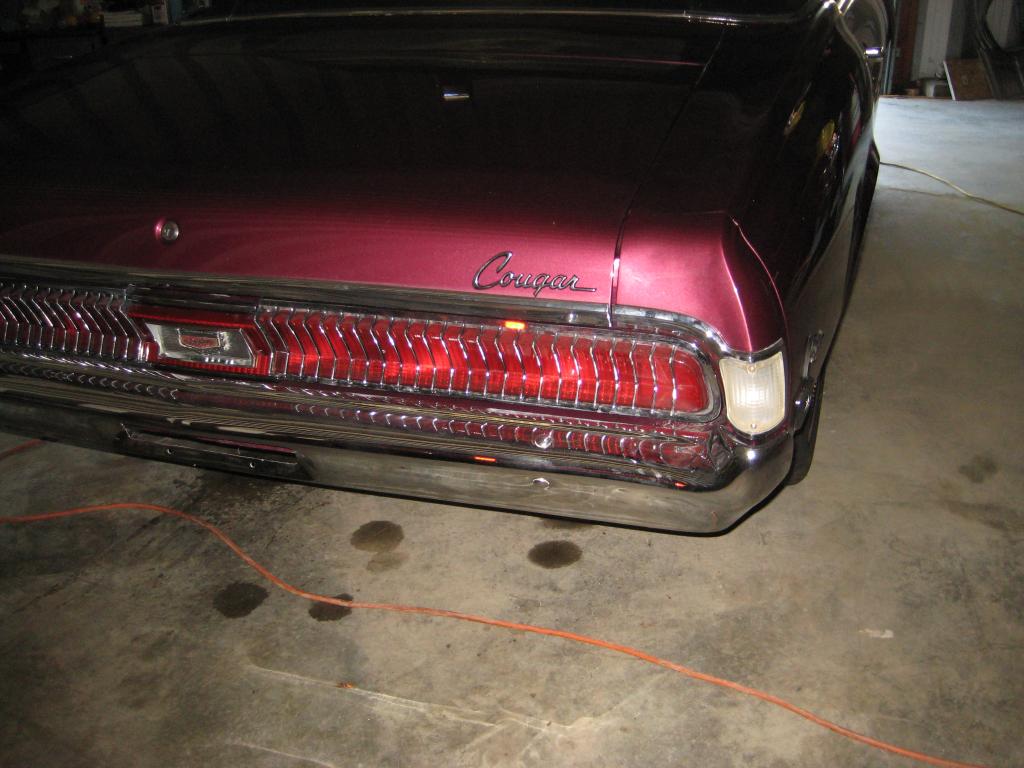
I used some naval jelly to attack the rust on the brake resevoir and power brake tank. Tomorrow I plan on painting these pieces and that will be one more item off my list of things to clean, paint, and/or repair. I also sent off for a spring compressor so I can remove the front springs and find out why the front of the car is sitting so high.

Nice!
Posted by Diggymart on 3/30/20 @ 5:44:33 PM