You must be logged in to rate content!
7 minute(s) of a 251 minute read
5-3-2013
thanks guys - bleeding the mc will be fine!
I've been working like a dog at work and have been picking up a ton of overtime, which I am doing more tomorrow, but I'll show you what I have done so far before my next set of days off next week:
I picked up a ton of parts after getting my passport finally - some items I have aquired:
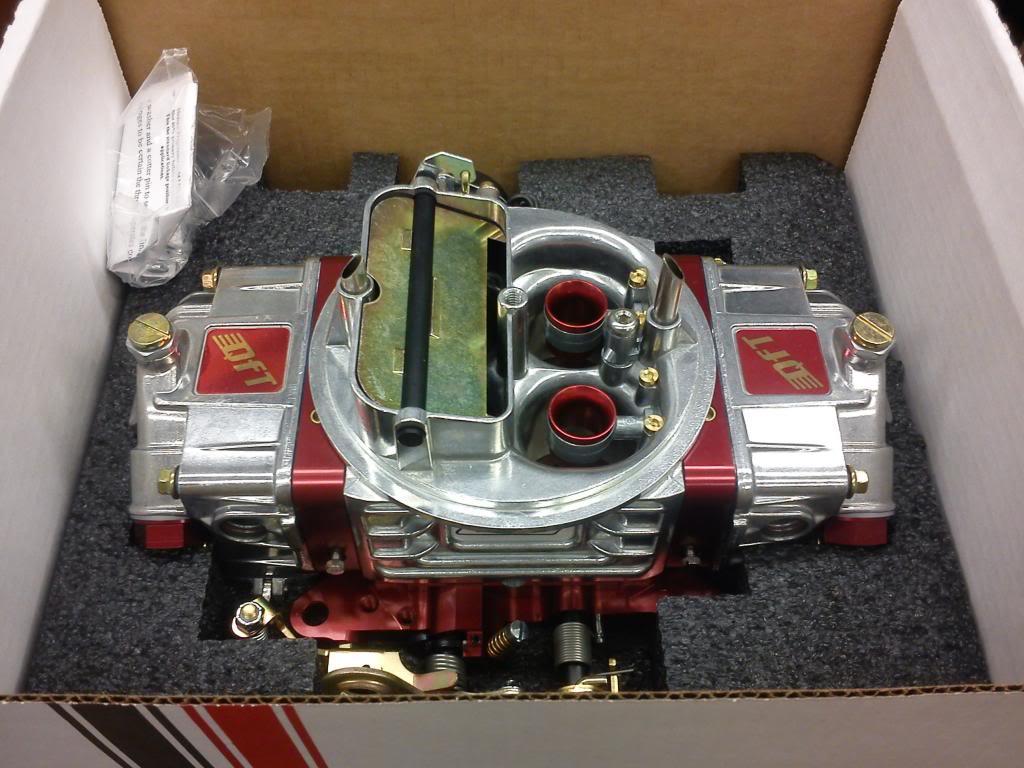
QFT 830cfm, mechanical secondaries, annular boosters, electric choke - I wanted the double pumper but they don't make them with an electric choke and I plan to drive this from spring-fall so I went with an electric choke setup instead.
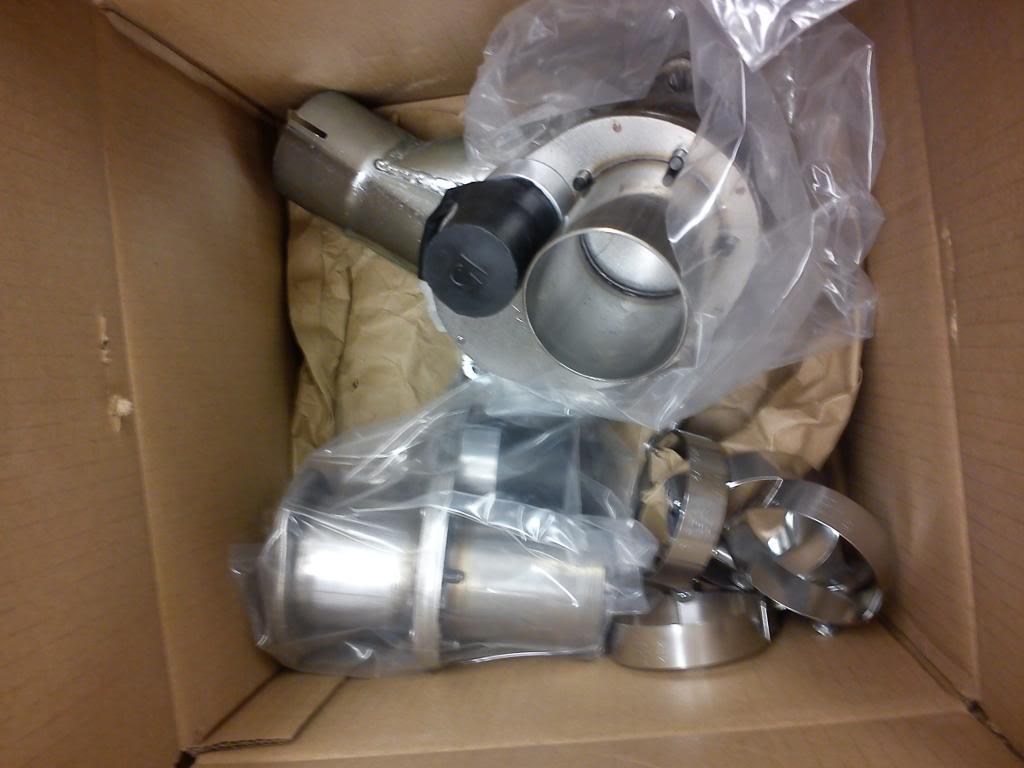
electric cuttouts for the exhaust!
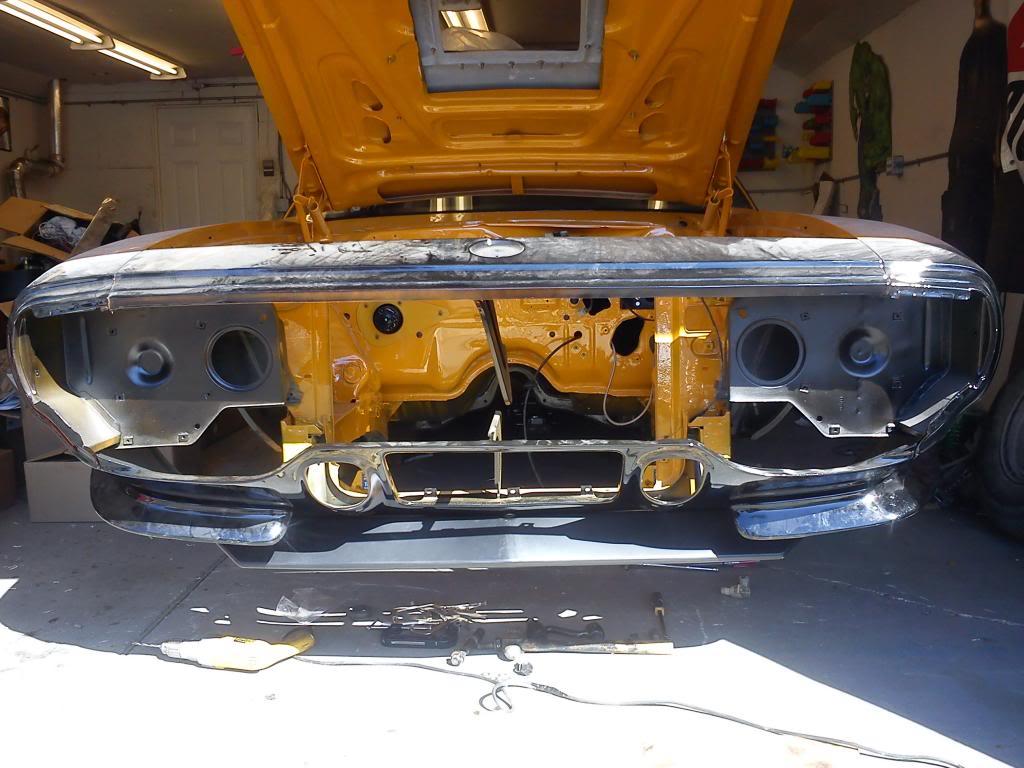
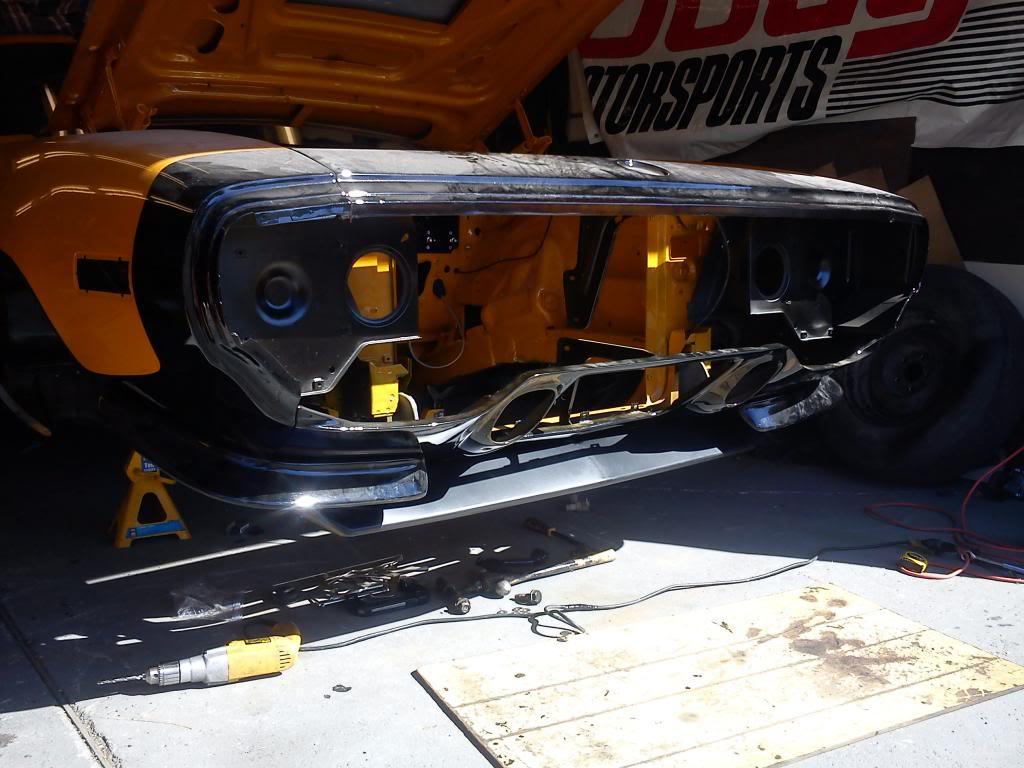
I also picked up my front and rear from a car I thought would fit. I wanted a functional rear spoiler so I am using this one:

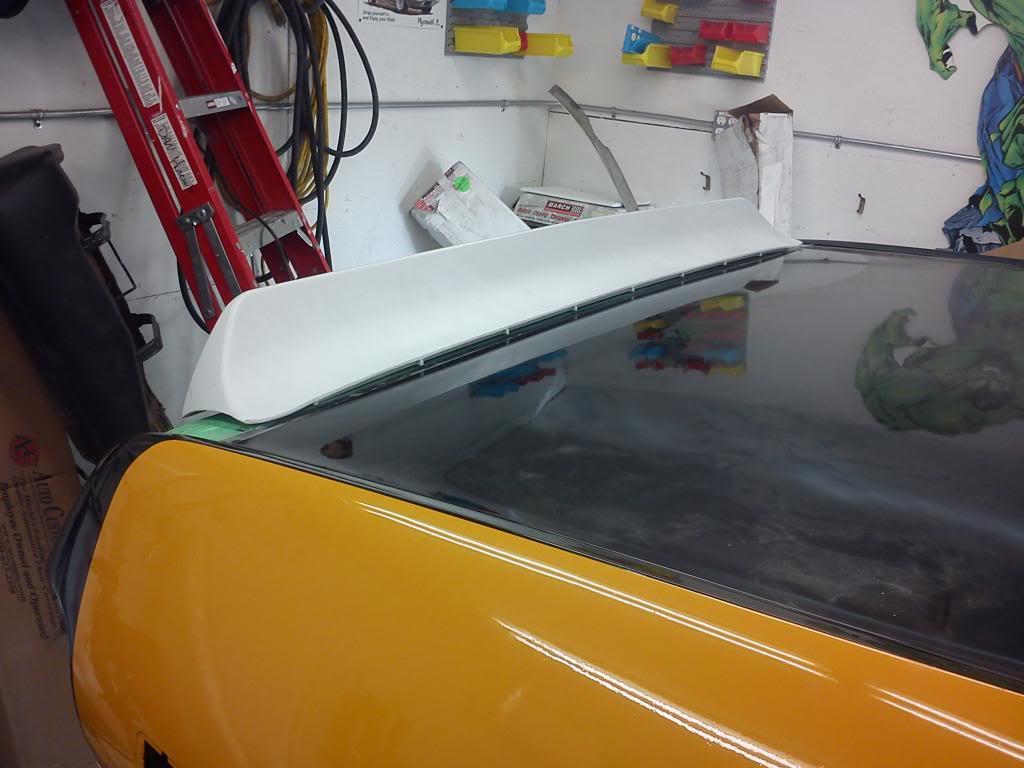
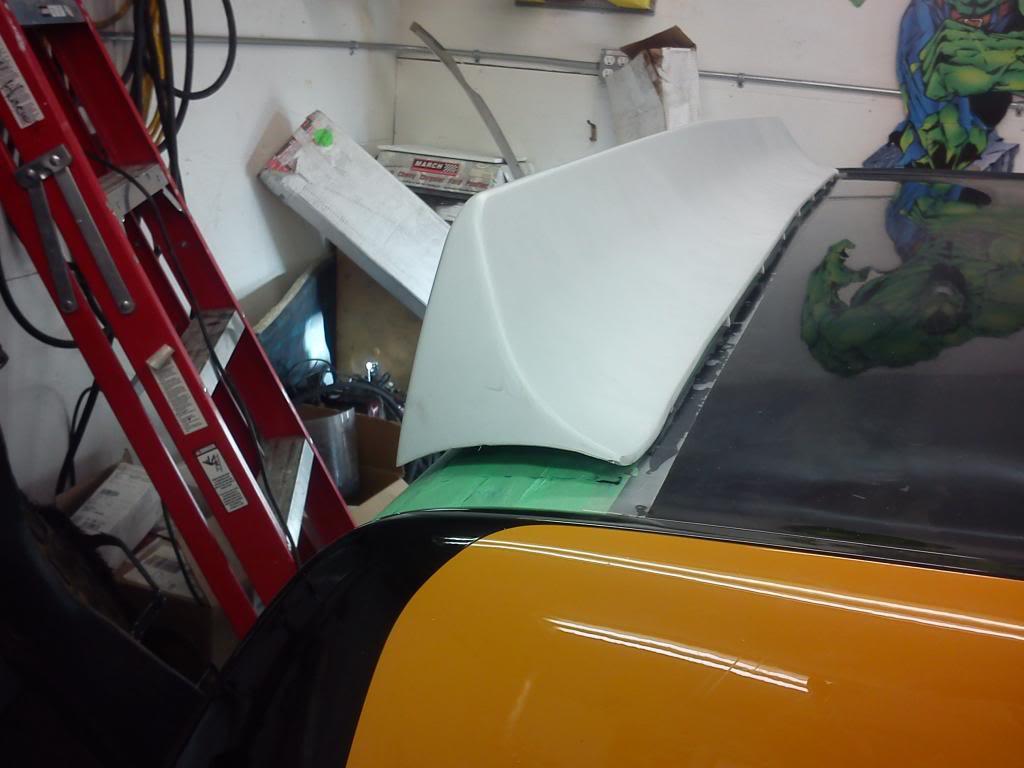
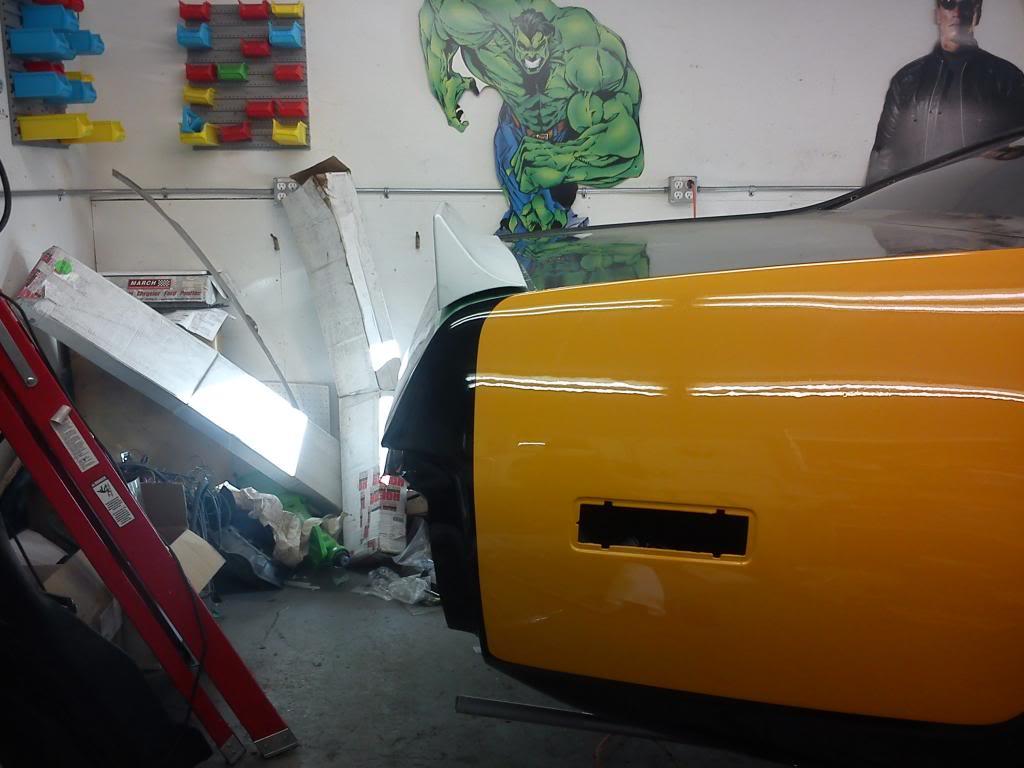
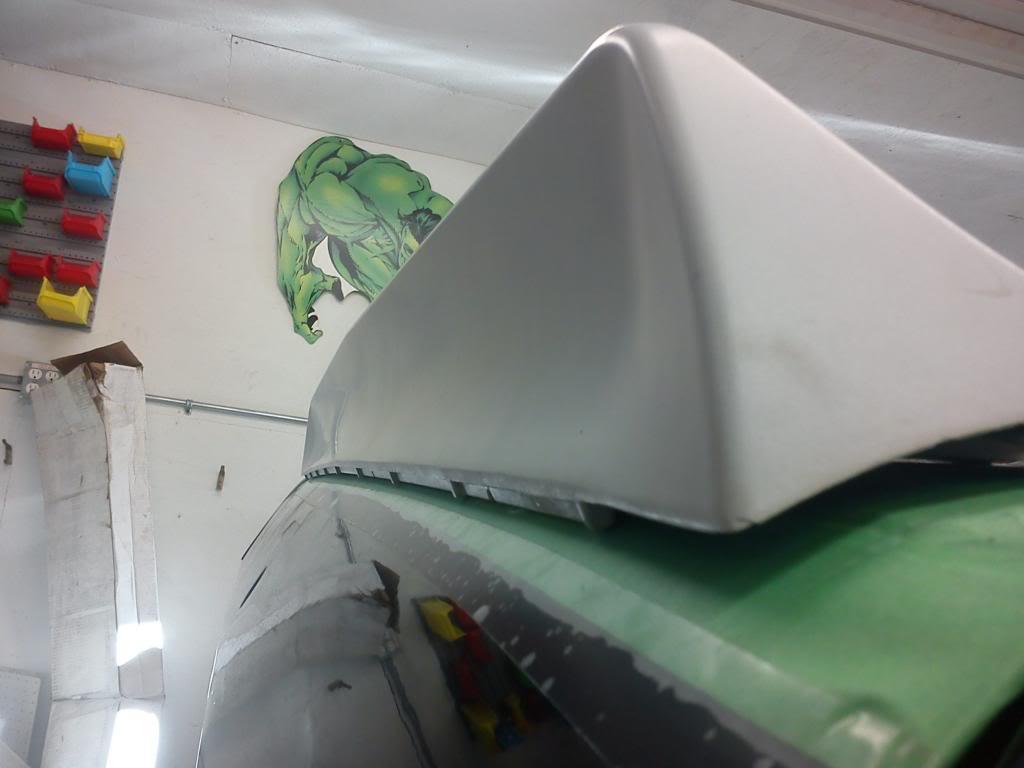
It turned out better than I had thought! and to top it off I also used the front spoiler off the same car which equally looks just as good - can you figure out what car they're from? ![]()
Have you guessed it?
.
.
.
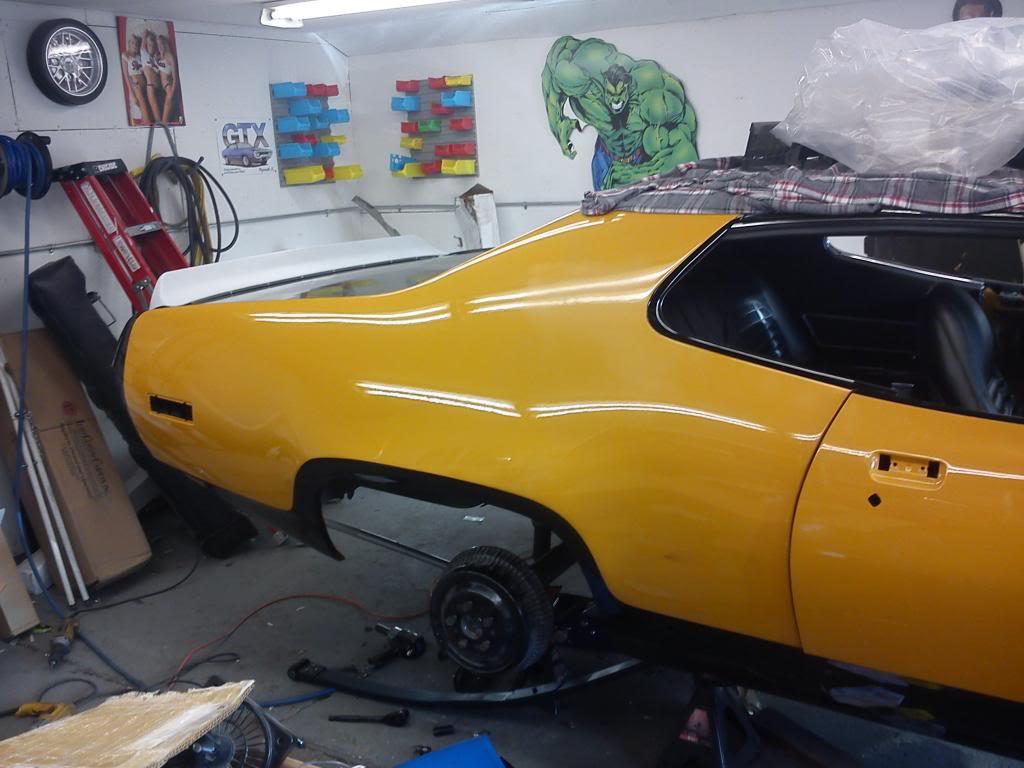
Its a from a 67 camaro! Haters are gonna hate.
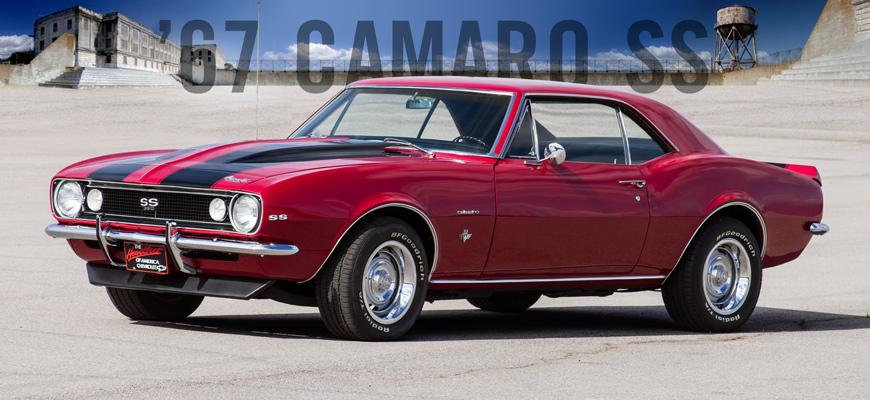
the front spoiler from spoilers by randy still hasn't fit right and I'm not crazy on the design, Plus the camaro was only $20 for the front and $120 for the rear both included shipping!! I thought they would fit looking at a 67 camaro at the world of wheels and thought if it didn't fit I could easily sell them. Actually for $20 I bought the 68-69 front spoiler as well but I liked the bigger 67 instead
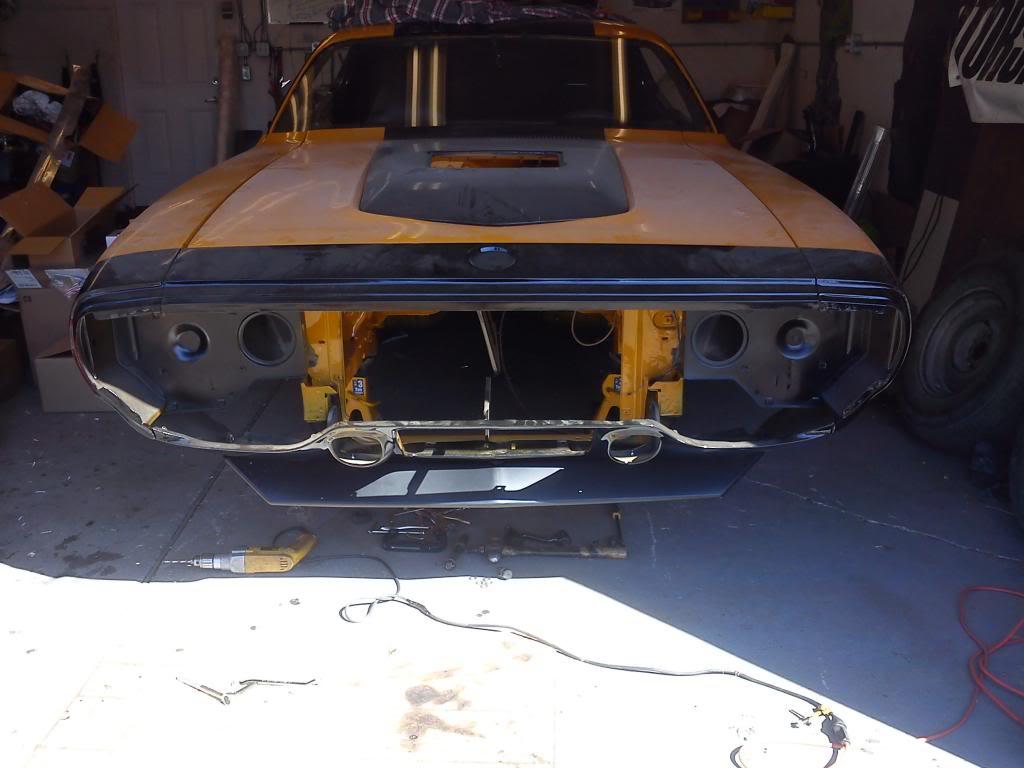
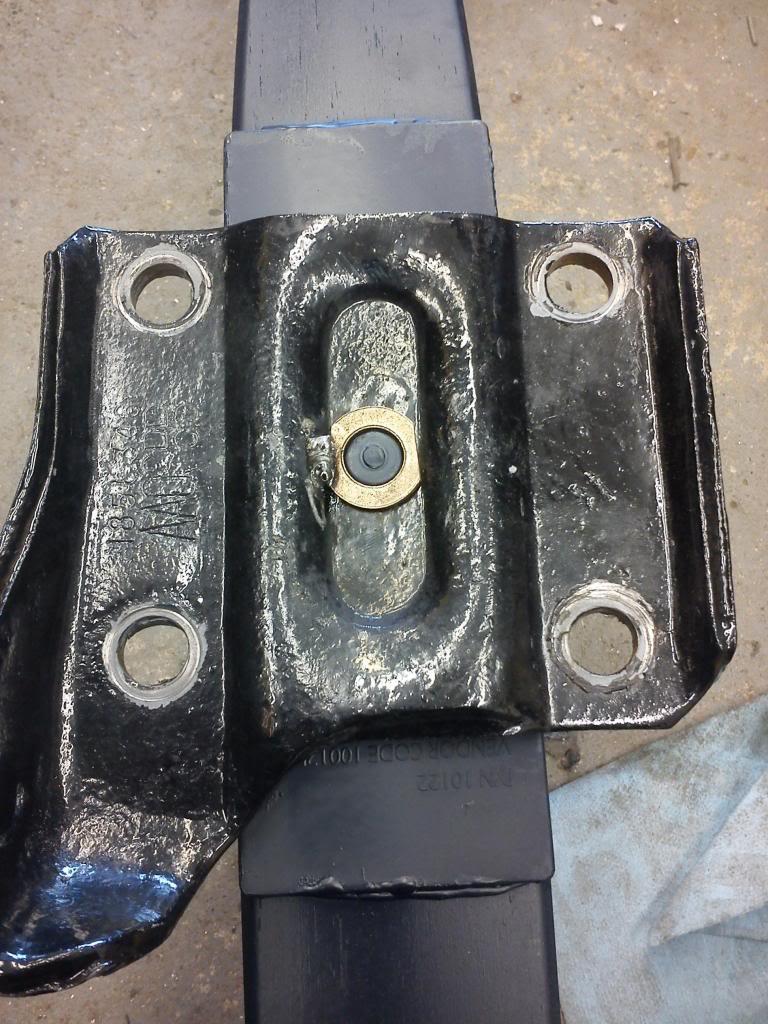
I started tearing into my rear end now the windshields were in and no longer taking up space. I matched up the old springs to the new fiberglass ones:
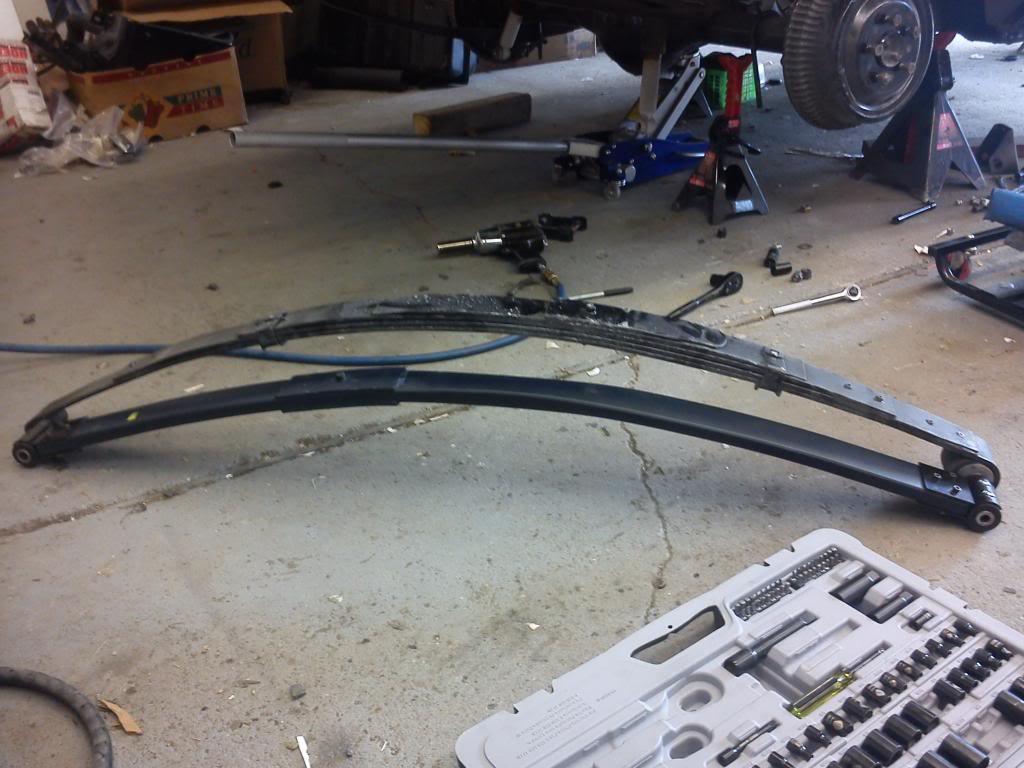
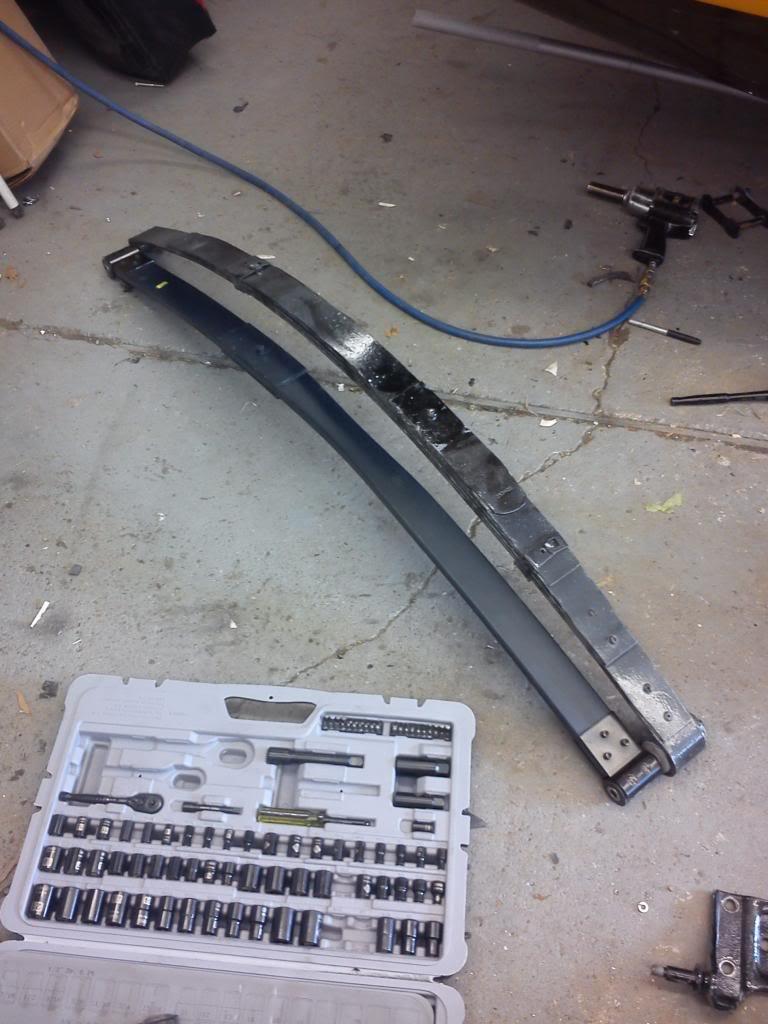
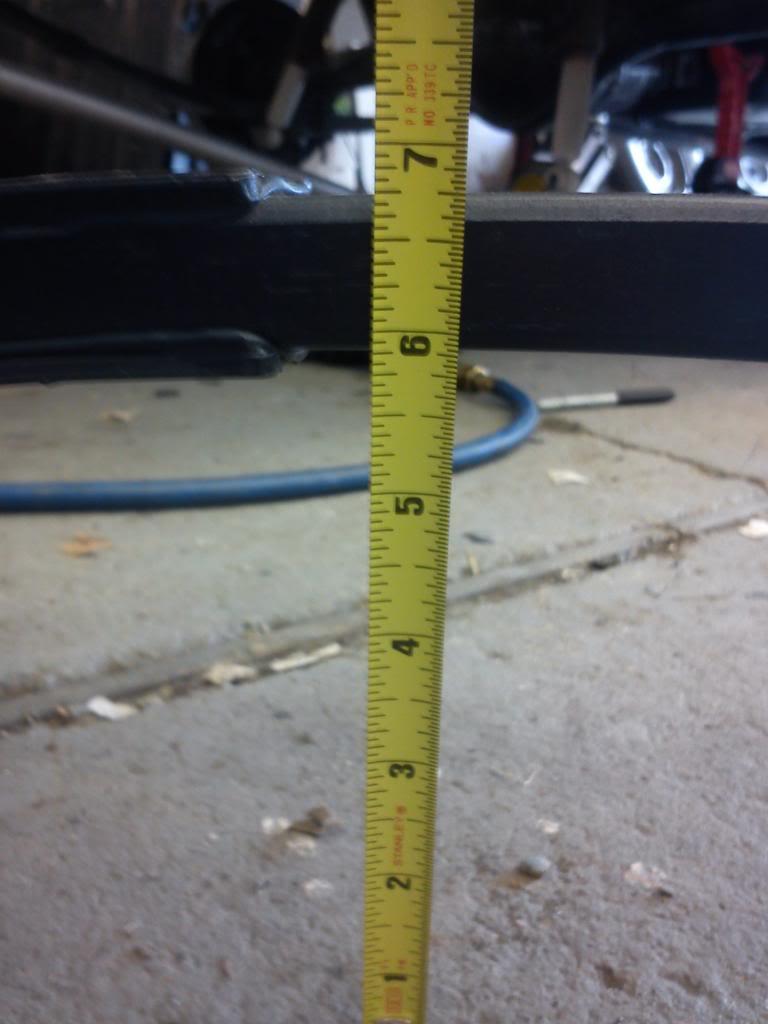
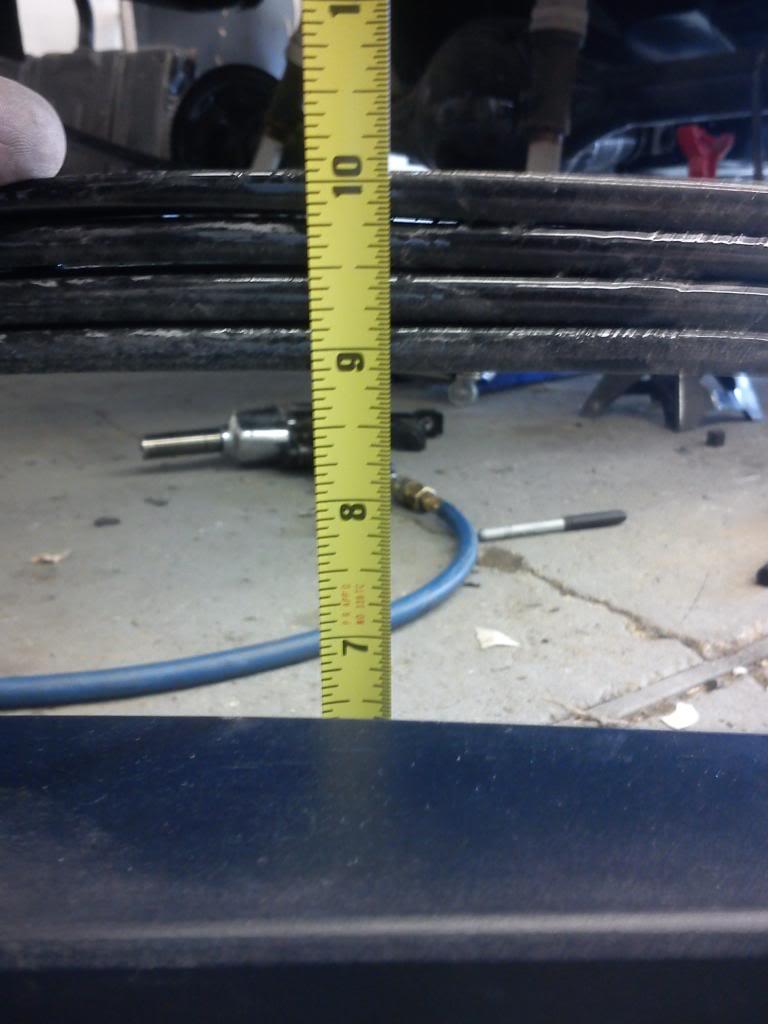
One the hypercoil website it says a 4.5" ark but you can see its almost 6" I was wondering if that meant after they settled? I left them on the car for a week and it actually settled over 1/4"
old spring for reference:
there is some slop on the bottom leaf stud, but I found some brass bushings off one of our old machines that have been discontinued and they work perfect!
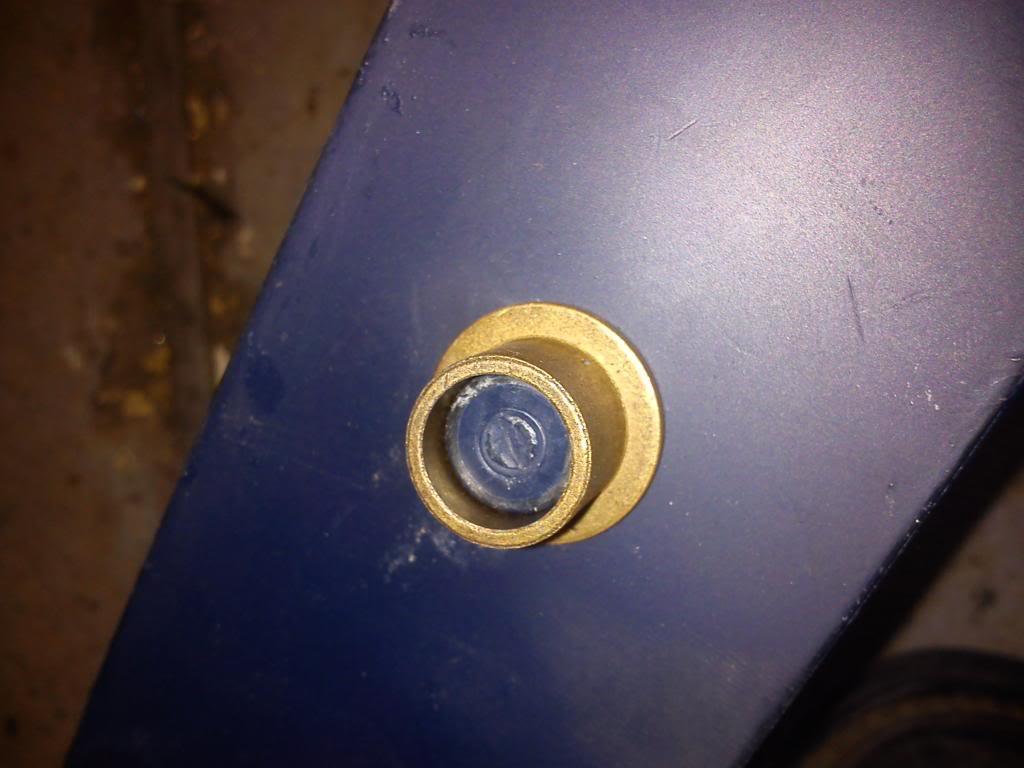
I just put a couple spot welds on the bottom to prevent it from falling out
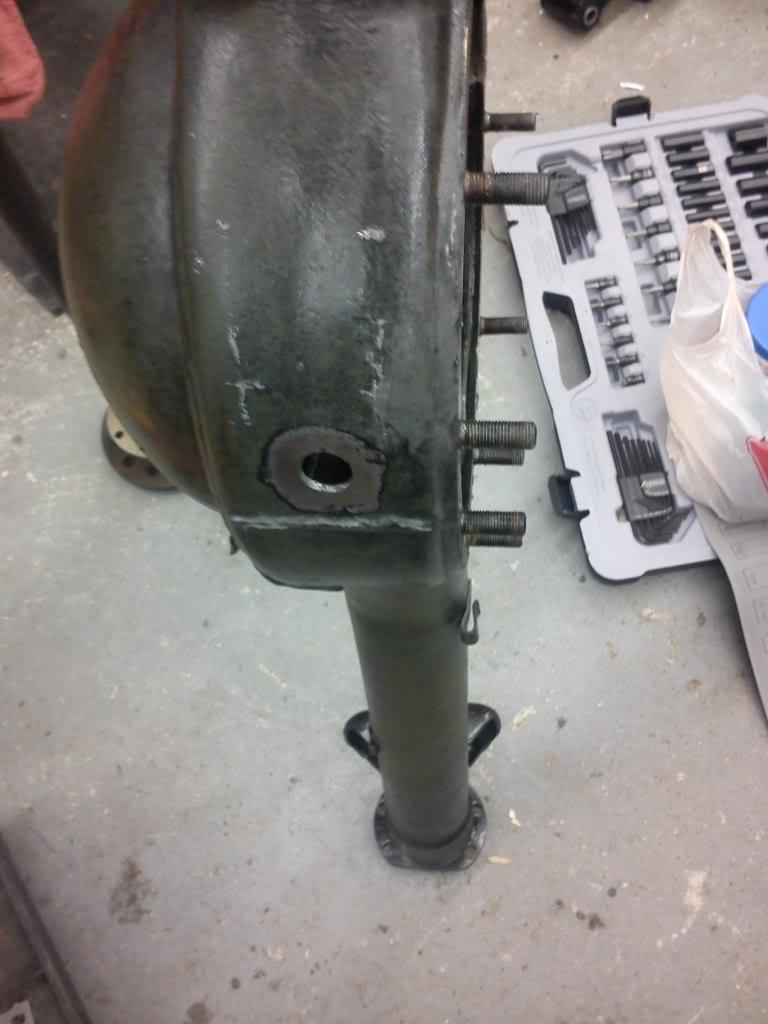
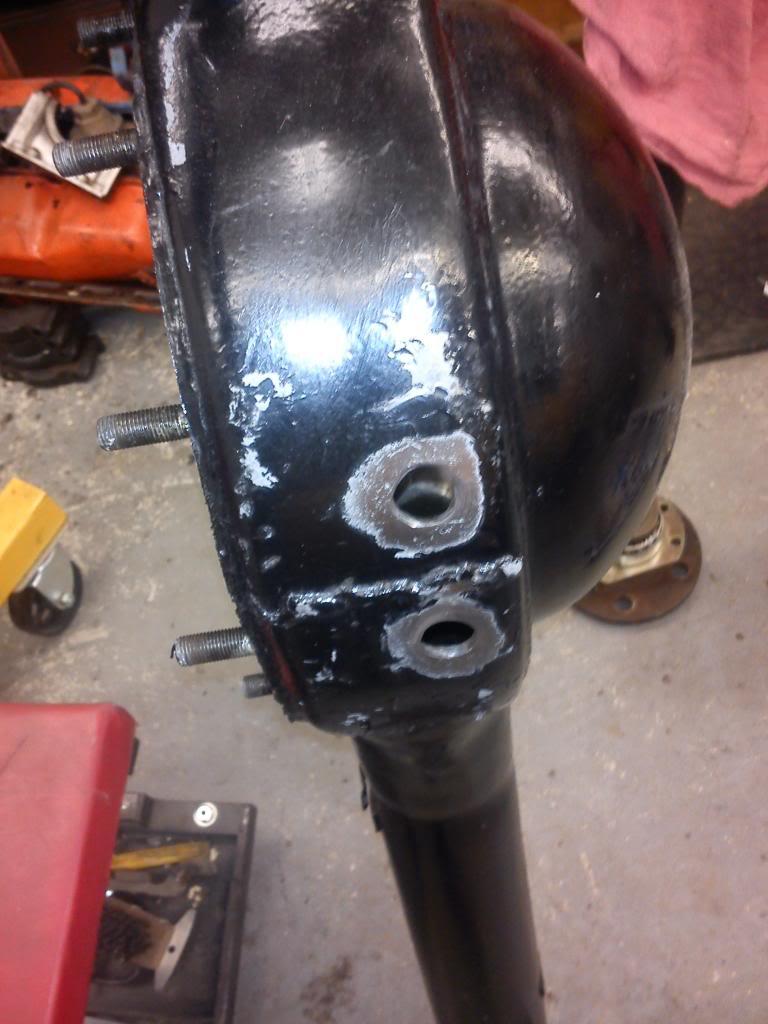
Now with the rear diff out I'm starting to make a few improvements, first I drilled three holes. Why 3 holes? the two one the bottom - one is a oil drain, the other for a future rear differential pump, the top one for the rear diff cooler return. I will be welding on the 1/2" female bungs next week. It may be a year or 5 years or never, but at least now I won't have to pull the rear diff when I want to do it. I'lll also be running as extra power source for the pump but I'll probably leave it in the trunk for now until that day comes:
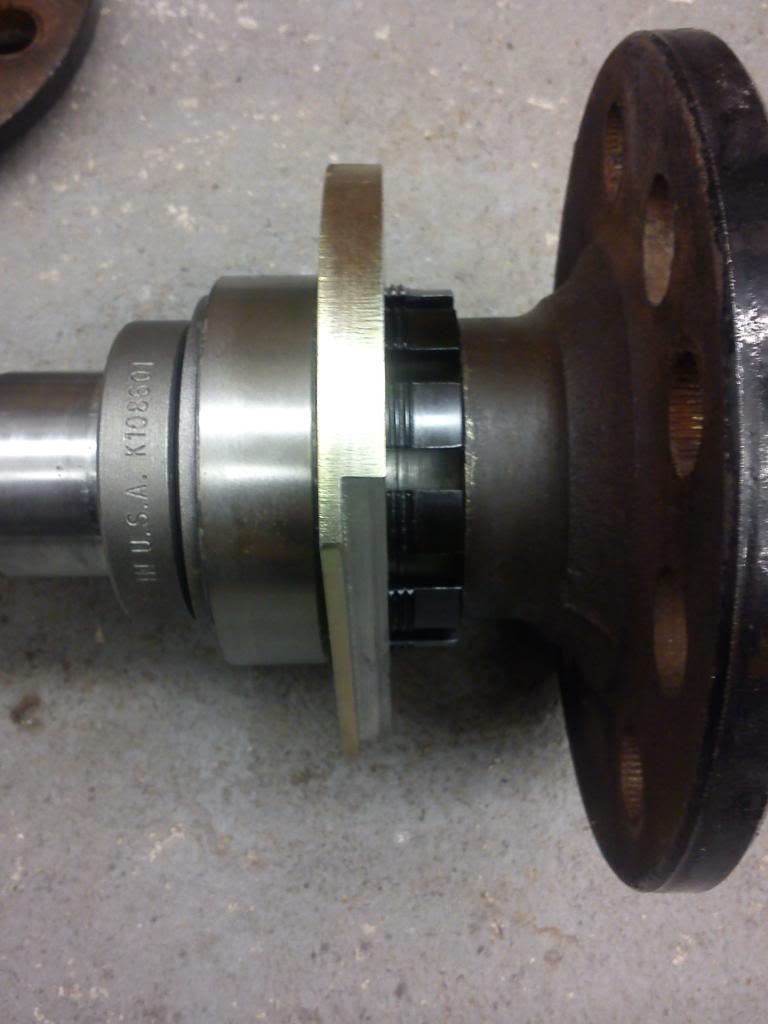
I changed the wheel bearings (what a pain in the A$$) and here you can see doctor diff's billet adjuster:
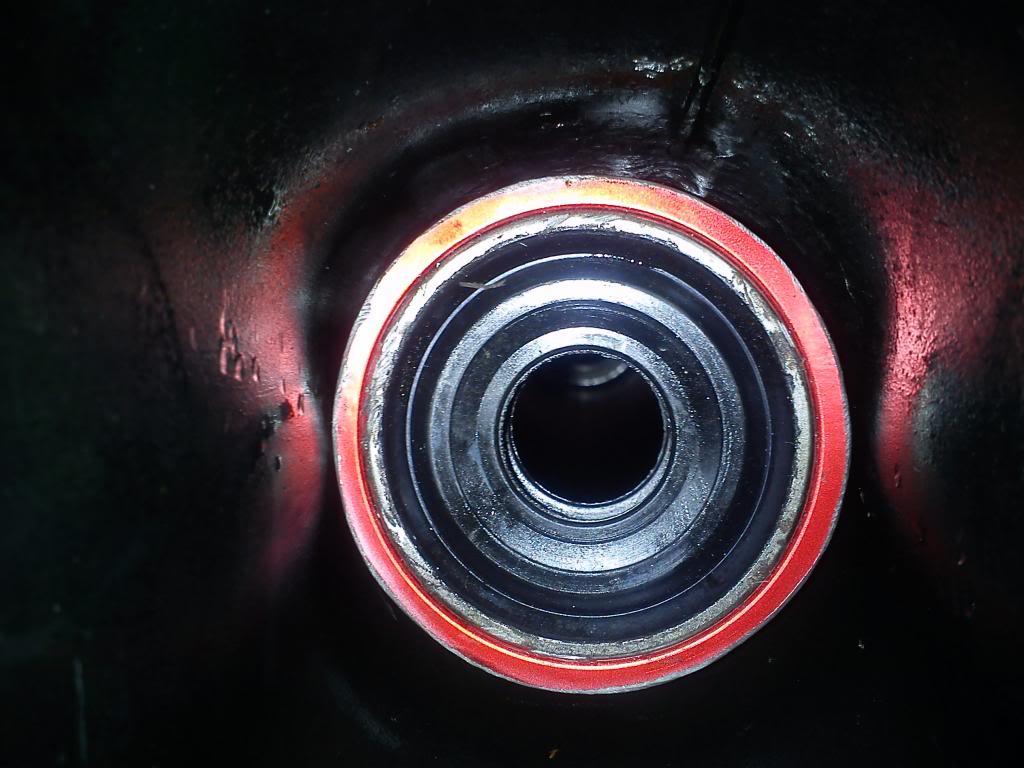
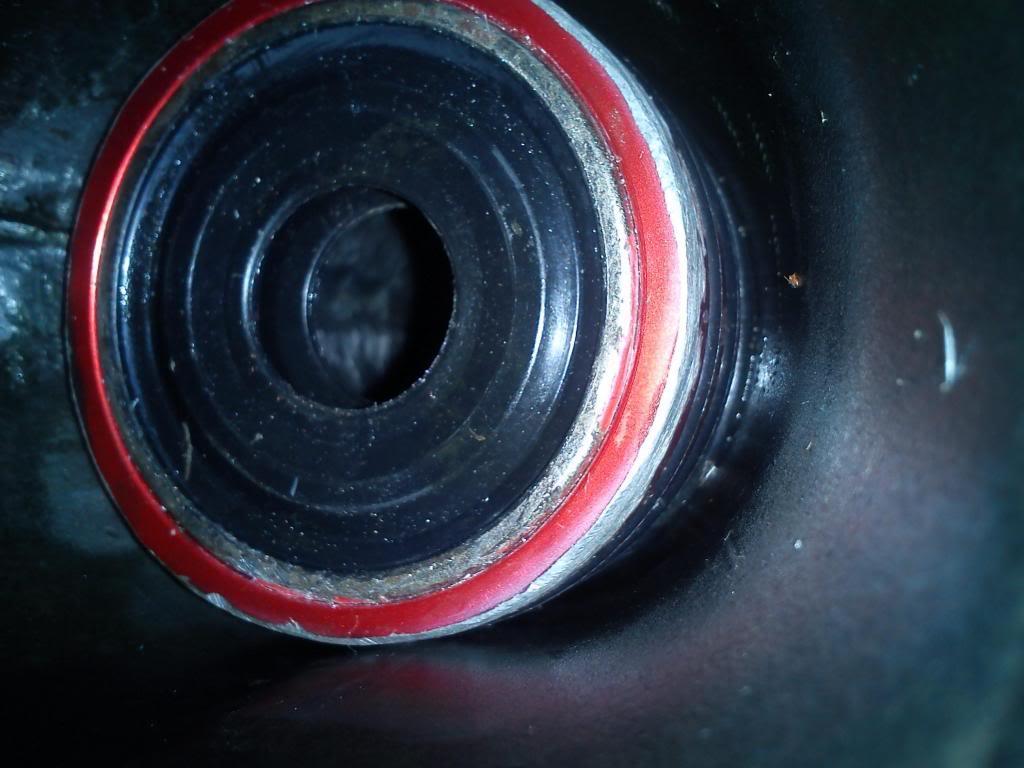
Here is something that hasn't gone so smooth - I bought the same seals as autox cuda (from: http://www.sealsit.com/axlehub.asp) and I drilled out the inside weld in the rear diff, I had also shaved the edge off the seal that was meant for fords, but I was only able to press it in as far as past the first oil ring on the seal (the seal has 3) looking at the chart on the website I should have went with one size smaller (either the blue or gold one)
I taped them off so I can grind off the edge without getting any fillings in the seal
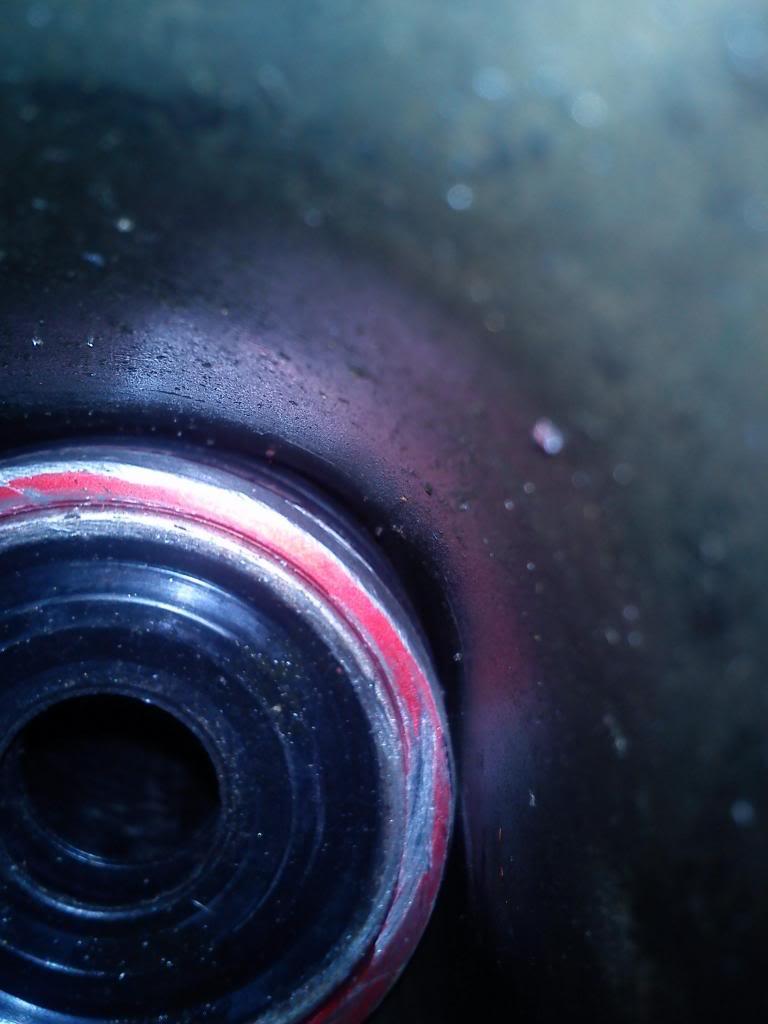
I tried taking a pic as best as I could with the little room in the housing you can see the gap on the sides:
Thats it for now, I hope to have the rear axle and suspension done next week on my next days off!!!