You must be logged in to rate content!
7 minute(s) of a 519 minute read
9-12-2013
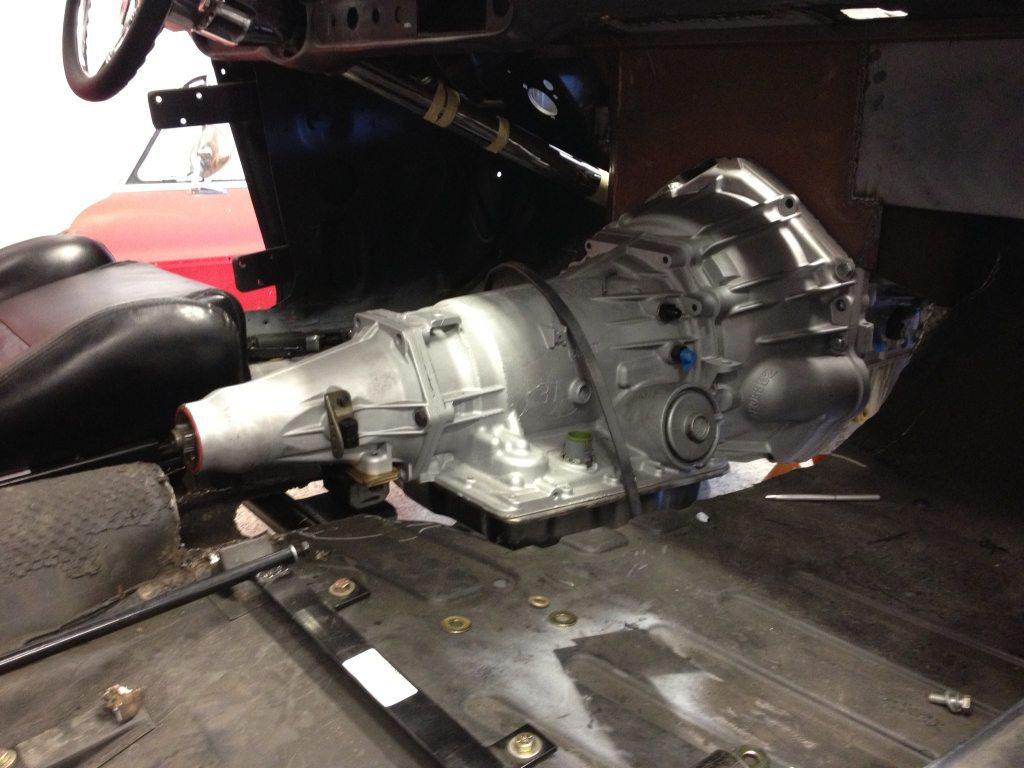
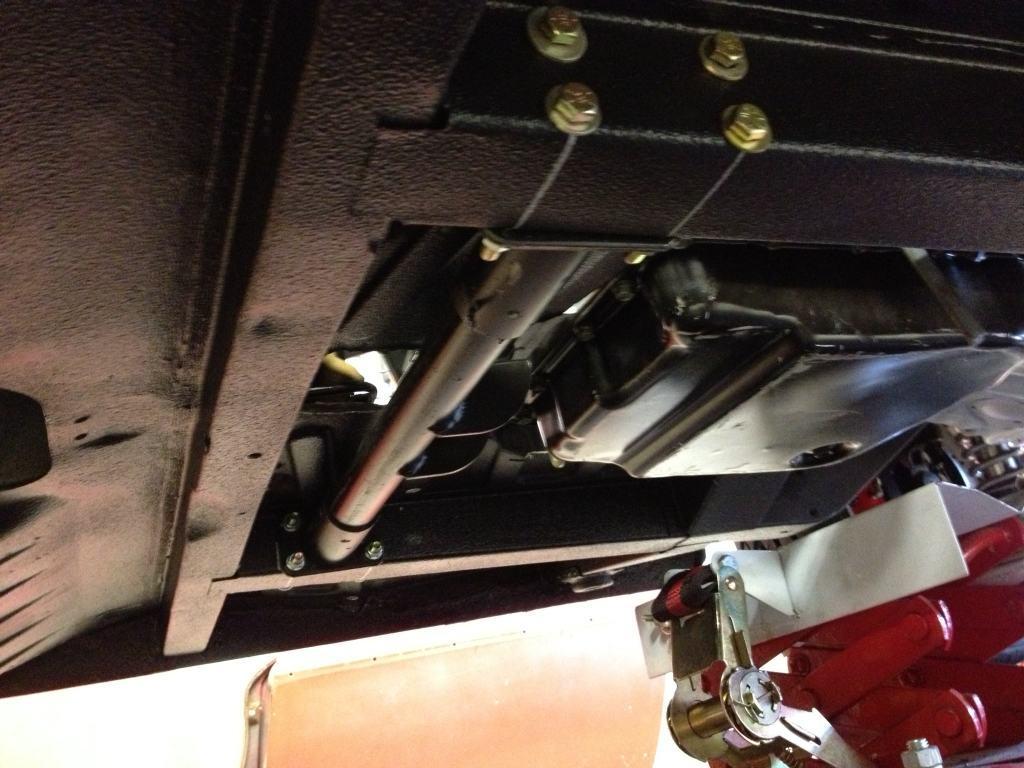
I now have the transmission in place and can focus my efforts to the firewall/steering shaft and then the transmission and driveshaft tunnels. It has been busy around the house lately so I haven't had much time to work in the garage.
I still need to do a little work on the transmission mount. I need to make some plates where the bolts go through the frame rails. I hope to have that done later this evening after the kids go to bed.
9-19-2013
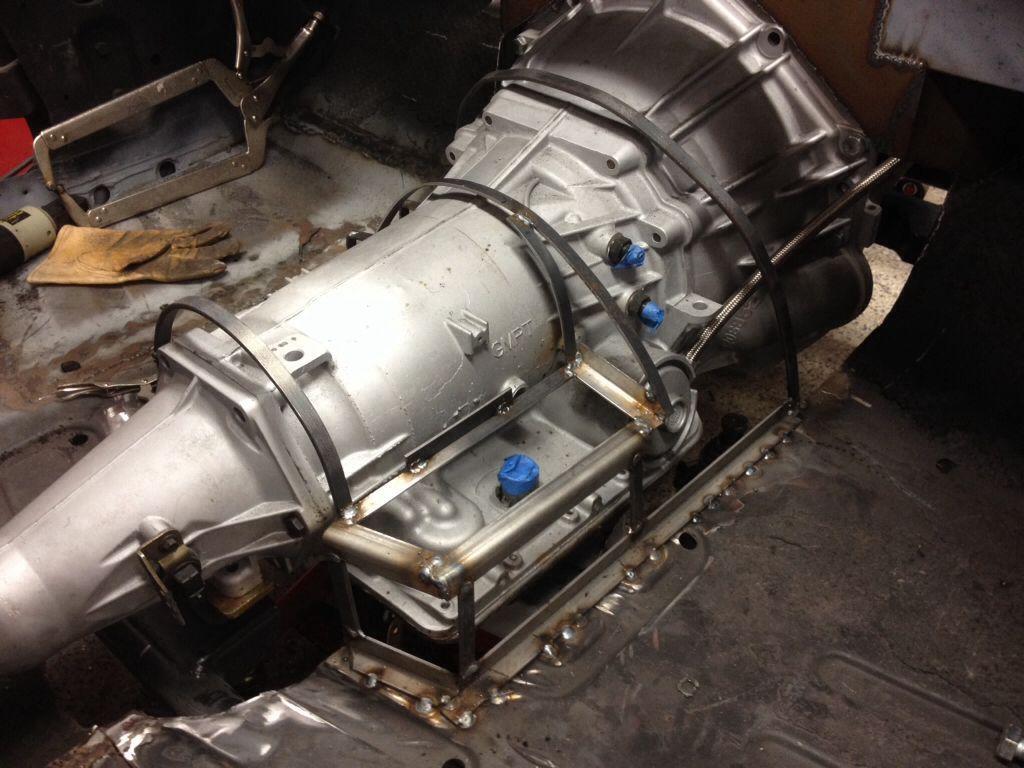
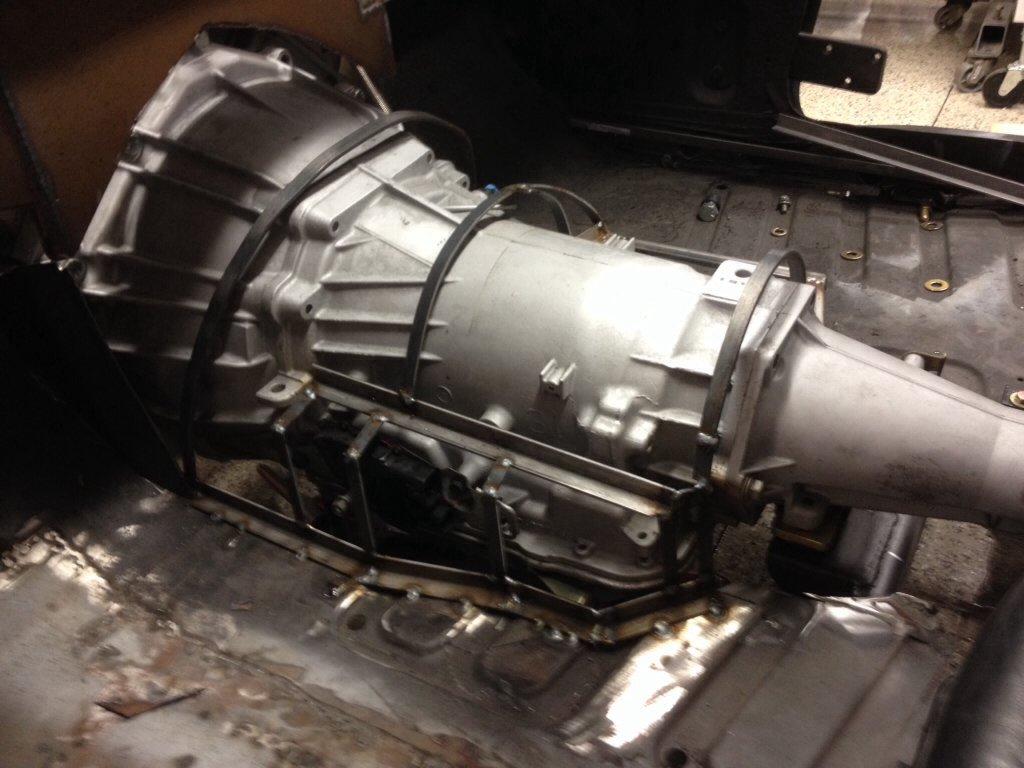
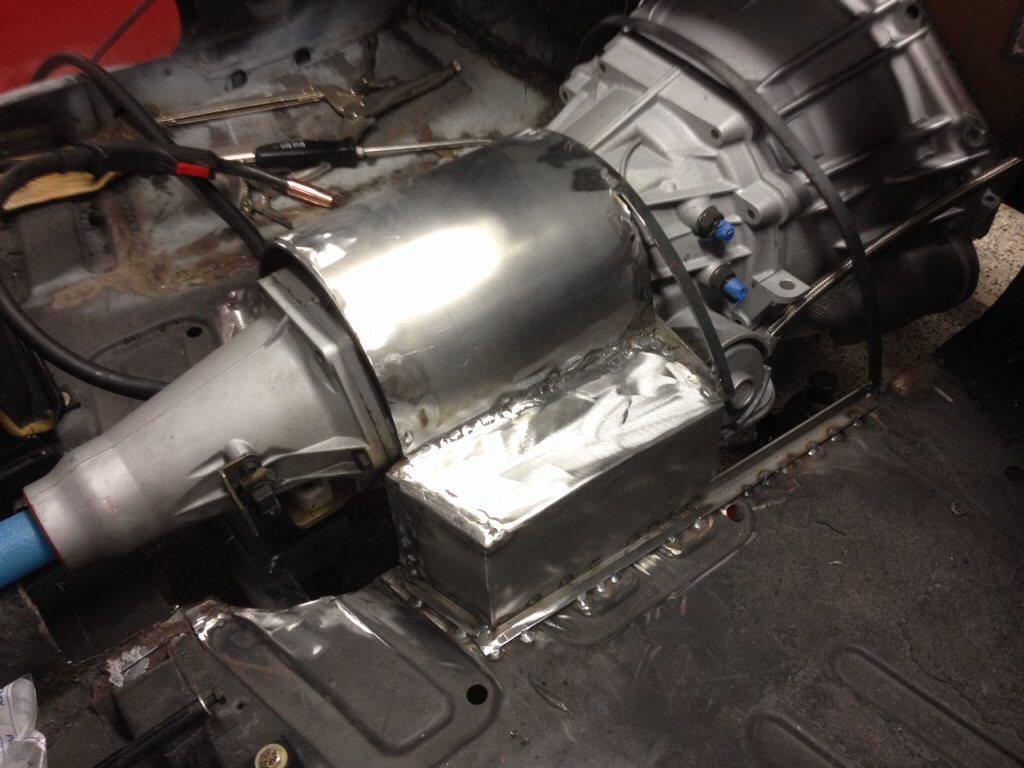
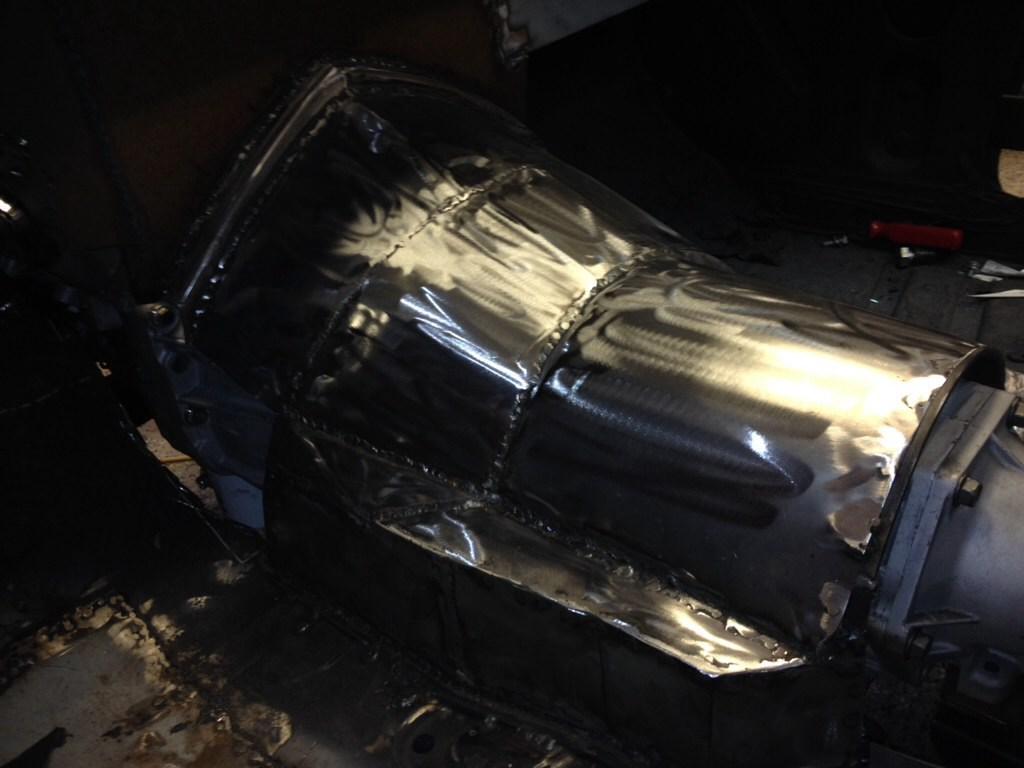
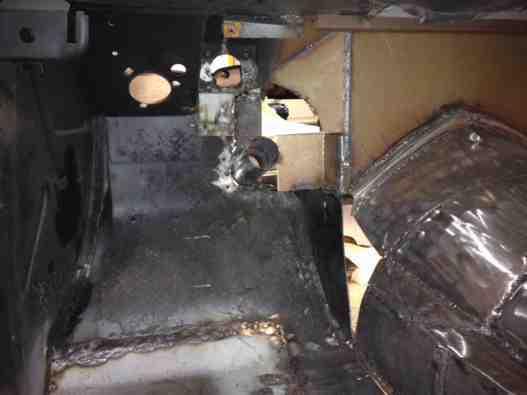
After thinking about it for a few days I started working on my transmission tunnel today. I want the transmission tunnel to be as small as possible but strong. I don't have an English wheel so I can't make it out of one piece very easily.
I decided to create a frame around the shape I want using a combination of angle iron and flat stock. I designed a wide but short lower level to hide the valve body. I will start wrapping it tomorrow with 16g sheetmetal. It is a little heavy for this job but 18g wasn't readily available. It looks pretty crude now but I think it will work out well and look nice when completed.
9-21-2013
I have thought about that. I plan on making a couple access holes like the factory tunnel had. Most items should be accessible from the bottom with the exception of the computer plug on top of the valve body.
I made 3 of the six pieces to cover the tunnel so far. It is starting to come together nicely.
I stopped by a local fabrication shop yesterday to talk about having a driveshaft tunnel made. It will have to be very narrow (4.5" wide by 7" tall) to fit between the seats. I will be running with a 2" or 2.5" thick wall driveshaft. After the tunnel is complete I plan on adding additional supports for driveshaft safety loops.
9-26-2013
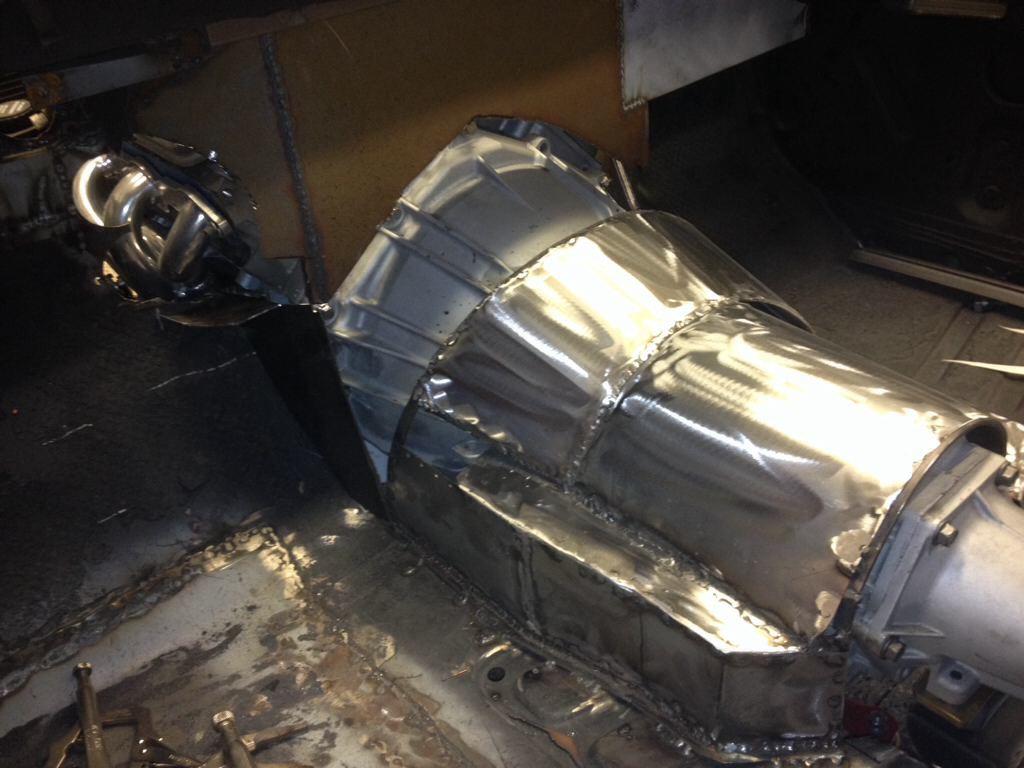
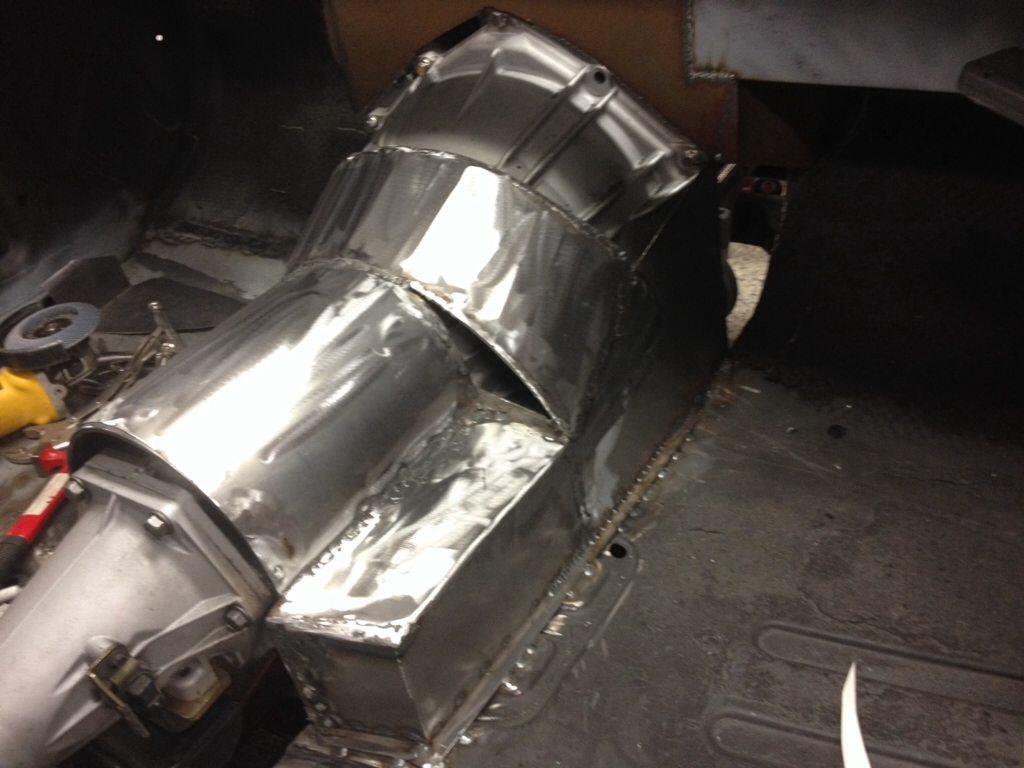
I did a little bit more on the trams tunnel today. I am leaving the tail section alone until I figure out the driveshaft tunnel. About 3 more hours and I will be done with this part!
10-1-2013
I ran into a problem with the driveshaft tunnel. The fab shop could only roll a tunnel 5.75" wide. I had buy a 4.5" exhaust tube and then use my metal shears to cut it in half. I then got a half sheet of 16 gauge sheet metal and cut it down to 6" strips. I will weld the 3 pieces together to make the tunnel I need. When I get the pieces back from the fab shop I can finish up the rear of the trams tunnel and all the ds tunnel.
I am having the fab shop use their bead roller to run a 1/2" flange on the sheet to make it easier to weld together. I have a manual bead roller but I don't think it will work on this thick of metal.
I still need to finalize the steering shaft location. I have it eyed out but just don't have much time to finish it. Once that is done I can finish the last part of the trans tunnel by the drivers feet.
I can also finish the back of the trans tunnel and driveshaft tunnel when I get the stuff back from the fab shop.
10-30-2013
I haven't had much time to work on the Volvo lately. Been building a deck and hope to have it done this weekend. Here is what I have done this month. I have the steering worked out along with the brakes. I installed the Lokar shifter and routed the shifter cable. That was a major pain in the butt since I have kept everything as tight as I can.
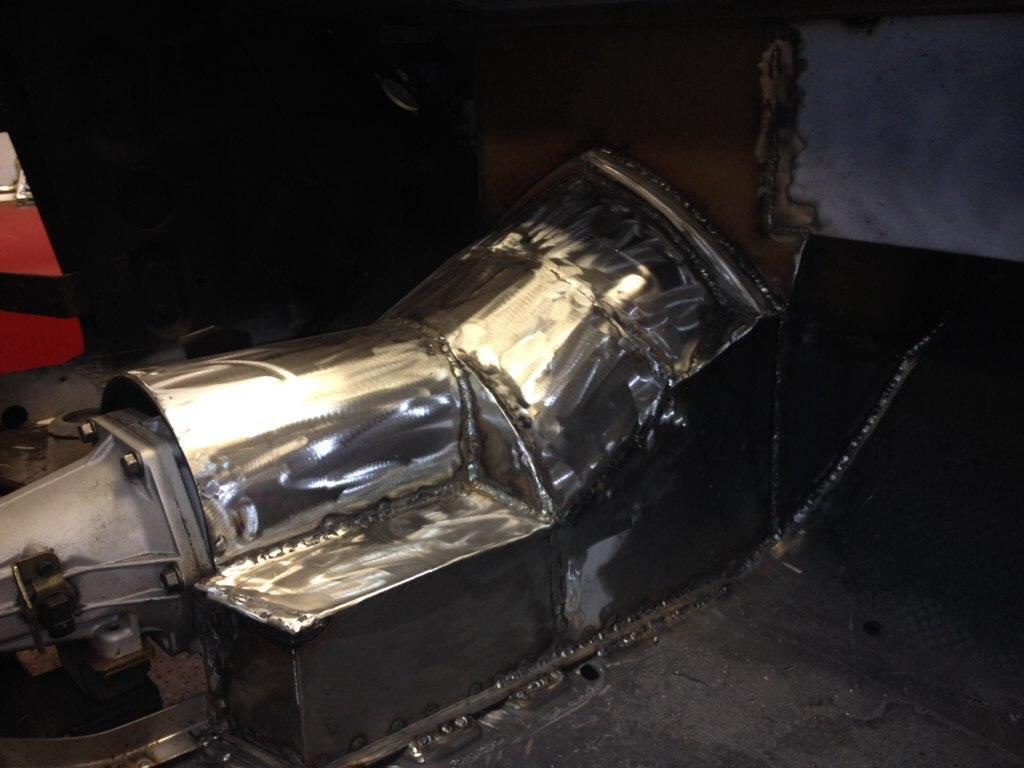
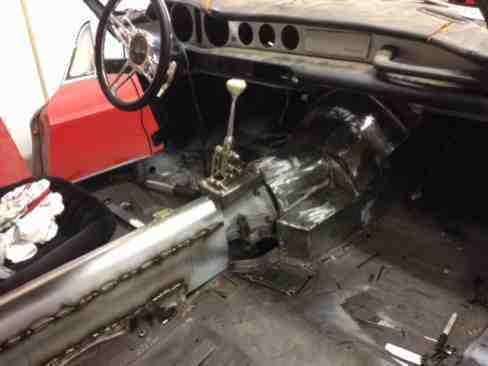
I have the driveshaft in and a large porting of the driveshaft tunnel. I finished the shifter last night and can now finish the tranny tunnel. I still have to raise the driveshaft tunnel near the rear end but that will be pretty easy to do. When I finish up all the welding I will take it apart again and put it in the rotisserie. While on thee I will weld the bottom, undercoat and plumb the car.
11-19-2013
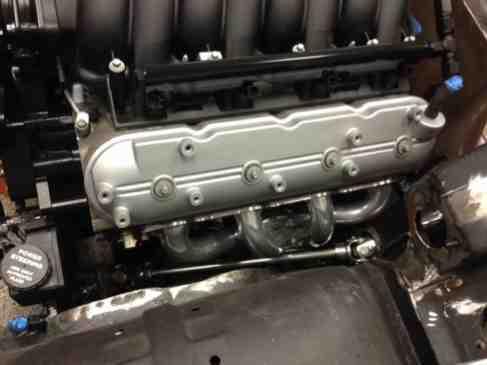
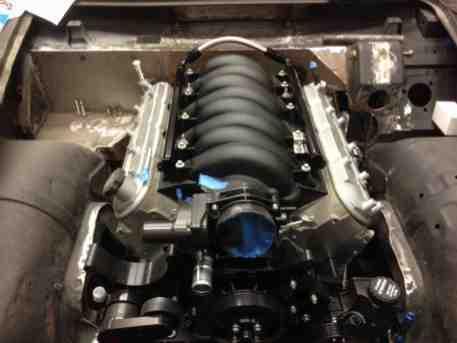
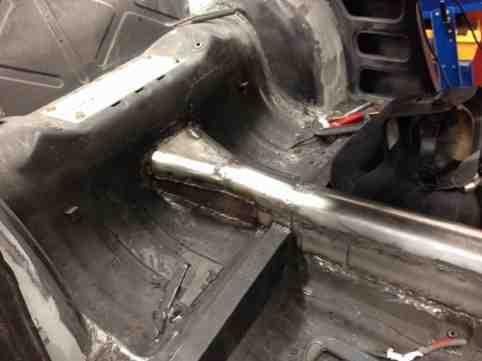
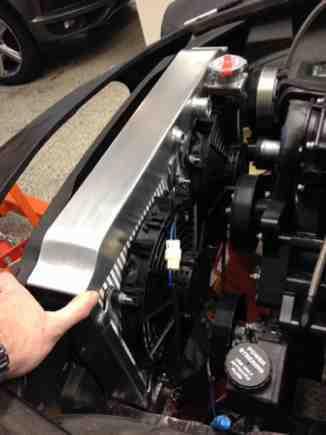
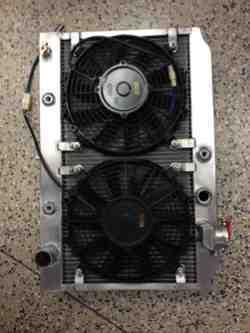
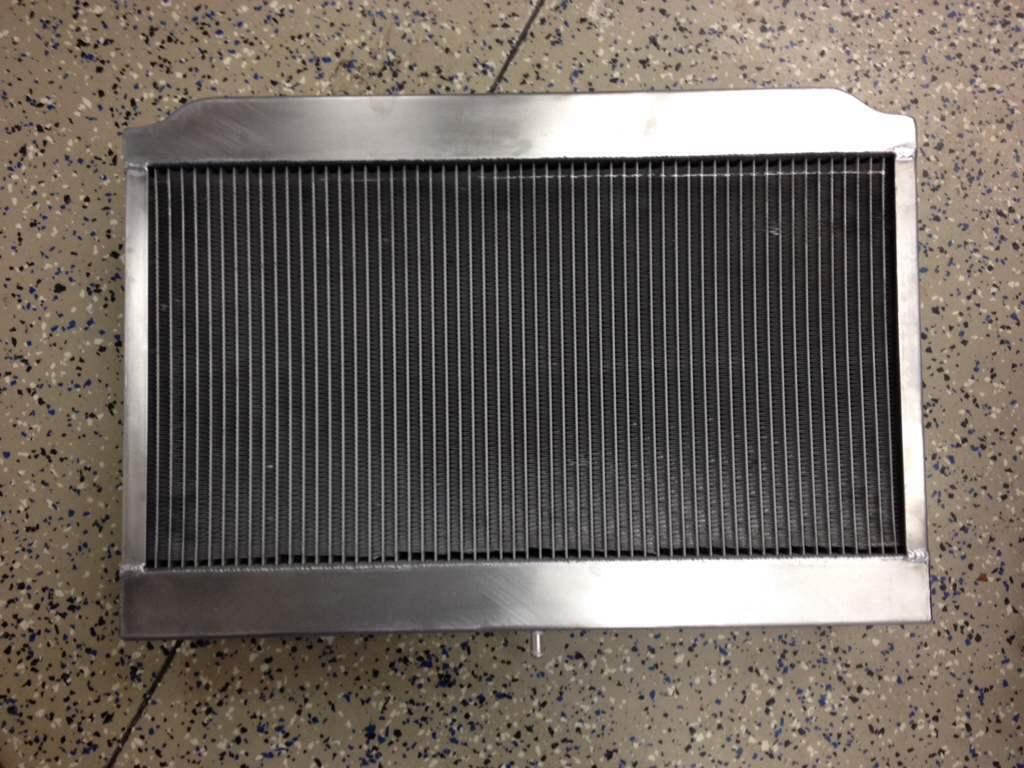
After spending the last month working on house projects I can finally get back to the Volvo project. I'm almost done with the driveshaft tunnel. There's just a small section next to the shifter I need to weld. After that I'll be able to put the car back on a rotisserie and weld the bottom then prime and undercoat. Picture of the radiator and back portion of the driveshaft tunnel.
I picked up a new custom radiator today. I had it designed to my specifications. It is about 4 inches wider than the factory radiator and has the transmission cooler I need. It was even built to follow the contour of the radiator support. It retains the factory dowel on the bottom. I just need to fabricate some mounts for the side. I think it turned out awesome!
11-27-2013
I took a step backwards this week. I pulled the engine, tranny, front suspension crossmember, rear suspension and steering column the other day. This car is so familiar and easy to work on that it only took about 2.5 hours to do all that! I also put it on the rotisserie in that time period.
Now I can flip it over, weld it from the bottom, epoxy prime and then hit it with some more Raptor liner (truck bed liner). After that I can address the fuel system, plumbing and wire it so that I can start the engine/tranny.
Great photos!
Posted by Diggymart on 12/4/23 @ 3:59:23 PM