You must be logged in to rate content!
348 minute(s) of a 720 minute read
1-12-2021
1991 244 Build Thread
Compliments of Smokeyfan1000 @ www.turbobricks.com
4/19/10
This is a 1991 N/A B230F with LH 3.1 244 car. It will remain N/A , much to the dismay of many here on TB. I apologize. But it's too good a car to +Turbo IMO. I want it to run for many, many years to come.
OK, here's the plan.
This build includes: Replace Clutch & PP,CPSensor, flexdisc,universal joints in D Shaft,new header pipe, with 2.50" collector mod to it. And 2.50 MagnaFlow cat and 2.50" pipe to the 2.50" MagnaFlow straight thru, or DynoMax Super Turbo muffler, and a 2.50" L pipe tailpipe with a nice SS tip.
Also..Painting the engine block, & peripherals, while it's still in the car.And refurbishing all/anything I can for appearances sake. I plan a cam change for a little added performance at a later date All show & kinda slow. It's N/A after all.
All four new Brembo brake rotors and EBC Green Stuff pads, IPD SS brake lines, all of them. And possibly a Mstr. Cyl. plus I will bleed brakes with ATE Super Blue Racing Fluid.
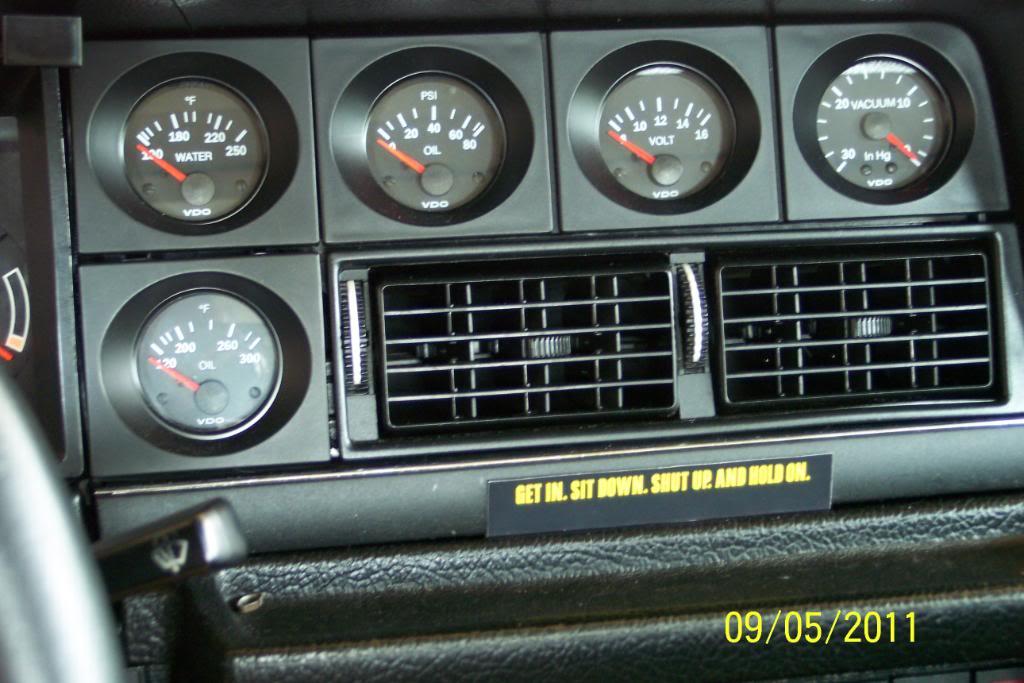
Also inspect & repack F wheel bearings. New Bosch Fuel Filter. Also installing all new VDO Vision 52mm gauges. OT,OP, VM, WT , Vacuum gauge..
All Super-Pro poly bushings F & R, Four (F & R) Bilstein HDs strut & shocks, IPD S to S brace,the new style IPD lowering springs, IPD Lower Chassis Brace,YoshiFab Firewall to Strut Braces(very nice pieces I might add!) IPD Adj. Upper Torque rods, IPD adj. panhard rod, brace the front lower control arms, and brace the rear trailing arms, then repaint my older IPD 25/23mm Sways to match the rest of the IPD blue susp. parts.
Also Upper Strut Mts.,Lower ball joints,outer tie rod ends, inner tie rods & boots,
Also, install new Hepu WP, a new Scantech Harmonic Balancer, new cam/timing belt & all the other belts, all the accesories bushings with IPD poly bushes, new Bosch Voltage Reg., & Turbo MM heat/oil shield.
New OEM Volvo Diesel MMs, new trans mount(MTC), and hopefully the new IPD blue silicone hose kit for 240s, as soon as they are available.
Also, drill & tap 2 drain plugs for Oil Temp senders(one for a spare)
Also,finally, install leather shifter boot, and a new leather steering wheel cover, and new replacement HL lenses.
And whatever other mods cross my mind during the build. I'm sure there will be plenty of these.
YEP! Let the wrenches fly...

Tranny's out now.

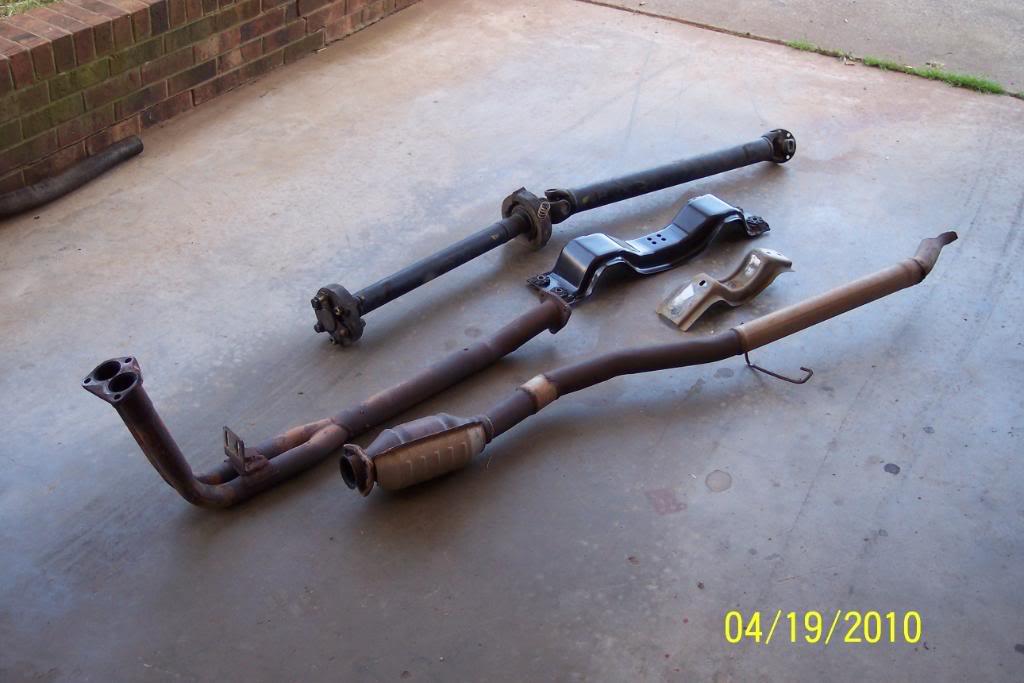
The DS and Ex. System.Check out what was "left" on the exhaust system.
I pulled the Clutch & PP. This is what I found after inspecting it. I suppose the results of overheating the clutch & PP when I was stuck in snow this winter. Believe it or not, IT NEVER MADE A SOUND!! The clutch was slipping bad though.
Ever see a PP do this? In 3 places no less!! Maybe I need a scattershield.

Had the flywheel resurfaced today.I also cleaned , with a stiff brass brush,the outer circumference of the FW, where the CPS "reads".
Cleaned ALL bolts removed thus far too, as well as all the holes where bolts go.
Cleaned up the driveshaft(notice the OEM Volvo alignment marks STILL on it.
Cleaned (with GUNK & CRC Brakleen & a plain & a vibrating toothbrush!)the back of the engine & cylinder head, pass. side of eng. block,oil pan,bottom of frt. engine cover,frt. crossmember,& CAM rack & pinion steering assembly,and bottom parts of subframe too.
All from UNDERNEATH the car. Oh, what fun it was! Pics below:

I took the starter motor to the starter & alt. rebuild shop today for a refurbishing, so did this tonite.
OK, I have a "Volvo clean & shiny fetish", I admit it.
I cleaned the driver's side of engine block, cylinder head on exhaust side & intake side, with Gunk & CRC Brakleen. Then.....
I removed the Cat. con. heat shield, cleaned it on both sides ,THEN I cleaned the driveshaft tunnel (underneath the car) perfectly clean.
Then reinstalled the Cat Heat shield. I'm beginning to think I have OCD .
With the cat shield back on.

I took some old spark plugs,hammered away the porcelain,& cut the metal post off, and used them to keep dirt & cleaners out of the cylinders while cleaning the area around the S plugs on cyl. head. Cleaned it spotless.Also sprayed down & cleaned the intake/F.injectors & rail . Now that I have everything cleaned on engine, time to continue with the build.
Pics:


Had the original starter motor rebuilt today. It's nice & clean to go along with the rest of engine & engine compartment.

Redid the wire from OP guage to OP sender. Covered with sheathing,to where it gos under Oil pan, covered with shrink wrap, then used shathing again to the sender.
Hoping to make OP sender wires last longer/look neater.

Pressed in poly bushings in alt lower mount & adjuster mount. They are a pretty snug fit. Used C clamp & vise with wood & large sockets to seat them properly. Should make for firm mounting of alt.A few pics of them:

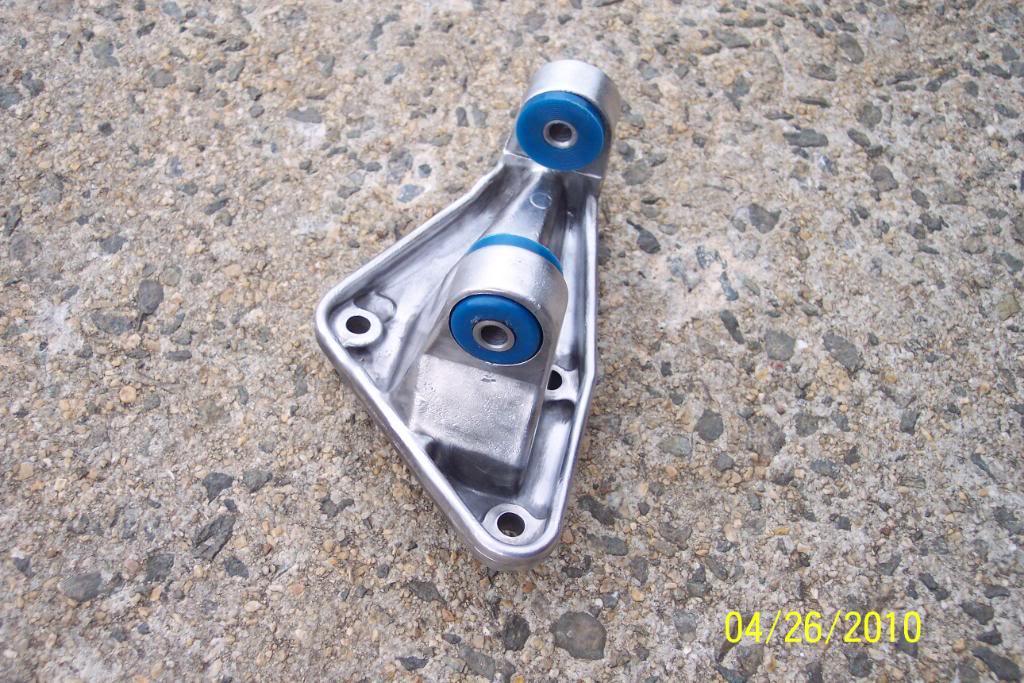

Gonna replace the P/S and A/C compressor BUSHINGS today. Looks like it's gonna be a bit of work.
Wasn't too bad. Cleaned all the brackets & bolts up while I was at it.
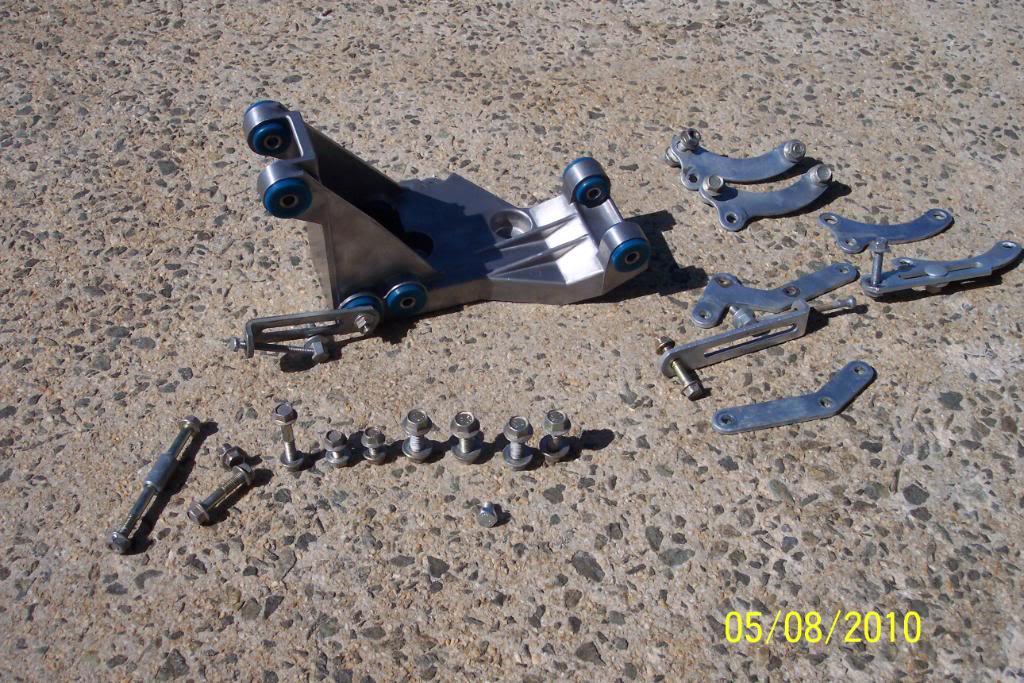
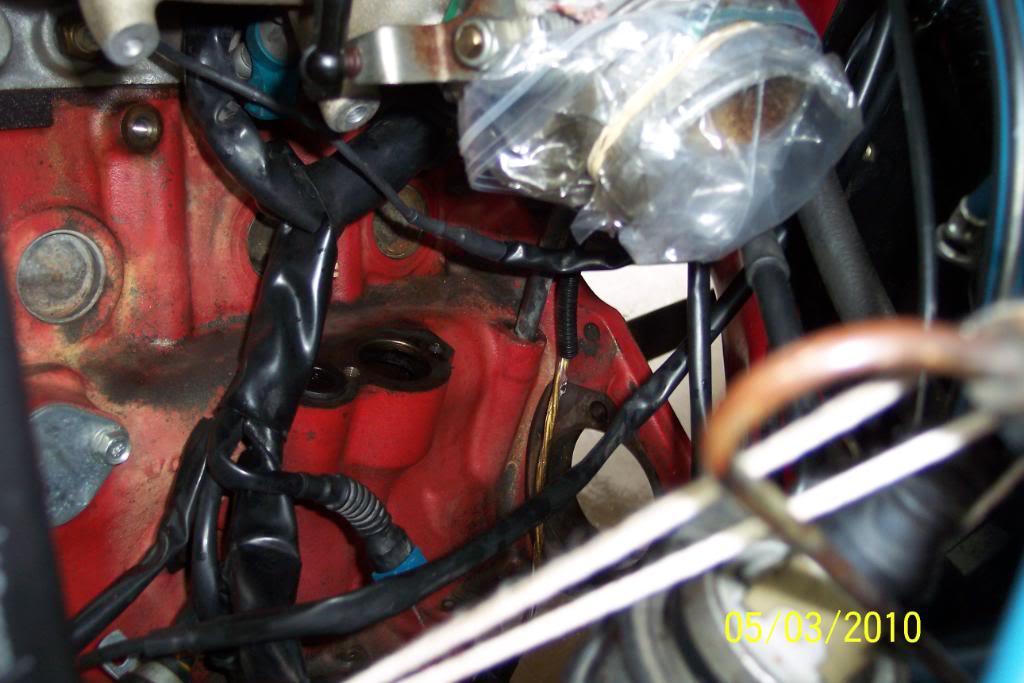
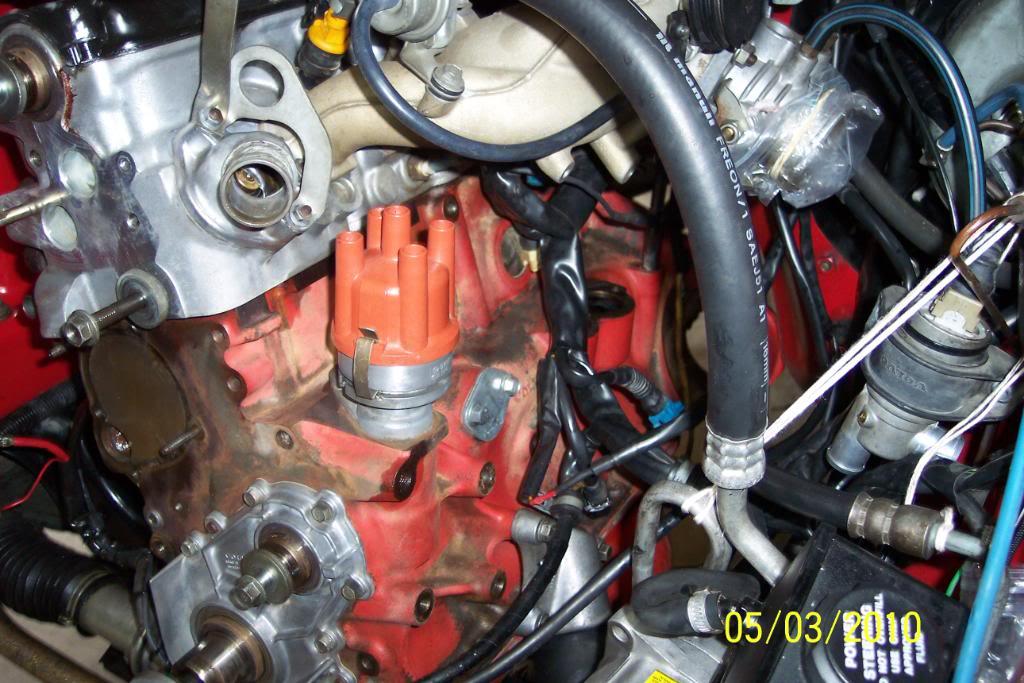

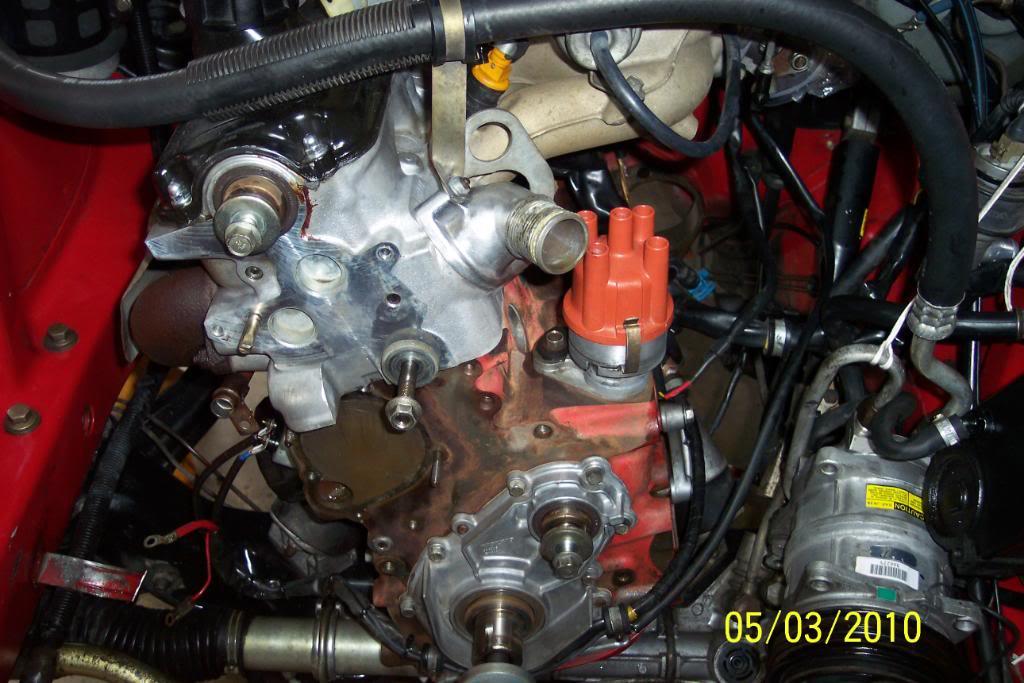
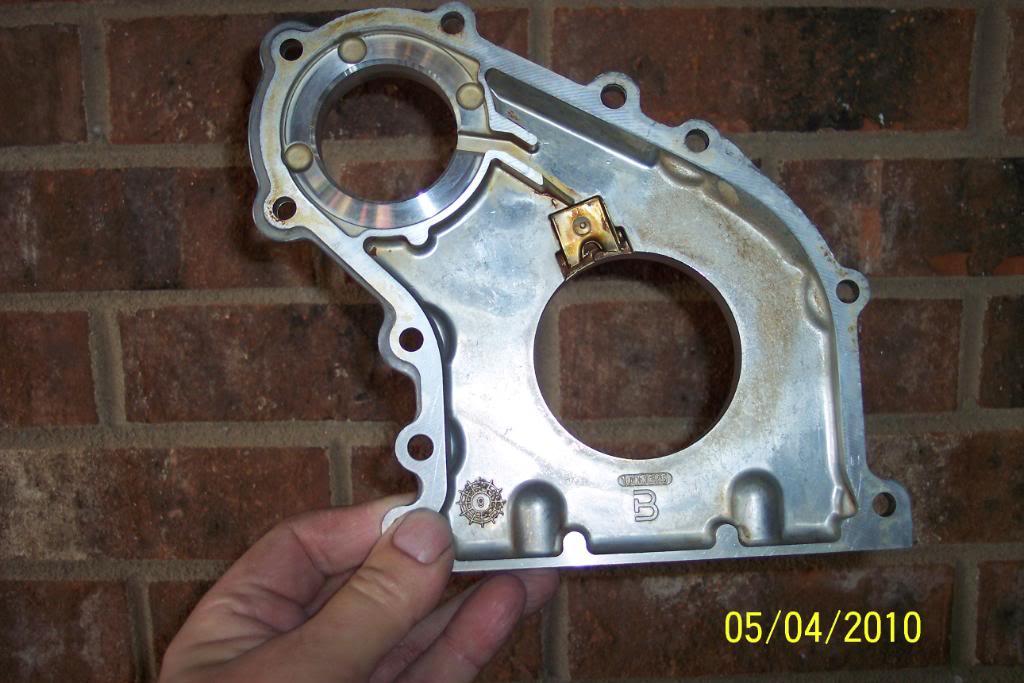
Figured might as well replace the frt. cover gasket too. Will paint engine after getting FC gasket off, and masking all non painted items.
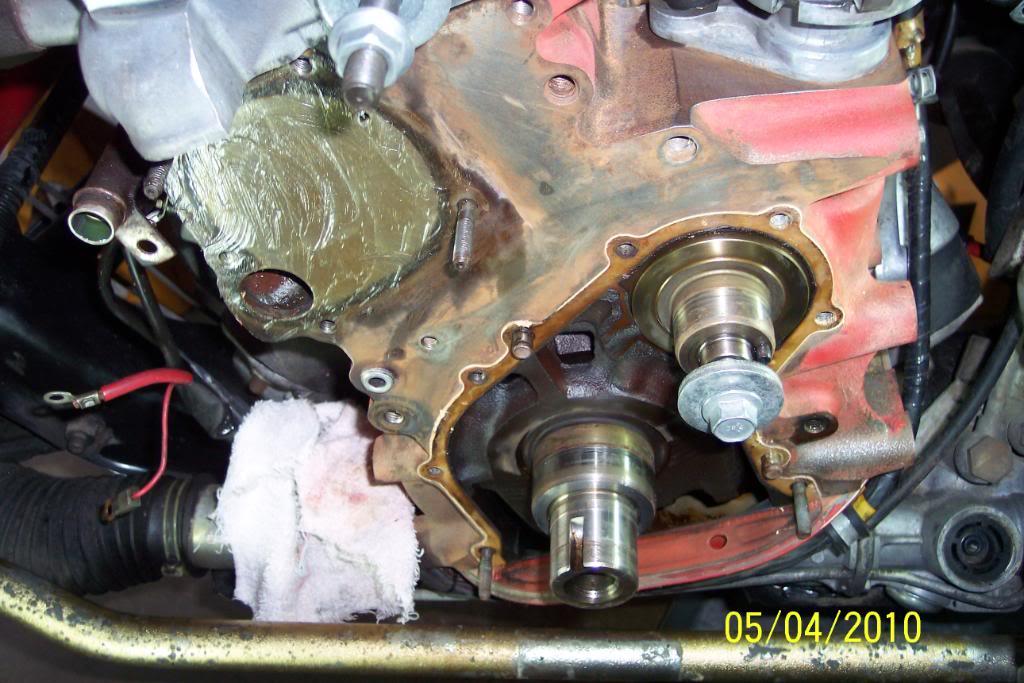
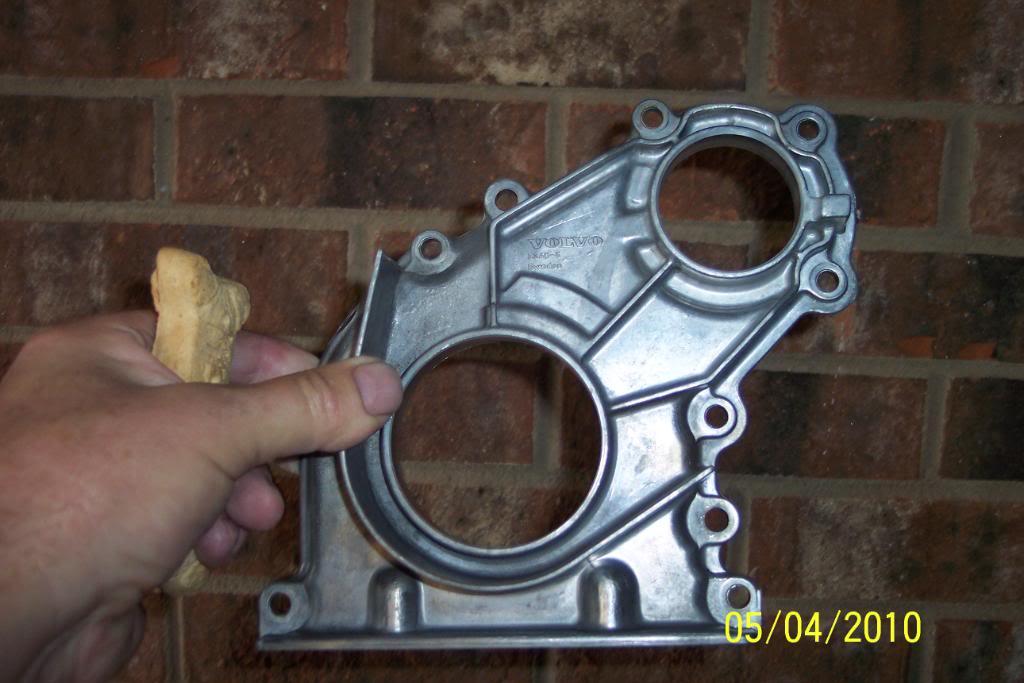
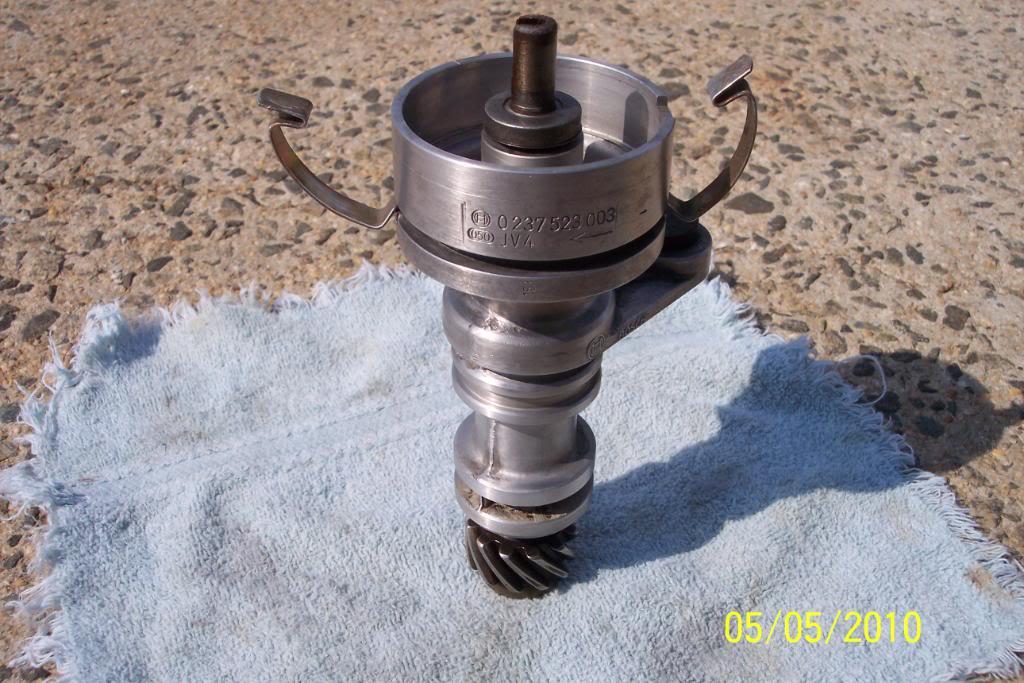
Had to pull dizzy, so I cleaned it and installed new oring on her. Scotchbrite pad did wonders for looks.
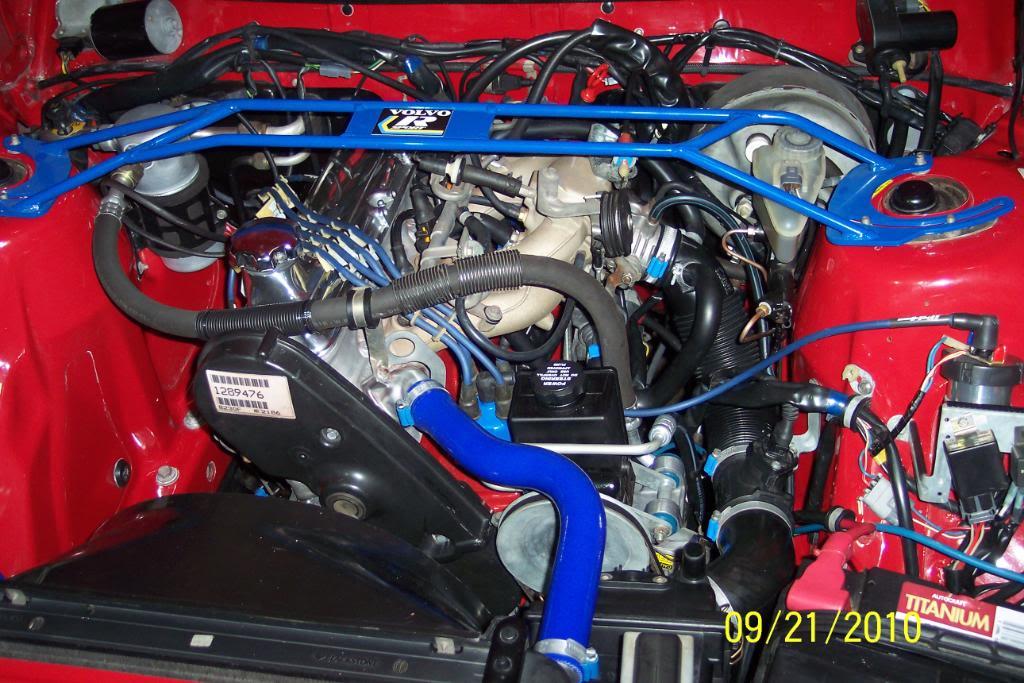
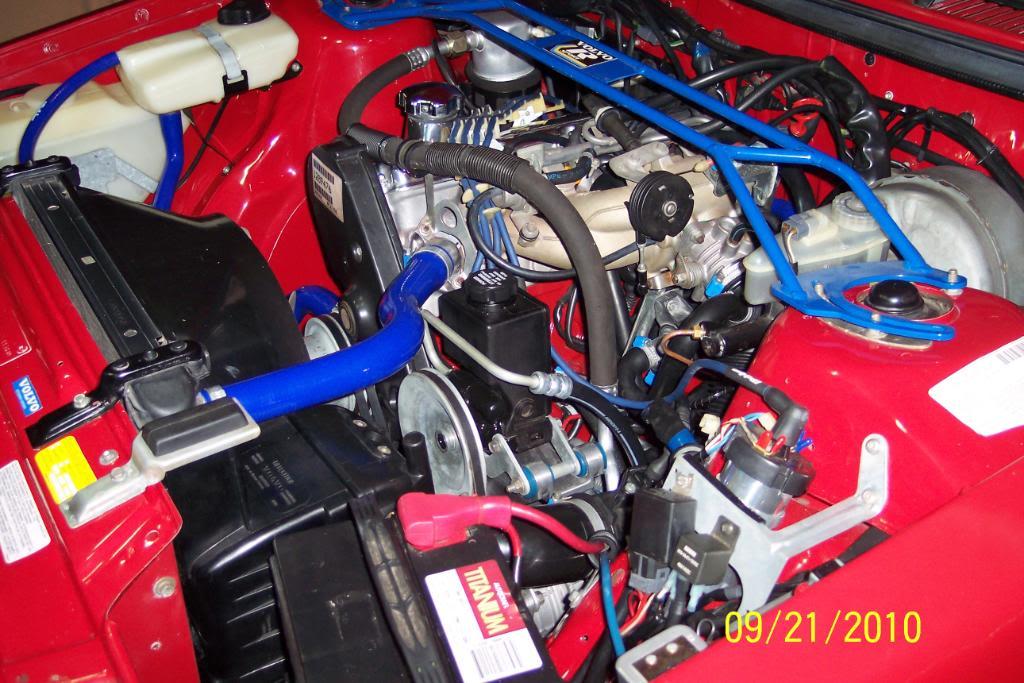
OK, After removing everything but intake & exhaust Manis and after wallowing on carport cement floor in Gunk , CRC Brakleen and grease for a week & half, I finally got the block cleaned up nicely and decided to paint the engine block.
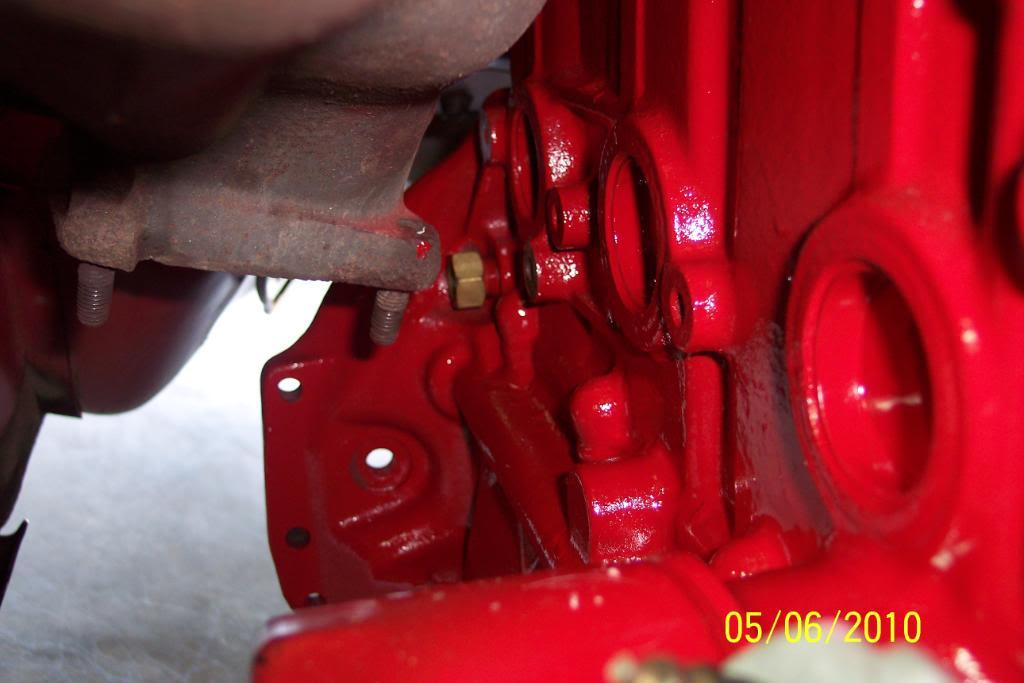
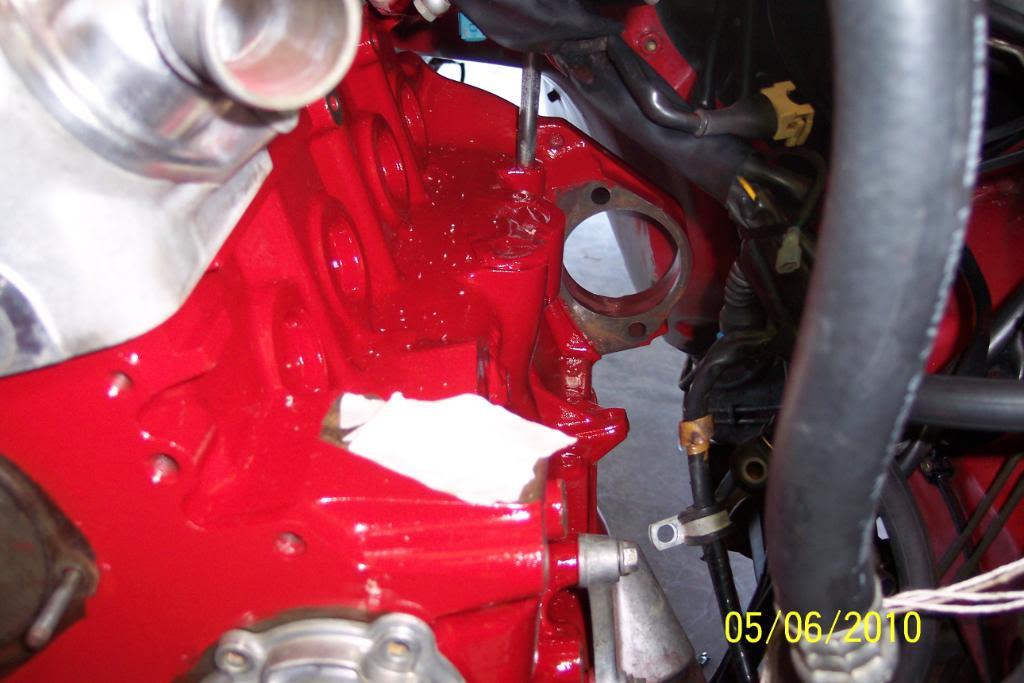
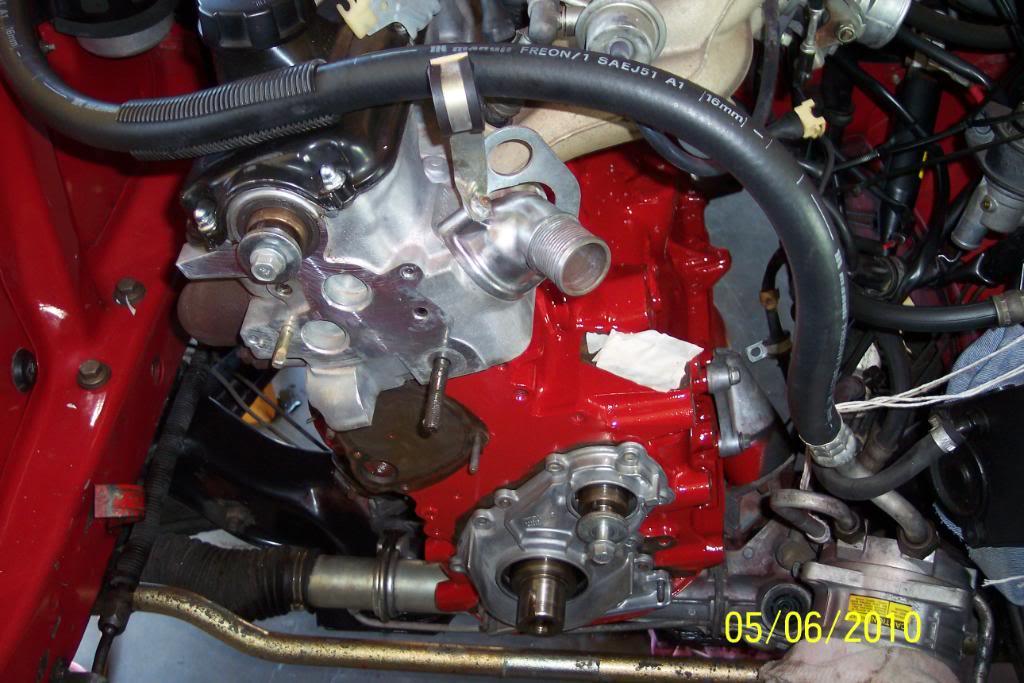
OK, got this far, Box,WP and front cover & seals.

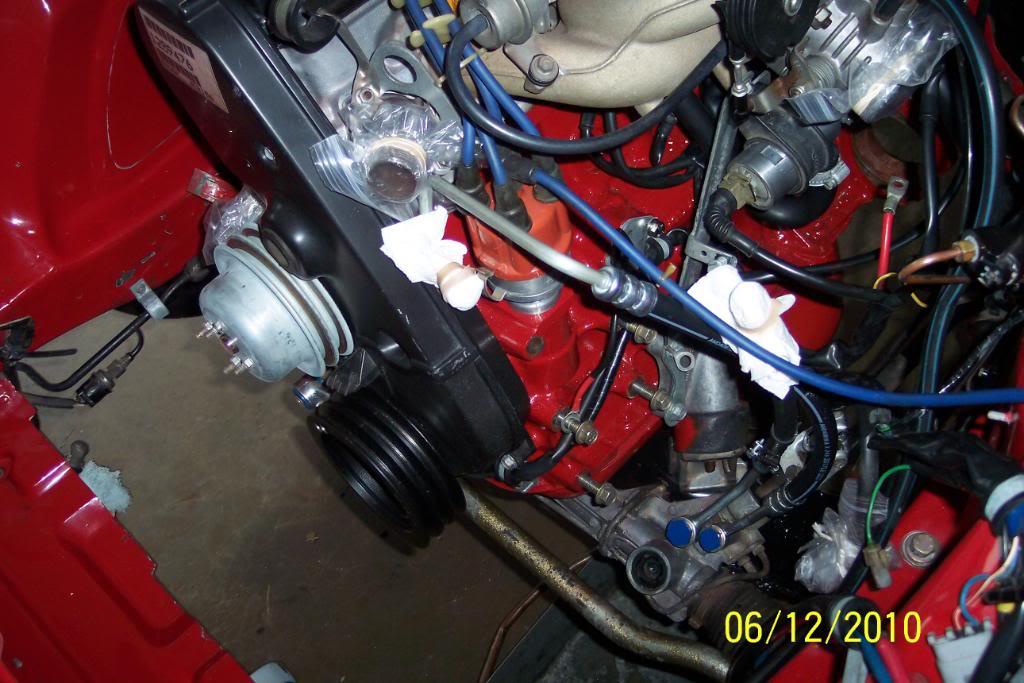
Got the frt. cover,Tbelt,& covers,new Scantech HB & dizzy back on.
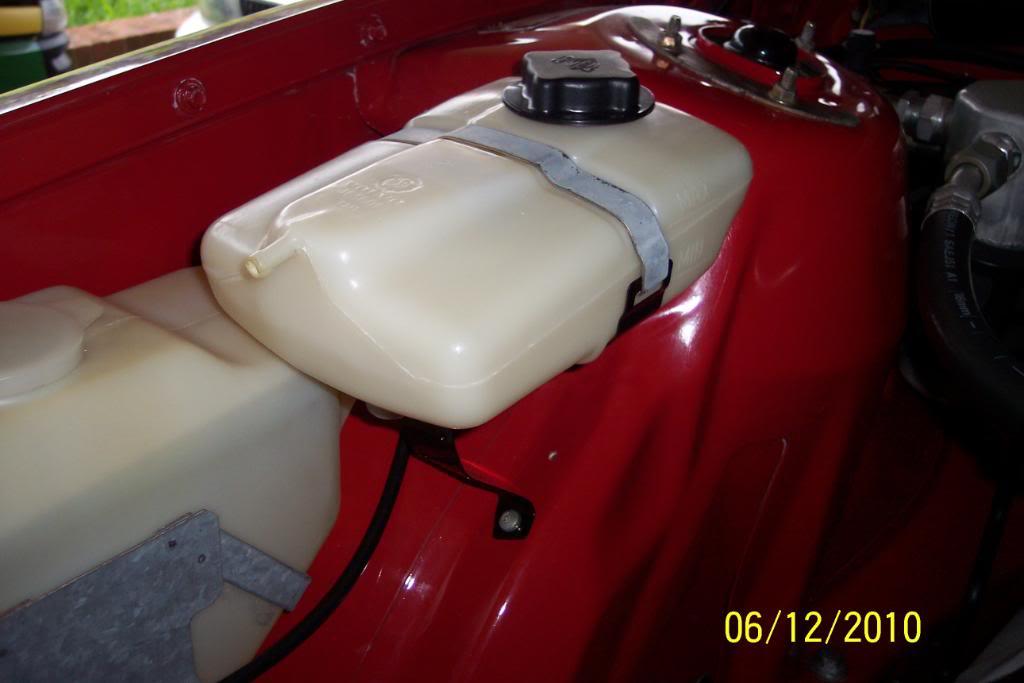
Also installed new Gates P/S hoses, cleaned P/S pump's pulley, repainted P/S pump & rad. overflow reservoir's bracket, and cleaned inside of reservoir, and painted P/S hose's banjo bolt heads blue(they were a little tarnished).
Also cleaned the WW bottle 's bracket & WW bottle. Trying to be thorough.

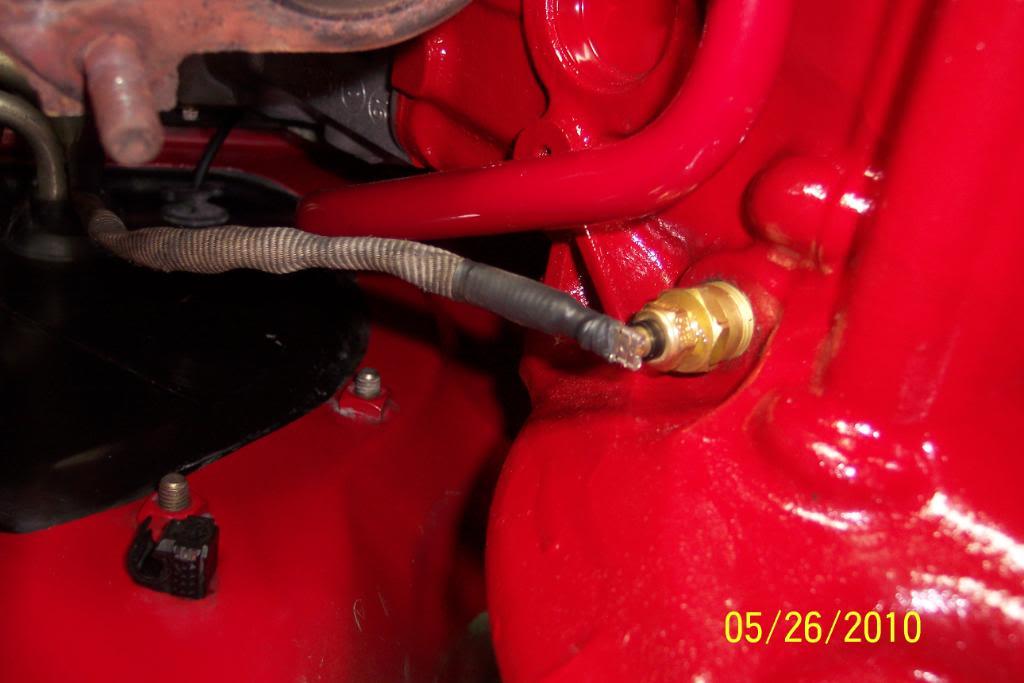
Also got the VDO Vision's WT sender (p/n 323-095), installed, sheathed & wired. BTW the block drain hole, in the block, is 3/8-18 NPT, in case anyone wanted to do the same mod.
This allows ya to keep the OEM "no numbers" gauge in the IC, still working, & it's sender in cylinder head,but still have a VDO Vision WT gauge to read actual temp.
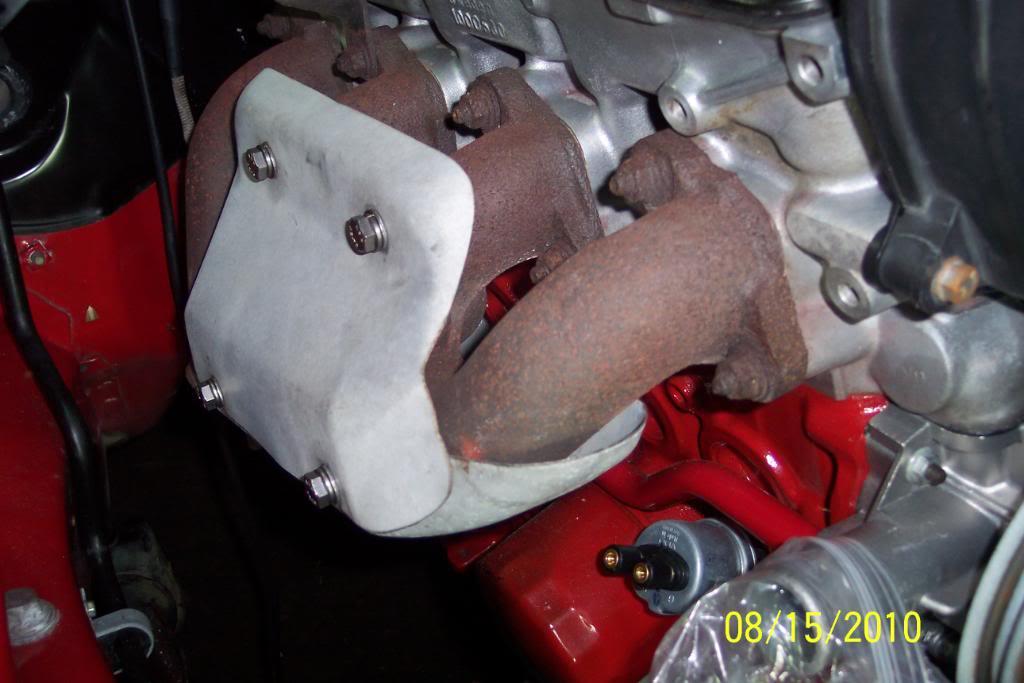
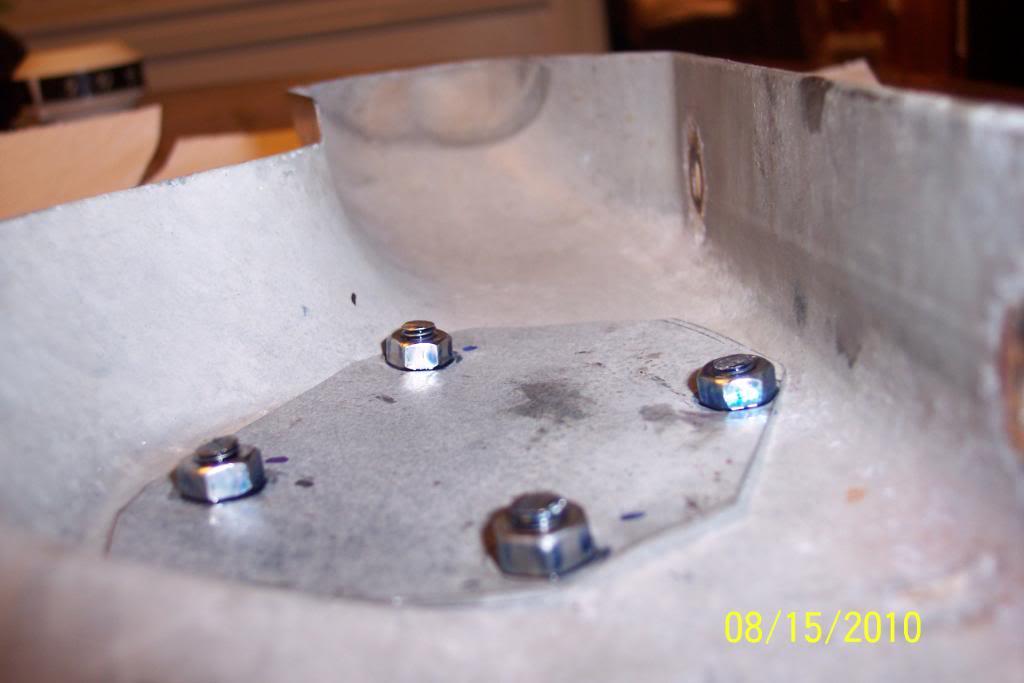
Ok, been wanting to reinstall the lower heat shield. But due to fact I used preheat hose for an additional cold air intake to airbox, said lower shield had the metal pipe still on it, looked bad.
So, I took it off. Used a donor upper heat shield to cut a cover fro the hole left. Used SS bolts to bolt in place.
And installed on ex. mani. with SS bolts for good looks for a long time.
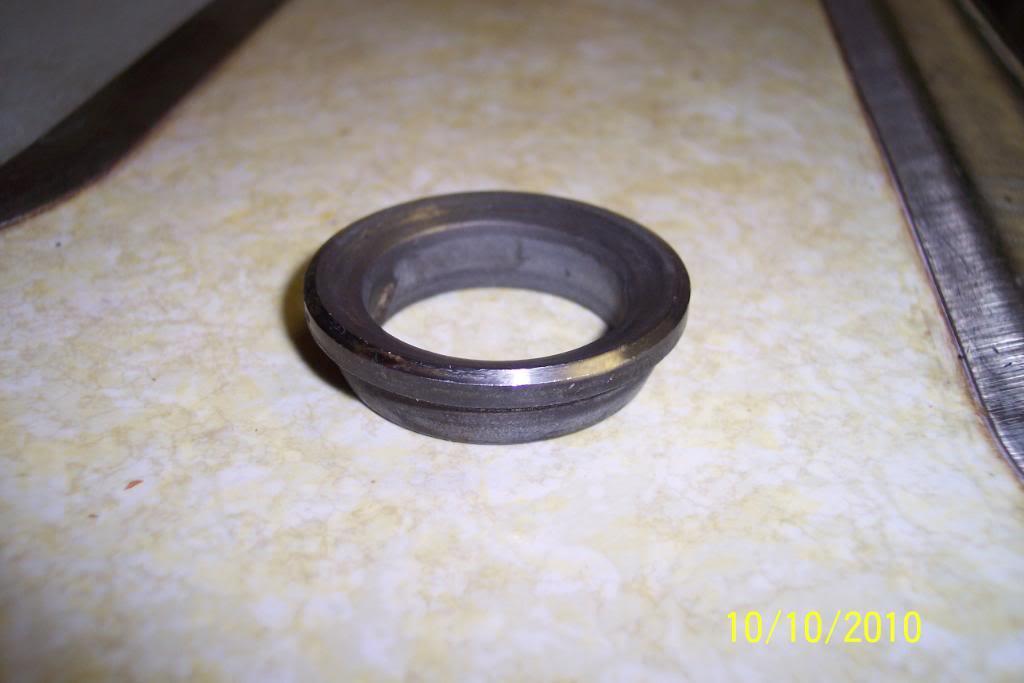
I found this lurking at the bottom of the 1986 strt hsg. tube. The removable spacer on the early tubes. This being out,should give me a lot more gland nut thread engagement. For sure & FTW.
Well I got the Billy in the pass side 1986 stut hsg. Thinks look a lot safer/better to me. Hopefully I did this correctly.
No threads showing at all.
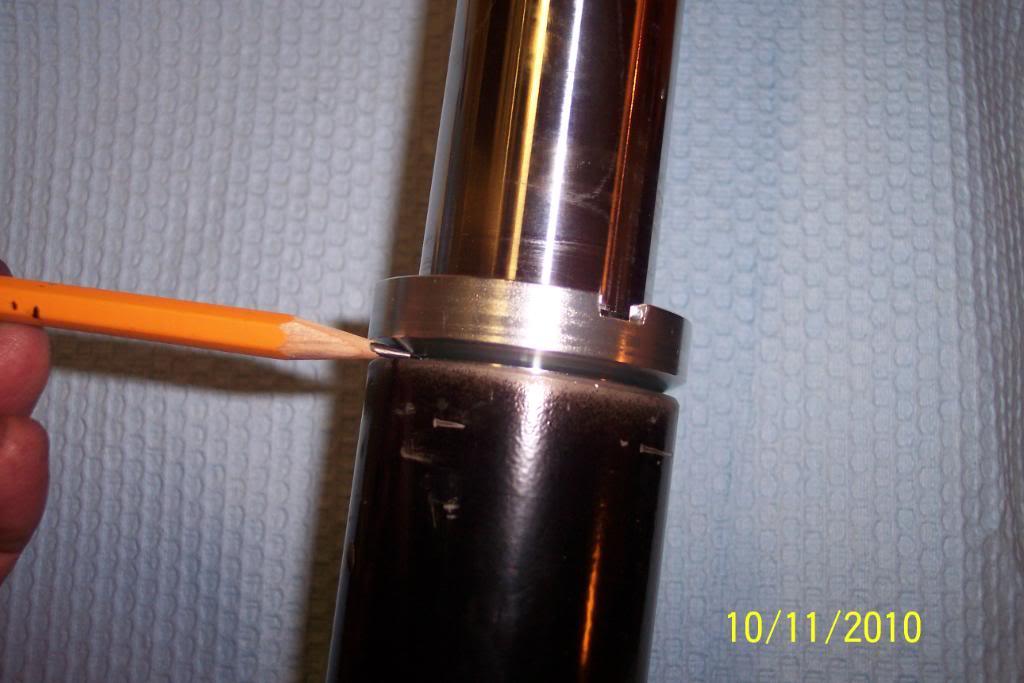
1986 srut hsg's spacer removed and showing the Billy fully seated in the strut hsg tube.
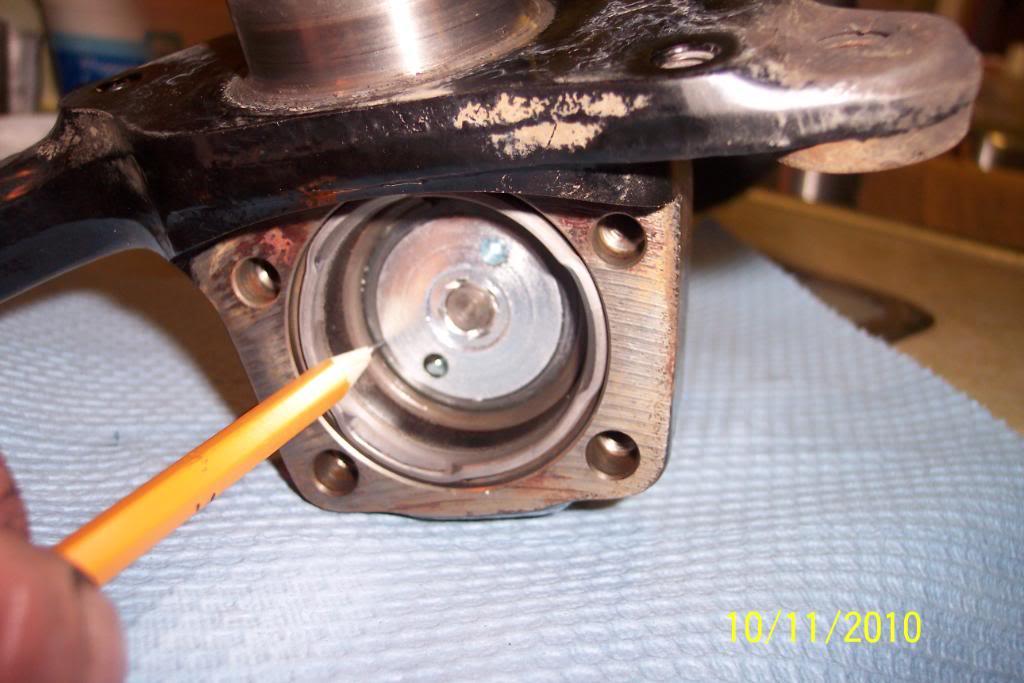
Now tomorrow I'll buff the small amount of rust in certain areas on the 1986 strut hsg, and paint it with Rustoleum Black. Pics soon.
Ok ,I dug all the dirt & gravel stuck between/in the "spring plate" and tube,then I cleaned the hella out of them with gas & CRC Brakleen, dried them down, masked off the bolt holes & tube & painted the strut hsgs, Rustoleum Gloss Black.


And painted the new tie rod ends, lower ball joints, GT plates, braced lower control arm and some bolts.

So I found the pass. side outer wheel brg blued a bit, so bought new Timken frt wheel brg kit, tapped old racess out, new ones in, greased the brgs .
Then cleaned off the hub on a wire buffer motor,masked it off & painted the backside of hub with Rustoleum 500*F Engine Paint(dark blue), it's drying now. This is passenger side hub,& I'll do the driver's side the same way.
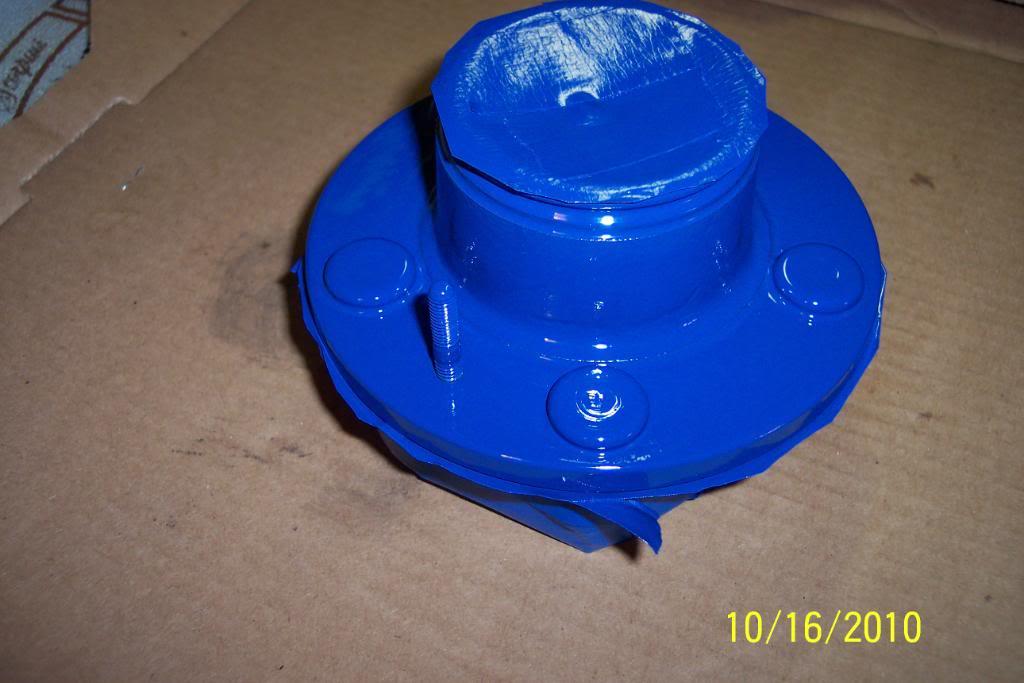
I got the painted hub on, and...

OK, except for the brake pad backing shims, which I realized I had not yet ordered, I have the rest of the pass. side done, minus putting on the tie rod end. Wheel brg is now adjusted also.

Now, I'll do the driver's side the same way.
OK, here lately the weather has been bad, and not much progress.
I did manage to score a 240 diesel engine's Oil dipstick, and it has a blue handle on it, instead of a red handle like a normal B230F gasoline engine has.
Only problem is it's about 4 3/4" too short. Since I wanted to use the blue handled dipstick, I modded it.
I took a spare dipstick from a B230F, and cut it off about 3" from the top. Didi same to blue one.
Figured out just where to cut both so they'd overlap about 2". Ground the 2" area on both flat, so they'd mate together and have a smaller overall OD.
And then I brazed them together. Pics below.


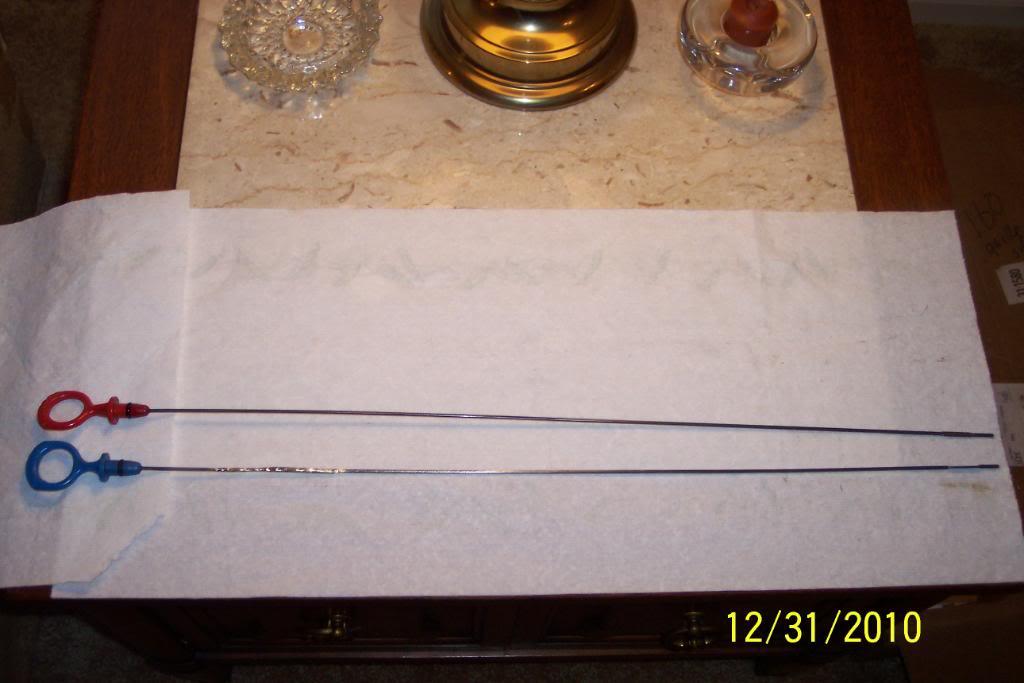
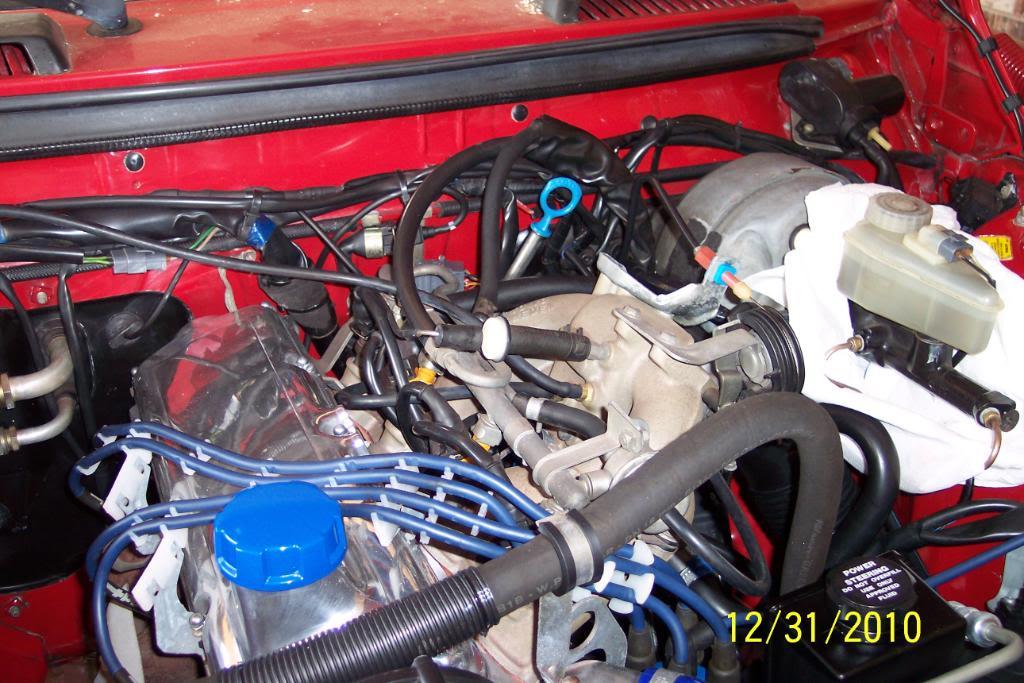
9/12/10
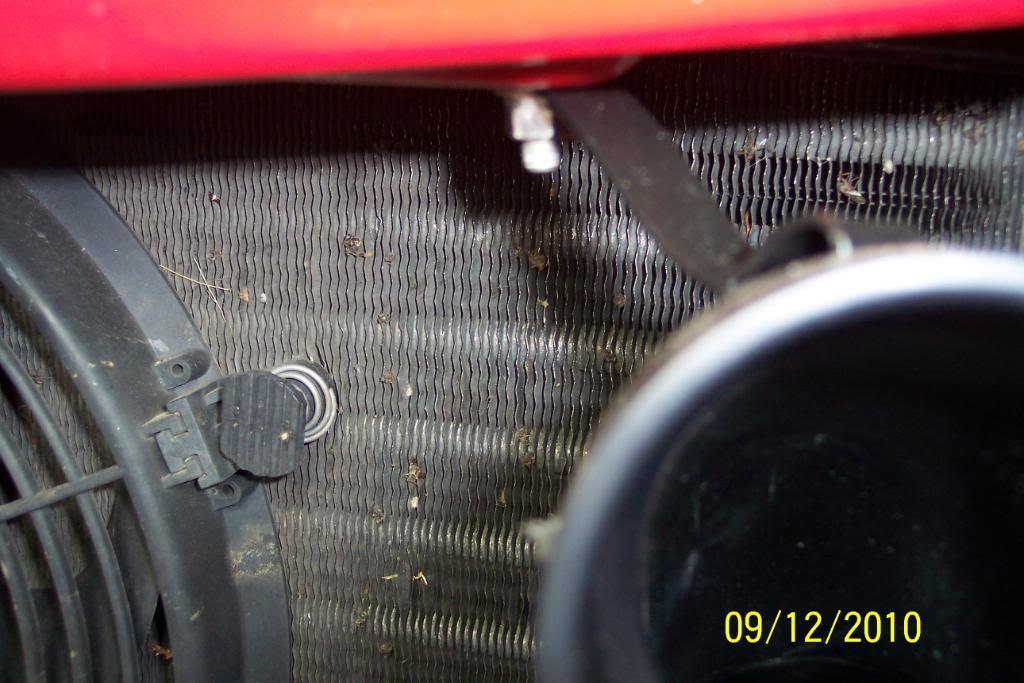
First open hood and make sure your 240 has the big hole on passenger side radiator support wall .
First off, you remove airbox, open it up, and remove all of the temp operated preheat pipe "flapper valve"l inside the airbox.Bracketry, flapper & ALL. It pops out of little holes in airbox housing it mounts in.
Now clean the hella out of the airbox.
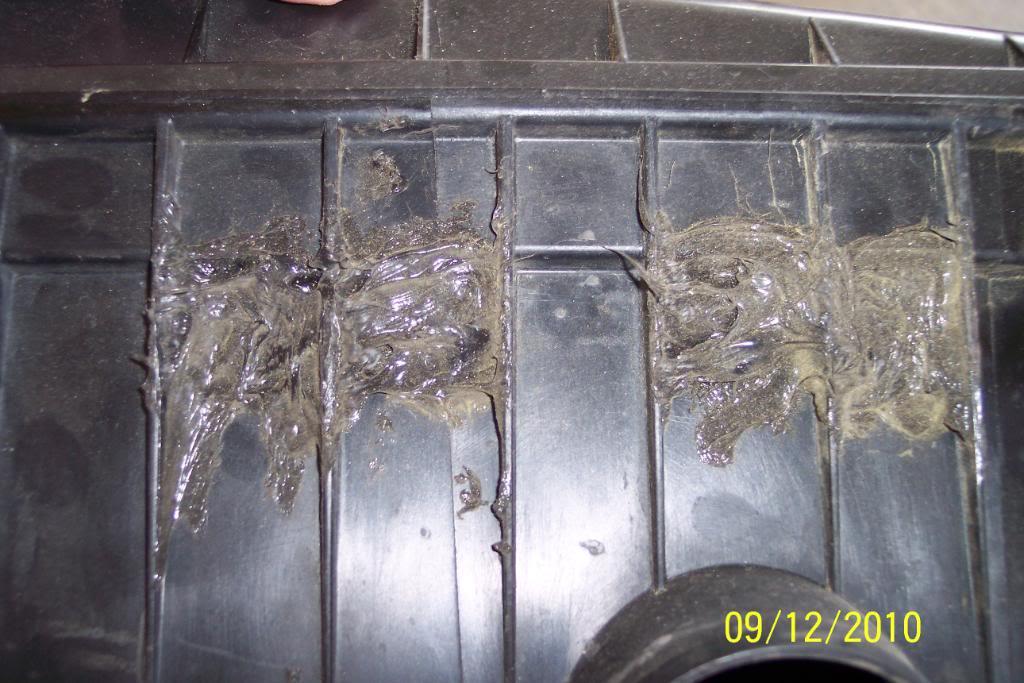
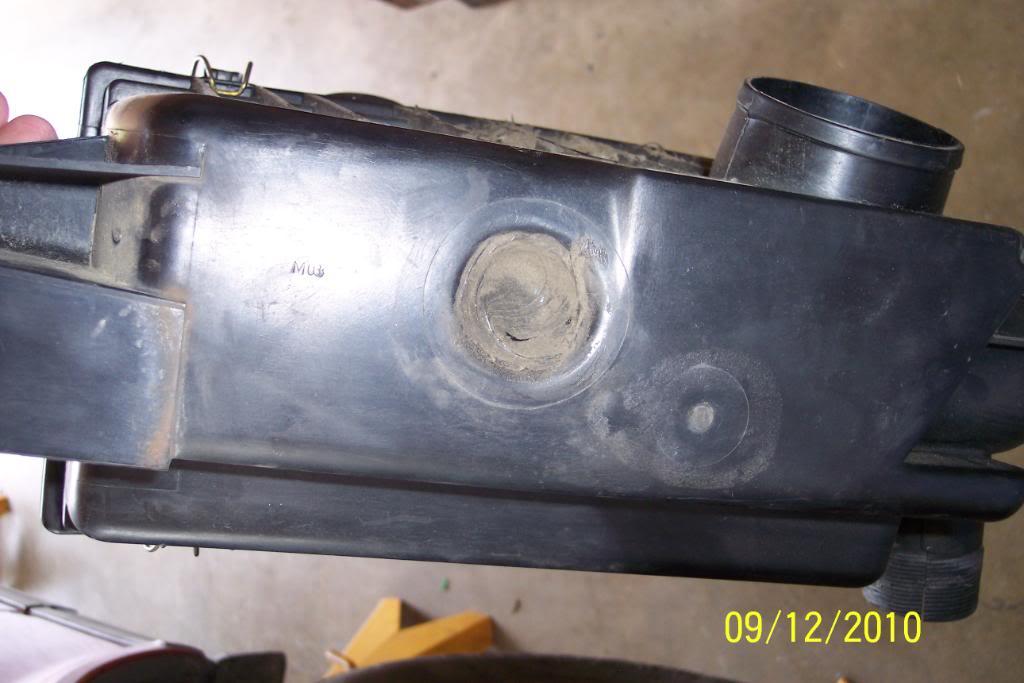
Now seal ALL the holes left in airbox from removal of the flapper. ANd the the deep " funnel shaped" hole in airbox side facing the front of car. Use Black PermaTex RTV Sealant.
Now find donor car, and pull the the plastic hoses/piping off on ithe OEM Volvo airbox off a 86-93 240, AND BE SURE to get the BIG rubber grommet and big C clip
that goes around the hole where accordian comes thru DS radiator support wall, from the airbox.
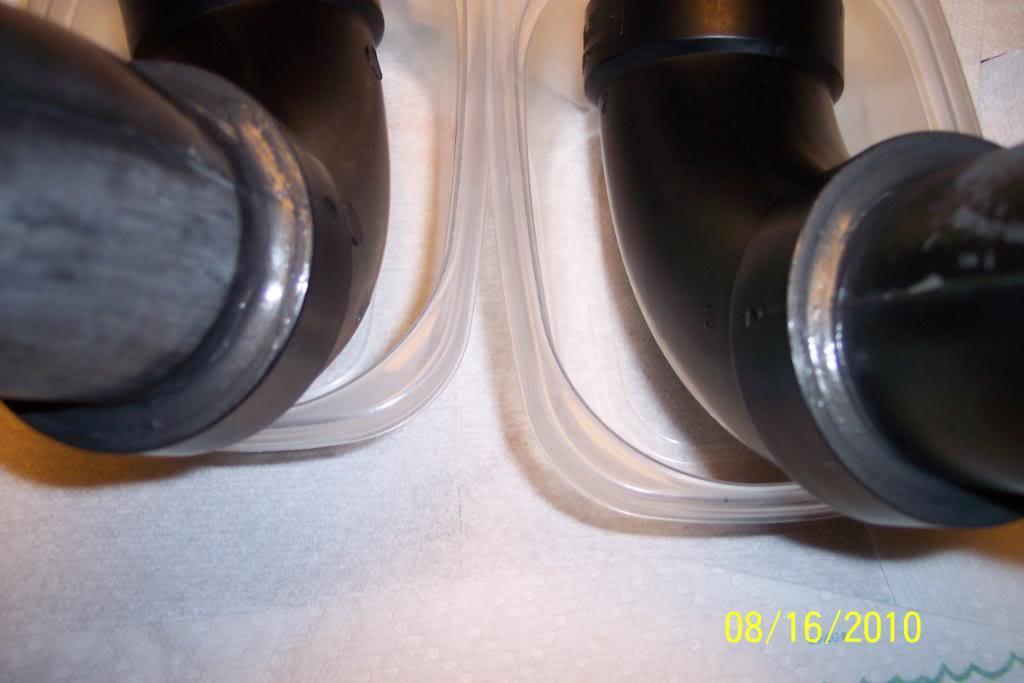
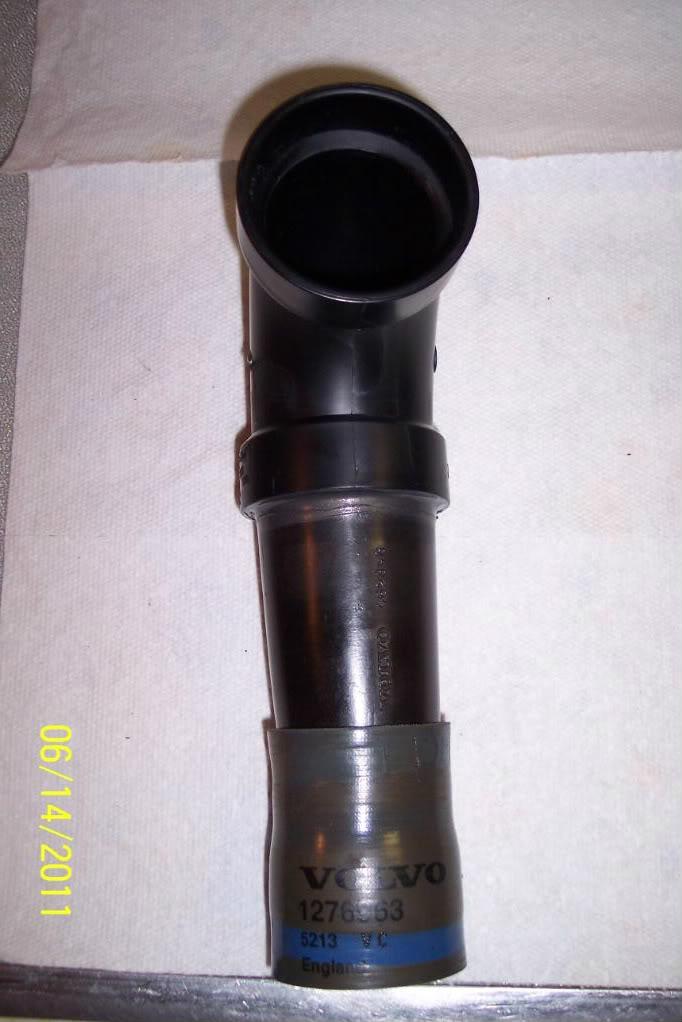
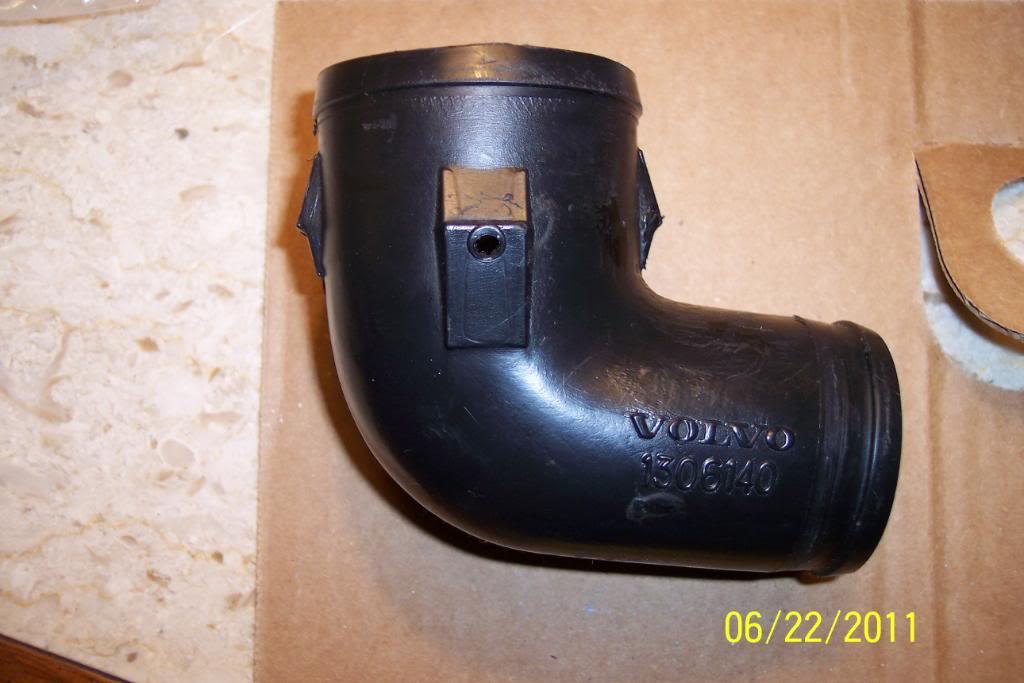
Now...On the driver's side I used the OEM Volvo parts(IE the 90* elbow, and the upright "snorkle" that has a 90* bend at bottom. I cut theupright snorkle toward midway in the upright, a littleat the time, until it fit in the 2 inch diameter(it's bigger on the bellmouthed ends) ABS plastic 90* "home type"water pipe. Have to "cut & try" by removing a little at the time. Use big, long straight cut tin snips made for heavy gauge duct metal.
I then used a little ABS plastic pipe cleaner to clean the parts where they meet, and then used a little ABS plastic glue, slid the two parts together. Make sure you have it all turned the right way here.
Then, I used PermaTex RTV Gasket Maker, to fill in the "bell" part of the 90* ABS elbow to the upright snorkle. Being careful to fill in the void completely, but making it look neat & professional.
On the Passenger side, I used a new IPD aluminum foily "Preheat pipe". Make sure you use one that is clean on the inside BTW, if using a used OEM one.
BTW,The OEM Volvo preheat pipe is made a lot better, but it's $100.00. Both are make to thread on the nipple on the bottom of the airbox. On the other end of it,instead of running it to the ex mani heat shield's nipple, I ran it to/towards an existing hole in the radiator support wall, that it on the passenger side. I think it's the hole made there for Rt hand drive car's airbox.
To connect it and make it look neat, I just used the OEM Volvo 90* elbow, the same one that attaches to the short accordian "tubing" that comes to the inside/thru the radiator support wall from the OEM Volvo airbox. This is all in the behind the grille area. It all fits in the passneger side hole on a 86-923 IINM. Mine is a 1991. Percussionist's 82 240 has the hole also.FWIW. 77,78,79 use a different set up and is even more easily modded & can use just one 4" ABS 90* elbow, I did this to my 79 245, helped a lot!
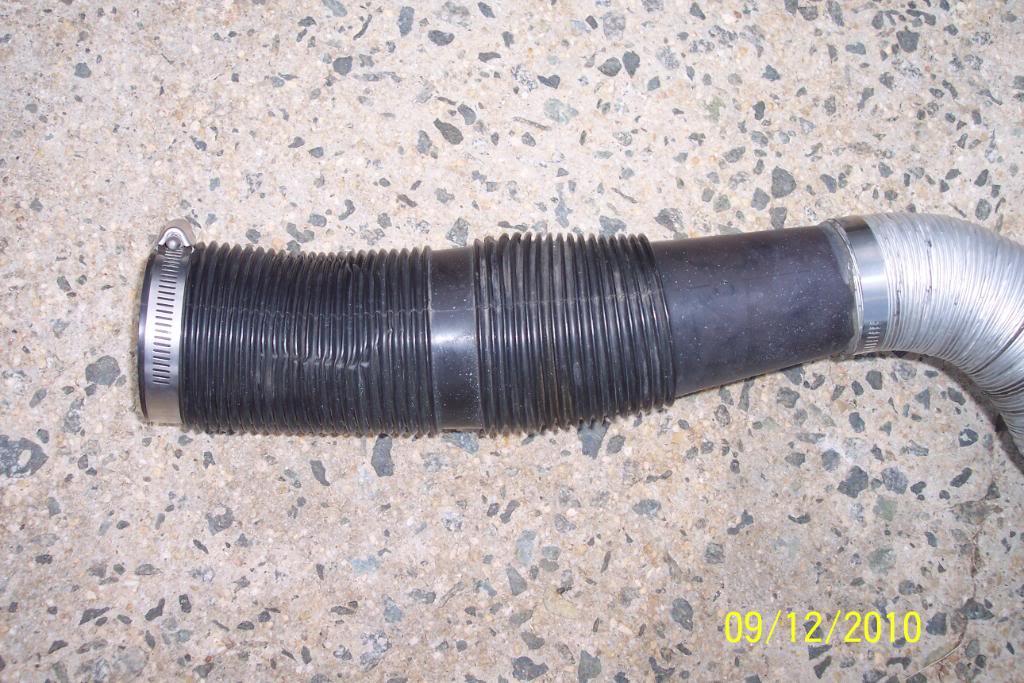
Now to connect the preheat pipe, to the other/big end of the OEM Volvo 90* , inside the engine compartment area, I used a 1969(IIRCC) 140 dual carbed B20, accordian "pipe".
On the 140 it ran from the plastic fliter/airbox, to the radiator support wall . I just so happens that is is the correct size on one end,to connect to the preheat piping , and the correct size on the other end to fit the big OEM 90* that sticks in thru the hole, into the engine compartment. I used a SS worm drive clampo to hold it there. And used silicone to hold it to preheat pipe..
I used some small malleble aluminum strappping I bought a Lowes, and cut, and bent/formed them to meet the ABS 90* elbows tops and tye wrapped them in place ,to the brakets, where they don't move & hit the A/C condender coil .
The aluminum reheat hose run under the radiator, and is fastened on both ends, and just sorta holdds itself in place due to it's stiffness. Same as Volvo did it.
The beauty of this mod is is uses mostly all OEM Volvo parts. All are easily found in the JY.
Pics below.
The existing pass. side hole.
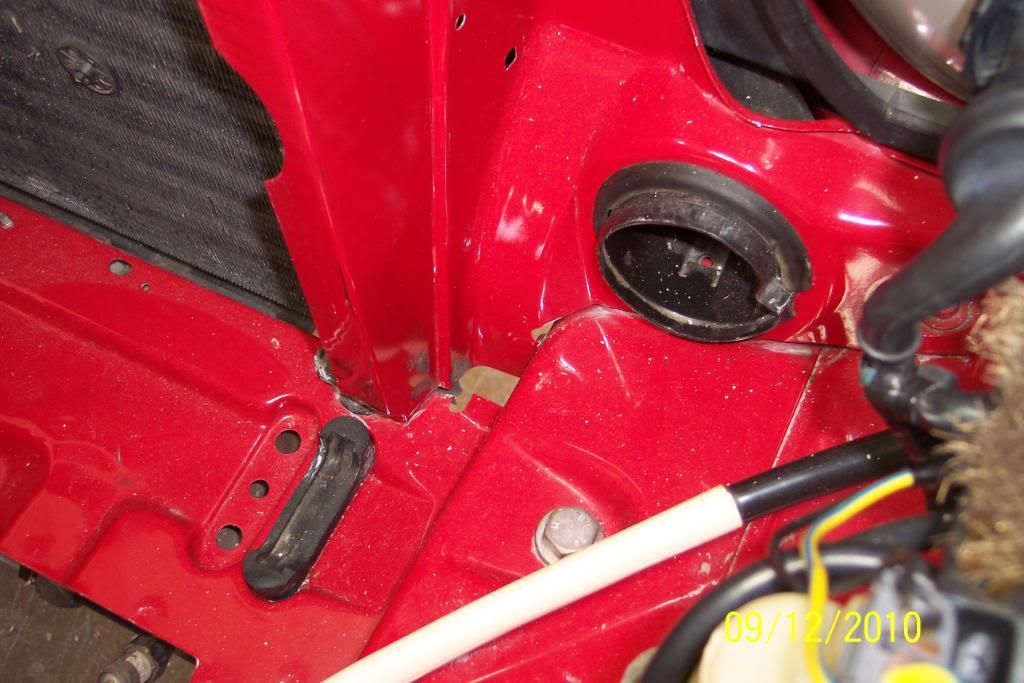
Braket holding ABS 90*.
69 140 airbox accordian intake pipe.
Where preheat hose fastens to bottom of airbox.

Sealed holes in airbox.
9/13/10
The S to S brace is just laying on there for idea of how it'll look when installed, as it header pipe.
One hose clamp short of being able to fill Rad with 50/50 AF/H2O. It's on the way though. Now it'll be on to suspension/brakes.
Tonite's pics below:


Pics of modded lower n/a heat shield:

I removed the OEM 52mm OT,OP, VM,Vacuum gauges I had , & replaced them with VDO Vision 52mm gauges. Bought blue light bulbs and installed them in all the gauges too
I now have VDO VIsion 52mm OT,WT,OP, VM, and vacuum gauges, fully numbered.
I'd like to find a place to mount the OEM 52mm clock And a aftermarket tach. Still working on that.

Also , remember the "dual air intake" mod, using the preheat hose as an additional intact for the airbox?
I modded the "snorkles" today. Gained some ID to them. And now they'll face to the front of the car.
Where I joined the 90* elbow to the snorkles.
Masked off the 90, painted snorkles with Vinyl Paint, to make look better.
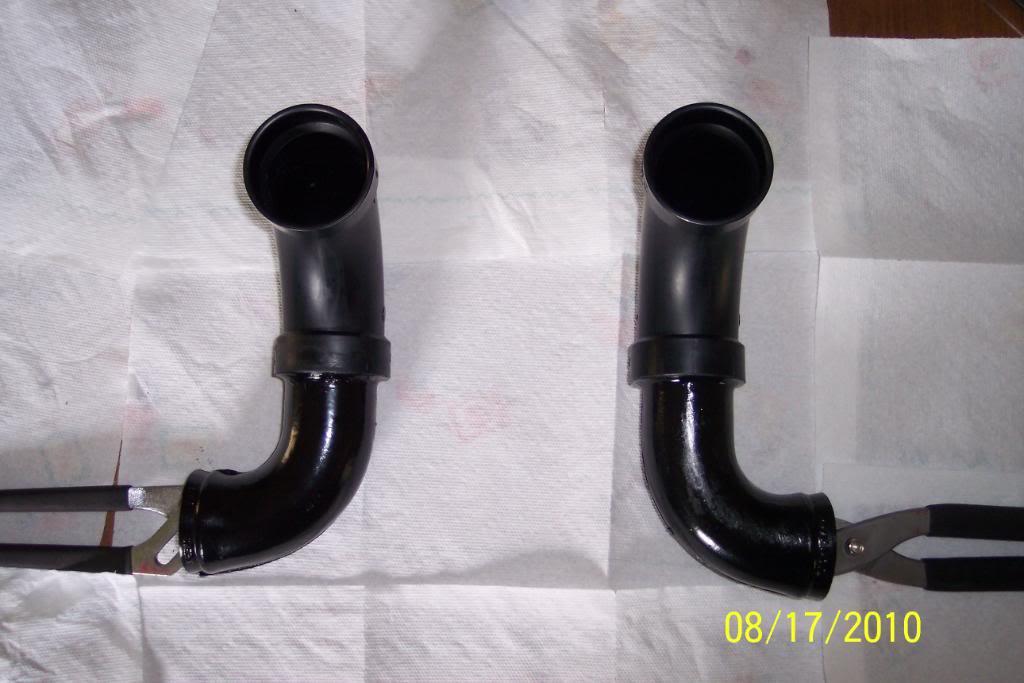
And on the car, still gotta make small bracket for each.
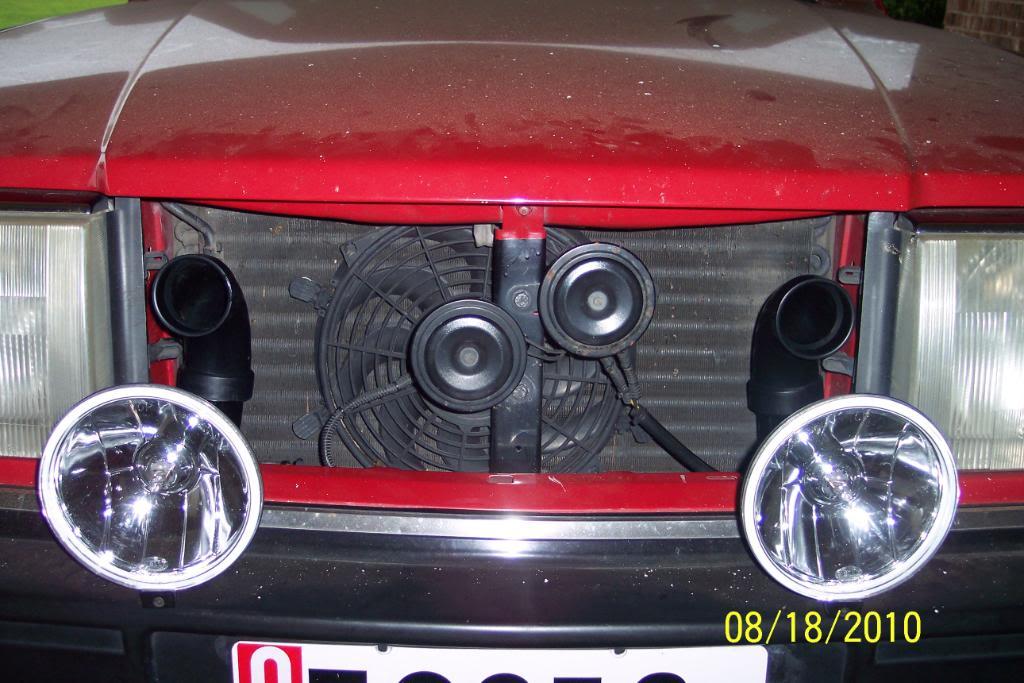
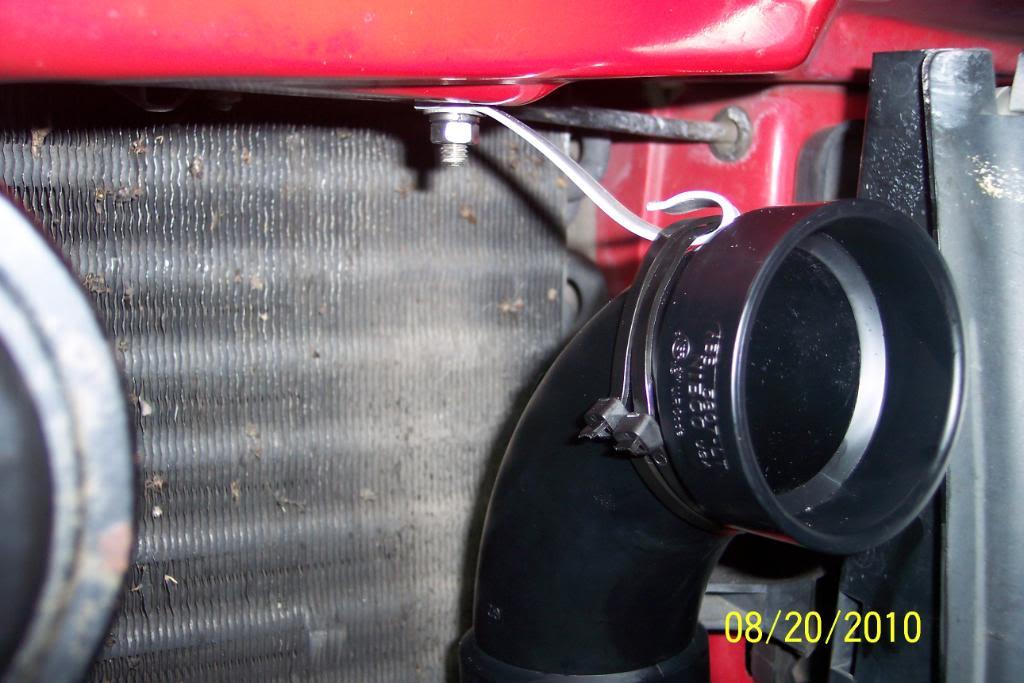
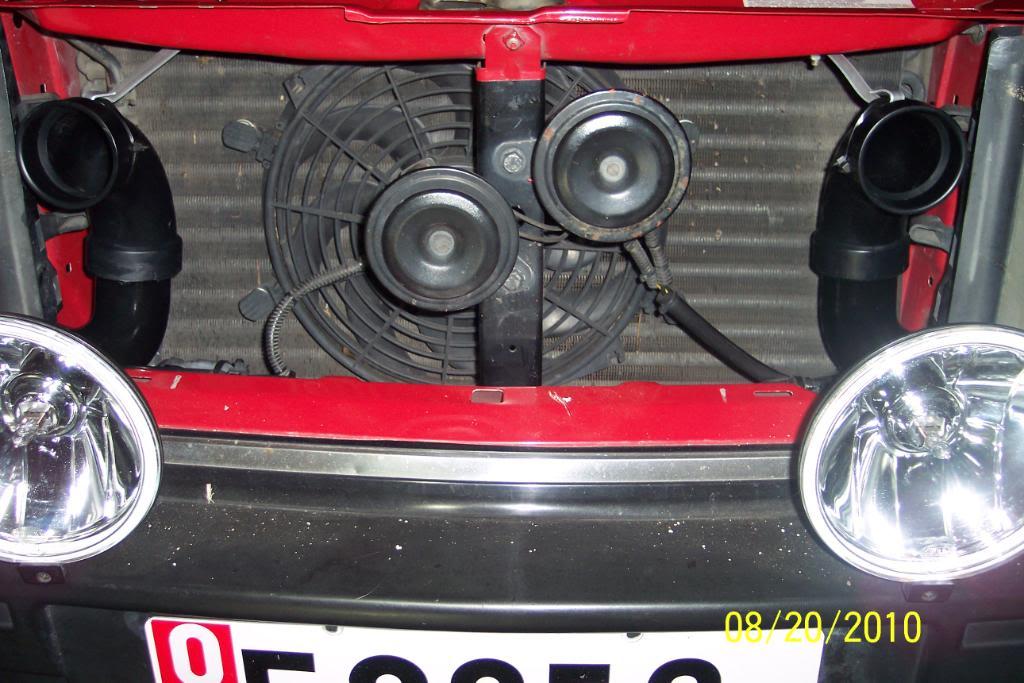
Made some soft aluminum brackets today. Material available from Lowes & lends itself well.
I used the OEM Volvo pre-existing holes that were in the top radiator/fender cross brace/support , and used some Volvo bolts that I already had. They are the black ones in far sides of pic, in last pic.
Used black wire ties to fasten bracket to 90* elbows. Elbows are pretty ridgid & should stay in place . Gonna remove, paint them black, & reinstall them.

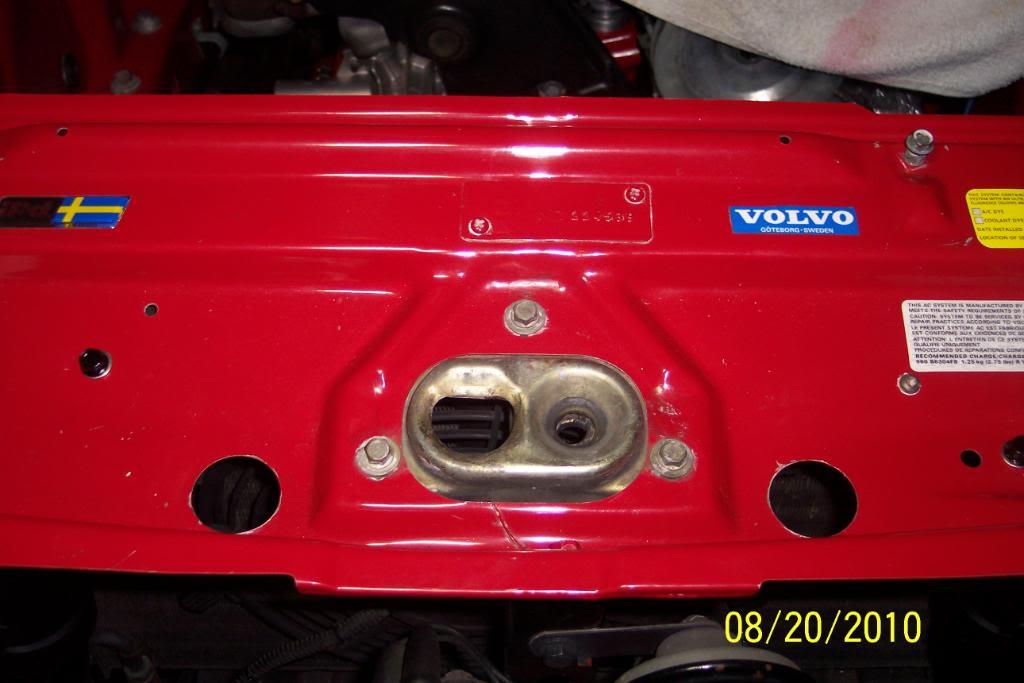
Well, got the FW, C & PP on tonite/early this morning. Got the Clutch release arm boot & T/O brg on CR arm which is now on the frt. of trans.
Which BTW, is holding 2.7 qts. of Royal Purple SychroMax Synthetic trans oil and has a new trans mount bolted on.
Percussionist is coming by in a few hours this morning(A BIG THANKS to percussionist too!!), to give a helping hand sliding the trans in place, so as not to break the fragile CPS bracket.
I bought two long bolts, cut the heads off, ground them to a point, to screw into block, to guide the trans up & in, to make it easier/less a hassle.

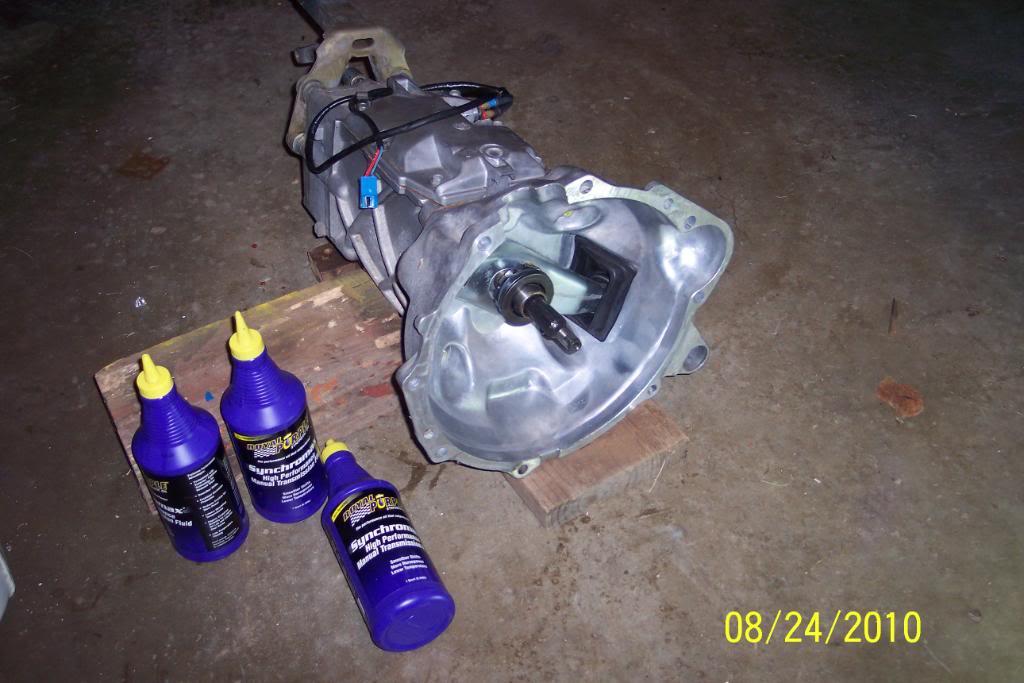
Trans is in, thank heaven. Percussionist was instrumental in helping with the install. Another pair of hands is very helpful when installing a trans.
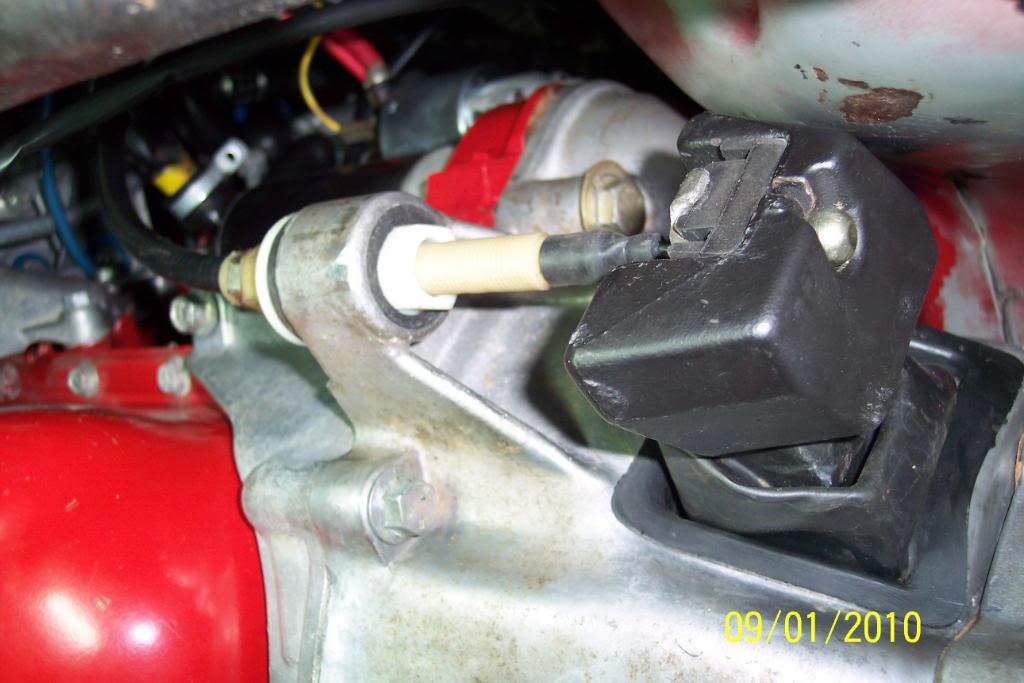
Still need to install CCable(can't see the end of pedal under dash...yet. Pretty well hidden on a 91 244 it seems. I'll find it though. Starter wires too.


Got the P/S & A/C comp all done up last nite. And the new CPS is in place. On to MMs & more odds & ends.

OK, tonite I got the new clutch cable on, along with the little rubber block & the big heavy "counterweight"on the release arm & the new throttle cable installed.
Should be all set in this dept. for a long time.
And good thing too, it's tight fit under the dash, plus with my eyesight not good as it used to be, it was hard putting in those clevis pins & retaining clips.
And also installed new brake & clutch pedal rubber pads for good measure.
And BTW, the reverse light wire harness was irrepairable(to get it right)
So I ordered a new one. It is $105.00 dollars for 2 wires 2 feet long.. After the Parts guy brought me back to conscienceness, I paid for it.
Makes me think copper must be very hella rare in Sweden. So waiting on that before finishing up trans install & installing Drive Shaft and gear lever.


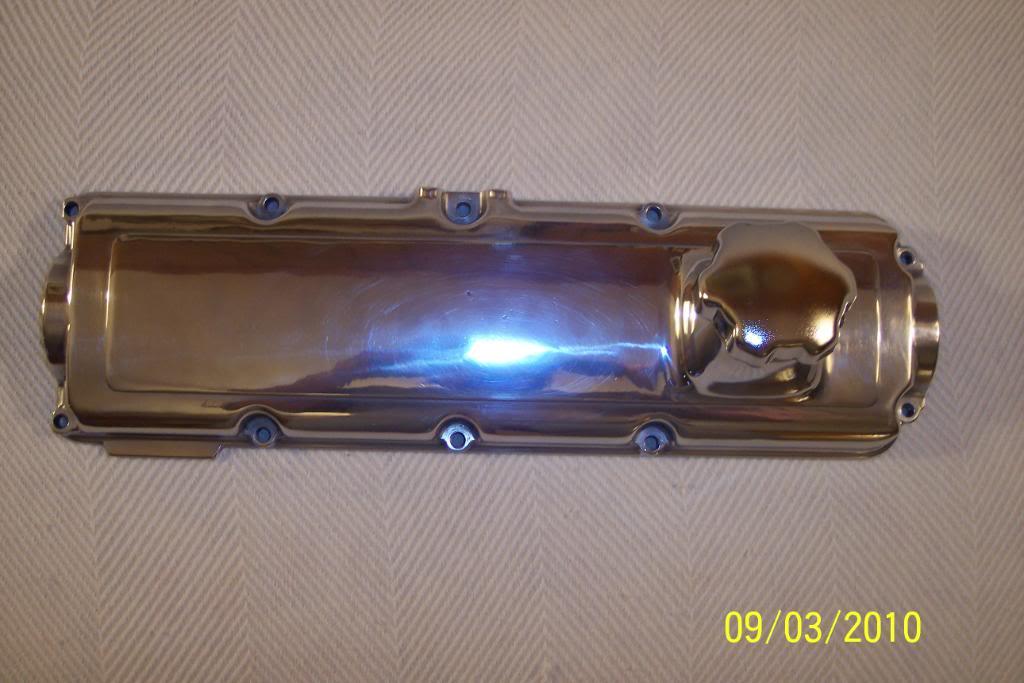
I decided to go for a little "bling". Now I have a shiny cam cover that is debadged. I'm playing around with different color OIL caps.
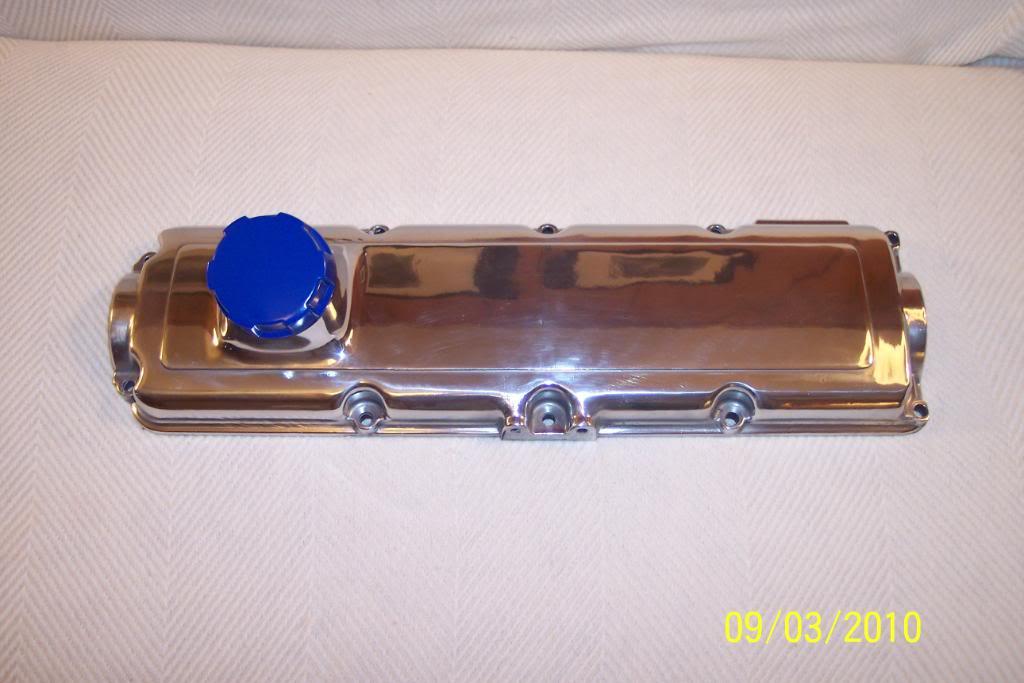
Got the cam cover on today. Modded the spark plug wire looms also,to keep wires & looms off the cam cover.I didn't want cam cover to get scratched by wires & looms.
Used all OEM Volvo parts here, just modded them a little. Came out right neat IMO.
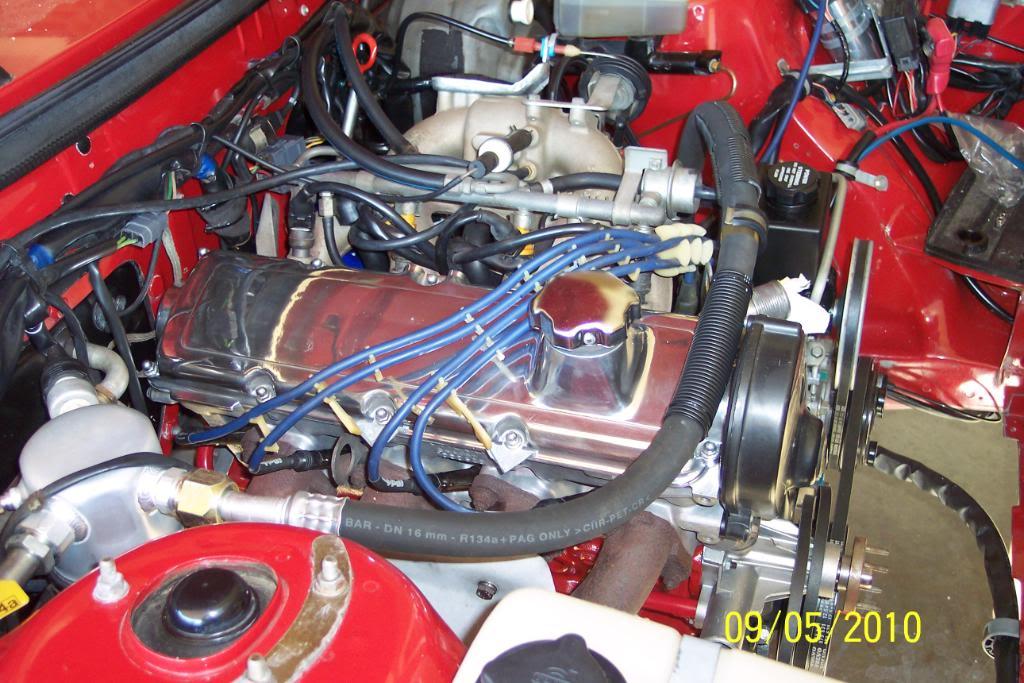


And use the OEM Volvo spark plug wire holder, to hold the coil wire to inner fender, so it won't bounce around.
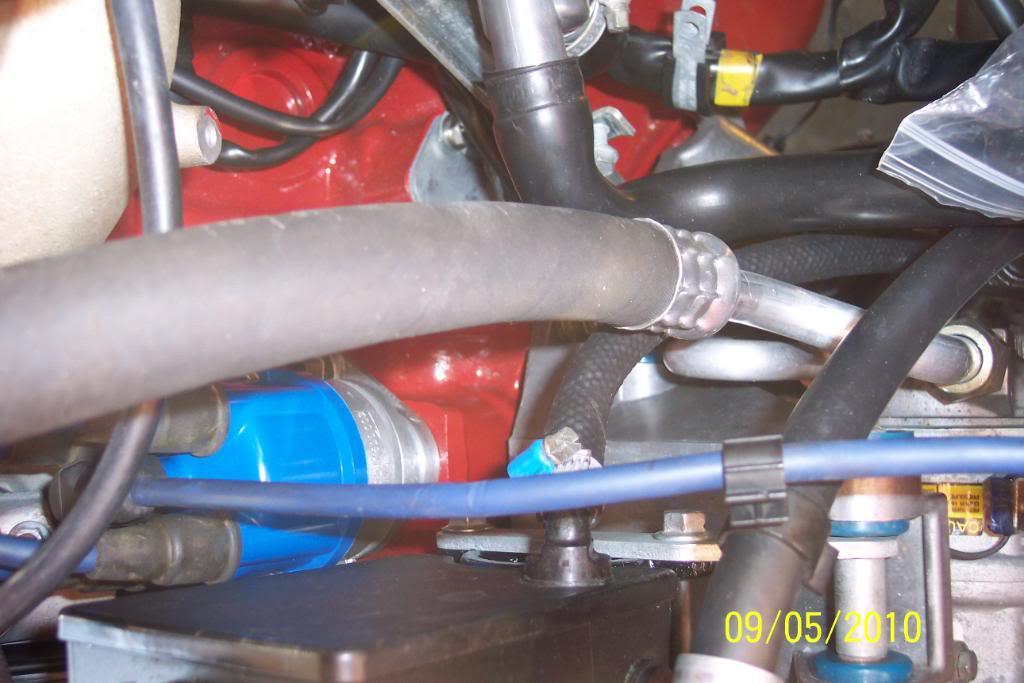

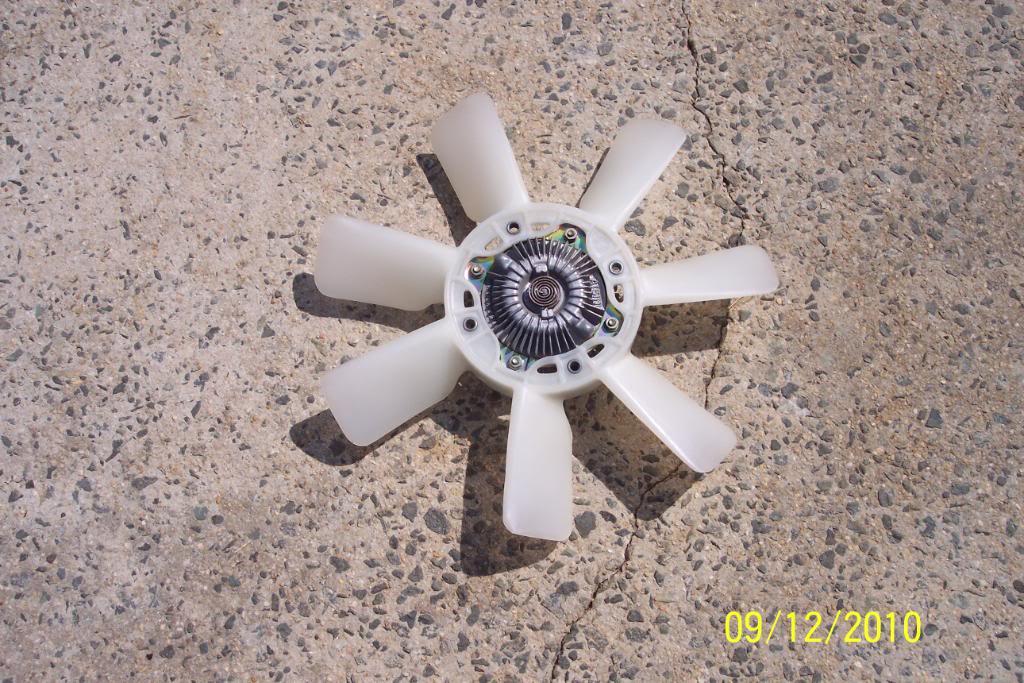
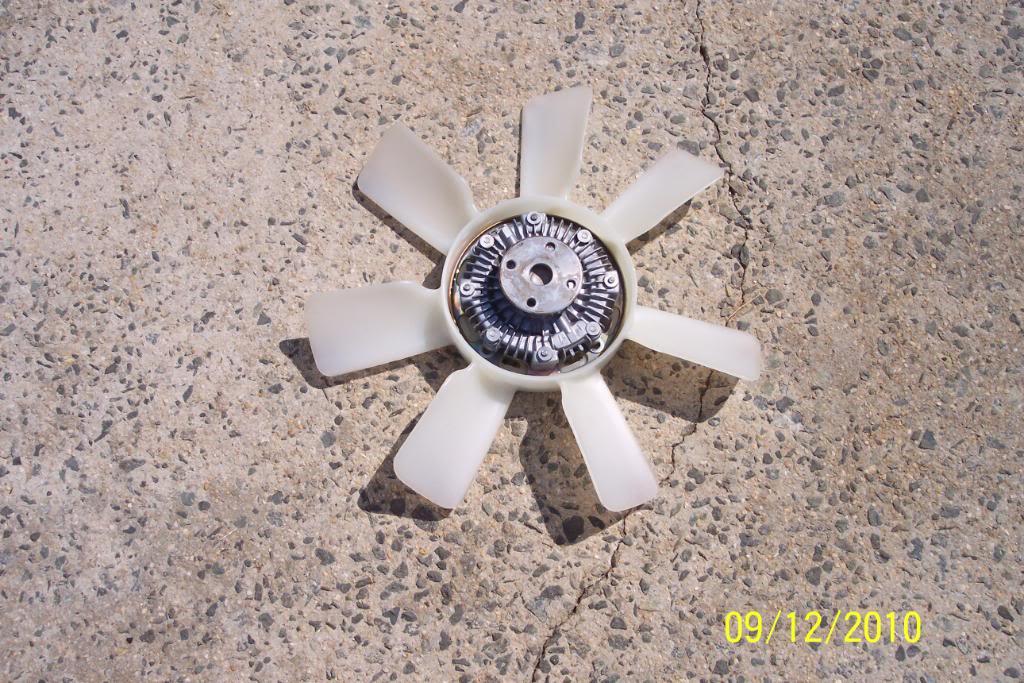
Well, got the new OEM Volvo Diesel MMs ,along with the turbo heat/oil shield for the pass. side MM. on tonite. Hopefully will make pass. side MM last longer on an N/A too. Also new oil filter with IPD magnet on it. Got 4 qtss of Castrol Edge oil too. And cleaned the cooling fan spotless last nite.
Hopefully the new early model fan/alt belts arrive next week. Having Alt /OP sender and top belt adjuster clearance issues. Going with the earlier 7mm longer belt. Hope it works.
And maybe the new OEM reverse light wiring harness will come in, and I can finish all under the hood & start suspension rebuild. We'll see.


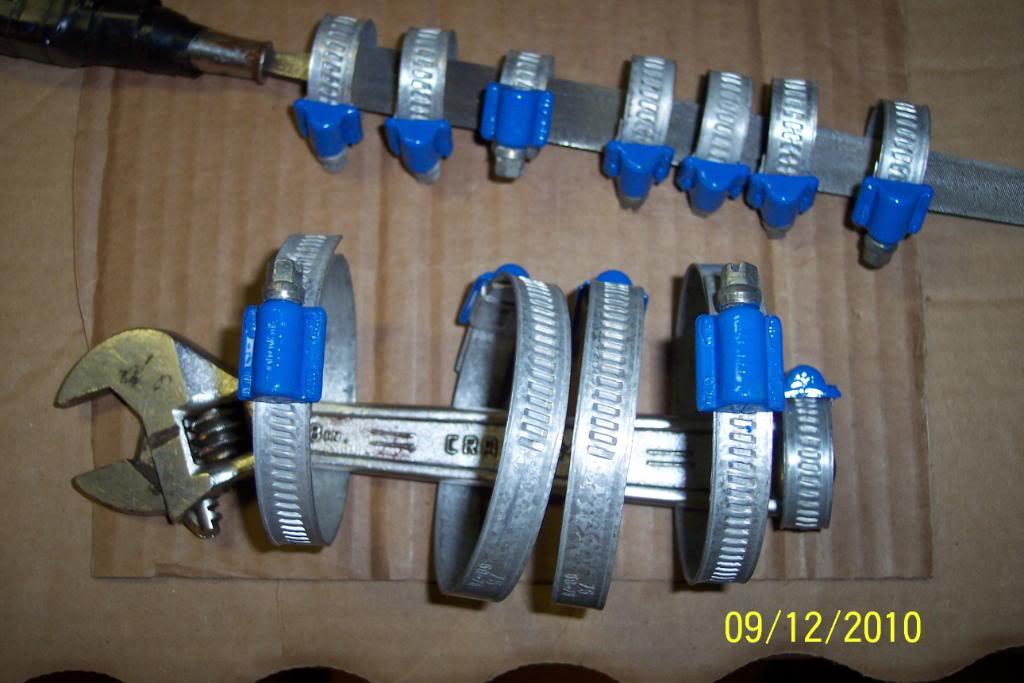
Since I had bought those blue humped IPD radiator hose & heater hose clamps, I thought it would look better detailed if I painted the rest of the clamps on other things blue to match.
So.... I used a "model car" paint brush and some Rustoluem Spray paint & had at it.

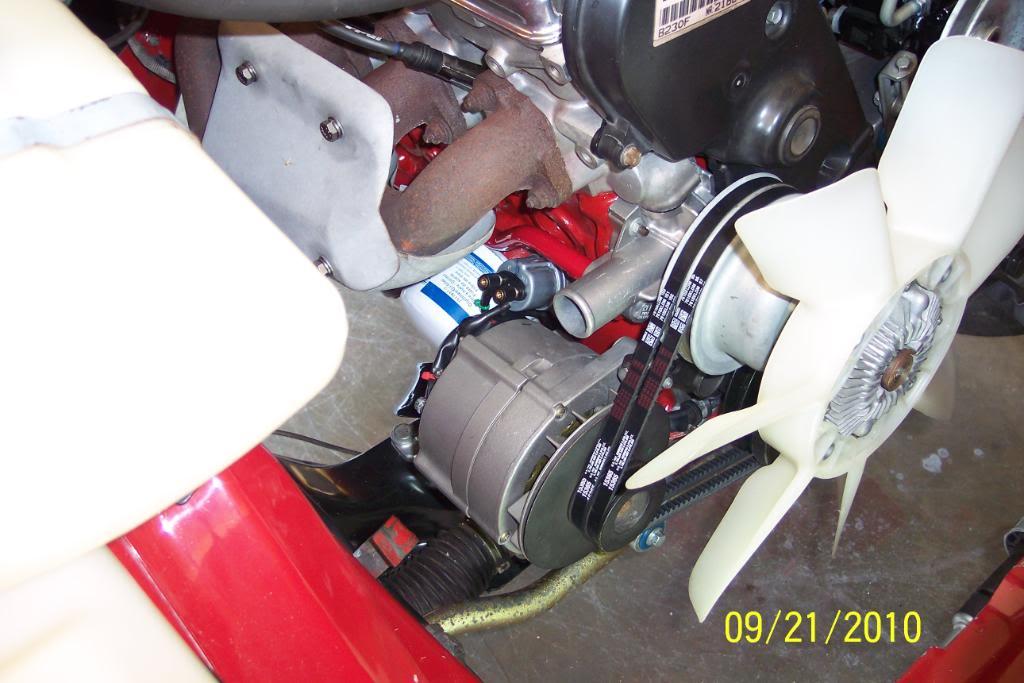
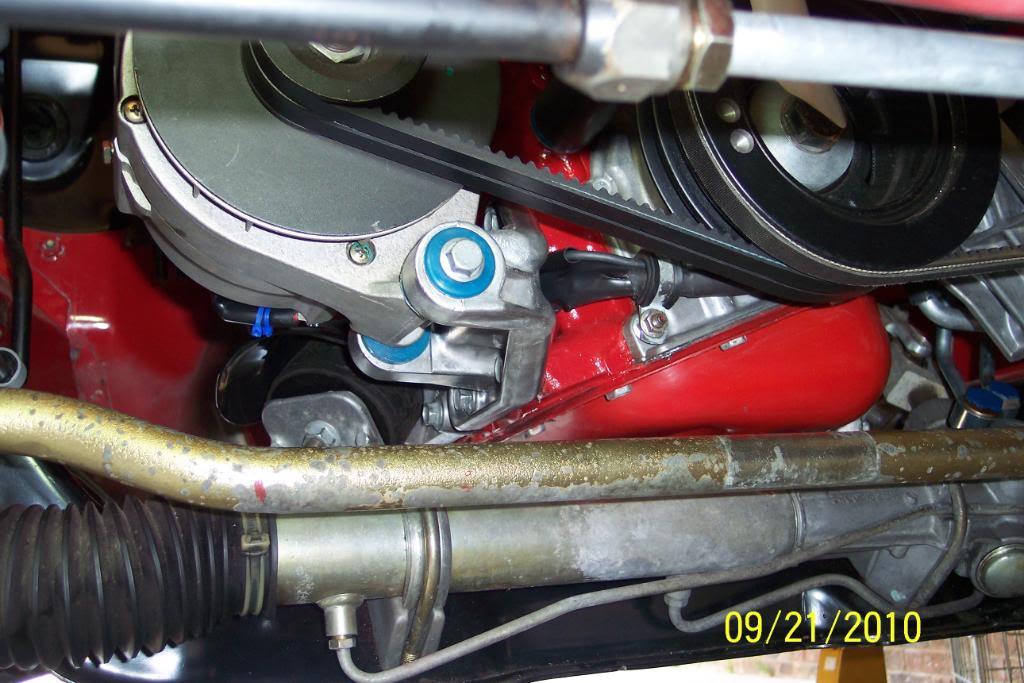
For some strange reason,I had a problem with the Alternator clearing the OP sender, with the OEM Volvo 9.5mmx 818mm alt/WP belts. Not sure why,but maybe Scantech HB pulley's grooves being deeper or shallower, or the IPD Poly alt. brkt bushings, or Hepu WP or a combo of one or more, sure which.
All I know is before I took it all apart, the OP sender cleared the backside of Alt, OEM 9.5 X918mm long belt was long enough & top Alt bolt cleared WP Pulley.
I even tried the early B21 9.5mm x 925mm belts, still too short.
So, after much refitting,hair pulling, and cussing , I found both sets of the OEM belts too short to let alt clear OP sender, and also the top Alt holding bolt was hitting the backside of WP Pulley. WTF? If that don't beat all! Maybe visited by Swedish Trolls?
So I decided that a longer belt would keep me from having to relocate th OP sender. Although I had purchased some Harley SS braided oil lines, just in case I did not find said longer belt.
So....after 4 hours of "belt hunting" today, I think I have found some that will allow OP sender to clear back of alt, and top alt bolt not hit the backside of WP pulley.
And which will still leave a little adjustment left in the Alt/WP belt adjuster. Have trial fitted it, and I think it'll cure the problems.
BTW the belts I found ,that I think will work OK, are O'Reilly's "Master Pro" V Belt, p/n 7365(& under that number is: 15365), belt width/length is: 10mm X 942mm OC (3/8 X 37 1/8). OC = outside circumference??
Funny thing is A/Z's 11 x 940mm belt was a bit too long. Go figure.
I am still unsure of what actually caused the OEM belts to no longer be long enough. Has to be HB or IPD Poly, or both. IMO. What a "long strange trip it's been".
Pics of alt/wp belts that appear like they are gonna work OK. For other's reference if/when they have same problem. FWIW.

Well looks like the belts worked out just fine. And I still have about 1 inch left in Alt's adjuster slot. OP sender clears Alt, as does top alt bolt clears WP Pulley. Clearance problem must have been the Scantech HB + the IPD Poly bushings. Tolerances "stacking up".
Percussionist came by to help me get the stuff ready for the Parts sale, but we worked on the belts/alt/A/C Comp/P/S reinstall/belt set instead. THANKS percussionist!!
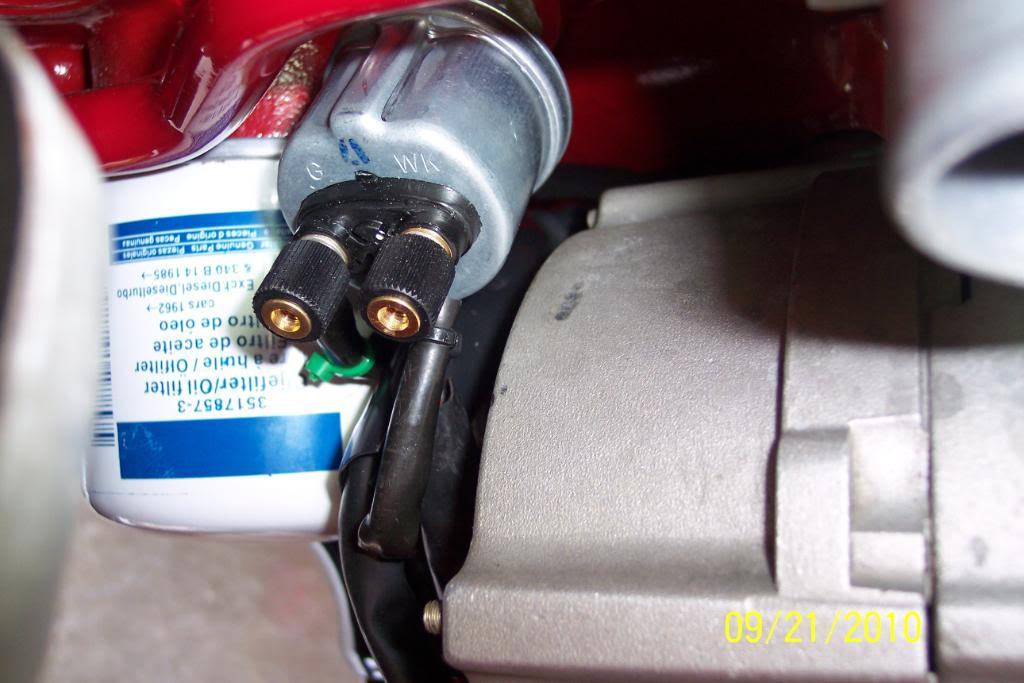
BTW, does anyone know if those little screw on "barrell nuts" on the VDO Oil Pressure sender( holding the wires on) will stand the heat from the exhaust manifold WITHOUT melting? I need to know soon. If so, I need to get regular metal nuts.
Pics below:
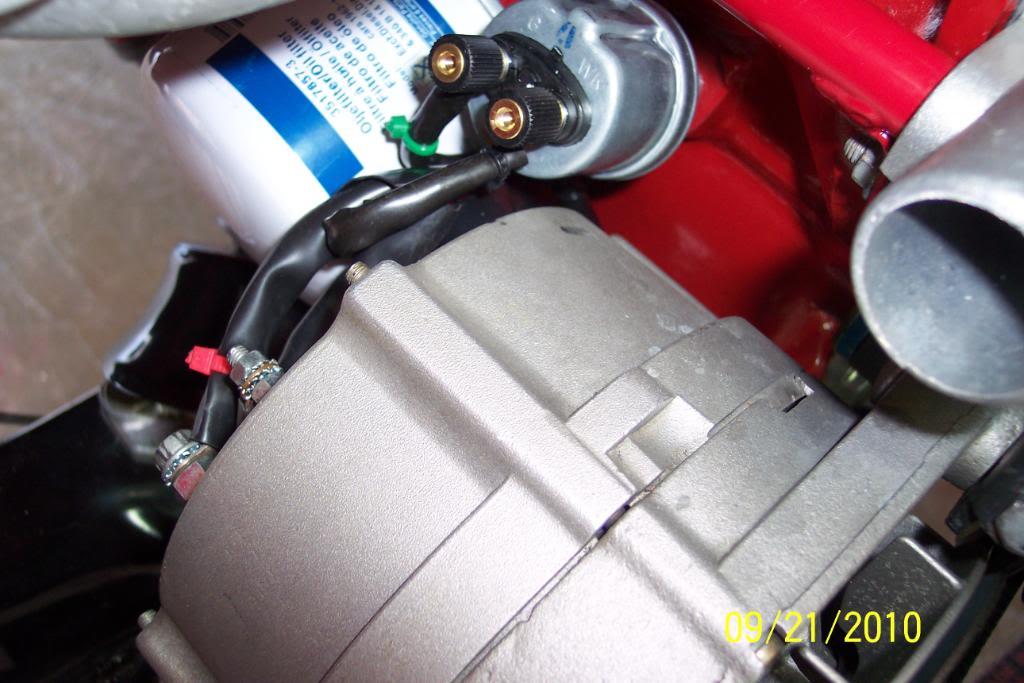

Belt part numbers for other's convience FWIW.
5/10/11
Well it was too cold over the winter,and got sidetracked this Spring on landscaping in the yard.
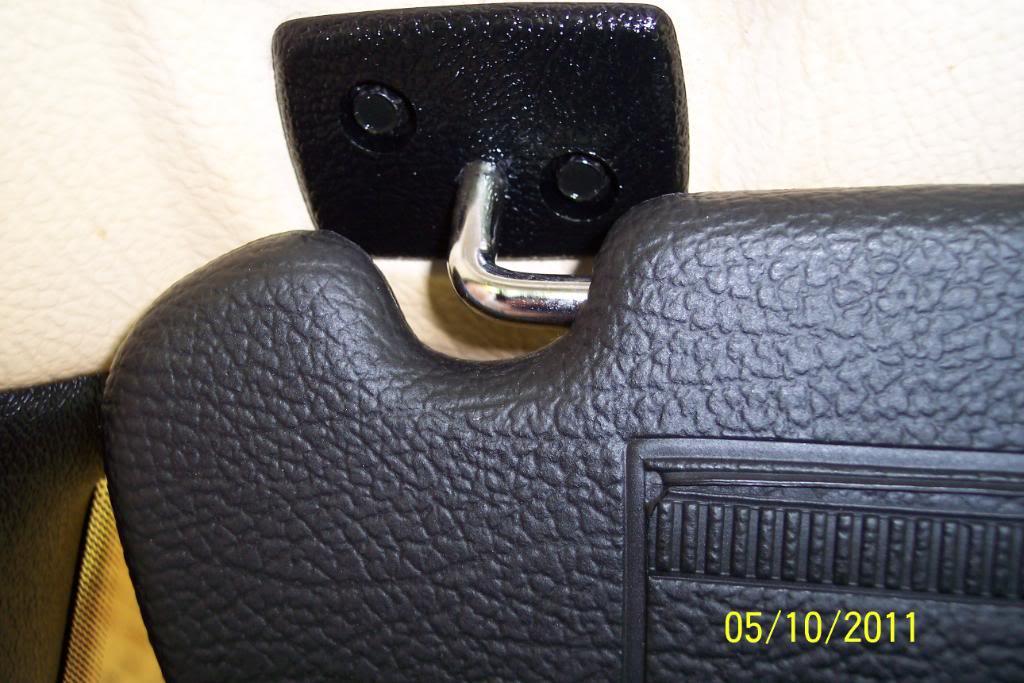
But now I'm back on the car. Did this little mod. Remember how the plastic plate under the sun roof crank & the one that covers the mirror mounting place & the sunvisor's mounts turn a ugly off white/yellow look when they age on a n/a 240 sedan?
Also painted the white side of sunvisor too. I was not trying for the "ricer" look I just wanted something better than the yellowed plastic look and something that would look acceptable, so now it's "two tone" black on white.
And I painted those hideous gold chromated mounting screws too. Now they are also black & nearly now invisible An improvement IMO. [/B]And it's now different from the norm.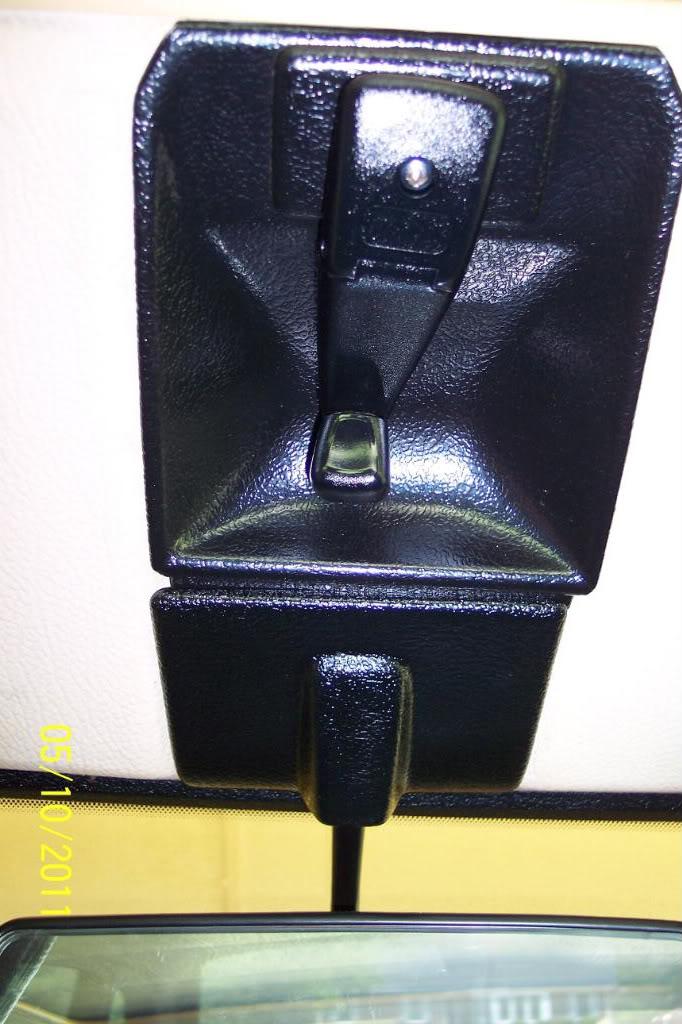
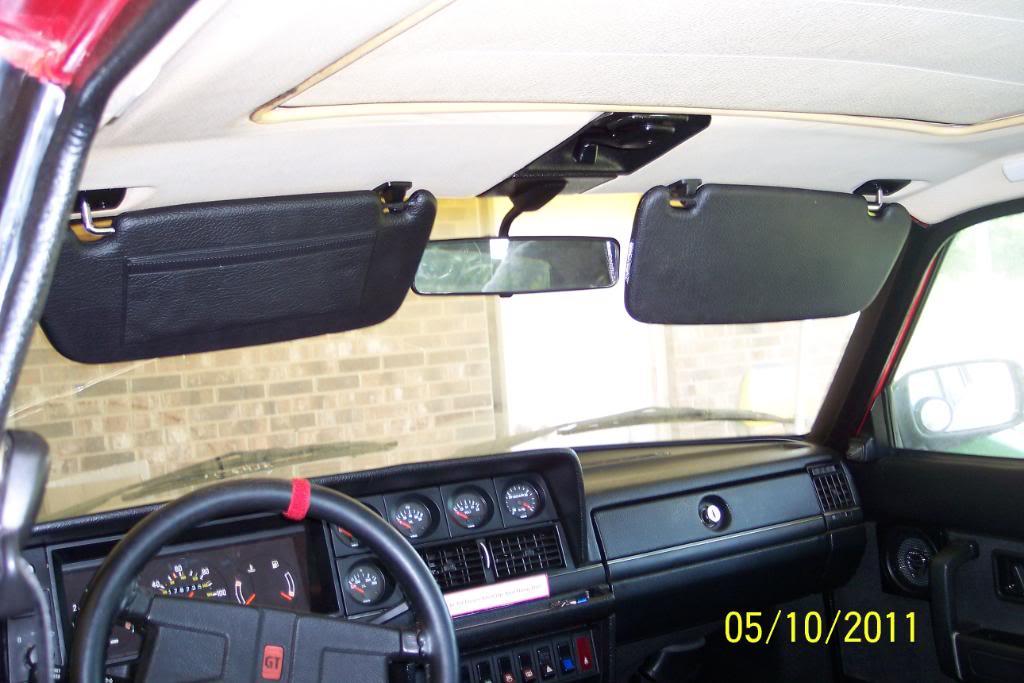
5/12/11
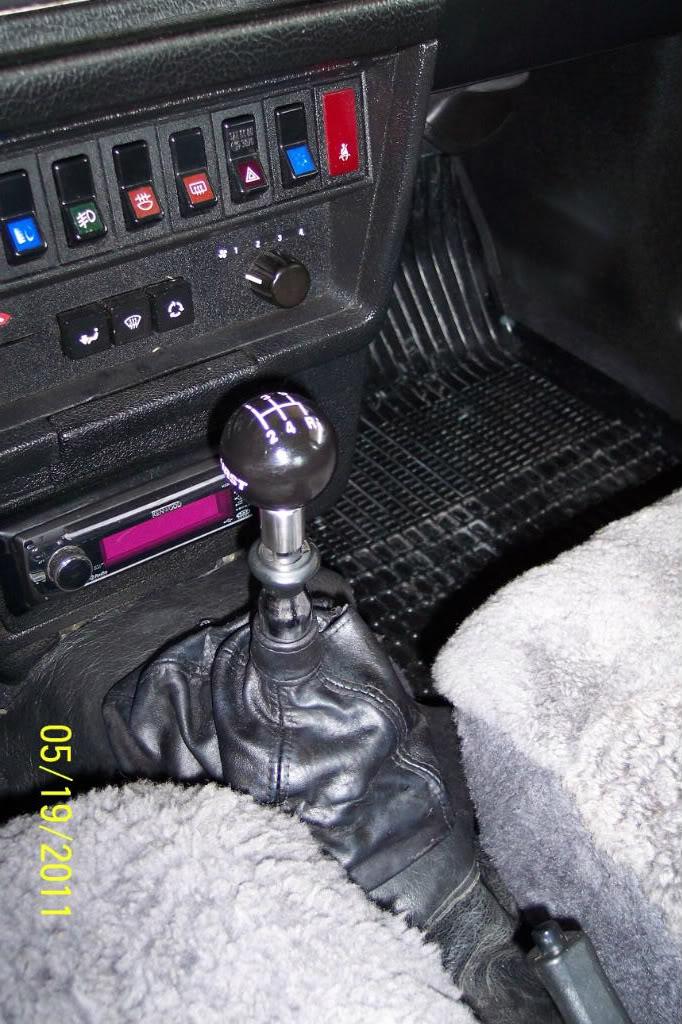
Maybe ya'll remember I had Avalanche Performance make my OEM Volvo shift lever into a "short throw shifter"?
This is the next small mod I'm working on...and when finished it'll look like this.
And I'm making them for sale,and I currently have a group buy going to have custom shift knobs with the M47's shift pattern engraved on it. We need a minimum of 20 buyers to get the custom made knobs at a decent price.
In this pic, that's a Hurst 5 spd shifter knob with incorrect 5 spd shift pattern on it.
But I needed a knob to go by to get started. I believe this idea was caused by a flashback to my Chevelle days. Actually ,I just don't like it when the OEM knob comes off in my hand.
So I've made a weld-on/JB Weld on adapter(your choice) , that will let the lever accept a shift knob that threads on, like a Hurst shifter or such. And a polished aluminum sleeve to cover the lever's serrations and a polished SS shouldered jam nut for the knob. Came out pretty well, IMO.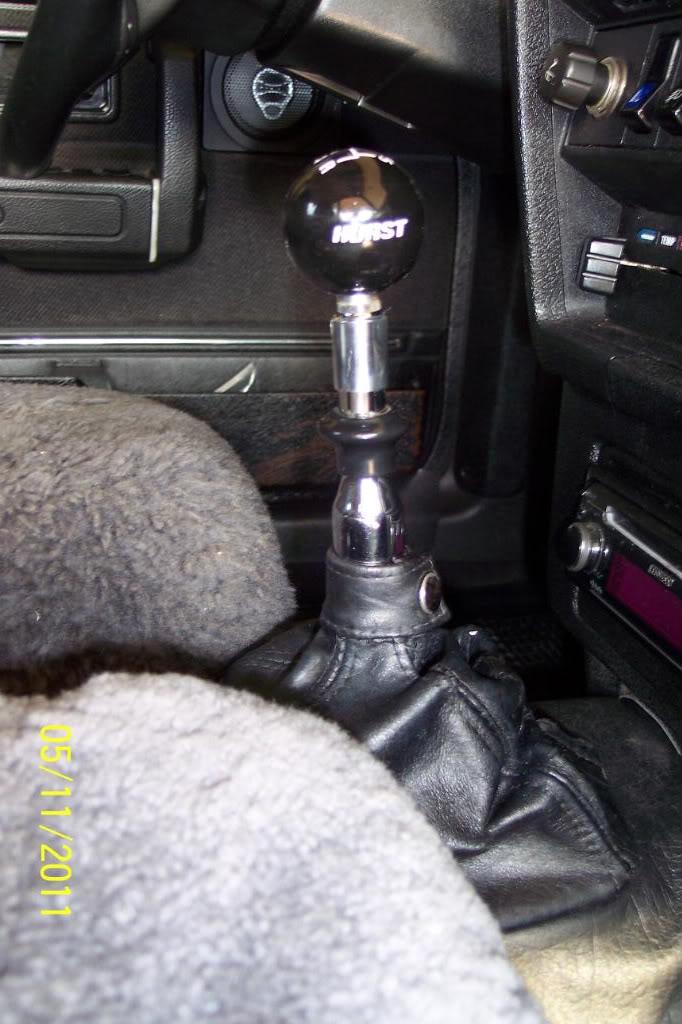
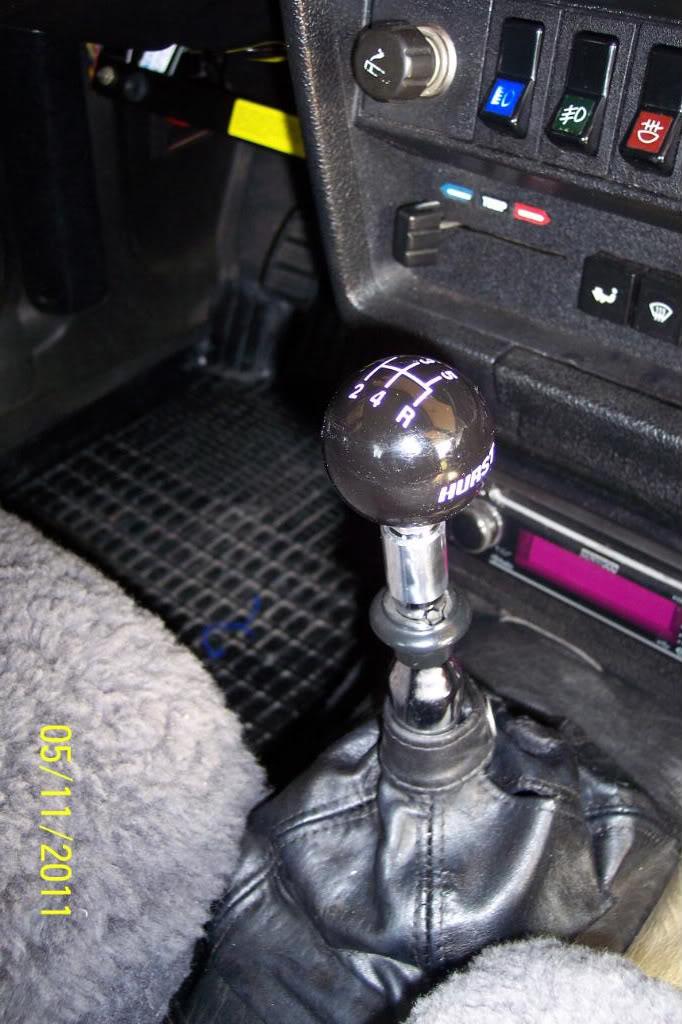
5/19/11
Well, pics probably look about the same, but I did finish installing my thread on shift knob adapter into the lever, & lever reinstalled in the car, and greased the pivot with that IPD green grease. Very stringy grease, so should stay in there longer IMO.
Shifter is done till I get a custom M47 shift pattern knob made.In the meantime it's a incorrect 5spd pattern Hurst knob. I want a custom M47 white knob.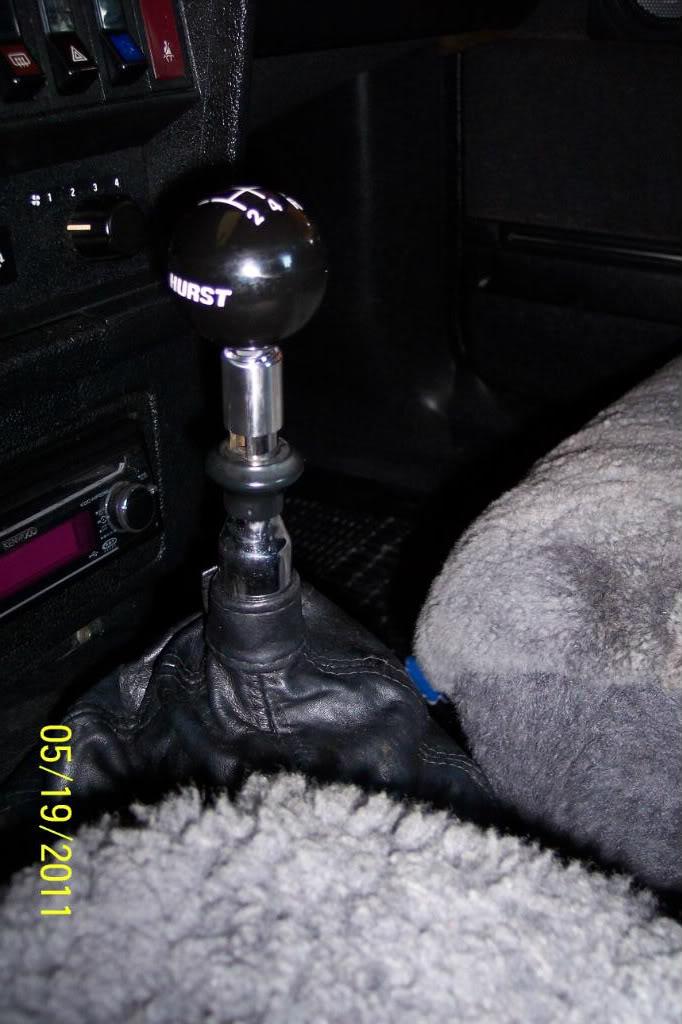
5/28/11
I've had this done for some time. Old School Grille Mods.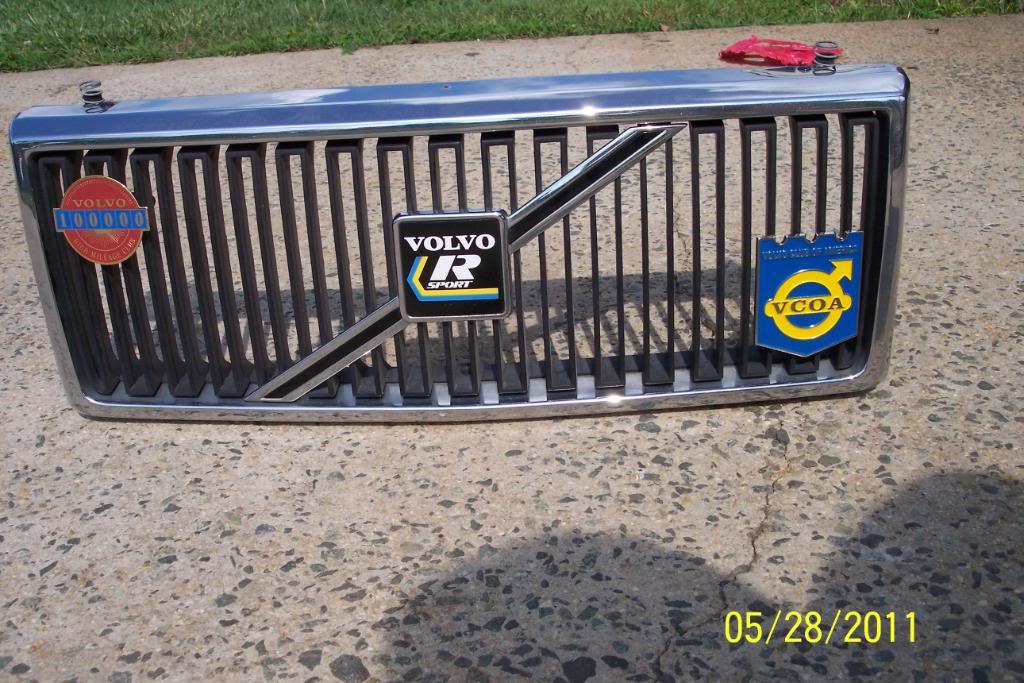
6/11/11
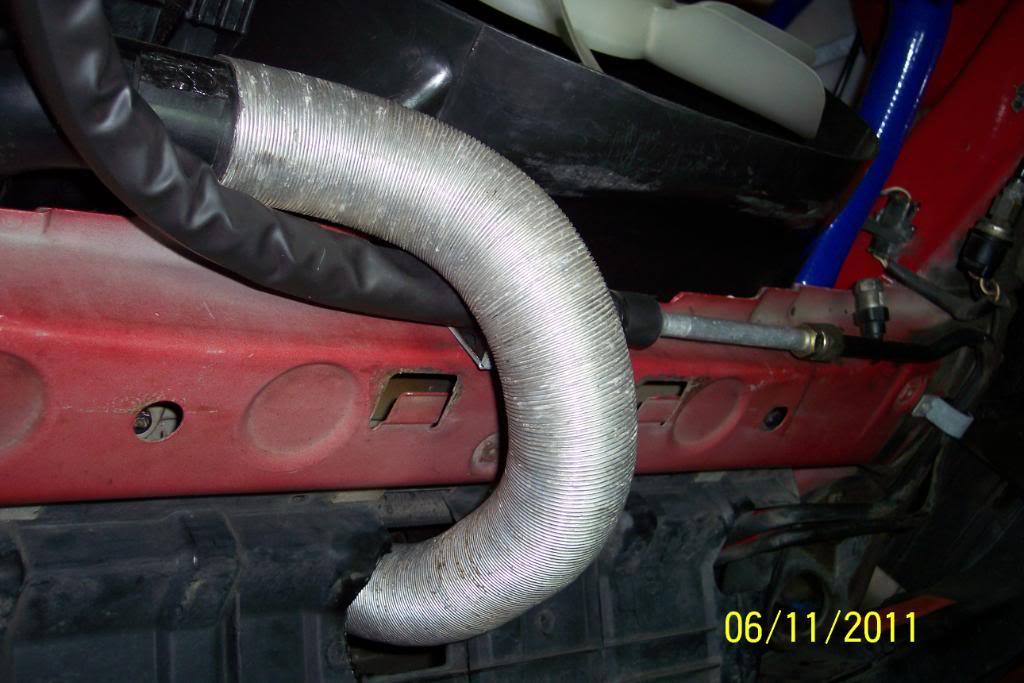
Well, I rethought my additional air intake. I didn't like the way it was so close to ex. mani, and heatsoaking from bottom of radiator, plus it was long as hell.
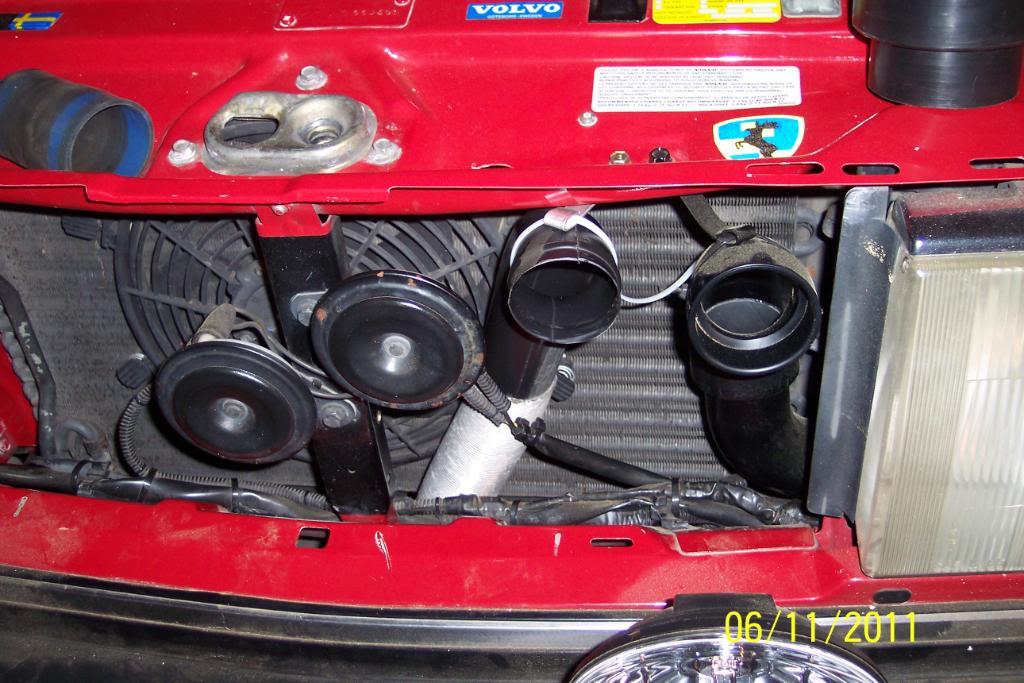
I have been trying different set ups. Might go with this idea. Just a trial fit here. Still would like to use a 90* ABS plastic pipe elbow to catch a little more air. Have to see if that is doable as this is the same snorkle, but turned upside down. Need to source another snorkle and 90+ elbow to see.
This routing keeps the piping away from heat better, is shorter(only 3 feet long total, as opposed to 7 feet the other way) for hopefully more real "ram air" effect, plus it's lots lighter too.
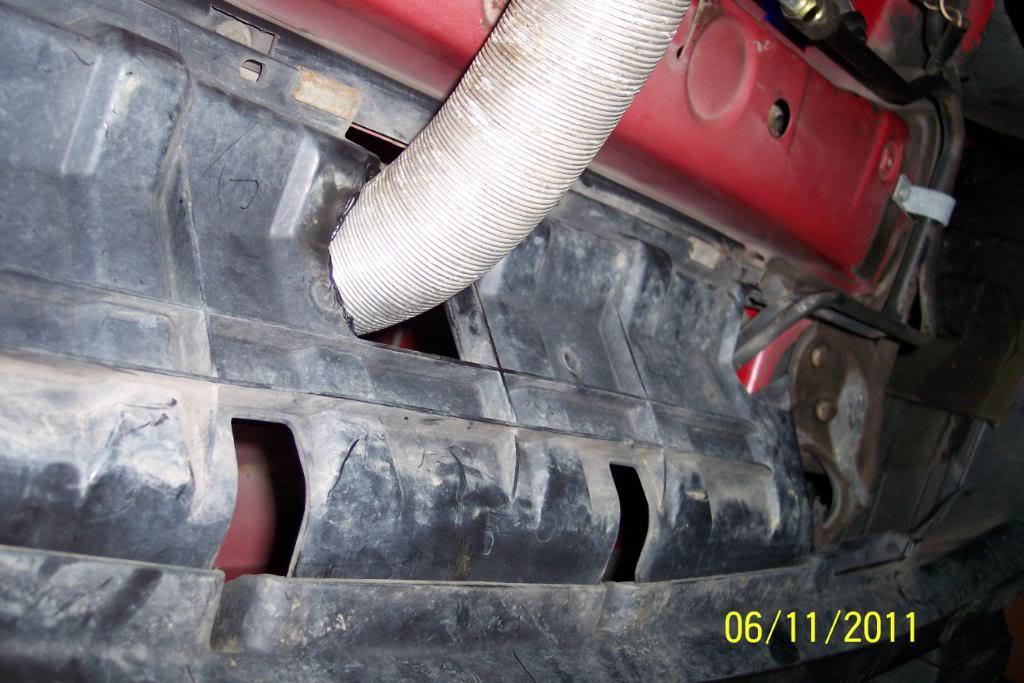
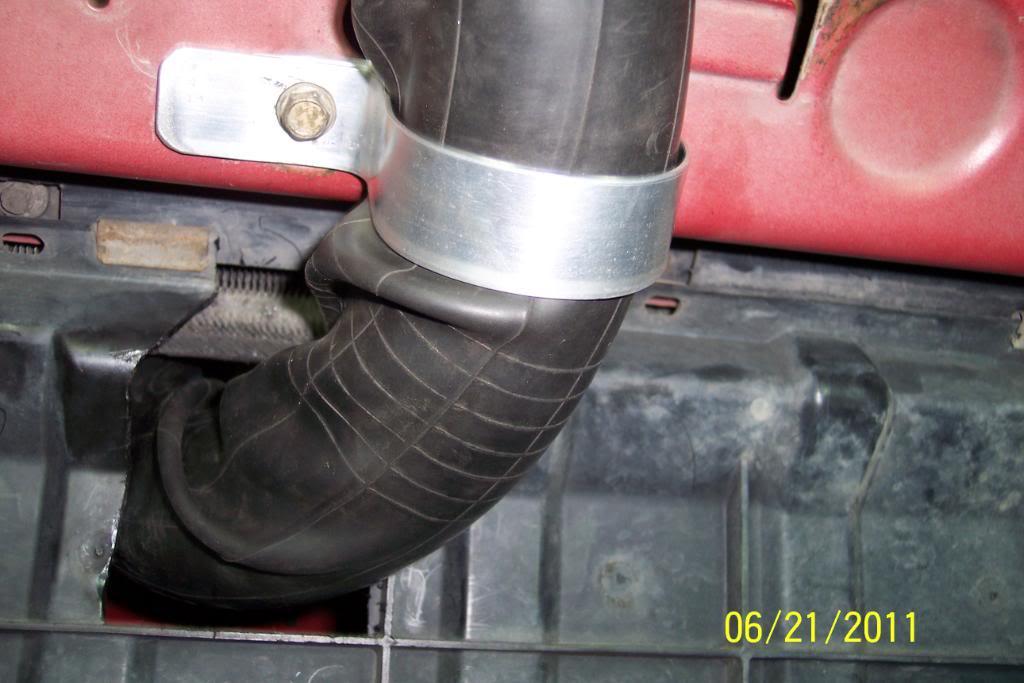
Of course, again this is using all OEM Volvo 240 parts. I routed the hose through a rectagular hole ,that was already present in the center of the air dam/radiator "scoop" panel. I enlaged one side 1/4" or so.
Also...I'll have to notch/cut a U cutout in the bellypan to run this set-up. And make a seal for it. I also plan to slide a piece of 3.50-19 motorcycle inner tube over the preheat pipe to further insulate it, and protect it from punctures where it goes through the scoop panel..
We're talking about the snorkle on the left here...... Right one goes to airbox as it normally does...............................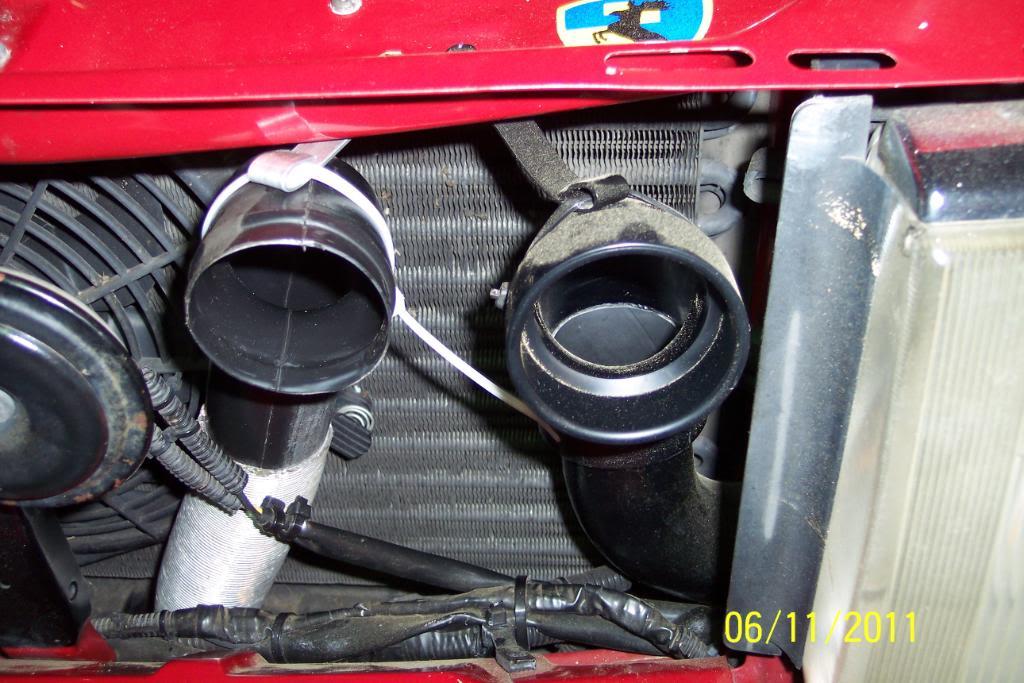
And the other day, I decided I wanted some interior floorboard courtesy lighting. I used the "Fasten Seat Belts" bulb socket & bulb as it never gets hot.. Wired two per driver's side, two passengr side and hid them behind the flared heat duct that protrudes down through the underdash felt pads. And wired them to the door jamb's light and key buzzer button. So they work with the dome light on the delay timer.
Then I thought I'd also like to have the same lighting but on a manual on/off switch. So I found a rocker switch with rounded "body" and a yep, you guessed it, blue LED.
Mountd it on the bottom forward left side of the bottom of the steering column's cover/box.
So, now I have delay timer entry/exit courtesy lighting in the floorboard area. And courtesy lighting in the floorborad area while driving if I so wish.
Mine's a 1991 244 so it hs the "knee bolster, therefore I let the lights hang down further on driver's side, as the kneebolster still keeps them from view. On passenger side I tied them up a little higher to keep them out of sight. And your feet do not hit them either. Just tie wrapped them to the flared heat duct above the felt pad. Looks & works great. Volvo shoud have done this IMO. Hopefully this will save a doopocket when new passenger gets in up front too.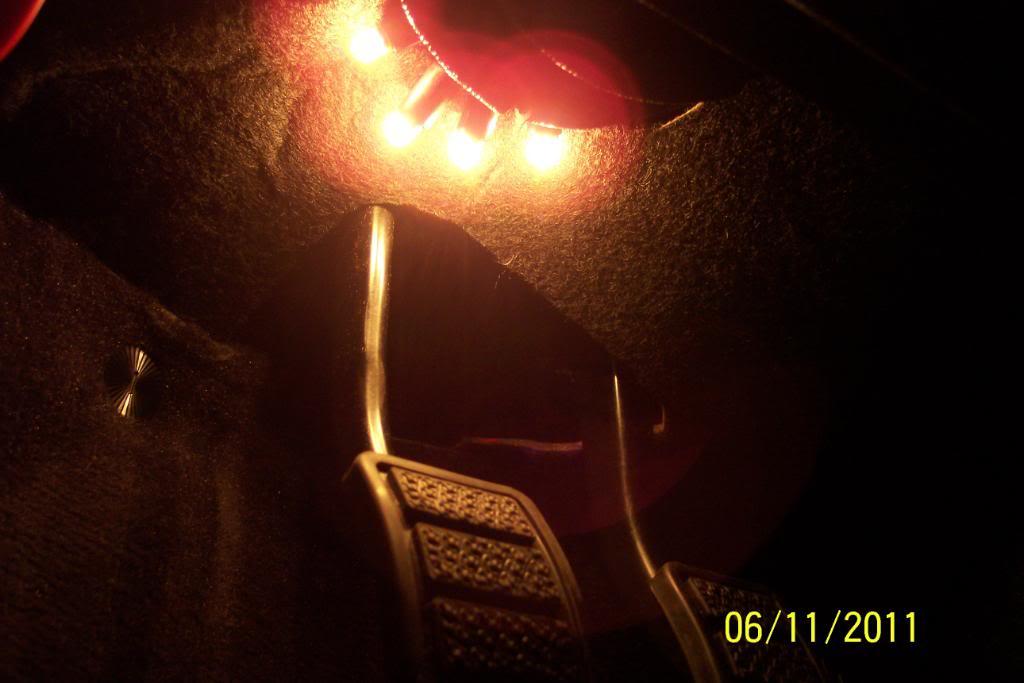
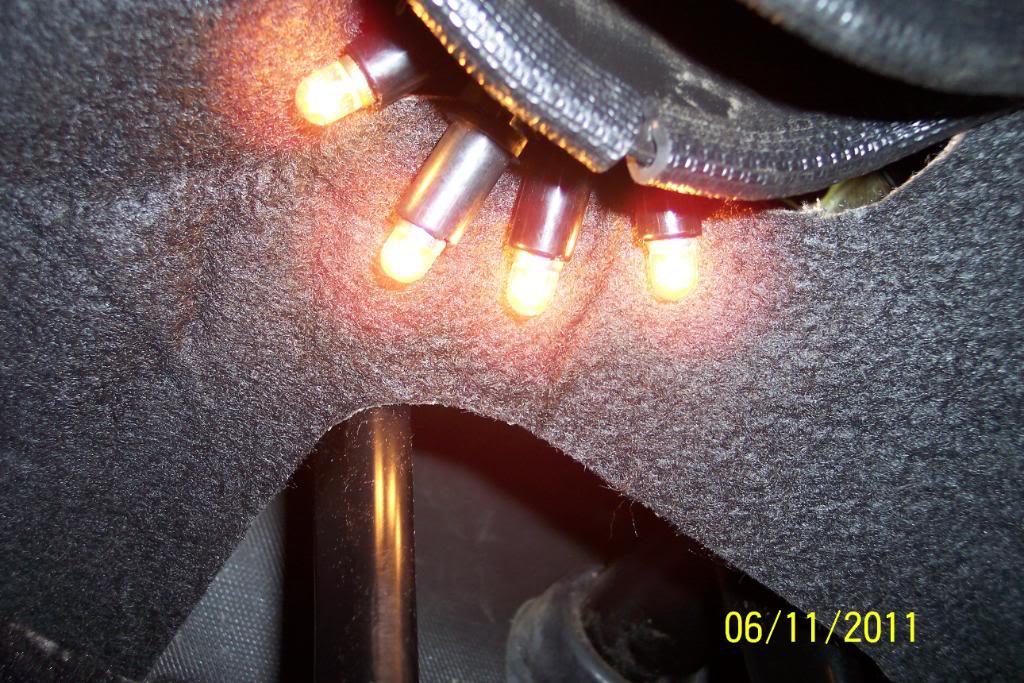
And passenger side, delay timer lights on.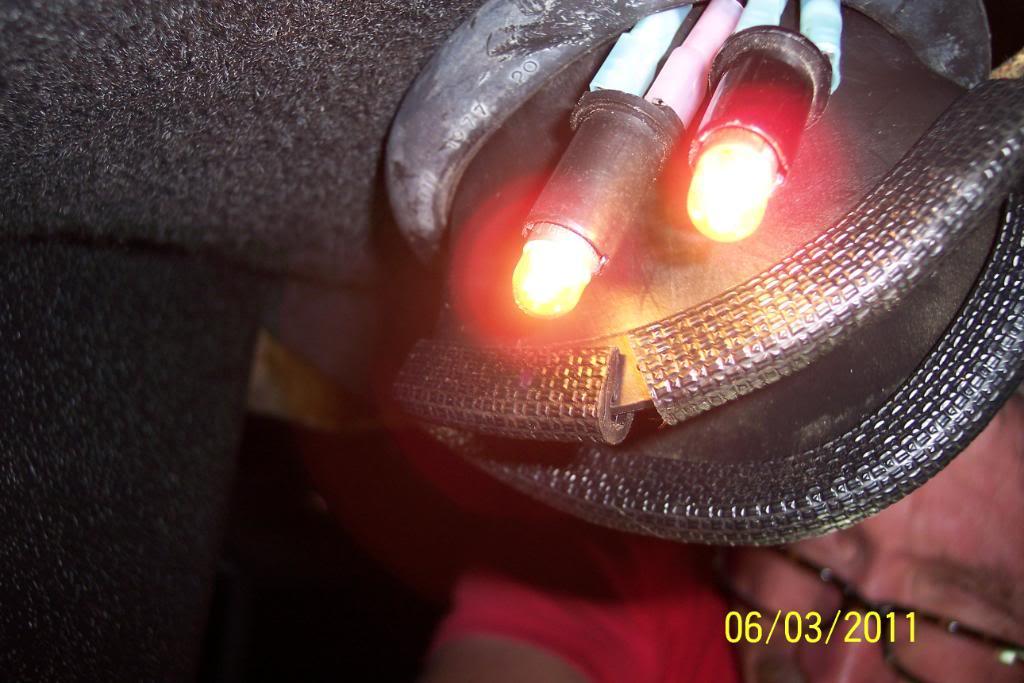
Proof ya can't see them when ya look down.......blue wires are showing because this was before I buttoned it all up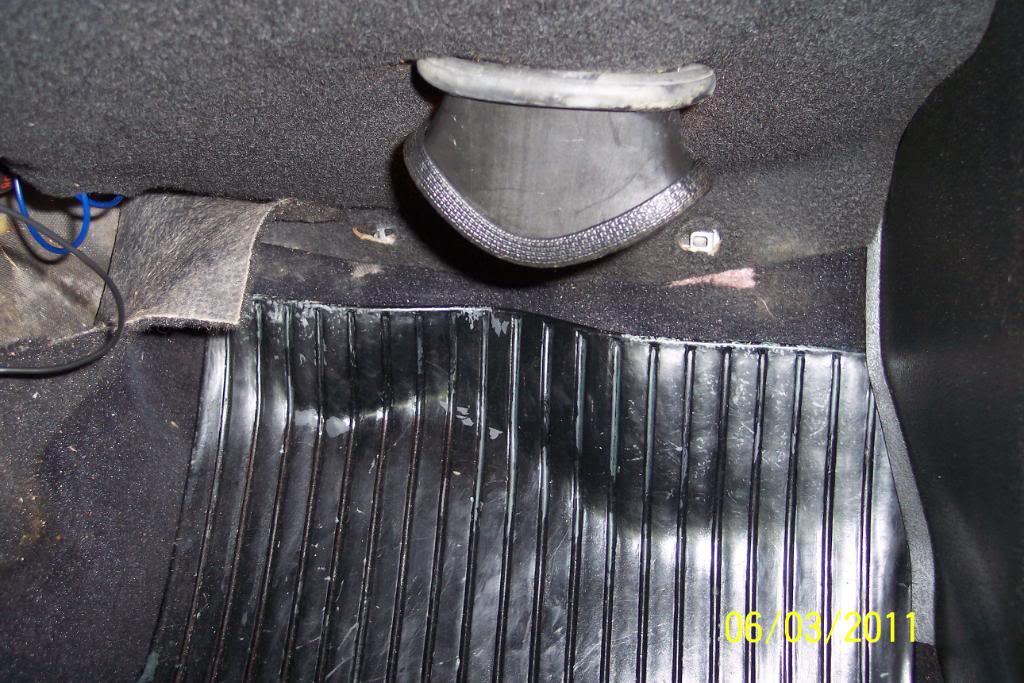
And how I made each of the four harnesses up. Easy peasy.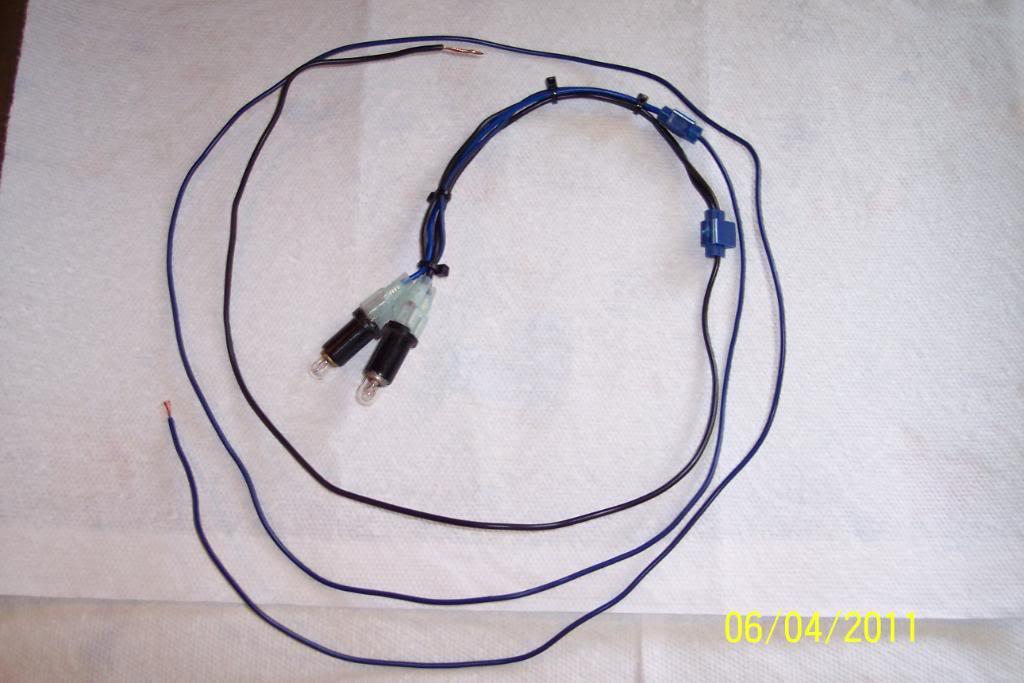
6/15/11
OK, I've been sorting out the lasest mod to the additional air intake to the bottom of air box's preheat hole.
I opened up the hole in the air dam/rad air scoop a little more, and used an old Harley 19" inner tube to insulate & protect the preheat hose. I now need to make some type of bracket to help hold it. Maybe just tie wrap it in place. Not sure yet.
I modded another snorkle I had in my vast collection of them,and ABS glued and RTV sealed another 90* ABS elbow onto it. I'll be using a 1982 242 Turbo silicone hose to join the preheat pipe to the new snorkle.
I'll also tie wrap both ends of the inner tube to keep water/dirt from finding it's way between the inner tube & the preheat pipe.
This is a mock up, but pretty close to what it'll look like after I adjust the snorkle /90* elbow positioning, paint it's mounting bracket black, RTV the turbo hose to the preheat hose & clamp it, and the snorkle..
I think this is going to work just fine after I cut a U shaped hole in the belly pan to allow it.
What I used..........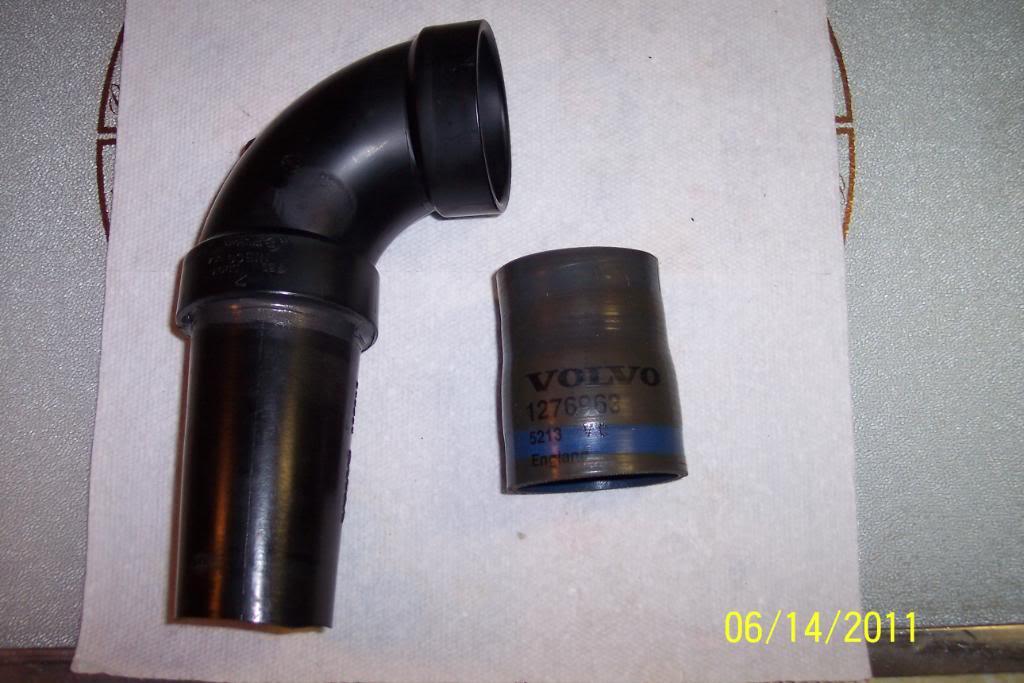
And how it fits........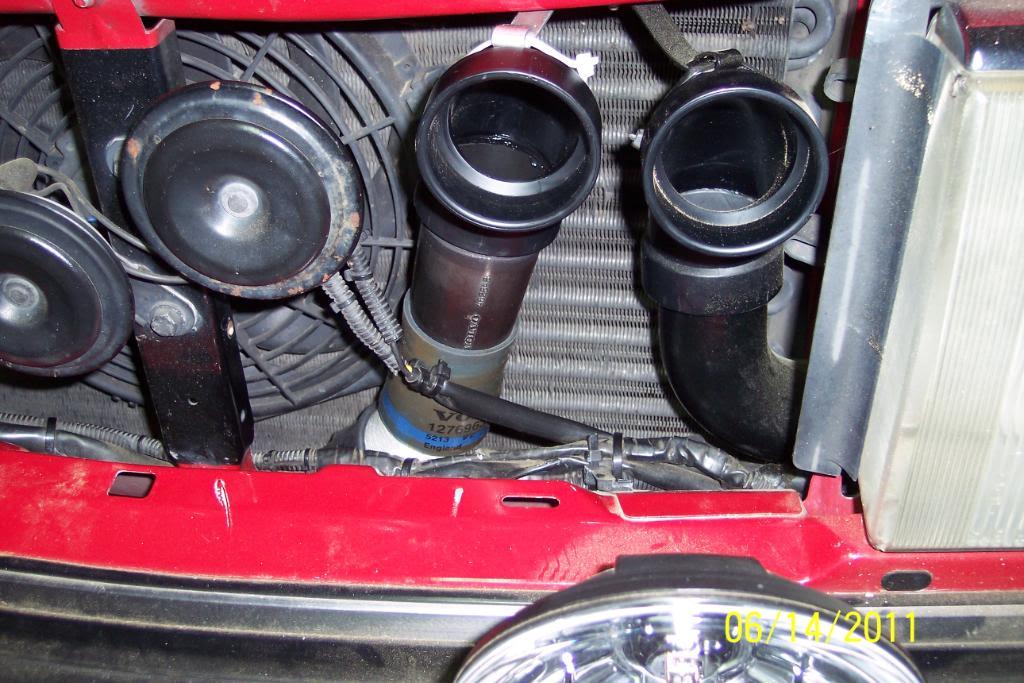
The Harley 3.50/19 inner tube insulation. Well whattaya know, it has a blue stripe on it. Matches the other blue items well IMO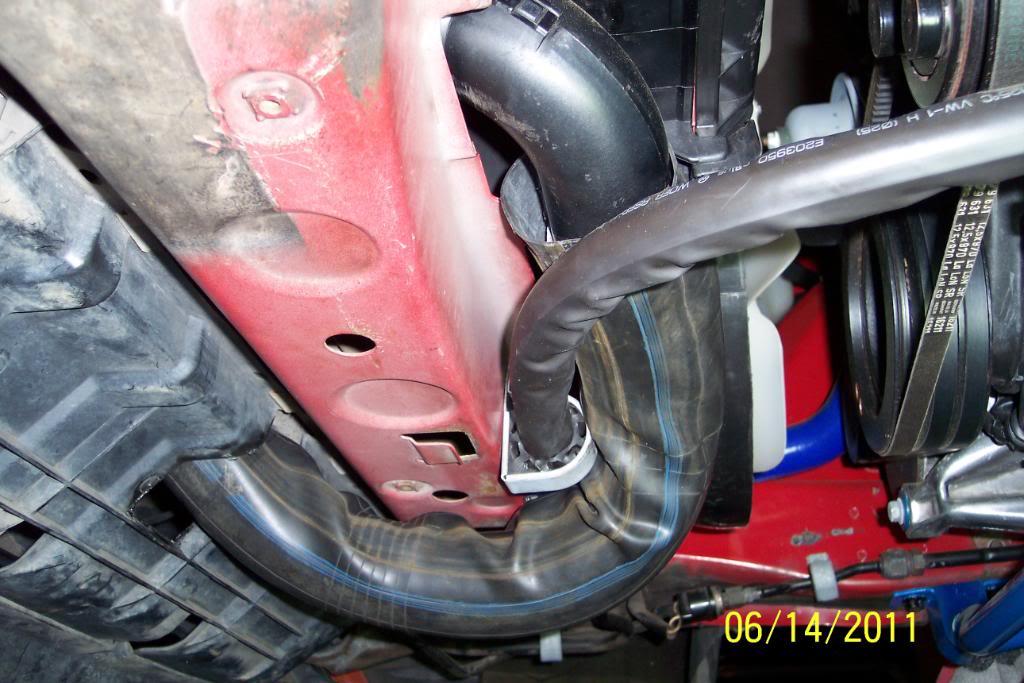
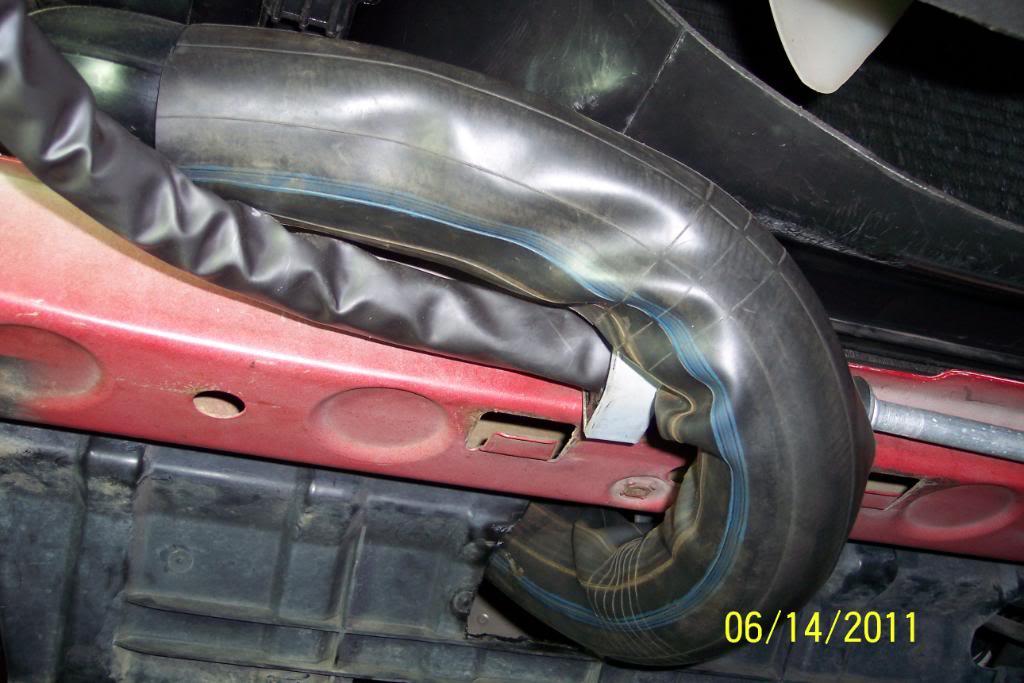
A look from a few feet back....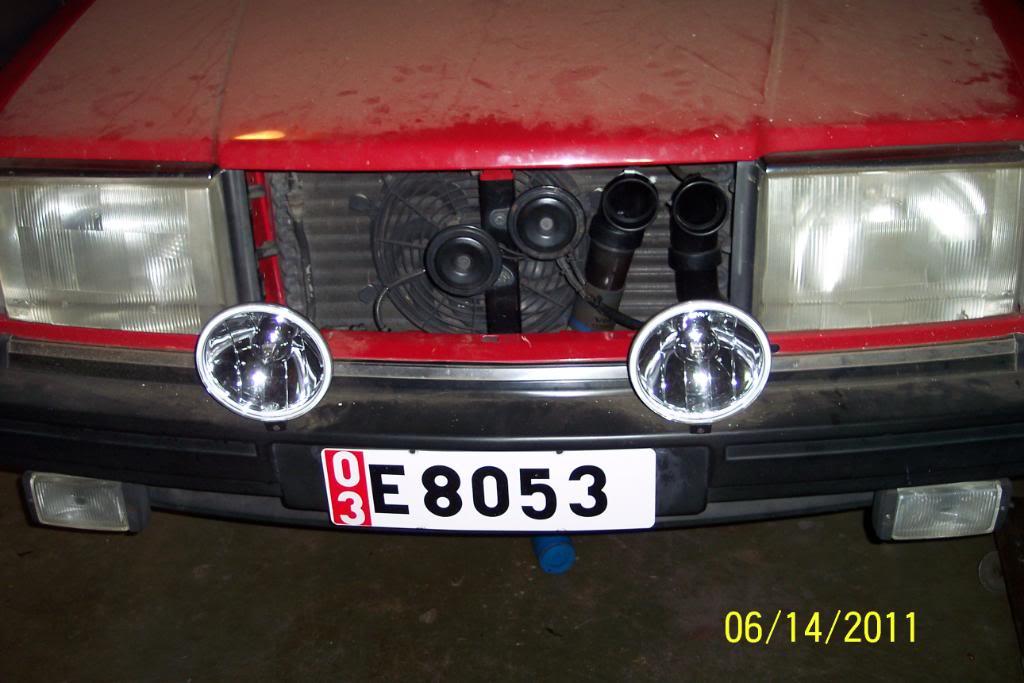
OK, finished the driveshaft rebuild. Rebuild consists of: 1) New Corteco guide bushing, 2) New FEBI/Bilstein guibo/flex disc, 3) Euro center support rubber (I know gonna go with it), 4)New SKS center support brg, 5 & 6) 2 new Precision/Federal Mogul U joints greased with 7)GreenGrease Brand green grease(naturally) 8) Painting the completed driveshaft .
I wiped off any & all excess grease on outside of the new U Joints after greasing them
Then washed,cleaned, degreased the driveshaft with Brakleen.
Then sanded & cleaned with Brakleen again.
Masked off the grease fittings with tape, masked off the Guide Bushing with tape, and masked the Center Support rubber & bearing with tin foil & tape
Then painted the drive shaft & also painted the U Joints & yokes rather lightly for rust prevention.
The paint I used is Rustoleum Professional High Performance Enamel in Semi Gloss Black.
Should look nice & somewhat OEM like when it dries.
Pics below; 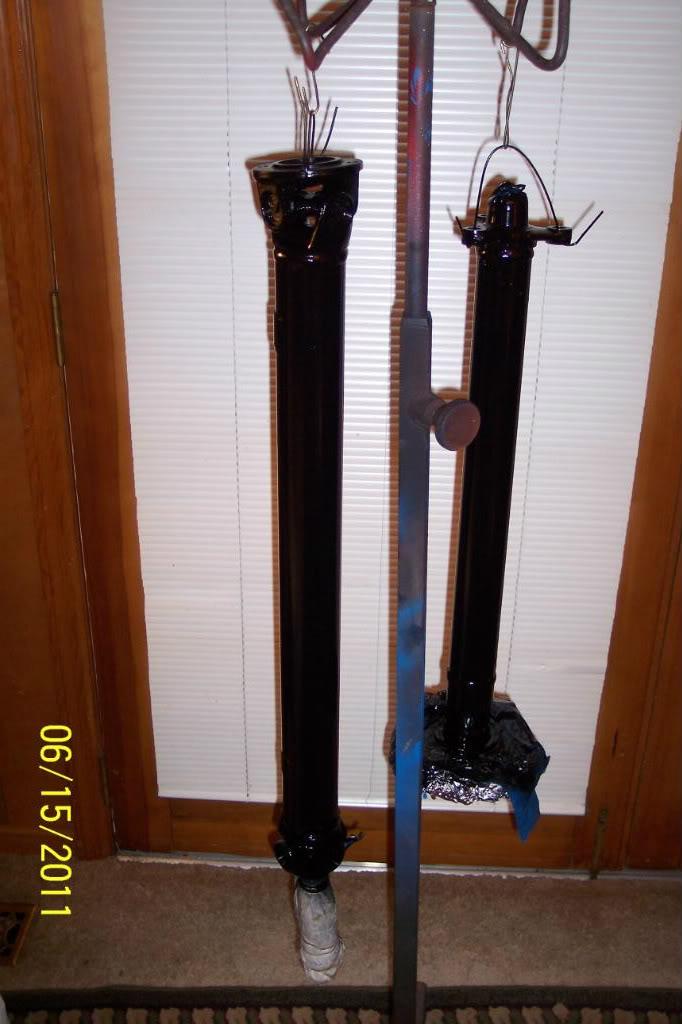
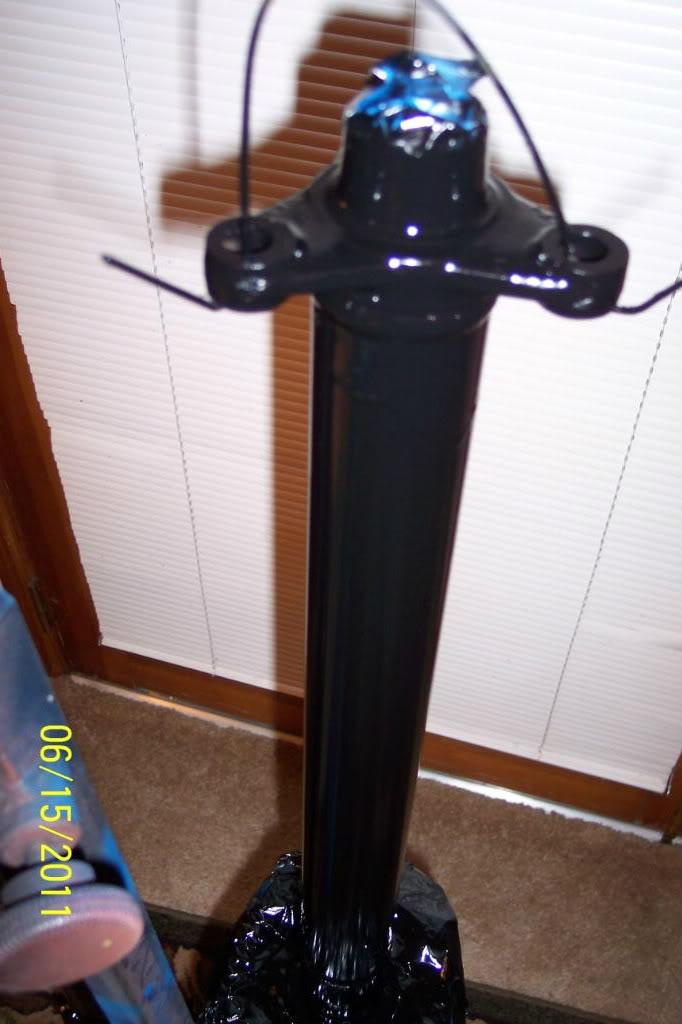
6/21/11
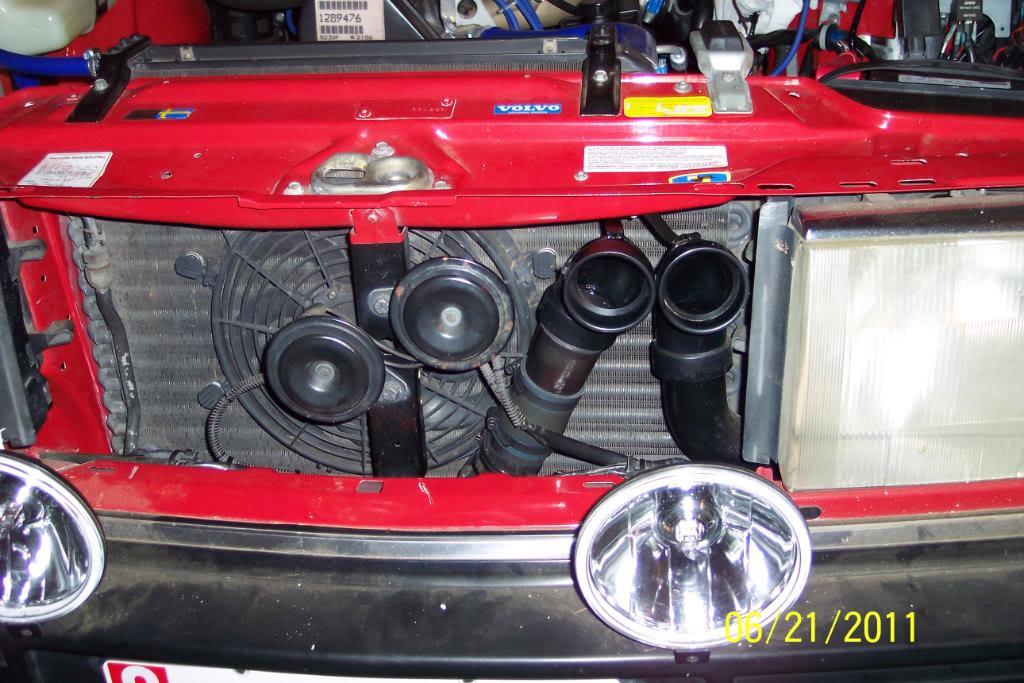
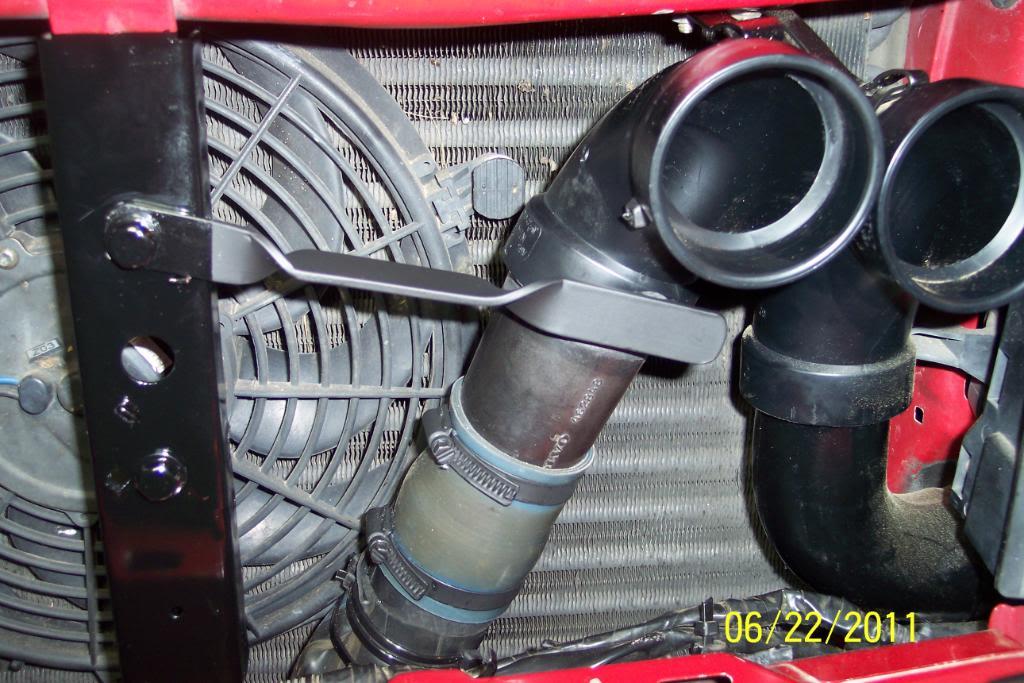
OK. Are ya'll ready for the DOUBLE BARREL? I finished the second cold air intake ducting. I think I like this set up much better than the 1st set up I had on it.
I'm going to "pan in" around the hole in the belly pan to cover up most all of the hole that is cut a bit too big.
I plan to buy a new belly pan before too long. When I do, I'll use the panned in old belly pan, to cut a neater, better fitting hole around the piping in the new belly pan.
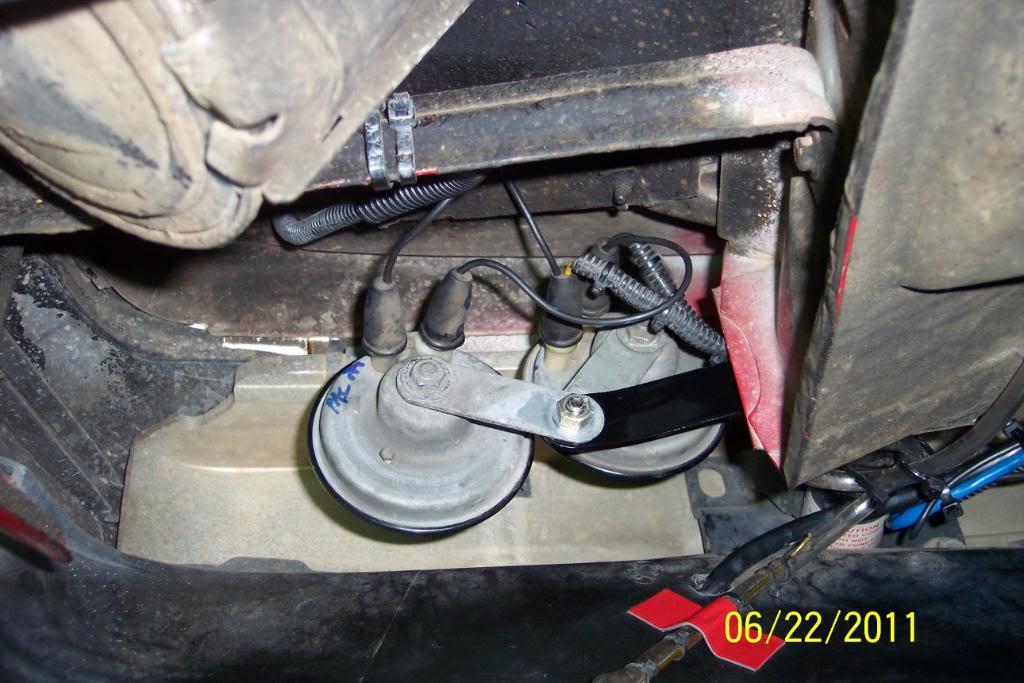
I'm considering moving the two horns somewhere out of the way of the A/C Condenser and radiator.
Seems other have done this. Anyone got any tips of where else to mount the horns outta sight?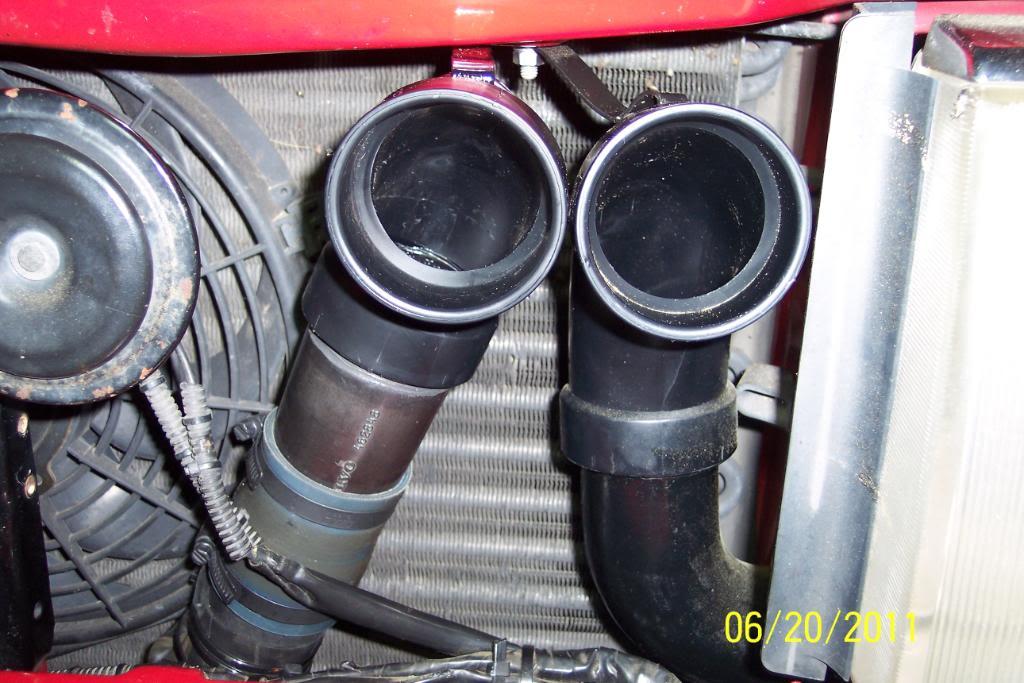
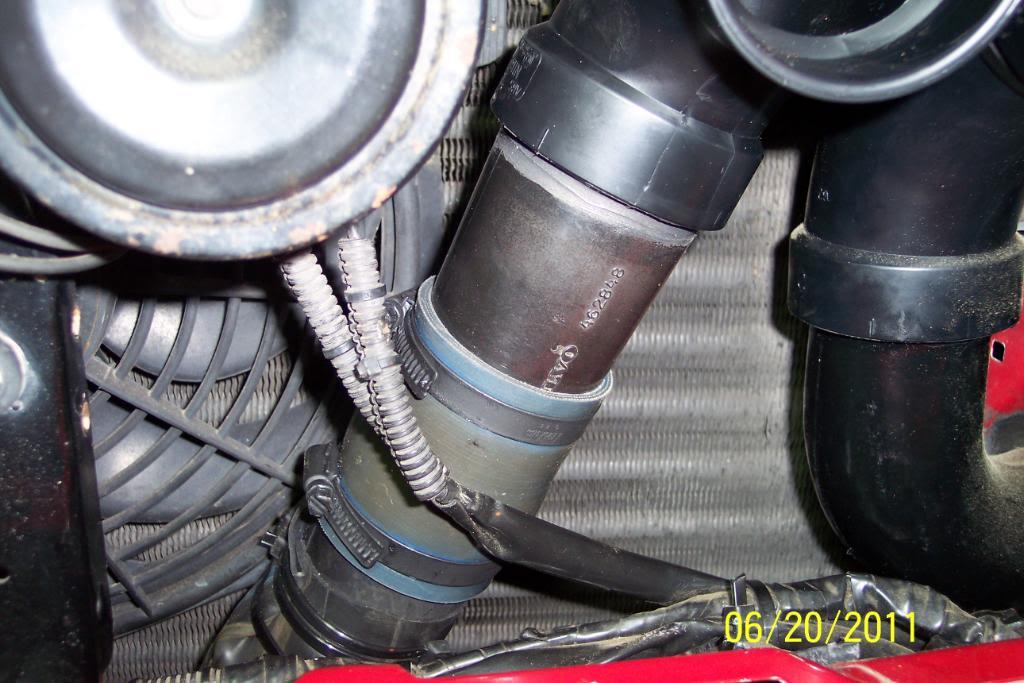
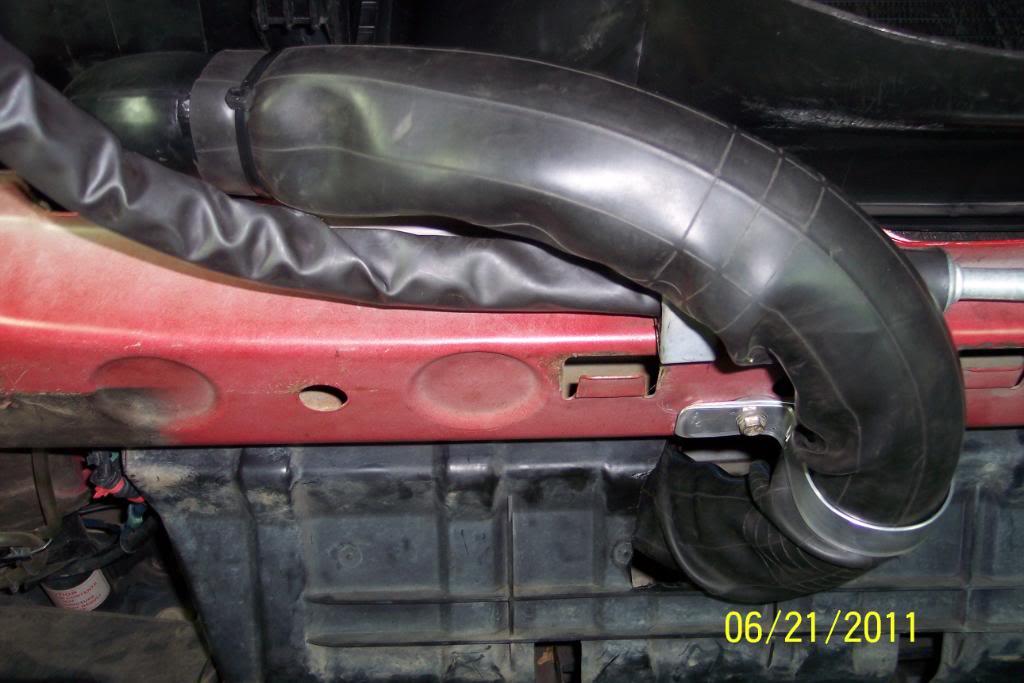
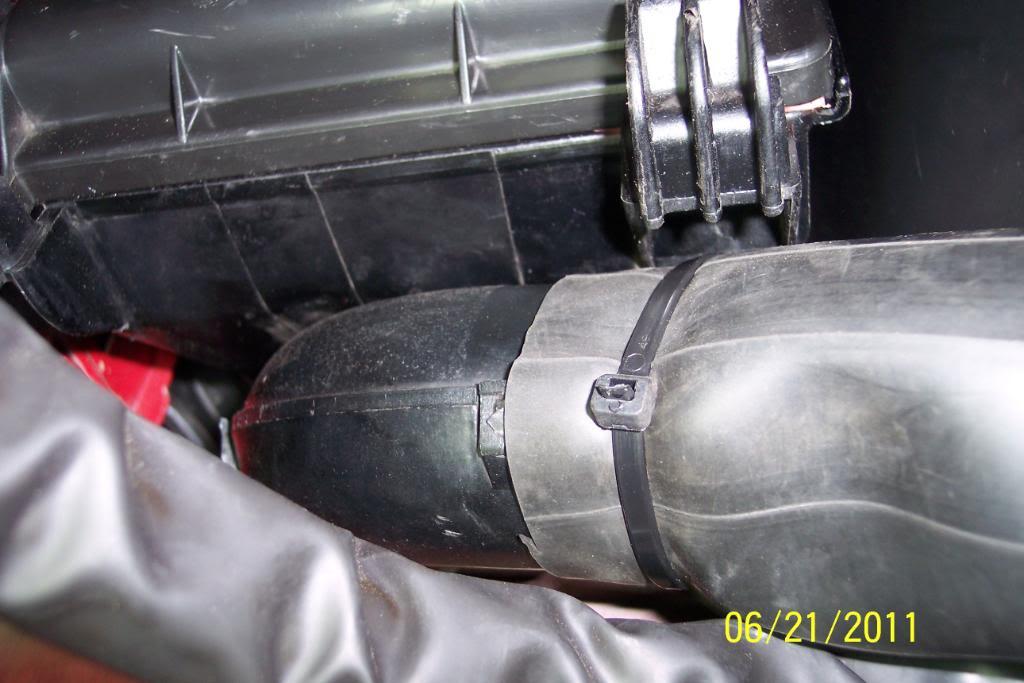
I had to add another OEM plastic piece to the aluminum pipe to make it long enough and to use the Silicone Turbo Hose to join the 90* elbow piece to the aluminum hose. Here's a pic of how I did that. Not beautiful but it works. Used blue RTV as I happened to have a new tube of it. 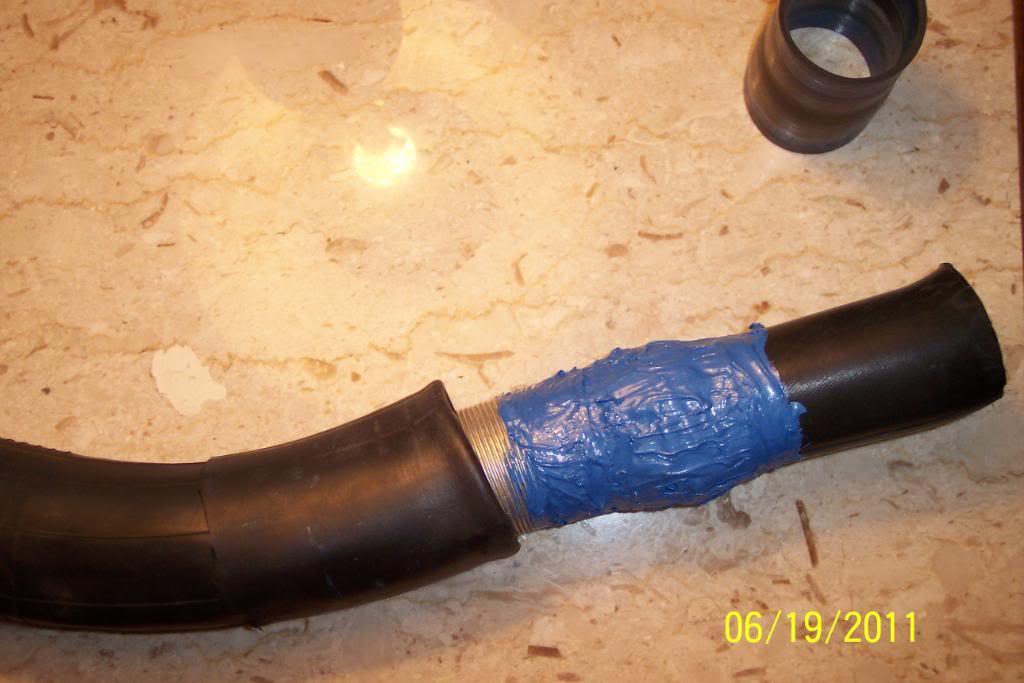
With the belly pan on.....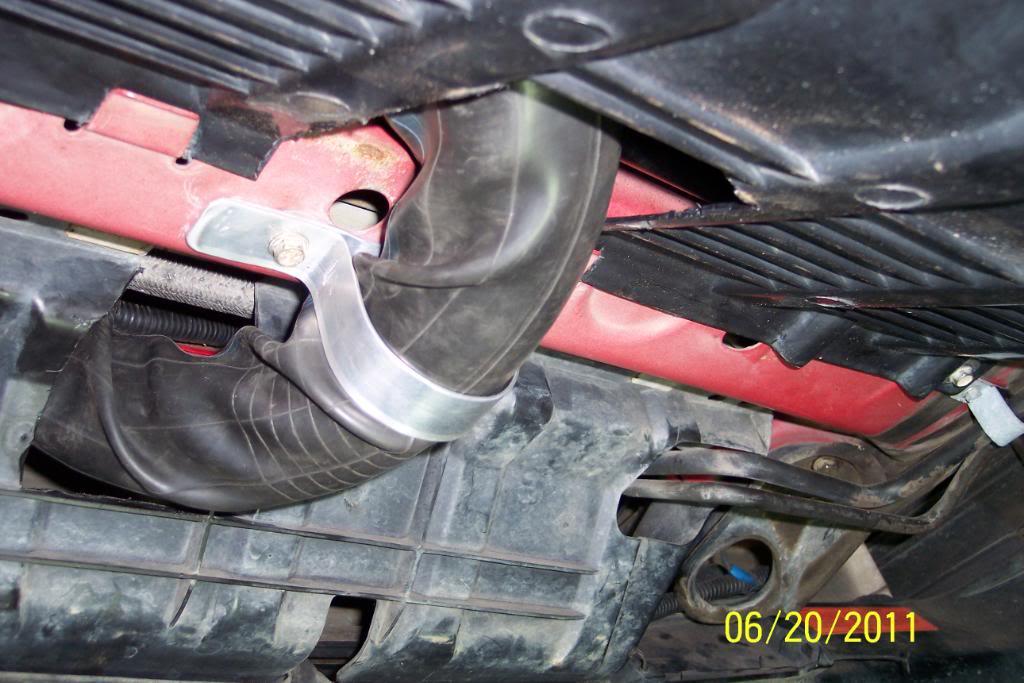
6/22/11
No, I used to have a lot of ducting for the air to travel through. the right hand side on only has less than 1.5 feet. The left one is only 3 feet long, now.
The idea here is the one OEM snorkle's ID is 1 7/8" diameter in smallest place(see pic below). IME this is not large enough to flow enough air at Hi RPM . Especially with a hi perf cam later I have planned for later on, and the 2.5" exhaust I'm going to install.
Hell a Harley carb throat is that big. And it's only 74-88 ci
This set up will allow 2/3-twice the airflow. And does away with any chance of preheat by ex. mani air, and with 90* elbows should provide more, cooler air to engine. And possibly a bit of ram air effect at higher speeds.
And yes it works. Already did this some time ago to my 245. Coupled with a free flow exaust it does make a very noticeable increase in acceleration. And with a better cam later on, it'll really help.
Don't believe me? try it for yourself........and remeber most 86-93 240s are breathing through this restriction, and were never built with hi perf in mind in 1991.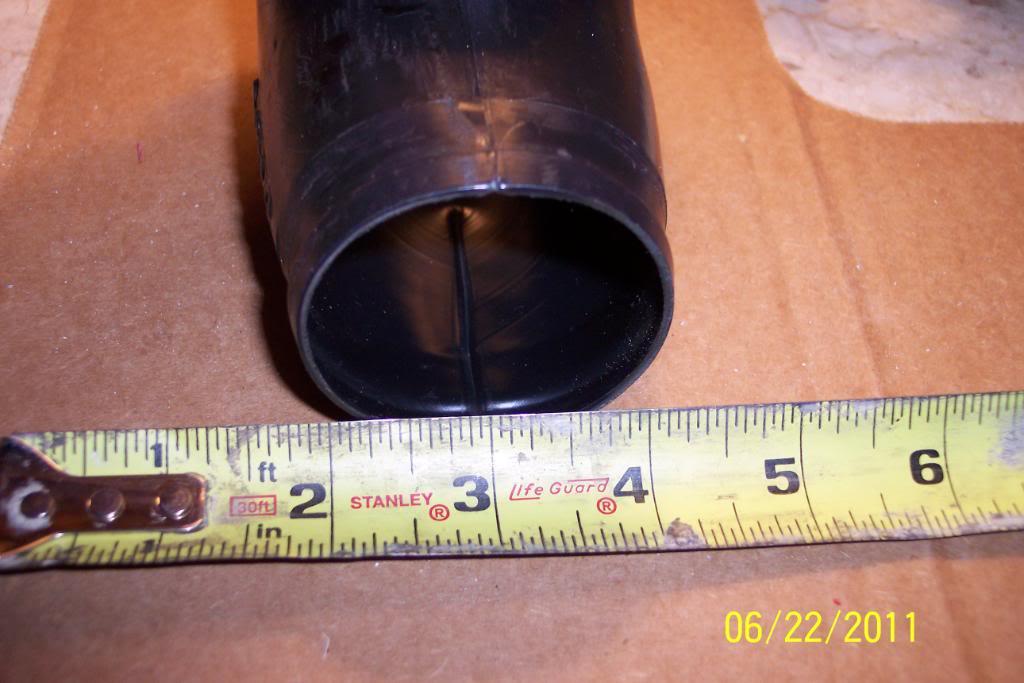
Ok now that we have that cleared up..........
I wanted to move my horns to a different location to allow better airflow to the A/C Condenser coil & rad, seeing s how it was cramped with 2 intake hoses & two horns in front of the coils. I fabbed a stright bracket & mount it to the outboard end subframe rail where the bumper mounts to the bumper shock.
Then bolted on the 2 horns to the straight bracket.. I had to ue a longer(1.25) 8mm bolt. The OEM wiring harness for the horns was slight re routed & was long enough as it was. Cool.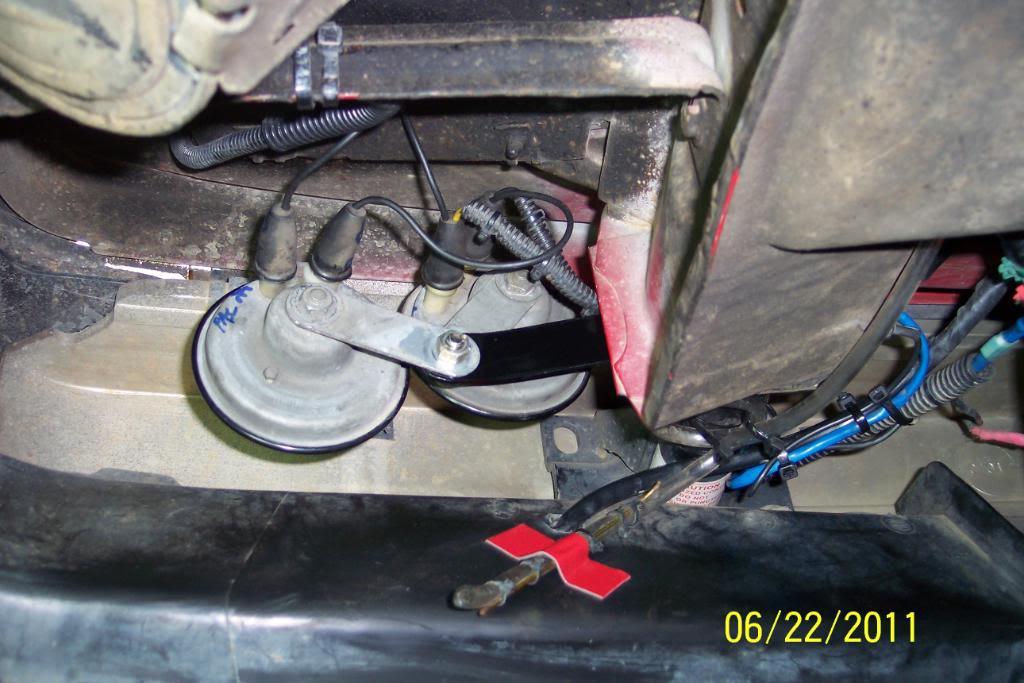
And also cleaned & painted the verticle support behind the grille semi gloss black.
So... from this.......
to this............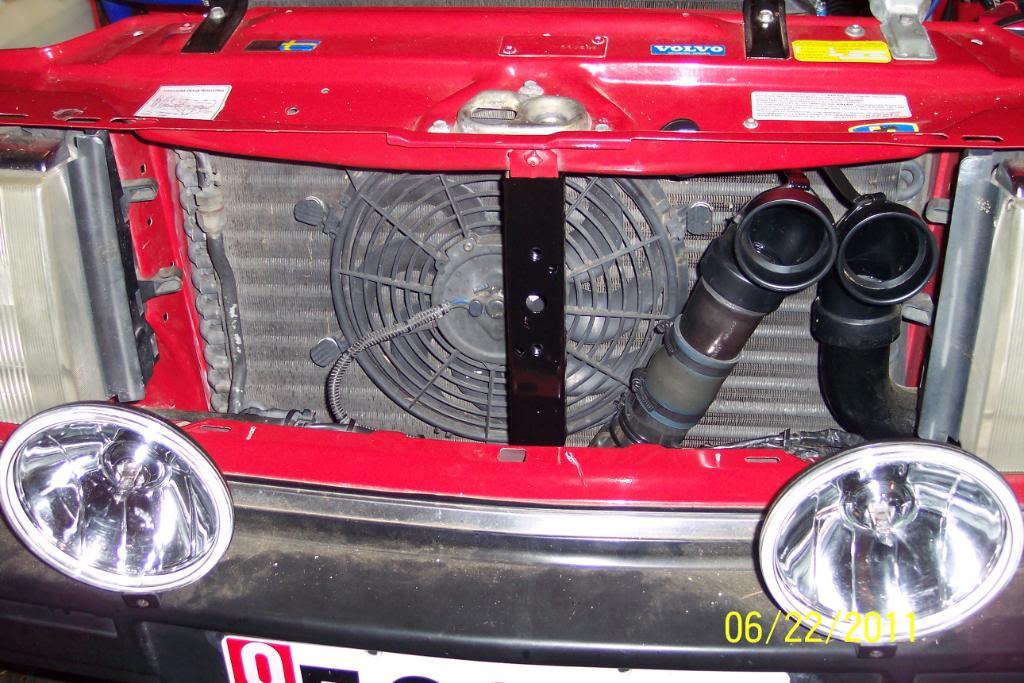
6/23/11
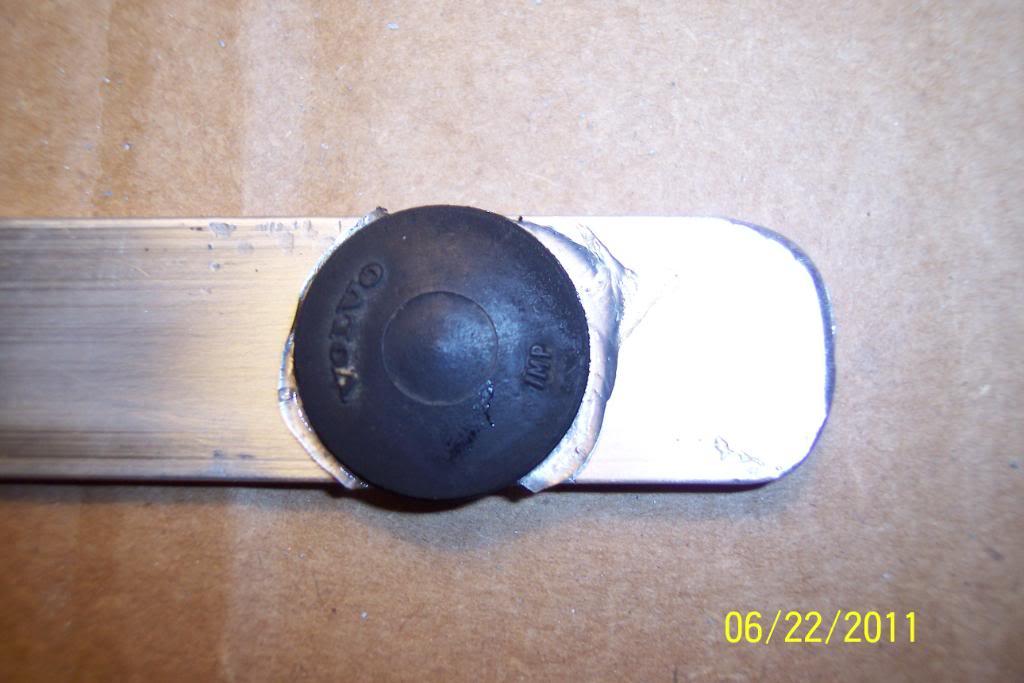
I made a bracket that fits & fixes the problem perfectly. Here's pics of the making of it. The rubber pad is off a 240 frt license plate bracket. I cut & ground off flat the tit off the back off it. 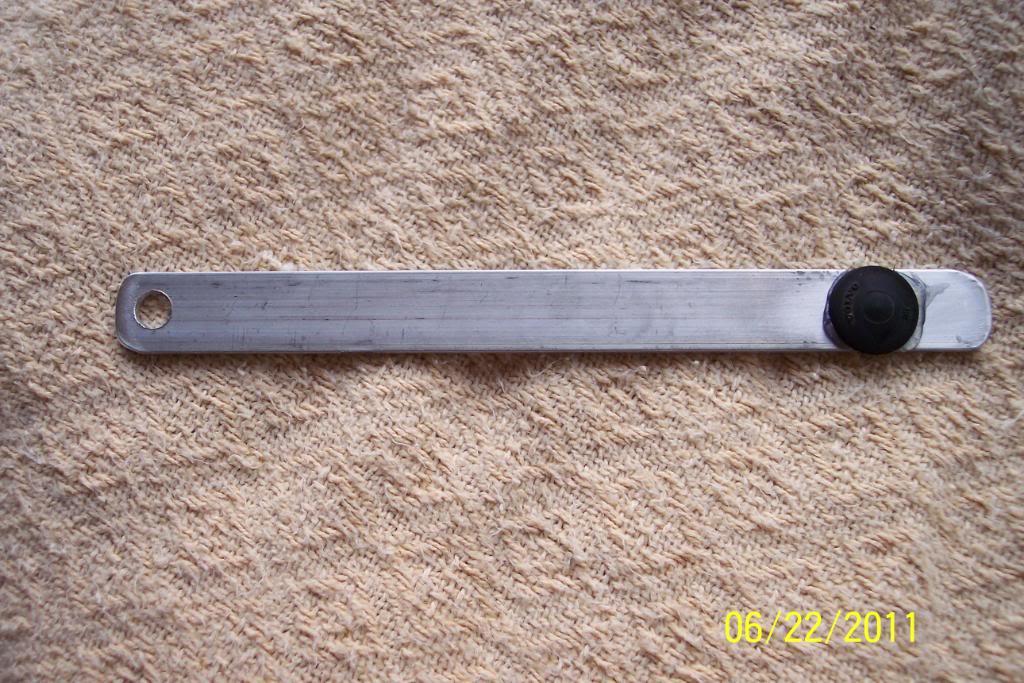
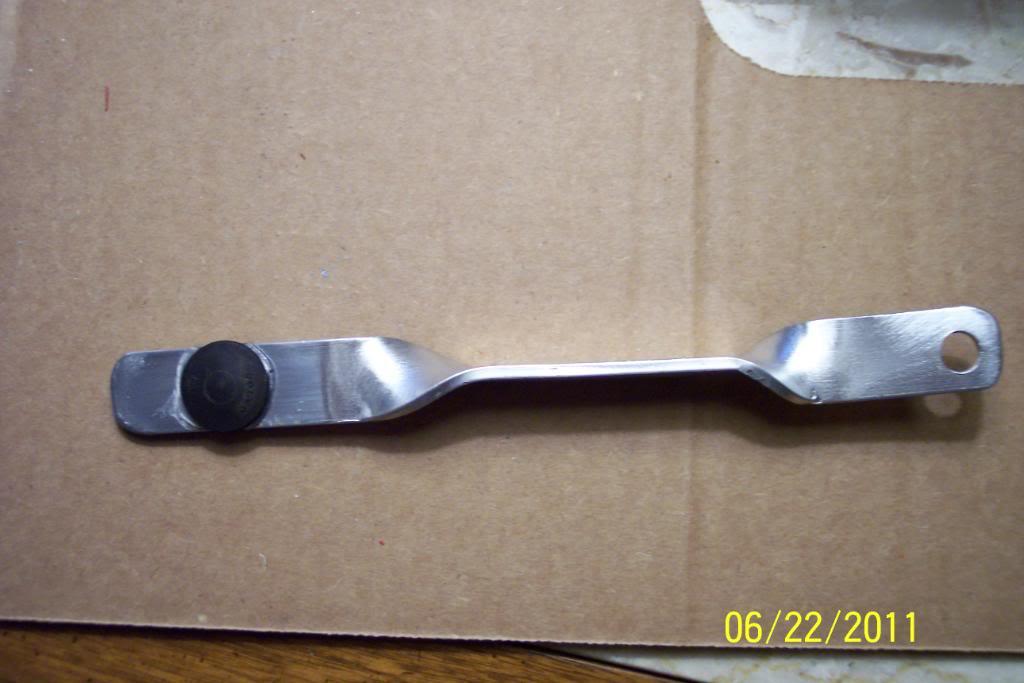
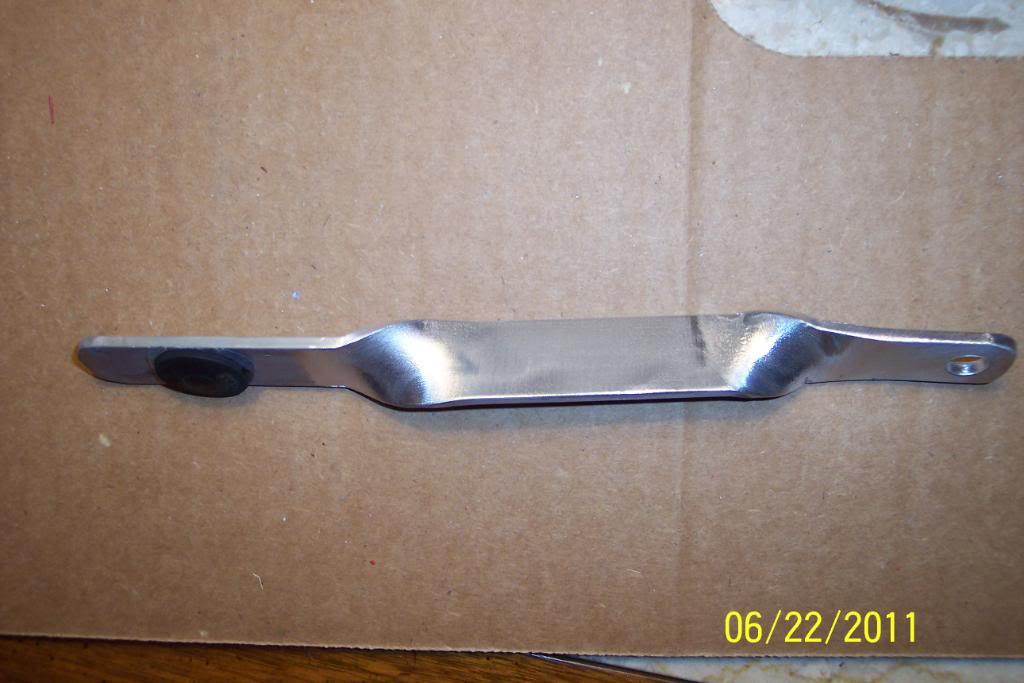
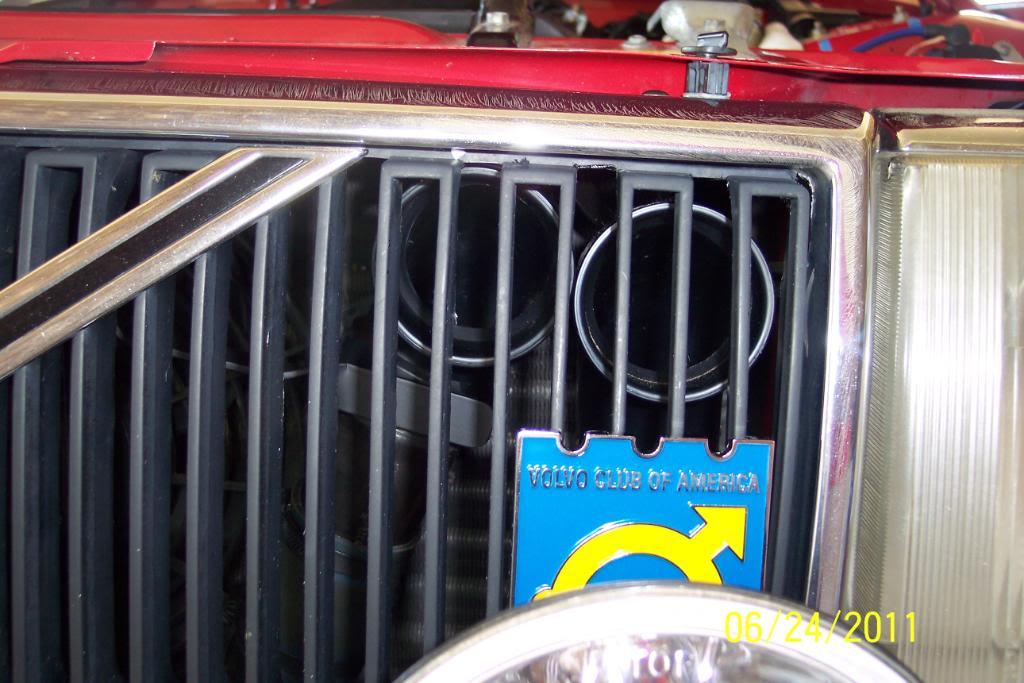
I refitted the grille. It clears AOK with the 90*ers pulled out as far as possible now. So no problems here now. And looks more pleasant without the ugly horns showing through the grille.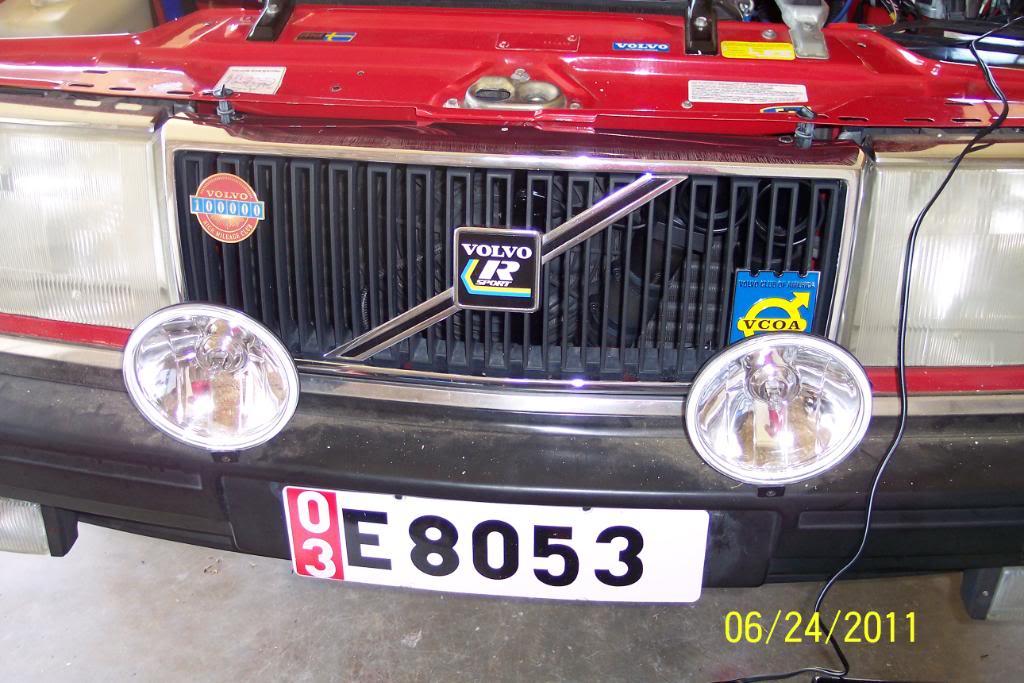
7/3/11
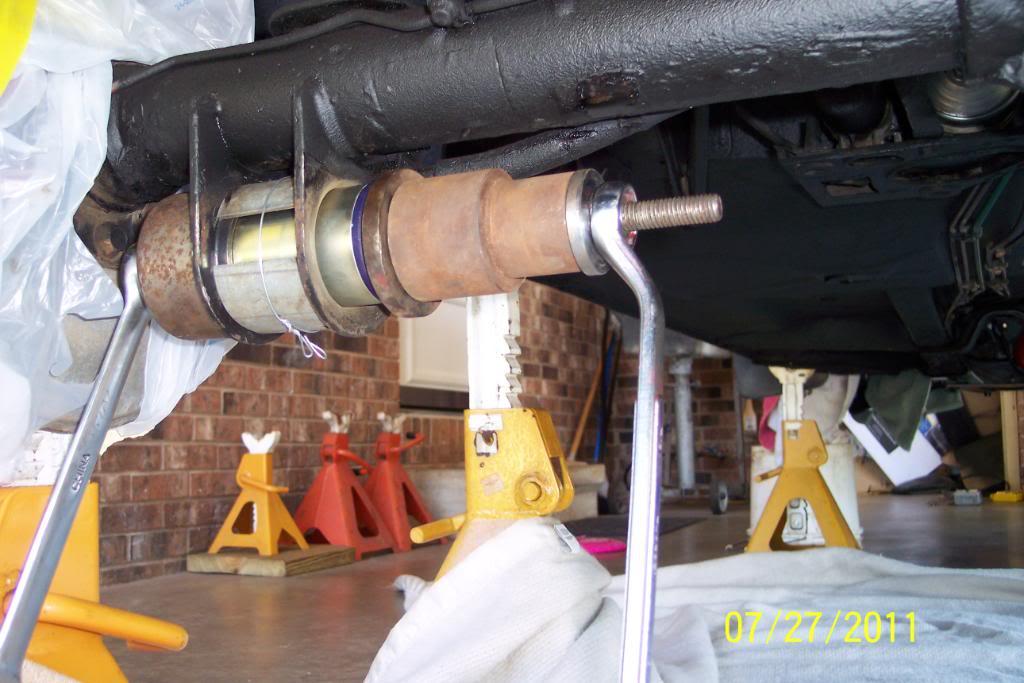
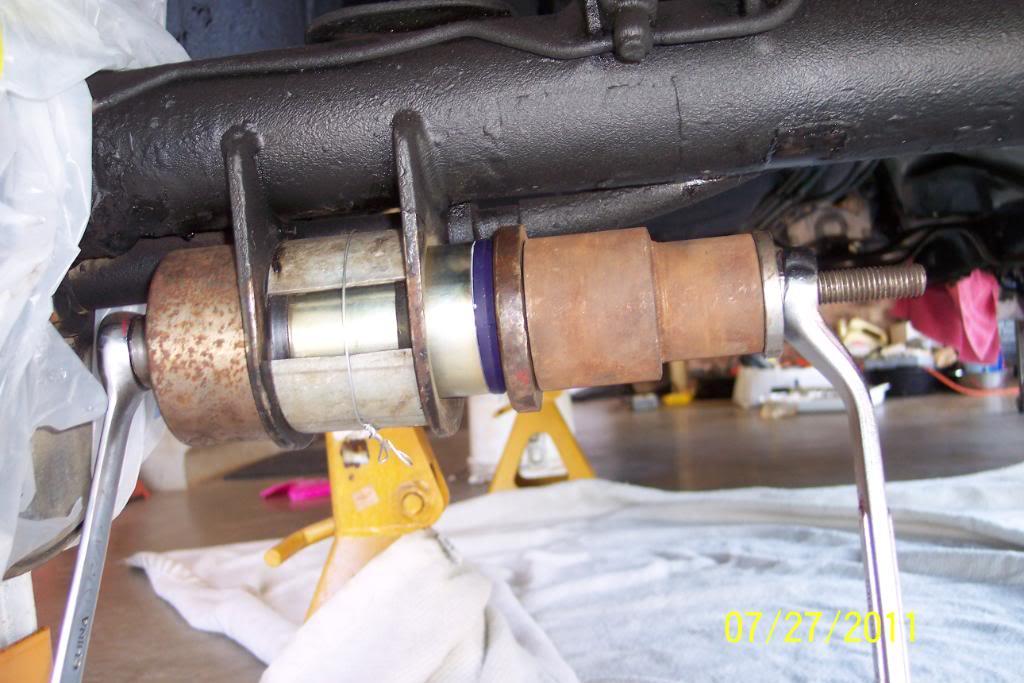
Well, I finally got my a$$ started on removing the LTAs(Lower trailing arms for Matt) and I now have one of those big PITA OEM bushings out of the diff's bracket for them. I used my homemade tool for this.
I made it when doing same susp work on my 79 245 about 12 years ago. Luckily I kept up with where the tool was. And it works pretty well too.
I used several of the small jackstands. One under pinion on diff, one under DS rotor hat, one under axle hsg on PS. And Floor Jack under diff's carrier end. Pass Side Axle JS is soon to be swapped/replaced to to rotor hat. I am leaving the torque rods on, to keep diff located/fromtilting/moving while I do other bushing .Hopefully this set up will work OK. First time I've done it this way though, Usually do one at the time.
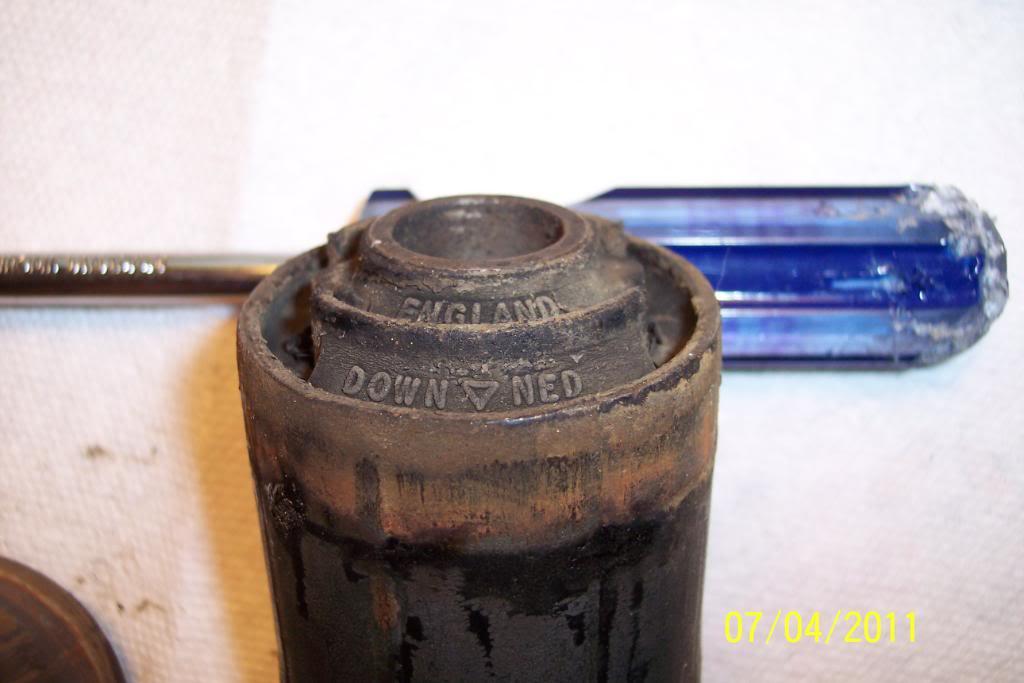
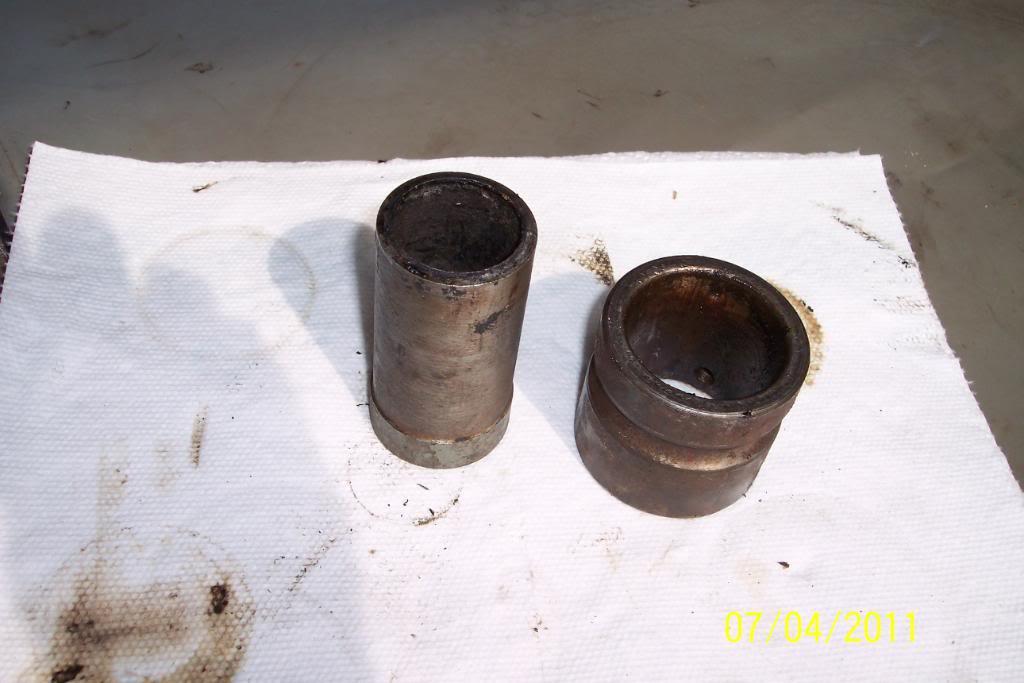
Here's a pic of DS LCA bushing I removed (the big one in diff brackets). I'd say it was past time for new rer susp. bushings . Wouldn't you?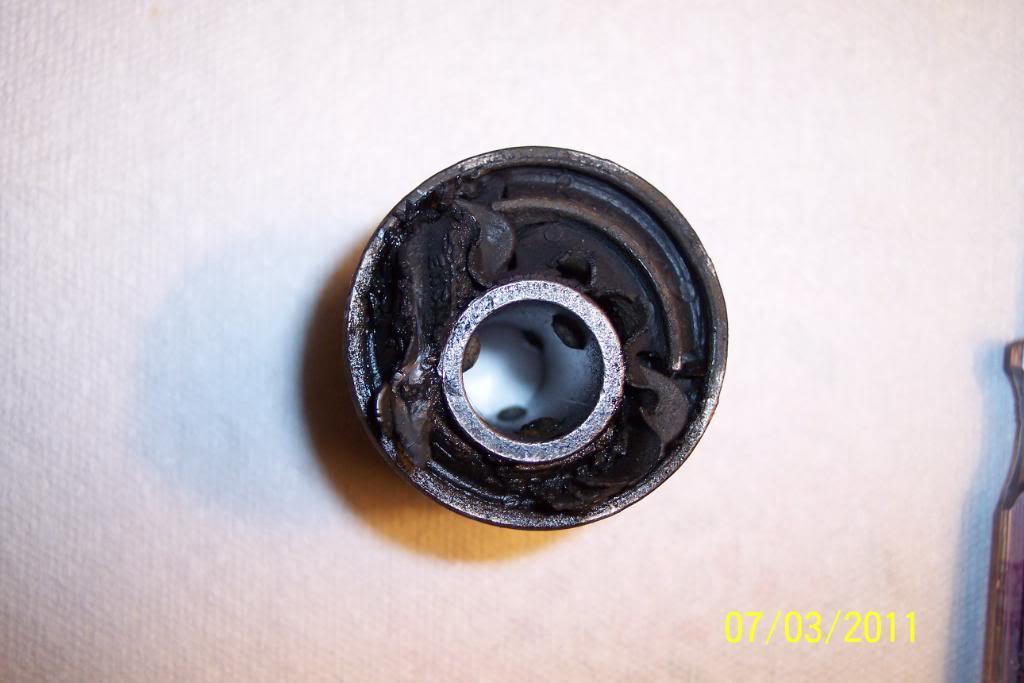
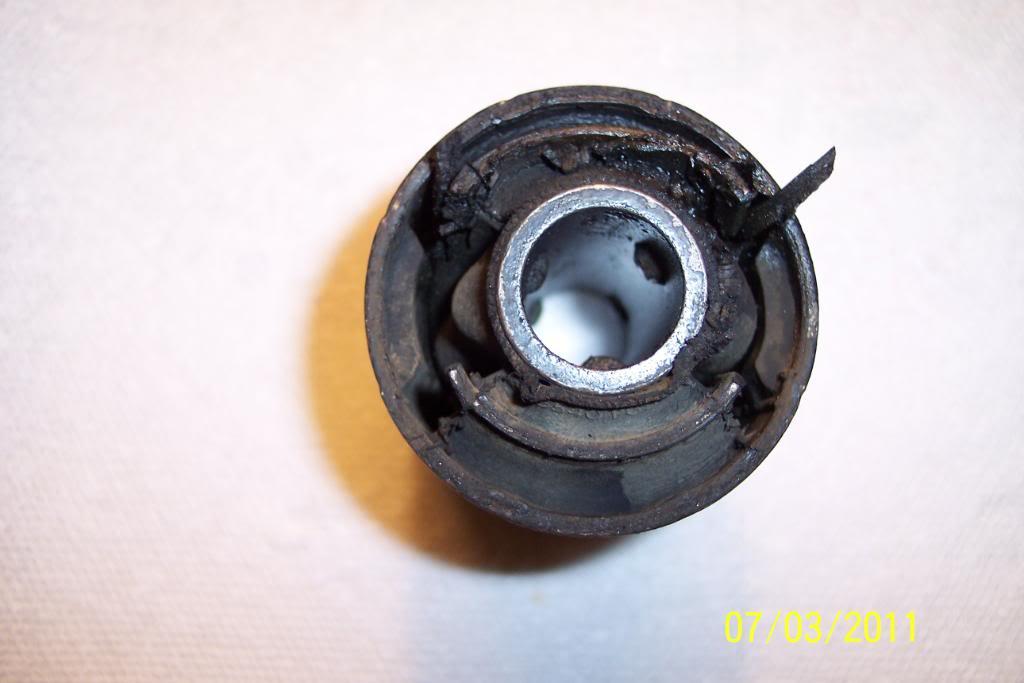
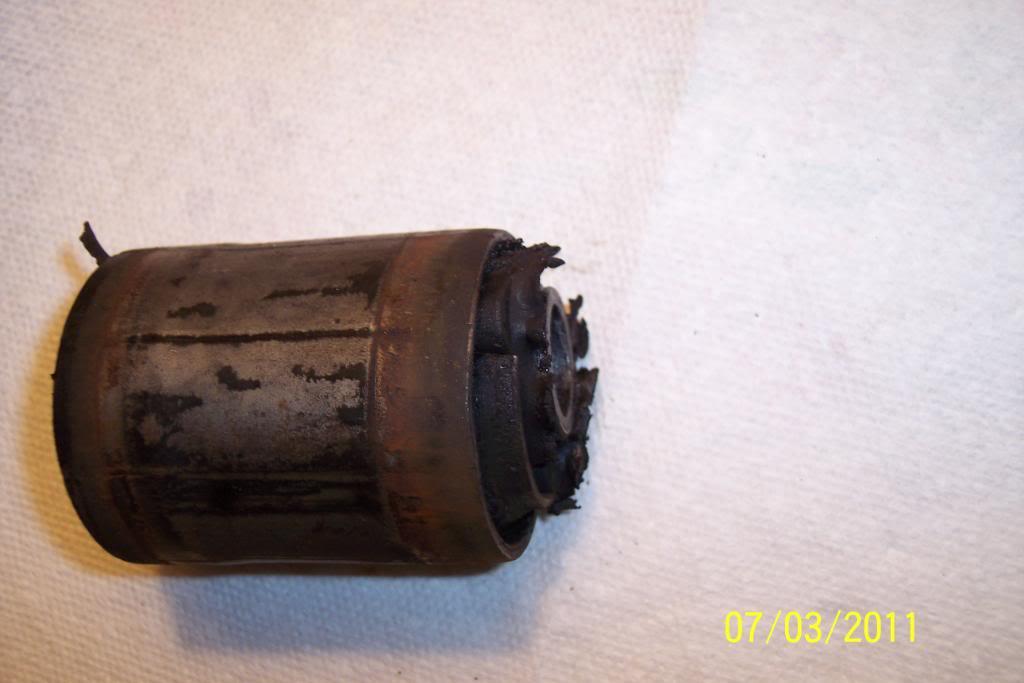
These are not the worst condition ones I've removed for rear of 240s. These aren't toooo bad, but still should be replaced.
I don't have a new OEM Volvo bushing. The pass side bushing appears to be in much better condition though. (see pics below) now have
I can post pics of how I have the diff/rear axle "suspended" for LCA & it's bushings, removal and the homemade tool I used to press them out if that would help any.
I'm using SuperPro poly to replace them. The later 240 OEM bushings appear to be made weak /er for a smooth ride to me.
But I could be wrong........ I imagine the Volvo engineers had their reasons. Seems I remember someone said, that they should articulate some.
FWIW, the IPD adj panhard rod & adj torque rods come with poly bushes already installed. So I actually only need to install the 4 LCA bushes. Yay! LOL.
And FWIW, these were OEM Volvo bushes I removed. Says VOLVO on both of them , & then I notice the lettering telling they are made in England .
I was expecting them to be made in Sweden, or Germany. I presume the "DOWN V NED" marking is actually telling installer "downed" with arrow pointing to the downward position bushing is to be installed in the diff brackets/LTA.
I expect this is due to the fact position of bushing is important . Due to the fact the solid rubber portion should carry the downward load, and the hollows should face fore & aft.
Next step is to wash the undercoating off the lower control arms (LCA), and cut the plates I'm going to brace/box them with. Then get it welded. Still deciding how much bracing/boxing I really want to do on them.
Left = dvrs side, and right = pass. side in pics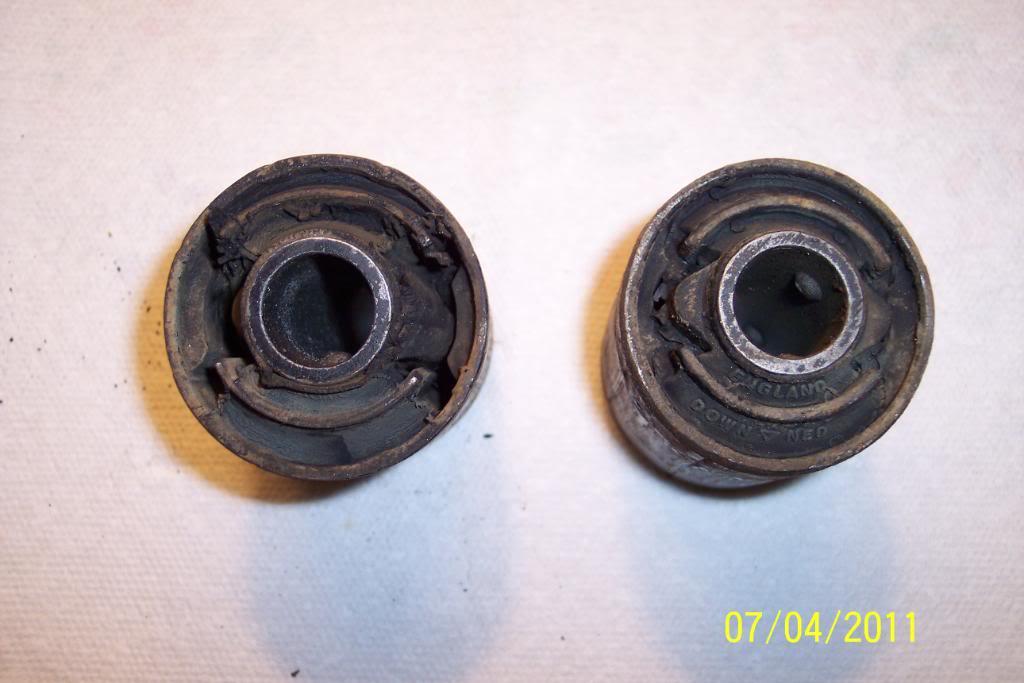
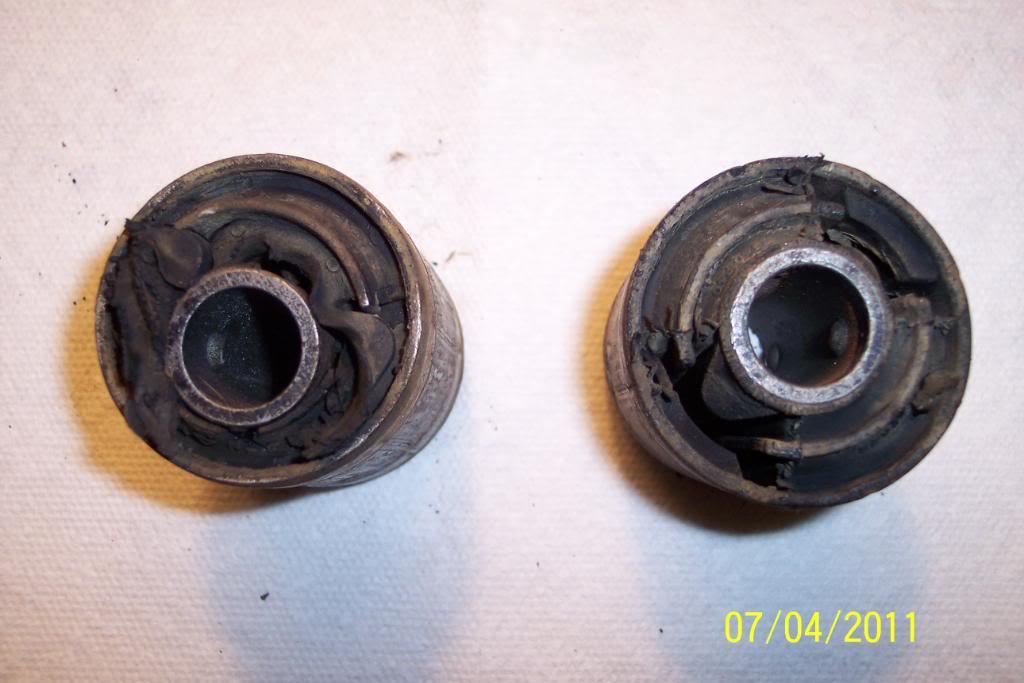
Necessity truly is the Mother of Invention...........
This is for the big LTA bushings mounted in those ears on the rear axle hsgs.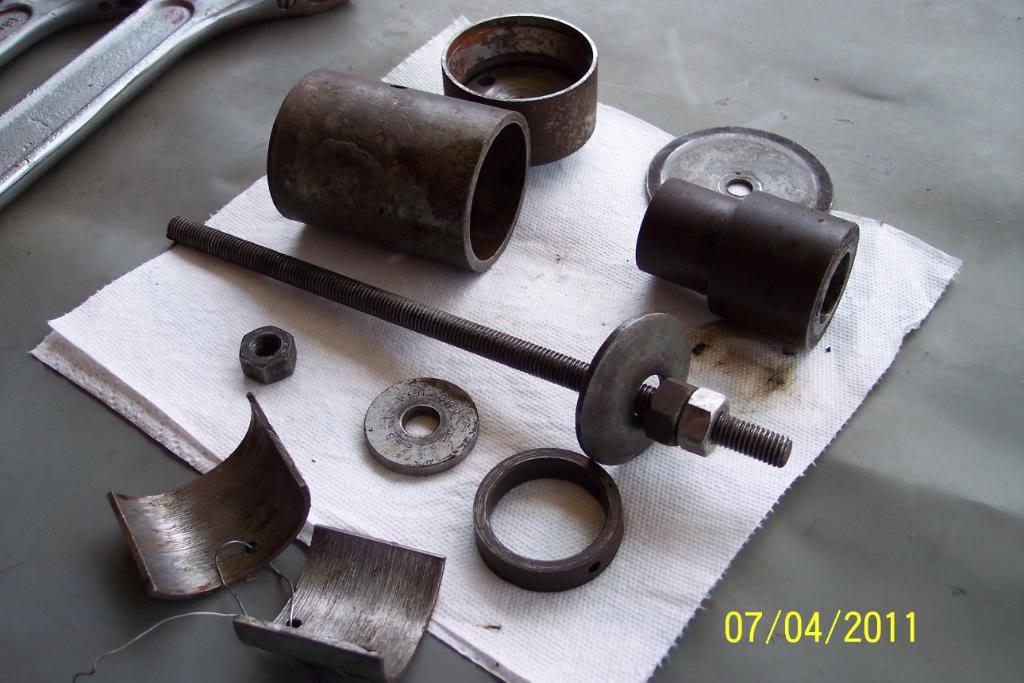
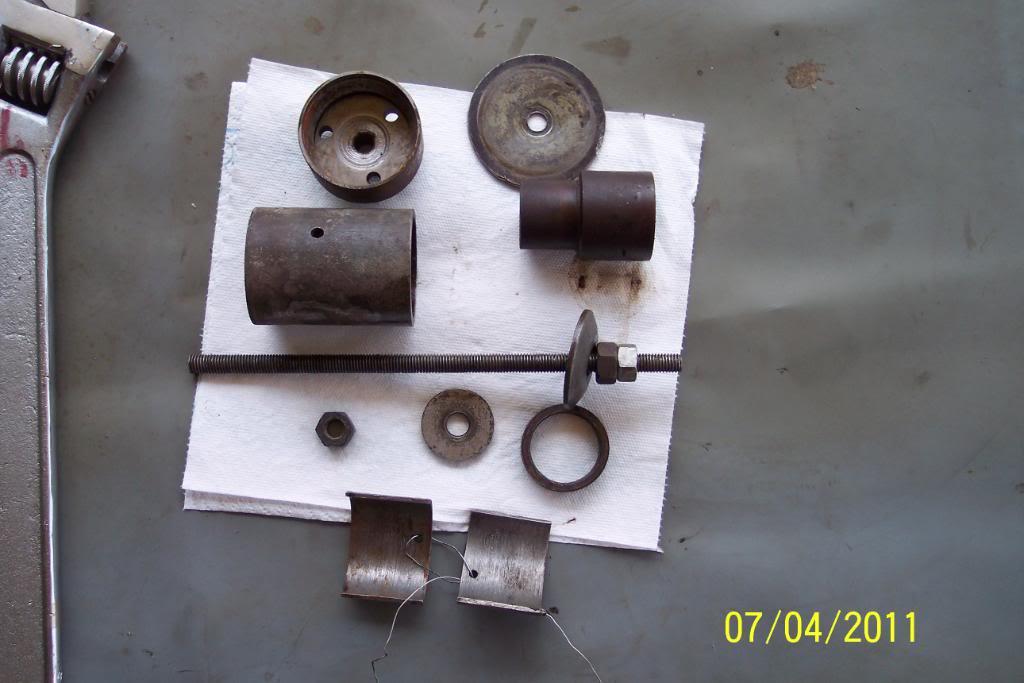
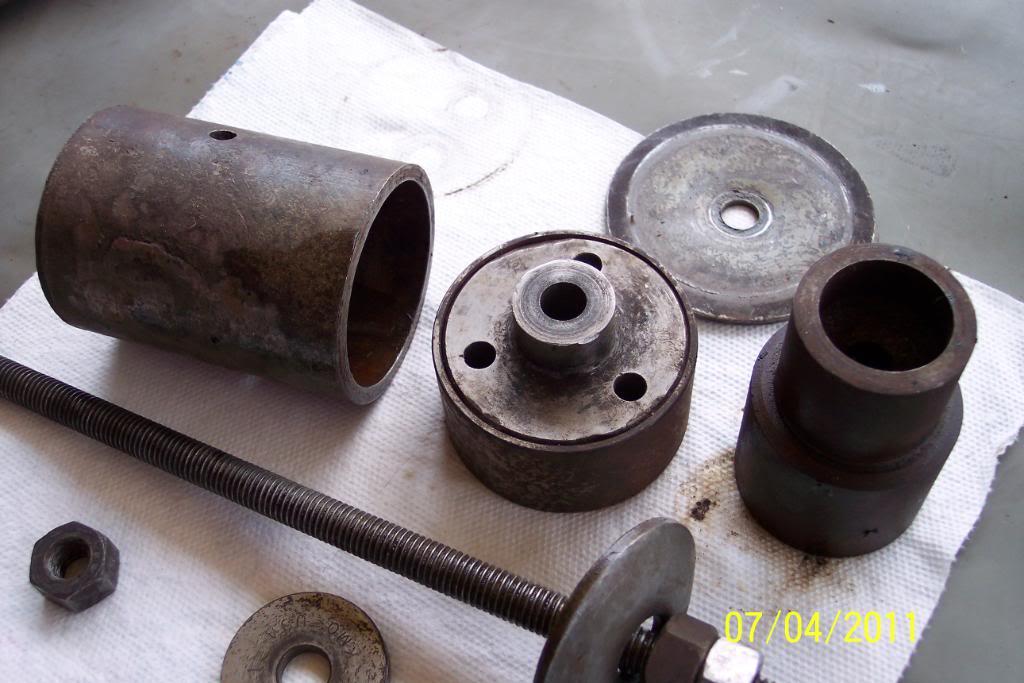
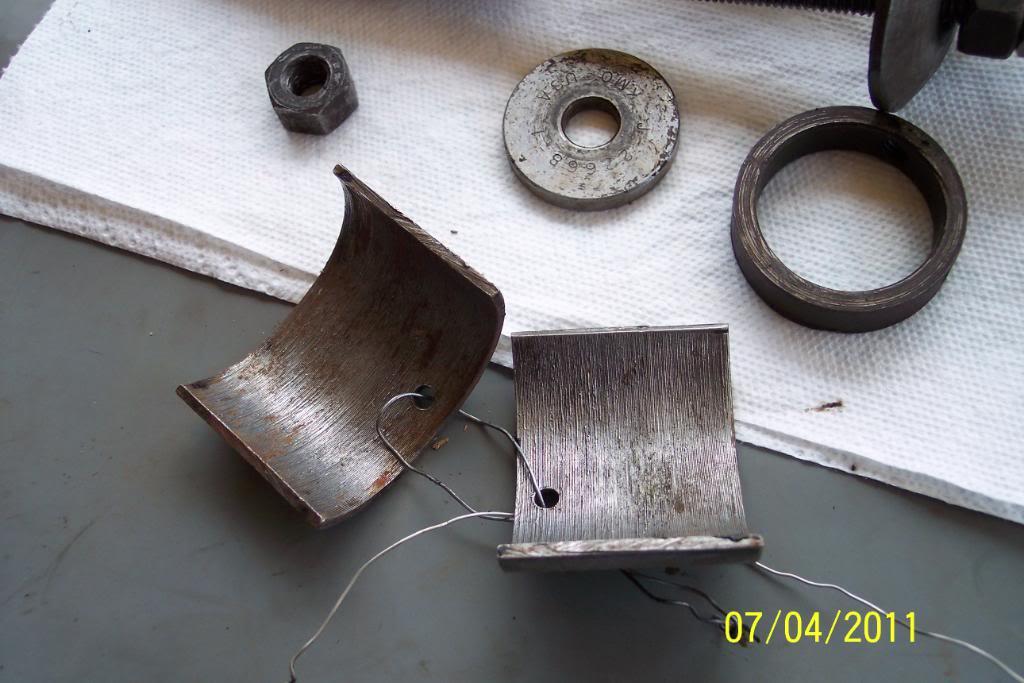
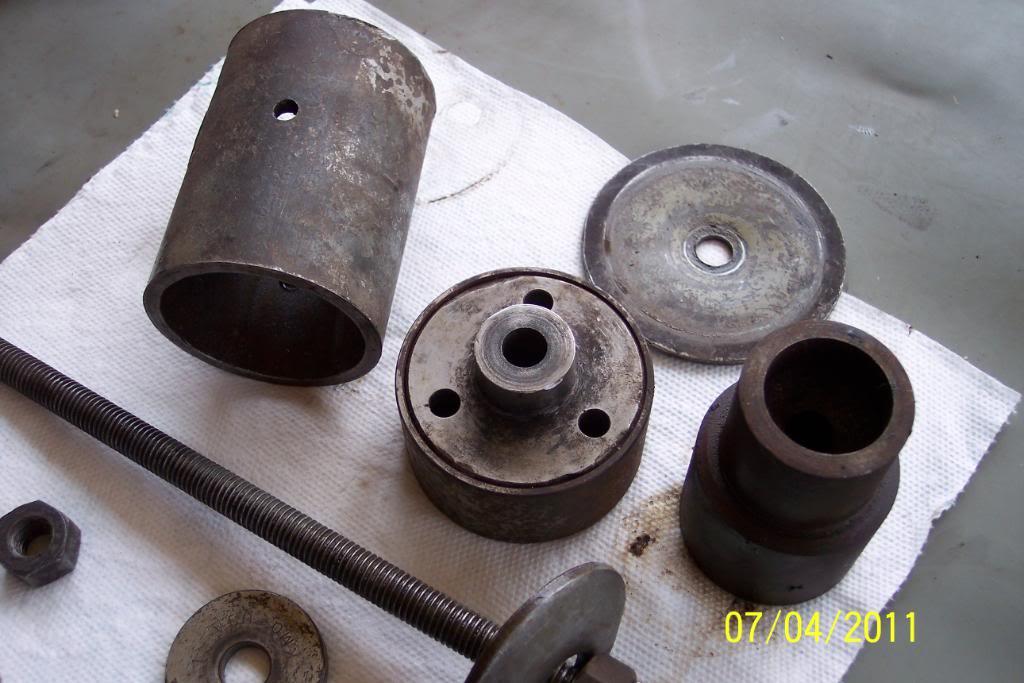
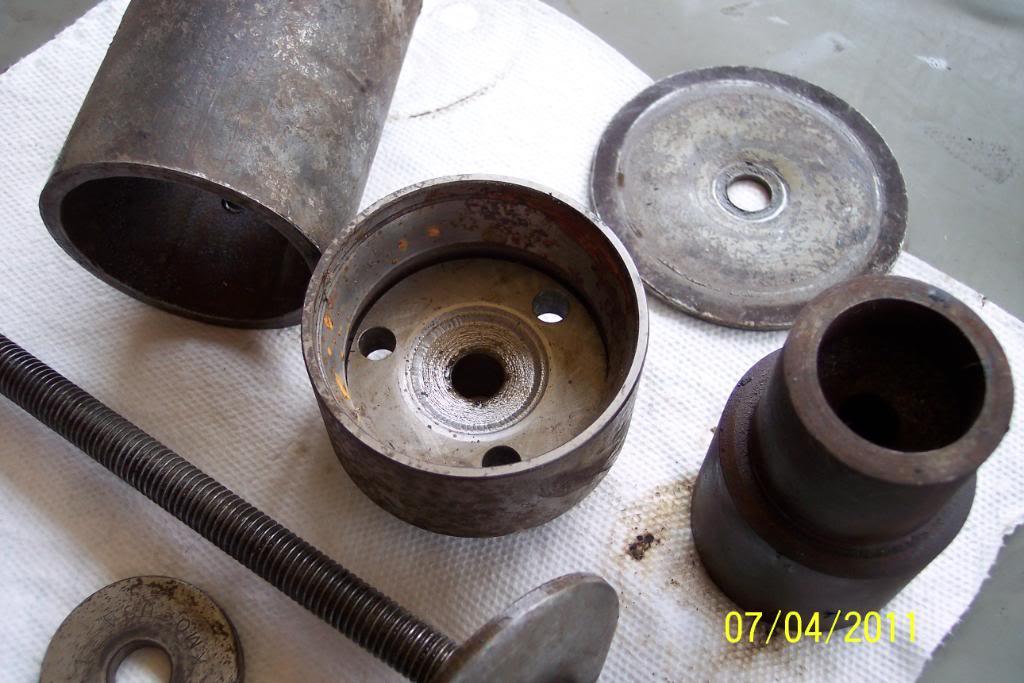
And these two items, along with my homemade 20 ton press with a 40 ton sized frame, presses out the small bushings in the LTA, on the LTA's small end.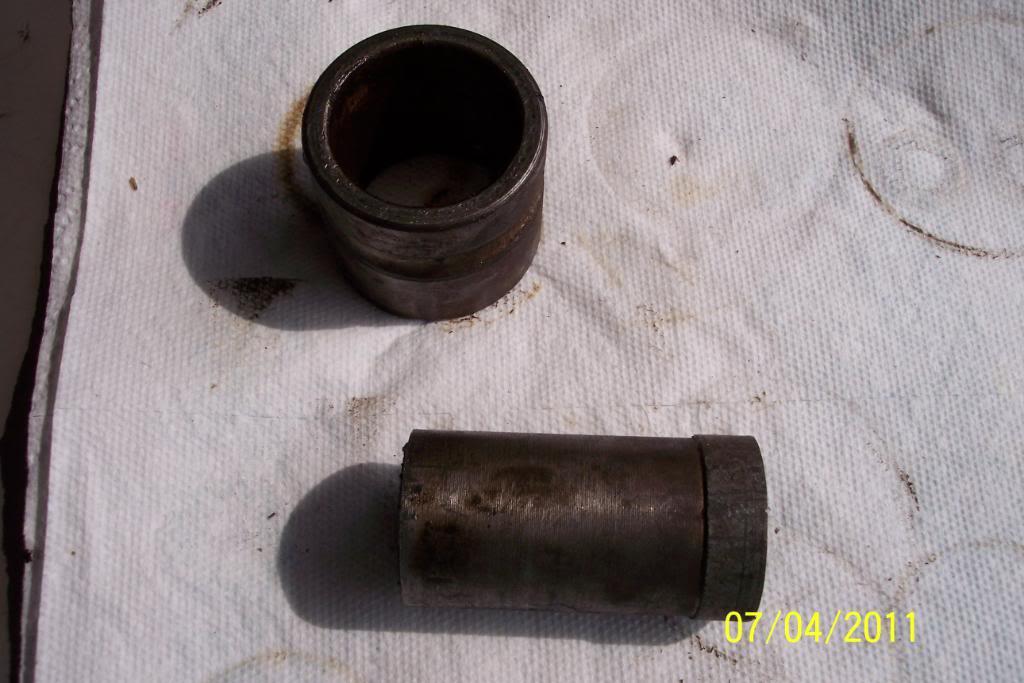
I save any type of round steel or aluminum, brass part, as it's nice to have things to make specialty tools from and it usually comes in handy, & saves a lot of time hunting things that'll lend themselves, when it's time to make a tool.
Pic of how I used the jackstands to support diif & help keep in alignment , enable me to remove both at once, & to help ensure re -installing the LTA will be relatively easy.
Probably overkill, but I'd rahter do too much than not enough & wish I had,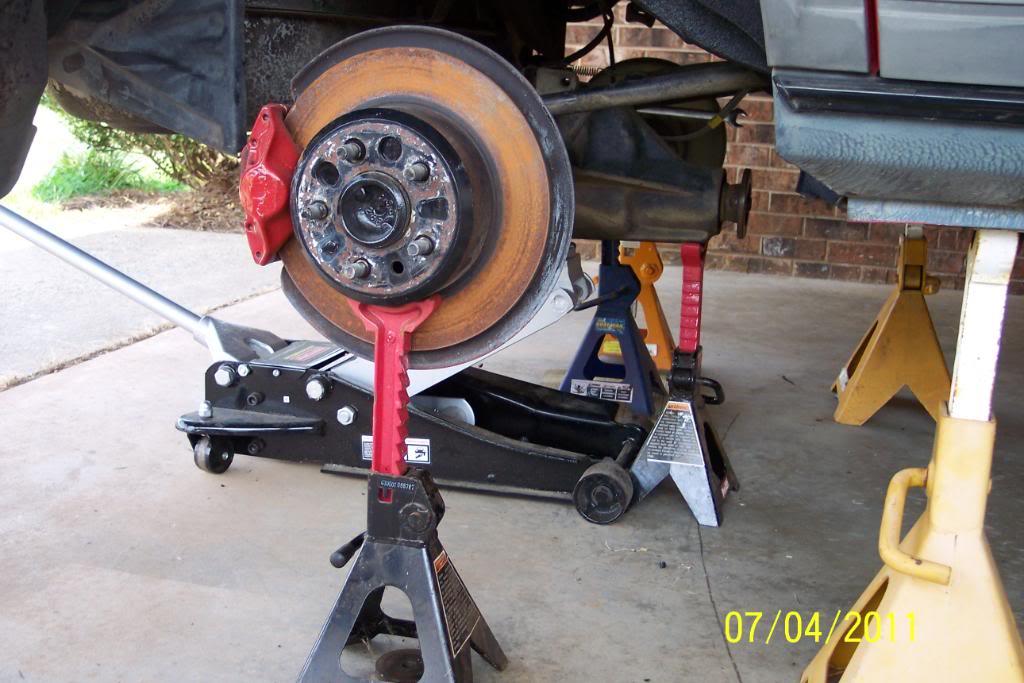
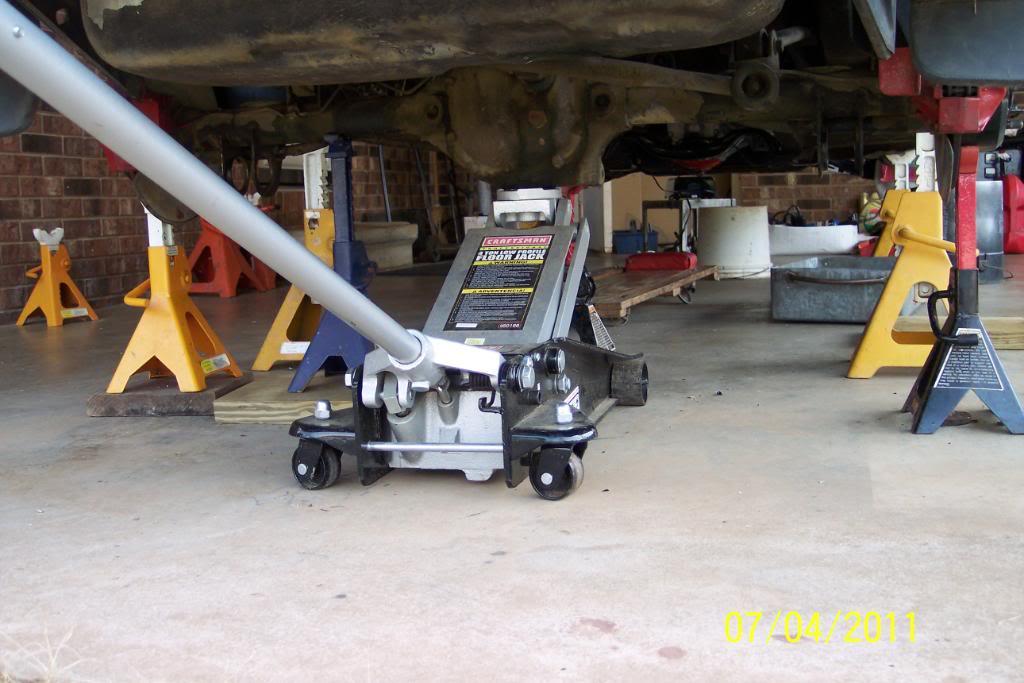
7/6/11
Well guess what! Spray Can Undercoating is hard to get off your hands & out of your hair.
Did this.............colorful huh? LOL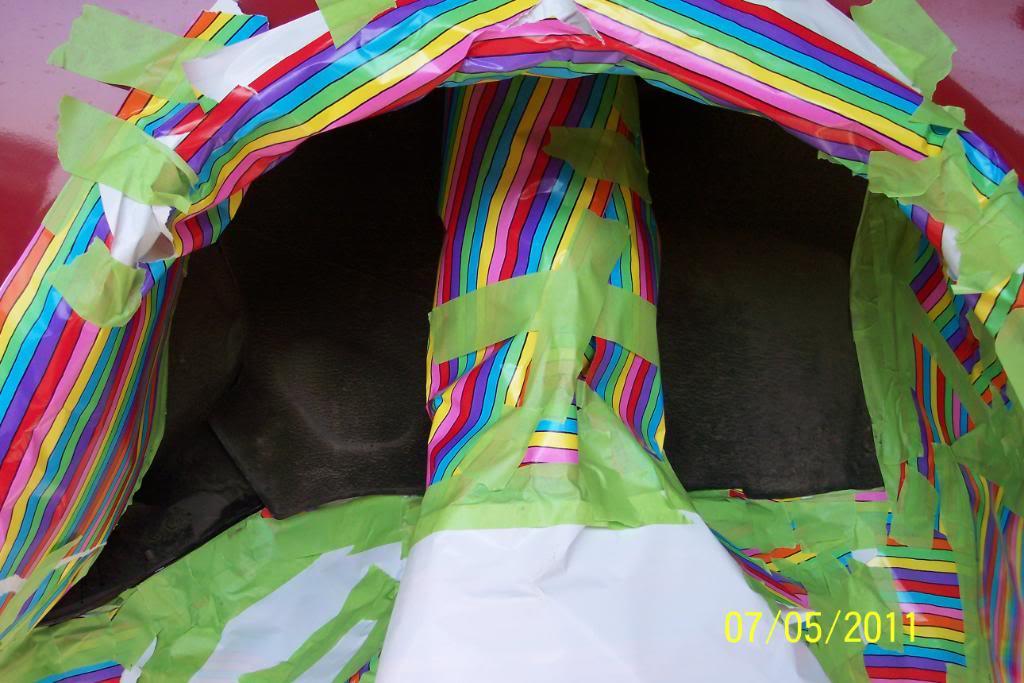
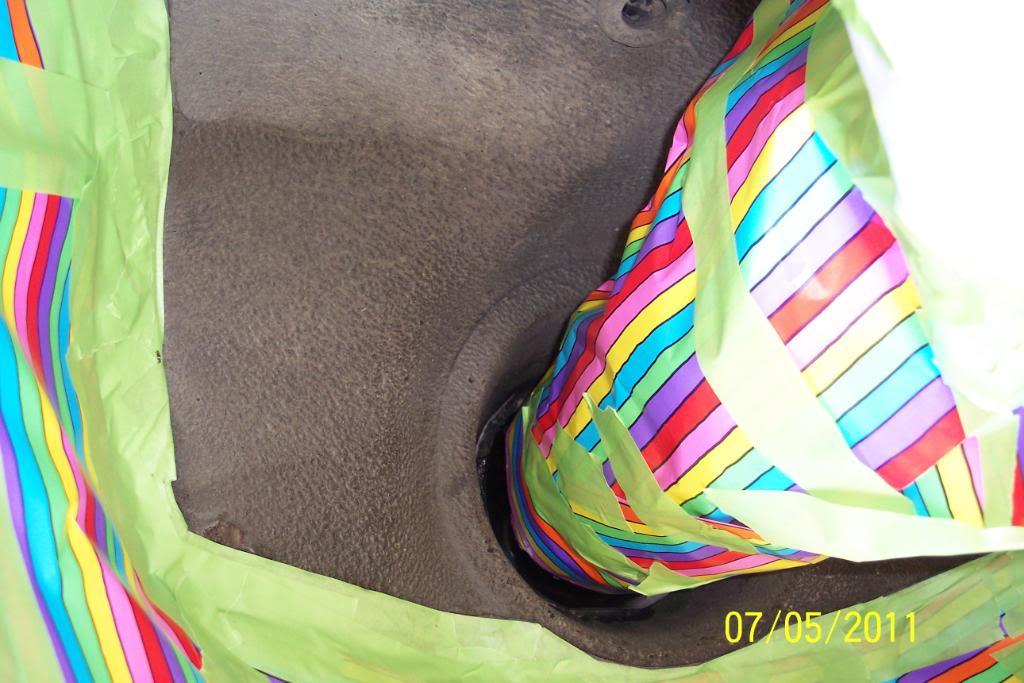
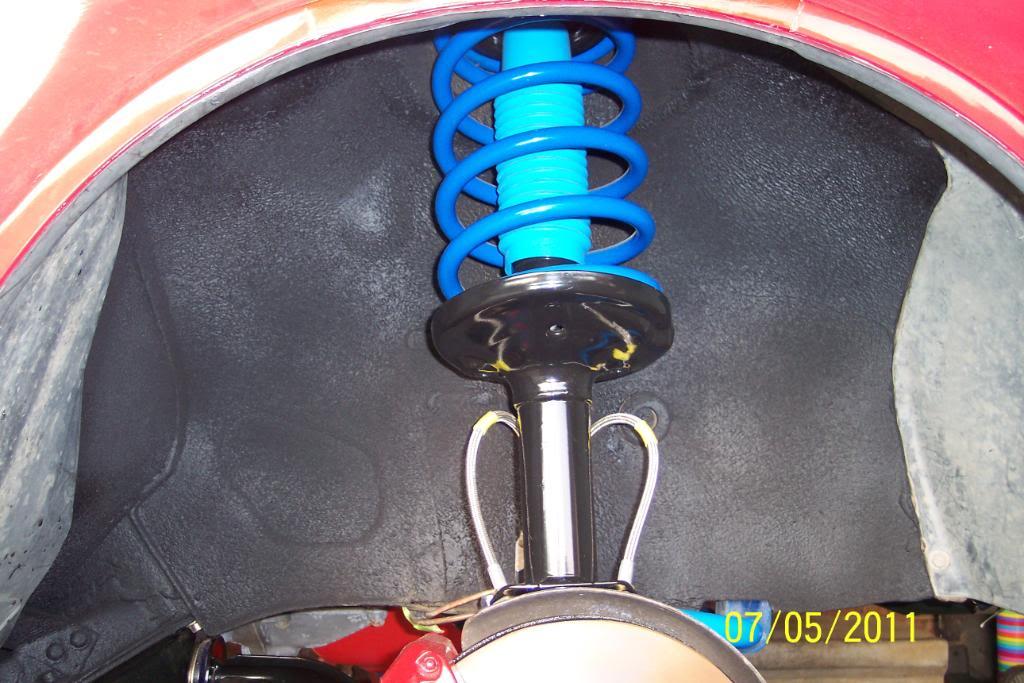
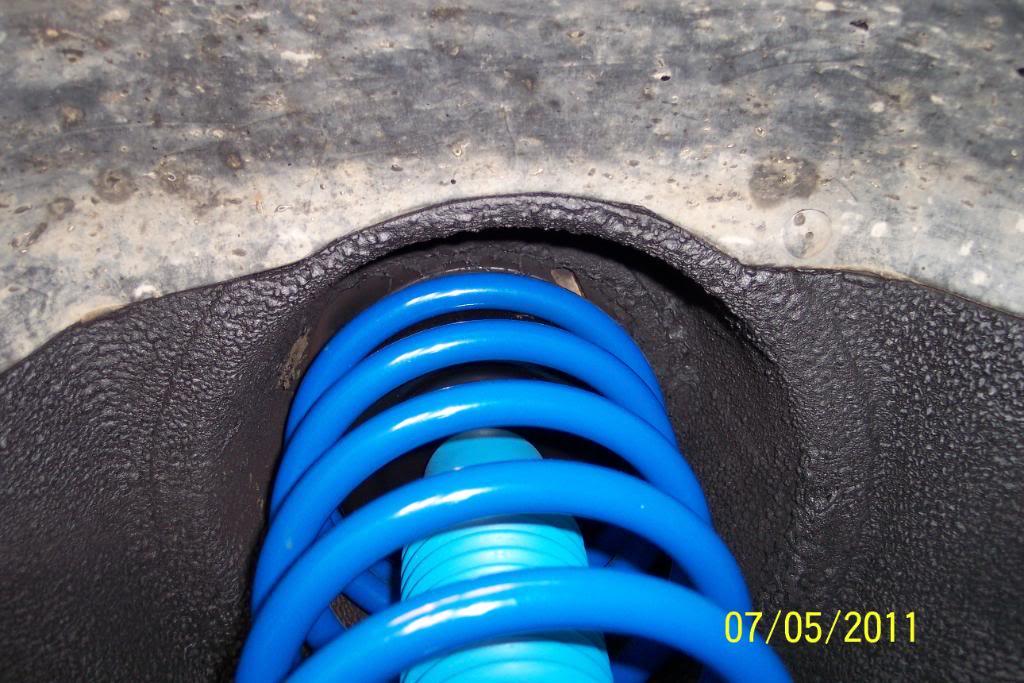
rear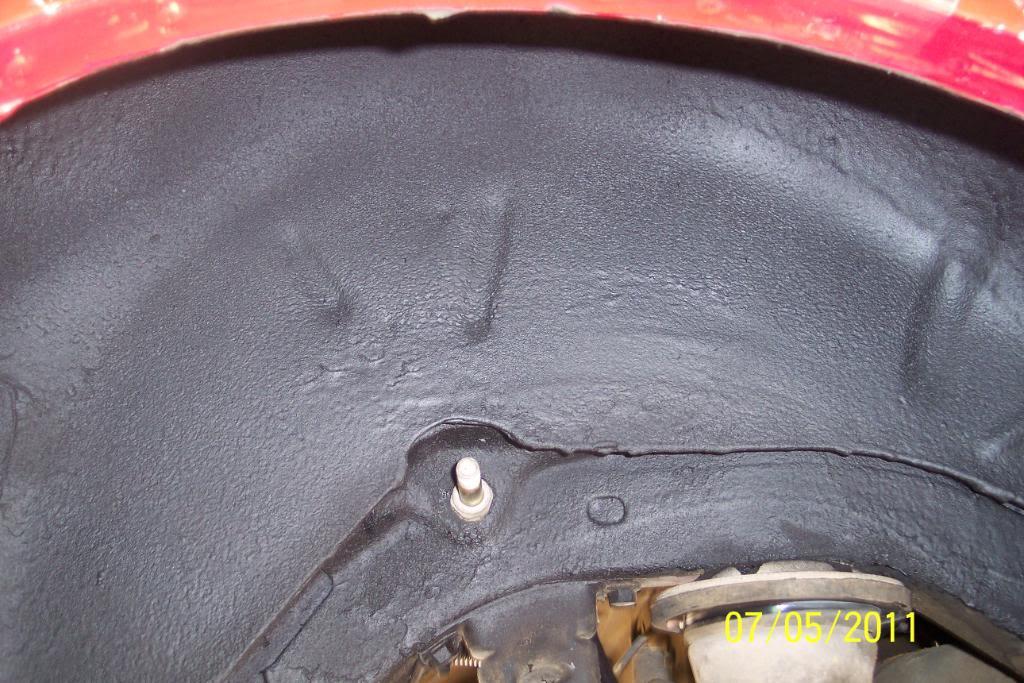
Gasoline tank & rear axle is now undercoated. Next the floorpan..........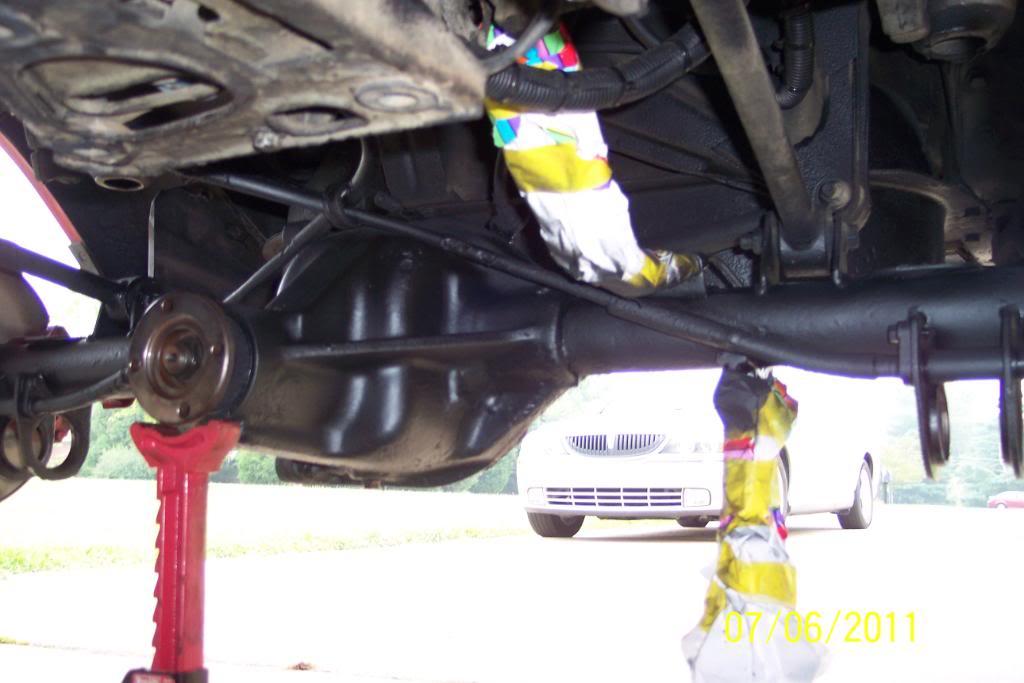
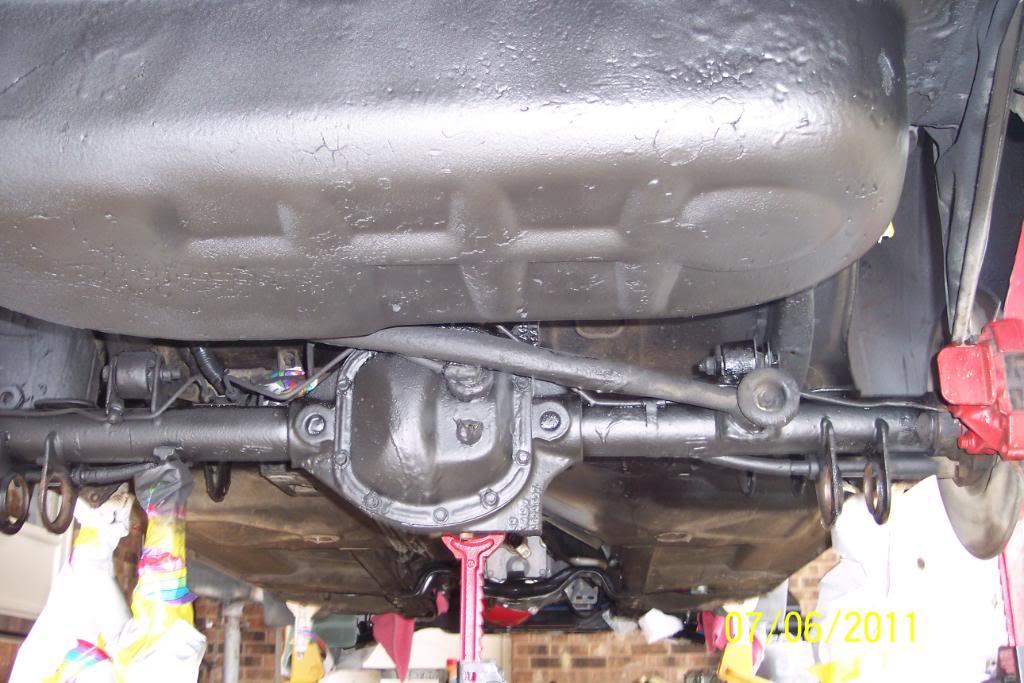
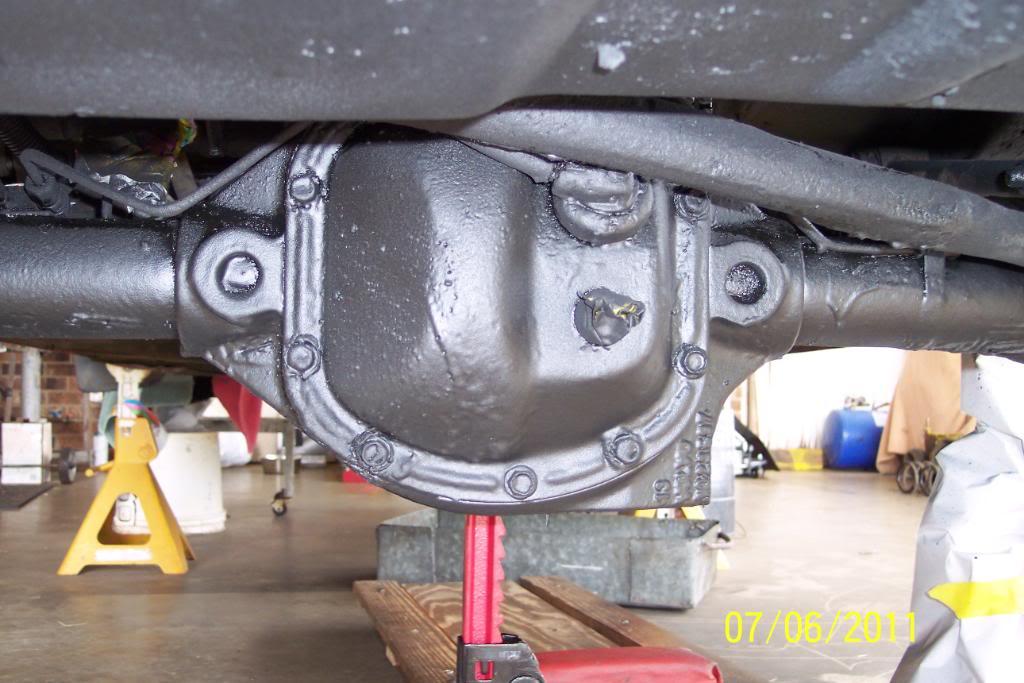
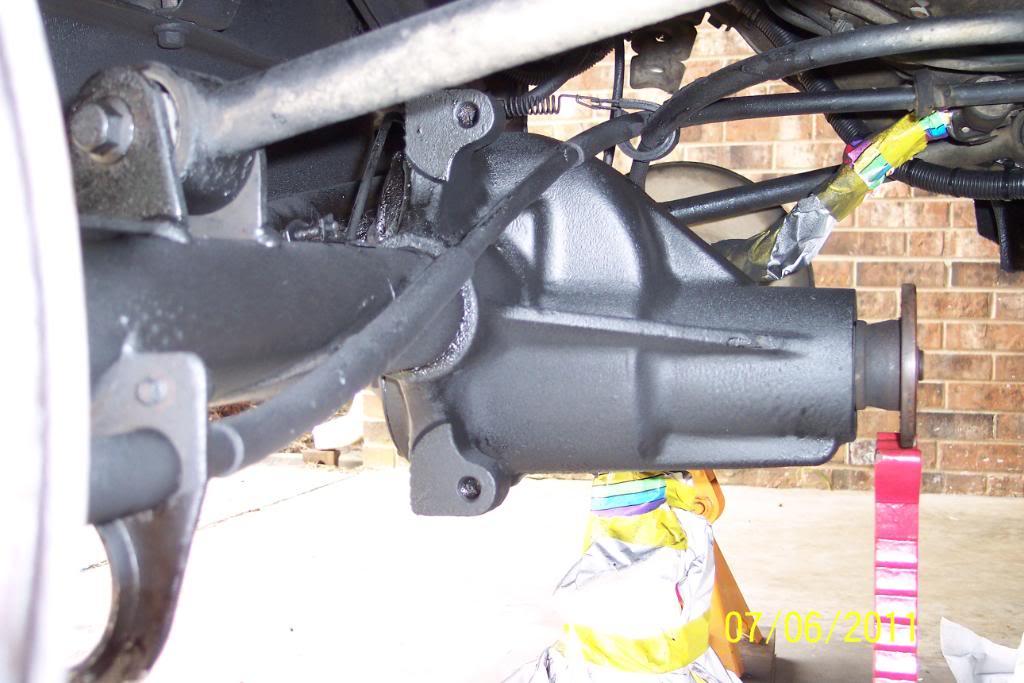
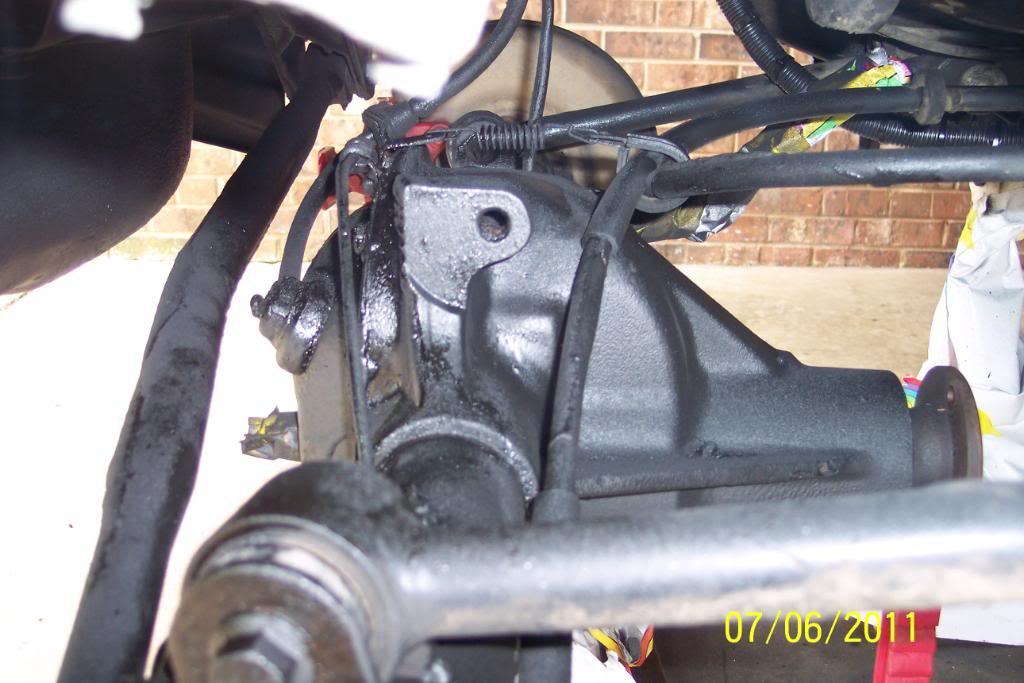
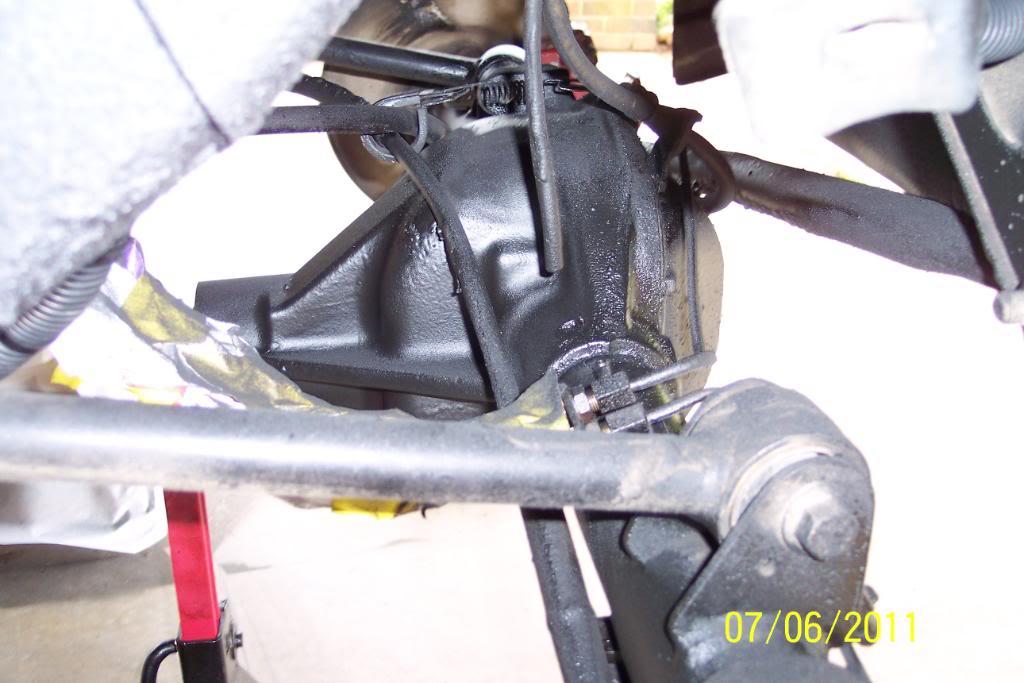
And by the way, I discovered, then uncovered, then recovered the OEM Volvo proof on the diff ratio.........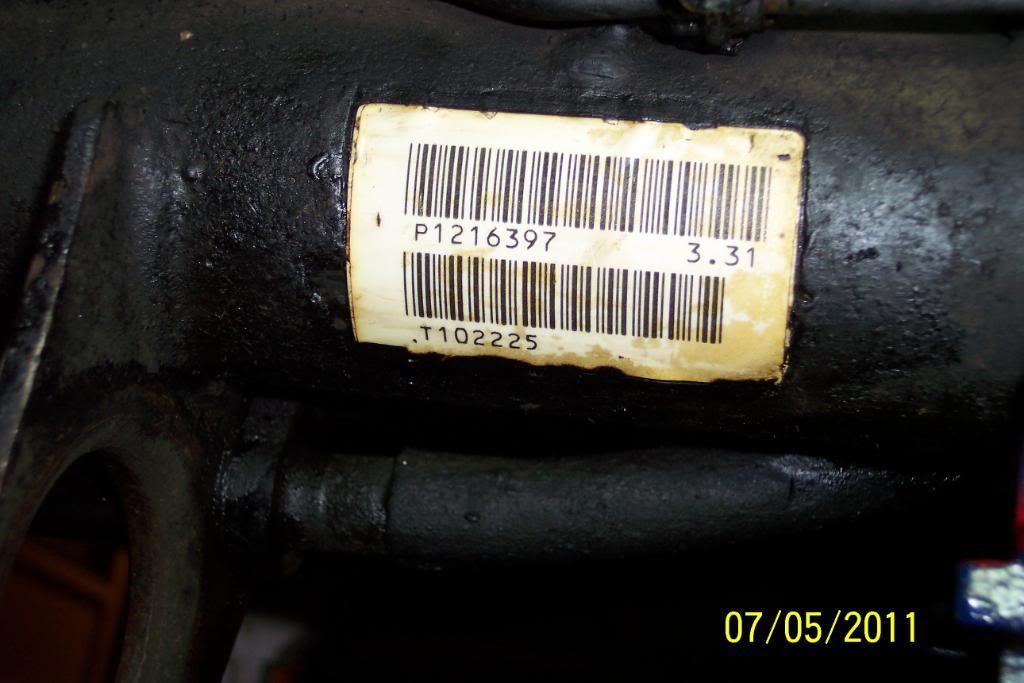
I wouldn't build a hi perf turbo engine unless it was from the ground up with the right/good stuff.
I was gonna build one for the 242, but sold the car. It'd only make me get myself in trouble anyway
Plus I decided I'd rather spend it on something else. I just want a clean, good handling n/a daily driver with maybe 25 hp more than stock. I am planning to be driving this 244 for quite sometime. So I want to do "rust prevention" steps so it'll stay solid.
Turbo is cool, but I'm better off without one most likely.
7/7/11
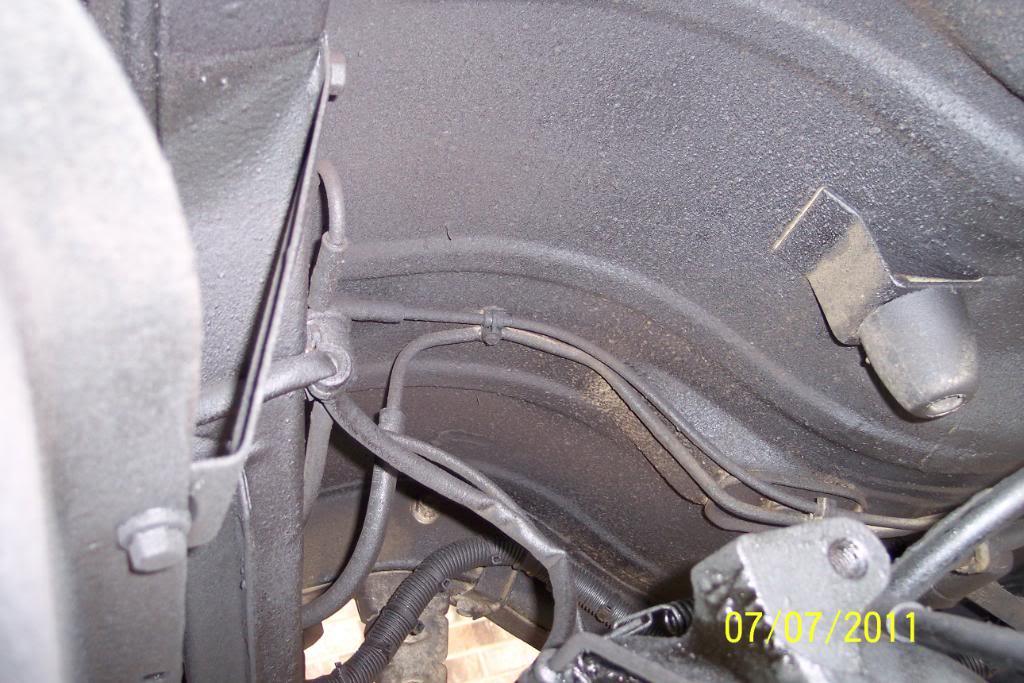
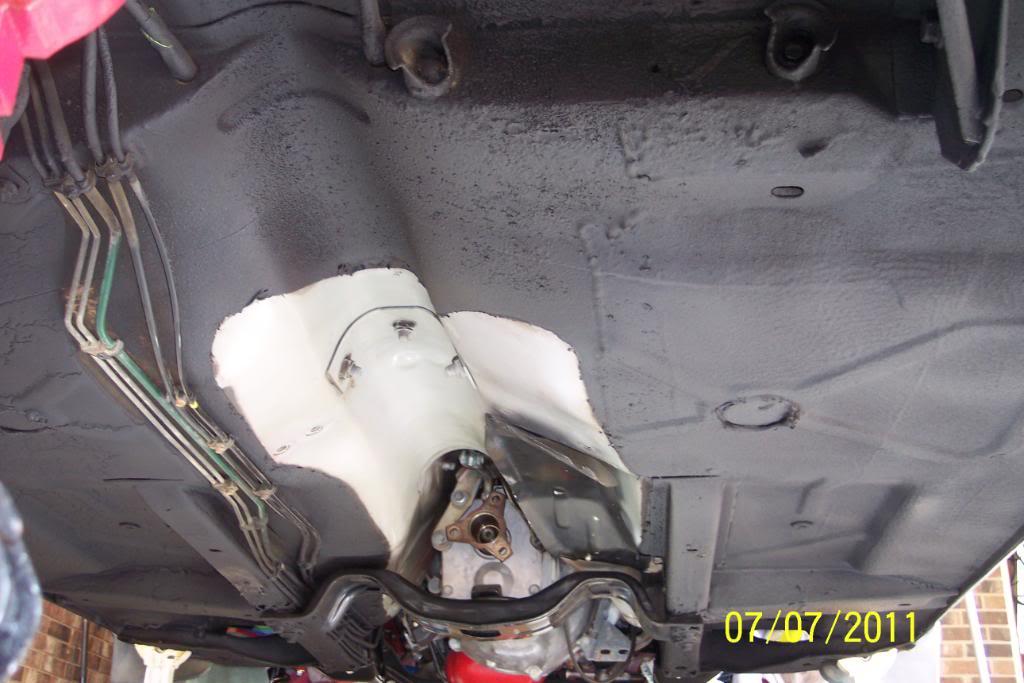
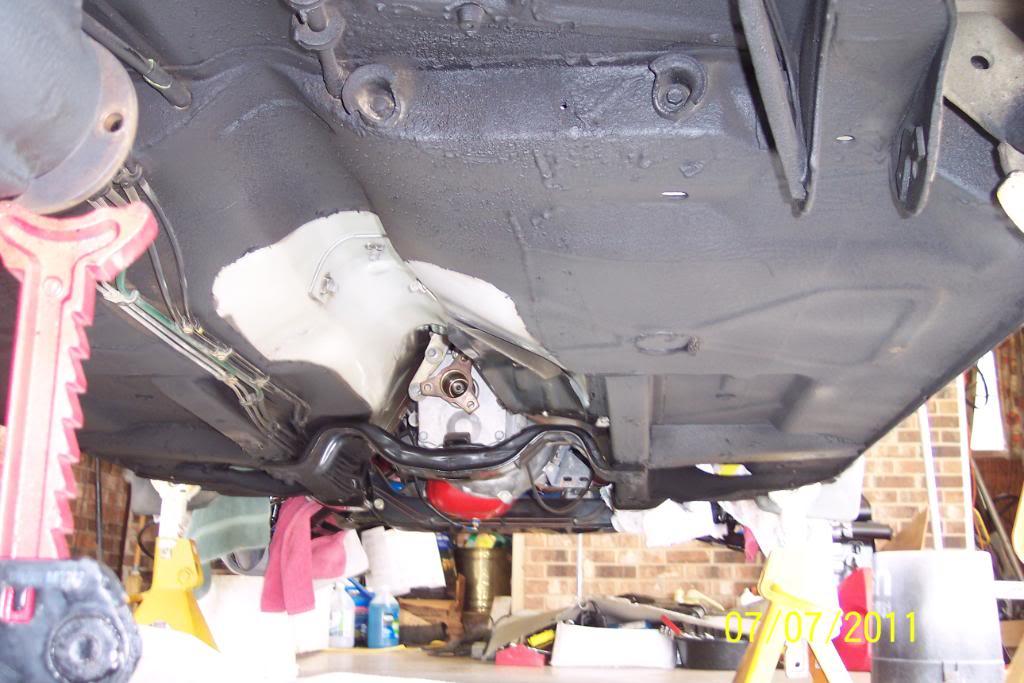
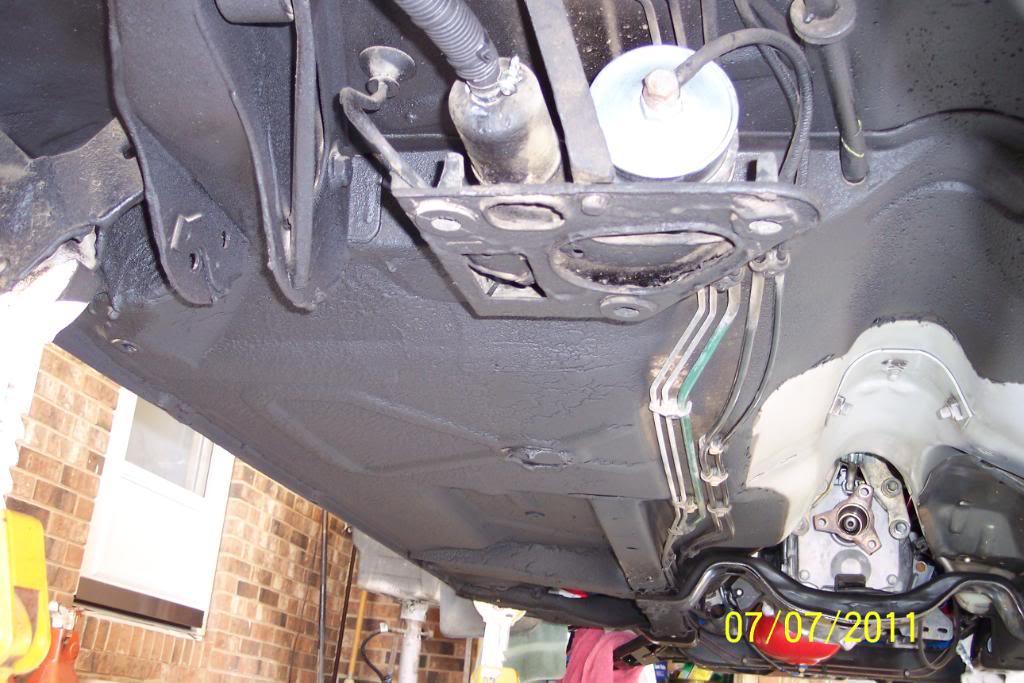
OK, got the floorpan undercoated. Took a lot of masking paper & tape. And a bit of clean up afterwards. But it is finished for the most part.
it was still pretty well undercoated as it was to start with, but I think the added undercoating will help protect the original undercoating and add a measure of rust protection, plus it does look much cleaner now, which is always a good thing.
So now the car is as clean & neat on the bottom as it is everywhere else. YES!
Pics below: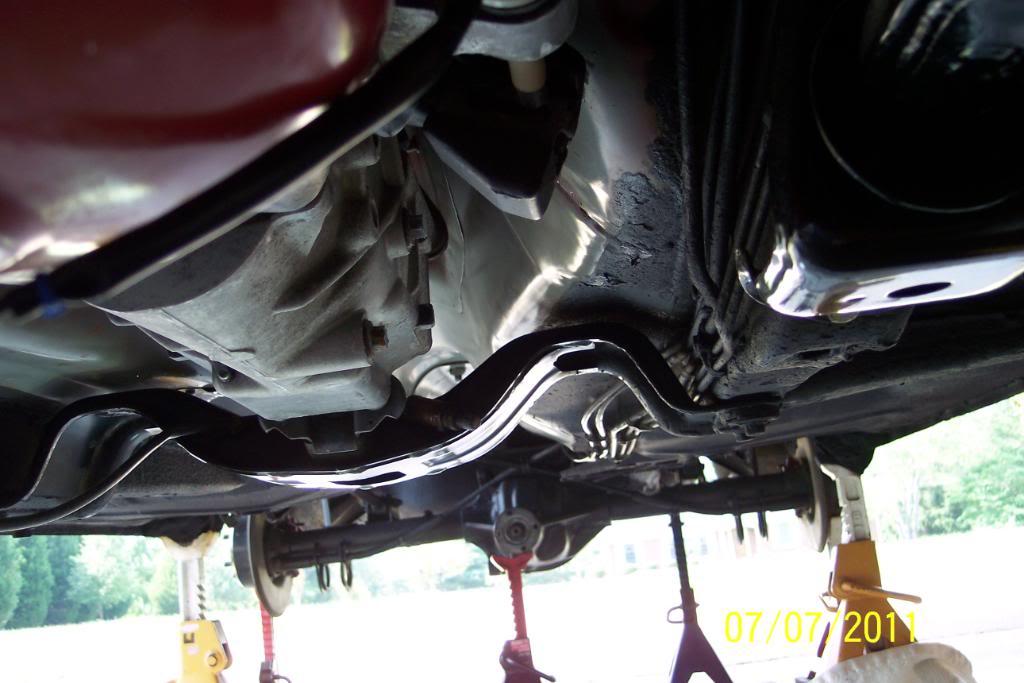
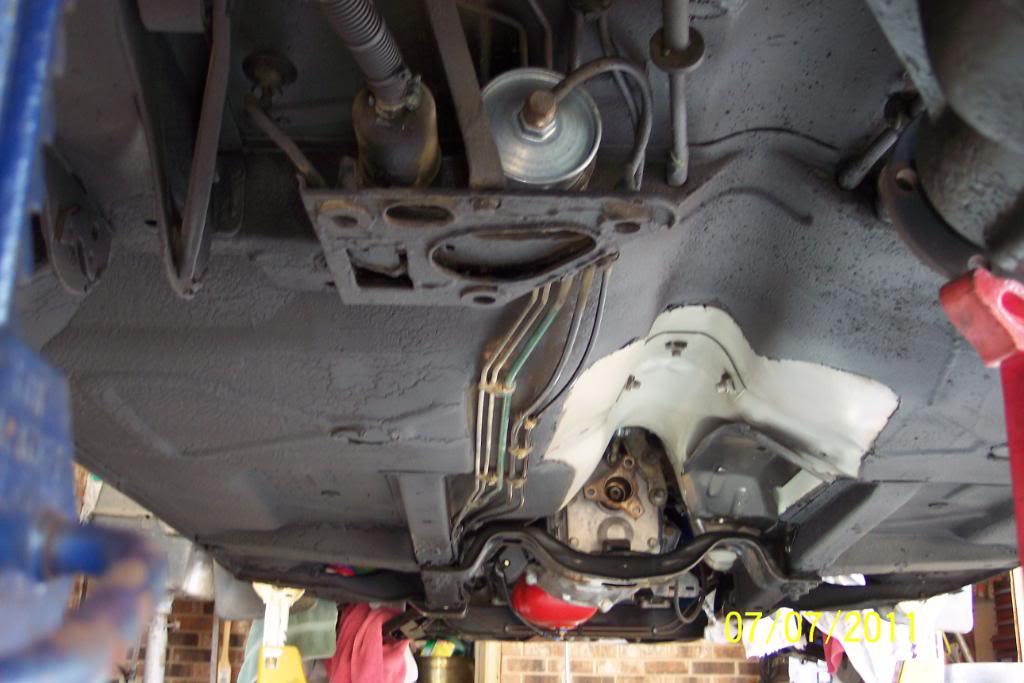
7/8/11
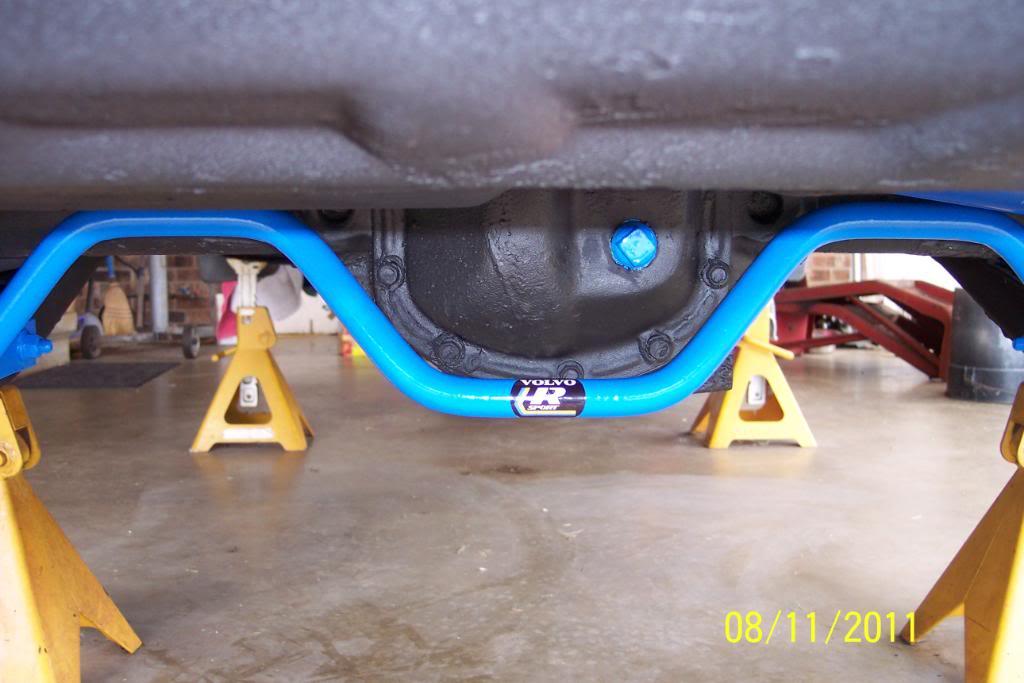
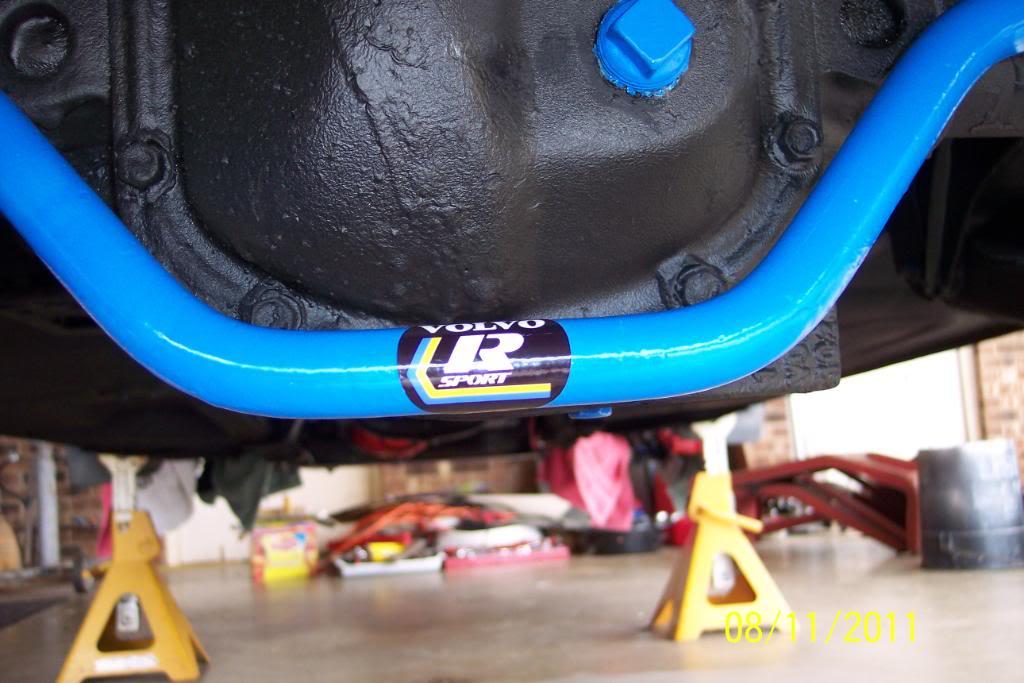
And I finally got around to doing what I call detail freak's details...or as Homer puts it, "Gawdy Blue" accents on the diff's drain & fill plugs.
I just didn't want them to rust further, and I hate to get the undercoating in my sockets and/or wrenches, so I painted them blue.
I like the fact that they are easily visible now too. I told ya'll I'm a detail freak. Ya'll believe me now??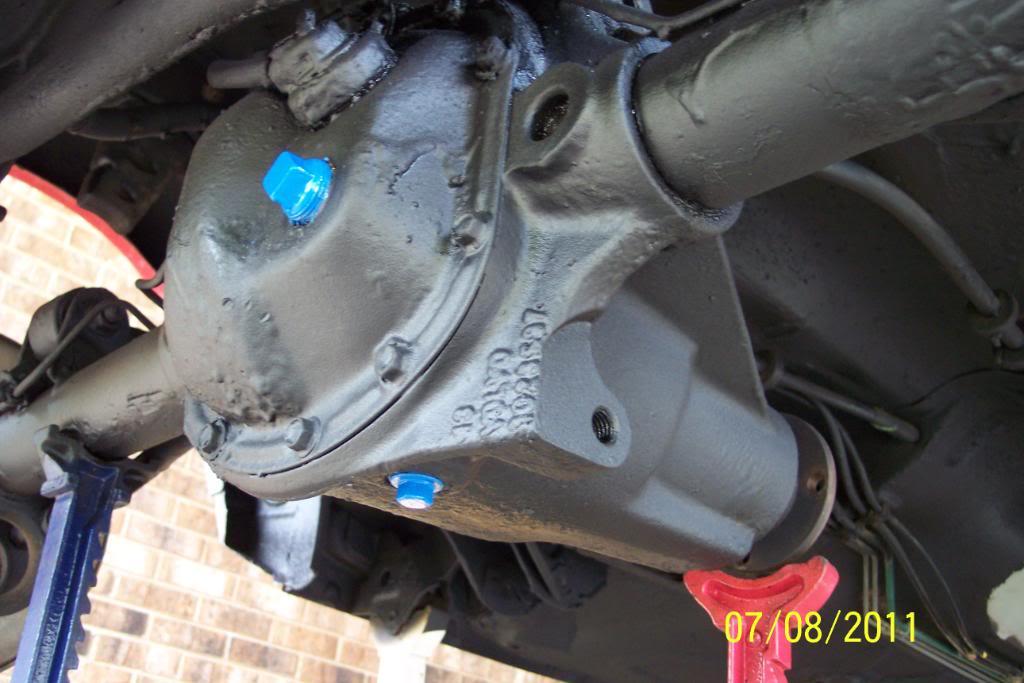
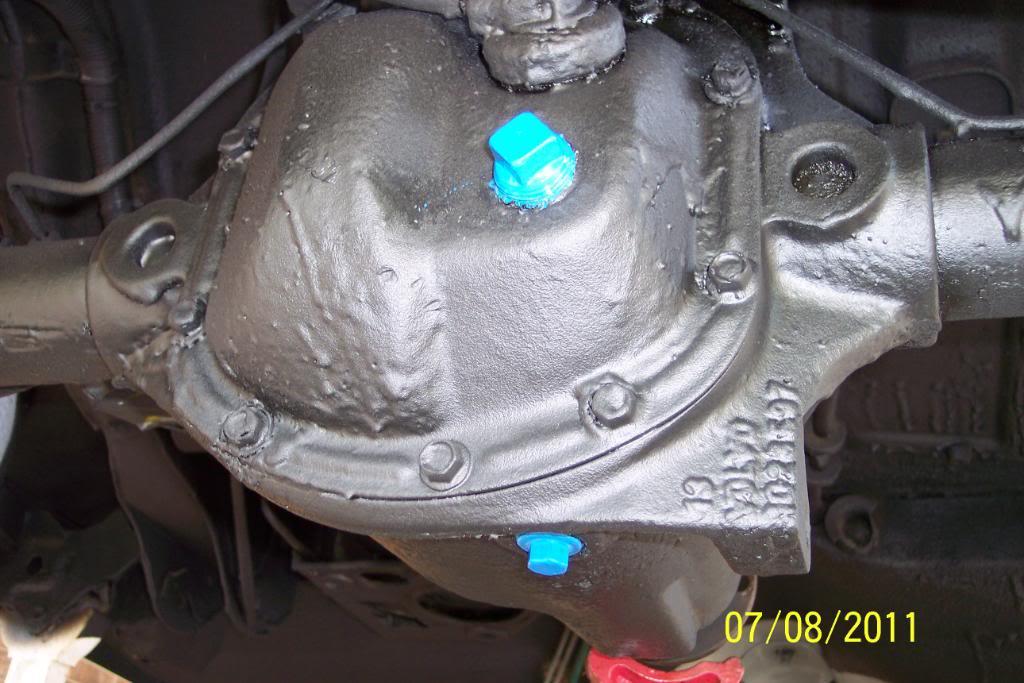
7/15/11
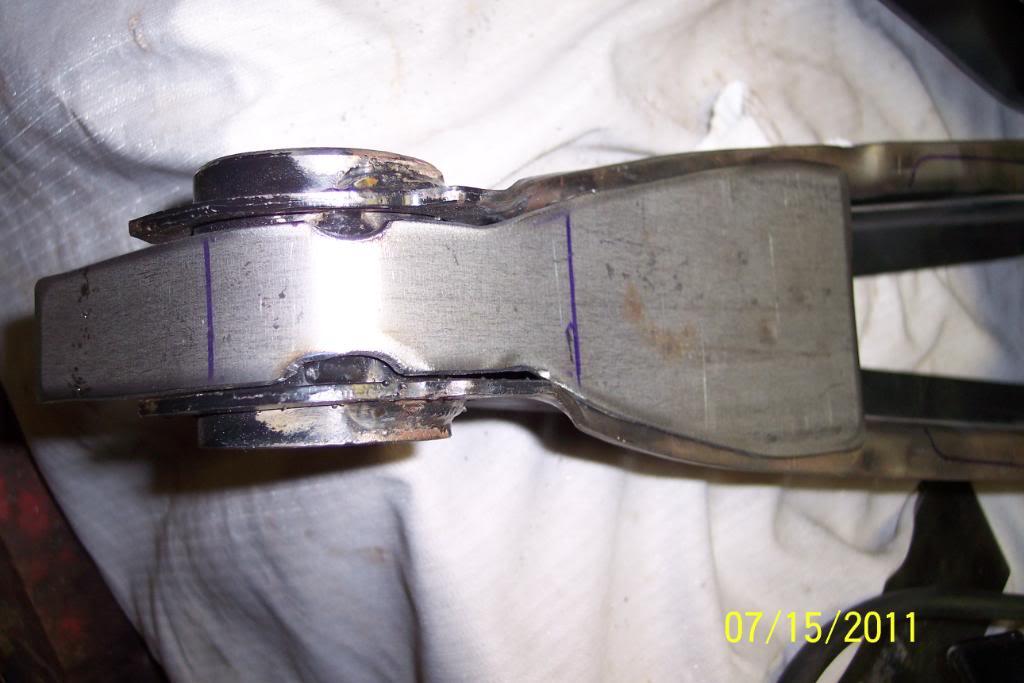
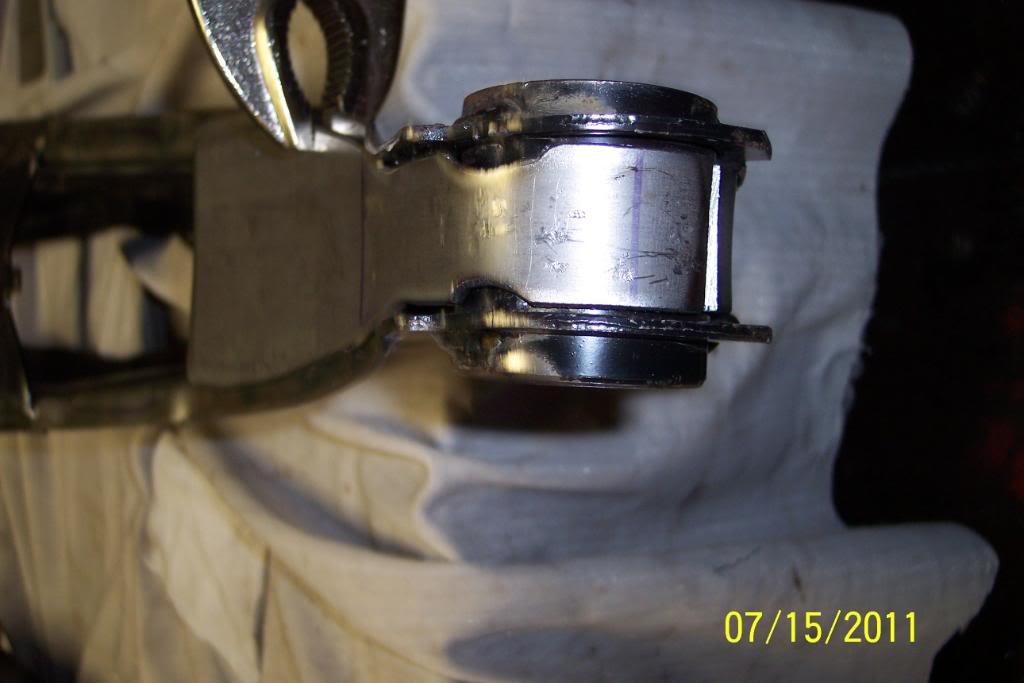
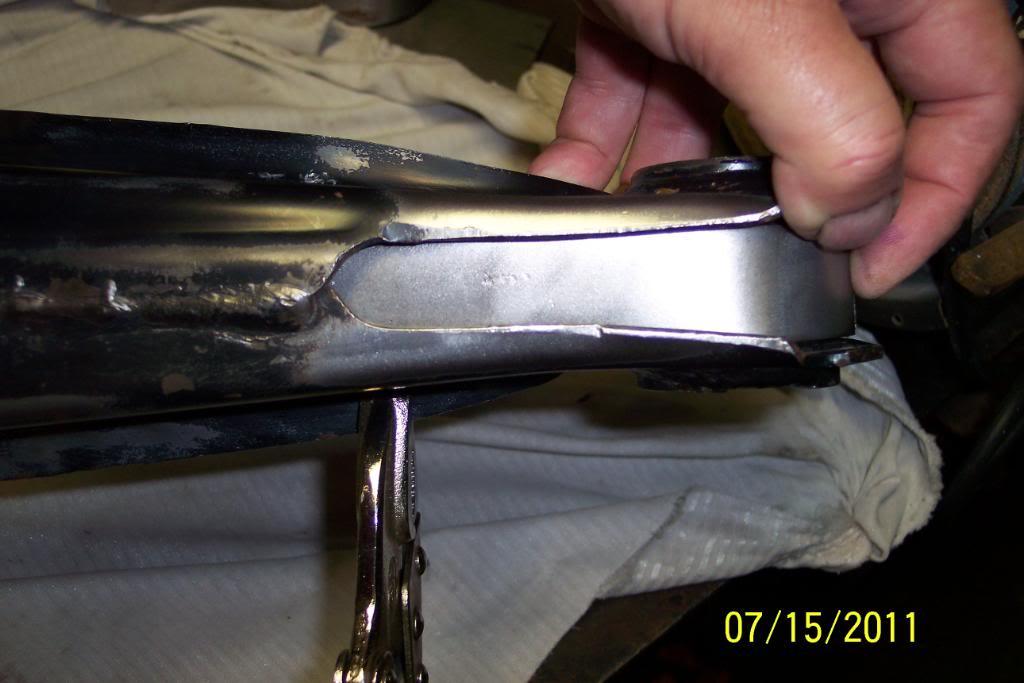
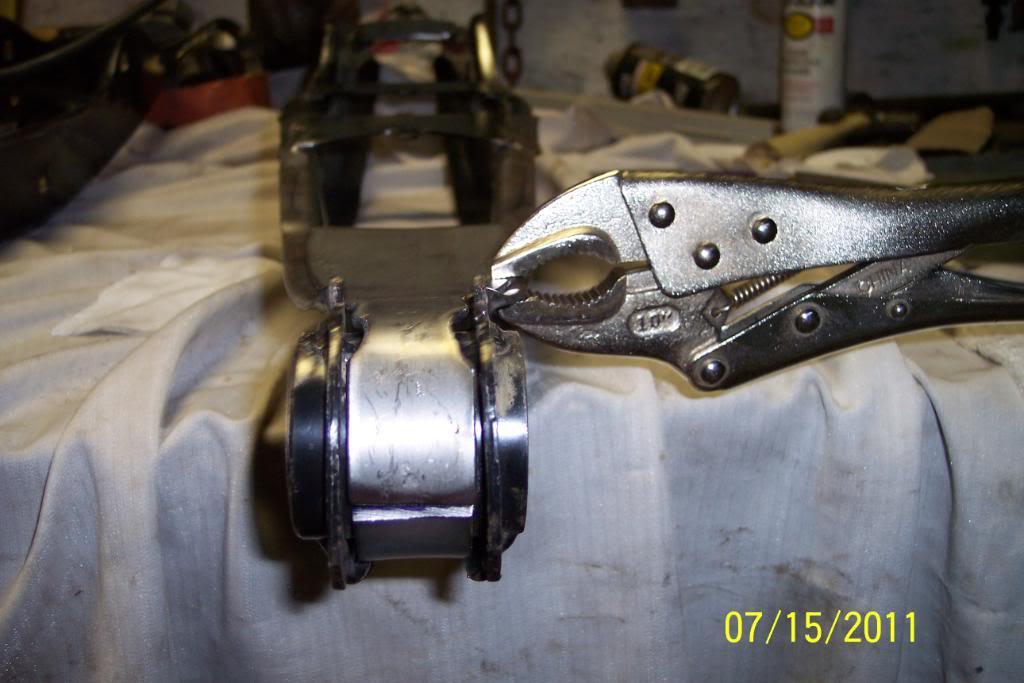
Got the LTA bracing plates cut. Both LTAs are at the welders as I type. hopefully get 'em back tomorrow. Painting & undercoating them is next.
I decided to brace them as shown in pics below:
The top will be braced like this......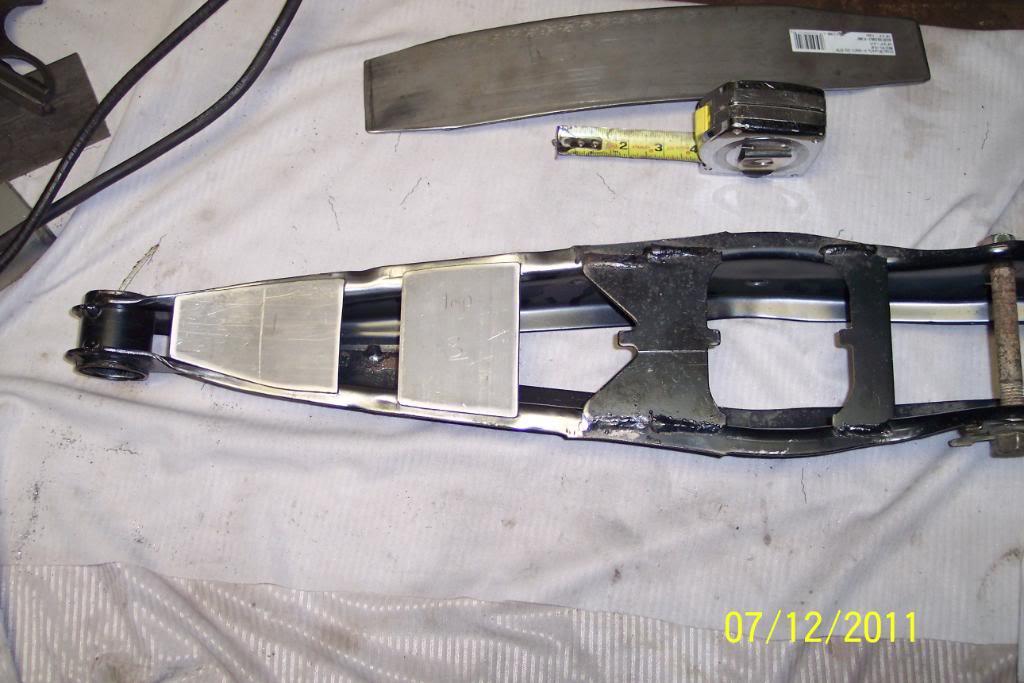
Close up of "small end" bracing......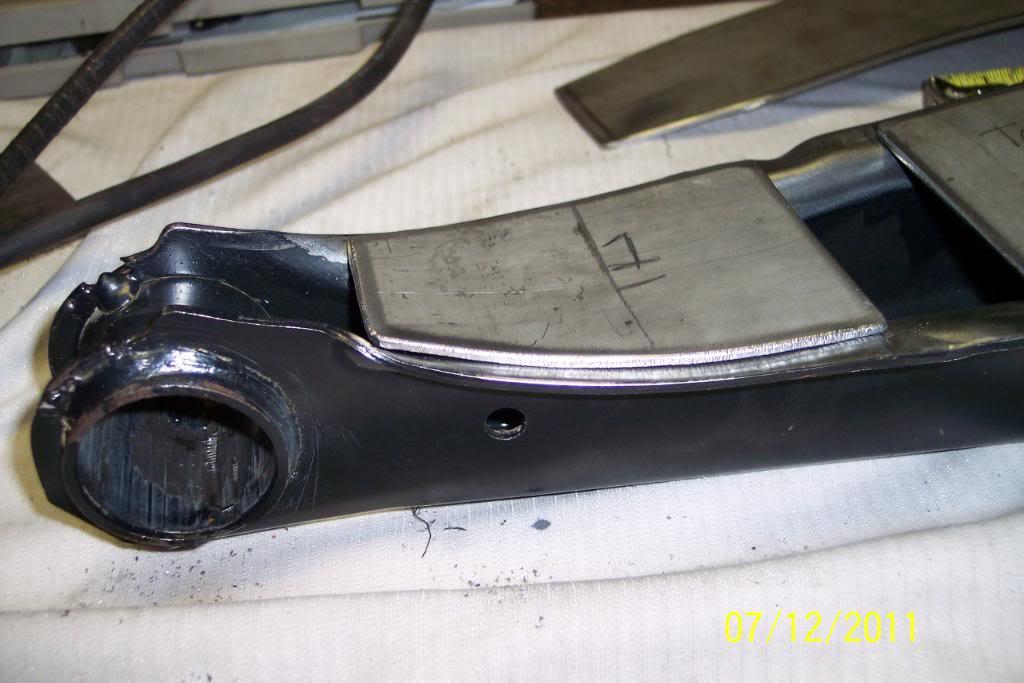
On the bottom of the small end I'm going with this.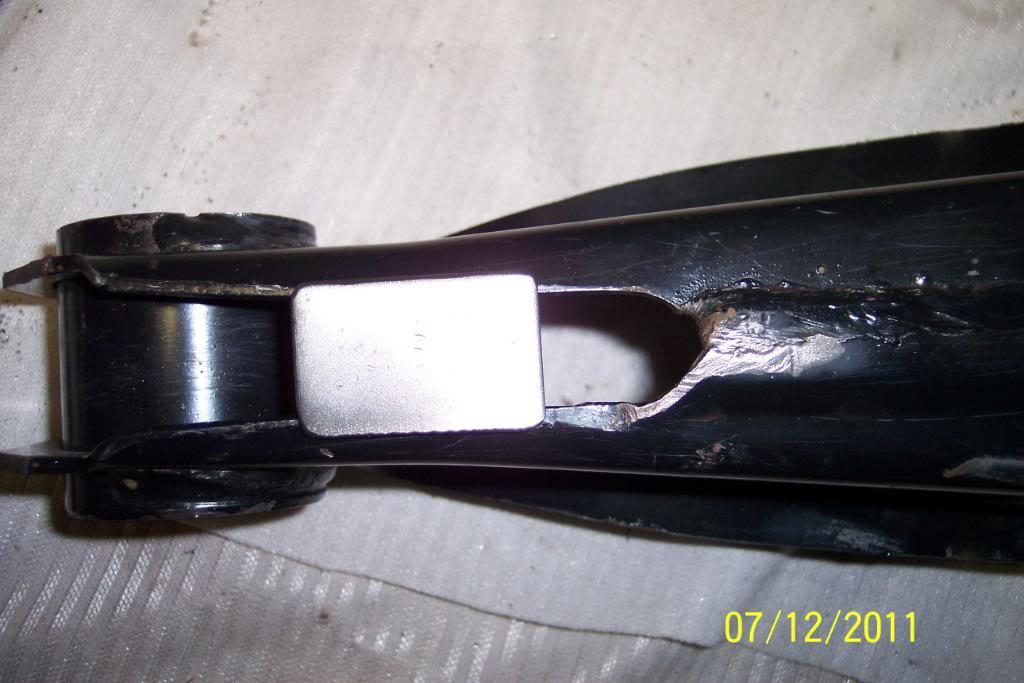
And the bottom will be 'full length" braced. I'll drill a weep hole in the lowest spot to drain any water than gets inside the LTAs, when I get them back from the welder.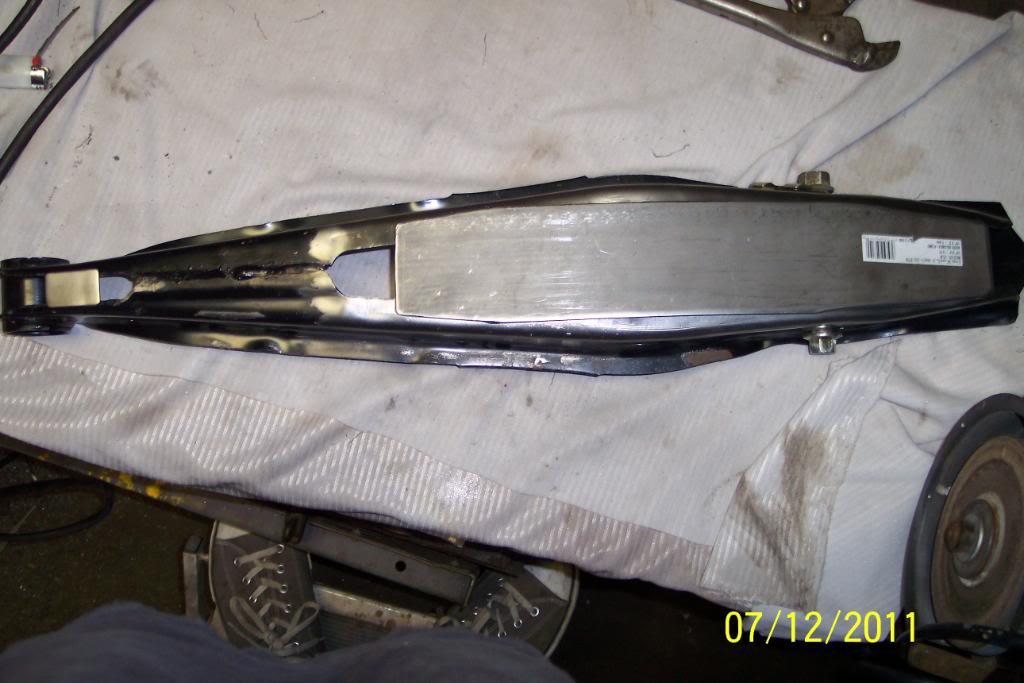
OK, I re thought my bracing due to recommendation from John V. I went & pick the LTAs back from the welder. luckily he had not welded any braces on yet. Shoulda seen the 51 Chevy that was there. HOT ROD mag car for sure...
NOW...back to the build.........I remade the 1st top side & bottom side brace on small end. Pics tell the story.....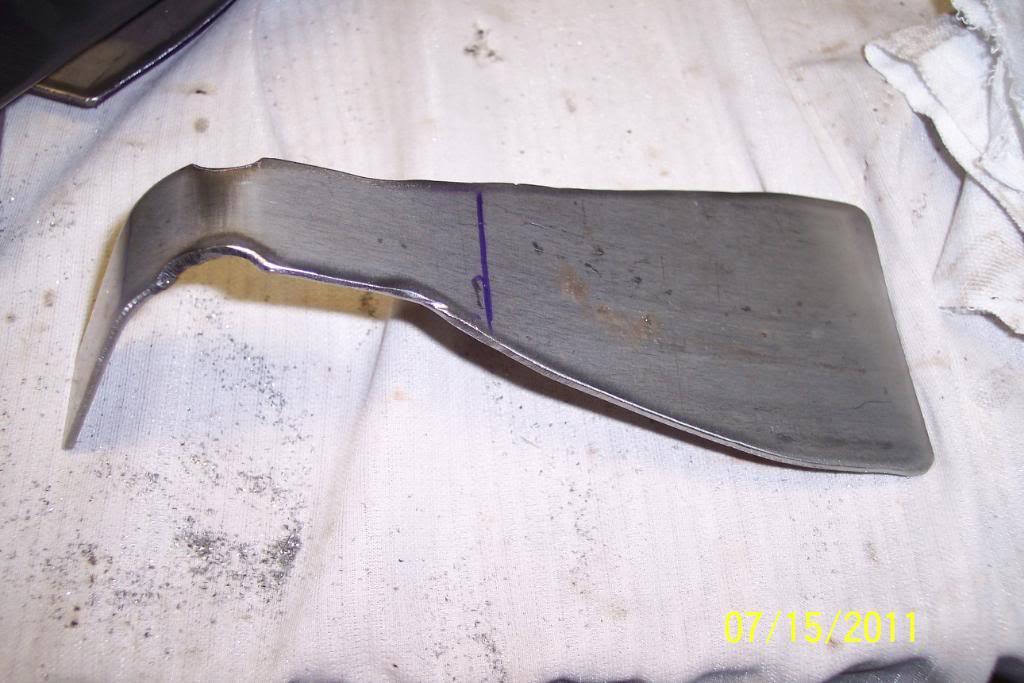

I received the Custom thread on knobs with the custom,OEM Volvo/M47 shift pattern today!
Naturally I had to immediately install my white custom knob onto the adapter I installed into the lever a while back.
After I installed it, I do believe I had a "flashback" all the way back to 1975 during my 1969 Chevelle SS 396 with Muncie M21 4 spd. and Hurst shifter days ,while sitting in my 240. ..............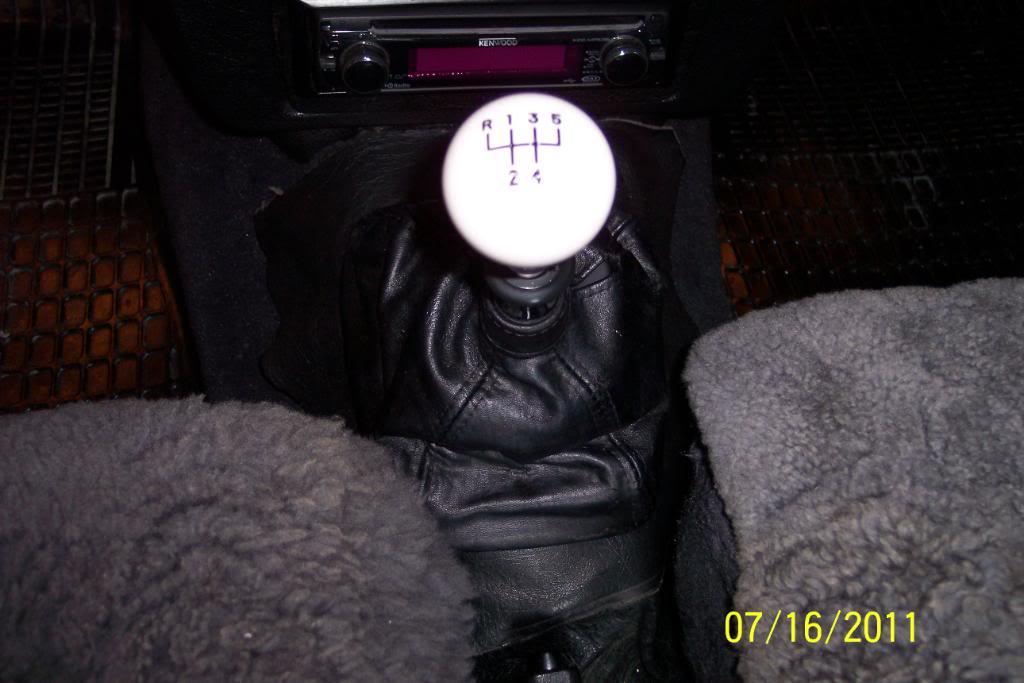
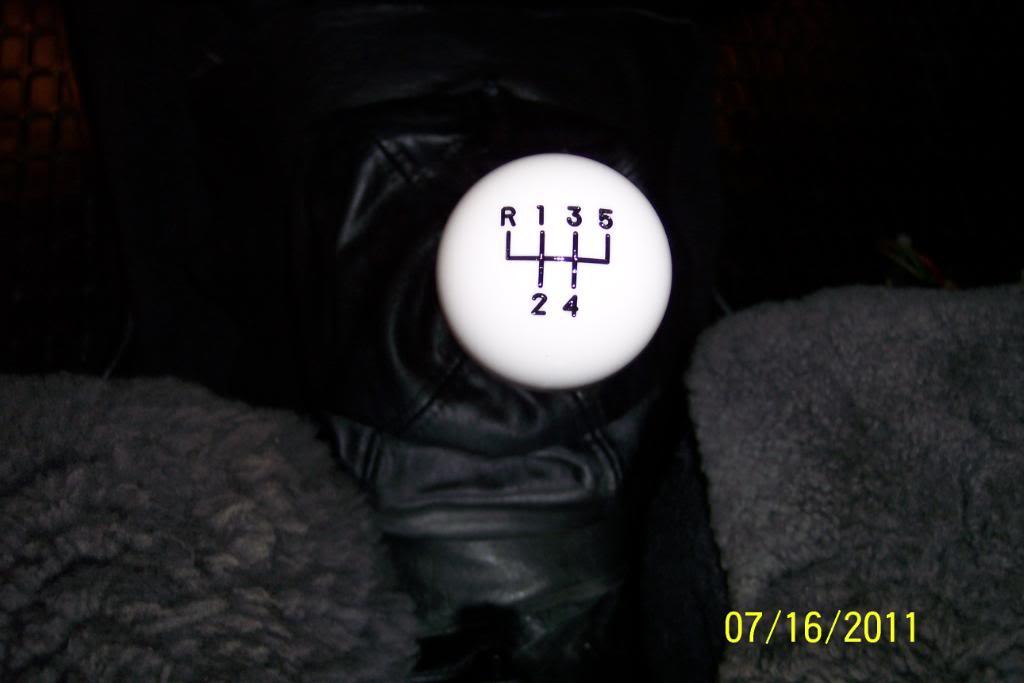
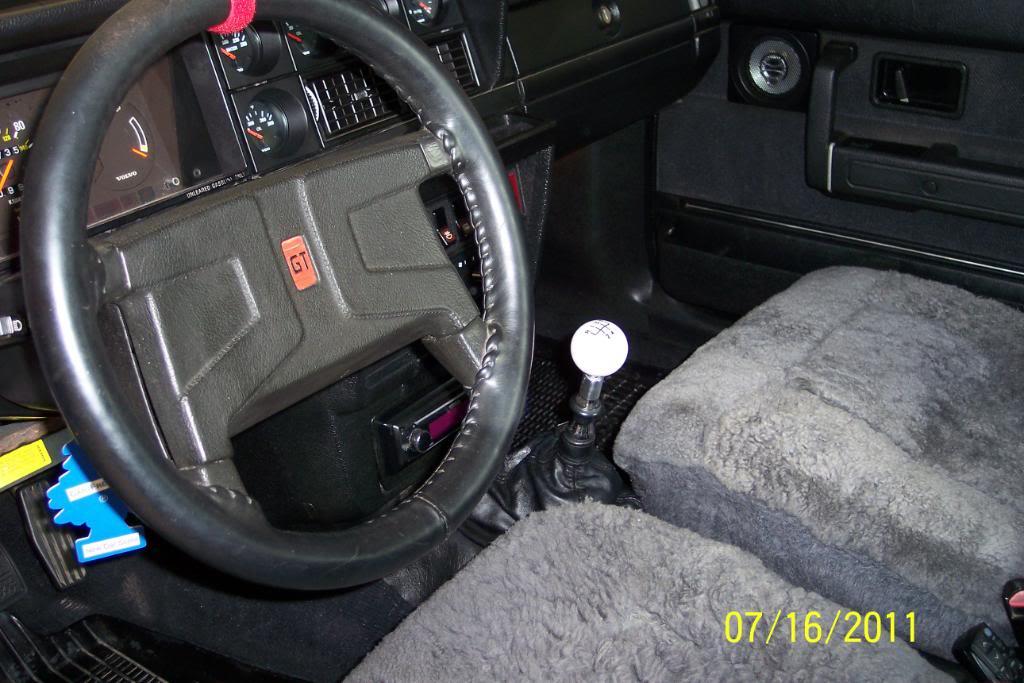
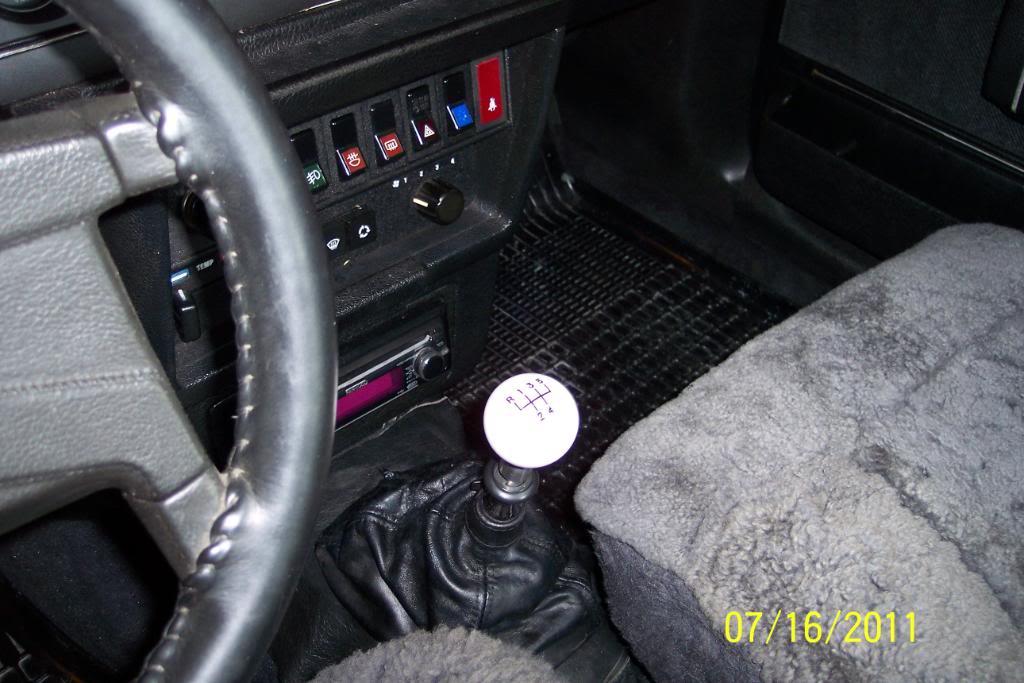
I received the Custom thread on knobs with the custom,OEM Volvo/M47 shift pattern today! Incidentily, they were made by Bruce Roosa of www.koolknobs.com.
Bruce Roosa is the man that made all of the custom made dash knobs & gearshift knob for the old & highly customized Cadillac Show Car "Cadzilla" .
It is owned by Billy Gibbons of ZZTop fame. He also makes them for a lot of Hot Rods and other show cars as well as custom knobs for many NHRA Drag racer's personal cars.
The quality & craftmanship of these shifter knobs is unsurpassed, and totally 1st Class! They all look Simply Impeccable!
Here is a pic of the other "Smokeyfan1000's Custom M47 Shift Pattern Shifter Knob Group Buy" shift knobs that some other Tbers ordered.
I highly recommend Bruce Roosa's work and anyone desiring a special, made to customer's specification, custom shifter knob should contact him at his website www.koolknobs.com
He will make you ANY KIND of shifter knob you want.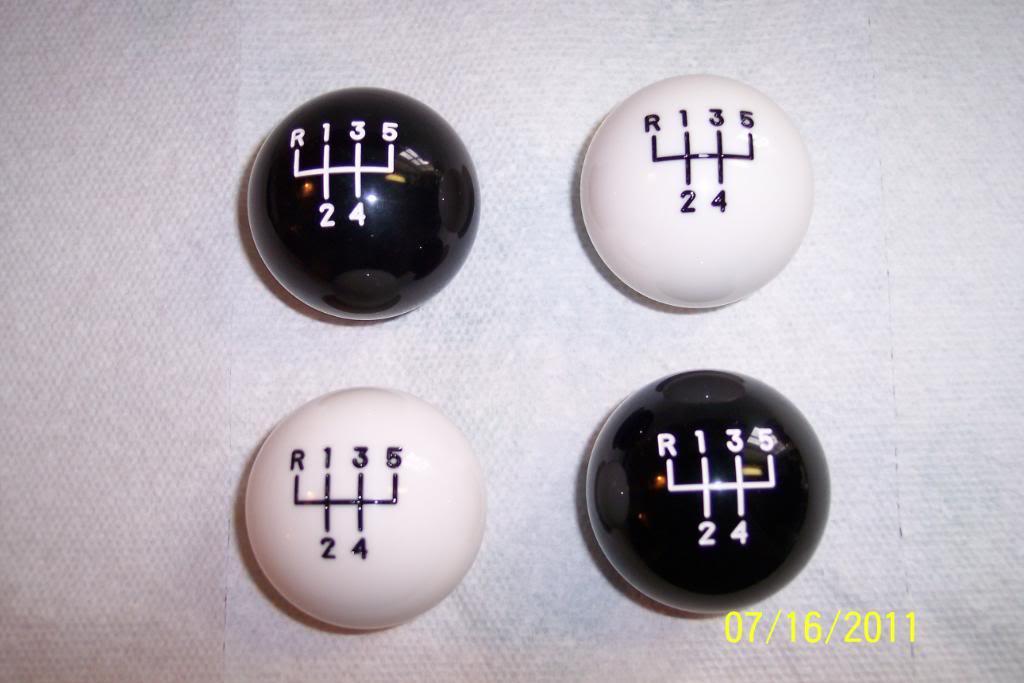
7/17/11
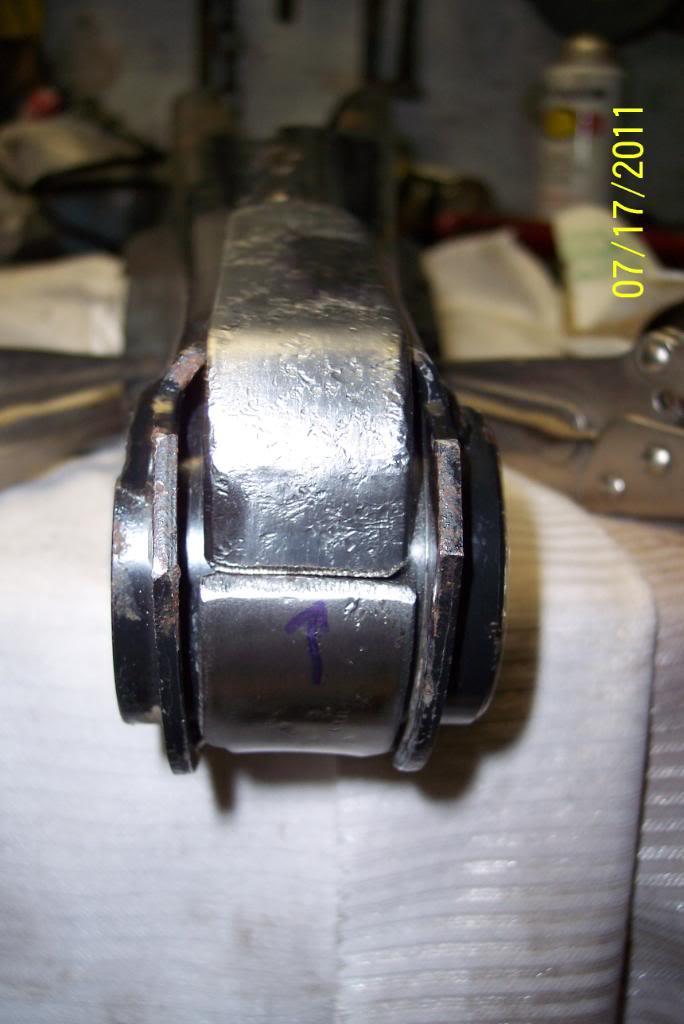
Well, after a rethink, I have changed the bottom, front small end bracing. Instead of being welded on the inside of the small end LTA slot, I made another to be welded on the outside of the bottom small end. I like this way better as it fits the slot in LTA better. And offers more strength IMO.Where it wraps around the eyelet, it'll be welded on both sides to the eyelt & LTA.
Then there will be a short piece welded over the butt joint of where the top & bottom braces meet, and it'll be welded on both ends & sides, & to the other two pieces. That ought to hold the eyelet it there, By Golly!
I'll take all this stuff back to the welder tomorrow morning. Hopefully it'll get welded by Thursday or so... Pics....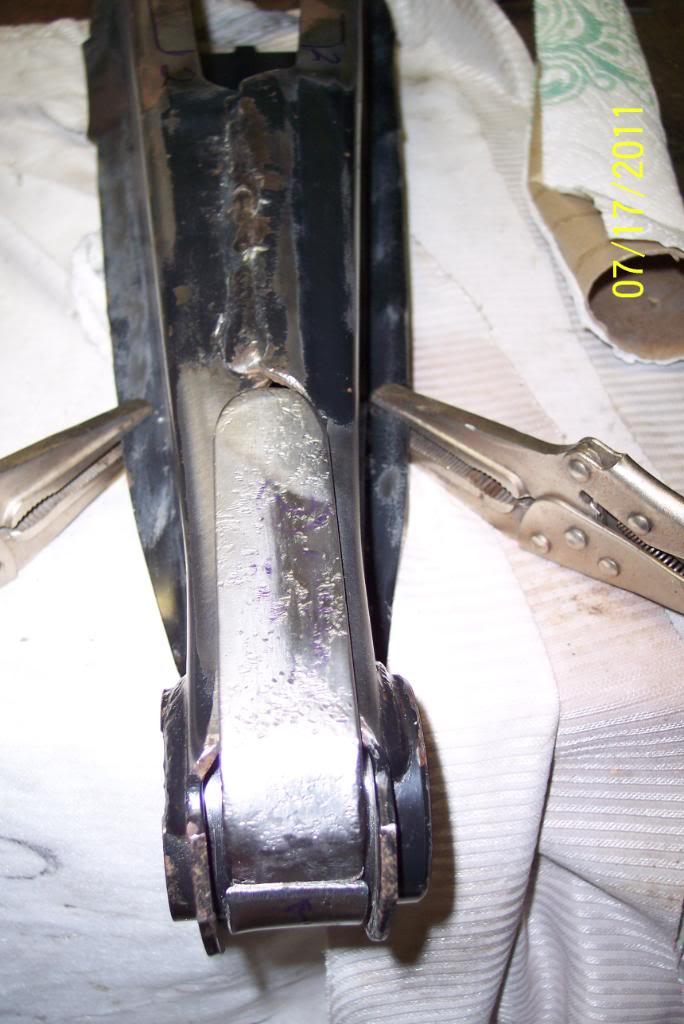
7/19/11
While all the License dael was back in '97, it's still cheaper to do the speed limit. I'd only consider acting up, in the country, in sparely populated area. Not many left either.
Got lucky & LTA are weldd & back in my possession. Here's pics of the fully welded/braced LTA. I think they'll take anything I can dish out...and then some.
The final braces weighed about 2.75 lb. The OEM LTAs weighed about 9 lbs.
They now weigh 12.5 pounds each. Both weigh figures acheived on Bathroom scales though. So just the welds weigh about 1.25-1.5 lb..
That for those that were curious as to what everything weighed, and now weighs.
Pics below: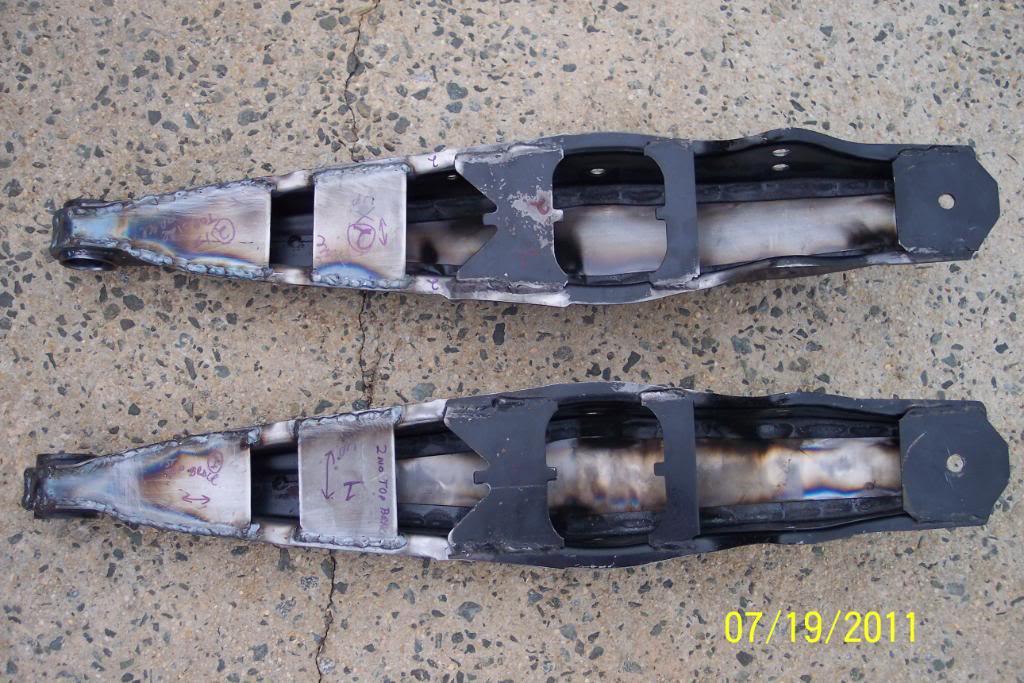
Small end's bottom brace.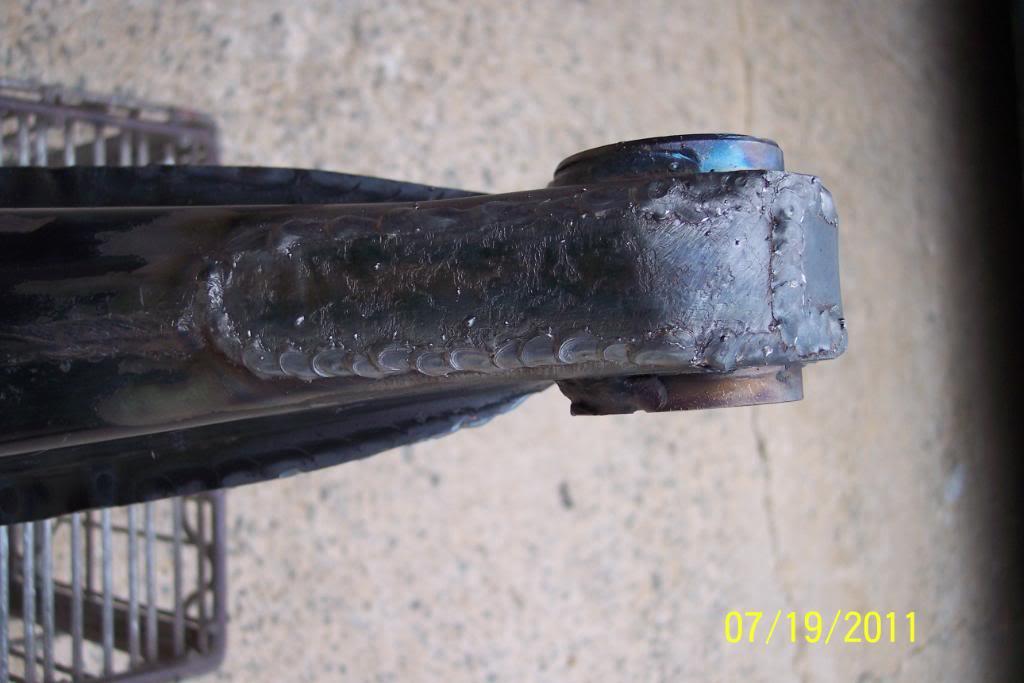
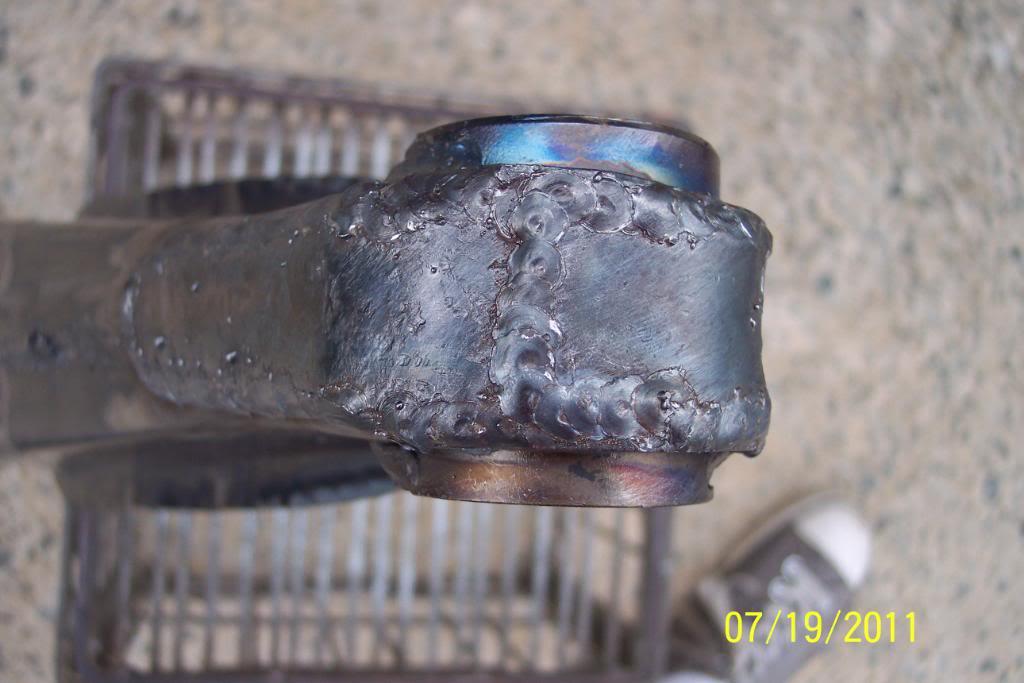
Small end's top side brace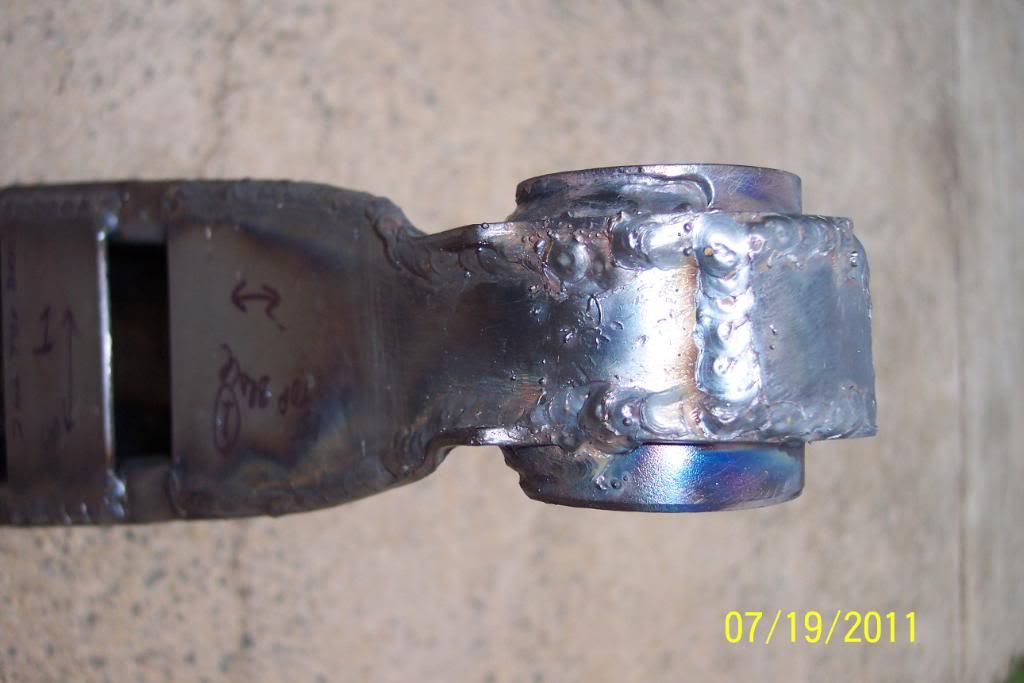
Bottom brace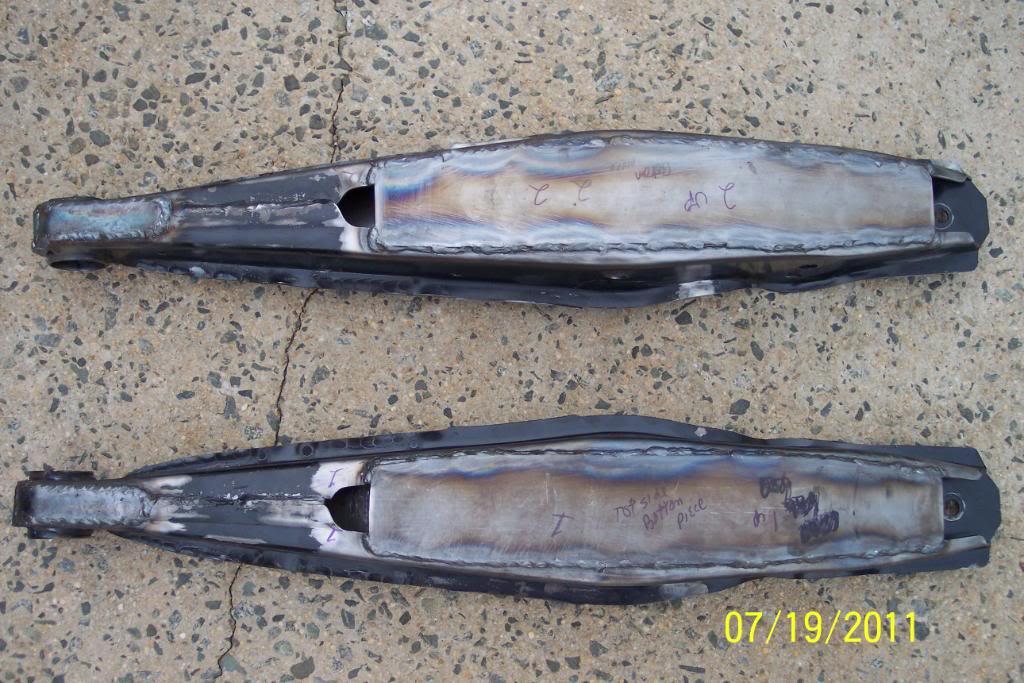
After I debur & paint them, I muight be able t weigh them on more accurate scales ,at the shipper I use .
7/20/11
I cut & chamfered the access/weep hole in the bottom brace in shock mounting area of bottom. I used a hole saw. Looks good to me.....
Cleaned them with Brakleen & will primer them with Rustoleulm white primer, then paint & undercoat ,em
Pics of weep hole.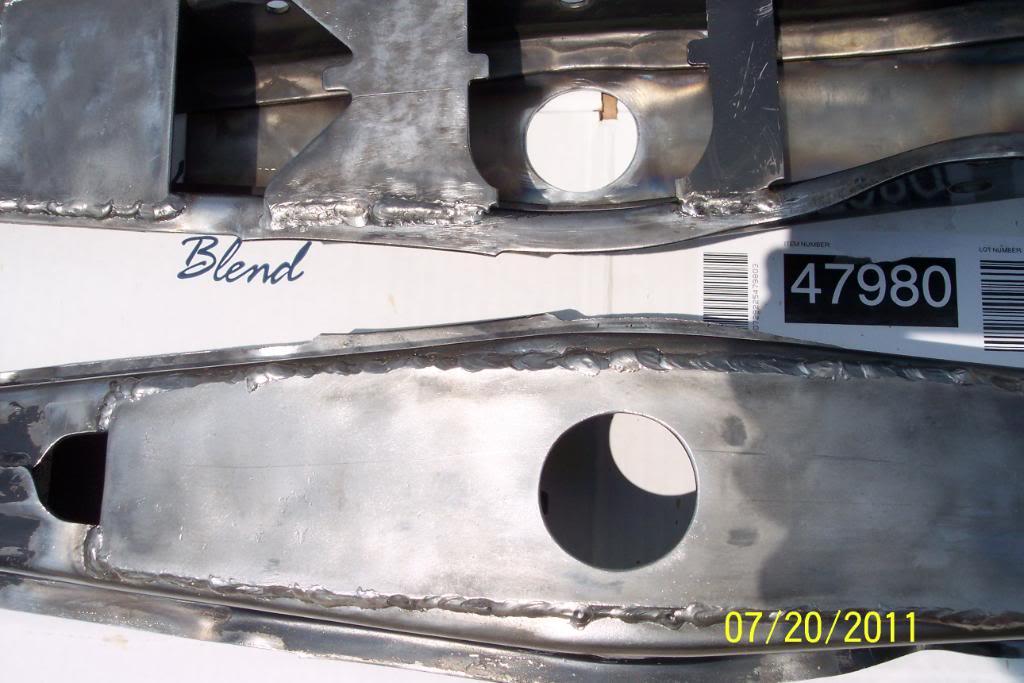
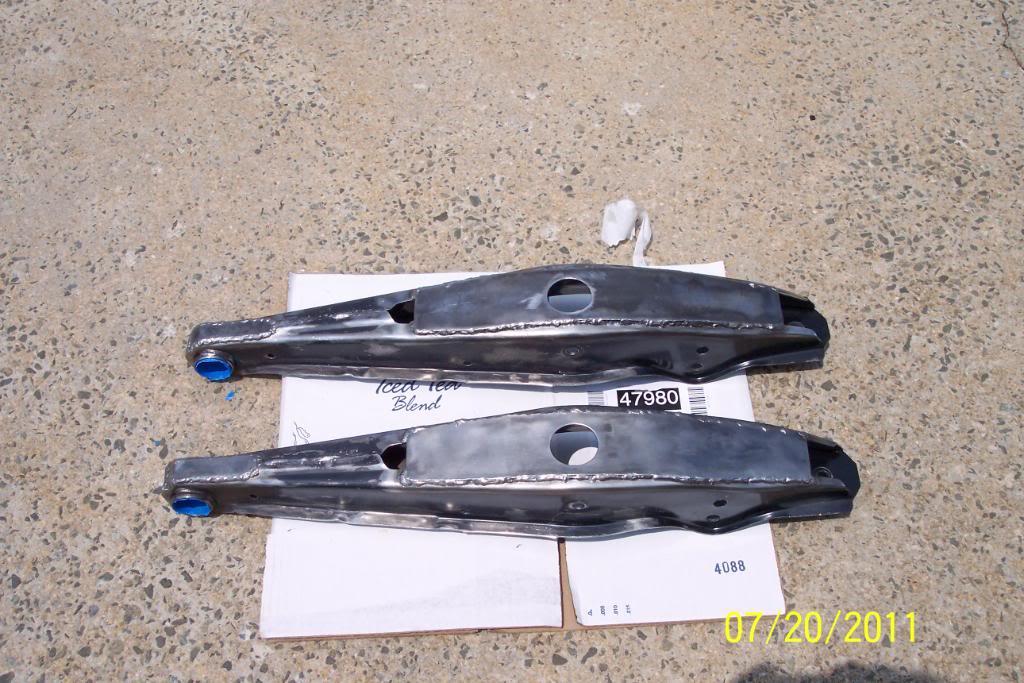
It's also for access to bottom of shock during shock installation. It's no larger than the hole in the YoshiFab bottom braces.
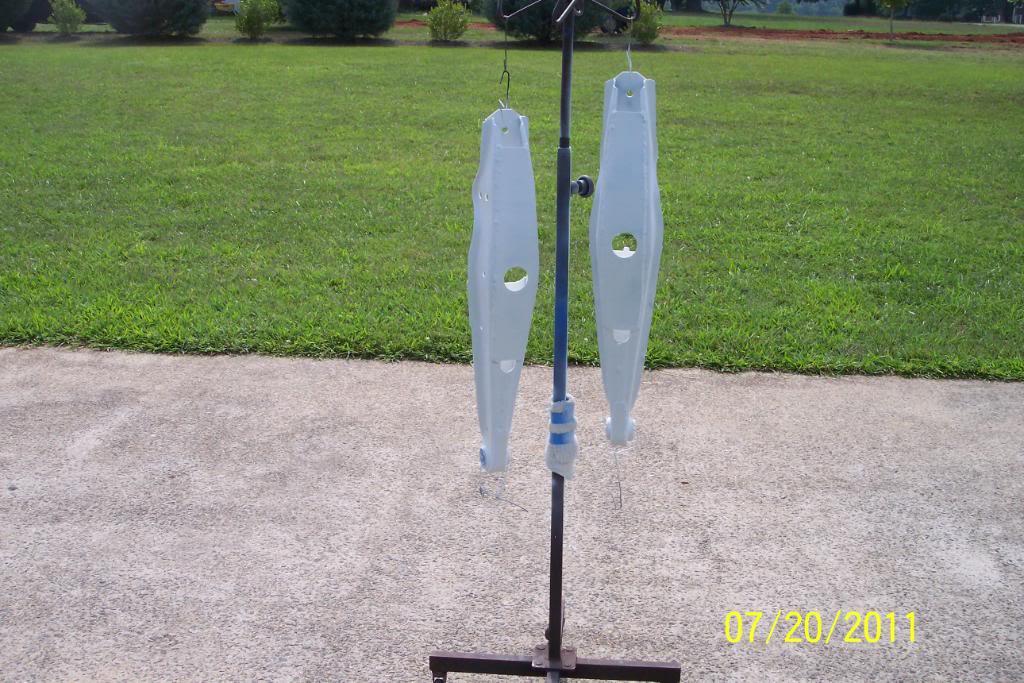
Got them cleaned & primed with Rustoleum White Bare Metal Primer.............. Might paint them light grey as John V Outside Agitator suggested. Dunno yet...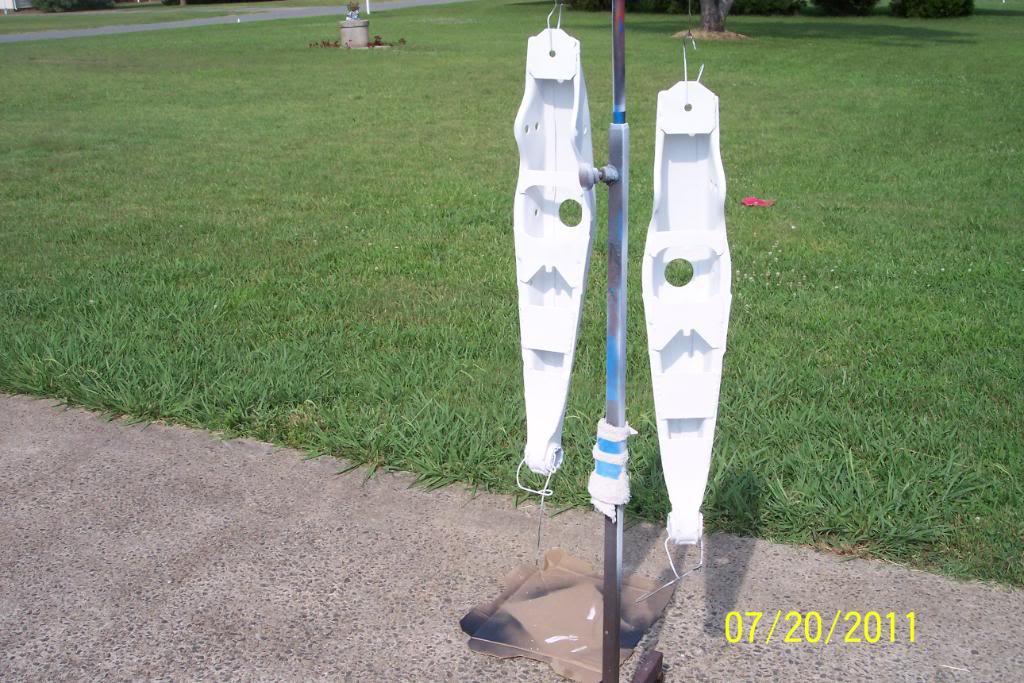
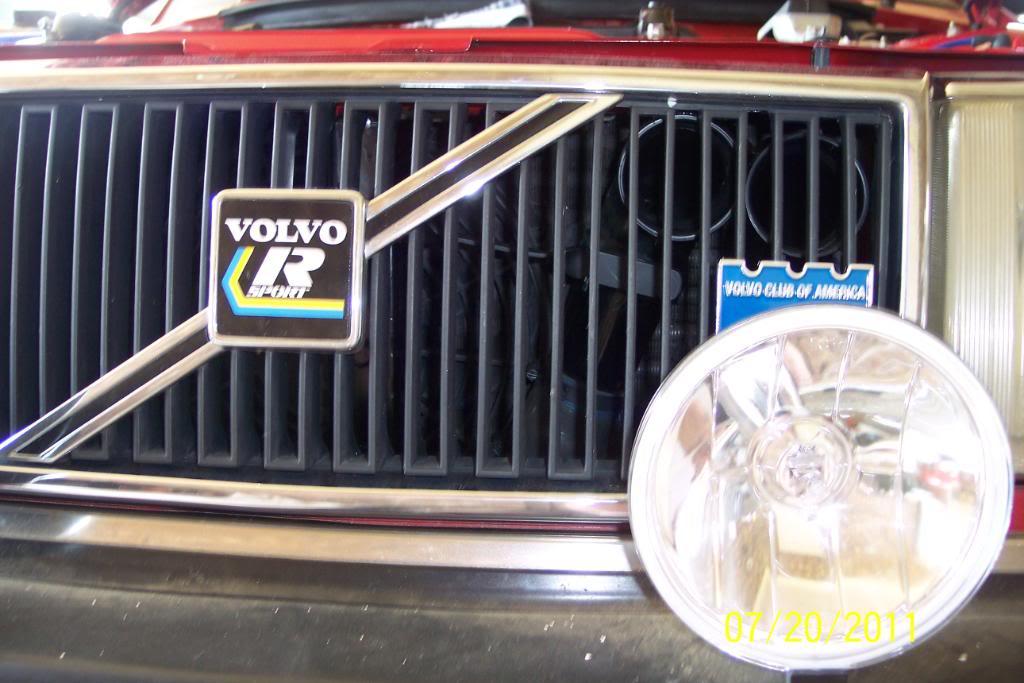
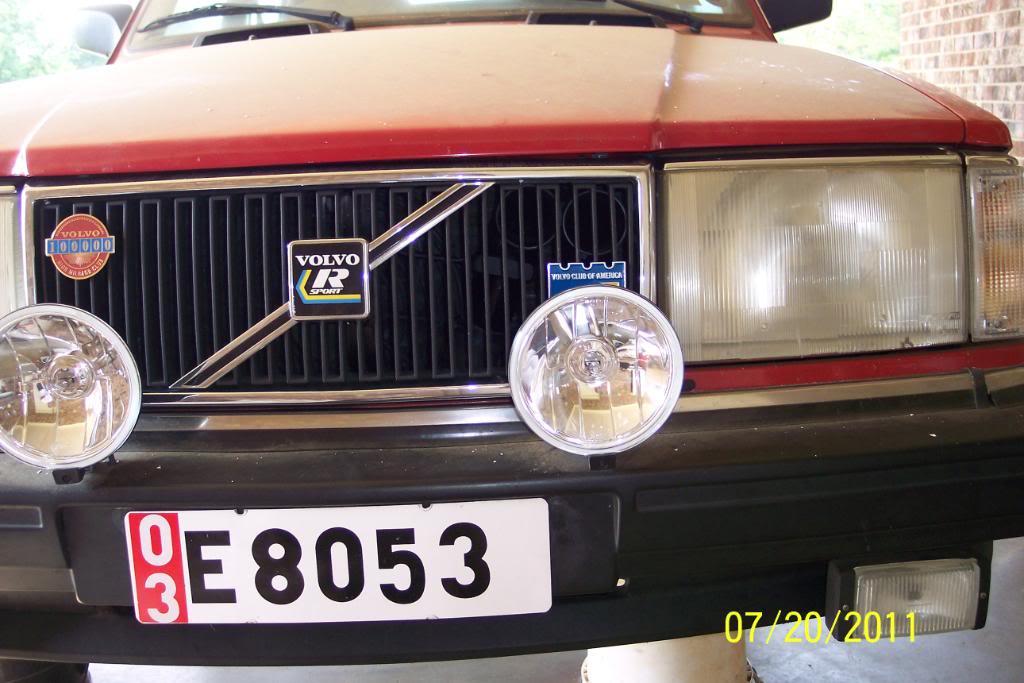
OK, I dropped back the other day, and removed & painted the 2nd CAI I made. And cleaned off the modded OEM Intake pipe. Also found a looonger black tie wrap for each one, for a neater appearance.
Anyone know if paint wil stick to the Turbo Silicone Hose? I'd like to paint it flat black also, but unsure if the paint would disssolve/damage the Silicone Hose.
But.. for now..looks like a little neater/cleaner install now. And when grille is installed is almost invisible. I'm thinking about removing the VCOA plaque, or moving it to another place on grille.Pics..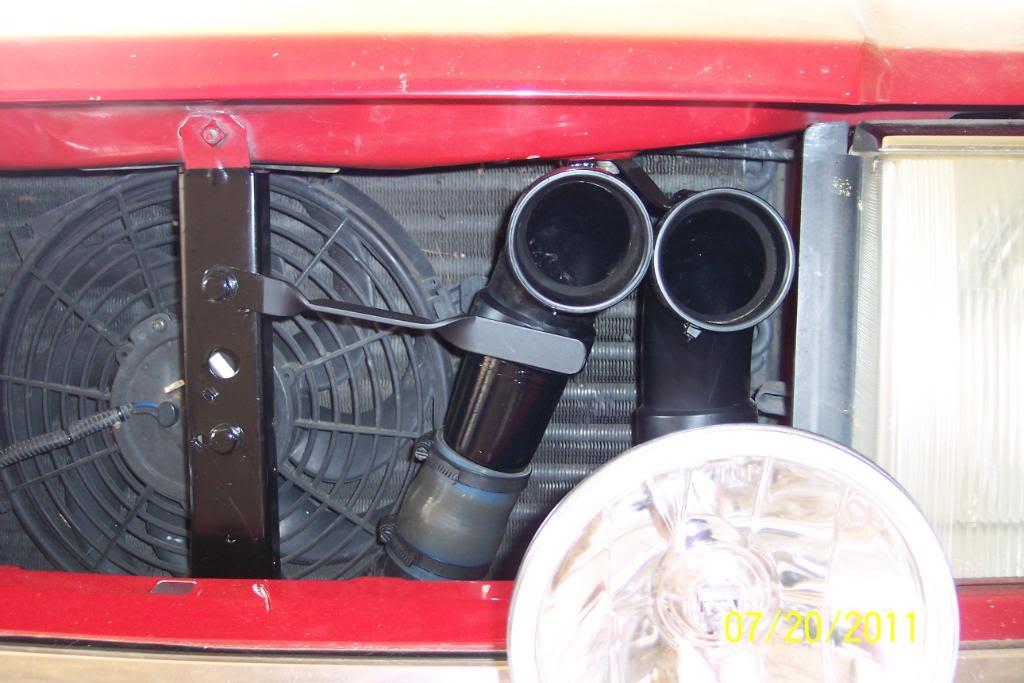

7/21/11
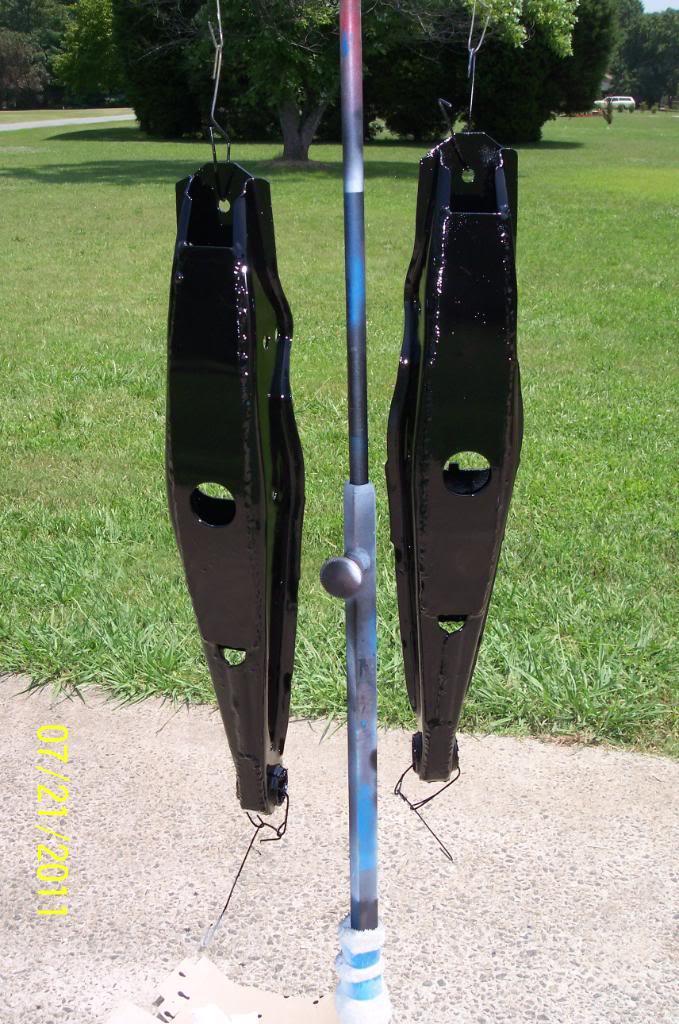
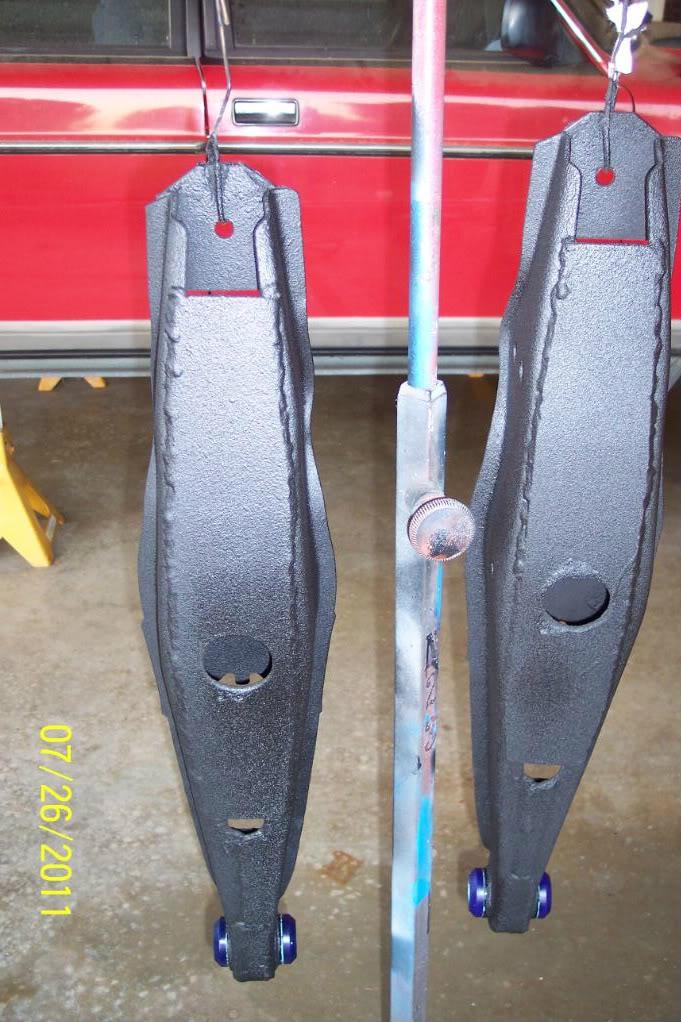
I painted the LTAs....... Black...at... High Noon, ...for a Western Effect.
I like to paint all my parts except the engine and brake calipers ,with Rustoluem Spray Paint.
I used Rustoleum Semi-Gloss Black over the Rustoleum Bare Metal Primer on the LTAs .
Since all the extra bracing makes it very difficult to get spray the paint on the backside of the top braces and down into the small end, I used the World Famous "S.T.I.R. Method of Spray Painting" . I'm sure you're all very familiar of the S.T.I.R method right?
Luckily the small hole in the taper end, and my round weep hole did give me enough of a place to shoot paint through them & it helped a bit.
I expecting that the coat of primer plus the S.T.I.R. Method coat may make it a little difficult to weasel the shock, it's spacer & the diff bushing in. I'll have to wait till they dry, to see.
Yep, the LTAs are now, as black as a Jug full of Midnight....Pics...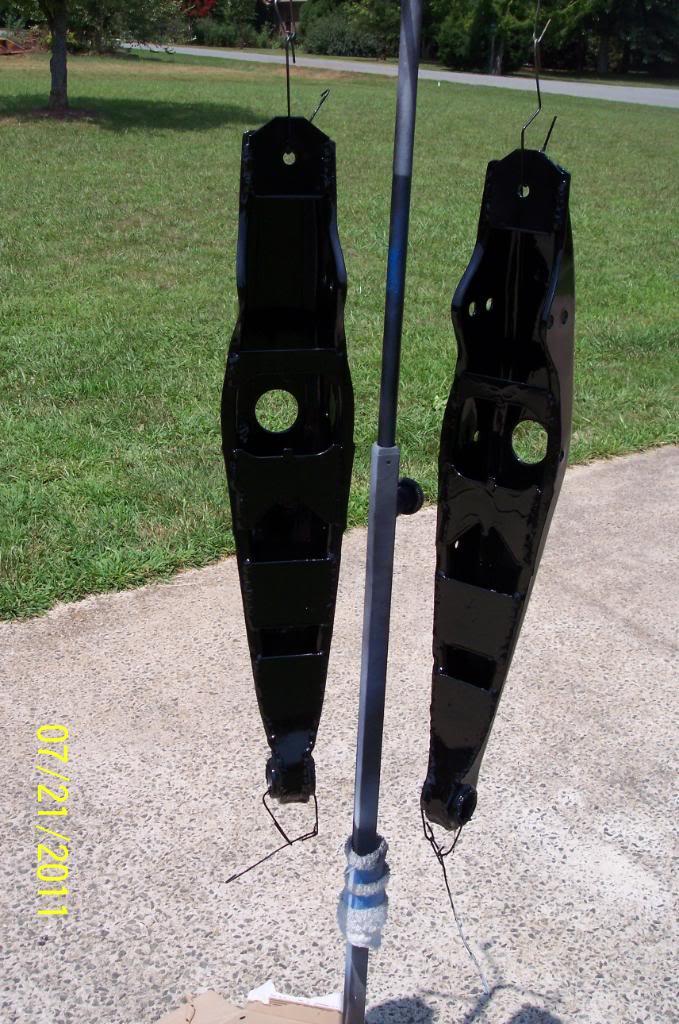
7/25/11
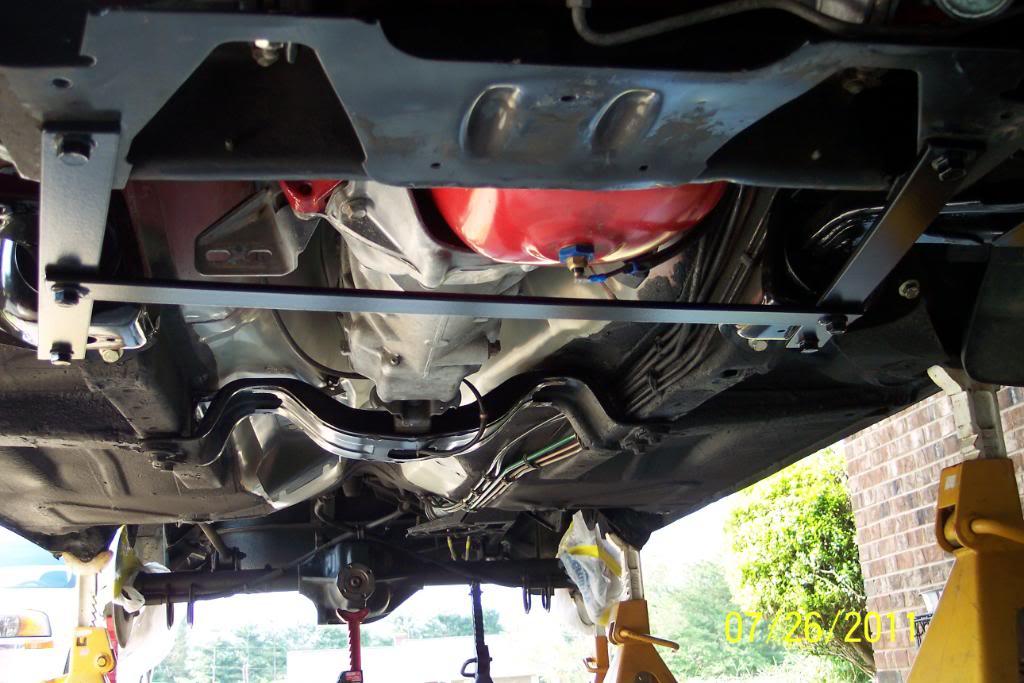
Well, why I've been letting the LTAs bake in the hot NC Sun to dry fully, I installed the IPD Lower Chassis Brace. It was quite an easy install & only required two 3/8" holes to be drilled. Luckily I have a right angle drill and a new bit which made it go all the easier.
And there is plenty of room to install and remove the n/a header pipe without removing the IPD Lower Chassis Brace. A big plus I think.
However, I am seriously considering sawing off the 1/4" of threaded bolt that protrudes through the brackets & the nuts, to gain an extra 1/4" of ground clearance.
I'm not very fond of the bolts sticking down 1/4" more than needed. recipe for possible problems if they hit something someday, IMO. I plan to loosen them, and put some blue LocTite on each bolt/nut also, then retighten them to 20 ft/lb as IPD suggests..
Pics below: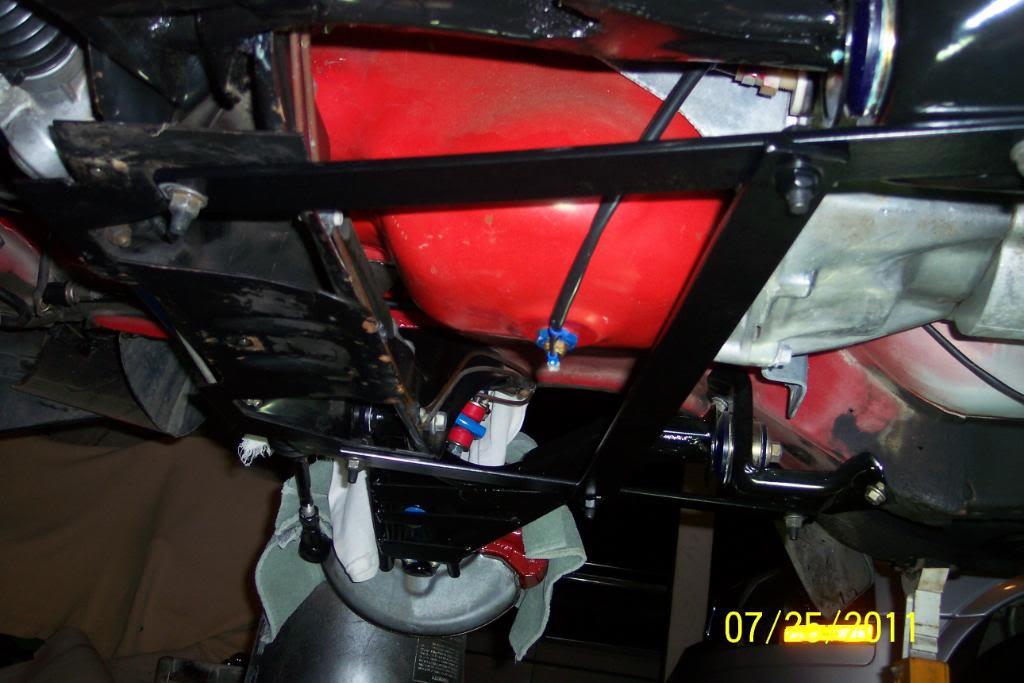
7/26/11
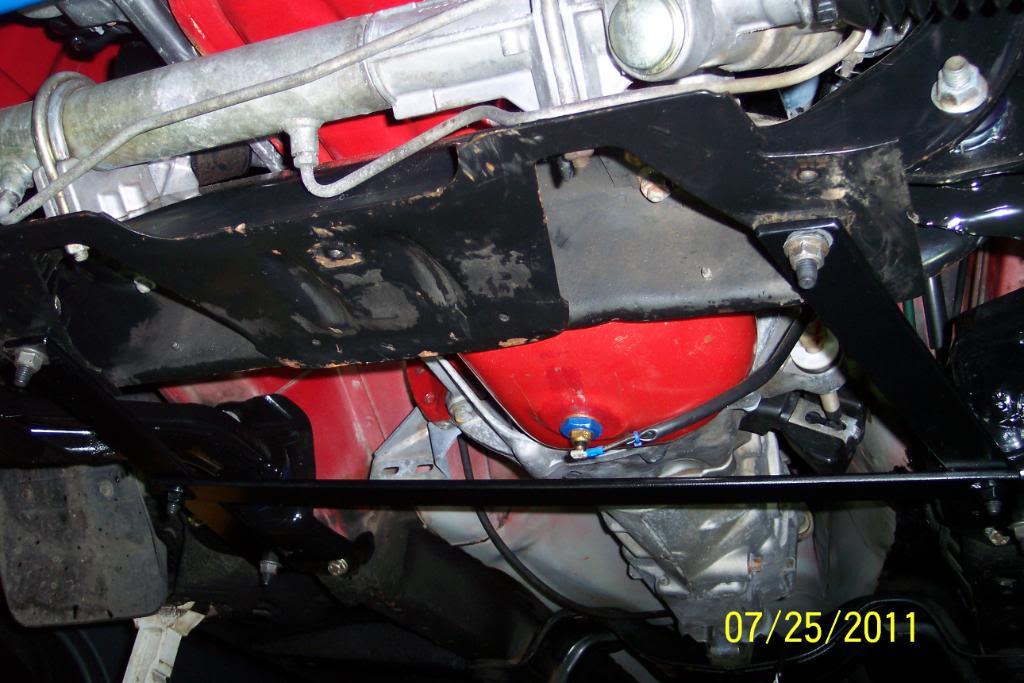
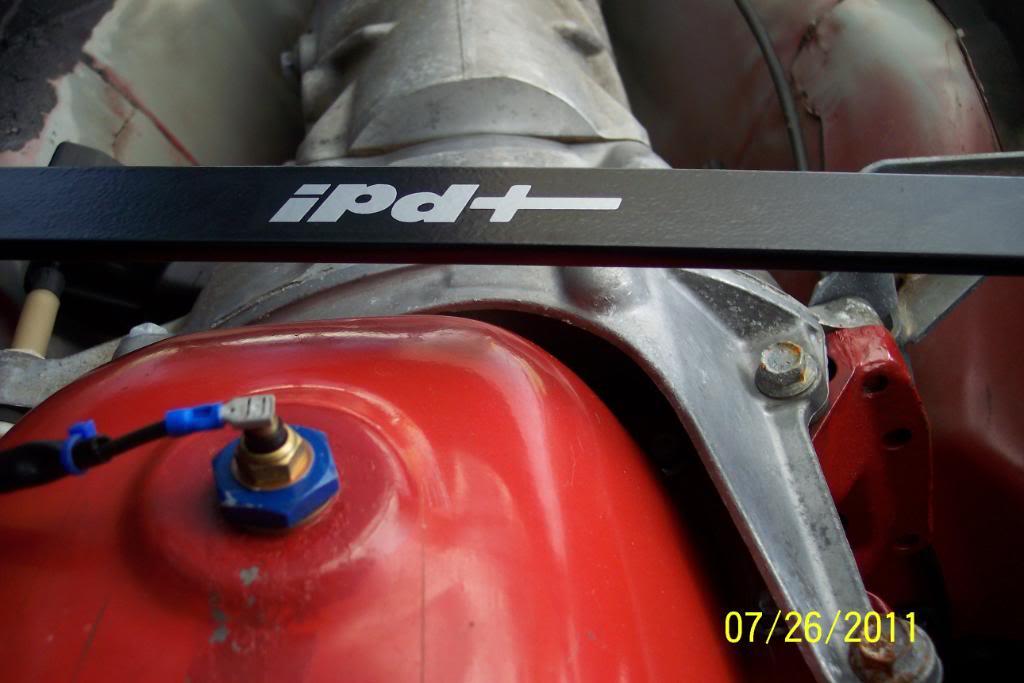
Well, I flipped all the bolts over except the crossbrace bolts. I sawed them off,.. I reinstalled the bolts with blue LocTite on them & torqued tham all to 35lb.
Then I painted the bolt heads & nuts with Rustoleum Semi-Gloss Black. Looks mich better & I have 1/4" more ground clearance this way.
I also added a silver IPD decal for a little extra coolness. Pics below: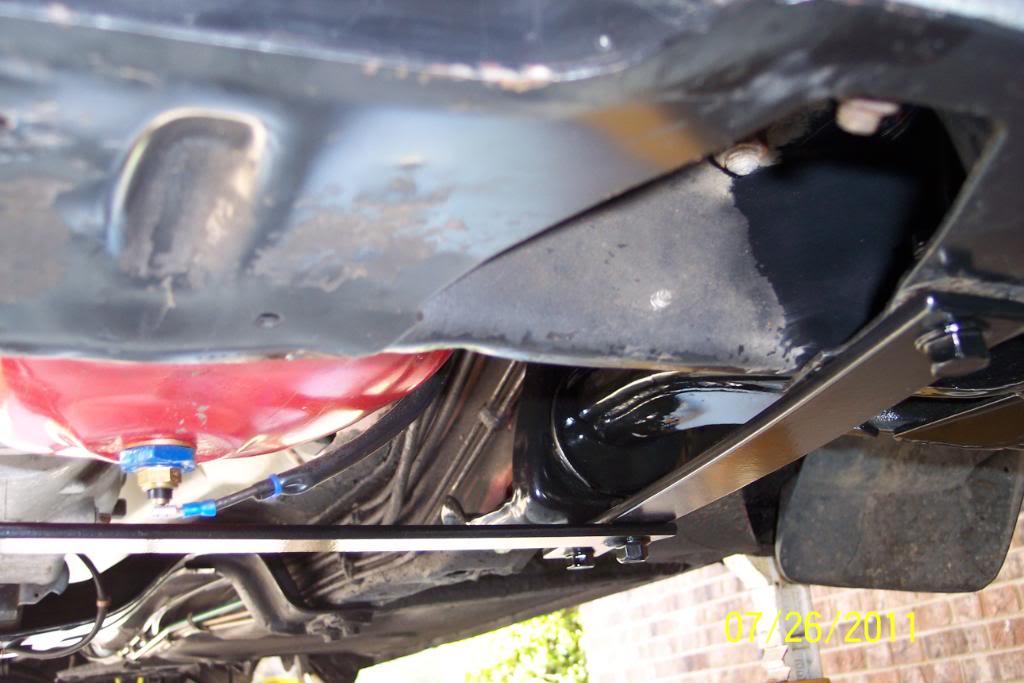
I installed the LTAs small end Super Pro Poly bushing in early this morning (read 3:00AM), after installing the IPD Lower Chassis Brace up front.
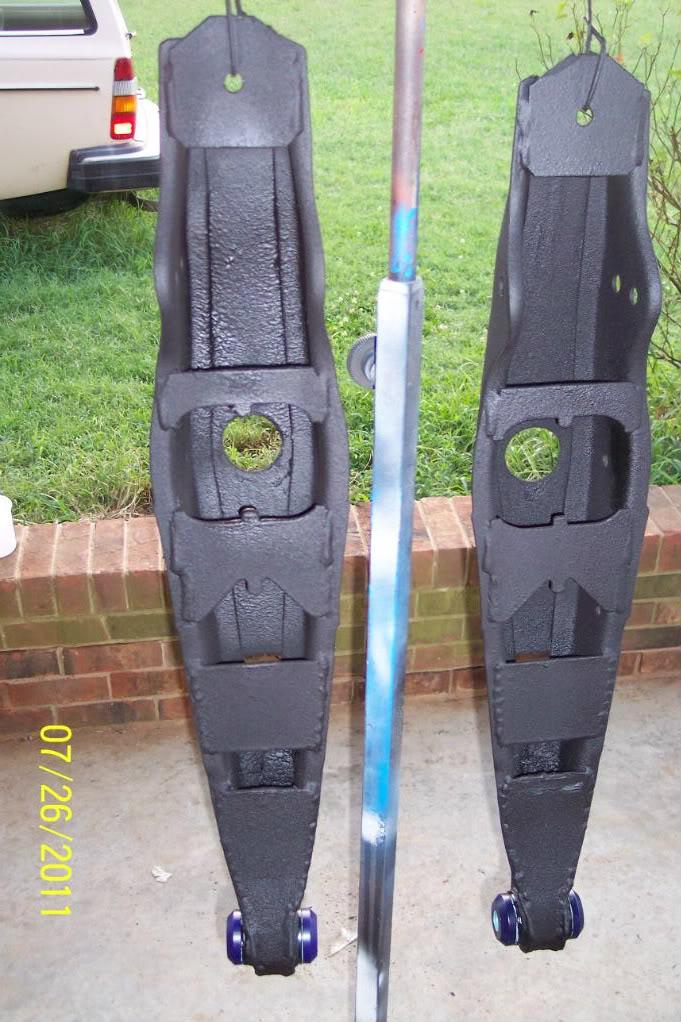
Masked off the small end polys, and undercoated both LTAs with 3M professional Grade Rubberized Undercoating. Again using the STIR method on the small end of LTAs, but a nice even, run free coat everywhere else.
I'll have to let the LTAs set up/dry /cure for a day or two now. In the meantime, I'll install the LTA's large bushings in diff brackets. Then take care of mowing the damn yard again.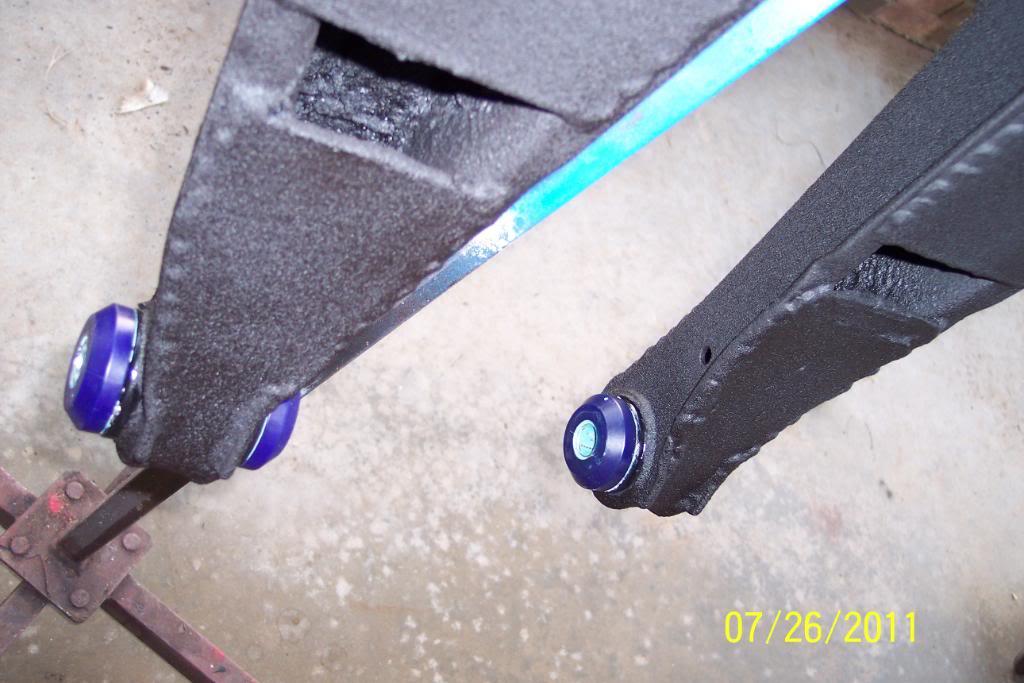
7/27/11
Volvo Porn....My Tool In Action....... otherwise known as LTA/Diff bushing Installation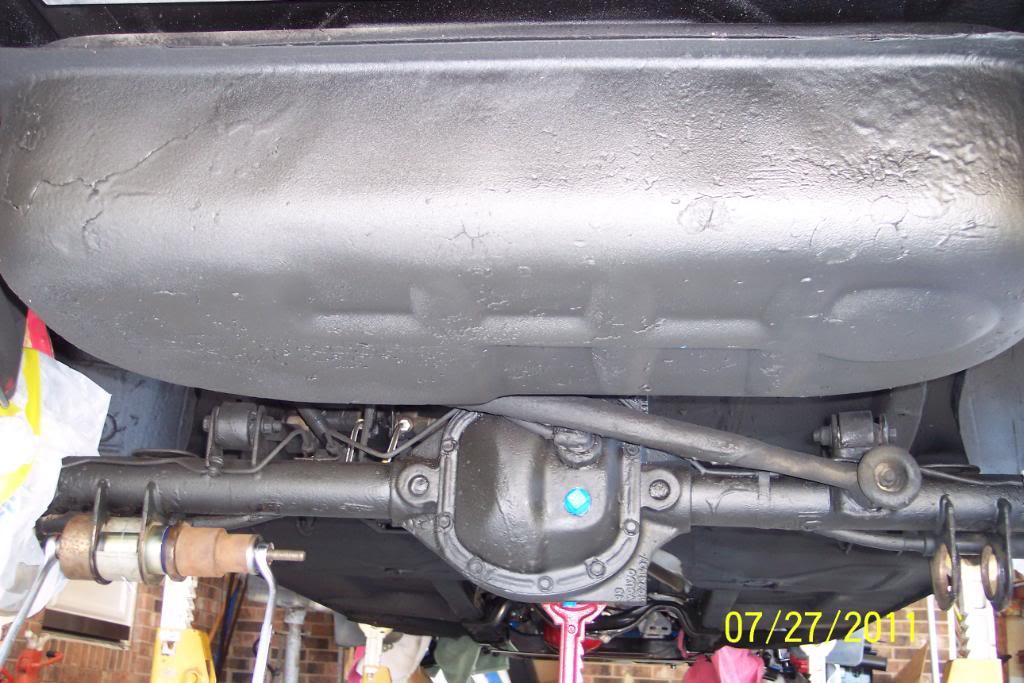
7/29/11
Since I'm waiting on FCPG to ship my big LTA bushes, After I installed another steering wheel( I have a few), as the one that's been in it was actually out of my 79 245.
Cleaned/washed new wheel. Then I thought I'd go ahead with the lacing/install of the
new Wheelskins Black Leather Steering Wheel Cover I got from IPD .
Instructions say 1 hour install time...Big Lie. Took me around 4 hours with ciggie breaks.But I took my time so I could do it right. FWIW, it's not hard to do just an aggravating, time consuming, repititious job requiring patience, or as in my case, a lot of ciggie breaks.
It fits very well & looks waaaay better than the 13 year old one that was well worn & was originally on my 79 245's steering wheel that's been in this car. Then Armor All-ed the Interior a bit.
I do love the way the Wheelskins Black Leather cover makes the steering wheel's rim diameter larger, as it fits my hands much better & I find it much more comfortable.Pics.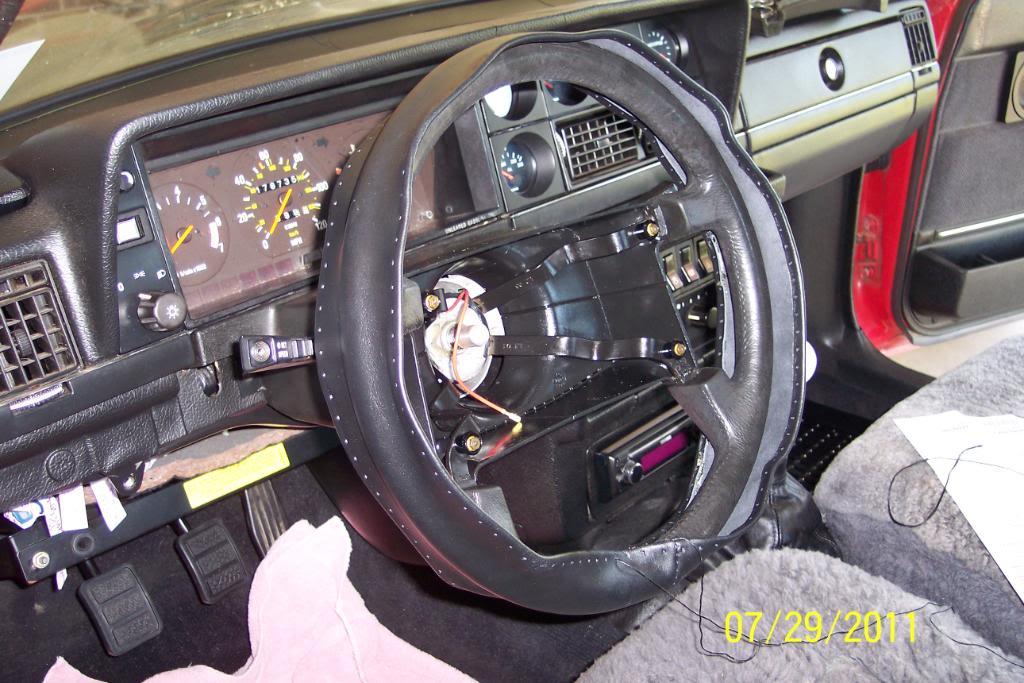
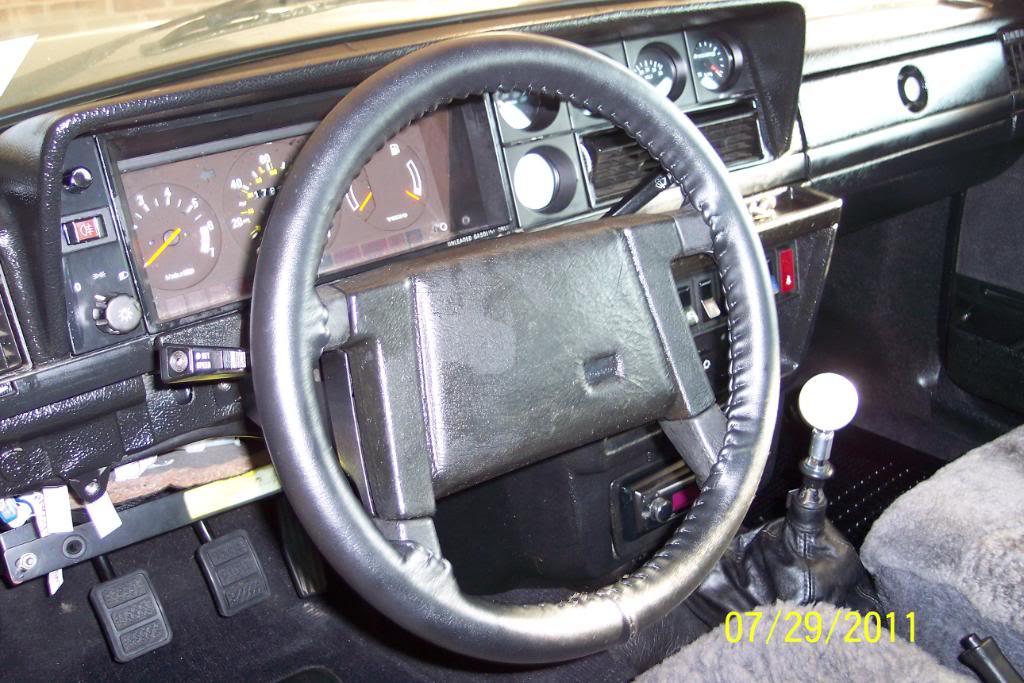
I wanted something different from the run of the mill/everybody's got one plain jane 82-89 OEM 240 horn pad . Yet I haven't made enough money yet,to buy a MOMO or similar, 3 spoke race type steering wheel
While I like the '78 242 GT horn pad's "simulated spoke pattern" , I still disliked the orange/red GT emblem in the center a great deal ,because it doesn't go well with my 240's interior.
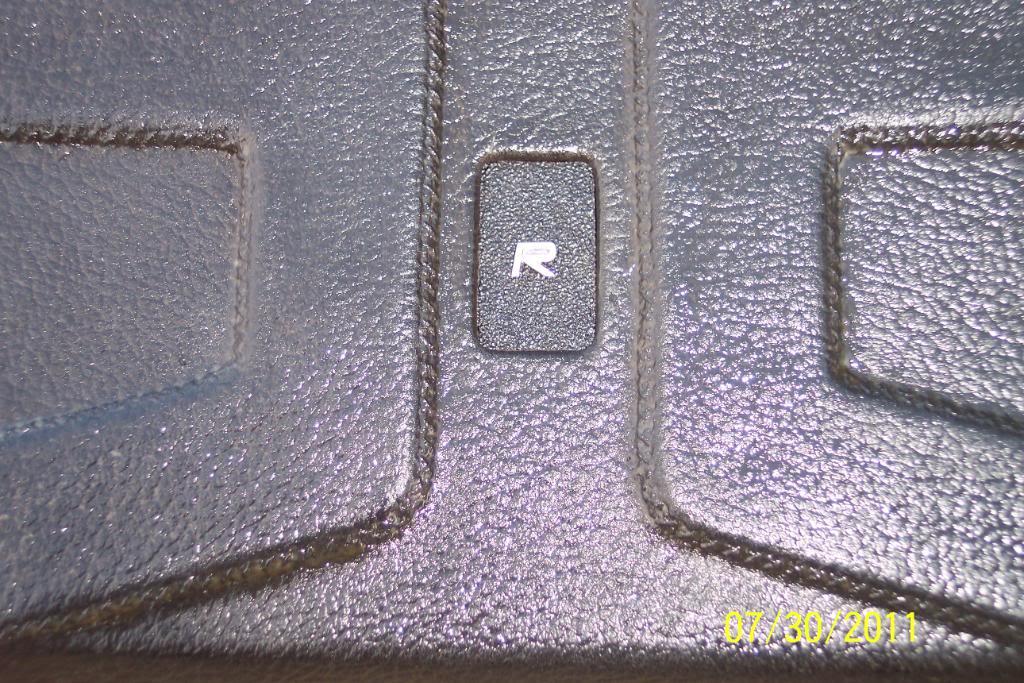
I just spent the better part of today modding my 1978 242GT steering wheel pad. It's something I've been thinking about for over a year. I have been looking high & low, for an appropriate way to do away with the old, faded, and unbecoming to my 240, red "GT" emblem in center of the 1978 242GT steering wheel center pad I have.
I wanted to mod it in such a way, so as to make it appear as if it was possibly an OEM Volvo option. Yet,I wanted something inexpensive I could use to mod the GT horn pad.
Also.. I wanted it to be a more modern,a more unique, but still understated, yet still classy & exquistly tasteful appearance, than what the '78 242 GT horn pad already had. And it would have to be something no one else has ever done/ had.
So....... I already had some stereo shop grained black ABS sheet plastic left over, that I thought would lend itself perfectly for replacing the original red GT background in the GT horn pad. But I still need something to use for an emblem. So, I only had to look as far as all the Volvo hat pins & lapel pins I have, (quite a few) and decided on the one in the pics because..........
Since my last name begins with "R".....
Since I like the Volvo 240 R Sport look/ tried to mimick the R Sport Rally car look by mounting my Hella 500FFs on top of the front bumper......
Since my suspension is modded to somewhat of an R Sport spec equivilent..
Since I bought this attractive little R Sport emblem from IPD about 1 year ago, that is a simply beautiful chromed "R" in a perfect size....
And lastly because I'm a "Detail Freak from Hell".......
I chose to do this........ And I think it came out simply fantastic too...... I can't seem to quite catch it's true appearance. It's under the car port, and can't roll it in sunlight. But here's daytime pics....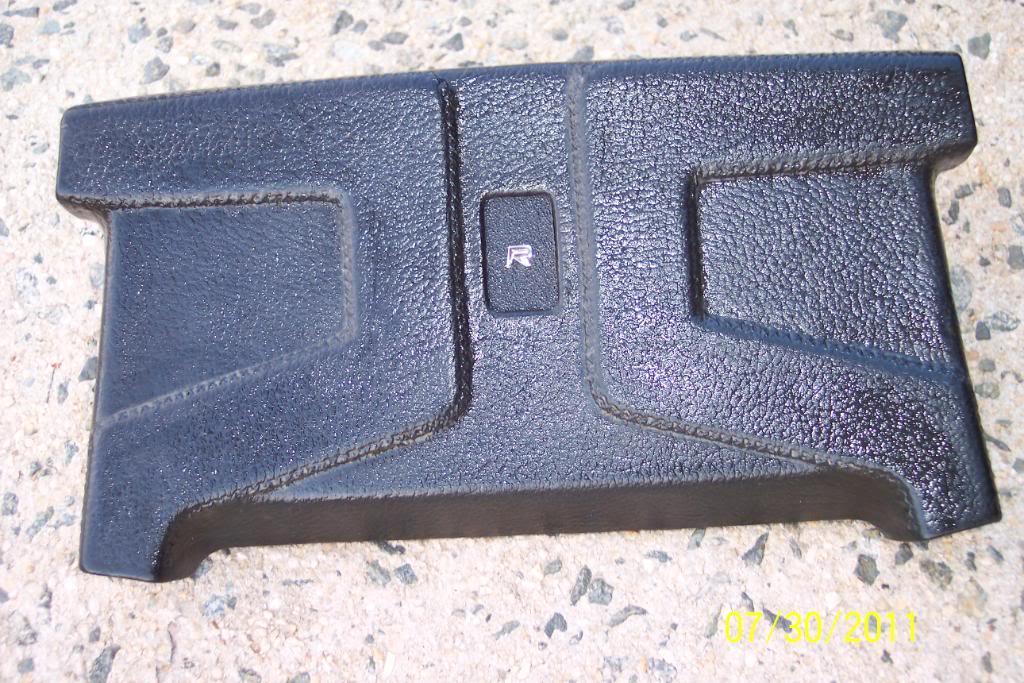
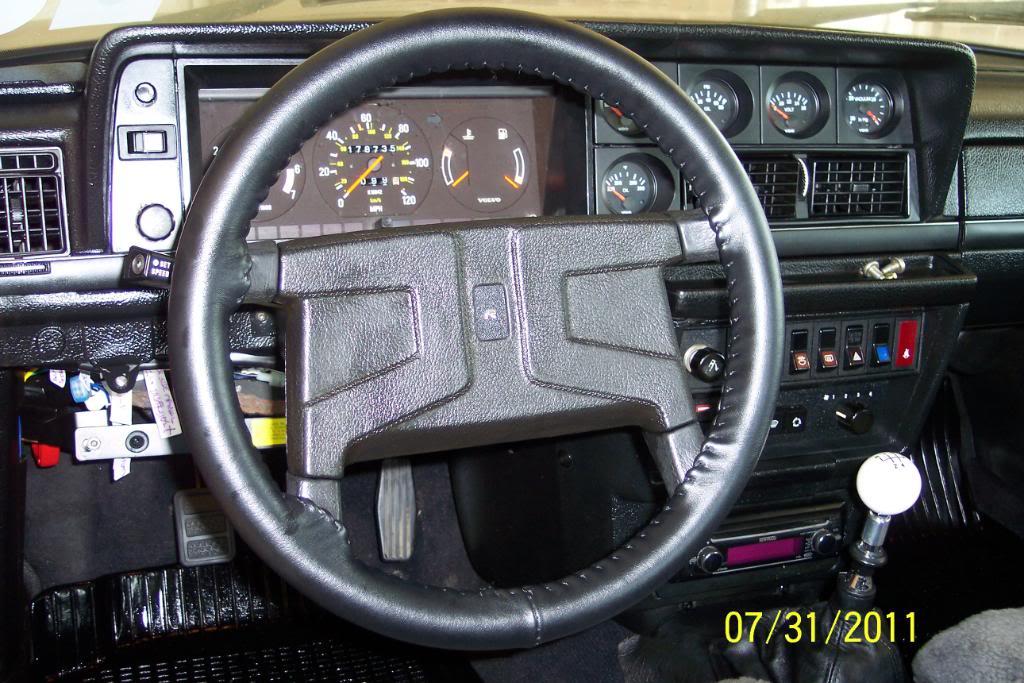
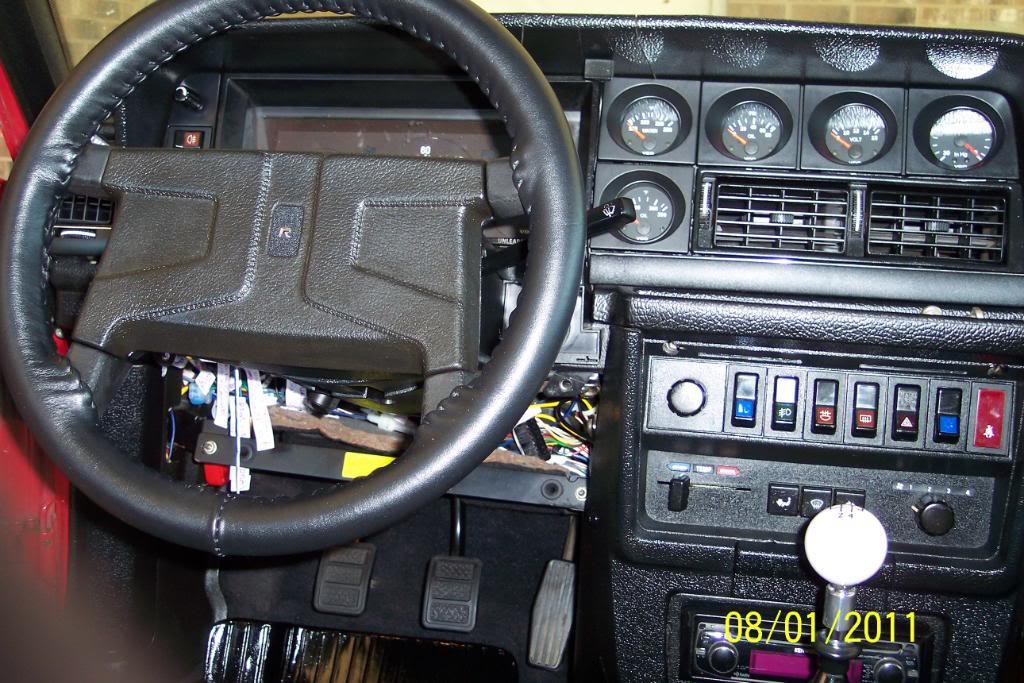
7/30/11
Don't know how many have ever noticed that on a 1991 240 sedan(and wagons I presume..), that the blue colored "Hi Beam lights are on" indicator, doesn't tone down the white light behind it very much. Or maybe mine was faded badly.
Anyway..It has always blinded me a little & bothered the hell out of me. On older 240s with M46 , the OD light is same way.
I took a spare IC I had, pulled the backside off of it, removed the colored warning lights strip and cut the blue hi beam indicator off the colored strip. I left the hole where it fits on the peg that locates it on IC.
I placed it behind the one already on there. Muuuuch better. I can tell hi beams are on, yet it's not too bright & no longer blinds me. A big plus for nighttime driving IMO. I've done the same deal , in the past, on my 1979 245's OD indicator light.
Sure.. it's a silly small detail. But it's agravated & blinded me for over 4 years now...ah ah.. no more!
Here's a good pic of it.........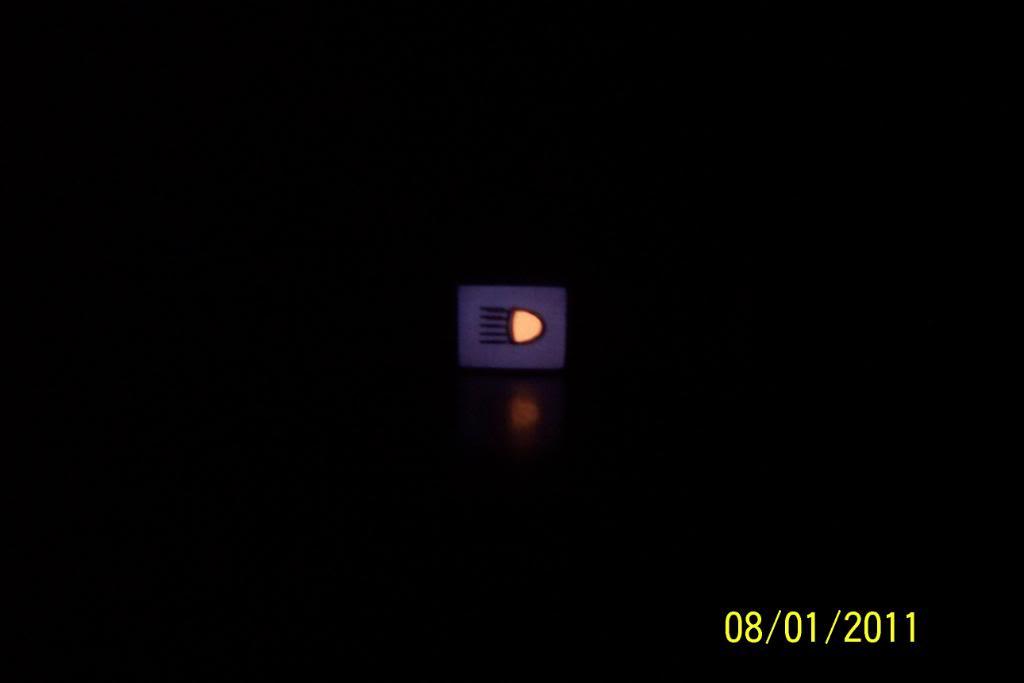
8/3/11
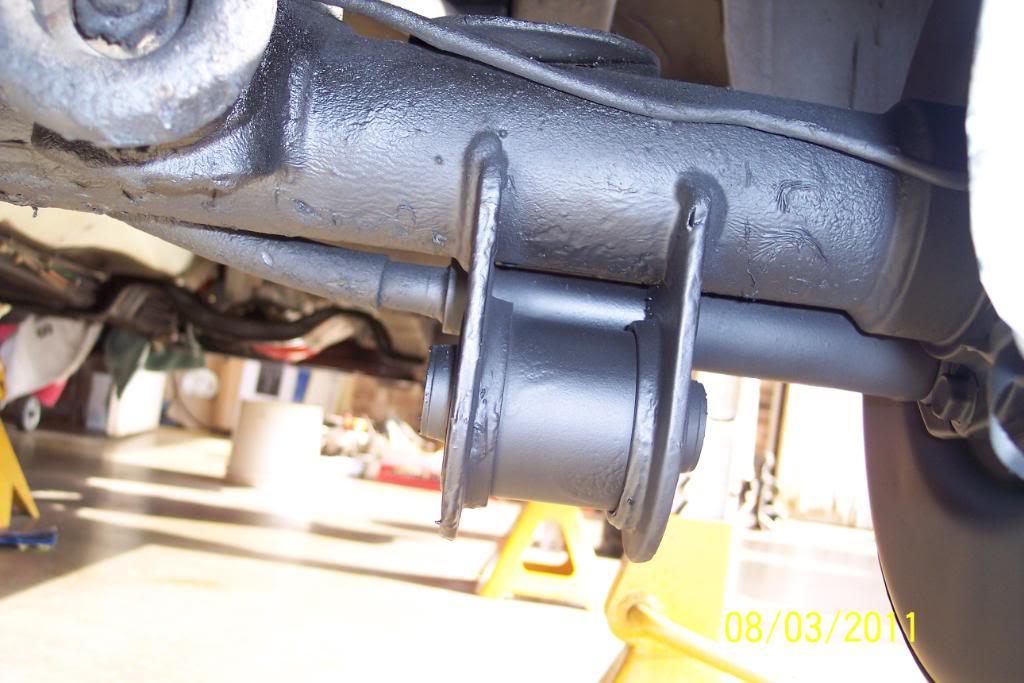
So I have the FEBI/BILSTEIN LTA bushings in, now. The poly just did not suit me for this big end applicaton.
I painted the exposed parts of the LTA bushings to keep them from rusting, as well as the brackets.
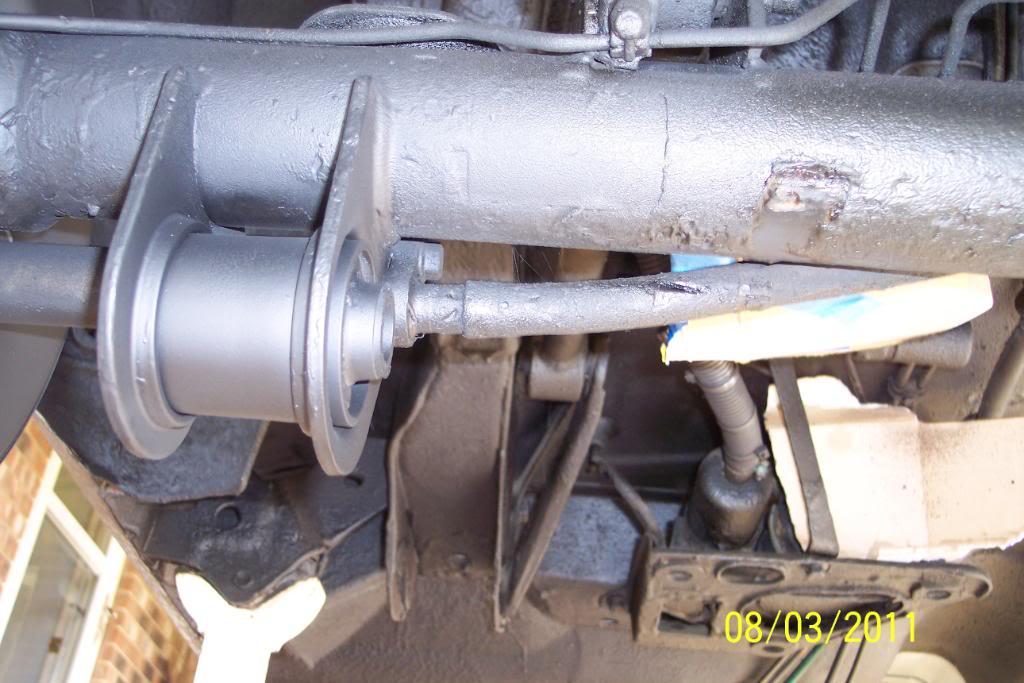
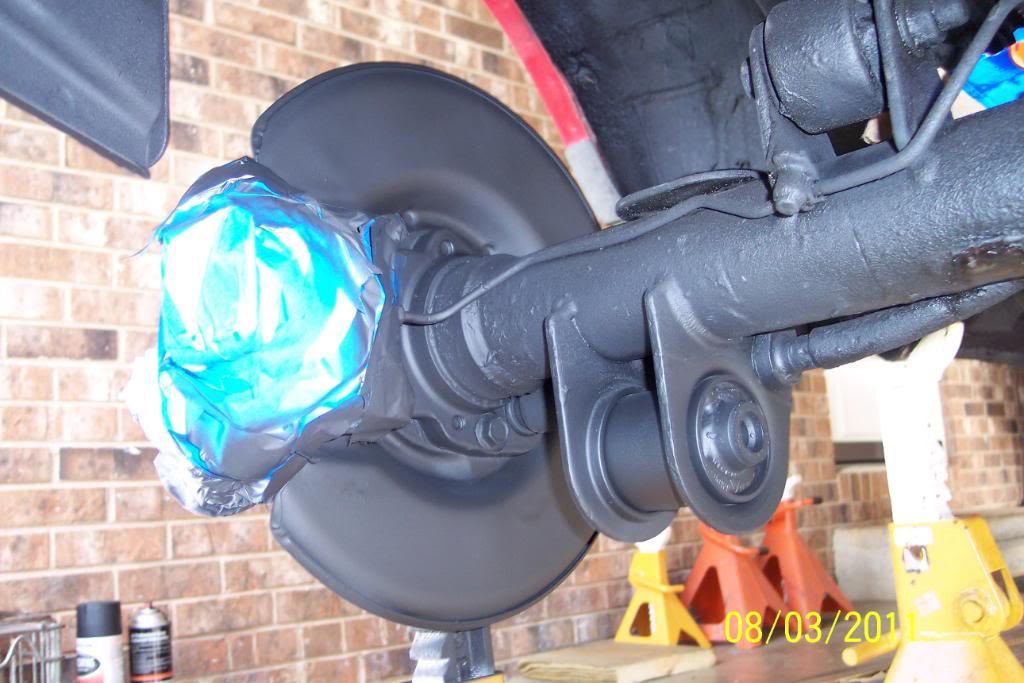
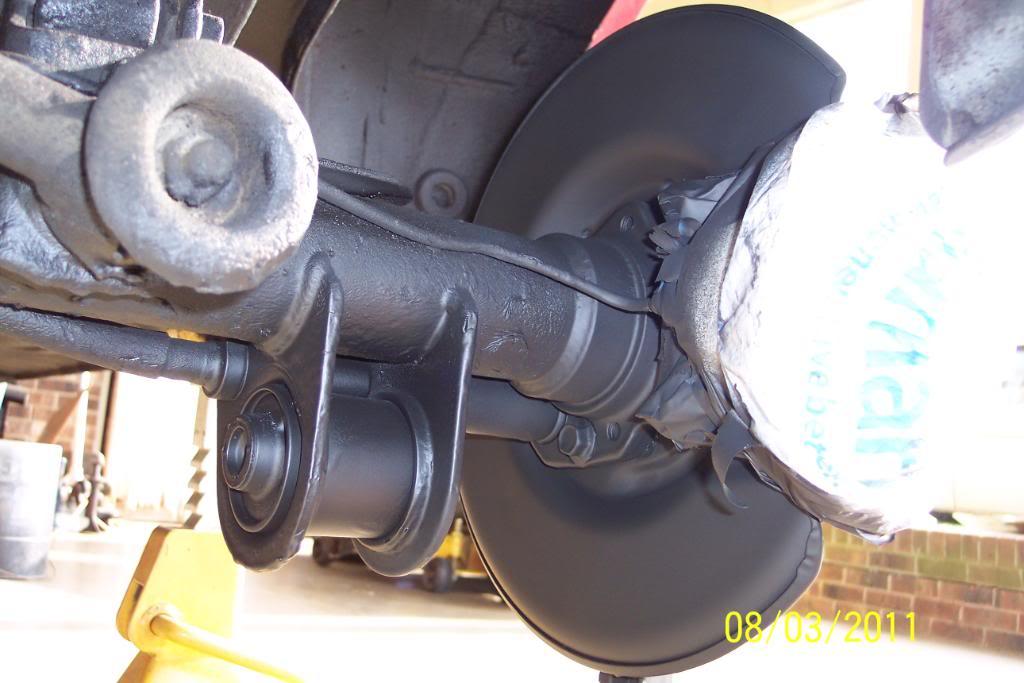
Now....I'm looking under the car,& everything is just so damn clean.......wait.....except the little part of floorpan between the muffler heat shield & rear bumper. which I undercoated promptly.
Then I happen to gaze at & see the end of the diff's rear axle housings & the flange on the end, as well as the disc brake backing plate/shields, were sorta unsightly looking . So I masked off the brake calipers, and commenced to painting those said parts.
Now... anything & everything, on the bottom of the car is spotlessly/ you can eat off of it clean. Literally! WORD.
I'm beginning to wonder how I'll ever get the courage to drive it in the rain & snow now.
Pics below.............
8/5/11
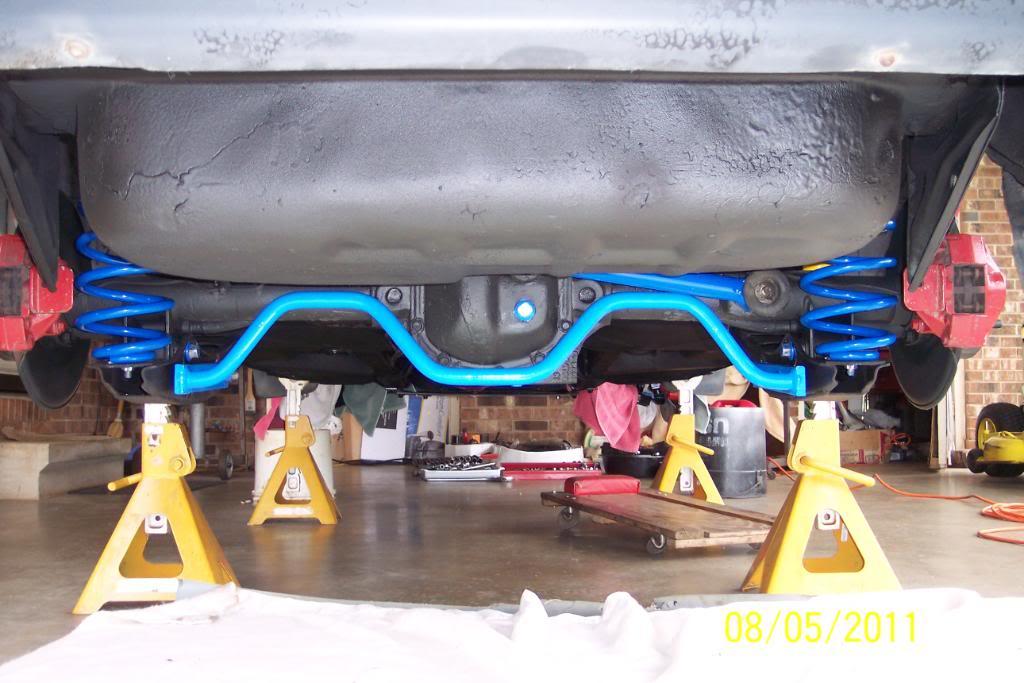
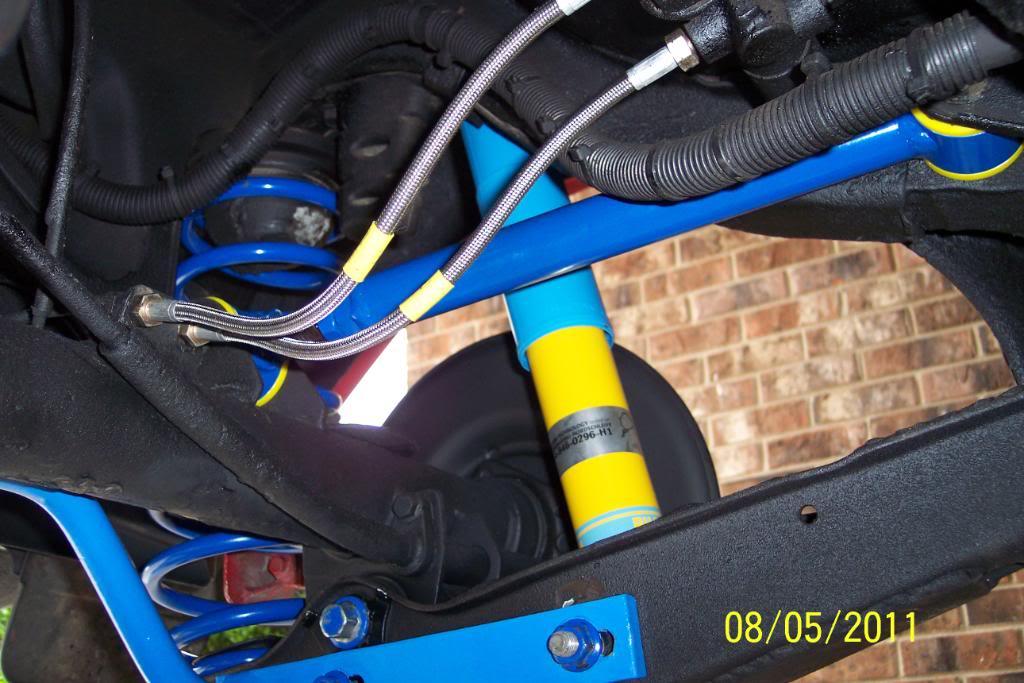
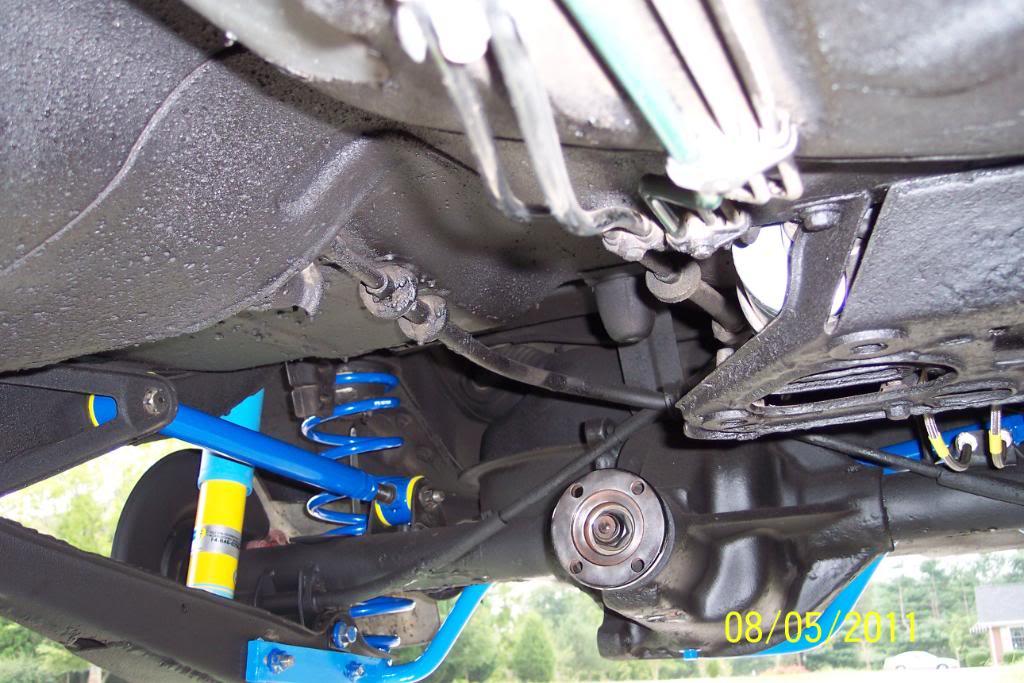
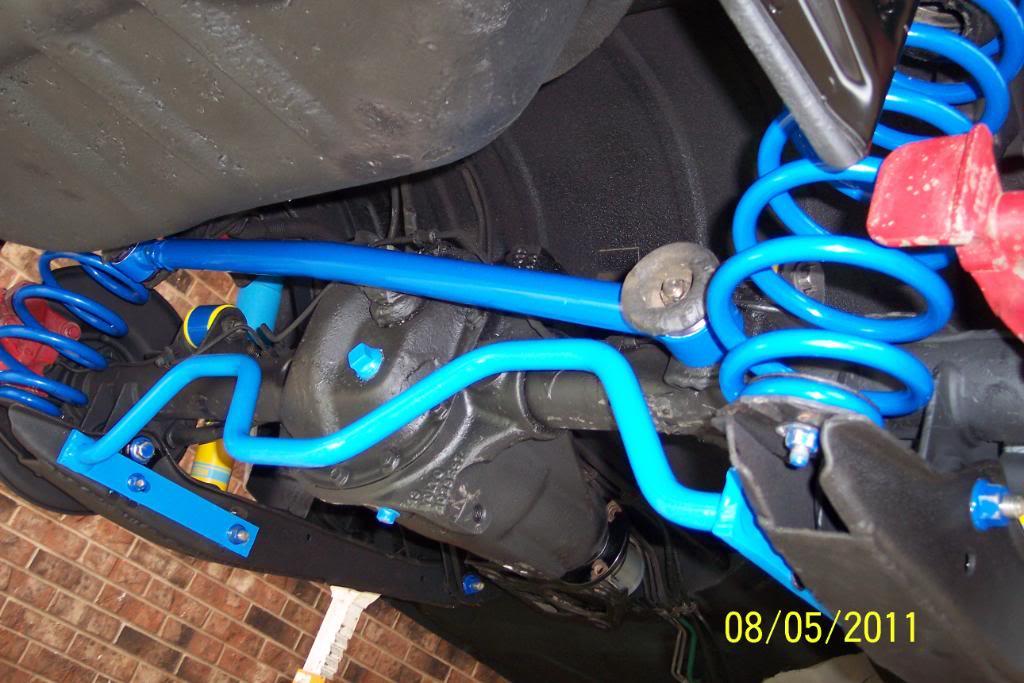
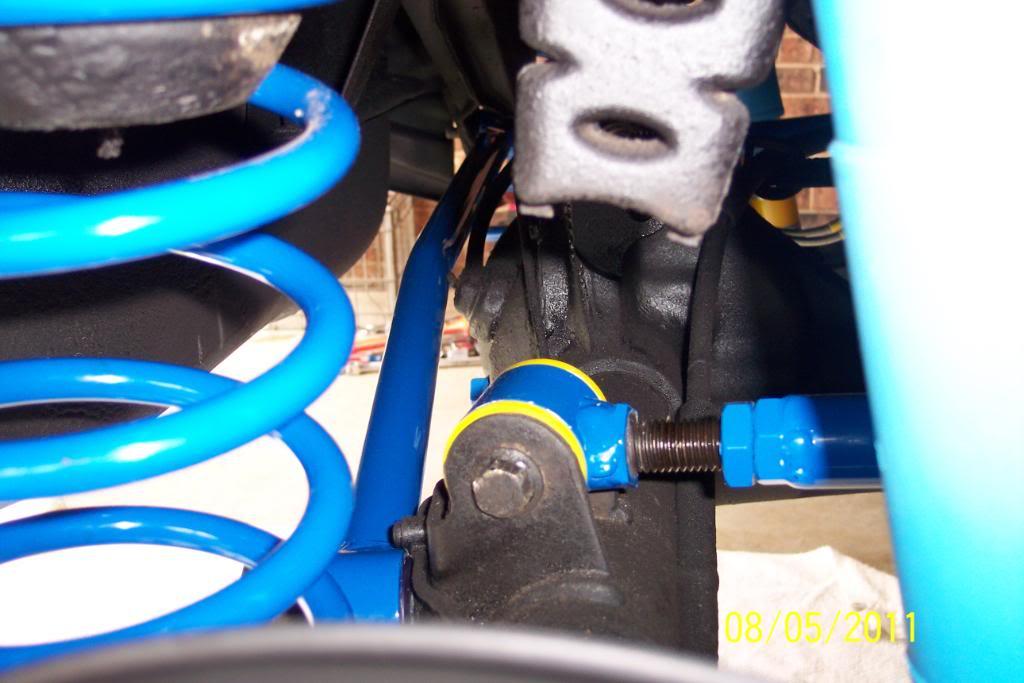
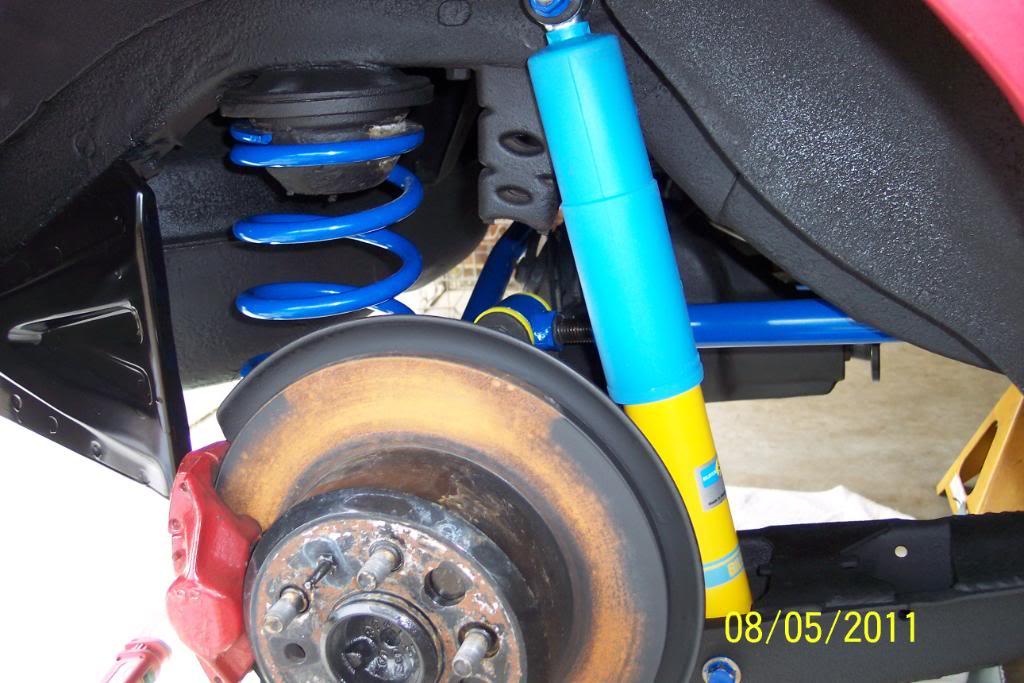
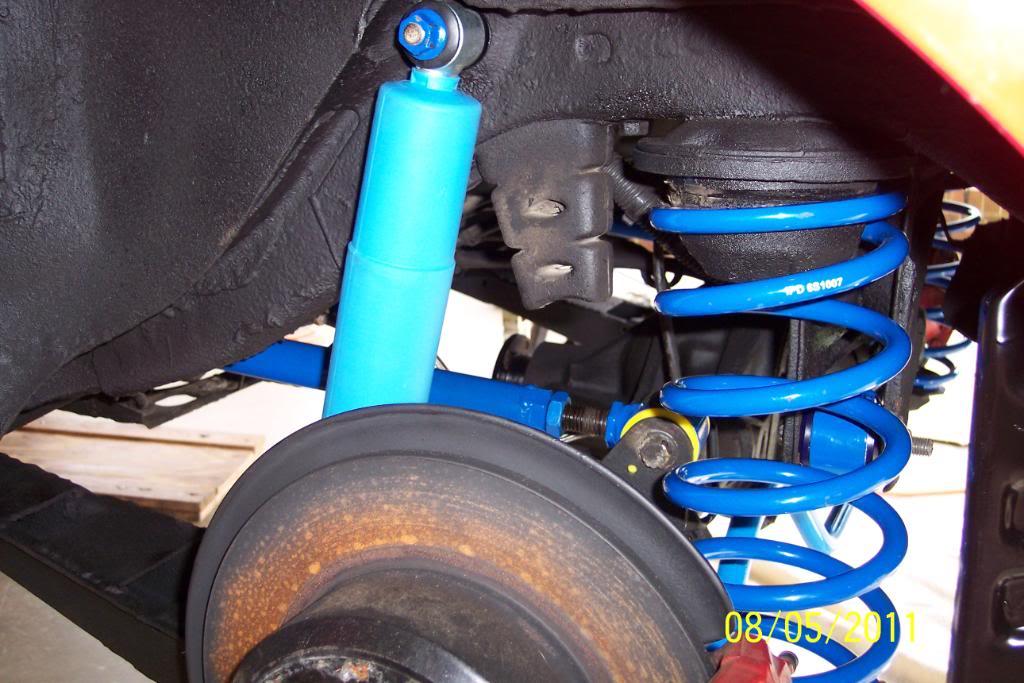
Hot diggity dog! I now have the rear suspension parts installed. I still need to check & torque all the bolts to Volvo's specs, but it's all there & bolted on or in , as the case my be.
And I need to touch up a few spots of the undercoating, and "spot spray" undercoating on a few bolt & nut heads, and possibly paint a few bolt heads & a few nuts with a modeler's brush and paint . I'm going to have to mask carefully for this touch up.
For the Record.....
This includes the following:
Braced,Primed ,Painted,& Undercoated OEM Volvo Lower Trailing Arms
IPD Adj Torque Rods/w/ blue poly bushes
IPD Adj Panhard Rod/w/ yellow poly bushes
IPD Rear Lowering /Sport Springs
IPD 23mm Rear Sway Bar
Bilstein HD Rear Shock Absorbers
Next thing to do, is , possibly give the rear ATE Brake calipers an uplifting additional quick coat of red Dupli-Color Caliper Paint, then, install the new rear Brembo Brake Rotors & install the EBC Green Stuff Brake Pads with shiny, new anchor pins & clips.
Then I will install a new Fenco Brand Brake Master Cylinder, and then, purge the entire brake system of it's old brake fluid, by bleeding the entire system with ATE Super Blue Racing Brake Fluid.
I have a plan in order, to keep all the bled brake fluid off of all my pretty, newly installed painted parts.
It involves clear hose, a few rags and plenty of tin foil.....and I'll cover that scenario with pics, when I begin it. It worked well with installing the IPD SS Brake Lines on the front of the car.
Pics...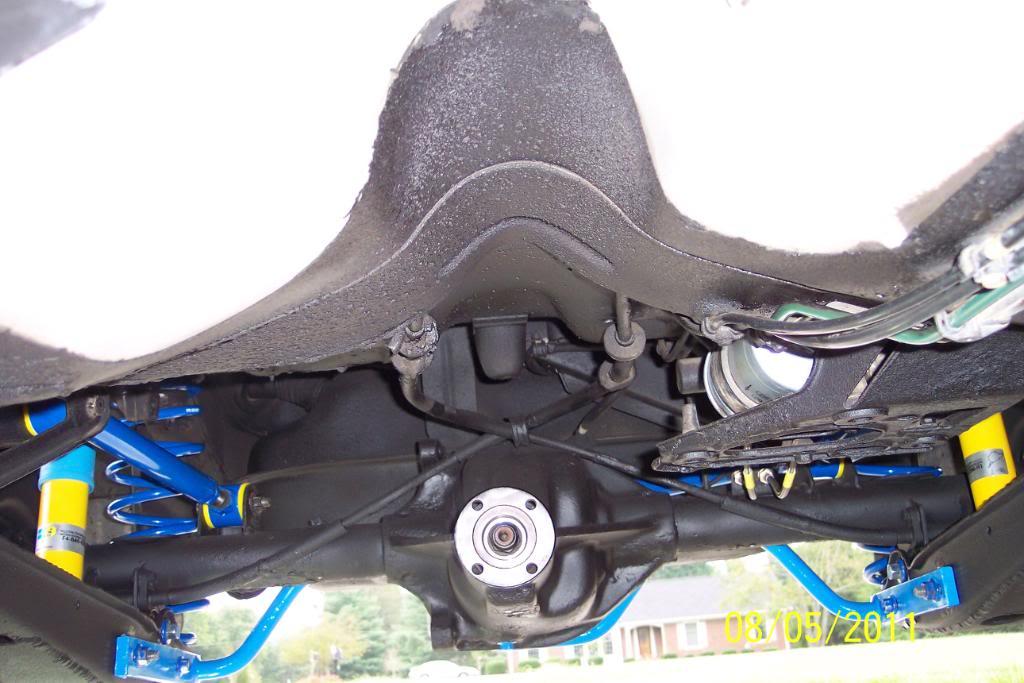
8/9/11
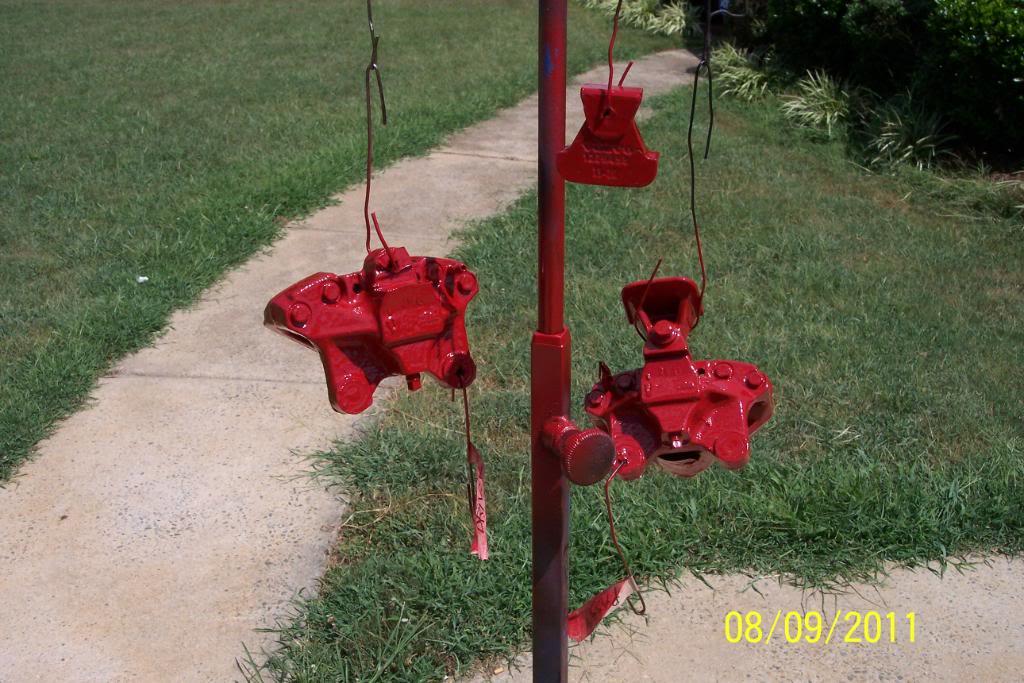
I removed the rear calipers, cleaned all the caked on brake dust, on the inside of the housing where the pads reside, masked off the pistons & seals . Then I painted them with red Dupli-Color Caliper Paint. I'm allowing a couple days for them to dry fully, in the Sun.
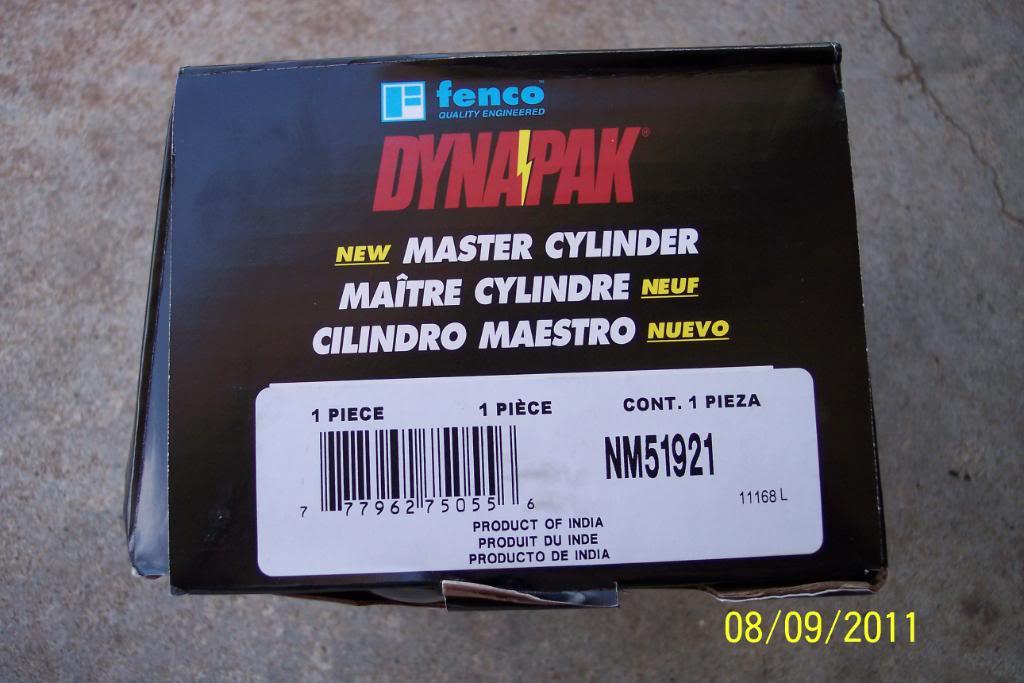
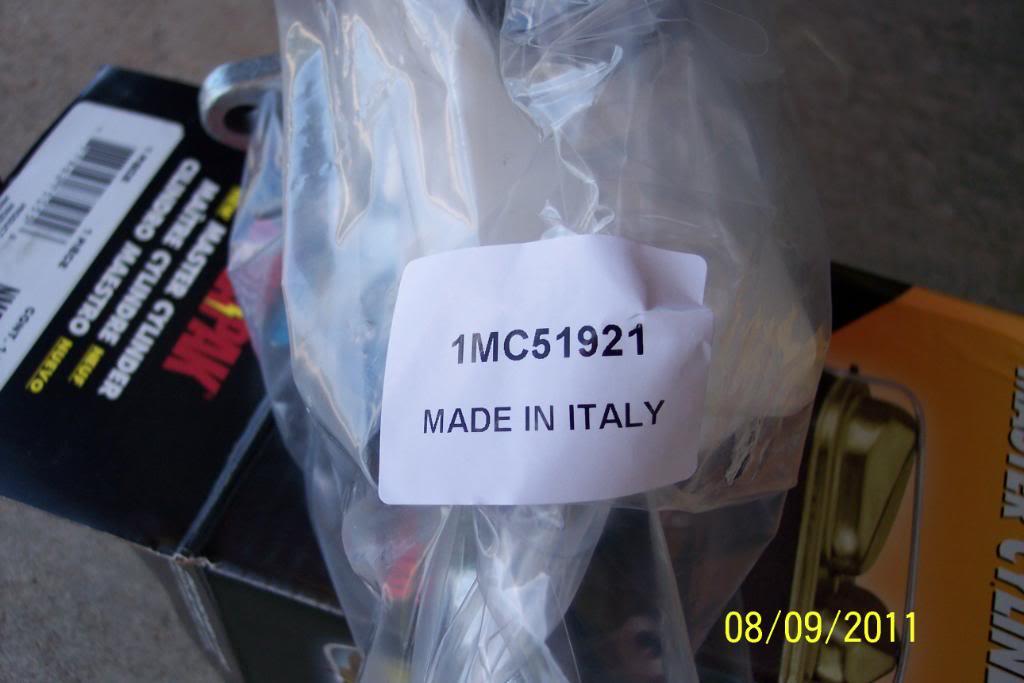
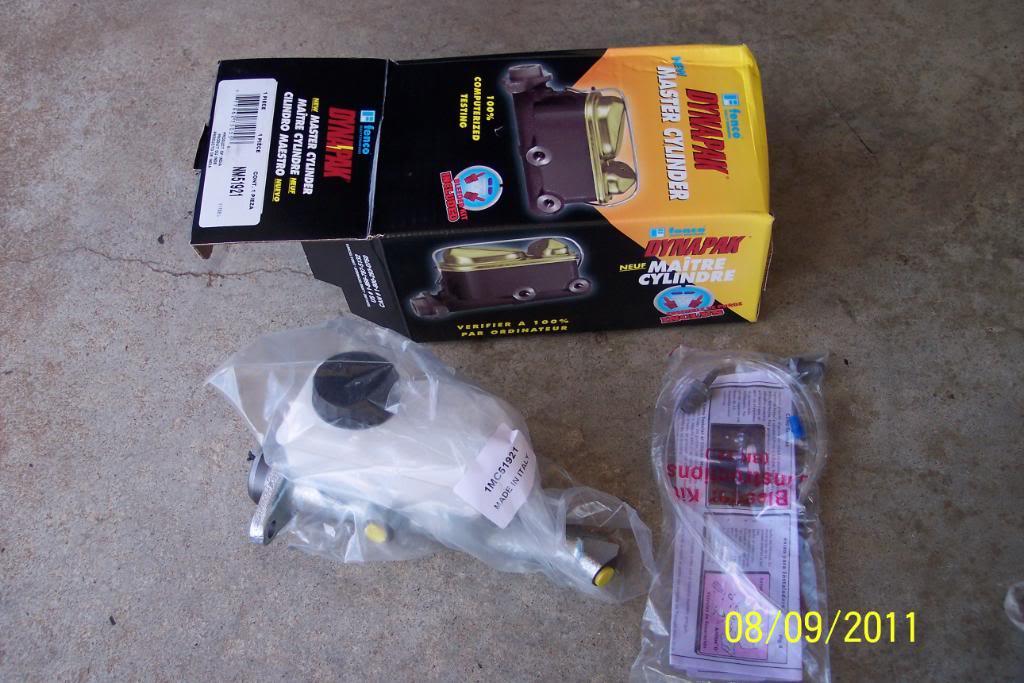
I also bought a new brake master cylinder. It's a FENCO Brand, a new unit not a reman/rebuilt one. Box says a product of India, but when I opened the box, the Master Cylinder is in a plastic bag, with a sticker on it that reads..Made In Italy.
I used one of these on my 79 245 back in late 90's and it's still holding, so IMO these are good master cylinders. It has a somewhat shiny and silver in color, special anti rust coating on it, and should brighten up the engine compartment a little more. Hopefully it'll stay this way for a long time. Looks better than the black paint on the OEM one , I think.
I will have to swap my 1991 triangular/with fluid level wires/sender OEM reservoir, onto this master cylinder though. This new MC has the older 240 style rectangular one. Shouldn't be a big deal IMO. Pics below: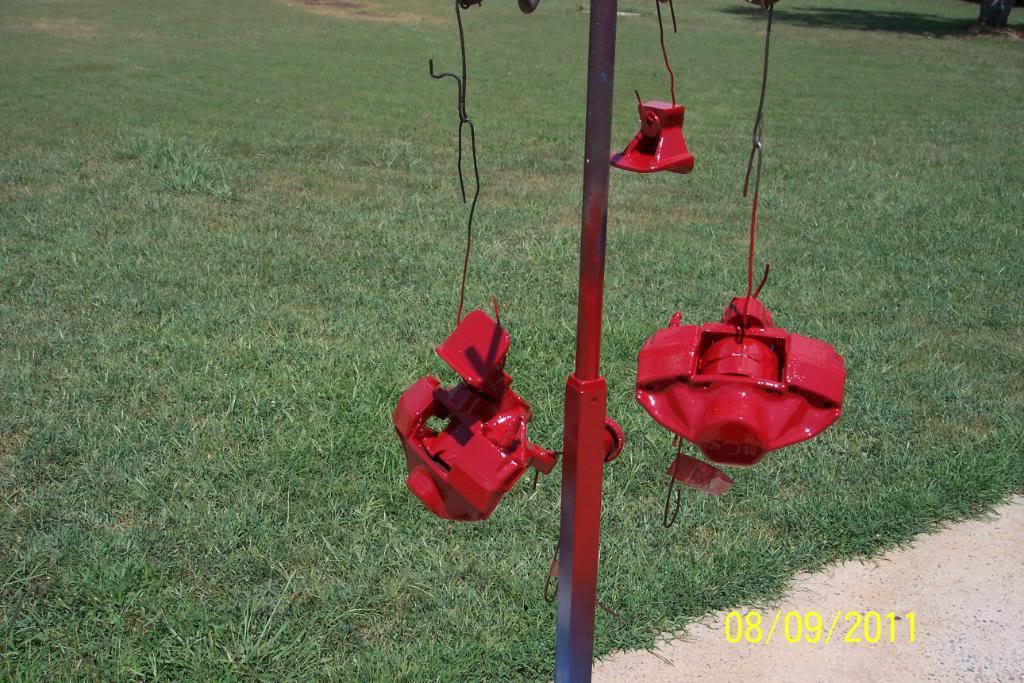
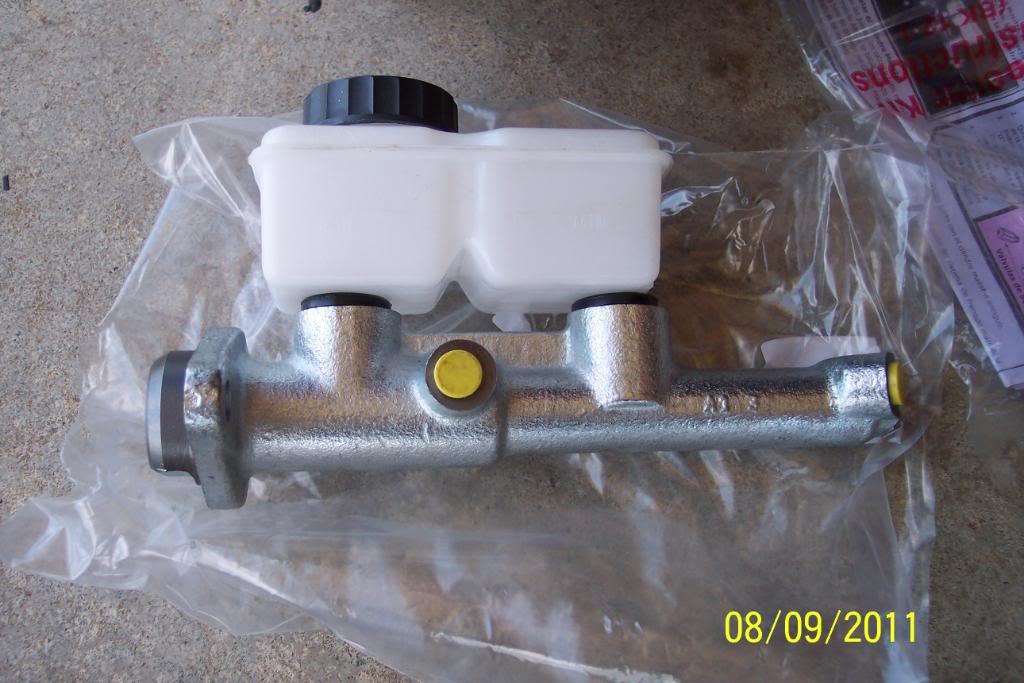
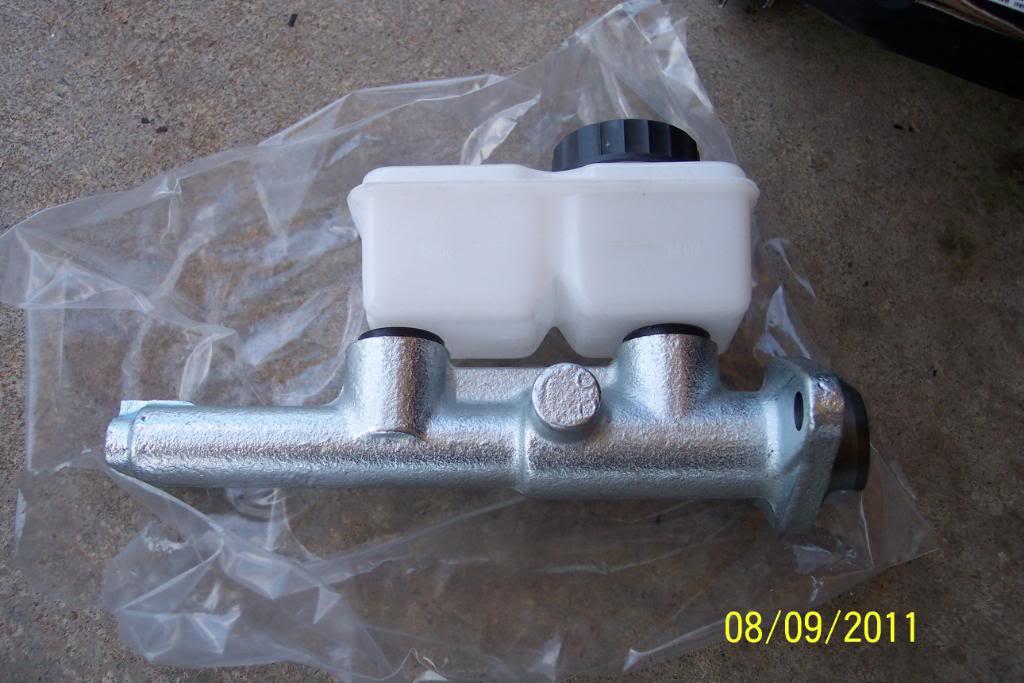
While I have to admit this is turning out a bit colorful, I just figured the finishes on the blue IPD parts, was most likely more durable than any paint I could apply to them afterward.
And most of the parts are/remain in, the color they were painted by the manufacturer(such as the IPD parts & Bilstein HDs) So other than hose clamps,the IPD sway bars(originally gold cadmium plated) & brake calipers, I haven't really painted much of anything else. The blue susp.parts came that color
So I just went with what color they were. And bought/painted, or modded, a few other small/minor parts to match/blend with, the IPD ones, such as the hose clamps and oil dipstick handle. Then finished the blue theme with the IPD Silicone hose kit.
I figured that at least it would have a "color theme" instead of many different colors for each part, and it would look better this way, rather than 14 different colors, or all painted black. Plus the blue is one of the colors used in Volvo's logo. At least it'll be different.
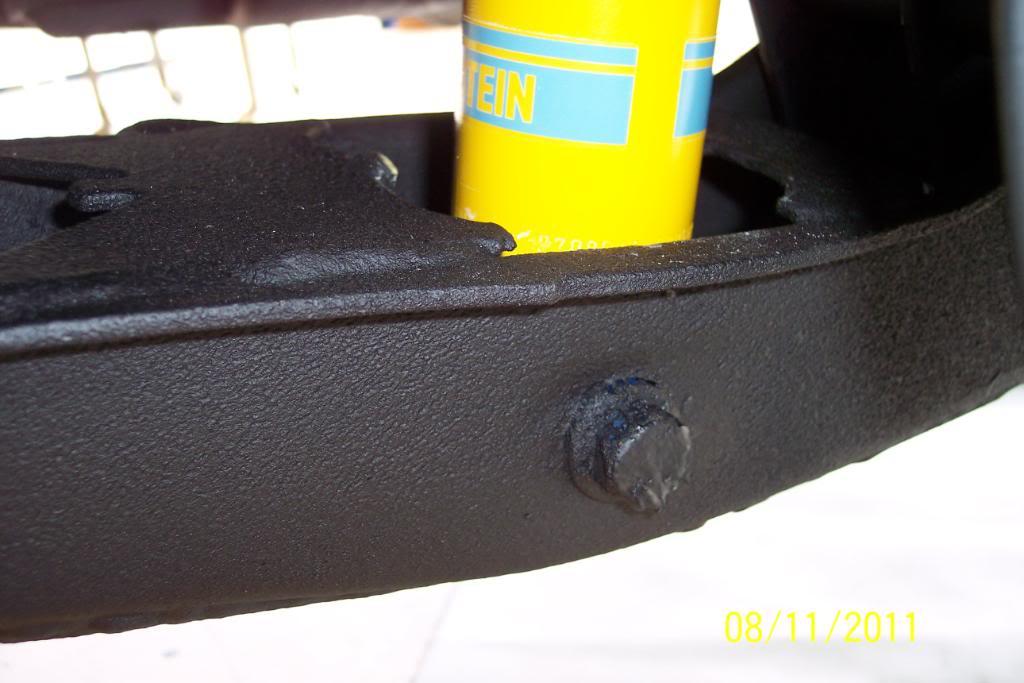
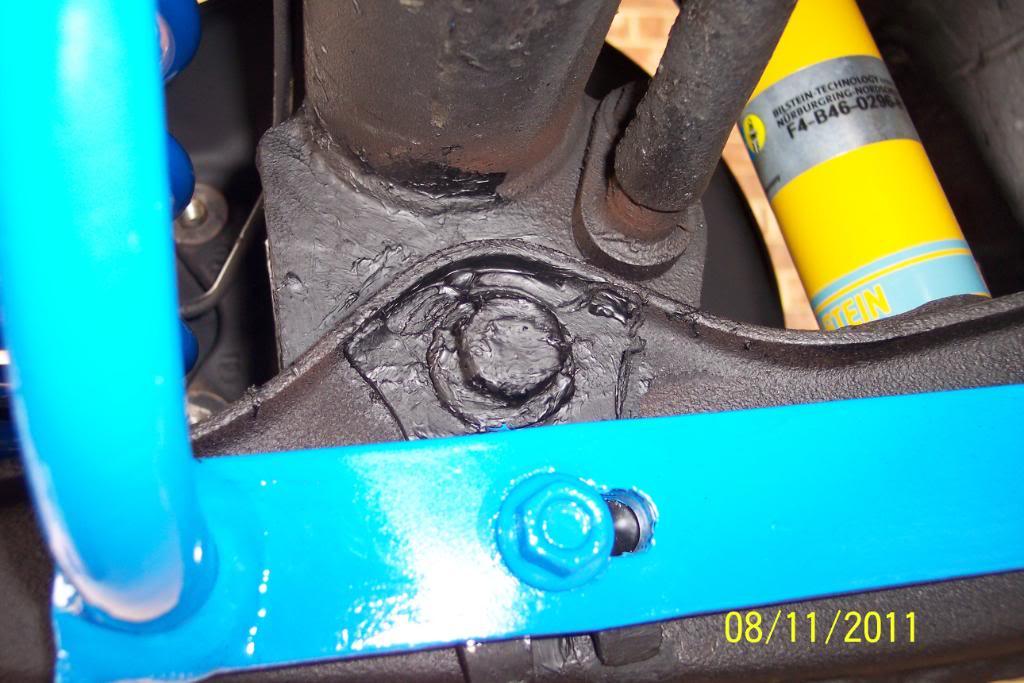
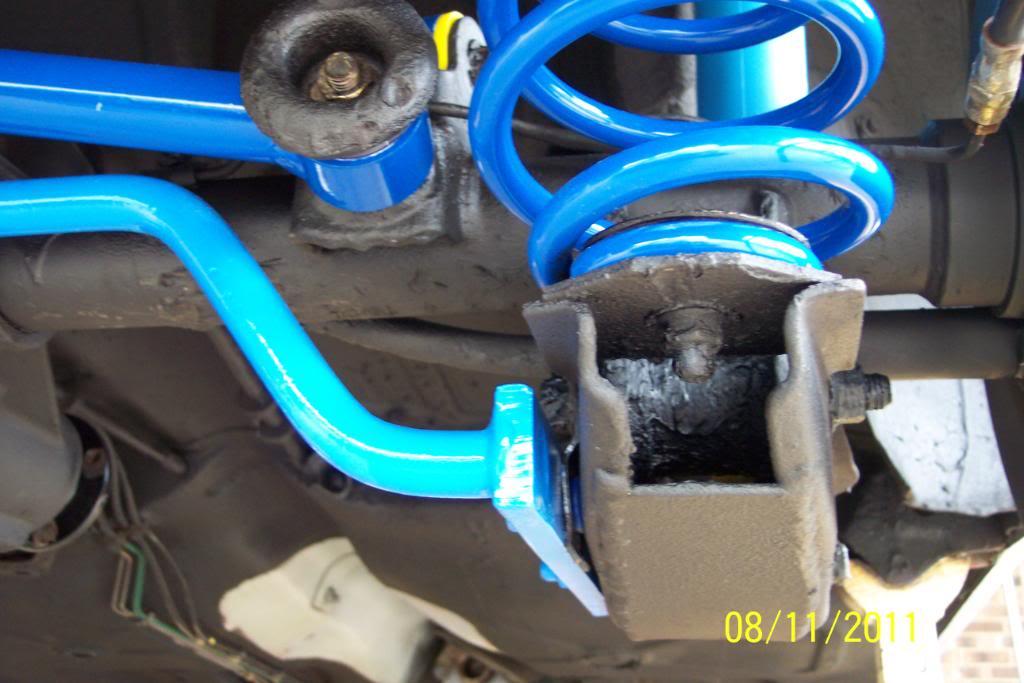
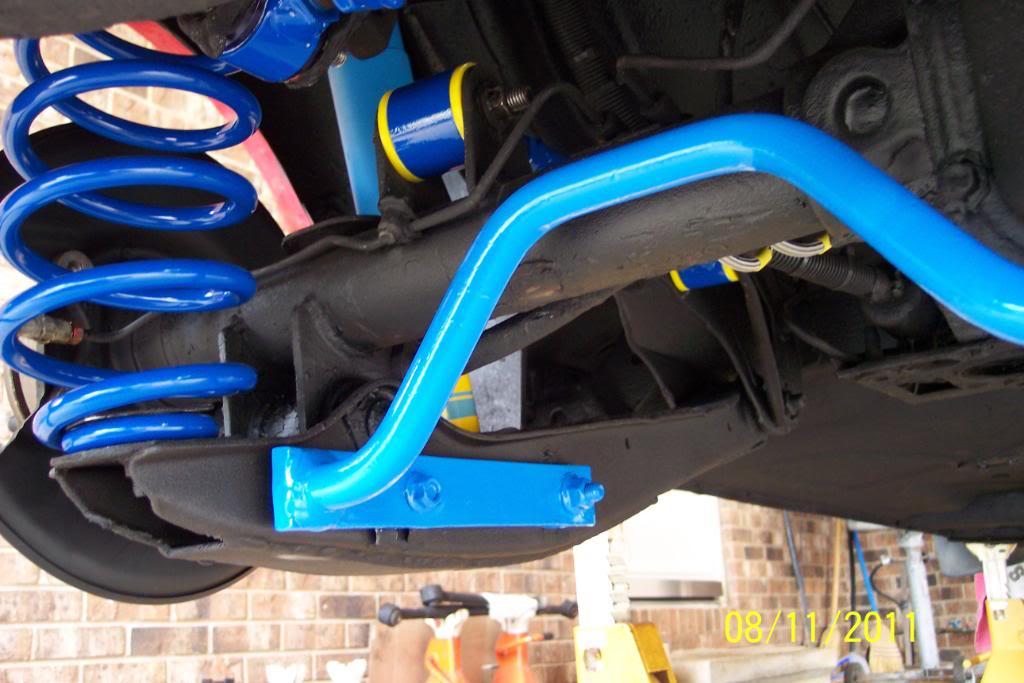
I am applying undercoating to most of the rear suspension bolt heads & nuts, so they won't rust, and re-painted the four sway bar mounting bolts, on the "sway bar side" to better match the sway bar's shade of blue.
After looking at a lot of pictures of Group A 240 race cars, and other 240 race going cars, I noticed they usually had a "color theme" of some sort. And I was going for ,somewhat ,of that appearance, and the appearance of a "what if Volvo had made a n/a R Sport 240 version".
Though it might not be to everyone's taste, at any rate, I am having fun, and I am modding the car as I want. And I feel that is the main objective of modding one's car, and what it's really all about.
At least it'll look somewhat sporty. This car has huge sentimental value to me as well. And has a interesting story behind it, on the drive home after purchasing it, which if I was to share with you, you most likely would not believe .
I've wanted this 244, since the first day I laid eyes on it, when it was new, in 1991.
8/11/11
I sprayed some 3M undercoating into a empty cake icing container, and used a modeling brush to apply it to most of the bolts/nuts/large LTA bushing's sleeves, and diff's brackets. This to circumvent them rusting.
I then decide to paint the 2 bolts & two nuts that hold the rear sway to LTAs with Rustoleum Sail Blue to match the sway bar.
The other day, I ordered the 1 3/4" round Volvo R Sport decals for the Virgo center caps from www.davebarton.com. They arrived today,thanks to Dave Barton, for his always speedy shipping!
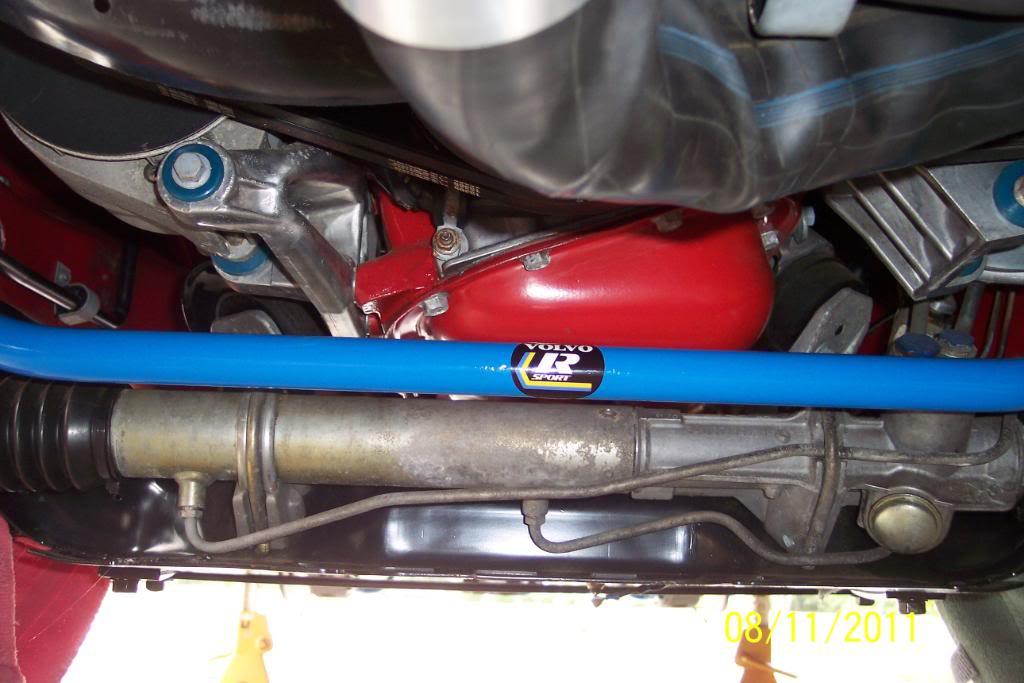
I applied them to the rear & front sway bars. This in keeping with my "R Sport n/a 240 theme" that I'm doing to this car. I like the look it lends. I will probably apply one to the front strut to strut brace also, later on.
Yep, I know the 242GT was all that was offered for "hi perf" n/a 240s, but I'm doing it my way....
Hopefully the rear brake calipers will be dry/hardened enough to install late this evening, or tomorrow. 
8/14/11
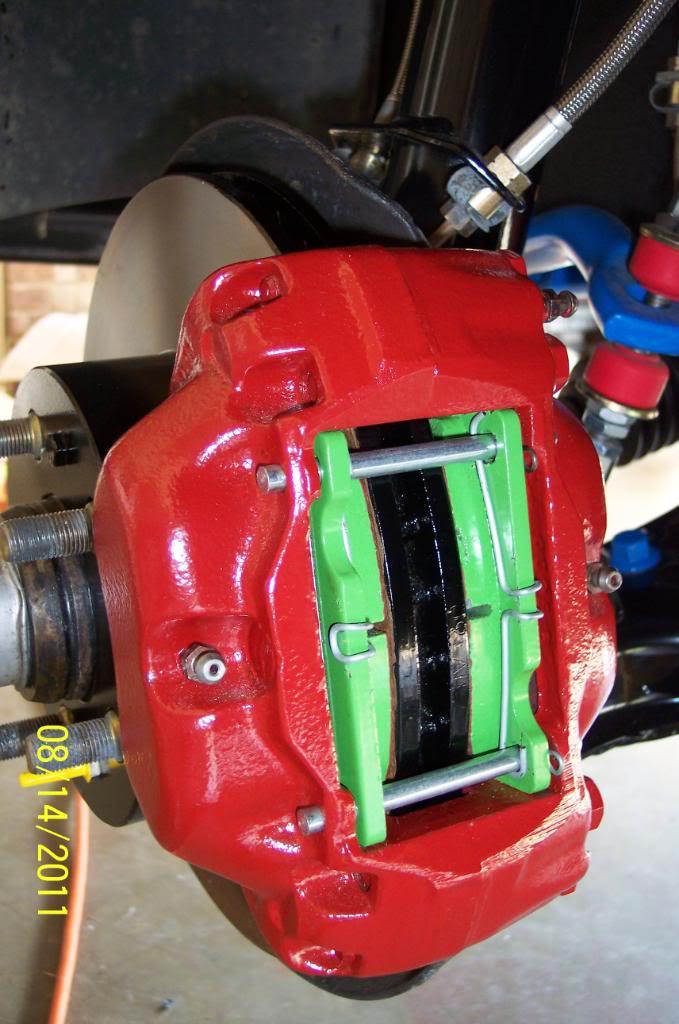
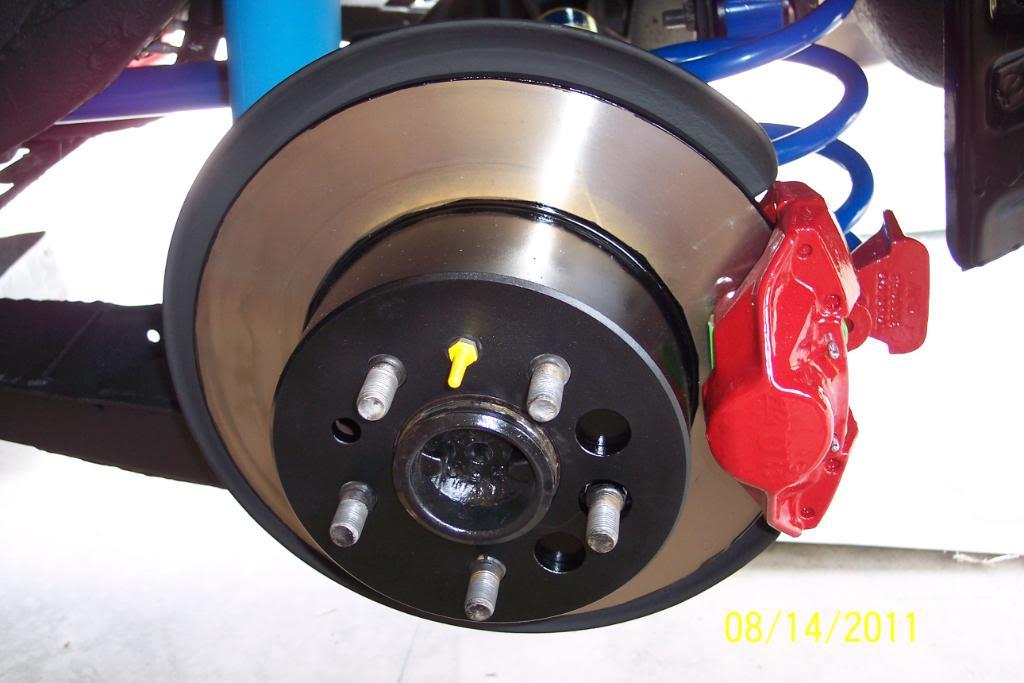
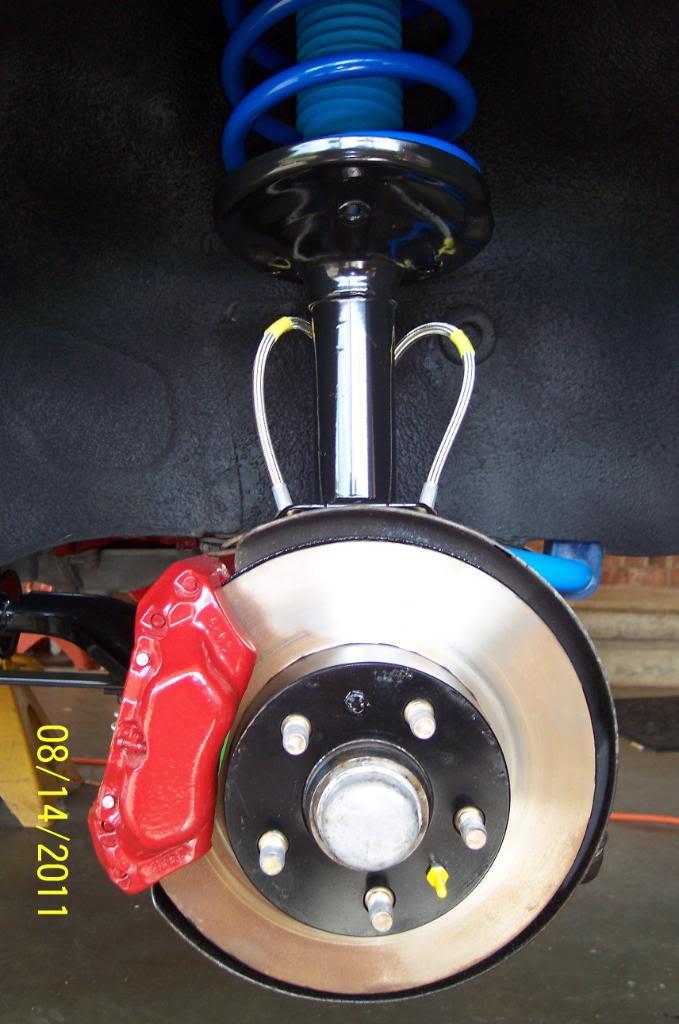
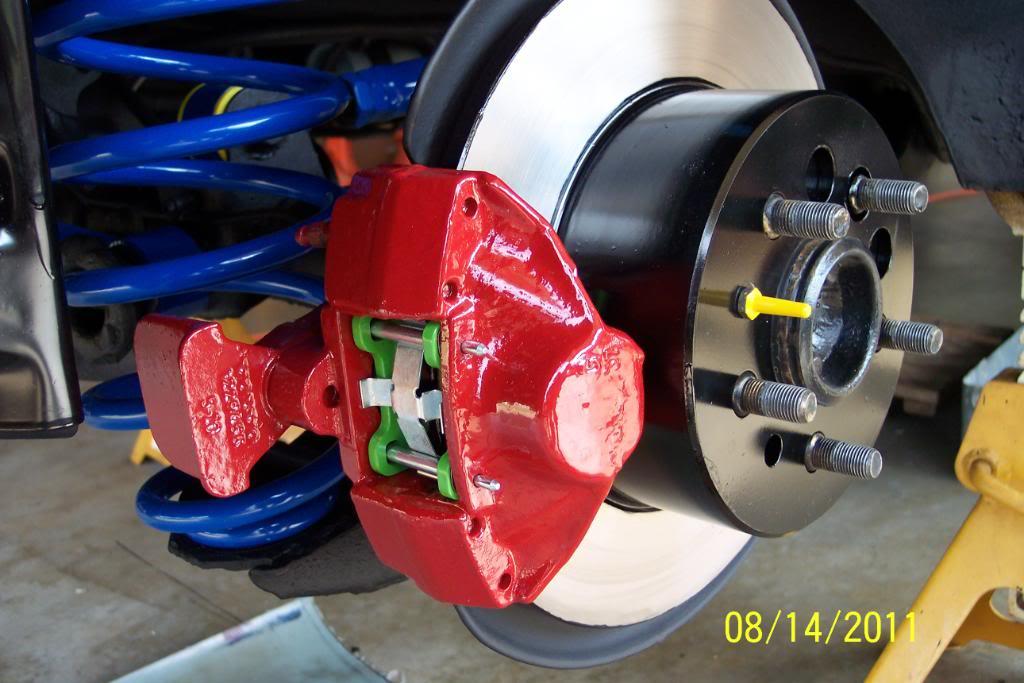
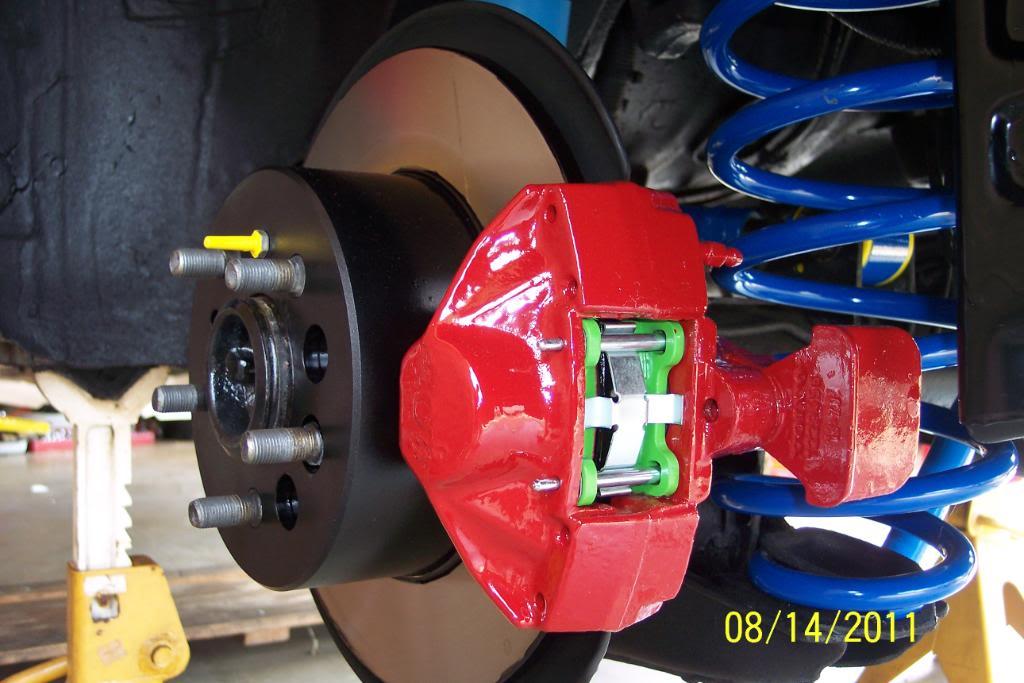
OK, rear calipers on axle & loaded. Front calipers touched up on inside edge immediately behind pads, where I previously neglected to paint them. All 4 calipers now match in appearence..
Also touched up rotors on outer edges and front's "vents" are now fully painted as well. Also painted all four "wheel alignment pins" that screw into rotors/hubs yellow, for easy ID during "on side of road" tire change due to flat, and painted frt "rotor securing" bolts. Pics below:
Next part to install is Brake Master Cylinder. Then bleed brakes.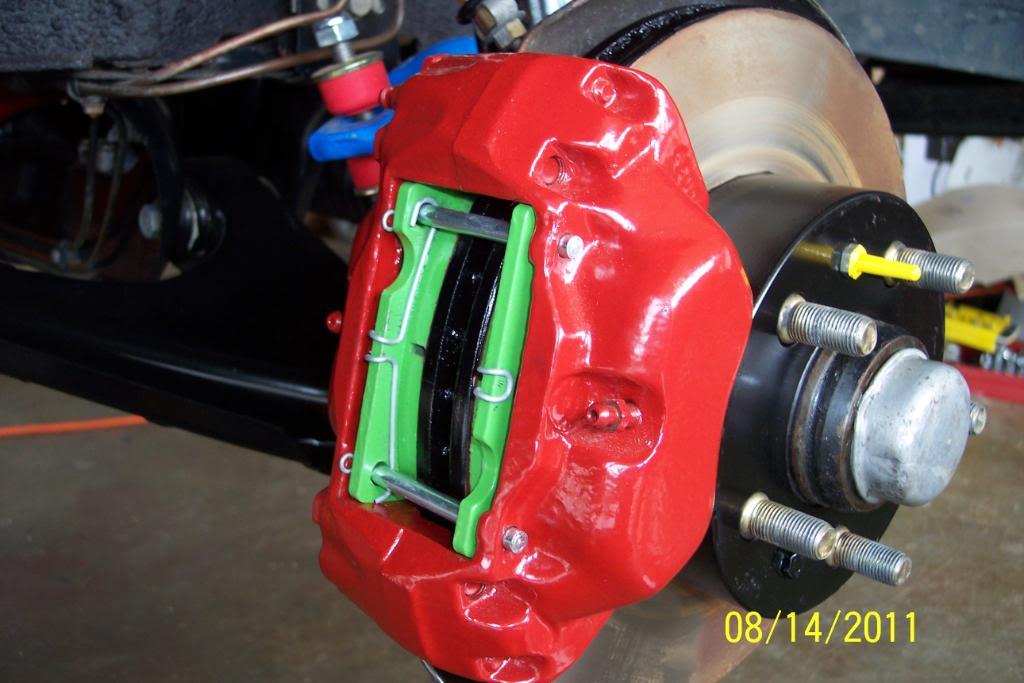
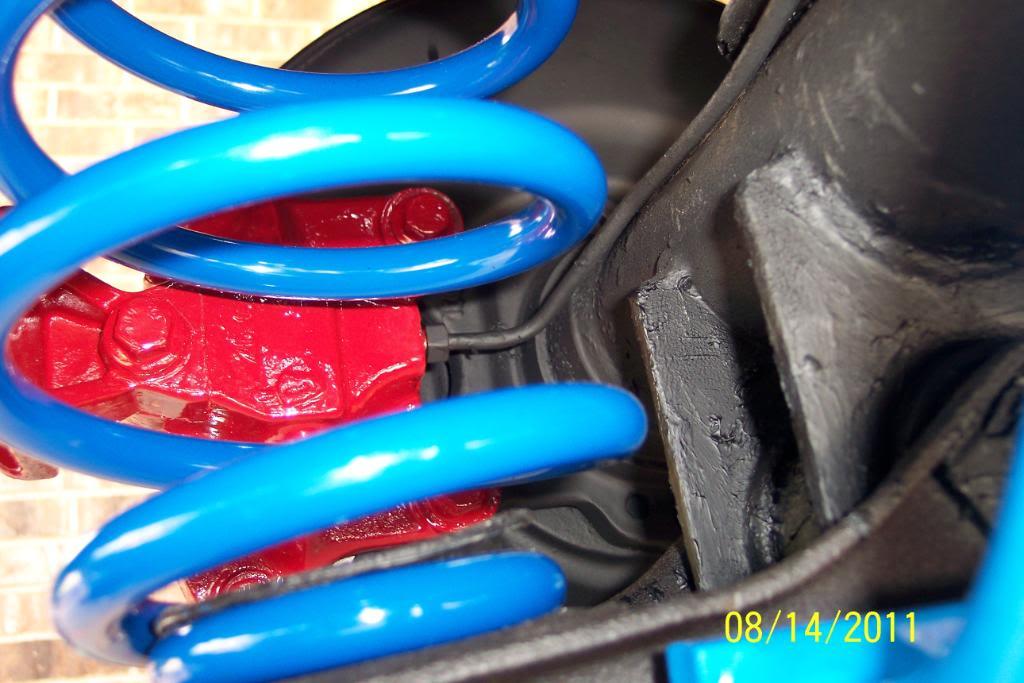

I removed the old ATE Master Cylinder, rinsed out the triangular reservoir with some new, but old/opened Castrol DOT 4 fluid until all the sediment was out of reservoir & it was clean again. Dried it off, cleaned up all the fluid residue with GUNK brake cleaner fluid on a rag. Got reservoir's exterior spotless.
Removed triangular reservoir from old MC, removed rectangular reservior from new MC. Then they swapped places.
I then bench bled the new Master Cylinder in the vise , and used the ATE Racing Blue Dot 4 Brake Fluid. Bled it until absolutely no bubbles were seen.
Placed a ton of paper towels in the area under the MC, to catch any & all spillage. Then installed the new master cylinder, wearing the original OEM Volvo triangular reservoir w/ fluid level sensor, onto the brake booster.
Removed the plastic bleed plugs, one at a time and threaded on each line, one at a time. MC is now on the car, and I'll begin bleeding the entire brake system tomorrow.
I spent the rest of the day, going through all my wrenches, and organizing them, as well as sockets, rachets ,extensions and all other tools.
Having used these tools and having them scattered to hellenback, for over a year, had gotten me to the breaking point.
It was way past time to put unneeded things away, and get my tools back in order. Would you believe it took 6+ hours? I'll spend more time working quicker now, because I don't have to hunt for 15 minutes to find something. Nothing bothers me more than that.
I'll post pics of MC install after I bleed the brakes tomorrow. But the silver finish on it does look nicer IMO.
The hard work is done, and it should be easy & all down hill from here. That is definately something to look forward to, as I've worked my everlovin' ass off up to this point. WORD.
8/16/11
One has to realize I used to work on new in showroom, and customer's custom Harley Davidsons, and I've built a few bikes that appeared in shows to boot. Sometimes the customer was a 1%er Club member, so I always did my best work . I guess the habits of that remains instilled in me & still shows in my work. Even on a Volvo 240 build.
,Today I took a razor blade, and an Exacto knife, and scraped/cut the paint on the bleed valves off , so the clear hose would slide on easier. Then cracked open all the bleed valves to free them of the death grip the paint had on them.
Then I commenced to bleeding the brakes................
FWIW, I just thought I'd share how I actually set up for bleeding the brakes. Doing it this way keeps from ruining the newly painted calipers, and keeps from making a big mess to clean up. ..
Ya need ...........
Eight(one for each bleed valve) ,8mm wrenches(1/4" IIRC for early 240s)
4 empty milk jugs with top cut out,4 rocks in baggies(to keep jugs from blowing away due to wind /to view how dirty old fluid was)
Clear 1/4" sink tubing from Lowes, say maybe 1.5 ft per bleed valve(8 of them)
8 tie wraps,
4 bolts to tie wrap to the bottom of the lines, so they will not curl up.
And 3/16" clear line will work, but is easily made to leak if you're not careful. The 1/4" clear line requires more finagaling to get on the bleed valves, but is more secure. Let it sit in the Sunshine before slipping on the bleed valve helps.
This has always worked very well for me, and is worth doing if you've painted your calipers. I didn't spill a drop on the carport floor. And disposal of used brake fluid, read burned, was much easier.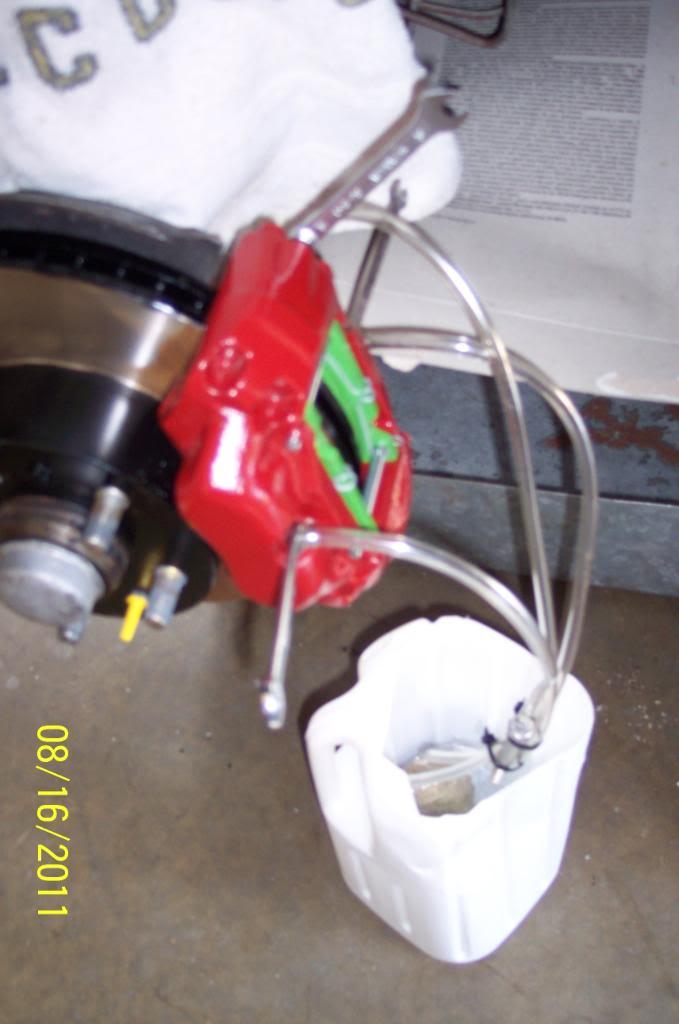
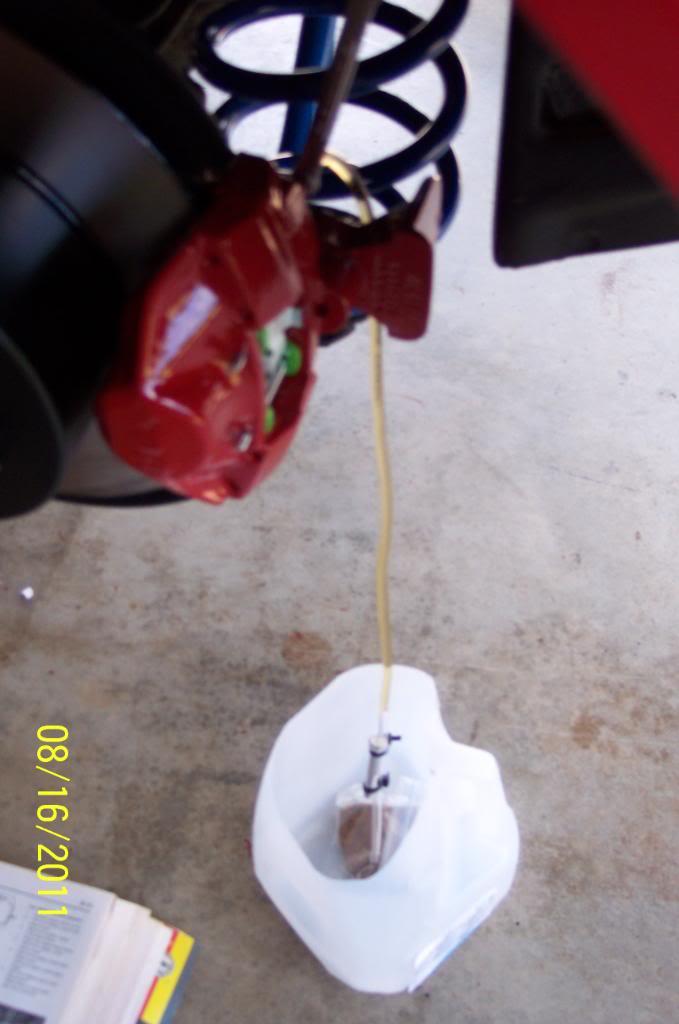
I also cover up around the MC area very well, in case I spill brake fluid. It's very overdone because, I did not want to take any chances of ruining the lower control arm's paint job, as well as the inner fender's paint.
Notice that's ATE Super Blue Racing Brake Fluid DOT4 in the new master cylinder. Ha Ha, more BLUE!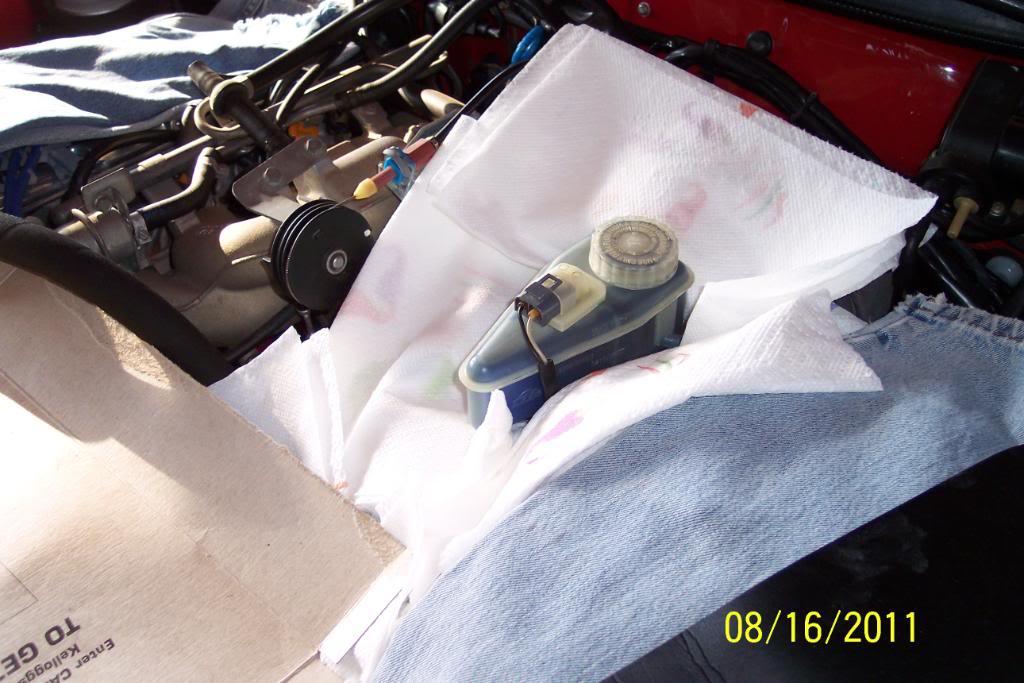
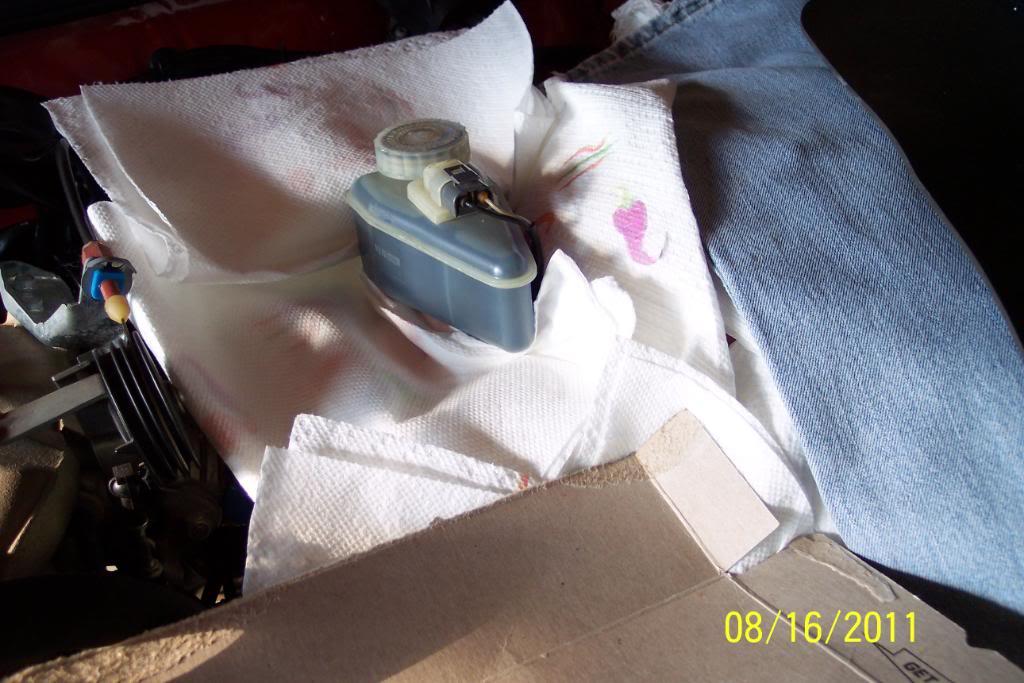
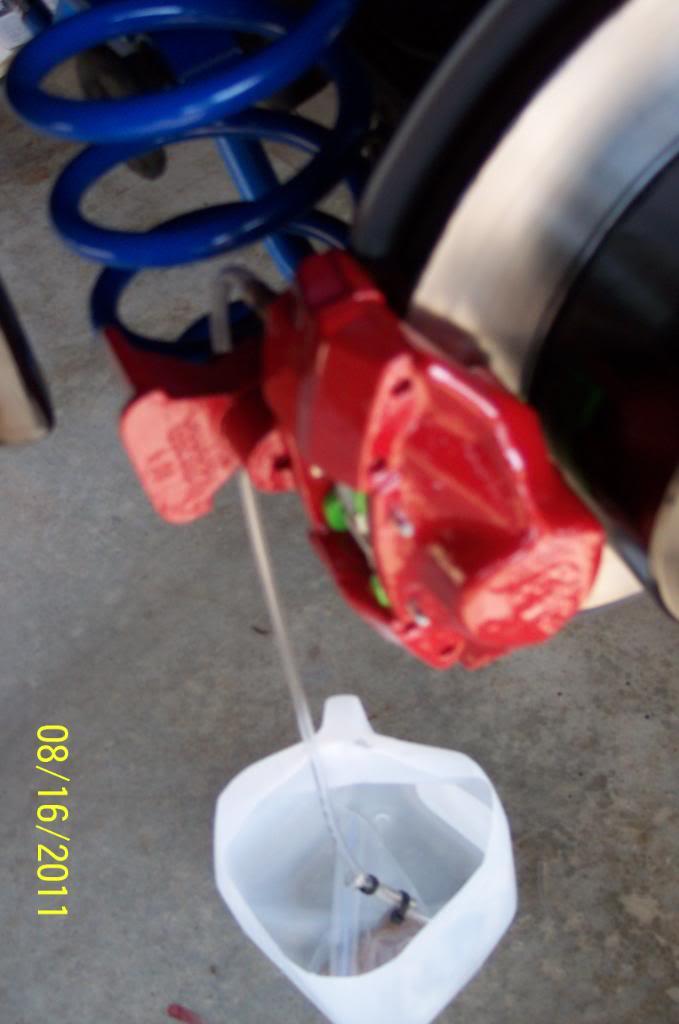
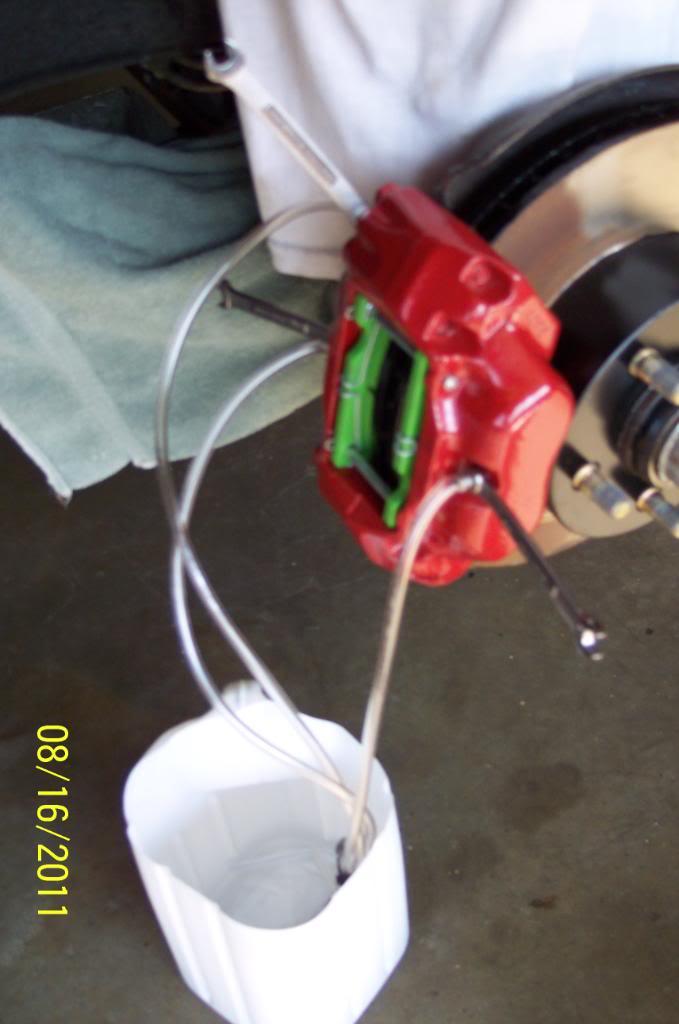
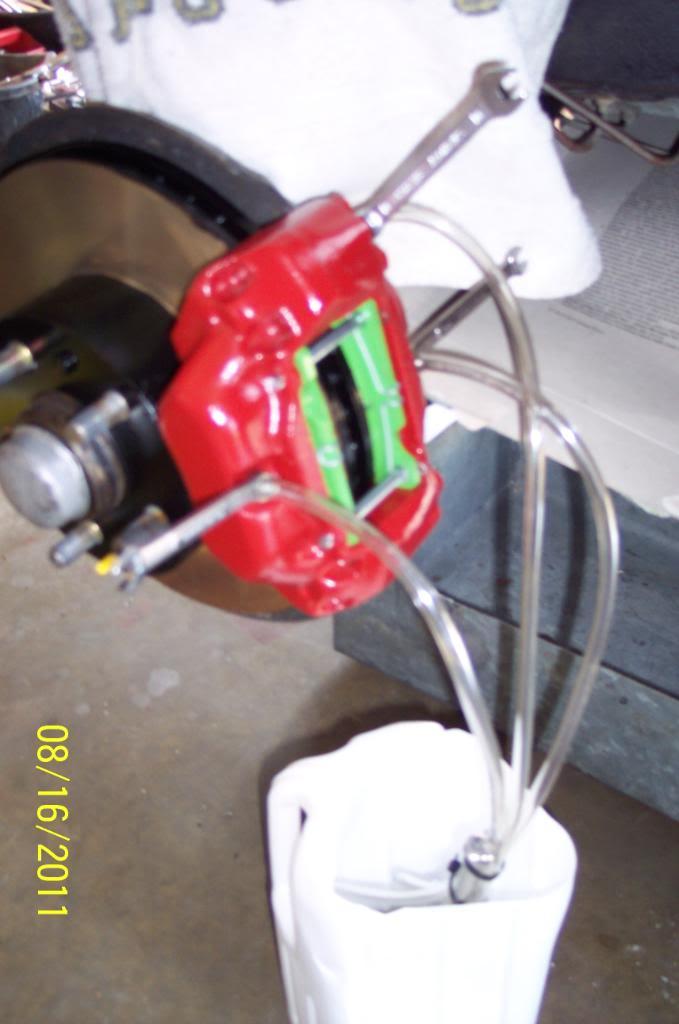
I've been busy bleeding the brakes. I have new fluid running out of all bleed valves & with no air & a good,firm pedal.
I then tapped on all the brakes lines their full length, with a hammer handle. I'm going to let it sit a few hours, then check the pedal & bleed all bleed valves one more time,just to be sure/positive.
I don't want to do this again if at all possible.
Ooohhh ......almost forgot.. pic of pretty blue brake fluid, to match the IPD Susp. parts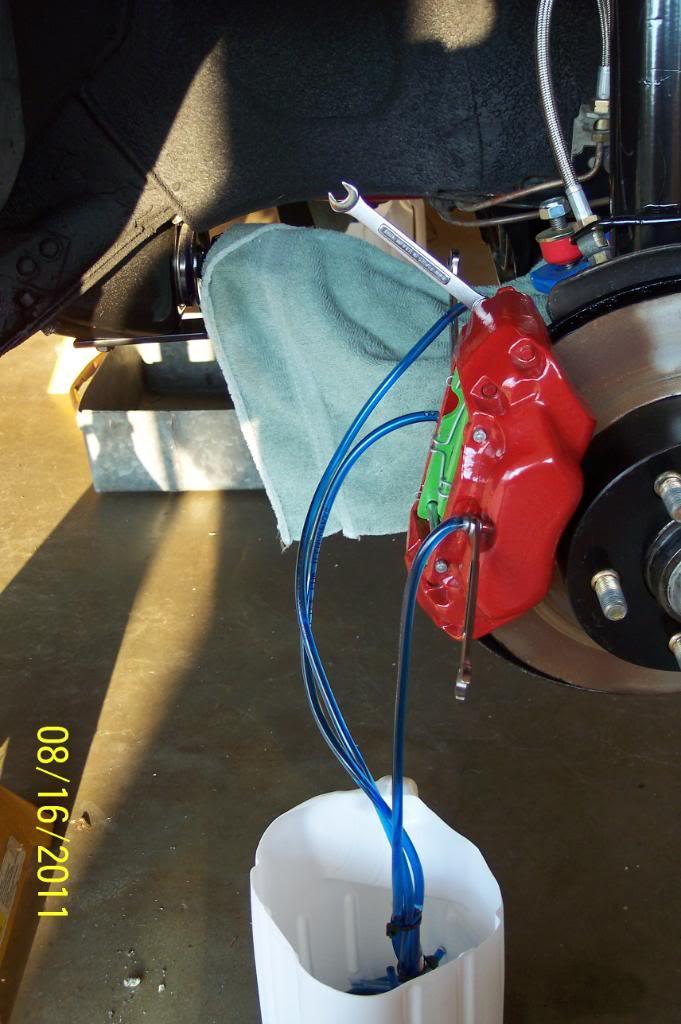
The entire brake system is fully bled & now brake system is correctly & fully functional. In other words, I have good brakes.
Close ups of Master Cylinder......
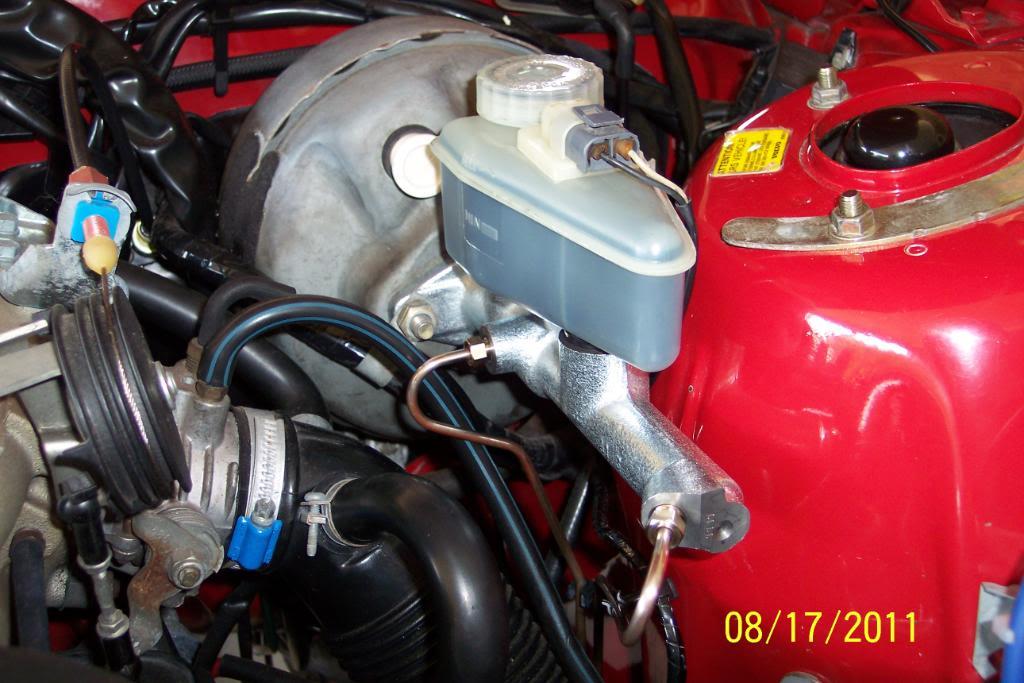
And how it "blends" with rthe est of the engine compartment..........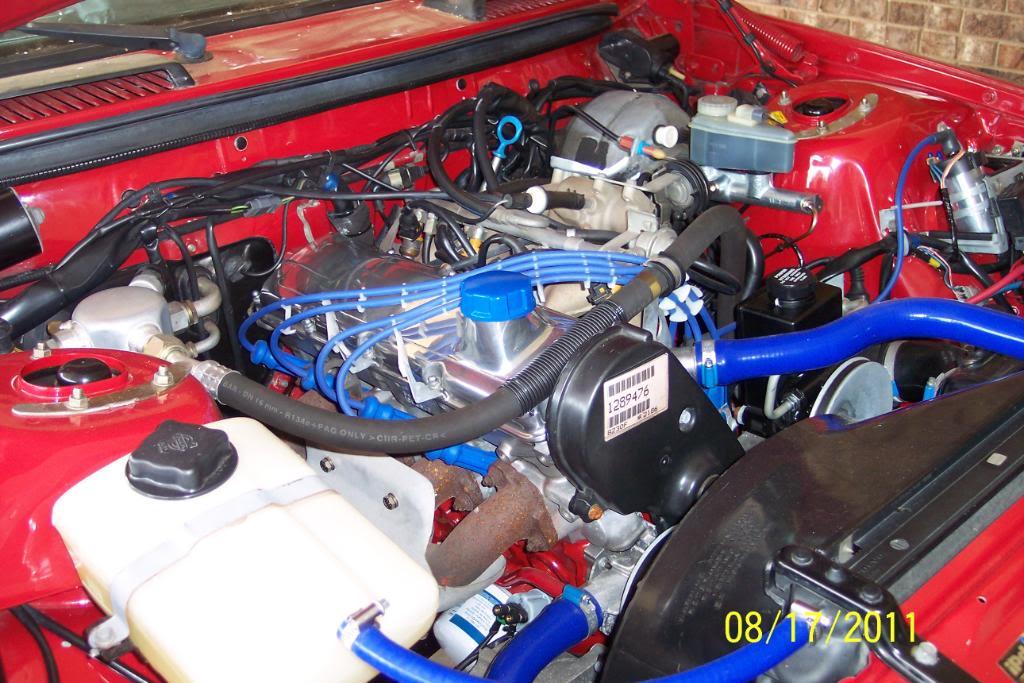
8/19/11
Went to A/Z, bought two pair of 18mm "Spark Plug Nonfoulers" for less than 10 bux. Then ,I cut a flange of an OEM Volvo cat I've had since 1997. Dressed it a bit, and had local muffler shop weld new straight pipe to it. Then muffler shop cut a hole & welded the bung in the header pipe.
Muffler shop also happened to have an old,used,what looks to be, "Orange Peeler" glasspack muffler. No rattles inside it.Quieter ,I suppose, than the proposed small round Thrush muffler (I call 'em Woodpecker muffler") I had intended to use, so for 5 bux i bought it.
Spent $35.00 for muffler & having an OS bung welded into 9:00 position of old downpipe and welding on flange, plus the 33" piece of new straight pipe.
Ran outta time, so will return Monday/Tuesday with car, to properly place bends in straight pipe, and weld hangars on glasspack, then weld on glasspack to bent straight pipe. Will run catless to Raleigh.
Hell, this seems like a helluva lot of work & $$ ,just to have a not so cheap, temp exhaust , only for the 70+ mile trip to RJS Custom Piping in Raleigh NC, to have the 2.5" mandrel system made. Gotta pay to play I guess.... I can always use it for similar tasks in the future....
I did bolt it all up, & just slid the muffler on. Hell it points straight at the "diff's hog's head".
Then I cranked engine & let it reach operating temperature. Did this 3 separate times. I looked for water & oil leaks all around the engine bay...and.....found NONE. Whew!
From sound of 1 glasspack, I'm thinking I'll need another muffler of some type, to run with the planned 2.5" in/out 6 round x 18" long MagnaFlow muffler ,when 2.5 system is on. I'll be shopping online for those tomorrow I suppose.
After I welded my header pipe bracket back on the old header pipe, I repainted it for the 3rd time with DupliColor Engine 500* Ceramic Paint in black.
Painted welded on flange of straight pipe, and bolted all these parts on. Aims straight for hog's head..again.
I sanded the 5 bux Cherry Bomb, and painted it with some red caliper paint, I had left over. Damn thing looks new now.
Gonna have muffler shop put some bends in the straight pipe, weld on two round rod hangers then weld on the Cherry Bomb, add some pipe to run it just under the axle and weld on a turn down tip on end.
I figure I can use this set up, later, on another of my 240s, to get it to a muffler shop if /when, I have exhuast system failure. Like I doin' now.
I don't want to chance breaking studs off of ex. mani with a half assed temp exhaust system. That woud be a large can of PITA at this near to being finished.
In the last pic, you'll see why I'll have to remove the straight pipe nd have local muffler shop put a few bends in the pipe .
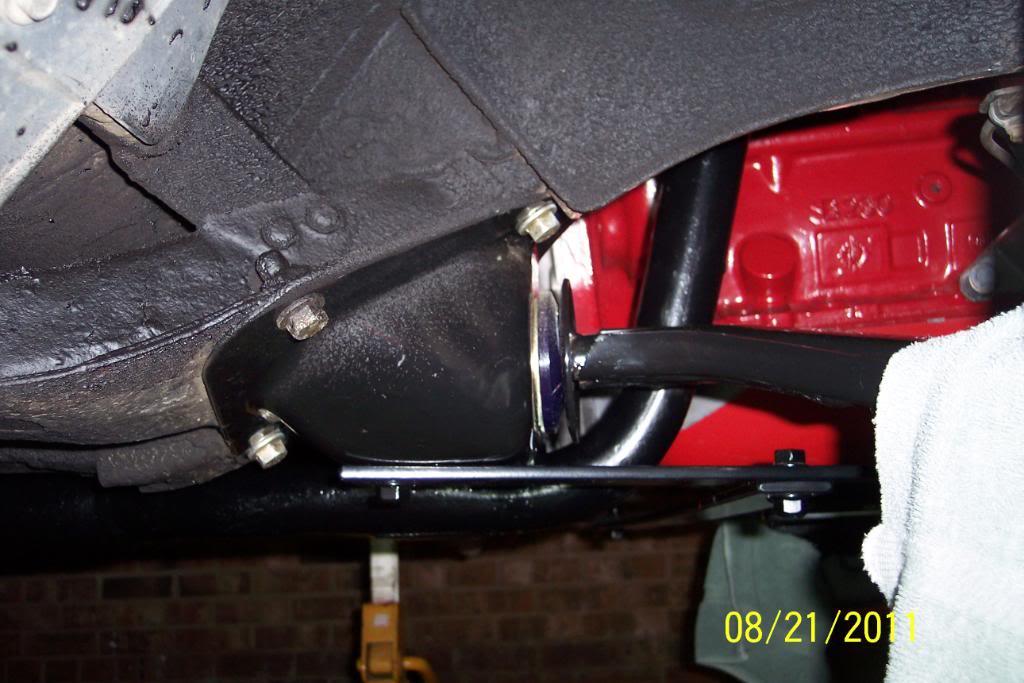
A FEW PICS...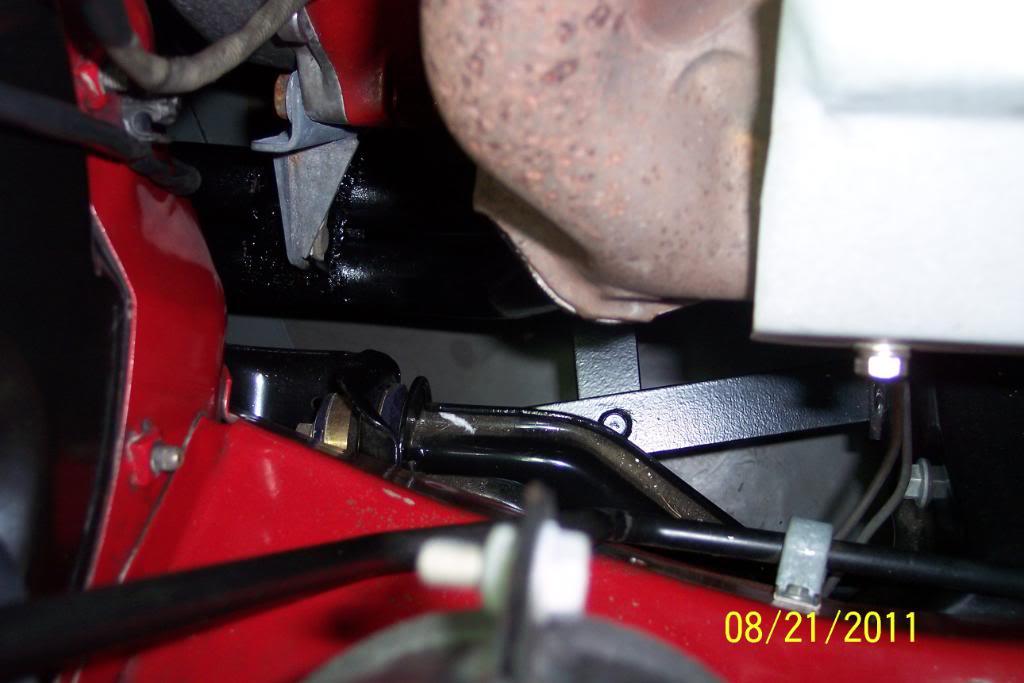
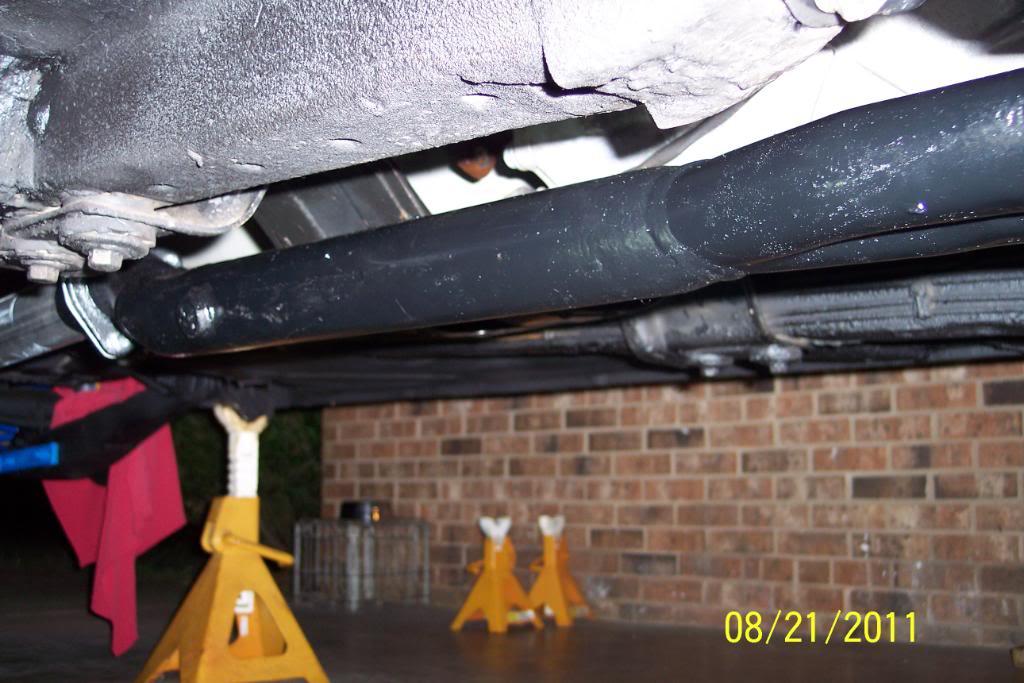
Either the exhaust pipe will hve to double time it as a drive shft, or vise versa,. I think I'll just have a few bends put in it.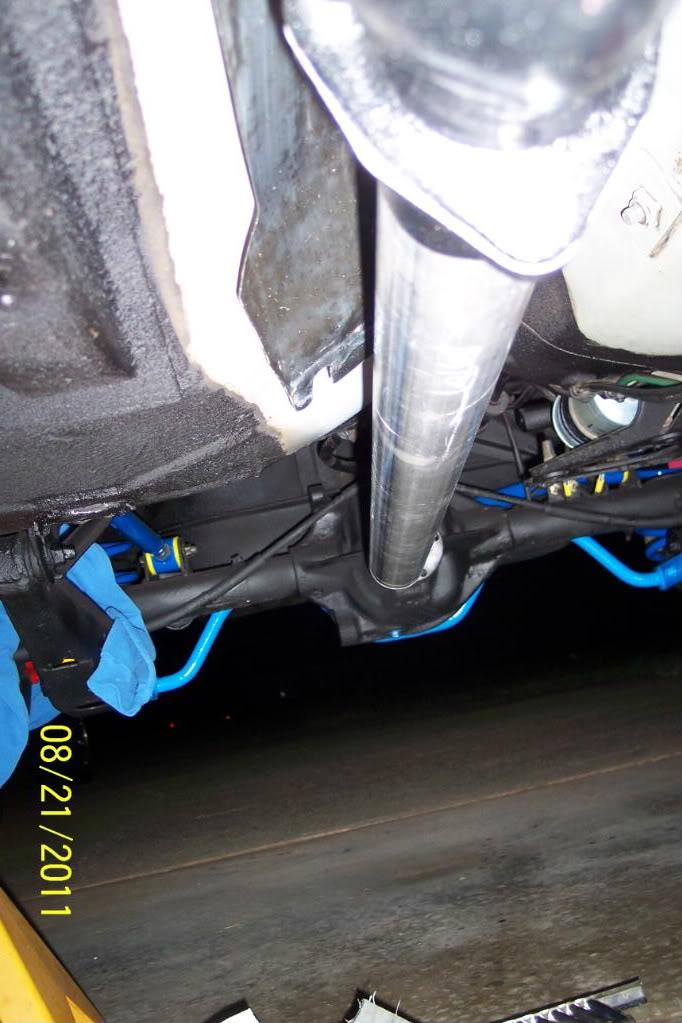
8/21/11
So. I pulled the stright pipe off today. I'l have to drive it to muffler shop with "open header".
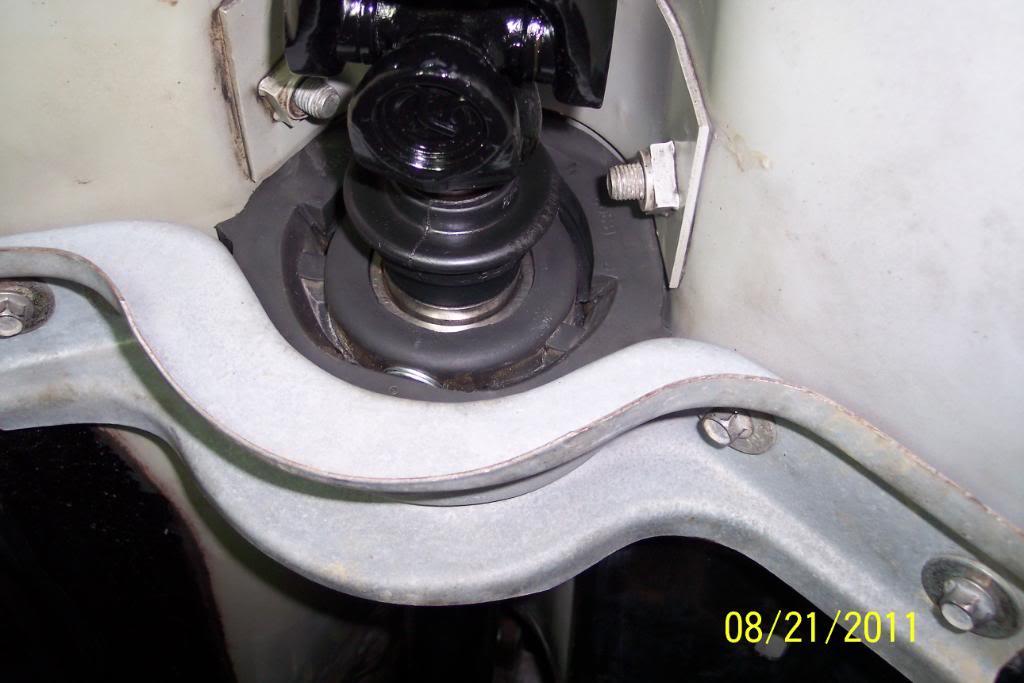
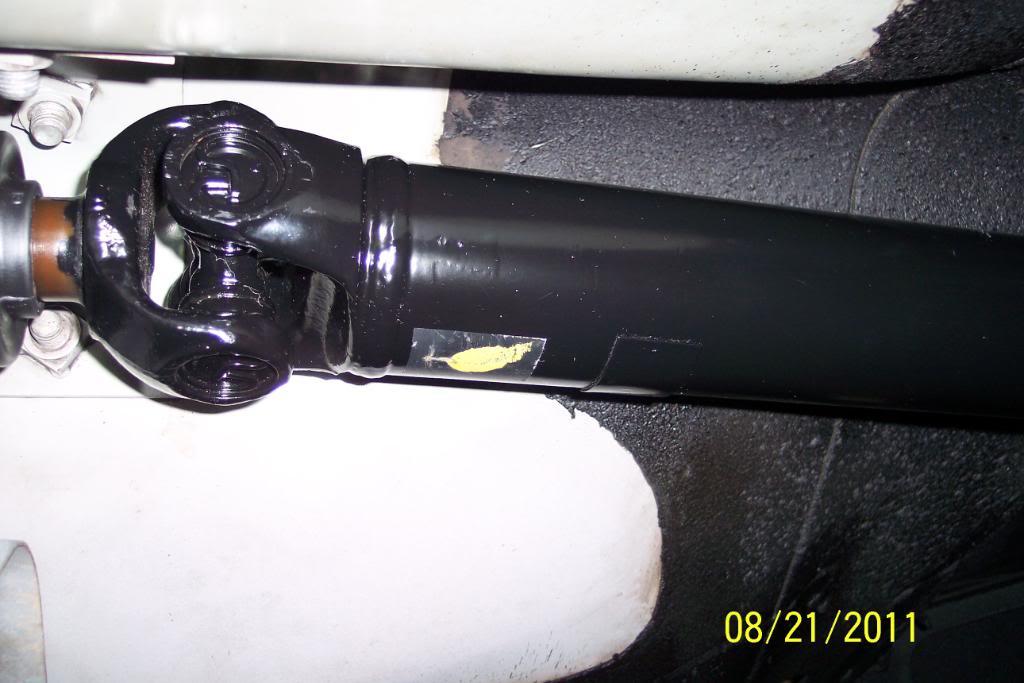
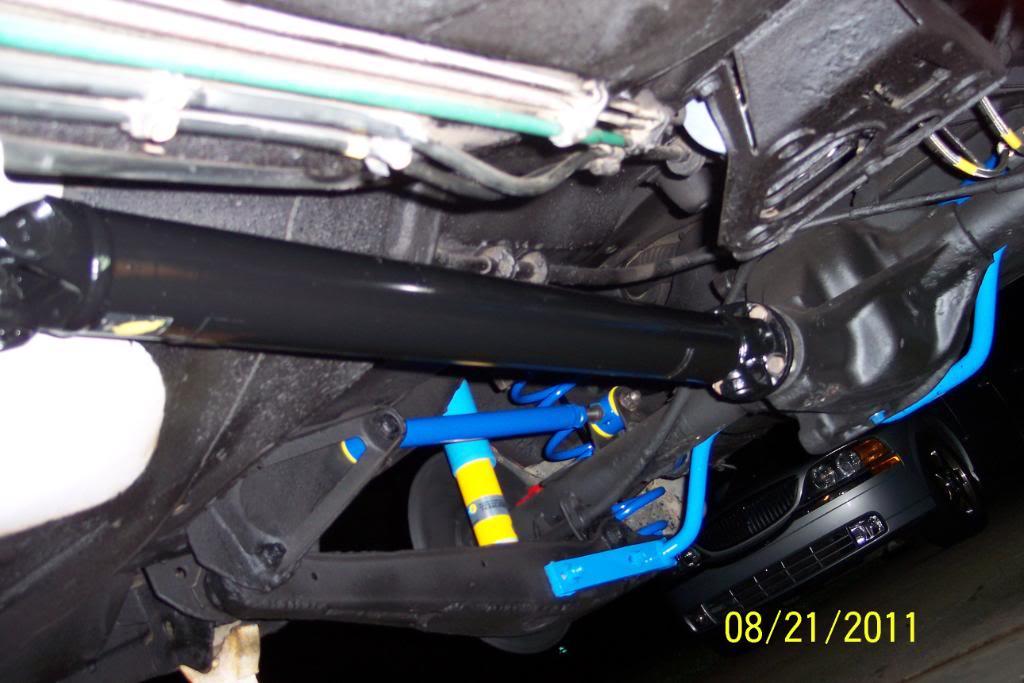
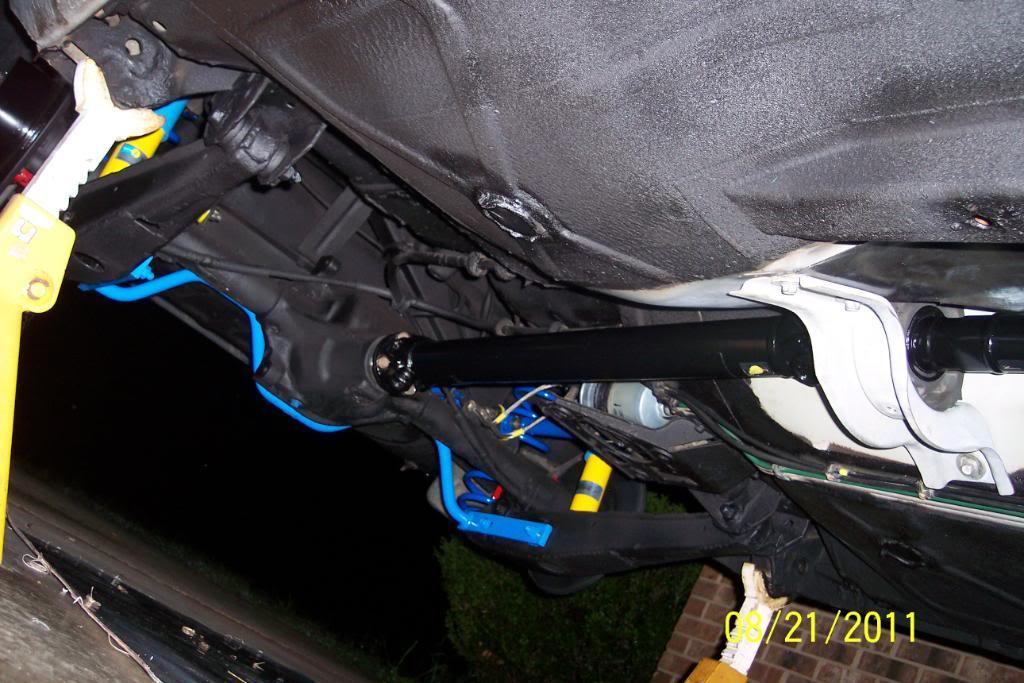
Once pipe was out of the way, I installed the newly rebuilt driveshaft. Flex disc, U Joints, center support rubber, center support bearing ....all of them new. And DS/Ujoints are all painted of course.
Pics........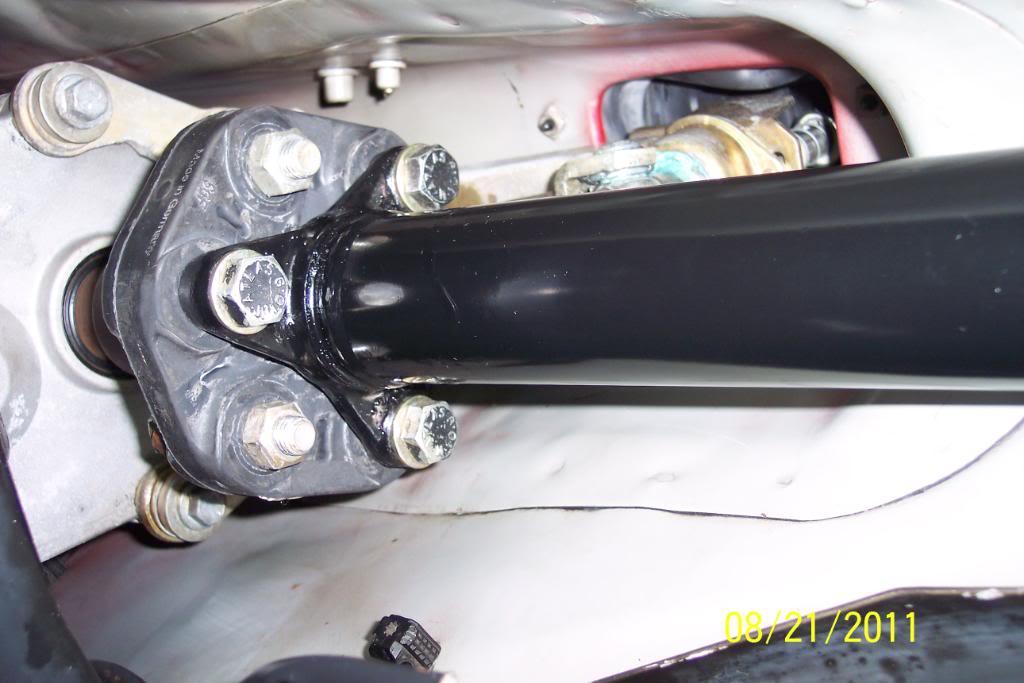
8/23/11
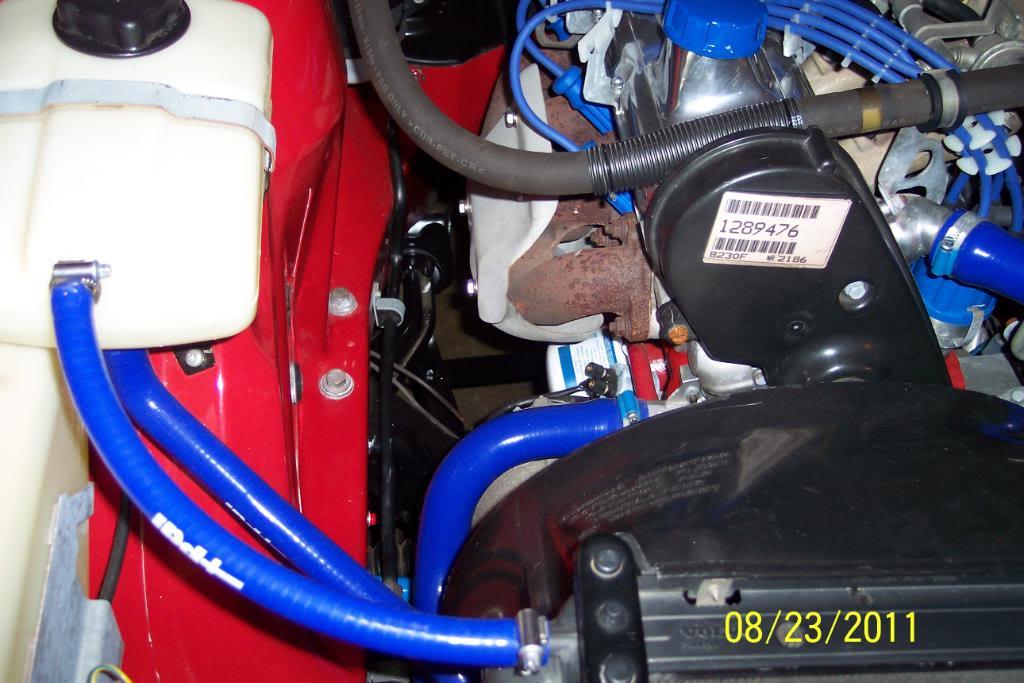
I did some touch up painting of nicks/scratches on driveshaft & painted it's boltheads today. Also touched up some ugly scratches on subframe rails under the hood, at bottom of inner fenders.
And I removed the hideous clamp originally for ,the now absent, preheat pipe. Also painted the preheat pipe clamp's retaining bolt, and reinstalled the bolt to fill the hole there.
Amazing how removal of one ugly clamp makes it appear so much cleaner looking. See pics at bottom of post.
I went to replace the new, but cracked in 4 weeks MTC breather/flametrap hose(made in India), with the original 20 year old hose(hard, but no cracks), and the new MTC flametrap's small vacuum nipple broke right off. Cheap **** IMO.
So I ordered new OEM Volvo breather hose, flametrap , and BB hose from FCPG. Should be here by Saturday.By God that should fix it.....
I also ordered a new OEM Volvo clutch cable from Maxwell Volvo, to replace the cheapo aftermarket one I installed when I replaced trans after C & PP install. It turned out that I happened to have a cheapo CC as a 'in trunk spare", so I used it until I could get the OEM one.
Also ordered 8 new caliper bleed valve rubber covers to protect the bleed valves. These should arrive next week on Tuesday.
And....I finally decided,for better or worse,what mufflers to use in my custom 2.5" SS mandrel bent exhaust system. I had already bought the cat, and the tailpipe tip.
Summit Racing says they'll be here, also, by Saturday of this week.
For all these mufflers & exhaust parts, Good Grief... there went a little over $265.00....and no pipes have even been fabbed/mandrel bent yet....Happy Happy, Joy, Joy.
I'm going to have RJS Piping in Raleigh NC, cut off the new Starla/OEM type header pipe's 2" collector , then,lengthen the secondary pipes to maybe 30-36" and then weld on a 2.5" collector onto the header pipe's seconday pipes.
Here's the part numbers & descrips, of the MagnaFlow exhaust parts, for other's reference.
MagnaFlow cat (same shape/size as OEM only 2.5" in/out, so fitment & ground clearance will not be an issue)
p/n 53006
Inlet Quantity One
Inlet Diameter (in) 2.500 in.
Converter Inlet Attachment Slip fit
Outlet Quantity One
Outlet Diameter (in) 2.500 in.
Converter Outlet Attachment Slip fit
AIR Tube No
California Legal No
Converter Case Material Stainless steel
Converter Substrate Material Ceramic honeycomb
Heat Shield Yes
Converter Overall Length (in) 13.000 in.
Converter Overall Thickness (in) 4.000 in.
Converter Overall Width (in) 5.125 in.
Converter Style 3-way
GVW (lbs) 4,250 lbs.
Quantity Sold individually.
Notes Round body converter.
p/n 12646 MagnaFlow muffler (will be mounted in rear muffler locale)
Case Shape Round
Inlet Diameter (in) 2.500 in.
Inlet Quantity One
Inlet Location Center
Outlet Diameter (in) 2.500 in.
Outlet Quantity One
Outlet Location Center
Internal Construction Perforated stainless tube with packing
Muffler Material Stainless steel
Muffler Finish Natural
Case Length (in) 18.000 in.
Case Outside Diameter (in) 6.000 in.
Overall Length (in) 24.000 in.
Outlet Style Standard, without tip
p/n 12866 MagnaFlow muffler (will be mounted in resonator locale)
Round
Inlet Diameter (in) 2.500 in.
Inlet Quantity One
Inlet Location Center
Outlet Diameter (in) 2.500 in.
Outlet Quantity One
Outlet Location Center
Internal Construction Perforated stainless tube with packing
Muffler Material Stainless steel
Muffler Finish Natural
Case Length (in) 14.000 in.
Case Outside Diameter (in) 5.000 in.
Overall Length (in) 20.000 in.
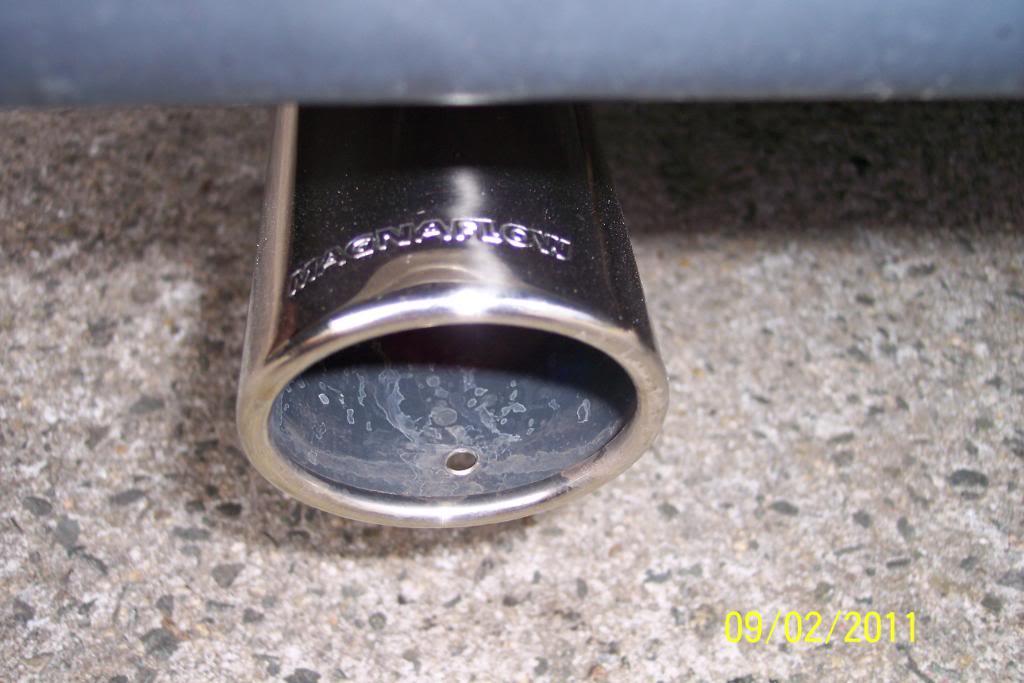
SS tip
Inlet Inside Diameter (in) 2.500 in.
Tip Shape Round
Tip Outlet Size 3.000 in.
Tip Quantity Single
Tip Installation Weld-on
Tip Material Stainless steel
Tip Finish Polished
Overall Length (in) 12.000 in.
Tip Cut Slant
Tip Edge Style Rolled edge
Resonator No
Pics of subframe clean up...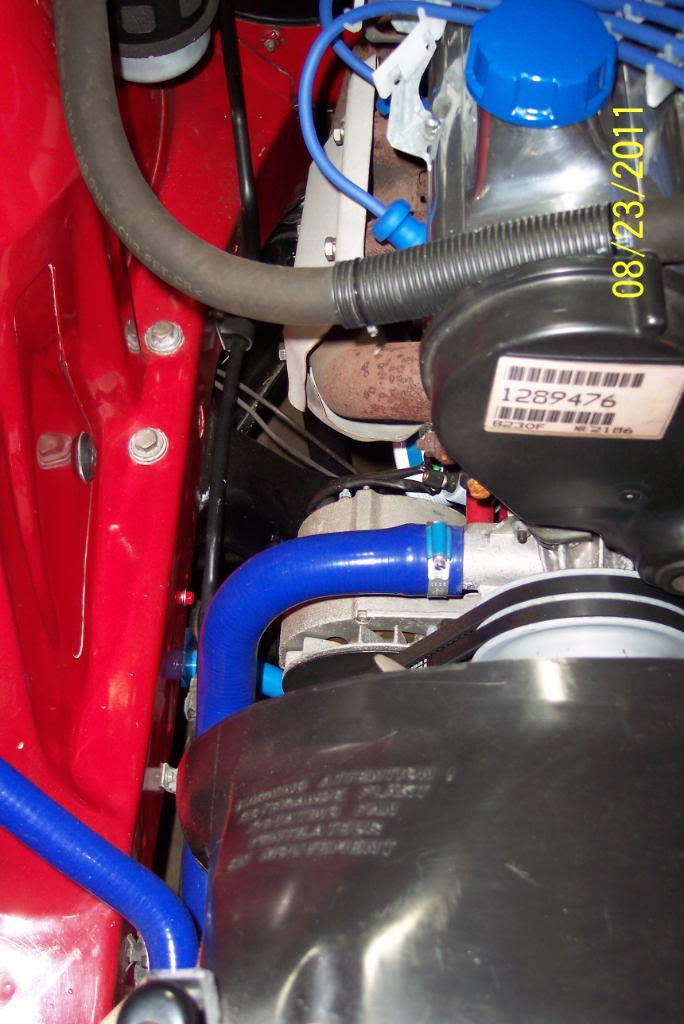
8/24/11
I removed the front mudflaps to get all the grit,rocks, and dirt out. Washed hell out of them. Then,I decided to spruce up the appearance of the plastic front inner fenders. They looked like hell.
I washed them with 93 octance Amoco gasoline on a rag. Then with Brakleen on a rag. Dried them off. Then applied some "Forever Black" black dye on 'em.
Some of the dirt staining just wouldn't come off, and I did not remove all the road tar either. But the places that show the most, came out pretty good, so I'll call it "good enough" for now. At least, it looks a helluva lot better than it did. I have more "Forever Black" left if I decide to remove the road tar..
And guess what came on the Big Brown Truck today.. only took 2 days to arrive.. man that's fast!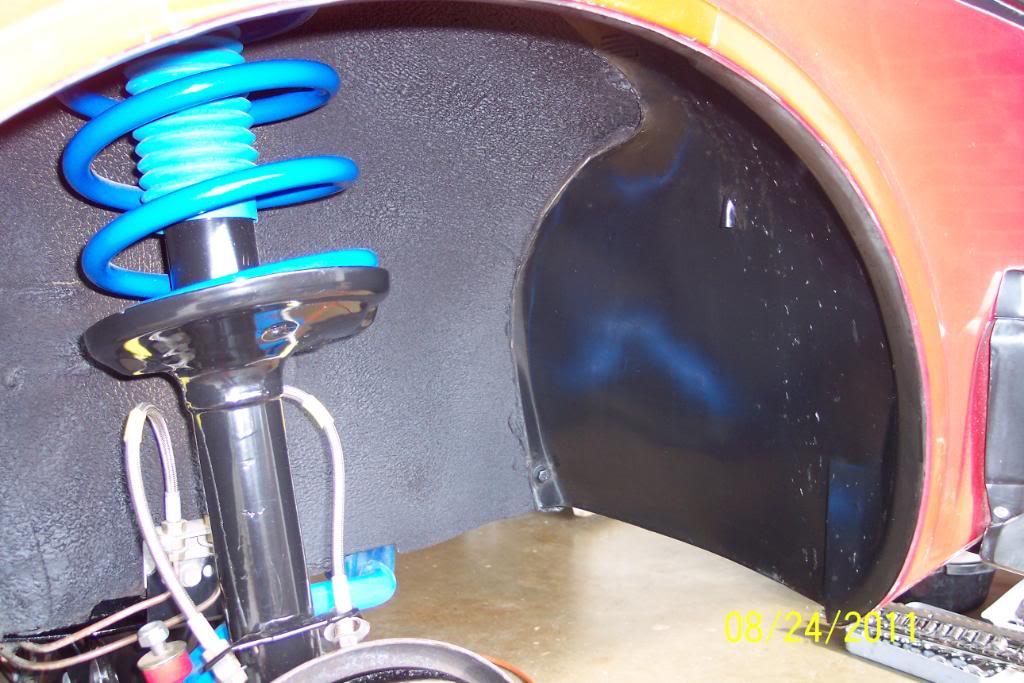
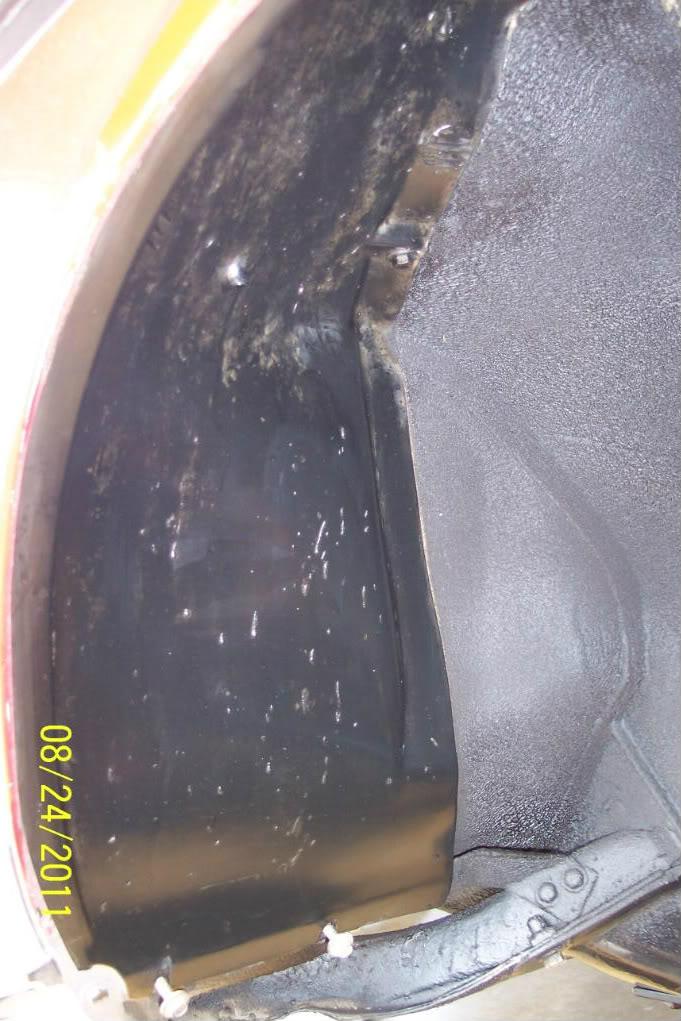
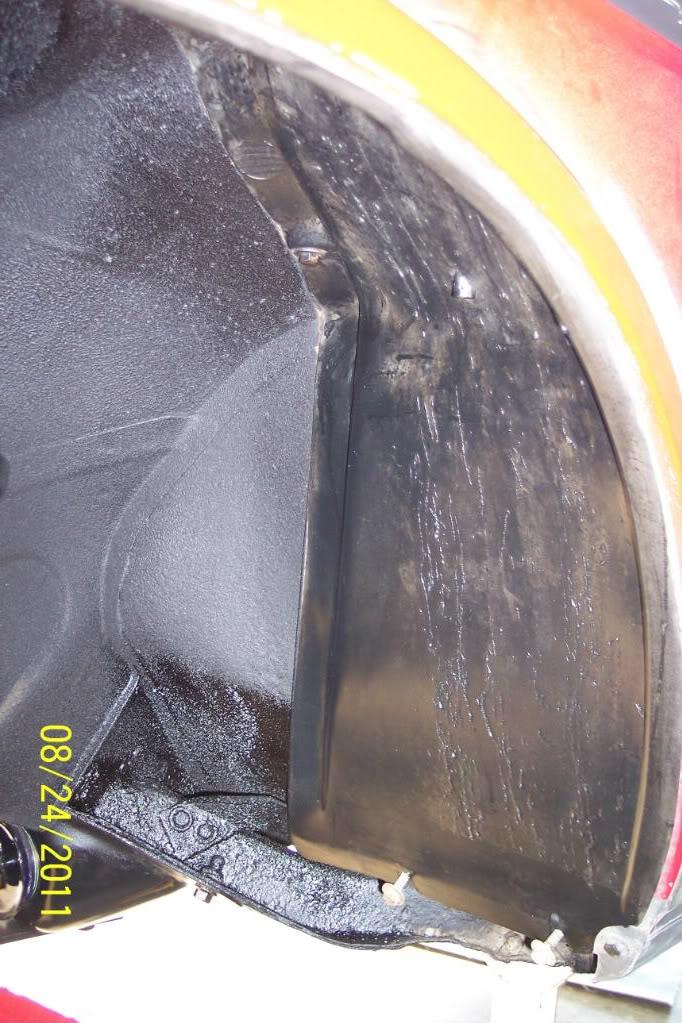
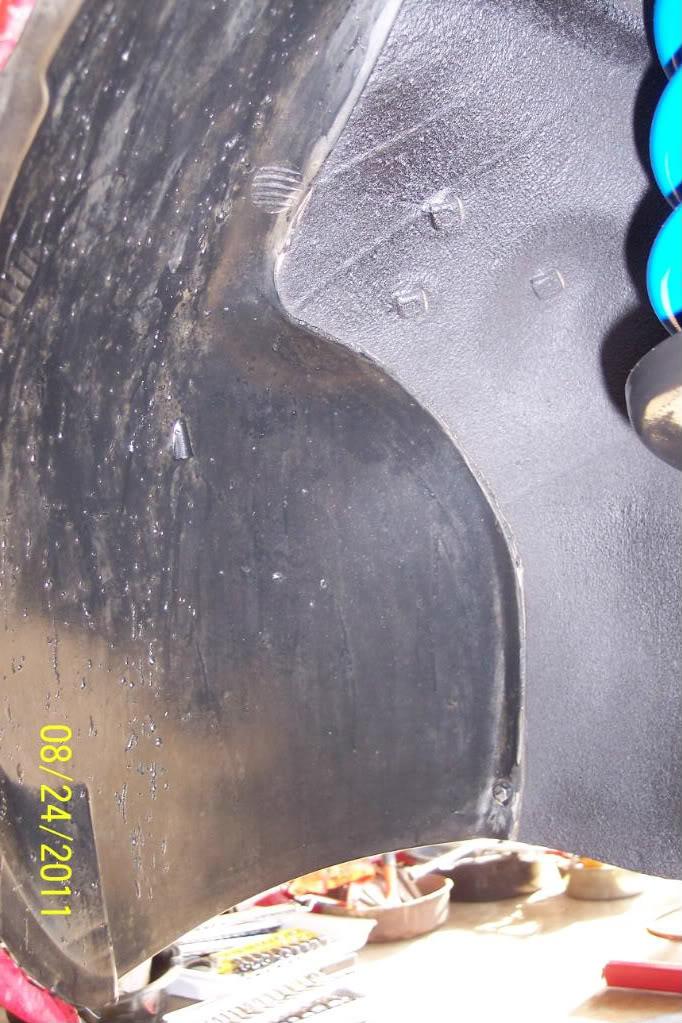
And guess what came on the Big Brown Truck today 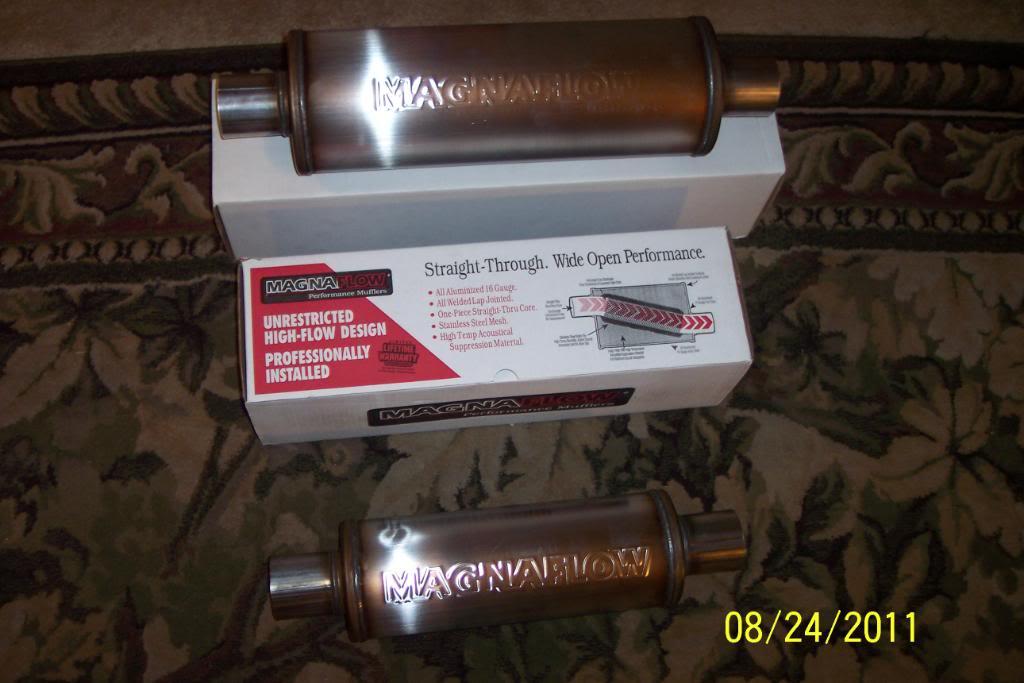
I think my neighbors may learn to hate me.........can you say "straight through muffler"?..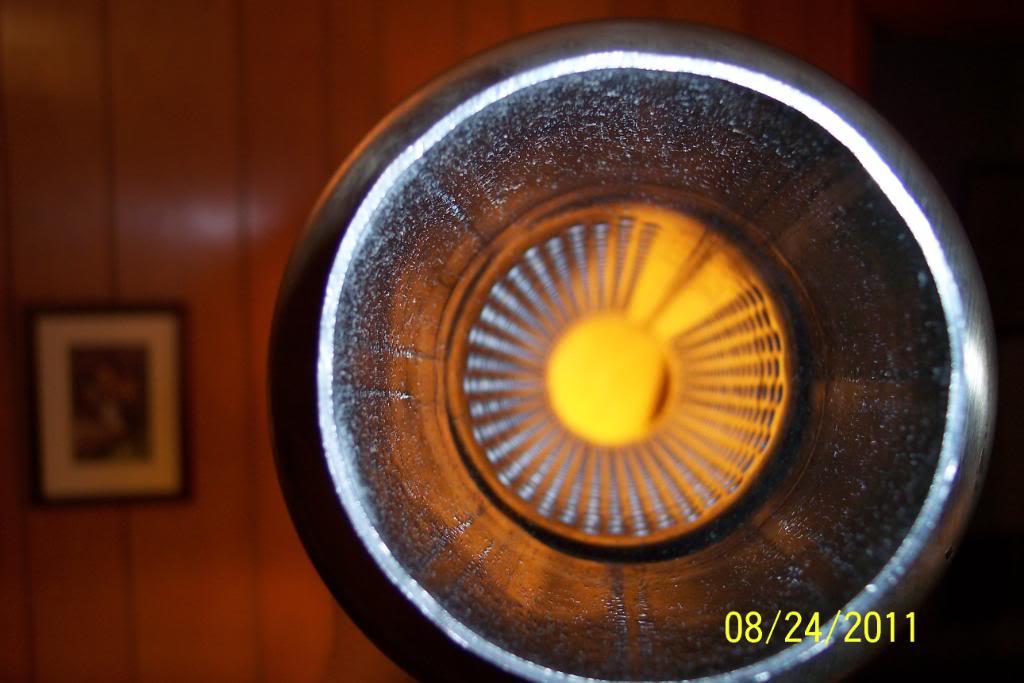
8/25/11
Today I got to thinkin'. (rare I know) Hmmm, the "bolt on" straight pipe exhaust idea didn't work out as hoped. Needs bends in it to fit right. Too close to driveshaft at diff.
That leaves me with exhaust gases blowing all over my newly undercoated floorpan, on the way to local muffler shop to get the straight pipe fitted, next week.
Wow, the old OEM gutted Volvo cat still has a flange left on the other end of it....hmmm. After a visit to the local muffler shop in borrowed car.,I came up with this. I figure I can have fun with it on another 240, later on, too. At least it'll help keep from blowing exhaust straight onto the undercoating. Should throw a little fire out at night, I do believe.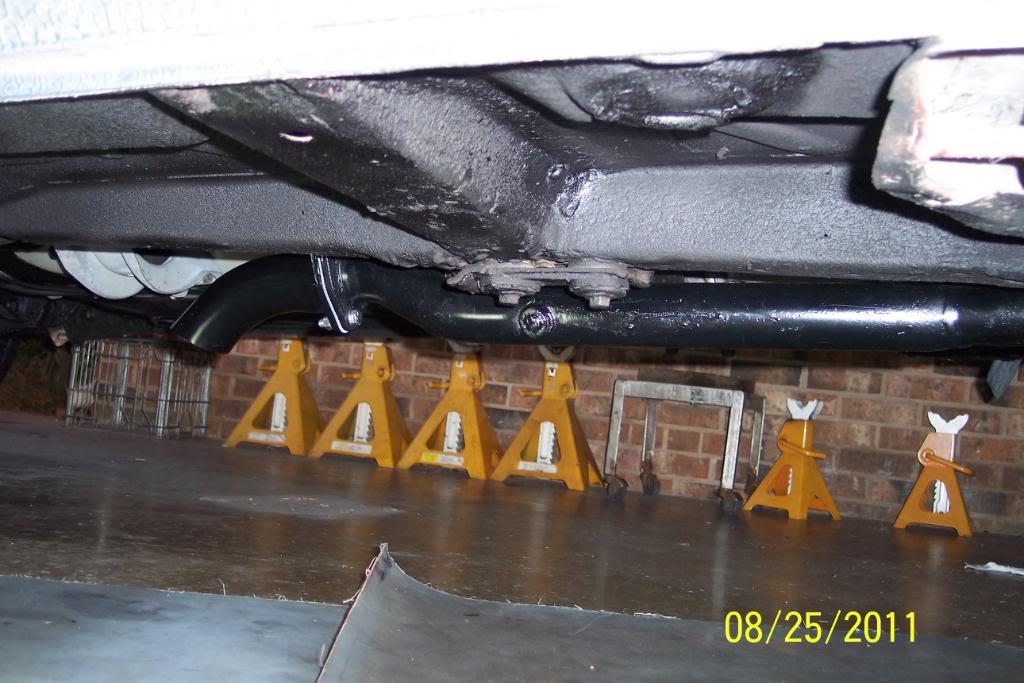
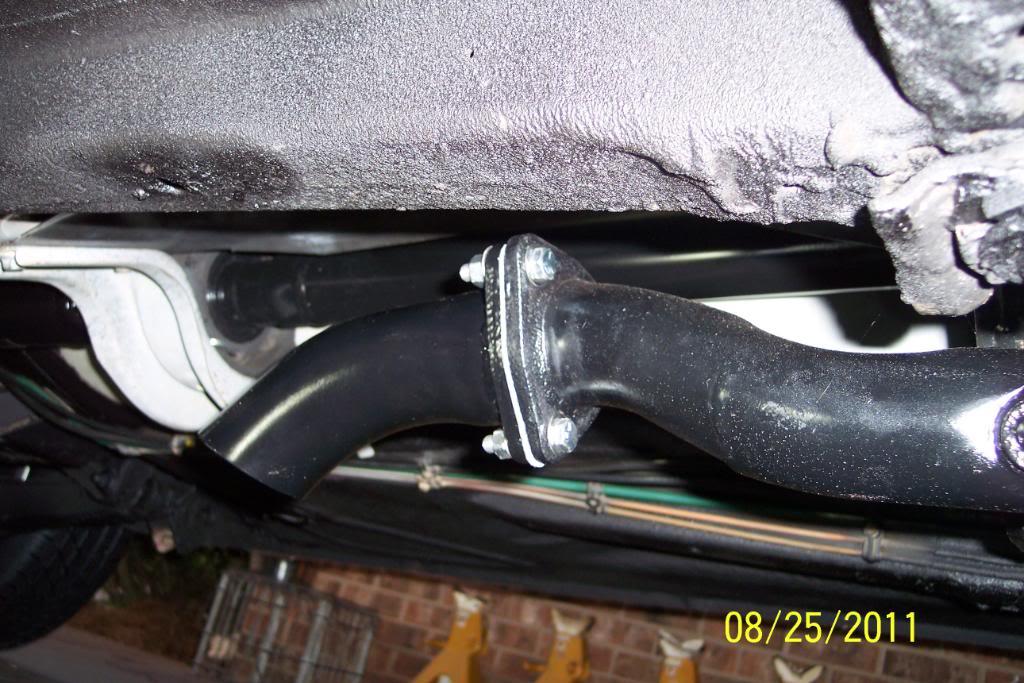

After that I eyeballed the front caster/camber/toe in. Adjusted the tie rod ends, and tightened them in the spindle arm. Will tighten the lock nuts in a little while.
Still need to adjust the Kaplhenke Adjustable Tie Rod End Links. After that, I will adjust the IPD Adj Panhard Rod ,& , if needed, the IPD Adj Upper Torque Rods.
Also,FCPG /UPS says my OEM Volvo Flame trap housing, & both the short breather box hose & the flme trap to intake hose/breather hose will be here tomorrow. That is only thing holding me up from cranking it again. Had a bad vacuum leak, due to smallest nipple on flame trap hsg broke off.
The air box bracket that holds AB to rad support did notmatch the radiator ones, that I painted black. So I painted it black to match today, & it's still drying. That's why it's absent in pic below.
I'll go for a ride around the neighborhood for a "shakedown run" tomorrow...if things go as planned.
I did get the IPD Strut to Strut Brace & the YoshiFab Firewall to Strut Braces on today.
The air box bracket that holds ABox to rad. support did not match the radiator ones, that I painted black so time ago. So I painted it black to match today, & it's still drying. That's why it's absent in pic below...sorry, but rice is white...LOL.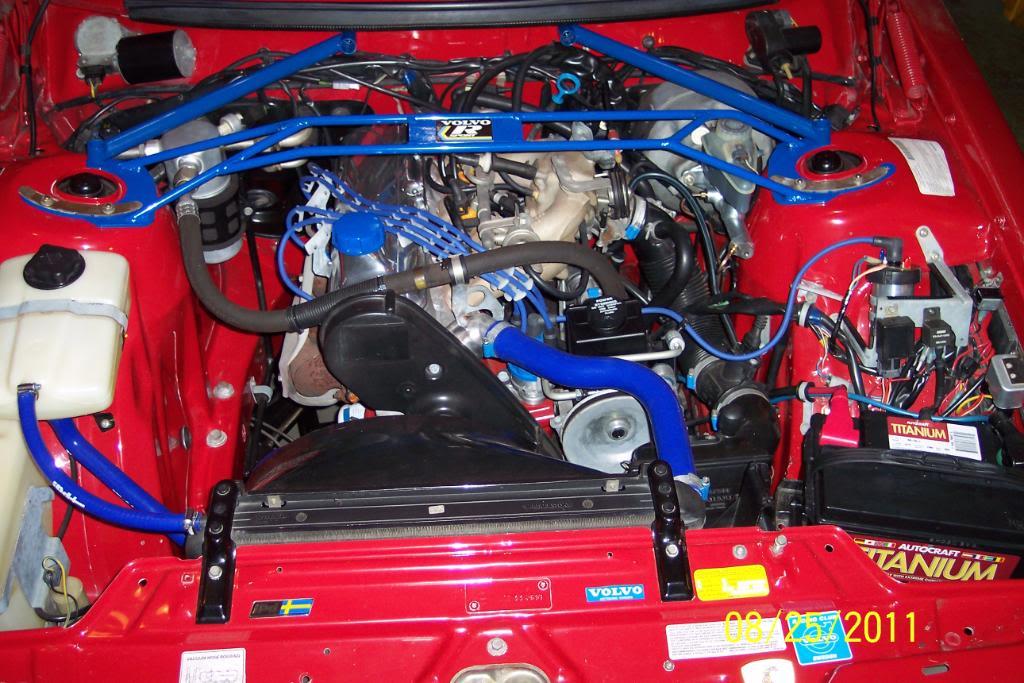
8/30/11
I have the temporary exhaust in place now. Pipe from header pipe to a ,what I think is, a Cherry Bomb glasspack., then to under & past rear axle, and turns down just behind axle. Doesn't sound too bad, but is loud with resonance inside the car.
Car/engine seems to have a little it more HP, but maybe it's just the added sound that makes it see that way, dunno.
This makes me wonder what the cat, 2.5" system & two MagnaFlows are going to sound like & if they'll have resonance inside the car. I hope not...... I'm wanting a little sound on the outside, but no resonance on the inside.
Then I had Maxwell Volvo align the front end. I always get good service from them on alignments. I also bought an OEM Volvo clutch cable, and it had come in also. Those are Great Guys there at Maxwell Volvo/Subaru.
I have a new license tag on it now, and been driving it a little for "shakedown runs". Seems I have no engine/coolant/transmission leaks, and so far, no major problems elsewhere.
I think I need to adjust the Kaplhenke Racing adjustable front sway bar end links some more though. And I need to adjust the rear panhard rod another 3/16th to driver's side for perfect alighnment.
I've worked too many days to the tune of 15-20 hours at a time. I got some rest last night. Might tackel the CC, end links, and panhard rod tomorrow & take it easy today. I'm not exactly a spring chicken anymore.....LOL
9/2/11
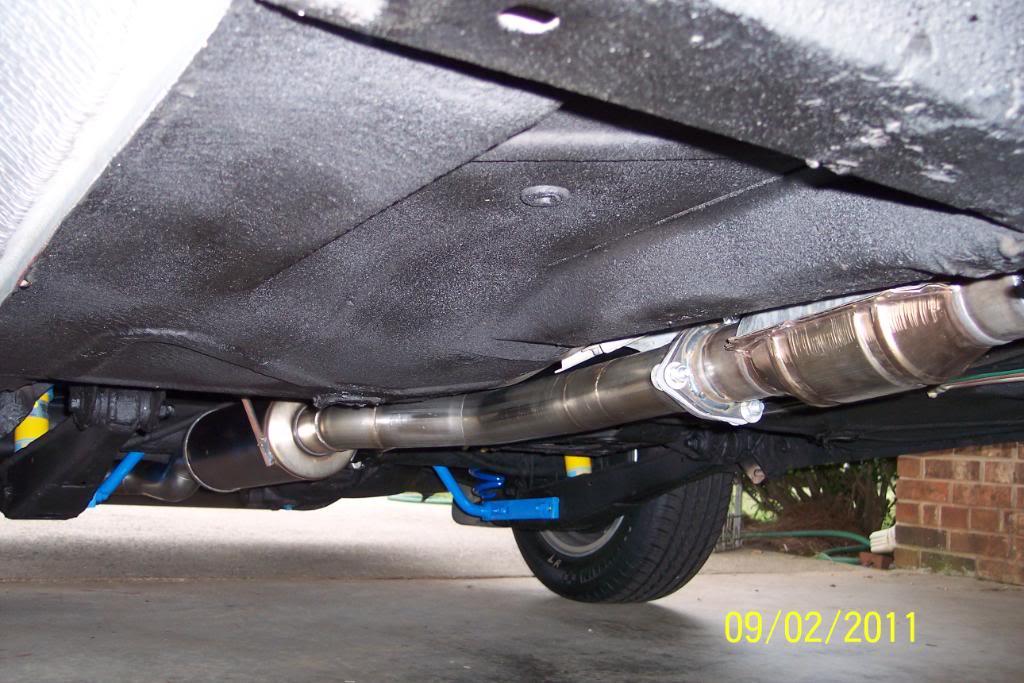
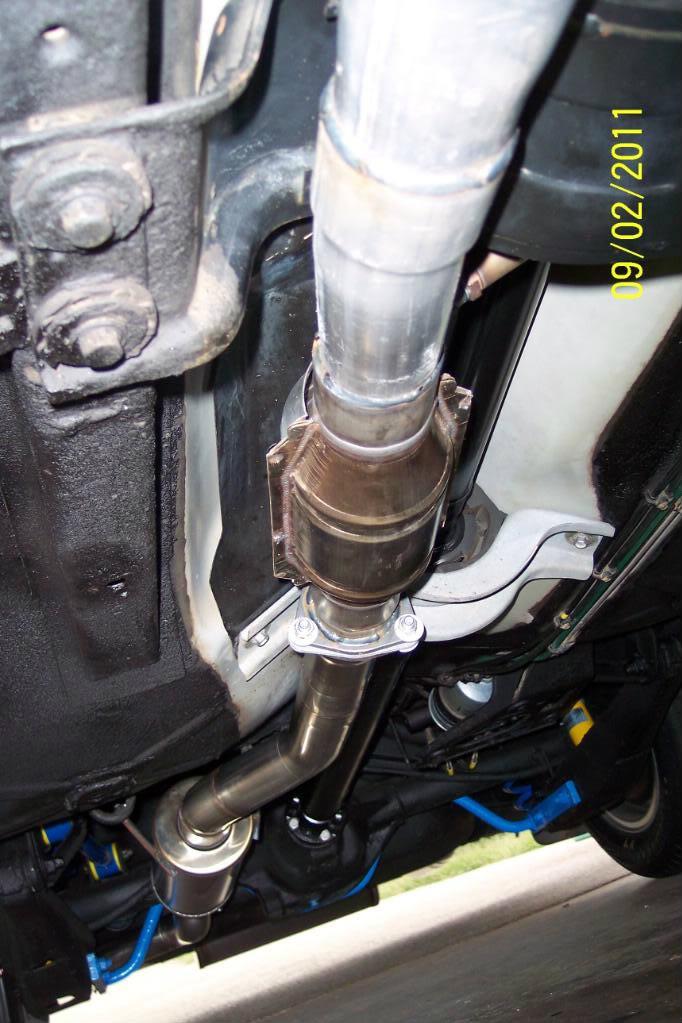
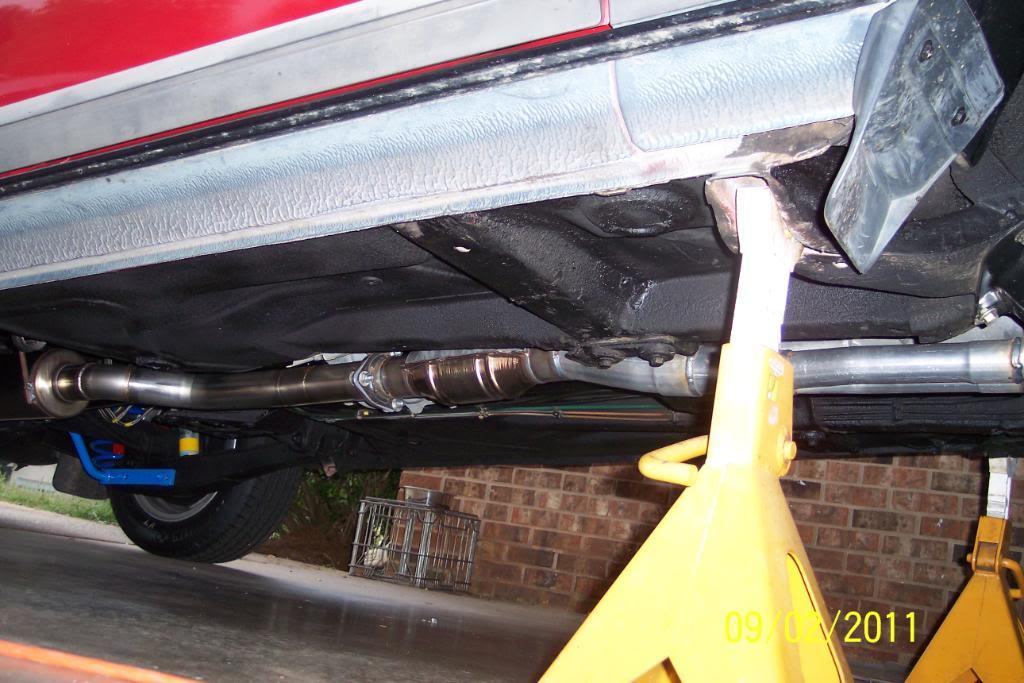
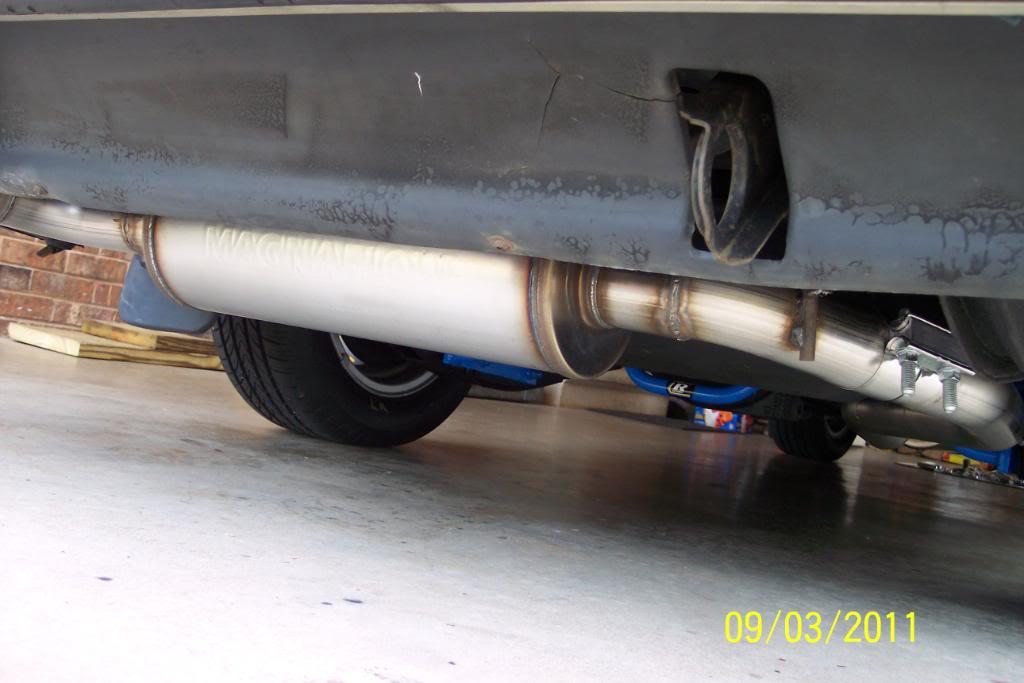
Well, Ron at RJ's Custom Piping,(3813 Capital Blvd, Suite 104, Raleigh NC, 27604) is one helluva good SS mandrel bend exhaust system welder,& fitter.
He began work at 10AM when I arrived. Worked straight through, no breaks, no lunch, no dinner, until 6:45 PM. He saved me a drive back the next day to complete the system by doing this.
He is the only exhaust system installer to ever put an exhaust system on volvo 240 for me, that did not hit anything under the car, clunk,or leak, and that fits snugly to the floorpan with great ground clearance, first time out, with no needed adjustments!!
Not even 1 leak or clearance problem ! Other shops I've tried, I've been back as many as 4 or 5 times to fix problems, and had to let another shop ,fix the 1st's one time.
Ron did the 2.5" header pipe collector mod for me, and TIG (oh yeah!) welded the entire system. I was impressed by the way he made the half moons ,that the 1st muffler(OEM resonator location) hangs from the o rings in. He's the 1st installer to ever do this for me. All the others, just let the rod hang from the O Ring & that way kills the o ring fast too. And impressed by the 2nd muffler's hangars as well.
FWIW, I find the rumor that 2 MagnaFlow mufflers are still too loud UNTRUE, IME & IMHO. it's just a slight tad louder than an OEM turbo muffler, but not a PoPo calling stereo system by any means.
I hear just a little exhaust note inside the car, but no resonance at all, & a little more exhaust note outside the car. I can hear my stereo just fine, at level 13. The exhaust note outside, is not too little, not too much..it's just right IMO. I'm quite happy with the sound of the system as well as it's better performance. It's sounds sporty without sounding like a busted muffler.
Ron is quite an accomplished welder, & fitter. I'd say the best I've ever seen or met. I highly recommend RJ's Custom Piping.I'm 110% satisfied & then some...oh, and any antifreeze/coolant you see is because I'm changing the 88C*T Stat. I don't like it.
I'll let the pics say the rest...........
New, Starla stock header pipe...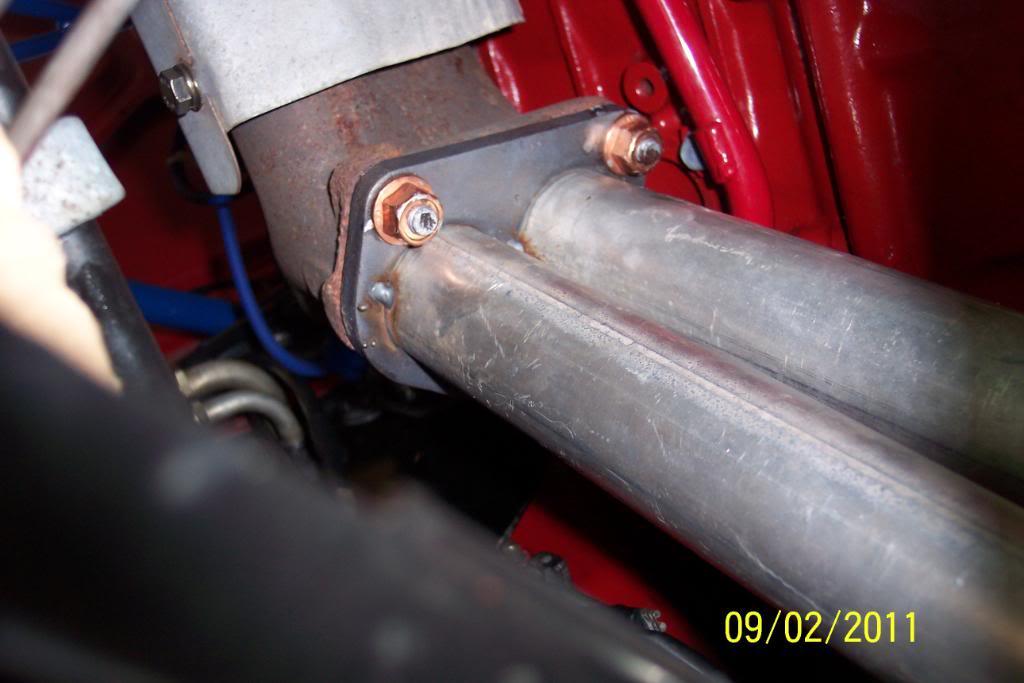
Cut the header pipe past the bracket flange, made them longer, & they now merge into a 2.5" collector. Looking up the end of collector showed me a much more open secondary pipe where they merge together. As it came from Starla ,they were quite small. Better flow there for sure. This is in aluminized steel here.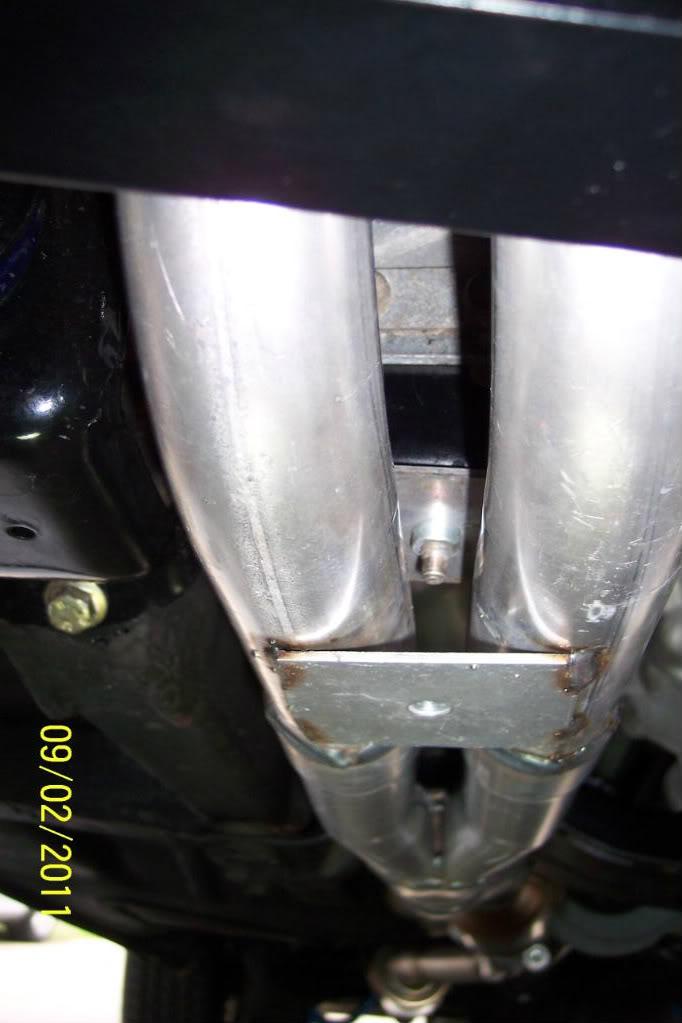
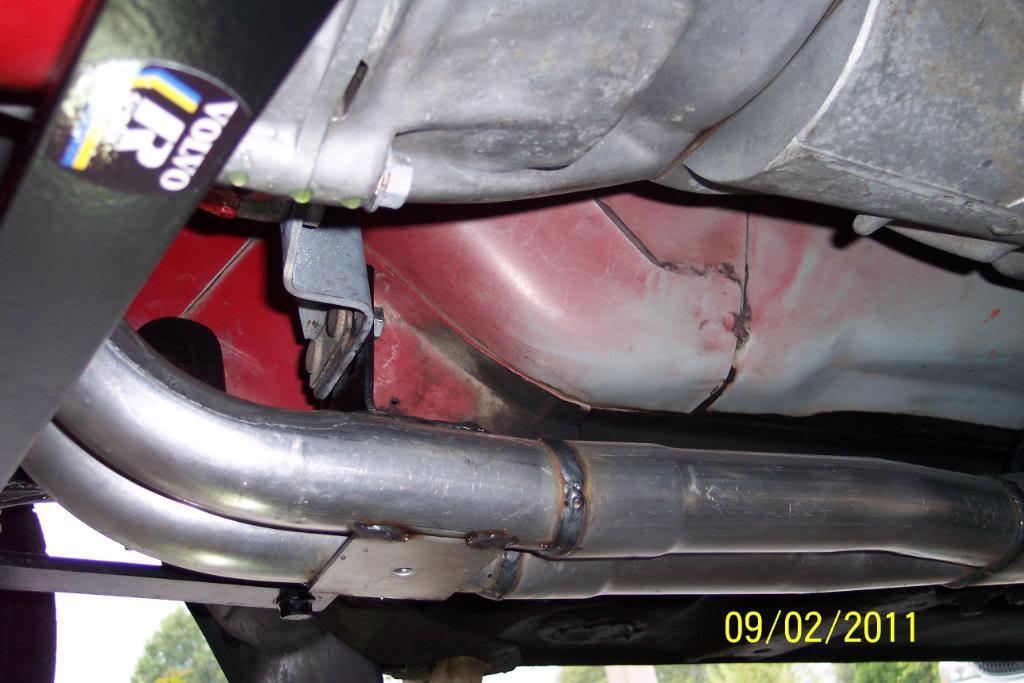
Actual collector is where the SS begins.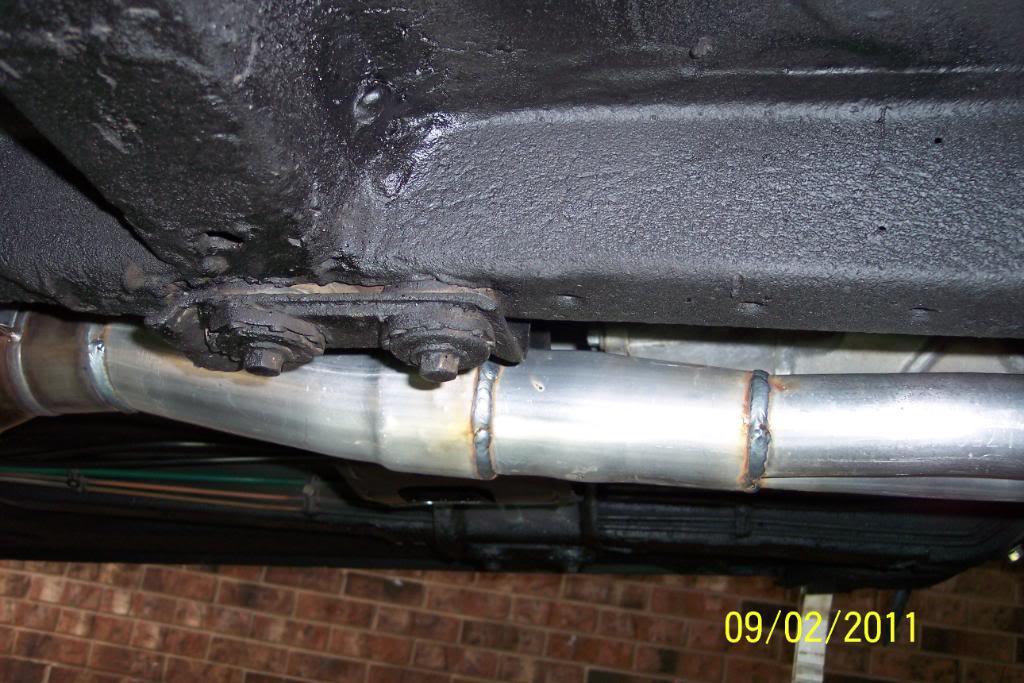
Collector dumps into a 2.5" MagnaFlow (9"body, 13" overall long x 5" round cat.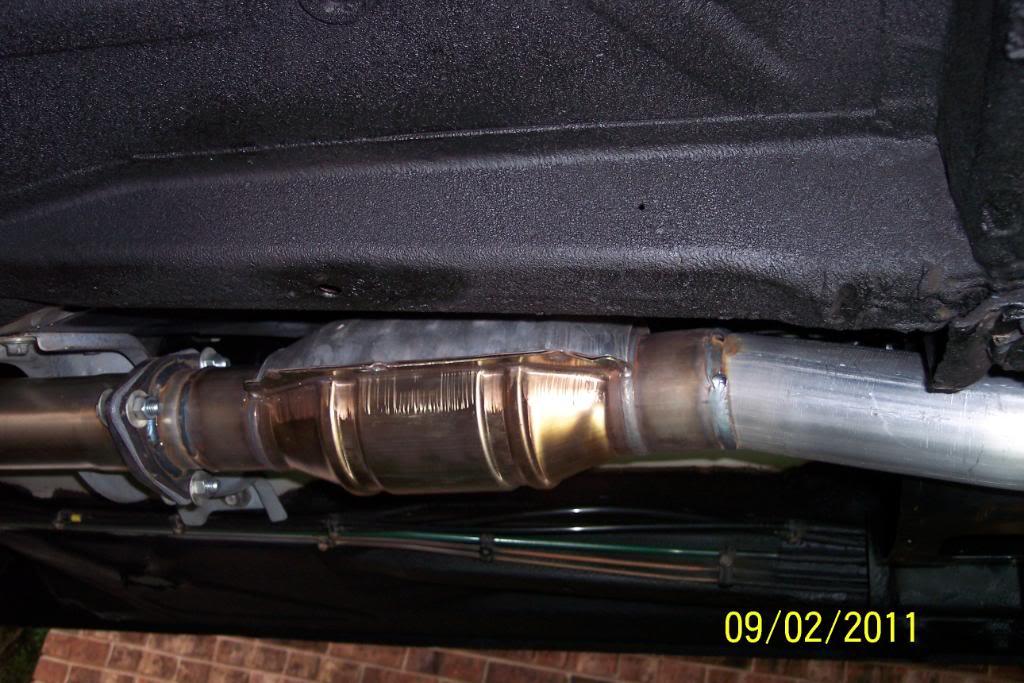
Cat back to the first 14" long x 5" round MagnaFlow SS muffler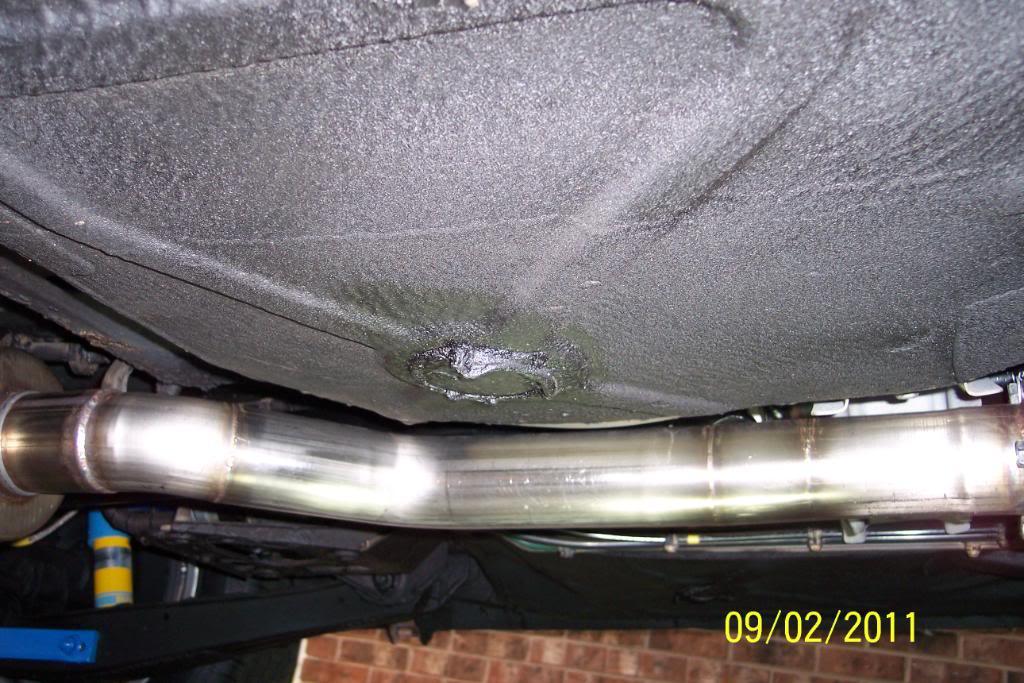
First muffler.. Notice the half moon hangar in 2nd & 3rd pics...and the first "sleeve" disconnect..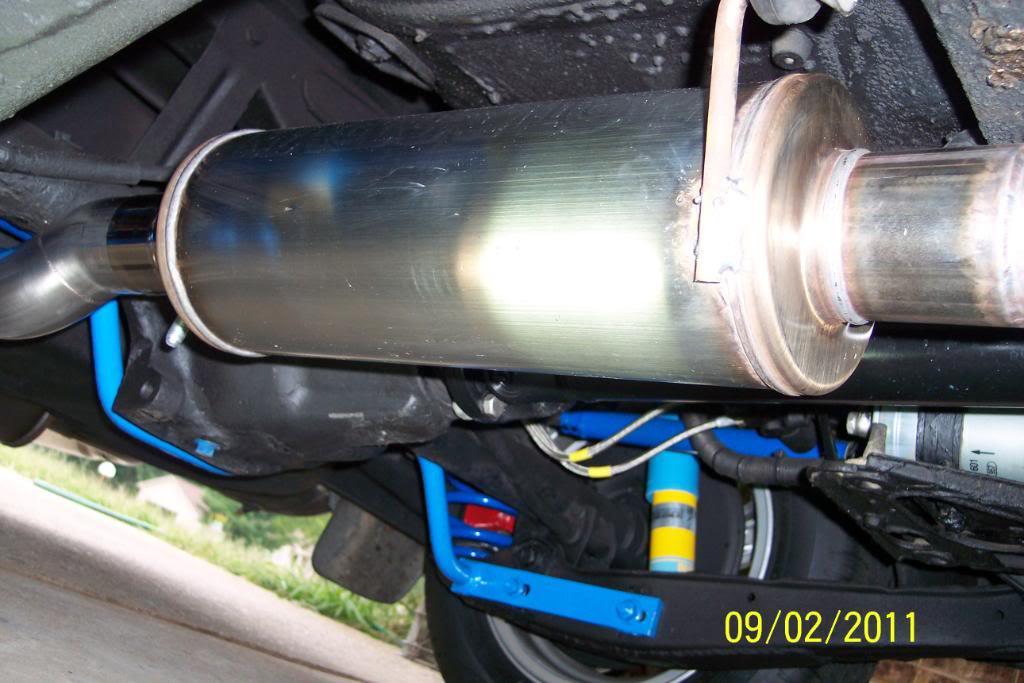
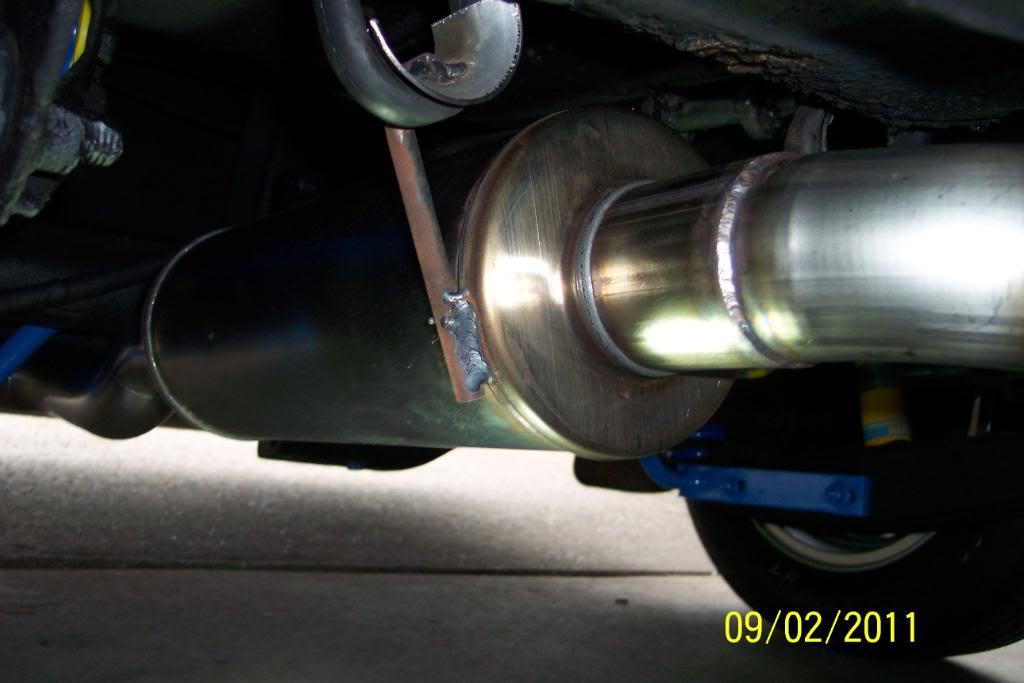
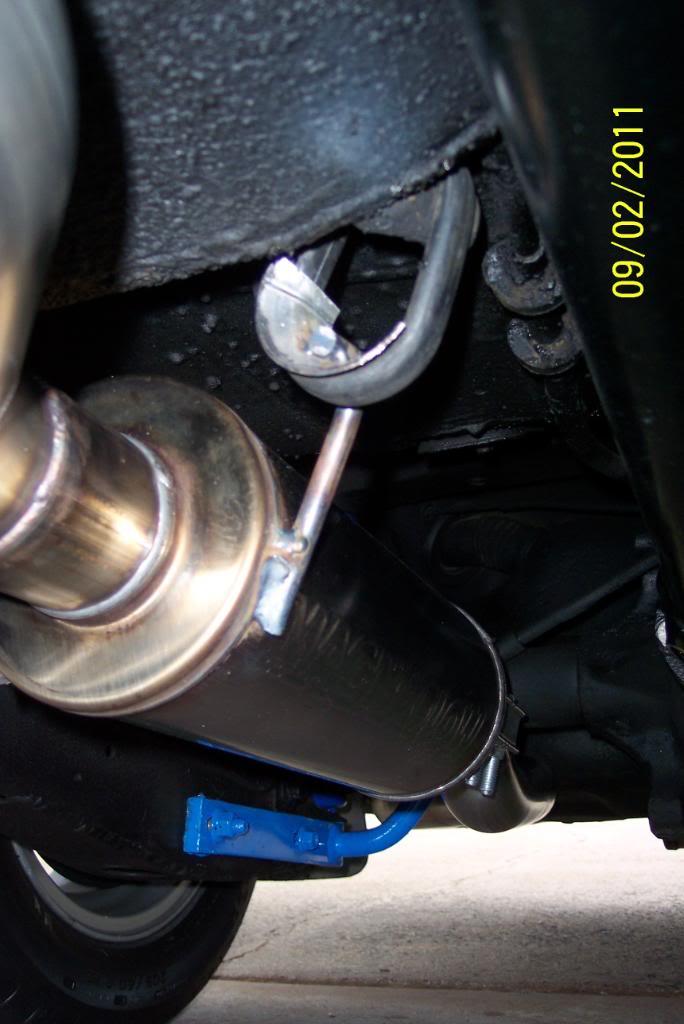
Went with under axle pipe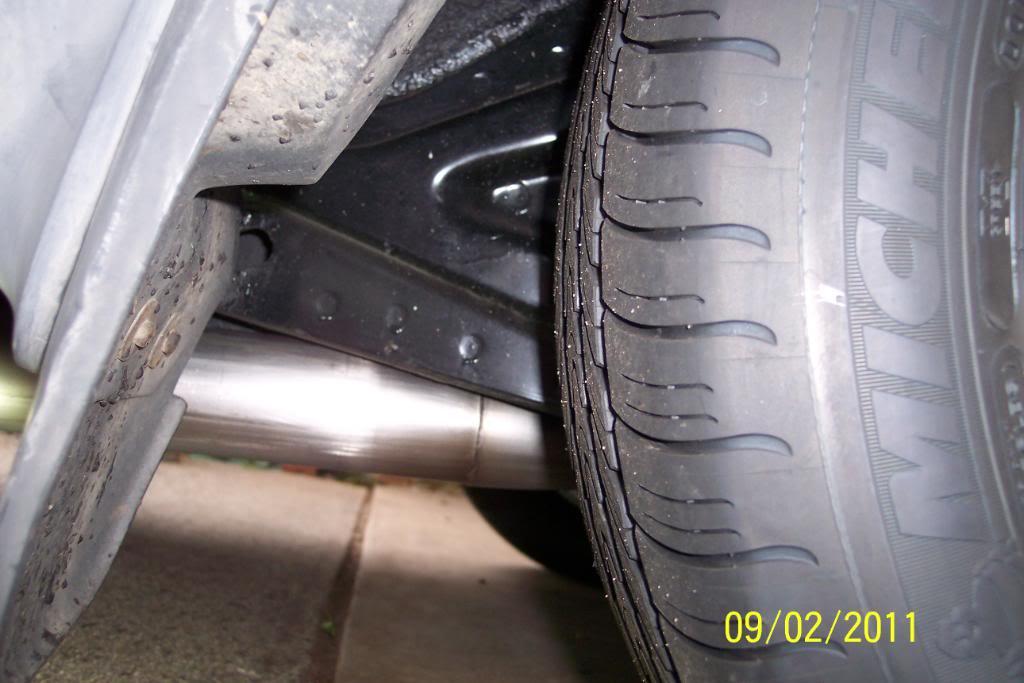
Around the gas tank & into the 18" long x 6" round MagnaFlow second muffler. Used SS sleeves to join the pipes together here, for easy removal if needed.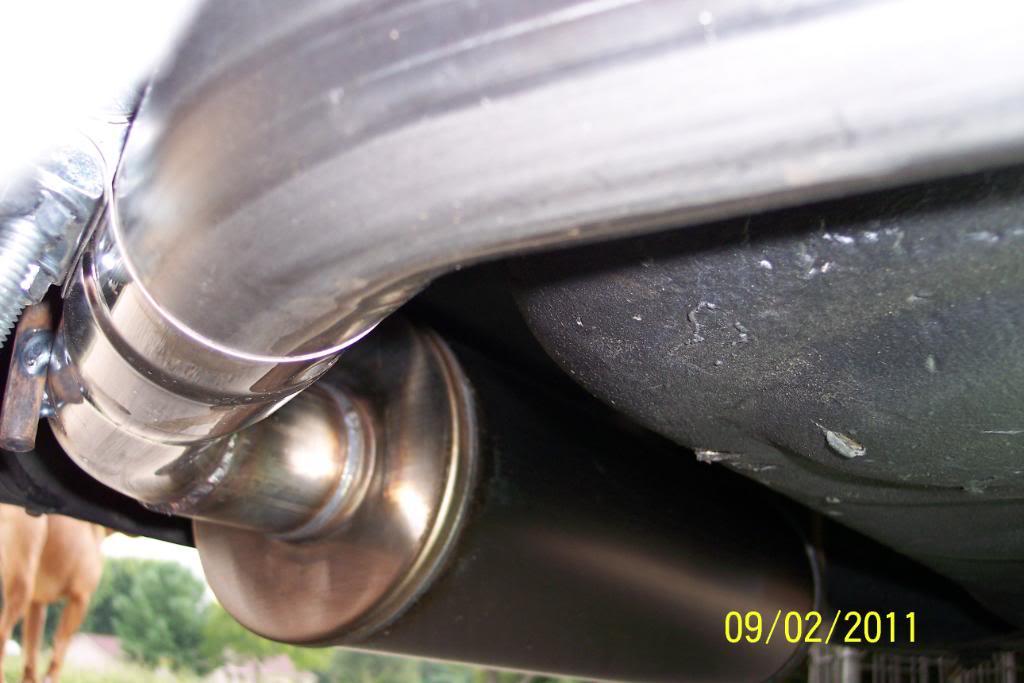
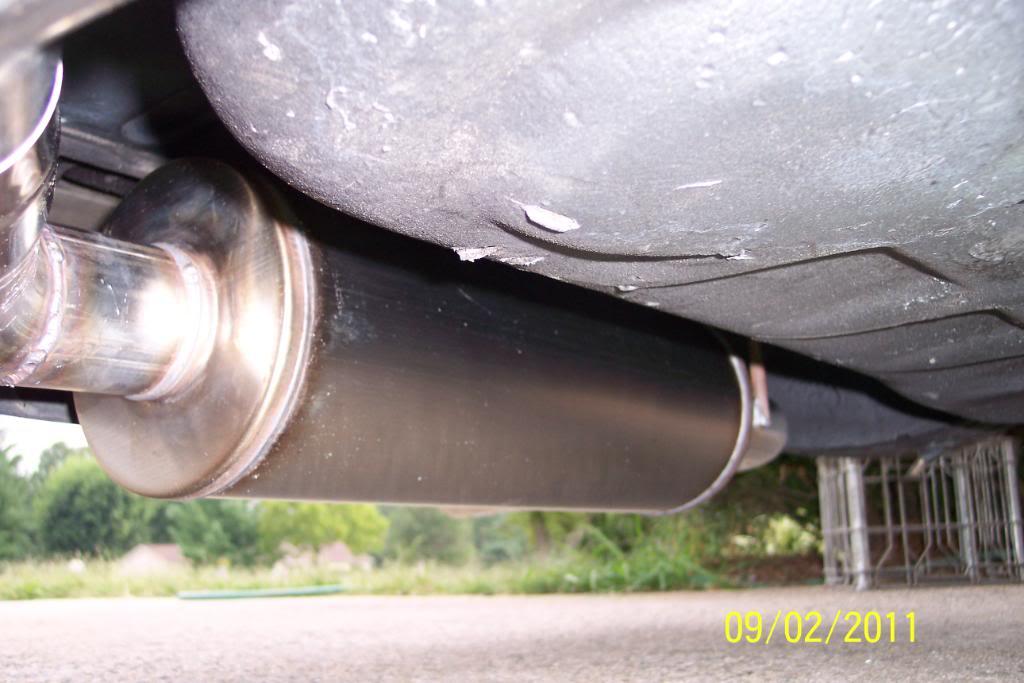
How he made the second muffler's hangars, mounted with new rubber hangars.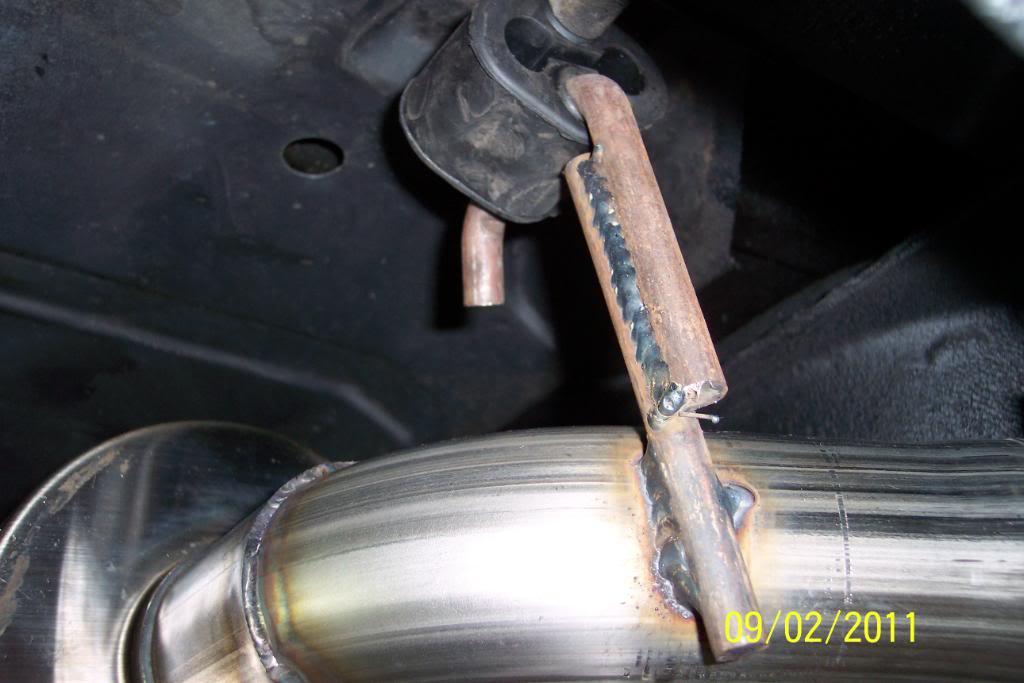
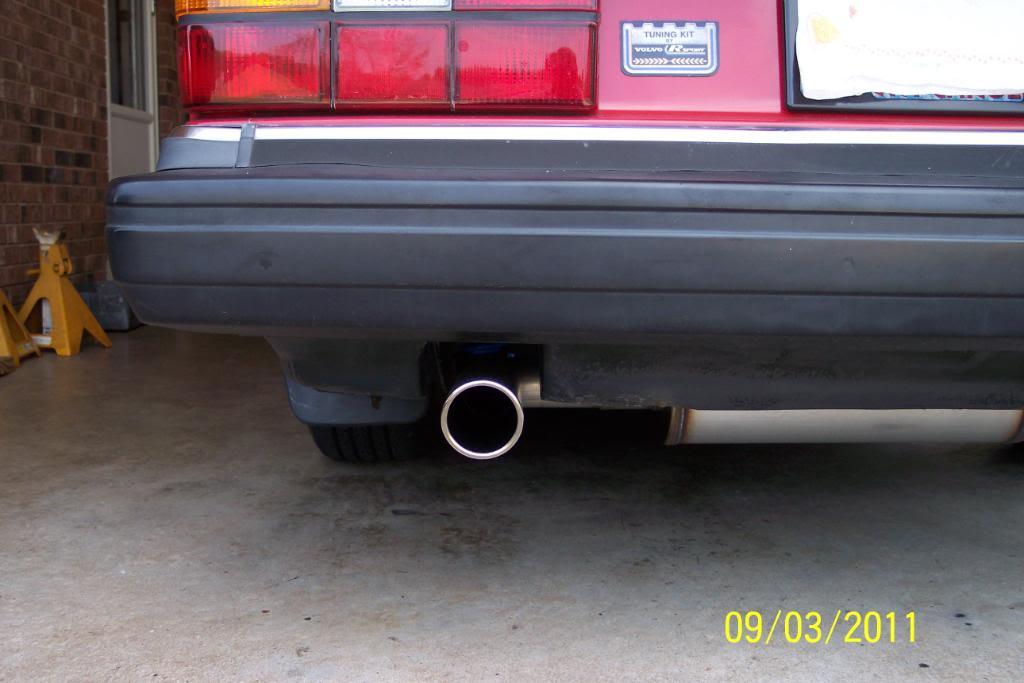
From rear of car...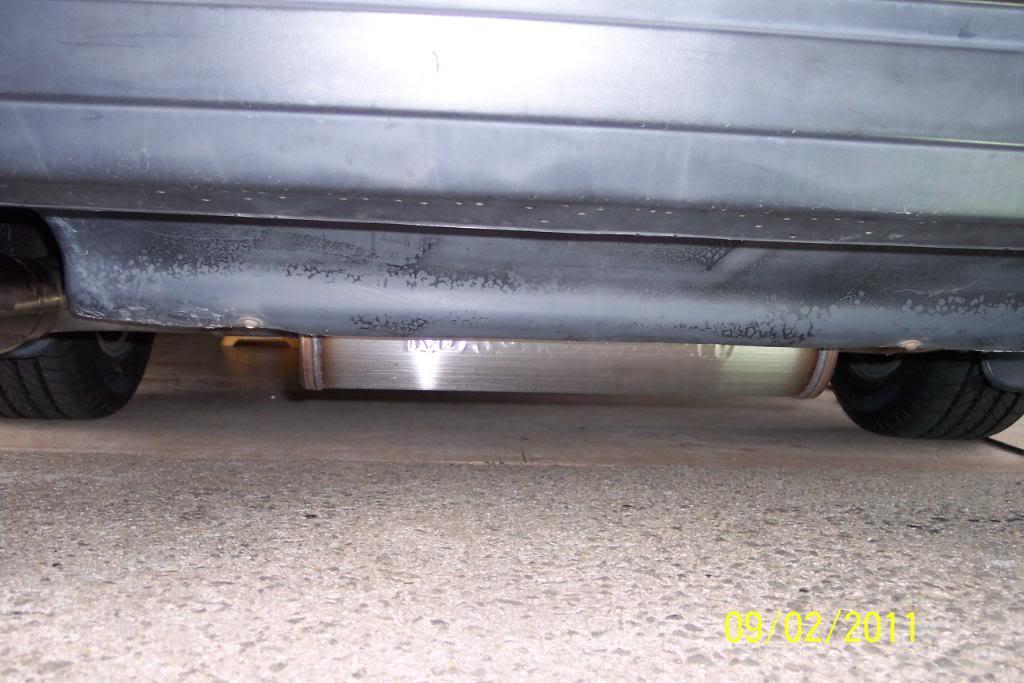
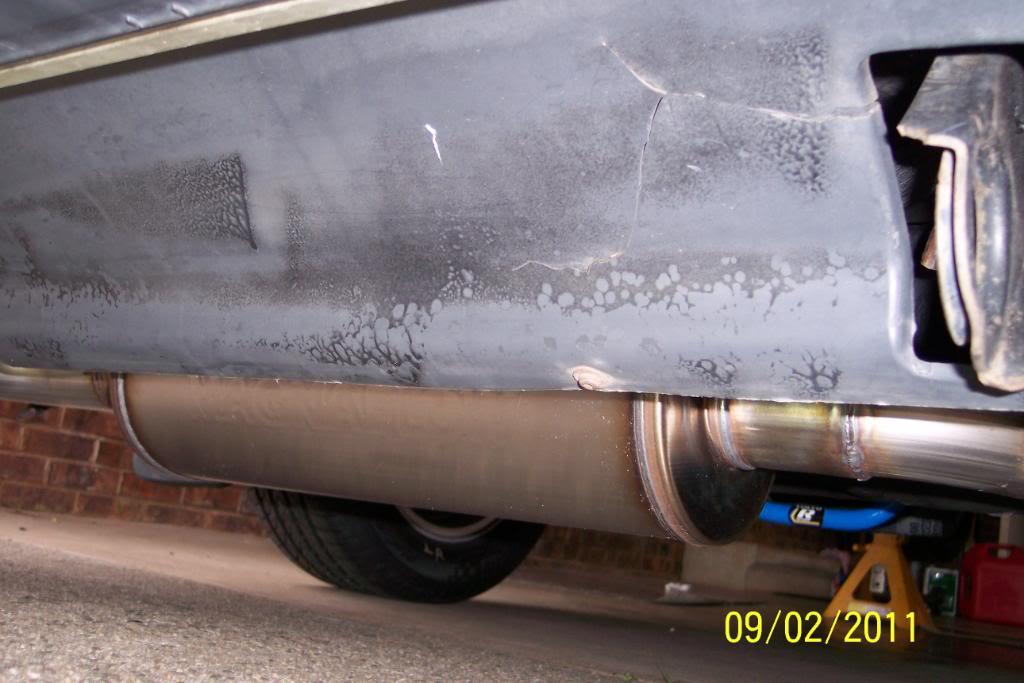
Exiting the 2nd muffler..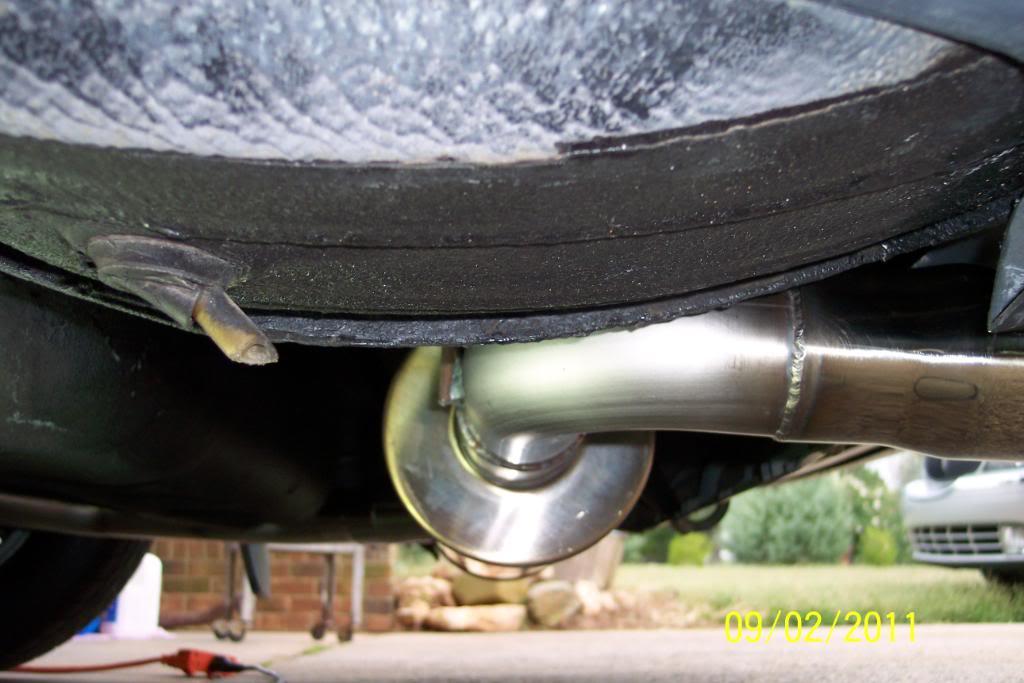
Some more complete views...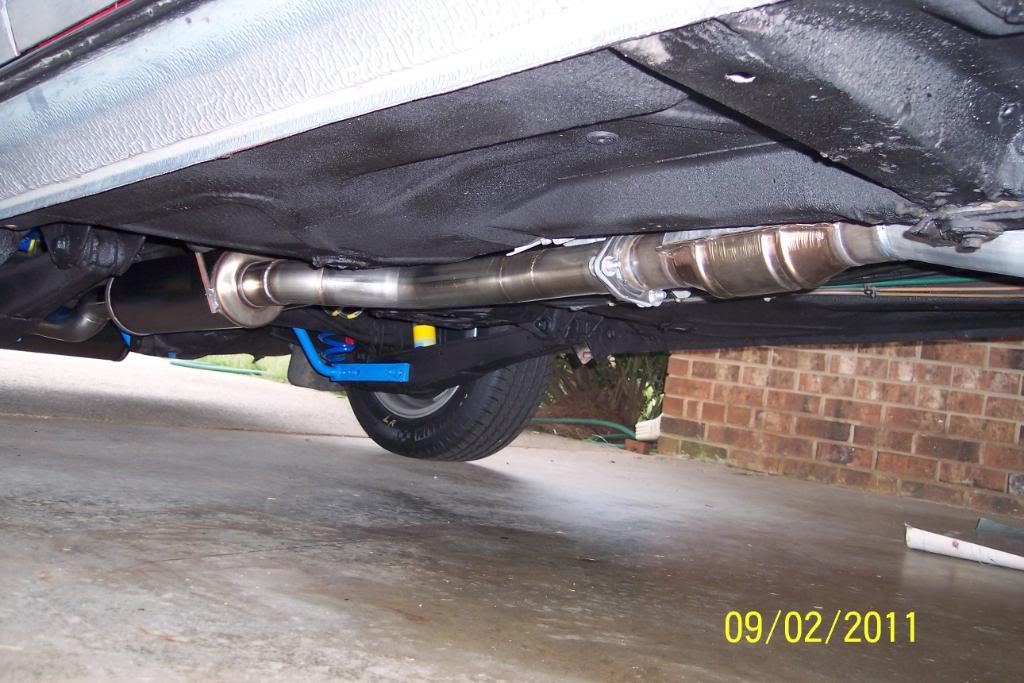
SS MagnaFlow 2.5" exhaust tip...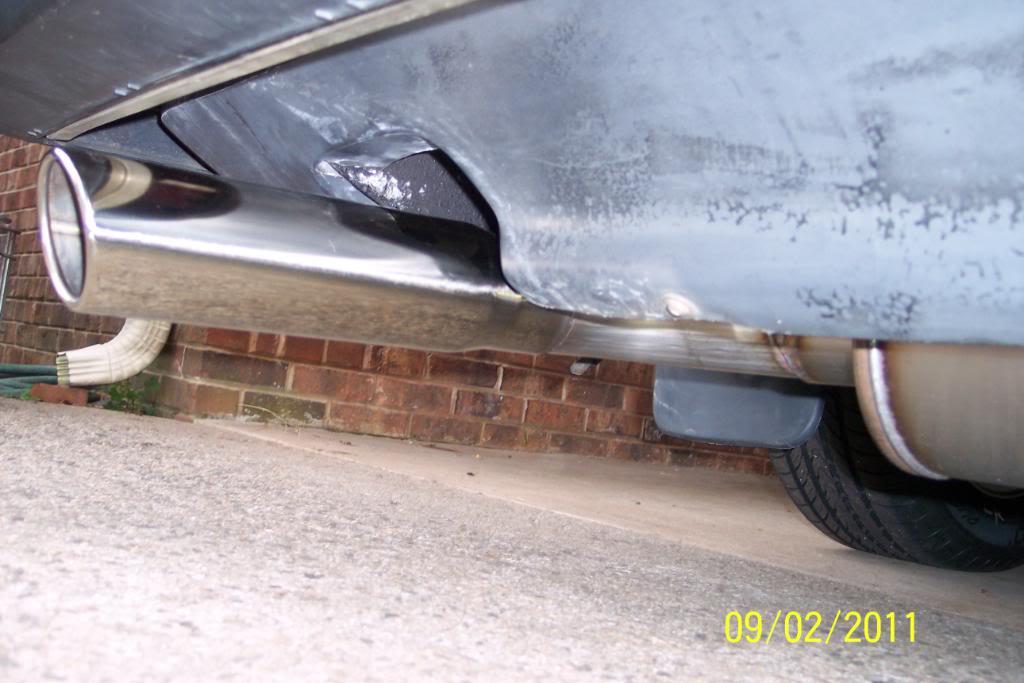
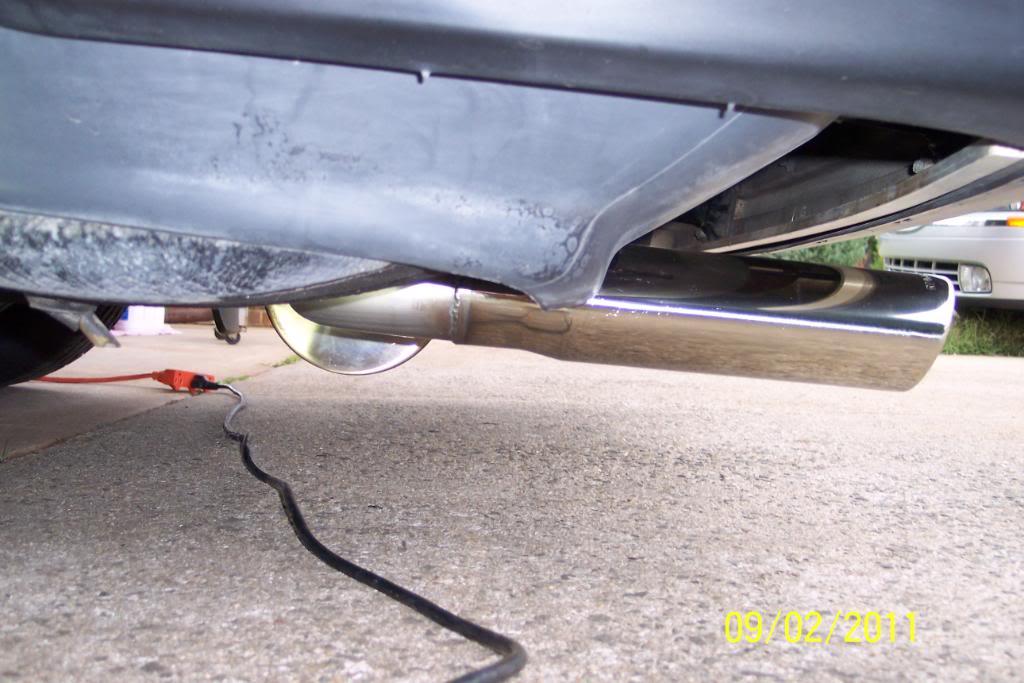
Some rear view with car sitting level on ground...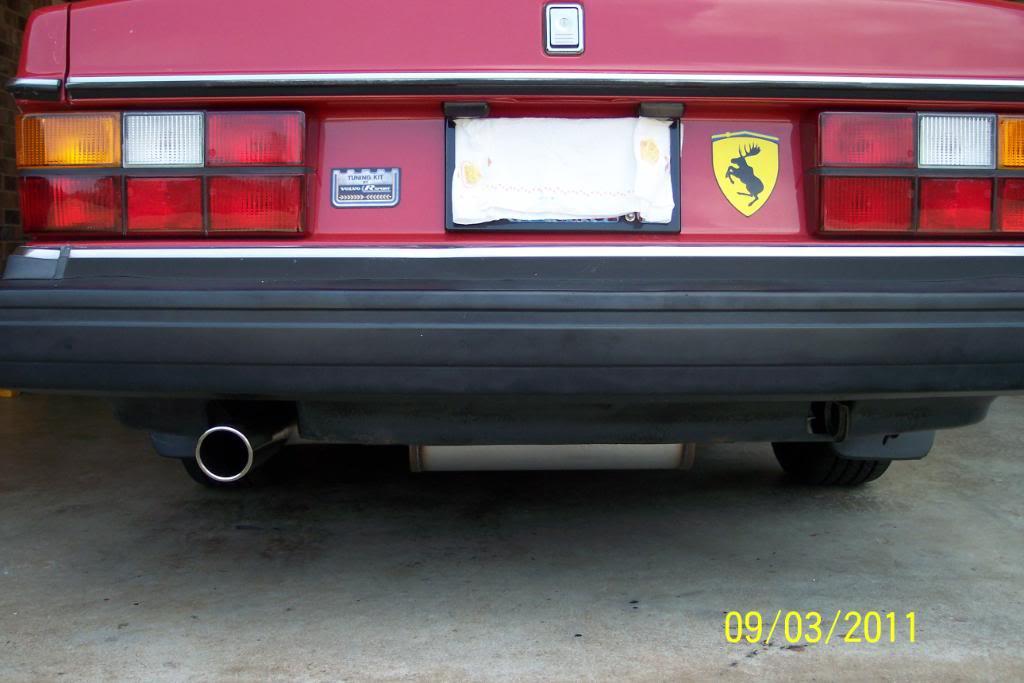
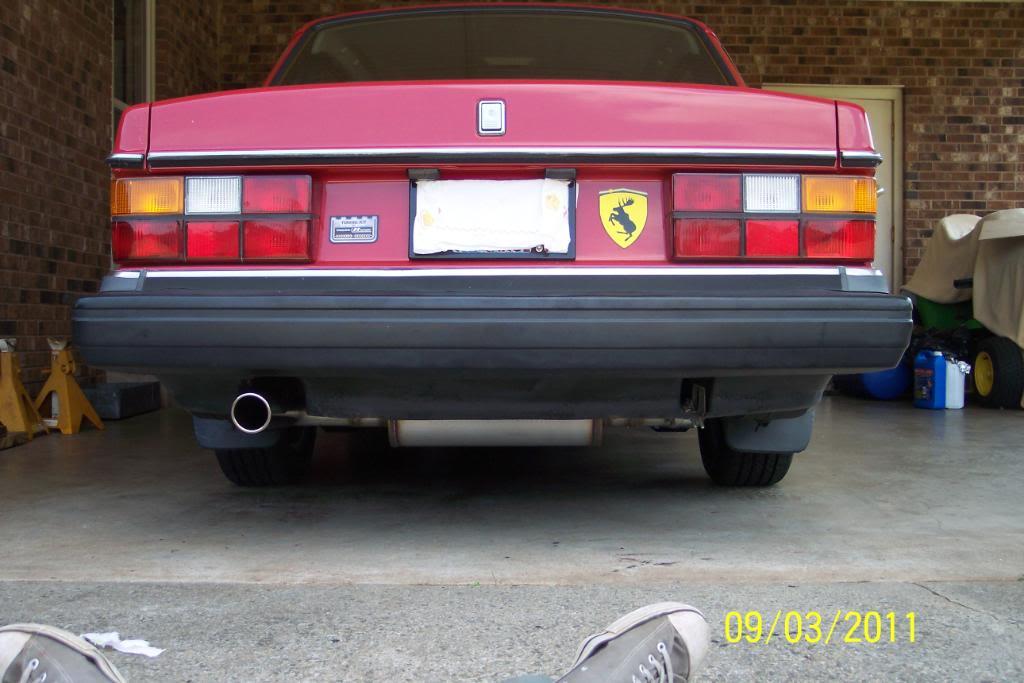
Well, I double, triple, & quadruple checked the 2 piece DS alignment arrows. They look to be in line correctly. Although it's hard to tell with a 1991 with only the 2 u joints on rear DS, as I'm more used to the 3 u joints DShafts. I pulled a string on 'em. looks to be AOK. I'd rather check 'em on a lift though. Maybe next week I will. I think they're right though....
However the adjustment I had, on the IPD Adj Upper Torque rods was 4 turns too long to be stock length. So I adjusted them to stock length.
The noise/vibration I had is now gone....and now it's much smoother. I am however wondering and still learning, just how much rear axle/diff vibrations/noise ,the IPD Aj Upper Torque Rods are now transmitting through the car's chassis. Mine have the (harder durometer than blue poly) yellow poly in them.
I've not ridden in a 240 with the IPD Adj Upper Torque Rods w/yellow poly in them, before that I remember.. so I don't have a point of comparison.
I do hear gear whine/backlash sounds that weren't present before the susp build. But nothing that I'd consider "not normal" for such stiff durometer bushings. Actually I think it's less NVH than I was really expecting. So I think that is all/what I'm hearing/feeling now.
I do get a bit more engine vibes with the 240 OEM Diesel MMs than before also. But again nothing obnoxious.
And my dual Cold Air Intake mod makes a little more "GM QuadraJet 4 bbl sound" too. Tee hee, it makes me grin ,combined with the new RJ's Custom Piping made, 2.5" collector mod & mandrel bent 2.5" SS/MagnaFlow exhaust system sounds.
Car runs much better/faster in 0-100 mph acceleration & 60+ roll ons on the test track.. Scats pretty good for an otherwise stock 91 b230 n/a too, IMHO.
Hhmmm, Now I just need a good bumpstick to compliment these current mods.... That'll be the icing on the cake, so to speak.
Car also handles like it's on rails now. I'm totally satisfied with ride quality, how it tracks flat & surefooted. it's now a "no lean machine" in the curves & corners.
I'm also quite satisfied with the amount the IPD Sport Springs lowered the car. I don't think I want it any lower. It suits my tastes & preferences as is. I shouldn't have a lot of problems with ground clearance either.
Now, if I can figure out how & where, I want to mount my Sun 2 5/8" tach, and mount my rear 6 x9 speakers in a custom made platform on top of the rear package shelf, with the 6 x 9 speaker boxes mounted underneath the speakers, on trunk side of package shelf, and refurb the OEM Volvo rear window louvers & install it, I'll be even more happy.
The engine is running a little warmer than I'd like with a OEM 87C* T Stat. My Blackstone radiator, may be slowly becoming a dead player. I'm currently checking into that.
9/5/11
I've ordered an OEM Volvo 82C* T Stat from FCP. It should be here Tuesday or Wednesday. I'm going to try the 82C* and see if WT gauge reads what I want t to read. I'm shooting for 185F* hot & running, as i have VDO Vision F* WT & OT gauges, as well as , OP,VM and Vaccum gauges too.
I took some pics of the car today, showing the ride height. here are those and a few others......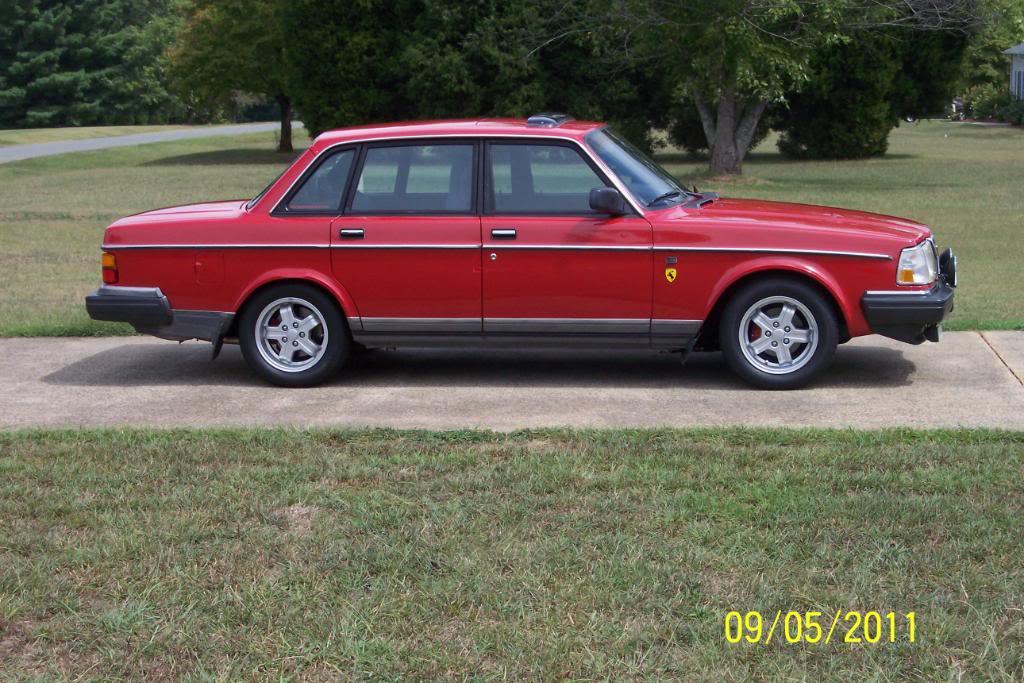
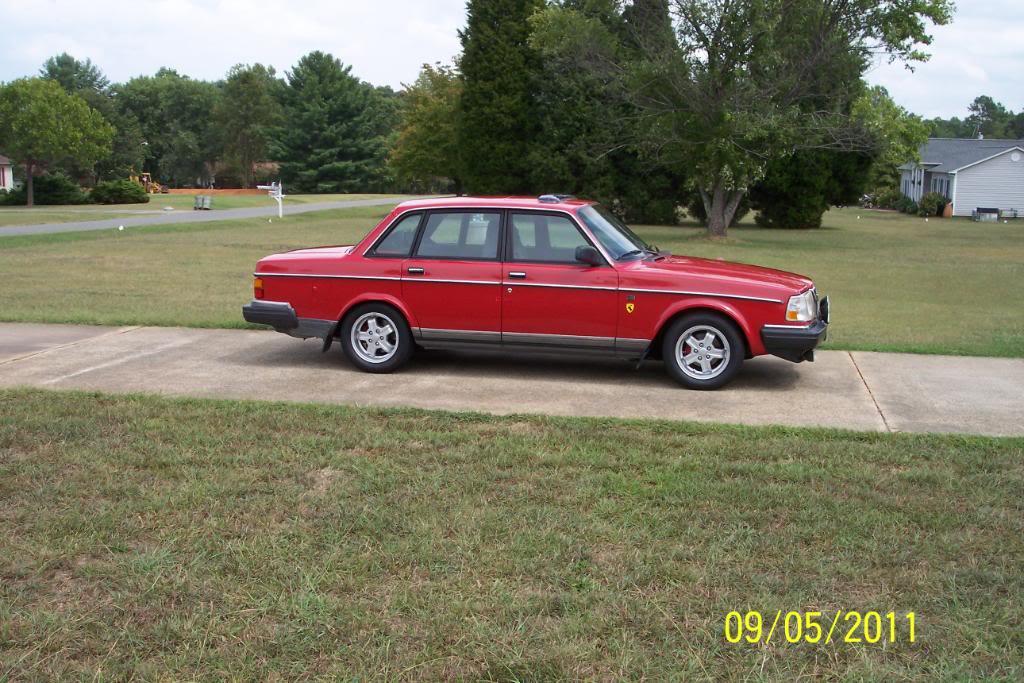
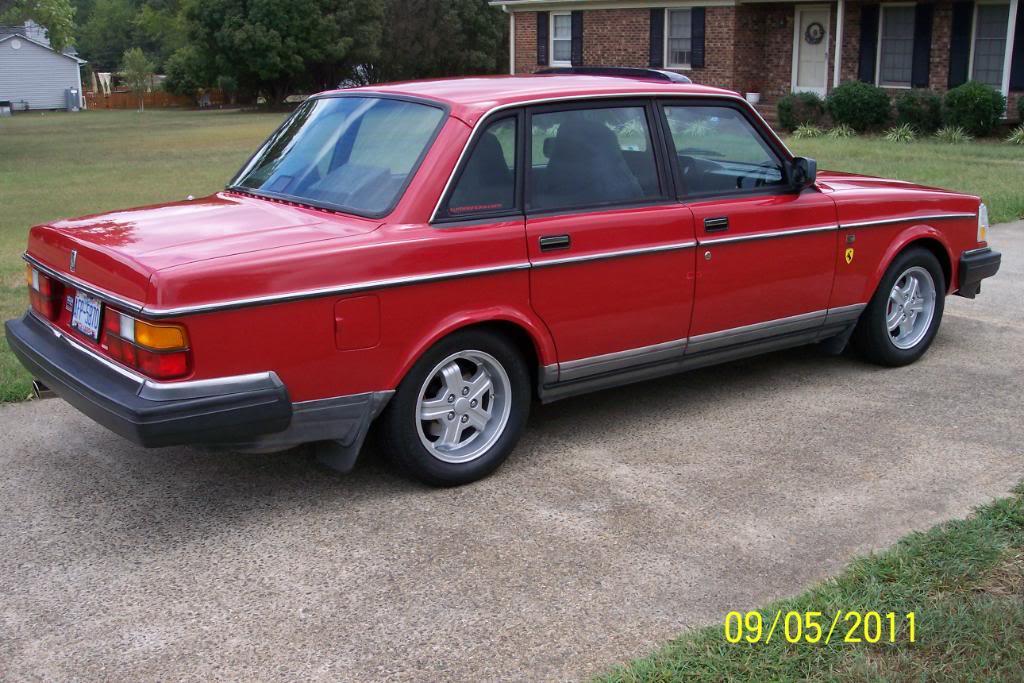
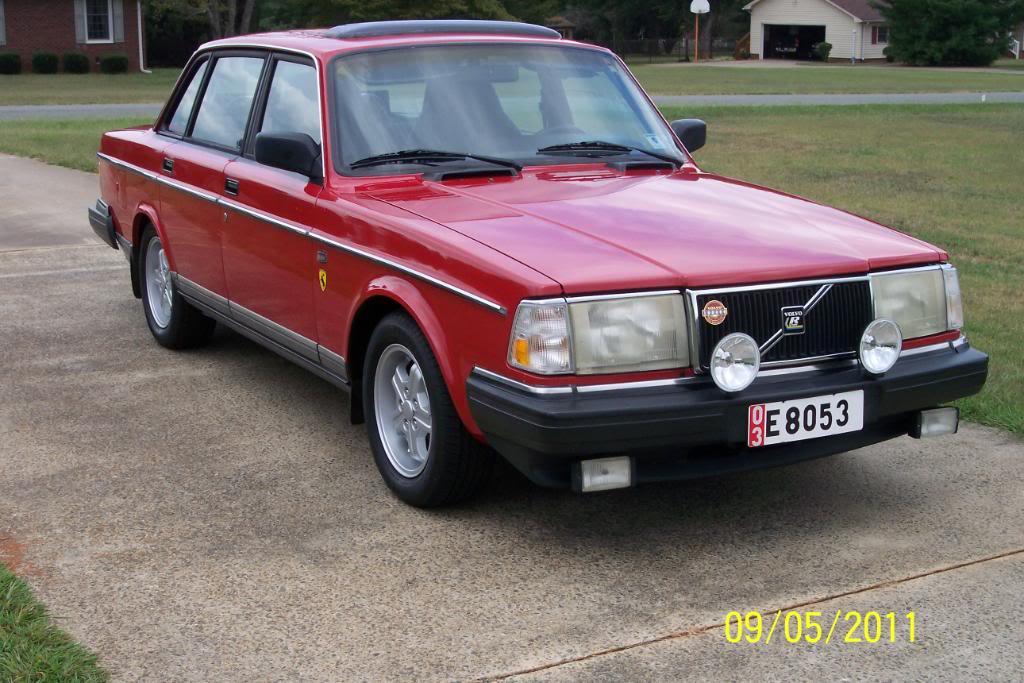
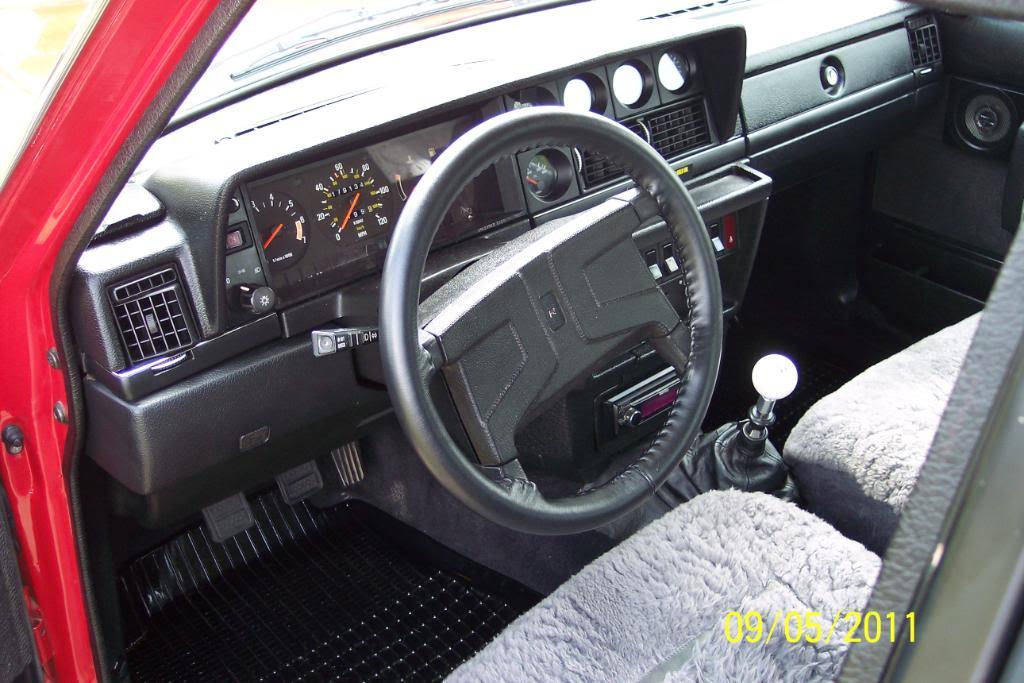
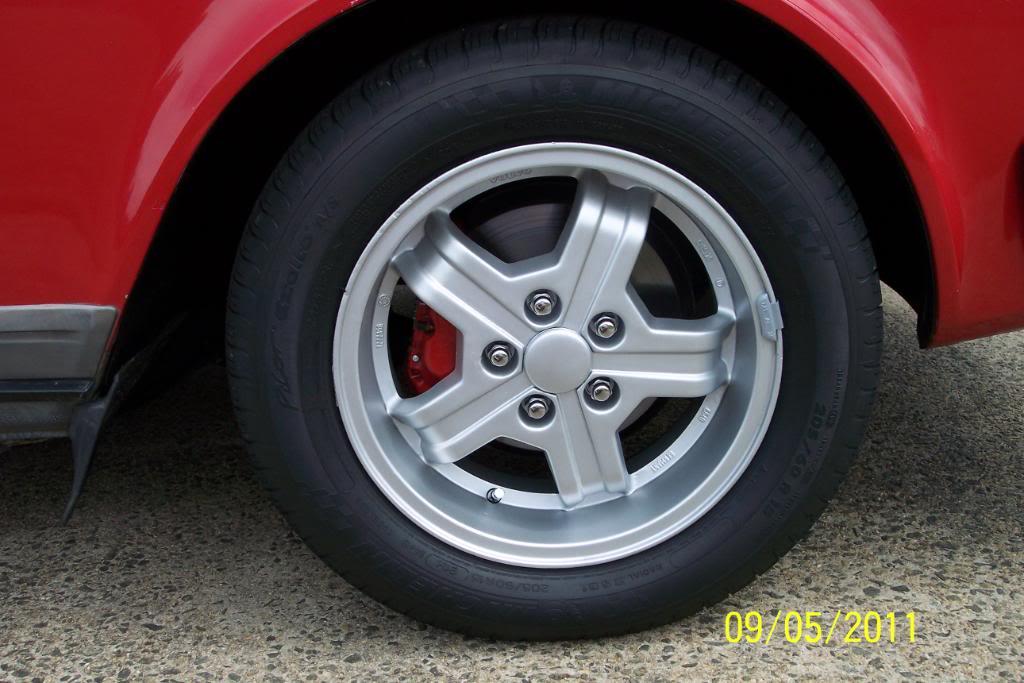
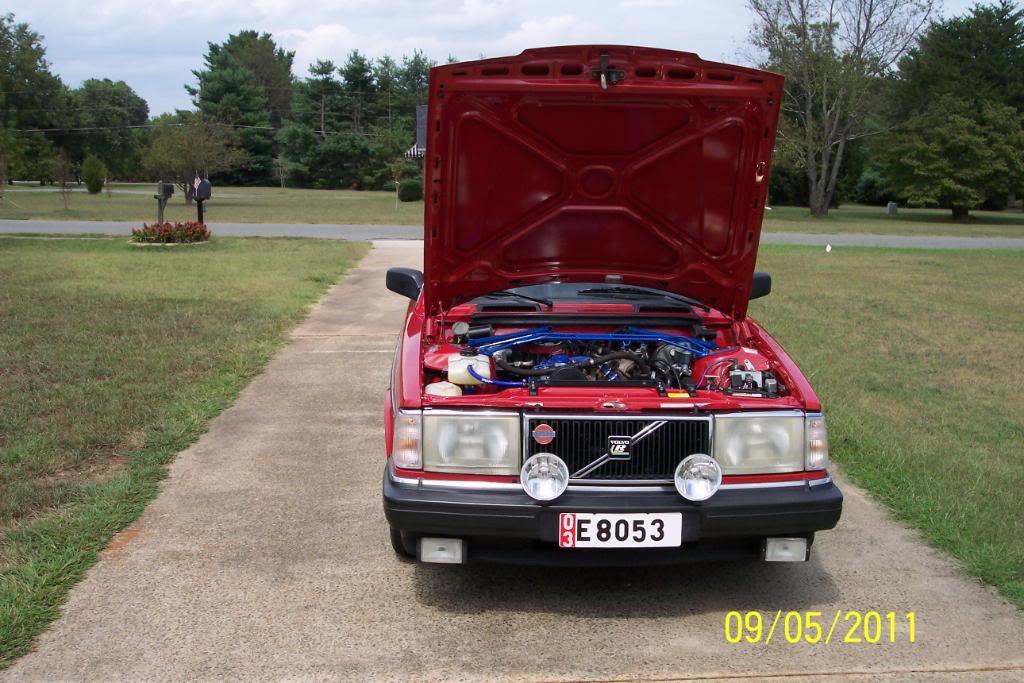
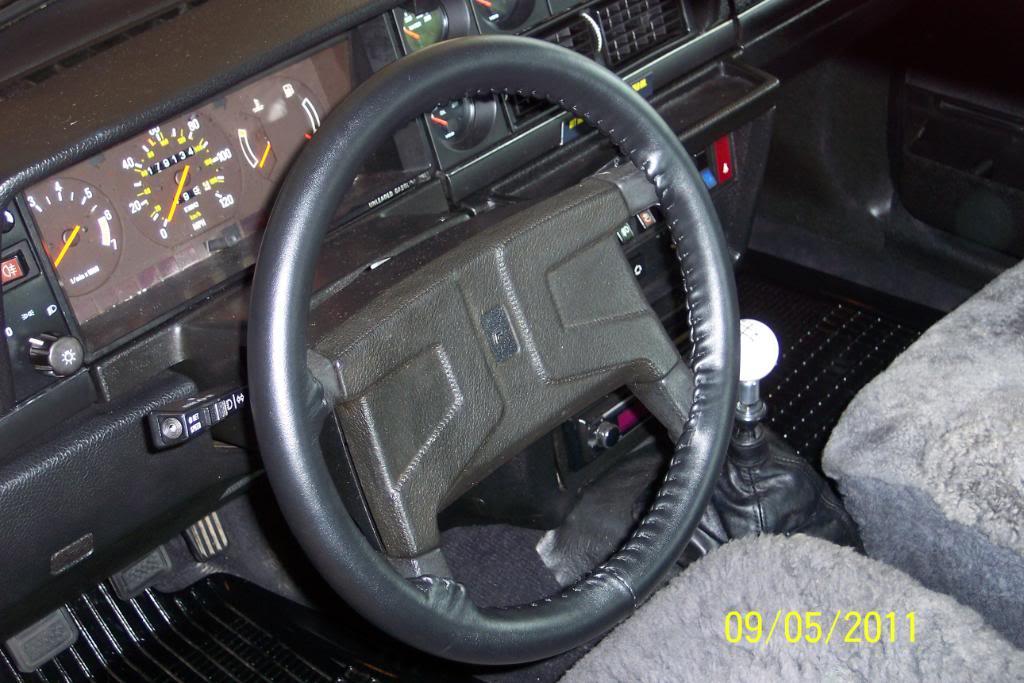
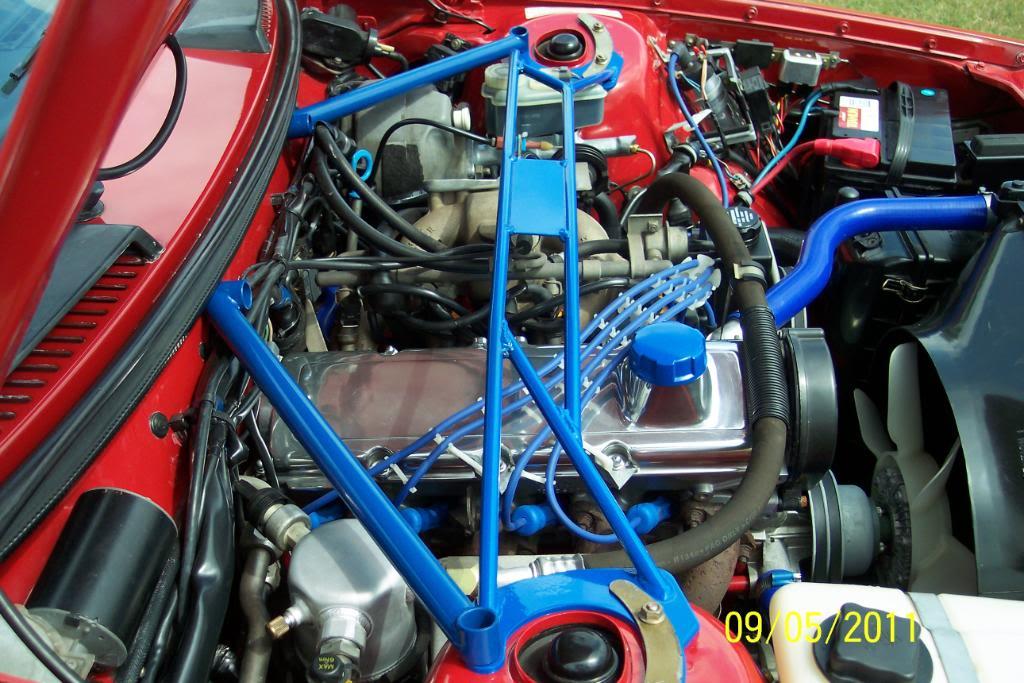
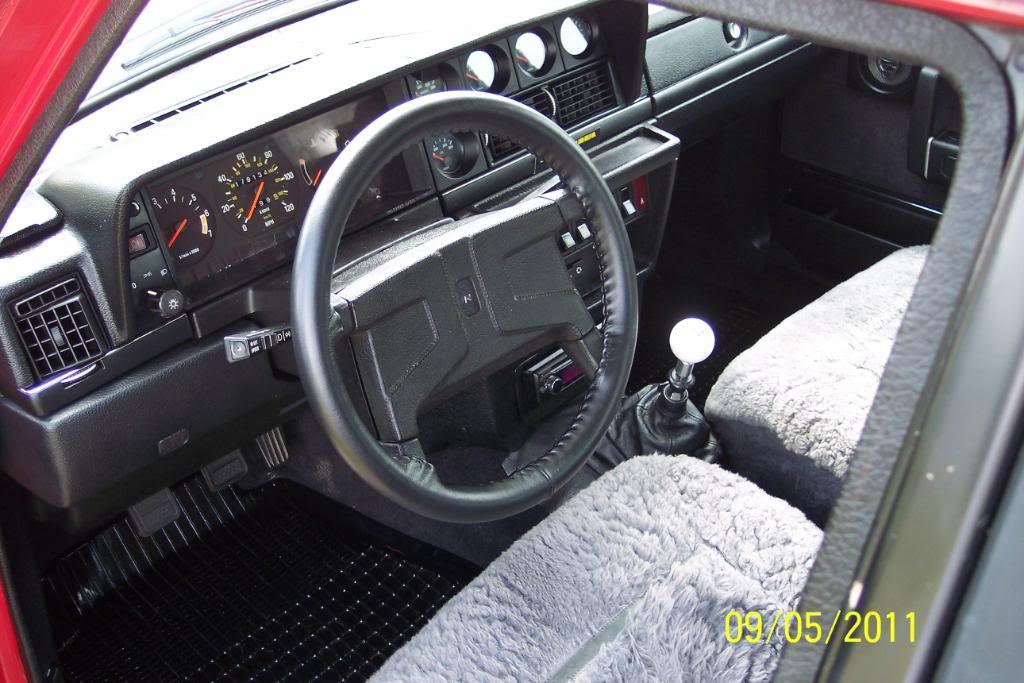
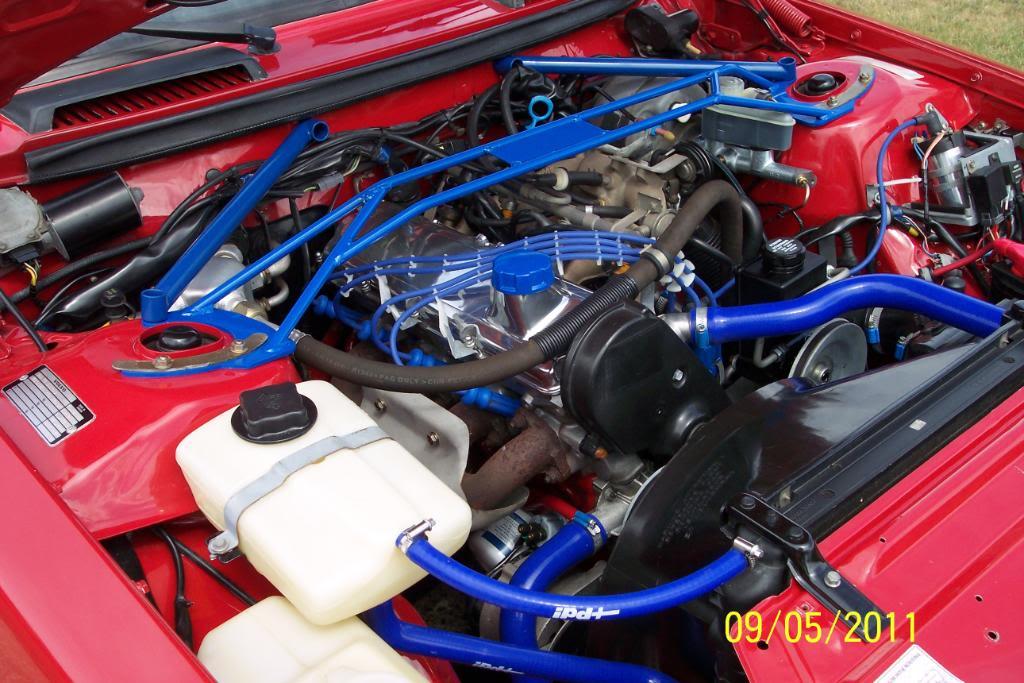
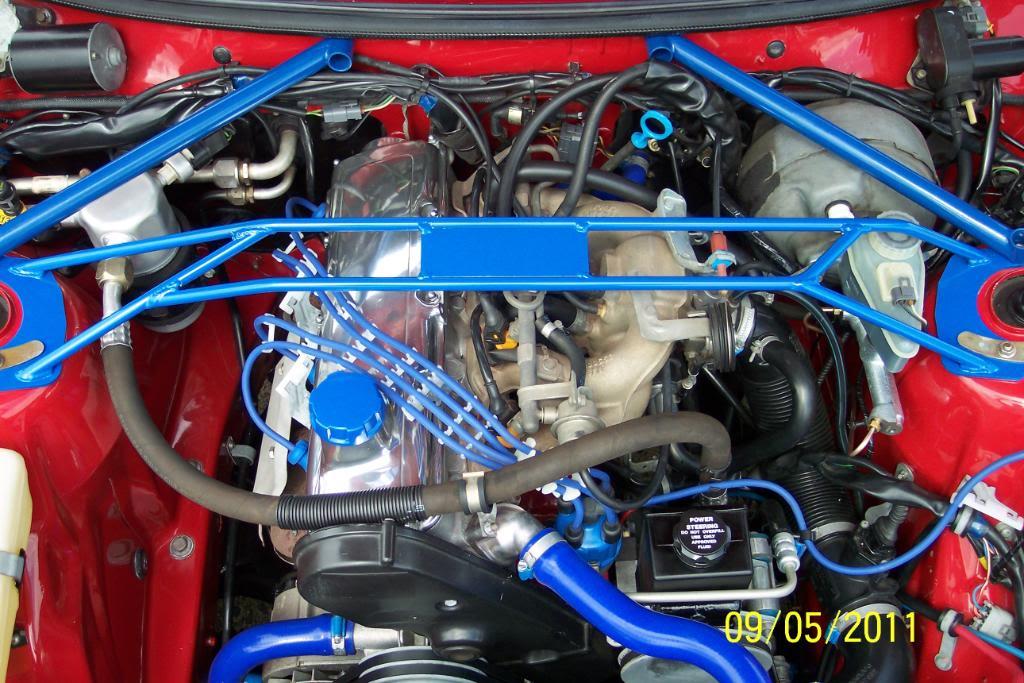
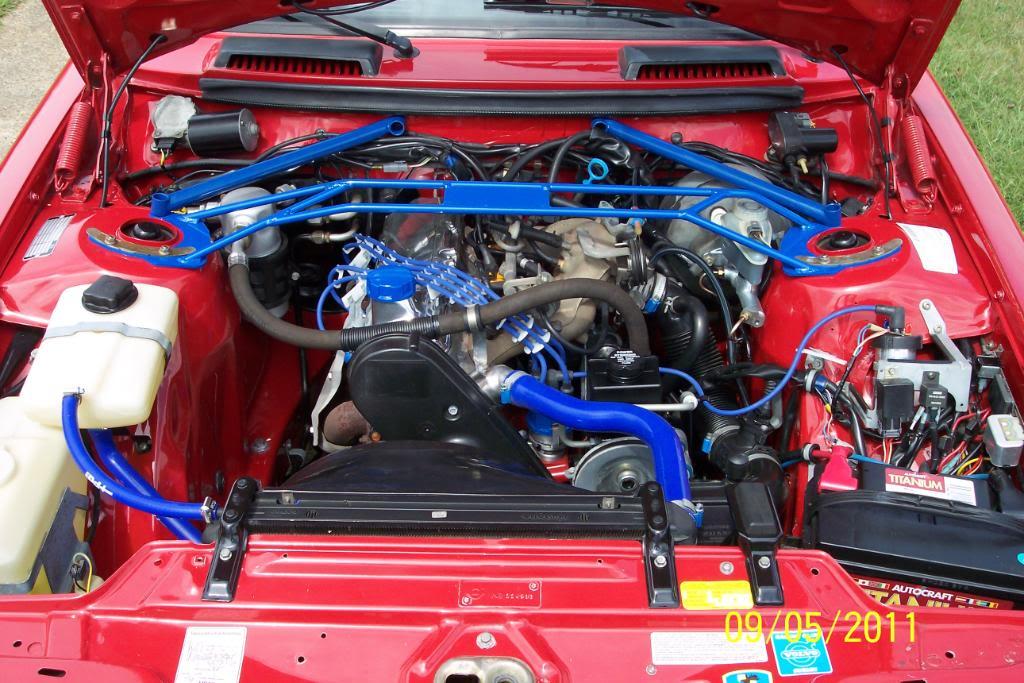
9/8/11
Well, today I decided to tackle the HL lenses install. Followed TrickMick's method of a "ground to fit lense channel on hsg pocket screwdriver" to dislodge the existing Volvo sealant. Worked like a charm. I removed all traces of the OEM Sealant too.
Fortunately my HL relectors were in pretty darn good shape. So I carefully/lightly wiped the dust of of them with a damp rag. AOK, worked well.
I used the clear "3M #8061 Plastic And Emblem Adhesive" he suggested also. I carefully filled the channel the lenses sit in, with the 3M , then sat the lenses in place. In other words , I glued the hell out of them.
Here's a pic of the first HL lense I replaced, and I now have both done & waiting on them to dry before installing them.
FWIW, naturally, my CVOCD kicked in, & I just had to wipe the dirt off the metal areas, behind , above & around the HLs & PLs, & then wax the paint. I got CVOCD pretty bad, huh guys? ..... I figured "Why not?"..........
That's a hair on the camera lense, not a scratch in the HL lense guys. Yep, scared me a minute too.
Here's an "new compared to old pic... and I'll post a after installed pic later.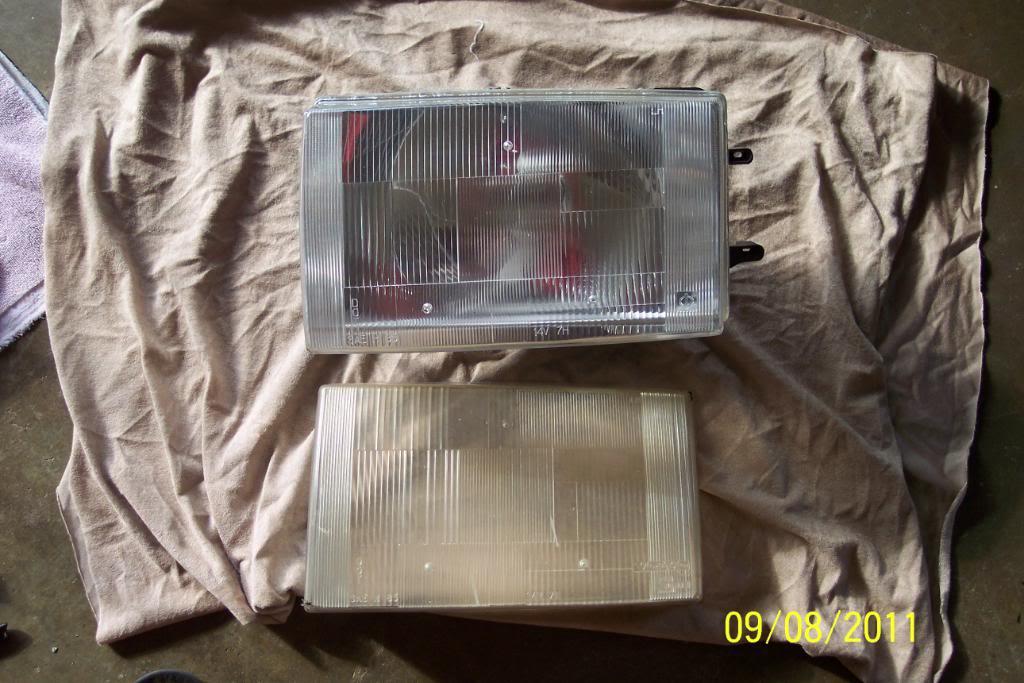
CVOCD pic.
1/3/12
A few days ago, I decided to do my annual "winterizing" to the exterior of the car.
After I removed the wheels and cleaned both sides of rims, and tires, I then, rotated the tires, frts to rear, rears to frt. I'll get my free 5000 mile balancing at Discount Tires a few days from now.
Then I washed,dried, waxed,the paint and then cleaned all the windows & vacuumed the car out.
Then I cleaned the ends, bottoms and leading edges of all four of the doors & all of the door jamb's area and waxed them, then lubed the hinges.
Sure makes for a much cleaner appearing car......here's a few pics of some of the doors/jambs.....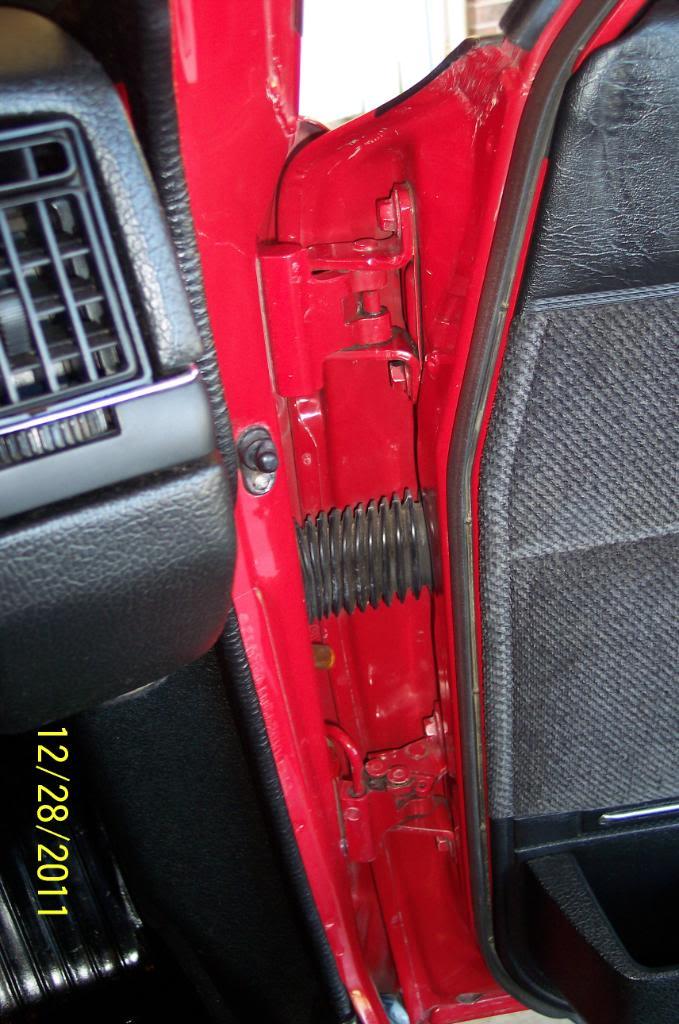
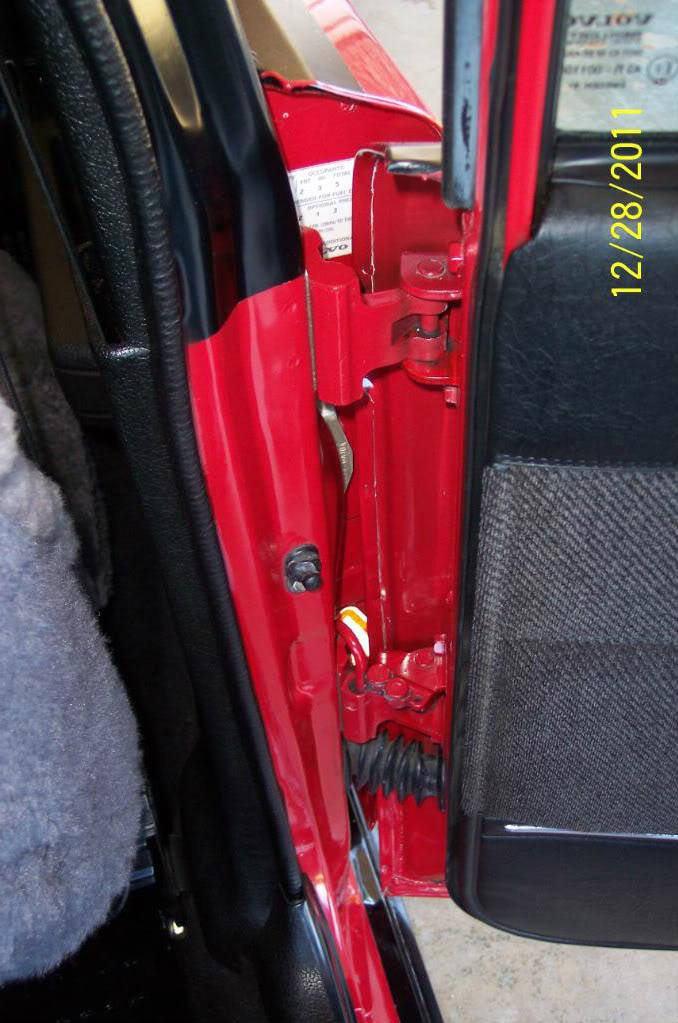
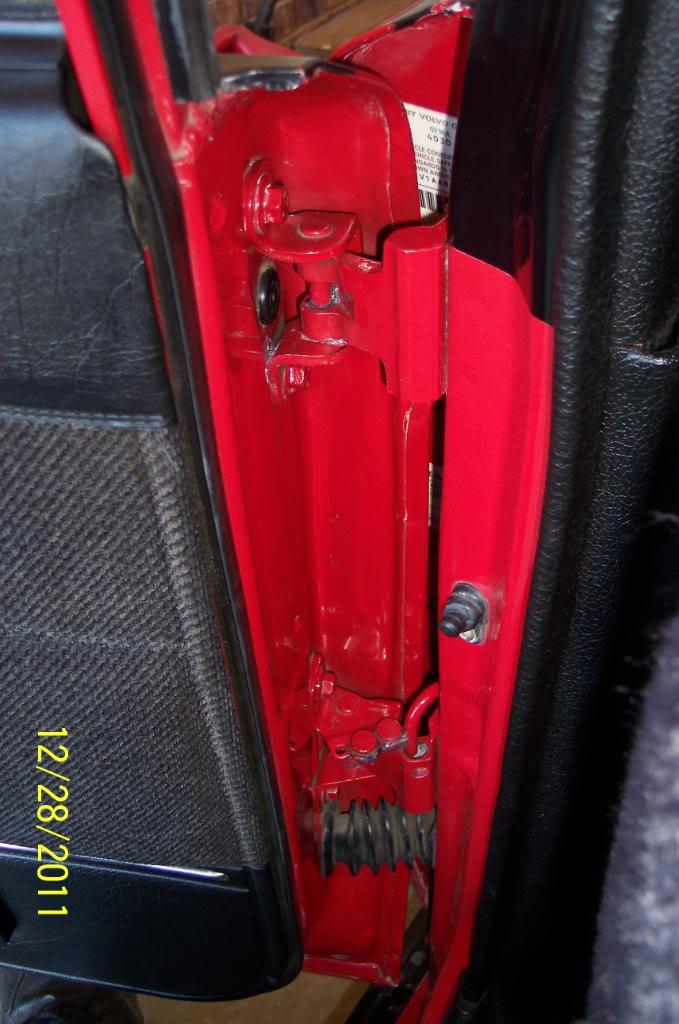
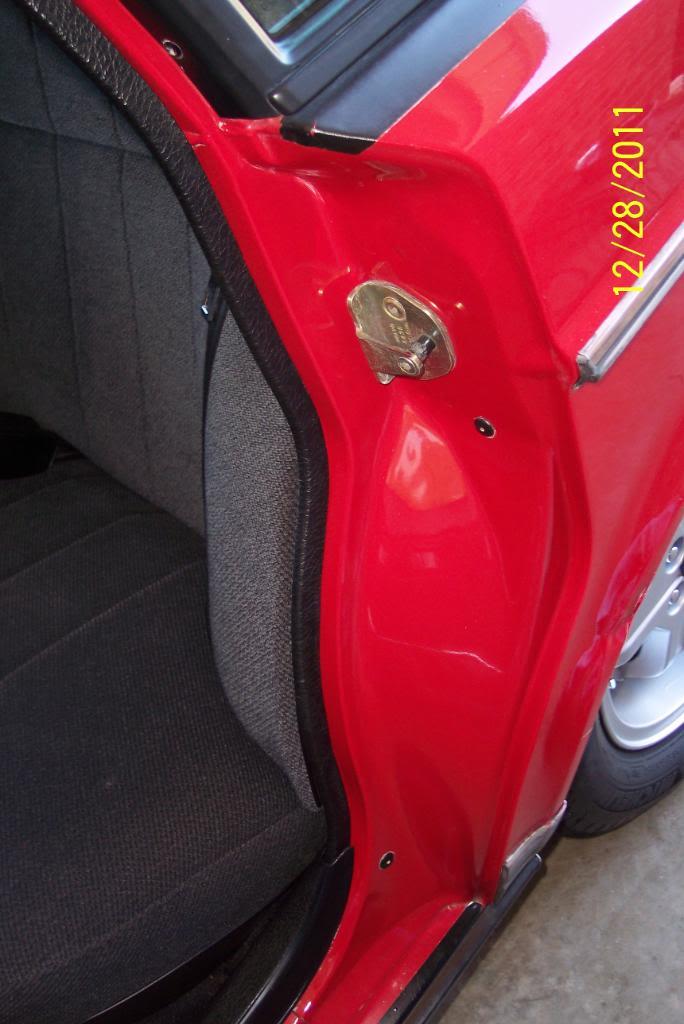
OK, was having problems with passenger side tailight. So I got a new circuit board from www.vlvworld.com.
It came in the mail very quickly, so I decided to put it on.
I pulled the taillight off, wiped dust/dirt of with a wet rag, dried it off & then waxed the paint behind it. Let it dry, then removed it.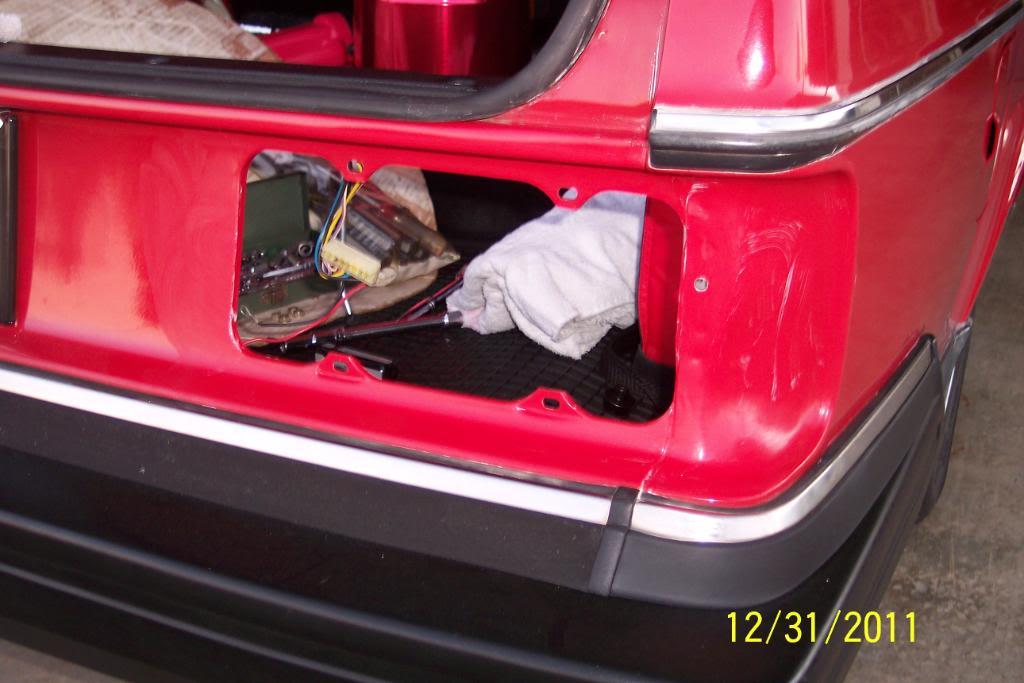
Then took the tailight hsg. into the house , layed a towel on the table, and removed the old OEM/CIBIE Circuit Board.
Notice the width of the copper contact area on the OEM/CIBIE circuit board, where the TL bulb's bases turn & lock. You'll see why shortly......
I found where the wiring plug slips on the circuit board looking like this....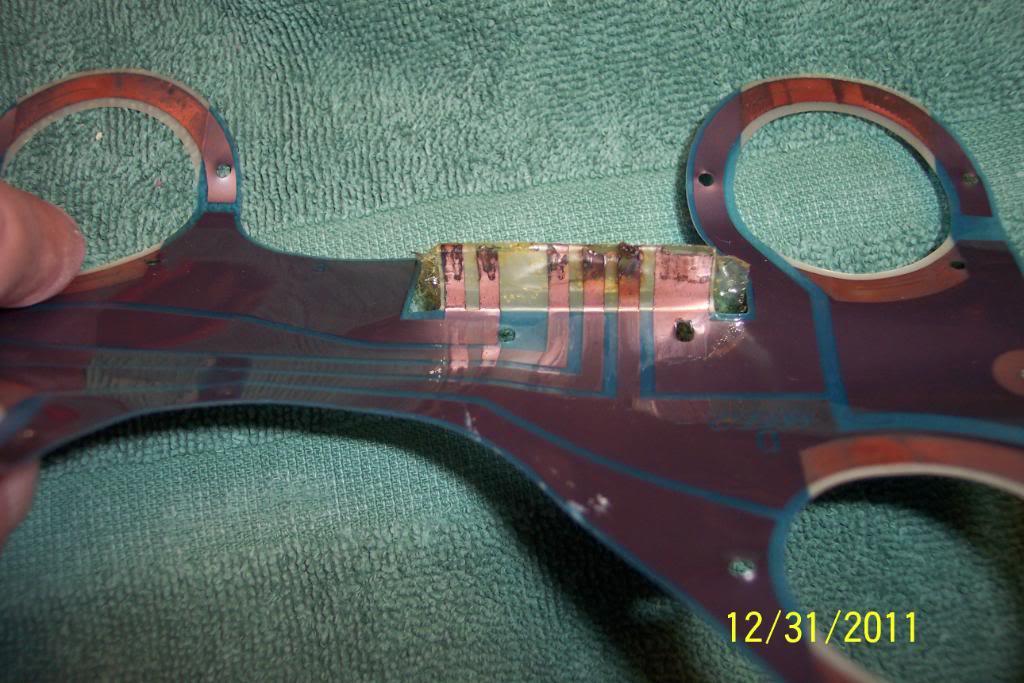
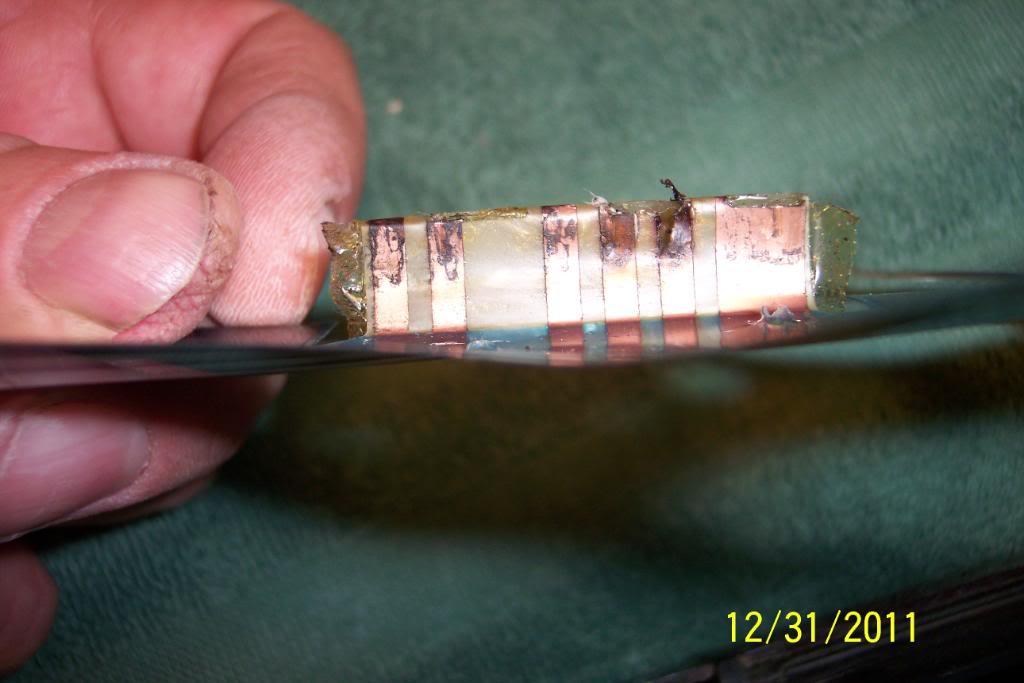
I then installed (if ya can call it that, as it's too easy) the new replacement circuit board I bought from www.vlvworld.com.
Notice the wider width of the copper contact area on the new replacement circuit board, where the TL bulb's bases turn & lock. I figure it'll work better, and last longer.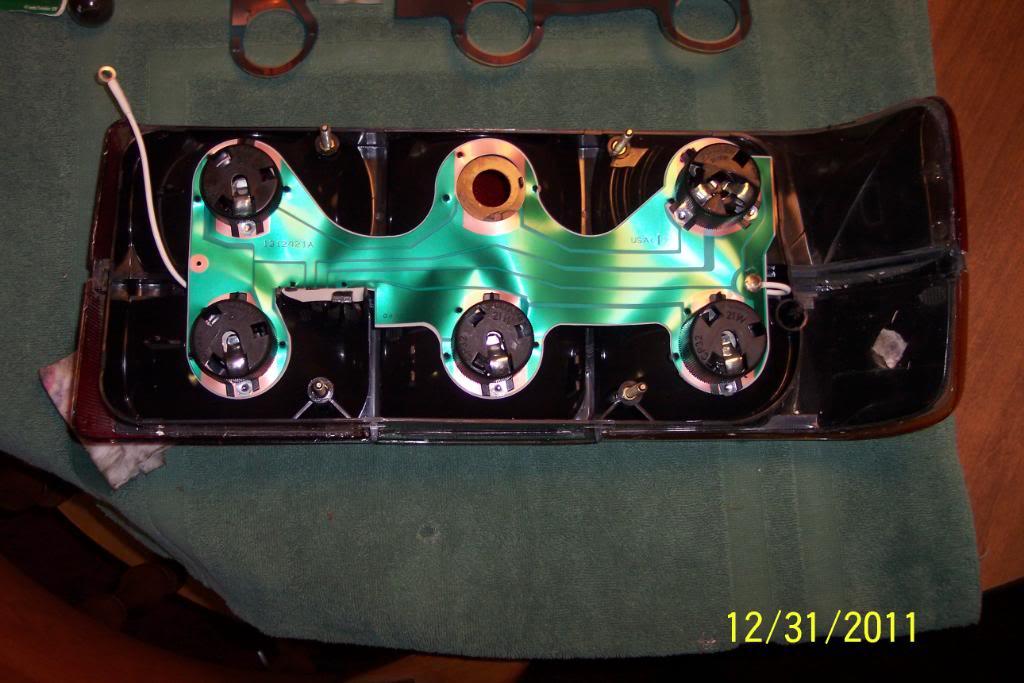
Then re-installed the pass side tailight assebly/housing back on the car,tightened the mtg nuts on the studs, and then, of course re-installed the bulbs.
I plan to replace the driver's side taillight circuit board in a week or two. hat way they'll match. LOL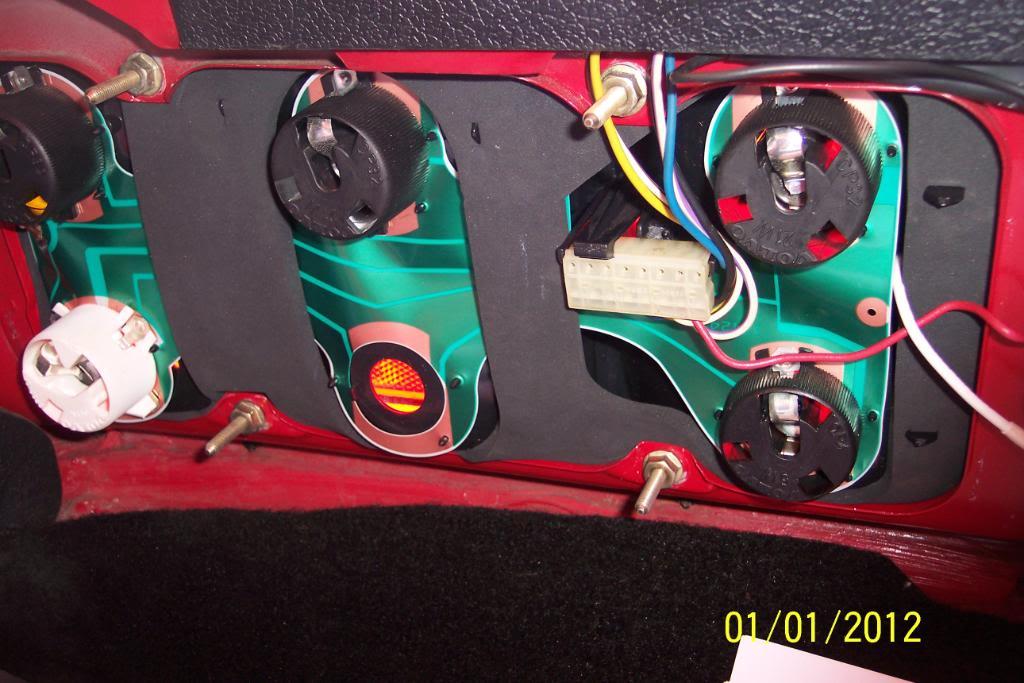
I bought a new "OEM quality replacement power antenna mast, for my 91 240 sedan. Mine's mounted on top edge of dvr's side rear 1/4 panel.
The other week, the mast refused to act like a antenna should on a automoblie that has a male symbol for the company emblem.
In other words, it would not go up all the way. Nor go down all the way. It's stuck there in "power antenna limbo".
After much searching on the web,checking quality & prices, and calling the dealership, I settled on a mast from...... www.AntennaMastsRUs.com .
They sell the masts that are made by the same suppliers that make themsupply them, for the car manufacturers.
After Volvo's price of $59.12 plus sales tax, I thought $12.50 plus $6.00 shpg was a helluva deal, for a quality, NON AFTERMARKET, antenna mast.
I do think I'll check to see if the rubber seal, that seals the antenna trim piece to the 1/4 panel's top, is still available, as I think the old one is leaking, or if not soon will be IMO. I'll call the dealer ship tomorrow & find out.
Here's a link to the website and the mast I bought, below:
http://antennamastsrus.com/Volvo/240...01976-1993.htm
And a pic of the mast I received...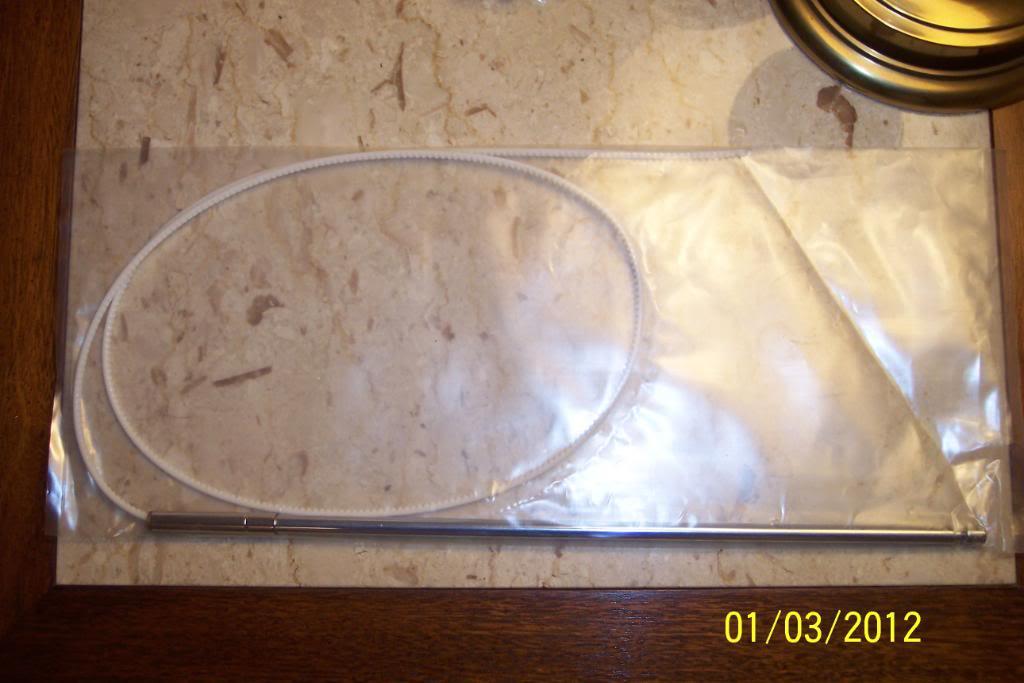
I've never replaced one of these power antenna masts before, but after looking at the site's instructions , it doesn't look like it'll be hard.
We're experiencing a pretty cold weather snap to day and looks like it'll continue for a little while.
So I'm not sure exactly when I'll tackle this job. Shouldn't be but a few days, at most, I think. Stayed tuned....
1/4/12
OK, warmed enogh to install the new OEM quality power antenna mast today. I followed antennamastsrus's online instructions. Got old mast out, but nylon thinky was still inside antenna motor hsg.
Removed the whole deal and pulled off it's drum cover. Sure enough there was 2 separate broken pieces inside. And there is a water drain tube on bottom of the motor hsg.
The hose was completely clogged with what appears to be dead wasps or dirt dobbers.(see pic below) I cruised up to Lowe's and got a few feet of 1/2 clear hose to replace it with. Works great for 33 cents a foot.
I think the clogged hose probably caused water to stay inside the hsg, and it froze, thereby breaking the nylon thingy on the mast. As it was quite cold when it broke.
I removed them and the old grease, and cleaned the old grease out of drum too. Regreased it with Valvoline Molybenum Wheel Brg Grease, reassemble it.
Then I bolted the entire assembly back in car, then I sprayed the new mast with Liquid Wrench's new Silicone Spray, to lube it and then I fed the new mast's nylon thingy in the hole while I had someone else turn on the radio of the Kenwood MP538U AM/FM CD Player.
The power antenna motor pulled it right in , and only had to turn radio off,/back on once more, for it to draw it all in. Imagine that..seems too easy...
There is an O ring under the trim piece that seals it to the top of 1/4 panel to prevent water running down into trunk. I found a new one in my O Ring Box and replaced the old one.
Then I placed the trim piece back on 1/4 panel & tightened the nut whilst David Allen Coe, Long Haired Redneck was playing on the radio, on 98.1FM. Quite fitting I thought, as it's one of my DAC favorites. Yep I love DAC music.
So now my power antenna mast goes all the way up & all the way down like it should on a vehicle wearing the male symbol as a company emblem.
Pic of the dead insects out of the drain hose & the 2 separate broken nylon thingys..........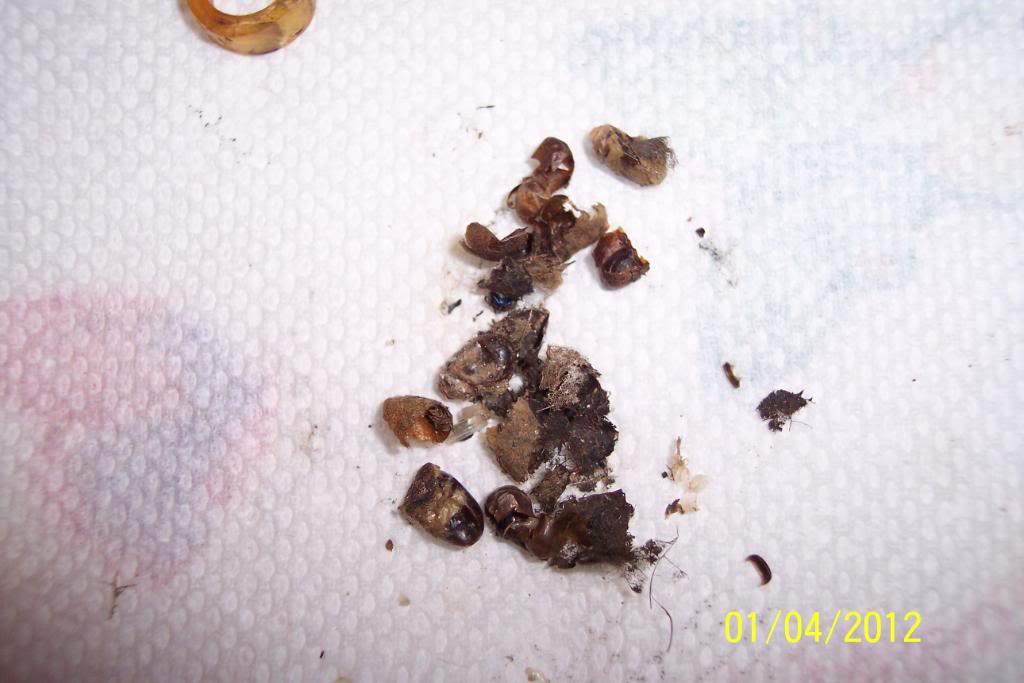
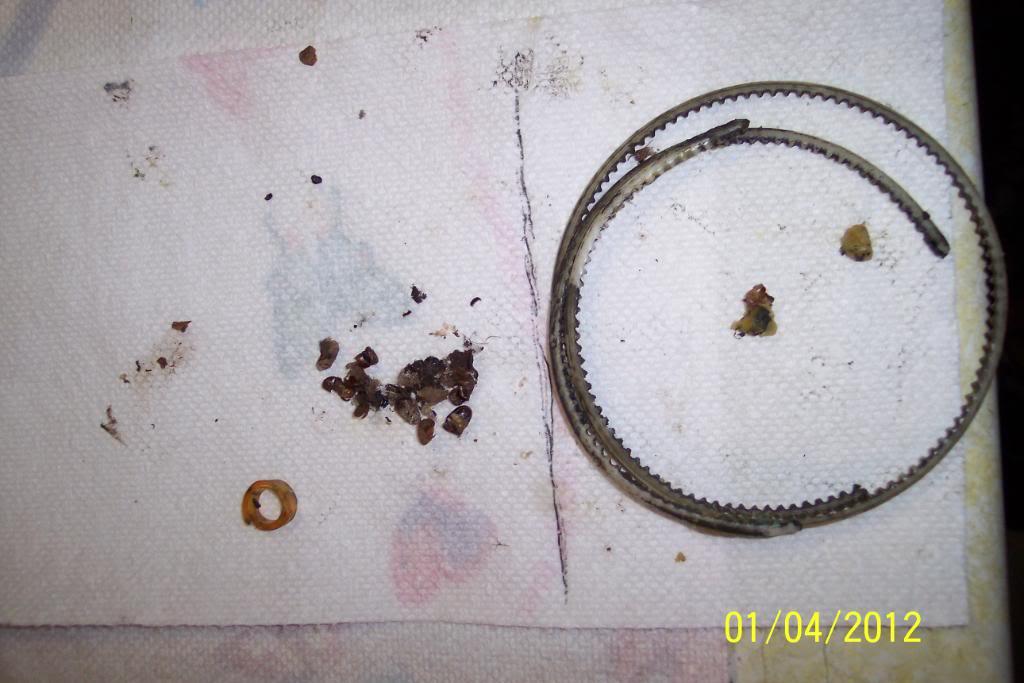
And pic of power antenna motor assemby inside of trunk & now working properly.
Another pic,better showing the new drain hose...well, you can barely see it as it's new & very clear.
I just finished fastening in a new container for my trunk and then I organized my whole trunk tonight.
Pics below: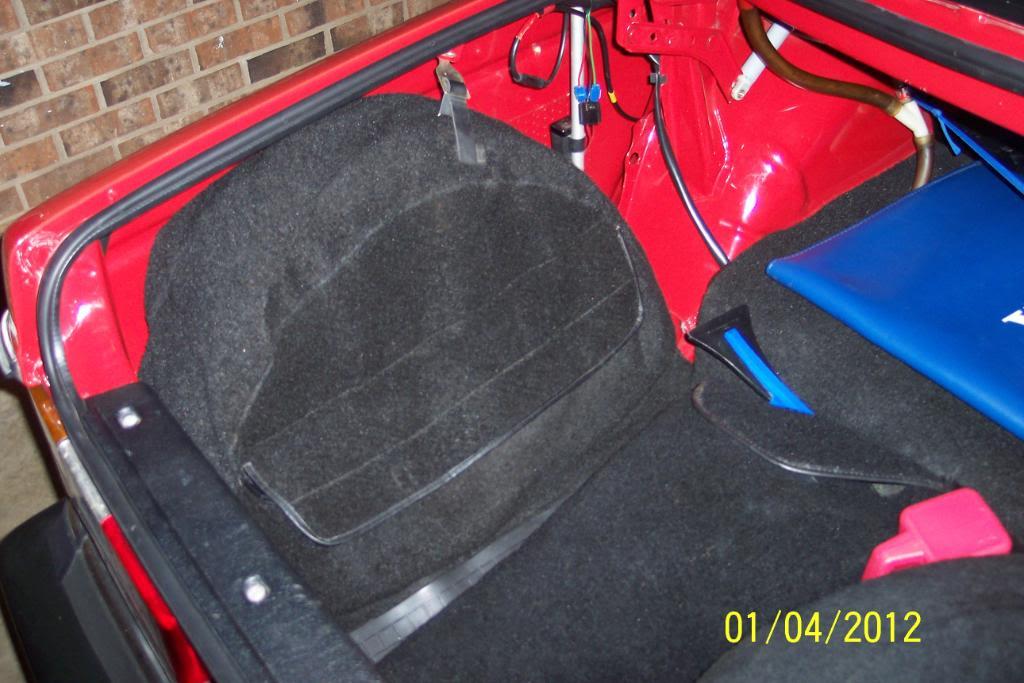
A place to put things too big for the tire cover's pouch....
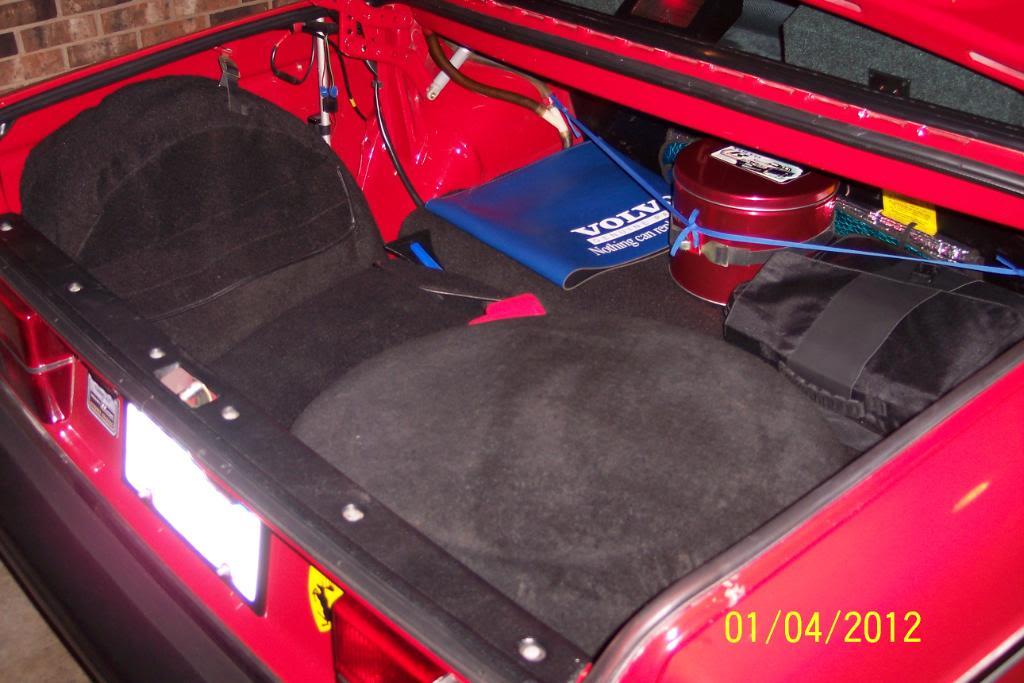
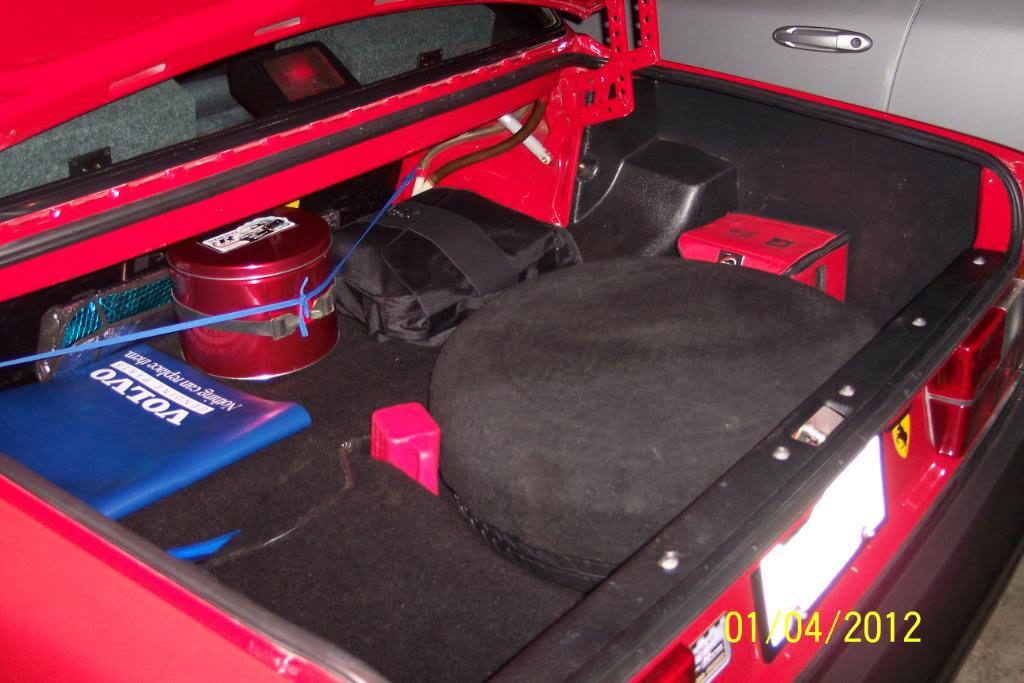
1/10/12
OK, When I installed my Kenwood AM/FM CD Player, I used 6x9 KW 5 way speakers in boxes on package tray, until I investigated how to mount the 6x9 speakers neatly in/on the package tray, like an old school adult would.
The time has come..................
removed the boxes off the tray, pulled the package tray panel/trim piece out. Took a gander at what laid underneath...then vacuumed approximately 15 moths & one stink bug up.
Then re-installed the package tray panel & then installed the rear passenger headrests, marked where the KW 6x9s fit/cleared the best clearing all needed items, onto the package tray panel, with blue Sharpie Pen, using speaker's grilles.
Then used the mtg template that came with them, and marked where the actual cut out needed to be.
Grabbed the old school metal cased Craftsmans power jig saw, a new blade, and a drill & had at the first 6x9 hole, into the package tray panel. Pics below: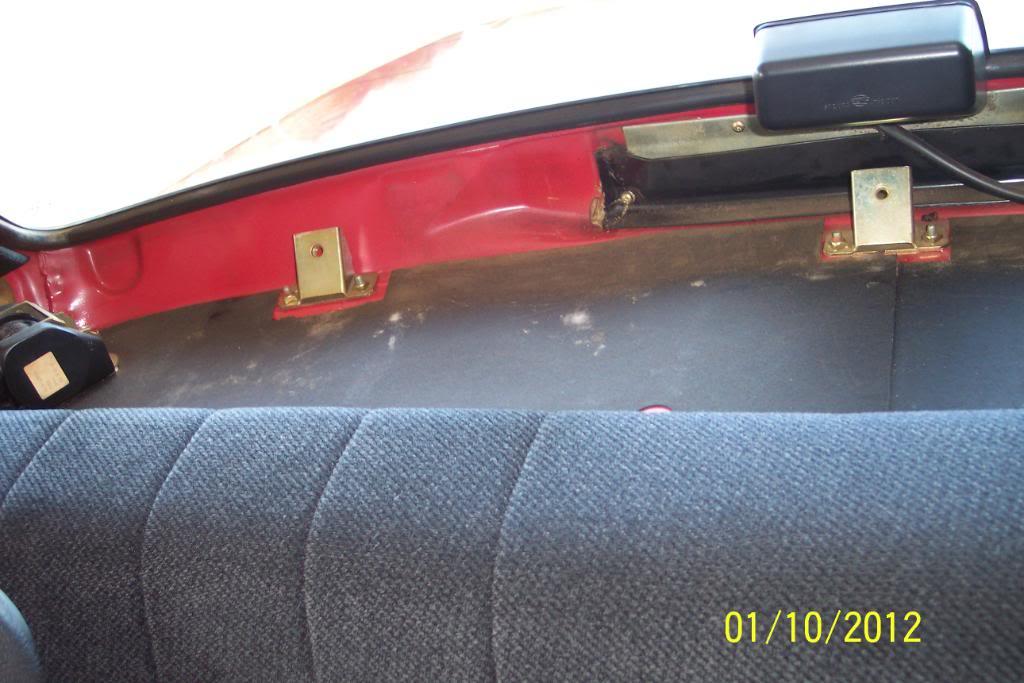
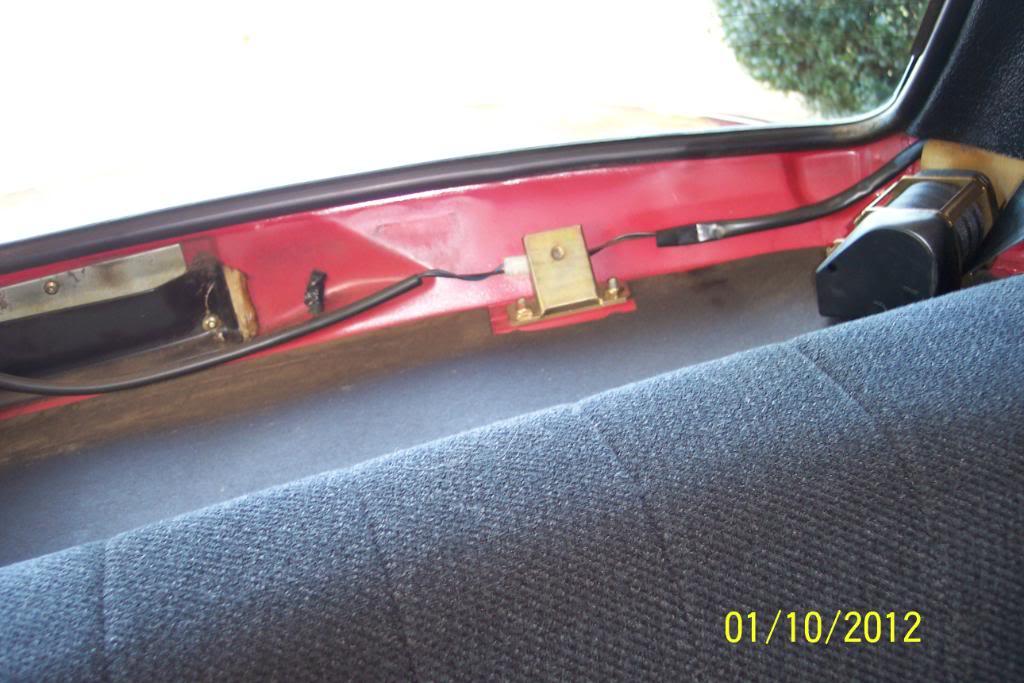
One down, one to go..........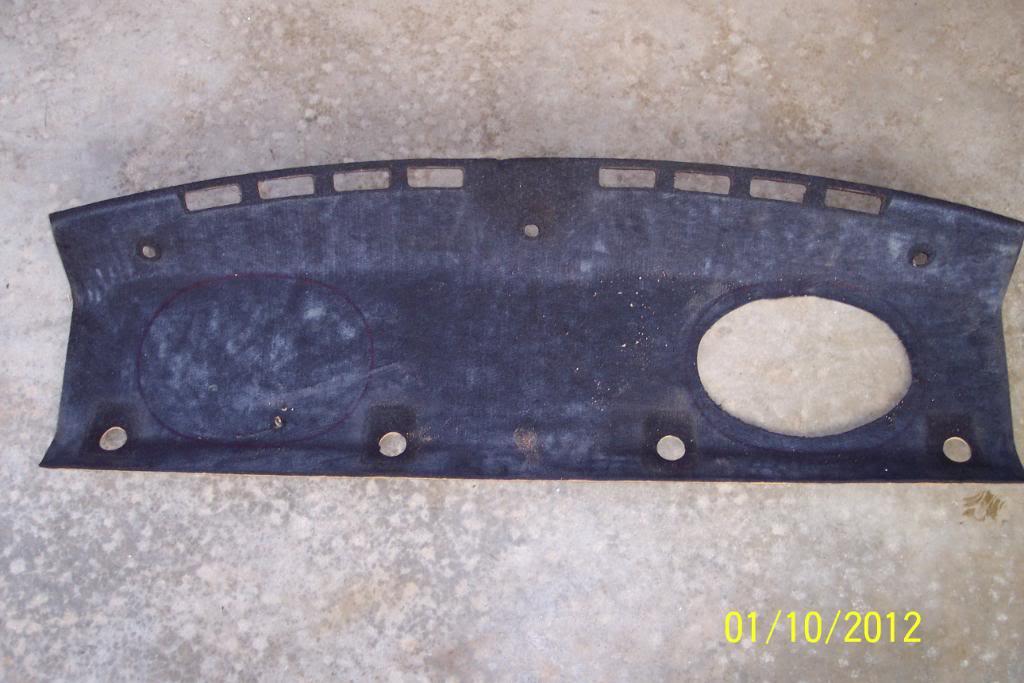
And the speaker fits the hole nicely....not bad for an old redneck biker huh? LOL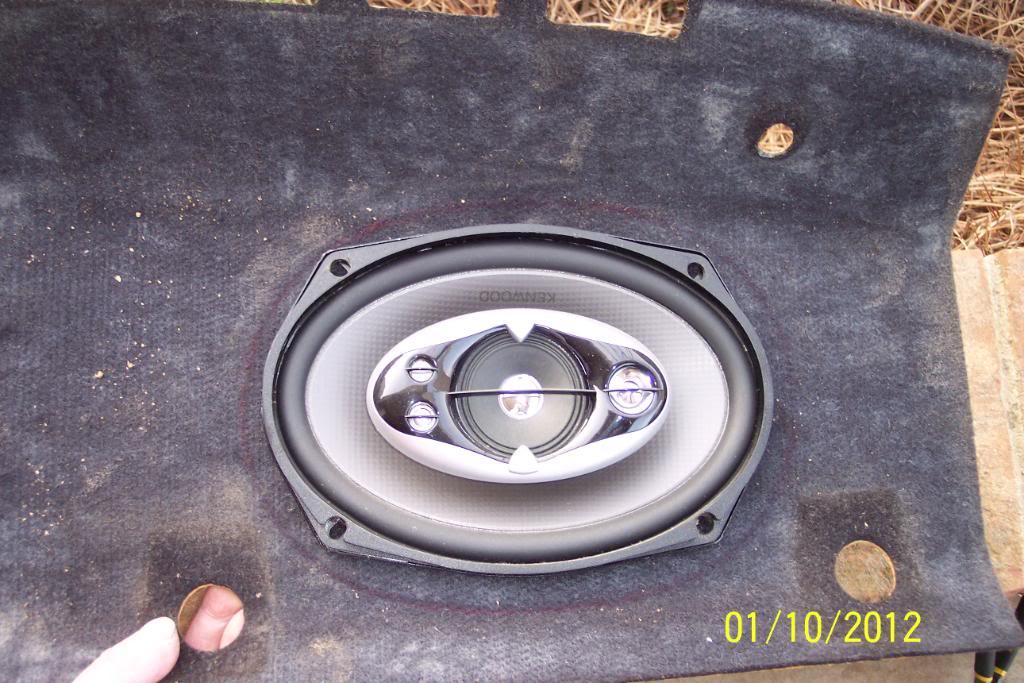
Now to cut other hole & package tray panel, then lay the package tray back on, and mark the the holes in the actual metal package tray panel. Yep, that'll be the "FUN PART"
OK, I cut the second hole in package tray panel, and then re-installed it in the package tray area. I cut the tar paper out in 6x9 fashion, using the holes in the "inplace" package tray panel trim piece.
I then removed the tar paper from the metal ONLY where the holes were cut into the PT panel trimpiece. This marks & translates the hole to be cut, from the Package tray panel trim piece TO where it needs to be cut in the metal, and therefore the hole should be pretty much close to perfect.
I also marked the circumference of the hole with blue Sharpie Pen, for added insurance/visibility.I have been doing this job "in my mind" for over 2 years. Looks like it's paying off now.
Notice how I was lucky enough to "catch" a large portion of the factory speaker hole, and then, small, "1/4 moon" parts of two other small holes. This should make for a lot less actual cutting, with the jig saw, and 3 places in each hole to start the jig saw, if needed.
Pics below:
Passenger side...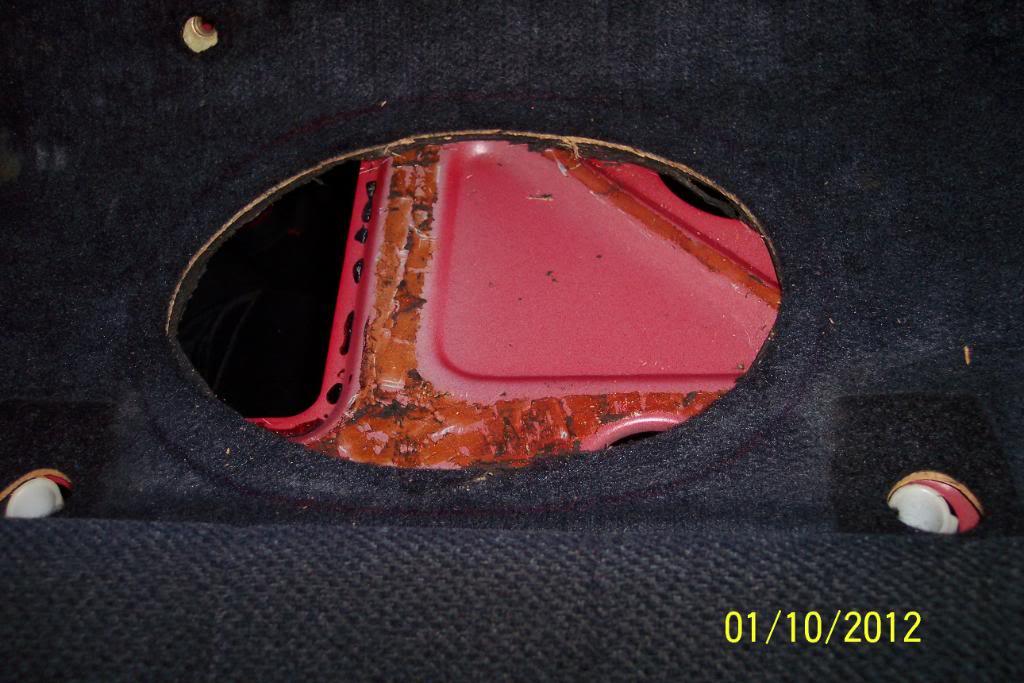
Driver's side...nope, not cut in metal slanted, it's just the way I was holding the camera....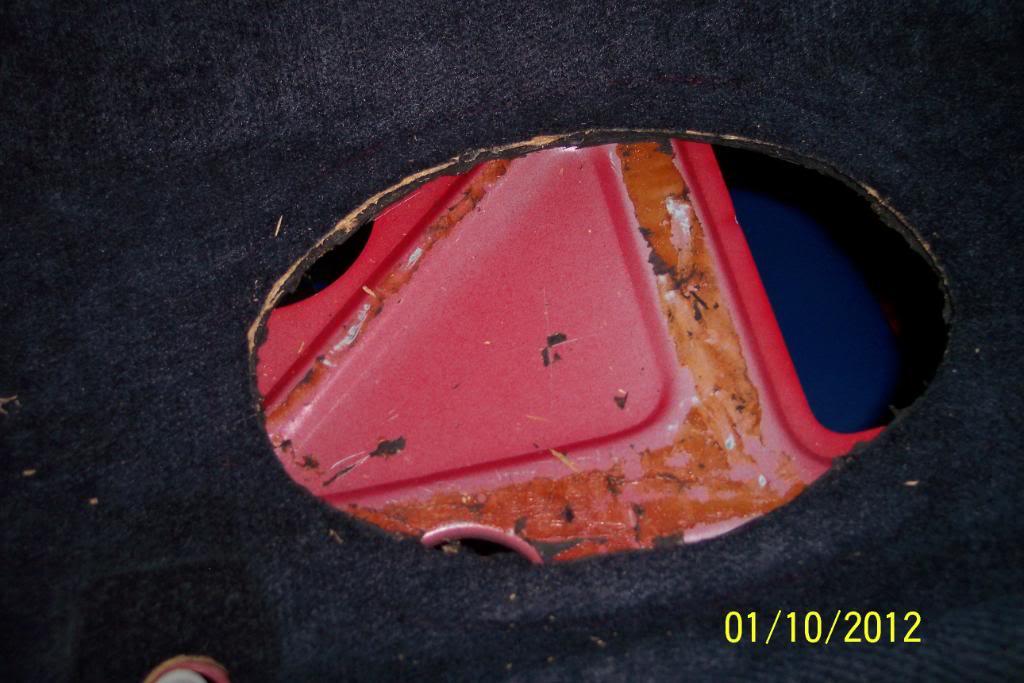
And looking from outside, through the back glass.....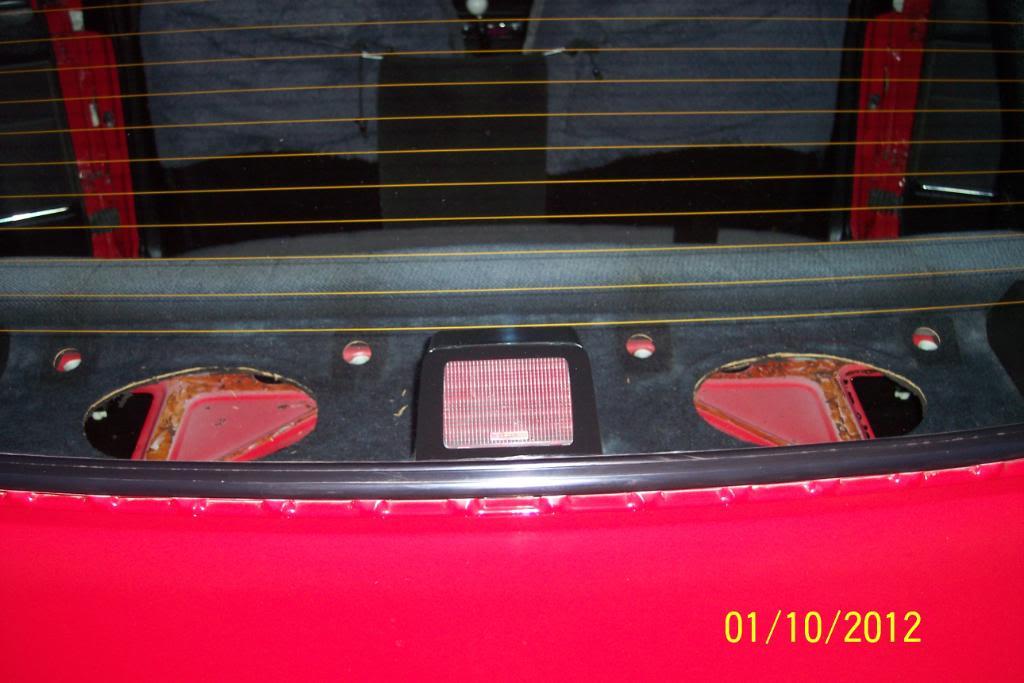
And with the package tray panel trim removed....I'm of to Lowe's to get plenty of jig saw blade, both fine & coarse. I have a feeling I'm going to need a blade or 12
Holes translated well IMO....
I should be able to see those hole markings well enough to follow them well,huh? 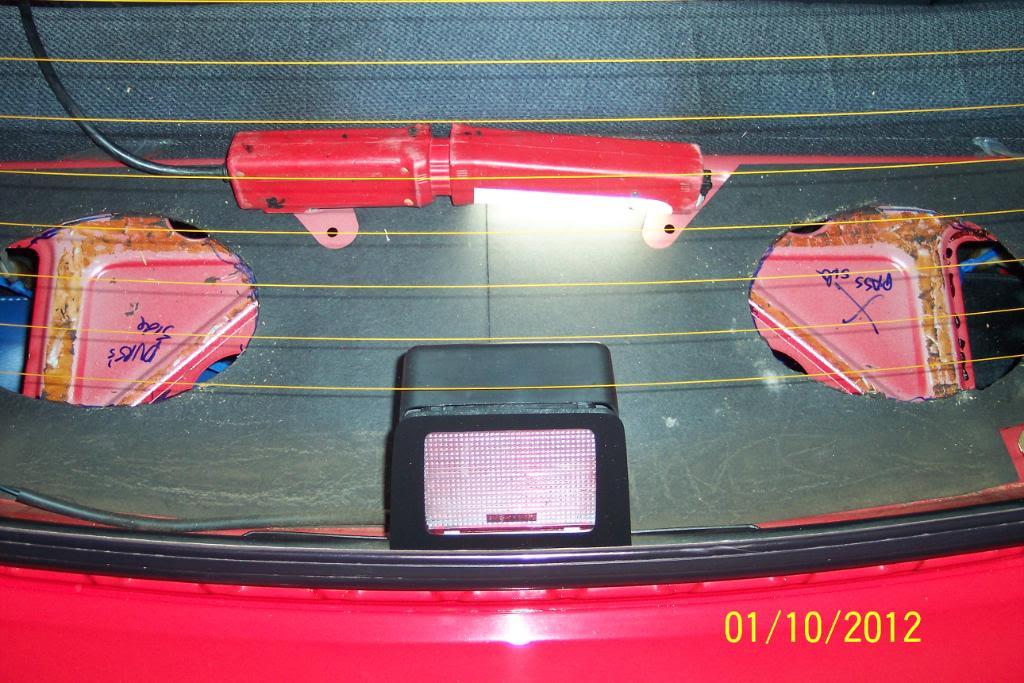
1/11/12
I've had these speakers in the car for a while. But were in "ghetto boxes" on top of package tray. They sounded great in those boxes. Now I'm wondering how good they are going to sound without the boxes, & mounted this way.
I'm going to try to work out a way to mount the boxes from the bottom side/from inside trunk. But unsure if there's room to do it yet. nor have a good method of mounting the boxes, in that fashion yet either.
I'm also going to cover the pressboard package tray trim panel, with indoor/outdoor carpet, as the panel's flocking is faded badly in spots. I did my 80 242 that way & it turned out looking pretty darn good.
Plus the carpet will add a lot of protection from vibration, when the speakers hit hard bass notes. And they'll be doing that a lot. LOL
Stay tuned.....
I've now cut both holes in the metal package tray, and keep in mind they will be covered by the pressboard package tray trim panel piece. Not bad considering I did this at night,under the carport, with my spotlights stand for lighting. $30.00 Skil Jig Saw & Bosch Blades for the WIN!
I've been wanting to do this for @ 3 years now. I've been scared to death the speaker boxes would slide & break the 3rd break light or wear through the "window defrost stripes",now that I have the "high performance suspension" finished. Finally ...Looks like I'm well on my way now...the hardest part is over....
Pic of newly cut 6x9 speaker holes below: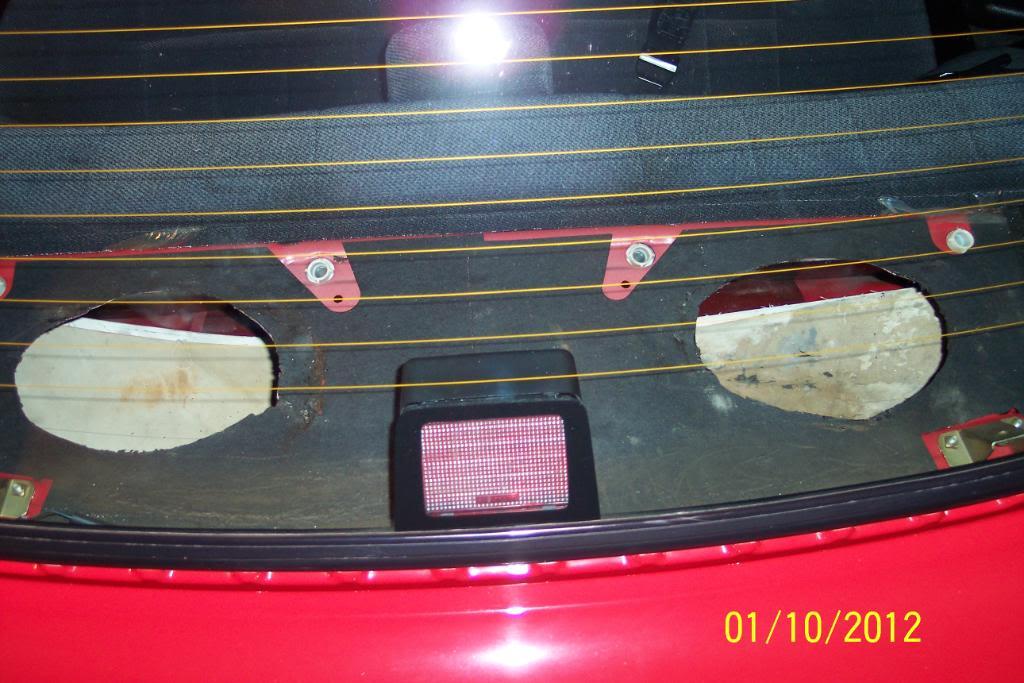
I did a trial fit of 6x9s with the pressboard package tray panel in place,before carpeting the panel. This to make sure everything fits as planned.
IMO, drilling the four speaker mtg screw holes is going to be a tricky PITA. They always are it seems from my previous experiences doing speakers in package tray mounting.
I'm thinking/planning on, using regular threaded machine screws, the correct size, instead of metal screws, with nyloc nuts & lockwashers on the bottom side. And maybe an additional locking nut /Blue Loc Tight too.
Plus I'm going to need some spray can carpet adhesive, to glue down the in/outdoor carpet to the pressboard package tray panel, for when I cover the panel.
It sure looks like another trip to Lowes tomorrow.At least mounting them this way is lighter in weight compared to building a mounting box on top of the package tray panel like other's suggested.
And... here's a couple of preview pics, as to about what it'll look like when finish,only it'll have a much nicer appearance when finished. It's going to have a much neater, more OEM appearance mounted like this, compared to the "ghetto boxes" as some of you call them.
Also, if you'll notice, the rear passenger head rests did the dictating, as to exactly where the 6x9 spkrs had to be mounted.
Between the headrests & OEM holes in metal panel, this was best location for the speakers, as far as where they mounted.
I would have liked to mount each one further "outboard". But I want to keep the option of using the passenger's headrests. So I mounted them thusly.
Plus the headrests will "protect" the speakers from poking fingers, as the grilles have rather large "bass holes" in them. You can get a screwdriver handle in them. LOL
Pics below: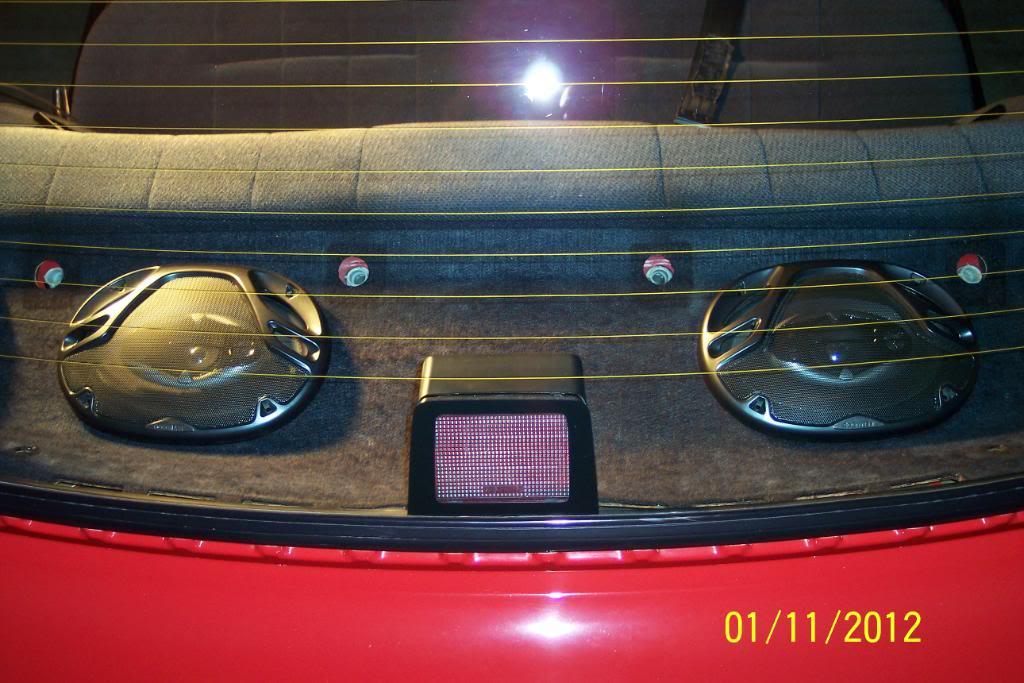
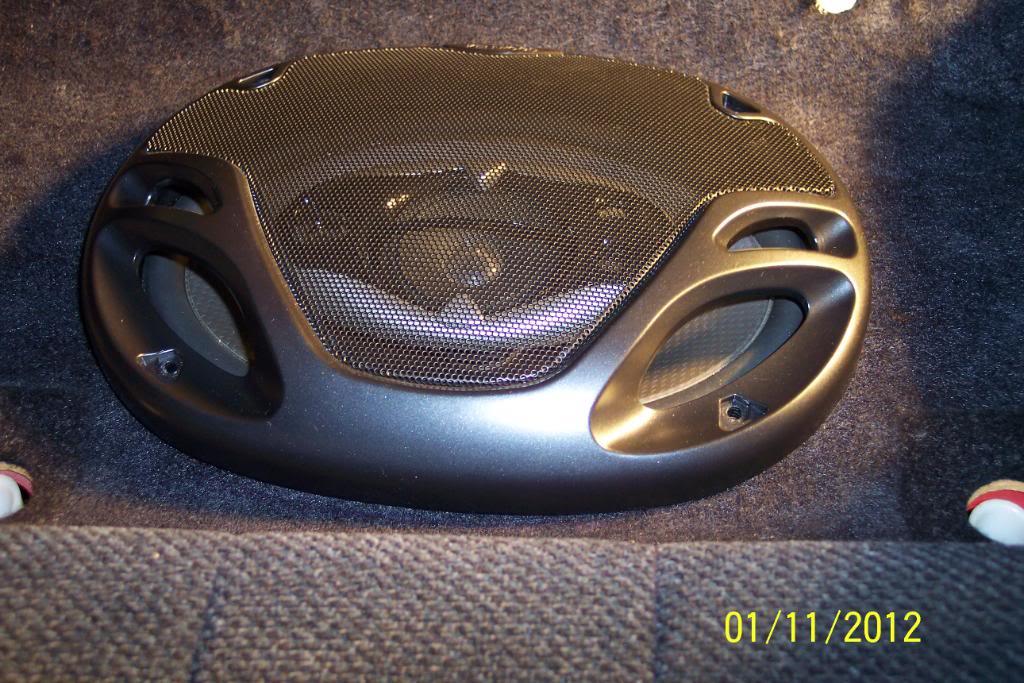
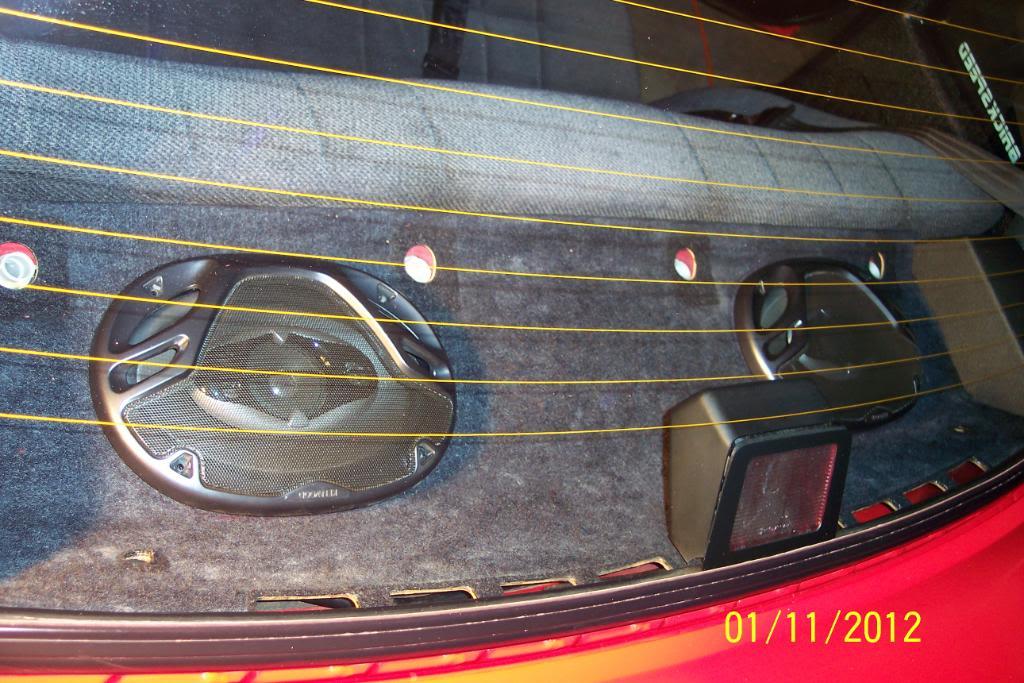
So......... tune in tomorrow, to see what other cool things I have in mind for this 6x9 project.
THIS CONCLUDES TONIGHT'S BROADCAST OF THIS STATION. MAY GOD BLESS AMERICA!!
1/12/12
I've used some very small steel angle iron, with a hole drilled in to it, for the spkrs mtg screws . These "bridge" the "open areas" ,where there's no metal around where I drilled the spkr mtg screw holes ,& into the metal package tray panel.
I'm not sure how this is going to do/sound, or if it'll vibrate/produce resonace, when the spkrs play deep bass notes. But it is what I planned out to do, many months ago.
If it does vibrate some, I might can place some of the tarpaper, left over from cutting the 6x9 spkr holes out, and place it between "bridge's" & panel's metal to "insulate" it from vibration.
Also, I may have to drill from top side & fasten the ends furtherest from the spkr mtg screws to the panel with a screw from the topside, but under the pressbard package tray panel . I think my bridges will work as is, AOK though.
I'm going to wire up the spkrs and see if this'll work AOK. I will just have to 'test it" and see.
I'll try a wide variety of music, like some Ozzy Osbourne tunes, some Eagles Hotel Cali, and anything else with hard bass notes in the music, to be sure.
Hopefully I'll have some positve results in a little while........
Pics of the "bridge braces" spanning the "no metal areas".....I'm hoping this works OK...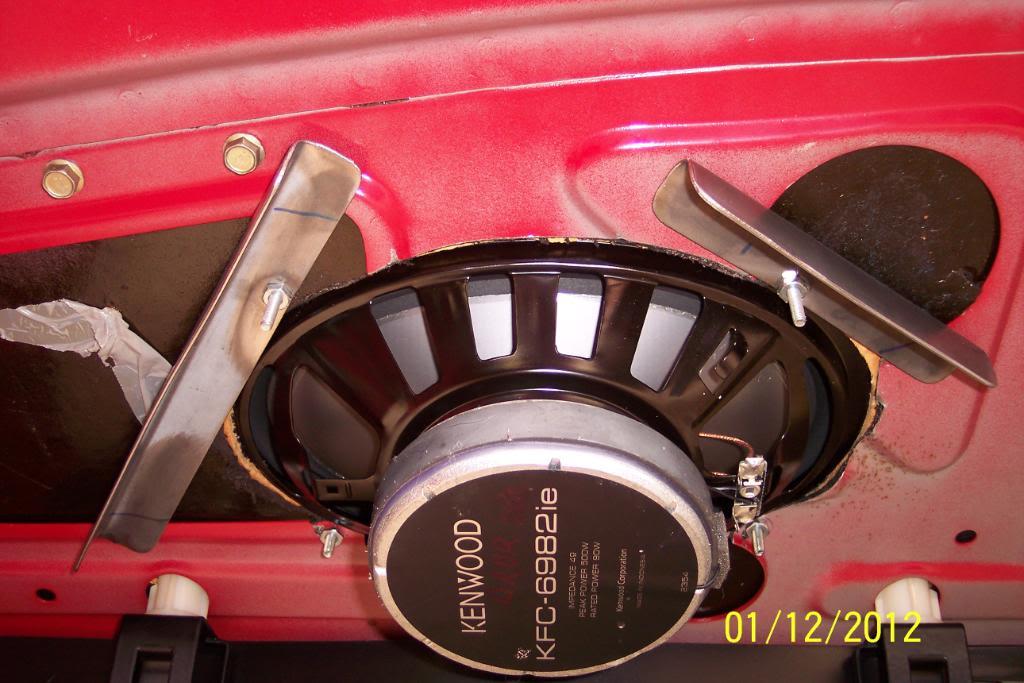
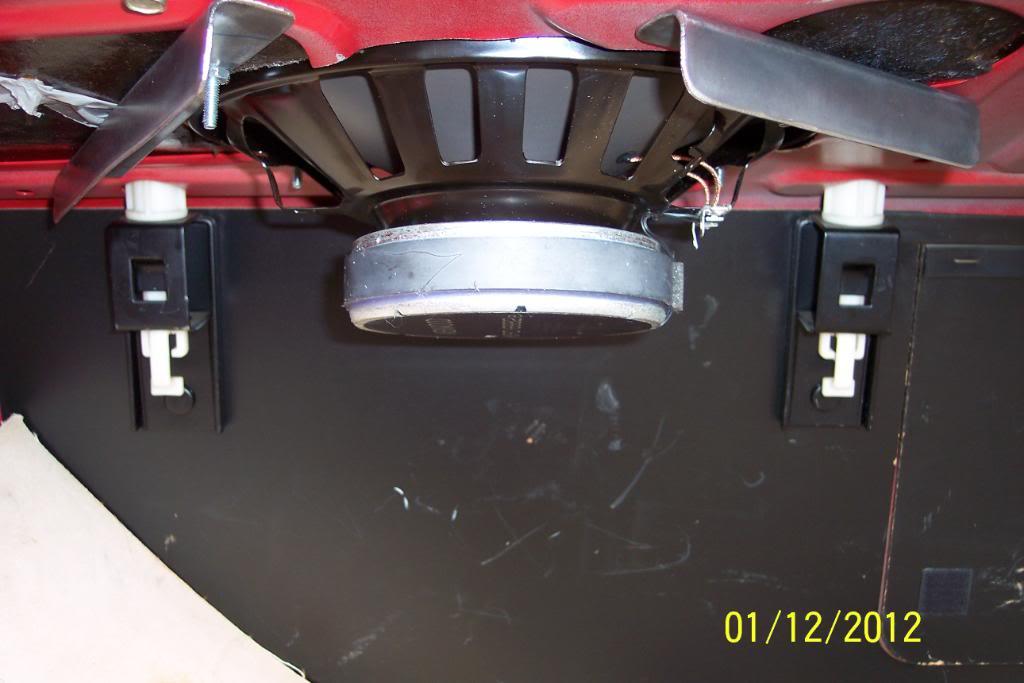
OK Guys! Test Results are IN.
I left the backseat in place, and ran the rear spkr wires outside the car, and to the spkrs by just ,gently & carefully, closing the doors and trunk lid on the wires.
Then after spending @ two hours, listening to 4 Ozzy CDs with killer bass hits in them,, 4 ZZ Top CDs who have always been known for big bass, Eagles, Marshall Tucker Band(which brought back good, fun memories of when I used to go partying with Toy all night long), .................................................. .................................
THE VERDICT IS IN.....
The 'Bridge Braces" work marvelously well.
No weird vibration sounds, no rattles, nor any bad resonance vibrations, even at 29 & 30 volume level with bass & treble EQ set to + 8, which is high as it goes on my KW MP538U Head Unit.
AND, THE 6X9 SPEAKERS DO HAVE MUCH MORE BASS SOUND with the speakers mounted in the package tray without the boxes, than it did with the spkrs mounted in the boxes, and sitting in the car. I wasn't really expecting that.
I thought about this method for some time, but was not 100% sure it'd work as well as I thought it would. Sometimes one just has to try the old "farmer's cut & try" method as Smokey Yunick called it. Well, I "cut & tried", and it works great IMO.
13 Advantages Of My Mod :
1) No extra weight added from custom wood & fiberglass box building.
2) Saved a lot of time & $$ not doing #1
3) Removed 1lb & 5 oz. of metal, pressboard & tarpaper cutting the holes
4) Removed 12lb & 5oz Grand Total, on the whole speaker mod
5) No rear window vision reduction due to spkr mounting now
6) Increased rear vision over what I had with the 6x9 boxes in the car
7) Gained @ 3 times or more, bass sound from the speakers
8 ) Will now have a lot more of an "OEM Volvo appearance"
9) Already had most all the materials I needed. More $$ saved.
10) Looks 200% better now.
And I like it much better this way.
All Win/Win IMO
Now I will remove the pressboard package tray panel, and cover it neatly with indoor/outdoor black carpet, and paint the "Bridge Braces and the 6x9 hole's edges with Red Rustoleum Paint, and then remove the back seat, to route the rear spkr wiring neatly & discreetly.
I'll do these things tonight, and those items should be dry enough to re-install them tomorrow evening. I'll post the total weight that is re-added later on in this build thread.
1/13/12
OK, I removed the speakers, and pressboard package tray panel. Time to recover it, & give it a better appearance.
NOTICE WHICH HOLES ARE USED, AND WHICH ARE NOT, DURING THE REMOVAL PROCESS, BEFORE STARTING THE RE-CARPETING PROCESS !!
Mine has two holes not used, and they were not EVEN cut out in the OEM Volvo carpeting/flocking. I marked them as "Not Needed".
I've done this mod before on the 80 242 I sold.
I bought the black indoor/outdoor carpet for this job,at Lowe's @ 2 years ago, and it's been in my bedroom ever since. I'll be glad to use it & get it out of my way.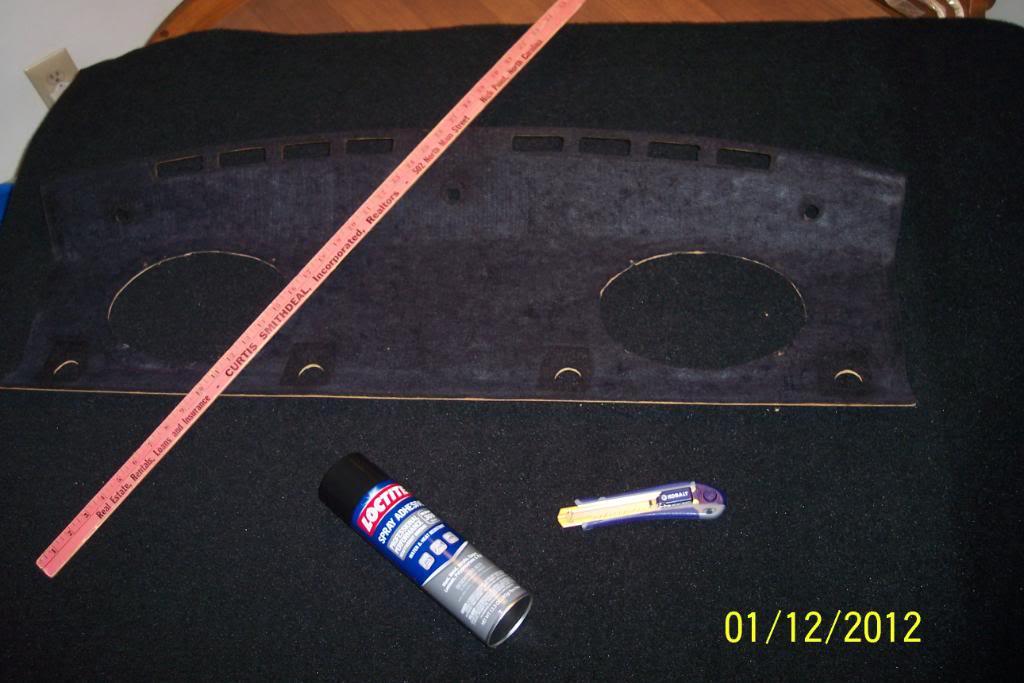
Trimmed the carpet to a little closer fit, and clamped for final fitment trimming.
OK, trimmed out for one of the defrost vents & it's OEM plastic cover insert. Notice I left it a tad long so as to fit slightly under the vent cover. The rubber window seal should hide the outer edge left uncovered. I will repeat this proces on the opposite end.
Also notice the outer circumference of the entire panel has not been completely finished trimming.
That'll happen after I glue it down, and glue drys. No bare/uncovered spots that way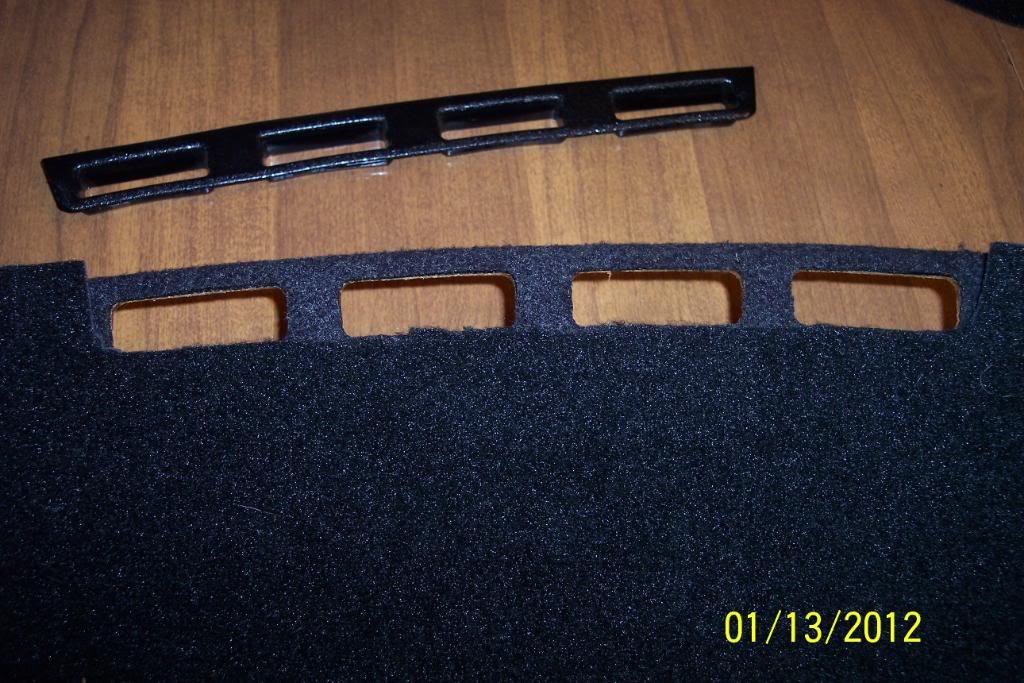

Both are now vents trimmed out...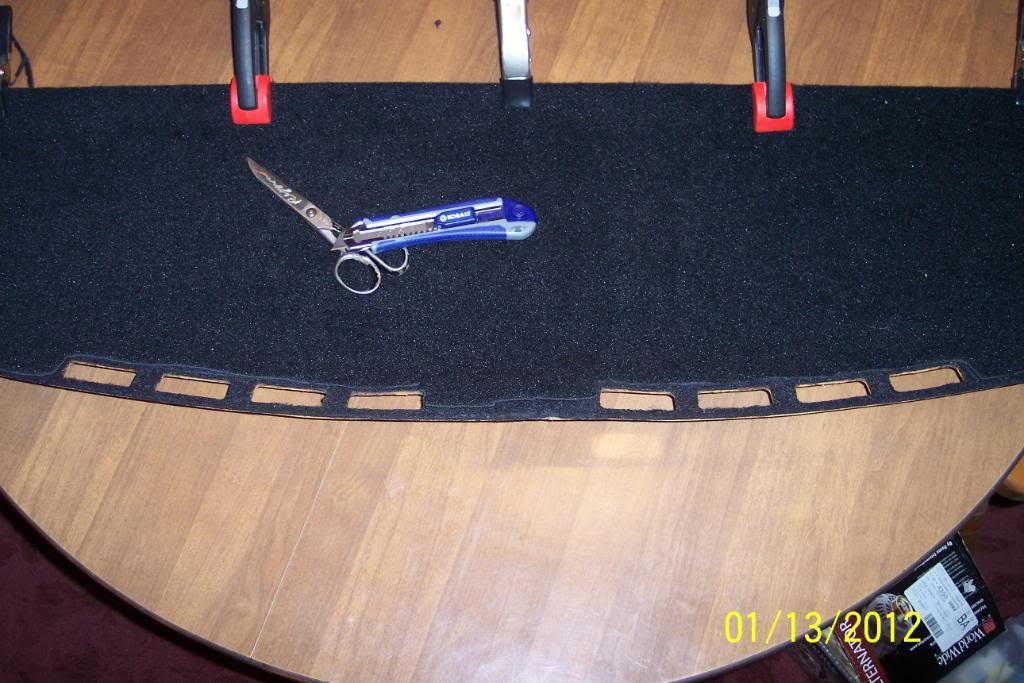
Next step is gluing the carpet down to the pressboard package tray panel..............for the weight curious, carpet weighs @ 13 oz. max.
Now..........I'm gonna use the 'good stuff". Got it at Lowes.
it's for gluing, not a for buzz.............although I'll probably get one using this stuff...
OK, I heated the can of spray glue by running very hot water over it in the sink. This adds some pressure to the can IME. Works with paint too BTW
I then took glue,carpet & panel outside. I left the edge nearest seat back clamped down.
I lifted carpet, and sprayed the hell out of backside of carpet & the topside of the panel with the glue. The LocTite glue sprays out nicely & controllably, and easy to aim, in case you were wondering.
I then smoothed the carpet down, brought it in the house(to see better). Then removed the clamps & placed them on other side.
Then lifted previously clamped side up & sprayed hell out of panel & carpet, & rubbed it down.
I then supported all outside edges of panel/clamps, and placed heavy weight onto the carpet to get carpet down all the way & glued to hold 110% to the panel. WARNING!,Be careful not to let the glue on carpet where holes for spkrs are in panel ,touch your kitchen table.
SAY WHAT?? Throw out my old Hot Rod, Car Craft, Popular Hot Rodding, Hemmings Muscle Machines, and Grassroots MotorSports Magazines AWAY??? NEVER!!!
BTW, I started a sub to Hot Rod Magazine in July of 1970. An issue of Hot Rod cost 75 cents plus tax(4 cents tax in 1970, IIRC)
Grumpy Jenkin's new 1970 Camaro Drag Car was doing a wheelstand on the cover. Yep, that was 42 years ago. I was 12 years of age then.....I've learned a HELLUVA LOT reading them from cover to cover each & every month.
I found the second issue I received, August 1970, the other day cleaning out the upstairs of the garage. Tom "Mongoose" McEwen's 1970 Duster Funny Car is on the cover..my,my... how time flys...
pic below:
Pic below, of weighted down carpeted package tray pressboard panel.....be careful to support edges and don't overdo it...
Yep, the newly carpeted panel is under there somewhere...
I'll let the carpet ,panel & glue dry overnight. I surely hope it don't stick to the table.
In the meantime, it's time to prep & paint them "Bridge Brackets" with Rustoleum Red....
DONE!
Well, it's 4AM EST/NC time. The glue seems dry enough to start cutting out the holes in the newly carpeted panel. Be sure to do all cutting from the backside, it makes it so much easier to see what you're doing/cutting.
TIP!! Support and gently push the piece you're cutting from the topside towards the bottom, and keep slight tension on it, while cutting the piece out.
This will help keep from pulling the glued carpet away from the panel while cutting.
I used a new Kobalt Razor Knife, with "the snap off as you dull it blade".(one in pic) and I just sorta "sawed up & down" on the carpet & it works really well, & cuts the carpet very smoothly.
BTW the Kobalt Razor Knife also has a "lock screw" on end of knife, so you can lock the blade tightly, so as push or pull the blade on item to be cut, without it sliding in or out like the cheapo plastic razor knives do. I really liked this feature of it.
pic below:
Another "makes it easy tip"....if your razor knife is too wide/large to actually cut the circumference of a small hole, just cut a "crosshairs cut" (an X will do), and the carpet will push in ,around the hole, enough to allow the "push pin retainer" to go through.
In my case, the three(3) smallest holes on the upright portion in the panel,next to the rear glass for the plastic "push pin retainers" required this trick. And if you can stick your pinky finger through the hole, you've aced it. The pin will go through and no bare spot will show.
The four holes towards the front of panel , for the rear passenger headrest stalks, were large enough to cut with my razor knife.
I told you I'd done this before...LOL.
Pic below:
And.. finally..the finished re-covered/carpeted pressboard package tray panel.... Looks a helluva lot better doesn't it?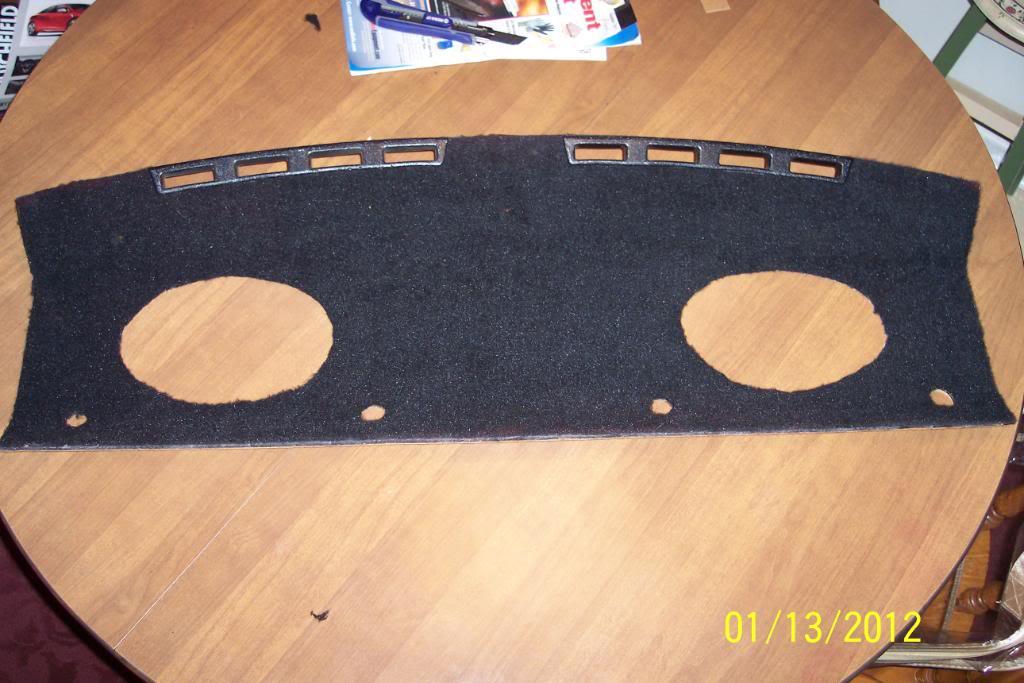
THIS CONCLUDES TONIGHTS BROADCAST OF THIS STATION, MAY GOD BLESS AMERICA AND HER ARMED FORCES PERSONEL..
1/15/12
OK, while I was listening to the 6x9 speakers the other day, I got out & opened the trunk lid, reached in and laid my hand on the bottom of the metal package tray, from inside the trunk.
It was vibrating quite a bit. Especially towards the center between the two speakers. Amazing what you can discover if you think and look a little bit...hmmmm..
Although I did not notice/hear it making a resonance, or vibes I could hear.
I think it might still be "coloring" the music somewhat ,without me being able to really tell it.
Seems to me it has to be taking away from the clarity of the music being played to some degree. Sound is nothing but a sound made by something moving/vibrating ...right?
So.... I got to thinking.(Uh Oh!) Why not brace it up a little bit, with something lightweight?
So tonight I went to Lowes and got a stick of 1" aluminum angle.(L shaped) and some machine screws ,wavy lock washers, and nuts.
Detailed pics to come tomorrow if all goes well...if it makes things worse, I can always remove it. We'll see..................
OK, got a few things figured out & done on bracing the metal package tray panel, besides just the "bridge braces" today. Still not done though. Will come back to that tomorrow.....
Tonight's Volvo Adventure..........................
Luckily, I had enough in/outdoor carpet left to cover the trunk's passenger cardboard side trim panel.
Also enough to cover the backseat's panel as seen from the inside the trunk. I'll have to investigate if it can be covered, due to rear passenger headrest releases are on that panel
I think it can though.I'll wait until I remove rear seat ,when I route spkr wiring, to cover it though.
The extra carpeting should help insulate the cabin area a tad, from the noises transmitted to the trunk area.
It should help with bass response of the package tray mounted 6x9 Kenwoods a tad, as well as keep the music from escaping the trunk as bad, just a tad.
Not a lot, but every little bit helps. [I]Mostly this will help the appearance of the trunk area.
Ok, before starting this mod,I weighed the panel before carpeting it. It weighs in at 1lb & 3.5 oz.
I'll also post weight of the finished, carpeted panel after I cover it. And then do the math..
This to keep up with the total of the weight reduction, from what it was ,with the spkr box set up.....and then how much weight was added back. This carpet is pretty light stuff though.
Saving 12+ lbs of weight in one place, to be able to improve appearance in another ,with only gaining a few ounces of weight back,is OK with me
Pic...
OK, have the carpet trimmed to fit, with a small border left around the circumference for the final trimming.
The three pieces of carpet for this panel,weigh in at 1/4lb (4 oz), BTW.
Now, it's glue time......LET'S GET 'ER DONE.
Pic..
1/16/12
Ok, got 'er done... the uncovered portion at the bottom fits in/rests on some clips on back of 1/4 panel.
This portion needs to remain uncovered & is out of view, below passenger's side butt cheek's trunk floor panel when installed.
BTW, CRC or Gunk Electrical Cleaner & a rag, works very well for cleaning off any glue that you get on unwanted carpet areas, and for cleaning your hands/fingers too.
I'll now place a few car magazines on top of the carpet ,until it drys a bit, to make sure it sticks well. Then I'm going to use some 3M glue, to fix a small "almost tear" on bottom of panel.
Pic of (almost) finished carpeted pass. side 1/4 panel cover panel....Now it's nice, carpeted, & pretty, instead of scuffed & ugly. Or as I like to say... from scruffy to scrumpious.
This , and covering the rear seat's backside, will make the trunk area appear a little more classier/upscale too. A little 260 Bertone essence.
After the top side dried a bit, I made the "corner cuts", and spary glue & folded the edges over. Then held them in place with clams until they dried I have a couple of short places that I'll just trim with scissors/knife towards the top.
I also patched a, not- all- the- way -through crack, and ,a couple of small holes- to -be, with 3M Emblem Adhesive. Now, I just let it dry.
And this is the finished back side, with the edges neatly folded & glued, or trimmed..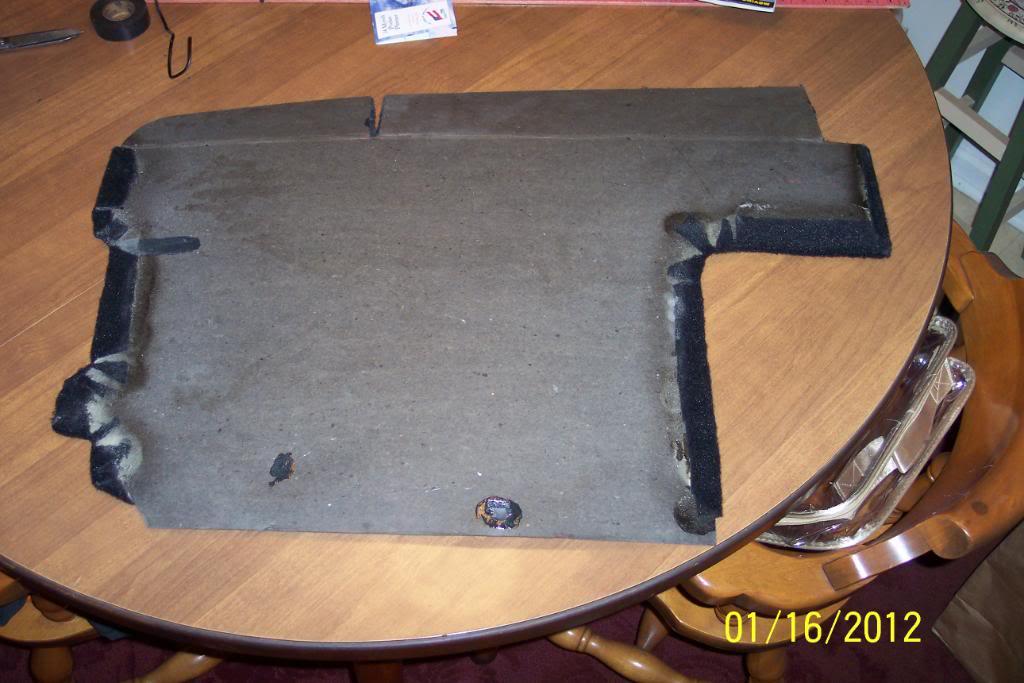
And finally....it is now a finished carpeted panel. The panel weighed in at 1 lb and 3.5 oz. before covering it with carpet. After covering it, it now weighs 1 lb & 11 oz.
So I've added 7.5 oz of weight. Very acceptable for the sake of the appearance improvement IMO.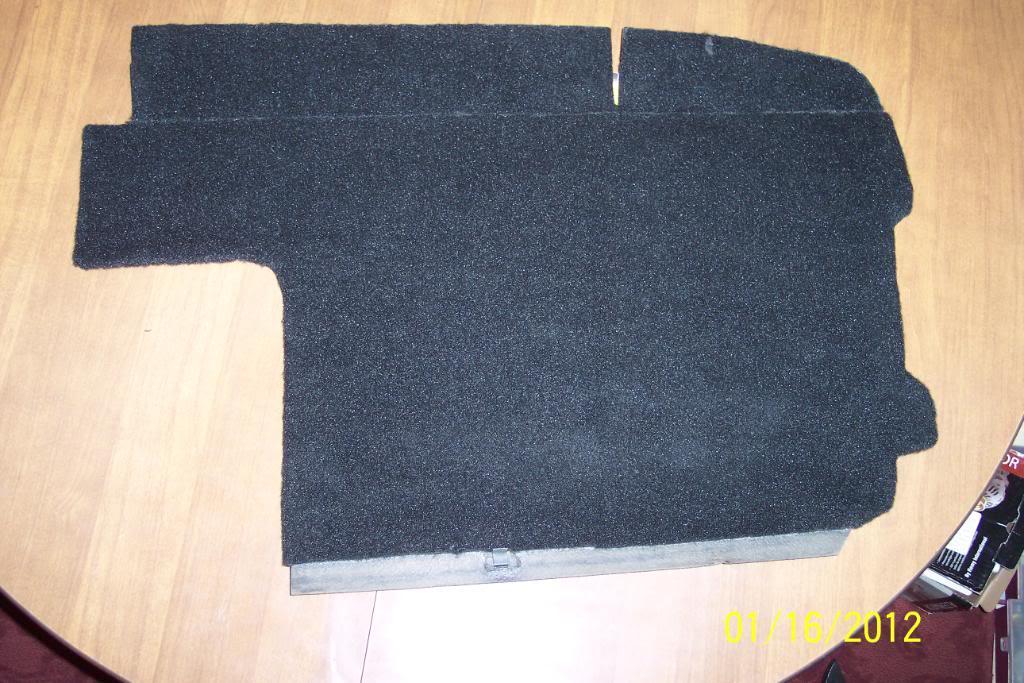
Now I'm going to further brace the underside of the package tray metal panel(from inside the trunk).
I got some aluminum 1" angle today from Lowe's. Some 10-32 x 3/4 machine screws with nuts, some lockwashers & flat washers. And some of those plastic screw end protectors , so one does not get scraped/cut on the mtg screw's ends.
I've already measured & cut two pieces to span the distance in the center of the metal package tray panel between the two 6x9 speakers. One "fore & aft". Might put one in the middle to form a "Z" out of the 3 pieces, if I have enough angle material left over from cutting the two outer end pieces.
Tomorrow ,I'll cut two pieces to place on outside edge of bottom of metal panel that will mount beside the already present "bridge braces" for the spkr mounts .
All four/five of these brackets will serve to further strengthen the panel against unwanted movement/vibration. Sounds complicated.But it's not.It is some uncomfortable work to perform though.
I'll have finished pics of it after tomorrow's Volvo Adventure. Let's just hope it works as intended......
Pic below of tomorrow's needed hardware....get the picture?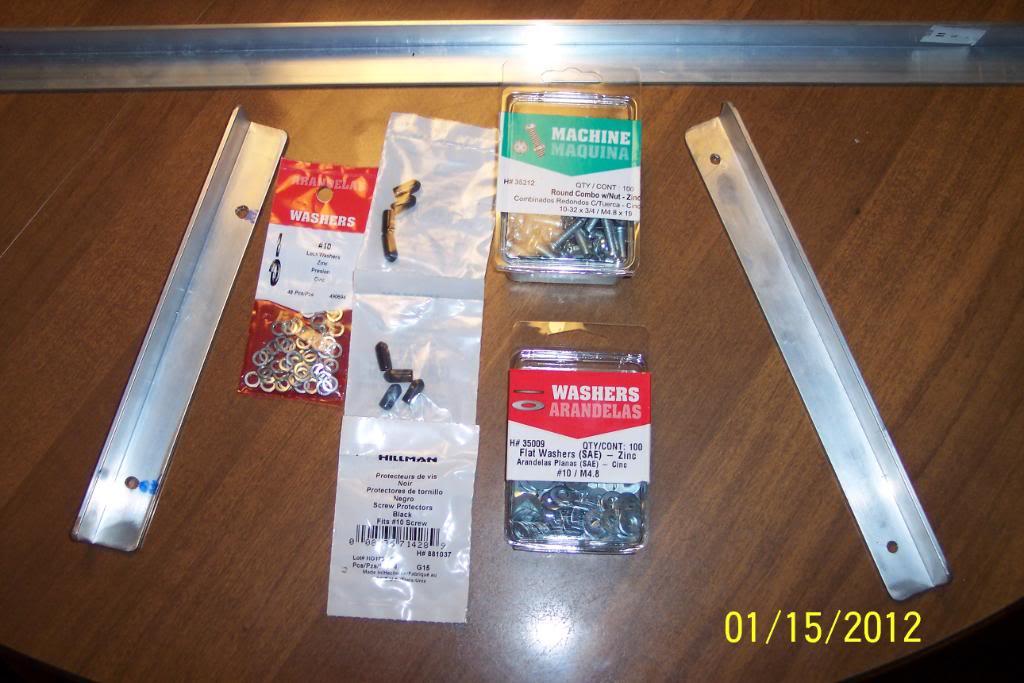
OK, got the extra braces made, & trial fitted them today. Whether or not these braces will actually help, or make the present package tray fluttering/vibrations/resonance worse is really unknown at this time.
I think these braces will help some, but it's just something I'm trying to see if it works. Hopefully they do.
I'll remove them and paint them red to blend in better . BTW, for the weight total,all of these aliminum package tray braces together,weigh in at 13oz. .
In pic at bottom of page, from left side corner of trunk to right corner shows the bracing I've done. The actual package tray braces are the aluminum finish ones in these pics. The red ones are the bridge braces that spkr mtg screws fasten to.
I think bracing the entire panel over the unused OEM Volvospeaker holes, should add strength to the metal package tray panel, and stop it from "fluttering" under loud music/heavy bass hits, as it did before. BTW, these kenwood 6 x 9s reach down to 28 hz, so they have excellant bass IMO. We'll soon see how the bracing works out..............pics below...........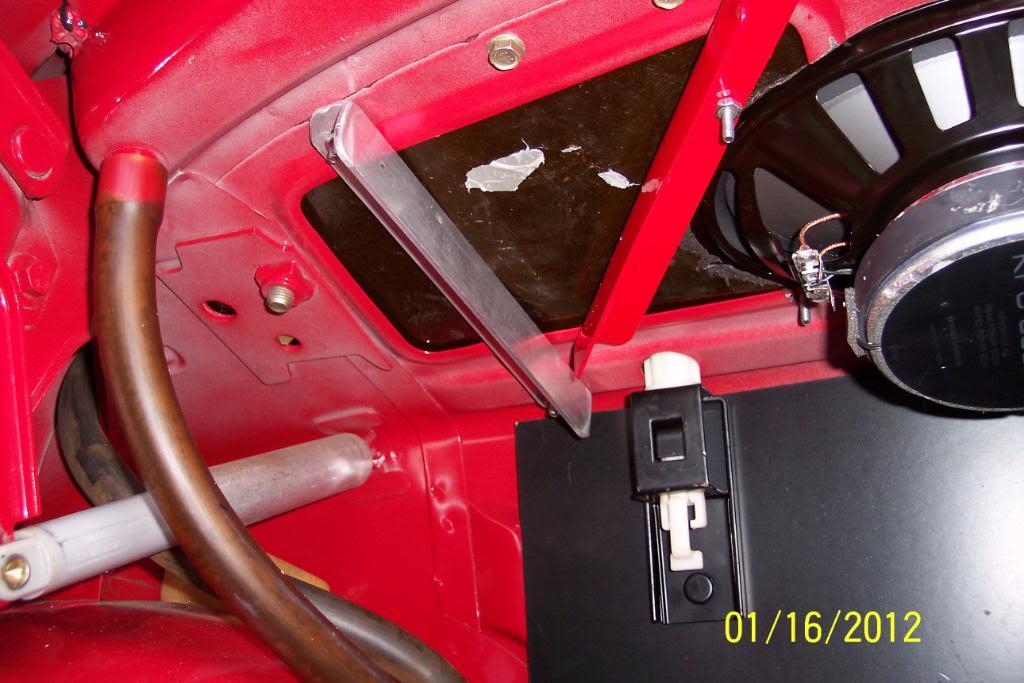
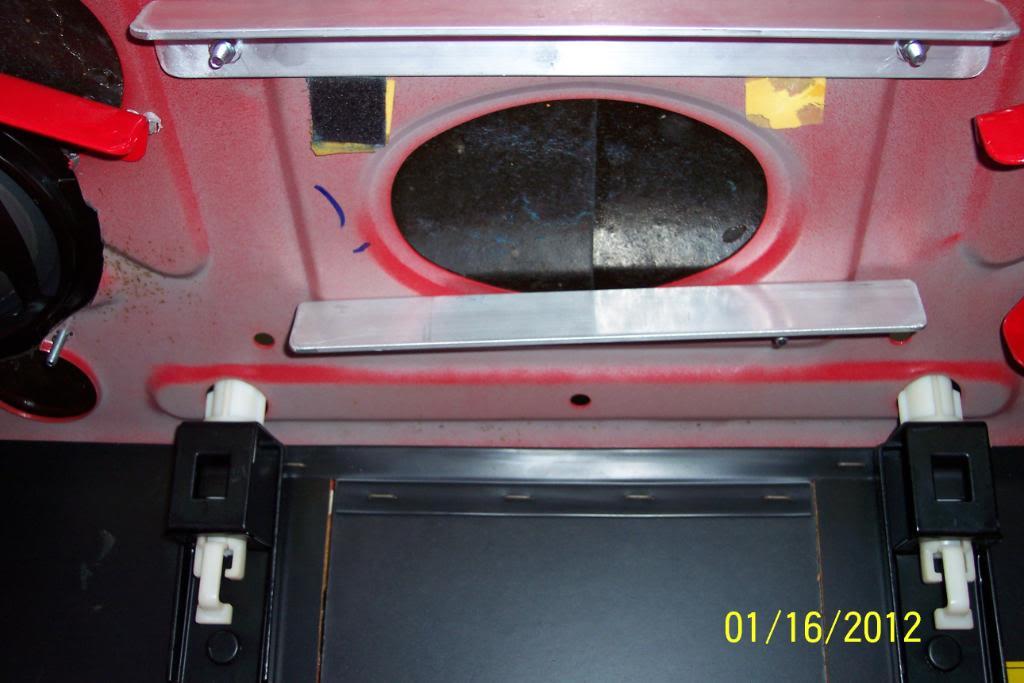
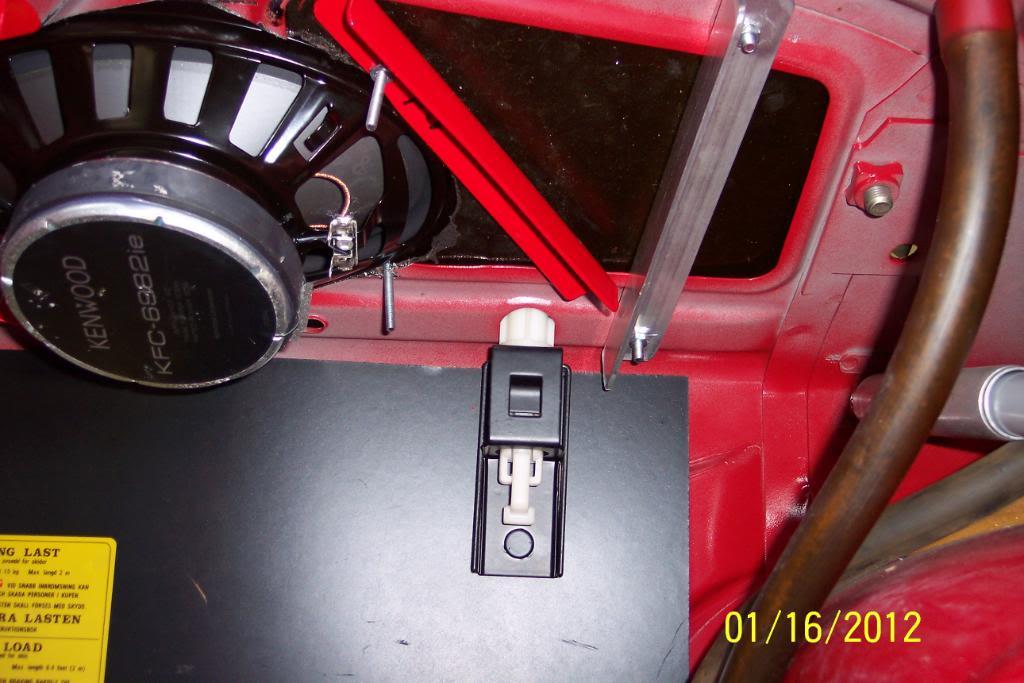
Added weight thus far...I've rounded up the weights a tad to reflect the glue's estimated weight
"Speaker Bridge Braces".................................................. ....................16oz.
"Aluminum Package Tray Panel Braces".................................................. 16 oz.
8-10/32-3/4 bolts,16-flat washers,8-lock washers,8-nuts,and 8 screw caps 2 oz.
8-8-32x2" bolts, 8-flat washers,8-nuts,8-nyloc nuts,and 8 screw caps.........2 oz.
Carpet for Passenger Side 1/4 Panel............................................. ..... ..16 oz
Carpet for Pressboard Package Tray Panel ......................................... ...16 oz
That comes to a total of.....4lb & 2oz
12lb 5 oz weight originally removed
- 4lb 2oz weight added thus far
1/17/12
OK, cleaned the trunk's floor in preparation to add grey felt padding, all one piece, as opposed to piecing it together, for noise reduction/absorbtion, and re- installl things after I get the speakers mounting.
I bought some NIB ,better looking,more OEM appearing, earlier style Kenwood speaker grilles, and I'm waiting on them to arrive. I'm hoping that they fit OK.
Meantime, I'm working on cleaning up & insulating the trunk area a little. It's just a tad noisy (over stock)with some of the rear IPD Poly bushes used,adjustable rear suspension parts, Billy HDs, and the 2.5" exhaust/MagnaFlows.
It's nothing terrible, just trying to insulate a little of it out of the cabin area, if possible. I'm hoping the OEM carpet's push pin fasteners are long enough to go through the carpet & the felt padding. Hopefully so.... This one piece covering 1/2 the trunk floor weighs 1 lb & 6 oz.
Dynamat is too heavy for me, and appears to me it would make panels and other things a bear to fit back on properly again.
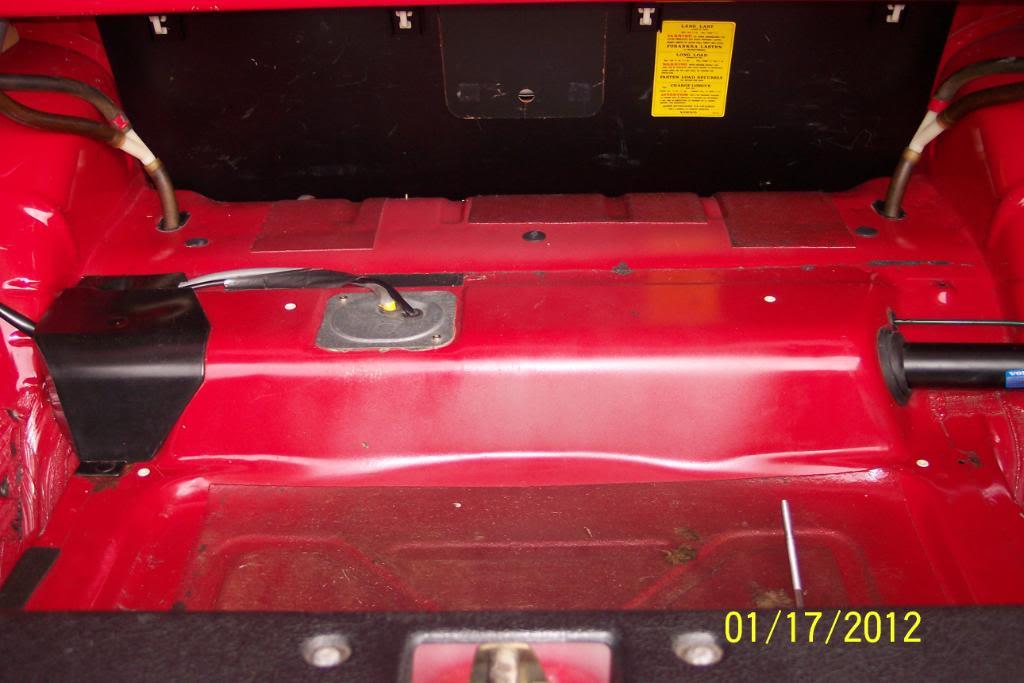
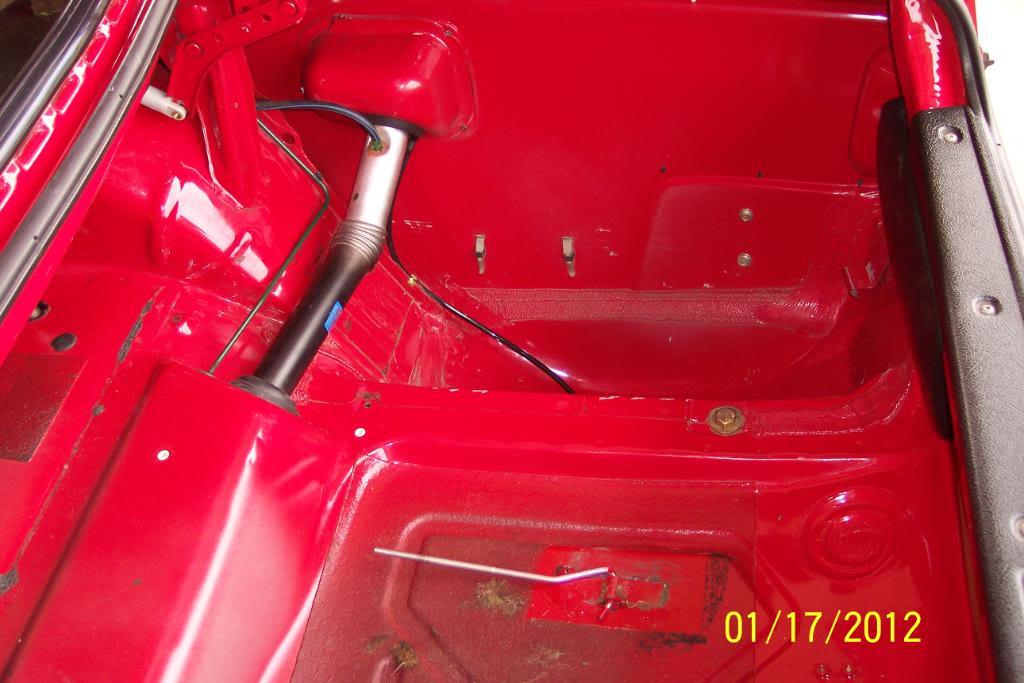
I may insulate the back side of pass side 1/4 panel's panel too, if I deem it's a good idea. I think it'll get wet & mildew though on the side panel.
What the heck. I just went & got 14 ft of that grey felt padding. I'll cover what I can of the trunk floor, & behind the seat inside the car, if there's room for it.
I'll have a bit left over for future projects too.
Pic.......
I unrolled the insulating /padding. Laid the OEM carpet on top, lined up forward end, and traced carpet with a Sharpie Pen.
Now the fun job of cutting the outline on the felt padding out. Now's a good time to be Edward Scissorhands.LOL.
OK, got it cut out. I also used the OEM little pad as a template and cut it out. Thr center of trunk floor over gas tank is recessed. The new OEM little piece helps fill up the recess, making the floor mre even/smoother. So I'll have both. I hope this matting quietens it down in the cabin a little. When I get the backseat out I'll cut a piece to go behind it too. If it'll fit OK.
Pics below":
The "New OEM piece"...
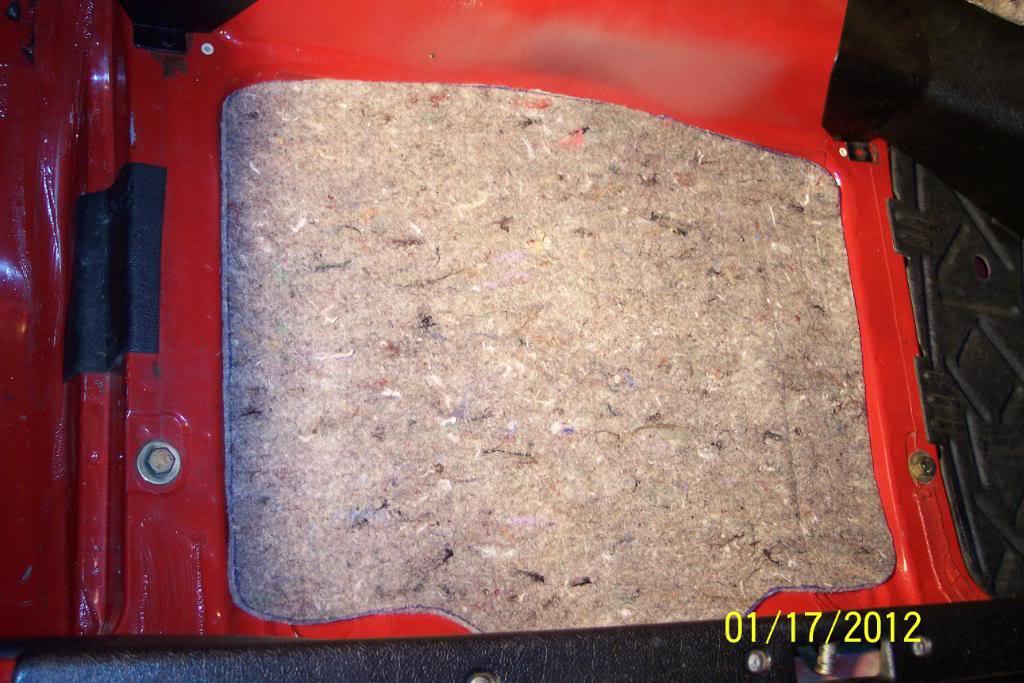
The full coverage padding goes on top of the "New OEM Piece" for added insulation properites.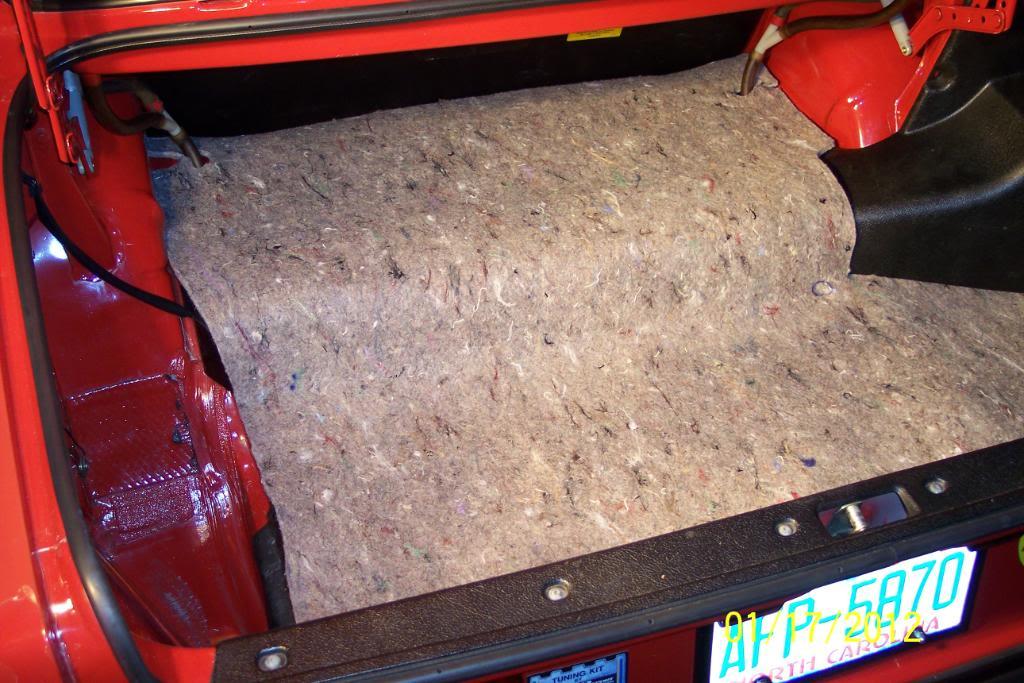
Tucks under the upright tailght panel area nicely...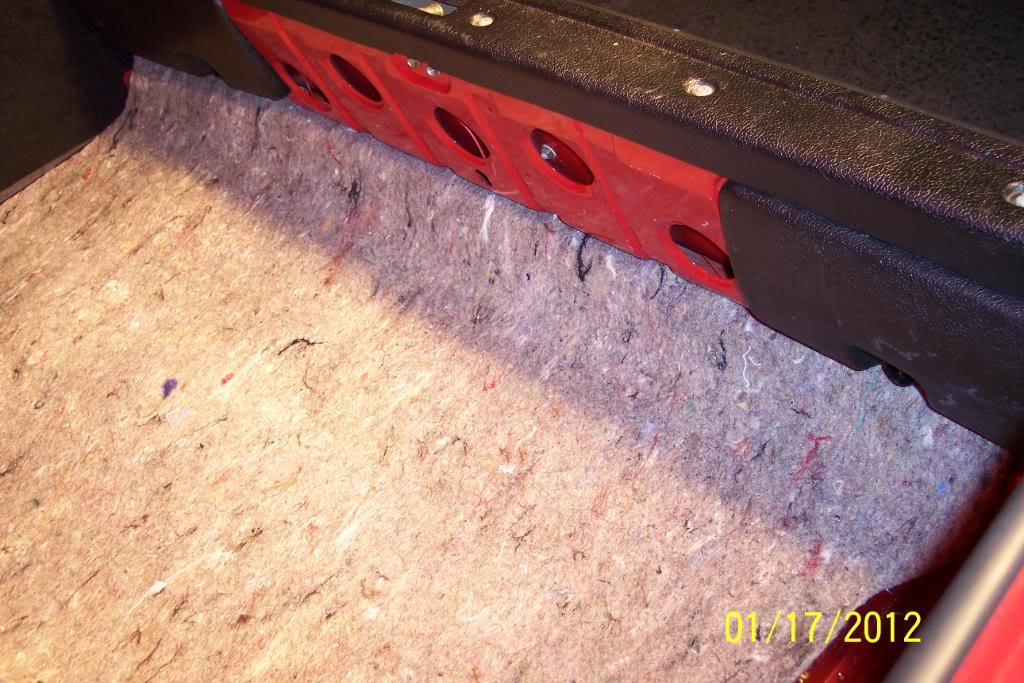
Now with a little luck the carpet will go over all this and it's push pin fasteners might even penetrate both padding & carpet.
1/18/12
OK, just weighed the small "new OEM piece" and the larger "full coverge" padding piece. Both of them weigh a total of 4lb together.
So let's review the last previously recorded weights.
Speaker Bridge Braces".................................................. ....................16oz.
"Aluminum Package Tray Panel Braces".................................................. 16 oz.
8-10/32-3/4 bolts,16-flat washers,8-lock washers,8-nuts,and 8 screw caps 2 oz.
8-8-32x2" bolts, 8-flat washers,8-nuts,8-nyloc nuts,and 8 screw caps.........2 oz.
Carpet for Passenger Side 1/4 Panel............................................. ..... ..16 oz
Carpet for Pressboard Package Tray Panel ......................................... ...16 oz
That comes to a total of.....4lb & 2oz
12lb 5 oz weight originally removed
- 4lb 2oz weight added thus far
OK, I painted the aluminum braces and now have them installed. It did make the metal package tray panel much siffer/resistant to flexing.
I tightened the nuts , and then ran a jam/lock nut up against the 1st nut. Wanted to use blue LocTite too, but could not find the tube of it. Use of red LocTite was decided against, as these may make things worse(don't know yet) and because I may need to remove these some day, although can't think of a reason why at the moment.
I cut the "screw protectors of very short,and placed them on what was left of the threaded ends. There was not many threads left sticking out of the nuts & jam nuts. On one, there was no threads sticking out, so I used a larger red one, I already had.
Pics below:
Two in the center...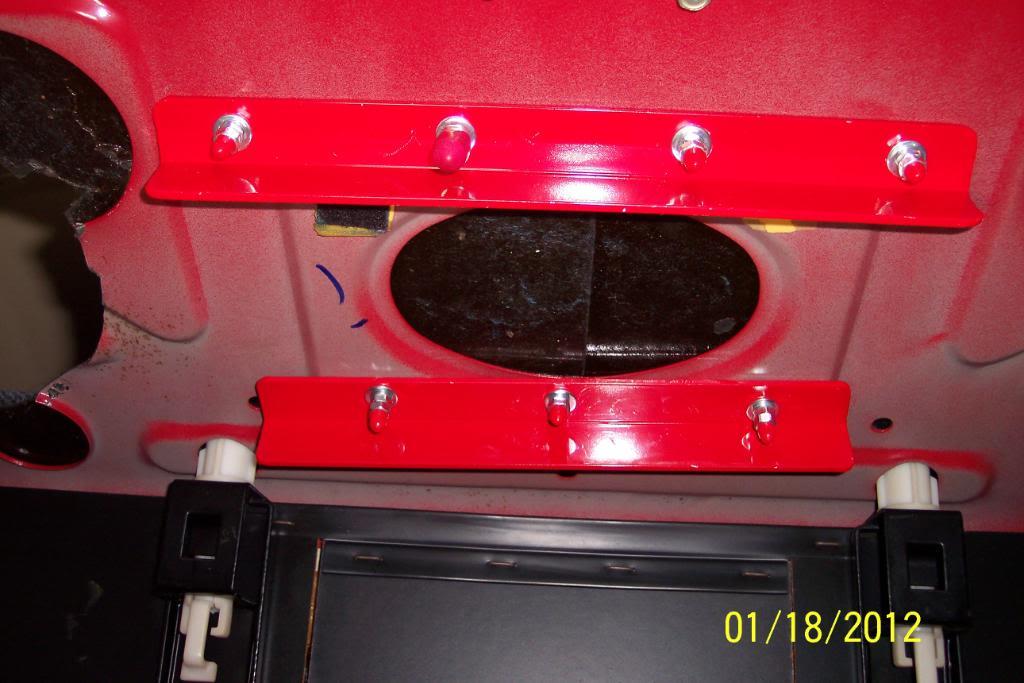
Passenger side...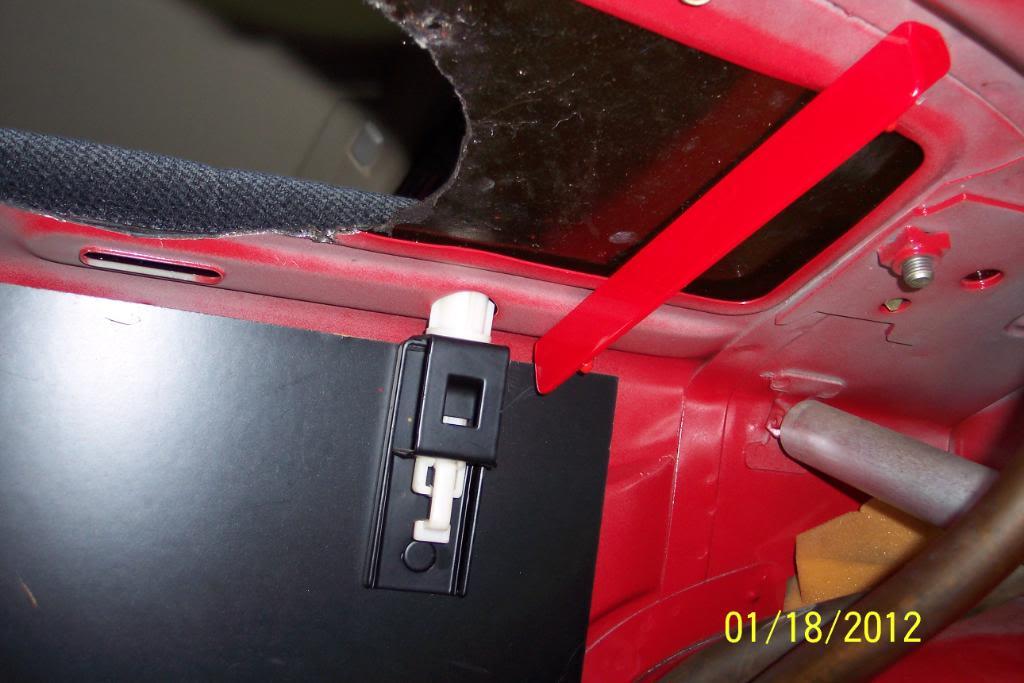
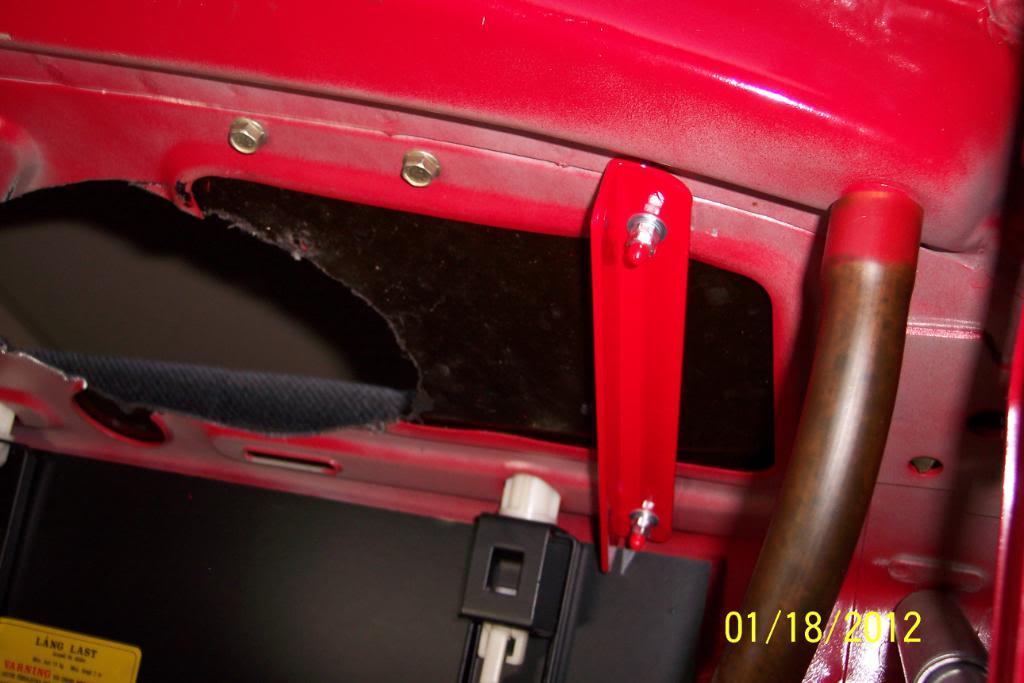

Driver's side...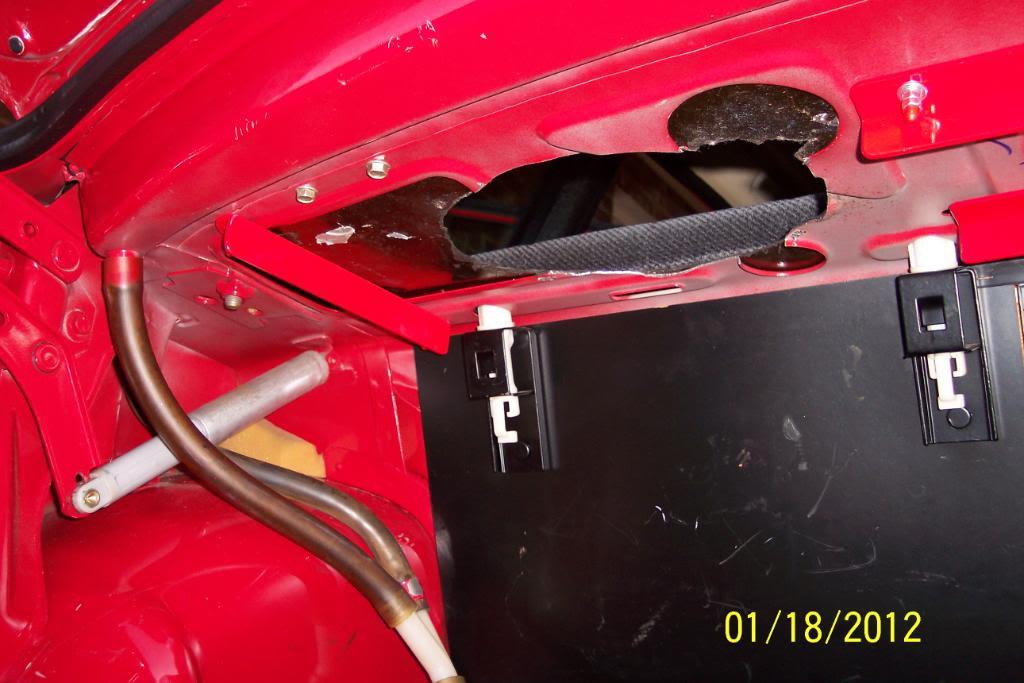
On the topside, of the metal package tray panel inside the car are the PTP Braces Retaining Screws.
I don't think but 5 of these 7 screws, stick up enough to matter/interfere with the pressboard/carpeted package tray panel. Two of them are "recessed" flush. I just got lucky there. Rare thing for me....
The seven screws in the center are only ones pressboard package tray panel will rest on. The seat belt reel covers, cover the two on the Pass. & Dvr's side ends. We'll soon see how well it fits on top of them.
What it looks like topside, inside the car
Center..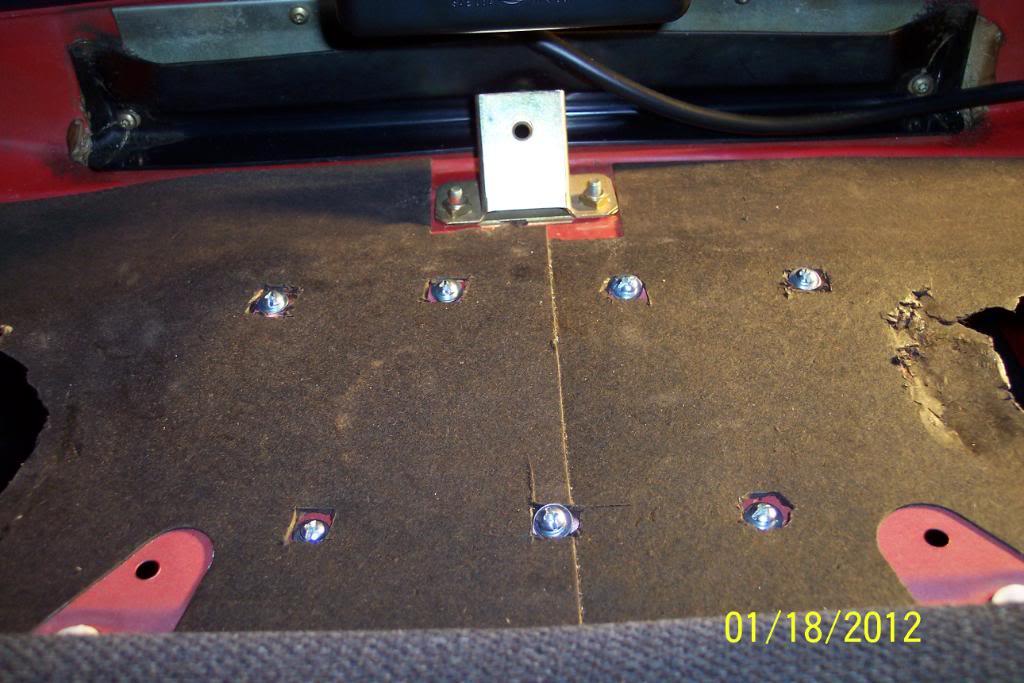
Driver's side, the hole nearest the seat back was already there/OEM Volvo,and the seat belt reel cover hides these two screws...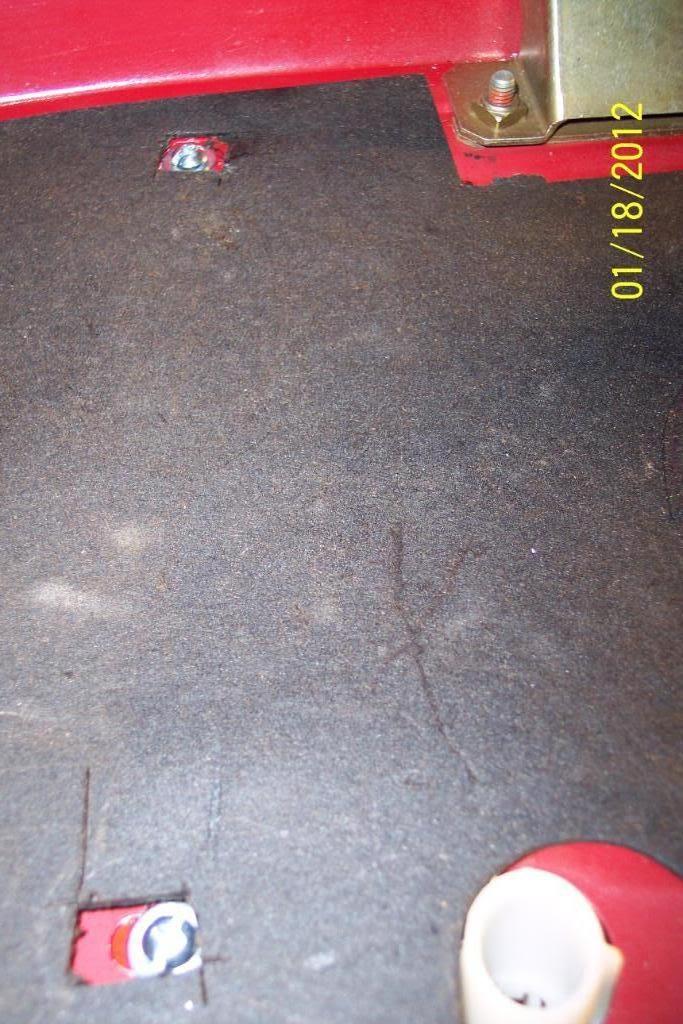
Passenger side, same here, hole nearest seat was pre-existing/OEM Volvo...
1/21/12
Well the different style of Kenwood grilles I bought came in the mail. And they clear the Midrange & Tweeter Pod on the KW 5 way spkrs I'm using. Good, was hoping they would.
I want to cover just the metal perforated grille mesh with speaker cloth. I want to hide the actual speaker from view.
I'm wanting a "OEM appearance. In other words I want it to look as if Volvo mounted these 6x9 speakers, in the packge tray, as a OEM speaker option.
But notice the new grille's mtg screw holes are inside the perimeter of where the mesh is, instead on the outer edge of frame like the old grilles had. This means I can only cover the metal mesh part of grille. And it's removable, and just pops into the outer frame.
But I'm unsure if the metal mesh will go into the slot around the frame for it, after it's covered with cloth. I'll try it & see. But I may have to leave the mesh grilles as they are in the end. I won't know for sure until I try.
It's going to be tricky to do, and I'll have to use a thin speaker cloth to do it. I'm hoping I can just wrap it around the mesh and pop it in.
I might have to trim the cloth on the mesh, even with the outer frame though to allow the uncovered part to go into frame. That'll require using the spray glue to attach the cloth to the grille. And will be PITA to do IMO.
Then again neither way may work...
Why all this fuss over the grilles you ask? Because I just don't care for the actual speaker being visible/showing through the grille mesh, as the UV rays will kill the spkrs much faster, & it can invite thieves.
I'd rather see black cloth there, for a more discreet, OEM look. Let's hope my plan works....
The KW grilles I had before did not allow for a neat look when covered with cloth as it has "different heights" on it's surface. And the cloth would cover it's mtg holes too
Old...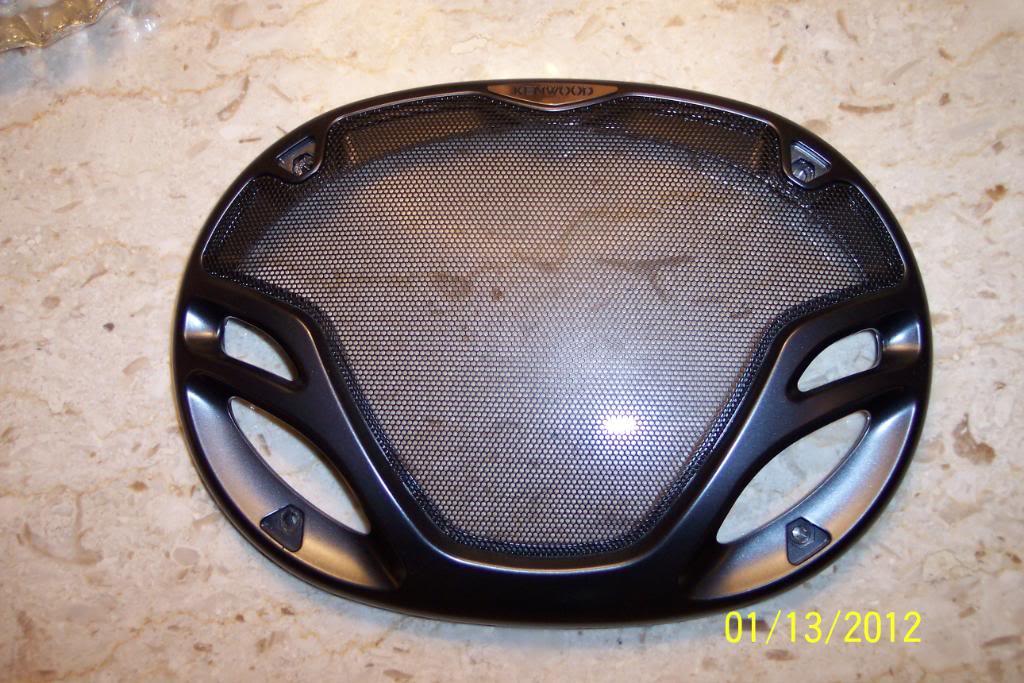
New/different version of Kenwood grilles...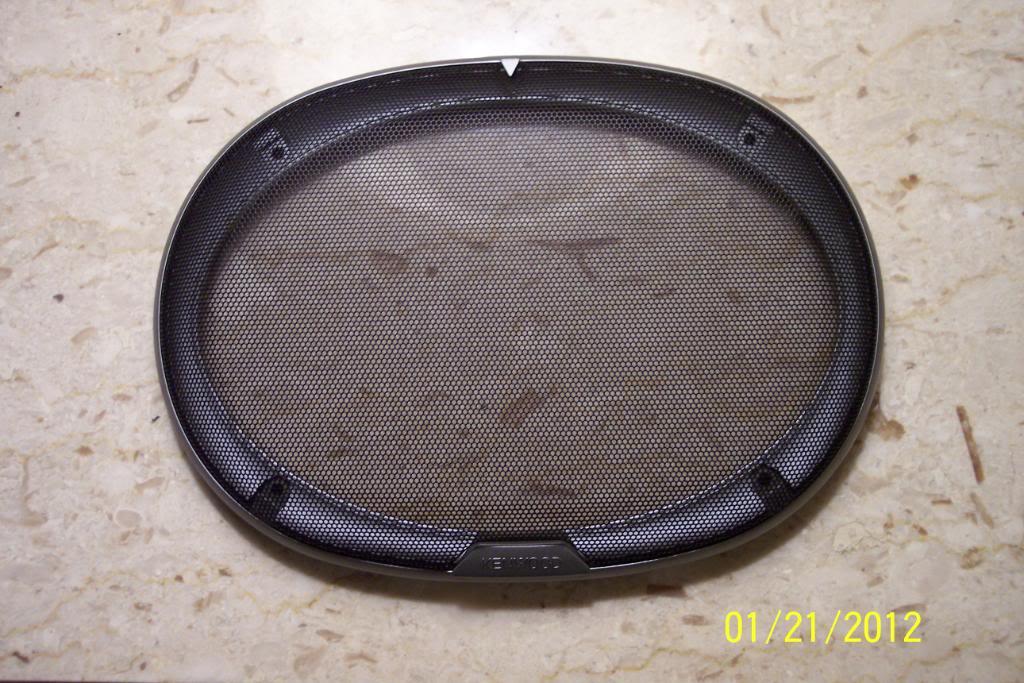
So, until I get cloth, I'll prep and paint the grille frames.
First off, it cannot appear/look like an OEM Volvo spker grille, if it says Kenwood on the frames, now can it?.
A piece of sanding paper for an orbitable sander and some 1000 grit sandpaper made short work of removing the KENWOOD raised lettering cast on the frames. I may get some finer paper if it's not smooth enough. I'll be painting the frames black, to match the interior.
I almost wish I had a Volvo decal to place here. But I do have an idea. Not sure if I'll do it though. Might look better as it is now... We'll see. More on that in a while...
Before...
After...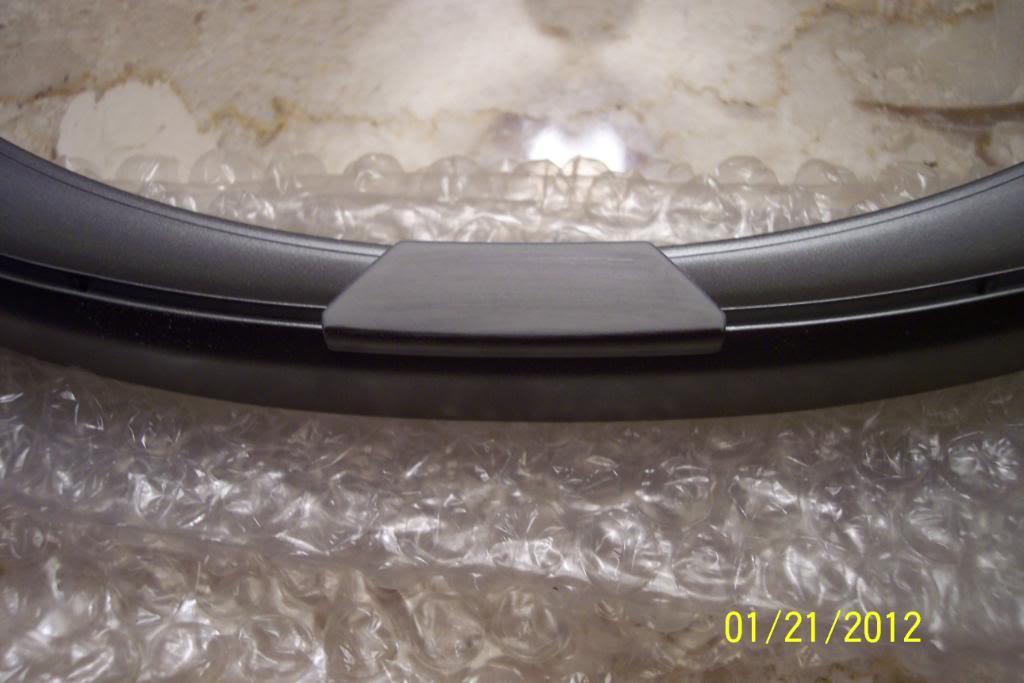
I have two of these Volvo "R" Lapel Pins. Both are the same as I used on the 78 240 GT steering wheel's center pad, and on the far right hand side black dash corner trim piece that's under the air vent on this car.
They are the perfect size to fit the where the "KENWOOD" lettering was cast in the plastic grille frames, that are now sanded smooth. I'm contemplating if I should put them on there.
I'd just have to drill one hole(each frame) and either place a glob of JB Weld, or maybe some "Super Glue", or perhaps the 3M Emblem adhesive, on the backside to hold it on.
I'm still unsure about placing the emblems there though, it would be bad if they came/worked loose later. But it does look like something needs to be there. I'll have to think about it. Hmmmm.
I've now wet sanded both of the entire plastic grille frames,and then went over(sanded) them with 0000 Steel Wool for a very smooth scratch free finish. Then I'll paint them black tomorrow, weather permitting.
And a Big Thanks to badvlvo for the 0000 steel wool final sanding recommendation and speaker grille covering & painting tips!
pic..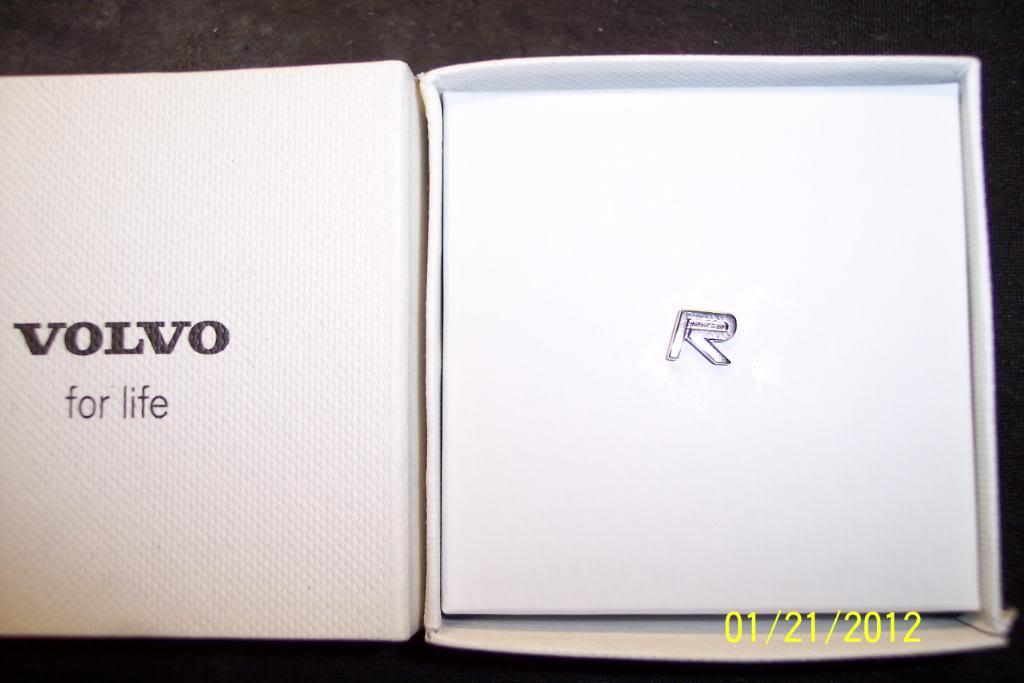
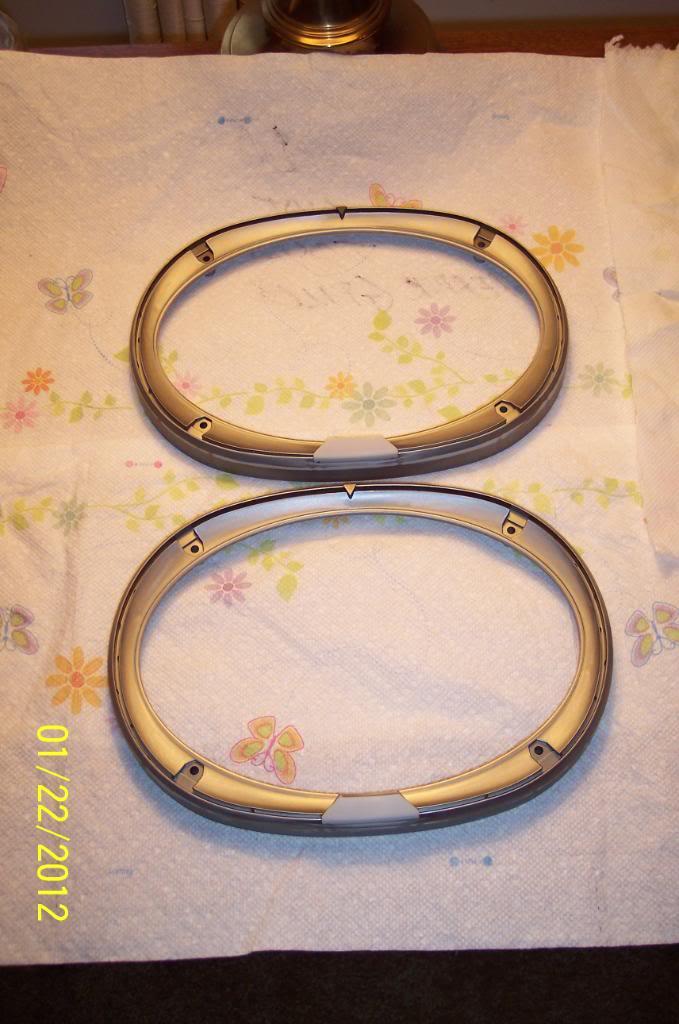
1/27/12
OK, did a few somewhat innovative things today.
I painted the holes in package tray, very neatly, for the 6x9 spkrs so the edges won't start rusting.
Then I investigated hw I wanted to route the spkr wires.
After looking a few minutes, I found a new. and better way to route the package tray 6x9 speaker wires.
I did not like the idea of them under the passenger seat at all. I then quickly routed the 6x9 speaker wires to the trunk/speaker location. Luckily my existing wiring is plenty long enough to reach. See pics as to how I routed the spkr wires, as it's easier to see than say.
Shouldn't rust now...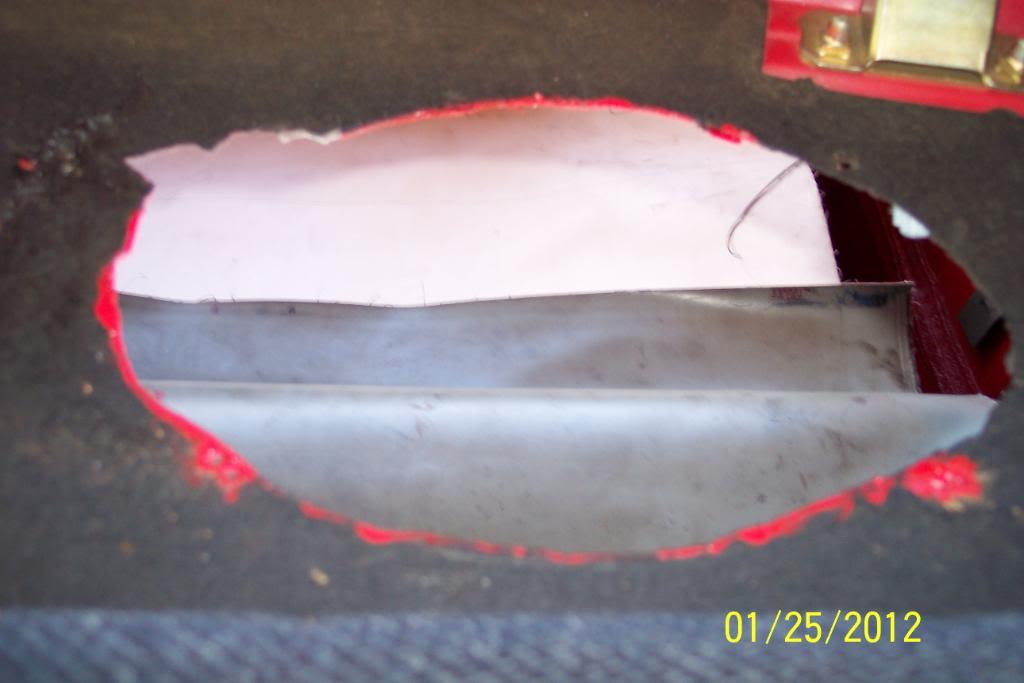
Along the rear door's threshhold, and up between the rear seat & side of rear side of car's interior.....like when the boxes were in the car..
Here's where I spied an easy access to the trunk area. Just cut a hole in the foam as it'll help protect the wire.
And here's where it comes out inside the trunk. Pretty neat idea huh? I have some clamps to hold it up against the bottom of package tray. You'll see that later....it'll keep the wires up & outta the way.
And , yep... the seat belt reel covers hide it reels, wires & all on the package tray inside.
More Volvo Adventures tomorrow...................
1/29/12
All in good time my good man. All in good time. Have other more important things I'd like to do first. Like this................
Ok, After much trial & tribulations, and almost having to sacrifice a goat & a lamb, I finally got the rear seat out. Sure was a lot of work just to find some bug wings, dust, a nut and 1 Quarter circa 1967.
Had to remove rear seat to remove the pressboard partition, between interior & trunk, so it can be covered n black in/out carpet. Four retaining studs have nuts only accessable after you remove the seat.
Remember that "just big enough piece of carpet", I had left over from the side panel and package tray panel? It is time to use it, Pappy. I bought more Loc-Tite 300 Strength spray glue, he other day from Lowes. The same process will be used as was on the package tray panel and trunk side panel.
And I'm hoping to use the grey felt padding material between the top half of seat, and partition also, and maybe on the floorboard's area of the bottom half of rear seat. if it'll fit OK, it should help quieten the rattle of the " 'shine jars". tee hee..
Pics below:
Gratiutious circa 1967 U.S. Quarter...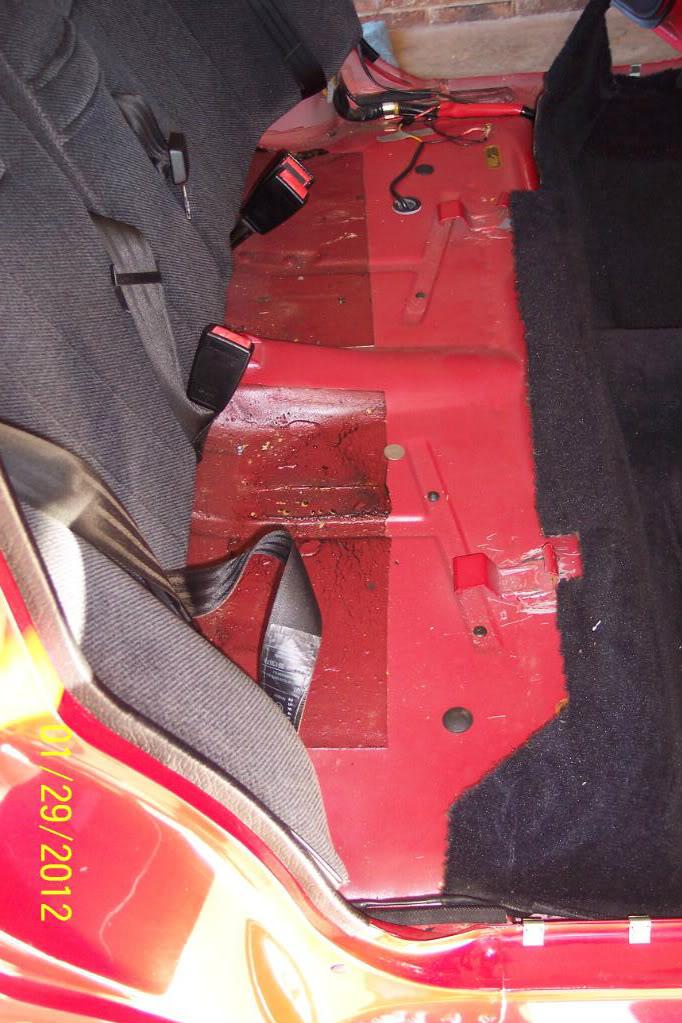
Both halves removed..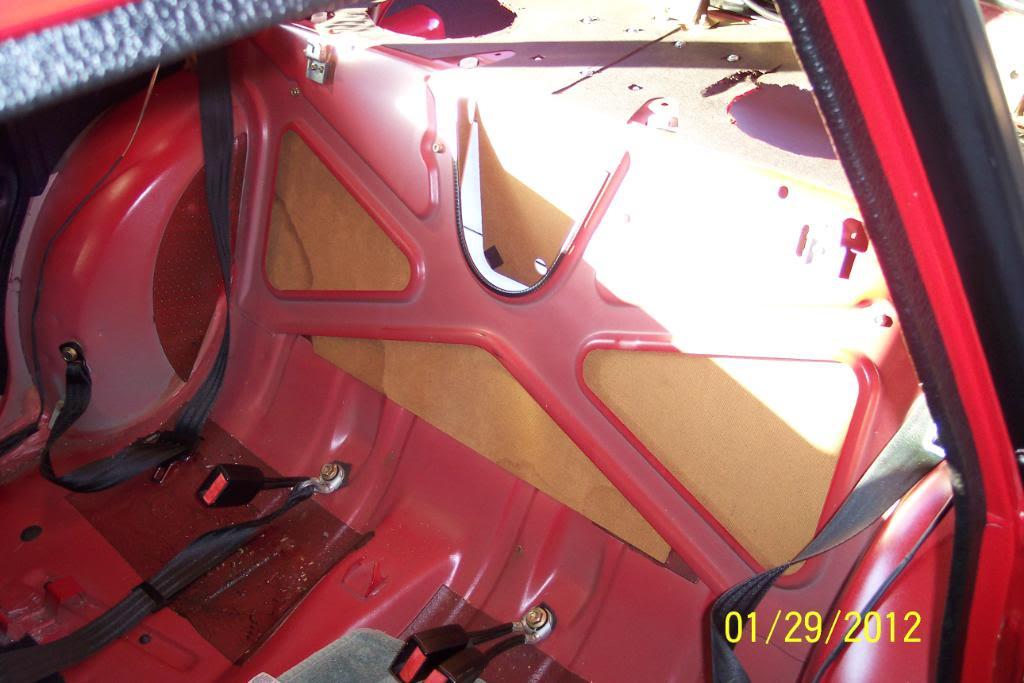
Nuts to be accessed..there are 4 total...
And just enough carpet left to cover the pressboard partition panel. Super Cool.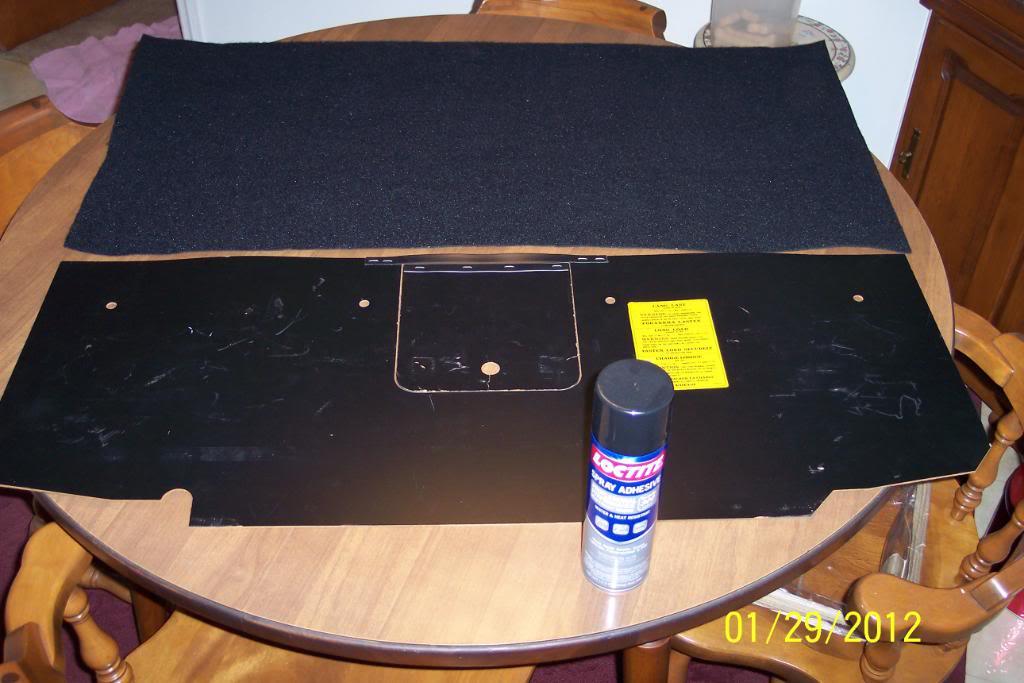
1/30/12
Finished the partition panel...the triangular piece of grey padding goes on after panel is installed for further sound deadening.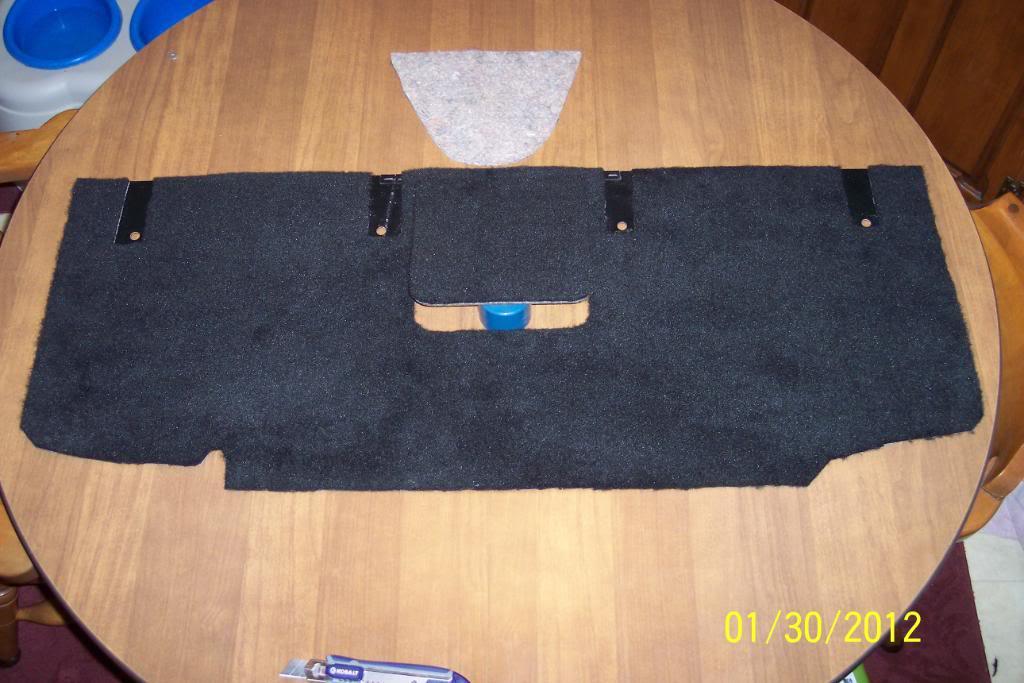
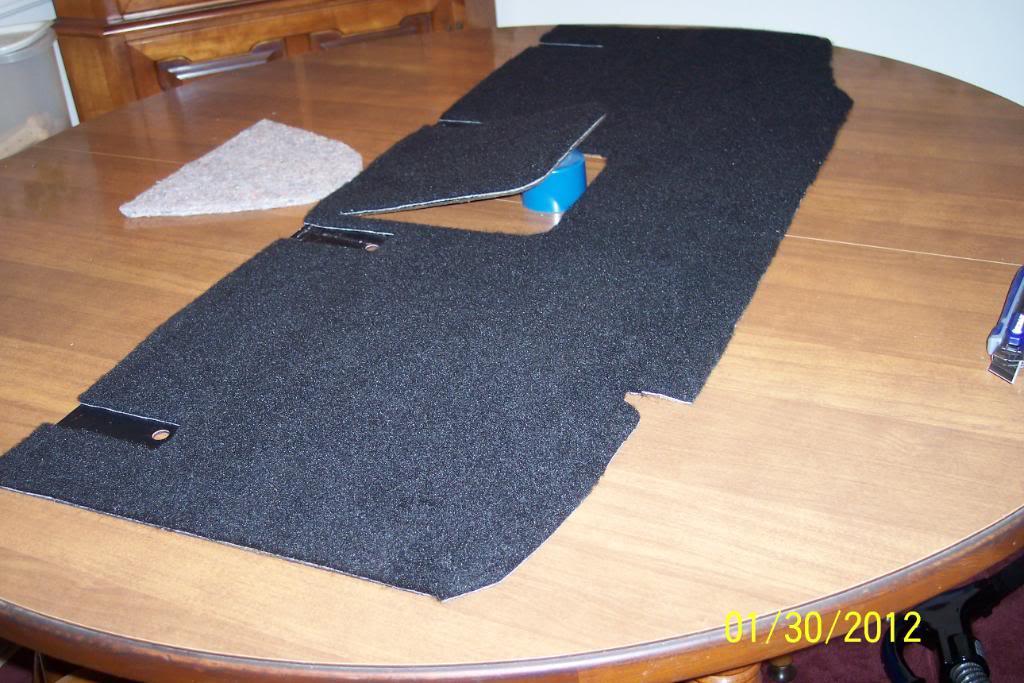
Cut & fitted the grey felt padding for insulation for sound deadening. Hopefully will help a lot. Have to weigh it too.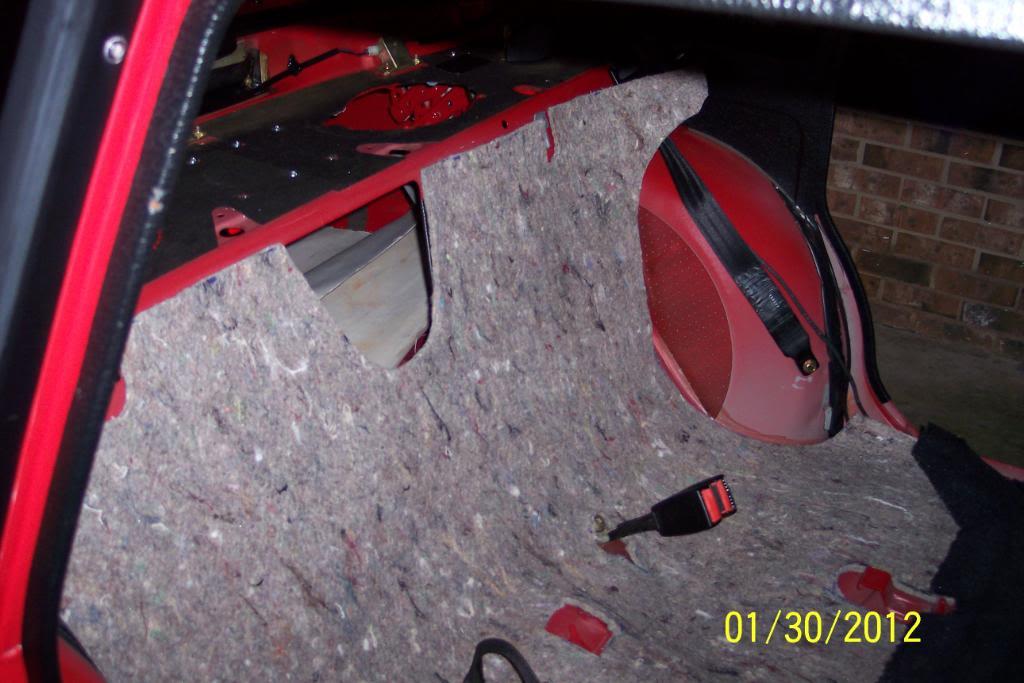
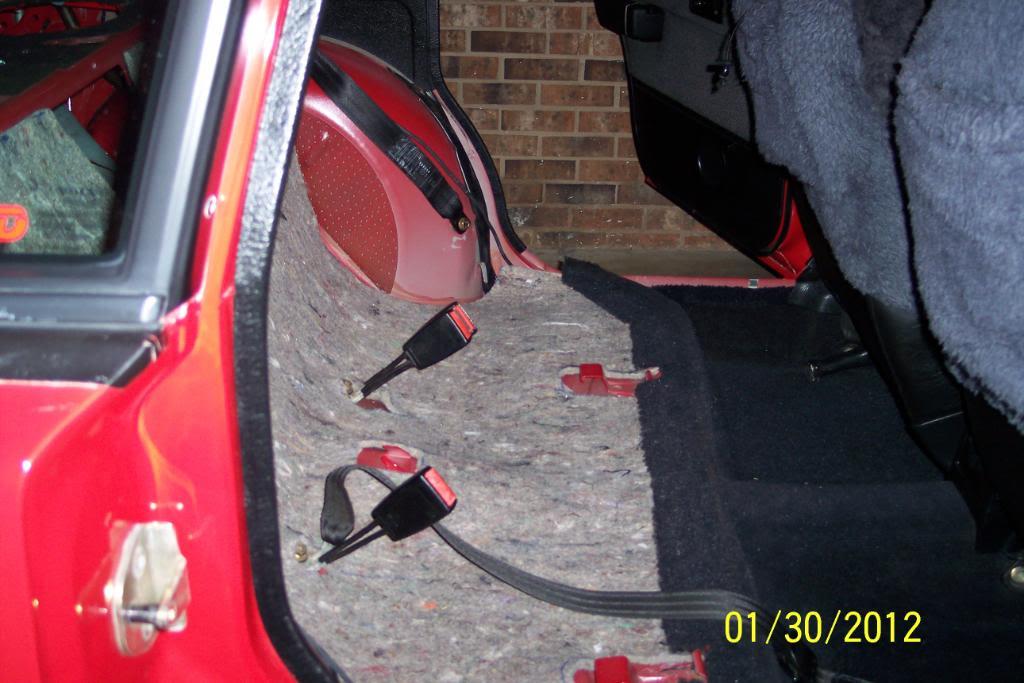
I need to think about how to fasten/mount the padding to the floor & cross brace. I'd prefer it did not slide about while trying to re-install the seats.
I thought about using plastic push pin fasteners. But the carpeted pressboard partition panel fits flush/flat up against the backside of the metal X Brace. And that leaves no room for the fasteners.
Also thought about using thin fender washers on the studs that protrude through the X Brace, to the interior side, that holds the rear passenger headrest brackets to the partition panel & X Bracing. I really prefer not to glue it, but may have to.
I'm a'thinkin' Pappy, I'm a'thinkin'......Hmmm.
1/31/12
I already had the rear seat removed... I could add a second trunk light on the passenger side of the trunk lid.
The the rectangular hole is already there. I just needed to drill a 9/64 hole for the OEM screw I already had in my stash I already had 3 trunk lites, so chose & used the nicest looking one I had.
Nothing to it, but to do it, so I got busy on it, like a Fat Boy eating a muffin
So....... I just ran wire and marked the hole's spot using the light in place to go by.
Then drilled a 9/64th hole for the ground screw, and flipped the mercury switch in the lamp. Notice how the lamp is mounted. This is a must for the mercury switch to work properly.
I got my parts & tools together...
Yep, hole is there...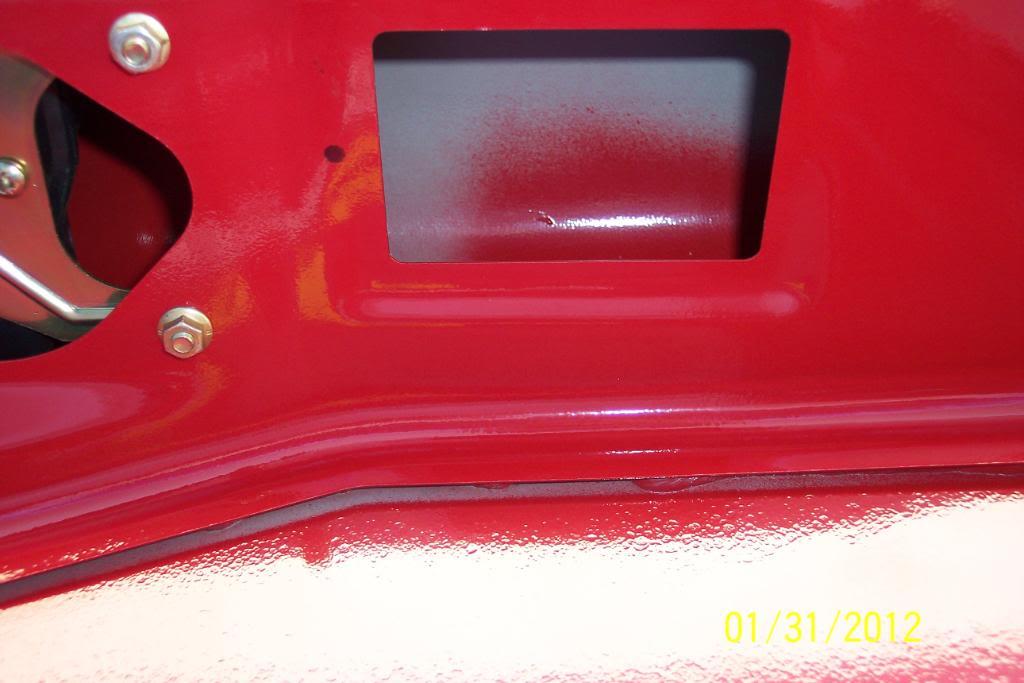
Ran wire from #8 fuse to light(sorry, fuse #1 isn't in the pic)...along DS rocker panel up to hole where other wires go to trunk.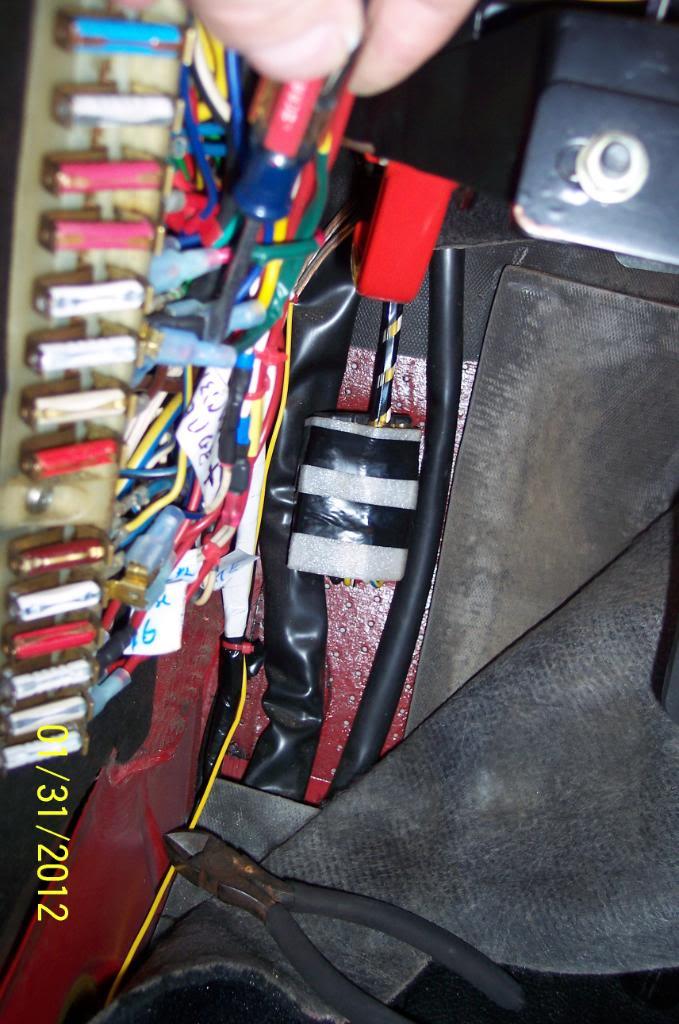
Came out here..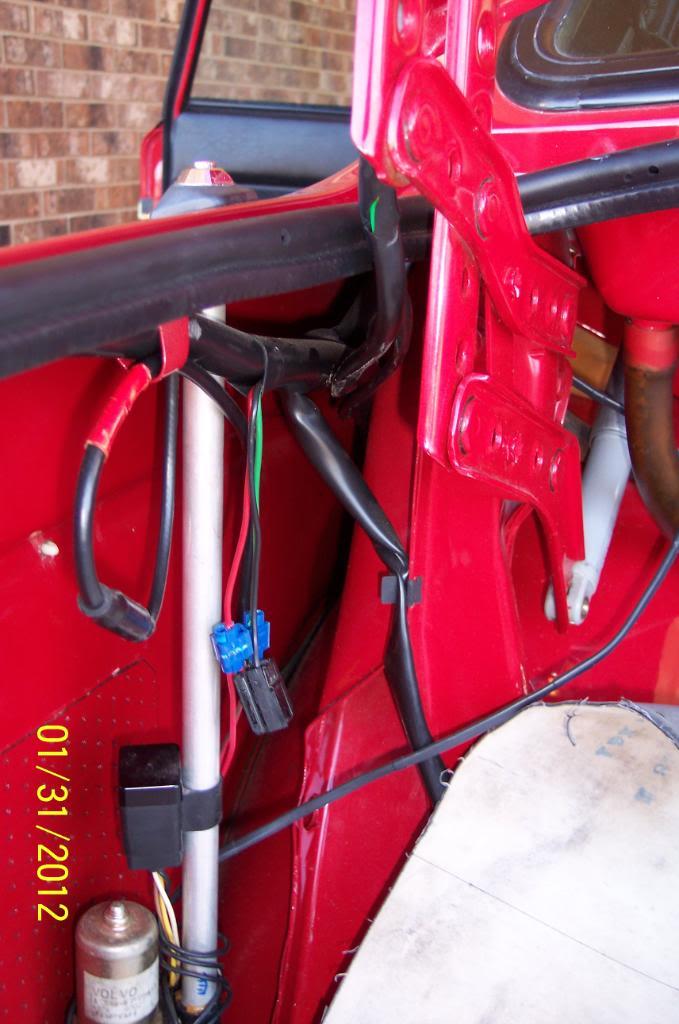
Ran the wire in Volvo sheathing I had. I also had an OEM green wire I ran across the width of trunk lid and covered it with heat shrink tubing to make it not show, and protect it, too.
It looks OEM,NOS, NIB and Rare, but has no 88 date stamp..
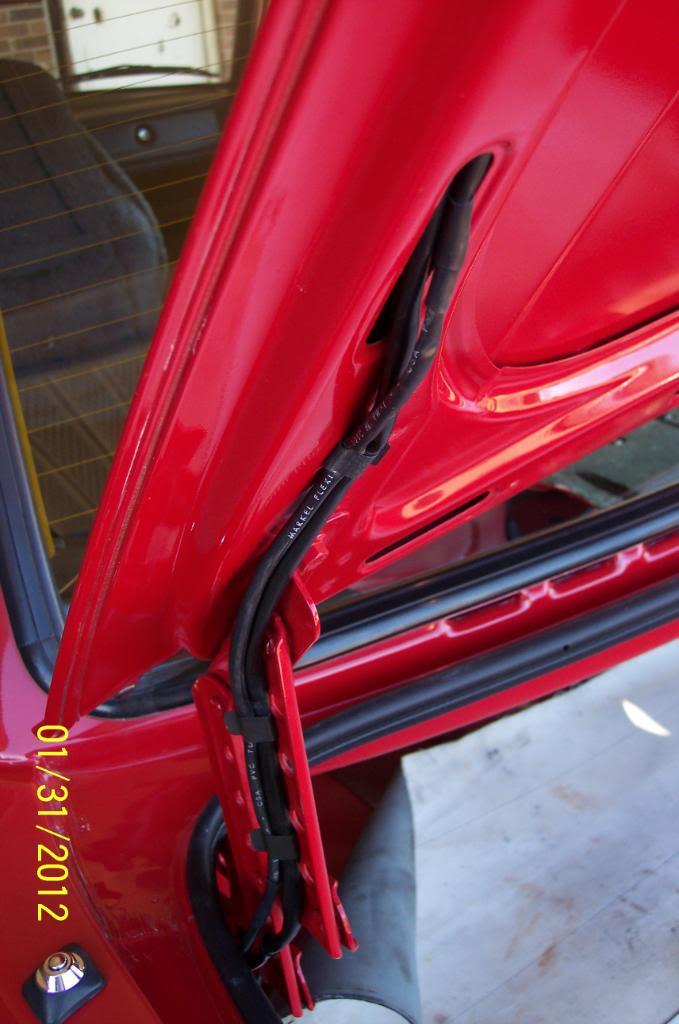
OFF..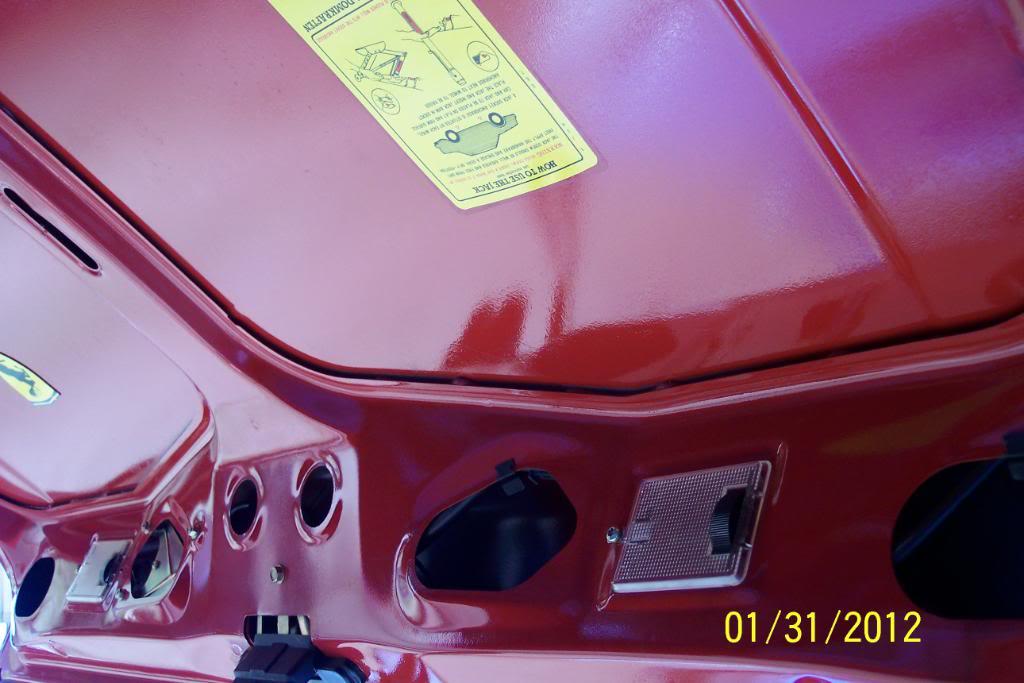
ON...Done................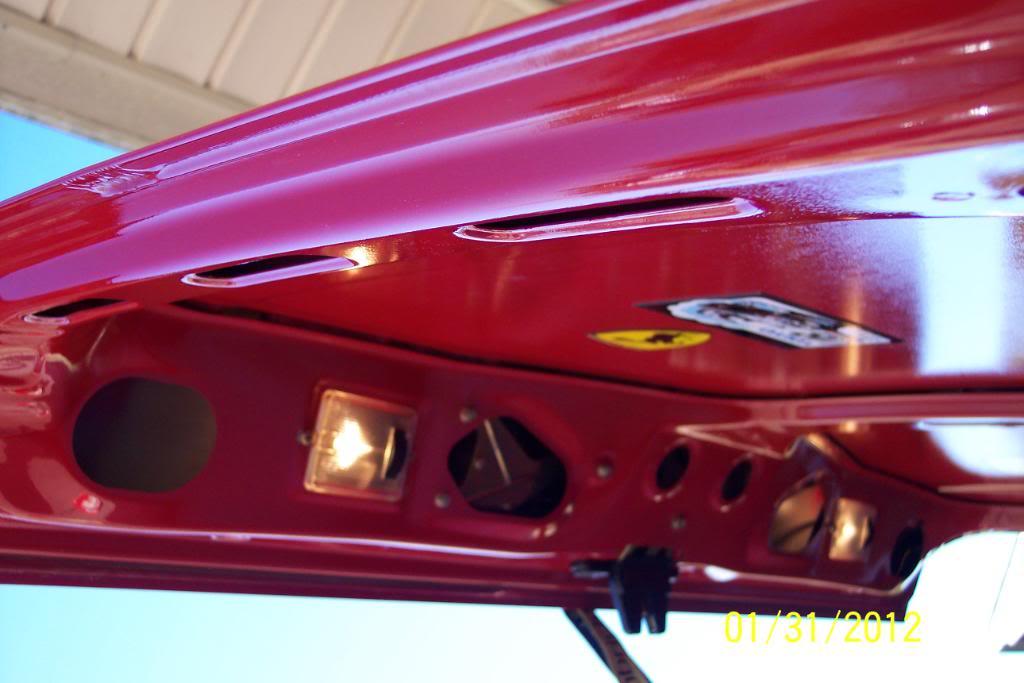
I now have the carpeted partition panel re-installed. The grey padding insulation is cut to fit, and I'll install it next.
I'm hoping it will still allow both halves of the rear seat to fit properly. I beleive it most likely will. But will have to try it to be sure.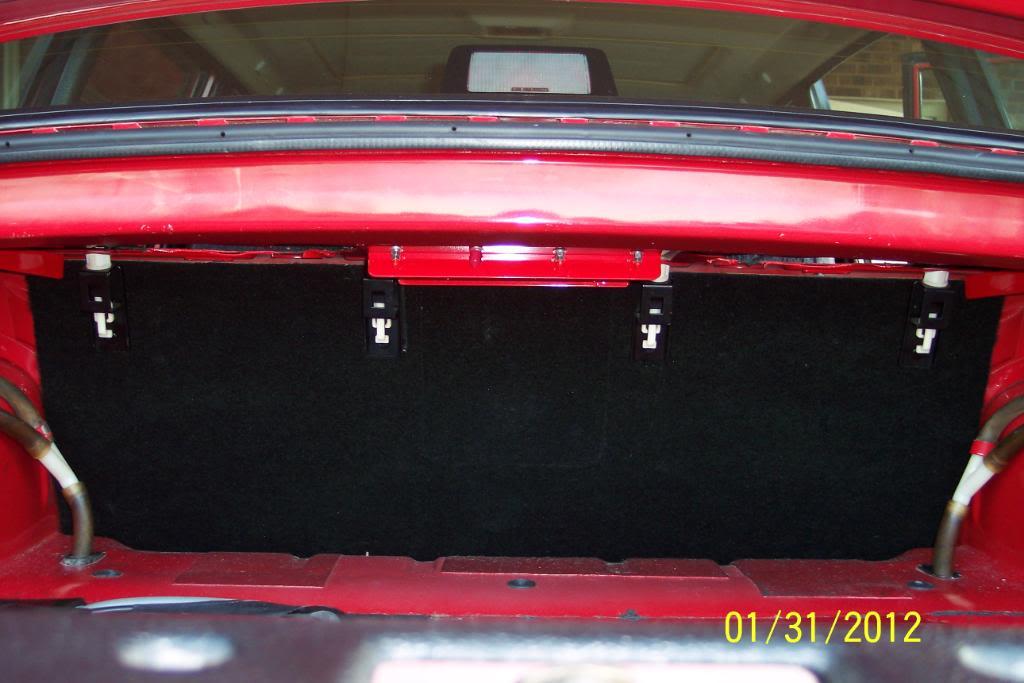
Thought this might help sound insulation just a tad more. Insulated the trap door,(still opens though), and the two triagular open areas, glued it to backside of partition panel.
Thought about doing the lowest area, but think it may make removal of panel at a later date impossible. It's a pretty darn tight fit now, what with the carpet & the 3 insulation panels already.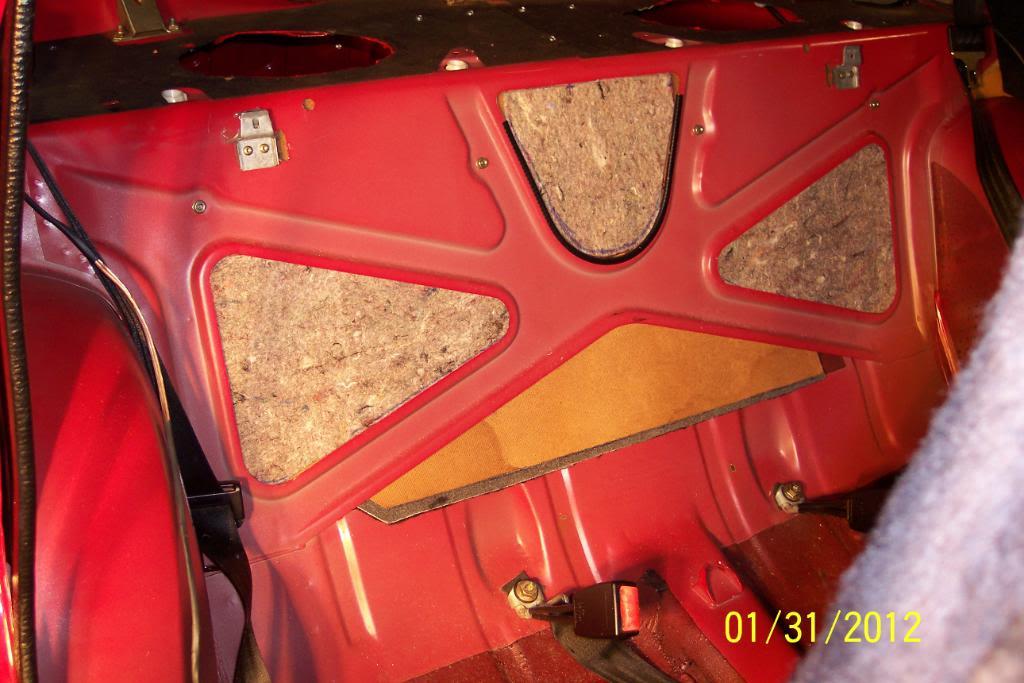
Next is the greyish felt padding to insulate trunk noise & temps, from the interior even more.
This piece is the one I'm wondering/worried about. Hopefully it'll let the seat fit like it should. Guess I'll find out tomorrow......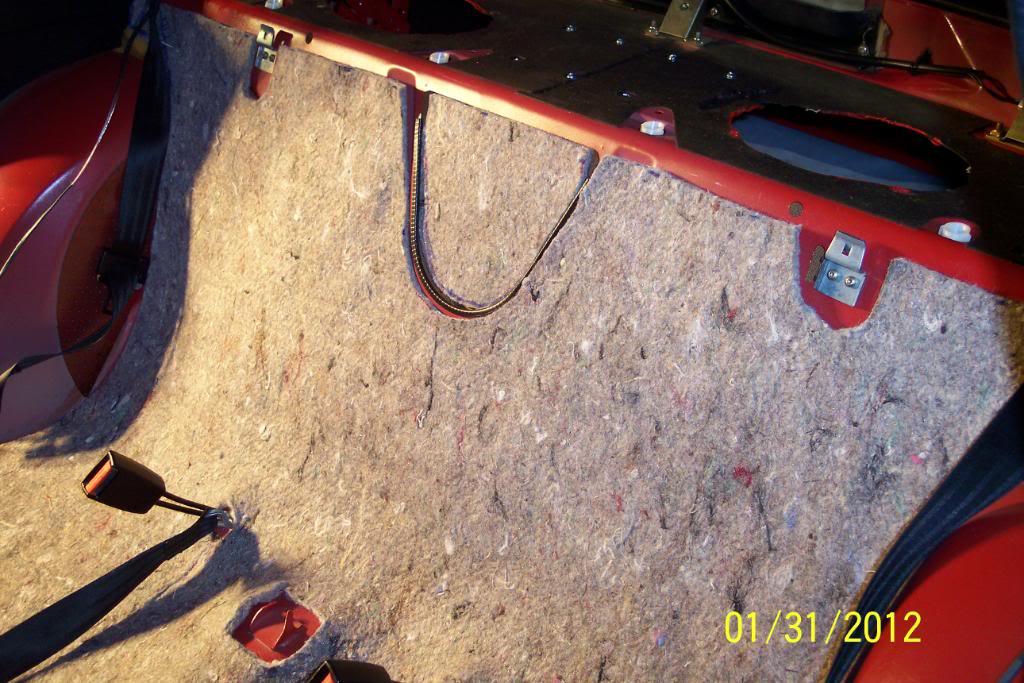
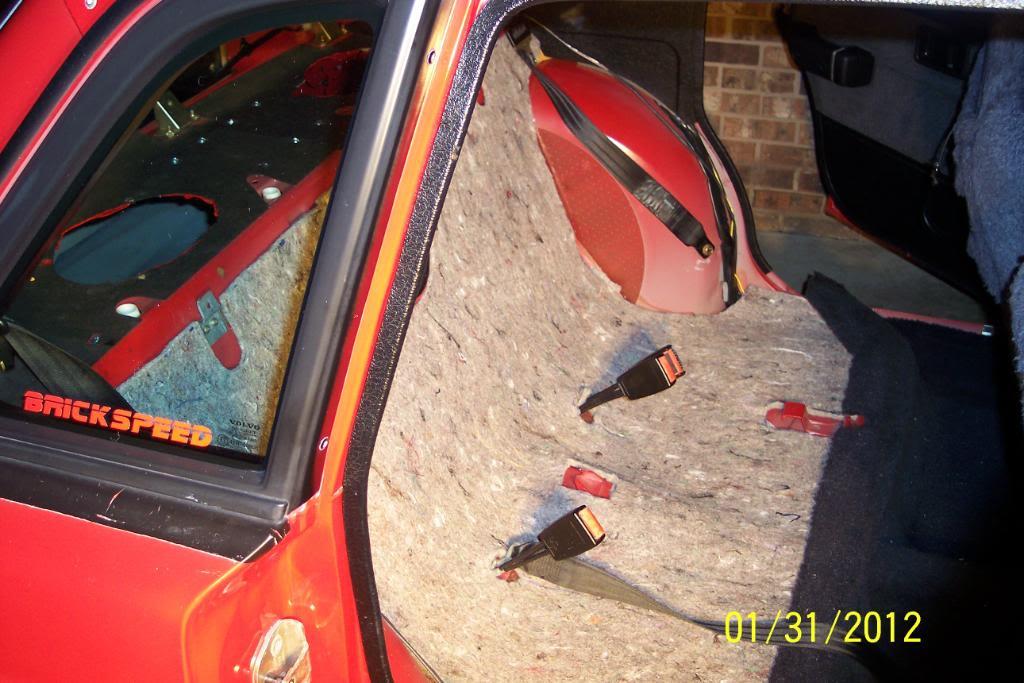
2/1/12
Ok, while at Auto Zone yesterday, I found yet another type of black in/out carpet. A/Z's was much thinner and has no real "backing" to it.
A 3 ft x 6ft roll cost me $9.99. So, I figured I'd try it for the next trunk/carpet mod........................
Well looky there Pappy!....the area 'tween the tailights, inside of the trunk ,is just plain nekked. Well we can't have that now can we? NooooSirrr!
I got me an idea Pappy....let's stretch carpet across that there, and we'll let it be held by some of that there new fangled Industrial Strength Sticky Back Velcro thingamagigs & let the TL overs & trunk edge trim, hold the edges. We'll be ******* in high cotton then huh Pappy?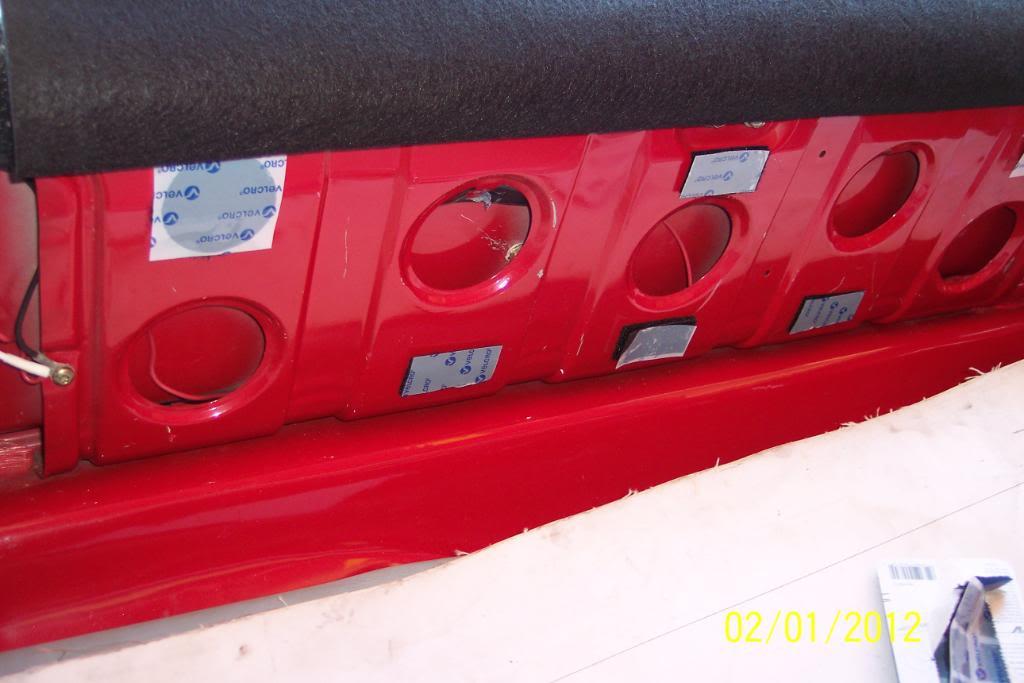
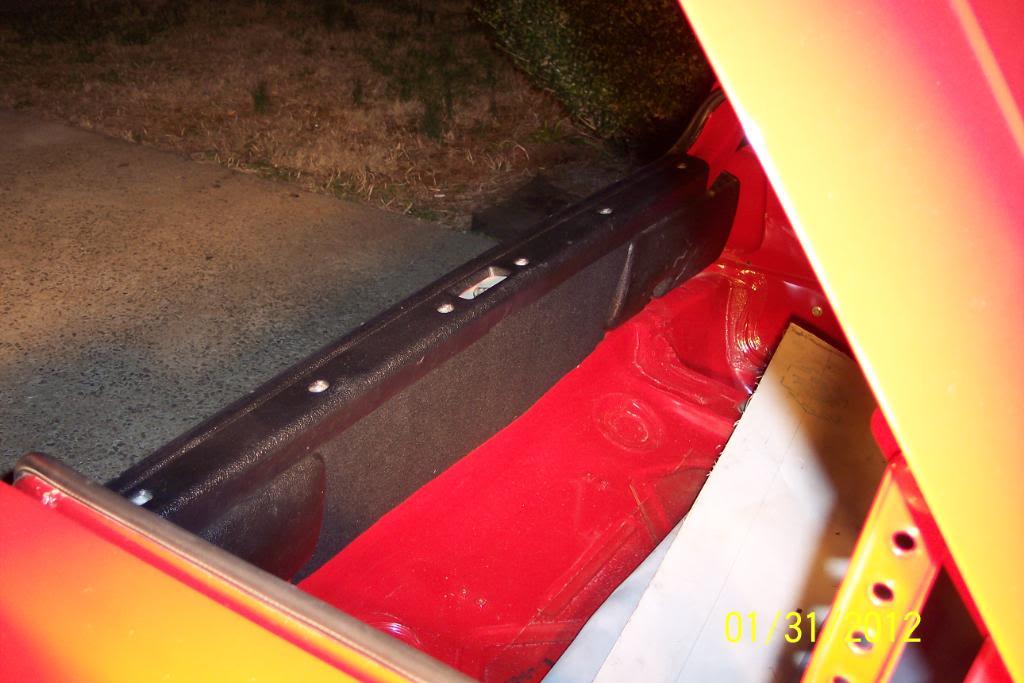
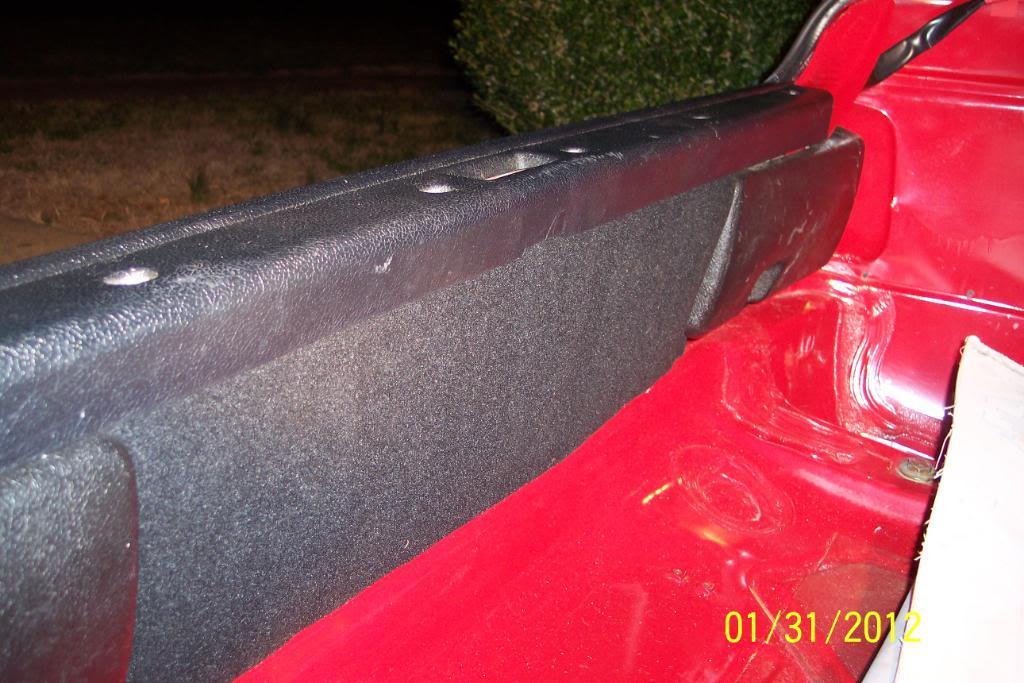
Almost forgot to post this quickie mod.
I have the Hella 500FF Driving Lights. Bright ones they are. 1800 ft beams.
BTW, I've been meaning to do this mod for quite some time. Now's a good time, huh?
They come with with nice white Hella Lense Covers, but when you put them on, and try to remove them, they tend to try to pull the glass lamp loose from the hsg a tad. Hmmmm. Can't have that.....
I used my trusty Kobalt Razor knife, and trimmed the 3 "catches" on each Lense Cover, to a much smaller size.. Now I can remove them with one hand, and they don't try to pull the lamp out.
Now I can run them during the daytime, to protect the lenses from rocks, road debis, bugs & pitting.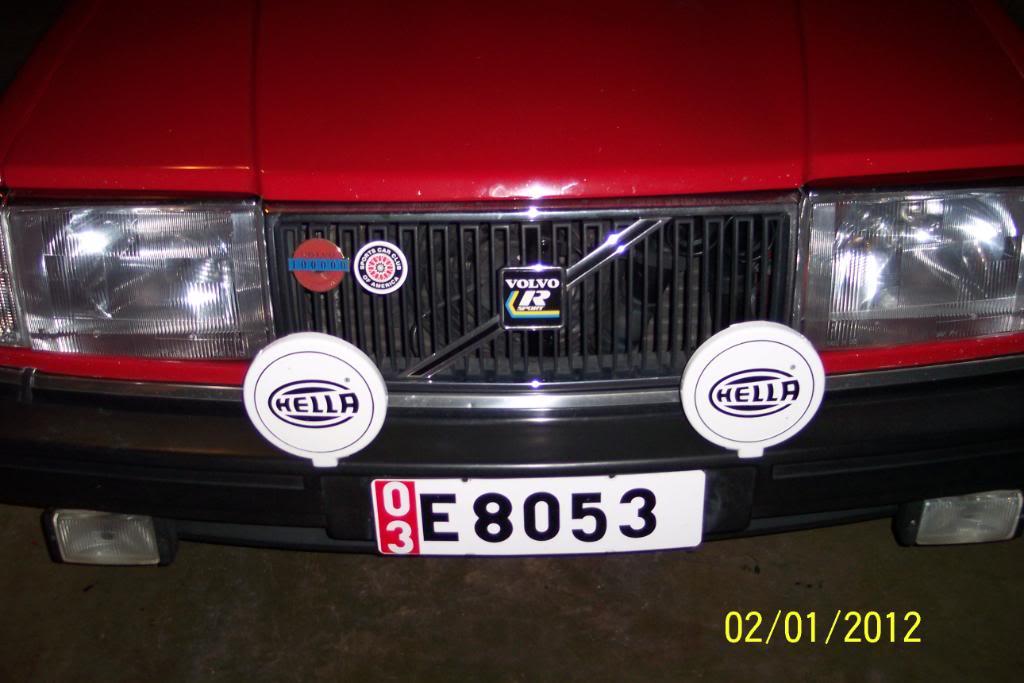
The finished Mod....
A self explanatory pic.........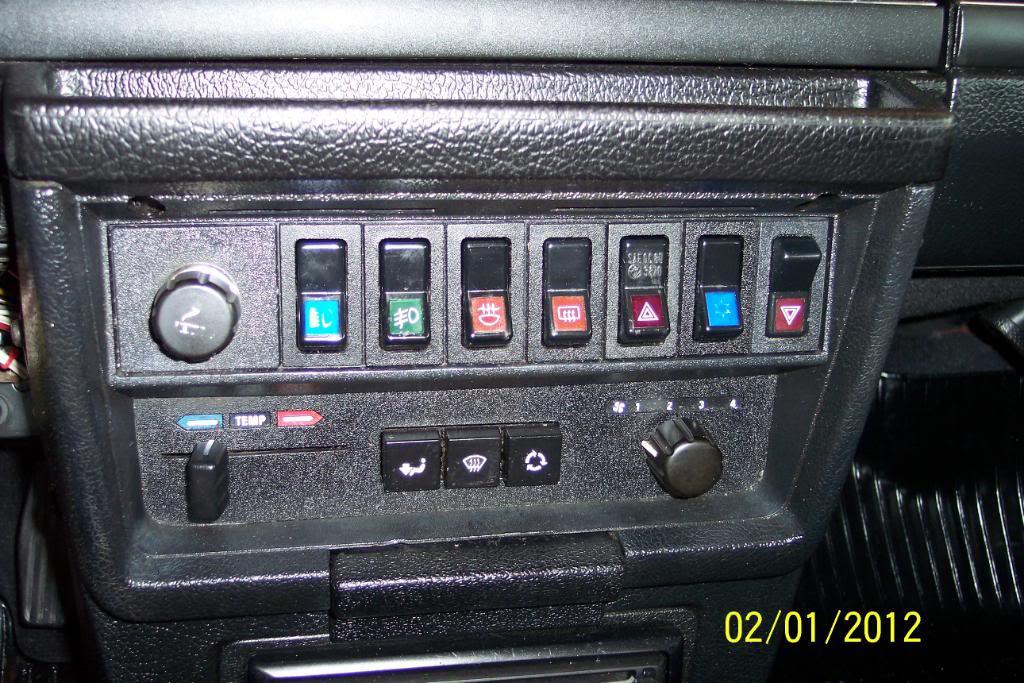
In case some of you were wondering.....
I decided on using these to affix the grey felt padding insulation to the X brace. Seems to be large & strong enough IMO.
I also used some of these cut down/into to a smaller size for the 'tween the TLs carpet too.
Round ones for smaller places, and the big ones for highly stressed areas near the seat mounts.
FWIW, They are not exactly cheap, and ya only get two per pack on the rectangular ones. But they hold a helluva lot better than the 1" square ones do.
And here's a few pics of what I used, in case ya want to try it yourself....
Look in this previous pic of dvrs side of trunk. See that red behind the spare tire cover? I've decided to make that red disappear like a VooDoo victim..........wait & see.....
2/2/12
OK, for a finished look I need to paint the fixed hook for the spare tire's retaining strap, and two straps that hold the TL wiring harness up. So I 'amsked everything real good...........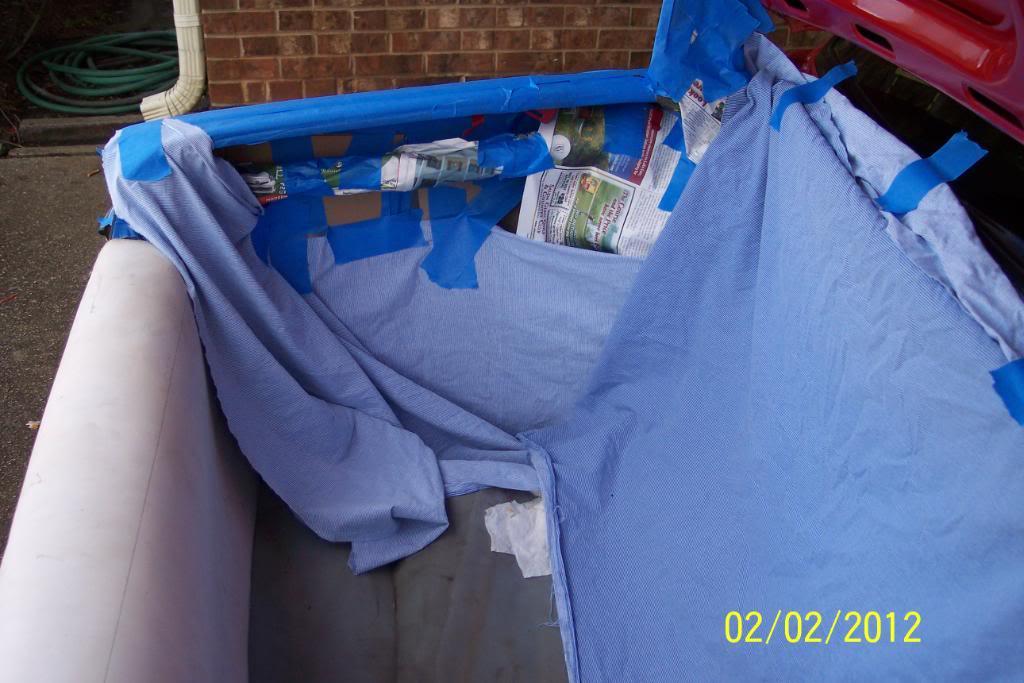
Done...next to mount the carpet piece.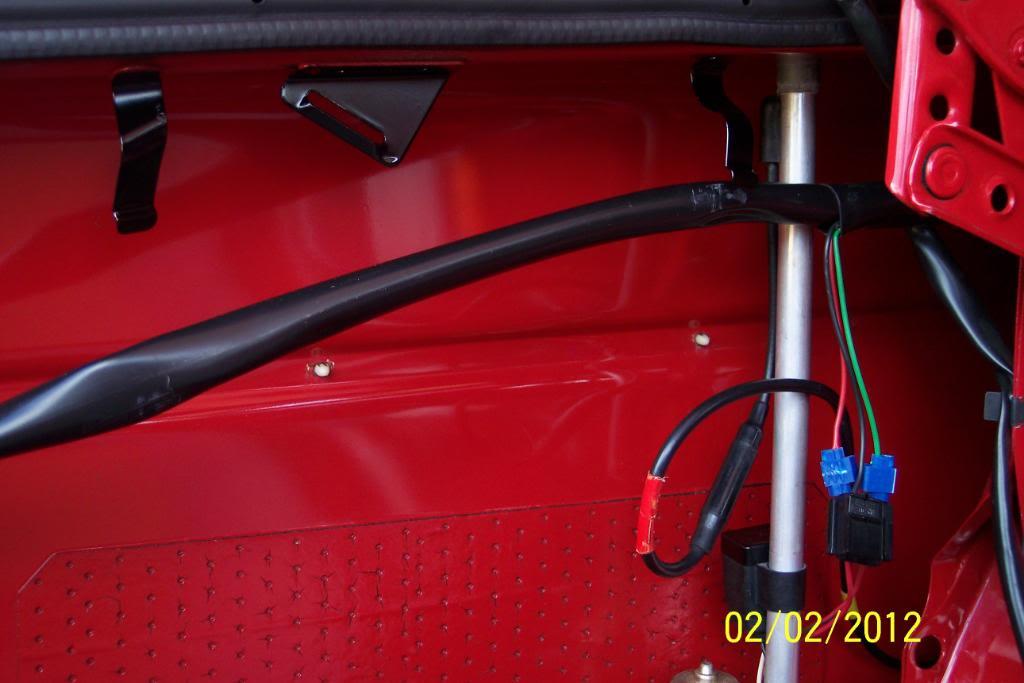
And I have the velcro on. I found a box of 4 foot length ISHD Velcro, and it took two of them. Much cheaper in 4 foot lengths.
4 ft box
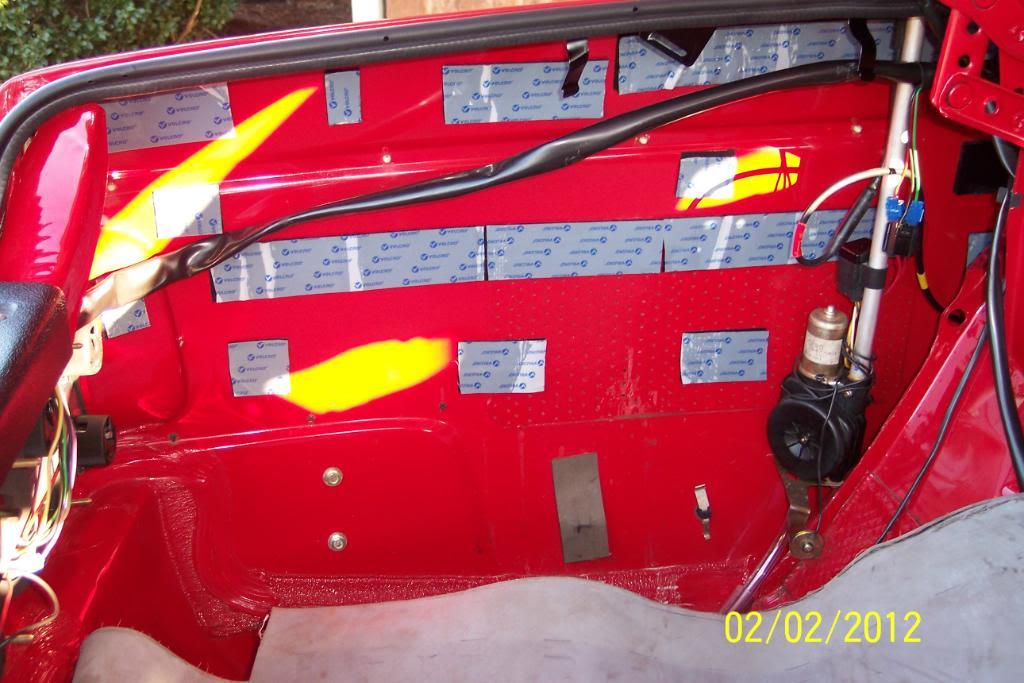
In rear corner...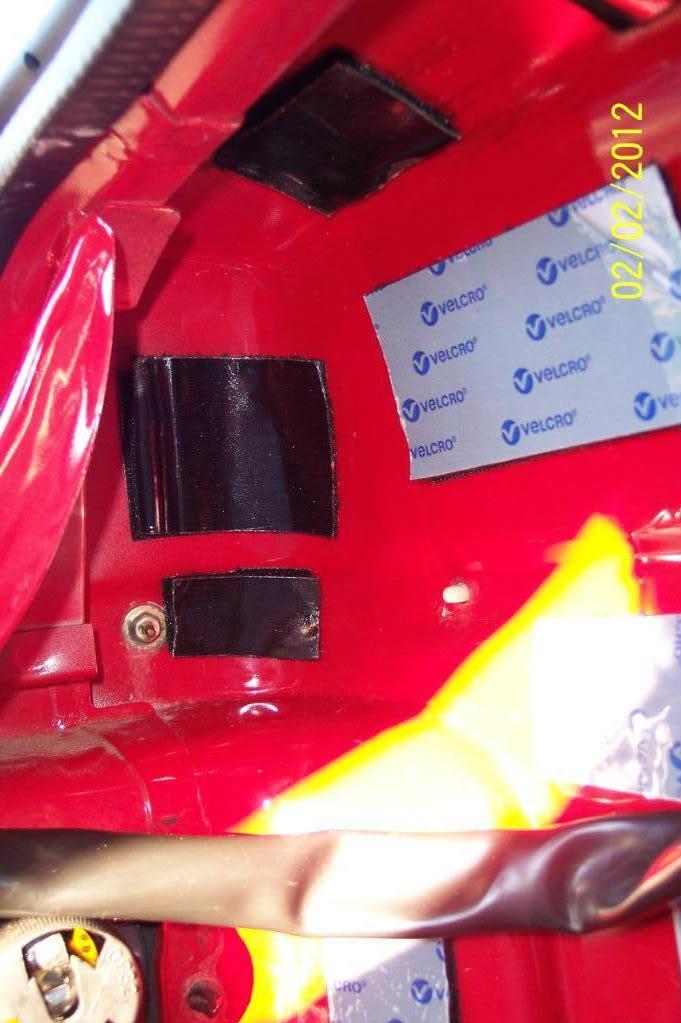
Looking on the bottom ide, of top 1/4 panel...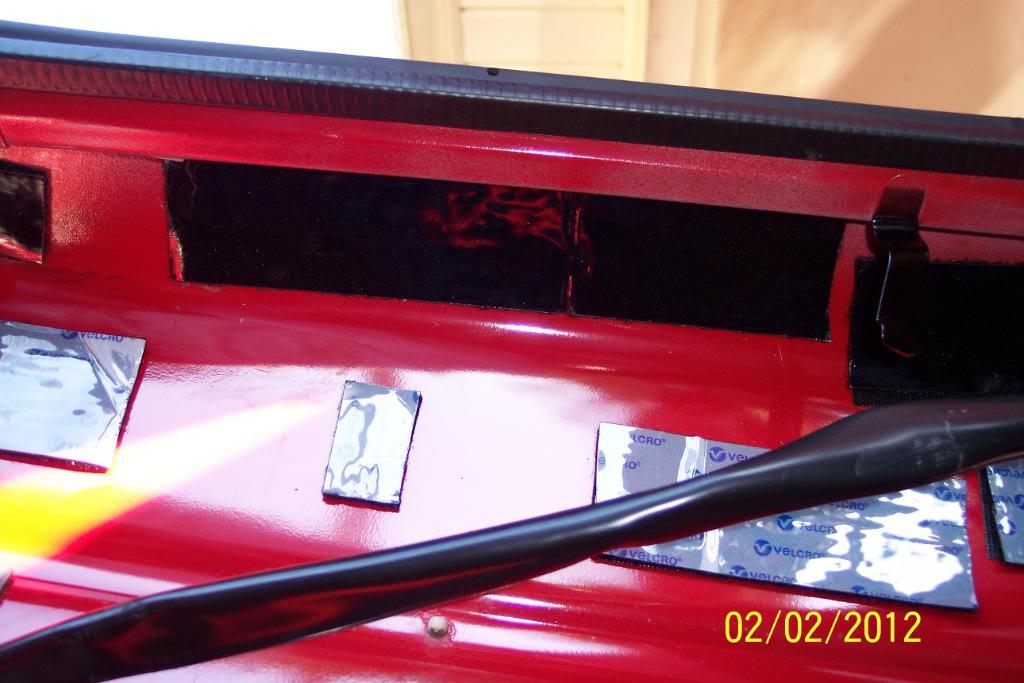
1/4 panel up towards the wheel well....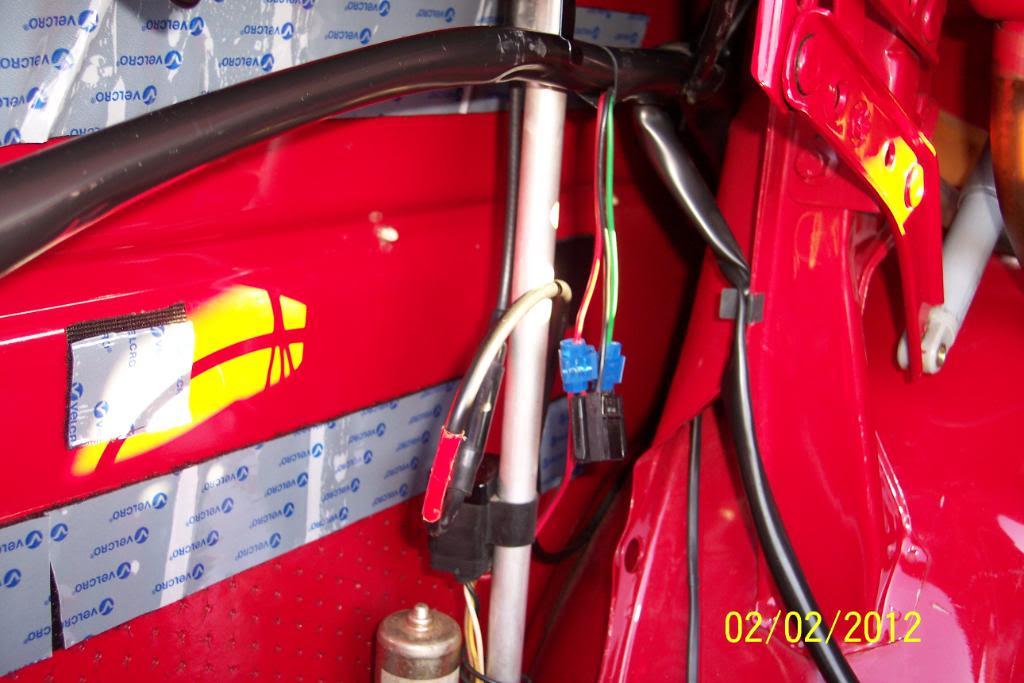
And the finished mod, the red has disappeared just like a VooDoo Victim........
It should really look nice when I re-install all the OEM carpet back in the trunk, after I install the seat & then install the package tray's newly carpeted pressboard panel & toss the speakers in their holes. All that is next of course....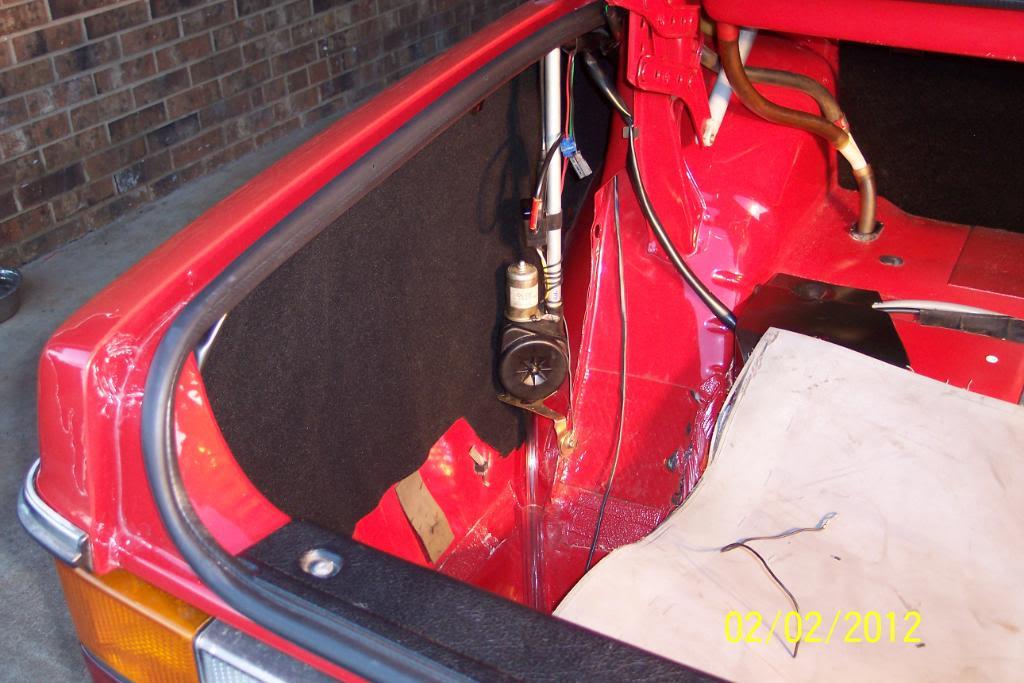
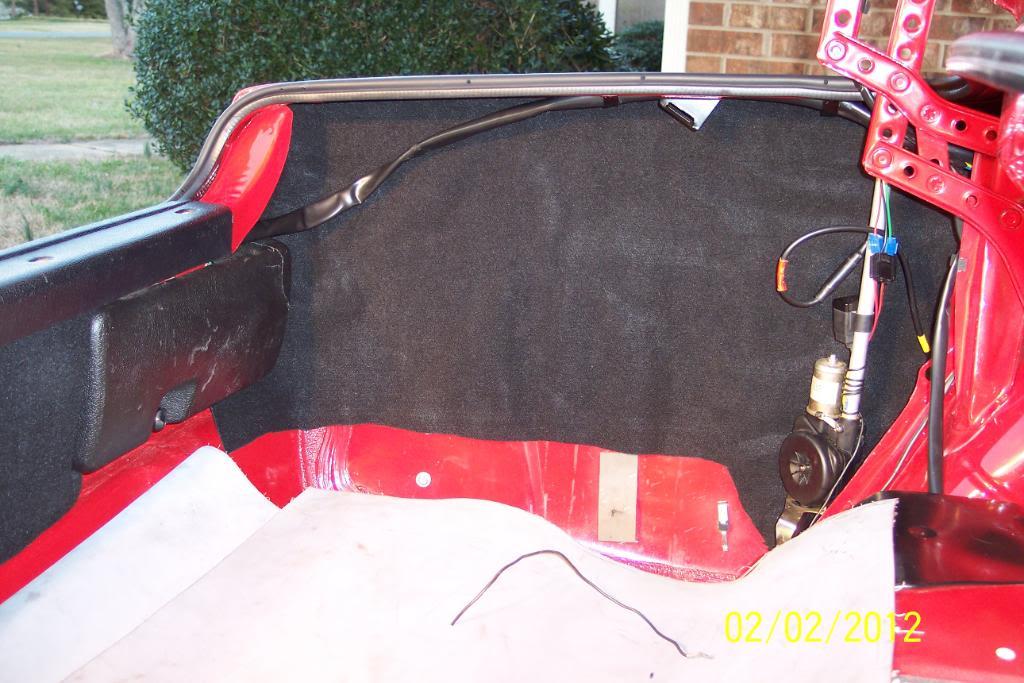
While I was right there at it, I trimmed @ 1 foot of wire off the Power Antenna's ground wire, but still left some wrapped around the mast hsg., in case I need to replace the round closed end wire connector in years to come...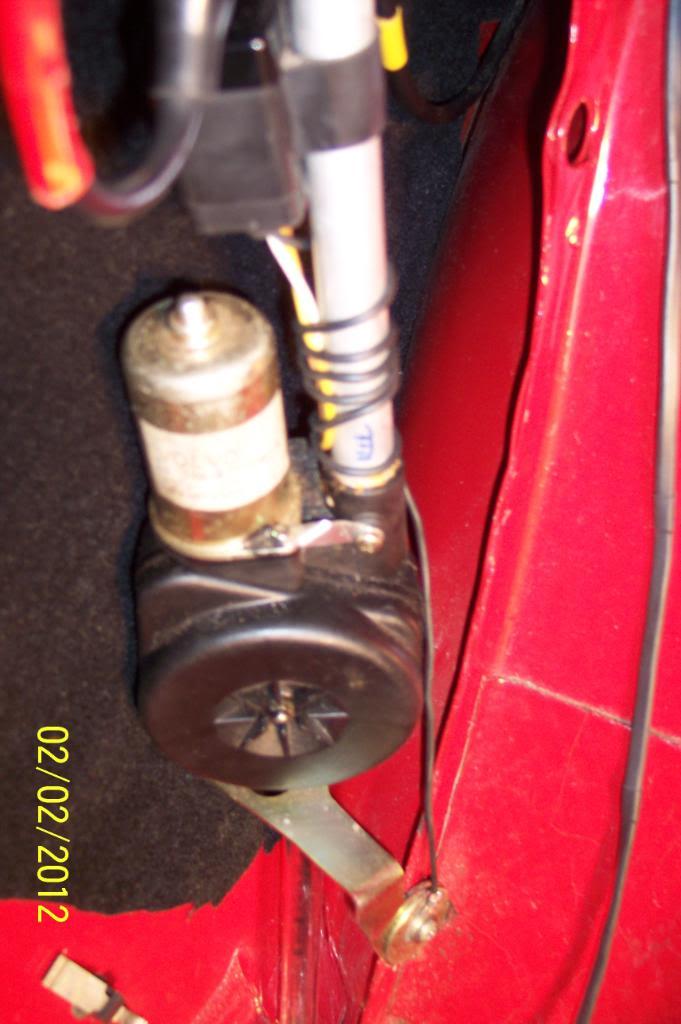
Hey Pappy!! Doncha see the tailight wirin' harness a'hangin' down?
What we gonna do 'bout that?
Pappy says.... This right 'ere........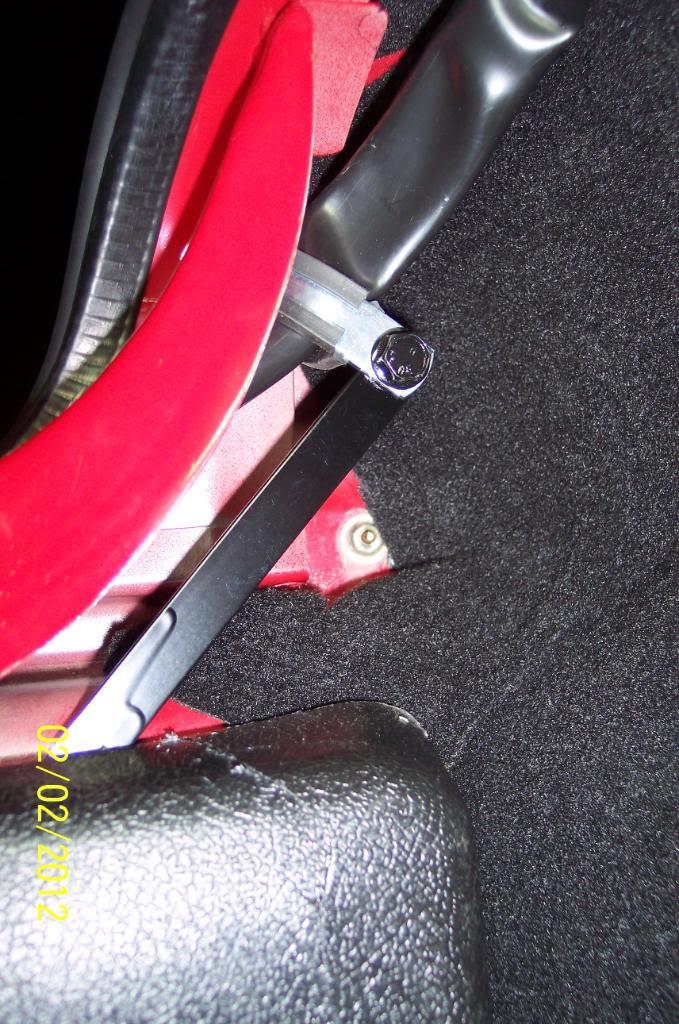
Yep, looks right peachy now, huh?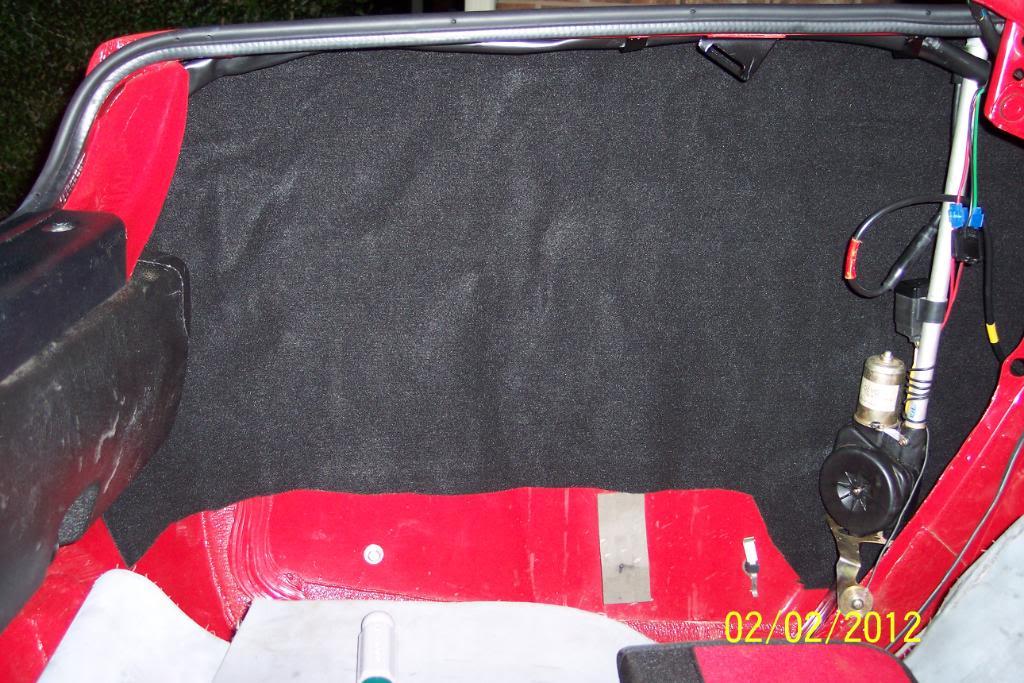
Not much I can do about. not easily anyway.
Next up, gonna fix something that's been worrying the ish outta me for some time. See how the underdash pad hangs down by the gas & brake pedals?
It just doesn't look right IMO. I'm going to fix that with a couple of the 3 free gifts from Lowes, that I got today..........
It says: "Do you have it all covered?" They're jokin' , right? LOL! pics below:
got 3 of these for free today...
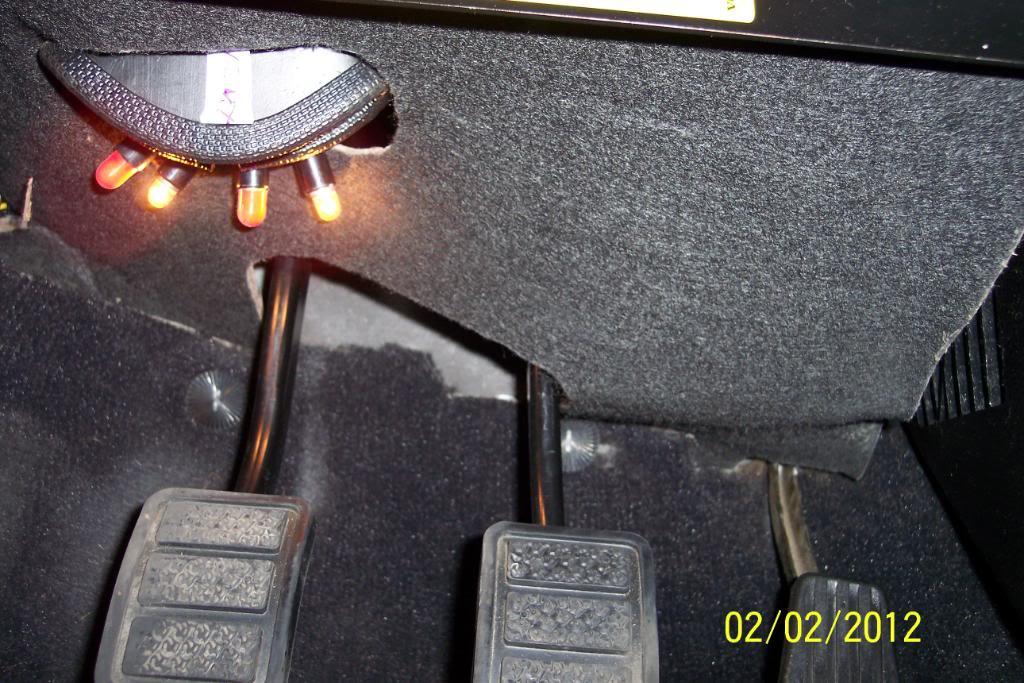
Fixed.........I think...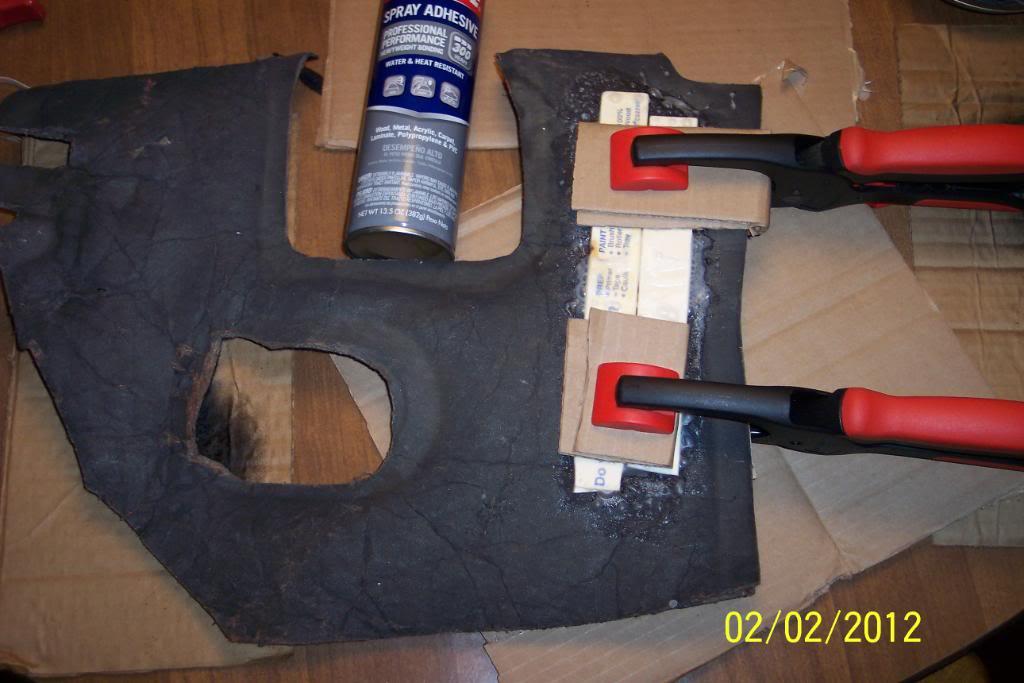
2/3/12
Yep the glue was dry. I chose to toss a little black paint on it to maybe keep termites out.
I'll install the rear seat and probably the speakers, while this gets good 'n dry . 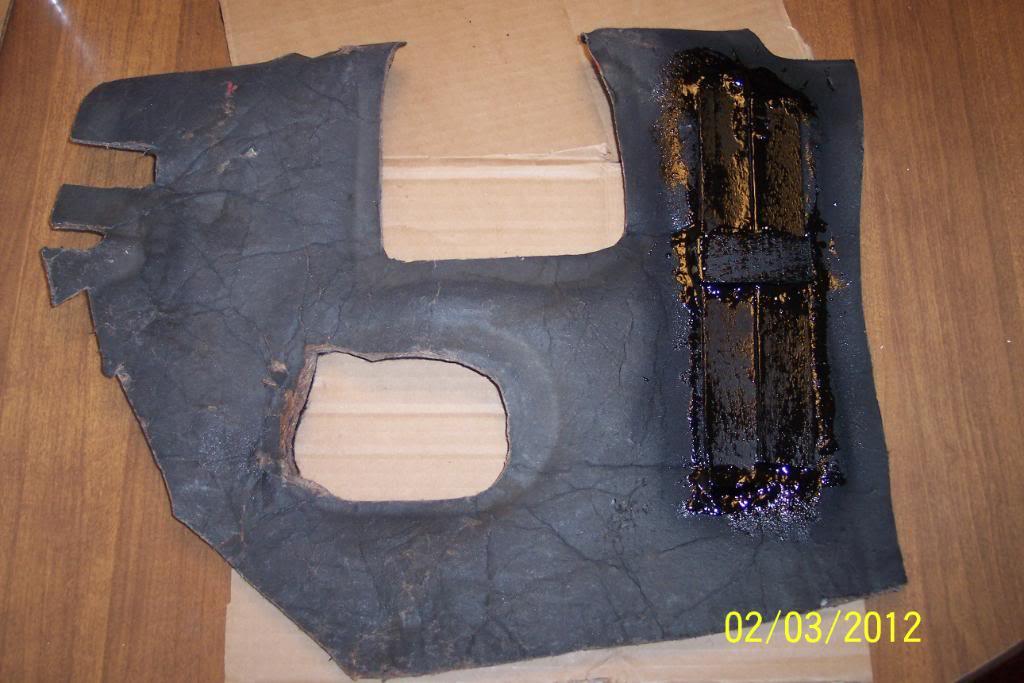
OK, got the insulation padding affixed with the Industrial Strength/Heavy Duty sticky back Velcro fasteners and neatly trimmed to fit the floorboard almost perfectly.
Now.... let's hope the seat fits well, like I'm thinkin it will. Time to find out..........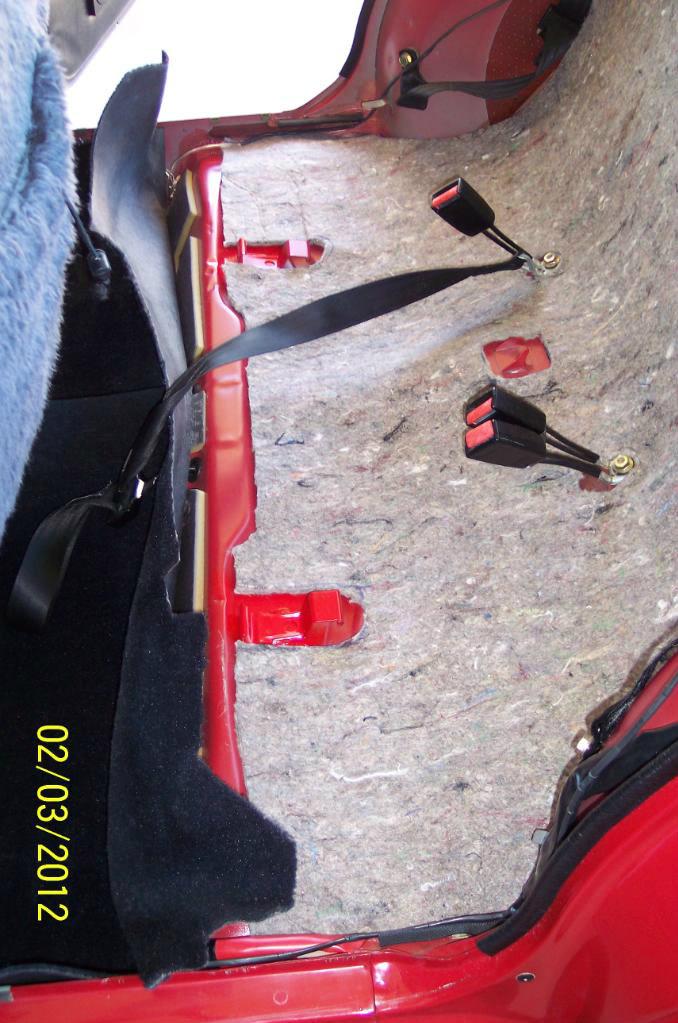
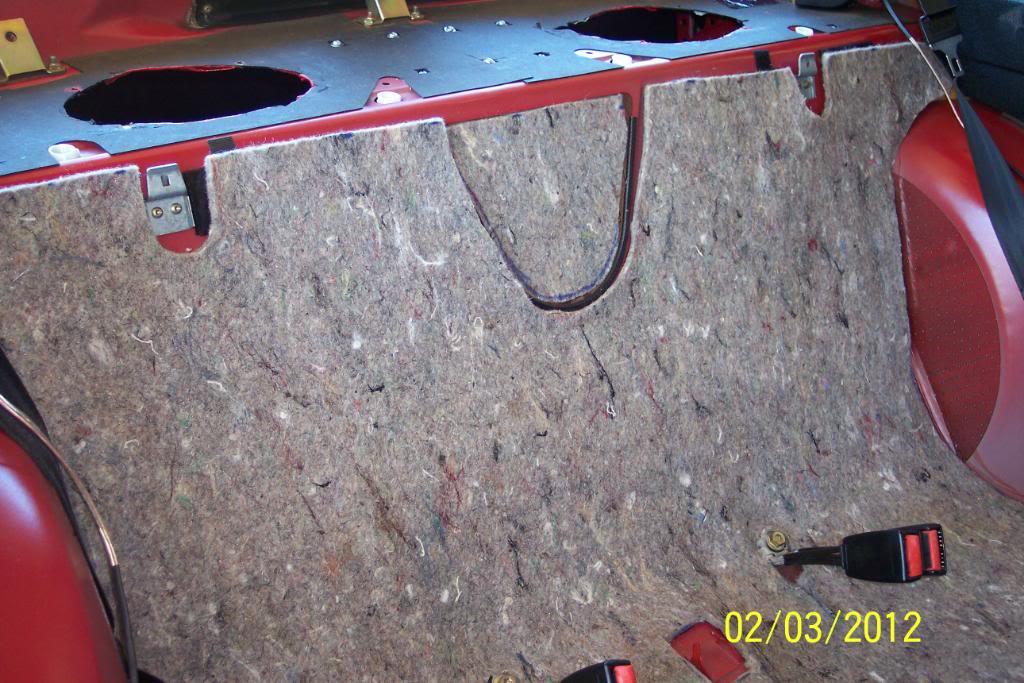
OK,I shortened the passenger side speaker wire by @ two feet or more. I found the extra, rolled up under the car. I left @5 inches on both sides under the carpet, for a little extra wire,should it be needed in the future.
I also re-routed the speaker wires, up along wheel houses, behind the plastic 1/4 window trim, and straight to previously shown hole in the rear window's "down pillar" and into the trunk.
Now.....................
Boy Howdy, the rear top of seat went into place just fine. I have the bottom seat half in place, but not fastened into place yet. I'm going to wait until I get the speakers mounted,then fasten bottom half of seat afterwards.
I installed the black rear seat belt reel covers, & installed the newly carpeted pressboard package tray panel in place.
Then I just laid the speakers in the holes,then laid the grilles on top of them, and then installed the rear headrests to be sure they clear the speaker's grilles.
Test fits just fine,Hot Diggity!! The speakers clear the headrests , and each speaker looks to be perfectly centered between each rear headrest.
Damn,I'm good. I'd say this qualifies me as a sure fire, genuine "One Man Mod Squad" .
I'll wait until I complete the final speaker/headrest/bottom seat install, and wait until I've replaced everything back into the trunk, to post the "before & after" pics.
Ya'll come back now, ya 'ere?
2/5/12
Speakers are installed. In the trunk views only @ 3:00AM EST. Will post view from Interior later today ...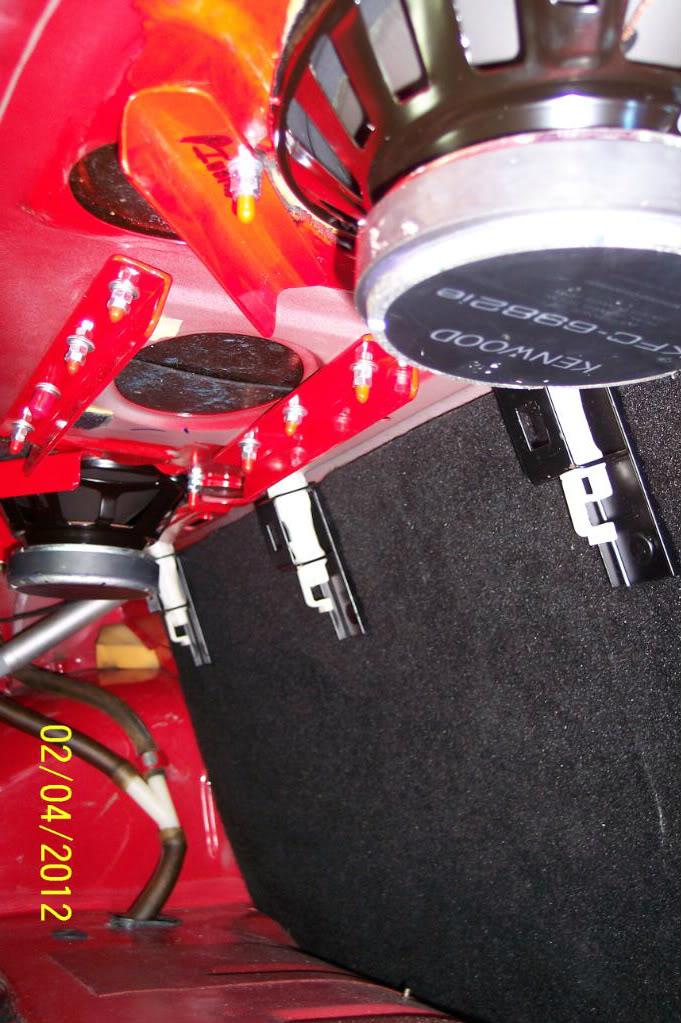
Check the OEM looking clamps holding/routing the speaker wires. I still have to find/make another clamp to hold them off the trunk lid's gas shocks. Have to go hunting this weekend fo them.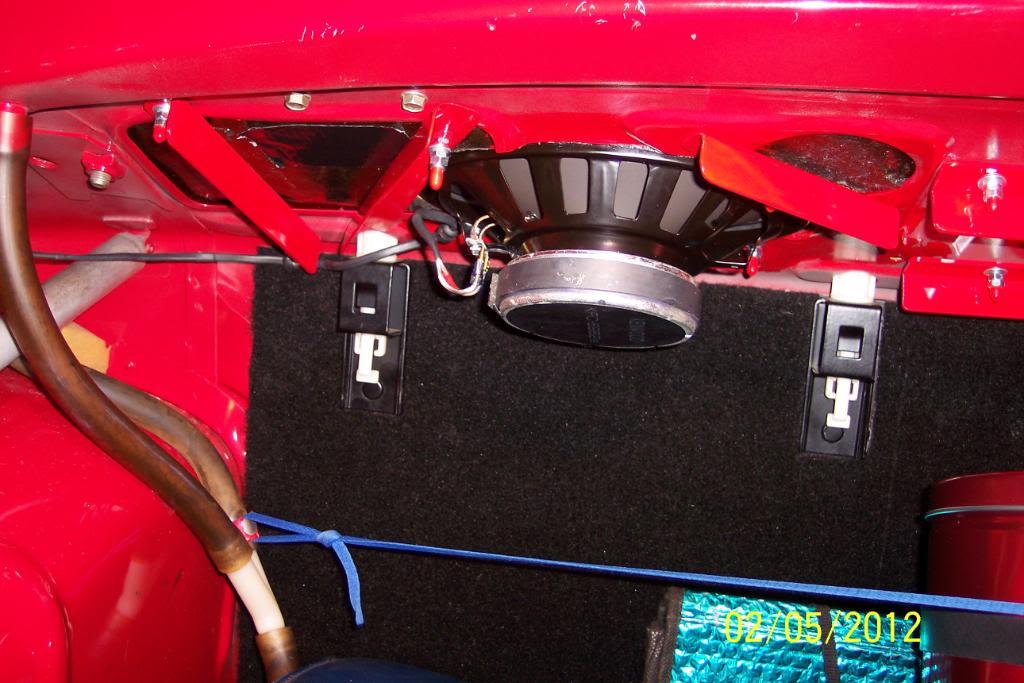
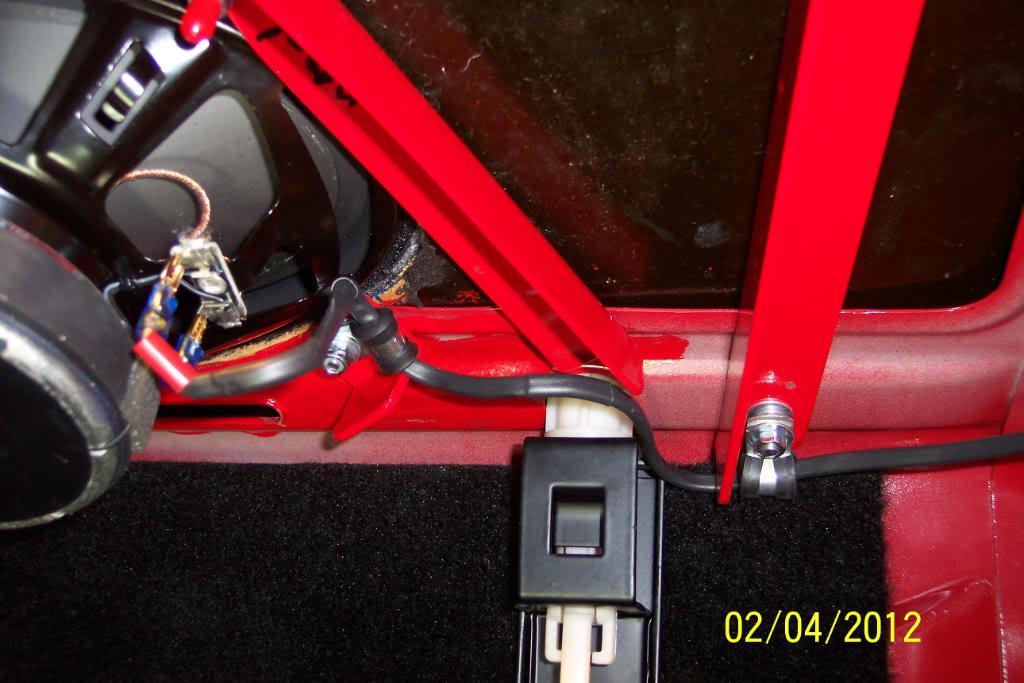

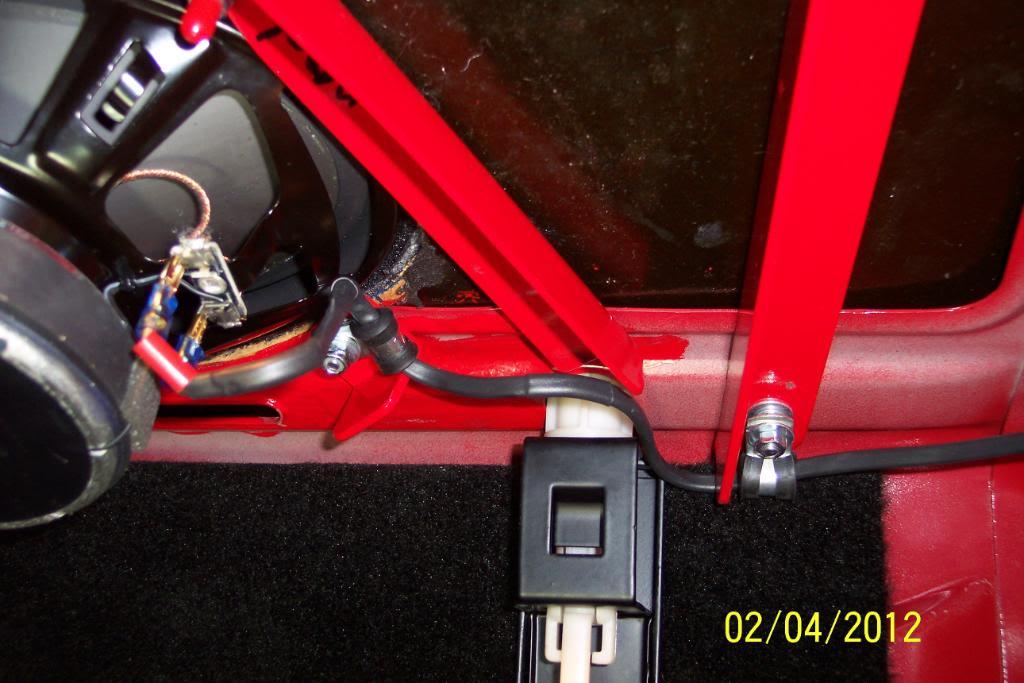
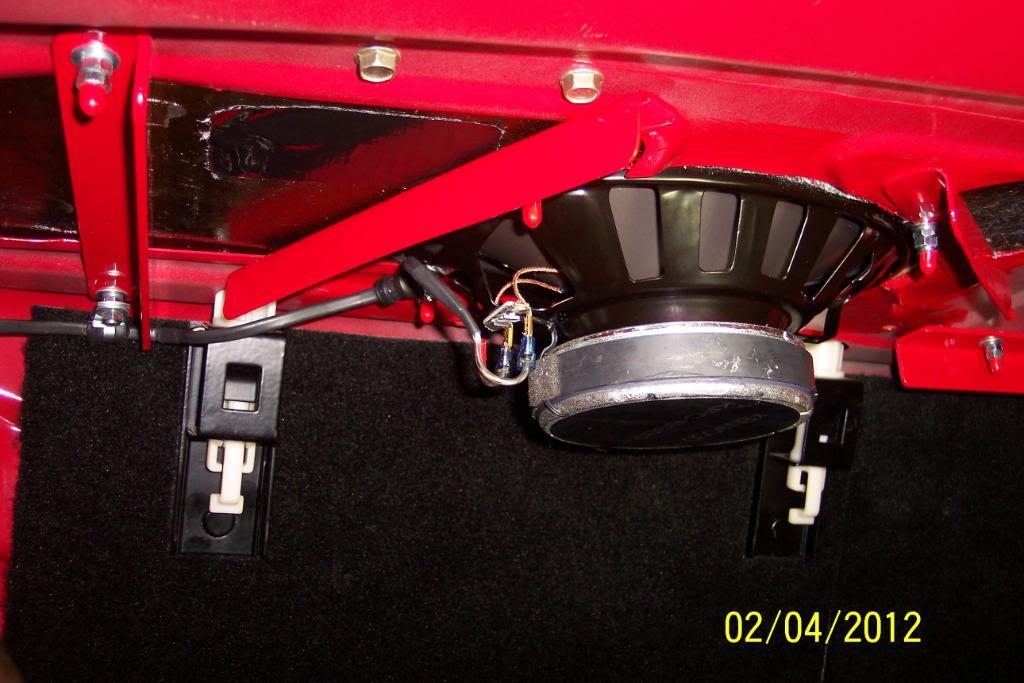
Then I finished installing all of the trunk's insulation padding & it's carpeting..........and yes I see the spot of red near the spare tie/TL that I missed on drvr's side. I'll fix that later today.
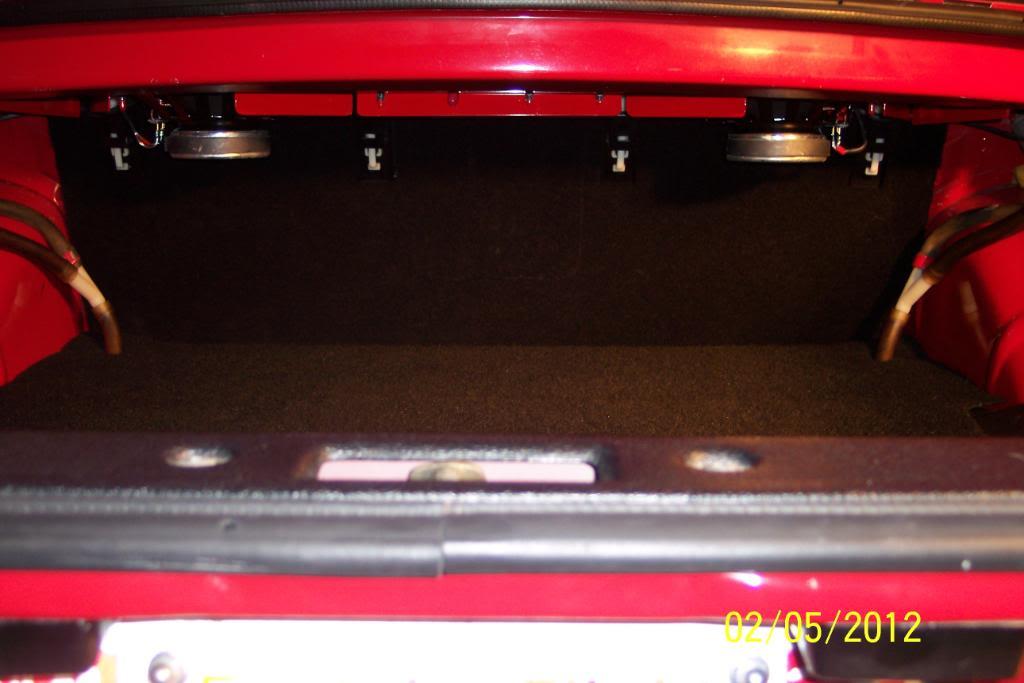
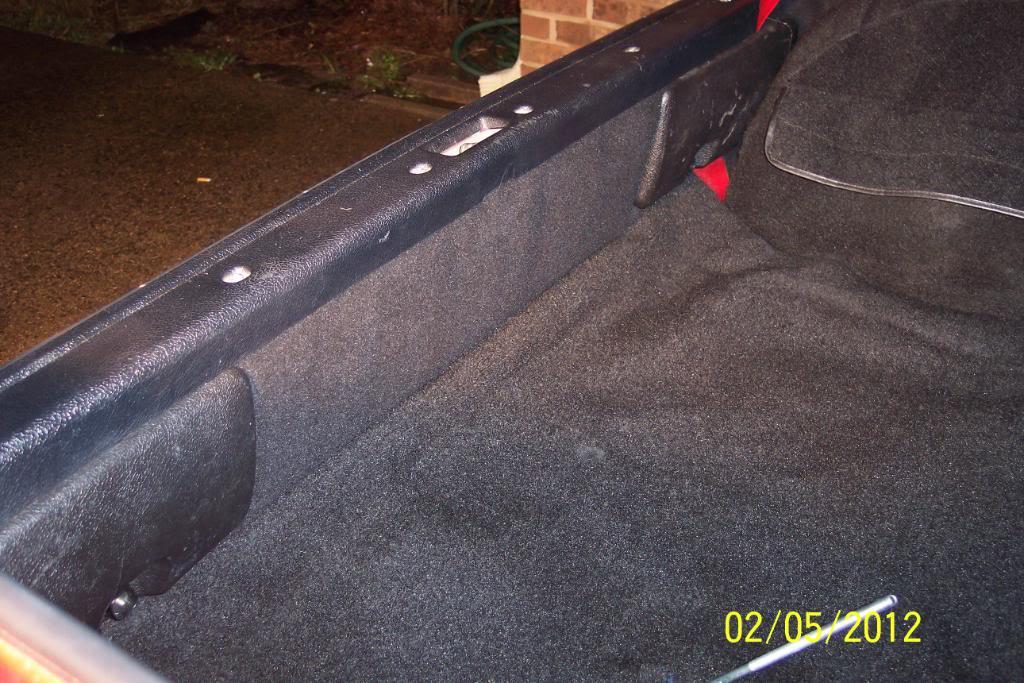
Then re-installed all the "junk in my trunk".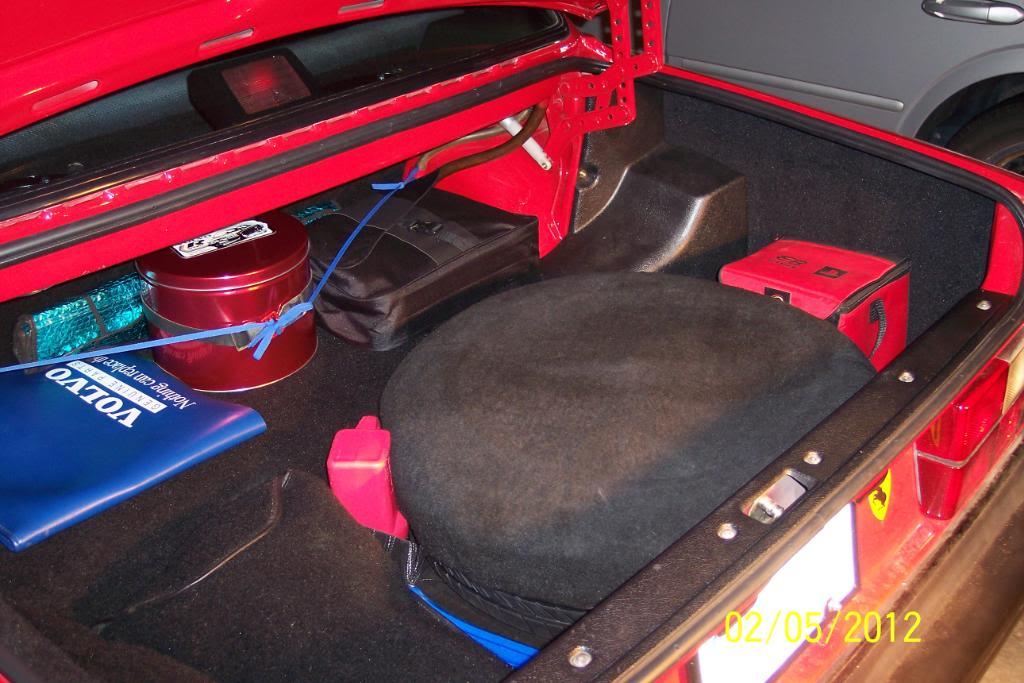
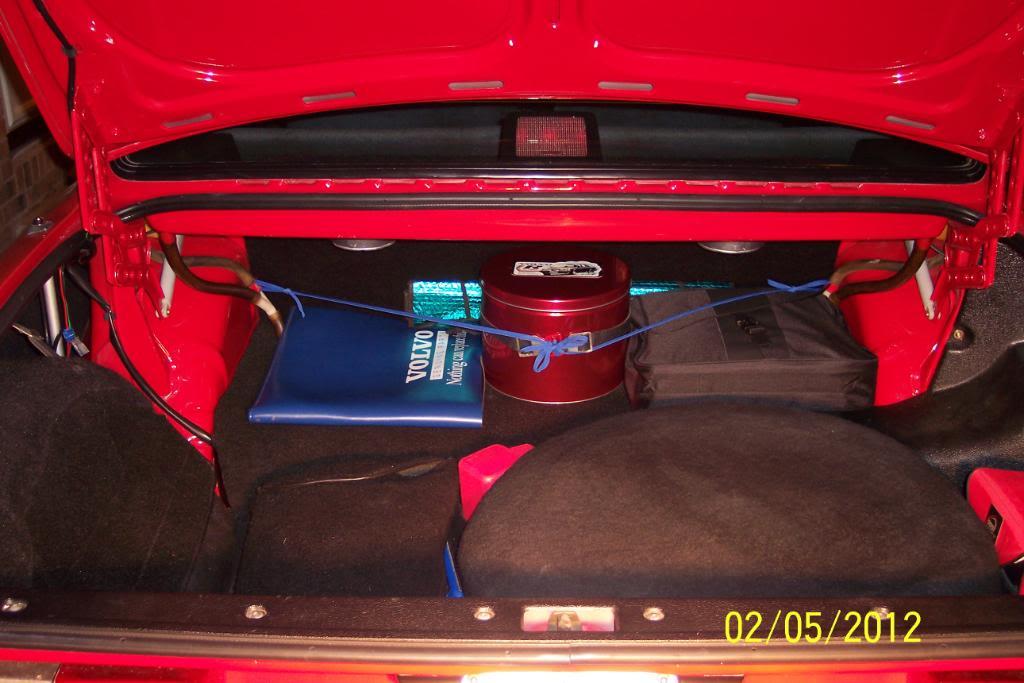
I still have to paint the screw heads black with a modeler's brush, and maybe cover the mesh grilles with cloth, or run as is. Either way I'll use the butyl tape- like goo to hold the mesh grilles in place that KW supplies. I have some left over from another install.
In any event, here's what the speakers & package tray panels look like now.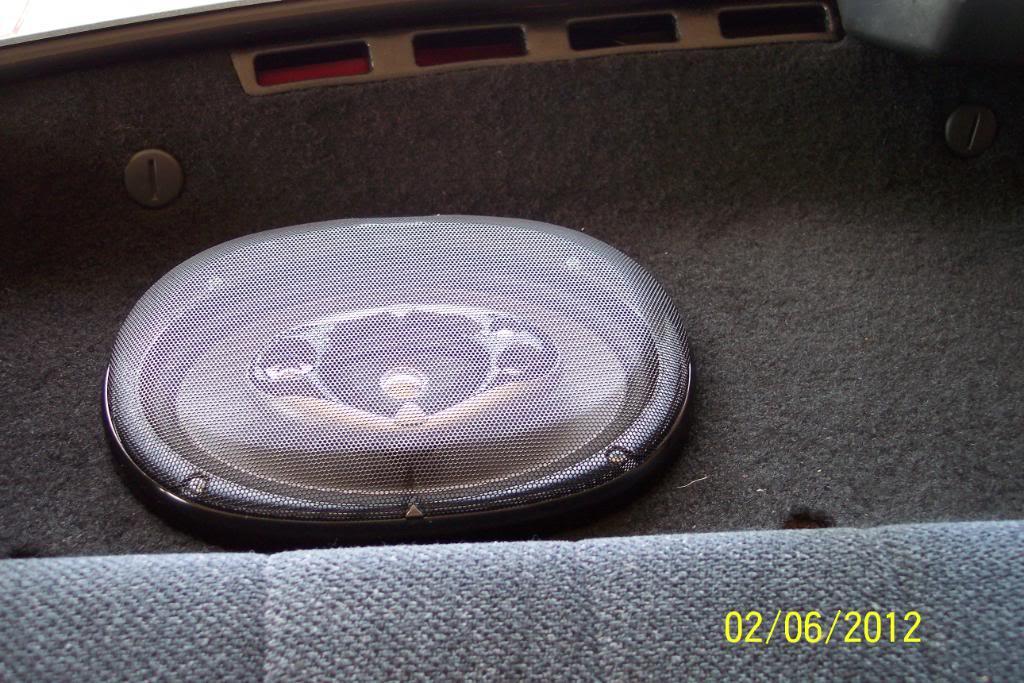
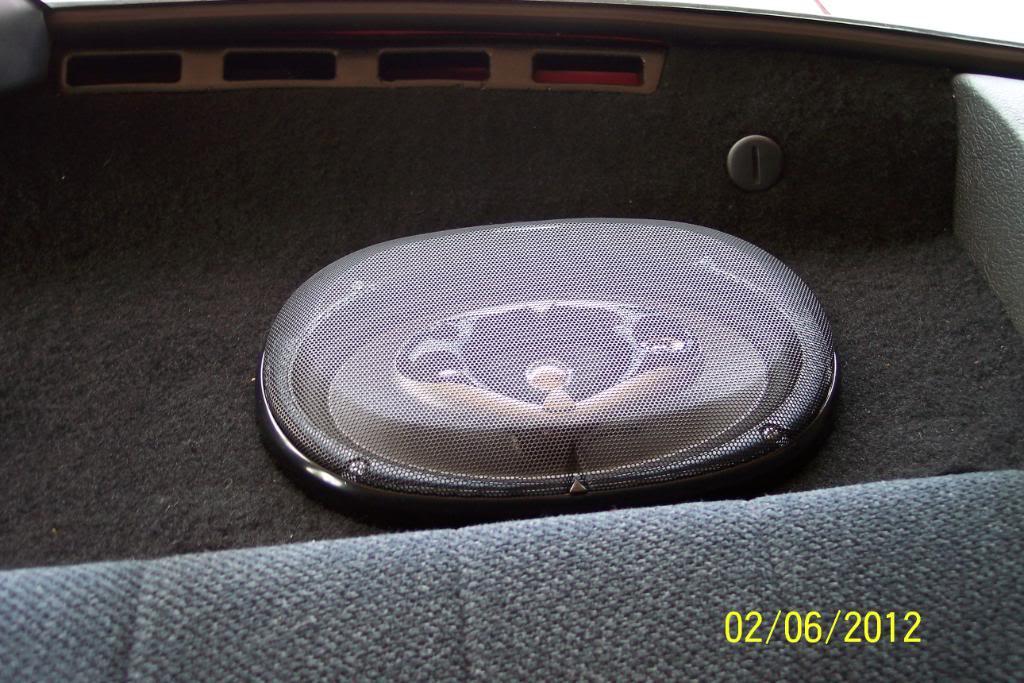
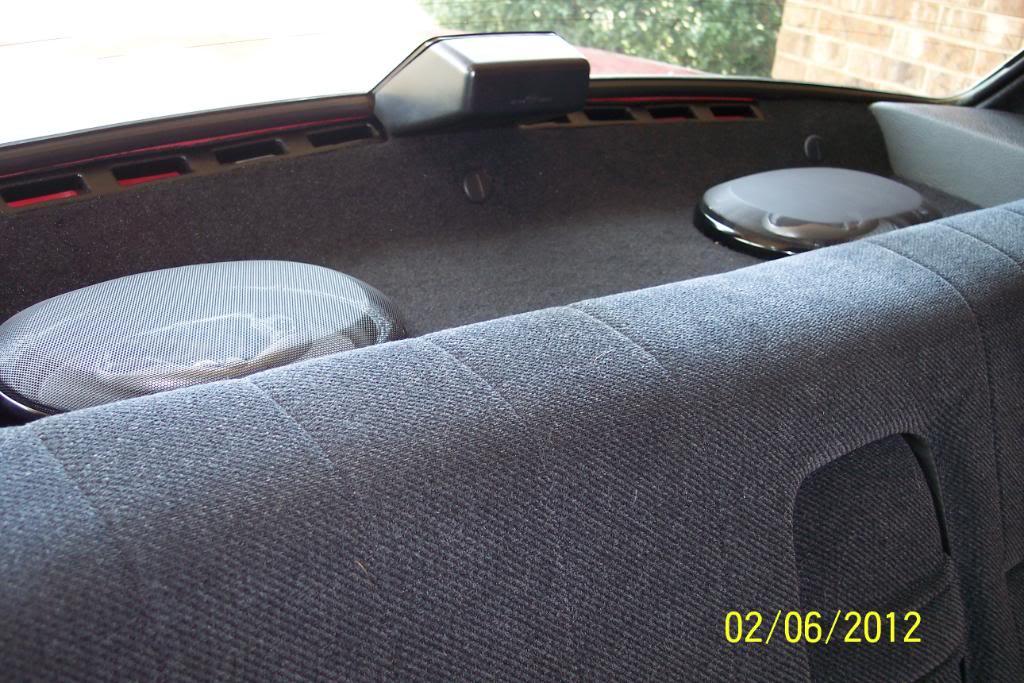
I'm using a 14" tire with no rim in it, in the driver's side butt cheek, just to hold up the spare tire cover. Would be nice to have a round box, same size as the tire was, to fit under the cover. Making a round box would be a PITA though. Anyone sell round sub boxes?
I've also thought that maybe one or two bazooka subs, mounted in the trunk, but mounted as such that they are projecting through to the interior at the edge of partition panel ,where the rear passenger armrest is ,would be a cool way. Remember there's a "trap door" already there.Could do away with the door, or mount it back a ways then,could close the trap door and put armrest up when not using it. 
2/15/12
Well, finally got some time tonight, to permantly install the speaker grilles . These are the kind that rely on butyl tape to hold the mesh grilles to the plastic frames. Yep..... happy, happy,joy joy.
But they look like I want it to. I nixed the covered with cloth idea too. Wasn't gonna work anyway IMO.
I just spent @ 4 hours packing the slot around both speaker's frames circumference caaarefullyyyy with butyl tape, rolled into small strands.
Worked it into the groove with a graphite pencil dabbed in saliva. Cleaned off any that was where it shouldn't be, and placed the meshes on the frames.
I'm going to fix the carpeted package tray to where it'll no longer allow the red to show between the glass & tray in the vent areas .
I'll post pics of (finally) completed 6 x 9 speaker & carpeted rear package tray panel install tomorrow when there's daylight.
I did get a new Nissens radiator today, as my 91 244's OEM Blackstone has been weeping around the top neck.
I bought it at C & L Radiator & A/C Shop in Burlington ,NC. Mr. Lunsford and his son have been good to deal with. They've been in business for 65 years & I've been coming here @ 14 years. Honest & 1st class guys IME. I highly recommend these guys too.
They got this radiator for me in 2.5 hours. Cost me $202.83 including the sender & the sales tax. And it has a lifetime warranty, and I actually have a person to take it to if need be. Killer deal IMO. I'll install it tomorrow. With pics.
Notice it has the thread in electric fan sender, and came with a sender too, though too high a temp for a 240's radiator cooling fan, I've been told.
My fan is mechanical, and I wanted this type of new radiator to avoid the pop in plug blowing out scenario at a later date....
I think my Blackstone's core was on it's last leg, too, so good timing here..
here's a few of the radiator..............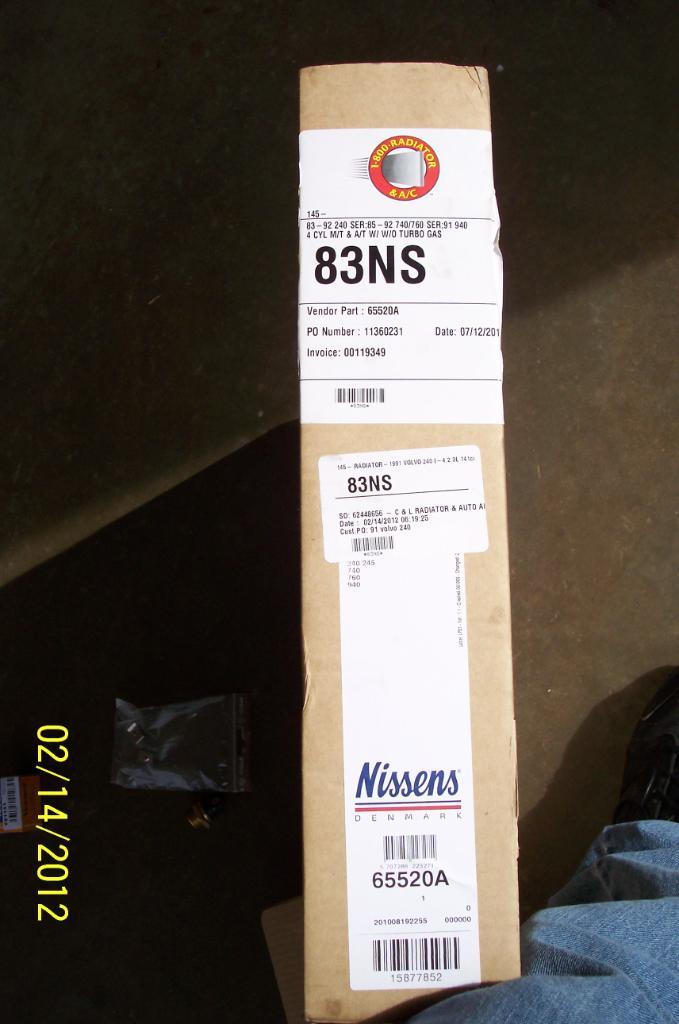
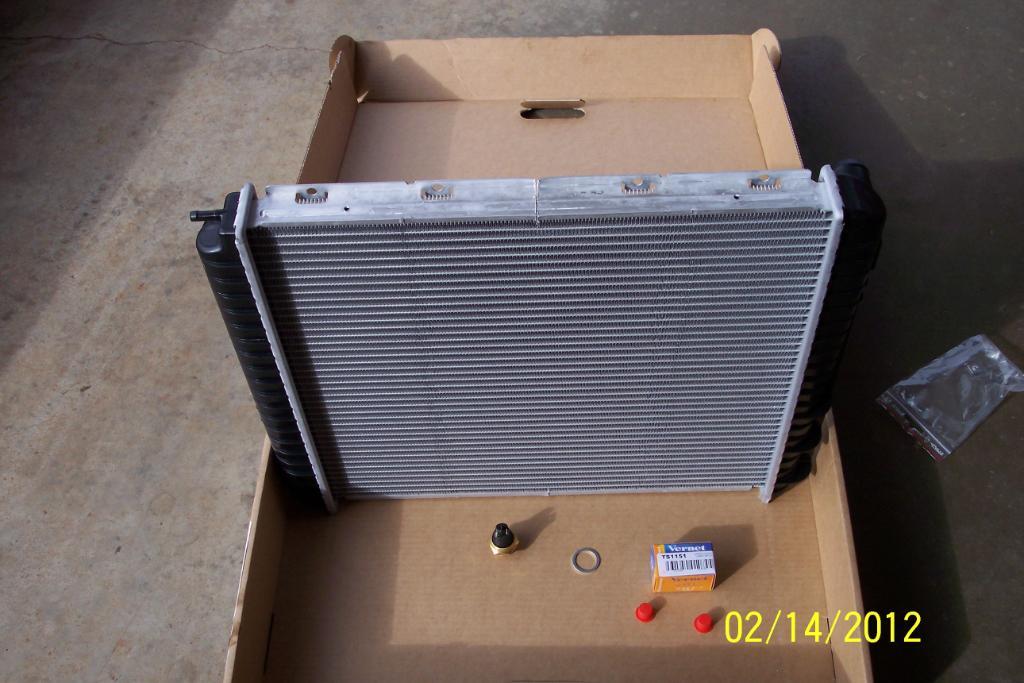
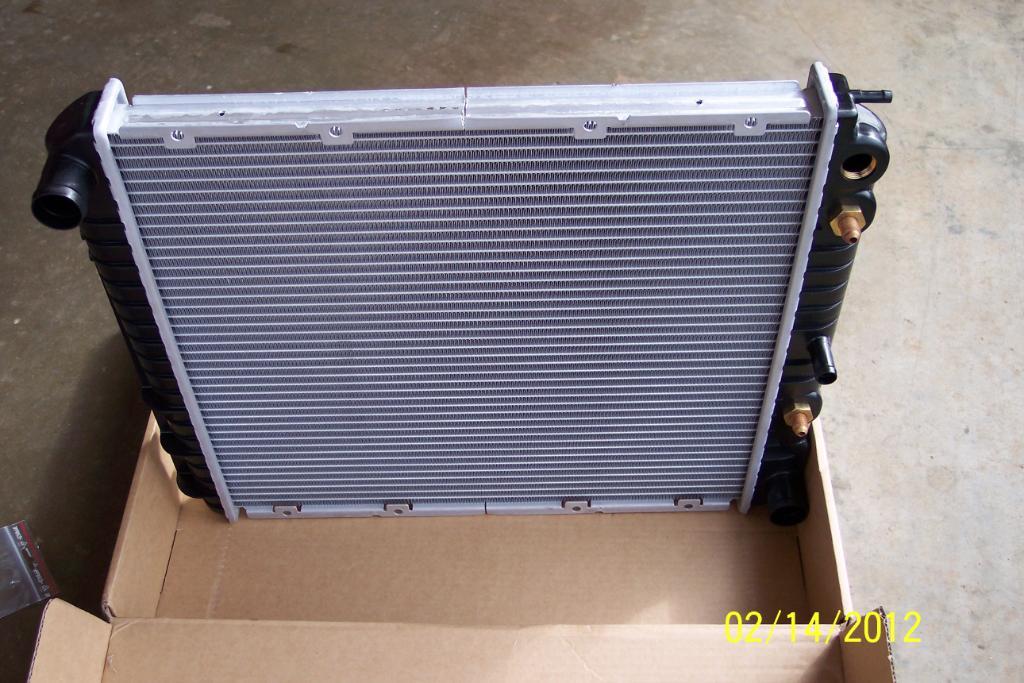
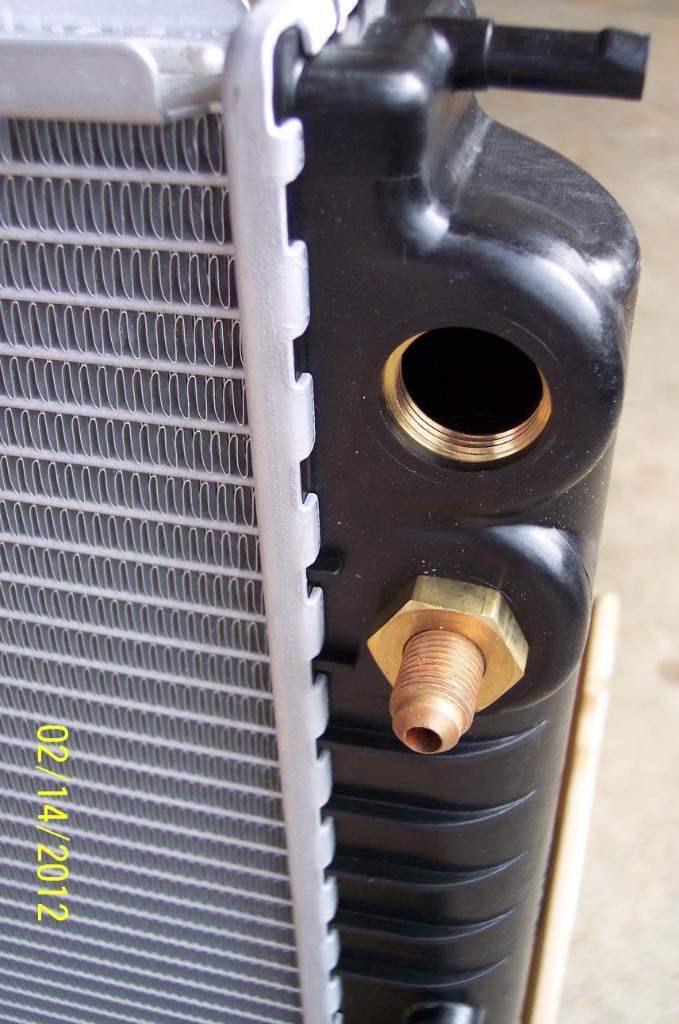
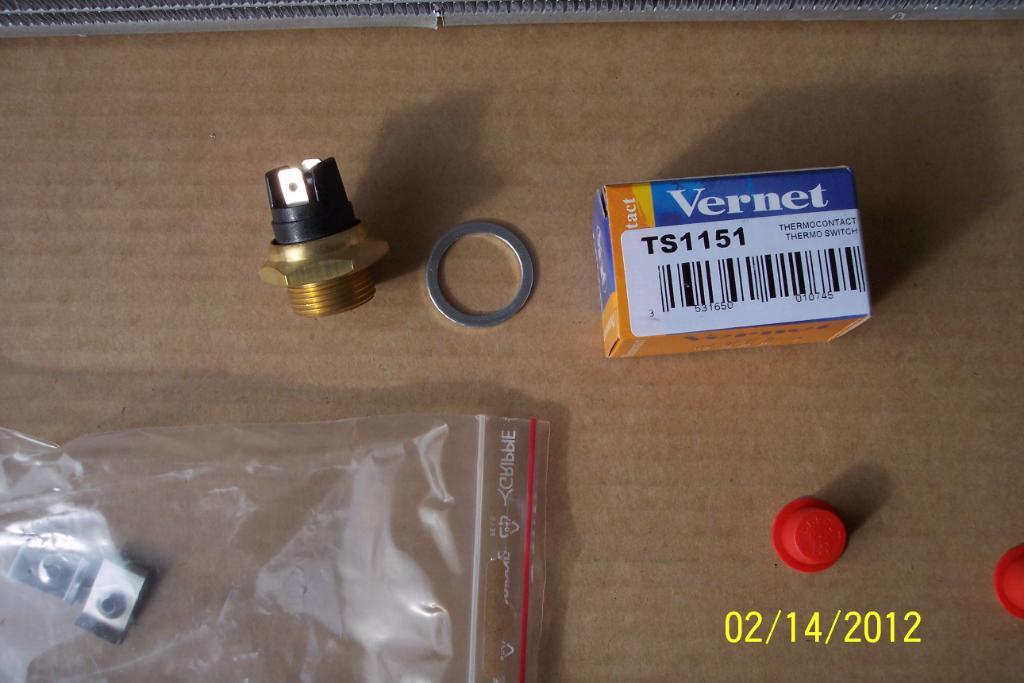
And I bought two 5/16 flared caps to seal off the Auto trans cooler line nipples. I'm going to buff there to mirrorlike shiny brass tomorrow before installing them.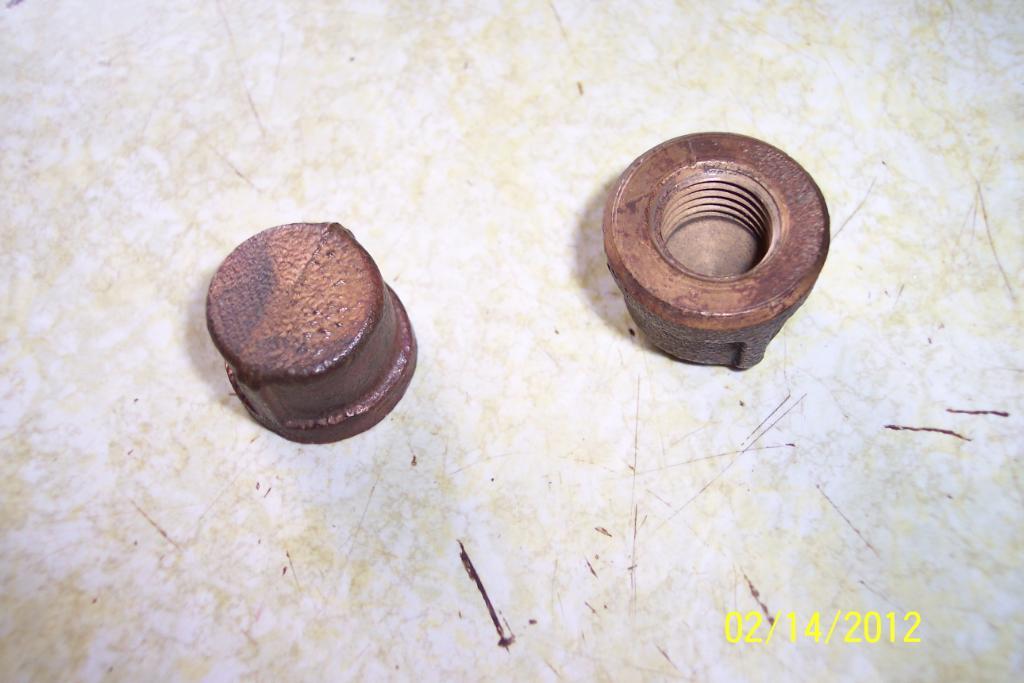
OK, I have finished the speaker install and got rid of most of rear showing. I left the red visible through the vent holes though. Supposed to be that way I figure........now I'll install the rear passenger headrests.
Hopefully I can find some of the black OEM plugs for the rear headrest holes in the package tray so I can remove headrests when wanted.
The speaker install looks almost like it might have been a factory option, which was the look I was going for......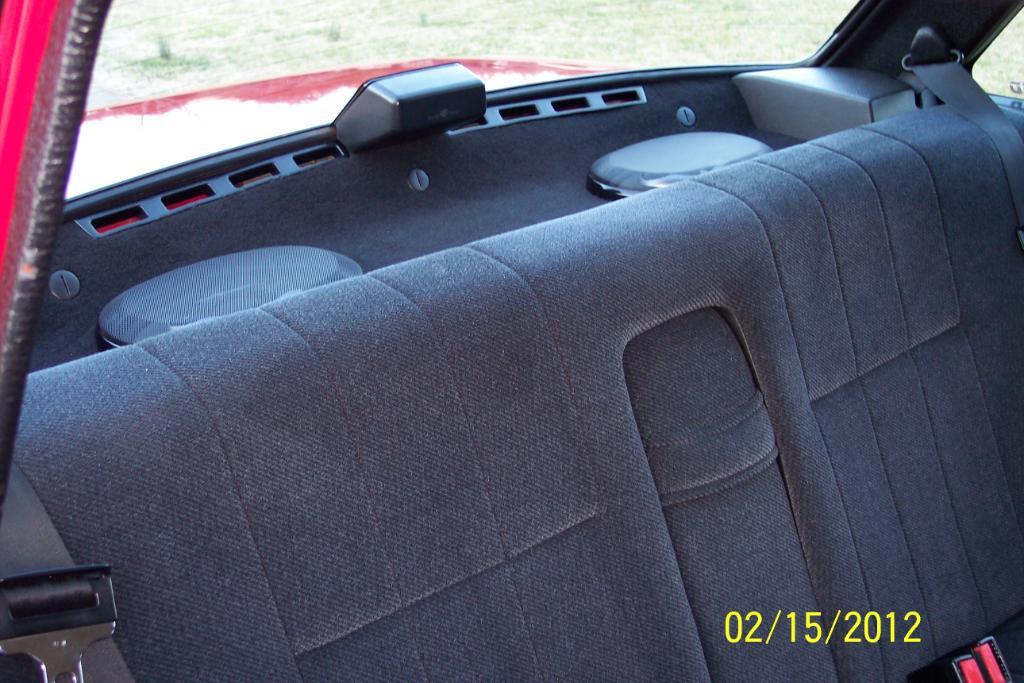
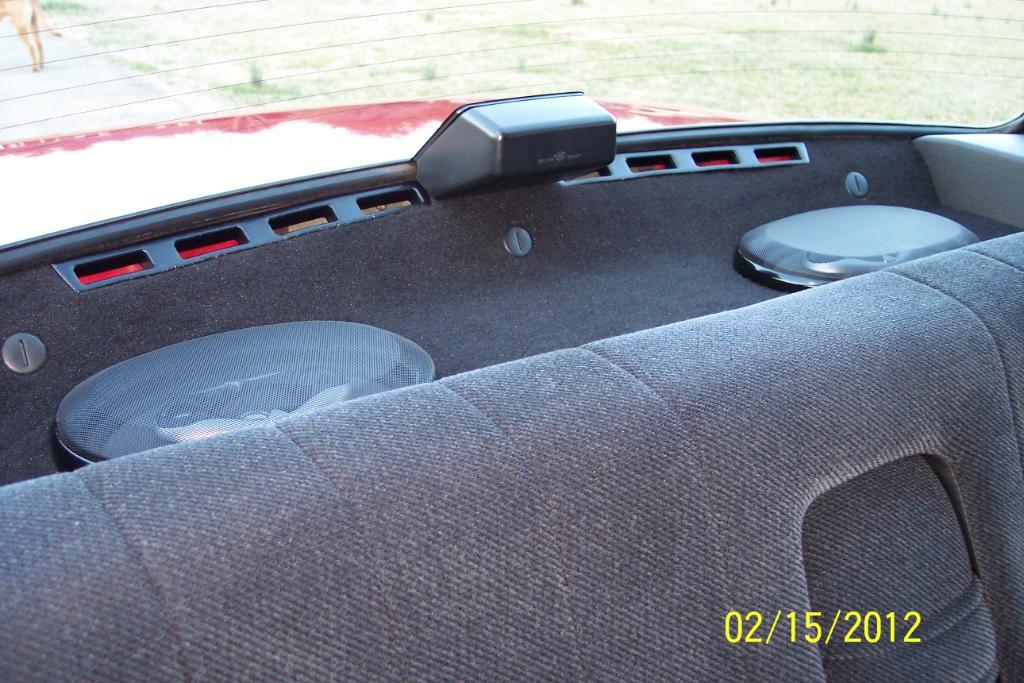
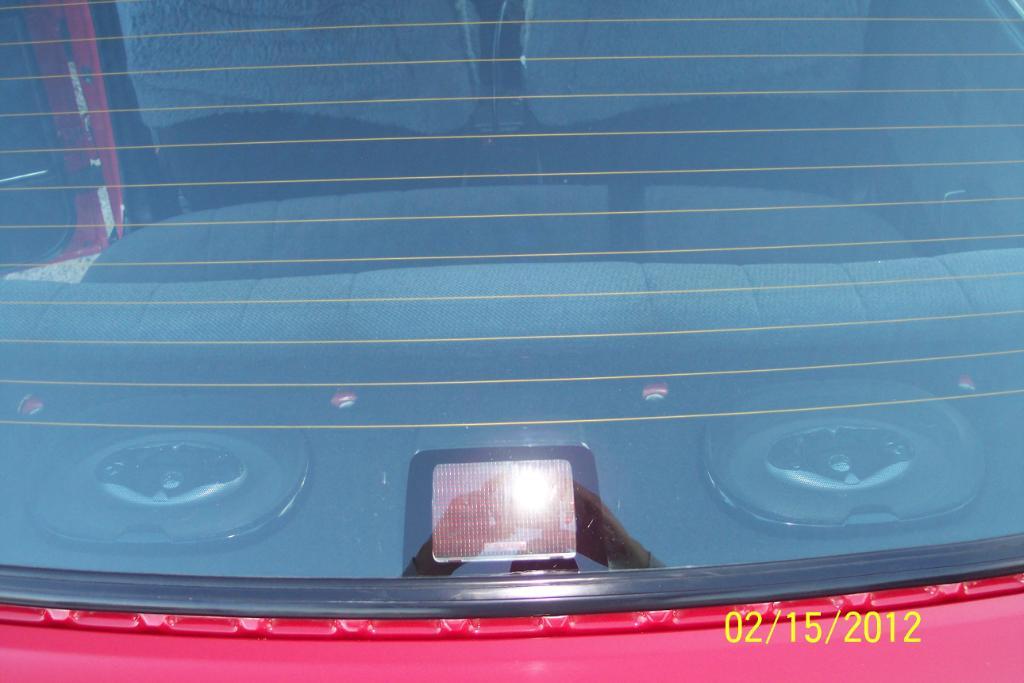
After finishing the speaker install, I started on removing the old radiator. First I removed the skid/belly pan, and cleaned it up.
Then, I drained the coolant, and re-installed bottom hose, and filled with 2 gallons of Distilled water. Cranked up the engine & let it reach operating temp.
Cut engine off and drained the distilled water. I repeated this 2 more times. Why? To remove all the non distilled water & coolant which I used last time.
After all the bad water purging, I removed the old radiator, and cleaned up, and then waxed, all of the painted lower radiator support area. And pulled out the fan shoud & washed it, and wiped off the fan.
Here's what I found causing the coolant leak on the radiator.
I looked up into the T Stat hsg with a MagLite to be sure no broken pieces of it was in the stat, as a ring of it was in the end of the top rad hose. None was there.
Damn lucky the hose hasn't fell off while driving it,IMO. Kinda short, ain't it Pappy?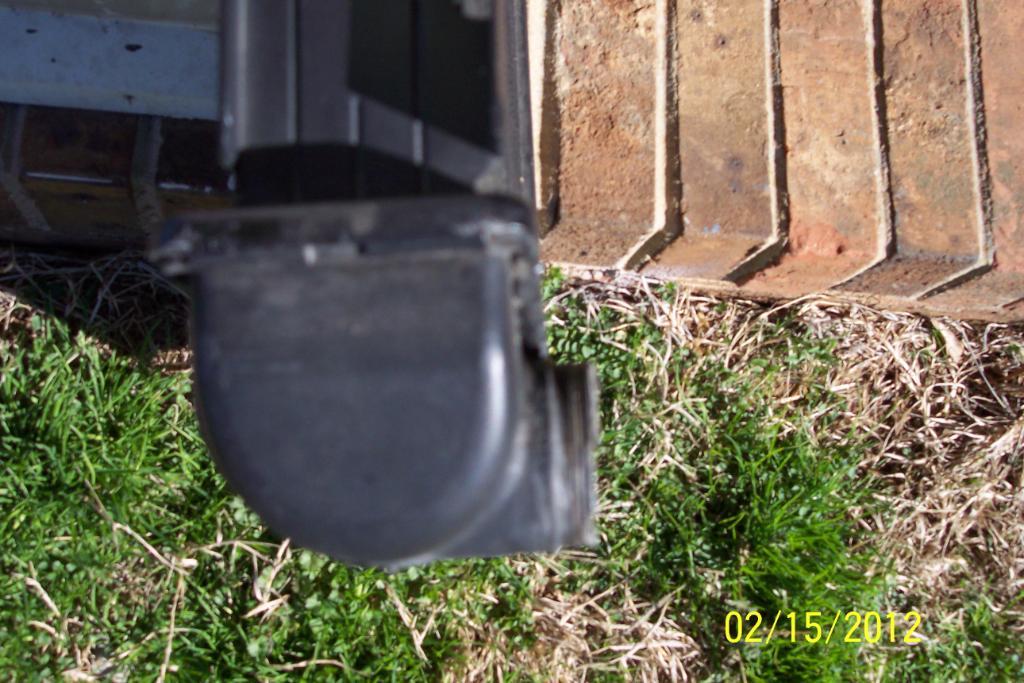
Cleaned up the lower rad suport........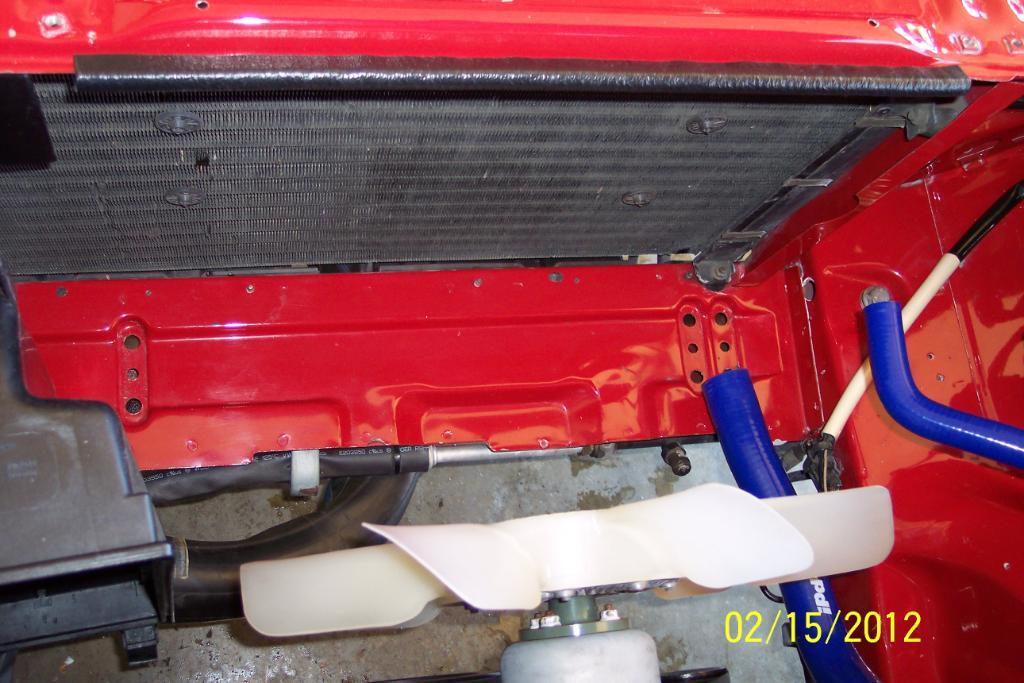
I had to unfasten the air box, and checked the filter while I was at it. It needs replacing so I ordered two Mann air filters from FCP today. I blew out the old filter with compressed air, and cleaned out some bugs & dust out of the air box, then replaced old filter. I refastened the air box in then. I placed the rad's rubber pad rests in the lower rad support. Then,I fitted & tightened the A/C fan sender to the rad,( what the instructions called it) Then I installed fan shroud's clips onto the Nissen's rad, & then installed the new Nissen's radiator, intalled it's brackets and hooked up all the hoses. And then,filled the Nissens radiator, with one gallon of distilled water & one gallon of Peak 150,000 mile AntiFreeze per Danica Patrick's suggestion. Cranked engine up, let reach operating temp, and checked for leaks. None..Good. Reinstalled the belly pan and took her for a drive to Advance Auto, to pick up a replacement for the alternator I returned the other day. Then hit the hiway for a test drive at speed keeping a check on coolant temps. Temps looked AOK, and came back & checked for any coolant leaks again. None.... Good. I have modded one of the 5/16th brass flared caps for the auto trans line nipples on the new Nissens radiator.. I turned it down thinner in the lathe, smoothed the top of it,laid a beveled edge to it, & polished it with jeweler's rouge, and a buffer pad. Looks quite a bit different now doesn't it? From this...
To this....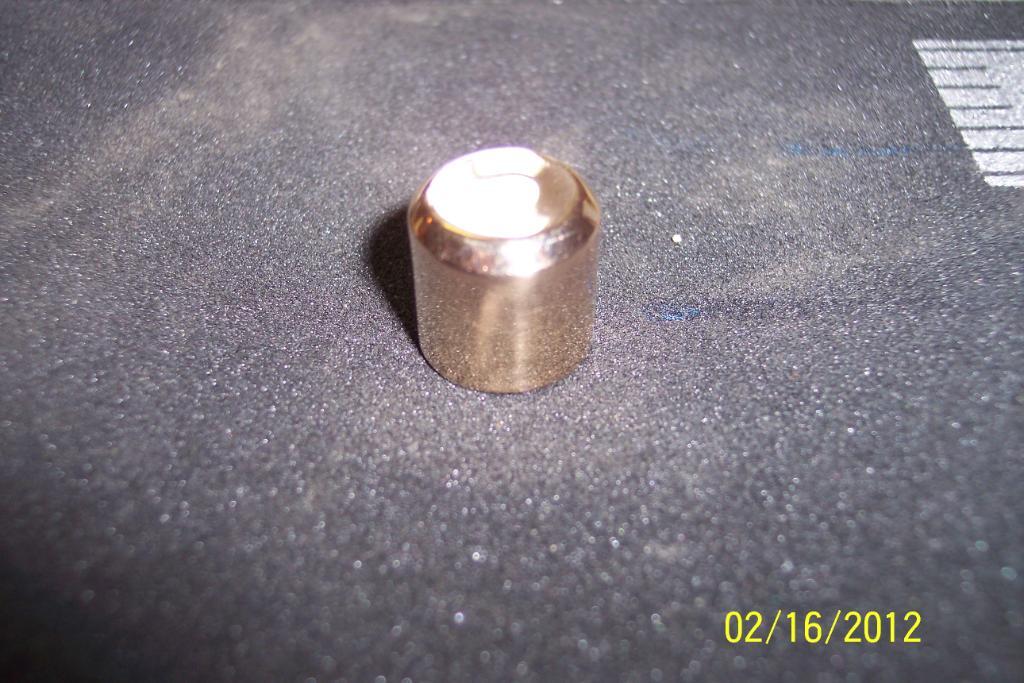
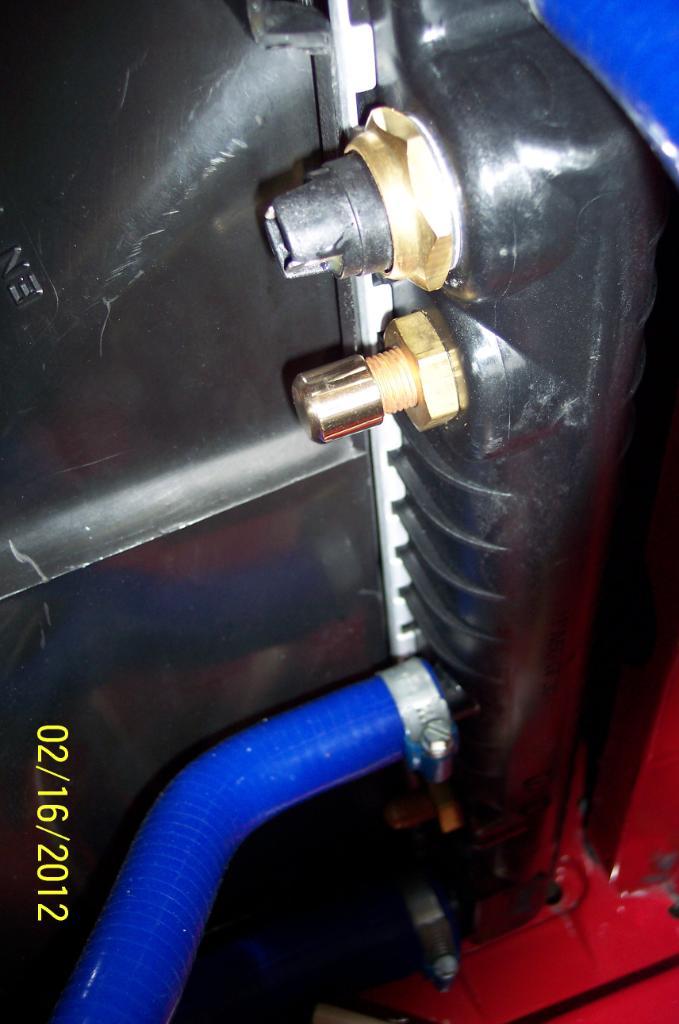
FWIW, after having riven the car @ 60 miles or so, I do notice that he grey insulation padding I installed under the rear seat, cabin/ trunk partition,& in trunk,is working well.
It did away with a lot of the diff noise being transferred to the cabin, due to the IPD Adjustable Upper Torque Rods with their rather hard durometer bushings.
It also quietened a little of the exhaust note inside the cabin too. And the stereo system sounds a lot better now too.
Now I'll have to think of what the next thing to mod will be.............
Pics below.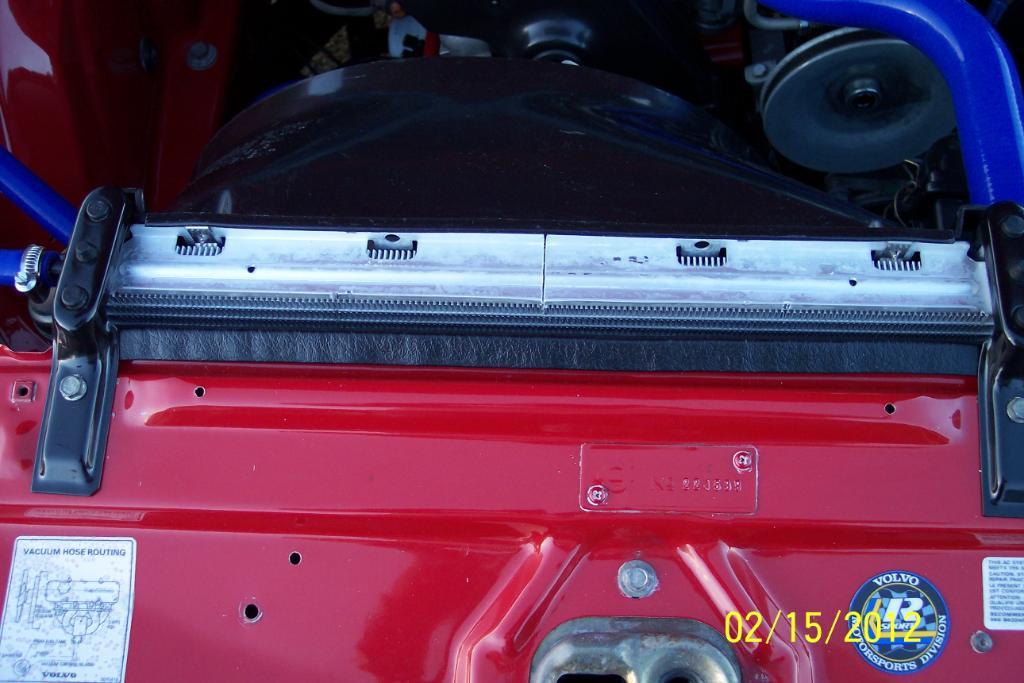
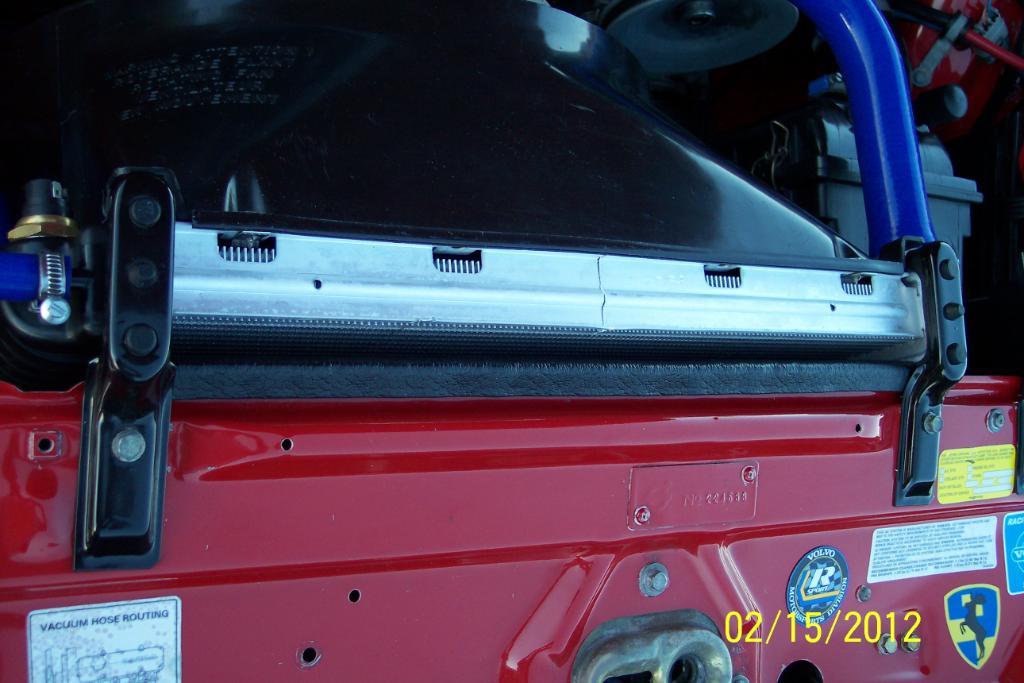
tbc..
2-16-2012
Today I installed the rear passenger headrests. Now you can see why I mounted the 6 x 9 speakers in the precise places that I did. Everything clears each other very nicely in my opinion.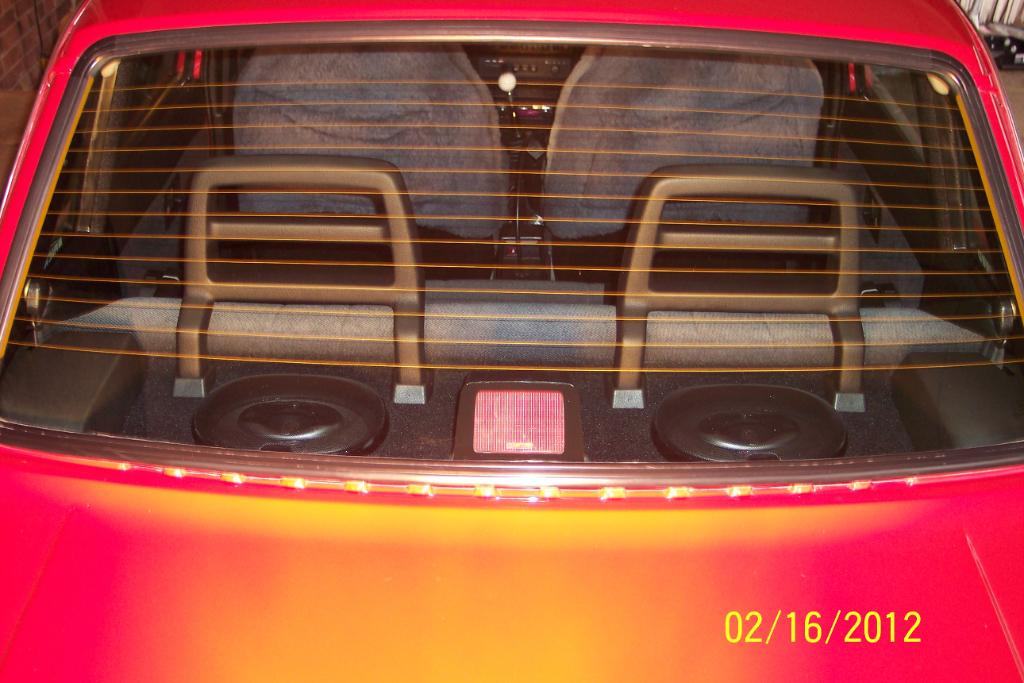
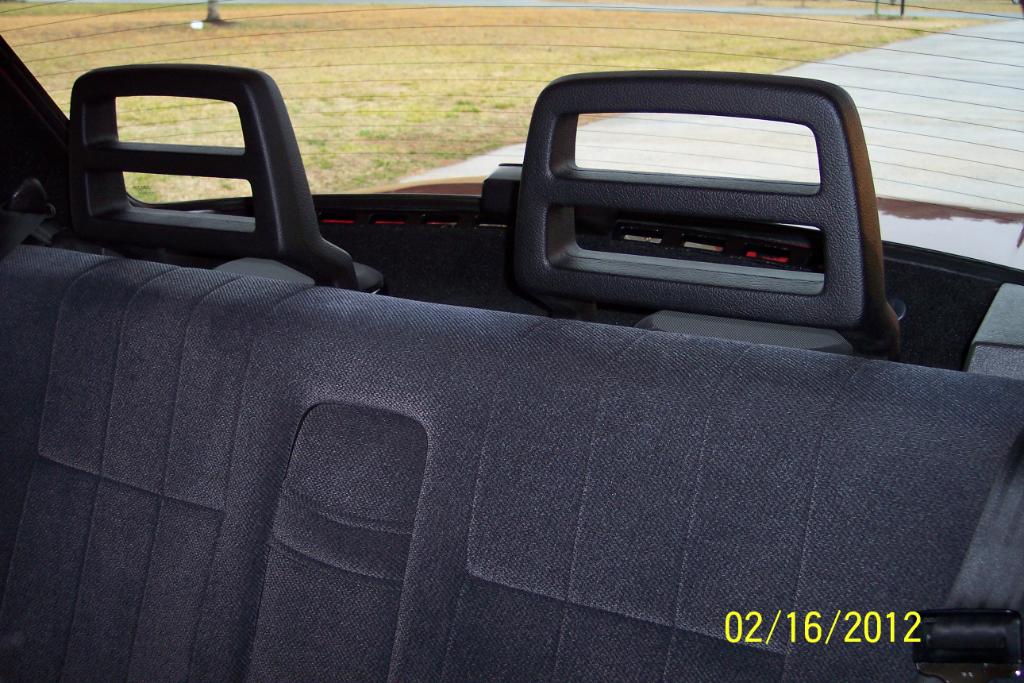
A closer look....

2-26-2012
Messing around with the camera the other day. Thought I'd post pics of frt door speaker install I did some time ago. Kenwood 3 way 4" door speakers in front doors. Dummy OEM grilles to cover holes in rear dor card for the rear 4"ers I had in it previously to the 6x9s.
And a few other pics of the car & interior.
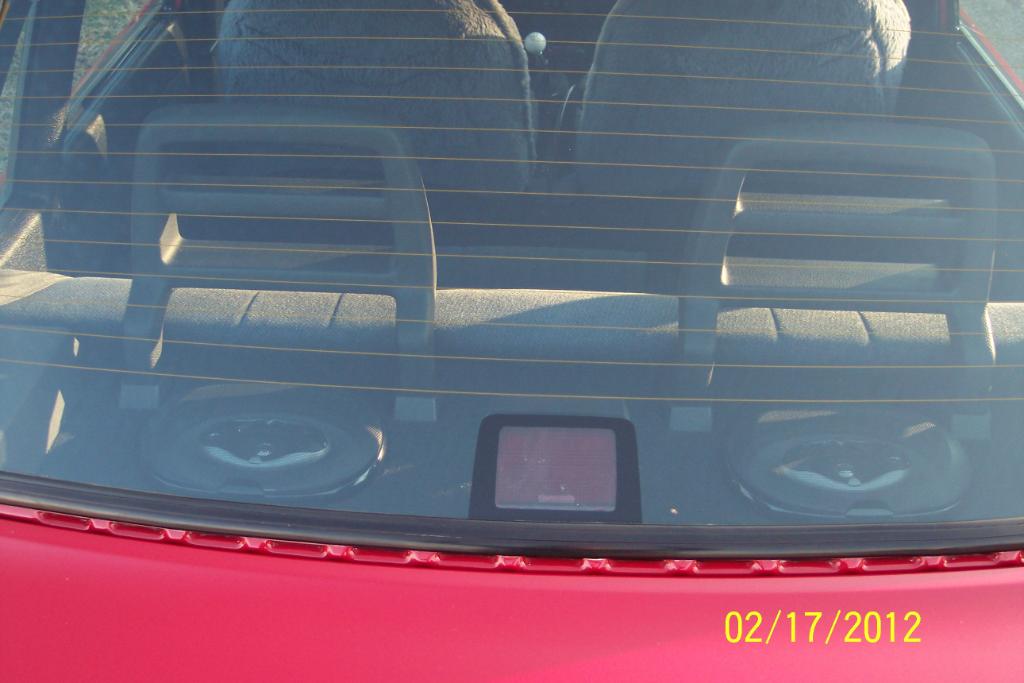


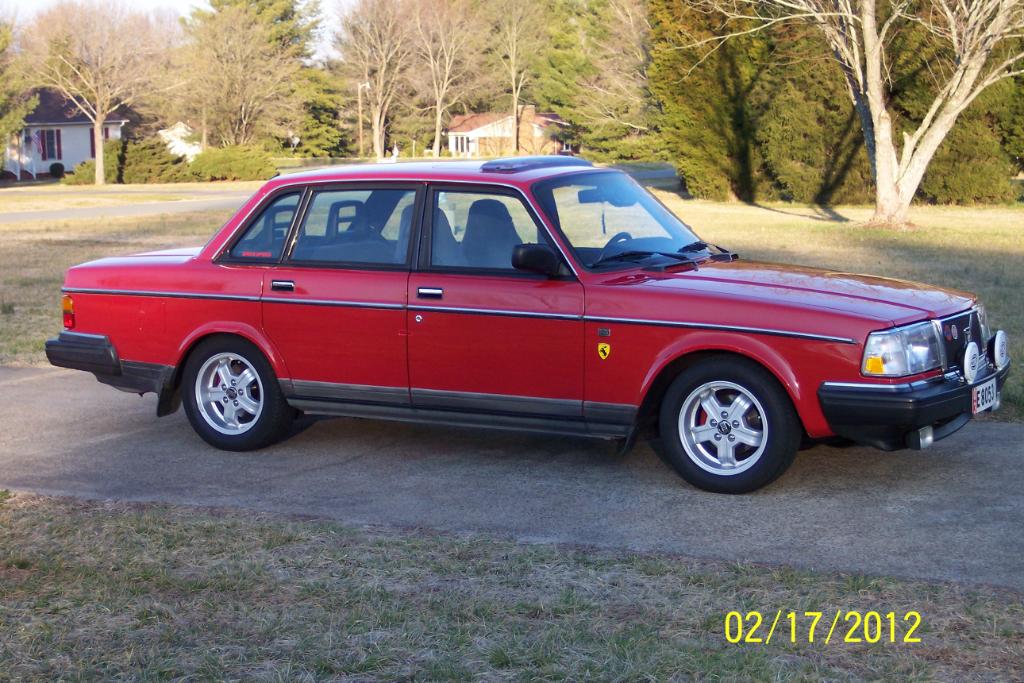
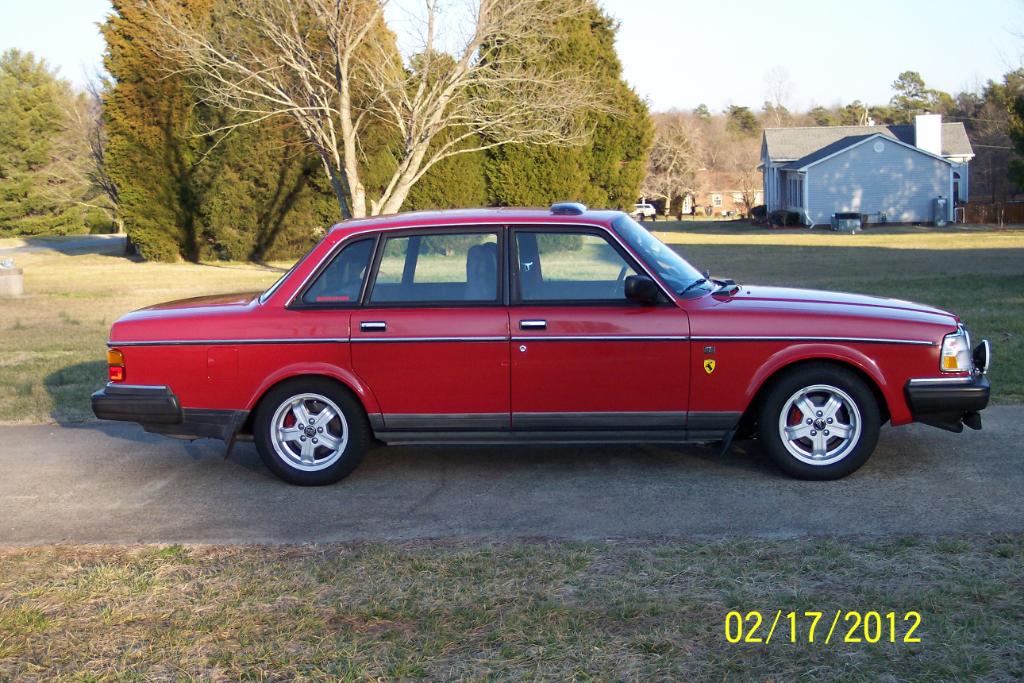


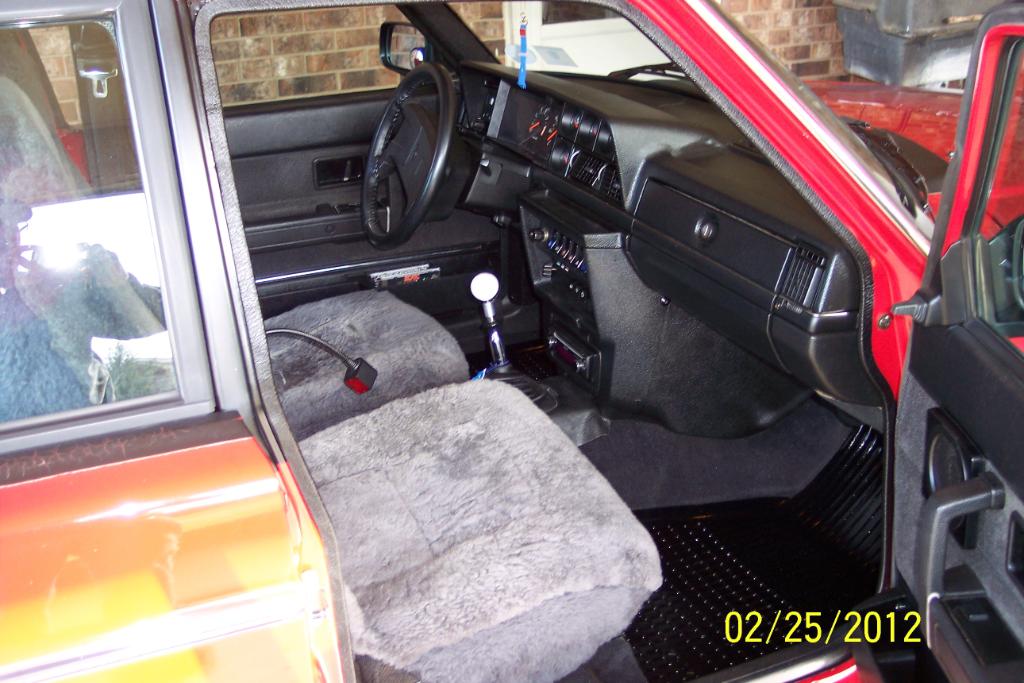
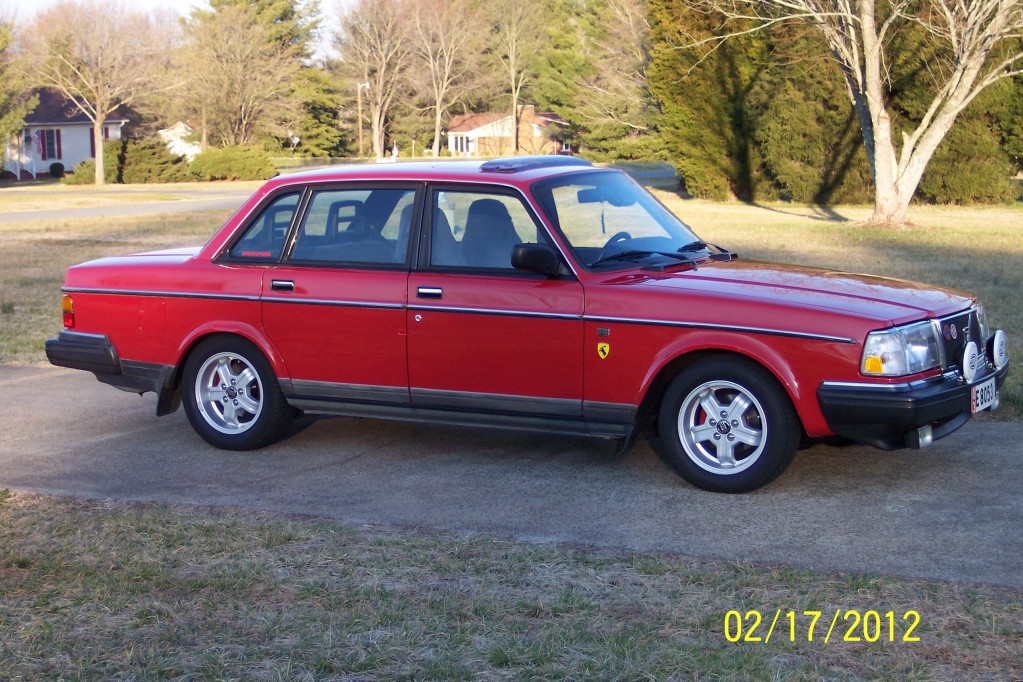
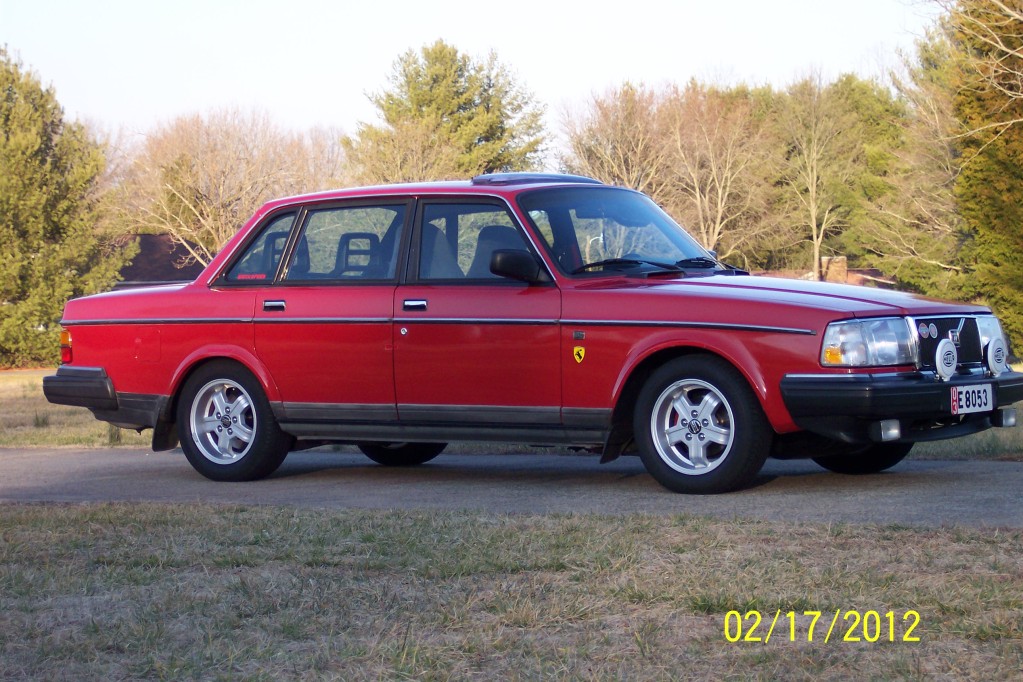
2-29-2012
Well sacemfrasmrasmdasm ! I got the A/C partially charged. but compressor clutch won't engage whe I flip the A/C switch.
So..... I decided I'd use the V belt quietener liquid I bought at Auto Zone a while back. My new belts were squeeking pretty bad even with the IPD poly accessory bushings.
I used the "Belt Ease by AMG, and it really quietened the belts. I can't hear them at all now. BUT...
now I can hear a racket that sounds like a bunch of bolts being shook in an aluminum case. I suspect the A/C compressor or the P/S pump has teamed up with the Kool Aid Man, because it sounds like something is trying to get out.
Motor runs fine & sure it's not producing this bad sound. I hear it on the A/C & P/S side. Looks like it's time to either find or buy a stethiscope to pinpoint which it is. I think the A/C comp has a broken con rod Crapola..........Amazing what loudly squeeking belts can mask huh?
4-6-2012
My 240's odometer turned over to 190,000 miles tonight. pic below: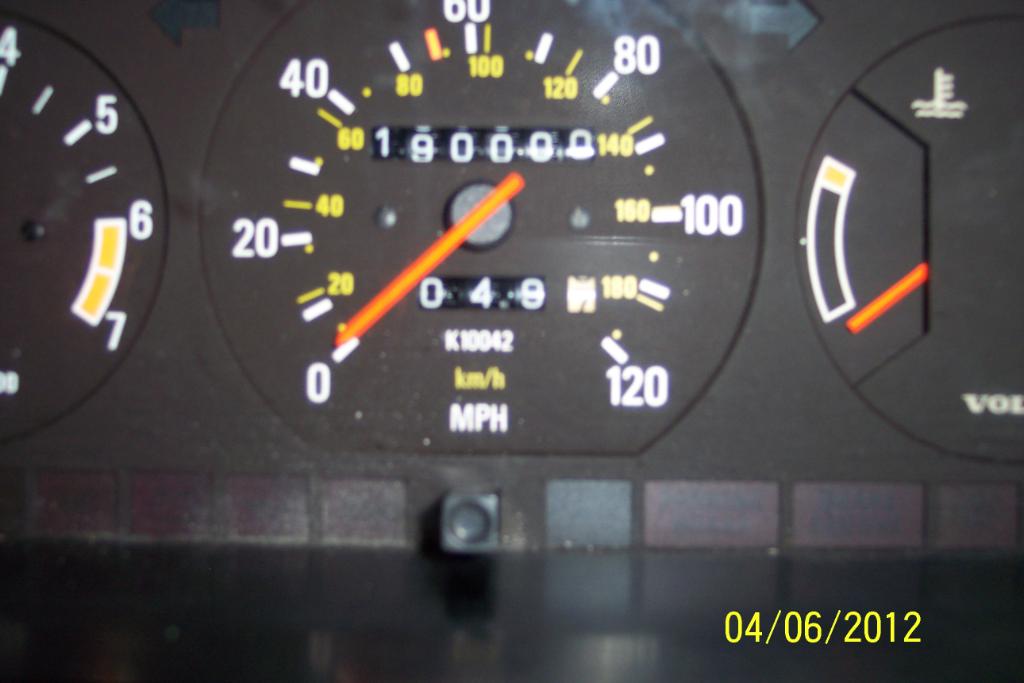
4-14-2012
I have trouble putting the lighter back while driving at night. My night/in the dark vision isn't what it used to be, & I cannot see the hole for it in center console, when I go to return the lighter. I did a similar mod in my 79 245,which had a grenish light ring and I really liked it.
Beside, most lighter sockets I find are quite rusty, or the element part don't heat anywhere near as well as new one.
And the replacement elements, I find, pop out at @ 2 mph and fly into the floorboad, under the seat/console or in my crotch (not good at 70mph on I-40)
If the blue lighting is too bright I'll mask it a little with a blue silicone bulb cover I have.
Plus this will help keep those dreaded round rings from being melted into the surround of the Ctr console.
So.... new red hot lights for the ciggies, lighting so I can see the darn thing at night, and no Ctr console damage. That's what the idea is.
And when the Ford dealership gets the new engine set in my Mother's car, I can install the 100A bosch alt & 4 Ga. alt ground wire. I'm playing Taxi for right now.
4-20-2012
Waiting on Ford dealership to fix the Lincoln LS(140,000 mile Jaggy catastrphic engine failure) before I can continue anything major or minor on the build. Playing taxi for another week or two.
How about that? A 190,000+ miler 1991 240 filling in for a 2001 Lincoln LS with 140,000 mile dead engine?
6-3-2012
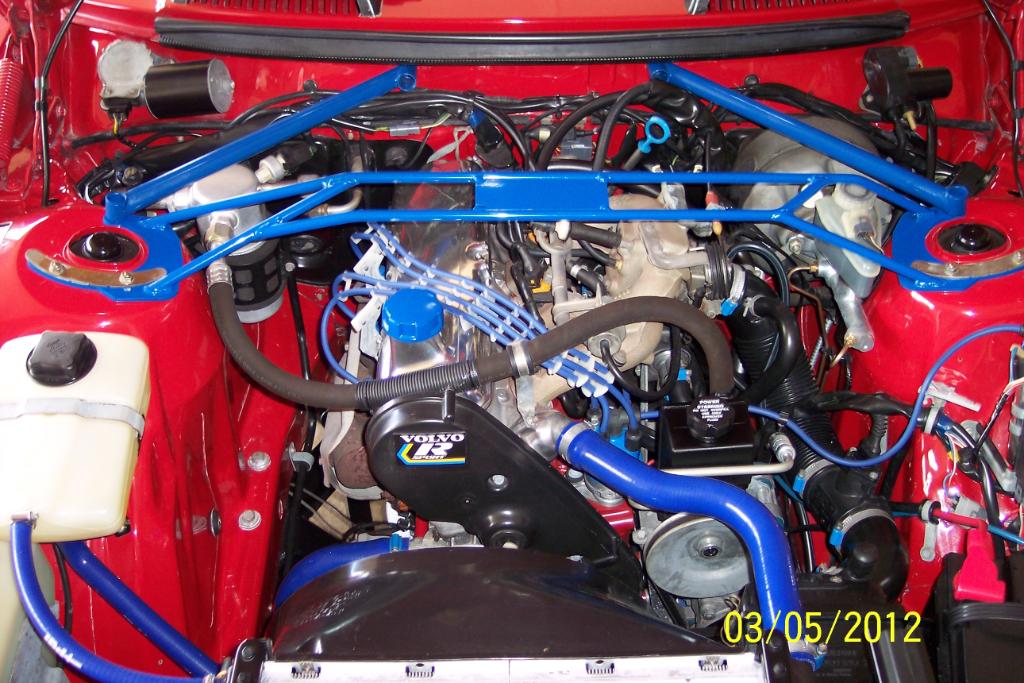
6-4-2012
They aren't rusty. That's 1991 OEM Volvo goldish cad plating (or whatever it's called) on those bad boys. I wish I'd had the extra $$ and time to have all those cad plated items replated like GroupA did on his blue 240(IIRC). But time ran short, as did the $$.
Next is new P/S pump. But have some unexpected things going on right now. One of my Parent's just had a bit of surgery.
7-12-2012
Trying to "keep up with it" as I hope to/plan to post more work sometime soon. If I get time to do any.
I also need to find it quickly for the pics when advising other members . I was wondering when you were coming up to my house. I don't drive too far as of lately .
Too much/too many things to do around here.
8-12-2012
I'm using stock Volvo battery cables. The red & black covers, I bought at Auto Zone, and are to keep from shorting the batt terminals (wrench falling across the terminals) while working on car, as well as a nice appearance enhancement.
I used OEM Volvo DIESEL MMs. I highly recommend them . They are stronger, and do not allow as much engine movement as the regular gas engine MMs
I ordered them via phone from FCP Groton
Part numbers below, ya have to call FCPG or maybe get them from Tasca Volvo online.
Left p/n 1229805
Right p/n 1272346
I think I did remove both MM brackets on each side side,(4 brackets total). Both the 'to engine bracket" and the "to crossmember bracket" .
Probably not 100% neccessary but I removed them to clean mine But it seemed to make it easier doing it that way IMHO.
You will have to support the engine BEFORE you loosn the motor mounts.
You want to support it with the bottle jack, in such a way as there is no "up" force, and no "down" force on them as close as possible.
You can adjust up o down when you are fitting the new MMs if needed.
I used a block of wood and a bottle jack under the oil pan or bell hsg. IIRC. Postion it before you start. Replace rt & left mounts as a set. Not just replacing one, and not replacing the other.
You can support it under the oil pan or bell hsg or transmission.And if you're easy/carefull the oil pan too
You will of course have to have the car on 4 jackstands, one at all four jacking points, before placing bottle jack under pan/bell hsg/trans.
And you may have to loosen the trans crossmember bolts when installing the new MMs if they don't want to line up.
I change one MM at a time. But leave the bolts just a tad loose on crossmember before doing the other side.
I do snug the engine block mounts while doing other side though. Then tighten the bottom crossmember bolts last after motor sits on MMs
And yes, there are two separate brackets on each motor mount.
Be very careful & keep your hands out of harms way while doing MM replacement.
8-15-2012
My latest fix on my 1991 240 is:
VOLVO AIR CONDITIONING BRRRRRRRRRRRRRR 
I took my 1991 240 to Maxwell Volvo today & for $185.85 I now have my air conditioner evacuated, vacuumed, charged, and it's blowing cold air with 134a refrigerant.


NOW....Let all of us, hope that all the new O rings, new A/C hoses, and the new filter drier, I installed last year, do not leak and the A/C holds the charge, and also, that the @ 1 year old, little used current A/C compressor lives a long life.
Let Us Pray Now............![]() LOL
LOL
I also let them clean the throttle body while it was there. It needed it , I so let them go ahead & do that. That was $112.51.
I really need to learn to do that myself next time. Anyone have hints or advice on that?
BTW, lots of Volvo sales people were eyeballin' my "clean obsessive compulsive disorder 240"
I received many compliments on it. And they were genuinely impressed with my work. Sorta makes all the hard work and $$ worthwhile I suppose.
A/C PERFORMANCE UPDATE
My 1991 240 is a R12 system converted to a R134a system
I drove a distance of 5 miles on the highway with my A/C/Refrigeration Thermometer placed in the center dash vent, and A/C fan on High Position..
Within 2 miles A/C is blowing 42F* cold air out, and at 5 miles into the trip, it was blowing out 38F* cold air Not bad, IMO, for a converted to R134a system.
How do these F* Specs compare with some of you other TBers 134a, A/C Temps?
Evidently a Volvo turbocharged A/C compressor. It's blowing 38F* air.
When I bought the car, Kaj said the A/C Compressor was about 9 months old, as he had it replaced recently before I bought the car .I think it's a Sanyo brand?? Not sure on that though.
But it is a stock, but rebuilt compressor common to the 86-93?? 240s. It's the "horizontal type" , and notthe upright/verticle York compressor of earlier 78-85?? 240s.
After I bought the car, I drove car around 2 weeks before it lost charge due to either, broken MMs loosening/breaking the hose at the compressor and /or running over a Transfer truck recap laying in road one night. Was no room/ time to miss it.
So compressor has 1 year on it at most. I'm hoping the compressor will last me 2-4 years, but we'll see................but in the meantime, I'll be chillinger like Dillinger.
8-26-2012
A/C system is still holding the charge and cooling just fine. One more problem outta the way.
And today I got a rebuilt P/S pump , as the old has started it's Death Squak/Squeel. I rented the A/Z pully removal/install tool for the P/S pump's pulley. I plan to install it tomorrow .
8-29-2012
Been having a weird instrument Cluster Temp gauge reading high problem. Never into the RED, but still higher than normal none the less. I removed Wahler 82C* t stat and tested it. Not operating properly.
I installed another Wahler 82C* t stat, and seemed to do OK, but did spike once the other day. All cooling system items are new except for viscous fan clutch. Still , a bad/going bad Inst. Clstr Temp Gauge is still a possiblity
But I'm going to 'cover all the bases" to be 100% sure about the cooling system working properly..........
So........I've ordered the new 'stock" fan clutch from FCPG. Going to try it & see if it'll do the job alright. If it doesn't , I'll try a new tropical fan clutch later.
I'd like to keep as much HP/Acceleration qualities as possible, and quietness too. From what I have deciphered, a tropical fan clutch may require more engine power to turn it.(when it's engaged)
If the new "stock" fan clutch cools engine correctly in the temps I see here in NC, I'll be OK.
At least I'll know I have a new viscous fan clutch that *IS OPERATING CORRECTLY* so as to take a "bad fan clutch possiblity" out of the equation in my search for why the temp guage spikes once in a while.
I also plan to try another new T stat,..either a Calorstat brand, or a Vernet brand T stat. I'm thinking maybe the quality of Wahler T stats are not what it used to be?
I have found out over the years, that there is always the possiblity that one can have more than one "bad/failed part" causing one type of "problem". Thus making dianosis of said problem quite difficult. In this case, the "Parts Cannon" may indeed be the way to go....
UPDATE on Power Steering Pump Install
Well this has turned into a nightmare/fiasco........
Cannot find proper puller to remove old pulley from old P/S pump. So to save time , I've ordered a new P/S pump pulley from Dealership.
Man, oh Man, is Volvo proud of their P/S pulley...$89.00 plus sales tax. And with the Remanned P/S pump from A/Z @ $40.00 I am still coming out better than buying complete new P/S assembly from Volvo . ($585.00)
I'm figuring on heating pulley in the oven, and putting remanned P/S pump I purchased in freezer and cool it down a bit & hope the new pulley presses on easily. I'll use wet rags to protect P/S pump shaft's seal
At least I'll have a shiny new pulley on a clean & painted ,remanned/working P/S pump in the end. You know I have CVOCD right?
I've also ordered a remanned P/S steering rack, as the tie rod seals seem to be leaking on mine. Hoping I can remove the P/S lines from the steering rack without having to remove the A/C compressor.
I am really hoping I don't have to blow the freshly charged & great working A/C I just had done...............we'll see what I come up with in the "Special Tools Dept' on this adventure.................
8-31-2012
I hope to pick up the pulley & steering rack today. When I do I'll post pics of the P/S pump,P/S pulley, P/S steering rack.
In the meantime, I did receive my "stock" Aisin Viscous Clutch Fan and Bosch Fog light lense & reflector assemblies.
I'm believe the new fog lenes will help visiblity as my old ones seem to have a lot of "patina".
Please excuse the les than stellar pic quality. My Kodak died, and now using cell phone camera.
Pics below: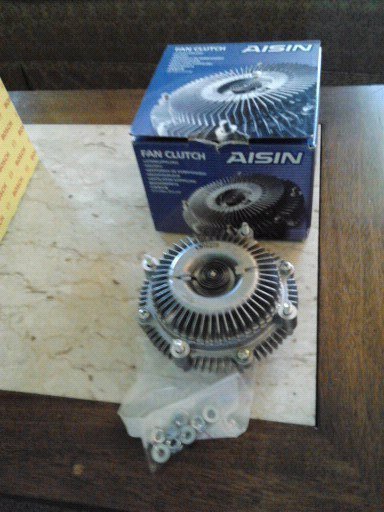

9-1-2012
I went to pick up the new/remanned steering rack from Auto Zone today. After I looked at it, I didn't like the way one of the rubber tie rod boots had been installed, so waiting on another one to arrive tomorrow. Hopefully both of it's tie rod boots will be installed correctly. If so I'll bring it home, and post pics of it here tomorrow.
NOW............................................... ..
I have gotten the new P/S pulley on the P/S Pump's shaft . But not fully seated..............
The old pulley on old pump is a tad further on the shaft than I've thus been able to get the new P/S pulley on new P/S pump's shaft.
The cheapo install kit ( a plain thick flat washer, a 3/8-16 nut with 17MM wrench flats, a low grade bolt in 3/8-16 with a 14mm head...go figure) supplied with the Remanned P/S pump is not up to the job.
The pulley install kit has cheap quality bolt & I wrung the bolt into using the electric impact to press the pulley on with.
I went to Lowes and got a 3/8-16 allen head bolt in grade 8 , but still need to make a suitable press "die". The supplied round washer bent and is sinking into the pulley hub's recess, & causing the supplied press tool to stop pressing the pulley on, before pulley is fully seated on shaft.
The new allen head bolt did well and did not wring into, but the hardened washers still bent into the slight recess in center of pulley's hub. The P/S pulley still lacks about 1/16 of an inch to be fully seated on the P/S Pump shaft, ascompared to the original one..
I will make a extra thick round press "die" that shouldn't bend , in the lathe tomorrow and give it one more go. It'll probably line up with A/C Compressor's pulley well enough as is though. But would prefer perfect alignment if possible.
Pics the newly purchased remanned P/S Pump from A/Z, the new P/S pulley from Volvo and of the pulley install progress thus far below, along with comparitive pic of old pump last.
Remanned P/S Pump......

Shiny OEM Volvo Bling......

New pulley on P/S pump
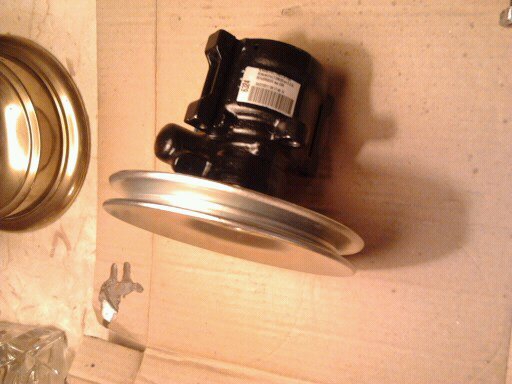

How much the new pulley lacks being fully seated on shaft.....
Old P/S pump with Pulley for comparison....hella flush isn't it?
Well, the second Power Steering Rack came in today.
The 1st P/S Rack that came in yesterday looked to a "generic fit" and not an original VOLVO Cam Style Steering Rack Housing.
And....One of the 1st P/S Rack's tie rod boot looked to be installed incorrectly too. Tie Rod Boot was pulled up over rack hsg too far. Looked like shoddy workmanship. (I know it's a remanned rack, but that doesn't mean it cannot be done correctly)
The 2nd Power Steering Rack came in this morning & is a remanned OEM Volvo 240 Power Steering Rack Housing.
I spotted the VOLVO cast into the rack's housing. And so far, it looks to be just like the one currently on my 240 too.
After "inspecting it" , I notice the tie rods seem to be a bit siffer in there movement though.
Unsure if just a good snug fit at the swivel, or if something's wrong. Going to see what I can find out/determine on this peculiarity.
Might be they are just snug like that. But the new tie rods I bought from FCP and installed on my old rack during my build, were a bit looser, & an "easier to move" , "freer travel" fit than these are.
Might be nothing to worry about, but want to be sure before doing all this install labor..........
Will update today, probably this afternoon, and let you know my "verdict'.
After taking these pic, I noticed it says TRW in small letters, and underneath that it reads VOLVO. So TRW was the Vendor for Volvo on this rack, whatever year , model Volvo it came off of originally.
Pics coming up..............
OK, for other's reference & my own, this is a :
TRW/VOLVO Power Steering Rack Housing that has been remanned by ATSCO, Remanned in the USA, and sold through Auto Zone as Auto Zone's DURALAST Brand.
Price is $169.99 plus sales tax, and plus a $117.00 Core Charge which is re-imbursed to ya when ya return your old worn out rack to the A/Z Store.
I'll see if it really does "DURALAST" pretty soon..............I'm hoping this turns out to be a decent unit.
I am letting it sit, after rinsing it off carefully with GUNK and waterhose, (to remove P/S Fluid from testing before it left Atsco) to see if any of the outside lines, or seals leak before I install it.
PICS BELOW: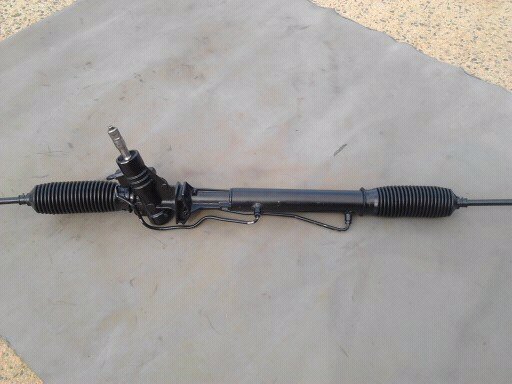
TRW/VOLVO HSG ID......

MAYBE ORIGINAL VOLVO P/N AND/OR TRW P/N ?.......
COMPLETE RACK PICs............


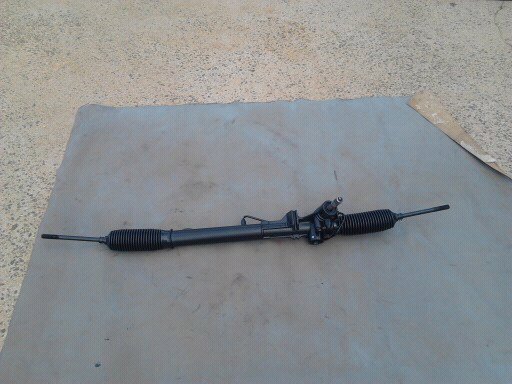
Would prefer to use new ones. Cannot get to banjo bolts very easily.
But a box end wrench will go in there if remove frt IPD Sway bar.
But no way in hell to get a socket on a torque wrench in there once it's installed. At least not without removing A/C Compressor & it's bracket to block
I may fish lines down, while they lines are still attached to the old rack. And then install lines on new rack and then fish the lines through as I install the new rack to the frt crossmember.
I prefer to use new copper seals, & properly torque the bango nuts to ensure no leaks at a later date.
Dunno for sure yet, will have to wait & see just how I will install lines & rack.
Another small detail that I've been trying to finish.
Remember the brass NPT cap I turned downed the OD. of in my lathe to thread on the NISSENS Radiator'sAuto Trans Line Nipples on the passenger side plastic tank? I bought three, but ruined two in lathe ,leaving only one installed?
I've been looking for suitable replacements AND...I found these at my favorite car hobby store, LOWES, last night.
I'll clamp my grinder lightly in a vise with my cloth buffing pad installed on it, & then thread the brass NPT caps onto a short piece of threaded pipe to hold them , and polish them to a "high luster" on the buffing pad with white Jeweler's Rouge in a day or two.
Ya know I just have to make them meet my CVOCD affliction, & appear as "show quality" !
The caps will keep dirt dobbers, water, dirt/crud out of the oil cooler part of the radiator's plastic side tank. And look good doing it too.
PICS........
WHAT I BOUGHT AT LOWES..........


AND IT'S APPLICATION.........

9-2-2012
Got around to buffing the radiator's auto trans oil cooler nipple's caps today........... Caps look a bit nicer polished, IMO.
I installed them by wrapping an old T shirt around the cap's wrench flats, and use a small 5 inch/150MM Stanley Adjustable Wrench.
I just snugged them good, as there is not any liquid to leak out of these oil line nipples . 
On the car/in engine compartment
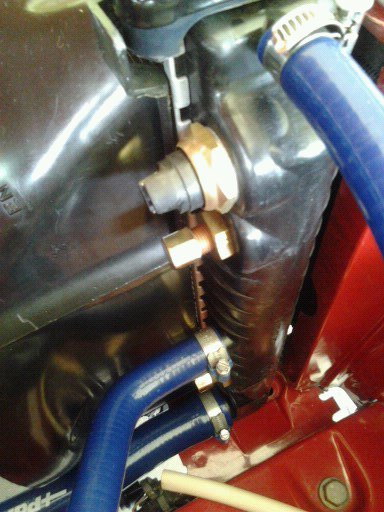
I am seriously thinking about masking the boots and other specific parts of the steering rack.
And then paint the steering rack Rustoleum Blue, to blend with the painted blue sway bars & other IPD blue suspension parts . I think it'd look much better blue, than black.
What do y'all think?
9-3-2012
See..... I should have replaced P/S rack & P/S Pump when I did the frt suspension. I thought rack would last another year or three. It lasted one year more. Save a dime spend a dollar came back to haunt me didn't it?
BTW,What's so amazing? Doesn't everyone else perform 100% quality workmanship/craftmanship ?
![]()
I learned a long time ago.... when it comes to repairing a car........
Leave nothing to chance, do it *like your life depends on it*, and it *DOESN"T COST ANY MORE TO DO IT RIGHT THE FIRST TIME* (usually it's cheaper), and if you don't, you'll be doing it later. But sometimes budget does dictate one has to wait.
And let's not to forget to clean the parts/engine bay so ya don't look like ya fell in a grease bucket when you do normal maintenace. Man I hate to get greasy up to my shoulders just to do a tune up, brake job, or oil change.
It's a "Duralast* A/Z part & the Auto Zone parts guy typed "1991 Volvo P/S rack" into his computer, and ordered it from "main warehouse".
1st one was not a remanned Volvo housing, so got him to order another & one pictured is what I got.
All this took 3 days for two orders. Not bad IMO. Louisiana hit by Hurricane held it up 1 day i was told.
9-3-2012
"Meanwhile Back At The Ranch".................................................. .....
Tomorrow I think I'm going clean the P/S rack with CRC Brakleen then,lightly scuff the current black paint mask off a few critical parts of the P/S rack (boots, splined shaft & it's seal, tie rod threads).
I'll then "test paint" a small section , to make sure the paint I'll be using is compatible with the current finish. If so..............
I'll then use some mechanic's wire I have a roll of, to fasten it to my painting stand on one end & whatever I can up with on the other end. I'll have it high enough I can see and paint underneath the bottom of it nicely as well as the topside.
I'll probably paint the P/S Rack with the same Rustoleum Blue I painted the YoshiFab FW to Strut braces or same Rustoleum Blue I used on the IPD sway Bars most likely (IIRC)
If I find a more suitable paint I'll use it though. But IME, Rustoleum is pretty damn tough paint if you let it cure/harden for a good while before putting the part into road use.
In any event ,whatever paint I use , the P/S Rack will match/blend with the other blue suspension parts.
Then............
After the P/S Pump, and P/S Rack is installed, I plan to replace the leaking exhaust manifold gasket.
I need to search for the proper cylinder head studs and nuts, and a gasket to do this with, naturally.
But before I do, I want to have my spare, less rusted/pitted exhaust manifold sent off to Extrude Hone.
They basically "port" the manifold, head or whatever part you send them by forcing an abrasive media through the manifold under high pressure from what I've deciphered.
So it's a much different process than porting with a die grinder. And supposed to be much better because it reaches places a die grinder cannot. I just want to smooth out any rough casting surfaces & enlarge the ports a little. Hopefully the end result will flow close to what a B230 racing header would.
I haven't yet had time , to fully investigate Extrude Hone's "dos & don't's" or how they keep from overshooting 'critical wall thickness of the parrts. I also don't know how much $$ it costs. I hope it isn't too expensive, we'll see later on.
If/when extrude hone is done, I want to have exhaust manifold Jet Hotted if possible. Jet Hot Incorporated is only 2 miles from my house. If it can be Jet Hotted it probably will be. If not I'll have to find another protective coating for it. Maybe Ceramic Coating ? Don't know yet, have to investigate further...
And the next fix is to replace the rear axle wheel bearings with TIMKEN units. I don't think the axle brgs are bad yet, but probably will be time to inspect them by then. Might be that I "save" two axle shafts.............we'll see.
For my stock b230F, with a later planned D cam or V cam change over, and with my current 2.5" SS mandrel bend custom exhaust system, I figure the stock ex. mani is probably adequate. But was hoping the extrude hone will help ex. mani to "keep up" with the custom exhaust.
*If* I were to go with a true ex. header, I'd probably have RJ's Custom Piping make one to my spec. or buy the SAMS B230 n/a ex. header. I think that would be overkill for my B230F though. Sure would look nice though.
But I'm sure it'd be 400+ bux too, so probably a "no go " there too.
AND...Looks like Extrude Hone Powerflow is *much too pricey* for me though., I figured it was.
I guess I'll just be port matching, to port & header pipe 's dual pipe "collecor" where it meets the ex. mani and let it go at that.
I will have to just use the spare ex. mani I have, as is,
A nice finish or special coating of some kind on the ex. manifold is definately in the plans though. Even if it's just paint.
FWIW, here is a link to Extrude Hone Powerflow Inc in case some of you are *loaded* with $$.
LINK: http://www.gethoned.com/auto.php
And link to their "your parts" page. Notice the extrude honing process at top of page.....
http://www.gethoned.com/parts.php?ge...how=automotive
And look at the "your parts" price listing. Looks like 500 smackers for a 4 cylinder ex. mani. Definately *hella* out of my price range/budget.
Hell for 200 more bux I could buy a SAMS ex. header. LOL
Your 4 cylinder Ford header with Volvo B230F flange sounds really interesting right about now, Boosted12a. *YEP, SURE DOES*
9-7-2012
WELL......................
The black power steering rack in the pics in the posts above this post, failed pre-install test. (^)
The top external line was leaking where it attaches to the steering "neck" fitting. SO.......I sent it back to ATSCO too.
I now have what I believe to be a good non leaking external line/s P/S Steering rack from same company (ATSCO)
This P/S Rack is also a remanned OEM VOLVO / TRW housing. Hopefully ATSCO did a good rebuild job on this one. Hopefully "third time's the charm".
I have stripped the ATSCO applied black paint off with non chlorinated Brakleen (green label can) WHILE BEING VERY CAREFUL *NOT* TO GET BRAKLEEN ON THE "NECK SHAFT" SEAL OR ANY OTHER SEALS NOR THE BOOTS*.
This newest/last ATSCO P/S Rack is well prepped & now ready for masking, and then painting........
I'm going to mask off the boots, and paint the housing blue with Rustoleum Sail Blue.
I'll also paint the end of the tie rods that are left exposed from the boots, with Rustoleum Gloss Black .
I'll do the masking tonight, and spray the hella out of the P/S rack tomorrow in the daylight.
Then I'll most likely will have to let the Rustoleum paints, dry/cure for at least 3-4 days.
I'll post pics of the painted rack hanging from it's "painting stand" & likely still masked off, tomorrow evening bar nothing goes awry.
Pics for future reference below..........notice the different numbers on this rack , though I'm unsure as to exactly what they designate.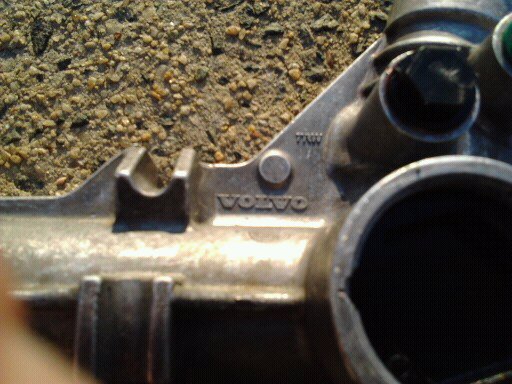


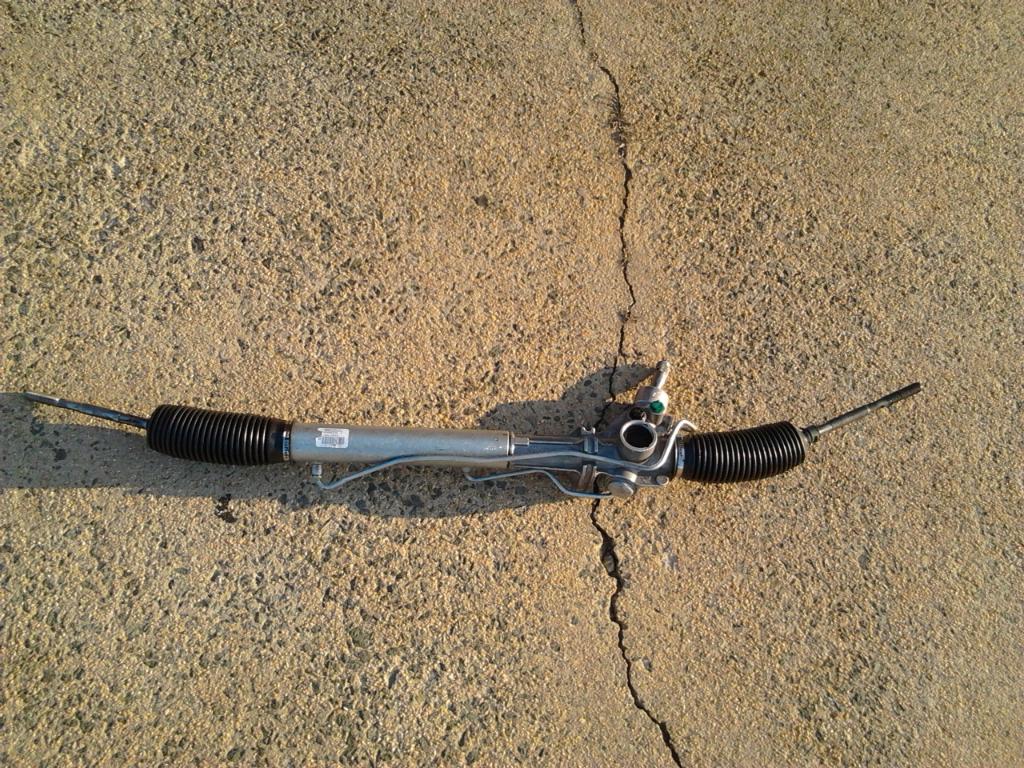

9-8-2012
OK, got the P/S Rack completely masked off like I want it.
BTW, You'll just have to excuse the mess in the garage. It's due to hoarding Volvo parts for much too long. Some of you should buy something so I can be rid of most of it.
And now I have it painted, and have removed the masking tape. I'll let it dry until the Rustoleum is fully hardened/cured. That may take a *week or longer*. Meanwhile I have a few other things that need tending to around here.
Pics below:

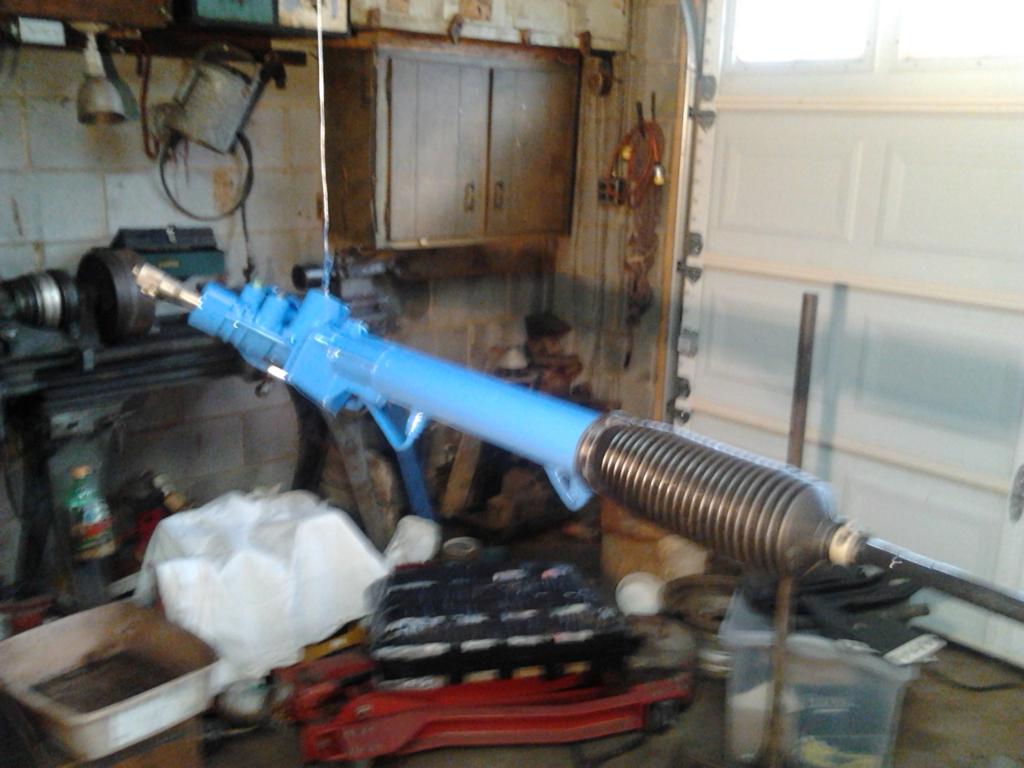
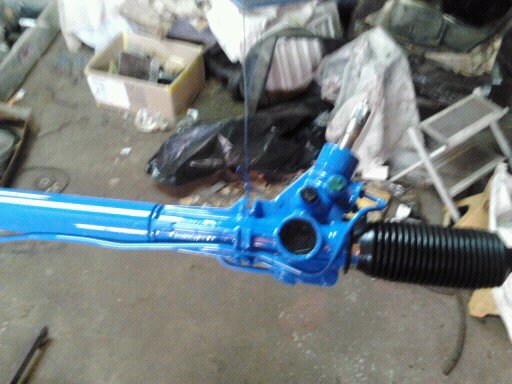
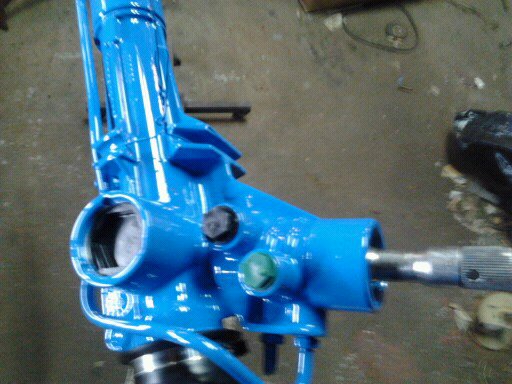
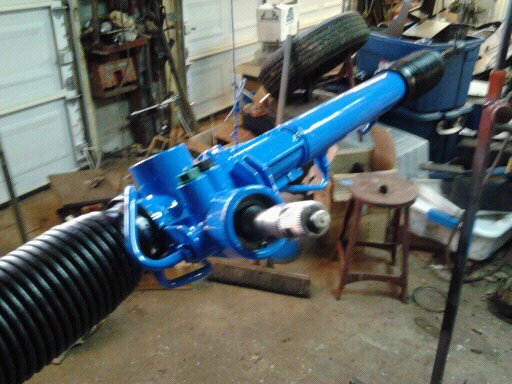
9-10-2012
Checked the paint today, to see how it's drying. Gonna be at least one week before hard enough to handle it for installation. Maybe longer.
FWIW, I do see VOLVO starting to be visible and maybe it'll still be "raised enough" to paint the lettering RED
9-22-2012
Well I got the old P/S rack off today. Also removed the P/S line banjo bolts and P/S lines from old rack as well as the steering shaft universal joint deal.
Had problem getting the U joint assembly off of the P/S rack splined shaft, but luckily, the U Jont assembly came off the Steering wheel shaft with a few taps of a ball peen hammer & a few sprays of CRC Freeze Off Spray.
I then tapped the U Joint Assembly off of the steering rack's splined shaft after I removed the rack from the car.
Also, by removing the front IPD Sway bar, I gained access to the banjo bolts on the P/S rack where they attach the P/S Lines on.
AND....Turns out the neoprene seals of the universal joint in the steering U joint assembly are totally MIA. So water/dirt will enter quicly and it's grease will exit quickly too, henceforth.And I feel a rough spot in the universal joint.
So...........I am ordering a new Steering Shaft U joint Assembly tonight.
This because I don't want to have to replace the current worn one in a few months to a 1 years time.
I'd have to remove the new P/S rack in order to do that, so I'll just do it now & be done with the deal By doing it now, I shouldn't have to do anymore repair work on the front susp/steering for quite some time to come.
After all, that *IS* the plan here
I also cleaned off what little dirt/grease/grime was previously hidden/not reachable before, on the front crossmember underneath the old P/S Rack. And wiped off any & all spilt P/S fluid from removing the old rack & P/S hoses.
Also I noticed the front EBC brake pads are getting thin. Luckily I already have a set of PBR DeLuxe Advanced Ceramic Technology Performance Brake Pads.
Hopefully they won't eat up the rotors too quickly. I'll install the new PBR pads on the front & rear while waiting on the new Steering Shaft U Joint Assembly to arrive
today's pic...... (read another CVCOD pic)

After noticing the steering shaft has 2 U Joint assemblies in it (not sure how I didn't realize there are 2 of them![]() ) I think I'll order *BOTH* the Upper Steering Shaft U Joint Assembly *along with* the Lower Steering Shaft U Joint Assembly.
) I think I'll order *BOTH* the Upper Steering Shaft U Joint Assembly *along with* the Lower Steering Shaft U Joint Assembly.
Too bad those U Joint Assemblies are not anywhere near inexpensive..........but I guess I'll bite the bullet & buy both of them.
9-25-2012
OK here is what I found out today
The *lower steering shaft U Joint* is for sure NLA* No Longer Available/Obsolete/Discontinued![]() So looks like I may be using my existing lower U Joint, if I cannot find a better used one in JY or in FS section here on TB.
So looks like I may be using my existing lower U Joint, if I cannot find a better used one in JY or in FS section here on TB.
However, I was told that the *upper* steering shaft U joint *is still available* although it may get backordered and was a "Special Order" according to my Receipt. The threaded bolt & nut were still available,for the upper U joint, as was the shear bolt with pin for the upper steering shaft U Joint.
I figured I'd better buy the upper U Joint *before* it becomes NLA too. So......I ordered the upper u joint and it's hardware today.
Sit down before continuing reading the rest.....It was $165.01 for the upper u joint, and the hardware/ bolts/pin were $10.31 altogether.
Well after finding out those prices, I figured I'd bet the whole damn farm and bought 4 more each of the 2 different banjo bolt copper washers that seal the P/S lines to P/S rack. You know...before they go NLA too.
And while I was there, I saw a neat Volvo Key Ring with the Fob made as a SS whistle for $6.95.![]() So now I have 2 new Volvo Key Rings.
So now I have 2 new Volvo Key Rings. And the 240 Group A Red Anodized Key Ring Aspirator made and sold here on TB, along with several of kardboard's Turbobrick whatyamacallits ( i forgot the name of it)
Also found out that 240s from 1979 to 1993 use the same lower & upper U joints on the steering shaft according to Volvo parts dept.
FWIW....If any of you want a new OEM Volvo Upper Steering Shaft U Joint, before it too goes NLA..... now is the time to order one from Volvo or wherever...better get while the gettin's good.......(it's 9/24/2012 when I posted this for future reference when it goes NLA)
NOW..................
Of course while inspecting/staring at the old lower u joint, trying to figure a way to rebuild it if I could find a proper sized universal joint for the two aluminum halves of it....................... my CVOCD suddenly kicked in. "Surprised" ??
I thought since I may have to make do with the old one a while, I'd spiff up the *lower U joint* by cleaning/scuffing the aluminum parts with some red scotchbrite.
While doing so, I found what I thought was a part number stamped in it. Number stamped in it is: 1359404. The wierd/funny thing is..... the *upper U Joint* part number is 1359403
I just found that hella strange because the *lower U joint* part number is 6819550. Strange coincidence ??
But......... at any rate I do have a clean shiny used lower u joint for my steering shaft now. I'll post pics of the new upper u joint and hardware when they arrive.
Pics of now spiffy used U joint..

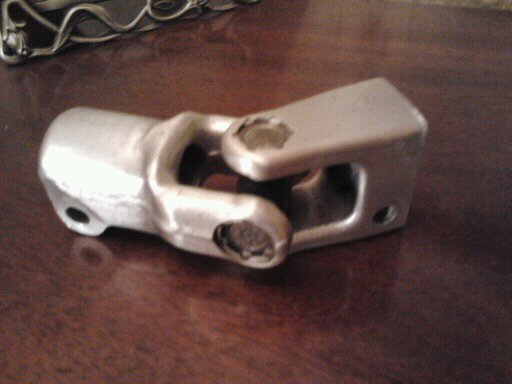
Now for some cool Volvo Accessory Pics.

Installed new PBR brake pads in all four calipers today.
The EBC GreenStuff pads worked AOK, and I liked them just fine. FWIW,I try to change pads ,when the pad's thickness reaches a little less than 1/2 of the original thickness.
Volvo says this is best time to change them, and it helps caliper's piston and seals last longer due to the fact they tend to cock in the bore more when extended close to max specs.
Also it makes sure I don't arrive at the dreaded "metal to metal club" unexpectedly. Don't ya hate when that happens?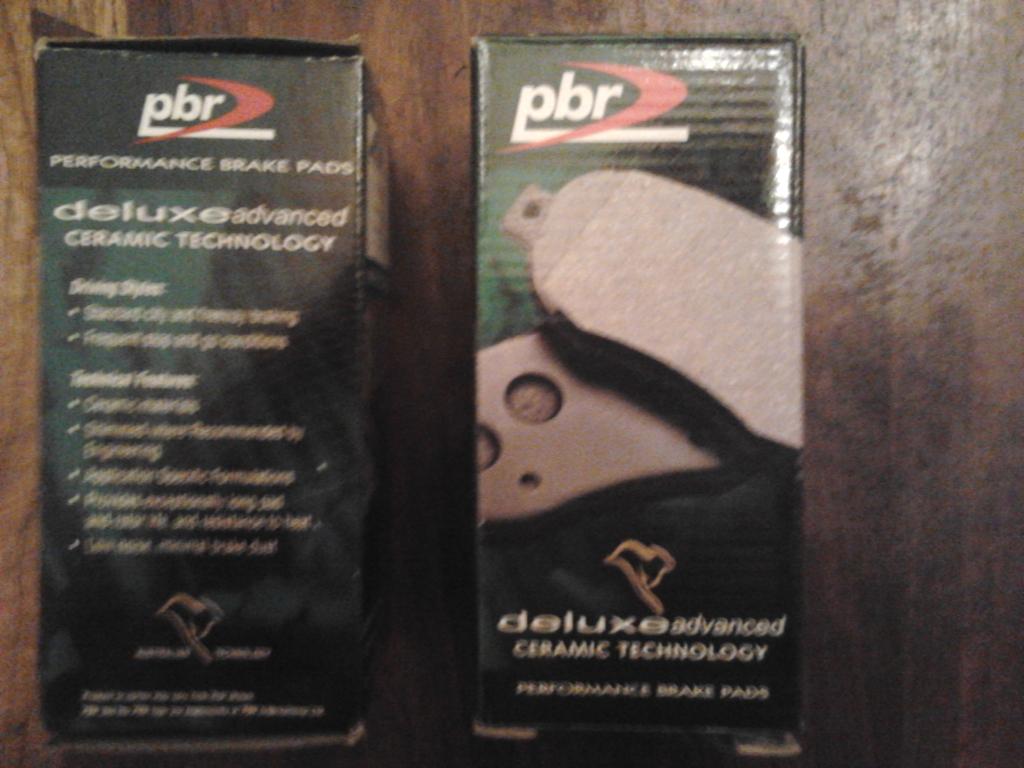
9-27-2012
Today I removed the rear collision braces, and the corresponding caliper attachments from the rear calipers.
You know......the large triangular shaped steel braces that are held on with 2 gas tank bolts per side and two subframe bolts per side. This to allow much easier access when driving the brake pad retaining pins into the rear ATE calipers, to allow 16 or 17 x 7" rims/tires at a later date, and also drop a few pounds of weight
For some reason Photobucket site is not accessible, so cannot post pics yets.
I bought some more undercoating today. I already had one can of Rustoleum Undercoating, and bought 2 more cans of Permatex Undercoating at O'Reilly's.
I then masked off the rear muffler and tailpipe, front muffler (using as resonator),the rear IPD Sport springs, the adj IPD upper torque rods,and IPD adj. panhard rod and Billy HDs along with the complete rear calipers/rotors assemblies, and some more of the exhaust pipe.
I undercoated/touched up where the braces used to bolt on, by the 4 bolts each side, resprayed the wheel wells, the edges of the subframe chassis "rails", the outside edge & tops of the braced LTAs & the sides, along with the rear edge & bottom of the gas tank to help blend it all in & freshen it up.
I'm letting the undercoating harden/cure until tomorrow. I'll then remove all the masking paper & remove any/all overspray with gasoline and/or CRC Brakleen.
My new OEM Volvo brake hardware kit is supposed to arrive tomorrow from Tasca., I'll install those, and touch up the calipers with a modeler's paint brush and post better "finished" pics tomorrow.
FWIW, I weighed the braces, the bolt on bracket that bolts on rear calipers and their bolts on the bathroom scale. *Bathroom Scale* reads 17 lbs of weight.
Of course I don't really know if the BR scales are 100% accurate, and most are not IME. At any rate , car loses close to the weight of a 14" OEM steelie wheel.
Considering I added a number of pounds with the IPD S to S brace,IPD Lower Chassis brace And YoshiFab FW to S braces, adj.IPD Upper Torque rods and IPD adj panhard rod...losing a few pounds should help out a tad, to get the car *closer* back to it's original weight.
FWIW/FYI, between 3M, Rustoleum, and Permatex, the Permatex Undercoating is only @4.50 per can (1/2 the price of the other two which are @ 8 bux a can or more), and it goes further than the more expensive other two brands. And seems to me the Permatex is a bit better undercoating too.
Here's a few pics of the job. Was getting dusk so pics are a little "dark" :


9-28-2012
I received the ScanTech lower steering shaft U Joint today from FCPGroton. Looks to me like it's OK to use. There are slight differences in both of the aluminum parts of the U joints.
Nothing drastic, but one is aluminum half is a tad smaller and not tapered, and has a little less wall thickness around the splined pinch end, compared to the OEM Volvo u joint on same aluminum part. The other aluminum half looks identical as far as I can tell . The ScanTech one isn't staked at the u joints cap holes as much as the OEM Volvo one is.
And the new ScanTech U Joints works smoothly on both axis. Decent price on it too. Not as muchh $ as the Volvo unit by a long shot.
As long as it fits the steering shaft & P/S rack's shaft, and clears everything around ,I think I'll install the Scan Tech part and see how it does. Should last as long as the old OEM one did . And I believe it will last longer than the worn original OEM Volvo u joint I removed, if I re installed it.
Now,.. as soon as the OEM Volvo upper steering shaft u joint I ordered from Volvo comes in, I'll install both new ones with the new/remann Atsco steering rack.
I'll be saving both of the old OEM Volvo U Joints for spares, as they are usable,and I can use them 15+ years from now when both will surely be NLA at that time..
Comparison pics below for other's reference: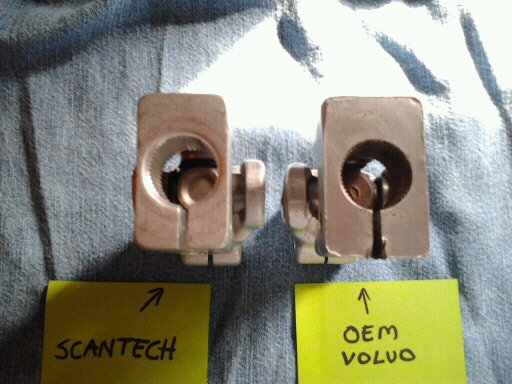


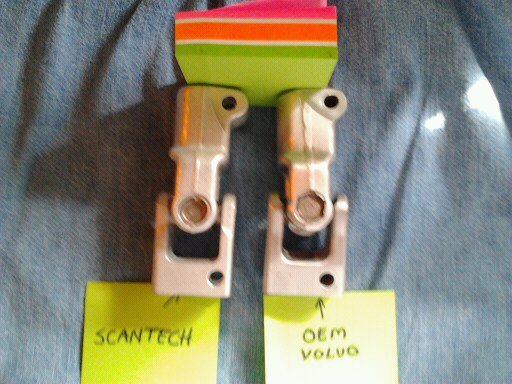
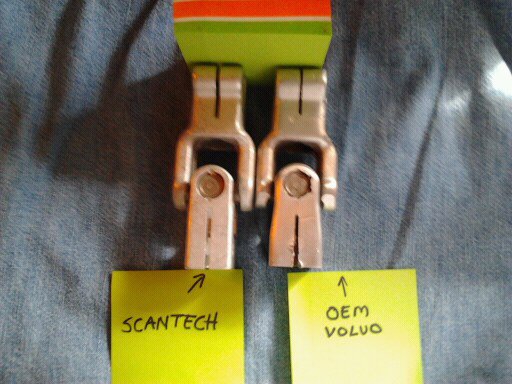

9-30-2012
OK, here's the pics with braces and caliper 'ears" removed. New pads on with new brake hardware too.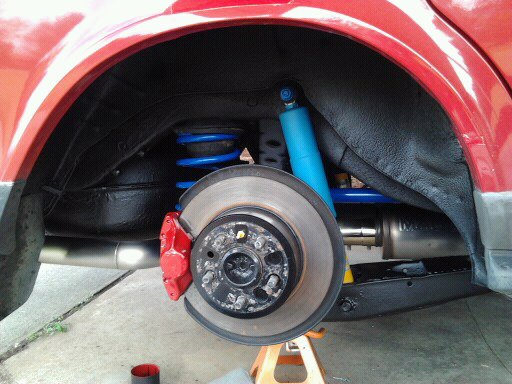

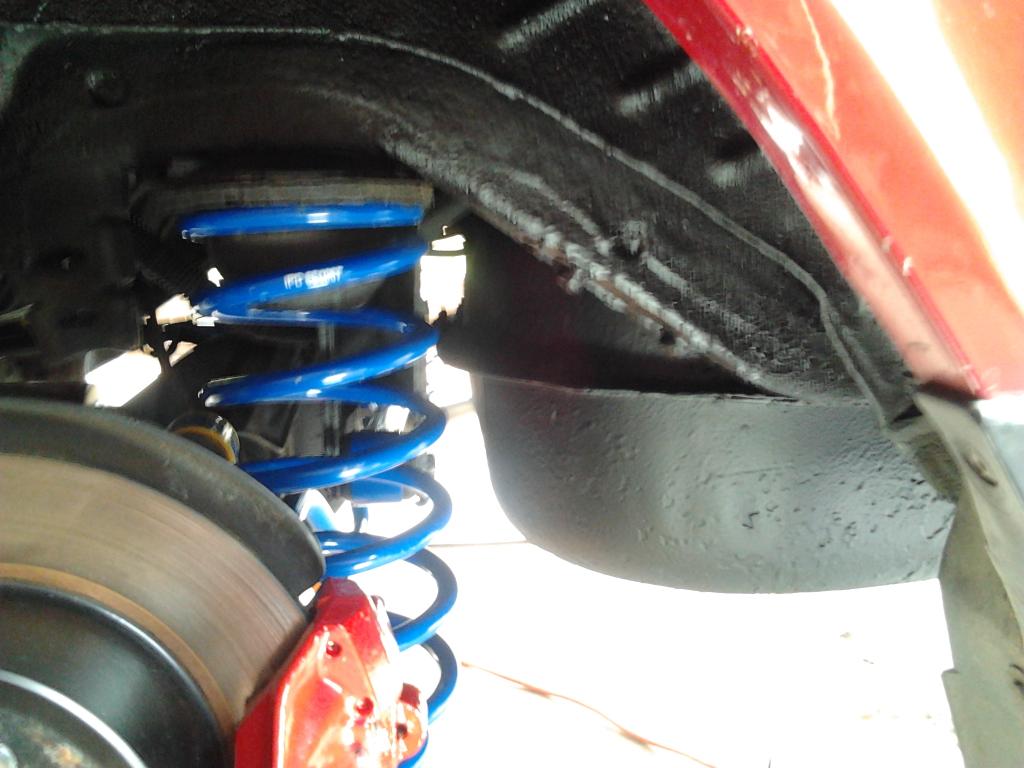
10-2-2012
Since I'm still waiting on the OEM Volvo upper steering shaft U Joint and hardware to come in...................
I figured I'd "fall back" and do some other work. Decided to remove old currently installed, AISIN Fan Clutch, and compare it to the new AISIN Fan Clutch I bought from FCPG . Both are 'cold" and feel the same "friction" in the hub.
However unsure if that's a good test,(likely isn't) and I want a new Fan Clutch on the car for "safety's sake" and to ensure far further engine longevity anyway.
So, of course ,I bolted on the new AISIN Fan Clutch, and used new nuts I bought from FCPG also.
The new one also helps my CVOCD since it looks all nice and shiny now. LOL.
Pics below:
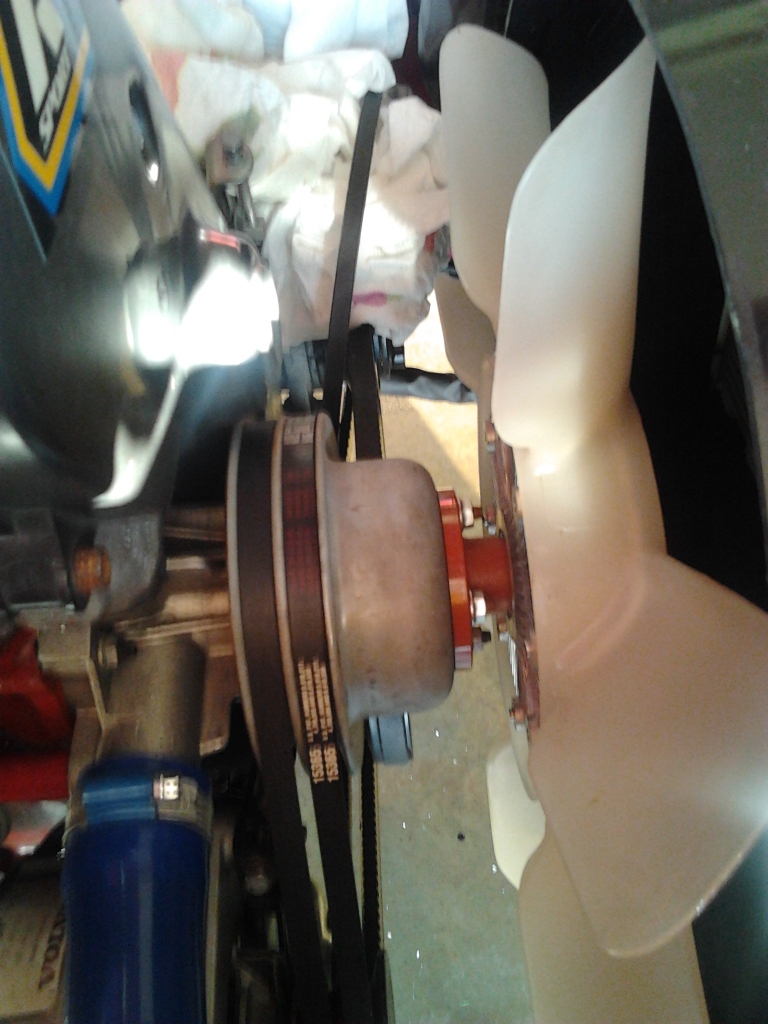
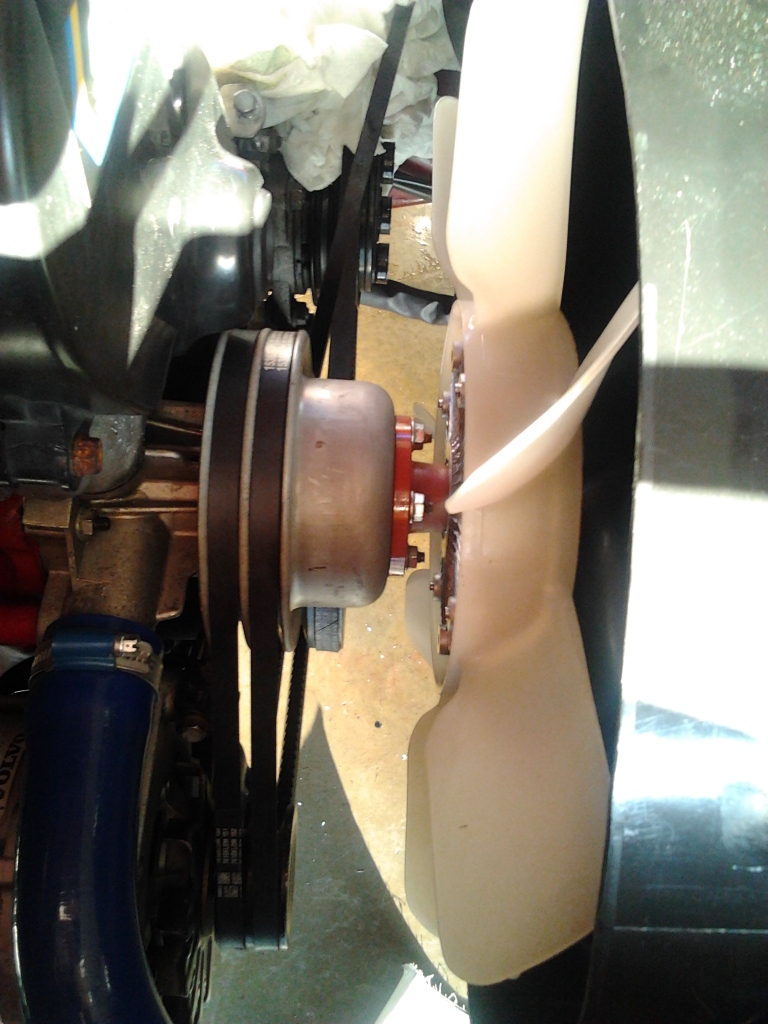
10-3-2012
Still waiting on the backordered upper steering shaft U Joint, but the hardware for both has come in. Will get those today .
I installed a new flametrap today. Old one was wasn't bad, so soaking it, to clean it and save.
Removed old luftfilter, as it looked like time to change it again. I also vacuumed 4 bugs & their remains from air box.
Then I wiped out the remaining dust in airbox and on the lid with damp towel.
Then I installed a new Mann Luftfilter, p/n C 3483/1.
I also had Discount Tire balance all four of my Michelin 205/60/15 tires on Virgos again as it was time for that too
Odometer milage reads 195,743 miles at time of airfilter , flametrap change and tire balancing.
So, it's now good for the Winter on this deal.
Soon I'll I drain, coolant system, and turn the T Stat so piddle valve is to top, and then flush cooling system with distilled water to remove all old coolant. Then pour in the OEM Volvo Blue Coolant and add distilled water 50/50.
After that I'll install the rack & run tank of gas with Chevron FI Cleaner through the engine.And see how temp gauge does(remember that problem from earlier)
I have ordered the compensator boaard by pass kit from IPD If IC temp gauge acts up I'll install the jumper wire kit.
After all that, I have plugs, dizzy cap & rotor button to install.
10-4-2012
Well my order from IPD came today. I now have the IPD Temp Guage Compenstor Board ByPass Kit, and a 5 oz can of Ventil Sauber.
I think I'll end up discovering that my Coolant Temp Gauge in the Instrument Cluster has a " beginning to fail " Compensator Board. I'll drive it first to see if the fan clutch helped any, but doubt it will. I'll by pass the compensating board if needed.
I also received, today, an additional package of P/S Rack Install Hardware that I got ATSCO to send me for free. The hardware kit that came with my ATSCO P/S Rack substituted two bolts and a flat flange style clamp for the additional *U Bolt* like my original P/S rack had.
Now I have two new shiny cadmium plated U Clamps along with shiny new nuts, lockwashers & flat washers. So it'll *all* look new. Was free so why not?
Yesterday all my new upper & lower steering shaft U joint hardware (bolts, nuts and retaining pins) came in as well as several sets of new P/S lines banjo bolts to P/S Rack Copper Seal Washers. All leftovers will be for spares to use later/years from now. I'm planning ahead , so I'm not caught needing a critical part that has gone NLA in 5-10 years.
And also, yesterday I ordered all new T Belt Cover Bolts, as some of mine are rusty and some have rounded/skint up heads on them. I'm hoping I recieve the goldish cadmium plated ones & not the oxide black ones. We'll see.
And I've ordered two pairs (4 total) OEM Volvo Rear Muffler Hangar Rubber "Shackles" as Volvo calls them for my 91 240.
Two to use , & two to have as spares as they'll go NLA in a year or so IMHO. They are on backorder so that's a sign that those parts are soon to be NLA & it isn't very far away. At least I 'll have spares for far into the future use.
I guess my CVOCD is still with me huh?
I also researched my 1991 240 Owners Manual and discovered that Volvo specs ATF Type F fluid , to be used in the 1991 Power Steering System.
Seeing as how I'm installing new/remanned P/S Pump & P/S rack, I figured I'd start off with the correct fluids.
So I returned what I had bought earlier & exchanged it for ATF Type F at my local AutoZone. Now if the Upper Steering Shaft U Joint will arive, I can install the P/S rack...............
Pics below:


10-5-2012
I have been looking into the fan shroud on the car by it's part number. The part number is cast into the fan shroud.
Shroud on my car is 7/8 of an inch shorter than one I pulled off a 88 245 I parted.
NOW...The shorter shroud on the car now is:p/n 3540300
The *1987 245 shroud* part number is: 463303.
BUT .... according to Tasca...this 463303 p/n has been superceeded from p/n 463303 *to p/n 3540300*
LINK> http://www.tascaparts.com/parts/1991...icleid=1287053
Does Volvo figure 7/8" difference in shrouding isn't a big deal?
Or is the n/a shroud NLA, and they're substituting the turbo shroud for the n/a shroud????
Can anyone supply the actual *known* turbo fan shroud part number? Is it indeed 3540300 ?
Tasca is listing a 1984 TURBO Fan shroud as part number 3540300. But no mention if it's Intercooled or non intercooled.
Were all the turbo 240s intercooled after 1982 ??
TASCA also lists this 7/8 " shorter fan shroud for my 91 B230F N/A as superceeding the previous earlier N/A fan shroud
Do you really think I did not measure the difference? 
The shroud you have pictured * is NOT the fan shroud* I have . Also, looks like the intercooler is thicker than 7/8"
My original shroud is *indeed 7/8" shorter * than the older version
The older, and longer fan shroud is NLA and it's part # has been superceed to the shorter one that I have.
If no one can supply proof otherwise....and please do if anyone can..........
The only conclusion I can come to is:
1) Volvo engineers found the 7/8" shorter shroud cooled just as well as the longer one.
2)Or so close that the difference was negligible
3) Volvo saved a penny/a few pennies, by using the later shorter version fan shroud.
4) Volvo shaved a few ounces of weight off the car using the shorter one. (remember all the bolts head sizes they reduced?)
5) This change was most likely done by *the Bean Counters*
NOW FWIW..........
I just bolted on the longer shroud. The difference is indeed negligible just looking at it, IMHO.
I may just leave the longer shroud on. It might help just a tad when sitting for long periods with A/C on.
I took pics of *both* shrouds installed.
I also layed both down (old longer by 7/8" and the one *that was pictured earlier* on my car) beside each other, and took a pic.. Pic of that below: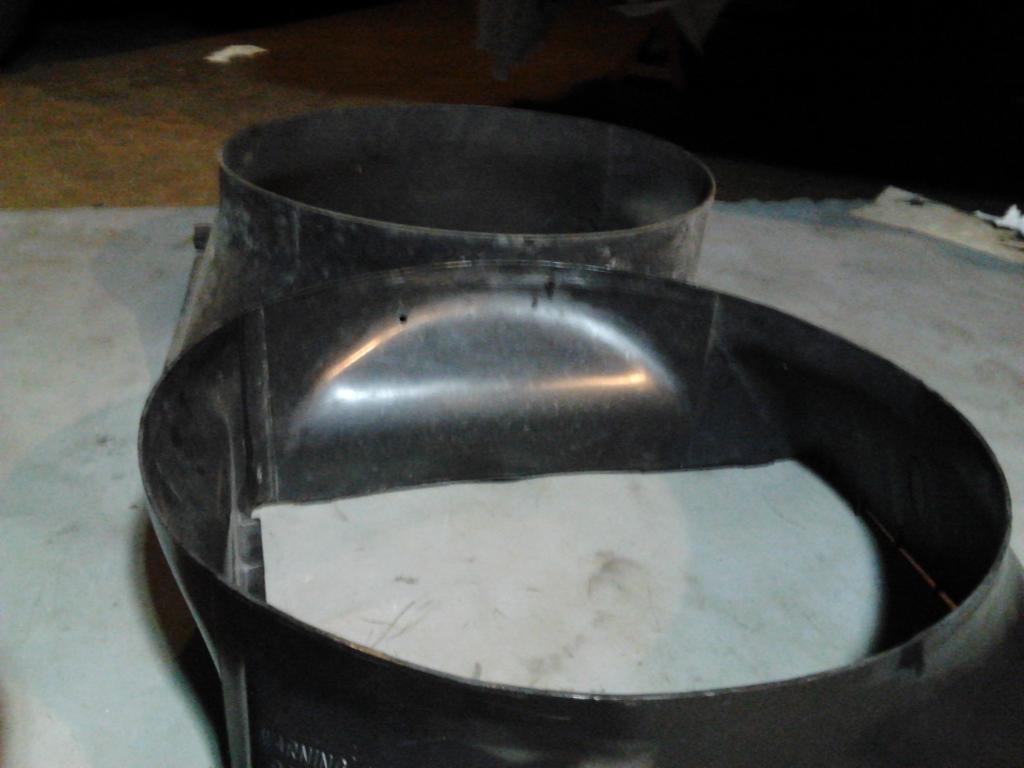
Pic of previous 7/8" shorter fan shroud installed on car.

Pic of 7/8" *LONGER* fan shroud installed on car.
I would think so too, BUT evidently Volvo thought the shorter does just as well.
Otherwise why would they have changed to the shorter design, and superceeded the part number of the longer shroud, to the part number of the shorter shroud??
I am *assuming* this was a change Volvo made on the later 240s(1991-1993), so I could be wrong........
I'd like for other 1991-1993 240 Volvo Owners to post pics of their N/A radiator shrouds from the same angle as the pics I've posted.
Just to be *100% sure* we've stumbled upon a late model 240 production change in fan shrouds.
At first I thought it may have been due to the relocation of the P/S reservoir on 91-93 240s. But the longer shroud does not interfere with the later P/S Pump or it's belt.
Until someone can prove otherwise, I can only conclude, that it must have been a bean counter's money and weight saving production change.
One has to also keep in mind, that when the car is traveling down the road, the fan clutch is disengaged much of the time.
So a longer shroud would only be of more help, when sitting still in traffic I would think.....
10-6-2012
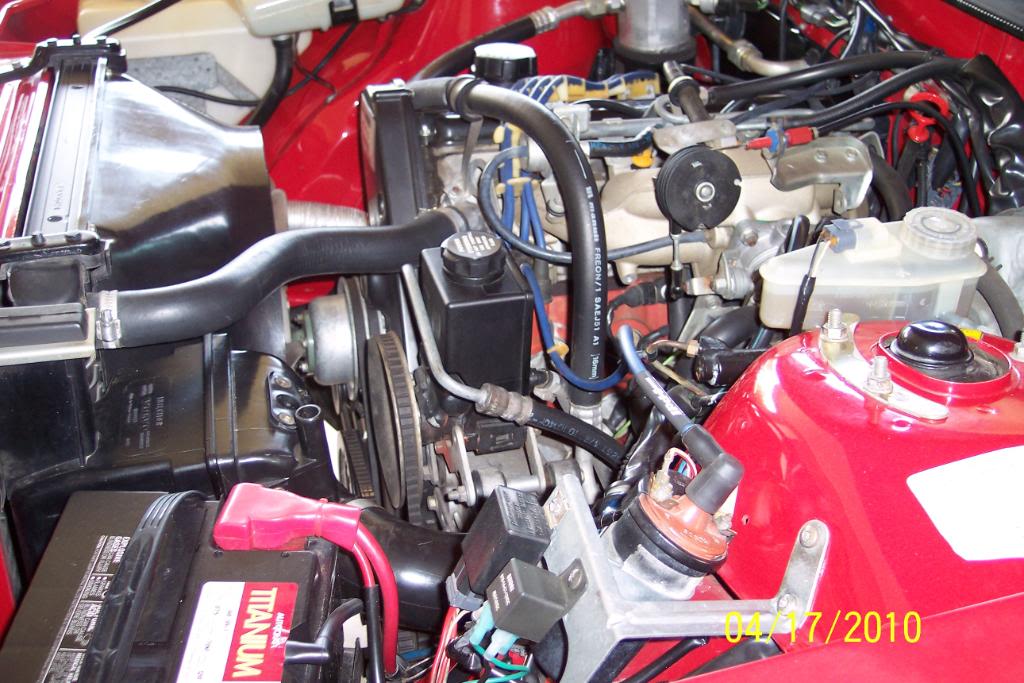
A pic of underhood before I did any of the work to it save for plug wires. Shows short shroud with @ 1/2 the fan blades exposed.....
but ya have to look closely to see them as fan's blades are pretty dirty. There is a good view of one blade almost even with the top of lid of the airbox though.
So, at least I am correct about the car having the shorter shroud when I bought it.............
Looks like taking multitudes of pics of your Volvo pays off sooner or later...........
I got bored today. So I piddled on the 240 some. Since I have no new upper steering shaft U joint to install yet......
I cleaned off what little P/S Fluid had run here & there with a gasoline soaked rag.
Then I noticed the underhood light was pretty dirty inside. So....I decided to clean up the underhood light fixture /assembly.(read CVOCD sets in again)
I removed it & cleaned the dirt/dust/ whatever out of it. Looks much better now.
FWIW....., once you remove the light fixture, you can use a sharp thin knife, and use it to get behind the piece of galvanized metal it uses as a blind & reflector, and pop it out by it's center area. This will allow you clean behind it , then just pop it back in.

10-8-2012
Some more of my OEM Volvo parts came in at the dealership today. Went and picked them up.
Installed all new Outer T-Belt Cover bolts, as some were rusty, These have the later smaller "socket/wrench sized hex heads. So weigh a little less than the old bolts.
SO I presume I shaved a few ounces of weight of the front of the car. (?? because racecar ?? ) LOL
All but two of the below flange screws were galvinized finish, and the other two were a shiny black finish. The blacks ones go in the two center holes of the Outer T Belt Cover, so maybe that's why they're black.
Looks better now .
Outer T Belt Cover Mounting Screws p/ns are:
p/n 985183 flange screw(2)
p/n 982763 flange screw
p/n 982801 flange screw
p/n 985188 flange screw
Also received the new Rear Muffler Rubber "Shackles" as Volvo refers to them as in parts book.
FWIW they are p/n 1206468 Shackles. Requires two of them.
Then I installed all the parts. Pics below:
This bolt pic below is especially, and just for andrewnance21.
Remember the Kelly's Heroes movie qoute ? Quote:
"There ya go again with the negative waves, have a little faith baby, have a little faith......."
LOL


Muffler "Shackles"...

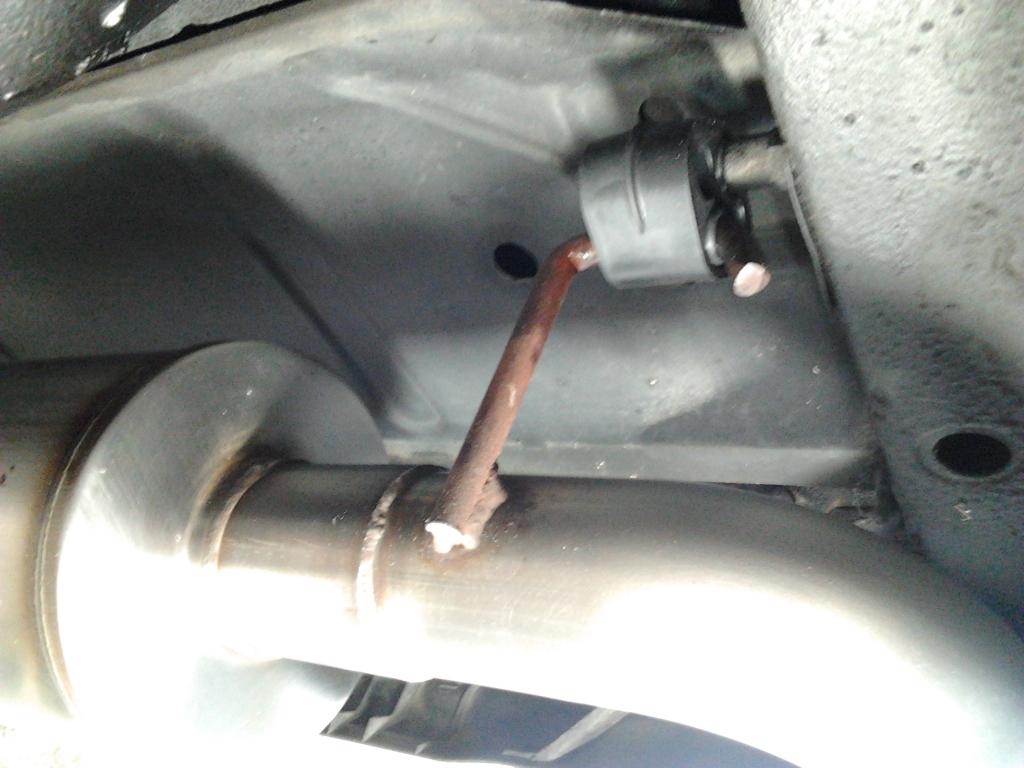
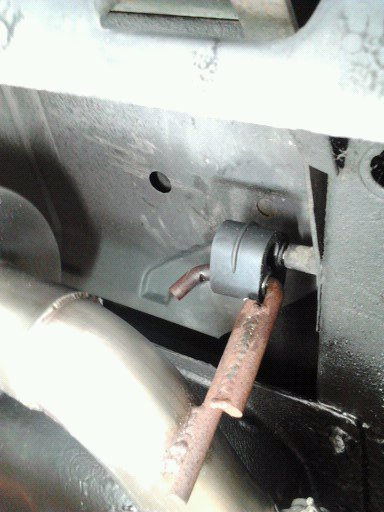

10-13-2012
Received a few items fro Dave Bartons site. So I applied the Vacuum Hose Routing Decal and the Retro to R134A Refrigerant Decal. Just to keep thing right..........
Also a special Volvo Warning Decal. I got a few other things too. More on those later.
10-15-2012
Hot Diggity. The Upper Steering Shaft U Joint came in today & I went to get it.
I noticed it had a coating of some type that made it appear dullish greyish in appearance.
So I packed clean paper towels around all the U Joint's Neoprene Seals.
Then I *very lightly & carefully* hit it on the steel wire brush wheel on my bench grinder.
Then "sanded it" with some Green Scotch Brite Pads, to give it some brushed appearance.
Then............ my CVOCD kicked in high gear at full throttle. I figured I'd do a little "rust proofing" of the actual u joints in my favorite color
I sprayed some Brakleen *on a paper towel*, then wiped any/all oil/cosmoline/grease off the just the u joint parts to be painted.Did this twice.
Then I sprayed the paint into a srpay can lid that I collect for just such adventures/endeavors. And I brushed on the paint with a quality modeler's paint brush. I carefully kept the paint out of the u joint's end cap grease seals.
While this might not last forever, it'll stay for a year or five I hope. Anything to slow down silent & sneaky *Ol' Man Rust*
For those wondering, I used VHT High Temperature Engine Enamel (up to 550F*) in SP134 Ford Light Blue color.
FWIW, This VHT Light Ford Blue color, is a dead match for the blue IPD powdercoats their adjustable suspension parts & Sport Springs. I wish I had seen this paint before I painted my IPD Sway Bars .
I'll start installing these and the new/remanned P/S rack tomorow or the next day. The paint on the u joints should be dried fully by then.
Pics below:
Here's what the brand new upper ujoint looked like when I got it.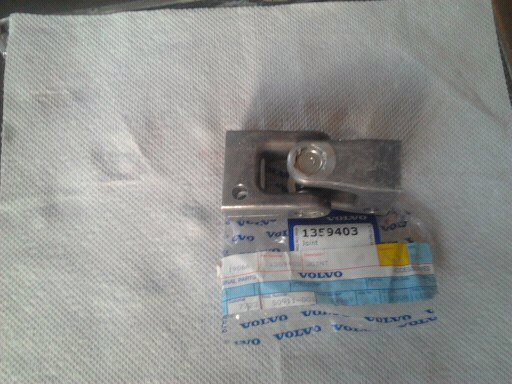
And after I used wire buffer/bench grinder lightly & then Scotch Brite pads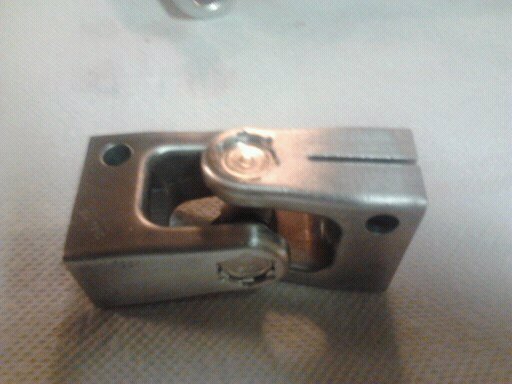
Here's both Scan tech Lower, and OEM Volvo Upper U Joints
And my CVOCD Detailing of both....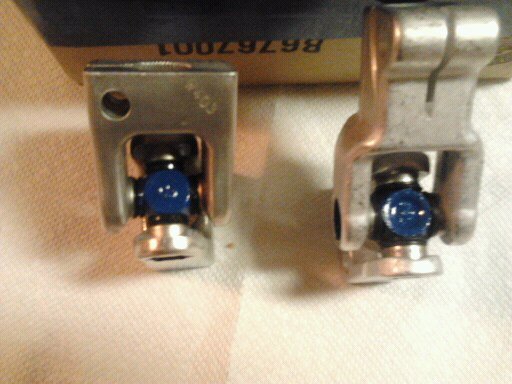
10-17-2012
Got a little work done today. I hope to finish it tomorrow. I clean the splies with a stiff brass brush & then applied NeverSieze to all the splined areas on the steering shaft , u joints, and the threaded portions of the inner tie rods. Should make disassembly a bit easier when I do this again in 21+ years from now.
Pics below: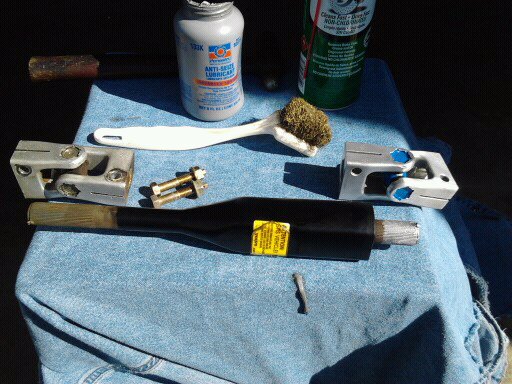
Steering shaft in with the new upper & lower u joints.
Blurry P/S rack installed pic that I'll replace with a better one tomorrow.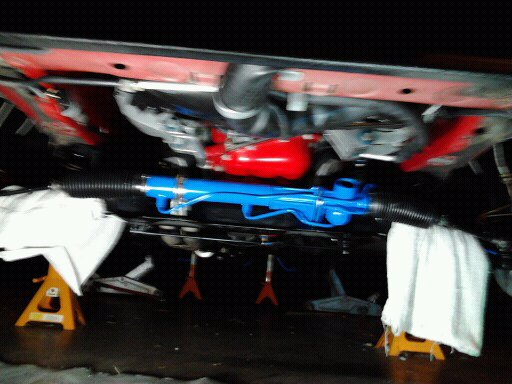
10-19-2012
Well, I now since I already had the upper & lower steering shaft u joints, and stering rack with tie rod ends in the spindle arms all installed.
I then I installed the P/S Resrvoir onto the P/S Pump,and bolted the P/S Pump/Reservoir Assembly to it's brackets .
Then I installed the P/S lines with the banjo bolts, & with new banjo bolt copper seal washers into the respective P/S Rack hose ports.
And tightened/torqued them by "experienced hand pulls" of the closed end wrenches I used.
By using wrenches I only had to remove the sway bar. Otherwise I would have had to pull the A/C Compressor and a few other odds & ends.
Since the A/C was recently charged with R 134a refrigerant, and is doing fine, I chose the simpler amd easier way of tighening the P/S Hose banjo bolts to the rack's ports.
I routed the P/S lines very nicely & expertly, even if I do say so myself.
I filled the P/S reservoir with about 1/2 qt of ATF Type F fluid, and turn the wheels left/right/left/right then topped off the P/S Reservoir again, and repaeated this scenario, and addding fluid, a few times.
Then I installed the IPD Front Sway bar, and got it all bolted in. The passenger side front wheel is askew a bit, but was "well enough aligned by eyeball" enough to drive a little.
So.........I turned on the heater and drove the car @ 7 miles to get engine up to operating temp and get the t - stat to open. I drove home, let it idle a few minutes just to add some heat maybe, then checked both of the temp gauges and yep, op temp had been reached.
So I cut it off, and immediaitely drained the coolant via removing lower radiator hose and loosening the overflow bottle's cap. With my large stainless steel drain pan, surround by lots of rags of course. And of course *with my faithful and loyal APBT Ozzy in the house*, so he couldn't lap up any *poisonous coolant*.
I also removed the T Stat housing, and turn the "piddle valve" that is of the top of the t-stat, straight up to the top at the 12 o'clock position . This per Apachechef's recommendation,a while back, which makes good sense. Air always rises to the top in water.
I then re attached lower rad hose, and filled with 2 gallons of distilled water. Then I again, drove the car (with heater on) @ 7miles, to get op temp .
Came back, drained coolant again. Refilled again, with 2 gallons of distilled water, and drove 7 miles again.
I did this scenario *two more times*. So after draining the 1st coolant out and then 4 distilled water refills and almost 8 gallons of distilled water later...............
. The 4th drain gave me *exactly* what I wanted coming out of the block & radiator.
"Pure...Clean...Water..Water " (remember that tune ? , you're old if ya do LOL..). I couldn't *even smell any "coolant odor" * in the 4th & last drain of the distilled water. "Right On", that's what I was after.
I then oured in one gallon/3.78 litre of OEM Volvo "Blue" Coolant, Volvo p/n 31338284 according to the jug,, and then topped off with about 1/2 gallon of distilled water. Yep, I noticed that too. Should have held 2 complete gallons, but it is still below the "MAX" mark on coolant overflow bottle.
I figure close to 1/4 to 1/2 gallon was left in the heater core. Though not 100% positive about that. I'll check it tomorrow morning when engine/cooling system is "stone cold" and do a "coolant mix test" with my Prestone Coolant Mix Tester.
But as of now I'm pretty sure I have 50/50 mix of OEM Volvo Coolant & 100% pure, clean Distilled Water. And no dilution of this mix by the old/original Peak 150,000/5 Year Coolant . That , of course, was my objective. 
FWIW, and for Newbies, * ALWAYS, ALWAYS, ALWAYS USE "DISTILLED WATER" OR "PURIFIED WATER" *, or with the coolant in a 50/50 mix in your Volvo, or any other water cooled vehicle. This goes for adding water to your car battery too, should you ever need to.
WHY , YOU ASK?
Because "City Tap Water(chlorine, flourides), well water(iron and mineral deposits), mountain stream (who knows ), melted snow ( air pollution elements?), and seawater (salt a big no-no), *ARE NOT GOOD* for your engine block, water pump impellar and bearing/s, radiator passageways, nor the hoses. And those descriptions only cover a few of the things you do not want in your cooling system, that are in those "waters". "And that's the rest of the Story"
I topped off the P/S Reservoir a few times in between all this too. I have an appointment tomorrow to get the front end alighned properly at local Volvo Dealership.
At least now my complete suspension/steering system rebuild is *completed*, as well as my complete coolant system rebuild is "completed*.
I am now pretty much convinced the Ist. Clstr. Temp gauge's comp board is toasted.
I only need to install the IPD Instrument Cluster Temperature Gauge Compensator By Pass Kit( a wire) tomorrow. As during the fill/drain/drive & /fill/ drain/ drive
scenario, the Instrument Cluster Temp Gauge registered any where from 7-8 o'clock position to 9 o'clock position,to the 10-11 o'clock position, but never into the red, just as it was before the new clutch fan and longer fan shroud install.
Pic of the completed P/S Rack install below: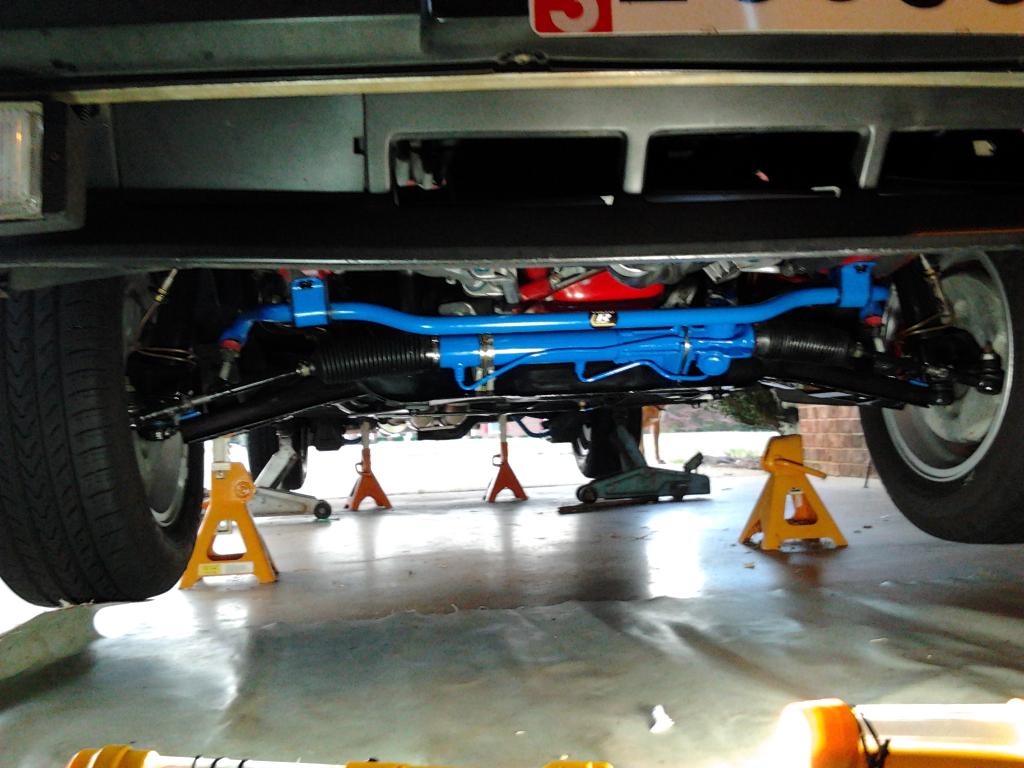
10-20-2012
OK, got the front alignment done. Steering wheel is dead centered, car drives straight, no wandering/pull to one side. So alignment is 100% correct.
I bought some new P/S pump/bracket "flange screws" as Volvo calls them. The old ones had 12mm wrench sized heads. These new bolts have 10mm wrench/socket sized heads. This "change" was part of Volvo's weight shaving and cost savings no doubt. I think I like the new bolt head size better honestly.
Also, remember in an earlier post about the installing the P/S pully onto the P/S pump shaft, I mentioned the pulley went on only so far, and not as far as the old P/S pulley on the old P/S pump?
I said I'd wait & see how the new pulley on the new pump alighned with the A/C Compressor's pulley which drives the P/S pump pulley.
I'm glad I did wait to see how it aligned first...................because it is *dead on* in alignment where it pulley stopped by itself, on the P/S pump's shaft .
The old P/S pump pulley did not align as well as the new one does. Win/Win here I suppose.
Pics Below;
No more rusty bolt heads.... still waiting on the new long through bolt to come in though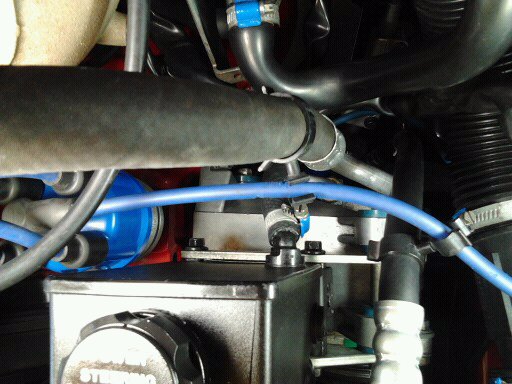
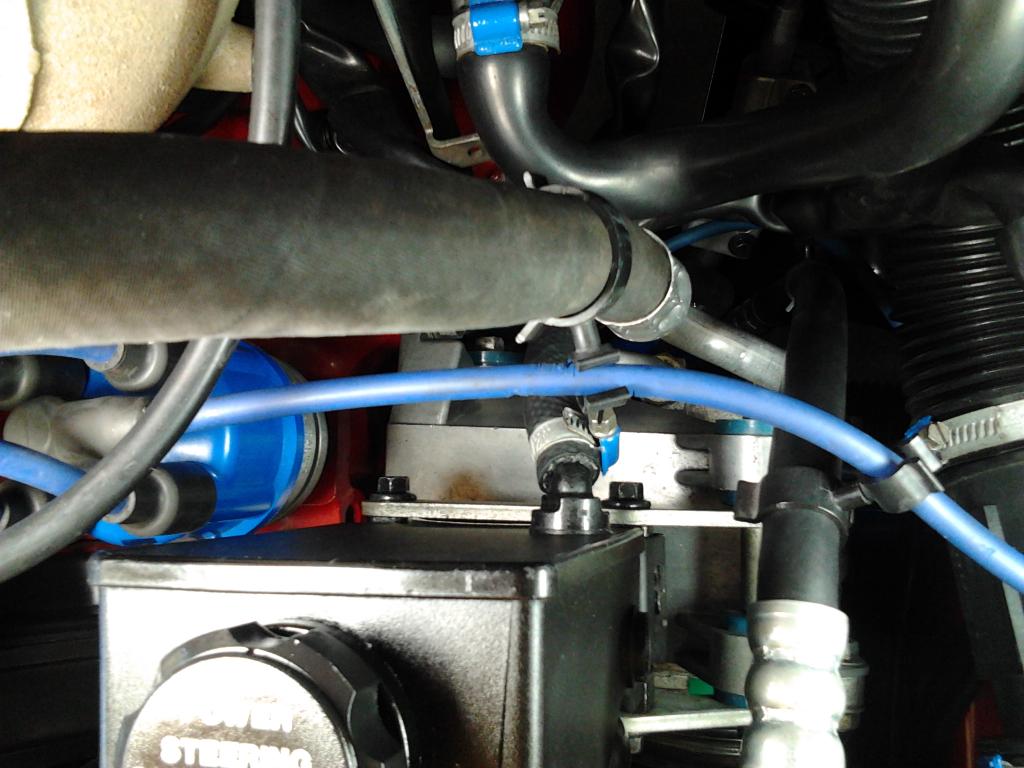

Also, the new OEM Volvo P/S pump Pulley helps appearances too.....
Dead on straight alignment of P/S Pulley to the second A/C drive pully that spins the P/S Pump.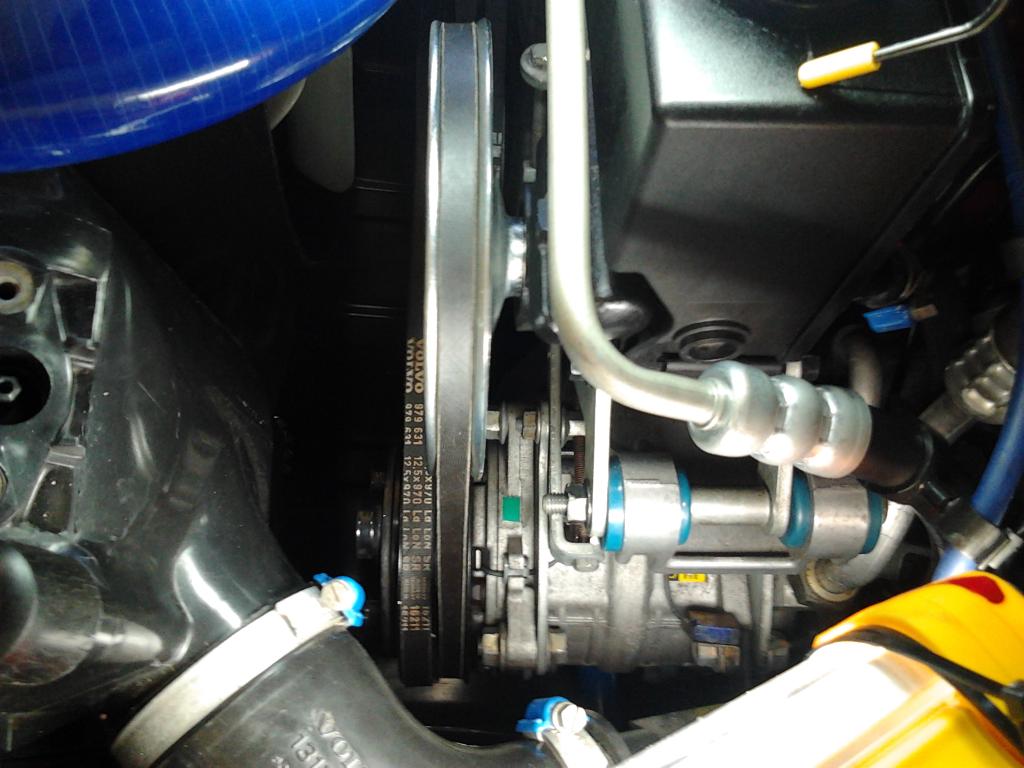

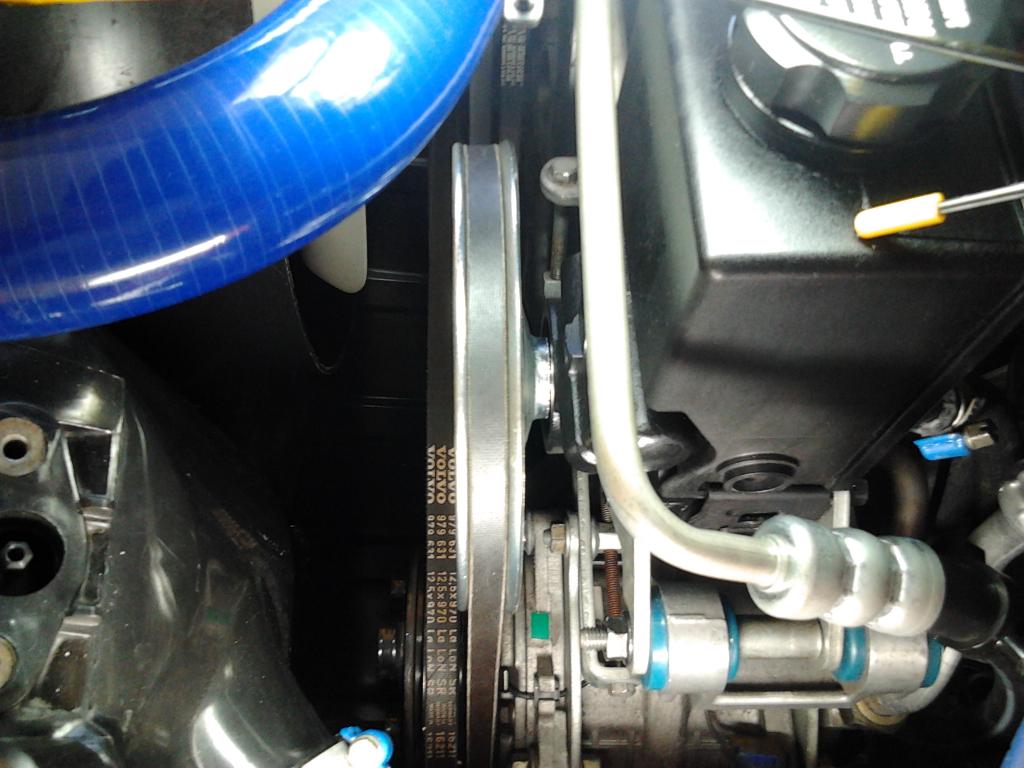
I removed the instrument cluster, remove the gauges from the Inst Clstr Hsg.
I then spent some time cleaning out the inside of the Ist. Clstr Hsg. as it had dust, ciggie ashes etc, had gathered at the bottom. I removed the warning light strips and wiped them off with a damp rag too.
I also wiped off the lense and the black surround inside the hsg,(gently) from inside with a damp soft terry cloth towel scrap and then dried it with same.
I also very gently and very carefully, wiped dust of the gauge's (speedo, tach, fuel & WT)black faces.
Then I used small needle nose pliers to remove the Temp Gauge's Compensatiing Board.
And then used same pliers to install the IPD Comp Board By Pass wire to terminals #1 & #3. Re-installed the gauges into the cluster hsg, and re-installed the cluster into the dash of car.
Reconnected batt cables, and went for a drive.Now the temp needle stays half way between the white border line at bottom and the 9 o'clock position
I do believe theis compensator board was beginning to fail, as sometimes it worked correctly & other time is did not. It varied greatly in it's performance.
I'll see how the gauge acts now with the IPD Temp Gauge By Pass Kit installed.
And the Instrument Cluster now looks much cleaner inside....Pics below
The compensator board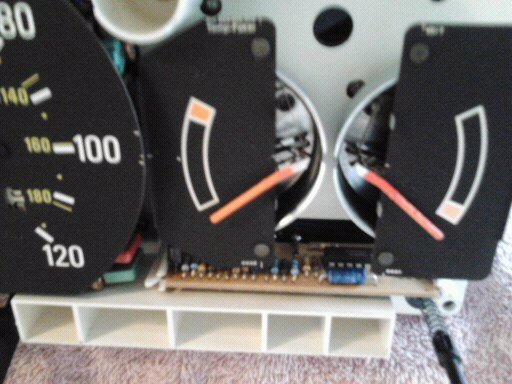
The installed IPD Temp Gauge By pass Kit wire.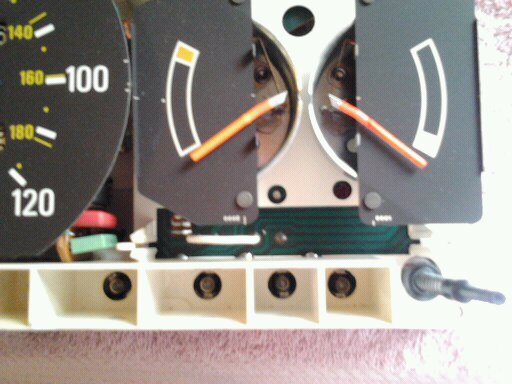
After doing the comp board mod, the Instrument Cluster gauge seems, so far, to have stopped it's erratic readings and stay pretty much in the same place all the time once it reaches operating temps.
Nice to know it was, in fact, the Int Cltr gauge/Compensator Board that was beginning to fail,*and not an actual overheat situation* All the other cooling system components are now all new, so should have years of troublefree performance now.
A spirited test drive tonight after the "Comp Board Removal Mod", comfirms it's cooling *very properly*.


The compensator board, was in deed, *the problem all along*.
10-22-2012
Ordered some nifty little parts from Philski O'Flood tonight, to make the car a little nicer, more classier at night.
More on this mod is soon to come...................................
Meanwhile back at the Ranch.............
I noticed today that the fuel gauge in instrument cluster wasn't reading the full tank of gas. It was registering around 1/2 a tank
I suppose I could have somehow bumped the needle, when doing the comp board by pass kit mod, and didn't realize it.
But come to think of it, the fuel gauge has been acting "lazy" before I started this P/S Rack install *as well as* while I have been driving it, since I installed the P/S Rack.
And it's needle has always had ,what looked like very small mildew spots on it, that none of the others don't have , so it may have been replaced at some point with another, used fuel gauge during the car's life. Dunno for sure.
In any event...I had another cluster from an 86 245, and swapped it/s fuel gauge in the 91 cluster.
It is reading correctly now, but of course the black face finish does not match the others now. So now, I'm looking to buy a good used 1991 flat black 240 fuel gauge now.
I PMed Ken, and hoping he has one.............
10-28-2012
I'm waiting on a 89+ flat black face fuel gauge to arrive from skipskip.
Two days ago I received the "nifty parts" from philski o'flood. They are illuminated power window switches from a 900 series (IIRC)
Seeing as how my original 240 four door sedan driver's switch to control the right rear passenger's door glass would roll the window down, but *not * roll it back up, and all my power window switches were non illuminated , this mod seemed very sensible to me. Not to mention being an upgrade.
I removed all armrests, removed all switch "pods" and cleaned them up, and installed the 900 series illuminated power window switches in my original 240 power window switch pods.
All seven illuminated power window switches work, and they roll window down and back up, and all are now illuminated at night with the headlight switch on parking light position or HL position.
These 900 series illuminated switches are a direct with no mods needed replacement for the original 240 non lighted power window switches and these also make it a lot easier to see the switches at night, and adds a bit of class to the interior in the dark. A win/win, anyway you look at it.
I'll take a pic of the dvr's door window switches while they are illiminated tonight and post it .
Meanwhile here's a few pics of them in daylight and not illuminated .
Driver's door switches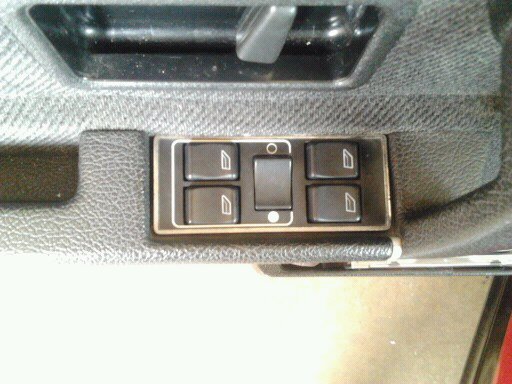
Passenger door window switch
Left Rear (DS) door window switch
Update: nighttime/in the dark pic.
Milage....196402 miles
I readjusted/tighten the HB to A/C Compressor Belt. The A/C Comp pulley is a two pullies in one set up and also , drives the P/S Pump by a second P/S pump dedicated belt.
I also discovered a better belt dressing product at Auto Zone the other day.
* CRC Belt Conditioner* in a spray can. It is much more belt conditioner for money spent, and being in a spray can is much easier and less messy to apply the the stuff I was using that comes only in a small yellow packet made/sold by another company.
It seems I've now fixed the noisy and annoying belt squeelling it had. I hope this remains quiet. Squeeling belts annoys me a great deal. Sounds like somethings wrong don't ya know. I may have to readjust the P/S Pump in a day oe so, we'll see how it does as is for now.
Next up is dizzy cap, rotor button and spark plug replacement. The 1991 Dizzy has the 10mm dizzy shaft. Installing Bosch ignition components. This to be reay for NC Winter. Rather do it now,,, than in December. I usually replace these items once a year. Just to keep it in "top tune".
I gapped the plugs at .028 with a round wire OEM Volvo spark plug gap gauge(from an old 120/140 points set) at 196402 miles . Iput 3 small dabs of Never Sieze on the upper 3-4 threads of each plug. Plug torque spec is 120-168 INCH LBS per Haynes 240/B230F Manual
I replaced the previous Blue Dizzy cap from IPD with a Bosch orange/red one.
Gonna miss my Pretty Blue Dizzy Cap. IPD no longer carries them. Yep, I called.
IIRC Standard Ignition Parts carries dizzy caps in clear and colors. Haven't located where to order them from yet though.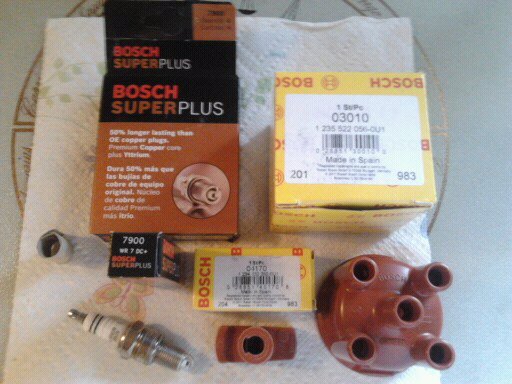
10-31-2012
Today I received the fuel gauge and water temp gauge for the Instrument Cluster I purchased from skipskip in NY, a few days ago. Nice and very clean looking gauges they are too.
My current 89+ flat black temp gauge had been working fine, but it's appearance wasn't stellar. The one I bought and just received today, had much cleaner & whiter appearing white outline, and a much more vibrant red/orangy pointer, than my old one does.........................
The newly purchased and received today fuel gauge , was the correct 89+ 240 flat black like the rest of my Inst Cluster & gauges are, also. Since my old one wasn't registering properly and the spare I've been using was a pre 89 semi gloss face I needed a good proper working fuel gauge. .
I promptly installed both the WT gauge & the Fuel gauge. It was quite easy to do too. Just remove the gauge board from cluster housing, and remove 2 nuts for each gauge and remove the gauge/s, and reverse the procedures.
Took the car for a test drive, and both the WT and Fuel gauges register & work flawlessly. "A Big Thanks To Skipskip !" is in order.
So now my Instrument Cluster looks better and all gauges are registering correct readings.
11-14-2012
Hmmm my 4 year old Advance Auto "AutoCraft" Titanium Battery seems weak ...............
A couple days ago,when it was cold that morning, the battery seemed very weak. It barely had enough CCA to start the engine. I charged the battery fully that evening. And the battery has been starting the car OK for the last couple of days.
I always scratch the battery install date with an ice pick, on the battery's top in plain sight. My markings show 11/2008, so..... I was suspicious, of the low battery CCA and voltage, and felt I should have alt & battery checked out some more.........S
So today I took the car to Alamance Starter & Alternator, as they rebuilt my current Bosch 80A Alt.
They had a new Gizmo, I haven't seen before. A handheld battery & alternator tester. He hooked it to my battery terminals, and it read CCA without load and with load on battery as well as Alt output in volts, and quite a few other things
Turns out that.. with the fog lights, driving lights, headlights, heater fan, and KW stereo on , the alt was still making 13.6 to 13.8 volts.
And with all lights and loads off, it was producing 14.2-14.5 volts. That's the good news............ the alternator passes with flying colors.
But the 4 years old 875 CA/700 CCA battery only had 438 CCA under those same loads and only 500CCA without loads.
This means the battery was missing 200CCA.
Which means it had one or two bad cells. Which of course meant it needed to be replaced. Especially since I hate *unexpectedly* being stranded late at night with a stone dead battery. I hate long walks on cold nights............
So a trip to Advance Auto ,so they can test it,and their battery test also confirmed battery has one or two bad cells And my current old battery class/series/name/ size/CCA and other specs have been "supercceeded" to the Advance Auto "AutoCraft GOLD" series battery.
The old battery had 875 Cranking Amps and 700 Cold Cranking Amps.I forget it's reserve capacity, but seems it was 110(my previous build thread pics may show us)
This new battery 48H6 Class, Advance Auto "AutoCraft Gold" battery has a few more of all the ratings. At 910 Cranking Amps and 730 Cold Cranking Amps as well as Reserve Capacity of 115 Amps. An increase of 35 Cranking Amps, 30 CCA, and 5 amps of reserve capapcity. So a beefier battery is always a good thing IMHO, and IME.
The new battery was priced at $136.99, and my old battery was ProRated whereas it saved me $58.43. So for $83.72 I got the new battery
One catch here though. The old battery had a single large vent nipple, in the center of the broad side facing the firewall. And..This new battery has two rather small vents, one each end of the short ends of the battery. Luckily I noticed this and told the Advance Auto guy, & the Advance Auto Rep, gave me the two slip in L shaped vent nipples for my battery.
I had the old vent plumbed to some clear vinyl hose that is routed to under the car, and 3M double taped to the rear side of front air dam.
Why you ask?
Raise the hood on any 240, look at bottom side of hood that is above the battery. See that missing paint with rust in it's place? ( and holes in hood in bad cases) I prefer not to have that issue. NOW...Keep in mind I have CVOCD. (Clean Volvo Obsessive/ Compulsive Disorder)
Whereas & and Therefore.............................
A trip to my favorite, and often never suspected as an auto parts supply house (Lowes) to get some proper sized clear hose, and to Auto Zone for the plastic T hose fittings was in order,and.....................................
With another episode of my CVOCD, I came up with my new battery venting system. I just connected the (now) two hoses to a T, and connected the 3rd fitting of the T to my existing vent hose that goes under the car and is affixed to the front air dam as previously mentioned.
I also installed two of those round anti battery posts corrosion felts (one red, one green) on the battey posts under the cable terminals.
Now my charging system & battery are in top working order. And I'm ready to install the *next modification* to my 91 240 sedan.
More on that in a few days...............
Pics below:
*EDIT* First pic is of the old battery. I just found it in my PB Account. Looks like I *lost* 5 of the Reserve Capacity spec with the new new battery,as compared to this old one.
But I did gain on the other higher CA and CCA specs with the new battery.
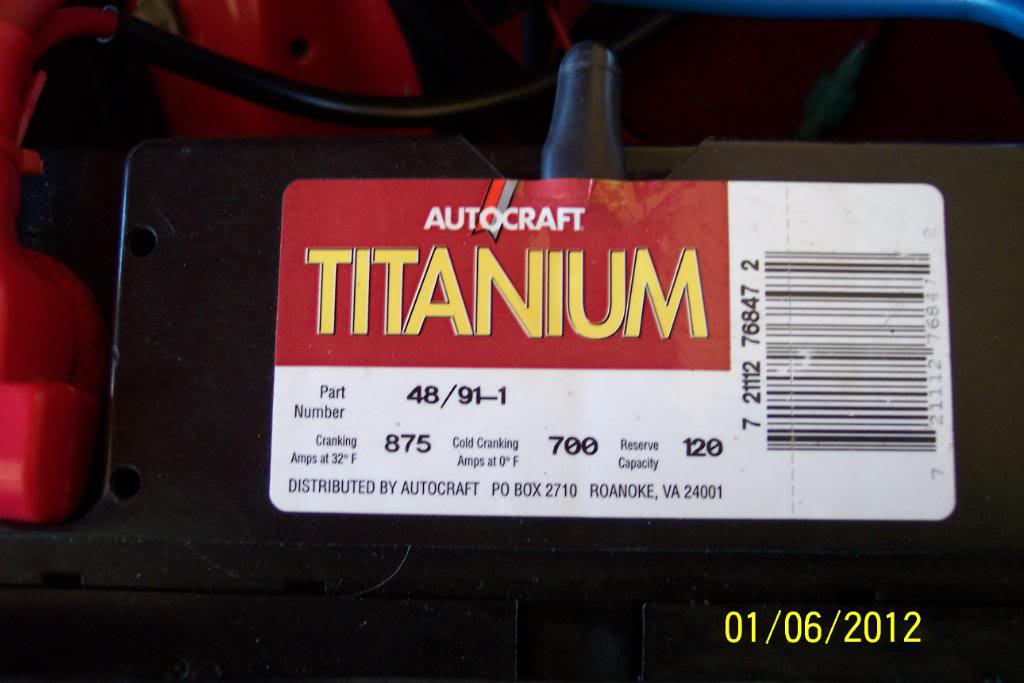
PICS OF NEW BATTERY......

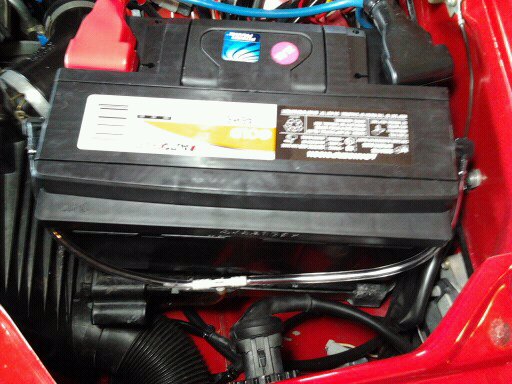
11-15-2012
While this is not the previously mentioned "next modification"...it is something I've been investigating.
And be forewarned, this is one of those "Detail freaks, freakiest detail".
If you're not an absolute detail freak you probably will not be interested in *this mod*, and you might even be in the wrong Build Thread.......LOL, LOL, LOL.
SO........Proceed at your own Peril........................
NOW...........................
The problem is ,that I prefer to turn the dash lighting rheostat that controls the dash lights, down low, so that the dash lights are rather dim while driving at night. This, also cuts down on the Center Console's lighting as well.
And then when I am wanting to use the cigarette lighter to light a smoke, after I light the ciggie, it's hard to see the cigarette lighter's "socket" to return the lighter element without melting circles & half moons into the center console's lighter surround. Luckily I have not melted any circles in it as of yet......BUT.......
Due to the fact that my CVOCD has not let me ignore this problem,I have been looking at different illuminated lighters, whenever the chance arose for the past few months.
I have been wanting one with a greenish illumination. Other than the blue one that won't fit that I posted several pages ago...........But...I have only found this orange/amber illuminated one thus far.
Also... Knowing that many replacement cigarette lighter heated elements rarely fit well/work well in a Volvo lighter socket (they usually pop out into the floorboard or your lap YIKES!), and even cell phone charger fitment leaves much to be desired when plugged into a Volvo ciggie lighter socket.............So,I didn't have great hopes.
I just thought I'd take a wild chance on this one for $7.49 plus tax, at Auto Zone today. So tonight I opened up the package, and compared all of it's pieces, to an OEM Volvo 240 ciggie lighter I happened to have.
FYI,FWIW, it is a "Victor Complete Lighter With Illuminated Well For Chrysler, Ford & GM" . And it's Victor Part number 05140-8
After comparing the new illuminated lighter and all it's parts, to an OEM Volvo ciggie lighter,then, swapping the parts one into the other, checking the operation of it with an OEM Volvo lighter element in the new illuminated lighter's socket, and trial fitting the new lighter on an already removed/spare Center Console Cover I happened to have, to see if it'll clear/have room......................
I have found ......
1) The one part that *is not interchangeable*, is the OEM Volvo knob, will not thread into the new illuminated lighter's heated lighter element, the actual heated element that lights the cigarette. Yea, I know, kinda a bummer there. I was looking forward to having a nice, new,bright red, new element to light my ciggies with a few days if not a few weeks.
2) BUT.....The *OEM Volvo heated element/cigarette lighter* fits in the new illuminated lighter socket just fine. So you have to use your old heated lighter/element in the new lighter's housing.
3)When I temporarily wired the lighter to battery 12V positive and ground and pushed the OEM Volvo heated element ciggie lighter, into the new illuminated lighter socket......, and the lighter element heats red hot, the heated cigarette element pops out *without going flying*, in effect, it works just as it's supposed to. (surprised the heck out of me, this is really where I figured it'd flunk the test, but it did not).
4) Both lighter sockets and outer shells are identically made , *except* of course, for the new illuminated lighter's light bulb attachment/box and it's dedicated hole on it's outer retaining sleeve's housing.
5) BUT.... In order for the new illuminated lighter socket to fit into the Volvo 240's center console cigarette lighter hole, I'll have to enlarge the hole in the Center Console a little. (easy to do with a sharp drill bit turned by hand).........................But this is only due to the fact that the orange sleeve that "colors" the light, slides over the inner lighter socket, requires the hole to be larger................. Without the orange "color sleeve"on the inner socket sleeve, it would fit the existing hole already in the Center Console.
6) *There is enough room*, on the backside of the plastic Center Console Cover, to clear the new illuminated lighter's light bulb fixture, if I turn the "light fixture box" toward one of the four corners, of the Ctr Console's "square lighter hole/faceplate"
7) When the illuminated lighter's "orange lense", is illuminated, by it's small light bulb, it's not overly bright . As a matter of fact, it's just about perfect. Enough illumination to see it by without being too bright/distracting at night. I checked it outside in total darkness tonight.
Seeing as how my current Center Console Cover has a few very small & minor flaws, and is not 100% perfect, and the fact, that I have a perfect Center Console for a spare............
I think I'll wire it up, and install this illuminated lighter and see how I like it. I think I'll be pleasantly surprised during nightime driving.......if not Ican put on the perfect spare Center Console I have a little sooner than anticipated.
I'll report back tomorrow night if all goes as planned tomorrow day. With pics hopefully.
Pics below:
The new lighter kit: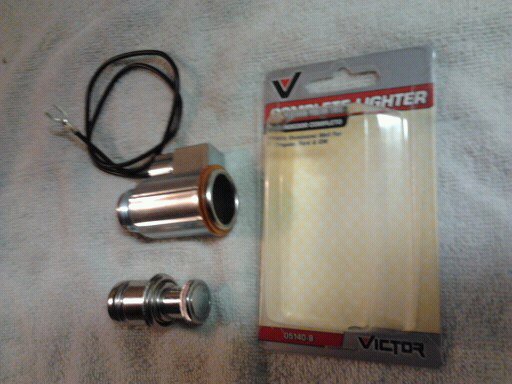
Comparison of new to OEM Volvo lighter. OEM in foreground...
new lighter housings with OEM lighter element
It fits....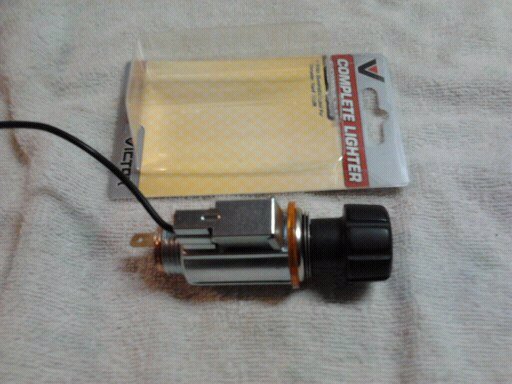
New illuminated lighter trial fit into center console (not drilled out but just aligned with hole)

Update on the battery vent hose........Yep I made a modification to the modification.
After running across some "Instructions" folded up to 1/2 inch square and glued to the + terminal cover today,(just missed them yesterday somehow) then reading it & finding the plug for one of the two battery vents on the positive battery terminal protector, that were on the battery during "storage/shpg", I decided to delete one of the vent hoses and just have one vent hose.
Evidently two are not really needed, and this leaves me a *spare vent elbow* should this one currently on there gets broken or turns up MIA some day.
Not to mention this makes things look a little neater too.
Pic of the (previously missed) vent plug. Choice of which one to plug , is up to owner. I chose to plug the vent on the battery's "fender side"
The one vent left...

11-16-2012
Pictures speak a thousand words..........see if you can guess what I'm up to/attempting to do............


The OEM knob cracked upon removing the stud. Not a big deal , JB Weld will fix that. But I chipped the outer edge of this one & it'll be visible. So, I'll try another one I have , now that I know what to expect.
Well, the second time I got lucky, so went for #3 and was pretty lucky on it too. The second one looks the best of the three though, IE *no chips*.
Now if I can *JB Weld* the new lighter element's threaded stud that's knurled on the opposite end, *dead on center* into the OEM Volvo knob.
This way (if things go right) I'll have a *new lighter element, with the OEM Knob on it*, and an illuminated lighter socket for it to fit in.
I'll also have a usable stock 240 lighter element with the 240 knob, as well as a good 740 lighter element with a 740 knob on it.
Now if I could only find/buy a green, or even a red "lense" for this illuminated lighter.....
I have 3 OEM Volvo lighter knobs pictured below. Evidently Volvo either made a design change, or changed vendors whom made the lighter knobs for them.
Notice the one on the far right, has a *longer knob section*, as well as a *longer shank*.
Sometimes the small changes Volvo made, you only notice/find , when comparing early & late 240 parts eye to eye.
This was some of the "nit picking" ,for sure ,IMO.
I find this , & other seemingly insignificant minor changes Volvo made during the production run of the 240 series, a bit surprising .
Maybe it's due, in part to the "Weight Loss Program" Volvo put the 240s on, and later, other series ?
And...FWIW , I *may have another added surprise* to this lighter knob in the near future.
Pics below:

11-18-2012
Today I removed HL & Dash lights dimmer switches,loosened the Instrument Cluster's screws, and pulled it out some.
After that, I removed the driver's sides knee bolster panel, along with both center console side panels,and then the center console, pulled the Center Console out a tad.
I used a 1 inch drill bit,( I have a big collection of rather large drill bits) turned by "hand power" (no drill used), and carefully took a partial turn of bit, then stop and cut the "burr" left with my Exacto Modeler's Razor Knife, take another partial turn of drill bit, trim burr with Exacto Modeler's Razor Knife repeat.... did this about 6 times & I had a nice round hole that the Illuminated Cigarette Lighter's "lense" would fit through.
I loosened the Dimmer Switch's retaining nut, and worked it out from behind the dash. I used a "two pole chair connector" with a third female connector on it. I then heat shrinked some protective insulation around the female terminal that would be sliding on the Dimmer Switch's + 12V power terminal.
I then slid the Illuminated Cigarette Lighter's "light wire" to one male chair leg, and the main power +12V wire *for the Dimmer switch* to the other leg. I then slid on the female chair leg to the Dimmer Switch's 12V Power terminal Now it is wired to the Dimmer Switch.
I then routed the "light wire" over to the illuminated lighter's "light wire terminal, and slid it on .
I should mention, that I had to remove the OEM Cigarette Lighter's *narrower* +12V Power *L shaped male terminal* that supplies 12V+ power to the lighter's pop-out element when it's pushed in. I then removed the new lighter's *too wide terminal* & swapped it out for the *OEM narrower one* onto the new Illuminated Lighter.
It turns out, that this very same terminal on the new Illuminated Lighter *was too wide* for the OEM 12V+ female wire connector to slide onto I also used the OEM Lighter's L shaped 12V power terminal's OEM lockwasher that goes under same L shaped male terminal, for added insurance against it coming loose.
FWIW/FYI............Volvo made the female 12V+ L shaped male connector, which receives the power to pop-out element wire narrower than the ground wire's female terminal, so one cannot connect +12V wire to the ground on lighter. Good idea IMO
It is also narrower than normal male wire connector terminals used It's similar in size to the negative male terminal on a 6 x 9 speaker.
OK.........
I then attached and double checked the 12V+wire to the new lighter & the lighting wire to it's bulb wire and the ground to the lighter's ground male connector on the outer thread on housing.
Then reinstalled all the Center Console panels , Switch panel, Inst Cluster etc. Buttoned it all back up and checked all my rocker switches for proper operation and lighting up when powering their respective loads.
I had to pull out rear window defroster rocker switch that is on the delay timer and replace it's burned out bulb ( been burnt out a few weeks).
Also, a wire on one of the "Moonshiner's Mod Rocker Switch" had pulled off when I pulled the Center Console out, so I popped that switch out & put the pulled off wire back on.
And popped the Moonshiner's Mod Rocker Switch back into the Center Console, and checked it's operation again. It worked fine. So...Now all rocker switches were operating properly & illuminating too. YAY!
NOW........................
The Illuminated Lighter's amber circular lense is illuminated bright enough to see it OK, but not so bright as to be a distraction while driving at night.
As of now, the way I have it wired, the illuminated lighter's amber ring *only illuminates when the HL switch is in *Park* or *Head Lights On* position*
AND..........When you pull the pop-out ciggie lighter out of it's socket, you see the *white light* from it's bulb, inside the socket itself. The white light with lighter removed is a bit brighter than I like, but it's livable, I think.
I'm going to try it powered like this for a few nights. And see how I like it. If I find that bothers me...............................
I may move the Illuminated Lighters *12V power wire to the light in lighter* to the same Dimmer Switch's terminal that allows the dashlights to be dimmed, thereby it would also dim the Illuminated Lighter Lighting.
I think I might would like that even better. And if I do that, I might even find one of those red colored silicone "bulb boots", and slide it on the lighter's light bulb, so the light inside the socket would be red, and may color the amber lene to more of a red color too. We'll see.............
I think the lighter's bulb would still be bright enough to see, with it dimmed some, when driving with the dash lights dimmed also. I'll update if I do change it.
I kind of still wish it had a green lense so it'd also match the Illuminated Power Window Switch's green lighting, that I purchased from Philski O'Flood. That would be even better IMO. Maybe I'll get lucky,and find a green lense for the lighter later on.
Pics below:
Here it is in the pitch black dark

And here is what it looks like with the pop-out ciggie lighter out of it's socket.
3:00 AM
I have always noticed that the *245 Headliner Dome Light* always has a "reflector" behind the lense. You'll notice the 245's Dome Light's reflector is painted silver too.
But on a *240 sedan*, the Dome Light is nothing more than a clear lense and bulb and is made *without any type of reflector* other than the "inside" of the actual roof's metal
Made me go Hmmmmm.................. what if..........................
So a few quick emails to, and some cool online conversation with, TB's own, illustrious,ingenious and *always helpful* Volvo Decal Maker, Dave Barton, at www.davebarton.com...........
Dave came up with this prototype for me, at my request, and he has another design of prototype in the making also.
He & I will see which works the best. But as of now, this increased the lighting/illumination from my 240 Sedan Dome Light *quite a bit*, Almost double as a matter of fact. And I have the 240 Black/Charcoal Cloth Interior too.
This was "my idea"... but Dave Barton *supplied the materials & did all the work making it*
THANK YOU DAVE! ....... AS ALWAYS...... GREAT JOB!

 ALL TBERS SAY: "THANK YOU DAVE !!"
If the other material he's working on turns out to work even better than this it'll be absolutely *killer*
HERE....I'LL LET THE PICTURES EXPLAIN
It's a *Flexible Mirror* guys.....
And ....it has magnetic backing on it's backside, so it'll stay on the inside of the metal roof panel.
And here's all that Volvo left us as a reflector for the 240 Sedan's Dome Light...ttttttttttt....doesn't work very well IMO
And here's the *FIX*........
Notice you're seeing the *reflection of the yellow side of the headliner*, as well as the cell phone/camera and trouble light's light.
*FWIW, This picture does not do* the "Dome Light Reflector Mod" any justice whatsoever.
The Dome Light Reflector Mod in my charcoal/black 240 Interior, *provides almost double the illuminating effect* that it did compared to without it/the way Volvo did it. Just want to make that 110% clear.
Just got back from a short test drive on dark rural road, and on I-40 lit up with the street lights.
Before this Mod, I couldn't even read a note written on paper in ink, by just the dome light.
And the light is *much whiter light* than before. *Before this Mod*, with my black & charcoal cloth interior,I couldn't see much of anything by the Dome Light. It seemed pretty useless .
But now...after this mod, I can read a note *easily* with no straining, nor finding the "perfect placement" to hold it to view/read the note.
It also lights up the entire front seat area as well as the entire backseat area *muuuuuuuuch better*, than the OEM/without reflector Dome Light ever did. Never lit up much of anything before this mod..........
THe 240 Sedan Dome Light Reflector Mod, is well worth the minor time & effort it takes to install. Install time is @ 3 minutes flat.
Unsure what Dave's price is/will be on this. I still owe him for it. He just sent it to me in the mail to try out/test.
I'm chomping at the bit, in anticipation, of trying the "Micro Prism Reflector Material" when Dave makes a prototype of it, next.
THe Illuminated Cigarette Lighter Mod was well worth the effort to me too. I think I will connect the lighter's "light bulb wire" to the terminal on the Dimmer Switch that will allow it to dim with the Instrument Cluster & Center Console Lights though.
I'll do that later today or tomorrow though.
I'm also working on illuminating the inside of the ashtray too..........more on that later.....................
11-19-2012
Seems I forgot to post pics of the OEM Lighter Knob transferred to the new lighter. So today,I've posted pics today of them both.
Yes, both lighters, because today I purchased yet another Illuminated Lighter just like the one I installed.
I wanted a spare lighter element to go with my spare, and longer, OEM lighter knob. So now I have two brand new lighters to light ciggies with,. One with short knob and one with the longer knob.
This also allowed me to investigate how to solve the problem of the bright white light emitted from the lighter socket, when one pulls out the lighter's pop-out element to light up a ciggie, without having to pull the already installed Illuminated Lighter to do so.. ( just in case it didn't pan out)
Turns out that the light bulb Victor used to illuminate the lighter is the same bulb Volvo used to illuminate the "Fasten Seat Belts" red lense in the Center Console at far right to the rocker switches. This is a huge plus, as I have about 15 spare bulbs now.
And seeing as how, I had a red silicone "bulb color boot" left over from my 52MM VDO Vision Gauges I bought a good while back , because I didn't use them on the gauges, and used all the red ones,except for one , on my "Manually Switched Footwell Courtesy Lights Mod"
I also have all the green bulb color boots left over as well. But the red will match my manually switched footwell lighting and my still to be done, last two lighting mod plans best.(more on those later)
I installed the red bulb color boot,placed the lighter in the socket and powered the lighter/light via the battery. And the orange ring then looked more of a red color, and the red color boot toned down the amount of light, in the socket with the lighter removed from it, and also, of course, colors the socket's lighting red also.
I'll swap this lighter' bulb holder attachment to the existing new Illuminated Lighter currently on my car now tomorrow.Hopefully. I'll post pics of that then.
This will solve the "too bright" white light in the lighter's socket when the pop-out element is removed to light a ciggie, but still provide a soft red light to see where to return the lighter to the socket.
I believe it'll look much better this way.
Pics below:
Two new Cigarette Lighter, both with OEM Volvo knobs. One with longer knob, one with shorter knob .(FWIW,new 240 lighters are NLA from Volvo)
The fix for the lighter socket's white & too bright lighting


I decide to go ahead & install the new light & red color bulb boot tonight.
The "color ring" aound the lighter socket is a tad dimmer, but still very visible in the dark. And now it appears more red than orange , when illuminated.
The big plus is no more *too bright white light* when you pull the pop-out lighter out of the socket now. It's "just right red" now.
Pics below:
This pic is with a 740 ciggie lighter in the socket, as the 240 knob makes it hard to see in pics.
This pic is looking straight on/into the lighter socket with the lighter removed.
Comparison of previous orange/white lighting...and the current reddish/orange and red lighting below:
Big difference huh? Especially while driving at night.....
PREVIOUS ORANGE/WHITE
CURRENT REDDISH/ORANGE AND RED


11-22-2012
My next interior lighting mod, is to alleviate something I've never really liked.
Which is the light built into the rear of the e- brake console, for the rear passenger ashtray and floorboard courtesy light.
Seeing as how I very rarely, if ever, have rear seat passengers, I find the white built in rear e brake console /ashtray/floor light annoying. Not so much that the light interferes with me, just prefer as much darkness in the interior while driving as possible, until, of course when it's really needed.
I first thought of adding a switch to turn it off when I wanted. But not really much of a place left to mount it. So I modified the rear e-brake console light's wiring by cutting both wires and using male/female insulated spade wire connectors, to allow easy light/lense changing/swapping out.
With the light removed, I then made a easy modification to the rear ebrake light's lense..........IE I painted it . Guess what color................
I first tried painting the e-brake console light's lense on both sides, with Testors Candy Apple Red Model Car Spray Paint, but it made the light's illumination pretty dark as far as any actual light. It barely made the ashtray visible in the dark. Too dark IMO, as I do want a little light for rear passengers to see the rear ashtray/floorboard .
So, I tried another spare lense I happened to have, and I painted the lense's outer side only with Testor's Candy Apple Red Model Car Spray Paint. Now, the light's illumination appears to allow a little more brighter red light than with the lense painted on both sides did.
I'll have to drive the car at night to see if this is what I was after, but I believe I'll be happy with it. It's enough light for passengers to see t shtray and some floorboard area, but nothing excessive.
Pic below:
That's the flexible stalk of the Hella Map Light (with red lense) bolted to the rear passenger ashtray, in case you're wondering.
11-26-2012
Start of another mod...........
Bought two of these.......
Modded them both to this.......

11-28-2012
Made these out of round billet aluminum stock today..............

11-29-2012
Decided to do another little project today, before contining with the previous one.
Today...... I decided I'd put the rear side collision braces back on. It seems to help align the gas tank/make it fit *to the chassis rail better with it*, than without it. Who knows, might help me survive a collision/gas tank puncture some day.
I also read a thread on TB, where another member removed these braces, and it caused the gas tank seams to leak. Surely don't need those problems. So for now, they're back on the car.
Taking the braces of *seemed to affect* the gas gauge's reading some too, but that might be caused by another yet undiscovered problem, don't know for sure yet. Should know in a week or two....
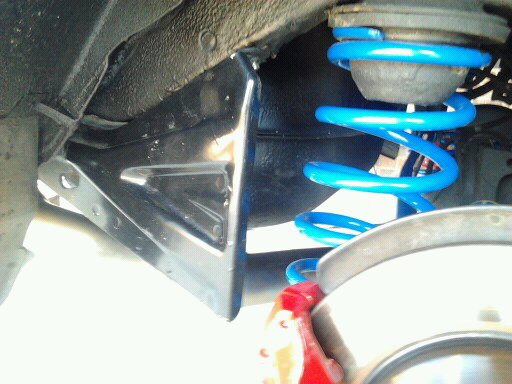

Gonna put the gas gauge "before & after" comparison pics here too, so I can see if there's any difference
Before....
After...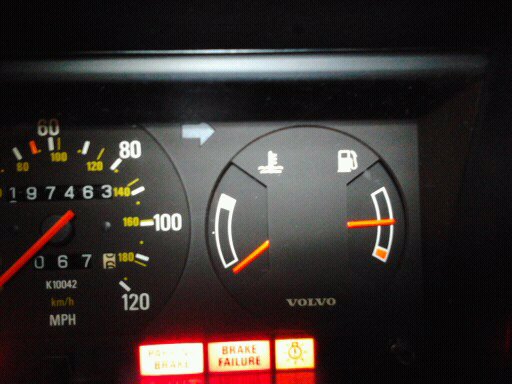
FWIW, after all the OEM Volvo lighter knob to aftermarket lighter element ordeal, I found an *NOS OEM Volvo 240 cigarette lighter* on ebay.
Since I've been looking for a NOS 240 lighter for around 5 years or more, *I bought it*.
This will also give me a *perfect specimen* , for yet, another mod that is soon to be revealed...............
In the 3rd pic below, notice the OEM Volvo NOS lighter on top, has a different shell than my aftermarket lighter with OEM knob has. Both work fine in the socket, but at least I'll have a genuine Volvo 240 lighter when needed, in the future..... for..................car shows?
I also have *two other very hard to find 240 parts* I bought on ebay, that should arrive this week or next. I have also been searching for these perfect items too, for around 5+ years. And I'd almost given up hope.
I'll post the pics when they arrive....but.... WARNING...you might be jealous when you view them.
Genuine OEM Volvo NOS lighter on top in this pic. My modded lighter on the bottom.

I have been working on the mounting brackets. I think this set up will work OK. I won't know for sure until I re-install the carpeted fiberboard interior/trunk partition panel, and then install the mounting brackets.
It appears to be a "this should work" deal thus far.........but might not be the final method of mounting brackets/mounting.
The left side mounting bracket I clearanced to clear the sunroof drain piping....
The right mtg bracket

And the bracing on the interior side...
12/1/2012
FWIW, All materials for this project was purchased at LOWES, my favorite Volvo mod store. Except for the round stock billet aluminum for the spacers, which I already had
Starting to make some noticeable progress now..........finally.
Pics tell the story..........


Trial fit proved it'll work AOK and be plenty sturdy.
Improved the interior side's partition panel bracing a little today also...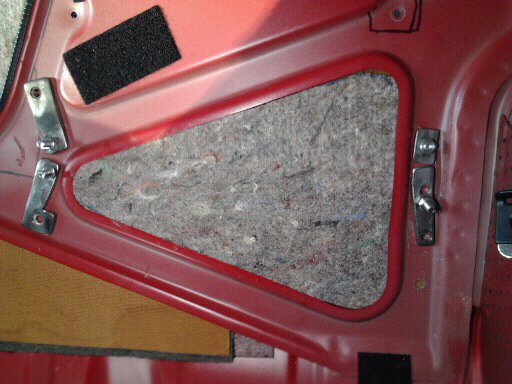
Then I disassembled it all for painting.....with Rustoleum (my favorite spray paint). Semi Gloss Black and Gloss Red
Stay tuned, more to come...........
12-2-2012
Picked up some Stainlss Steel fasteners for the project. Along with a few non stainless ones.
I'm off to the garage to buff/polish select/certain ones to a much higher luster........................


FWIW, the mounting bolts and screws are 1/4-20 bolts and 8-32 machine screws, and 8-32 studs. I'm unsure which 8-32 hardware I'll actually be using at this time, so I'll have to wait & see.
I now have most, if not all the stainless steel hardware I'll be using, polished to a show quality mirror finish............
Notice the before & after comparison in the 1st three pics.....


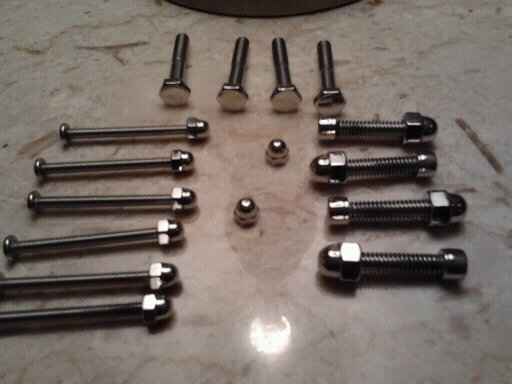
12-3-2012
Bolted on the Semi Gloss Black Brackets today, for the *last time*. I've installed, trial fitted, then removed these brackets in the neighborhood of 15 times total, to get this far.
Nice to know they are now a *permanent fixture of the car*, so to speak.
I then cut a piece of flat cardboad box, and held it in place, while I punched the holes in the brackets, into the cardboard. Putting in a 1/4-20 bolt after punching each and every hole through the cardboard.
Then layed the fixture to be mounted on top of the now bolted down to the brackets cardboard , and punched holes into the cardboard for said fixture to be mounted to the cardboard.
Now I have a *perfect template* to cut, shape & drill the shelf/platform out of. Yep.
Pics below:

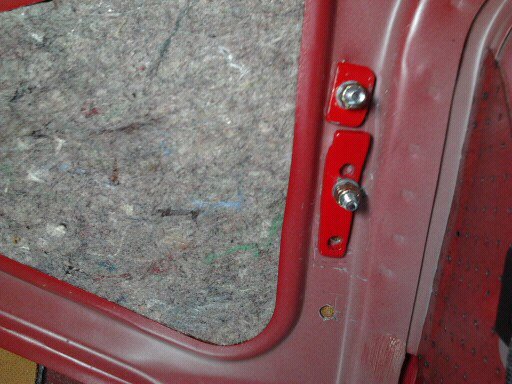

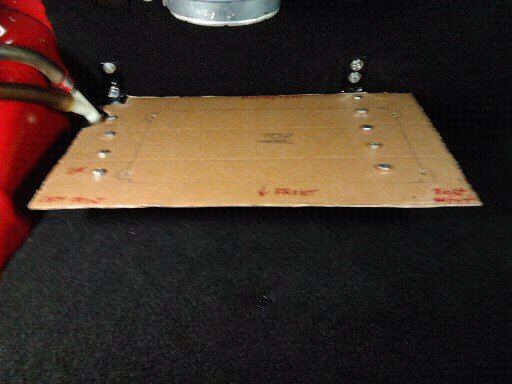
Allowed plenty of clearance for Sunroof drain pipes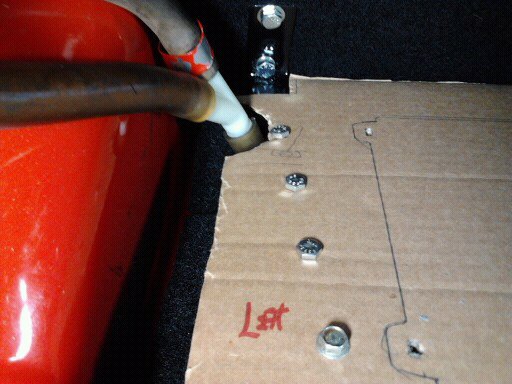
12-5-2012
I received the "hard to find in good condition parts" I found & ordered on ebay today. I now have a 100% perfect set of Left/Driver's Side & Right/Passenger 240 Sedan Inner Tail Light Covers, *plus* two spare right/pass side covers.
Maybe I'll get lucky, & find two left side covers to make a total of three full sets later on. Always nice to have spares....
All have both upper "hinges","plastic nut fastener", and all look exceptionally well in appearance. Not a crack in any of the four covers.
Only took me @ 5 years, maybe more, to find these perfect 240 sedan taillight covers.............
Pic of all four....
The matched set.....
And I also cut out the oak wood board, then drilled out the mounting holes in the board, using the template I made yesterday.
But I have a little more work to do to the mounting board, before it's ready to fasten to the metal L brackets.
12-6-2012
Today I trial fitted the board I cut, (again) bolted it down. Needed more clearance , so I shaved about 1/4" off the rear of it for clearance between it & the interior/trunk area partition board.
I shortened the aluminum billet spacers by a little more than half of their original length. Then cleaned them up using scotchbrite while spiining them on a 3/16" x 2" machine screw, locked in place by a ny-loc nut.
Trying to decide if I should leave them in this natural brushed look with clear on them, or just paint them Gloss Black, or maybe Semi Glosss black. I'll figure that out later.
I finished cutting out and drilling the oak board. This is the finished shape. And I've got ll th holes drilled, including a hole in the front, center, to mount an adjustable set up so I can "scotch" it up with, for added mounting strength, against vibration/shaking while driving.
I have also decided to insulate the oak board from the metal brackets by using rubber washers I found at Lowes. These will also allow me to "shim" up the board to make it level, if needed.
Unsure if I'll use just one for each mtg hole or use two. I'll decide after I apply the carpet to the oak board, and go to mount it. They are 1 & 1/4 " diamter with a 1/4" center hole, and fit the purpose nicely.
12-8-2012
I found the items to make the adjustable "leg" tody, you guessed it, at Lowes. Also picked up some 5/16 x 1 1/4" stainless steel fender washers and SS 5/16-18 nuts to help support the leg to the wood better too.
Also picked up a couple 5/16-18 Acorn nuts, and several items to use to make the adjustable leg, and some Soft Touch Brand 1.5" diameter "Grippers" (for bottom of furniture legs) to use as a pad on the trunk floor and on the bottom of the "adjustable leg" for added vibration insulation. Sometimes it's just amazing what cool items one can find at Lowes for various car mods.

Assembled adjustable leg....
I then pulled back the driver's side trunk carpet that covers the wires going to in tank fuel pump. I slightly re-routed them, and taped them to the trunk floor, to make sure the adjustable leg is not sitting on top of the wires.
The adjustable leg will sit where the indentation is . 
And how it'll fit,and support, when bolted to the wood 

This makes it much sturdier too.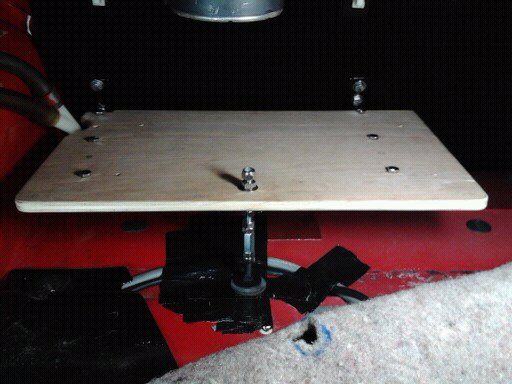
Now the next step is applying black indoor/outdoor carpet to the wood, and punching through the carpet where the holes are in the wood. I've added the leg hole to my original template to help make that much easier.
12-10-2012
I decided to make one last mod the the NOS mounting board.
I made two more spacers, and bought a long brushed stainless steel drawer handle, and polished it to a chrome like finish. The polished SS drawer handle will sit on the spacers and will act as a "guard rail" of sorts, as well as add a little class & pizzaz to appearances.
I then measured the board, and centered the "gaurd rail". Then I drilled two holes in the board by which to mount the rail. Then layed my template over the board, and transferred the holes to the template.
This will make it easier to find and punch the holes through the carpet I intend to cover the board with later.
Now it's time to paint all the spacers, and cover the board with black automotive/indoor/outdoor carpeting.
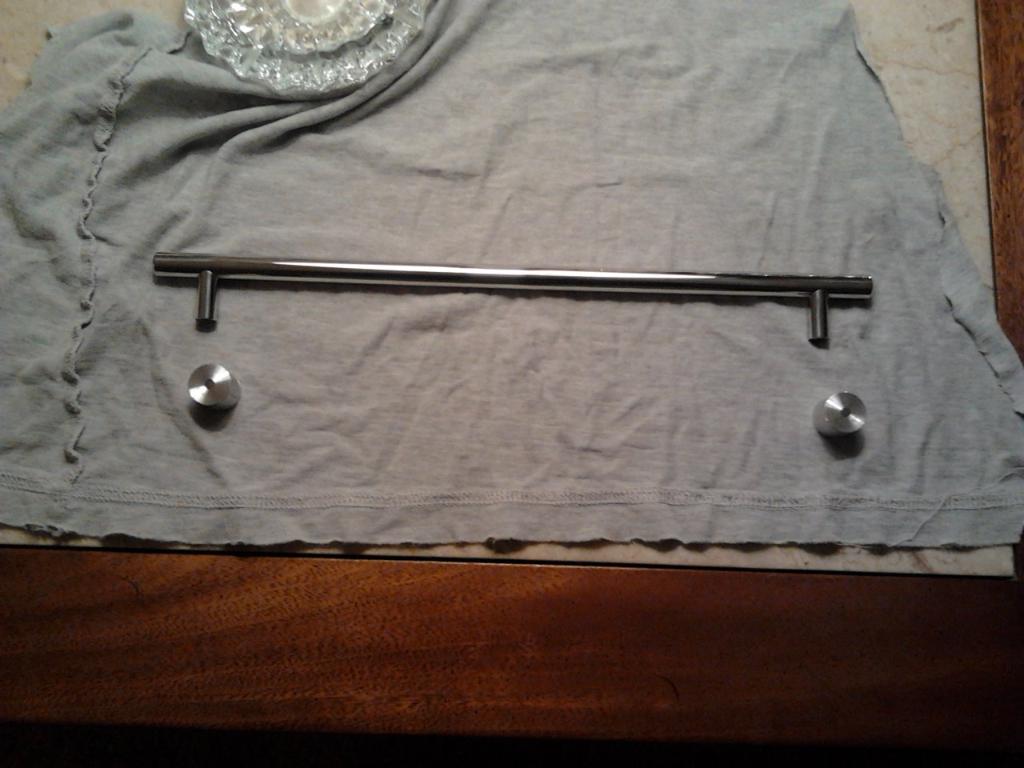
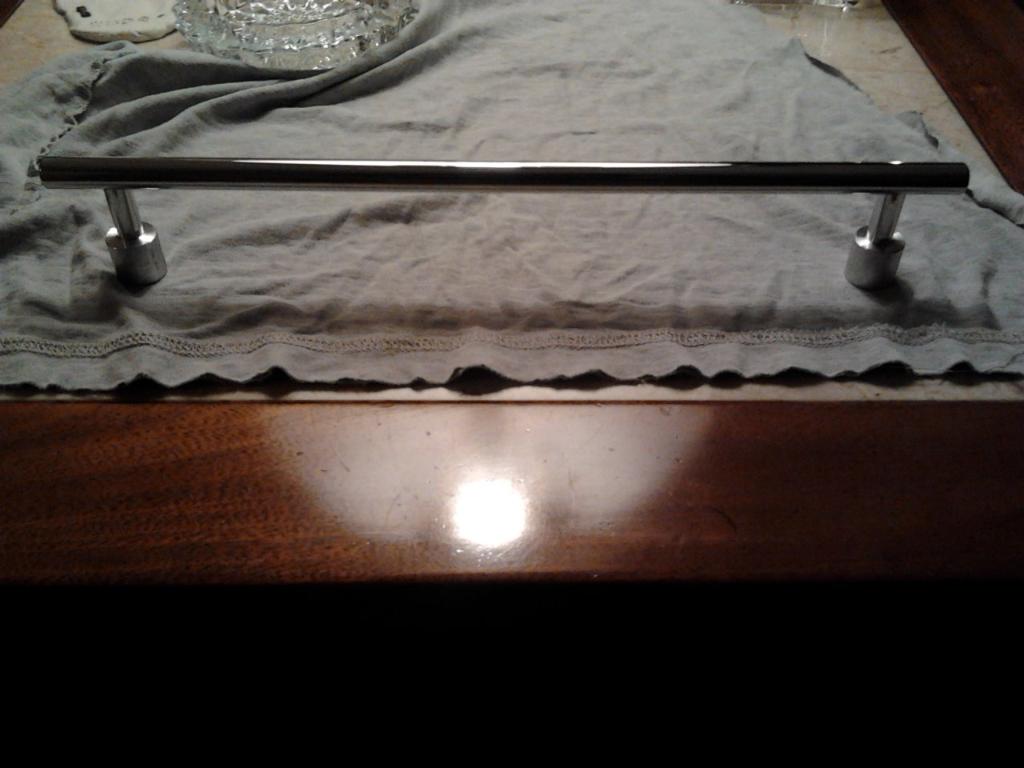
Almost forgot to mention...............
I tried the new prism material for the dome light reflector. I found the mirror reflector dispersed the light better & illuminated more of the interior.
I've got 4 more mirror type reflectors on the way. Two for each of my two trunk lights. It should should help the trunk light illumination too.
12-12-2012
I realized a had forgotten to buff a few pieces of the stainless steel mounting hardware. So I did some more buffing.
And now, I finally have it all buffed to a mirror like luster..........here's a pic of all of the freshly buffed stainless steel mounting hardware, with a few extra one just in case....and the six un-polished fender washers will go on bottom of brackets, so I didn't polish those.
IMO, these polished SS bolts, washers and nuts should look quite good, against the black carpeting I'll apply to the board.
And applying the carpet to the board, and painting the 6 spacers is the next step.
12-12-2012
On another note,............
Today I received a package from Dave Barton via USPS.
Remember my used OEM Volvo cigarette lighter knob to a new aftermarket/illuminated ciggie lighter mod?
Also remember I got a OEM Volvo NOS Cigarette Lighter off ebay ?.......
Dave made some primo lighter logo decals from the NOS lighter knob's logo. So now,all my modded lighters knobs, which the logo was worn off of, will look new again.
He also sent me 4 more dome light mirror reflectors for my dual trunk lights. I'll install those tomorrow. BTW, Dave makes some killer stuff! They look great, much better than in my much to be desired bad cell phone pics.
THANKS DAVE!
Pics below:
BEFORE....Notice my modded lighter on the left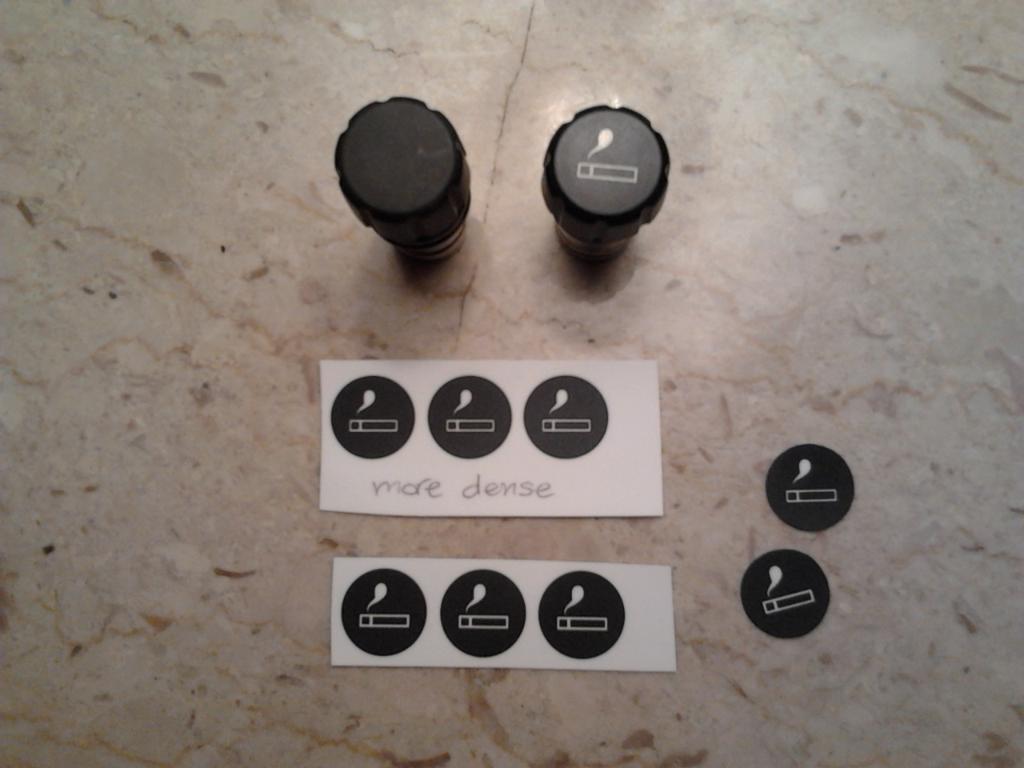
AFTER.....
12-14-2012
Got some work done ........
I finally thought of a way to "fixture" the spacers so I could paint the tops, bottoms and circumference all at one time, and then hang to dry. A few Q Tips and some mechanics wire did the trick. (See the pics)
I sprayed them gloss black, let begin to dry for a few hours, then hung them inside the oven set on broil but on "warm" for around 6 hours to hasten the drying time.
While the spacers bake dried in the oven...................
I covered the board, with "automotive carpet" I bought at........................ Auto Zone for 10 bux (thought I was gonna say Lowes didn't ya? LOL)
It is black, very short knap and very thin, and *very easy to work with* when covering objects. While I do not profess to be an upholsterer, I do think it came out AOK.
I used LOCTITE SPRAY ADHESIVE PROFESSIONAL PERFORMANCE *HEAVY WEIGHT BONDING* glue, liberally, on both wood and carpet back.
After it dried a little while, I used the template and 3 sharp scribes/ice pick, to find/locate the holes through the carpet.
Then I used 1/4", 5/16 and a #8 machine screw respective to hole size needed, held by vice grips & then heated the fastener/s with a propane torch , to burn through & "cauterize" the holes into the carpet. So no "runs" happen later on, and it worked like a champ.
I covered both sides fully, although had to piece in the bottom in 2 or 3 very small spots. But it came out looking very good and is built to last
It'll be all down hill from here...........I hope. As it has been quite a lot of work to build this NOS platform.
Ingenious huh?  Hey it worked...
If I'd painted them red & green they would make very nice Christmas Ornaments. LOL
Cold Weather Workbench
The finished product.
Heavy Metal ? LOL
I mounted the Guard Rail on it's spacers to the board today. And also mounted the adjustable third support.
I'll do the final test mounting it to the car, either, tomorrow or Sunday.
Doesn't look bad if I do say so myself.............


12-21-2012
I thought the Planet Earth was supposed to come to a fatal end today ? LOL
I've got most of the length of the NOS Wiring Harness I'll be using , covered in used OEM Volvo wire sheathing for added protection. Still waiting on a few other small safety wiring items to arrive in the mail.
12-28-2012
Hope everyone had a Merry Christmas / Happy Holiday. ![]()
I've been investigating the best place/way , to route some wiring ....and I have found out the best way to run the wiring harness. Will route it tomorrow.
I should have some finished NOS install pics in a few days..............
12-29-2012
Thanks to a suggestion from badvlvo, I figured out how to run the harness through the firewall & to the trunk where the NOS will sit, on it's platform. I've gone to great lengths & have tried very hard to 100% ensure this harness never gets wet, in case of heater core leaks later on, nor gets cut/scraped/shorted out, should something unforeseen happen.
Keep in mind the *entire wiring harness is/ or will be, covered in OEM Volvo wire sheathing it's *full length*, in addition to any hose covered areas .
Yep, my CVOCD kicked in alright.................................The pics tell the story of the last few days work. More to come very soon.
Removed the two nuts on the inside under the dash, on firewall to remove the *Hydraulic Clutch M/C Delete Plate*
"What light through yonder window breaks?" 

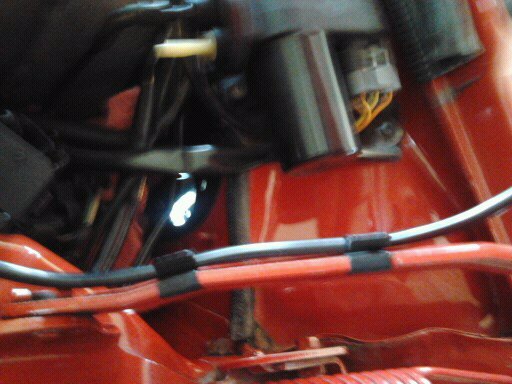
Got the delete plate off and cleaned it up.Then I drilled the 240/260 hydraulic clutch M/C delete plate with a 3/8 drill bit, then drilled the final hole size with a 25/32nd drill bit to obtain a tight fit for the next step.
And after drilling the 25/32 hole.I then used a bench grinder/wire brusher to de-burr the slag off the back side of the hole,brushed it on the wire brusher, and then smoothed up ID of hole some more by sanding it very smooth

Then I painted it Semi Gloss Black, with good ol' Rustoleum SG Black.

I used 1/2" ID gasoline hose to act as a grommet to protect the harness from cuts if should have an accident. It extends about 6 inches through the firewall to engine compartment, so it'll run under & "disappear" under the factory strut tower bracing along with the other wires there. OEM sheathing will continue under the strut tower brace plate, to end of the harness. 

I also pushed the OEM Volvo wire sheathing into the end of the gas line, and then used PermaTex Ulta Black Hi-Temp RTV Silicone Gasket Maker, to make a 100% water proof seal. I'll probably add another layer of RTV after this layer dries fully.

I then slit some more 1/2 gas line I had, and added it to the harness, and closed it fully and fastened it shut with some small wire ties.
This piece of hose goes all the way to the floorboard. I had to cut off about a 1/4 inch off the bottom of the "4th pedal" cover.
So now, absolutely no chance of the wire harness getting cut/shorted out. Also, in the 2nd pic, you'll notice that above the uppermost last red tie wrap, you can see the @ 5 inches of the " through the firewall/grommet hose" that is *not slit* .
I'll use some more RTV to seal that hose to the delete plate on the *interior side of the firewall, for further waterproofing/windproofing. That hose fits nice and snug in the delete plate's hole though.
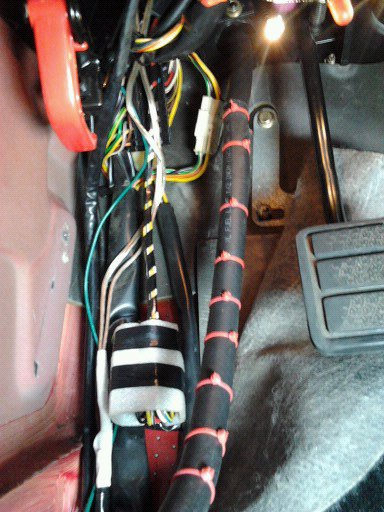
This harness is carrying up to 50 amps from the battery , from engine compartment, through the interior(under carpet) & all the way to the trunk.
Better safe than sorry, IMO. Ever have a heater core get a leak & wet the floorboard reeeaaaal good?
And FWIW,We do have very heavy rains, with mild flooding, here in NC, from time to time during the summer.
I came across a 3 ft + deep , 500 ft long "puddle" during the last one a few months ago.
A pick up trunk was stalled in the edge of it and the puddle's water was in his cargo area .These rains are are *rare* but we usually get at least one about every summer.
Also, I have 5 deer in my yard "right now*, have hit 3, killed two, with my Volvos, all less than 1/16th of a mile from my house in our "developement" , and that was *before* getting to Hwy 70E from my street.
And ya never know when a dummy is going to hit your car out on the streets. This way I'm covered as well as I can be.............
Hey, it's taking quite a few amps from the battery to some expensive items in the trunk...........plus I already *had all these items I used*...always a plus there....
I also am not taking *any chances* as this cable will reside under the carpet for many , many years to come.
12-30-2012
The supplied insulation on the cable really wasn't very thick , at least IMO. Is quite thin as a matter of fact.
And it seems to be some sort of somewhat soft silicone/poly insulation. See pics at bottom of this post.
And I didn't like the idea of trying to *find a proper sized grommet*,not to mention the time & gas spent locating a grommet that fit the cable with sheathing on it snuggly. and then trying to pull the cable through a true automotive style firewall grommet, while the grommet would keep popping out of the hole.
The used OEM volvo sheathing is several separate pieces, one slid into or over the other where they meet, and then heat shrinked over the slip fit junction.
I didn't see this type of pieced together sheathed cable, being easy to pull through the Hyd, M/C delte plate with a normal grommet in place in it, and it *is not easily accessible* to get to , nor feed the cable through, by oneself, under the hood. And not too easy to get to under the dash either.
I think my way will work and look just fine. I already had the fuel line and wire ties, so why not use them?
I feel better having run the cable in sheathing. Volvo used it on all interior wires ya know, especially those wires under the carpeting and rear seat.
Looking at end of strip cable insulation
And the fact the wire has impressions on inside of the soft insulation, making it "functionally thinner" than it actually appears at first.
Looks AOK to me......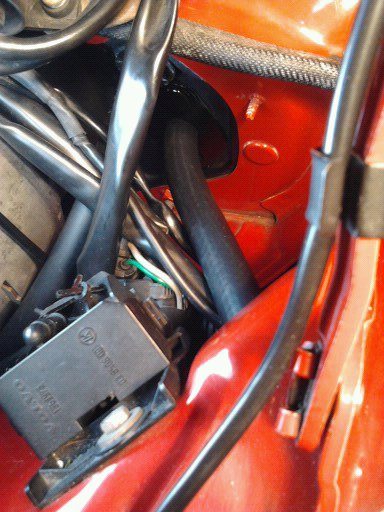
1-7-2013
The 1st half of the NOS is installed now...... (New Obstreperous Stereo).
If you'll recall I never said Nitrous Oxide. I said NOS, which could have stood for a number of things, some of you just let your imaginations run away with you huh? ![]()
Although I've installed many head units in cars I have owned over the years....this was the first time I've ever installed a stereo amplifier in any car.
I had a pretty good idea as to how I wanted to mount the amp, and I also read a lot of amp install/info articles on the internet and got some other good ideas.
Also, I'd like to give some special credit to my good friend badvlvo, for answering a number of my questions, concerning the finer points of how to avoid the pitfalls of "noise" in the audio system, and keep it to an absolute minimum, & concerning the details of what makes a good amplifier install and the best and easiest way to go about it correctly. .
Thanks badvlvo, I really appreciate the advice/help you gave me!
FWIW, I think I did a pretty good job, especially considering it's the first amp install I've ever done.......
Now for the details of the amp install.......mostly in pics...............................
Used an existing hole.......

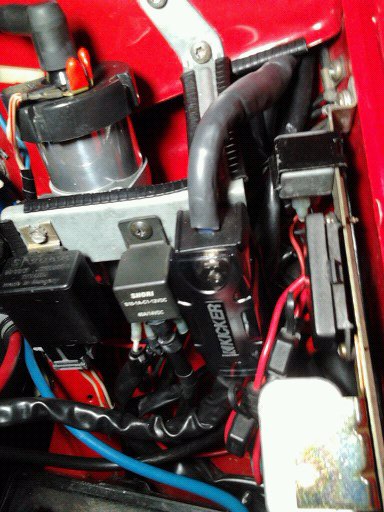
Added some OEM Volvo edge gaurd for added protection from the sharp edge.
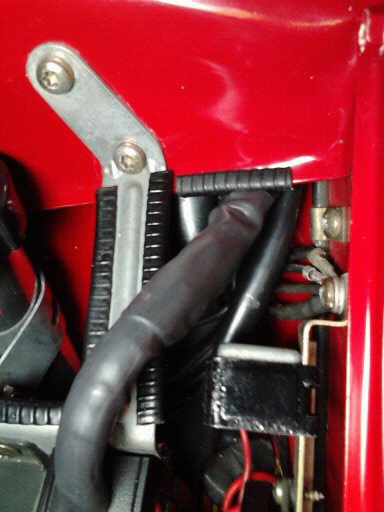

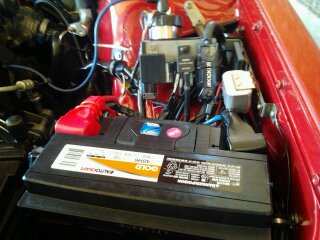
Then ran all the 12V 4 ga cable to carry the amps to the amp, and the RCA cables. 

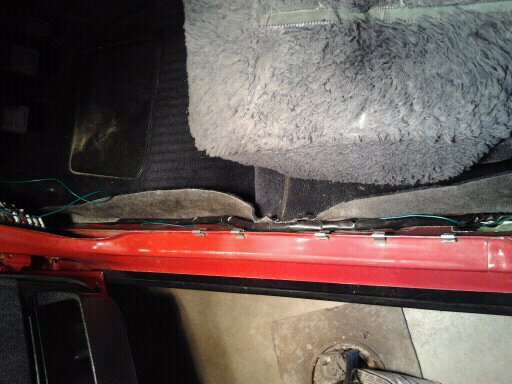
Made a ground lug with a 5/16-18 bolt, lock nuts and star washers, and hooked the ground cable to it
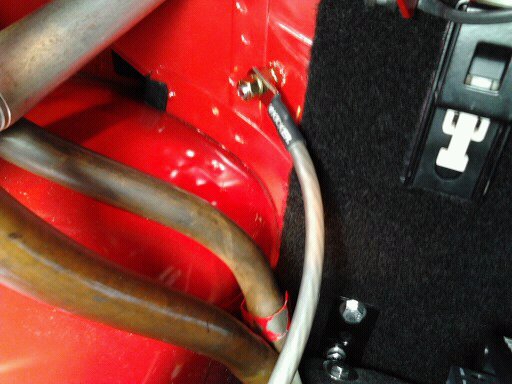
RCA cable routing starting at under dash, using 1/4" fuel hose as wire sheathing in certain places


Notice the red silicone vaccum hose I used as sheathing here & in trunk to help hide the RCA cable. 

I carpeted the oak plywood platform, and bolted on a polished stainless steel "guardrail" to the platform. I then mounted the brackets I'd already painted, to hold the amp's shelf platform , then mounted the finished carpeted platform to the brackets, and then mounted the amp and the now painted aluminum spacers onto the shelf platform.
I used previously polished stainless steel hardware, with rubber washers, as isolators, at all mounting points.




Ran the 14 gauge 100% copper, silver tinned Streetwires speaker wires as neatly as possible.I used black nylon clamps at the partition panel, and amp platform locations and used metal with rubber trim ones under the package tray panel The latter look just like OEM Volvo clamps used under the hood, for added "stealth/factory appearance" 


And then clamped the amp's 12v power cable, ground cable and remote turn on wire to the amplifiier
Then finished the wiring by hooking up the RCA cables to amp and using a clamp to keep them within the platform's end perimeter .
Then I decided to cover the "adjustable center support" with a new small piece of 5/8" ID washing machine hose, to make appearances a tad better and hopefully giving it a more finished appearance.
I also added 5/16" vinyl grey bolt end covers ,over the platform's and the amp's mounting nuts for a more finished appearance. Those will also help keep from scratching any items, I may place under the amp platform later on. 

For those who are interested, all the mounting hardware, L brackets, screw end covers, SS bolts,nuts,screws, oak plywood,, and everything else used to mount the amp was purchased at Lowes. I purchased the thin black carpeting, covering the platform at AutoZone.
Audio Equipment Info
I purchased the JL audio JX360/2 amplifier, the Kenwood Excelon KDC X-896 Head Unit and the 14 ga. Streetwires 100% copper, silver tinned speaker wire from Crutchfield.
I purchased the 16.4 feet long StreetWires Zero Noise ZN-7 Interconnects/RCA cables and the 20 feet long ,100% copper, silver tinned, 4 gauge/1000 watts Kicker PK4 Wiring Kit with Fuse Block with 100 amp fuse, from www.sonicelectronics.com Both cable sets worked out just fine.
I had to buy 50 amp fuses for this app though, so I purchased the ten 50 amp Mini ANL fuses from coast_national_sales on ebay for a very decent price, just to have a few extras.

And tomorrow, I hope to install this Kenwood Excelon KDC X-896 HU , weather permitting. It has a lot of nice features my other KW did not have. I'll likely put the old unit in my other Volvo ('79 245) at a later date.
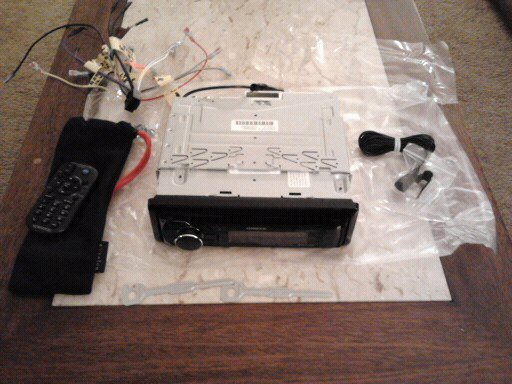

1-9-2013
I'll post pics of the HU after I get it secured in the lower cubby. I just returned from Automotive Fasteners with some longer screws, as the Kenwood supplied screws were much too short to even start into the HU's mtg holes once placed through the cubby hole's side panel mtg holes.
1-10-2013
I already had a mid to late 1970's OEM Volvo radio faceplate I had cut to fit the previous KW HU.
So.........................
I mounted the KW X-896 HU without using the "slide over unit mtg deal." it comes with.
I cut two pieces of wood the width ( < > ) of the cubby hole for the HU to sit on, at the correct height in cubby hole. And cut two pieces of wood to fit in the slots in both sides of cubby hole to center the HU. I glued all four of those in place.
To hold the HU firmly in place ...................
I drilled two holes in the small sides of what was left of the OEM cubby hole/radio mounts, to align with two of the holes in HU closest to holes in cubby hole's side "brackets" for the OEM radio.
Before screwing the screws in, I cut a piece of wood to place between the rearmost hsg of HU and driveshaft tunnel. Then screwed the mtg screws into HU's mtg holes.
This fastened the HU in the cubby hole centered, and at the right height to sit squarely against the Ctr Console's radio opening. Looks like an almost OEM fit .
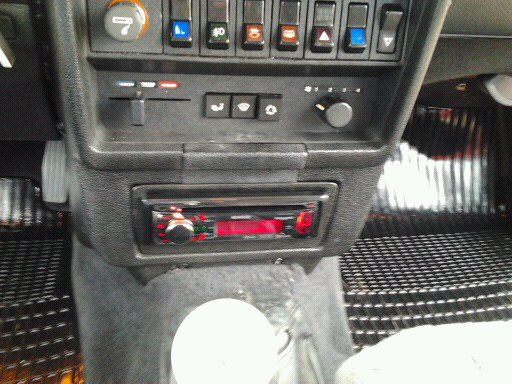

1-12-2013
My, oh my........... CVOCD is such a terrible affliction............. ![]()
Tonight/early this morning, I re-installed the rear seat.
With the grey felt insulation I added to the floorboard and the metal X partition panel under/behind the rear seat halves some time ago.......and with the added bulk of the RCA cables,wiring and 12V amp power cables,under/behind the two sat halves, plus the amp platform mtg bolts protruding into the interior side of X panel, it made for a pretty snug fit. But I got both seat halves in there.
Then I decided to "tidy up" the positive cable, the ground cable and remote turn on wire, where to come through partition , and to the amp.
I added some sheathing to the positve & ground cables, and replaced the remote turn wire's sheathing with some smaller ID sheathing.
I then used some red & black velcro cable straps to mark the positive & ground amp cables, for future reference. And then used a tie wrap to hold the positive cable, ground cable & the remote turn on wire, together, but loosely.
It looks much more professional and has quite a bit more of a "finished look" now IMHO.
Pics........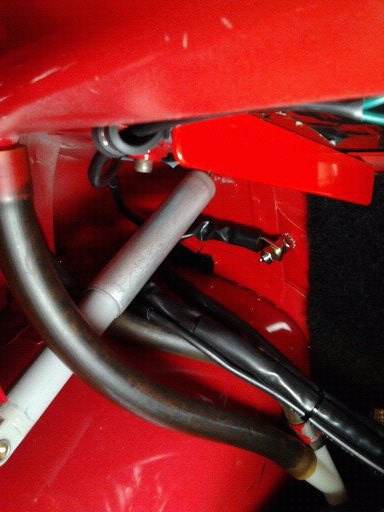
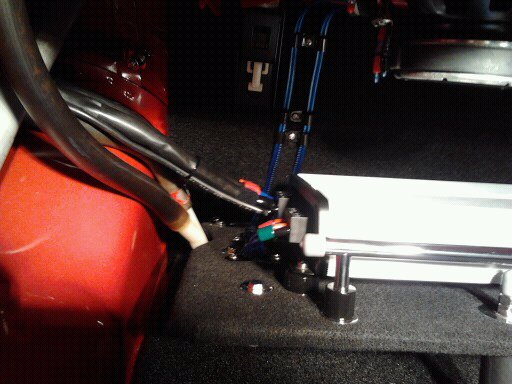
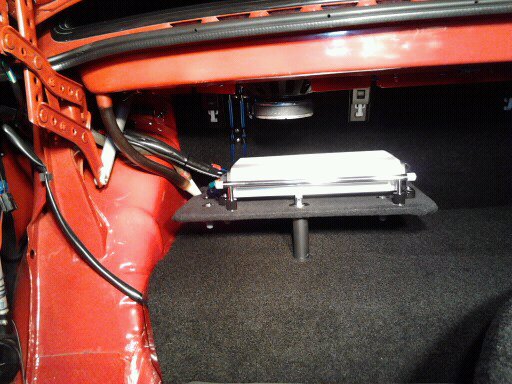
1-13-2013
Seeing as how, I've done everything I can , to make whatever is in the trunk to look as nice as possible (carpeting,etc),.
One thing that I thought really detracted from trunks appearance is the yellow foam rubber that is stuffed into the holes at the L & R top corners in the holes in the the metal X partition panel.
You know, the hole where I ran the 4 gauge positive amp power cable through, and into the trunk from the interior.
What? You didn't know they were there? .  Well I discovered them when looking for a hole to pass the cable through....and there's one on each side..
Now I know I'm the *only one* that'll ever notice it, but I decided to try to color these trapezoidally shaped foam rubber blocks to match the red paint on the car, and in the trunk.
I find Rustoleum Red High Performance Enamel, in a spray can, is pretty close to the same shade of Volvo # 601 red (IIRC, that's the correct paint code number) Close enough for this mod anyway.
BTW, You *have to use enamel paint*. Laquer will dissolve the foam
They'll look better than they did dirty yellow, in any event........but only a detail freak like me would care....LOL
1-15-2012
OK,Old Iron......if you're a detail freak like myself ( I already know rporzio is LOL)...............
Not a bad color match for something out of a readily available Rustoleum spray can, IMHO.
And for those who aren't familiar with where these actually go....
BTW, They're much harder to notice now, aren't they?
Passenger side
Driver's side
1-16-2013
While I'm gathering parts for the next planned modification......
Here's a mod I did sometime ago, that I mentioned in another thread, but never transferred the details of, to this build thread.
This mod was to enable me to carry a OEM Volvo Virgo 15" x 6" wheel, with a 205/60/15 tire mounted on it in the trunk.
I purchased an Amercan car style spare tire holder/fastener, used a angle grinder, to remove the paint from the trunk floor, to bare metal .
Then JB Welded a strap I fabricated, to the trunk's floor. Popped a hole through the insulation, trunk carpet, and trunk matt.
And installed the spare tire holder kit I purchased at Auto Zone. Used a 2" PCV plastic pipe end cap, drilled a 5/16th hole through the end of it.
THe carpet tire cover is from a AMC Spirit. AFAIK it came with the car new. It lent itself well, so I used it.
By mounting the spare on the trunk's floor, it keeps the spare tire as Volvo had it located, from cracking the driver's side black plastic tail light cover, that protects the bulb fixtures and printed circuit board. But mainly because a 15" Virgo with a 205/60/15 tire will not fit in the OEM spare tire well
Also, in case of a flat on a high traffic roadway, it will make getting the spare out of the trunk much quicker/easier, than wrestling with the carpeted spare tire cover, elastic strap etc of the stock set up.
So, several "pluses" by mounting the spare in this manner.
Pics...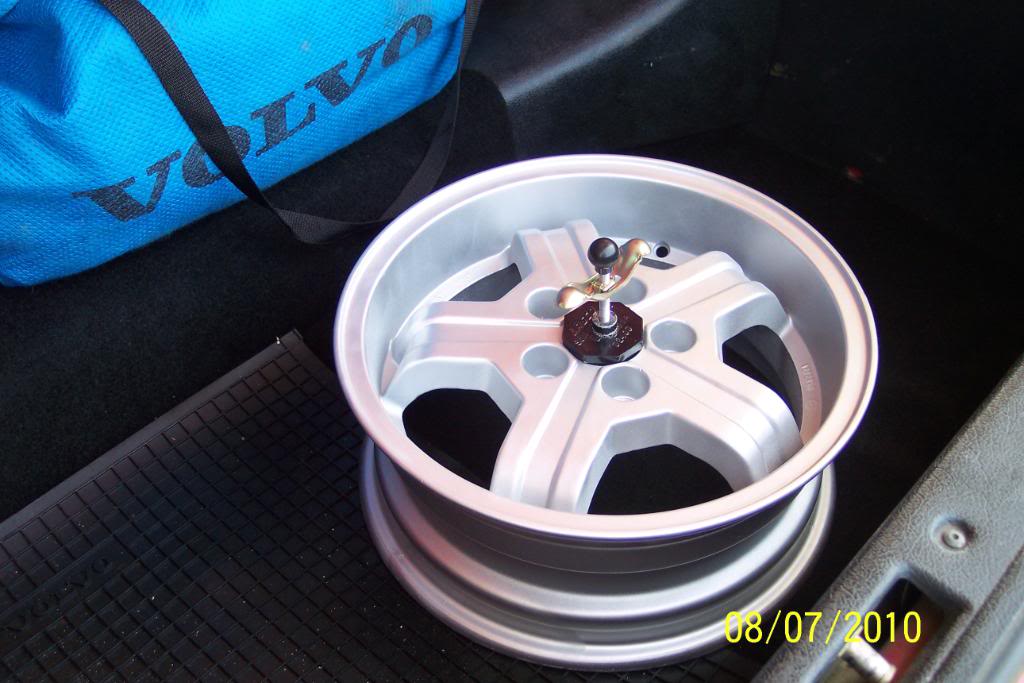
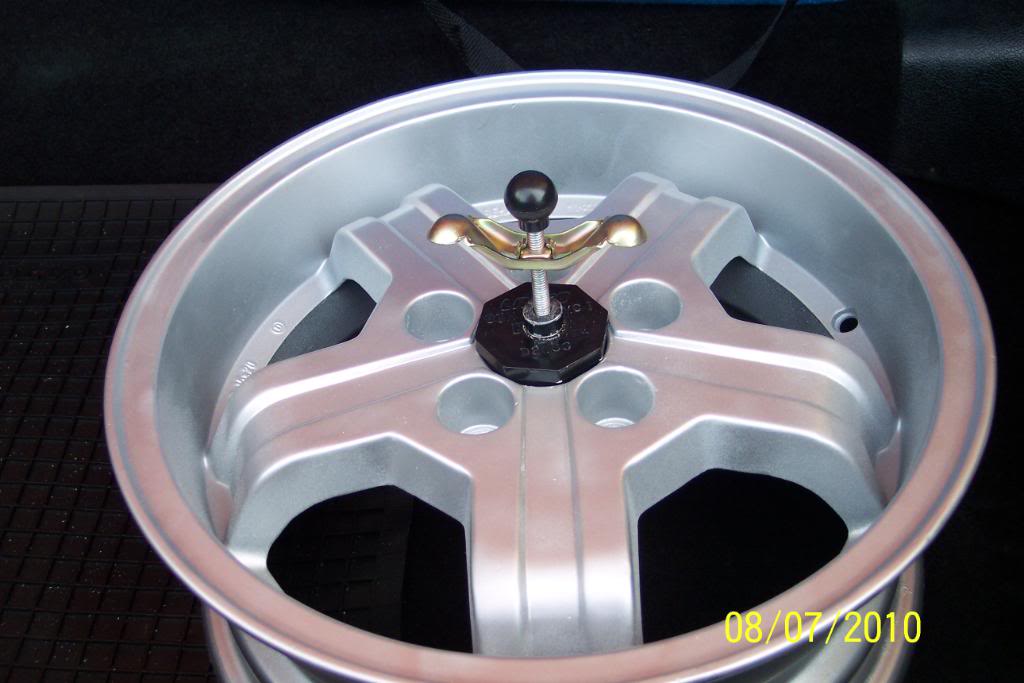


1-17-2013
Got one of those much celebrated Denso 100A Alts today. A little swappin' with clthayer netted this, as well as a door lock actuator.
If Photobucket wasn't a evil conspiracy of a website I could post pics of it correctly
Seems I've been having some screwy registry problems on my computer which made Photobucket not work well, if at all.
I *think* geeksquad has fixed the !@$%^ thing. Only took since 11:30 AM this morning, until a few minutes ago (2:30AM)
I was almost ready to toss the whole flippin' computer out the door today...............
NOW.....
I got one of those (supposedly) much celebrated Denso 100A Alts today. A little swappin' with clthayer netted this, as well as a door lock actuator.
I hope it's not gonna cost a fortune to have it dissassembled, cleaned up & checked out. (CVOCD ya know)
IIRC these aren't as easy to rebuild as the Bosch.
Pics don't lie.............looks to me the Bosch 80A is shorter than a Denso 100A, by @ 1 & 1/4" or so, and if I recall that was my original statement in a certain thread a while back.
So my statement a few posts up in *this thread* was incorrect. I've been fighting a computer *all day & night*, and I'm veeery tired.
FWIW, I think you should re-read that alt thread.
80 Amp Bosch Alt.
Denso 100A Alt
I'll decide which way I go with this after some more conversation with my alternator rebuilder.
But if it don't fit..................
The deal is on an 240 N/A B230F there isn't a lot of room between the current Bosch 80 A Alt, and the oil filter.
Looks to me the Denso 100A alt is going to be quite a close fit (just like the Bosch 100A alt).
But I'll try & mount it just to see how much room it leaves. I would like to use it if possible. I may have to have the Bosch 80 amp modded to a 118 amp though. Unsure yet.
FWIW, I've actually used JB Weld in several places during my build. But only when absolutely needed, or as an only alternative , to welding in a place I didn't really want to weld.
Considering the way the spare tire is positioned on the trunk floor, and the way floor is shaped, it stays put very nicely.
The spare's new location also helps weight distribution, to some extent (not sure just how much), and places a tad more weight on the rear axle's RR wheel.
Considering the driver, battery, and OEM spare were all on the same side I thought it was a good idea.
Plus it helps offset the weight of the new JL Audio amp, and it's 4 ga cables ..........
I'm sure if I had a front end collision at speed,or rolled the car the spare would/may move. But in that case, the spare tire would be the least of my worries. And hopefully those things never happen.....and I would like to weld the U bracket that holds the 5 /16-18 stud, to the trunk floor at some point in time.
FWIW, I've always wanted to try AllumAlloy on a broken or cracked aluminum part myself, but haven't yet.
And thanks for the compliment on appearances. I'm just trying to see how much improvement can be made, while, at the same time, adding the mods I want to do.
I've always agreed with the idea that the smallest details help as much as the larger ones.
And I do happen to have....... a few more tricks up my sleeve.................![]()
On a different note, at least my build thread covers more than just 6 pages, of a set of new taillights and new steel wheels like one of the ones I've read.
Distance of a (my) stock Bosch 80 A alt to oil filter pic
1-19-2013
Have you ever noticed, how on a 240 sedan, the OEM spare tire rests against the driver's side tail light assembly's black plastic cover?
And with as it rocks fore & aft a little , during hard acceleration and braking, and probably while cornering hard too , it often cracks the tail light assembly's plastic protective cover. And a spare tire that's a size or two oversize, only makes matters worse.
Well since, I bought a nice new set of TL covers, and prefer not to crack the driver's side TL cover again...............
I decided I needed to come up with an simple, easy, & inexpensive, modification.
I used the different saws, and sanders in my wood work shop, a couple things I bought a Lowes , and came up with this modification.
I think it'll work out well.
Pics tell the story...........
The problem...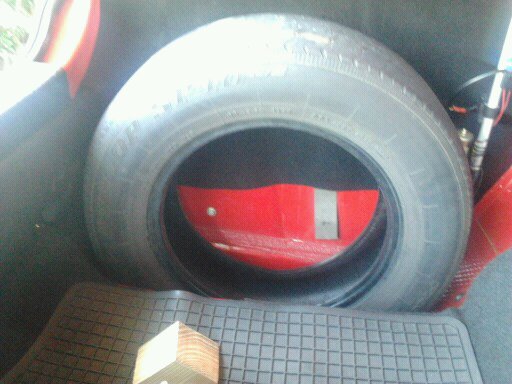


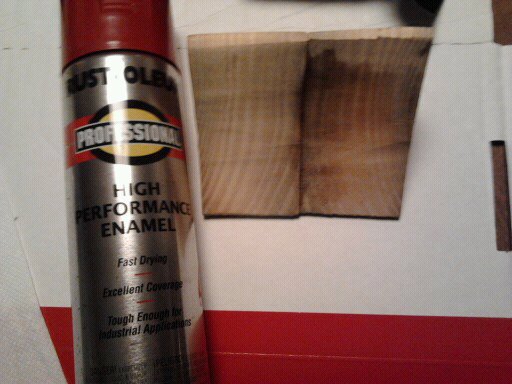


The spacer block is "Velcro-ed and ready to rock & roll".
Next step was to prep and clean the trunk's tire well with some "rubbing alcohol" and apply the male half of the velcro......
Then install the stop block, and spare tire. FWIW, I'm only using this tire with no wheel to hold the carpeted spare tire cover up.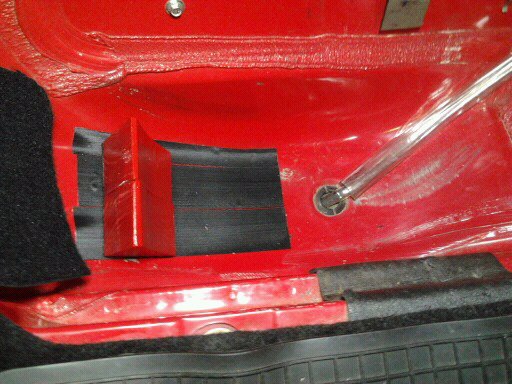
Close up of stop block....
And this is the "fix". 
And then I installed the good used black plastic tail light cover I bought on ebay, and then placed the carpeted cover over the spare tire.
Yep, it clears the tail light cover,the trunk lid's hinge/s when closing the trunk lid, and even clears the power antenna too.
1-21-2013
I prefer to use either the non wheel mounted tire, or the faux styrofoam shaped like a tire, and use either with the carpeted cover, in the OEM Volvo spare tire well. Remember that I like to corner hard from time to time.............
The faux spare tire & cover, in OEM spare location,, offers protection to the metal of the 1/4 panel, and will keep it from getting dented from the inside, should the 260 Bertone jack, and tool bag, slide to the left/DS of the trunk. The floor mounted Virgo spare is protecting the PS 1/4 panel from the jack/tool bag. The bag is sandwiched beteen there..........
Seems like no one has thought of this but myself? Some of you aren't thinking hard enough.............
Applied one of Dave Barton's domed poly grille badges the other day. I like it even better the the R Sport decal I had there, which looked good too.
But this domed poly badge, looks even more like a OEM style Volvo grille badge. Really nice item Dave!!
1-24-2013
I'm so picky it took my 2 + years to find one of these. Got it today.
Isn't as faded as it looks in first pic. Indoor lighting & crappy cell phone pics. Maybe take better pics in daylight today
Up close better represents color.
Yep, told ya'll I have *lots of deer* where I live.
Well I got very lucky and found what I needed, in color I needed, and in great shape.
And you & I know , that don't/won't happen often with a 1991/-1993 240 Volvo in 601 Signal Red.
My understanding is , Volvo only made a limited production run of 601 signal red/w/ charcoal/black interiors 240s per year, (500 or 1000 not sure) and built them all in one production run per year. Probably something somewhat similar to the Classic 240s.
At least that is what I was told. I do notice not many red late model 240s around, compared to all the other colors.
Including mine & one I found for parts, I've seen 8 or 9 known different/separate red late model 240s in @ 9 years..........one of which was a brand new looking 1993 240 sedan /auto trans which only had @ 47,000 actual miles
That guy told me , he paid $10,000 for that one....looked new in/out/top/bottom
Got it at LQK..(stands for Likes Quick Kash?)
Yesterday I was told 80 or 86 bux, forget which he said.
After telling him today LQK online site says $59.95............
This door's glass was gone.. . (no discount either ) Power window motor is in it as well as regulator and 2 harnesses, and manual mirror.
$59.00 for door, plus a $12.00 core charge (hiway robbery there IMO. A "core charge" for a damn used part, you just *paid for* ??)
Then they charged me another $1.50 core charge on two *plastic parts*. Guess everything has a "core charge"? And for just the inner fender for frt fender, and under grill beltline trim?
Forgot to mention got both frt hockey sticks yesterday too. Didn't really need them, but got'em for spares just in case, as they were really nice ones.
And of course two bucks to just come in & get screwed like that.
But after checking online, in other states, guess I came out OK. Just seems like a lot after paying what I did in the 70s-90s.
The $2.00 entry fee, & core charge, really sucks IMHO though. But seems that's the way it is these days at JYs.
But I did get a pretty nice door & fender though...and in the color I needed. Guess it's worth it...........
Almost $200.00 for what I got,( a few other odds & ends too), as opposed to buying a 242 Turbo whole parts car (engine, trans diff sways and brakes and a few body parts) for $150.00 at a JY, a good while back, seems expensive to me for fender ,door and peripherals.....................
GUYS........the days of " the party goes on forever, and the road never ends" are loooong gone .
1-27-2013
I went back to the LKQ today, and picked up the driver's side door. I brought it home and cleaned it up as clean as I could.
Still need to clean the mirror hsg. Will do that later today.
The door's paint, like the fender's, is in pretty good shape, and shined up well with just a waxing by hand.
And I'll need to either touch up the flat black on the surround trim for the window, or swap the current door's trim onto this door. Undecided as to which I'll do right now.........
Pics of it , in the house, at night with poor lighting and cell phone pics at that.


2-27-2013
My red 240 sedan turned over to 200,000 miles today.............
3-13-2013
So I received the DS taillight printed circuit board and installed it. Tailights should be trouble free for a few years.
P/N of vlvworld's new replacement circuit board
Old circuit board.
I cleaned around the inside edges of TL lense with wet Q tips, and wiped off the backside of tail light assembly

Then installed the new one.....

And put the gasket on...
And then wiped off the TL hole and waxed it, before installing the TL assembly
Changed oil 03/31/2013
4/01/2013
I've been putting off , for some time now, to come up with a different way to mount these 240 Rear Louvers, to the glass. Don't like the slide under glass seal thing too much
These are for the non window brake light 240s, but other than that .........the positives outweigh the negatives IMO. I'd at least like to try them. But.........
I want to mount the top of the louvers, on hinges, so it can be raised,, and the bottom mounts to plates with removable screws( similar to OEM ) in order to be able to clean the glass. Guess I'll start hunting things for this........ for the next mod.
Still waiting on weather & a helper to change the door and frt fender. Took a few pics to see how the louvers would look on my 240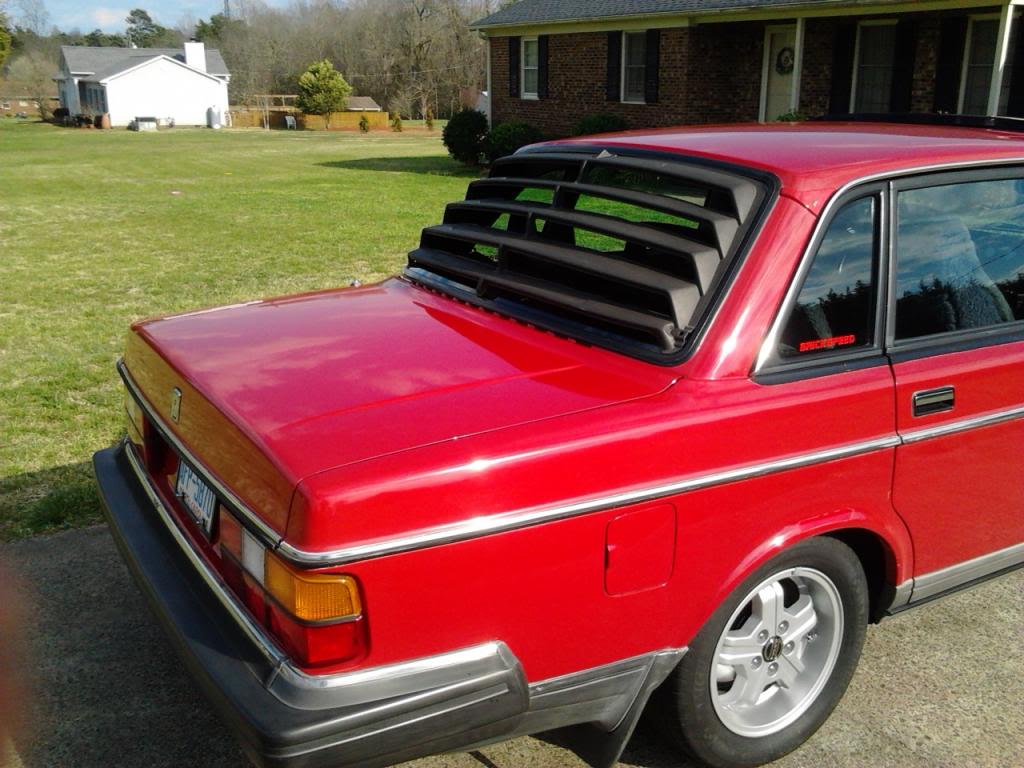


8-29-2013
ot the "new red DS door" bolted on @ 1:30 AM this morning.
"New red DS Fender" goes on later today. After some sleep.
Will post pics of these installed when finished.
Stay tuned........
"It's lookin' better all time.............."
9-1-2013
I finally replaced the two rusted nuts that hold the MEWH clamps to the studs in block that also are the two lower fasteners for the aluminum front engine cover.
CVOCD for sure...............
I removed the driver's front door, from my car, removed the driver's side door glass, window channel rubber/felt, the "window scraper & it's trim piece (had new rubber in it), the uppermost arm rest retaining clip,the strip of foam rubber at the top of the door & it's plastic retainers, & the door lock cylinder, and it's central locking actuator/motor from my "old door"
The central locking device's wires were missing the insulation on the 3 wires right at the end where it attaches to the door lock cylinder. One of mine's wires, crossed the other two on that end, so...
I found one on a friend's parts car (TB Member polarbear) that was a tad better,as it's wires were not 'crossed" anywhere.
Then, I used brush on liquid electrical tape to cover the bare wires, and then used spray on liquid electrical tape for 3 more coats for a thicker insulation. Whatta ya know.... it worked.
I installed the "new door" on the car, got it adjusted where the door/fender gaps looked right, and the door shut & opened properly
I then installed those items removed from old door into the new door. Glass and all. I adjusted the window regulator, and it seems to be working pretty good.
Since I plan to install an aftermarket Keyless Entry/Alarm System on the car in the future............
I used a front passenger door, door lock actuator motor, and reversed the mount on it so as to mount it on driver's door.
I used the wiring CL Thayer supplied with the motor, (THANKS CLTHAYER!) and additional wiring harness from my friend 92 245 parts car.
So it has all Volvo wiring to the Center Console's area. I'll bundle it up under the dash for now.......
After I got the door on my 240, I then removed the front bumper, and let it sit right down, in place, on 5 gallon buckets .
This way, I didn't have to disconnect any of the fog light & driving light wiring harness.
Then I drilled out the two rivets that fasten the fender to the valance panel that runs across, & under the grille .
Then I removed all the other bolts and front fender bracket & removed the driver's side "old fender"..
I applied a little extra undercoating on some areas that were missed on the backside of the "new fender".
I also applied undercoating to the side of the body shell behind the fender (unsure of it's "proper name", so see pics).
Then I bolted on the new fender, adjusted it as needed, and drilled out the old rivet hole to 3/16, and used 3/16 rivets to attach it to the valance.
I re-installed the bumper, front fender brace and stainless steel and rubber trim, under the grille, also the "hockey stick trim" and of course slipped the grille back in.
BTW, while working on my friend's 1992 245 before I started the door and fender removal on my 240..............
I was working under the hood of the 92 245, while my 240 was parked beside it, but my 240 sedan's bumper was about even with the front edge of the 245's front driver's door.
When I attempted to step back , so I could turn around to get a tool, Ozzy (my APBT) had laid down at my feet unbeknownst to me.
So......... I tripped and fell "backwards". Luckily....,Ozzy got up & ran out of the way, just in time.
But.....I fell backwards toward my front bumper. And as I fell, I put out my arm in an attempt to catch myself,
BUT........All I caught on my way down.....was my 240's passenger side Hella Driving Light, which was mounted on top of the front bumper. Couldn't have aimed it better if I had tried.............LOL.
*Was mounted* is correct. Needless to say I broke it's housing's mount right off the bumper. The light & housing was hanging from the wires.
Needless to say I was a little upset about this. But I was thankful that *I didn't* fall on Ozzy and injure him.
BUT, "on the bright side".......now, I have one complete spare Hella 500FF driving light & it's housing, and one spare light and lense assembly (but no housing) the new Hella Driving Light wiring harness, switch and relay.
Plus 2 sets of new light housing wires, along with new mounting brackets and two lense covers. This is probably a "good thing" LOL
FWIW, now I'm trying to figure out a way to mount the extra, left over, used Hella 500FF light/housing . FWIW, I bet it'd make a helluva *Third Reverse Light*....LOL
So about a week before I started the door/fender job.......I ordered a new Hella 500FF Driving Light Kit
Now the door, fender, and Hella 500FF Driving Lights are all on the car..... it's sure nice to have dent free, Volvo #401 Signal Red driver's side front fender & driver's door. FOR SURE ! YAY! It's sure "been a looong tiiime coming". LOL.
Pics Below:
The two new nuts for the MEWH clamps under the front aluminum engine cover"

Where the new fender *was not* undercoated....

And here it is fully undercoated.. It's being held by TB member polarbear. He also lent a helping hand swapping out the door & fender. Sure made things easier having a helper. He worked hard & worked until early morning hours to help me. A real trooper....
And here is the part of the "cabin footwell" I also undercoated
In these two pictures..... you can see the pass door's lock actuator motor installed on the driver's door for the later planned "Keyless Entry /Alarm Kit" . Also you can see the "rear door wire harness clips" used to help hold the actuator motor's harness on the driver's door.
BTW that's an OEM Volvo NIB/NOS rectangular, black plastic door release lever housing. How 'bout that?
This pic shows the driver's door mounted pass side central locking actuator motor's *wiring* & how I routed it through/in the door, better than the other pic.
Here's a pic of the finished, complete driver's door installed.
9-2-2013
I still need to order the top two white plastic door card retainers,(one broke & other was MIA) hide the pass door lock actuator's wiring in the cabin/under dash, that I installed in driver's door, fit the knee bolster .........
and find some matching/correct beltline trim. FWIW...I'm hoping to find the beltline trim off a 1988 240 sedan.
I like it's appearance a lot better, as it has no"grain" in the beltline trim's edge guard on it. So it won't catch & hold the car wax when I detail the car.
The beltline trim that is original to the car now is almost white in appearance due to "waxy build up".
I also need to touch up the rally black paint on the window frame of the door, where the paint has started releasing from it. And polish the mirror housing with Ajax & water, with a damp rag.
I'll post a full side on pic soon. I'd like to wash the car, and wax it before I do though. We'll see.......
9-7-2013
Snapped some cell phone camera pics today, .......after washing/waxing the car yesterday/until 4:20 AM today.
The "new door & fender" blend right in very well with rest of the side of the car IMHO. Not bad at all.


9-15-2013
Well, it's getting cooler weather now. I've been running a Wahler 82C* T stat during this past summer.
For winter I wanted to install a Wahler 87C* T-Stat, so I ordered one from FCPG.
Today I drove the car with heater on @ 10 miles untill Operating Temp was reached.
I then drained the Volvo Coolant, then reinstalled lower rad hose, poured in 2 gallons of distilled water, went for a 10 mile drive,with heater still on, drained it and repeated this once more.
Then I removed the old 82C* stat and installed the new 87C* stat.. Used two nice goldish nuts I got from a recently stripped 92 245 to fasten the water neck onto the head's studs. Yep, CVOCD strikes again. But hey, it looks better.
Refilled with 1 gal. Volvo Blue Coolant, and 1 gal distilled water. Drove the car until both WT gauges showed the engine was back up to operating temps. Ambient temp today here, is @ 78-80 F* .
I took pics of the Instrument Cluster's WT gauge. Keep in mind I have previously installed the IPD WT Gauge Compensator Board Delete Kit.
I'm posting these Instrument Cluster WT gauge, and VDO Vision WT gauge pics for other's reference, and my own in the future.
I also posted a couple pics of my steering rack and some of the front suspension. FWIW....It appears that my method of painting with Rustoleum is working and holding up just fine .
A couple few years ago I "debadged" my 240 , in preparation for future "badging" ideas.
So now.... I included a pic of the VOLVO R SPORT Poly Dome Emblem for the trunk lid, that I've used to replace the original "240" emblem on my 240's trunk lid.
I asked Dave Barton if he could make a smaller version of his R Sport Poly Domed Grille Badge for 240s, to use on the trunk lid and/or front fenders. It also fits well on my IPD 240 Strut to Strut Brace's center "plate".
Dave Barton was kind enough to make it upon my request, and he is now offering them for trunk lid & front fender emblems on his website. Thanks Dave, you're the Man! LINK>http://www.davebarton.com/VolvoStickers.html
PICS:


9-19-2013
ATTN!: I forgot to post that the other week I replaced the *Charcoal Canister to Intake Manifold hoses* with new hose. This to ward off the "Danger to Manifold" warning Light...
FWIW, for a few months, I've been having a leak while driving in the rain and it's been running on the fuse box, corroding fuse contacts and fuses.
The RTVing of the left front/driver's sunroof drain hose where it passes through a grommet in the body's driver's leading jamb of the door jamb, didn't seem to help. So, looked for some more possible leak areas, and...........
I found the rubber grommet/seal for the passenger side Windshield Wiper Spindle ,where it comes through the cowl, was loose/not sealing to the cowl/body.
I happened to remember that I had a Genuine Volvo pass side grommet (Volvo p/n 1312653) so I removed wiper, and old grommet & install the new on pass side wiper. Then re-installed the wiper.
I looked at the driver's side WS Wiper Spindle grommet,and it seemed to be sealing OK, but I decided to buy a new one & replace it too. I think it was likely a good idea....
So.......A couple/four days ago, I ordered the driver's side wiper spindle grommet, (Volvo p/n1213987) along with a new Bosch Brake Booster Check Valve (Made in France FWIW) and it's seal, with a piece of 2 foot 3/8" Dayco hose (the Dayco hose is a fail IMHO) from IPD.
BTW, Please note that the pass side and driver's side wiper spindle grommets are 2 different p/ns and *side specific* because they are different grommets from each other......
Well....... today the Bosch Brake Booster Check Valve and hose,came in the mail, along with the wiper's spindle grommet, so I decided to install it all.
Wiper grommets was easy. So was the check valve, but the IPD supplied hose was not well "re-enforced, and was a bit too soft for vacuum hose IMHO. off to A/Z to get some better hose. A/Z had some nice , re-enforced hose Power Steering Pump Return Hose in 3/8" ID/9.5mm that fit the bill well. So I bought 2 feet of it.
But now.....my illustrious ABA 3/8" hose clamps were a tad to small an ID,as the A/Z 3/8 ID hose had a larger OD.
So I had to use SS worm drive clamps I bought at A/Z to install the hose, while I was there . I'll find some ABA clamps in the correct size very soon and replace the SS worm drive clamps with ABA style clamps.
Pics:
The Bosch booster check valve, BTW, it did come with a new grommet/seal, the seal is just not pictured (already installed it in the booster before I took pics
This is the Power Steering Pump Return Hose I purchased at A/Z to use as vacuum hose for the check valve. Pretty sturdy hose here. 
Yeah , yeah I know, SS worm drive clamp for the fail.... I'll replace the two clamps soon with ABA style clamps. Gotta order two.

AND...I'll get a set of these style of ABA clamps in 7.9 to 22.2MM (5/16- 7/8") as soon as I locate some. These 3/8" ones were a tad too small and would not slide over the hose, once the hose was on the intake mani & check valve nipples 
Here's some pics of the *OLD* Intake mani to Brake Booster Check Valve *hose*. Was on "borrowed time" IMO, .
Doesn't look too bad here...

*UNTIL* I did this! OH NO ! Guess I was living dangerously huh?
Pics of the *NEW* Windshield Wiper Spindle grommets
Driver's Side:
Passenger Side:
10-4-2013
I've been taking some scrap metal & parts to scrap metal yard, and while going through my parts I found another set of Bosch Volvo Horns.
You may recall, some time ago, I moved the existing horns from behind the grille, and mounted those on driver's side, behind the bumper.
I also had recently scored some corrugated wire sheathing from a parts car recently.
I also found apiece of 3/16" strap metal for an extension bracket to mount them with in the garage....
I had a spare set of horn wire rubber boots too, and I had enough wire connectors & yellow & black wire...
And luckily I save old Volvo bolts, and found a decent looking 8mm-1.25 bolt around 30mm long, to fasten the bracket in the bumper shock absorber mounting hole in the chassis. And a 8mm-1.25 x 25mm long and a flat washer, lock washer & nut for it,to mount the horn's brackets to the newly made bracket..... I also had extra stock Volvo horn mounting brackets that they come with.
SO.....AND ..THEREFORE....
I decided I'd install *a second set of horns*, and mount them behind the *passenger side* , and behind the bumper ala 940 style too.
This gives me TWO Bosch horns on *each side of the car*, for a total of *four horns*
AND lots more decibels of "don't you pull out in front of me/get the hell outta my way" sound.
Maybe the *bluehairs* will hear me now? 
I ran the wires for the second set of horns behind the grille along with the other wiring that is already there "stock". Used the 12 gauge yellow and 14 gauge black wire I already had....and ran it in the corrugated sheathing. Used a few tie wraps to hold it in place. Wired the harness to the 1st set of horns, and over to the new *2nd* set of horns.


Test fitted,...cut to proper length,.... rounded the edges of... and drilled the bracket,.... then painted it with Rustoleum Gloss Black.....
I used some extra spare Volvo thin metal brackets that the horn comes from Volvo mounted with and stacked them... 4 on one horn and three on the other horn so they'd be stronger, and more resistant to flexing. The horns are mounted very solidly now. And after wiring and mounting the horns, this is what I have....

10-5-2013
Well...when I installed the Bosch horns on the driver's side, & behind the bumper some time ago, I used a bracket I felt was thinner than Iliked. But at the time it was all I had.
I had enough of the bracket material that I used yesterday on the Passenger side horn mounting, that I could use the remainder to replace the "too thin one" on driver's side. Plus the driver's side bracket would then match the passenger's side bracket for a more uniform appearance. (CVOCD)
I also wanted to use more "leaf brackets" of the Volvo thin metal brackets per horn than I did previously.
One horn had 2 leafs, the other 3 leafs. The horn with two leafs seemed to vibrate at certain RPMs while accelerating for some strange reason. At least I think that is what I've been hearing...we'll see.
So I found some more 'leafs, and painted all the leafs, and placed 3 leafs on each horn. painted the thicker mounting bracket, then mounted it all on the driver's side of the car, behind the bumper.
Pics:
The Too Thin one.
Comparison of the "too thin bracket" and the new thicker one as used on pass side yesterday.
Painted "horn bracket leafs", and main bracket

And the final installation of driver's side horns.

12-18-2013
1:14 PM
215505 miles I changed the oil . Castrol Edge w/ Titanium Full Synthetic in 10W30 weight
Next oil change is *due* at 219,005, or thereabouts
FWIW I grossly overshot this oil change. The oil I drained out has/had 6175 miles on it. And I had to add a quart of oil during that 6175 mile interval.
One quart in 6175 miles is not bad oil consumption for a 215,000 mile n/a redblock engine IMHO.
I found out that Advance Auto parts is carrying MANN oil filters now. But had to order one for my 240 (p/n W917) Took next day @ 8:00 Am for it to arrive. Pricey at $11.52 total, but I was already there to buy the Castrol Edge w/ Titanium 10w30 oil, so I went for it.
I was already 8*rossly* overdue for an oil change anyway. Next time I'll order from FCPG or buy at Maxwell Volvo as I usually do.
It is the new style MANN Oil filter with the "hand grip crimping" on the canister. I'm praying it does not develop a pressure leak like has been recently reported with these new style filters Mann is selling.
We'll see............
A new Bosch dizzy cap and rotor button are on the way from FCPG, and already have the new Bosch Super Plus Copper plugs.....so tune up in a week or so....
Hopefully this week I can remove the old WP/Alt, P/S, A/C V belts, and clean all the pulleys with CRC Brakleen and install the new V belts I have at the ready.
Some time ago the P/S pressure hose was not properly torqued,(my bad) and P/S fluid had to be rinsed off with GUNK. The GUNK caused the V belts to squeel badly. The noise of them has been driving me nuts too.
12-18-2013
BTW, forgot to mention that the new Windshield Wiper arm mounting posts *rubber grommet seals* seemed to have stopped the majority of the downpour of rain water that was running down the entire fuse box, and out of the fusebox via the bottom of the fusebox door and running onto the floorboard & floormat.
I though this note might be helpful to others who have been experiencing the same problem
Well this new style Mann oil filter is leaking per as others has stated.
Funny the last old style *non hand grip crimped canister*mann filter I used did not leak at all.
Off to the dealership...................

Nice build!
Posted by Diggymart on 3/30/20 @ 2:45:08 PM