You must be logged in to rate content!
8 minute(s) of a 758 minute read
4-15-2013
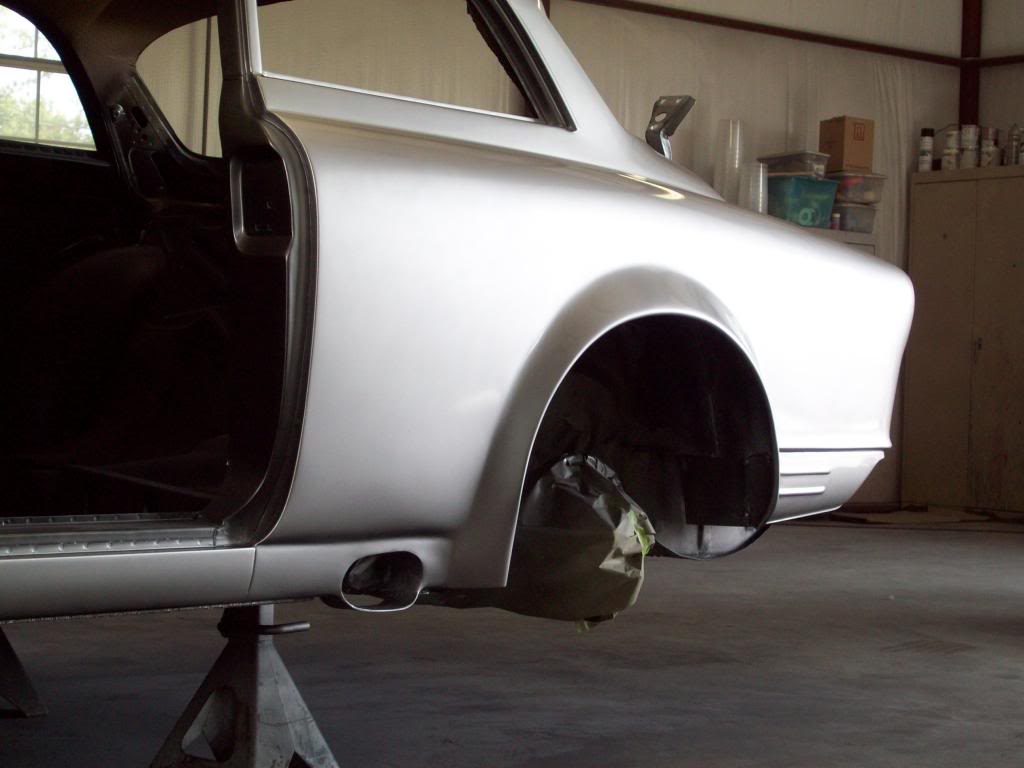
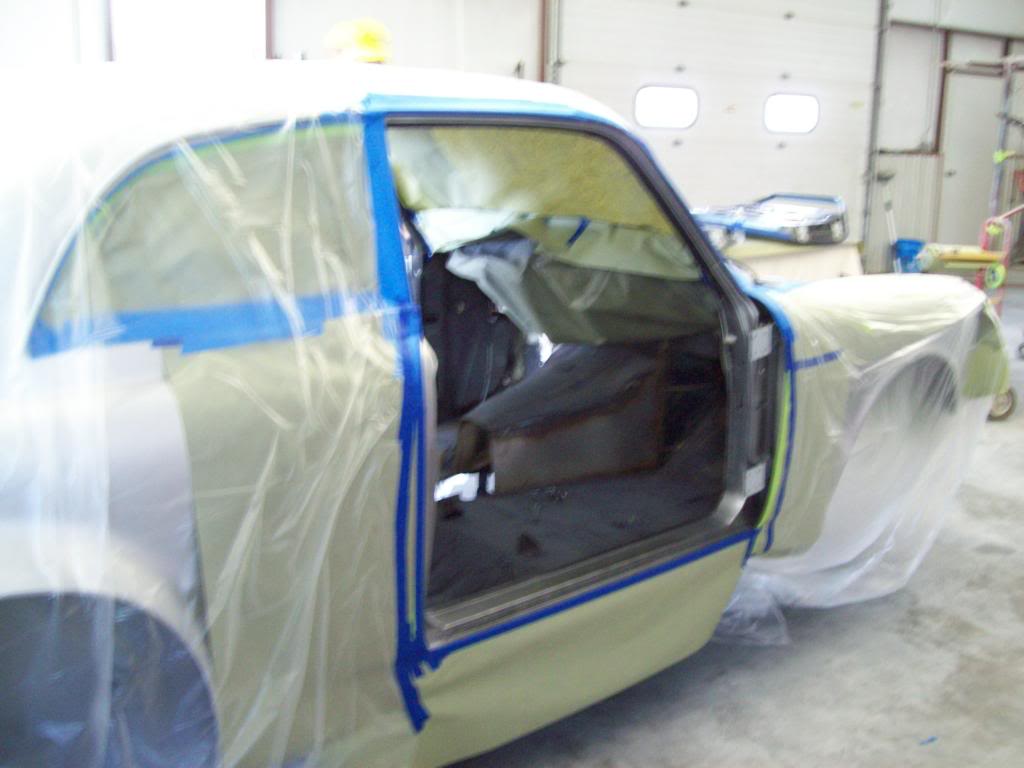
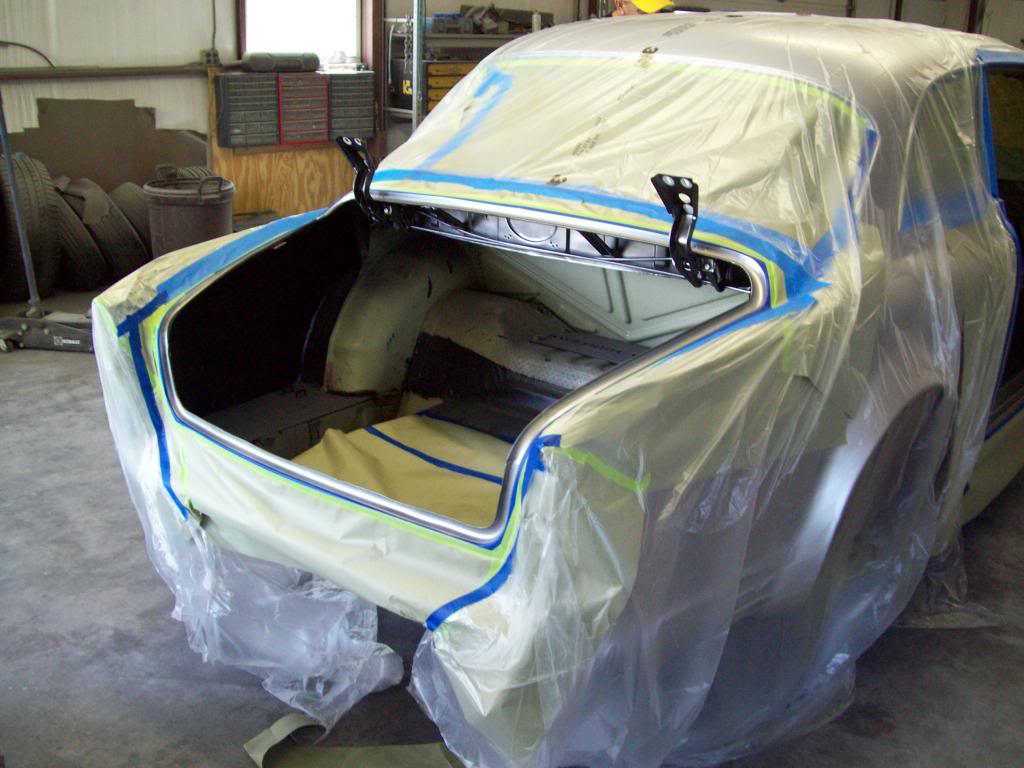
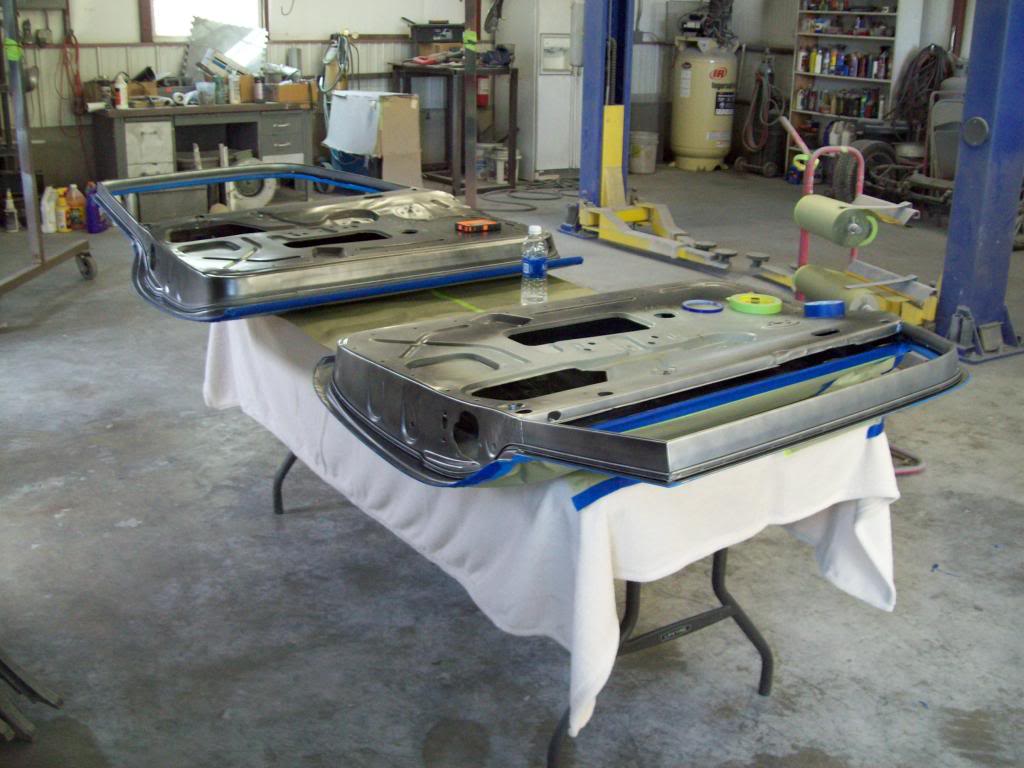
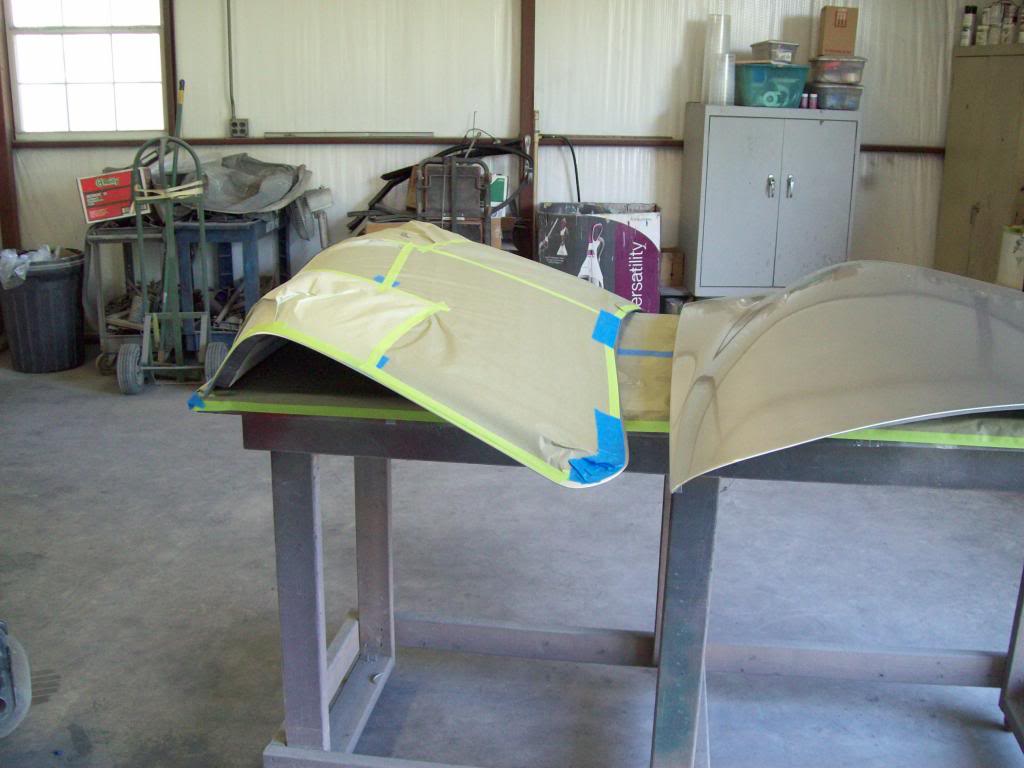
Here are a few pics from the start of the masking and jambing process, and we know it is a backwards procedure, but it was necessary with this color.. I open the doors of the shop also, and I tried to catch the color change, and as you can see that in the daylight it will have alot of graphite color in it, with major flat areas in the bright silver/metal color, depending on where you are standing..
As you can see from the pics below, and it is very hard to really show it by camera, but there is alot of color changes going on here.. We have complete coverage with the liquid metal, and you can see complete coverage in the dramatic darker color shift areas, eventhough it appears to be not consistant in the pics.. This color does some strange things, and I am even assuming that the Wet Sanding and Buffing is going to make a difference, due to the potential affect of Direct Lighting that basic Orange Peel of the Clear Coat, because this color is very sensitive to direct or indirect light and angles of light.
We plan on getting the car outside tomorrow, because the jambing should be completed later tonight, so we can get it back together tomorrow. More than likely wetsanding and buffing will also start tomorrow, so I will be able to see if there are any changes after that is completed.
(With the Door Open)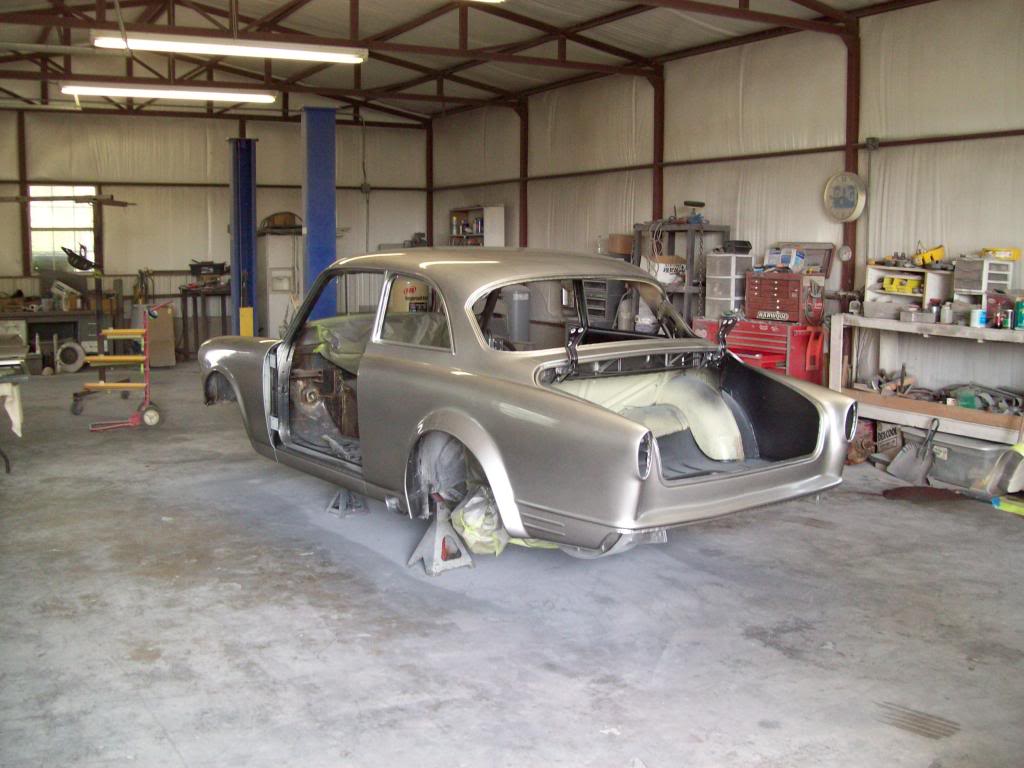
(Before the Open Door)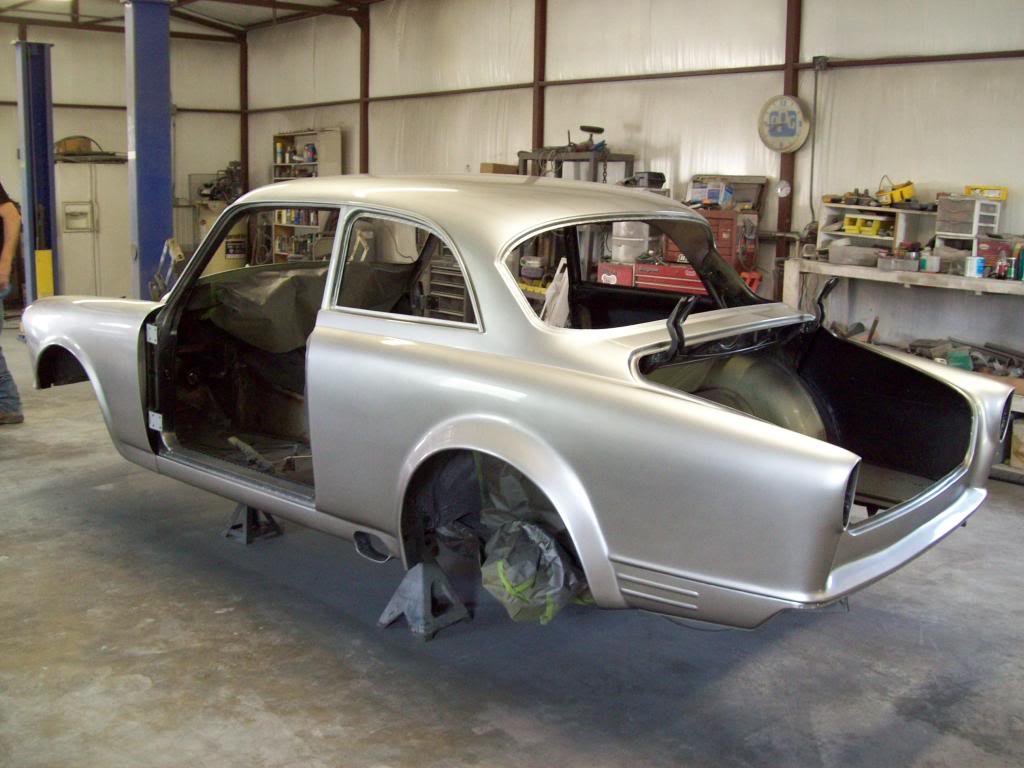
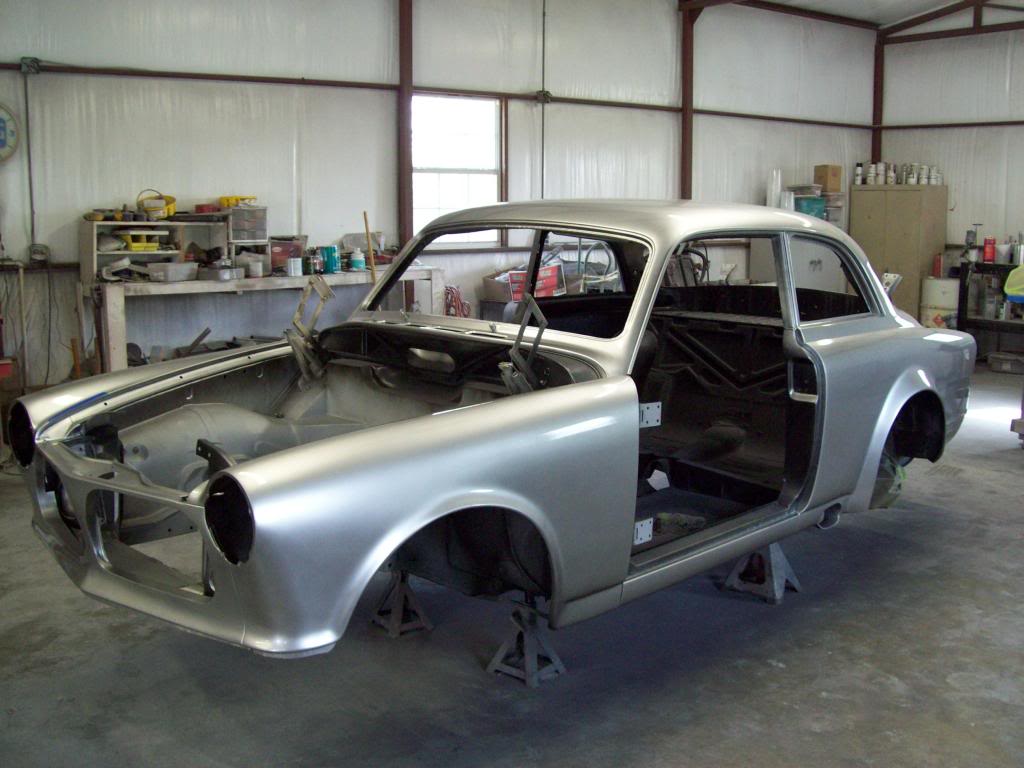
(Door Open, but from different views of the rear quarter, so you can see some of the transition)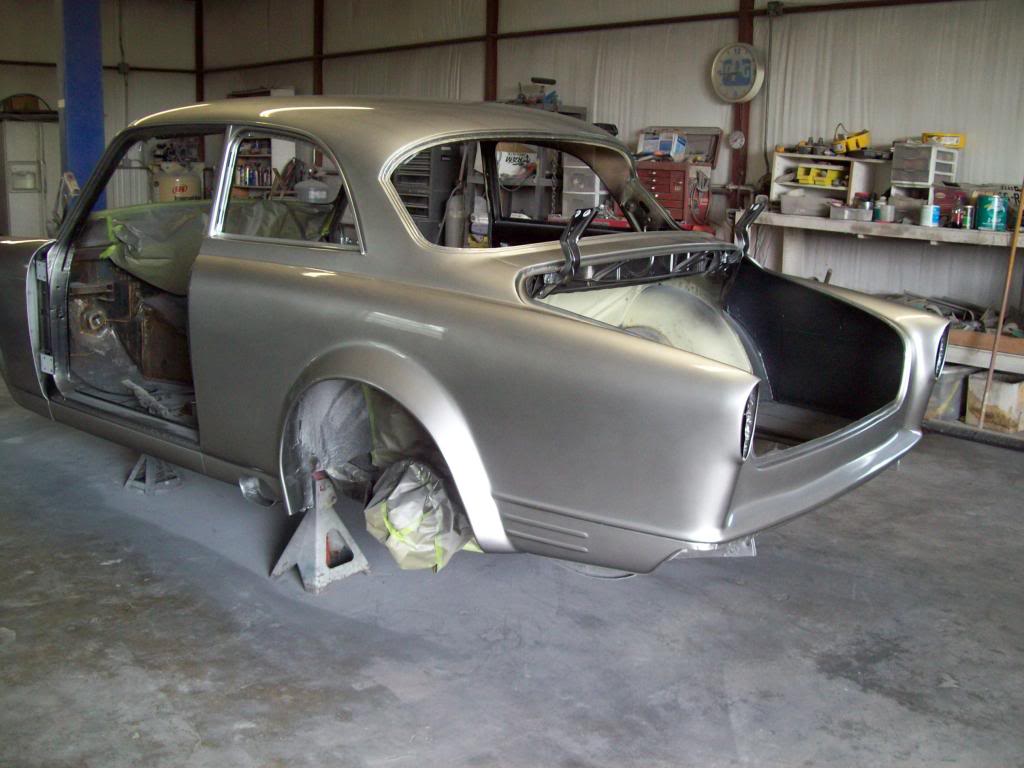
4-19-2013
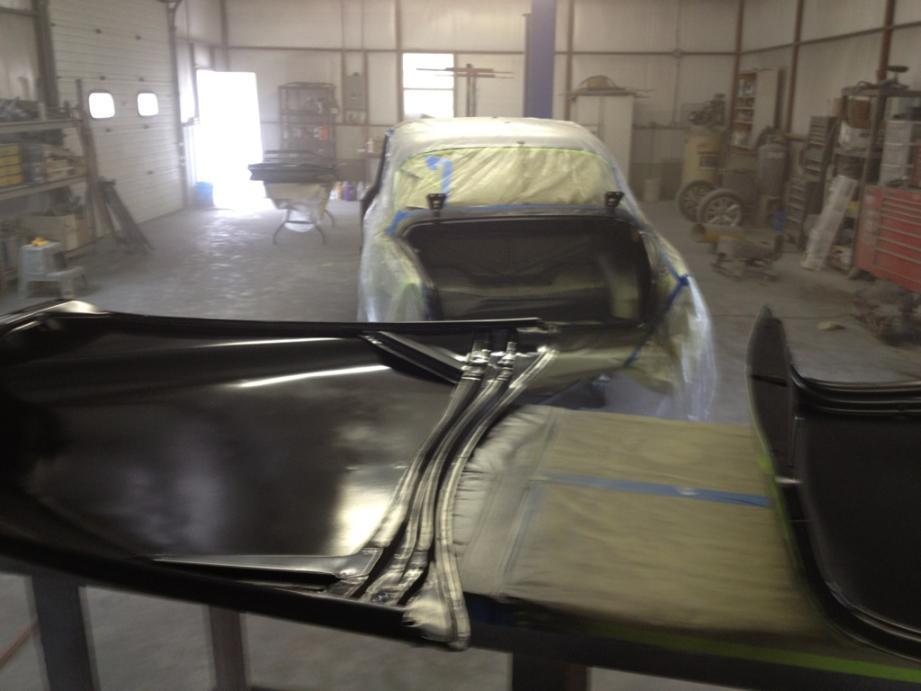
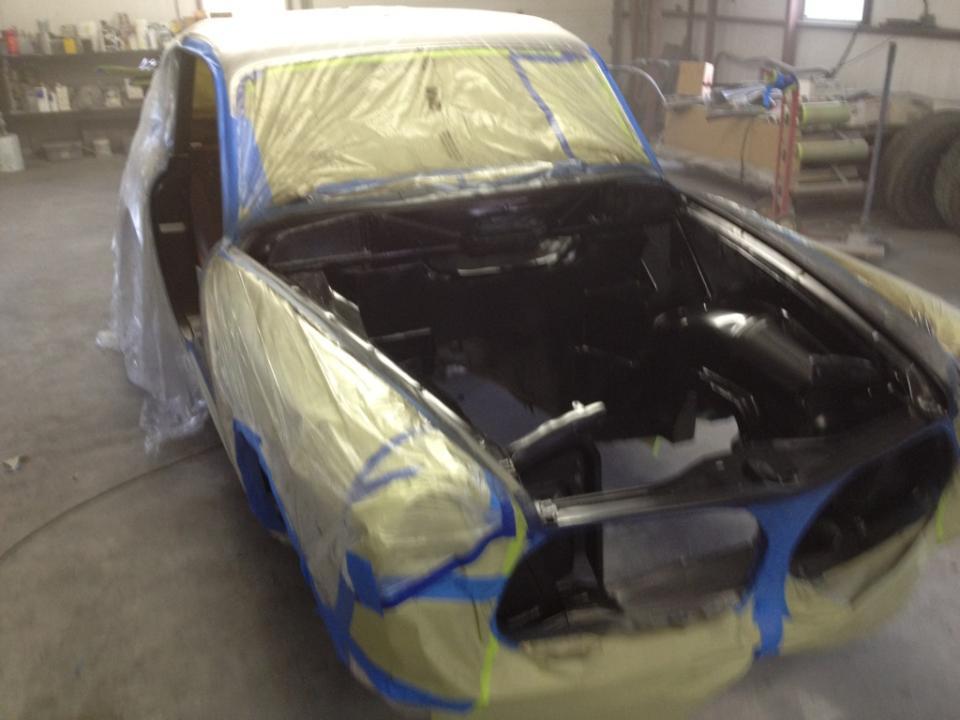
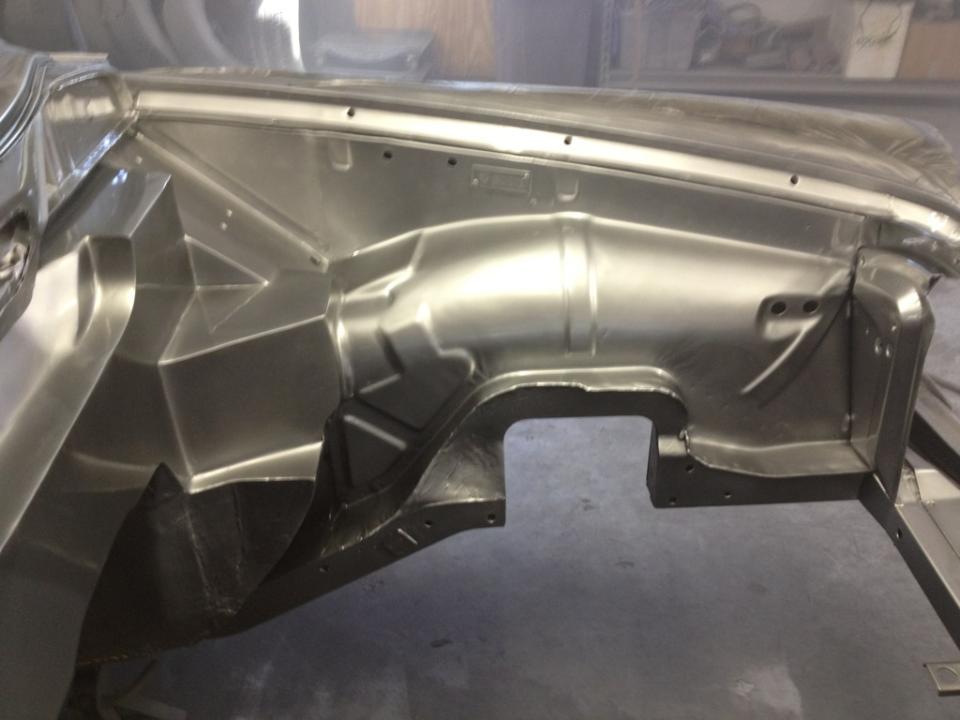
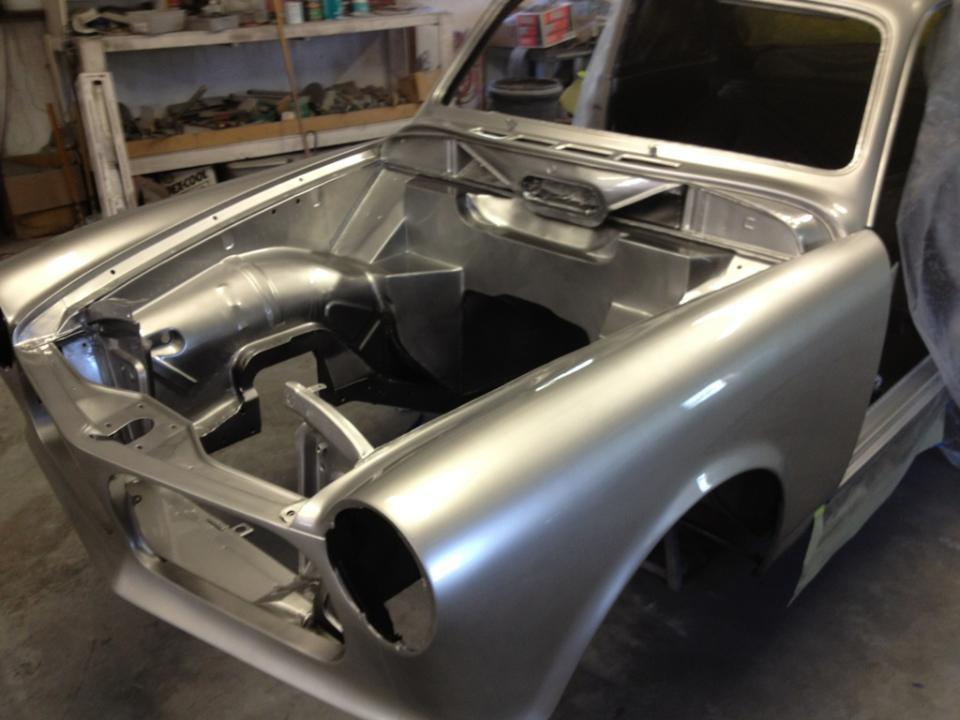
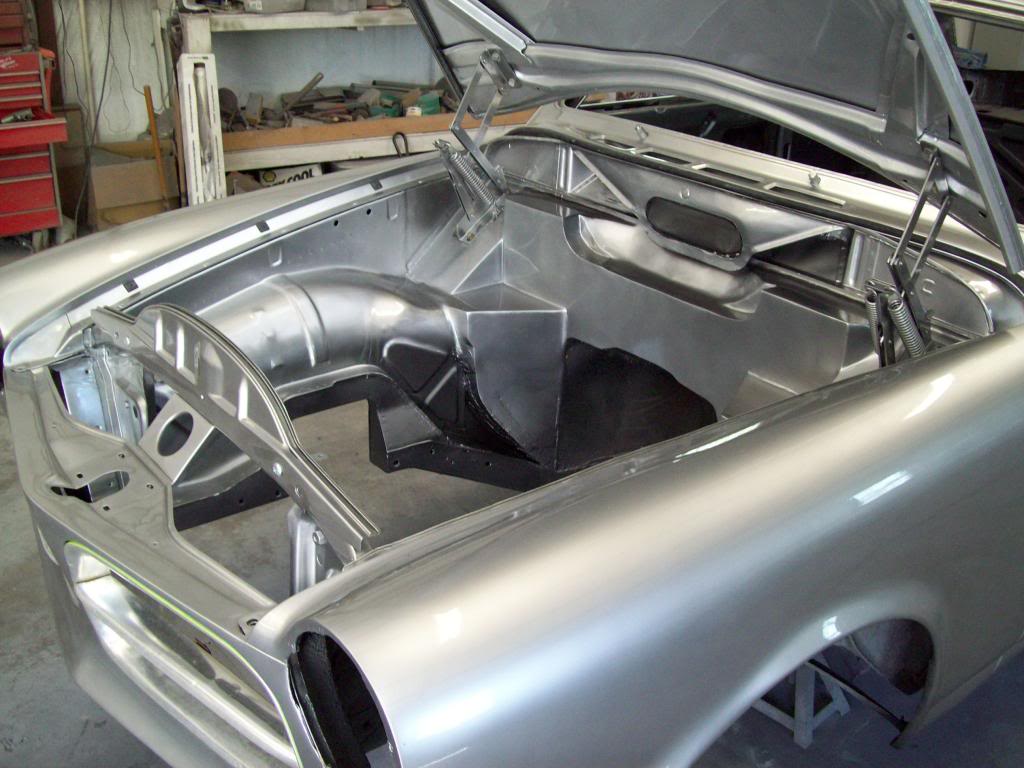
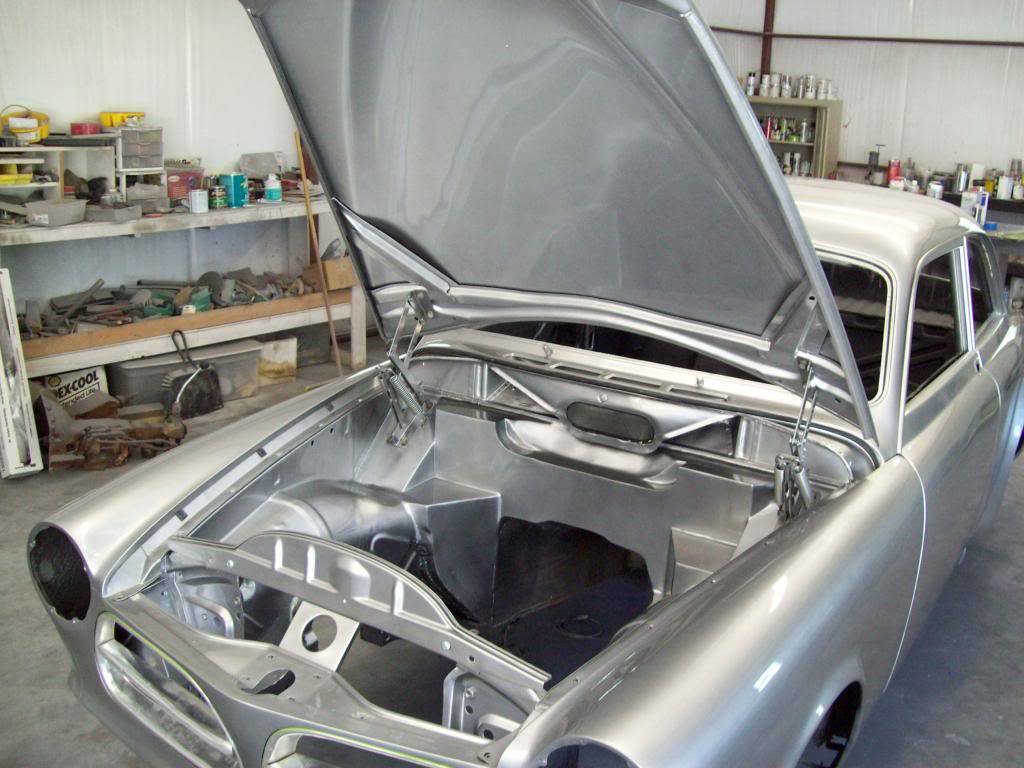
Here are some pictures of the underhood and jambing process, some of which we had to redo again, do to some sort of odd clear coat reaction. We are using the Suggested PPG clear coat for the PPG Vibrance paint line, which is a pretty fast drying clear, but had no idea it was necessary to recoat within 5 minutes, or it would eat itself? I dont know how we didnt get the reactions with the overall paint, because we waited way longer between each coat, so I guess there is a before and after window for coats.. Called the PPG rep, and they just said that is the way it is, and they cant believe that we are painting the whole car with this color and process.. LOL My painter is a DuPont guy, so he wants to wetsand the PPG Clear already applied to the exterior, and then apply an overcoart of the DuPont Clear system that he likes to use, because he said it is a much better system, and would rather work with it on the exterior for buffing and finish work. We sprayed some DuPont Clear over the wetsanded PPG clear on some previous test panels, and all looks good, so we are going to go this direction.
The Trans Tunnel and Center Underside of the Hood will have an Insulation/Covering on it, so all you will actually see it the hood bracing in the Liquid Metal color. The Center Underside of the Trunk will have an upholstered insulation panel, so they may not appear to be finished as well as the rest of the area's.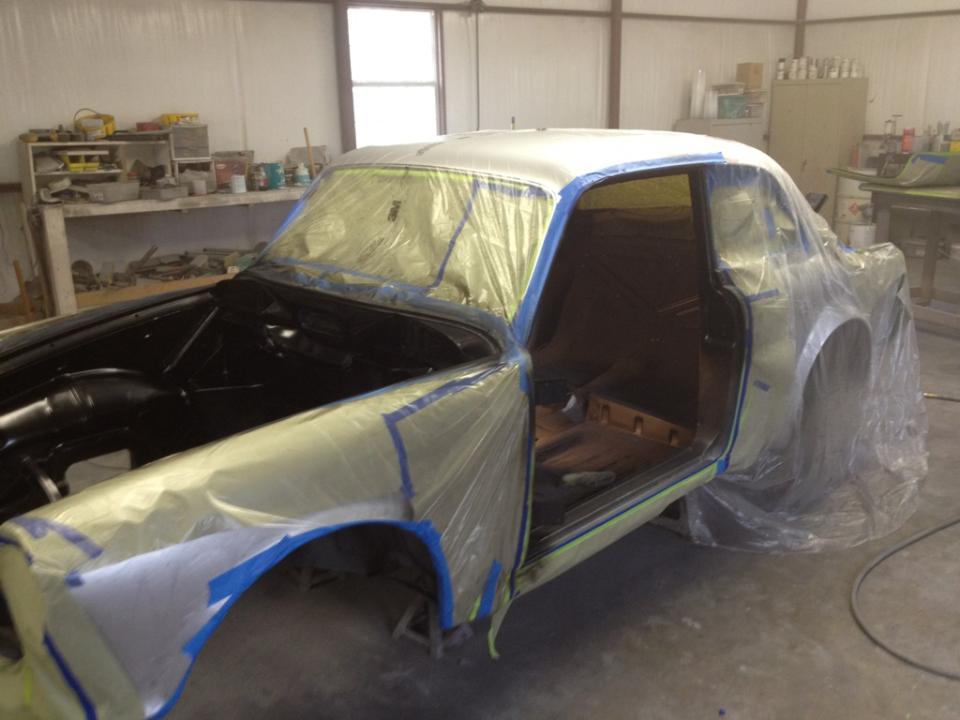
Liquid Metal without Clear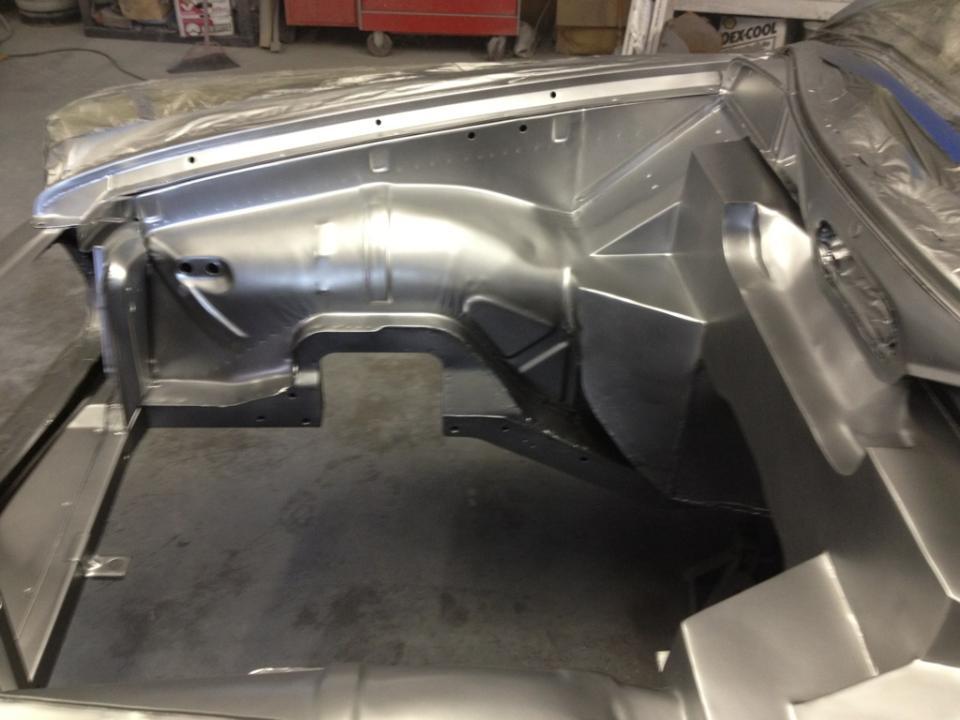
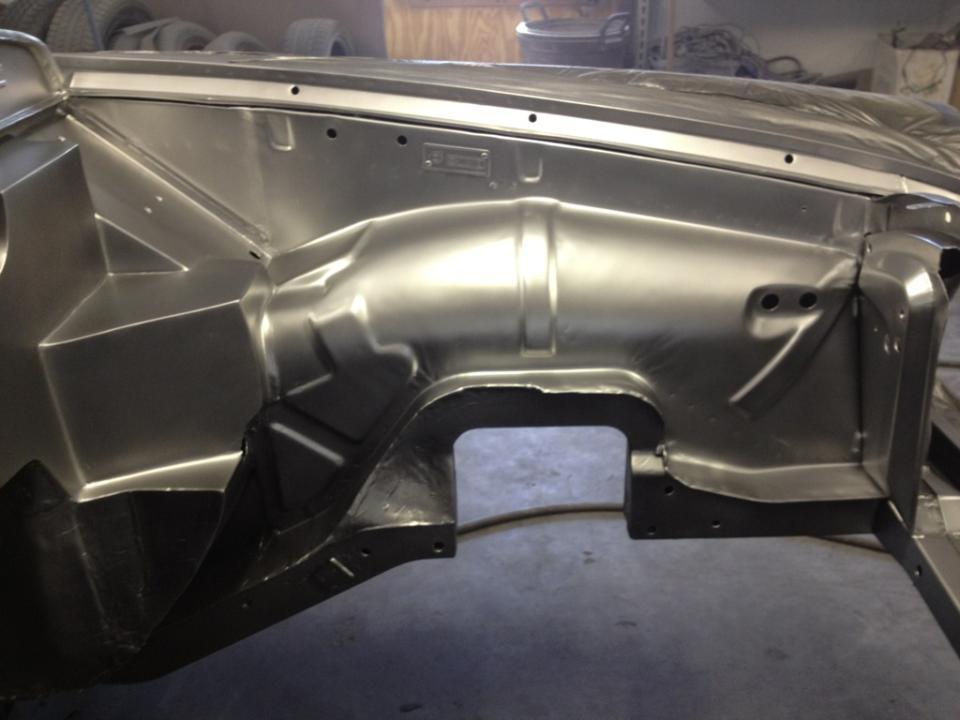
Final Clear Coat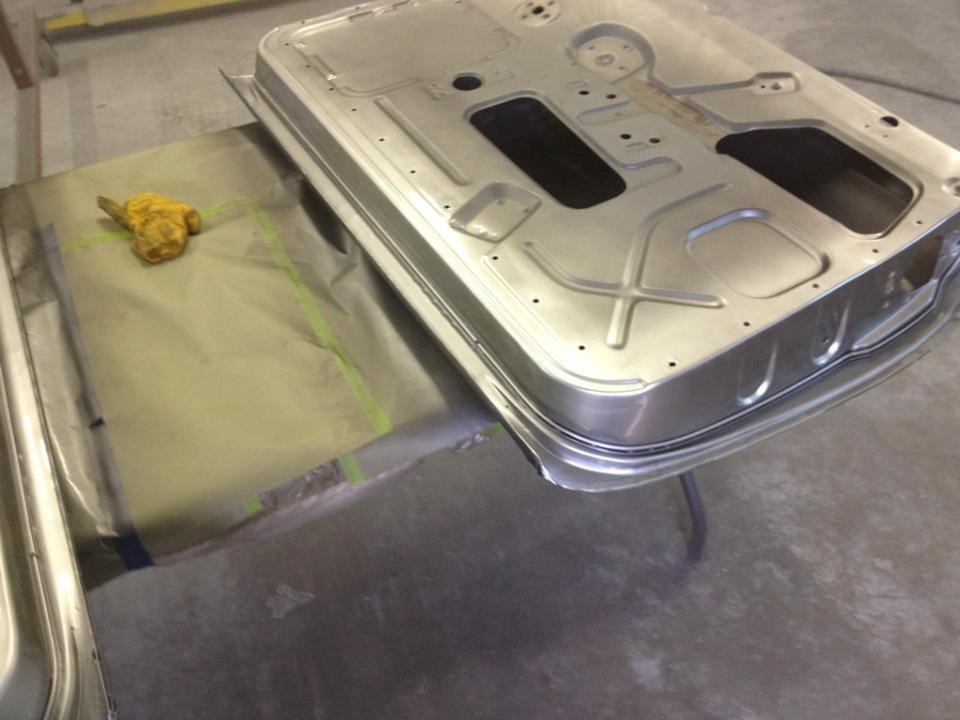
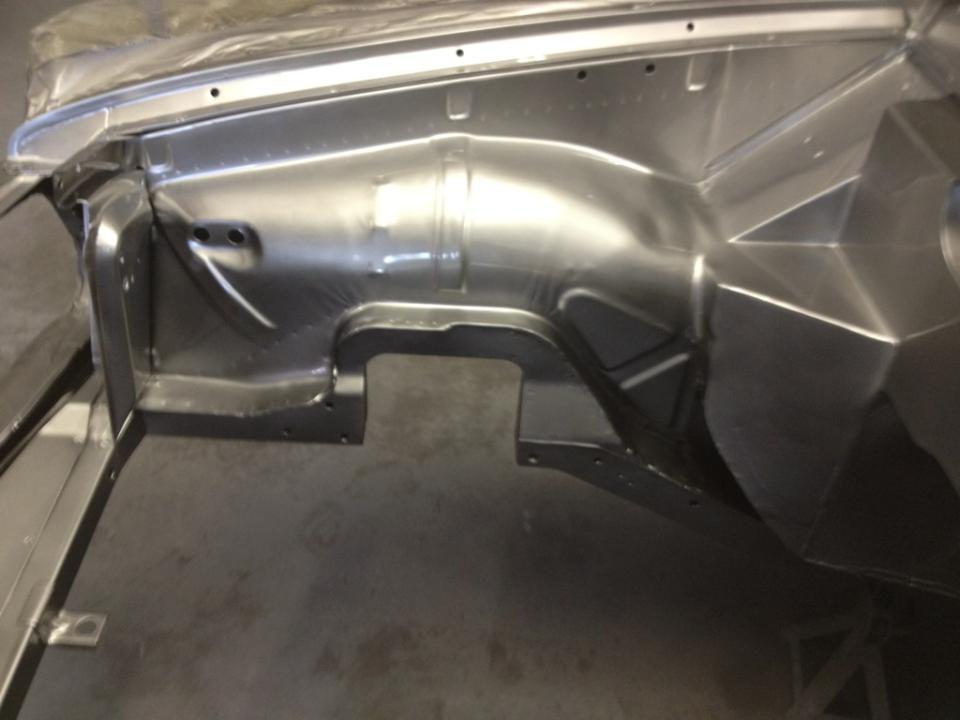
4-20-2013
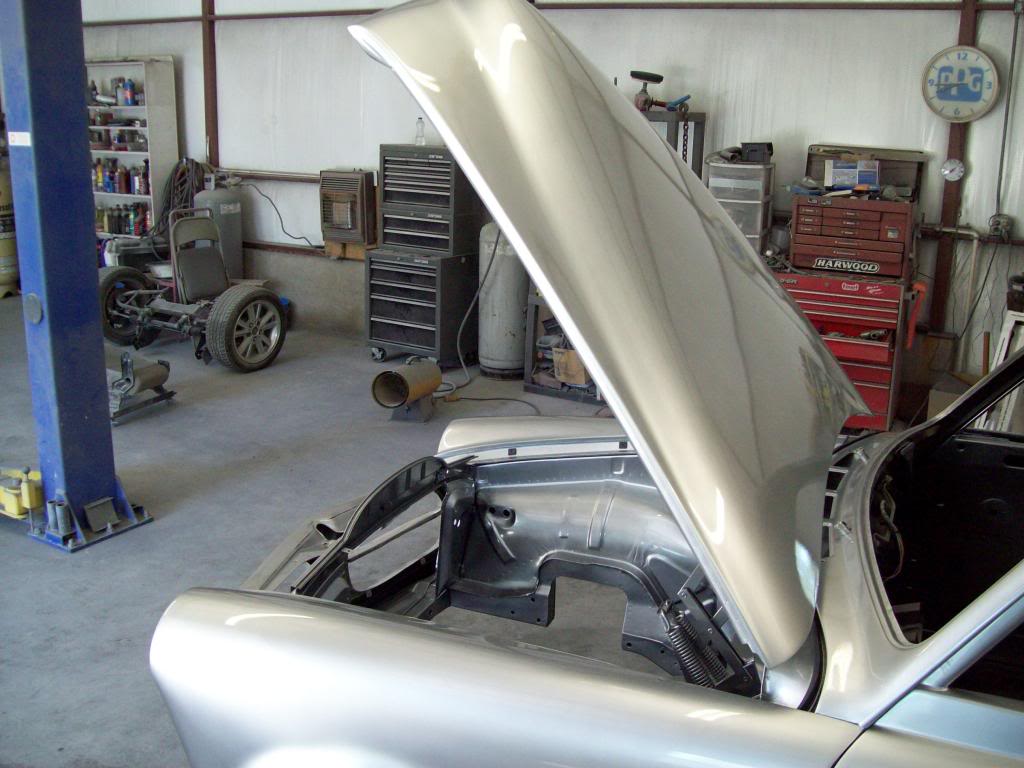
Here are some pics of the engine bay area with the hood installed, and as you can see, the Powder Coating on the hood hinges is almost spot on..
On a side note, I will not be using any of the factory bolts to mount the Hood, Hinges, Hood Latch, Fenders, and the front facia screws in the grille area. Instead, I will be replacing them all with a Rounded/Crowned Allen Head bolt style, and will probably leave them with the black anodized finish, or get them powder coated in a satin black.. I really think this will add some character to the hood open look, and that style bolt looks very clean and sorted.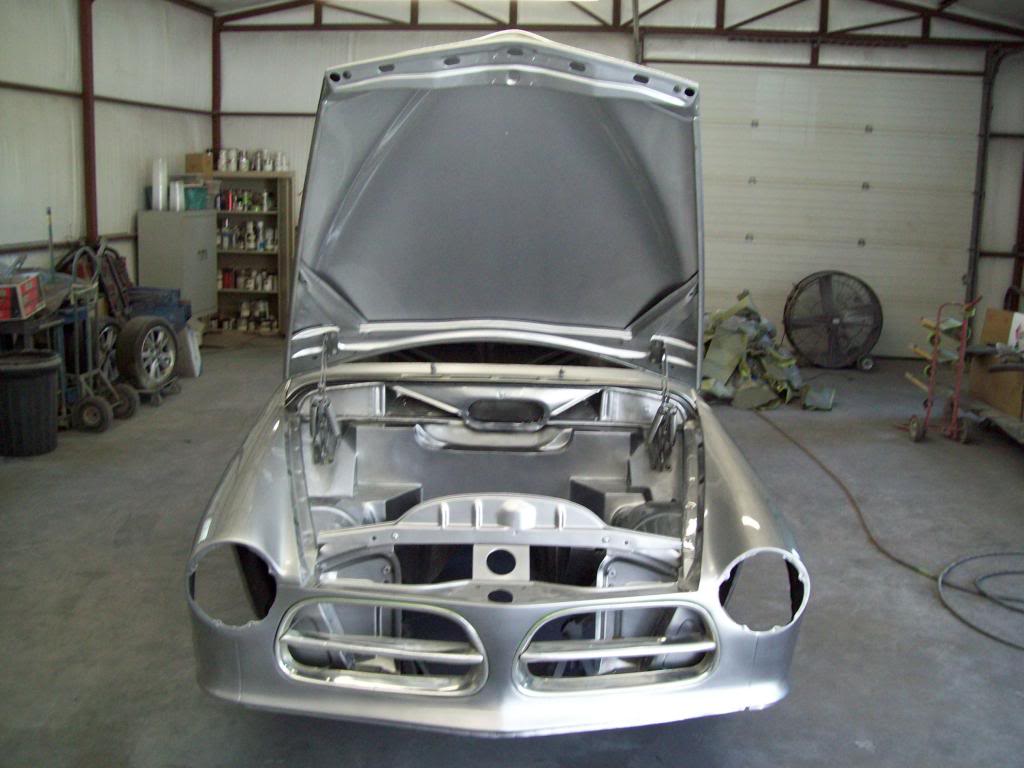
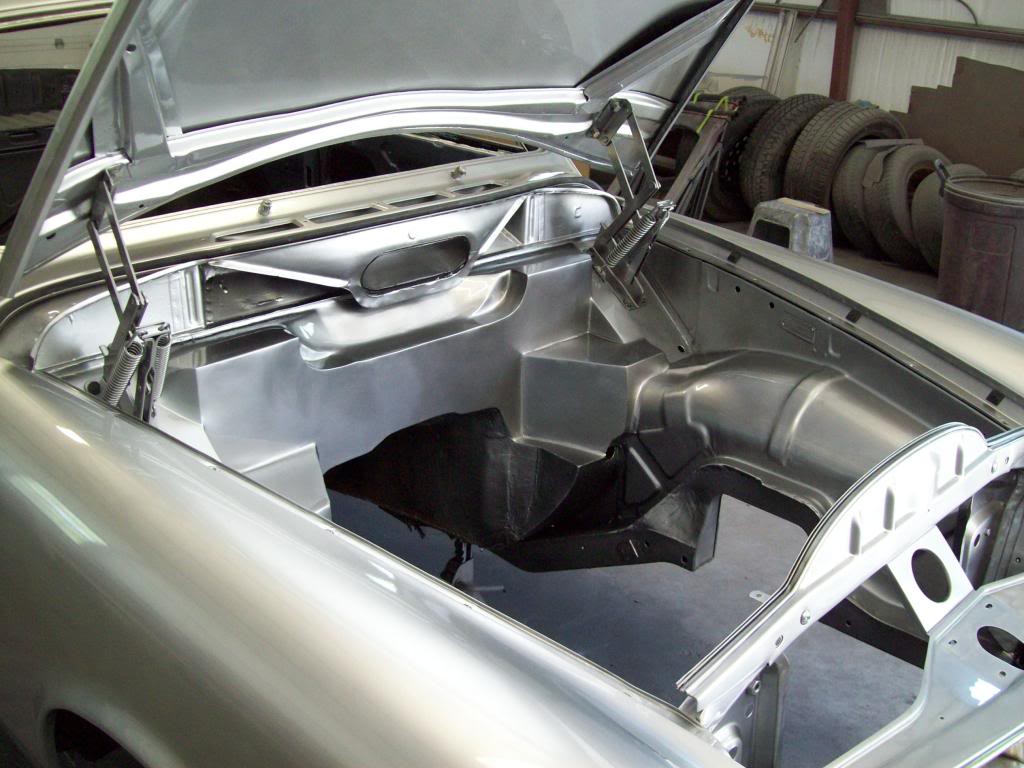
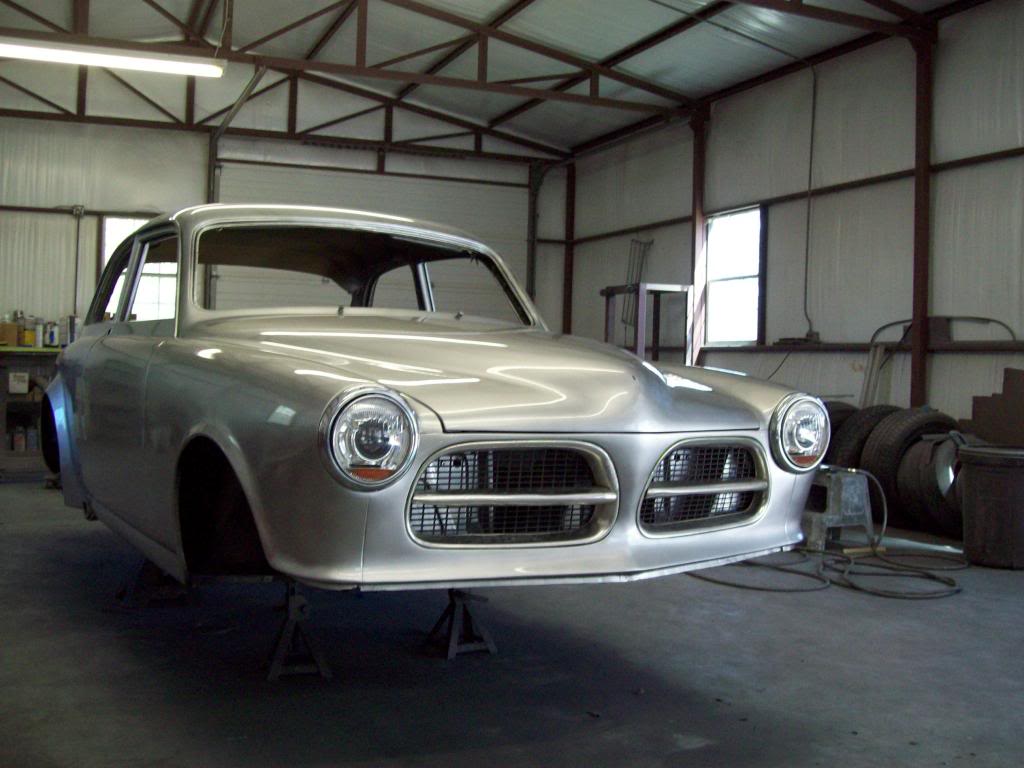
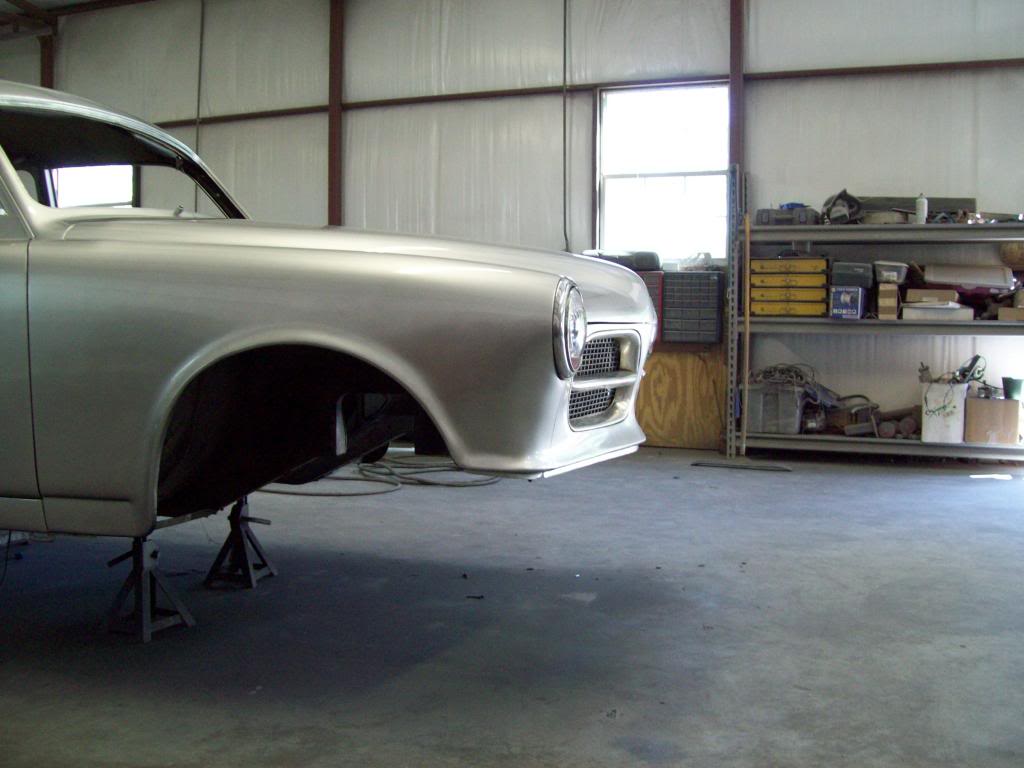
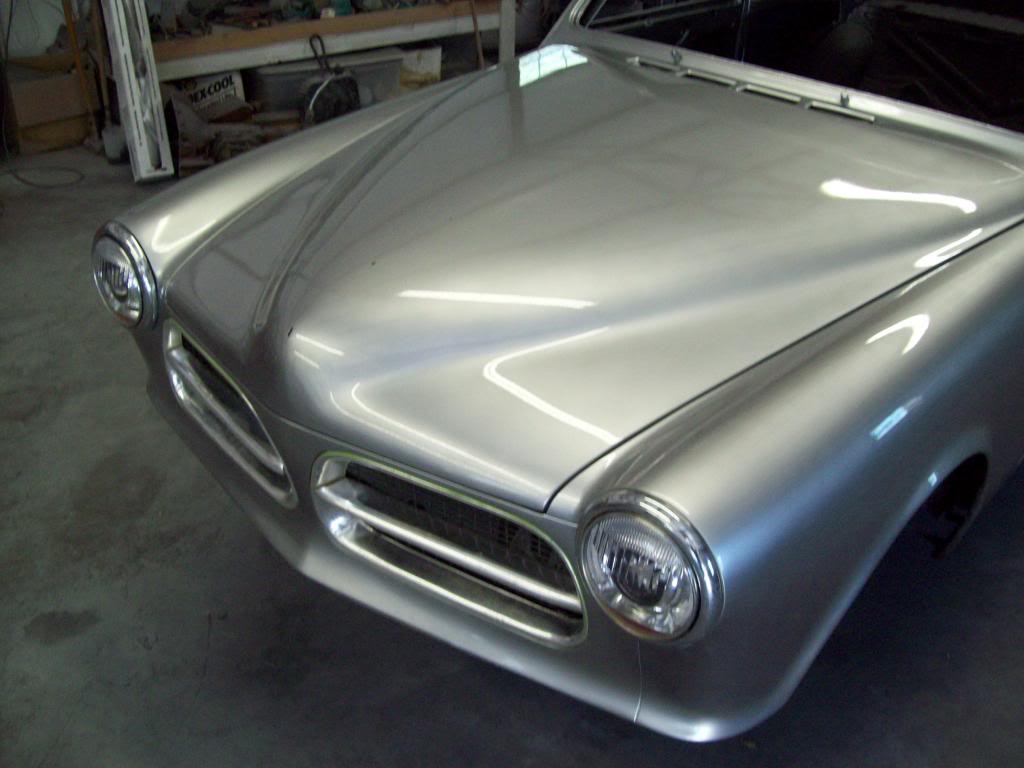
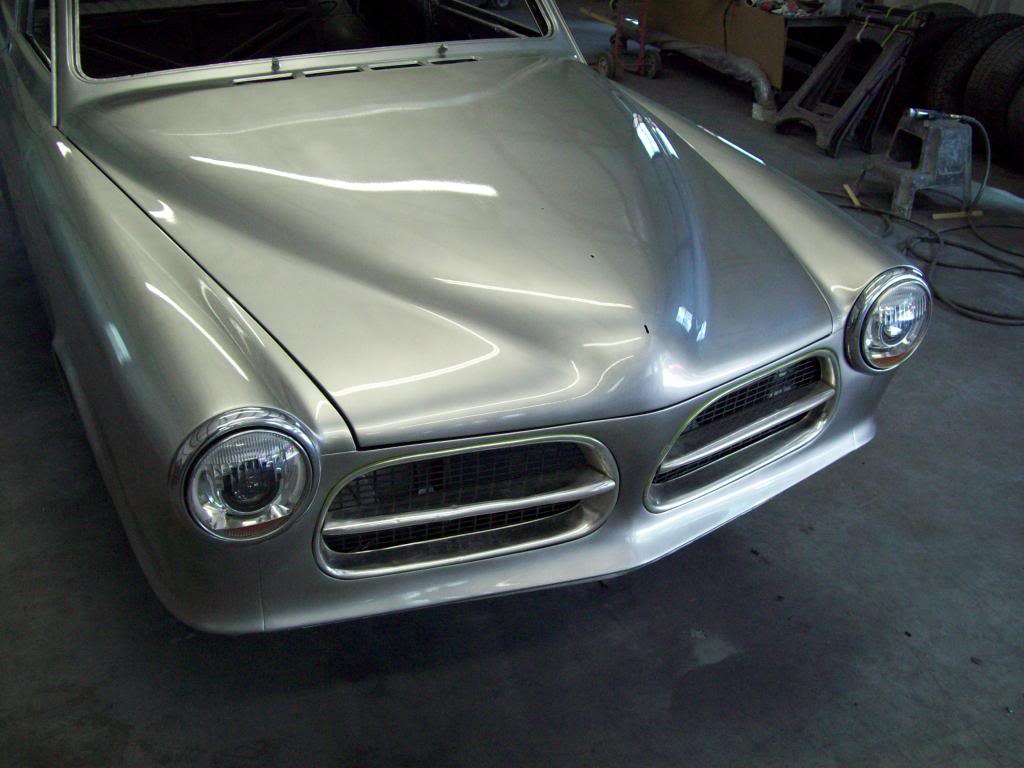
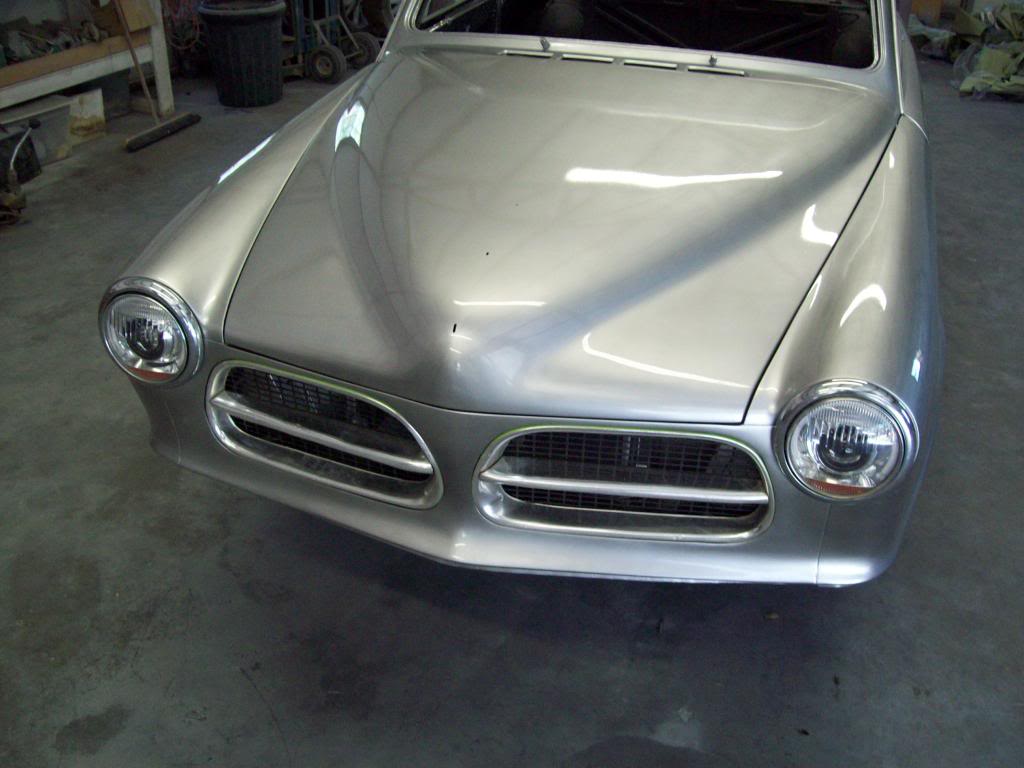
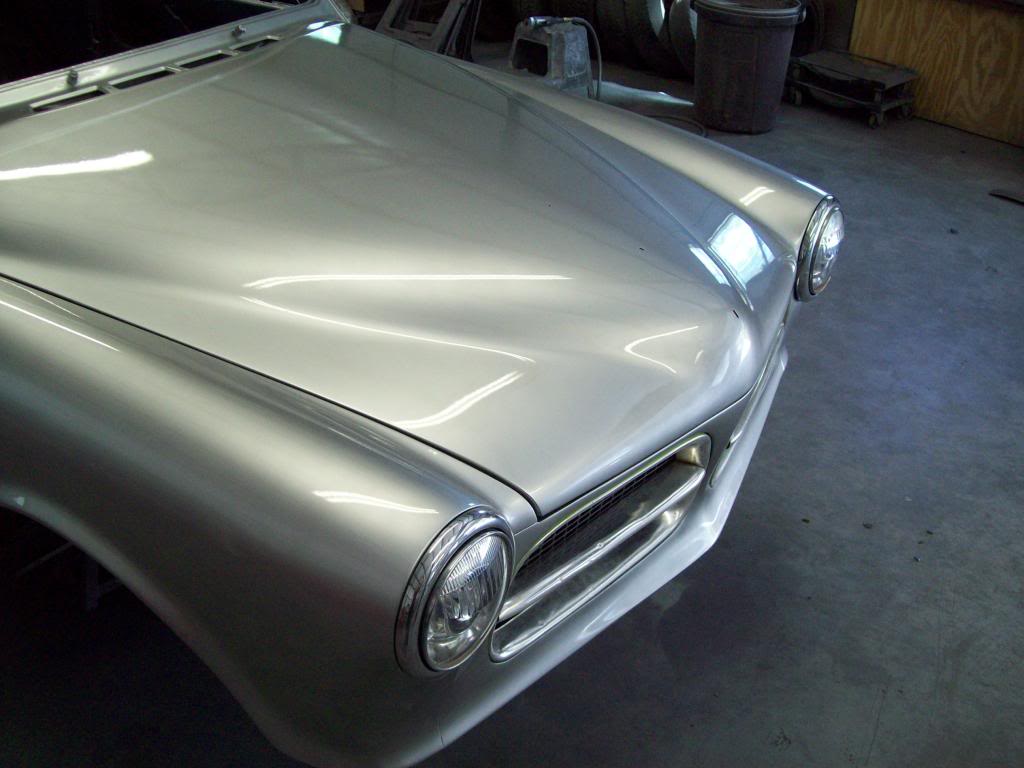
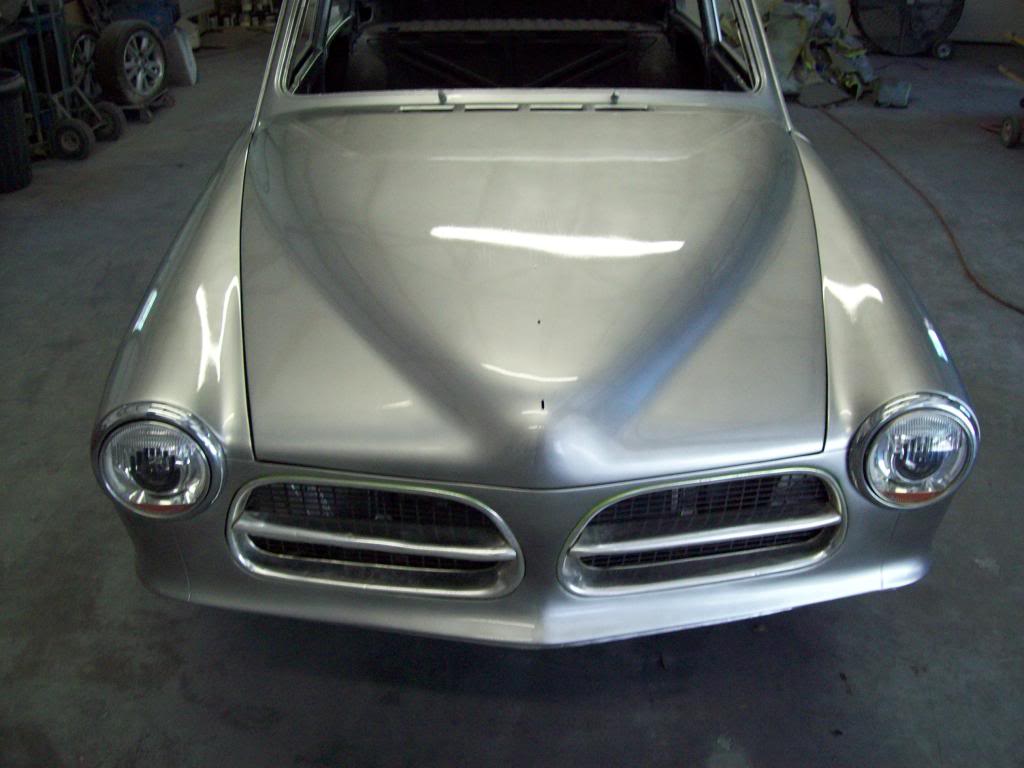
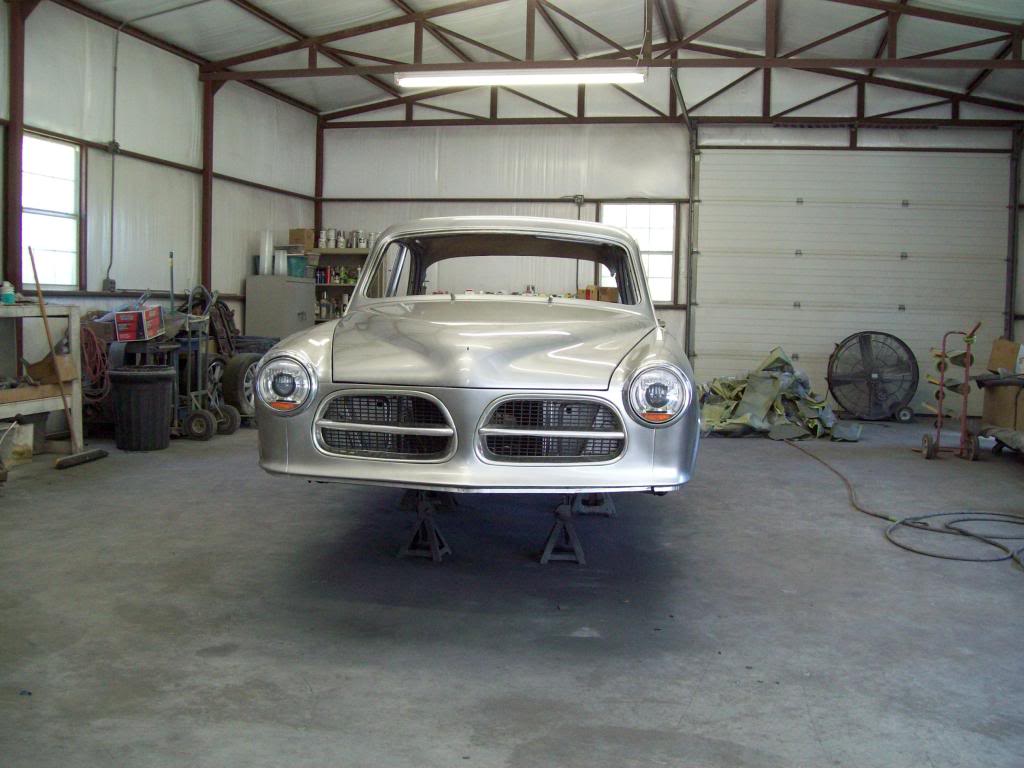
I couldnt resist, so here are some pics of the Custom Headlights and grilles set in place, which is only a rough fit of the grilles.. I have to get the grille mounting done, along with make sure they are tweeked just the way I want them, so I can send them for final straightening and plating.. As discussed, the grilles, bumpers, and basic trim will be done in a Satin Chrome, so do ignore the chrome headlight bezels at this point..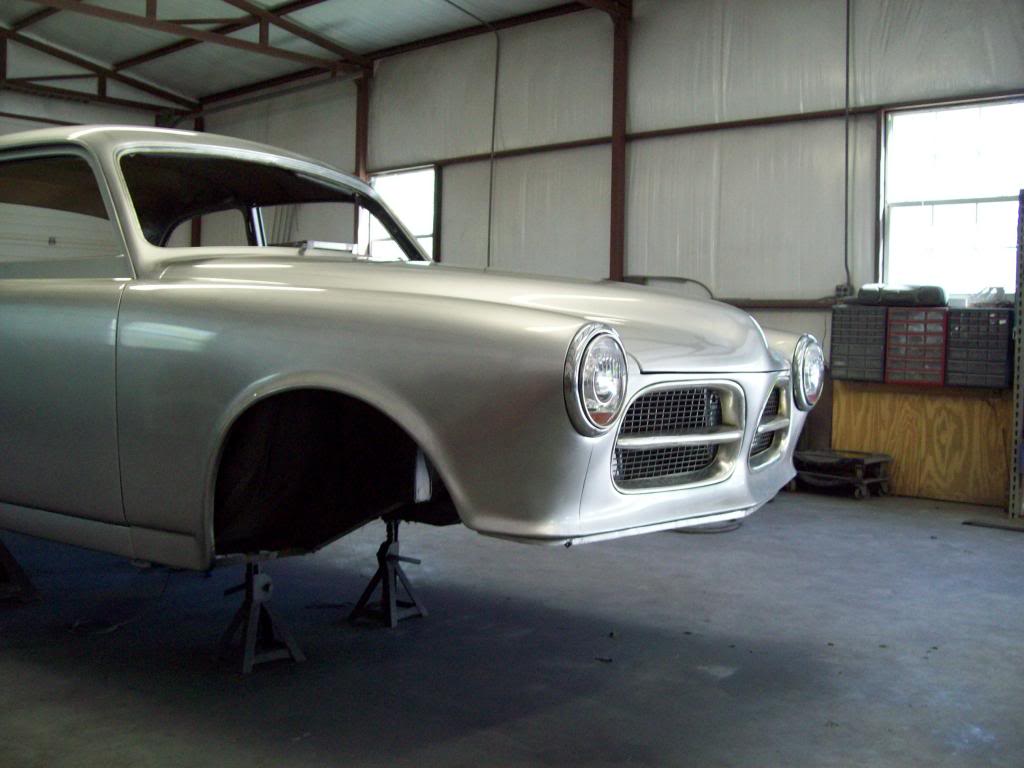

Nice details!
Posted by Diggymart on 7/15/19 @ 1:21:16 PM