You must be logged in to rate content!
11 minute(s) of a 758 minute read
12-6-2012
I have been struggling trying to find a valve cover setup I liked, and there really arent too many options for the LS motor, other than some Fabricated/Welded Covers and a few various other styles.. I kind of like the old 327 Corvette finned valve covers, so I thought I might like these, because they would fit the era of the car, but I am not sure about them yet.. In order to use them, I am going to have to work out some of the poor cast finish grinding marks, and they are just a bit bulkier than I wanted..
I ordered them in the Cast form, because I didnt want any polished parts under the hood or painted parts, because I am going for a natural metal finish look. The polished version might be a bit cleaner in the finish work, so that might be the way to go for others that like this style.


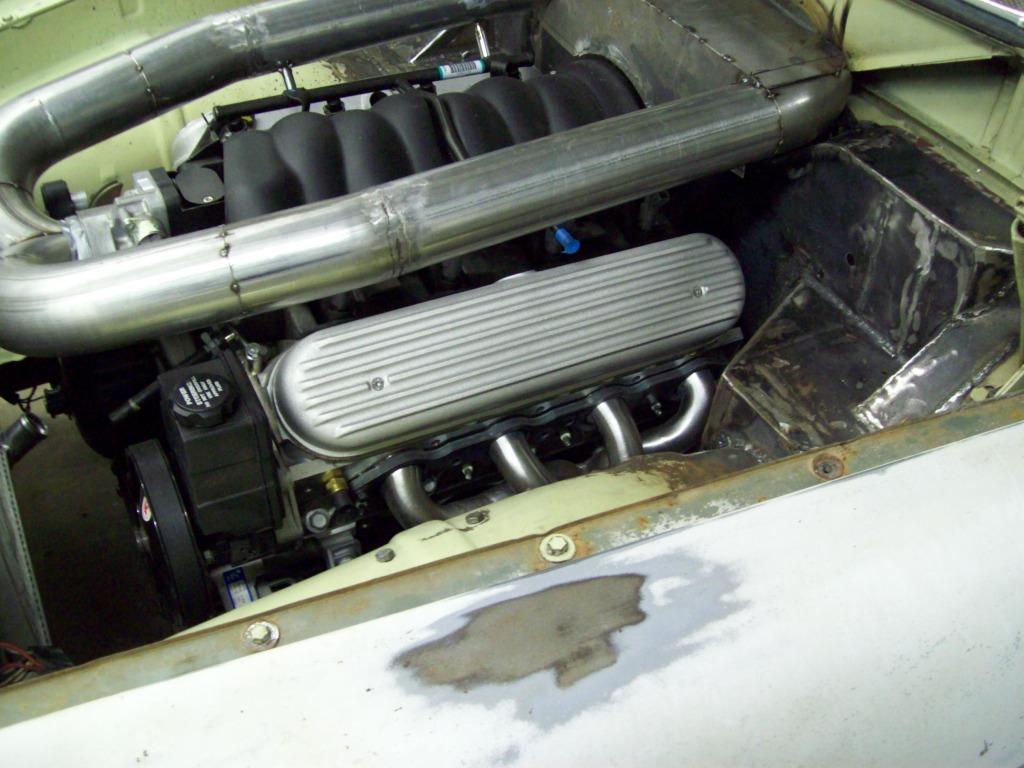


I have the machine shop working on a throttle body attachement collar for the intake tubes, and this collar will be welded onto the Y tube, so I can get rid of the rubber boot and clamp system that is typical here. The collar will have an internal double O-Ring set up that will seal the joint between the throttle body and intake tube.. The whole assembly is hard mounted to the top of the motor, so there wont be any virbration or engine torque forgiviness needed for the O-ring joint.

Here is something I am working on for a template, and I am sure there will be alot of people that will object to this look, but I als dont know how I feel about it yet, because I still think it needs something... I cant seem to find a decent intake cover for the plastic intake, and I am not real big on some of the aftermarket replacement intakes, because they are really just a bulkier version of the original.. It couldlbe painted, or even add a carbon fiber touch, but that isnt really what I am looking for..
I made this intake cover as a starter, and I think there are several options for it, but it still seems a bit plain or off.. I was thinking about having the intake cover painted body color, while having the intake tubes powder coated in an Aluminum look coating? I could also use the center of the intake cover for some sort of Air Brush logo'ing or badging? I could potentially add some fins that would blend into the valve covers? Not sure yet, because this is just a starter.. I think it has some potential, mainly because it will hide all the injector B.S., along with a bit of wiring and accelerator cable.
I still have to bring the Filter Box down into the center section, so the rearward part of the cover/filter box isnt completed. The air filter box will more than likely come down to meet the intake cover just behind the valve covers, and this will tie in, and curver around the back..


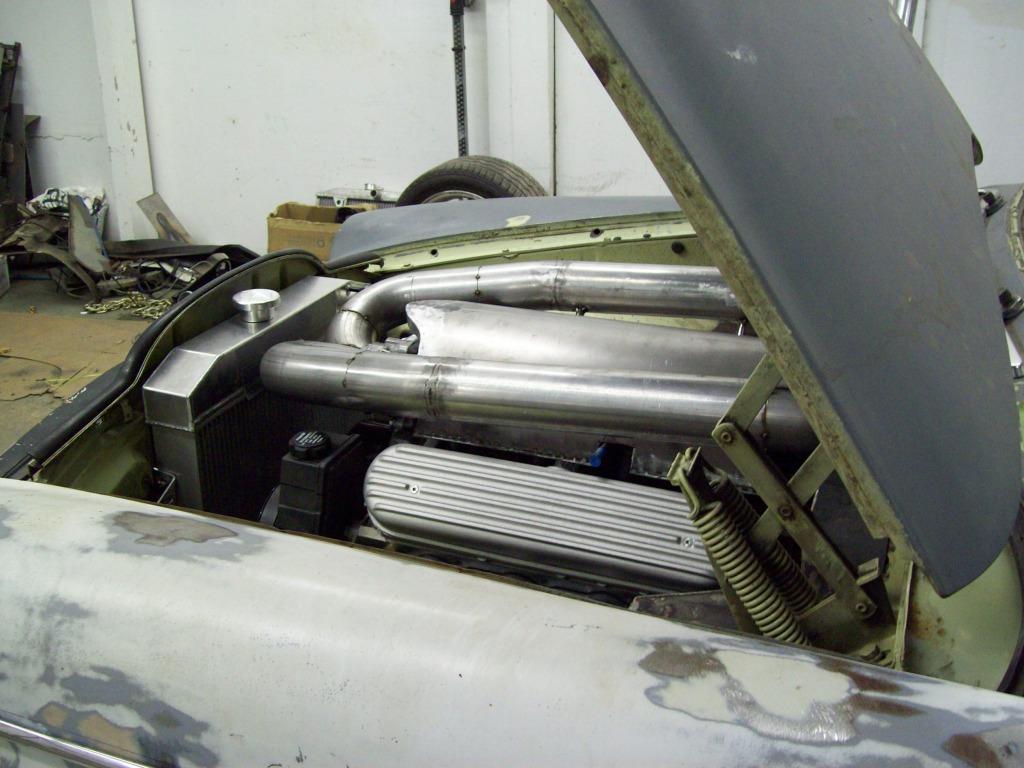
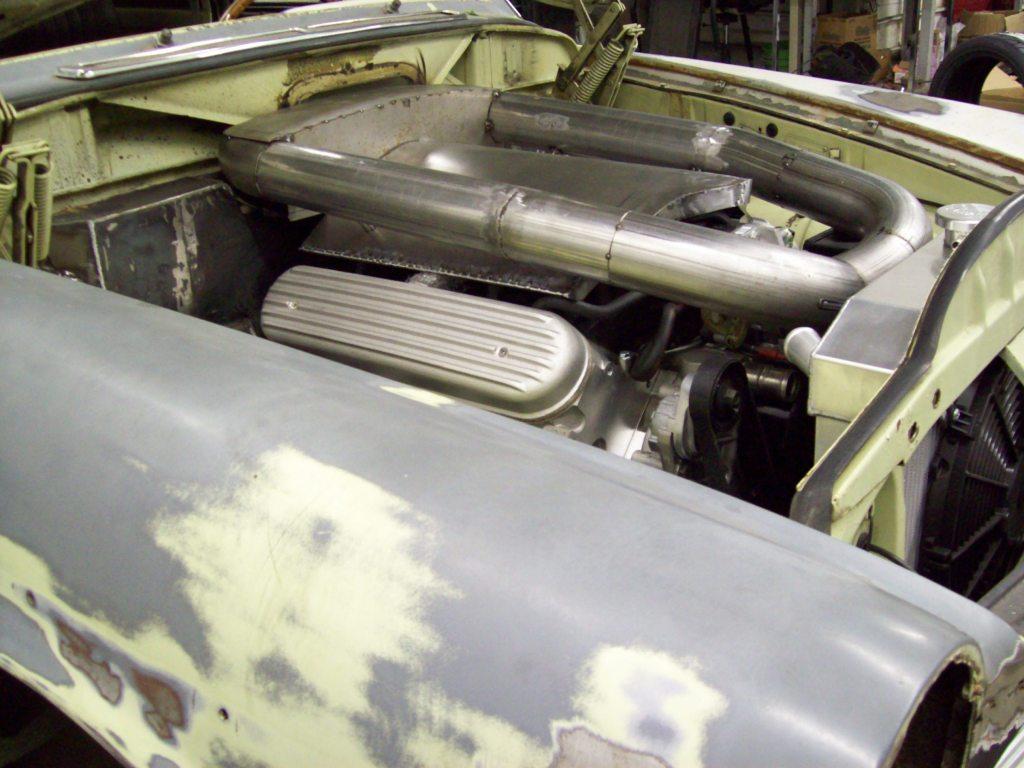
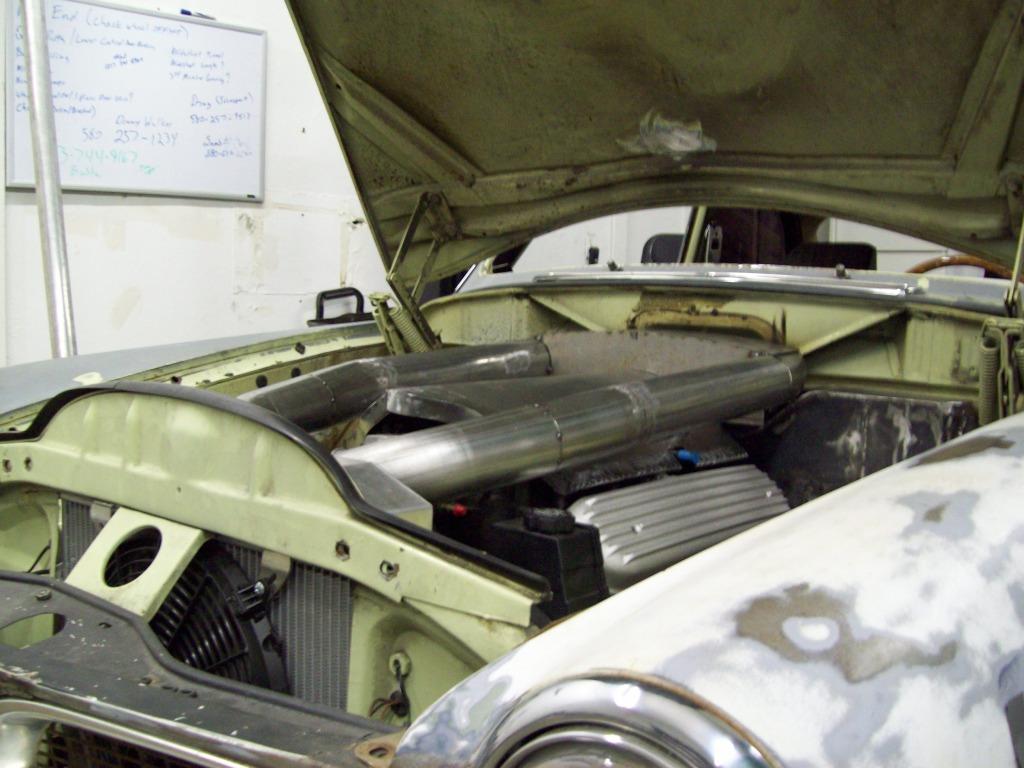

I couldnt stand it anymore, and didnt want to come to the shop tomorrow with a plain situation, so I made some fins up real quick.. I think this might be the ticket, but it will need just a bit of refining. I will make a better close out front panel later, and it will follow the contour of the front engine assembly/intake, which I think will compete the custom fit better..
The fins can be made real easily by stacking flat bar, and tack welding them together on the bench.. Just stand one up, lay one down, stand one up, lay one down, until you get the fin count you want..


12/8/2012
Through trial and alot of error, I think I finally have the rear air box sorted out, and I think this is the way I am going to run it. It will still need a bit of finish welding and grinding, but it appears it will work just fine.. Now I just need to figure out the coating/paint combination that best fits the build.. I am thinking about having the whole unit powder coated in an Aluminum color, and then having the center painted body color/under hood color.
It isnt the cleanest thing right now, but it well definitely clean up nicely with a bit more grinding and finish welding.. I actually have to cut it apart in a couple of places to do some final welding internally..
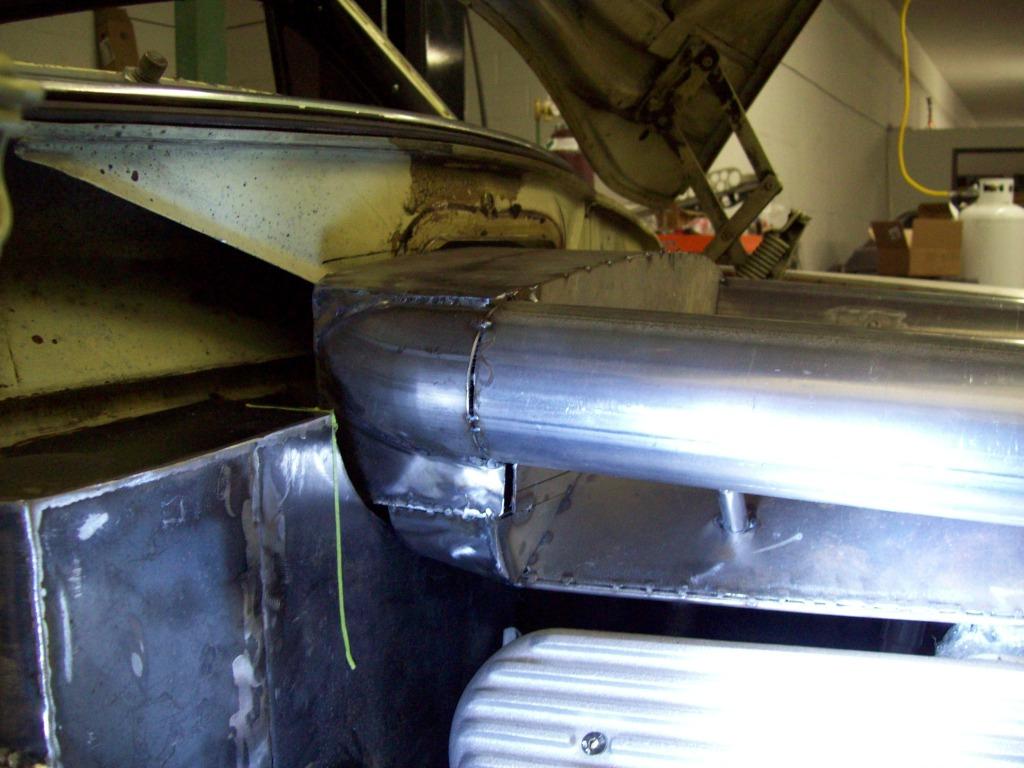
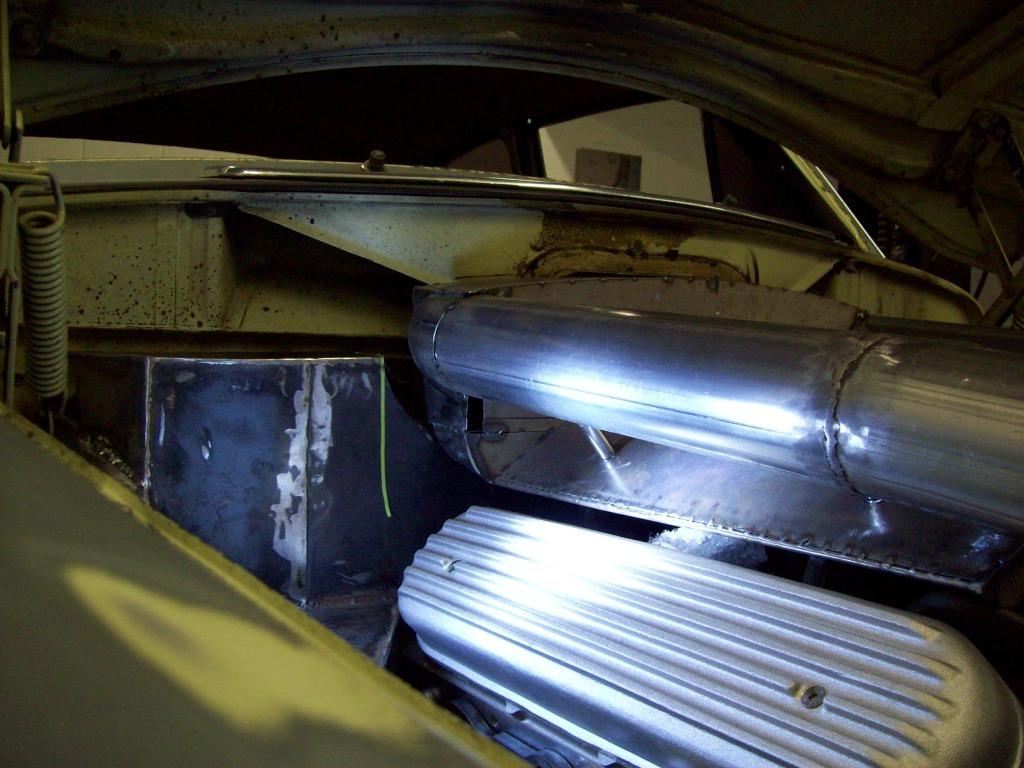
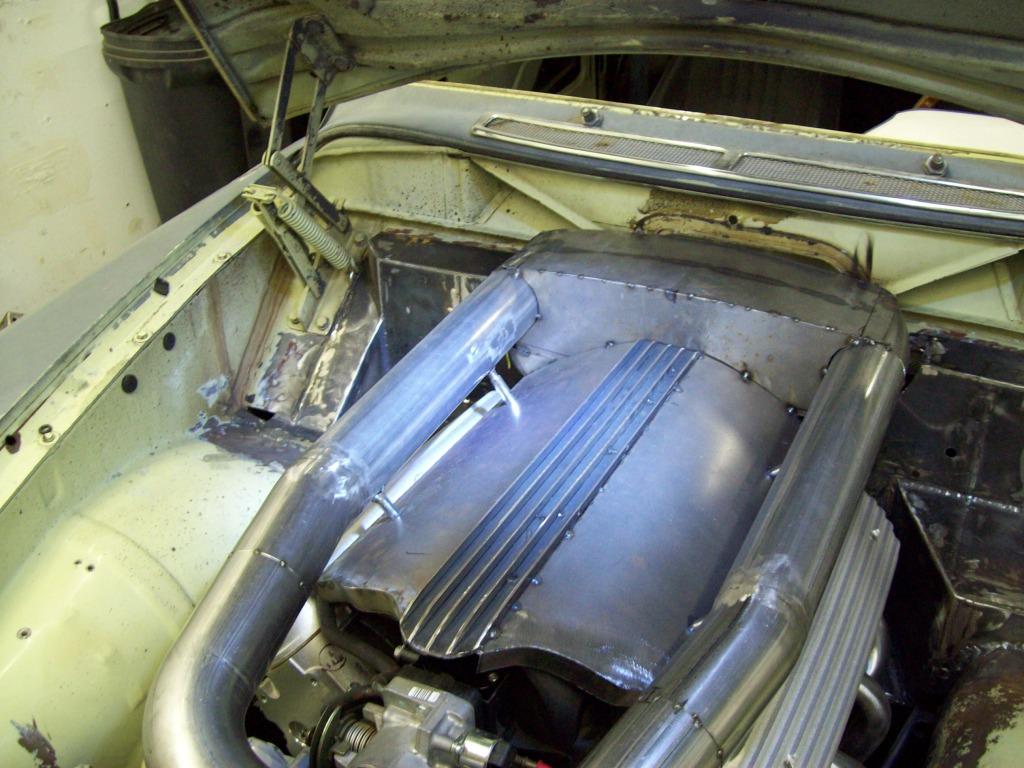
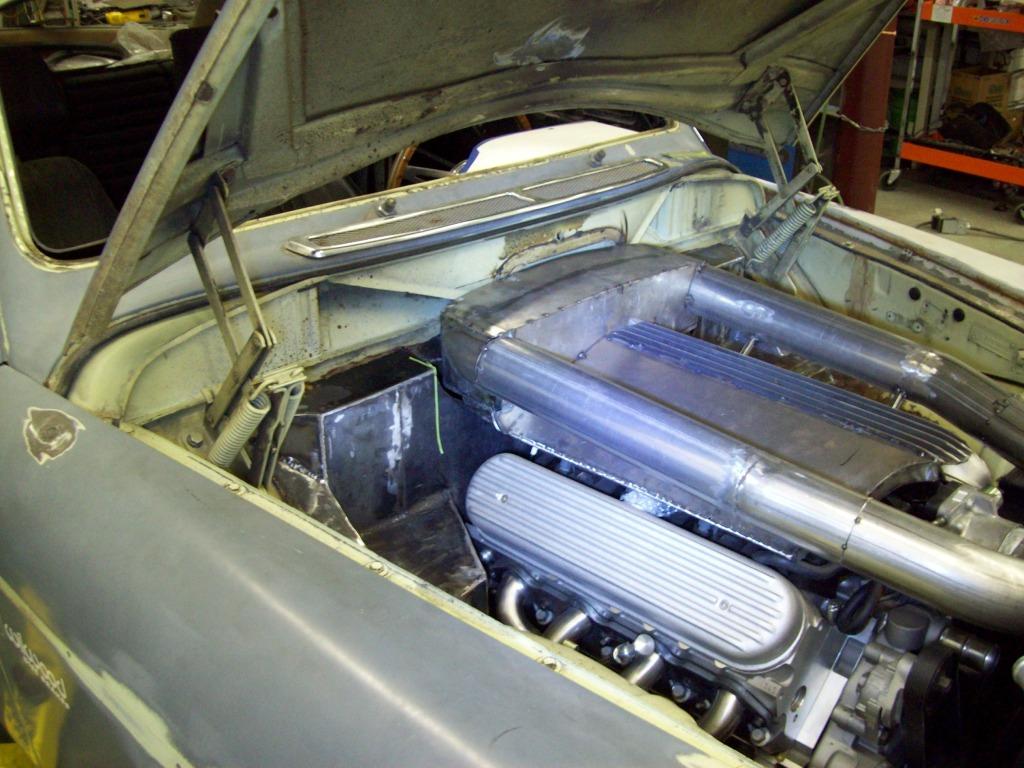
12/11/2012
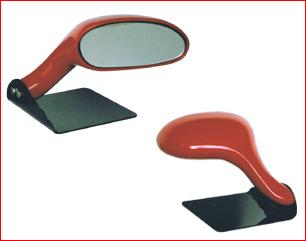
Door Mirrors have turned out to be a bit more complicated than I had thought, because there arent too many options out there, especially when I am removing the vent window and running a 1 piece door glass.
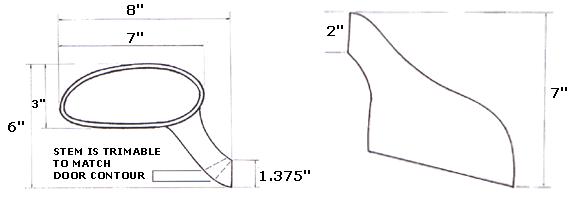
I found these mirrors, and I think they will be about right.. The are actually not that bulky, but still have a bit of early styling, plus they have the LED turn signal made into them.
By the measurements, I dont think they will be too big for the car, but the base of them is made to cut to a number of specific specifications and fit, so I should be able to draw them into the door/body as I see fit..

12/12/2012
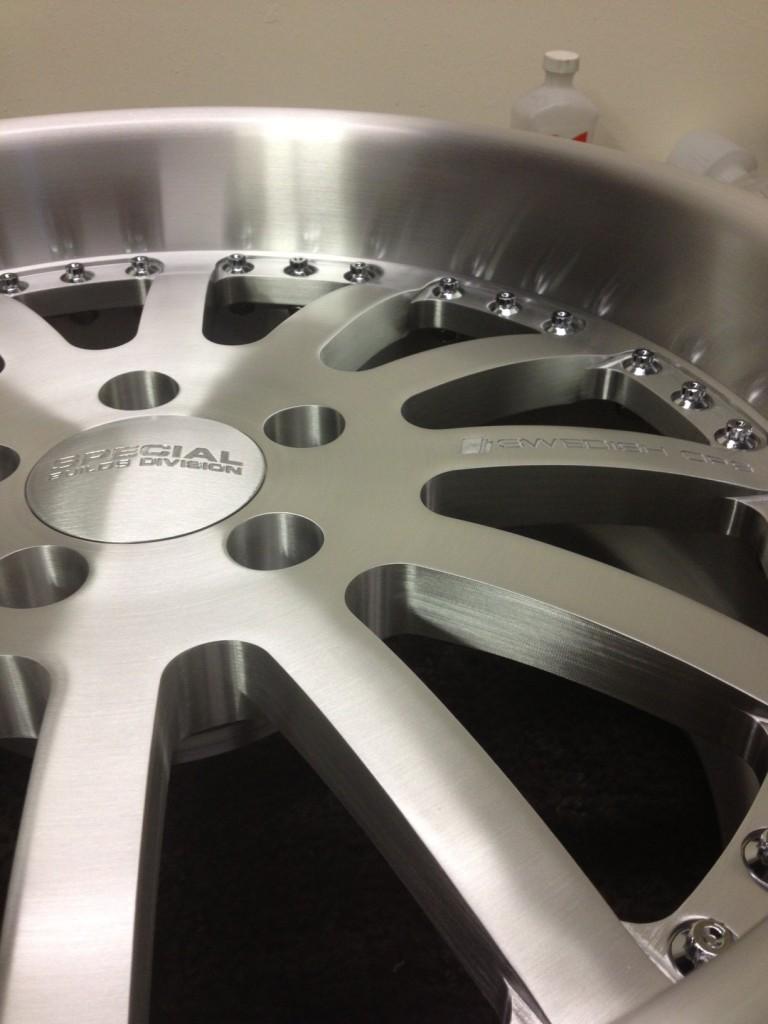
Here is a sneak peek of the wheels, they are on their way, so I will be able to get the car on the ground.. I havent been able do put it on the ground yet, because I havent had any wheels that would clear the 14in and 13in brakes, so I need to still set up the ride height options for the suspension kit. These are 18x8 fronts and 18x9 rears, so they should hopefully fill out the wheel wells nicely..


12/14/2012
Here is a rough in of the door mirror situation, and I do think they are going to work nicely. These mirrors have a solid base/pedestal, so you can actually cut to the mounting height, and contour to fit the body side panel angle.. It is really just a matter of cutting the base, and then sanding it to fit the mount angle, and then install the threaded inserts for the bolts to work. I ordered the LED version, so the clear lense on the face of the mirror will also be a turn signal, which I think will be a nice feature. The mirror set was only about 260 dollars for the LED version delivered, and with all my trying to find mirrors that will work, I think they are a big bang for the buck..
Pictured here, is the passenger mirror that I have not cut yet, and the beginning cut piece I made to mount the drivers mirror..


Here is the preliminary location of the drivers door mirror, and I think it is going to work great, but the bright white color is making it look larger and stand out more than it actually does. Some time pictures are hard to get the real perspective, but it is barly above the door. Height wise, it is actually sitting about the right height to be totally functional, so this is where I need to start. I might move it a bit more toward the rear of the door, so it doesnt conflict with the drip rail angle, but I am running our 1 piece door glass to eliminate the vent window, so I have alot of position options from frontward to rearward.


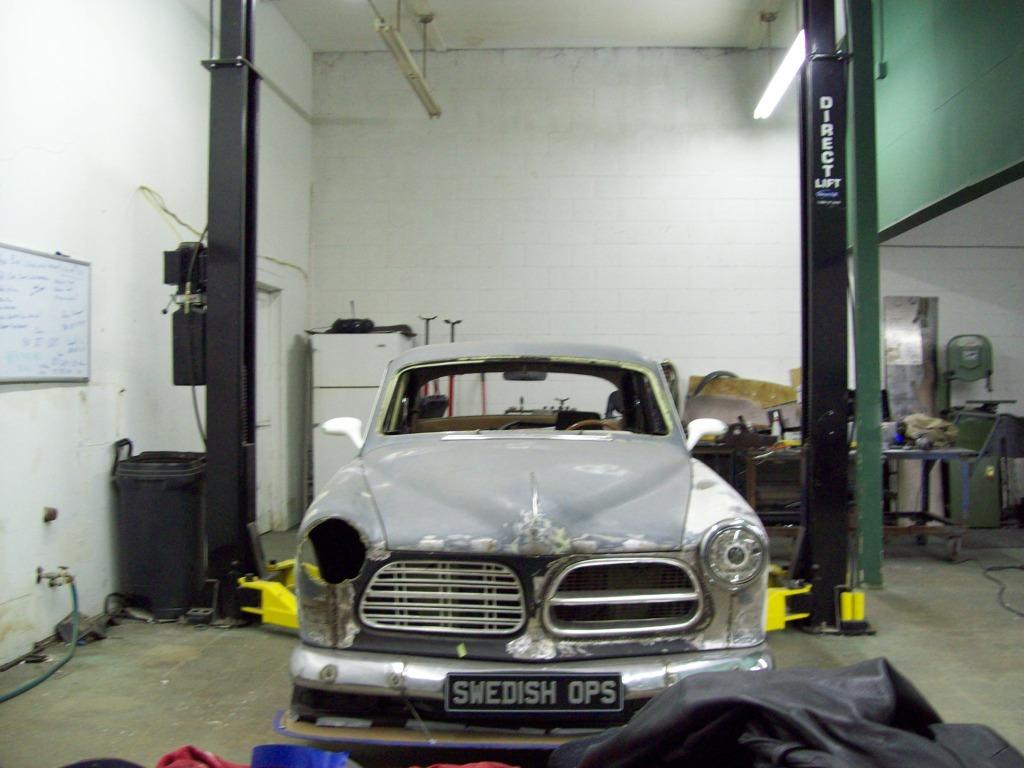
Here is a better perspective of the mirrors with passenger mirror on, so you can see the total accessory affect.. I am in sort of a conflict here, because the instructions say to mount the passenger mirror at a different angle, so the view from the drivers side will work without positioning the mirror glass at an extreme angled position in the housing.. It makes sense, but that will annoyingly throw off the proportions with the body, so I am still debating on going by the instructions, rather than mounting the mirror bodies the same.




Nice details!
Posted by Diggymart on 7/15/19 @ 1:21:16 PM