You must be logged in to rate content!
6 minute(s) of a 758 minute read
11-1-2012
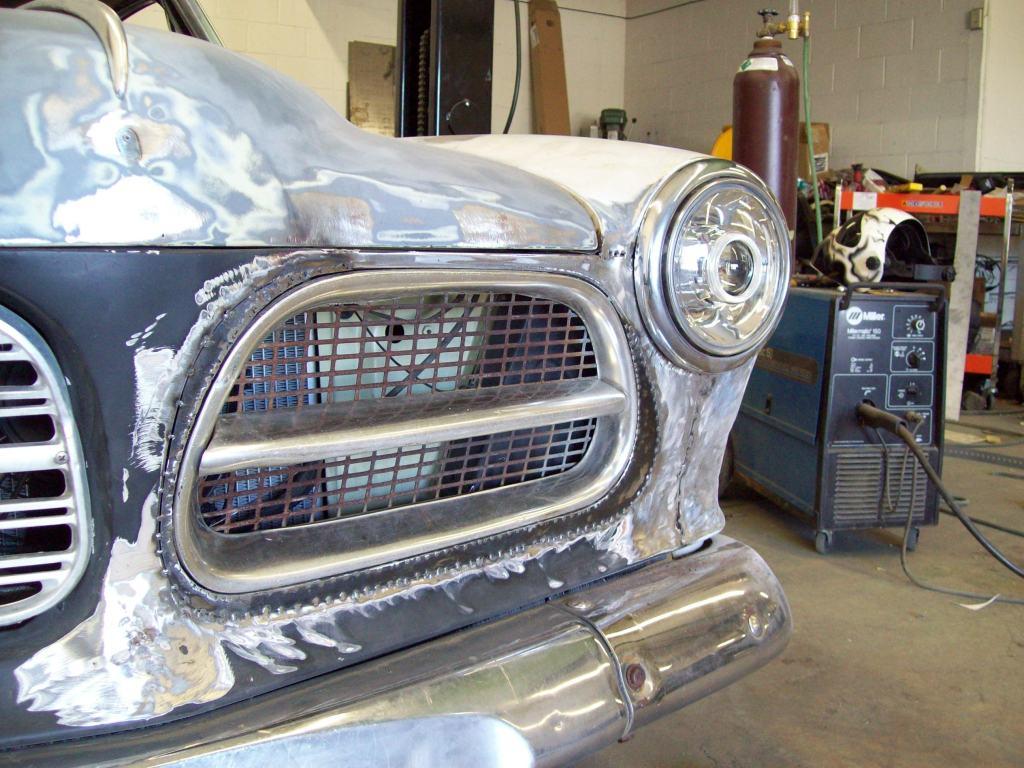
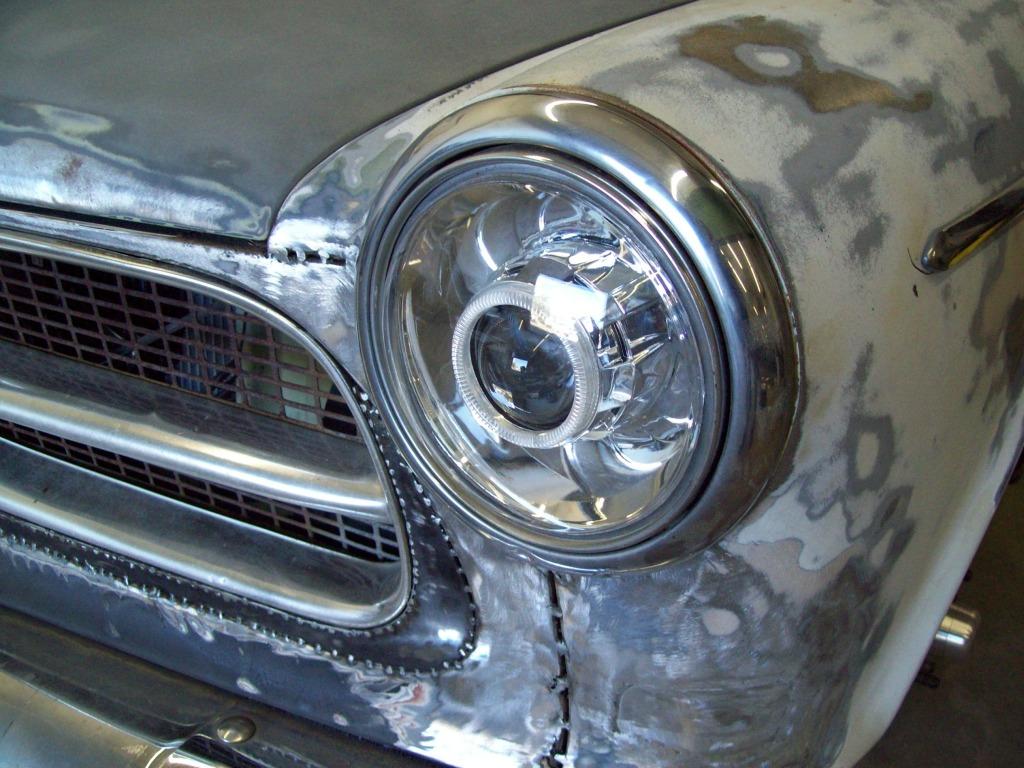
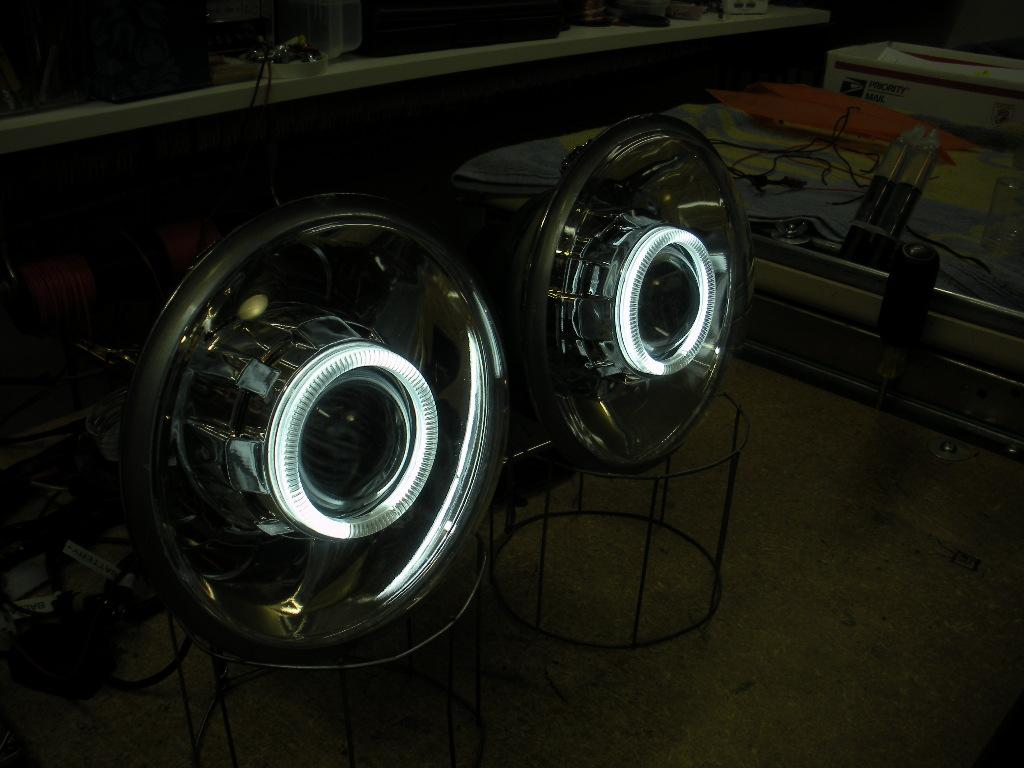
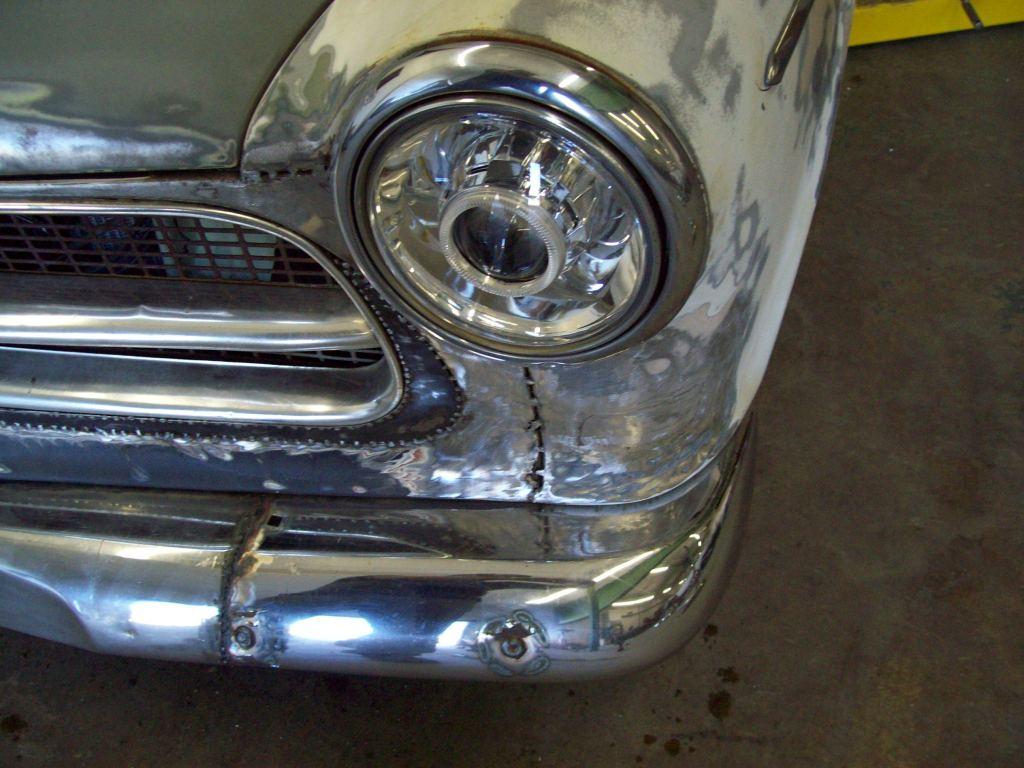
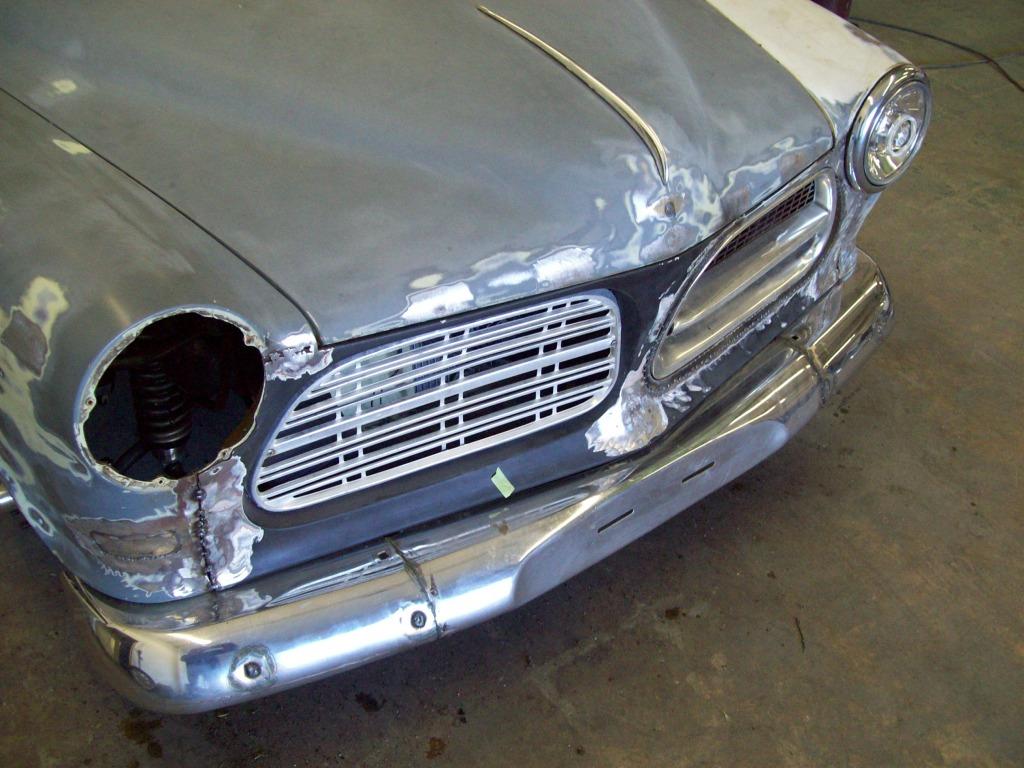
Sorting out the lighting at this time, and will be trying to clean it up a bit.. I have some custom made HID Projector Headlamps that I had made, with the LED Halo daytime running light. They are smooth lenses, and smooth reflectors, which really make the headlamps very crystal and clean.
In the renditions the headlight ring in painted body color, and I think I am going to try it both ways, before I made a decsion on which one stays.. I am removing the chrome tail light housing, so it I leave the headlamp ring chrome that might look out of place. The renditions for the Amazon builds, have the headlight rings and tail light bezels painted body color, and I think that looks best.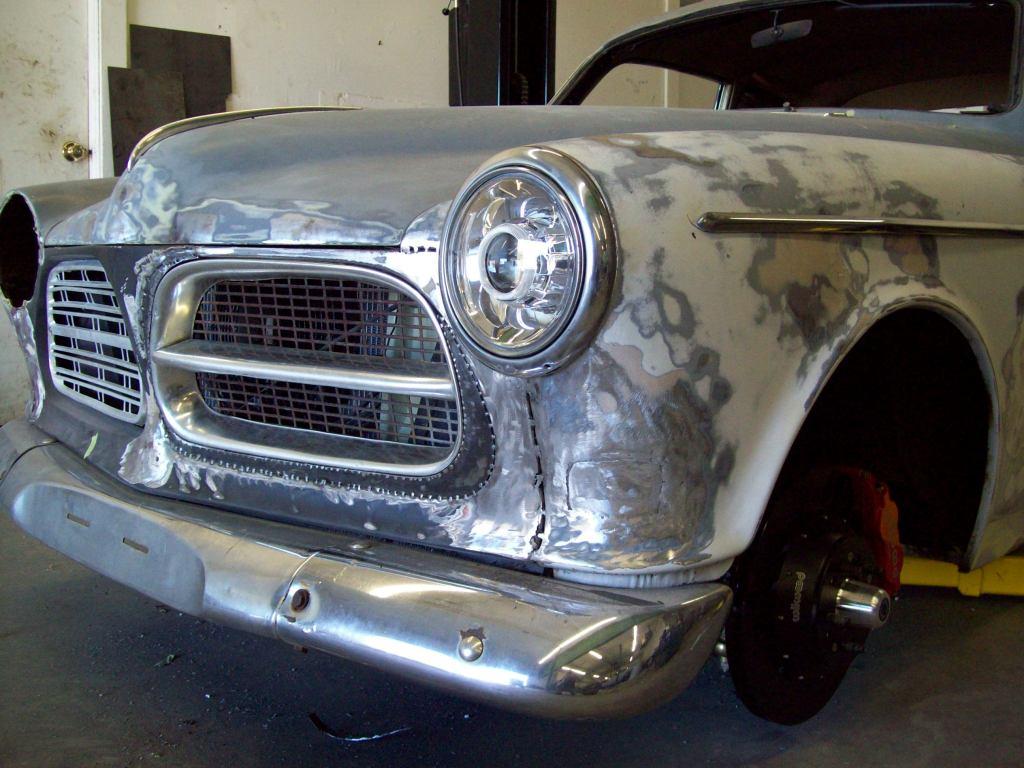
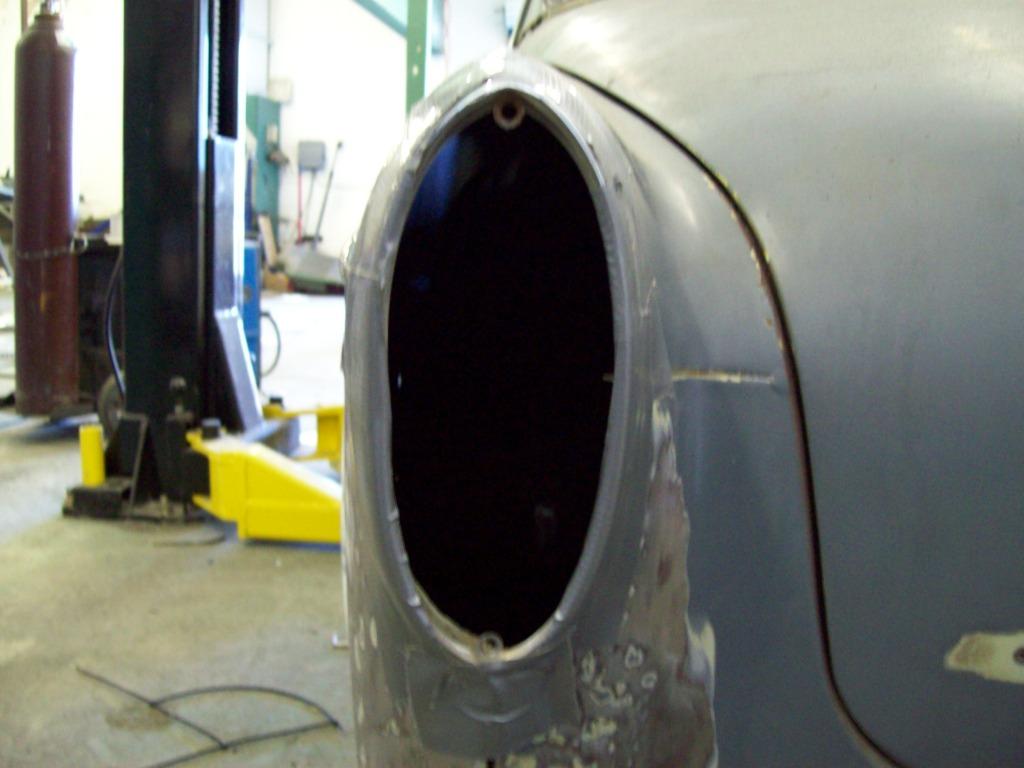
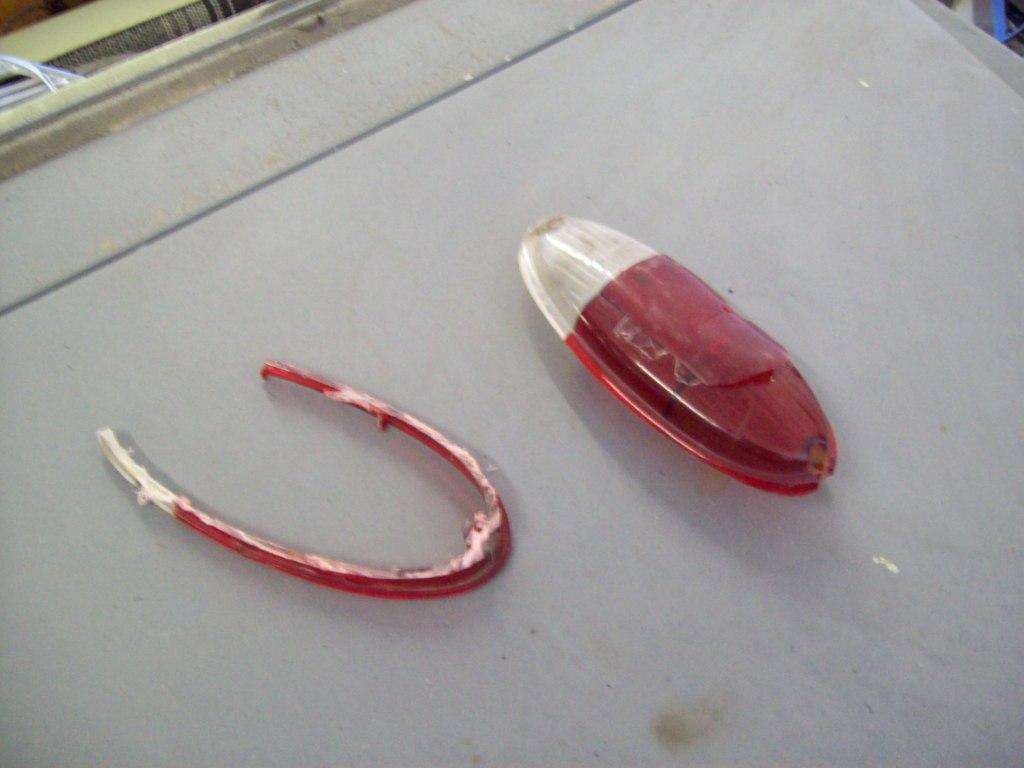
For the rear tail lights, I wanted to clean up them up a bit, really only by getting rid of the gasket system. I found that if you do just a bit of trimming to the tail light lense, you can install it from inside the body, so I will be welding the bezel to the end of the quarter panel.. This will eliminate the need for the rubber gasket, and will allow me to paint and blend the bezel into the body, to give the quarter panel a completed look.. 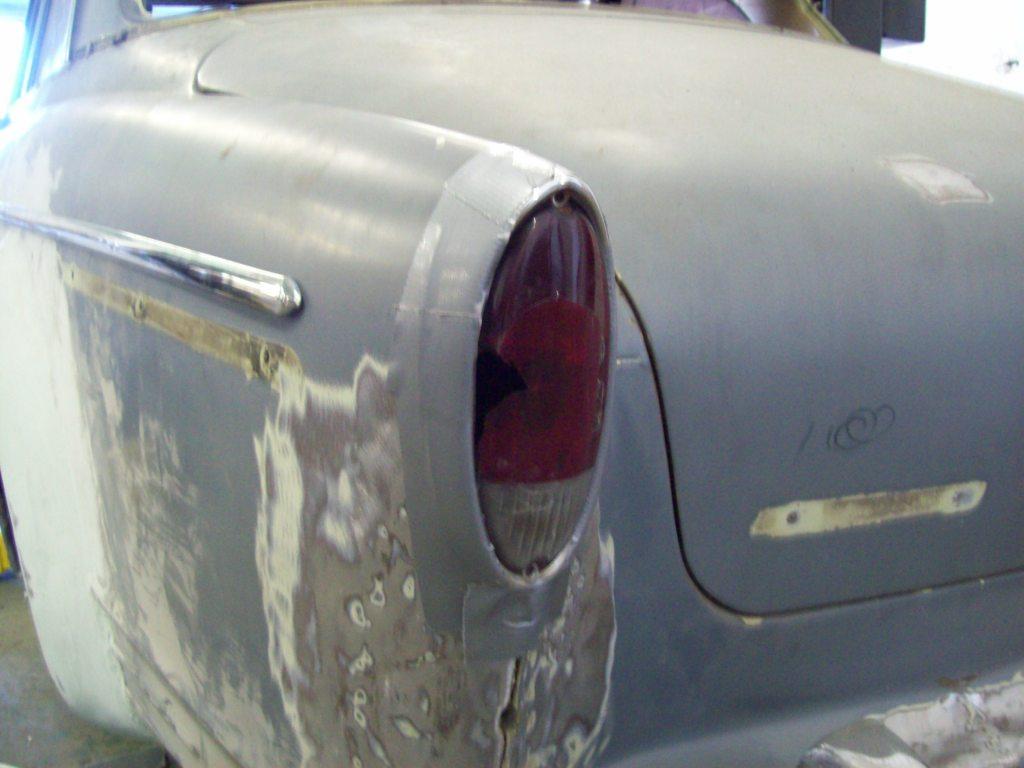
11/2/2012
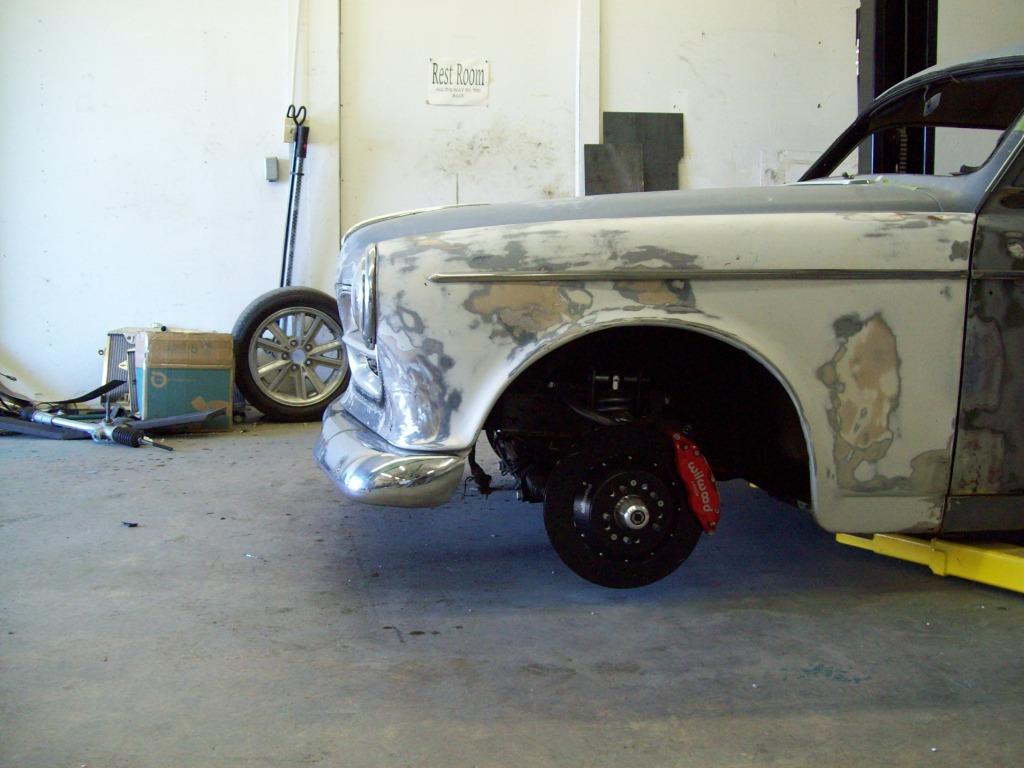
Started working on the One Piece Bumper, and wanted it to mount with no exposed bolts, and also have a better fit.. I was told by a chromer to make sure and butt weld the bumper, rather than weld the overlap, because welding the overlap will cause potential problems later due to trapped chemicals.. So that is what I did.
Being that this car is going a satin silver/grey color, and I have brushed aluminum wheels, I am looking into a Brush/Satin Chrome for the bumpers and all the trim. I have found a company that says they can do it, and they are sending me a sample. The more common place to see this type of chroming is normally household accessories, and will have more of a stainless steel affect, but with just a bit more sheen.
Here are a few steps of how I did the bumper, but keep in mind I am working with old parts, so there will be just a bit more straightening of the bottom and top edges.. It was more important to get the front curvature of the bumper and centers to be clocked correctly, than making the top and bottom edges perfectly level.
After I got the center bumpers overlap sections cut off, and also got the bumper to the desired width, I tacked welded it.. I didnt like the curve/shape of the bumper wrap around on the ends, so I reshaped that by making a slice at the top, and a couple of verticle slits at the bottom, so I can pull and twist the end with our changing the overall shape.
Here are the before and after the cut.. You can see that it allows you to fine tune the bumper end to follow the wheel opening much better.
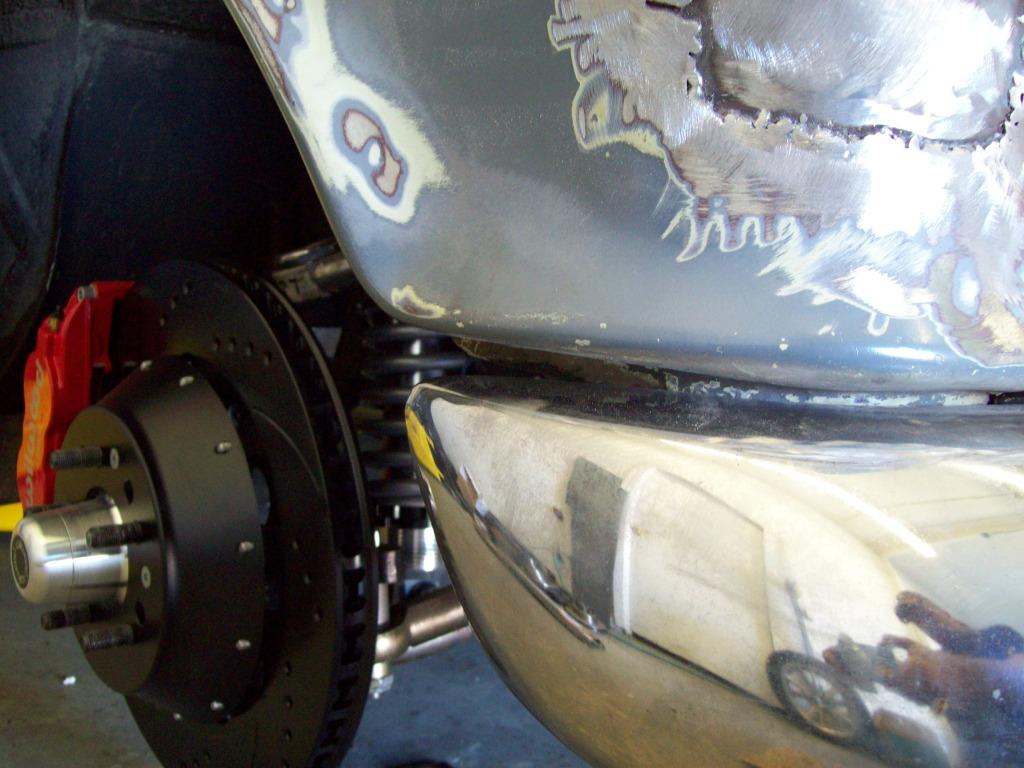
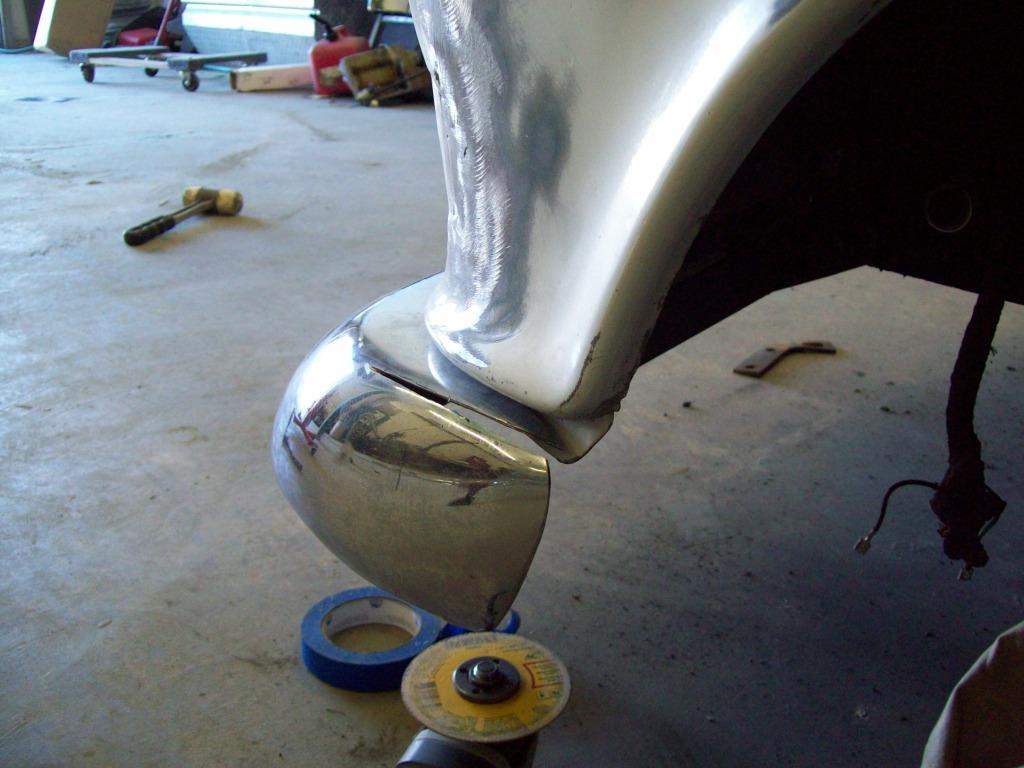
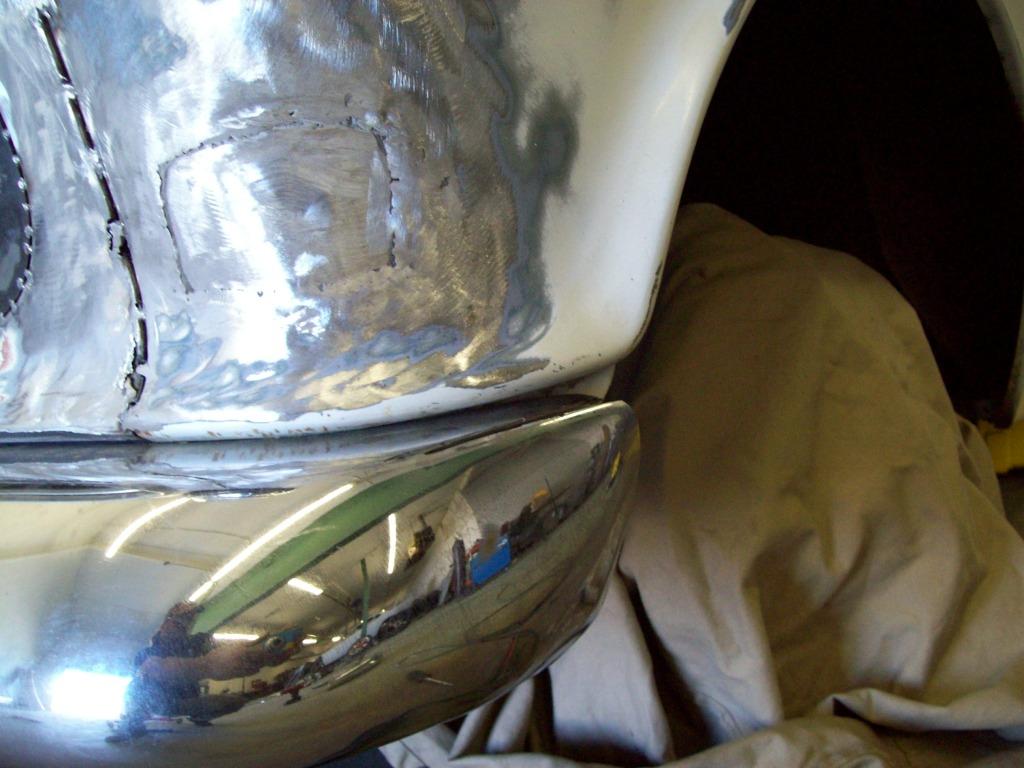
Rather than just weld stud or bolts in the exist hole, I made these bolt pieces to weld inside the bumper.. It is important to get as much off a welding/support footprint as possible, because this will help against future cracking later.. If you just weld a bolt in the bumper hole, the footprint is too small, and it will allow the bumper to flex the welded joint.
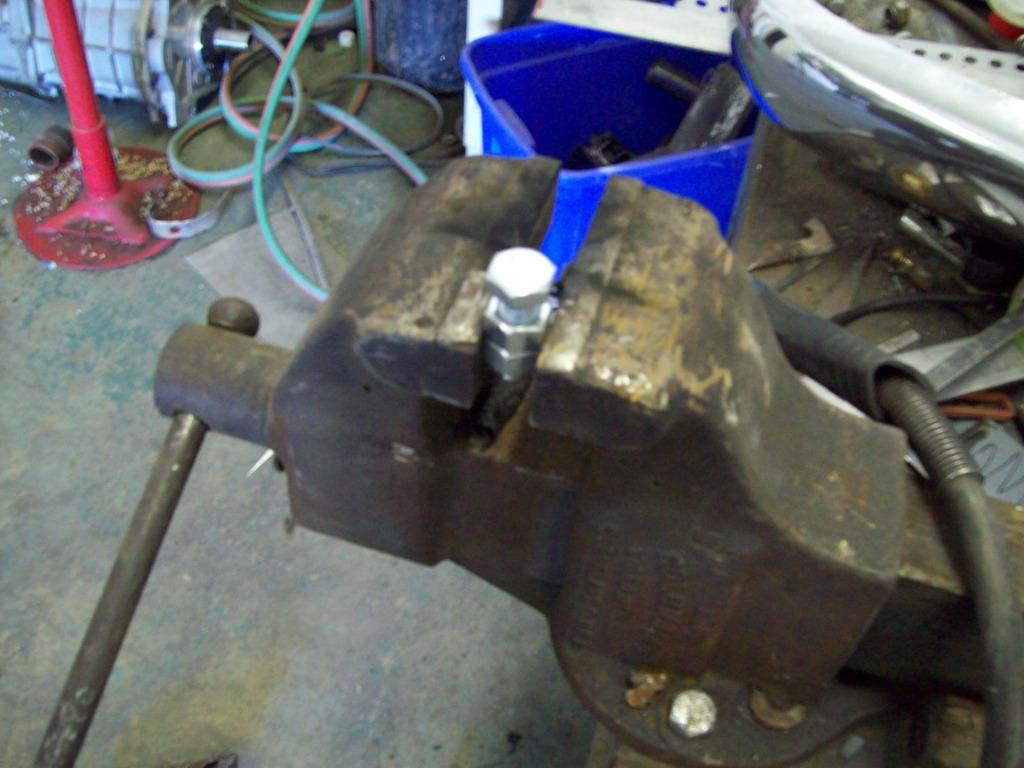
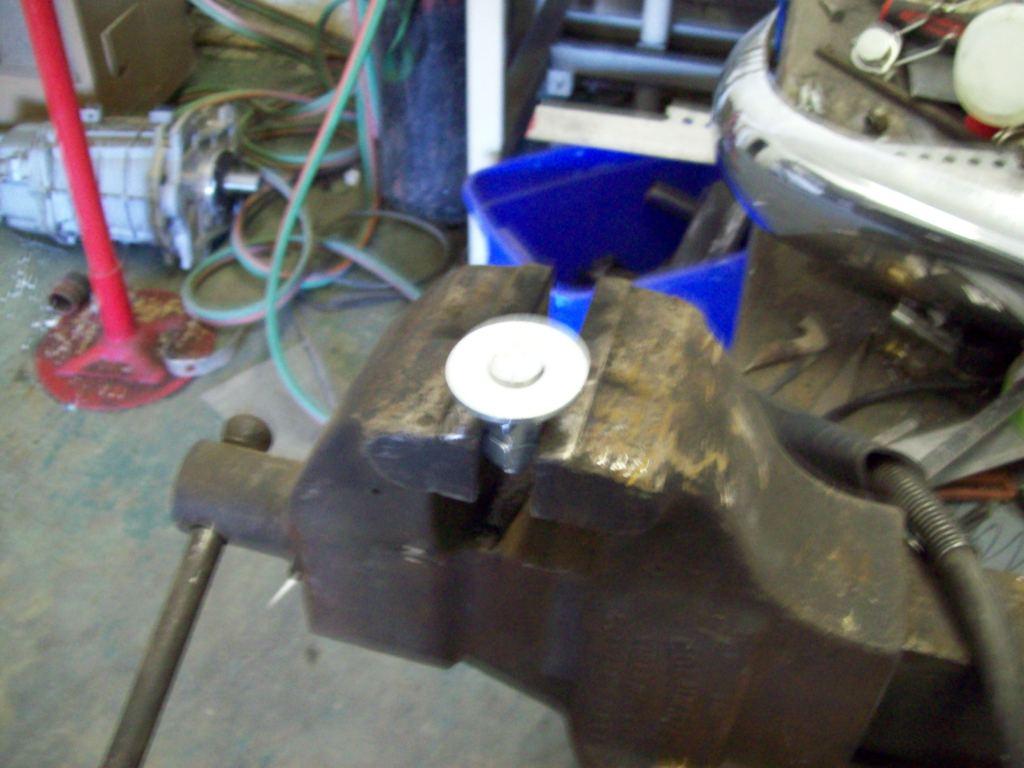
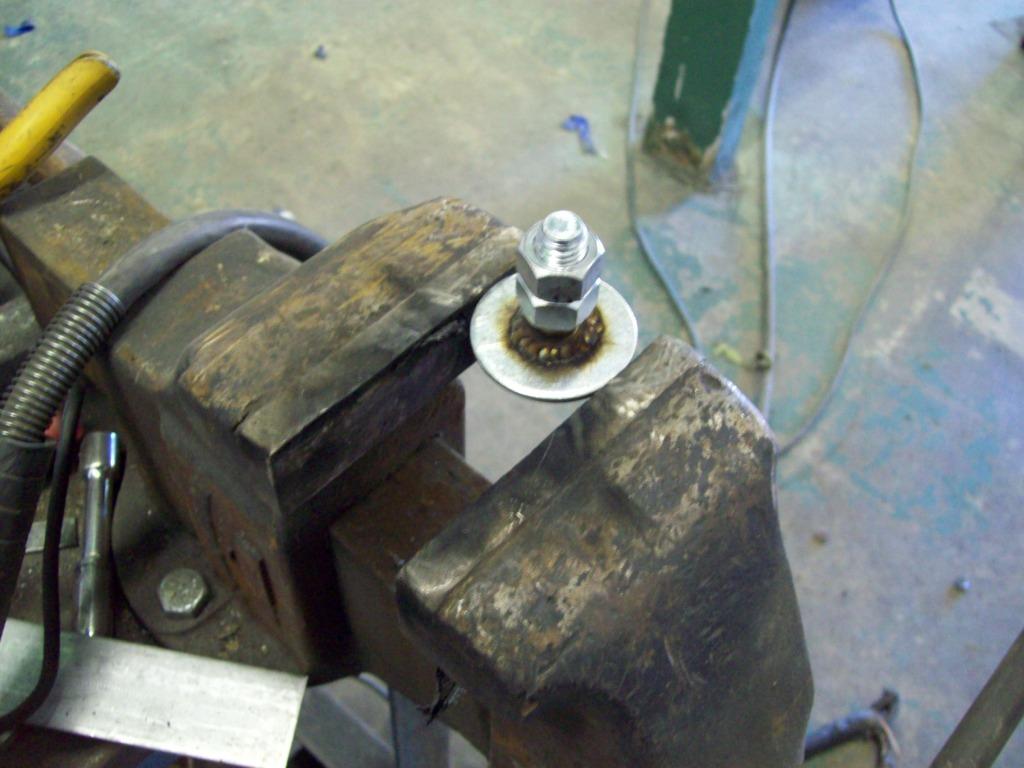
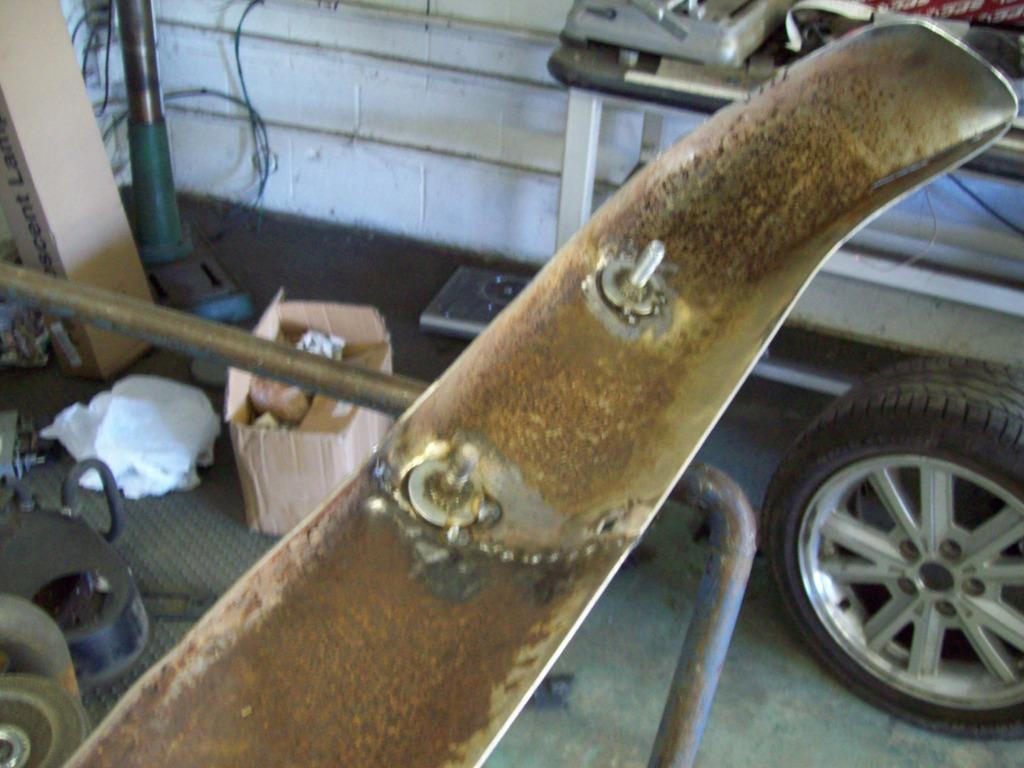
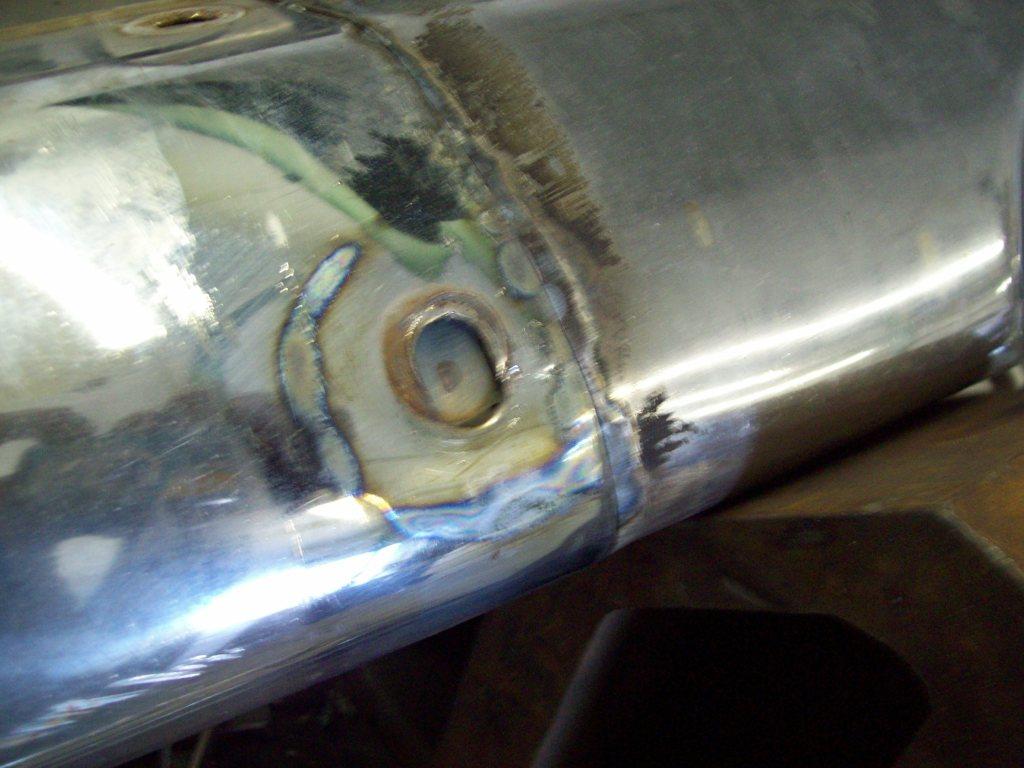
Now that I have some solid mounts, and the bumper is tacked well enough to hammer and jack on, I can install it to the car for fine tuning.. I have also sloted the bumper brackets where the mount to the car and bumper, and that will give me all the adjustment I really need. Also, if you look at the pics of the bumper, you will see the welded footprint of the new mounting stud, and you will see that you fill in the old holes, and weld the the stud plate at the same time.
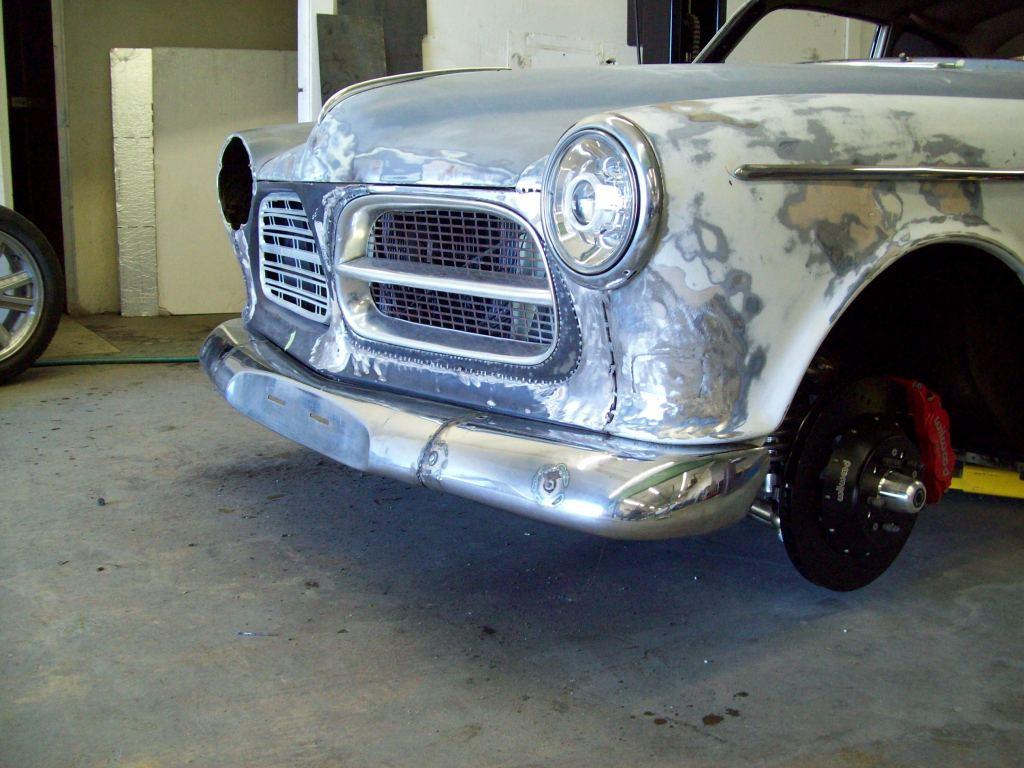

Nice details!
Posted by Diggymart on 7/15/19 @ 1:21:16 PM