You must be logged in to rate content!
5 minute(s) of a 386 minute read
3-29-2009
3-29-2009
sanding.....
more sanding....
more sanding...
more sanding.....
you get the idea?
we did get past the sanding tho, and layed down some sealer, then three coats of ly3d. we are taking a short break while that sets up and then we will be putting down two coats of clear.
Ill post more pics later ![]()
thanks guys. we got two coats of clear on and turned the thermostat up for the night to set it up.
as promised, here are the pics.
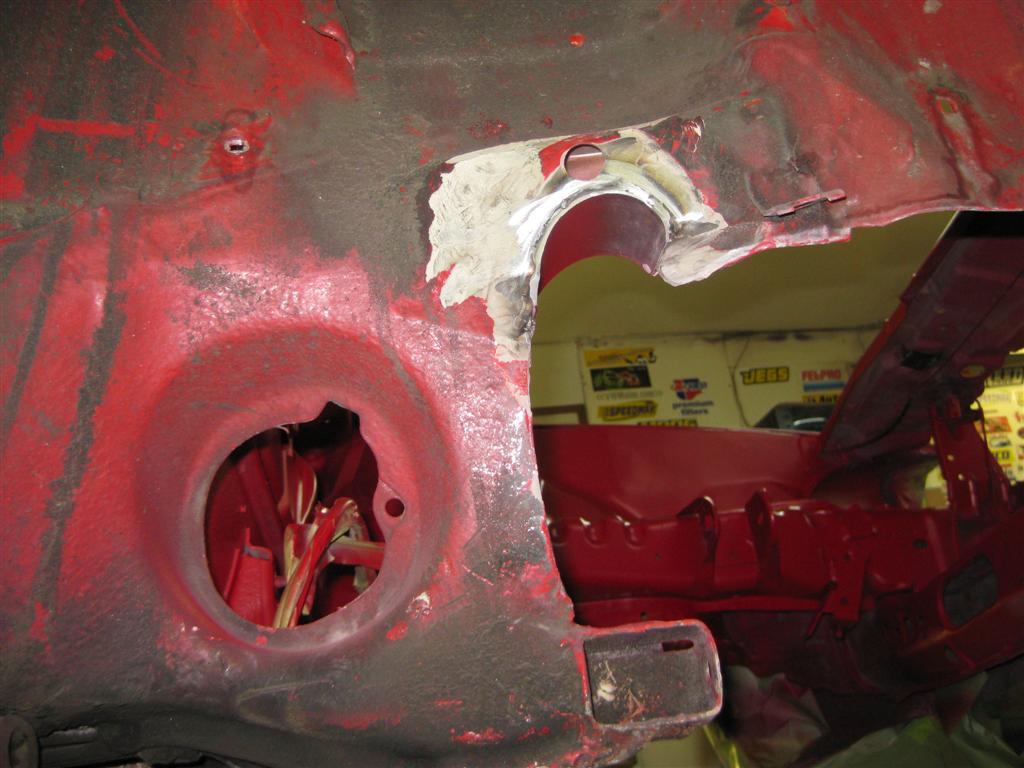
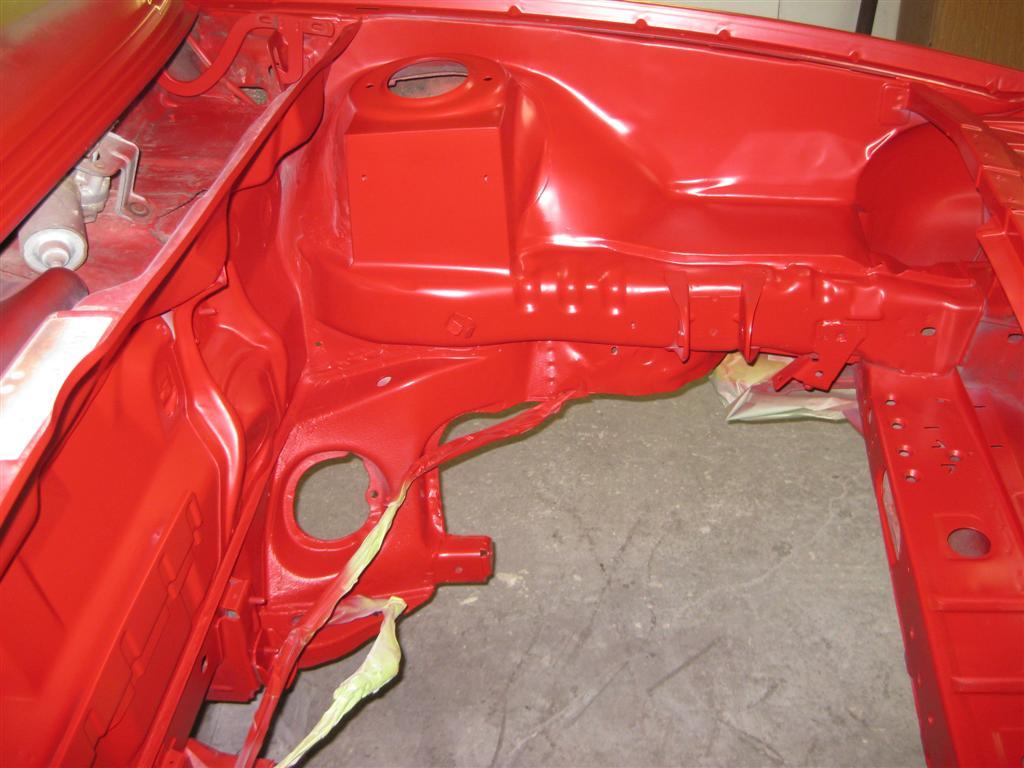
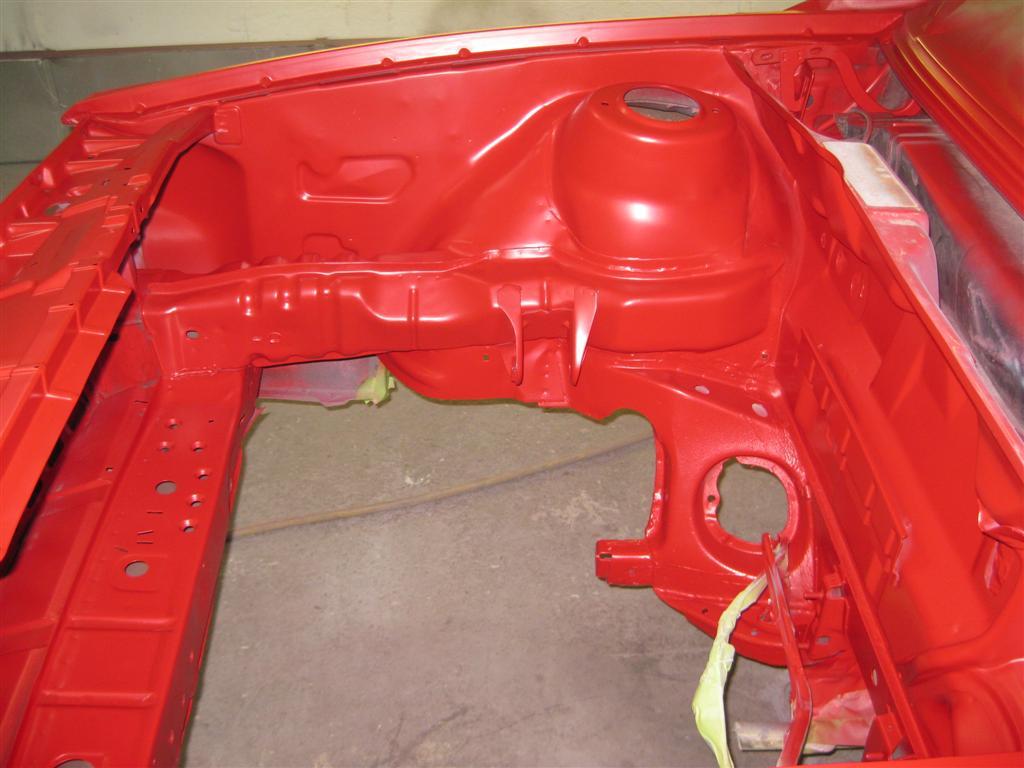
first, heres one more pic of the frame notch since I hadnt posted one from this angle. I apologize for the grubby fender well. I plan on coating them with black stone guard so I hadnt botherd to clean them yet.
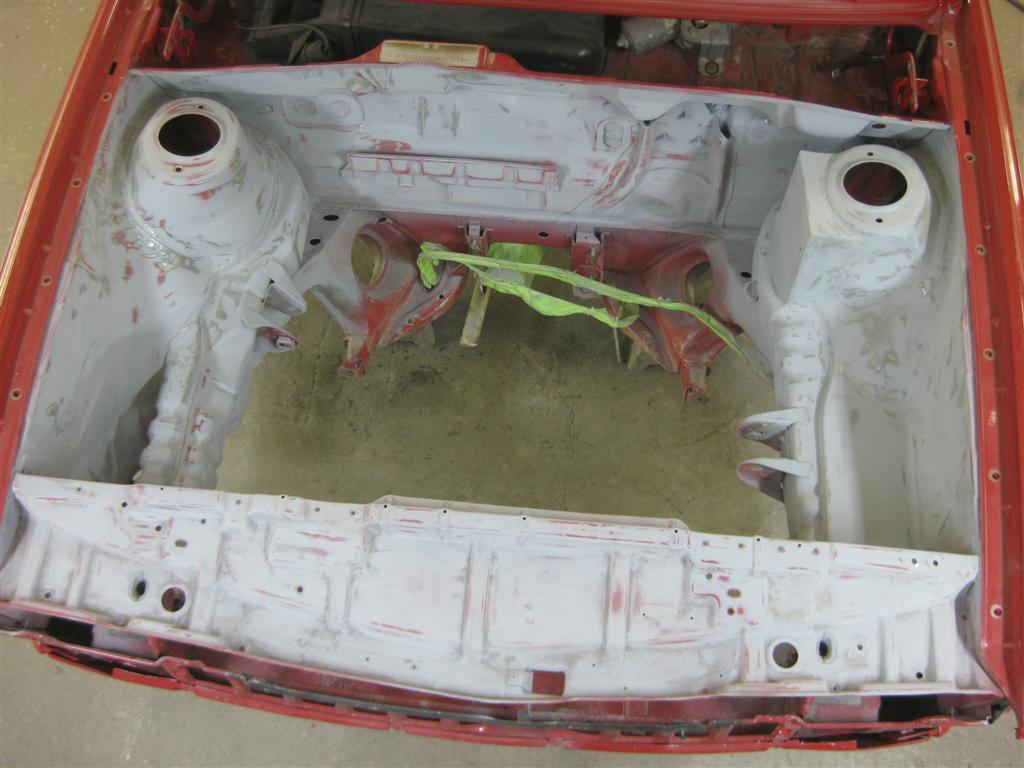
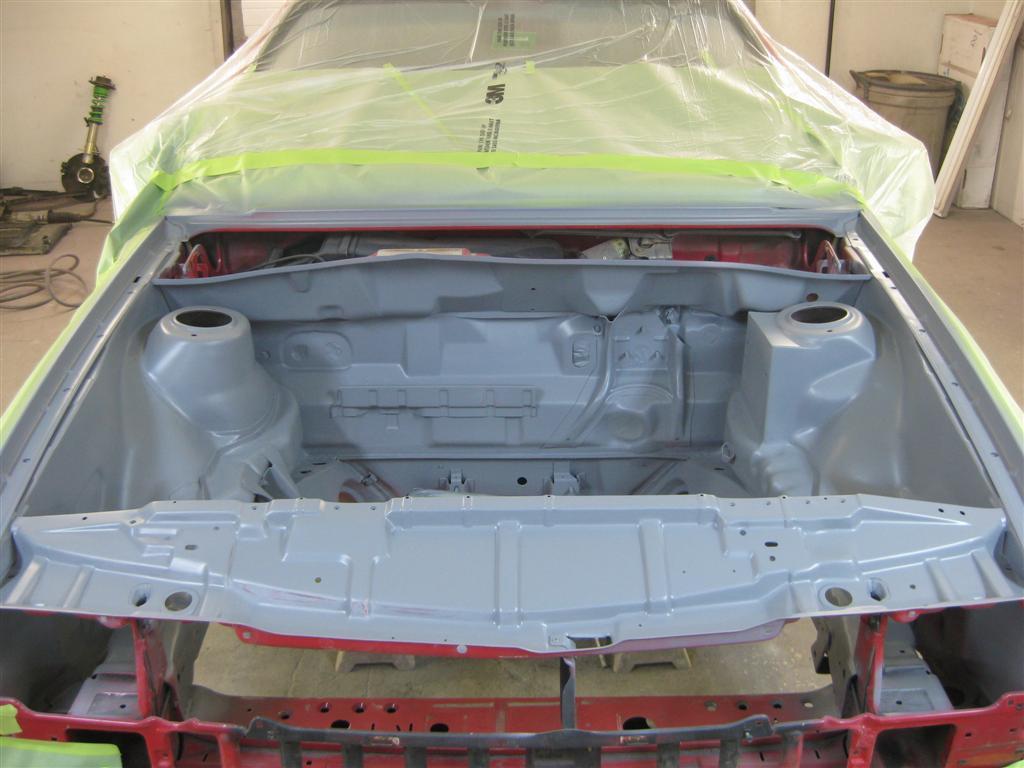
here is the bay after the coat of primer, with a light dusting of black spray paint over it to help identify which areas still need sanding. - you have to sand every square inch of primer, so the "dusting" covers the entire bay. ![]()
here it is after a few hours of sanding....
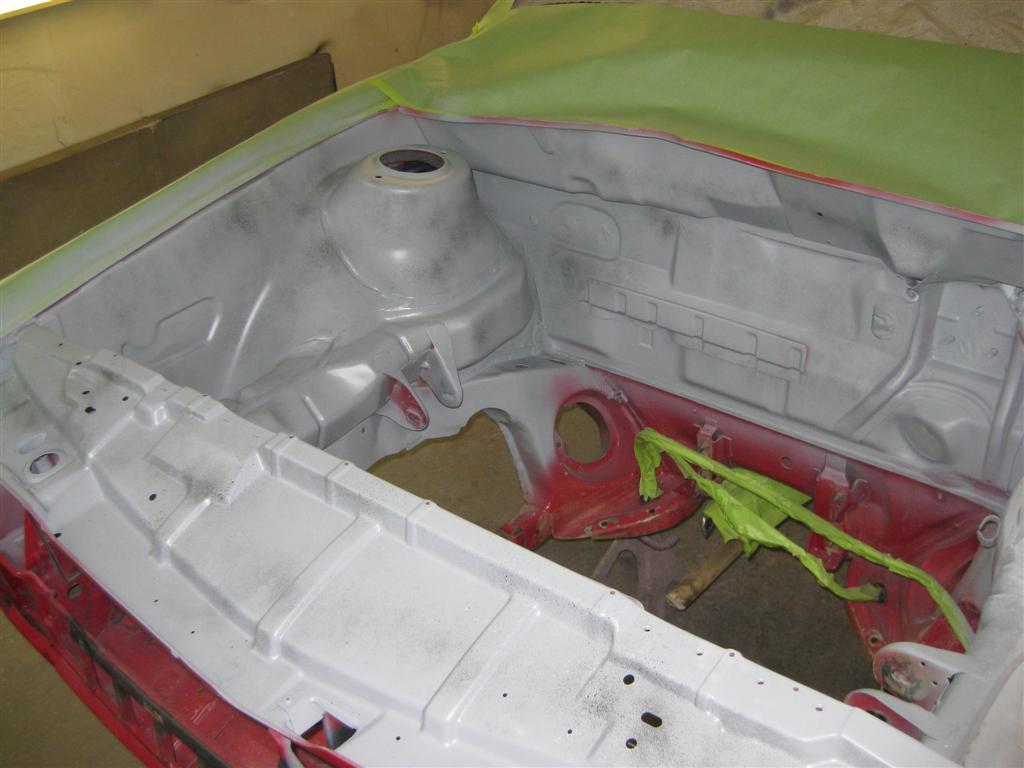
next up was a coat of sealing primer: thankfully, we didnt have to sand this one! ![]()
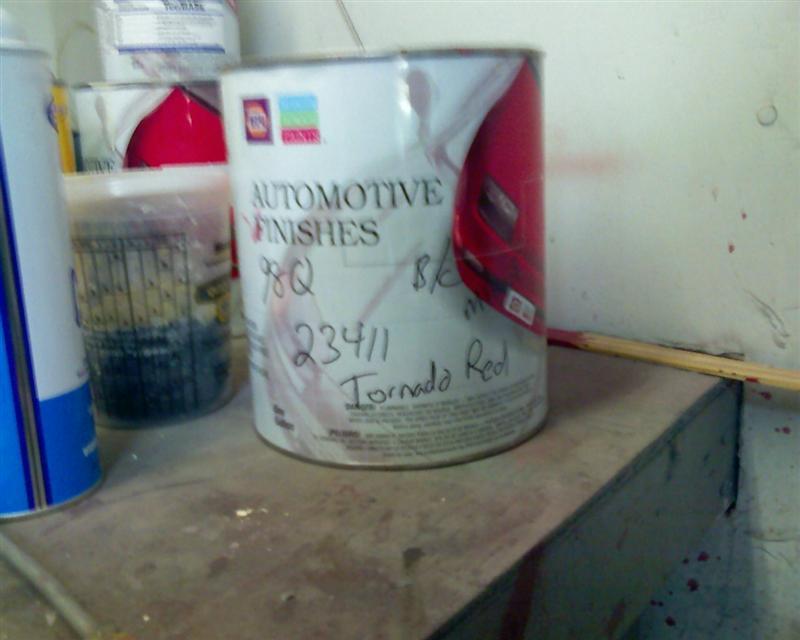
while that set up for a bit we mixed up a half pint of ly3d.
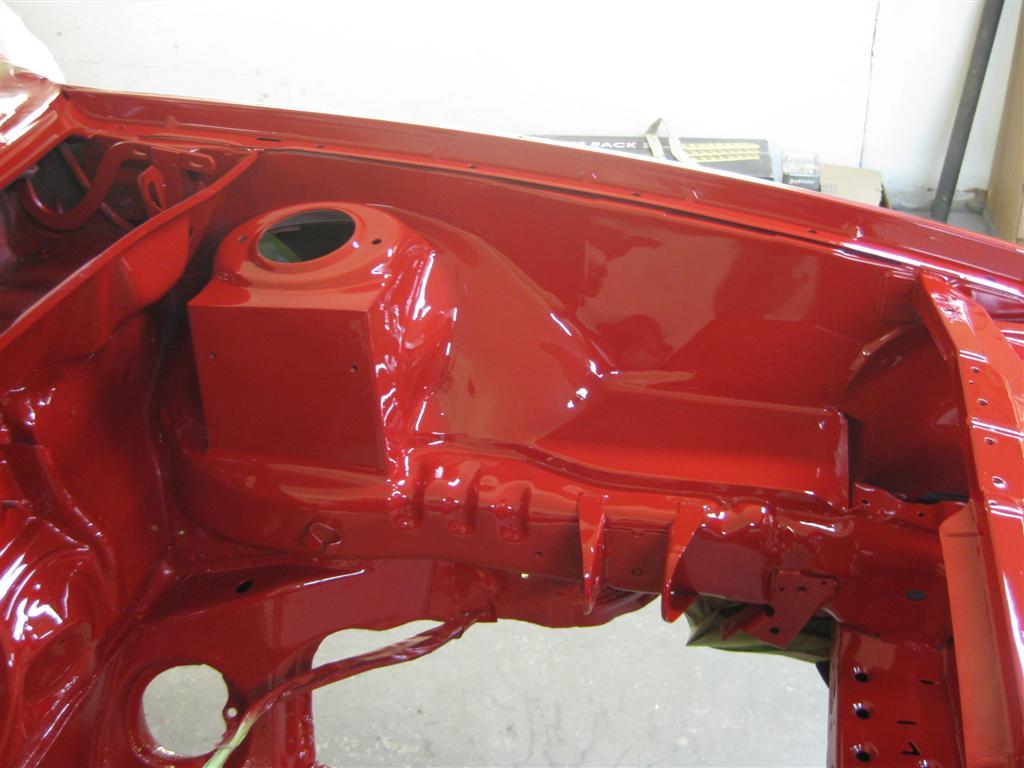
here it is after one coat of base:
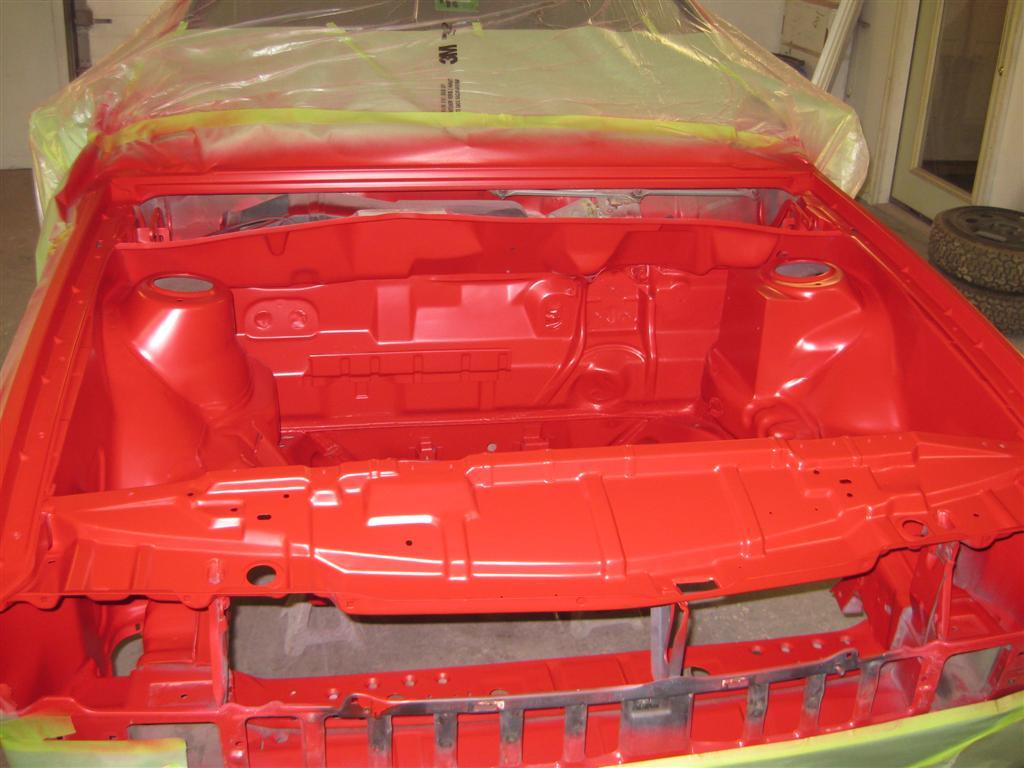
here it is after 2
and three...
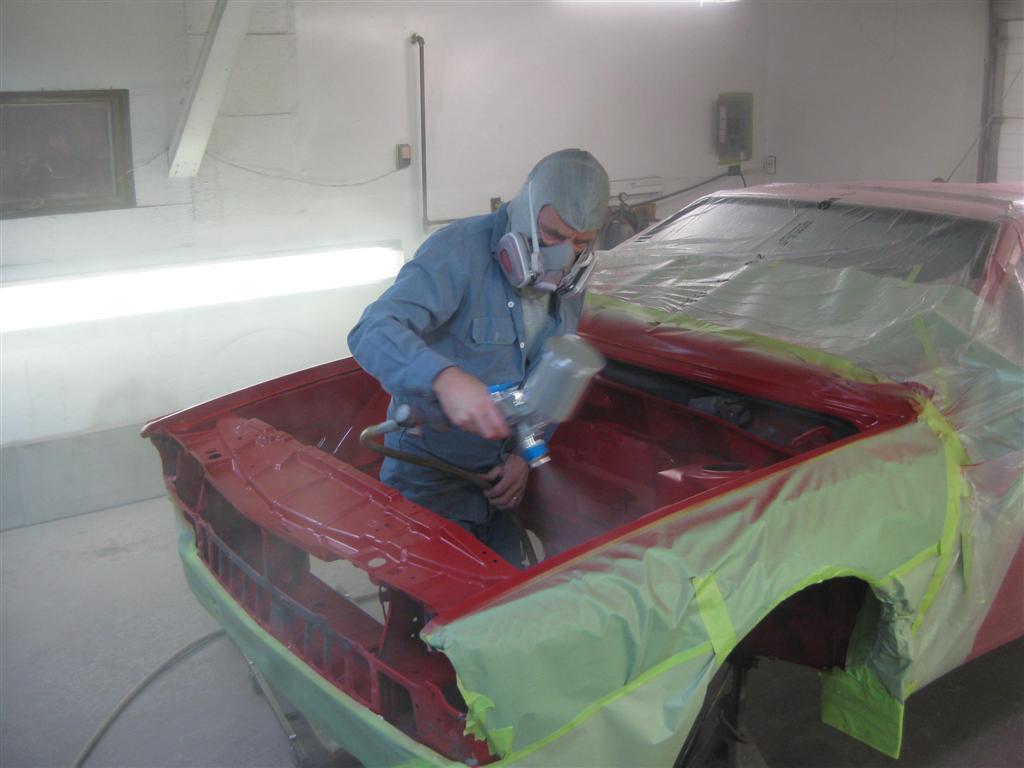
heres my dad spraying on the clear. the only way he could get all the nooks and crannies was to get in the engine bay and spray from there.
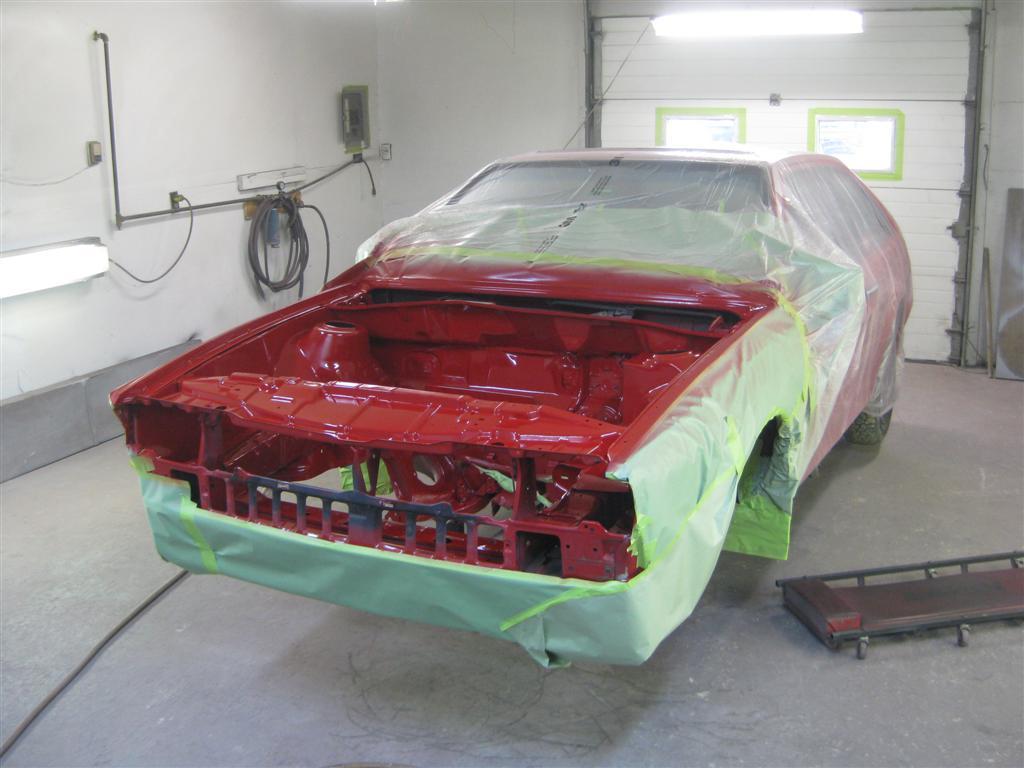
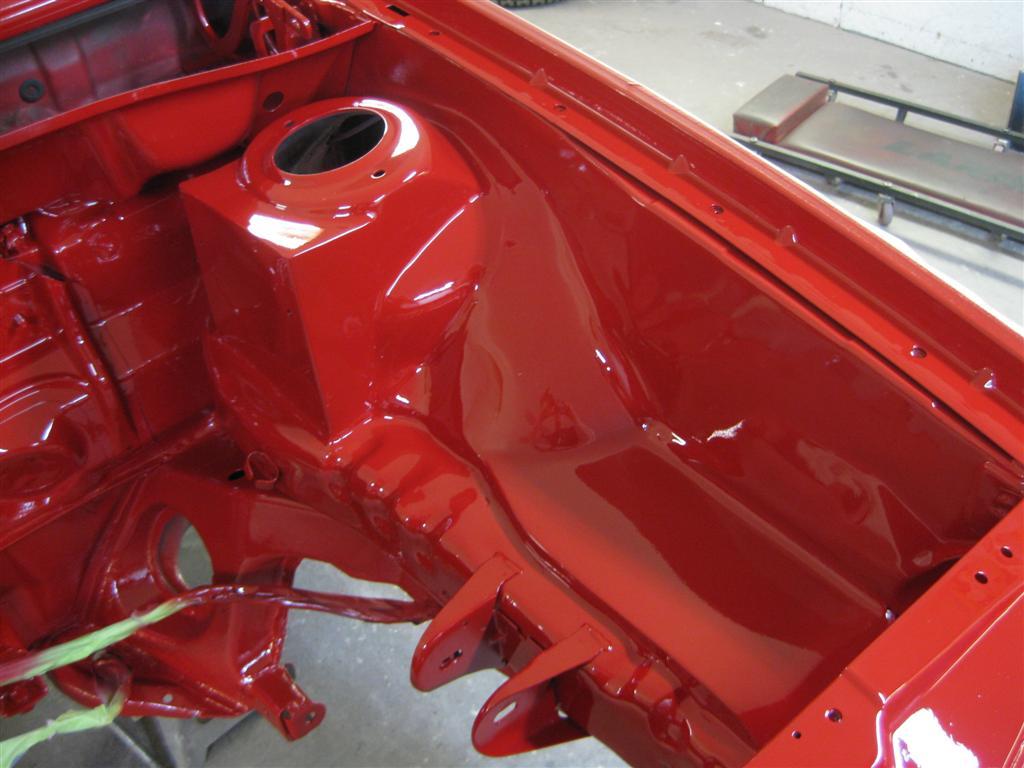
and here it is after two coats of clear:
here is a couple pics of the fabbing done on the drivers side.
anyway, baby's cryin so thats all for now. ![]()
hope you enjoy the pics
a LOT. in fact, he says "if you have to ask, you cant afford it."
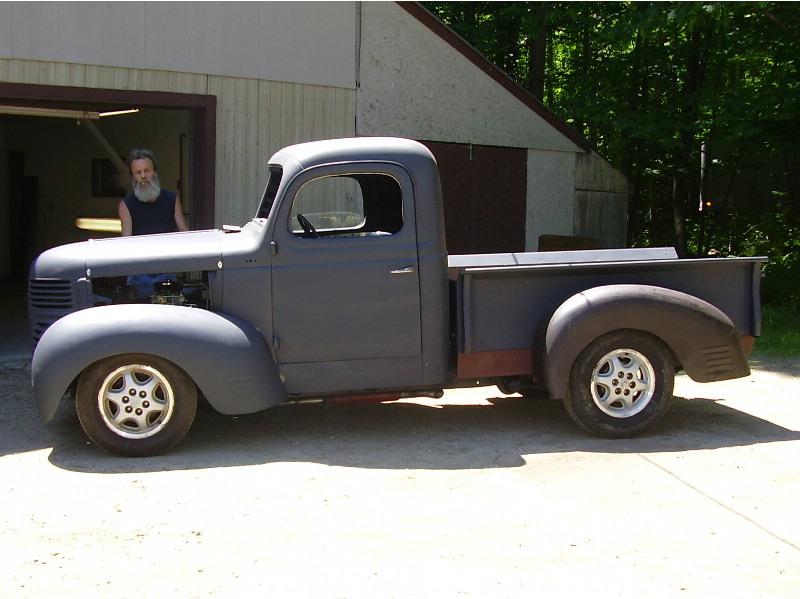
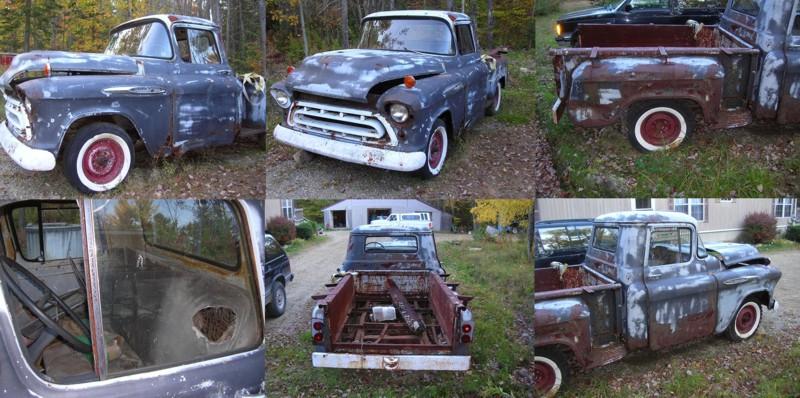
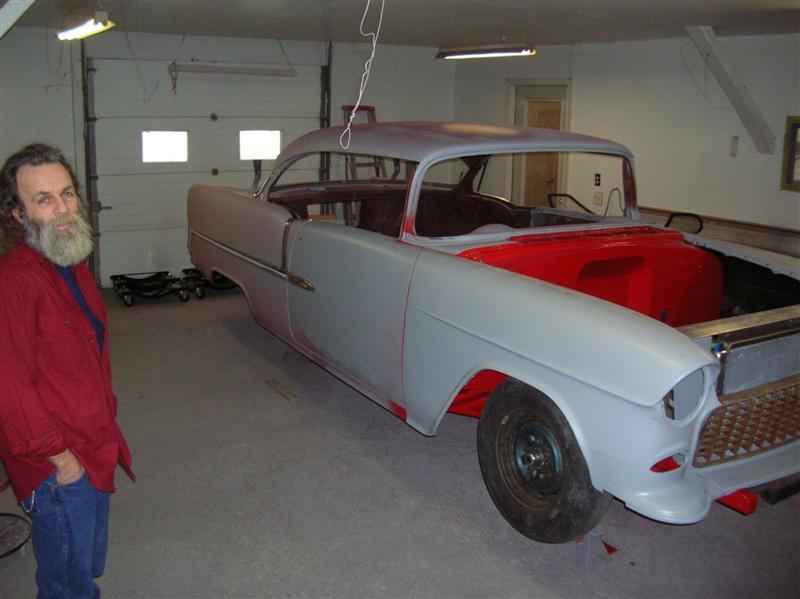
he usually takes things like this:
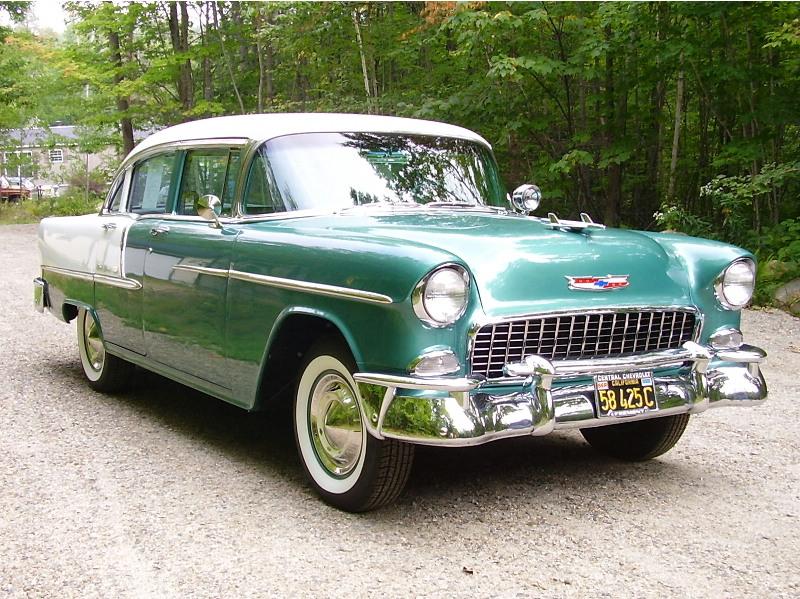
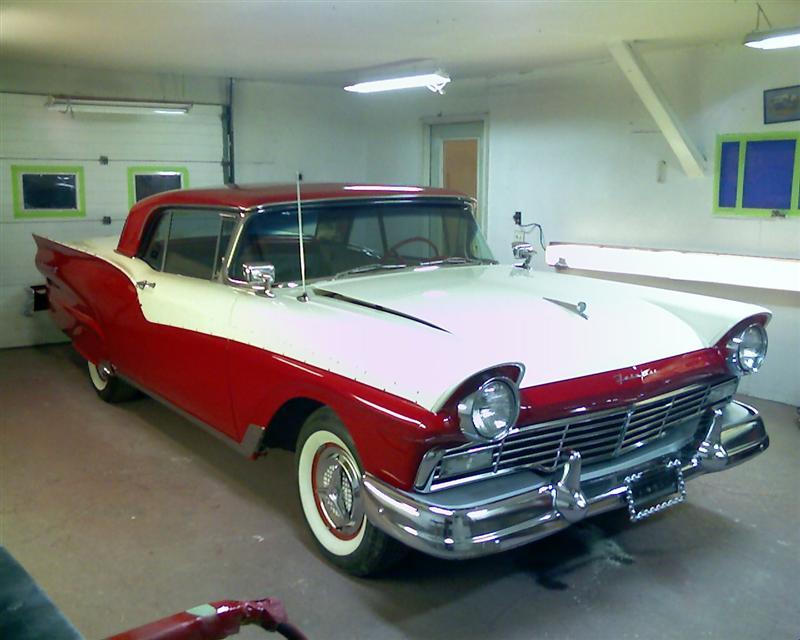
and does total restorations with end results like these:
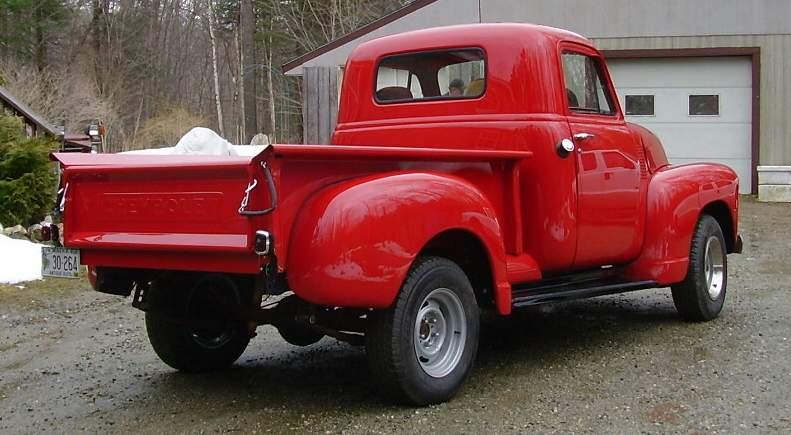
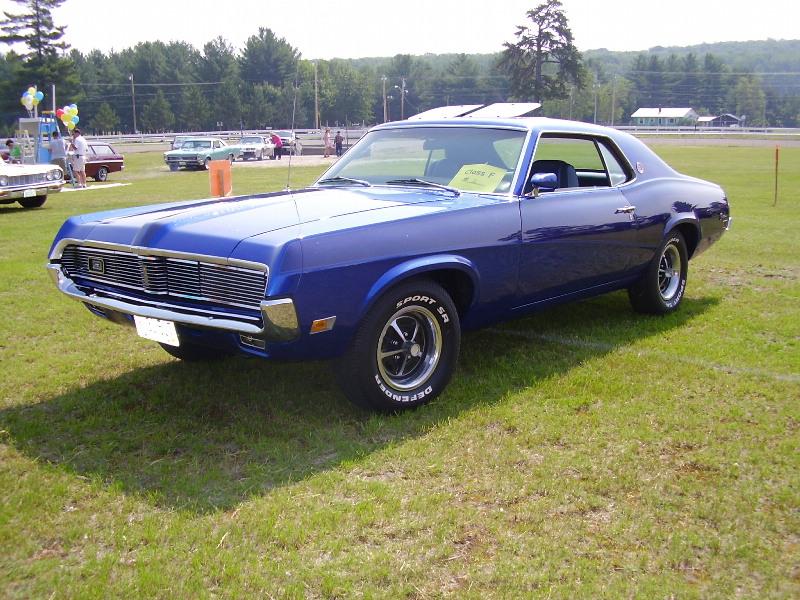
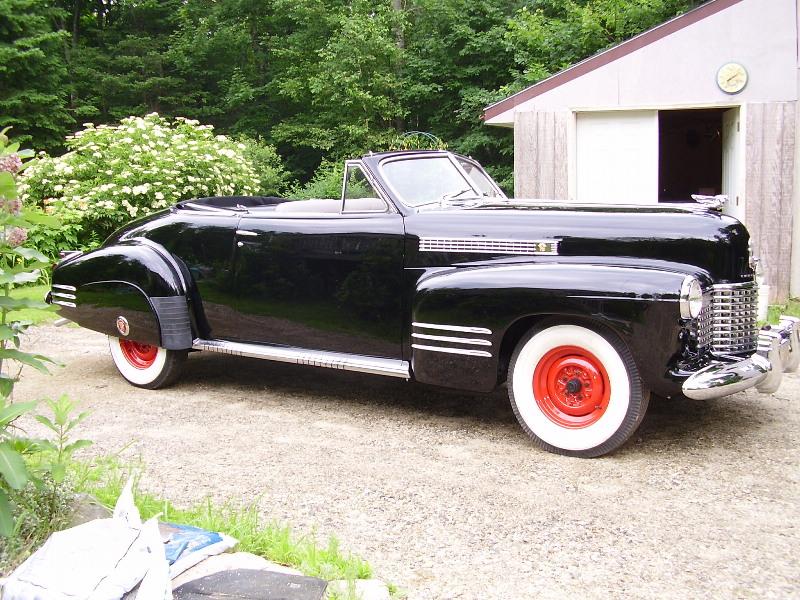

heres one he built for himself for fun.