You must be logged in to rate content!
10 minute(s) of a 341 minute read
9-29-2009
Lunchtime update! I will answer questions and respond to comments later tonight!
Around September 2008, the front wheel tubs were all finished up and I moved out of the first garage. The whole building was leased and I got the boot, but no hard feelings because that was the original deal.
I attended H2O last year in my stock mk5 daily It was nice in a way because I didn't have to worry about anything other than hanging out and checking out all the cars. Plus I could take minimal time off work, because driving through the night in a new car is no big deal.
October '08, I moved into the new garage! It's part of a 5000 square foot warehouse owned by my friend's dad. It's adjacent to a 35000 square foot machine shop, they're in the CNC machining business. This particular building is basically their toybox. Any car guy's dream really! I'm not going to post direct pics of their stuff, but check the backgrounds if you're interested. I also gained access to some sheetmetal tools, which will come in handy later!
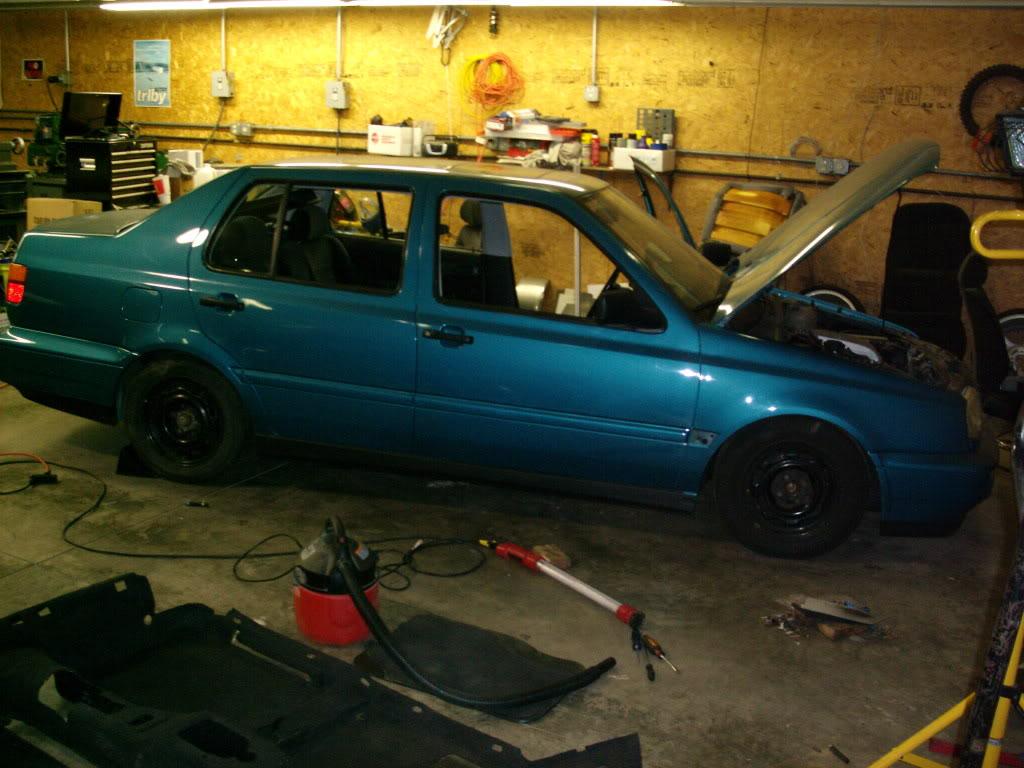
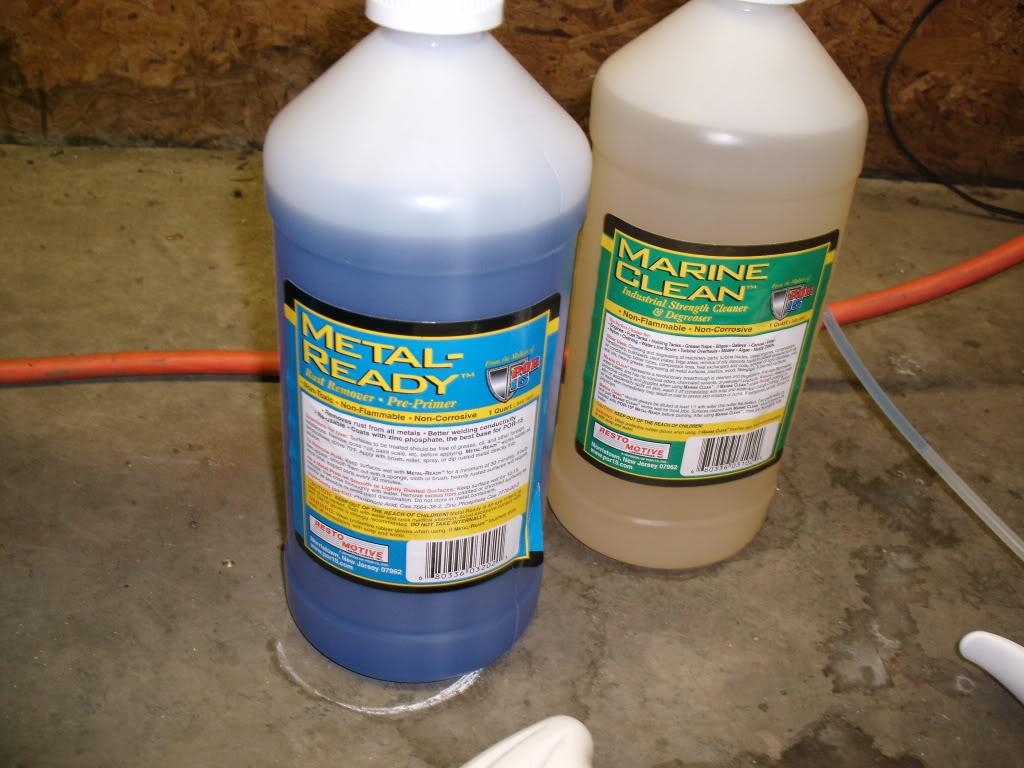
November and December I spent fixing rust holes in the floor.
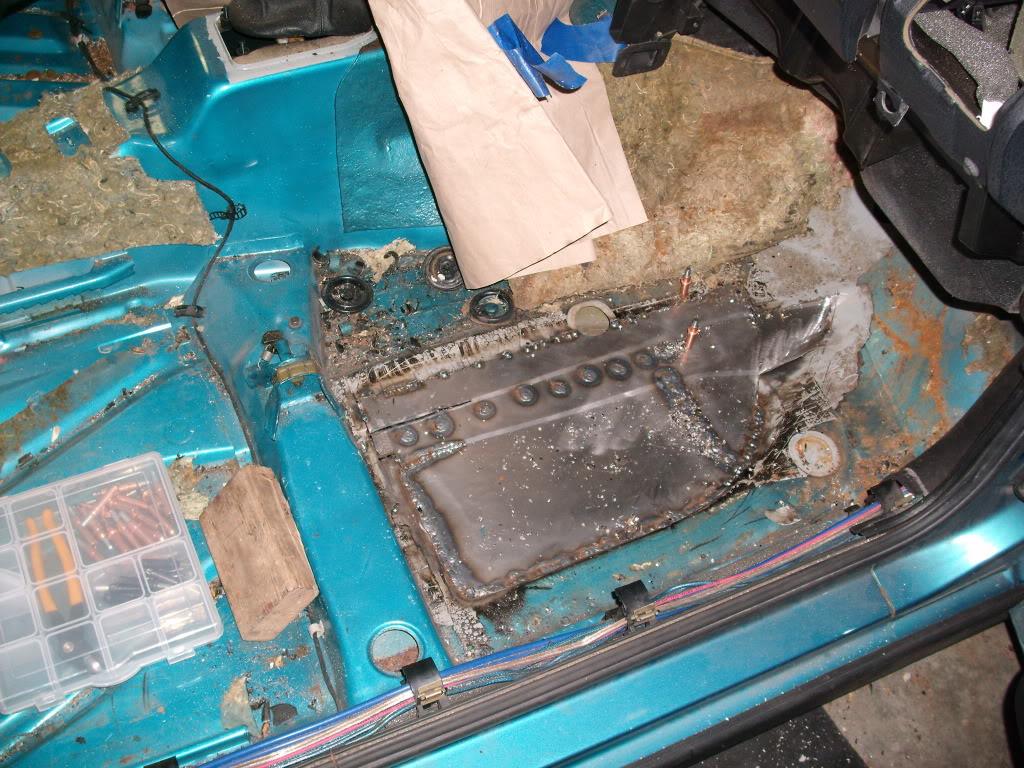

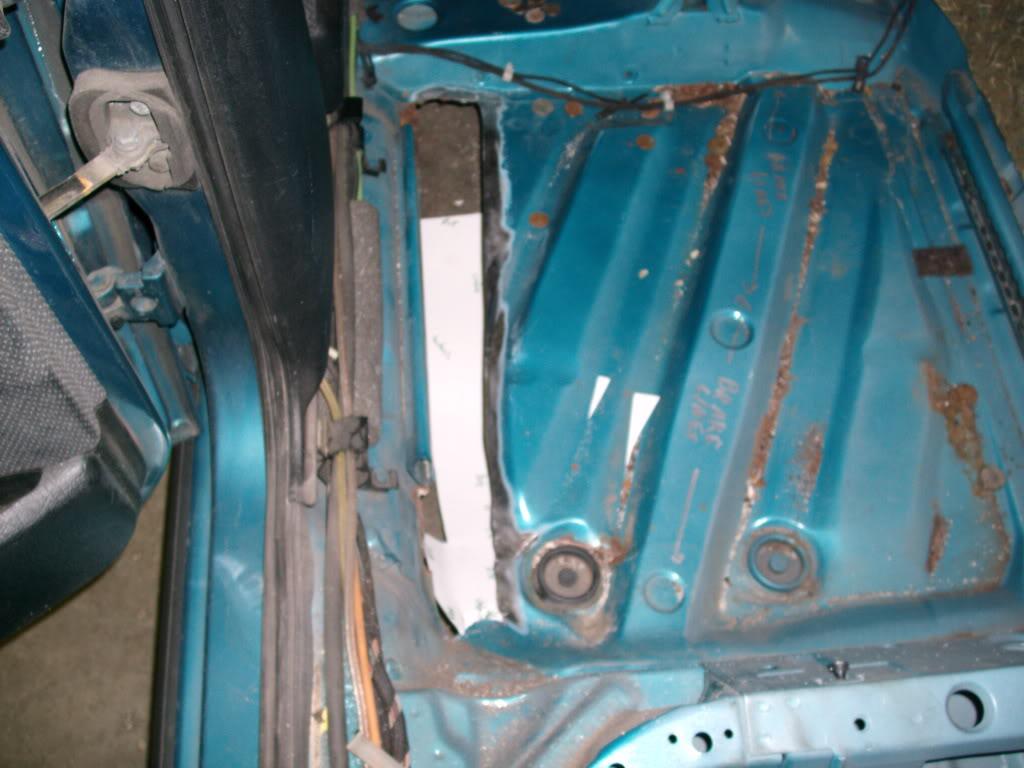
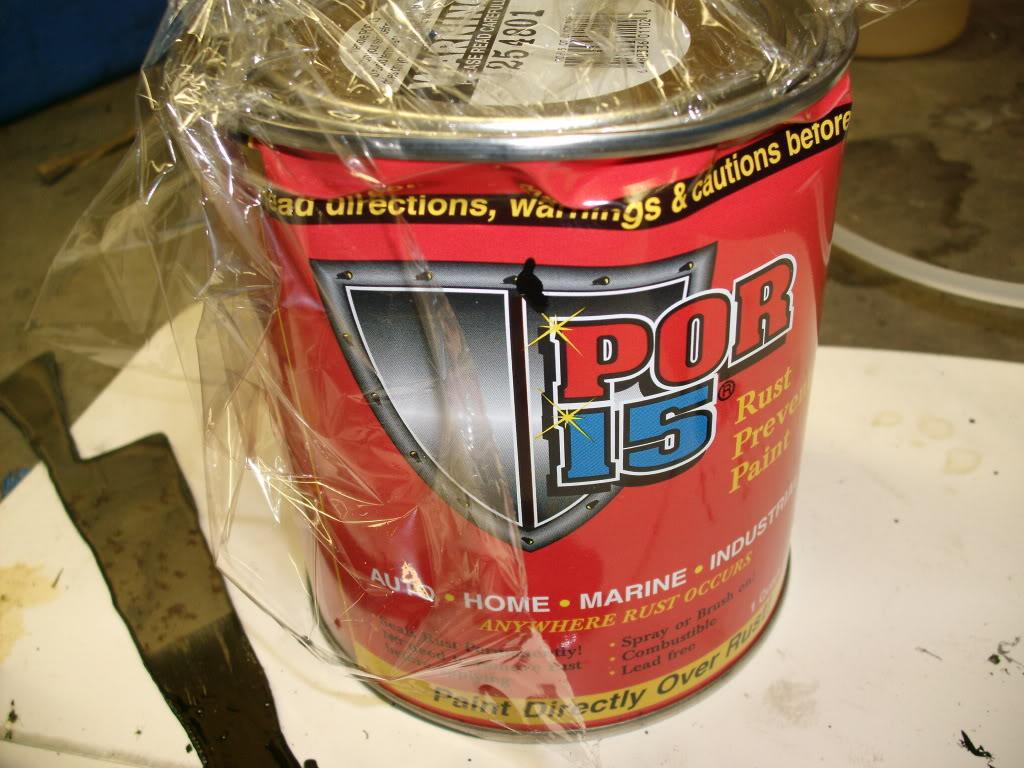
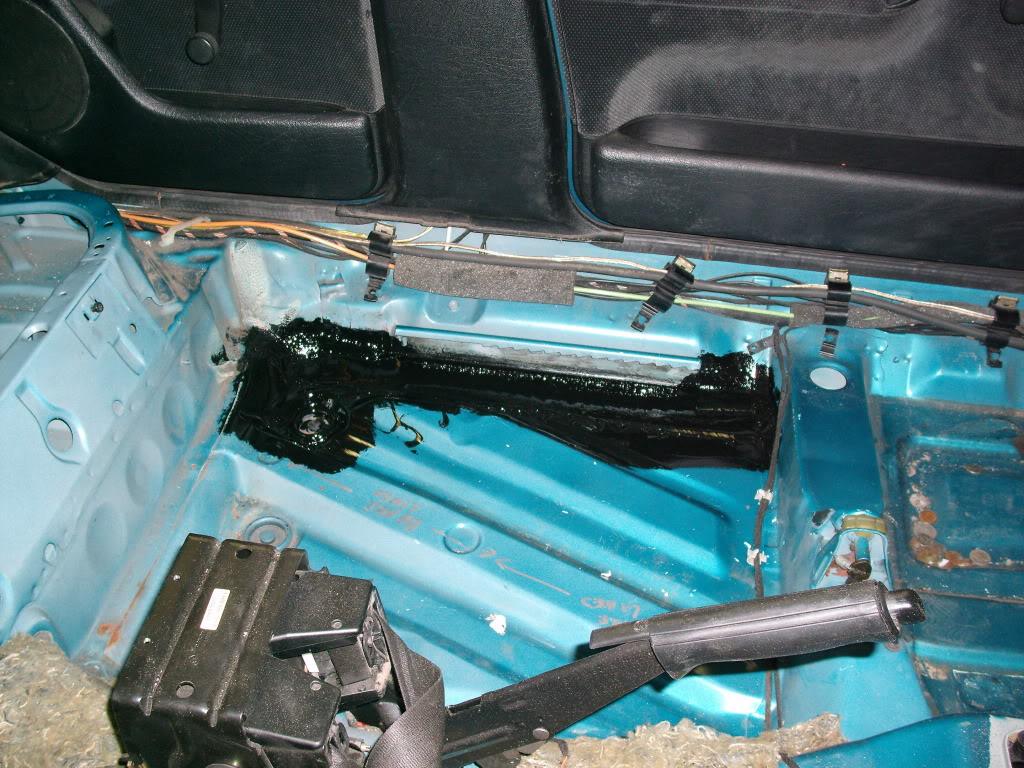
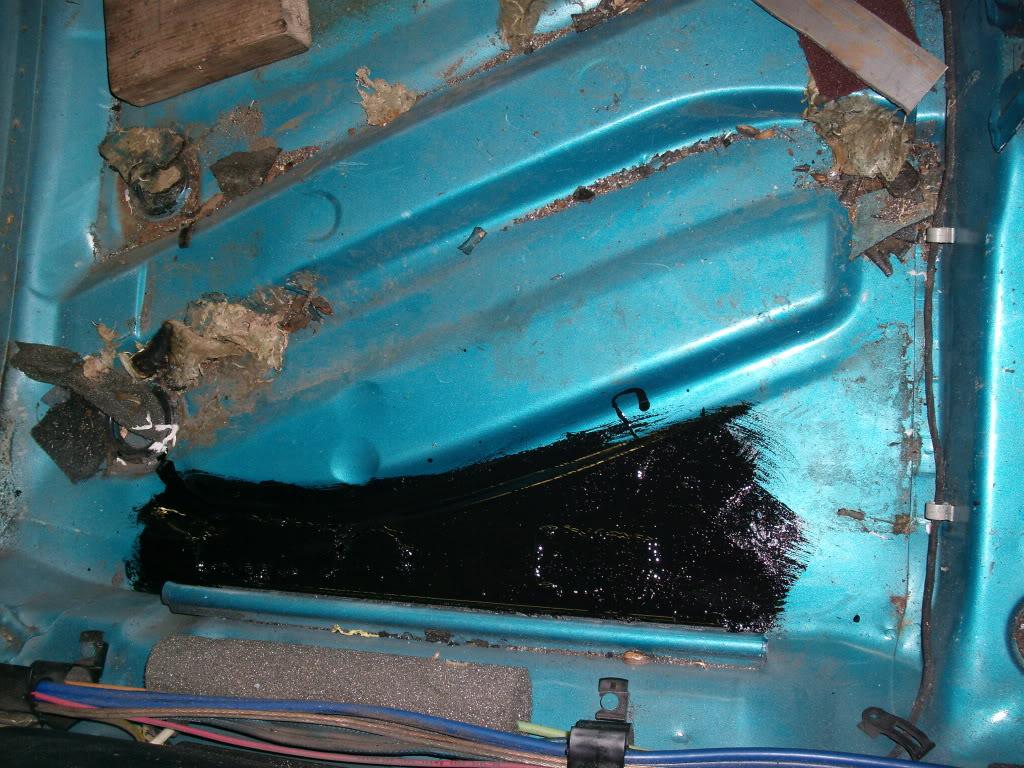
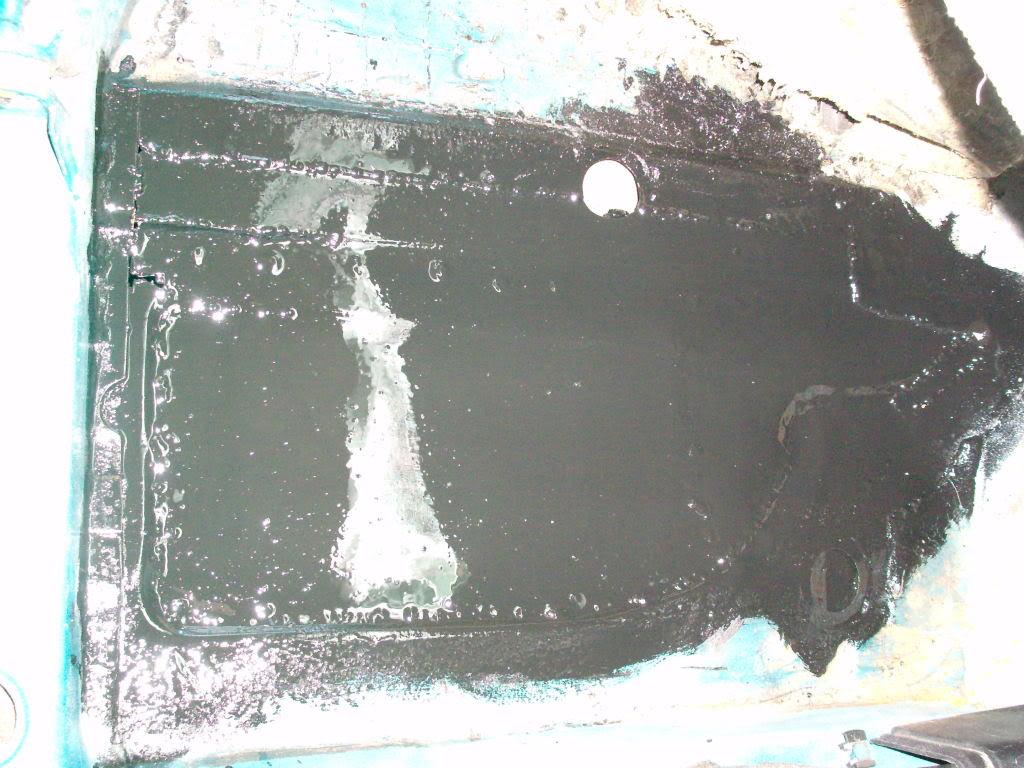
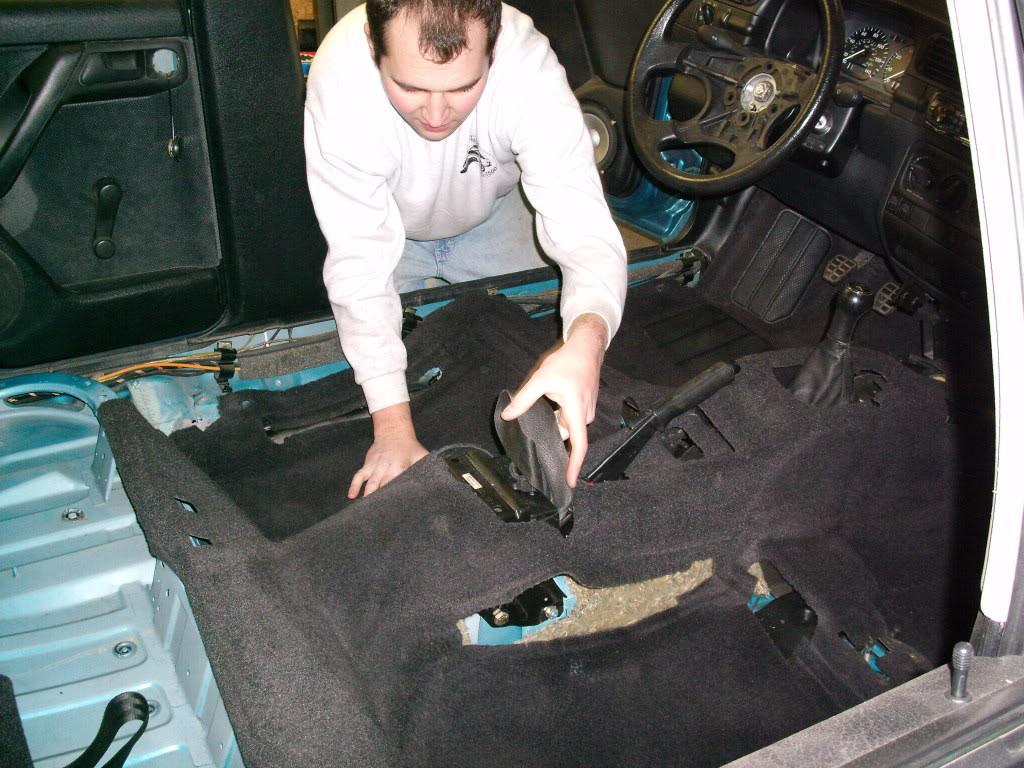
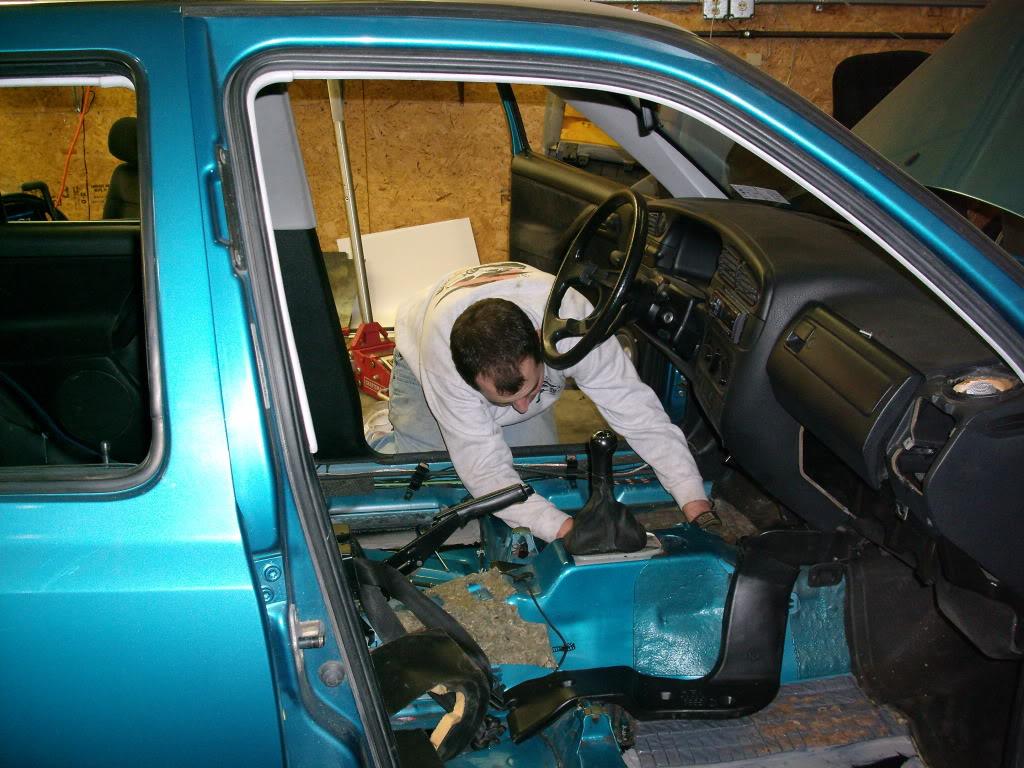
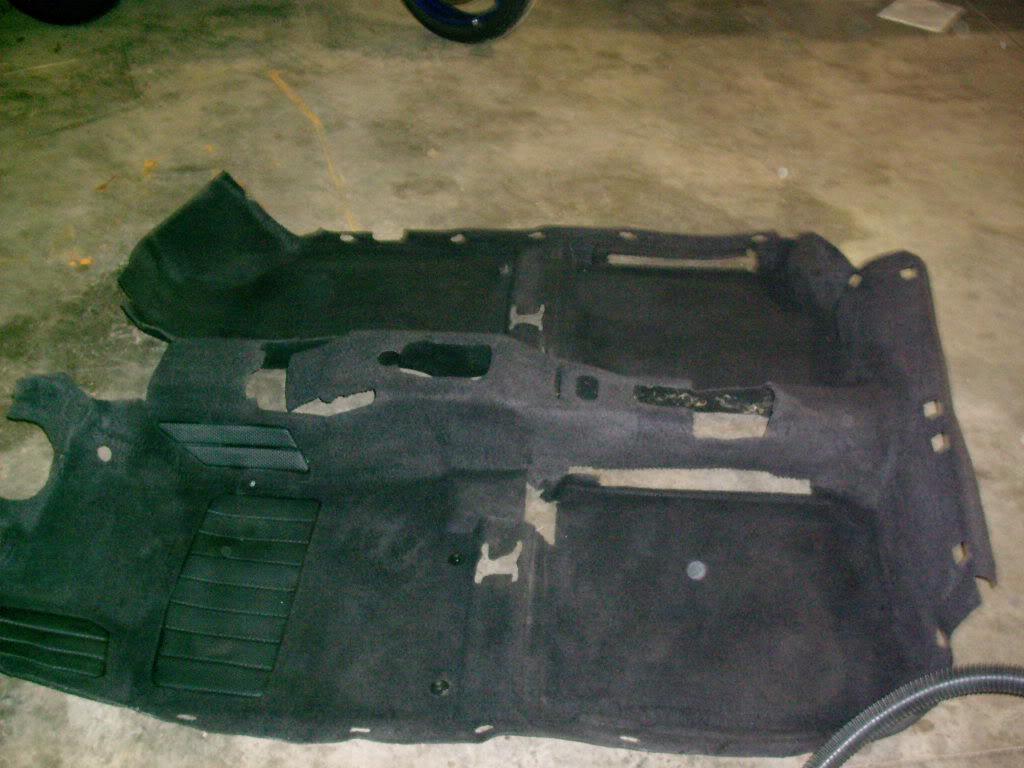
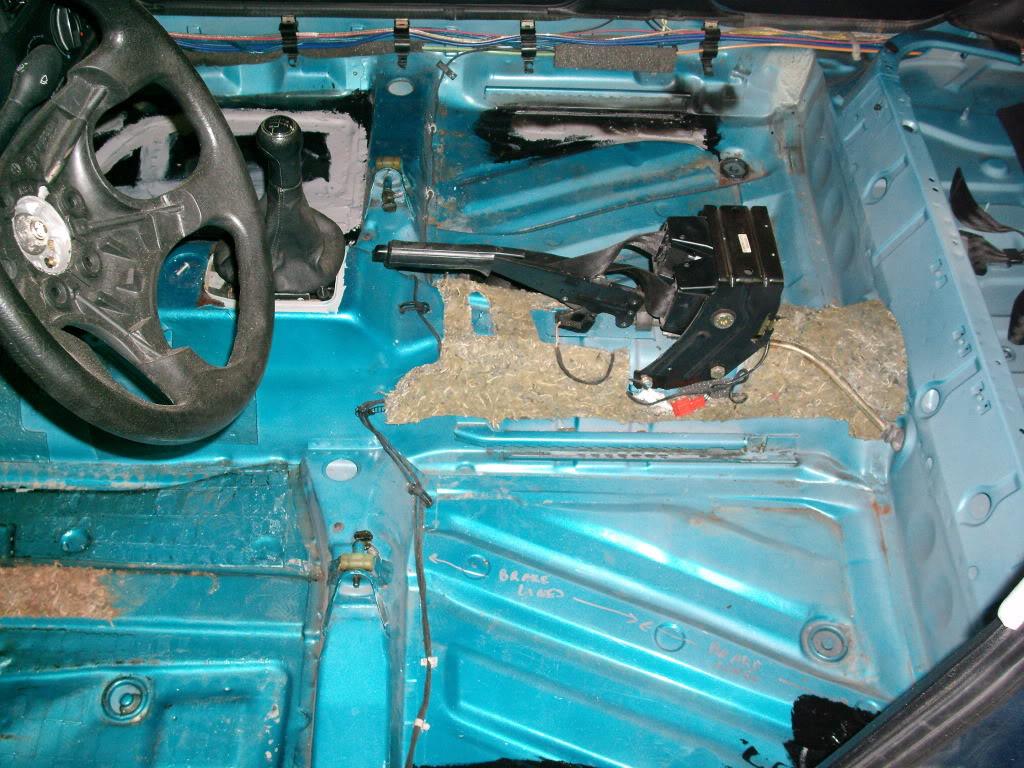
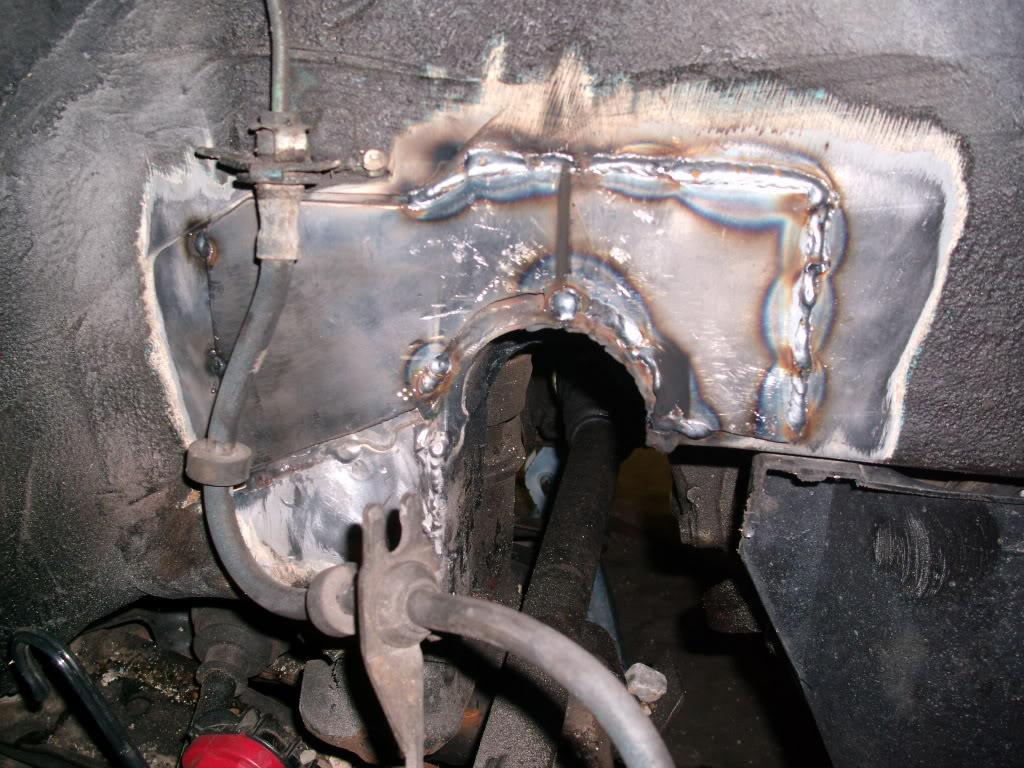
Then I reinforced my c-notch by adding a 1/8" steel plate to the area, plug welded in a few spots, to give it strength. I also fixed the bad welds. This is about half welded in the pic:
Some cool people sent me some cool stickers. Unfortunately I missed both Jason and Kate at H2O this year yet again, I really wanted to meet both of them
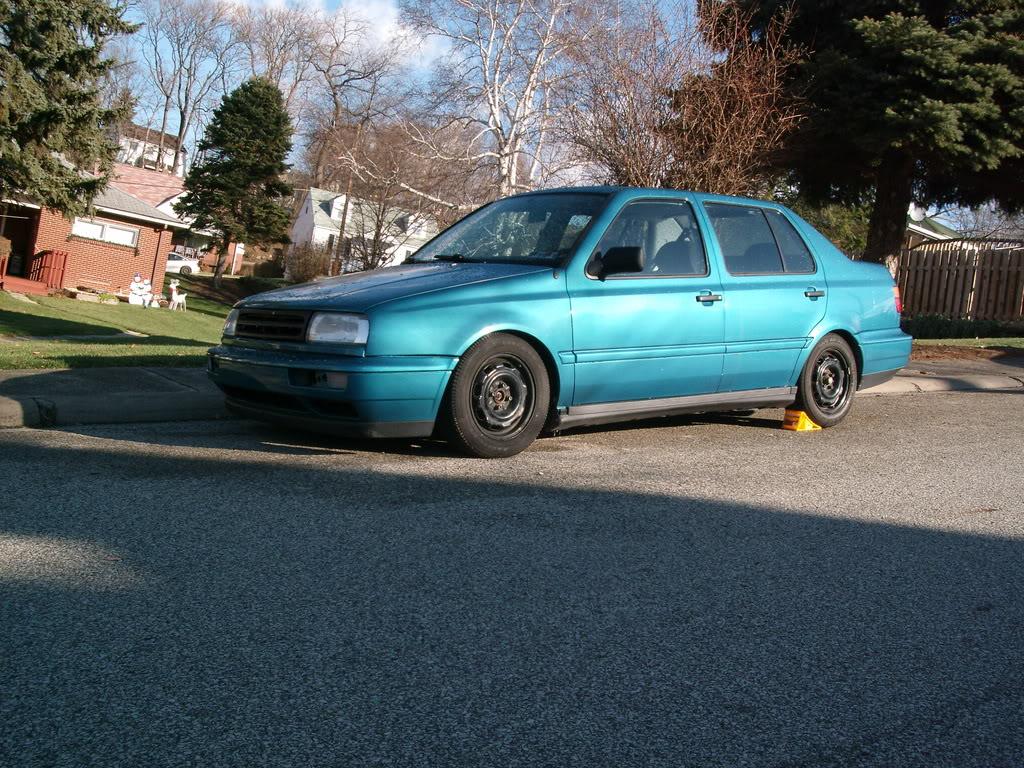
I got the car inspected in January, and posted these pics: http://forums.vwvortex.com/zerothread?id=4178991
I had the H&Rs at this point still, the car ran and drove for hte last time until September 2009!
P.S. note the photobucket album names. All the heavy build pics have been hosted since January, on a public but well-hidden photobucket account . I had a bunch of non-vortex friends watching the build.
The pics I posted above laying frame didn't have the Koni strut inserts installed. They were too long and needed shortened, despite being the shortest available. I decided to do it myself. These are the shocks I'm currently using in the hydraulic coilover setup.
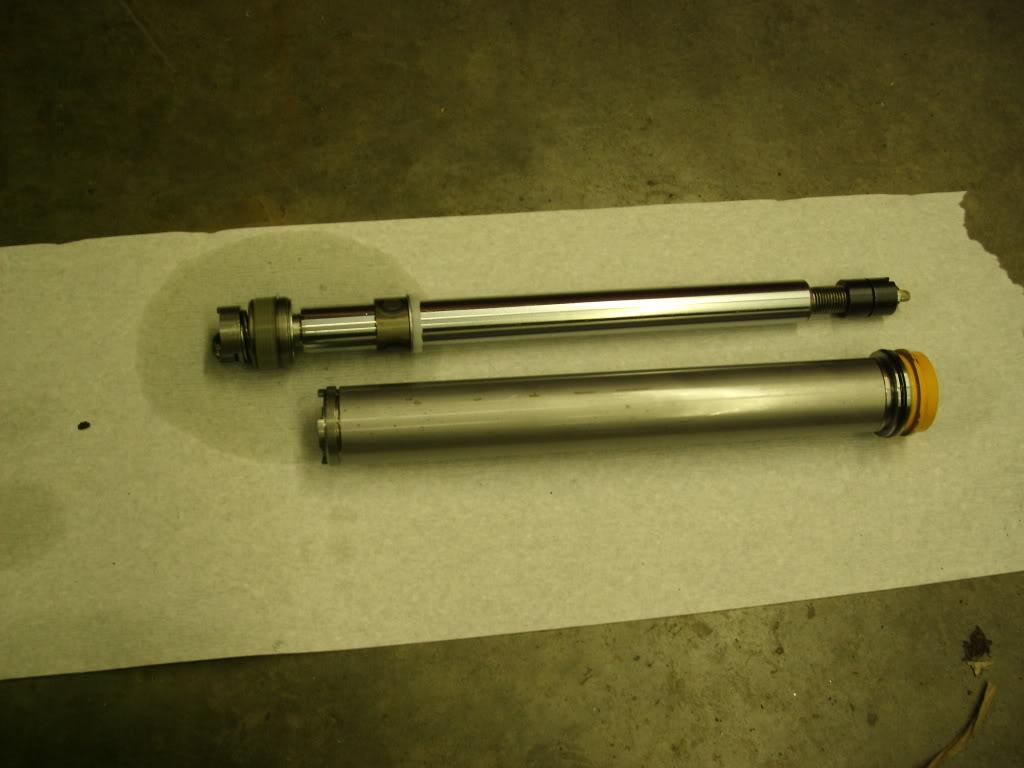
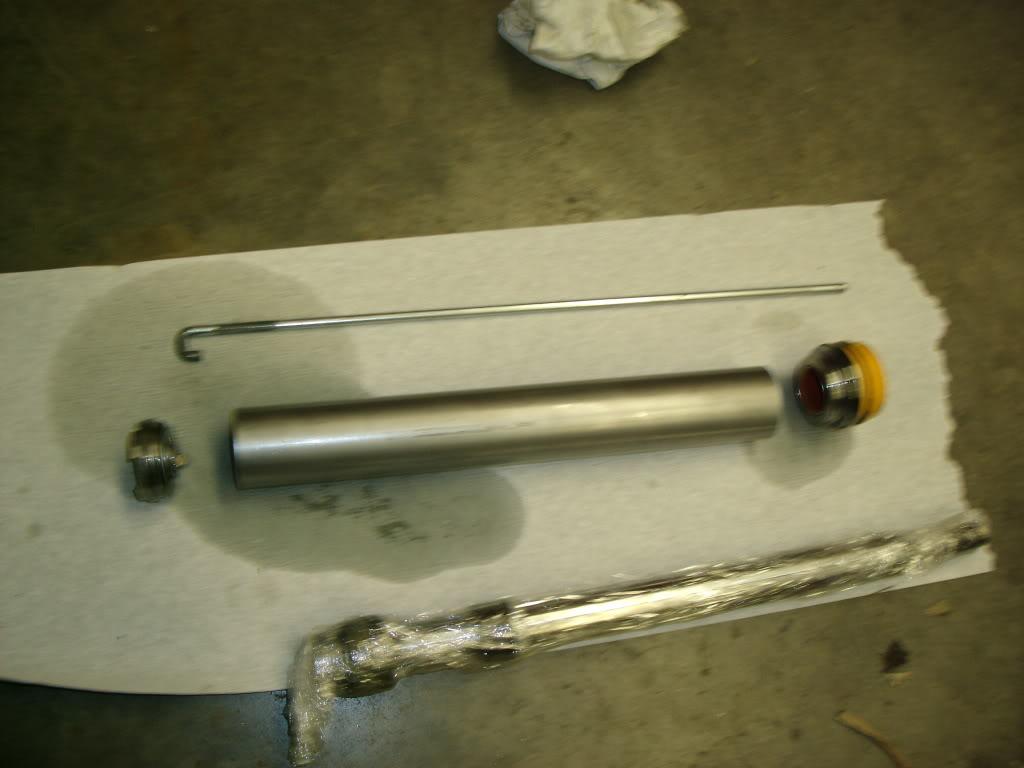
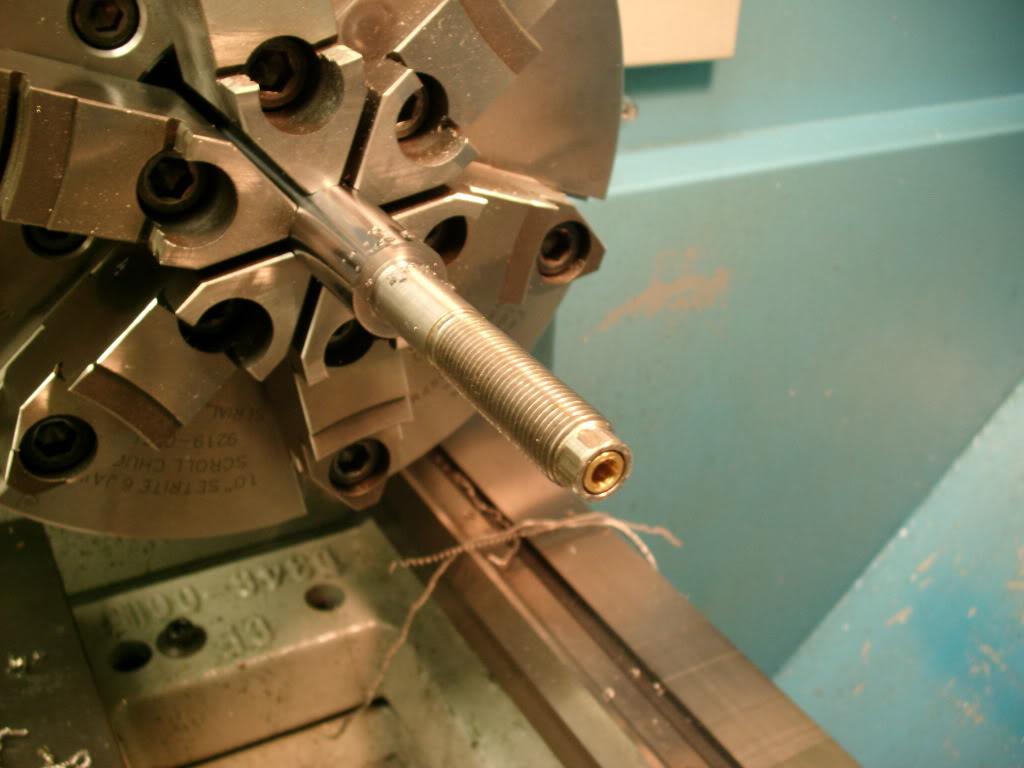
Here are some pics of my Koni shortening. This is an 8610-1436 RACE strut insert. Koni doesn't recommend or authorize this, they will NOT sell you internal parts because this shock is "not user serviceable" These pictures are for entertainment purposes only and I assume no responsibility for what you do with your struts.
Cut out the adjuster rod and uncrimped the top:
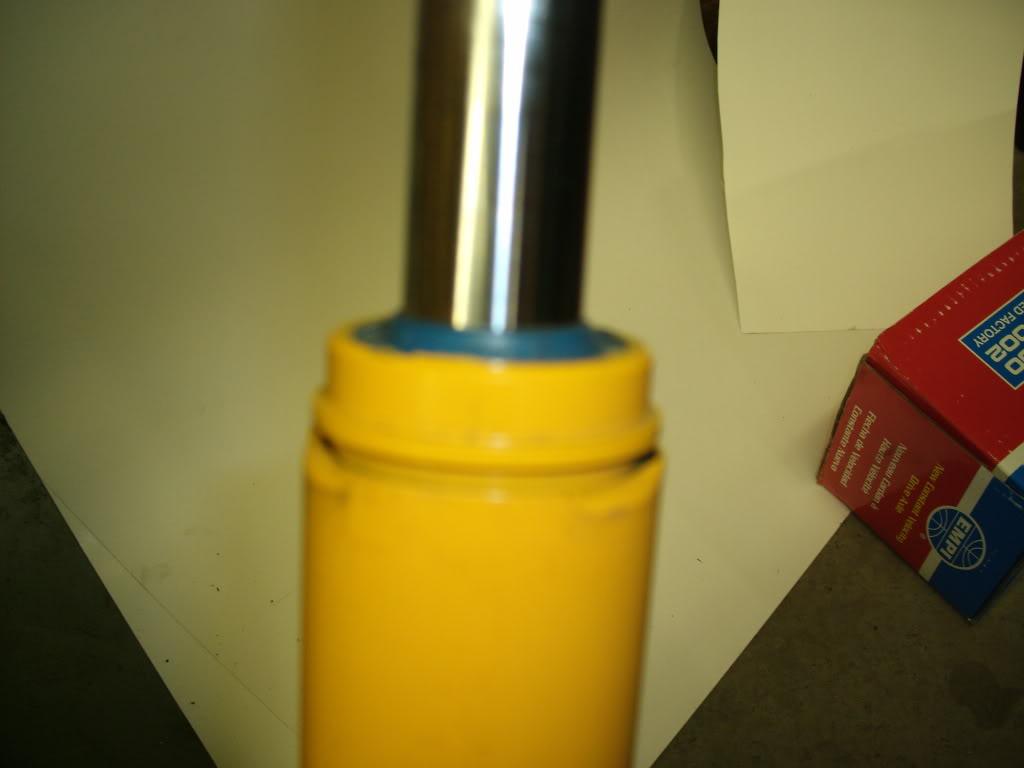
Here is the shaft and pressure tube assembly:
Here is the pressure tube assembly apart:
Turned down the rod, rethreaded, recut the adjuster rod bushing and seal bore:
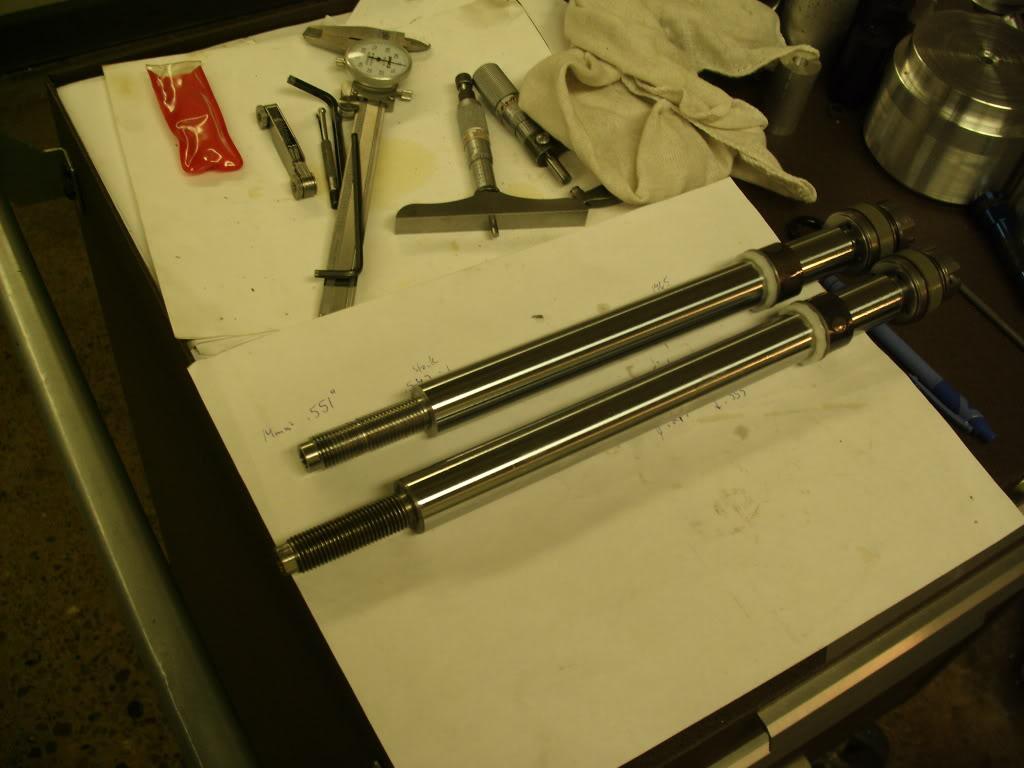
Cut down the housing tube and pressure tube (housing tube shown):
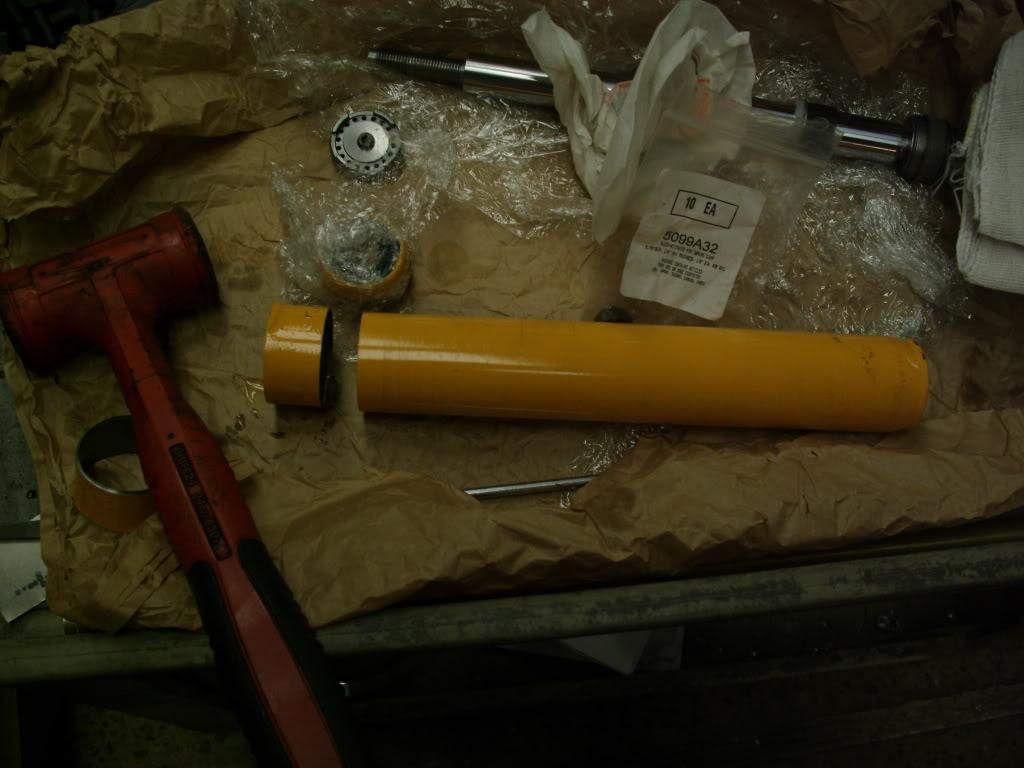
Reassembled and recrimped:
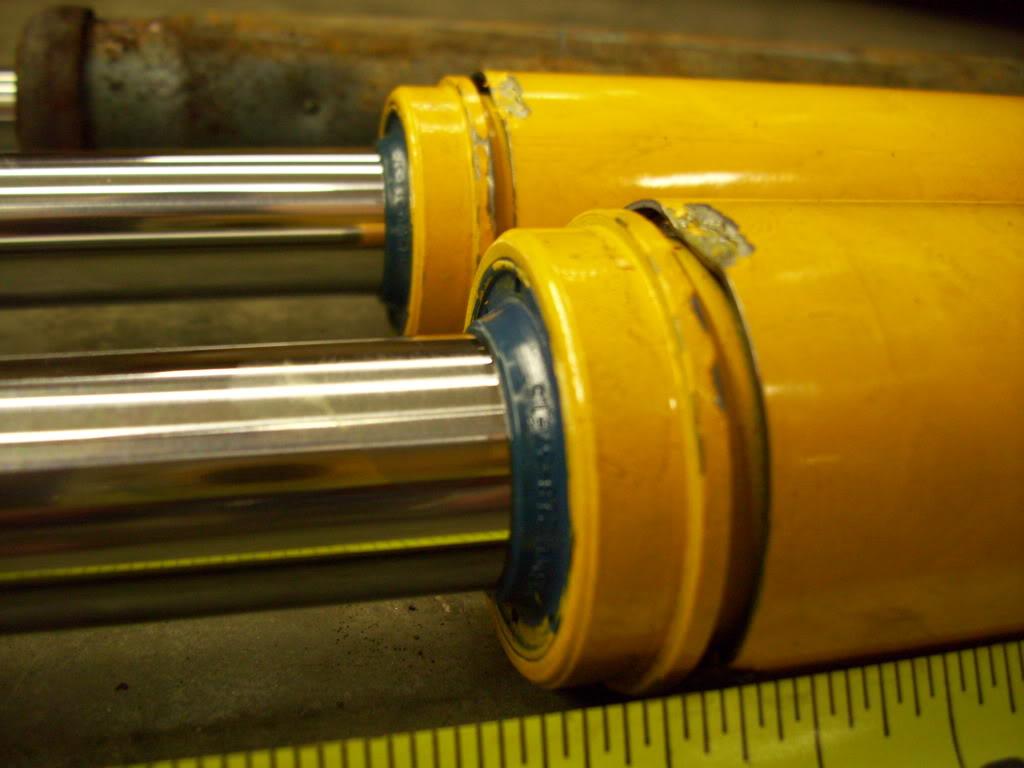
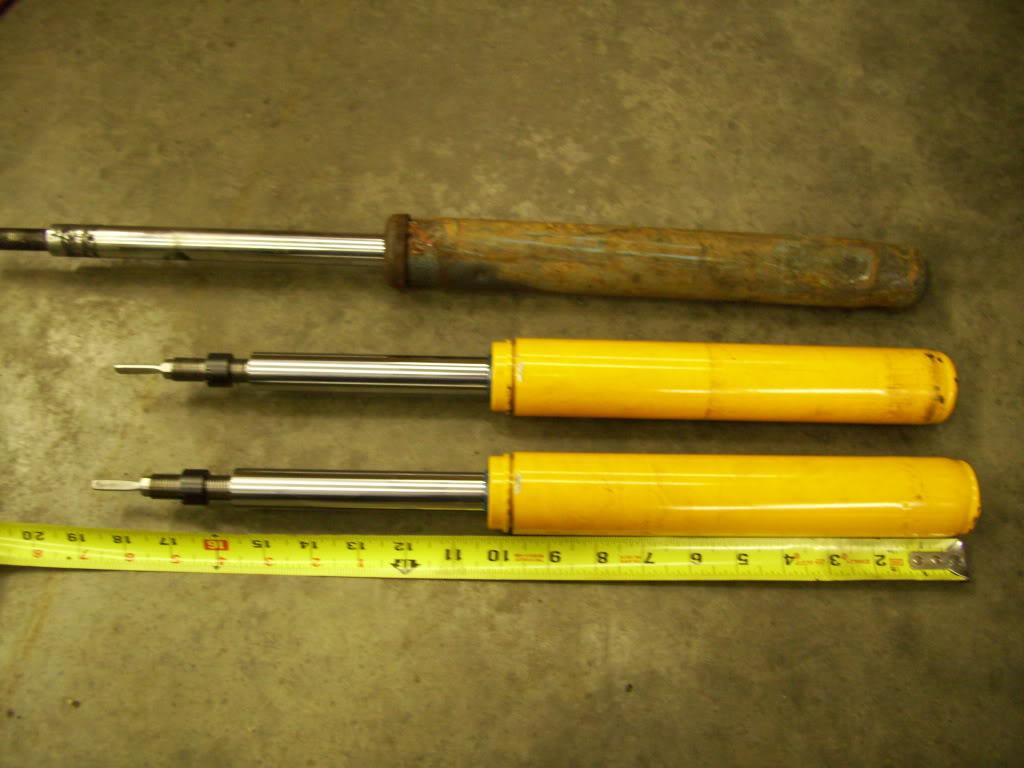
Compared to stock mk2 strut inserts:
Once the struts had been modified, the car laid on the frame with the strut mounts installed
January 17, 2009
The plan changes. Drastically.
I test-fit the new shortened front struts, removed the rear shocks complete, and laid the car down.
The car was parked up on two 2x6's, then two 2x6's were placed under the frame. It laid out, with the front shocks bolted in place
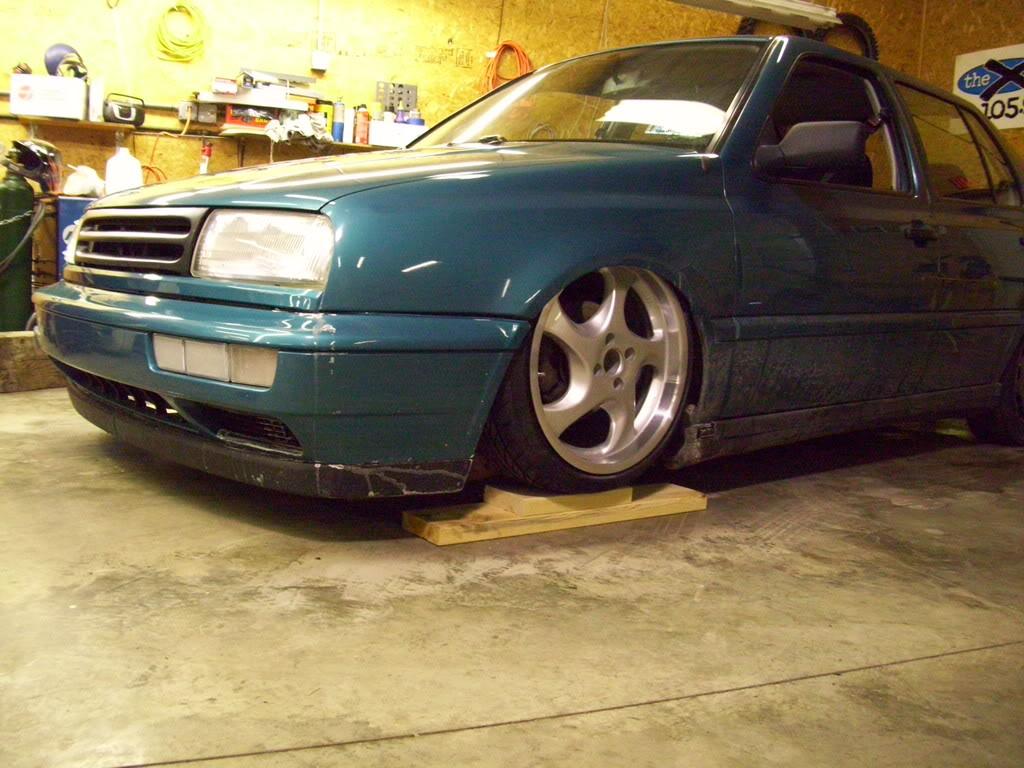
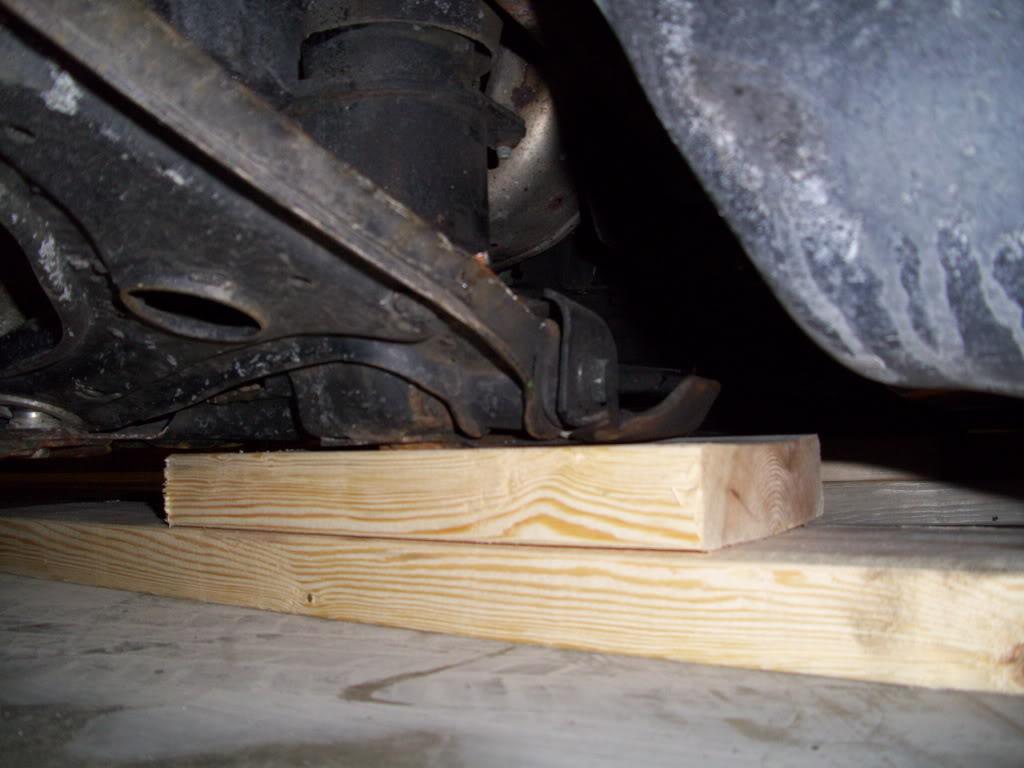

Things were pretty bound up in the front, but it still laid. Tie rod notches and drivers side c-notch in order.
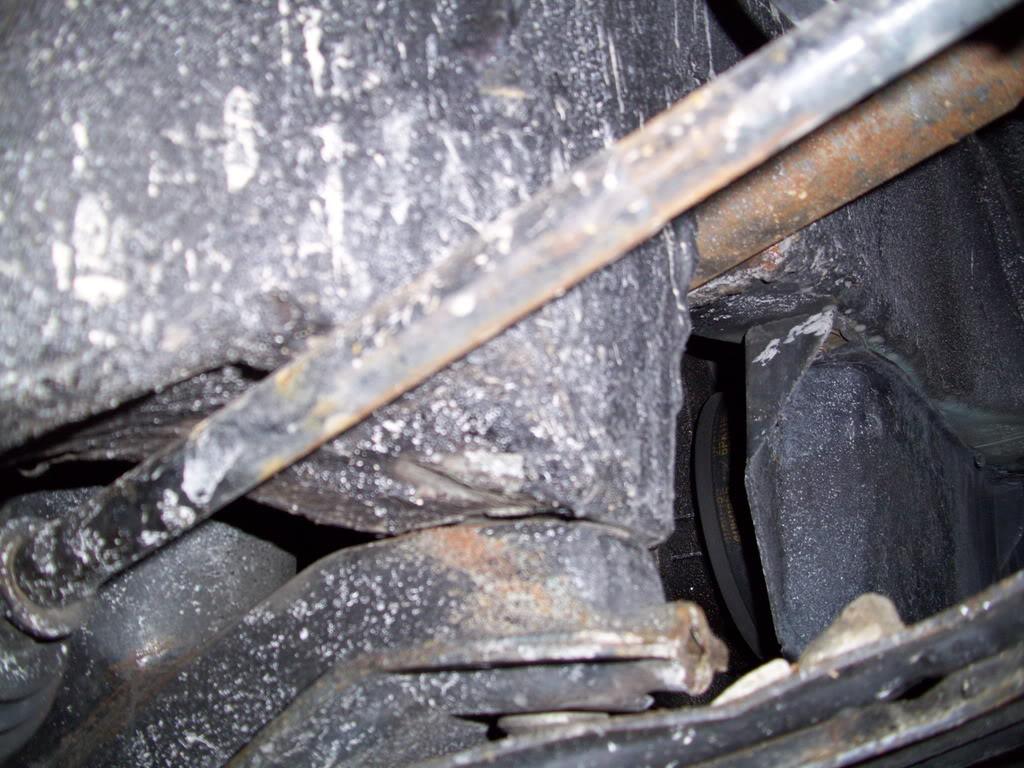
Here's a comparison of the old H&R Ultra Low with the new, shortened Koni.

Then the ugly truth comes out. The rear beam just isn't gonna cut it.
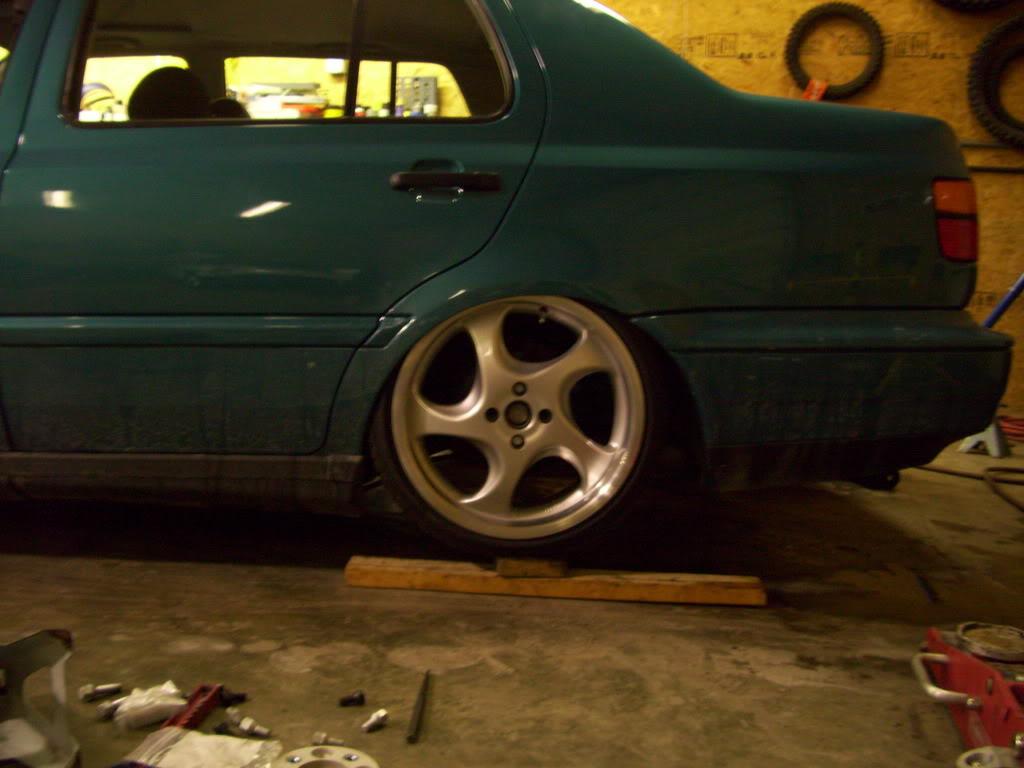
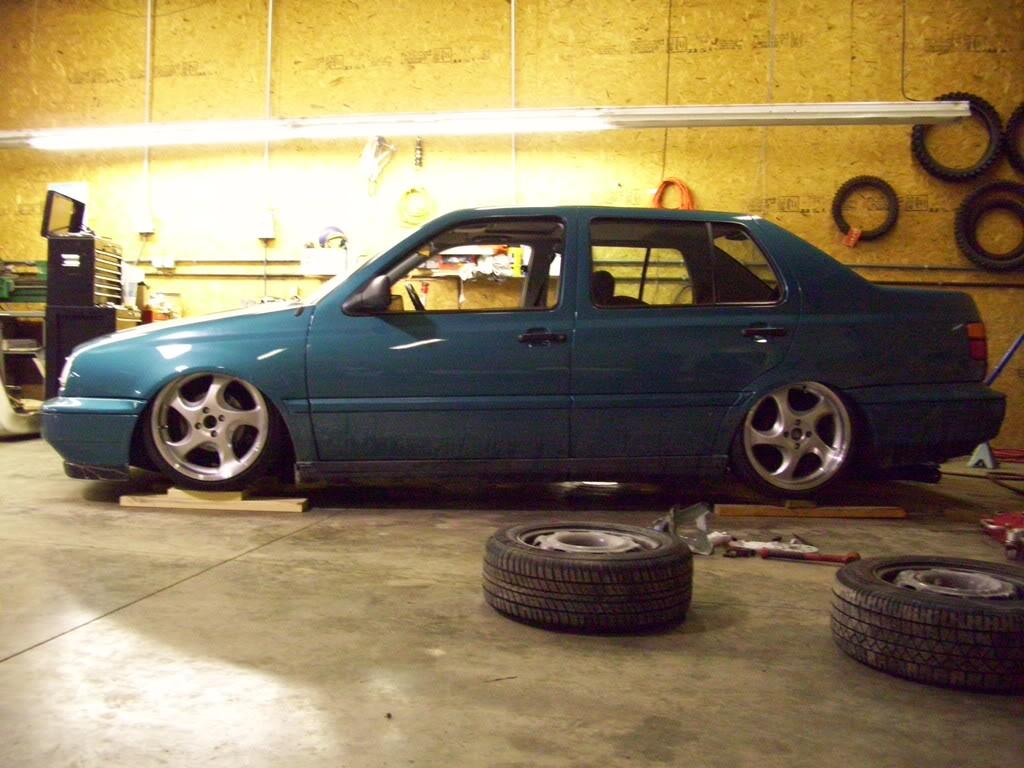
Forward tuck... not low enough... can't roll at this height... more metal must move. Lots of it.
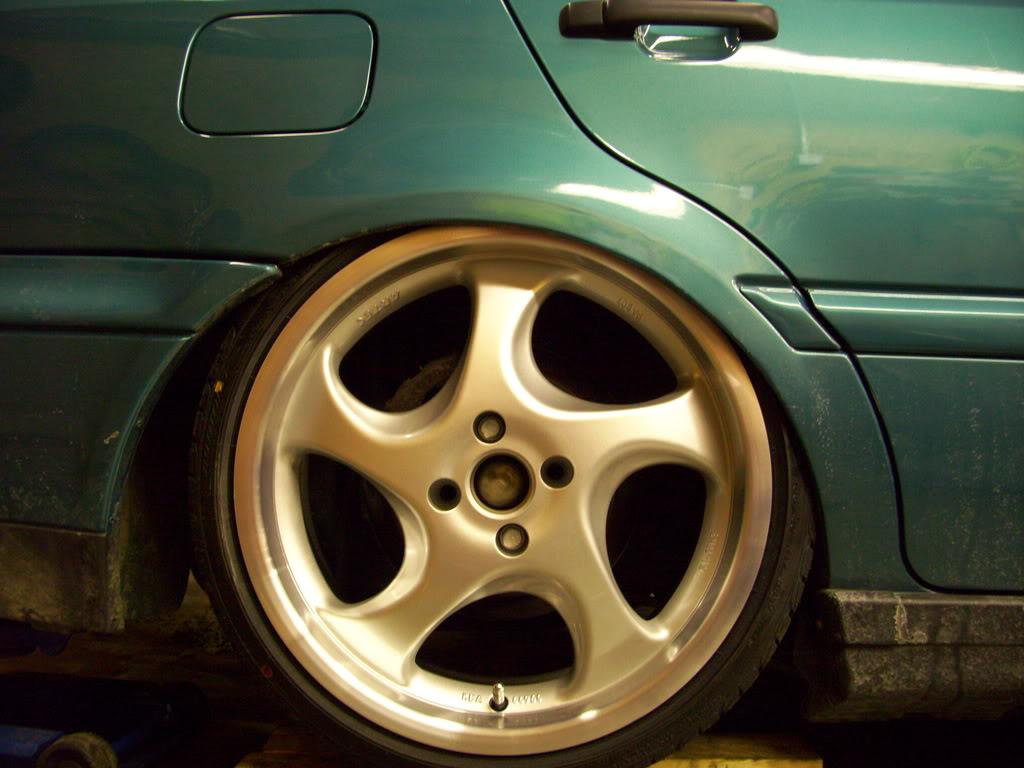
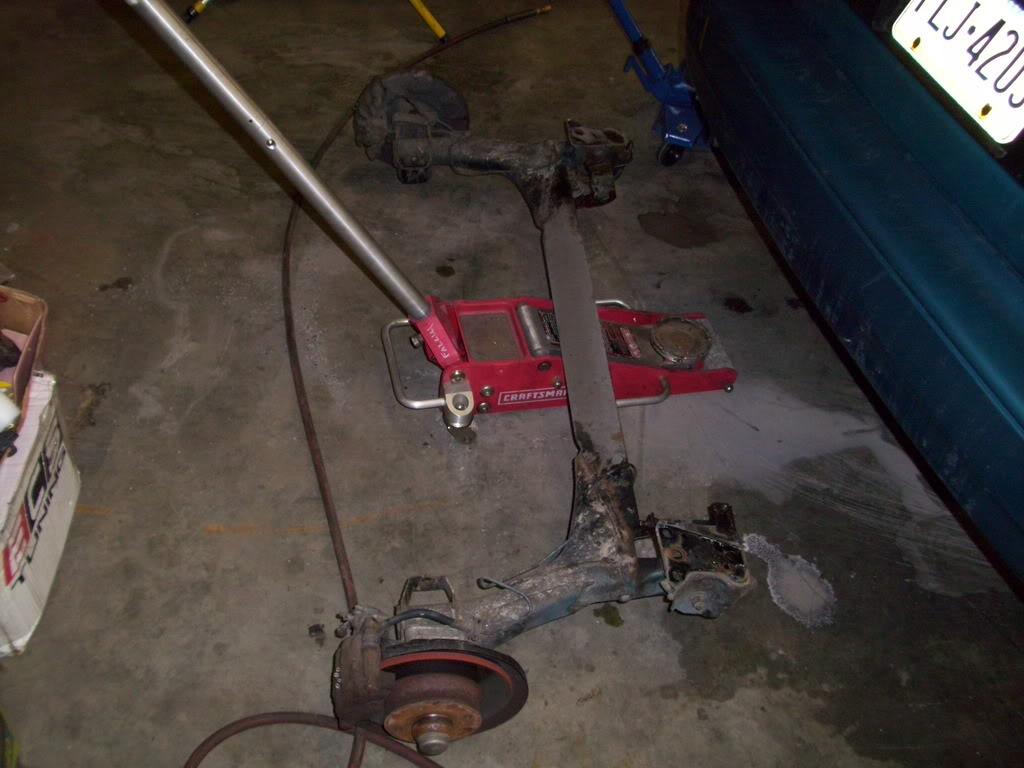
Like all this metal. Permanently added to the "notgonnagobackin" pile.
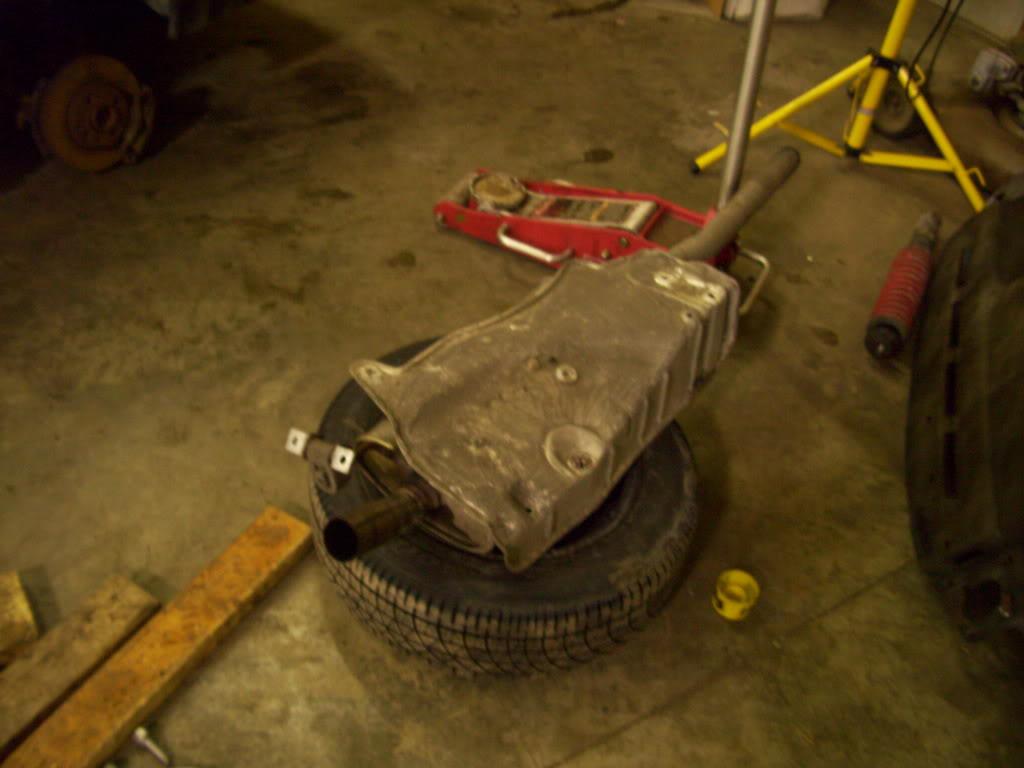
Even some plastic made the chopping block!
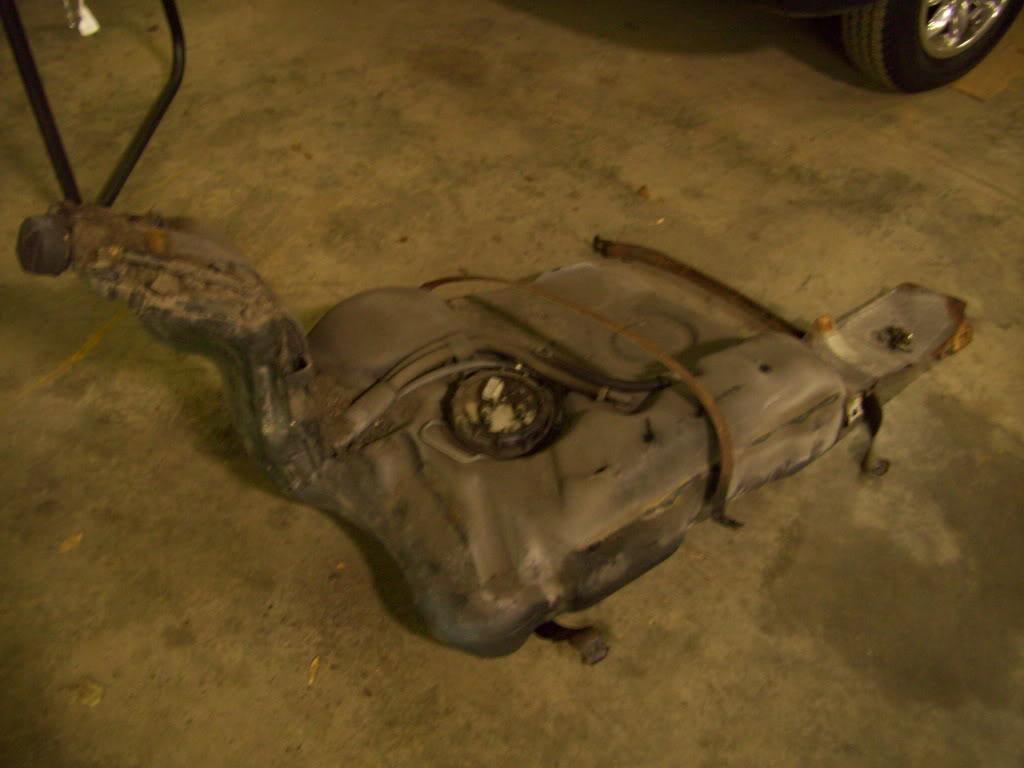
And all this... bye bye!
Now with all that pesky crap out of the way, it's starting to look like a proper stance again!
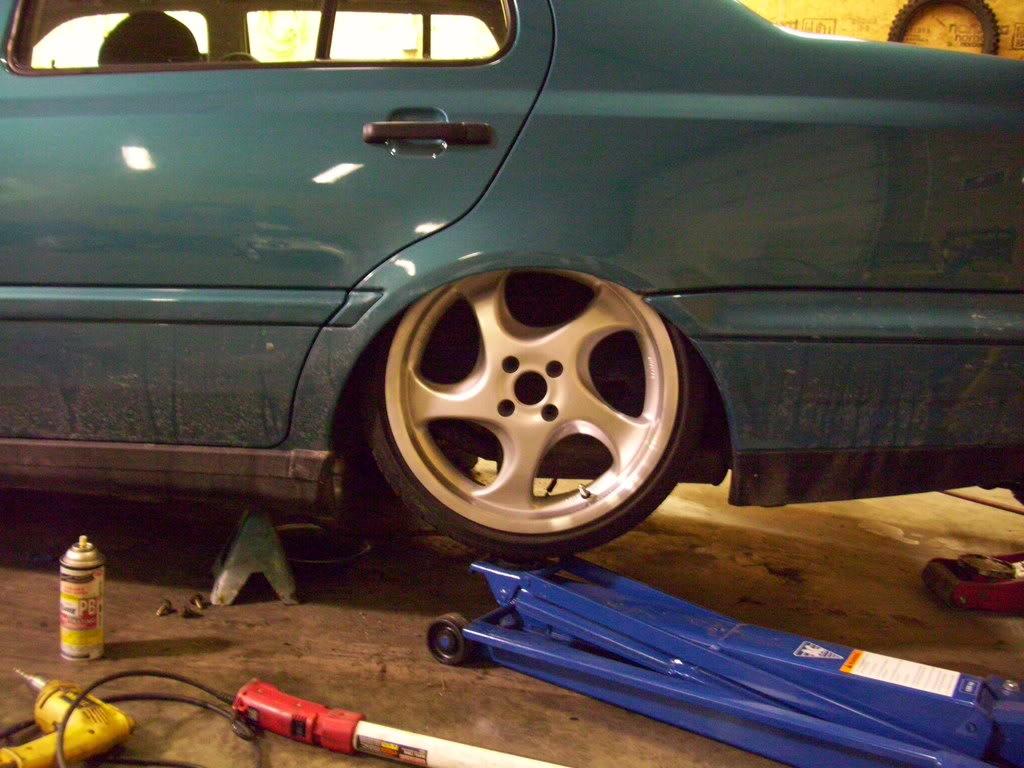
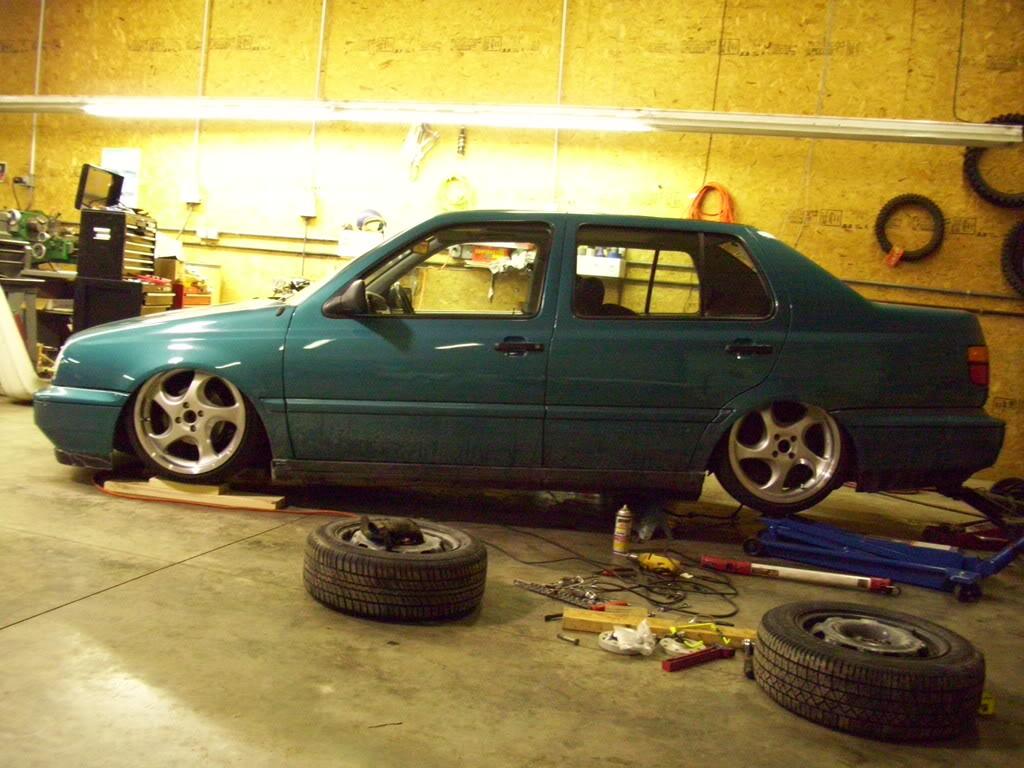
The inner fenders would have to be tubbed also, but that's minor. Now what should I do with the suspension??
So I consulted my buddy Mitchell for his vehicle dimensions. 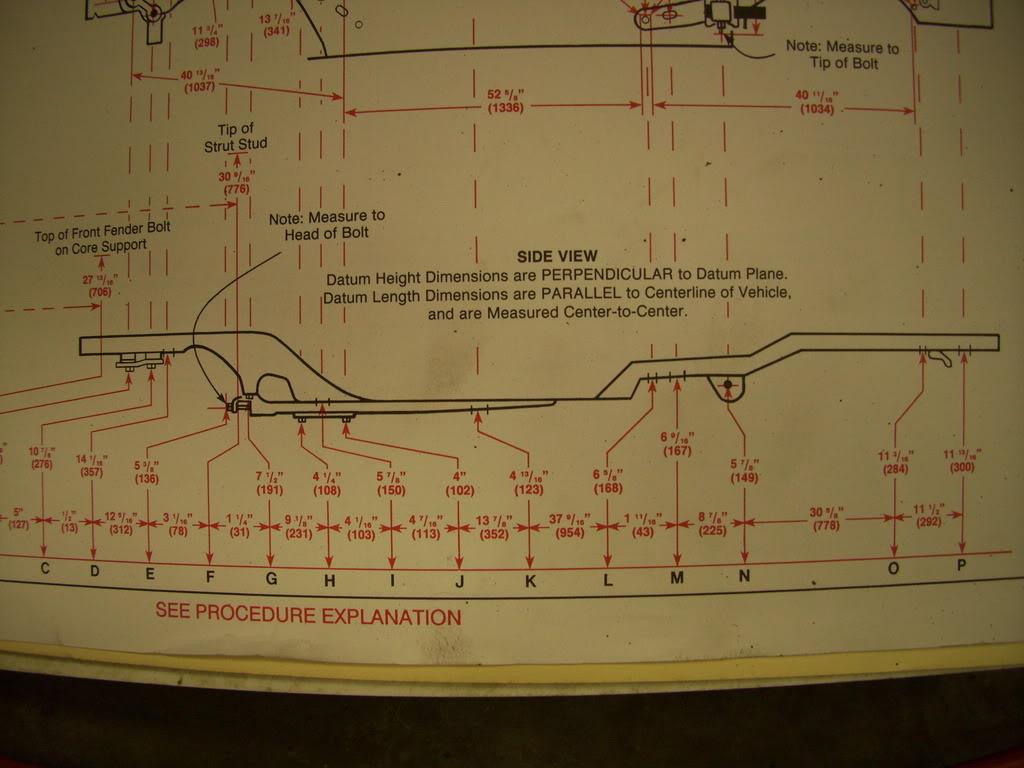
And had a front mk3 subframe laying around. Now I had seen this done before on a track prepped corrado in the Suspension tuning forums. One blurry pic and a few measurements were enough to convince me it was possible. On to some test fits!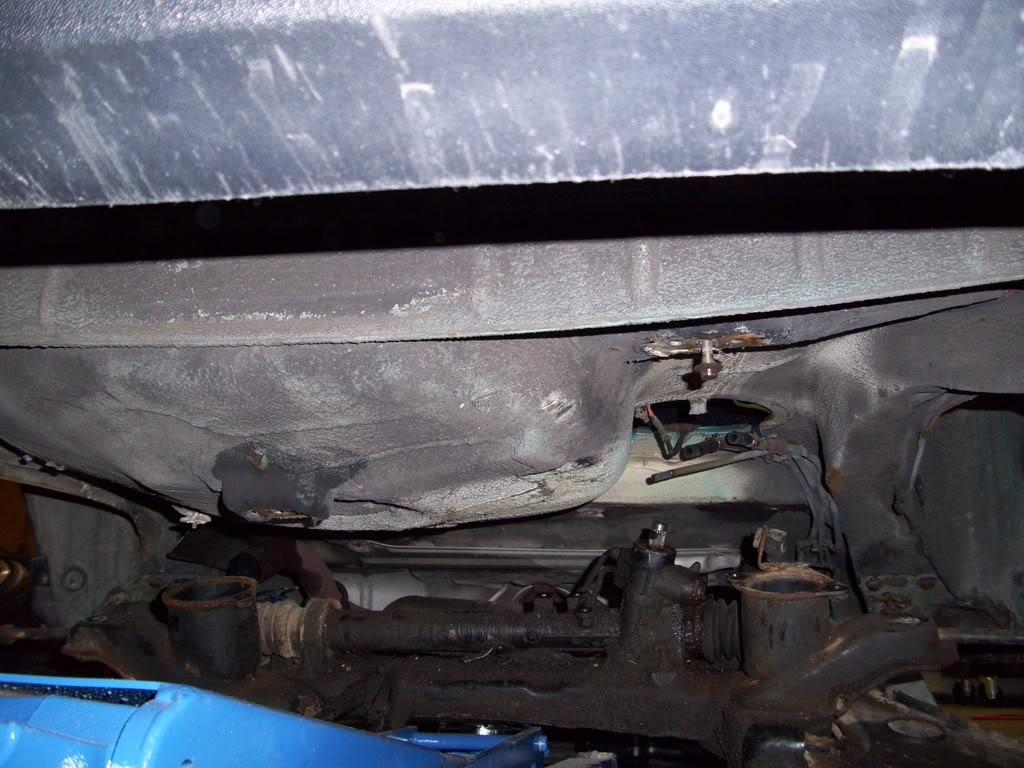

Hey that frame rail is pretty close to the mounting point... this could work!
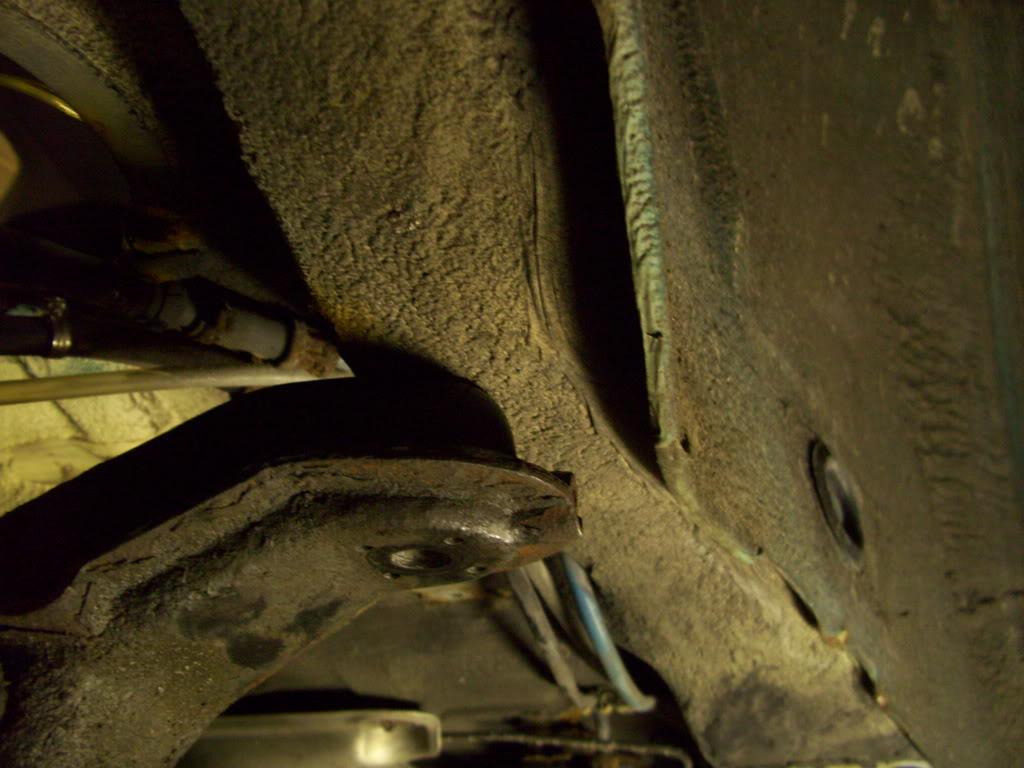
It looks pretty good under there!
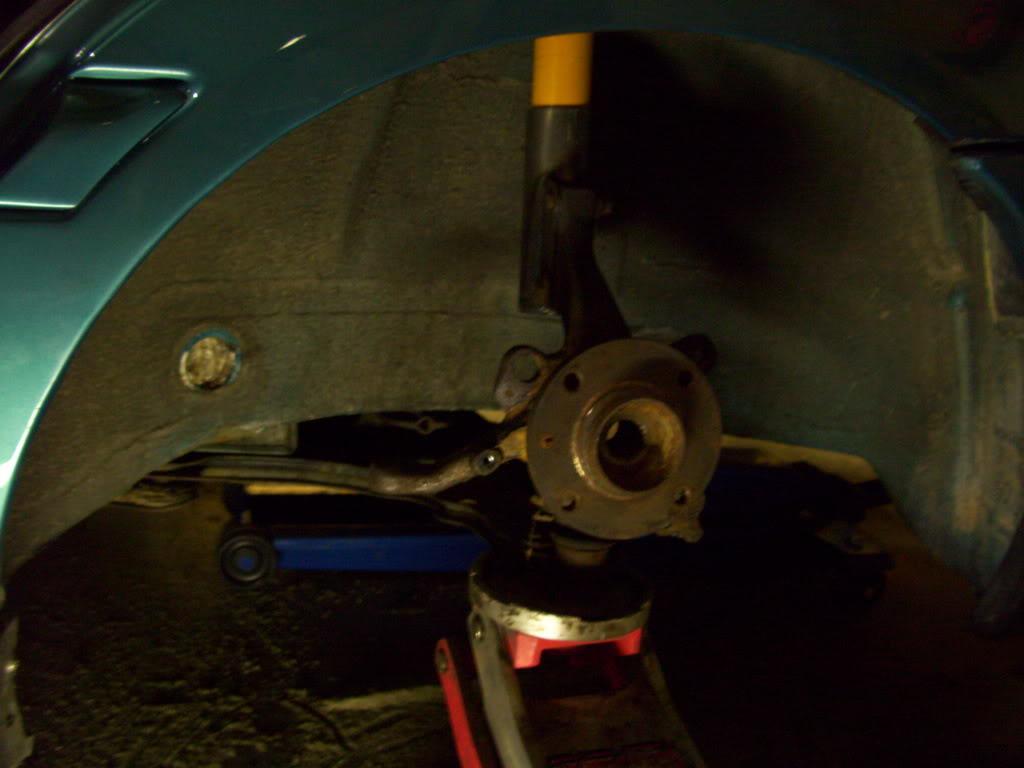
So here is the master plan, drawn quite well with CAD. Or a pen on a dirty piece of paper.
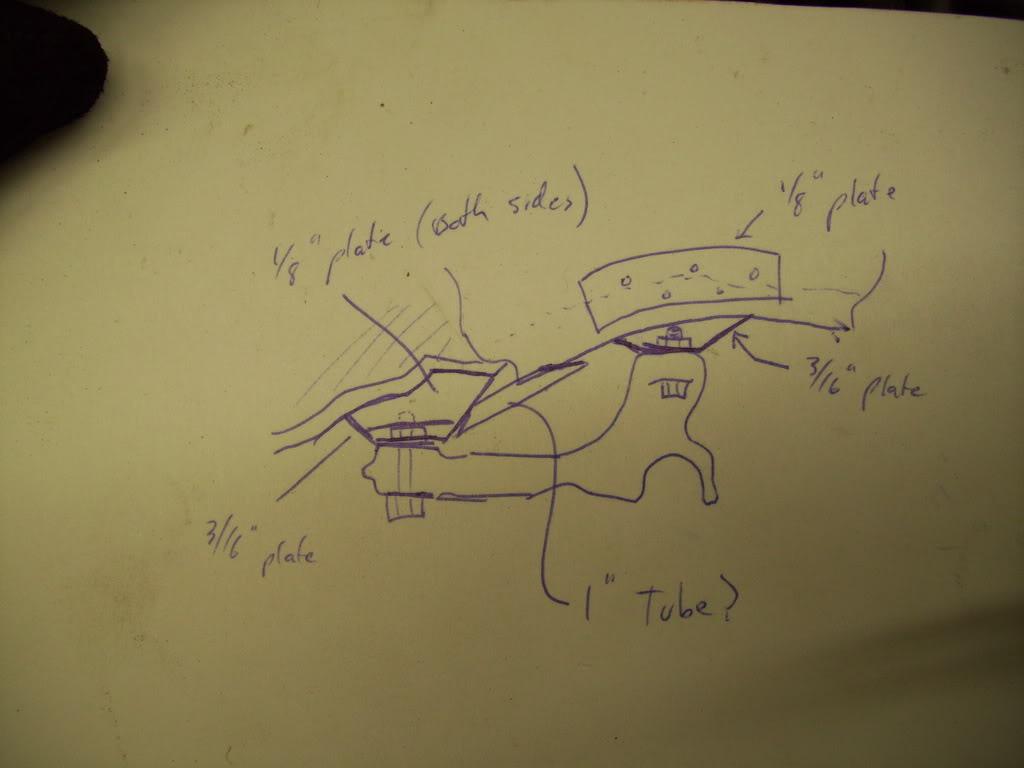
Left is toward the front, right is toward the rear. The area just above the left side of the drawing (forward mounting ponits) is just below the seat crossmember. This is where the rear seatbelts bolt in, and is a heavy structural section of the car. This is one of the strongest places in the unibody, making it well suited for the loads of a suspension. The rear mounting points are right below the frame rails. Plating will be added and mounts will be made, with some tubular bracing into the existing structures.
Now most of the mid-engine IRS setups use the subframe mounted in the stock orientation, with the pancake bushing toward the rear and the tie rod behind the rear axle centerline. This is nice for motor packaging, but reversing the subframe allows it to integrate much better into the strongest parts of the unibody. Since I won't have a motor back there, I plan to reverse it. The frame rails just below the rear arches are super strong, the seat crossmember is already very well reinforced, and the stock beam mounts are right there and available to have braces welded in the area. It's almost like it was supposed to fit there!
Dinnertime, more updates later
Nice build! Great photos and detail ????
Posted by Diggymart on 4/23/19 @ 12:52:48 PM