You must be logged in to rate content!
8 minute(s) of a 341 minute read
6-9-2009
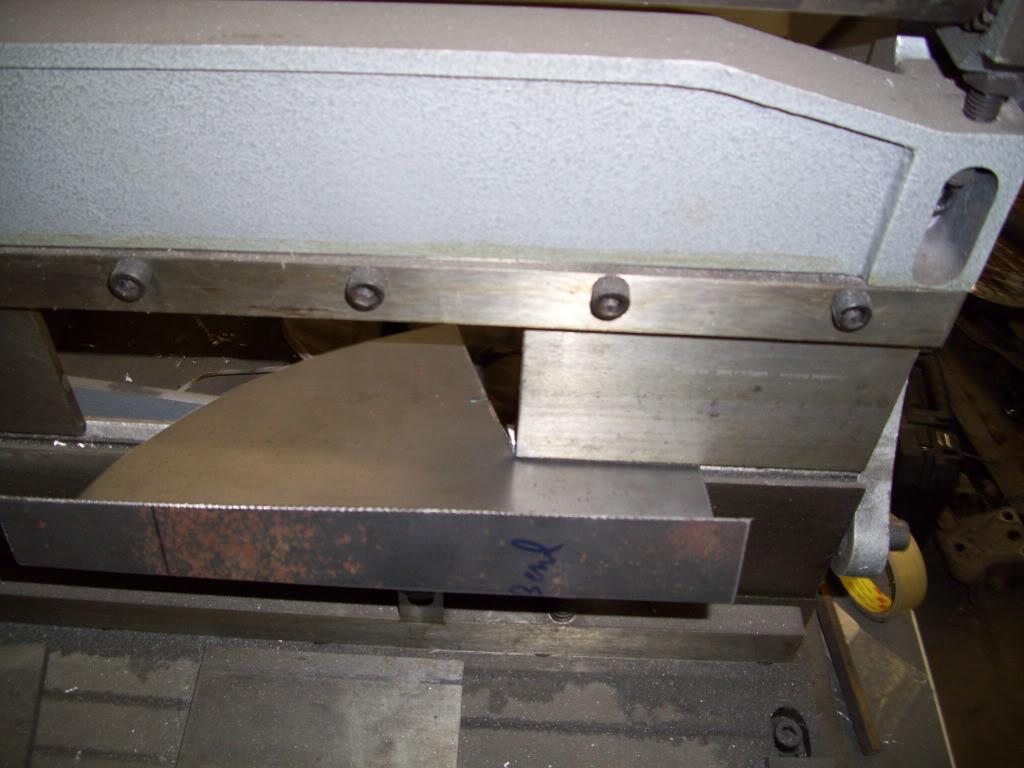
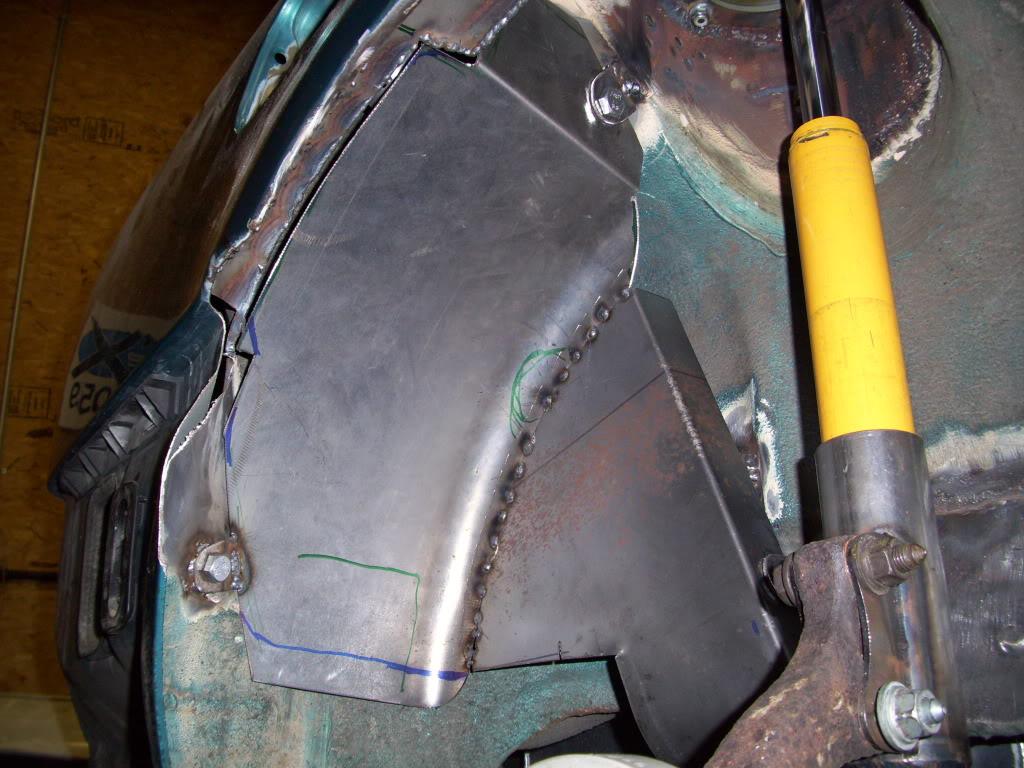
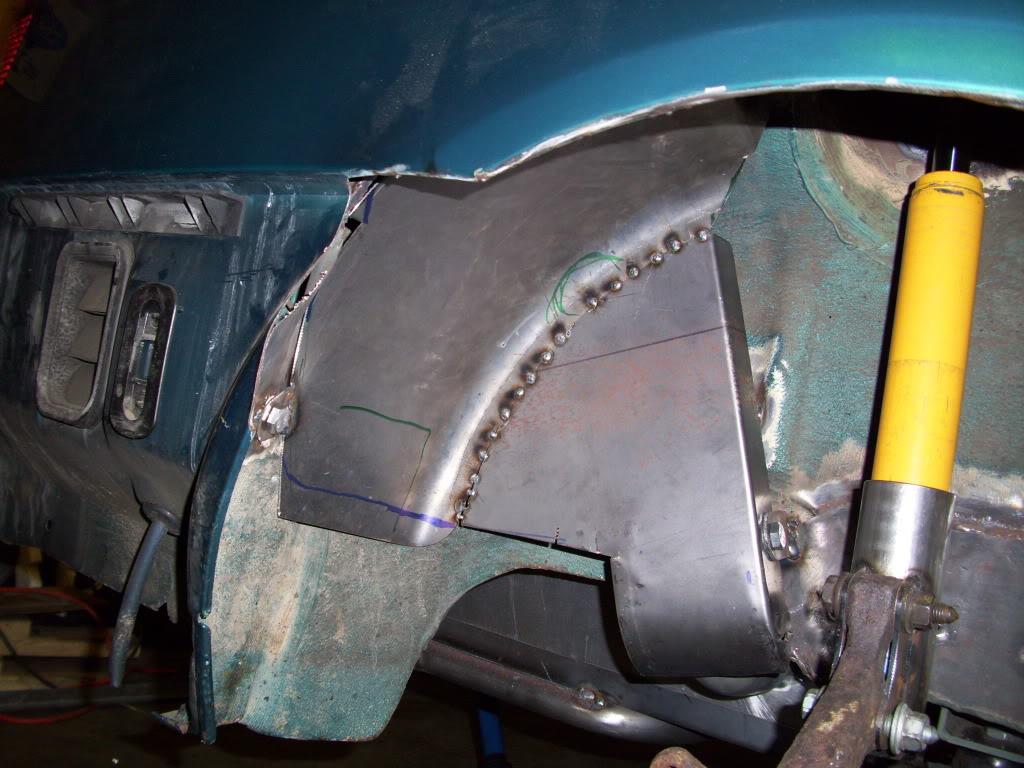
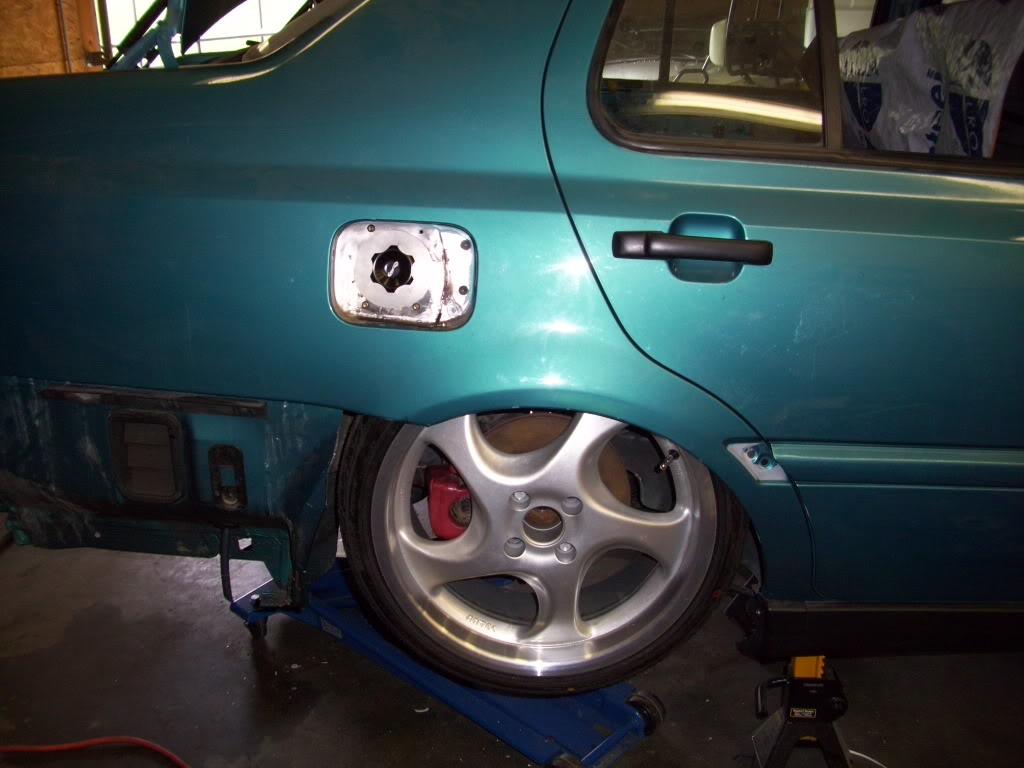
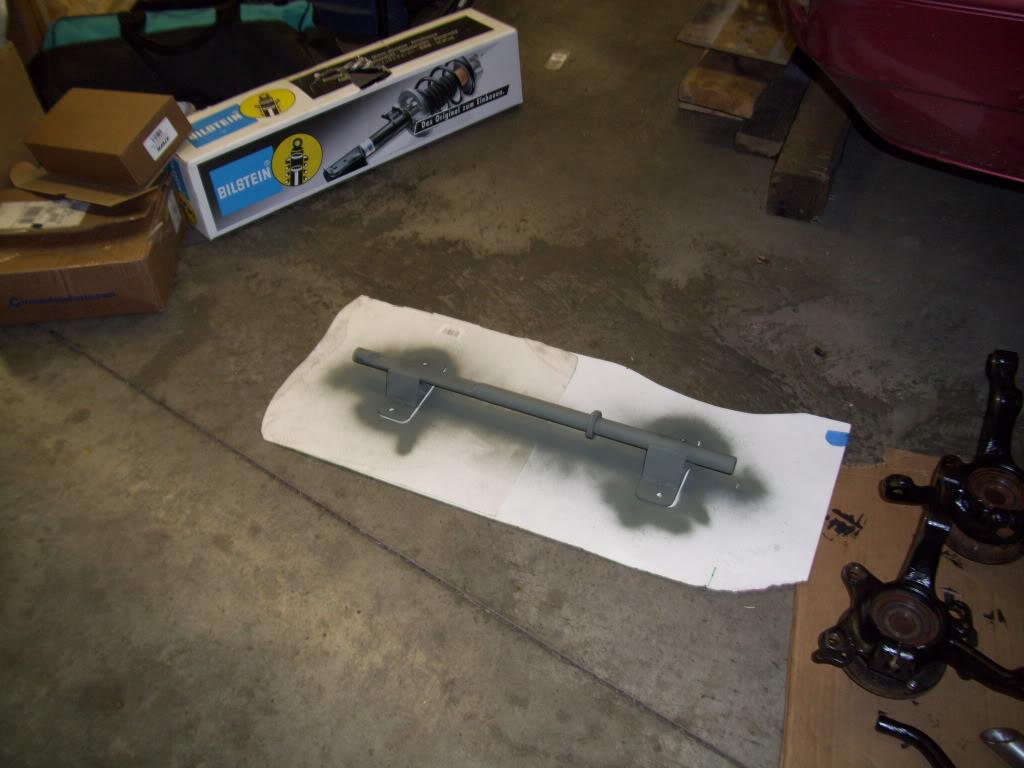
I had planned to make a guard for the fillerneck, in case I would blow a tire or hit a large rock, to minimize the chance of a fuel system break. I got to use the press brake a little, and whipped this guy up from a piece of trailer fender and some sheet.
July 11, 2009
I finished up the fillerneck guard, and did a lot of finish welding in the trunk. The whole trunk is all flat sheets, so I couldn't just weld long beads without it warping. I tacked and let cool... tacked and let cool... and repeated that cycle about 500 times!


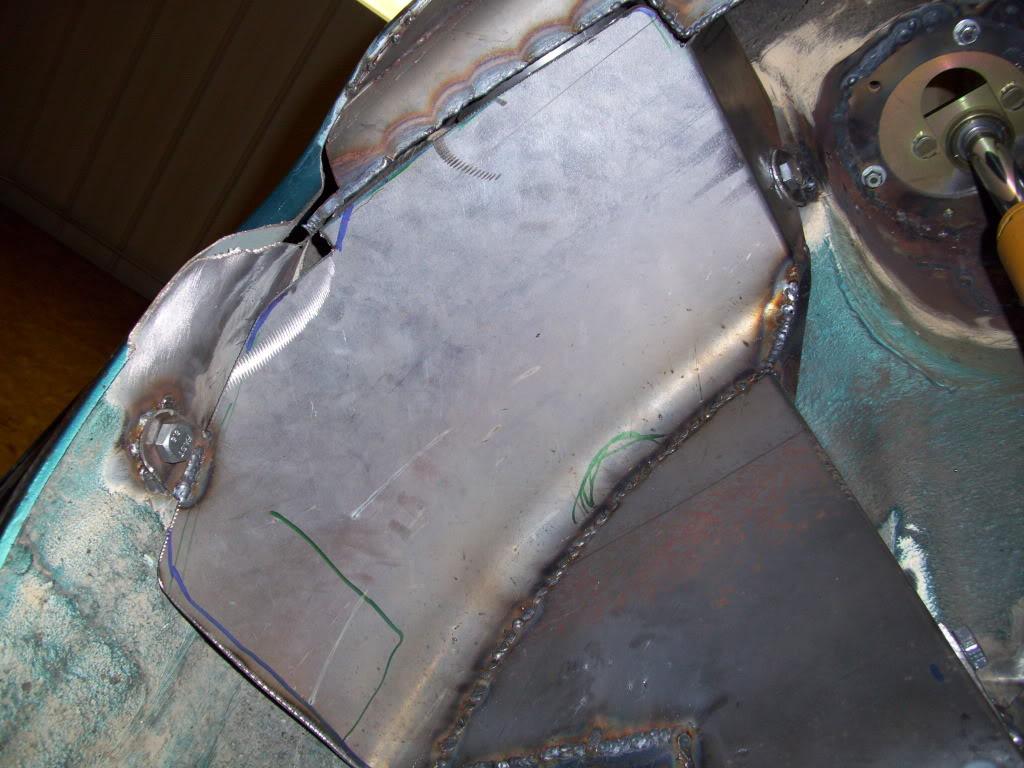
Test-fit the wheel again, plenty of clearance around the neck guard.
The floor was plug welded through to the underlying tube work to give it more strength. To do this, I would drill through, Cleco clamp them together, then drill another hold right next to the clamp and weld that. Then move the clamps and keep repeating until it was welded in many places. This basically duplicates the factory spot weld type of connection.

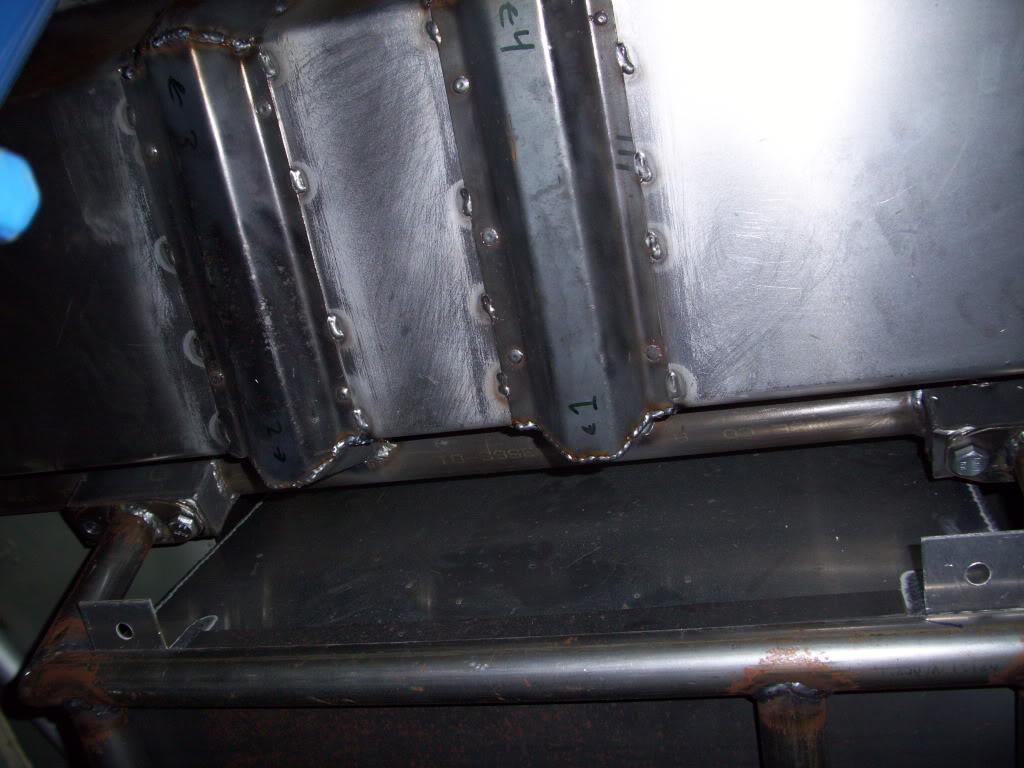
This started to get boring.
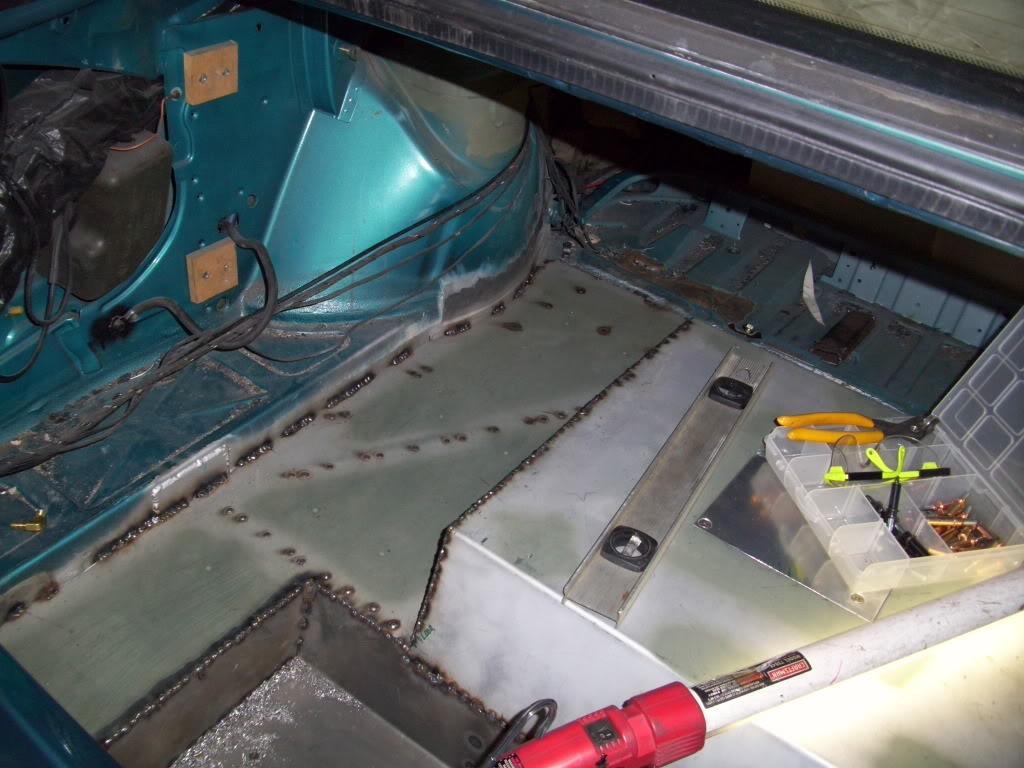
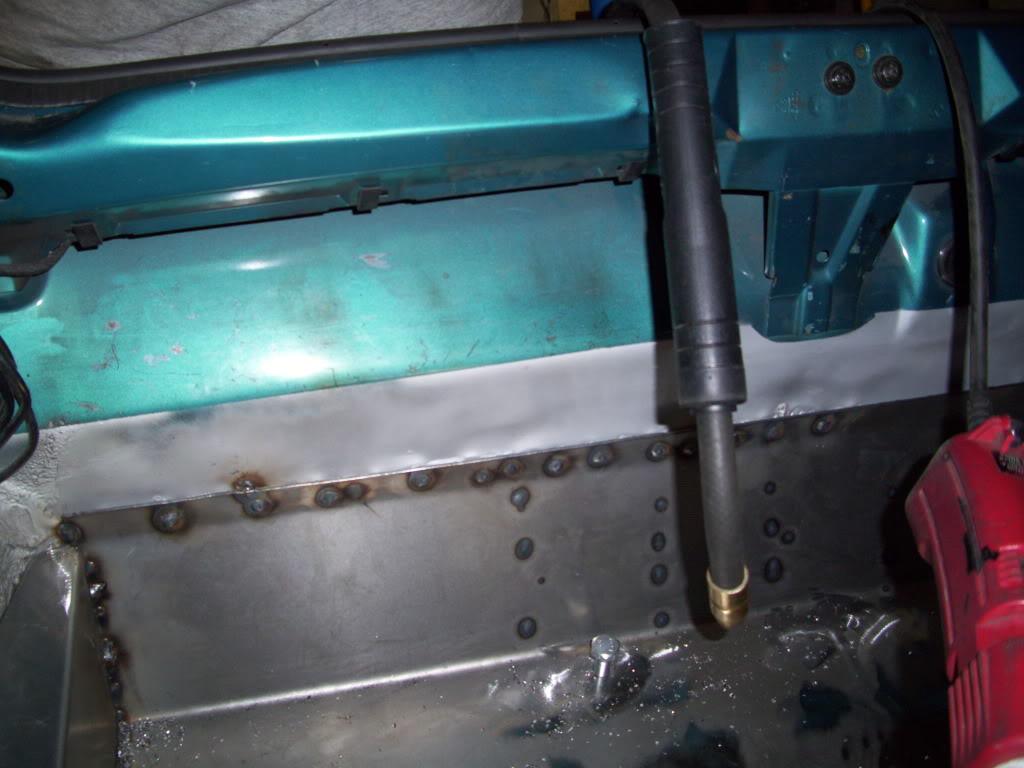
Plug welded back at the rear section. This will not get fully welded because the stock steel is so thin. For those of you who saw the water leak in the trunk at H2O, this is where it's coming from - this joint - which was not completely seam sealed before the show due to time constraints.
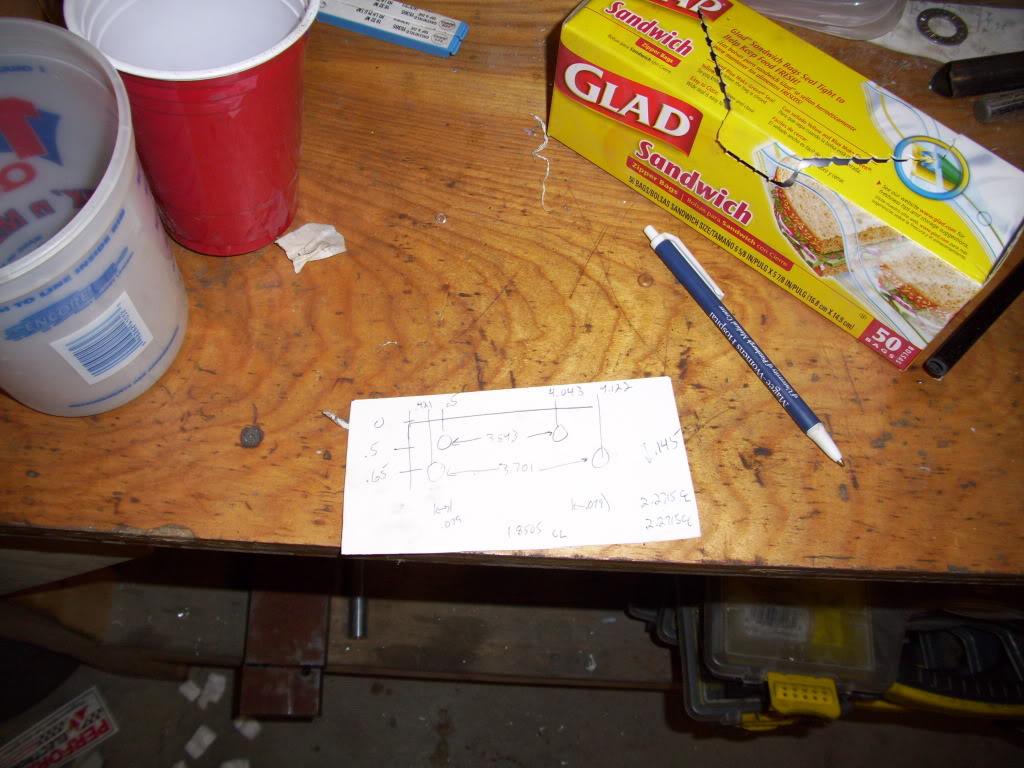
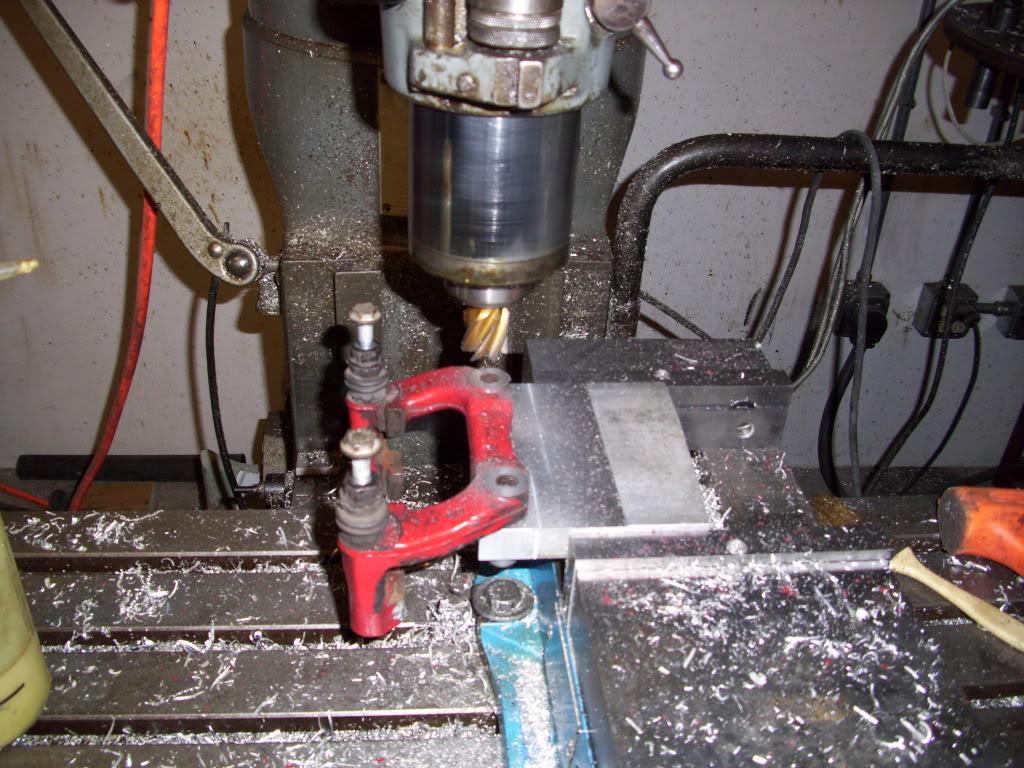
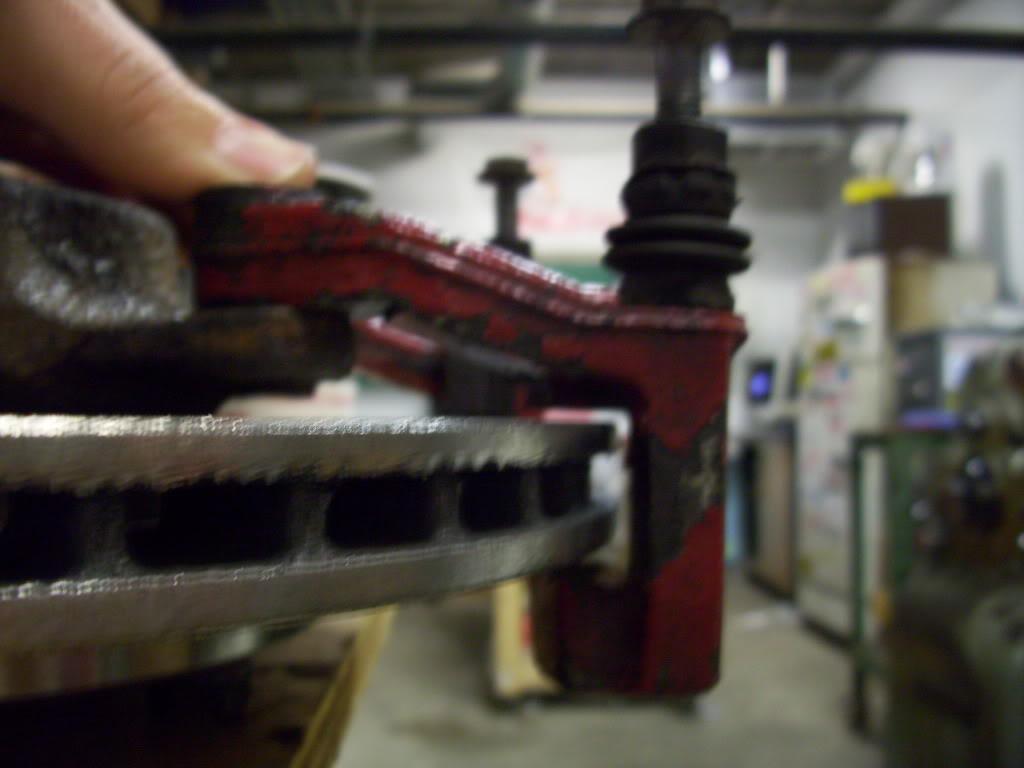
I also did the machining on the stock rear calipers. I'm honestly not too proud of this part, the slotted holes aren't the best idea. On a rear caliper with two high-grade M12 mounting bolts, it will be just fine, but it's still a little sketchy in my opinion. I decided to run it because there are zero options even at 2x the cost I have into this rear brake setup. The next step up is to use a Wilwood parking brake caliper, which are $450 each. F that, I'll run the slotted mounts.
Don't try this at home!
I managed to borrow some time on a milling machine for a few hours to do all this.
Here was the machining fixture I made first:
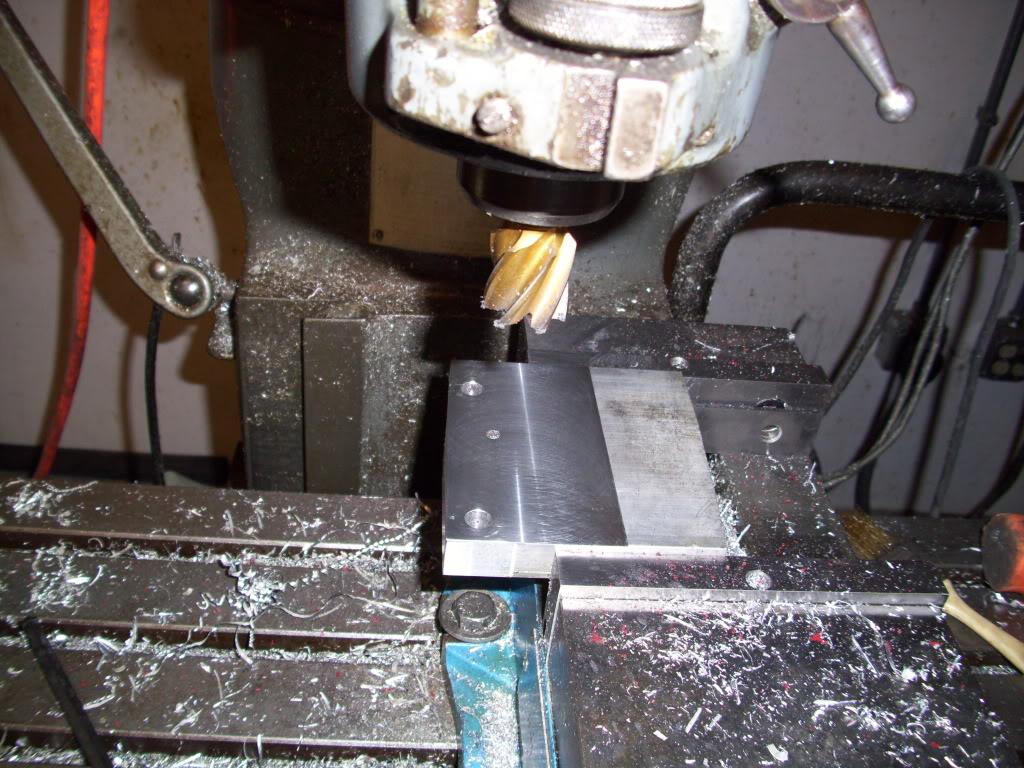
Milled the backside flat
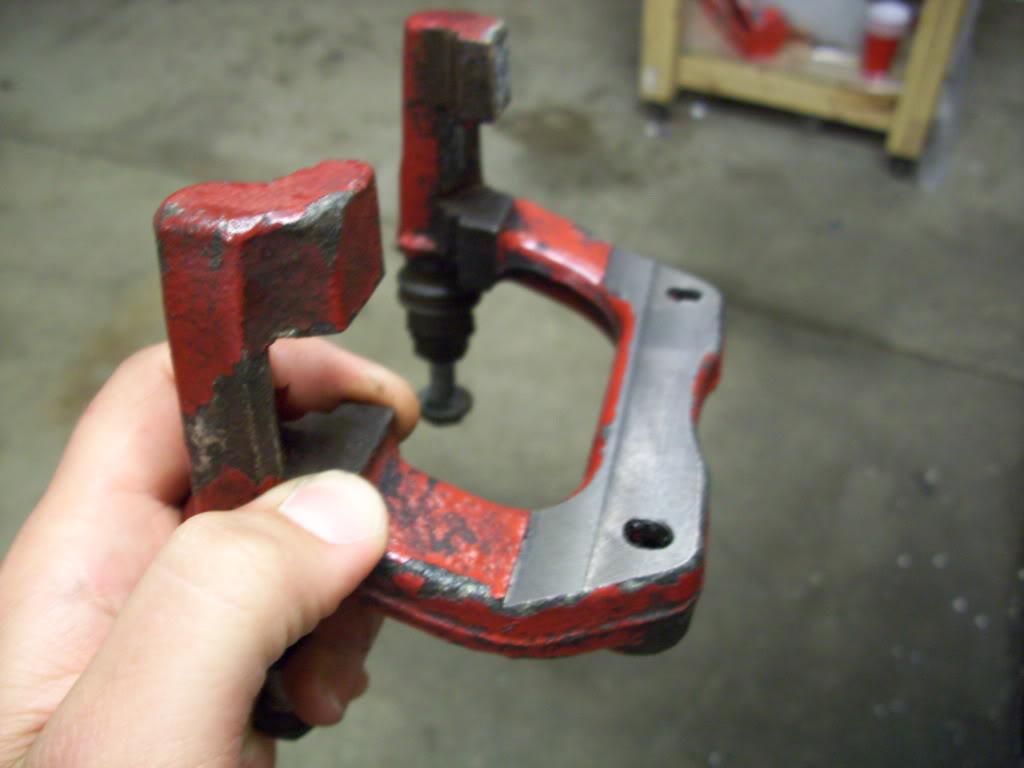
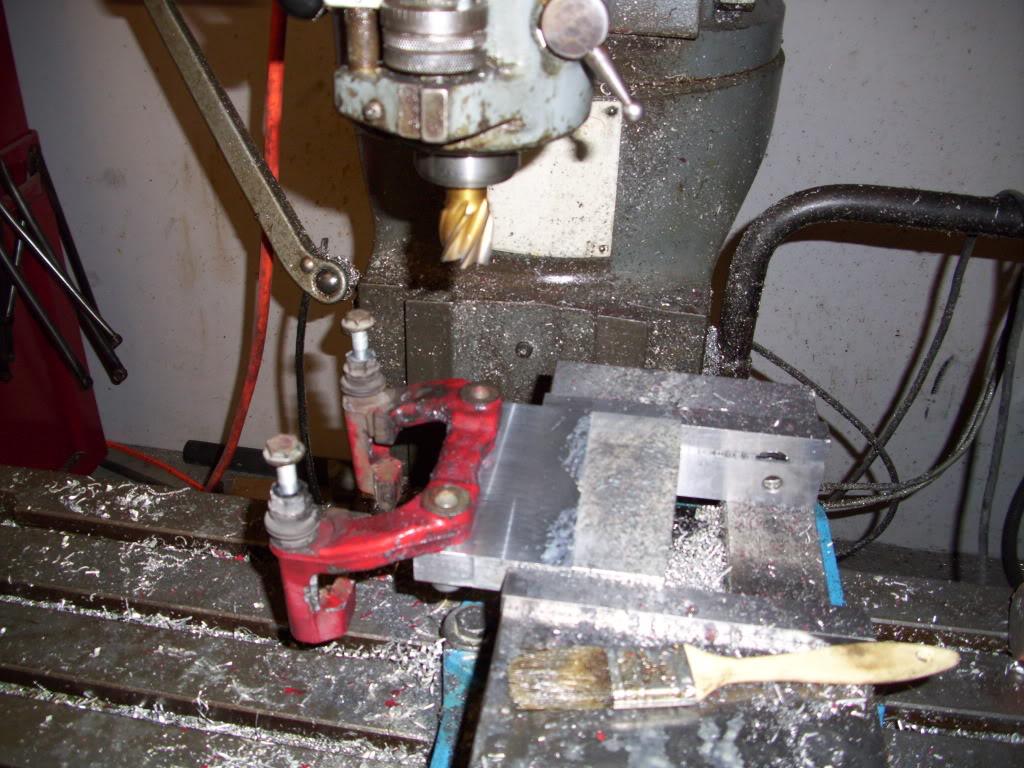
More carefully laid-out CAD model drawings
It fits!

July 13, 2009
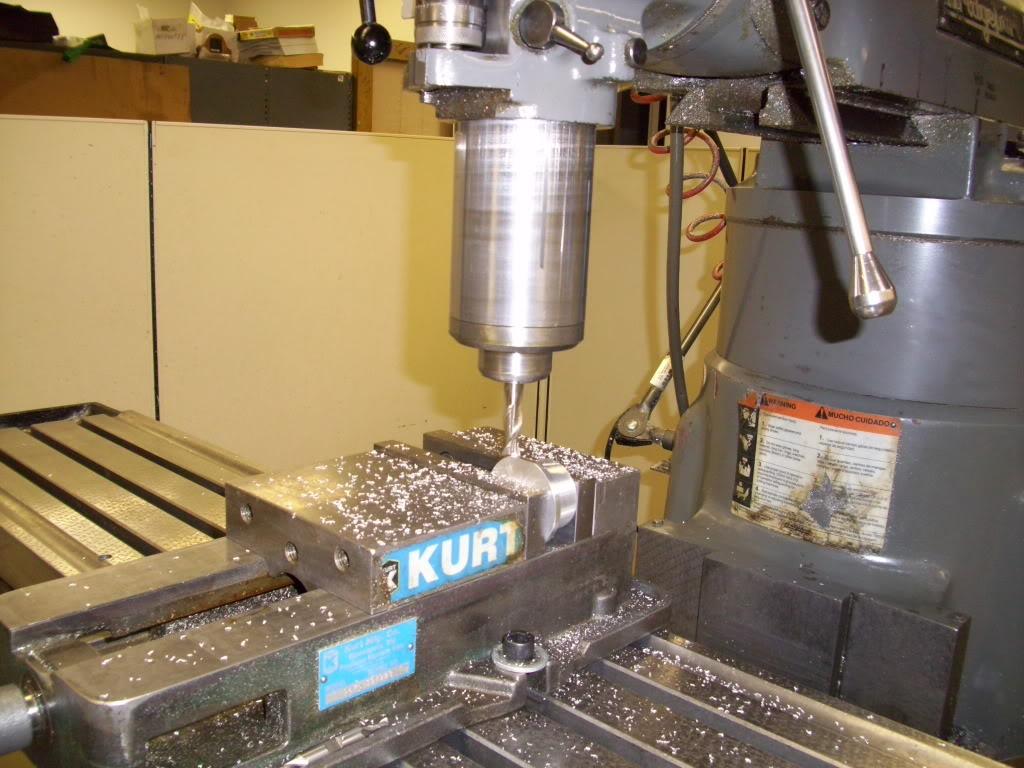
I stayed late at work to use a different mill and finish up the caps for the hydraulic pistons. Again, more on this later, but I had to drill the 4 holes for a spanner wrench then added wrench flats for a large wrench. This gives me the option of 3 different wrenching surfaces, in case one gets damaged, I can still get the pieces apart.
If any machinists are going to call me out on this setup, I know and I did it anyway and it was stiff enough for the tolerances I needed
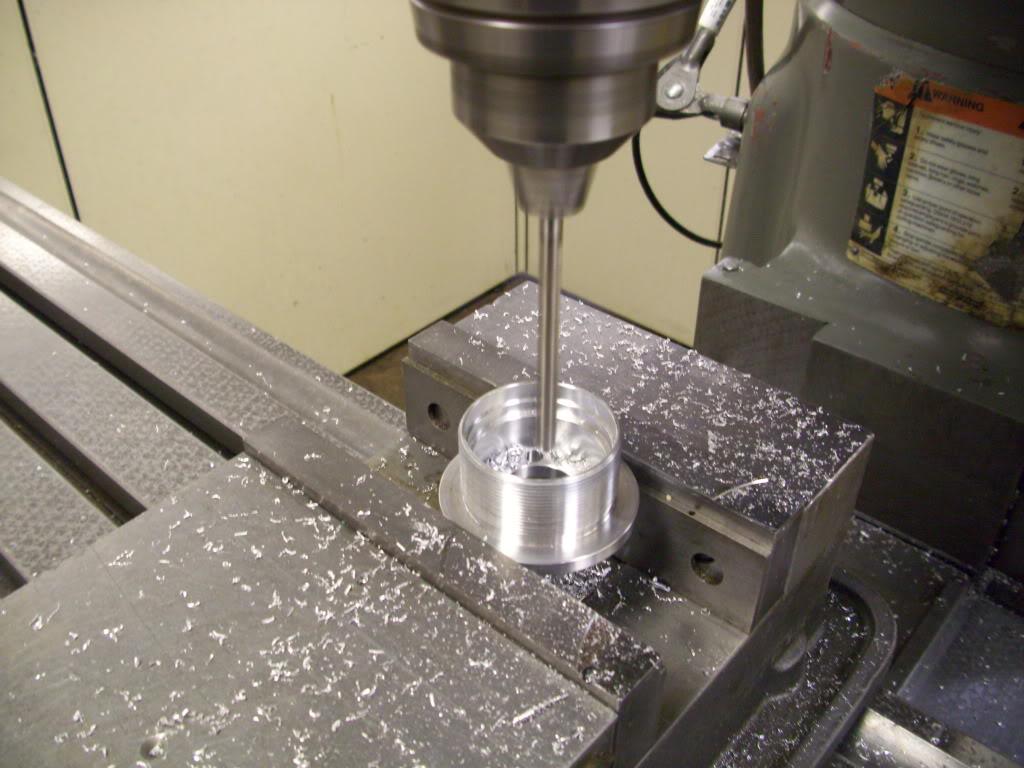
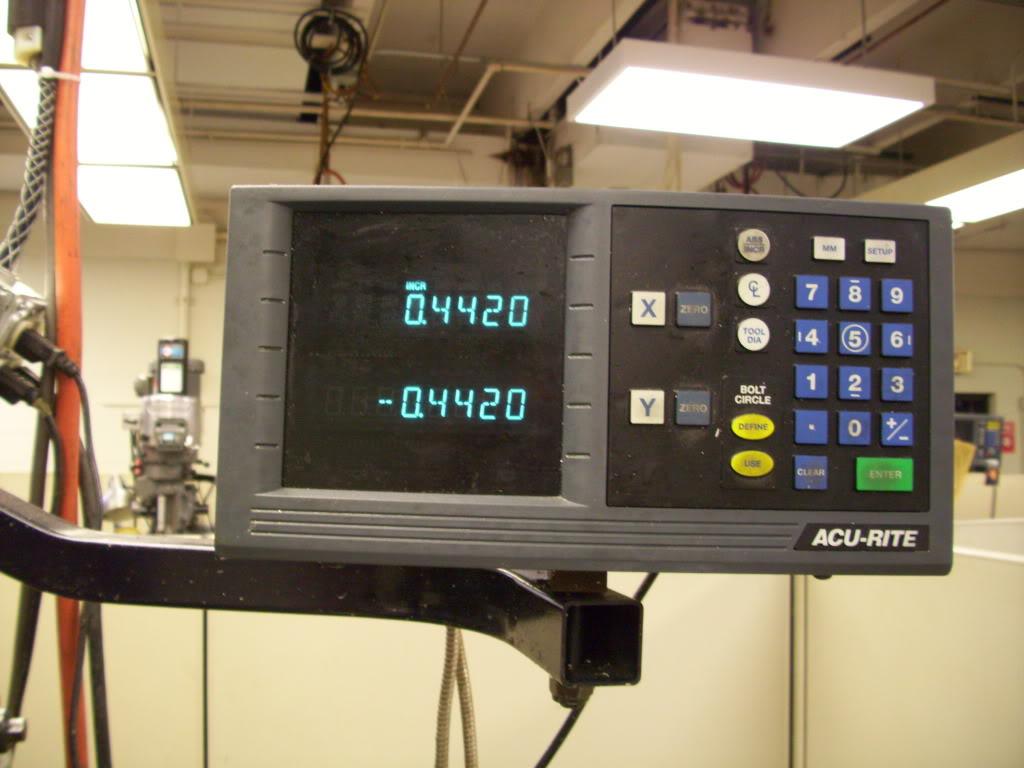
All done!
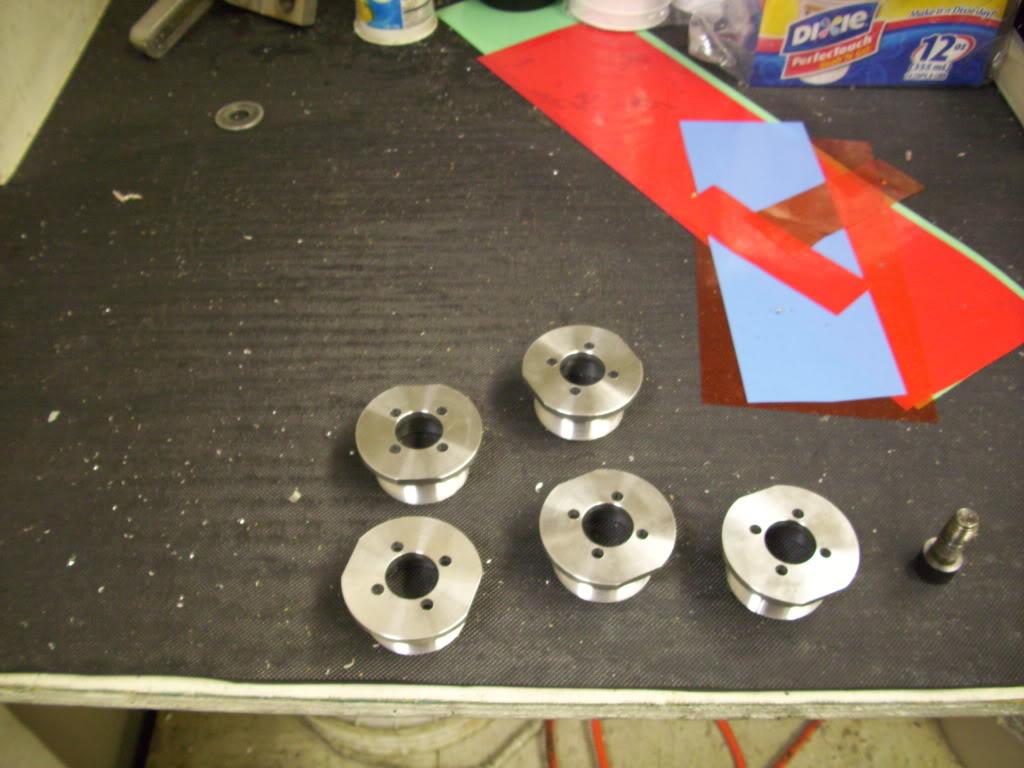
July 15, 2009
I made this little bracket to mount the proportioning valves where they will tap into the stock brake lines.
July 20, 2009
I decided that the coupler for the fuel tank needed barbs instead of just clamping onto smooth tubing. I could have bought some, but was in a hurry so I just machined them on my craptacular lathe.
Had my buddy weld them on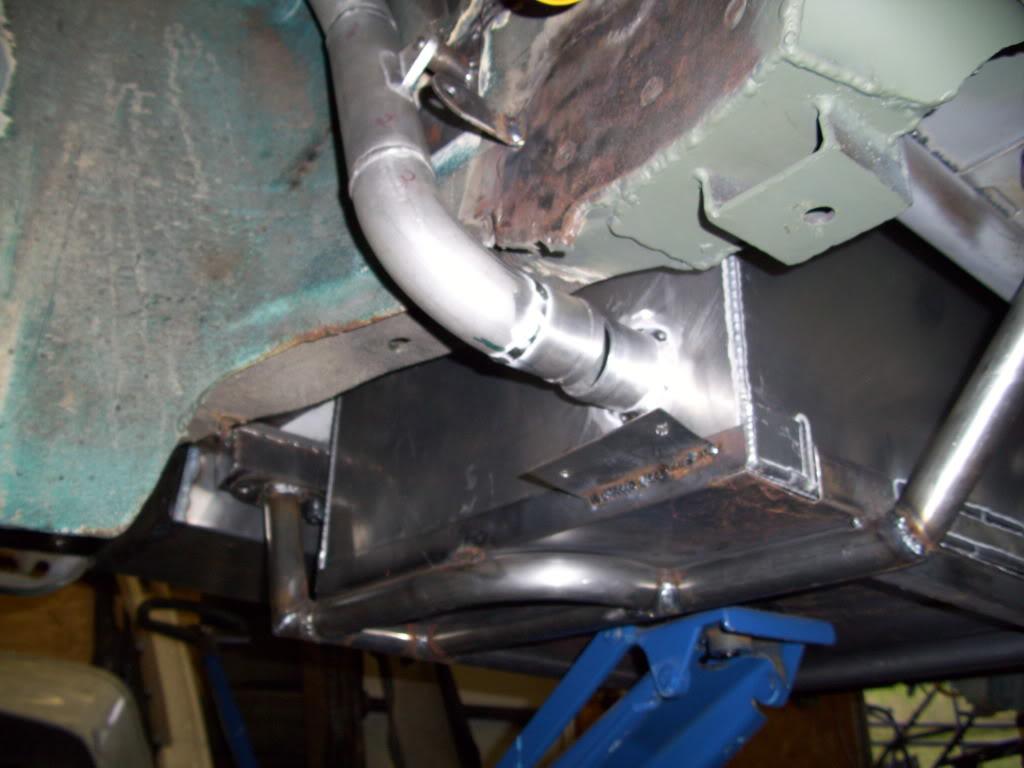
Look at all the parts piling up!
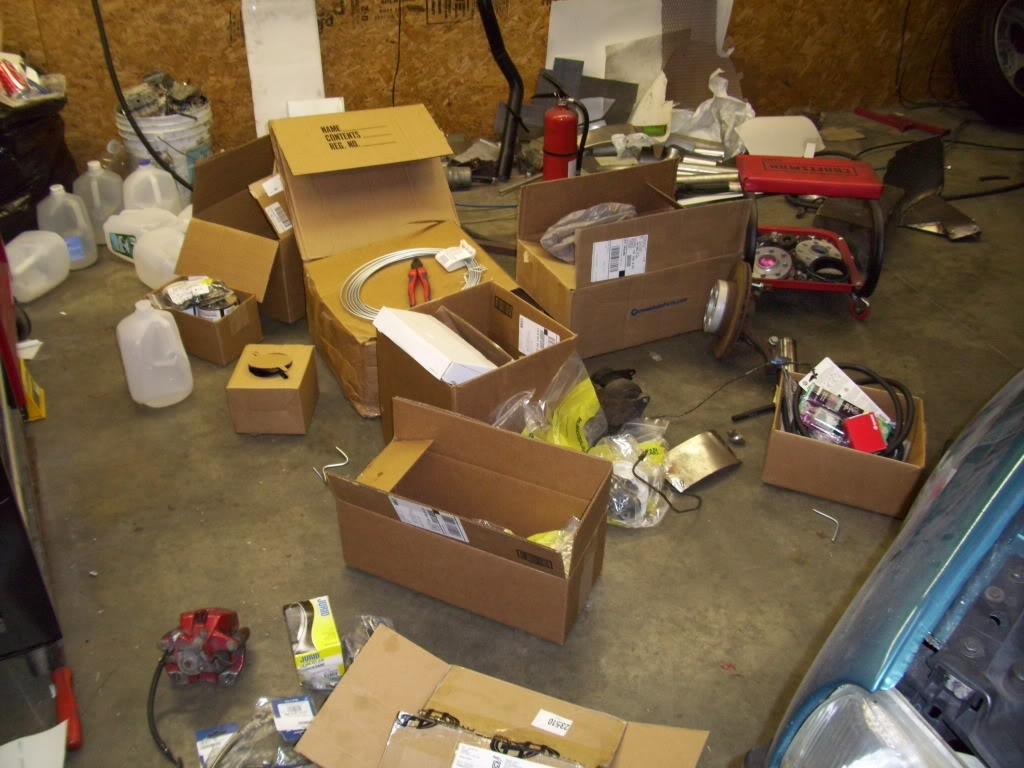
I ran into my first major f*ck up. Remember those real nice smooth bends in the fuel cell mounting bars? Well with the trunk floor in place, the tank couldn't be dropped without removing the subframe. I chopped them out and mitered in straight tubes for more clearance. I was not too happy.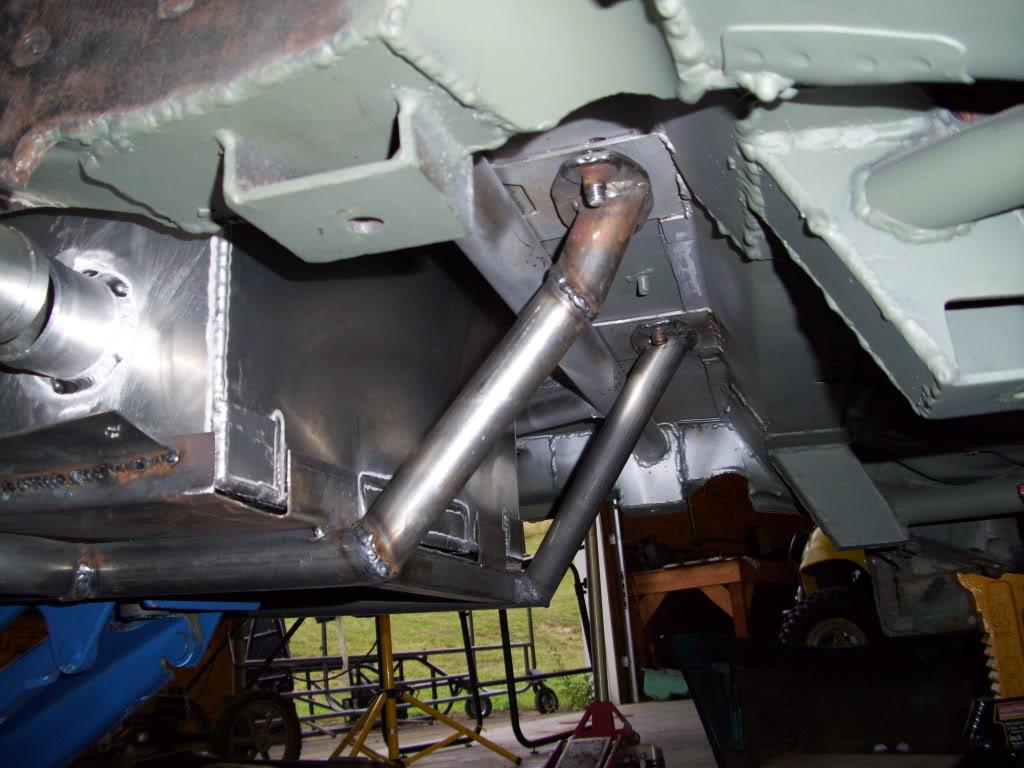
I also did a lot of finish welding on the floor and ground down some of the welds.
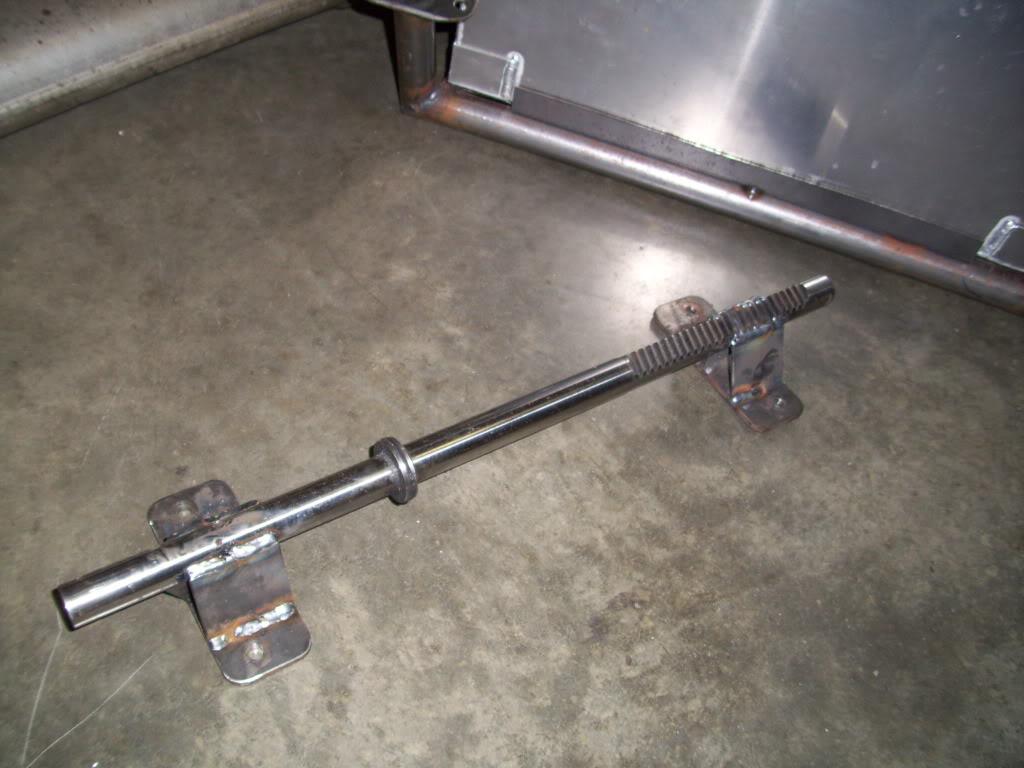
Since the rack was out and the welder was running, I took some time to reinforce the rack properly.
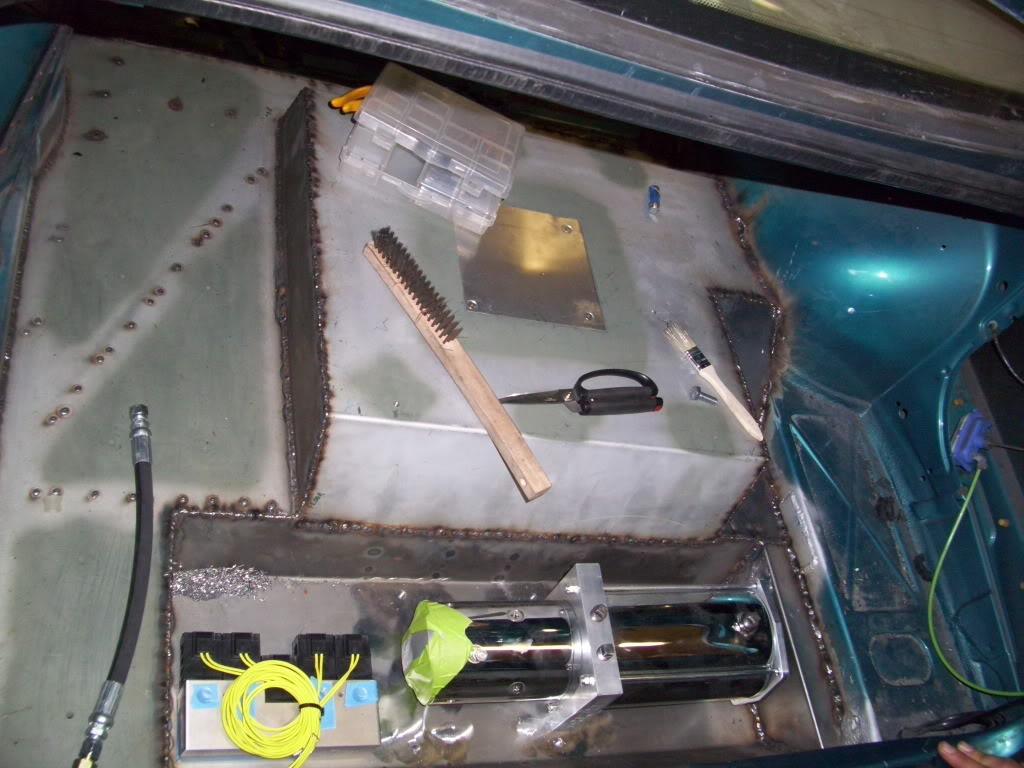
I also test-fit the hydraulic pump and valve manifold, trying to determine where exactly it would all mount. I had a few options using the mounts I had chosen.
July 21, 2009
I cut this little access hole for the vent hose to run up from the tank to the fillerneck.
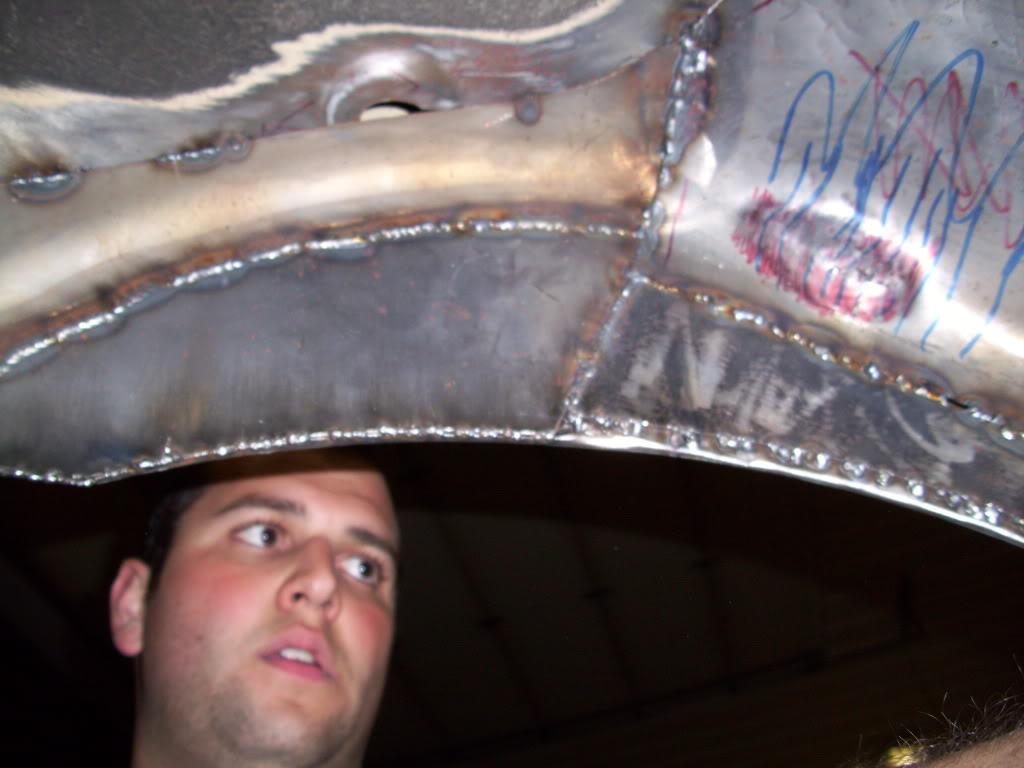
I did a lot of finish welding work on the rear wheel tubs, which had just been tacked up to this point. Yeah Myspace angle. I look so apathetic and tough.
July 27, 2009
I did some more finish welding on the tubs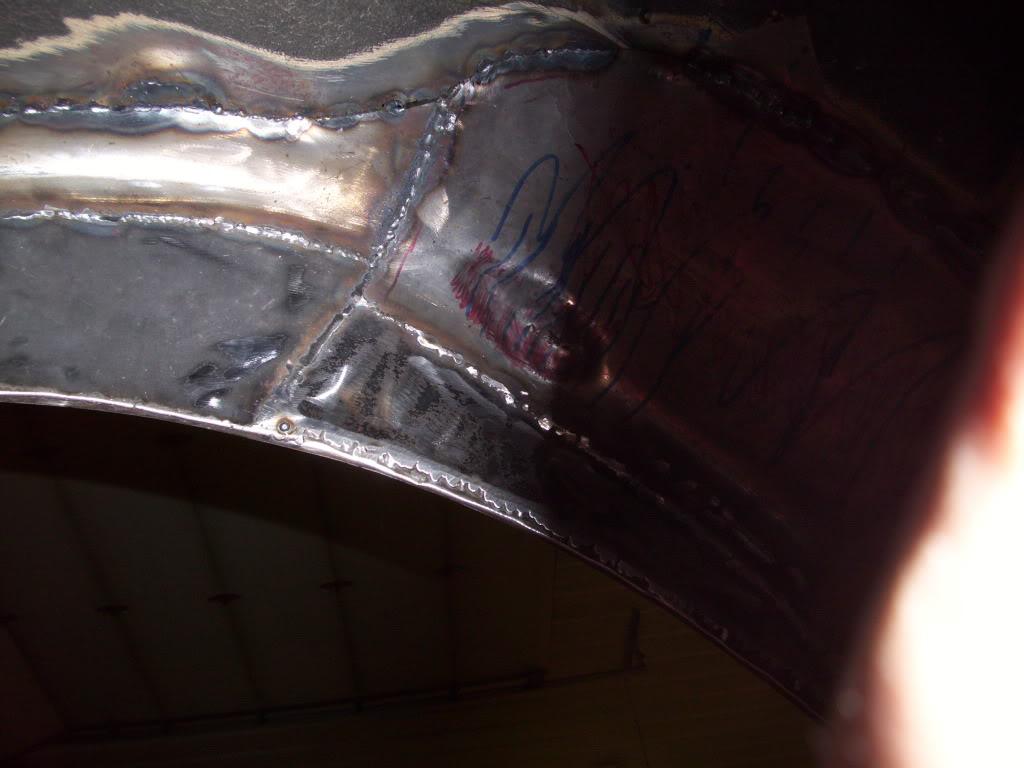
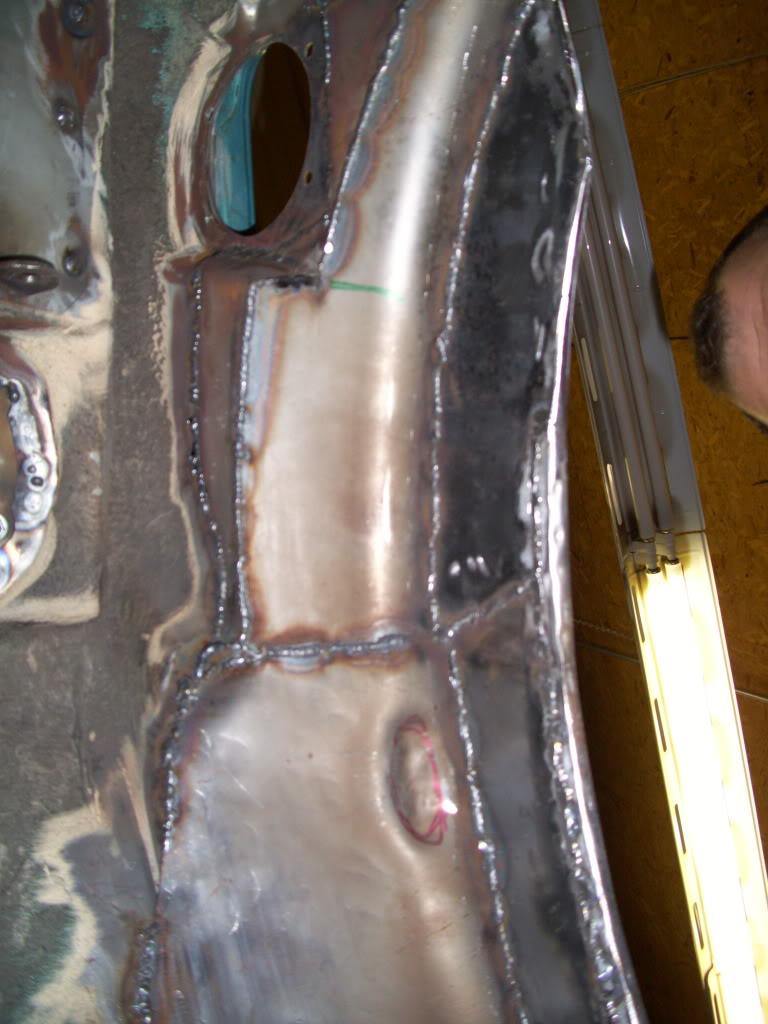
Note the little bump which is clearance for the door jambs. Every ounce of space was taken!
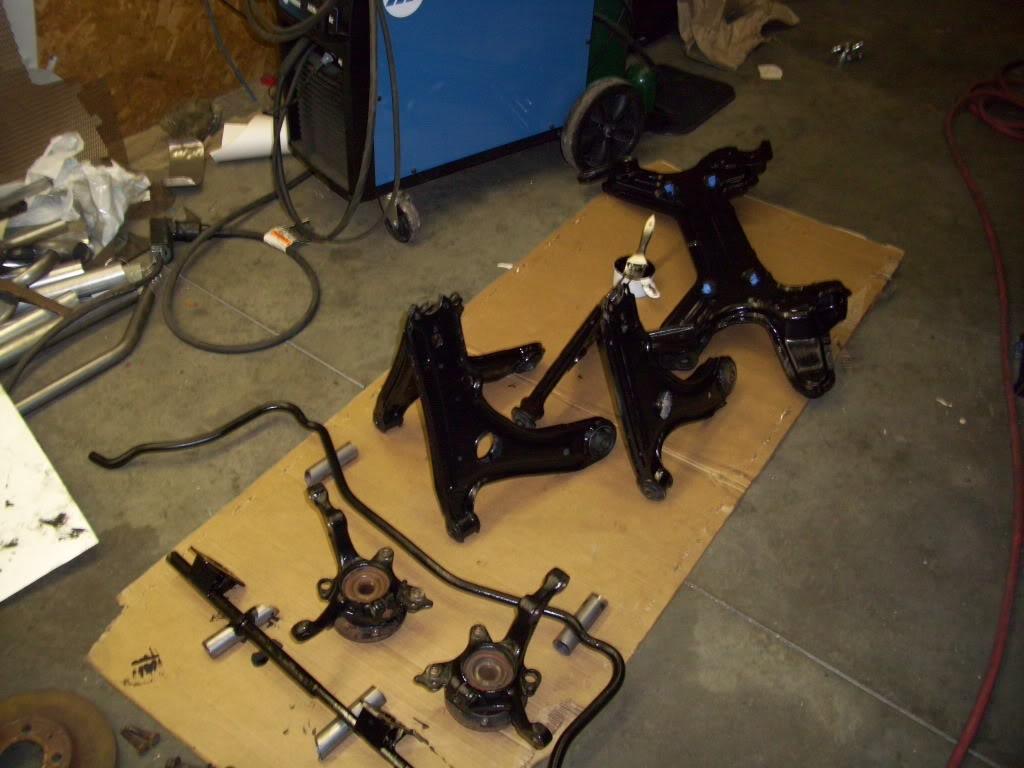
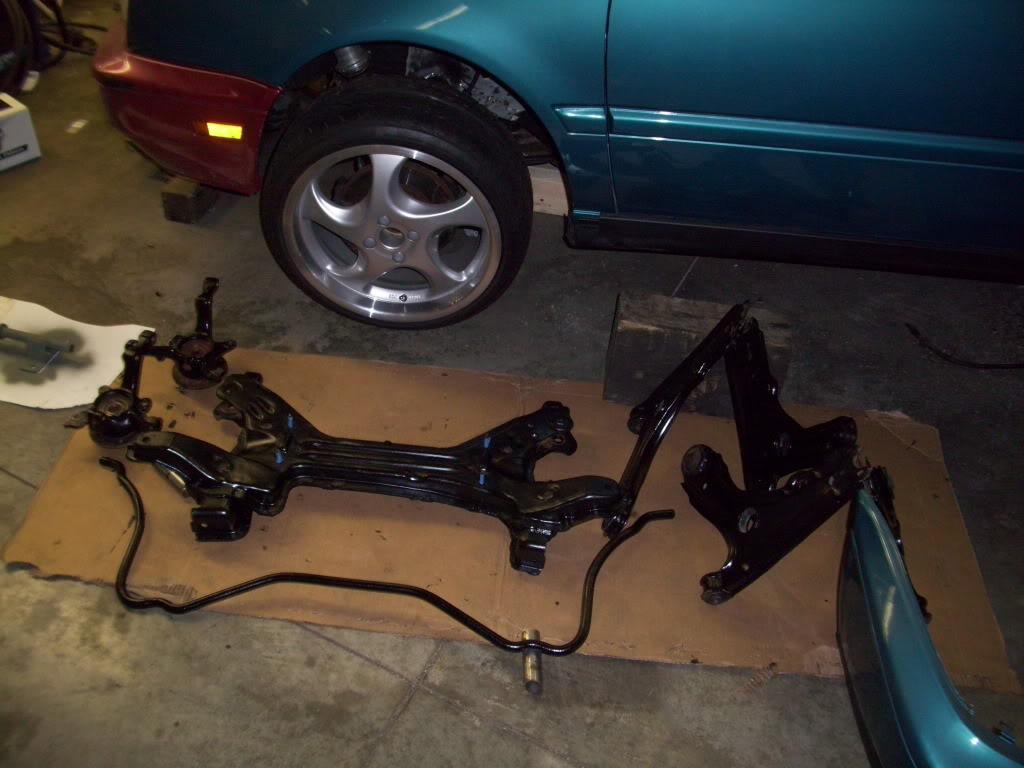
I pressure washed the suspension components and painted them with ChassisSaver semi-gloss black.
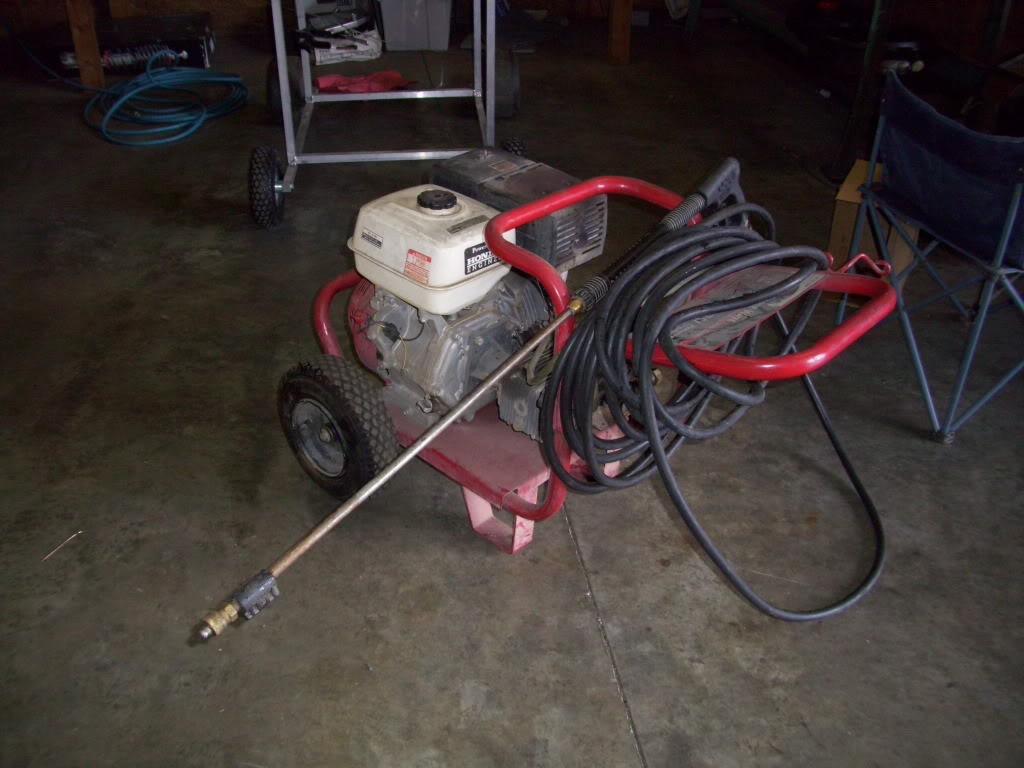
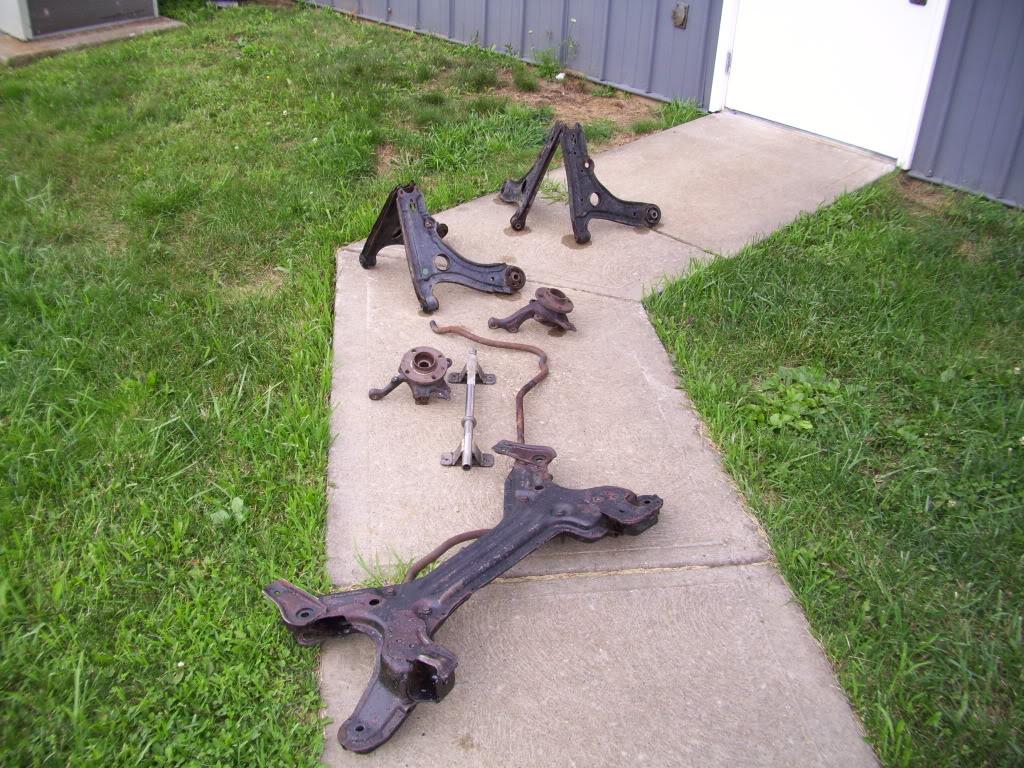
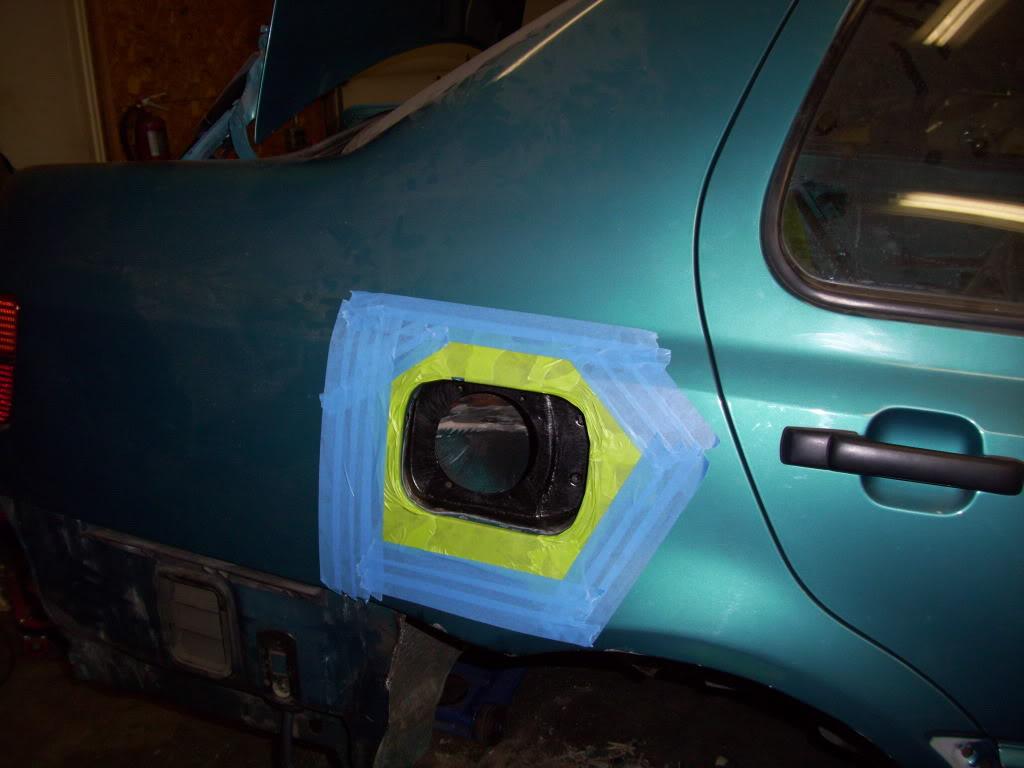
I also used the ChassisSaver (Similar to POR15) around the filler door, which still had some light traces of rust that I couldn't remove.
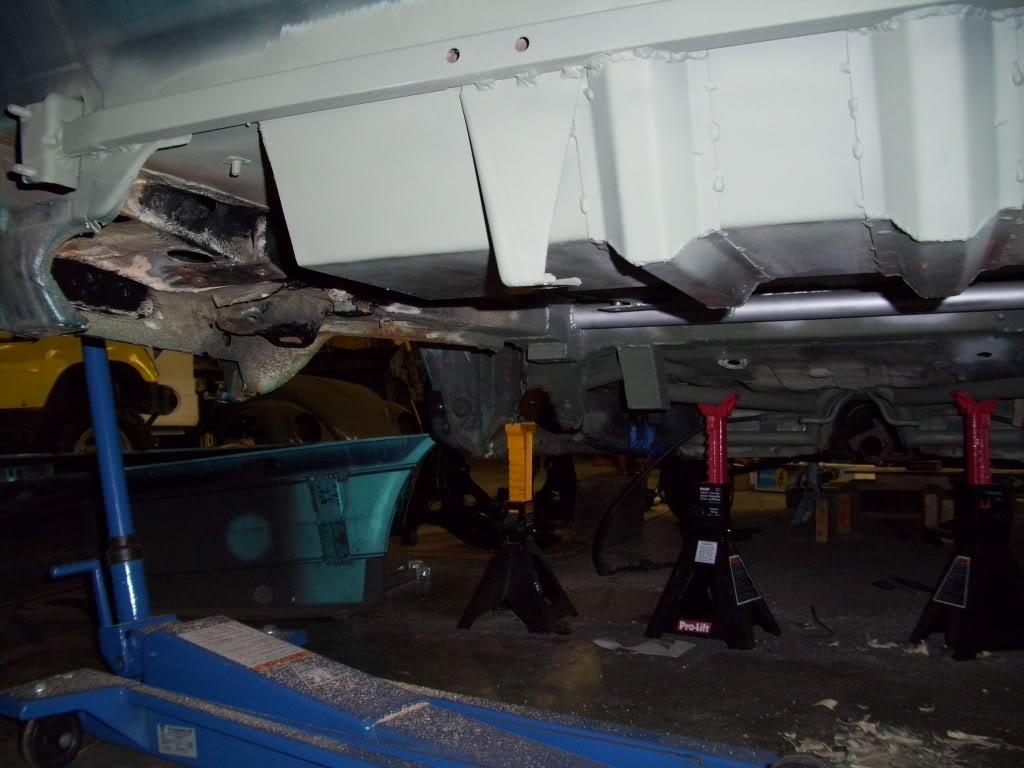
I cleaned and primered some parts of the trunk floor also
Ground down the welds and cleaned the rack

Nice build! Great photos and detail ????
Posted by Diggymart on 4/23/19 @ 12:52:48 PM