You must be logged in to rate content!
9 minute(s) of a 249 minute read
9-8-2010
Oil line is on it's way, along with the boost tubes (Thanks Billy @ knox), water outlet should be sitting at my local AdvancedNapaPepZone store waiting for me, and I just got a text message with this photo from Mike at Euro-Werks who has one of the final missing links for the final engine installation for me:
So, the next jobs are looking like:
Finish wiring research tonight/tomorrow.
Finish battery wiring tomorrow.
Test gauge cluster, engine bay wiring etc.
Install wateroutlet.
Plan / route / build waterlines. Might need to find ABA water distribution pipe.
Find air filter cone.
Prepare final engine swap parts - MAF, ICU etc.
Pull engine back out.
Install turbo.
Install / route / modify oil & water lines.
Pull AEB oil pan + pickup tube.
Install 16v oil pickup tube.
Mark 16v oil oil pan.
Drill, weld, paint and install 16v oil pan.
Hookup oil return line to 16v pan.
Install engine for final time.
Hookup alt and starter wiring.
Connect shifter cables.
Install radiator support, headlights etc.
Investigate boost tube placement - side mount or front mount.
Try to install mk4 aftermarket downpipe. Pray. See if it hits the firewall or not. Curse if it does.
Cut and weld downpipe if needed. If not, modify / fabricate rest of exhaust, or ignore it and angry neighbours.
Install MAF etc.
Install secondary fuel pump + filter.
Wire engine, fuel pump etc.
Install intake, boost tubes, intercooler. Just that easy.
Find axles that will fit. Might have some mk2 GTI 16v ones here that could work. Also have scirocco 8v ones that might work. Also have mk3 ones that might work. Might need 16v Scirocco ones. Might need to mix and match. Blah.
Install battery. Fill with petrol, not diesel.
Start car. Drive car.
9/12/10
Yesterday:
Went to the junkyard with Ben and pulled a ABA crank pulley for the alt. It's too wide (expected), need to get it shaved down. Also pulled ground wire cable and a couple of other small things.
Eric, Ben and I pulled the engine and:
fitted turbo.
fitted oil feedline, bent line, connected to oil filter housing.
Fitted water line, bent around to heater core outlet area * need to find if it's feed or return.
Fitted water return line that goes to block on AEB *need to find if it's feed or return.
..and refitted the engine, bolted it up for the final time.
Connected clutch slave. *need to remember how to bleed.
Connected shift linkage. Shifts into all gears okay, after bending battery tray slightly for clearance. *need to find out why so much slop and movement in cable shift linkage when in gear.
Later that night, I preped some more of the 6/8ga battery terminal wiring, and hooked up the battery to test things.
Today I spliced and heatshrinked the battery terminals.
Hooked up the battery.
Then I worked on the engine wiring. Having trouble getting a good +12v feed. Also stuggling to find the correct K-wire on the Polo wiring.
And I noticed something weird:
Yesterday, I think the taillights worked fine. Off when the headlight switch was off, on when I switched them on. Today, the taillights switch on with the ignition even if the headlight switch is off. The gauge cluster lights are on too, even when the headlights are off. And.. the guage spot lights are off all the time. I wonder if it's upset because the headlights are fully disconnected, and I'm imagining that they were off yesterday.
And... the blower motor worked when I first tested the car quickly about 3 weeks ago, now it doesn't. I didn't check the fuse, or trace anything, just weird that it suddenly stopped completly. There are several loose connectors around the fuse panel, so I'll need to make a note of them tomorrow and investigate.
Finally, I don't know if the Polo cluster has a CEL, err, light. If not, I found the wire that turns on the light that shows when the glow plugs are on, which lights when the wire is connected to ground. If the CEL light on a Passat is activated by connected to ground too, then I could always connect the glow plug one for now..
Right now, I'm sitting here trying to trace wires on the diagrams hoping to have a big day of wiring tomorrow. I also need to work out the cooling flow system, such as which outlet on the heatercore connects to where etc.
9/13/10
These are the orphan wires under the fuse panel. Might have been that way from the factory..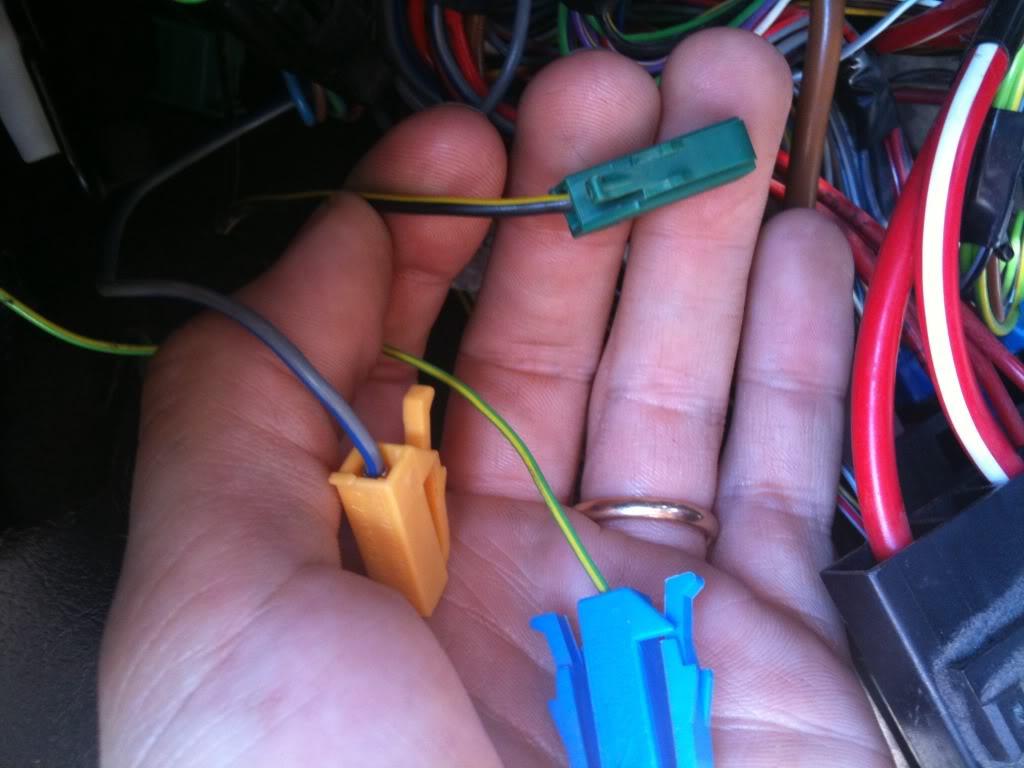
Temporarily hooked up the ECU for the first time, along with the k-line, so that I could scan the car to see what other things are going on.
Here's the first scan:
Monday,13,September,2010,14:19:25:51206
VCDS Version: Release 10.6.0
Data version: 20100630
Chassis Type: 6K - Seat Ibiza/Cordoba
Scan: 01 02 03 08 15 17 25 45 56
-------------------------------------------------------------------------------
Address 01: Engine Labels: 058-907-55x-AEBN.lbl
Part No: 8D0 907 557 P
Component: 1.8L R4/5VT MOTR AT D07
Coding: 06051
Shop #: WSC 00082
VCID: 3D7AE7201D19
3 Faults Found:
17953 - Throttle Valve Controller: Malfunction
P1545 - 35-00 - -
17952 - Angle Sensor 1 for Throttle Actuator (G187): Signal too Large
P1544 - 35-00 - -
16507 - Throttle Position Sensor (G69): Signal too High
P0123 - 35-00 - -
Readiness: 0110 0101
-------------------------------------------------------------------------------
Address 03: ABS Brakes Labels: 1J0-907-37x-ABS.lbl
Part No: 1J0 907 379 G
Component: ABS 20 IE CAN 0001
Coding: 06416
Shop #: WSC 11111
VCID: 356AFF002529
No fault code found.
-------------------------------------------------------------------------------
Address 15: Airbags Labels: 1J0-909-60x-VW3.lbl
Part No: 1J0 909 603 AC
Component: AIRBAG VW3 - V04
Coding: 16707
Shop #: WSC 06402
VCID: 6AD01C7C3C17
1 Fault Found:
00532 - Supply Voltage B+
07-10 - Signal too Low - Intermittent
End ---------------------------------------------------------------------
Todays Wiring Work
Here's how the wiring started: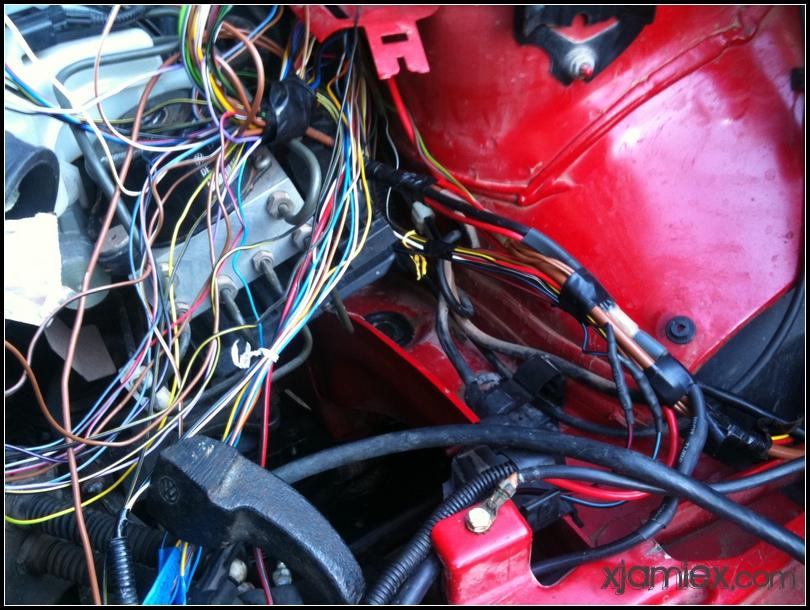
And how it ended up: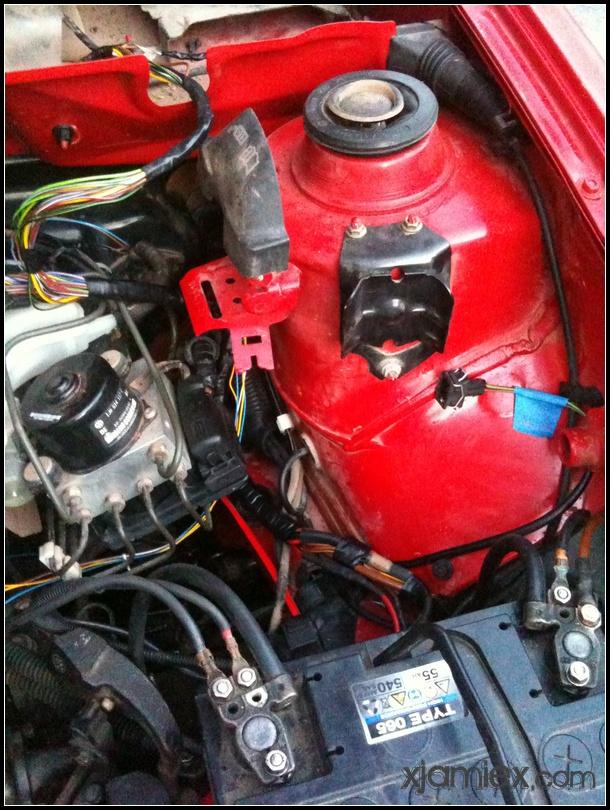
I have a old harness from a '80s VW Golf that I use for color matched wire repairs, and to harvest for connectors etc.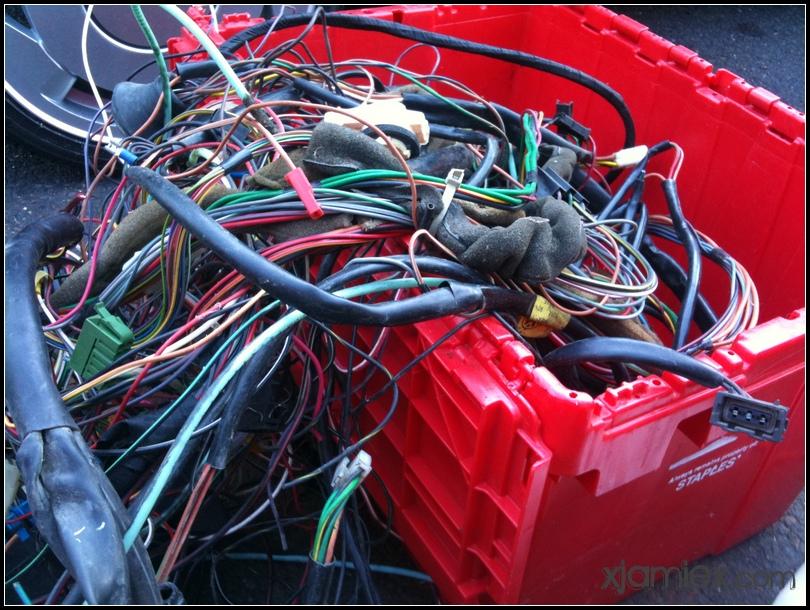
I'm using a belts and braces version of the approved VW wiring harness repair, which calls for crimping instead of soldering. The crimps use a normal Pepboys style butt connector, but they have a heatshrink with glue built in. Once you're done crimping, you heat it and the plastic melts around the wire and seals it from moisture/dirt. I'm then overkilling it by using normal heatshrink over it, especially on bigger wires or anything that might rub against a body panel.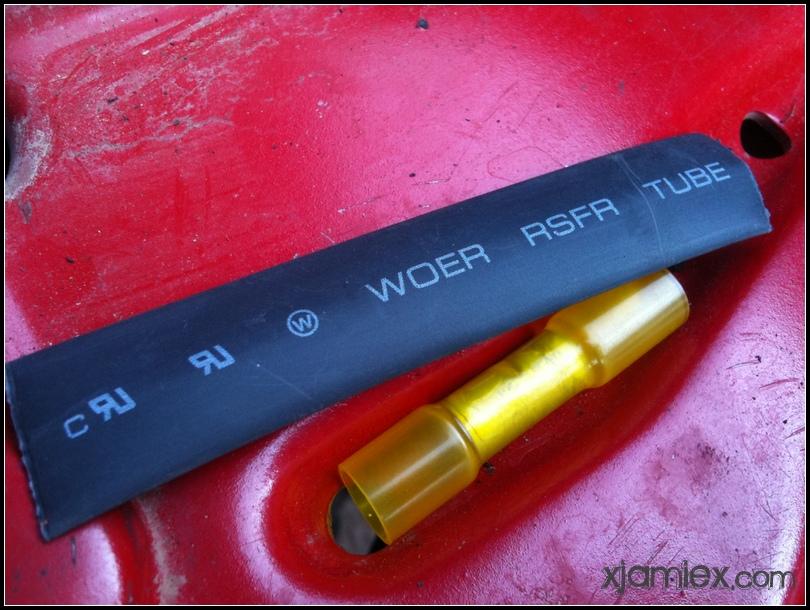
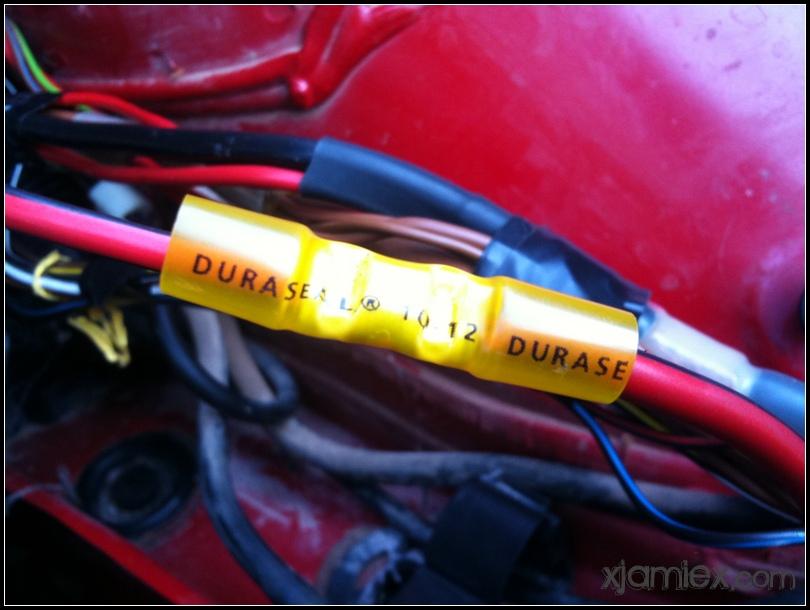
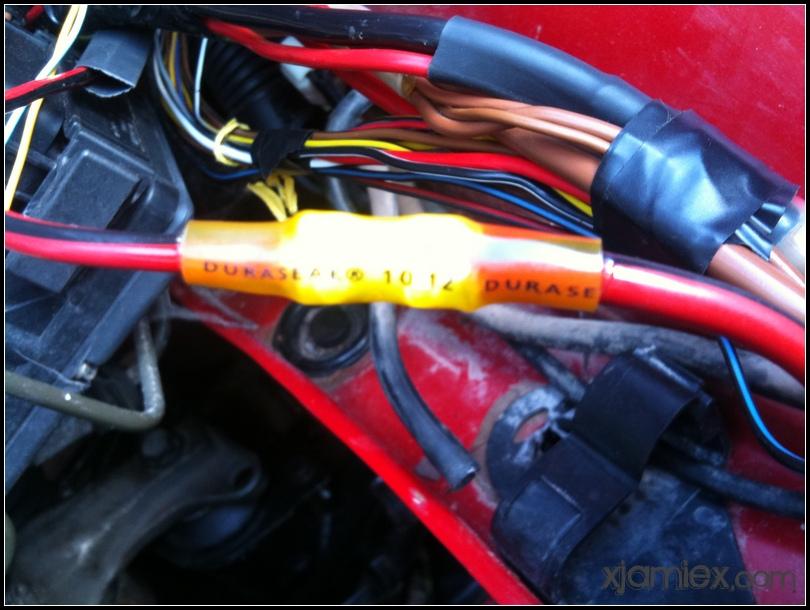
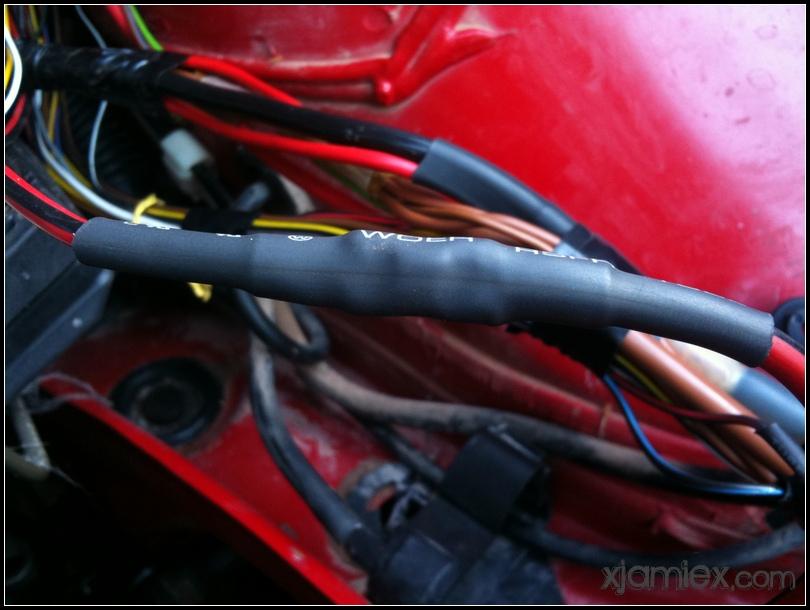
and... I've never settled on a perfect way to heat the heatshrink. Soldering iron can burn the really thin stuff (which i'm not using right now), and all of my heatguns are too intense for it, but it turns out that my wife has a heatgun for crafts (sewing, scrap booking, I have no idea..) which is perfect for the job, even though it does look feminine and rather like a 'massager', and is called the "Nicole Heat Tool".. it's working well though.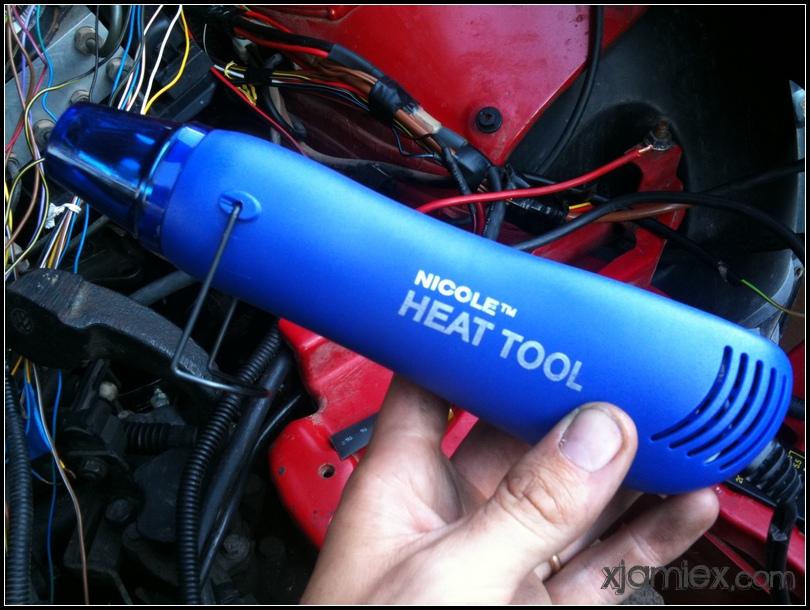
I got the battery terminals and starter wiring finished, the reverse light and the vehicle speed sensor repaired, washer pump etc all sorted out and a lot more of the body wiring either labelled, tidied or removed. As mentioned earlier today, I temporarily hooked up the ECU to make sure the wiring I was planning to use was correct and to test the ECU connection to the diagnosis port.
Once the sun started to set, I decided to test the horns that were now hooked up, and while the battery was plugged in again, the headlights.
I'm happily to report that the horns work great, and so do the headlights (or at least the drivers side, as that was the only one I connected: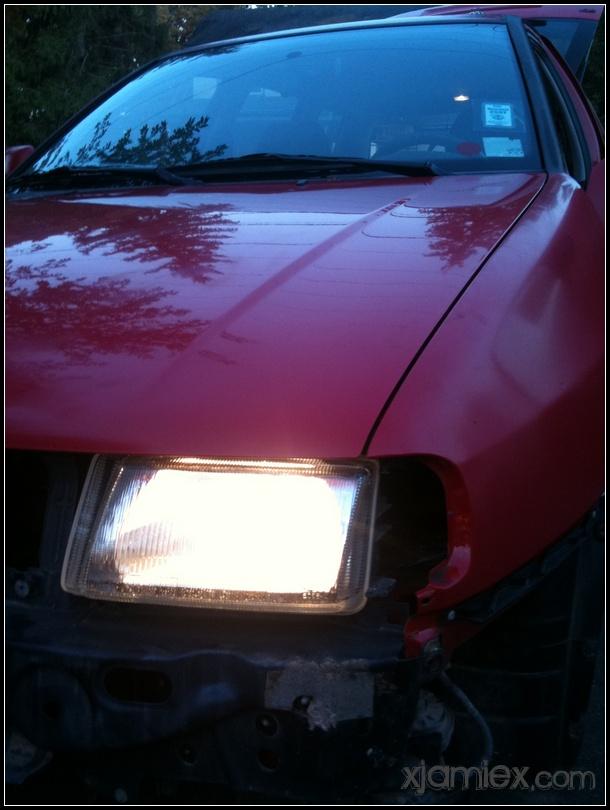
The car has adjustable height headlights. This is them set to low (lighting up the car they are facing):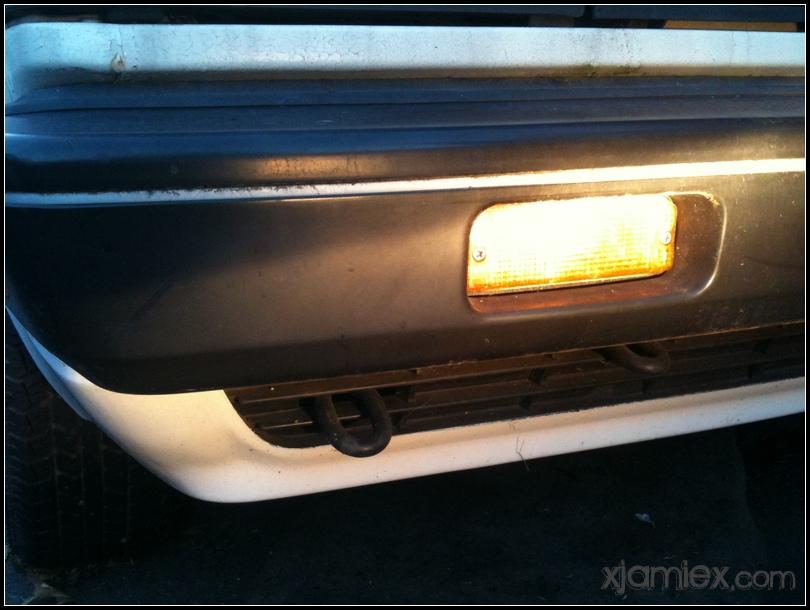
and set to high:
and for a job for tomorrow, and to continue the conversion with vdub2625, here's a random connection above the fusepanel. No labels, no easy to find in the wiring diagram.. has at least one empty spot that appears to have a connection to the track underneath, and one spot that doesn't..?
As it sits installed, under the rain tray, above the fuse panel: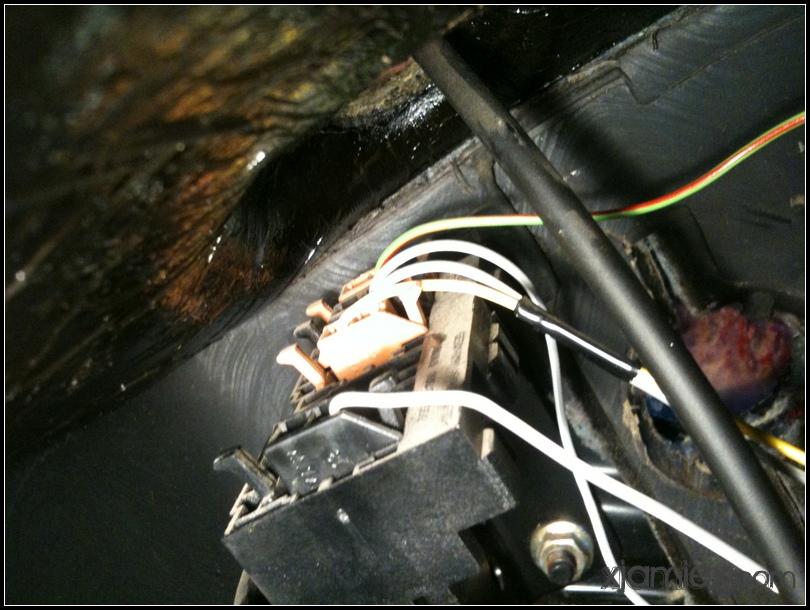
the back of it: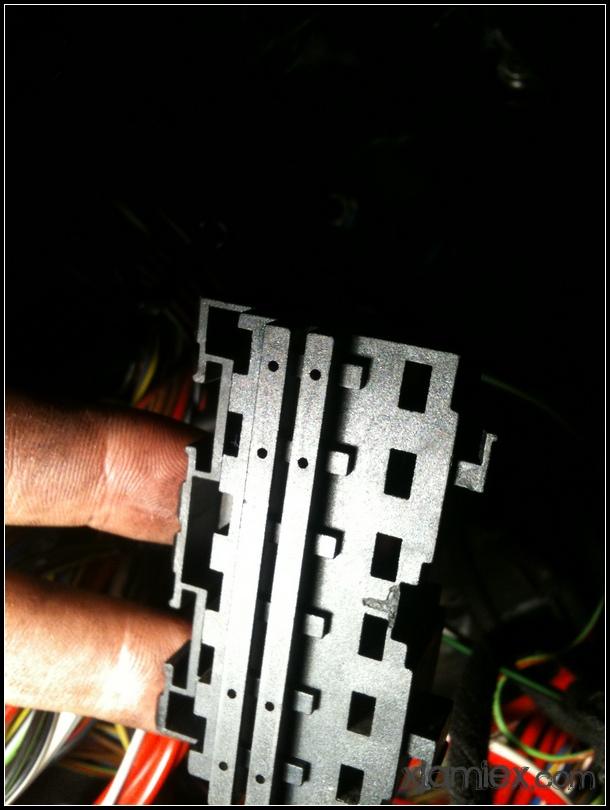
the front of it, when unclipped (sorry about the washed out colors):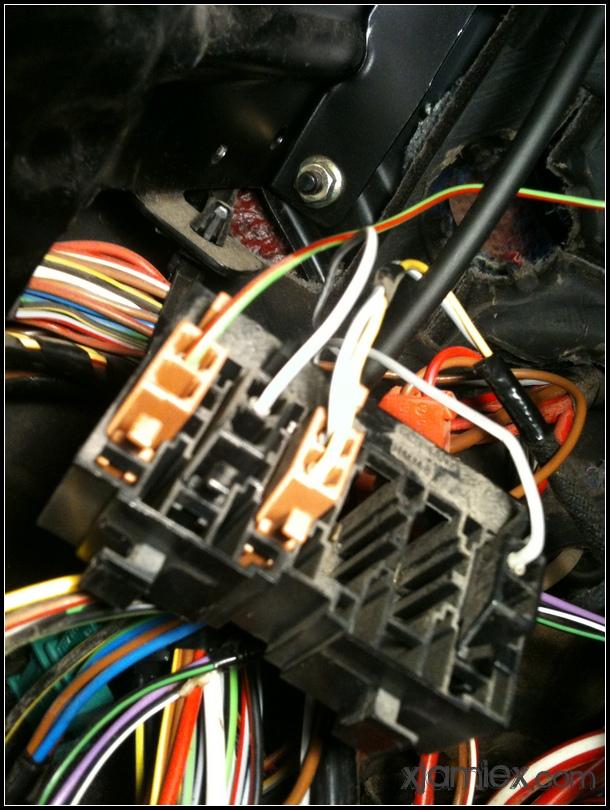
That's all for now.