You must be logged in to rate content!
10 minute(s) of a 270 minute read
4-26-2010
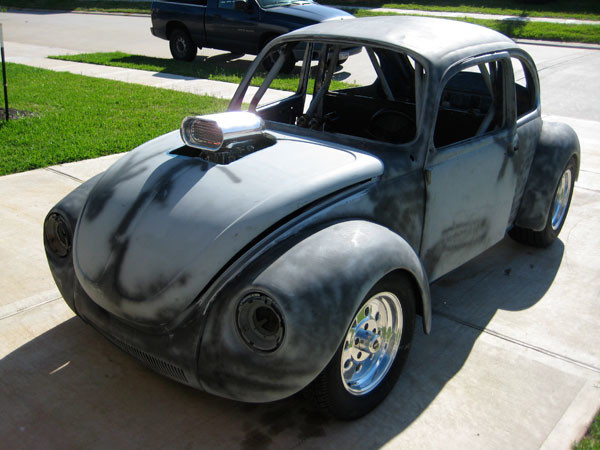
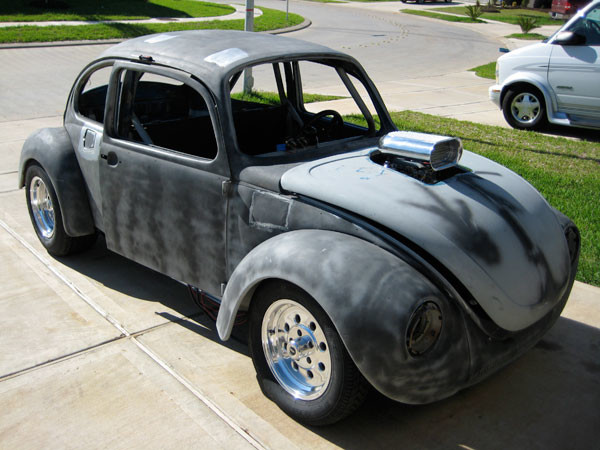
Pics of the new wheels.
It was beautiful out today so I did a walk around video.
I got lots done. Doesn't feel like it cause I had to run back and forth and there's really not a lot to show for the time I put in.
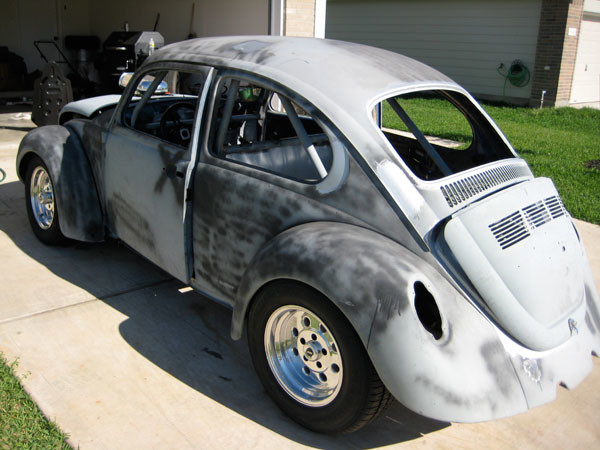
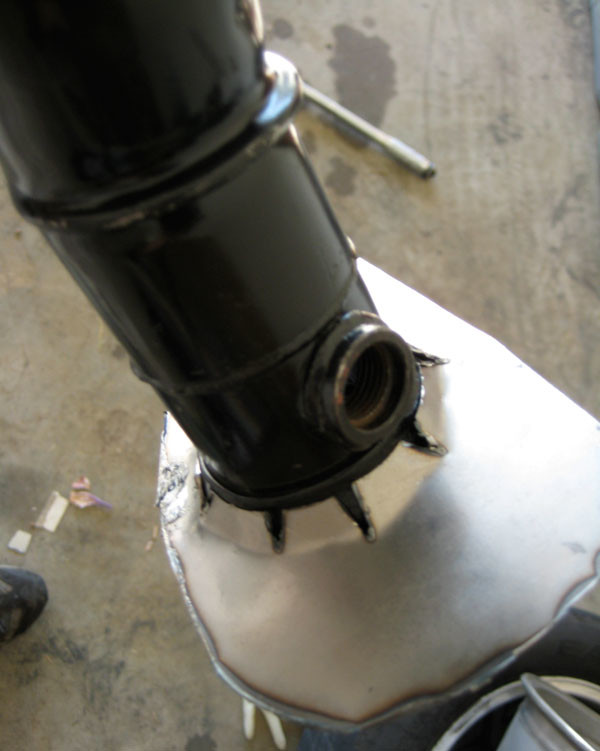
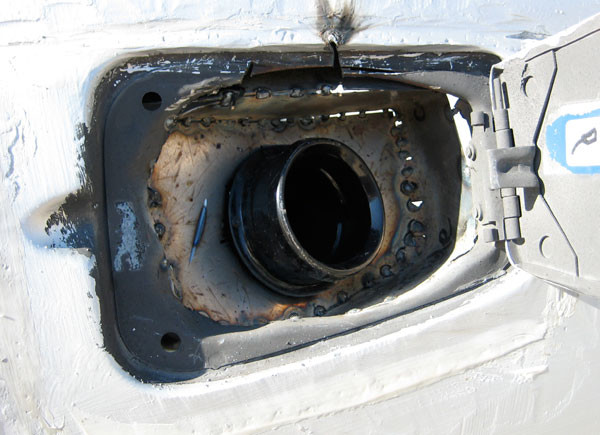
Got the new wheels rockin', obviously, did a quick eye ball alignment cause it was more obvious it was our with the new wheels, sealed seams in engine bay, sealed seams under car, inside wheel wells, ground out and redid a couple weld on the cage just to be sure, bolted in the gas tank, got some deck lid stand off's to see how they'd fit and work, fabricated and sealed up the tank filler neck holder, and test drove the car.

I couldn't resist test driving the car some with the new wheels and having the stand-offs. Great day for that. I made a little video.
Was still lots of fun, scary, and I got the chance to break the engine in a little and to try out the 2" carb spacer. Didn't seem to affect the torque a whole lot. Still lights em up easy peasy.
5-4-2010
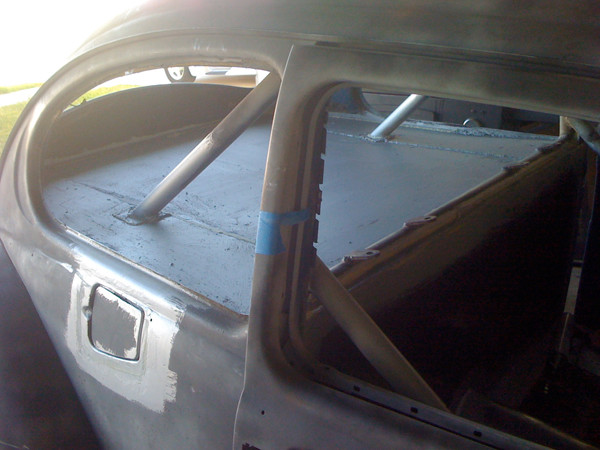
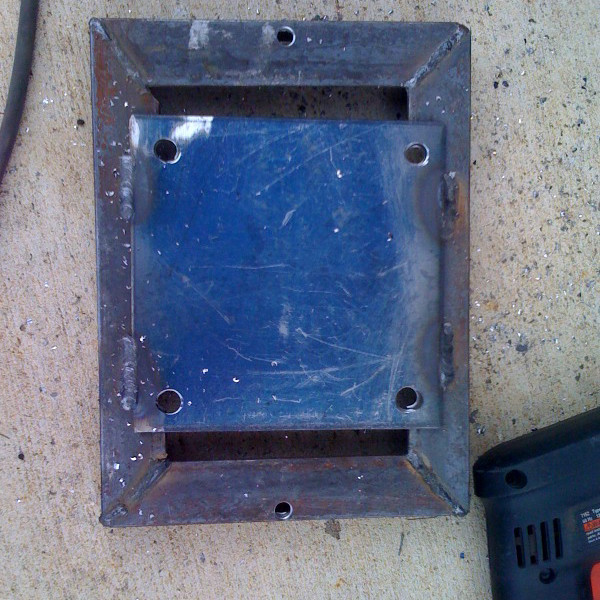
A shot of the rear "fire wall". Did some more welding last night, but ran out of wire. Gotta slowly weld it up so it doesn't warp to crap.

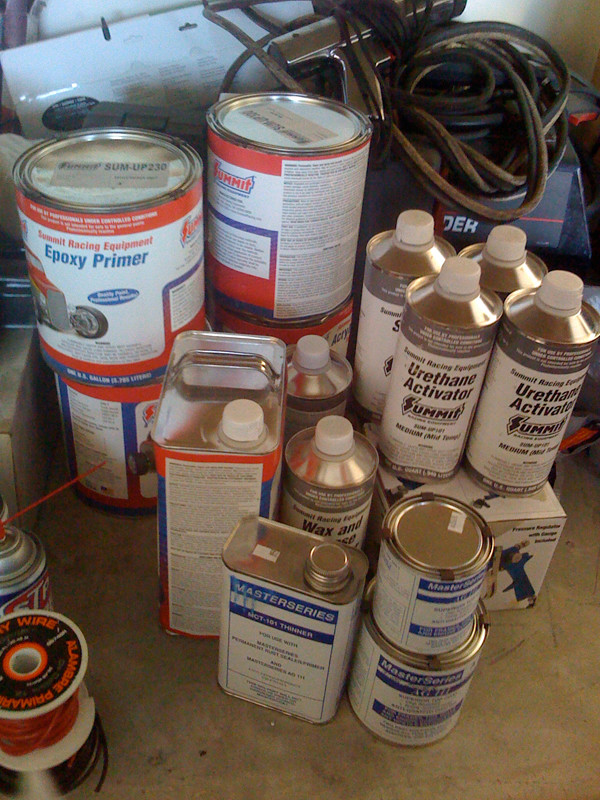
On a side note, here's my collection of "Summit Racing's" line of paint and tools to get the job done. Being I'm on a tight budget, I plan to paint the car myself and having heard good things about it, I decided to give it a try. For $400, what can go wrong painting your first car. ;D
I have...
- Sanding blocks
- Rolls of various grit of sand paper, some where in there.
- HVLP gun
- Epoxy primer (galon)
- 2K high build primer (galon)
- Hugger Orange, single stage (galon)
- Black, single stage (galon)
- High Solids clear coat (galon)
The rest is their activators, hardeners, surface wash, and wax / grease remover.
I also have a quart of Master Series chassis coating for the engine bay and for under the deck lid.
Here's a recent article about the paint. If that chick can do it, I can. And yes, the chick in the picture actually painted the car. Read the article. ;D
http://www.popularhotrodding.com/tec...ing_paint.html

5-5-2010
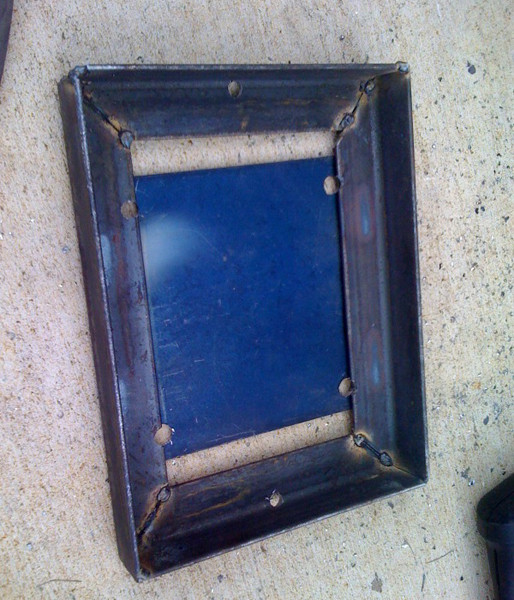
Finished welding the rear firewall, sealed it up, and put down a coat of Master Series. I just need to put down another coat of Master Series to make sure it's all nice and sealed.
Now I just need to button up little things and it'll be ready for body work and paint!
5-7-2010
LOL, thanks!
Still plugging away trying to get it ready for body work. Guess I kinda already started some of the body work. ;D
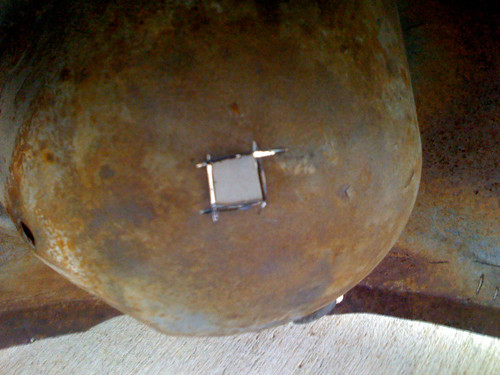
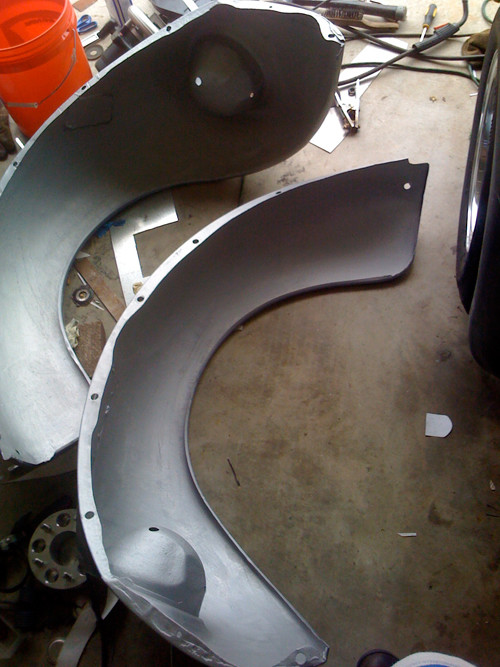
Replaced the rust holes in the driver's side fender. The passenger was good to go. They both needed a little hammer and dolly work, which I took care of, to get the "bolt lip" straight.
Cut bad areas out.
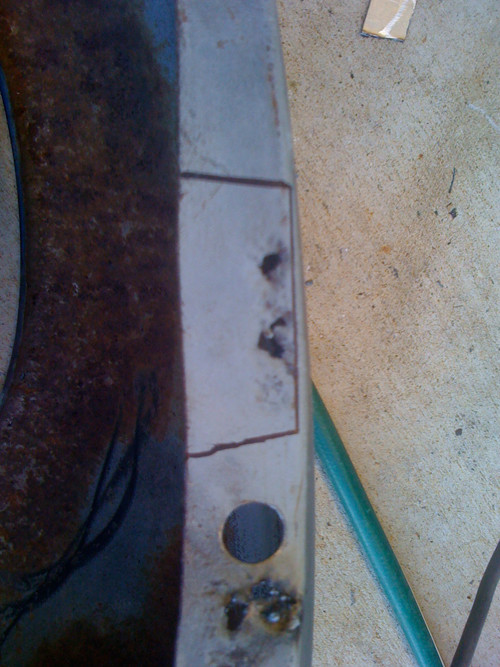
Welded in new steel and ground down the welds.

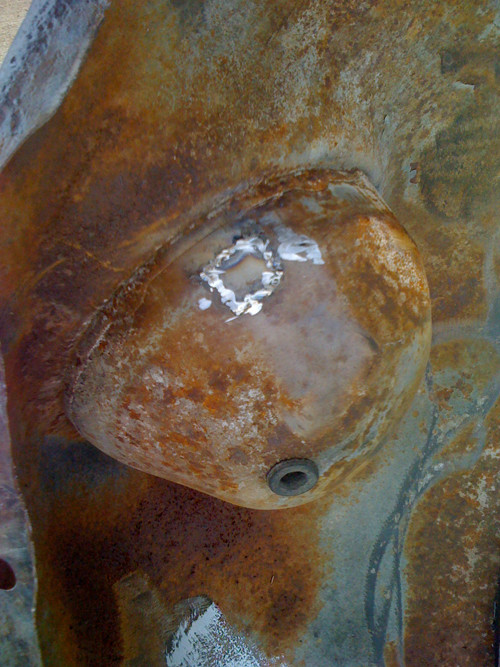
Coated the inner fender with Master Series. Need to get more cause I ran out.
More after the weekend as I...
Finish the hood
Make an alternator bracket
Make a radiator hose hanger
And make a battery tray to relocate it in the back.
Hopefully I can get all that done this weekend.
5-10-2010
Al....most....there...
I got a couple milestone's accomplished. My time was cut short this Saturday when my Husky decided to dig his way out of the backyard. I drove all over the neighborhood looking for him just to come home to a muddy Husky right across from my house. I don't know where the mud was at. All the dirt around is dry. I guess that's what Huskies do best. Find mud...and escape.
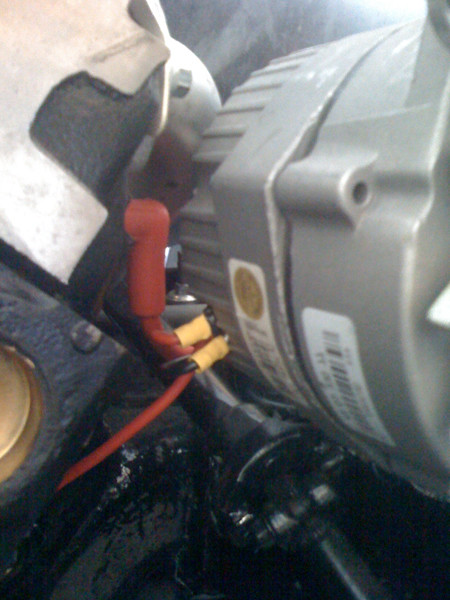
Any who, I finally made up my mind and made an alternator bracket which I think came out really well. I basically took the low mount bracket I bought and cut it up and welded it to the frame. Easier said than done. The alternator does have full range of adjustment, so I'm happy. Now I just have to buy another belt.


I also bought a new more manageable size battery and relocated it to the back. I made an frame try for it. The plan was to bolt it in above the exhaust on the passenger side to help distribute weight, but that didn't happen. I wound up welding the tray in on the driver's side for ease of access.
I'm also having to rewire / reroute everything through the interior of the car. No biggie, but just another thing I have to add to my list of TTD before I can get to body work.
Just a couple more things to do before the next stage.
- Rewire engine
- Finish the hood
I'll post pics of the battery setup soon.
5-17-2010
Got a few things done this weekend. Really just testing things out and tweaking (checking valve lash, snugged up the headers / collectors and played with the fan in push / pull mode) to make sure everything is is running right before I move onto paint. All seems well except the alternator.
I wired up my alternator and took the car for a test drive. After driving around the neighborhood for about an hour, I parked the car in the garage, turned it off, and attempted to start it back up. Well, it was very slow to turn over and it wouldn't fire back up. I did let the car sit and cool for about 15 minutes and it fired back up. ???
So I'm not sure if the battery was drained some and the alternator isn't wired correctly or if there's another reason the engine wouldn't turn over while at operating temp, which has never been a case. I did have my electric fan running the whole time and it draws some amps.
Could someone look over how I wired my alternator and tell me if it's correct or what to do so it is correct?
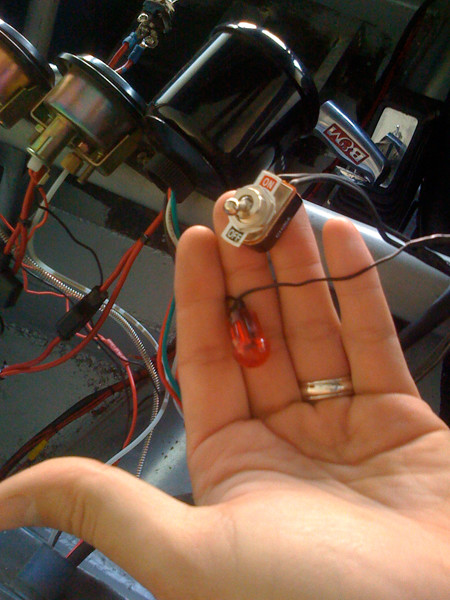
I have about a 4 gauge wire going from the battery post on the alternator to the battery post on the starter. I have a 2 gauge ground wire going to the frame. On the #2 post, the plug to the right, I have going to the battery post on the alternator, but I have a switch between it to turn it on and off. I have a 12v indicator light, which has yet to work, hooked up to the number 1 post and is ground to the body.
The dummy light has never worked and I'm not quite sure the alternator is charging. Any help would be appreciated.

I now have all the parts I need to finish the car, just about. There's a couple small things I'll have to get off a parts car.
Rebel Wiring Harness

Parts from Bap/Geon.
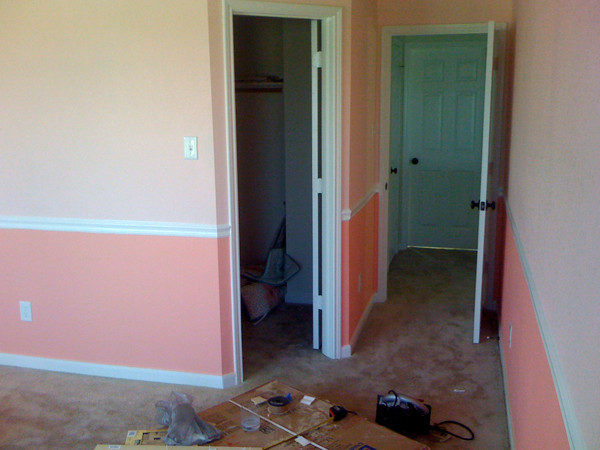
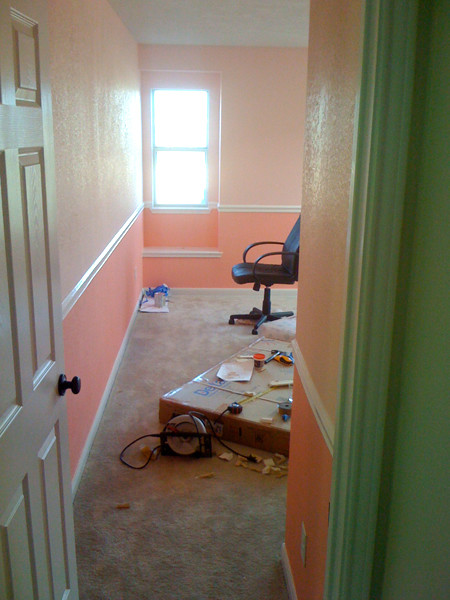
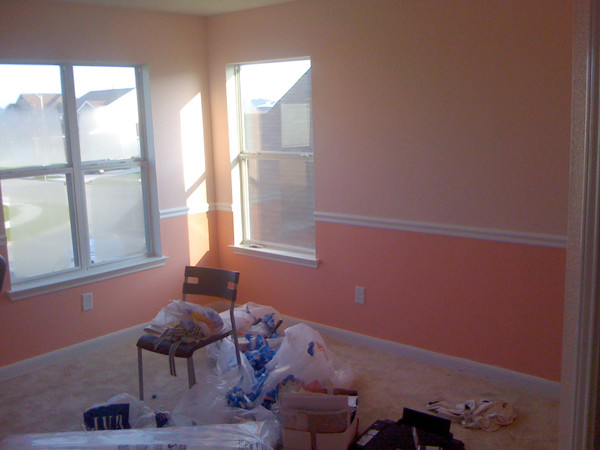
Here's a project that's been taking some time away from the bug, but one I've enjoyed doing. I've been working on finished up painting the nursery and installing chair railing. I just need to touch up the paint. Still got to put together the crib, hang curtains, and whatnot.

Impressive!
Posted by Diggymart on 4/27/20 @ 2:40:48 PM