You must be logged in to rate content!
12 minute(s) of a 270 minute read
2-9-2010
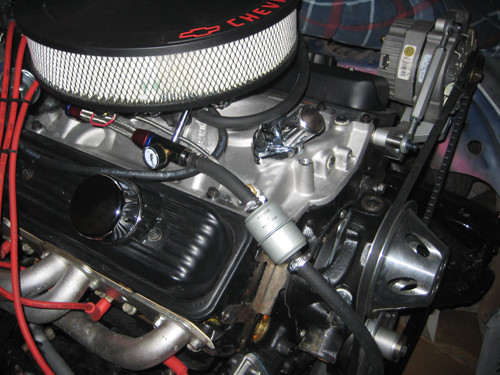
I got the engine started! Here's a video. It's dark, but you can hear it. Sounds nice.
2-13-2010
I should've posted some of these updates as I went along but I've been busy with work and trying to finish this thing before the baby comes.
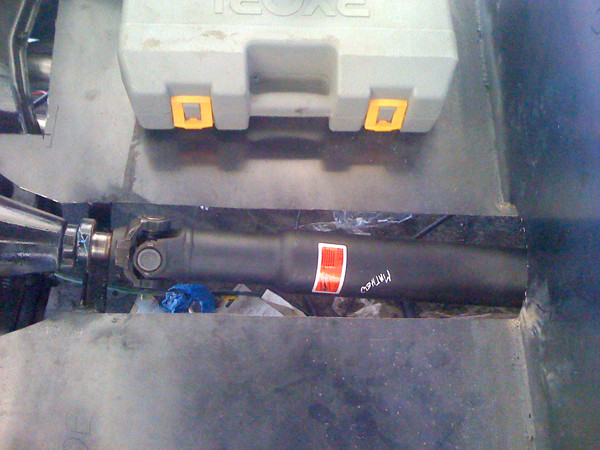
Today, I took the driveshaft to the shop and they're shortening and balancing it. I should have it Monday.
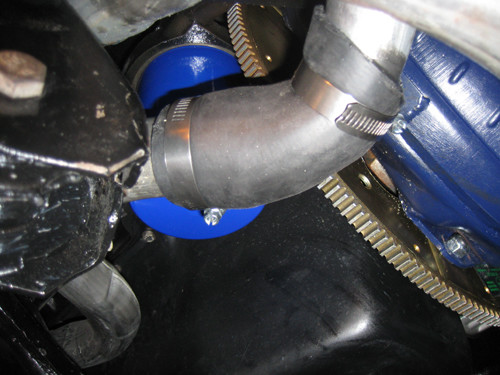
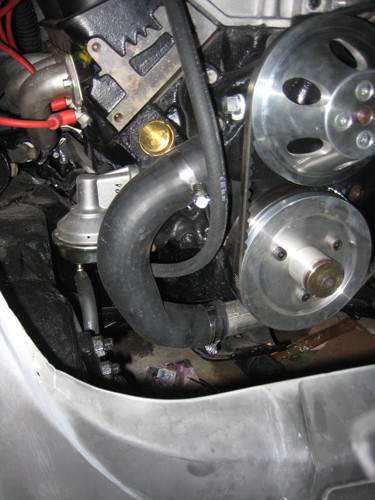
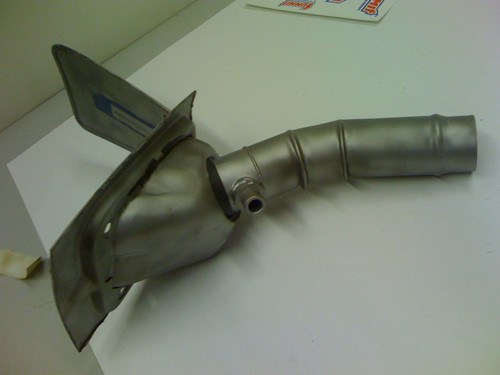
Lately, it's been a bunch of little things that have been keeping me busy and getting the engine going. That in itself has brought up some problems. The rear radiator setup wasn't getting water to the engine so the engine ran hot, 205º-230º, a couple of times during break-in. Not having any success using the rear radiator setup, I temporarily set the radiator up front on a bucket just so I could get the engine broken in at a normal operating temperature, 160º-180º.
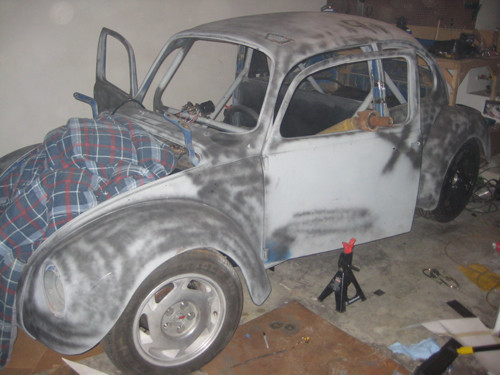
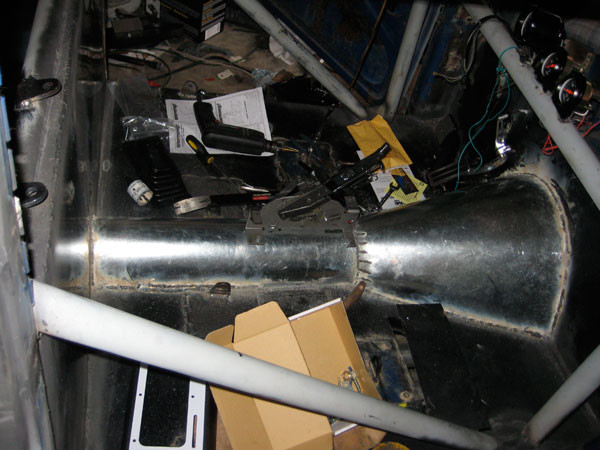
Here are some of things that have been keeping me busy. These photos are in a random order. Some are self-explanatory.
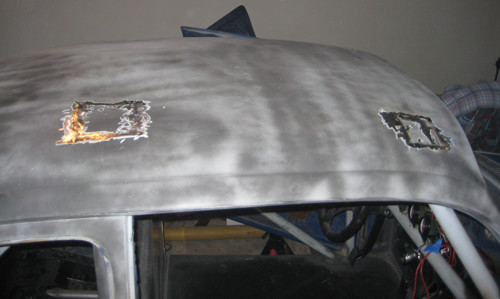
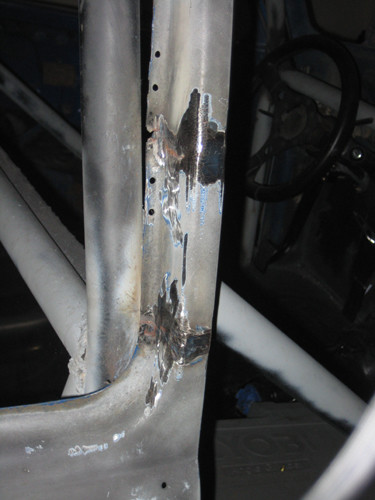
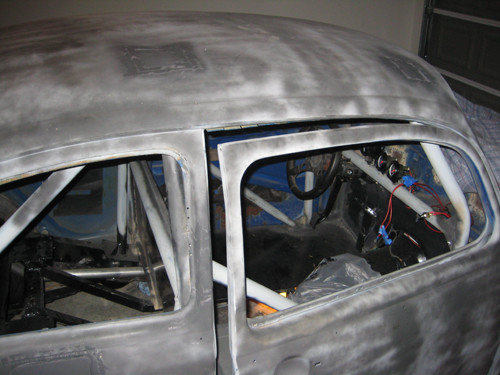
I finished welding up the other side of the roof and b-pillar.
I had to buy another fuel rail because the one that came with the carb poured gas on the engine. My own fault. I cracked the line tightening it while on the carb.
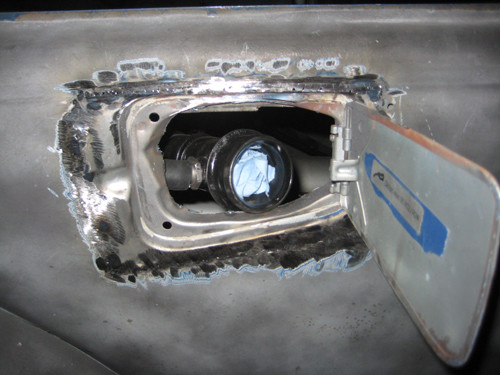
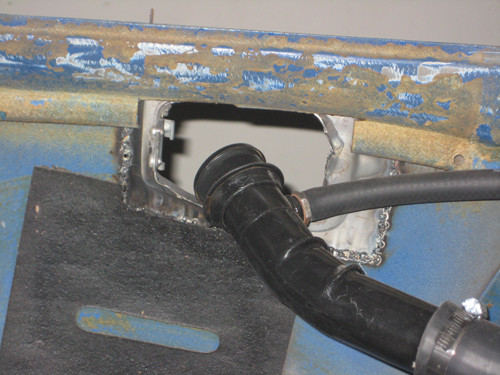
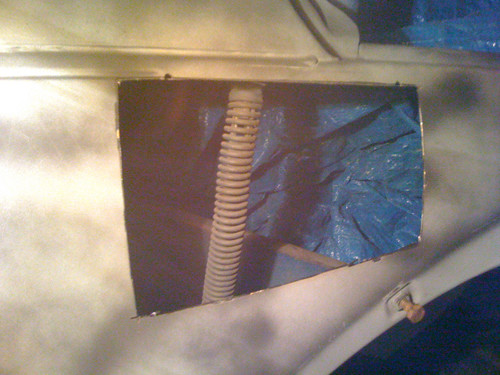
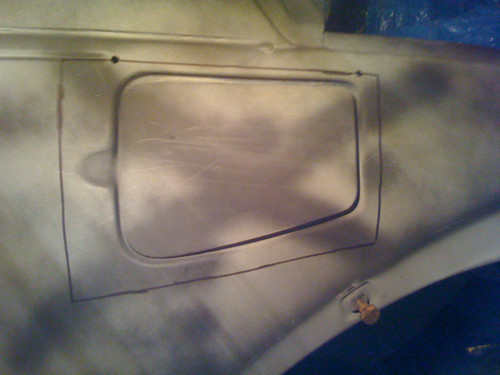
Got the gas tank filler hose hooked up. If you haven't notice, I also relocated the door to the back.

I also got rid of the 3" lowering blocks in the back because; a, I don't want to take the chance of the auto zone blocks breaking under the torque of the 383, and b, the rear of the car was about an 1" - 1 1/2" lower than the front. Now the car looks a little more balance and I have a little breathing room if I were ever to corner hard I wouldn't have to worry about the tires rubbing.
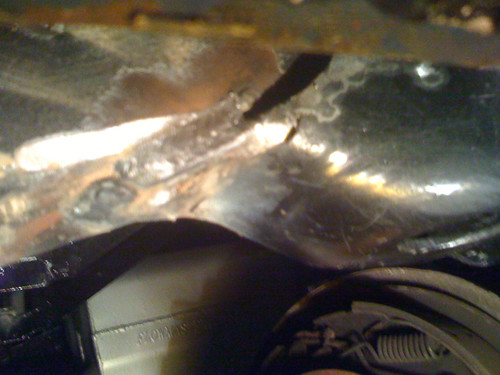
One of the welded seems in the system was leaking up at the top. Seems they blew through the tubing. I tried welding up the hole, but the water from the tubing, what was left after it all leaked out, was steaming out the hole preventing me from making a good sealing weld. So I had to cut it out and use some radiator hose to fix it. When I was cutting out the section I just so happened to poke a hole in the oil filter. Needless to say I drained all the oil, put in a new filter and filled her up with fresh oil. Which was OK cause I planned to change the oil after the break-in, which is when this happened.
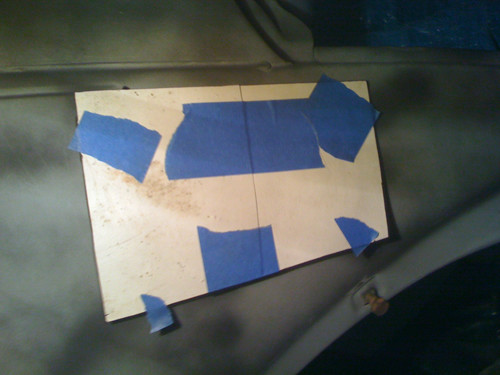
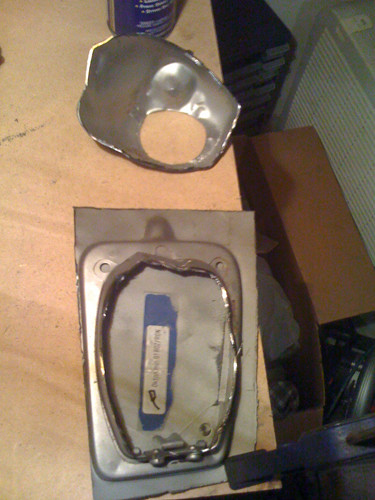
Here's the relocated fuel door all welded up and ground.
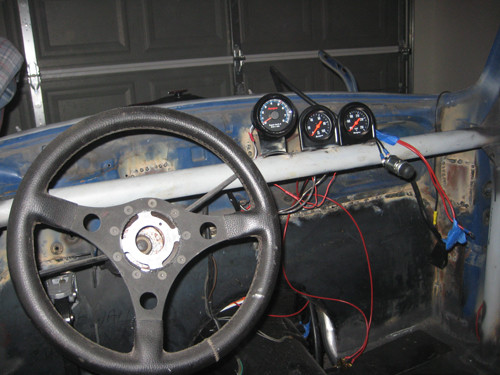
Here's my bare bones gauge setup, which I'll keep as is until I finish the car. Later once everything is done I'll upgrade them. Gotta cut back on certain areas. The manual cheap-o gauges will do. I have a tach, oil, and water temp. All I need. I welded the gauges to the dash bar. When I go to paint the car they'll be painted with the interior. You'll also notice a couple switches hanging and a push button starter. I plan to make a simple small panel, which will be below the gauges, to install those in.
I still need to make a support for the filler neck. The original setup point it the other direction.
2-13-2010
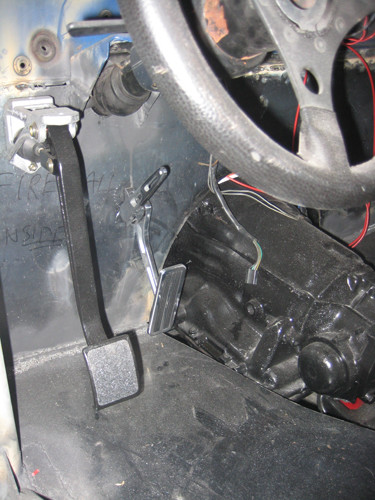
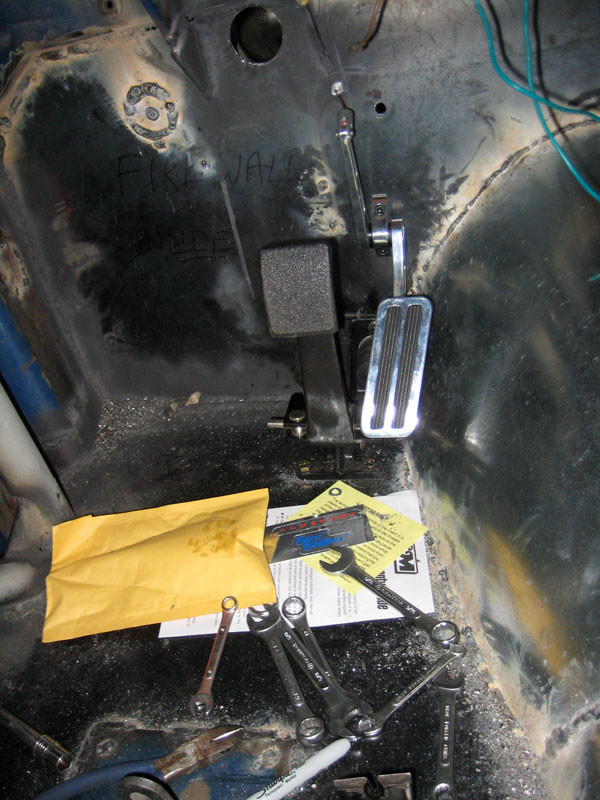
Here's the gas pedal and brake mocked up. I have plenty of room, but I should've gave myself more leg room by moving the main hope about 6" back. Oh well, it's a race car and not a cross country cruiser.
You can see I cut out part of the metal tubing to fit in a radiator hose so I could put the radiator up front. So I had to buy another radiator hose to reconnect the rear radiator system. Still attempting to get it to work. IT'S GOT TO...
Primed the bare metal surfaces after grinding to keep from rusting.
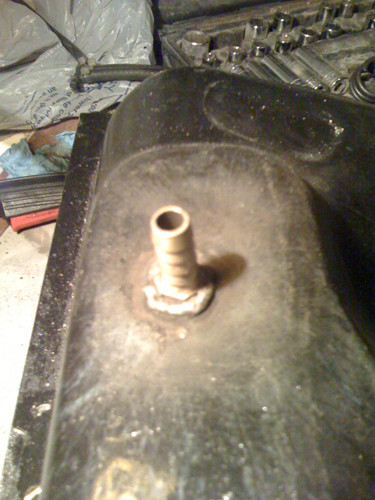
Drill a hole and welded in a larger 3/8" fuel outlet. I welded up the stock outlet.
I decided to weld on the front shackle mounts. That was a pain reaching now that the body doesn't come off. Here you can see the paint ground away to bare metal and the mounts tacked in.
This is a picture of how I shimmed the leaf springs. The springs I have are a 1/4" narrower than the S10 springs, so I had to shim the front and the back of each side with three grade 8 washers. Worked like a champ.


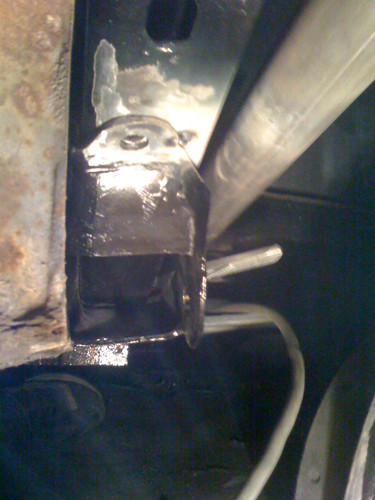
Here you can see the front leaf spring mount welded up. I welded up the front, back and the sides. Not to mention I filled in the holes too. So they should be in there nice and strong.
I'll have more soon. Hopefully this thing will be driving by next update.
2-15-2010
Got the driveshaft shortened and balanced at a place called Northwest Drive Train Service. A nice group of guys, quick turn around, and fairly low pricing (plug, over). Now I can finally finish the flooring. I'm going to get the brake lines ran and hook up the steering so I can move this thing around under it's own power.
More soon...hopefully of this thing driving.
2-23-2010
Not necessarily the most exciting update, but another thing checked off the TTD list.
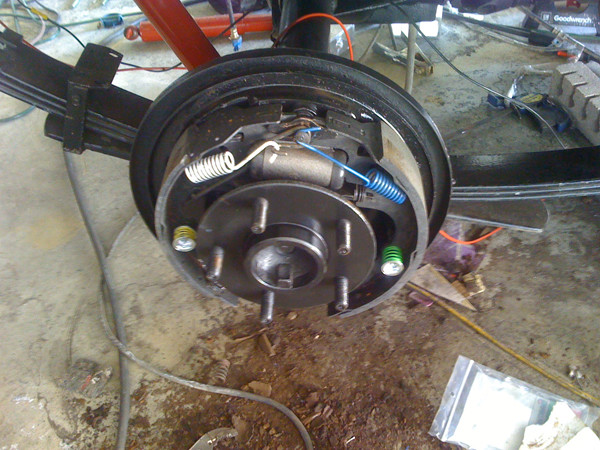
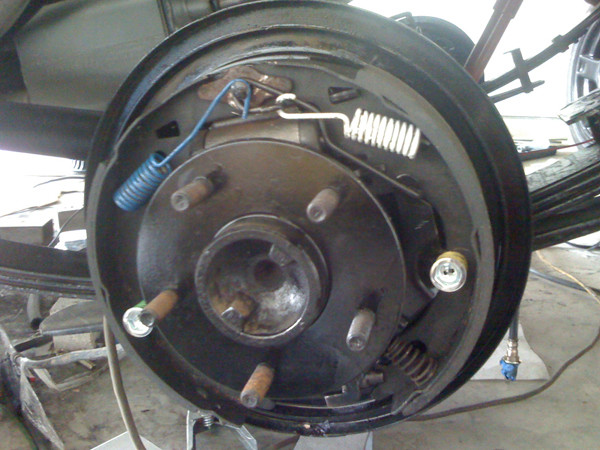
Rebuilt the drum brakes. Sandblasted the small parts, installed new spring kit, wheel cylinders, and shoes. The drums were turned long ago by the guy I bought my frame from. Look at that mess the passenger side made.
2-24-2010
Man, it was brought to my attention I put the shoes on backwards on the passenger rear wheel. Haha. Oh well, gotta redo it.
The other night I welded in my 5-point harness mounting tabs. They're 1/4" thick and I used the 6"x 6"x 1/8" plates supplied with my roll cage, that I didn't use because it's welded to the frame, to reinforce where I mounted them. Should be plenty strong considering the flooring is 14 gauge and everything is all welded into one another (body, flooring, cage, frame, etc.).
3-8-2010
Still pluggin' away! Got a few things accomplished this weekend.
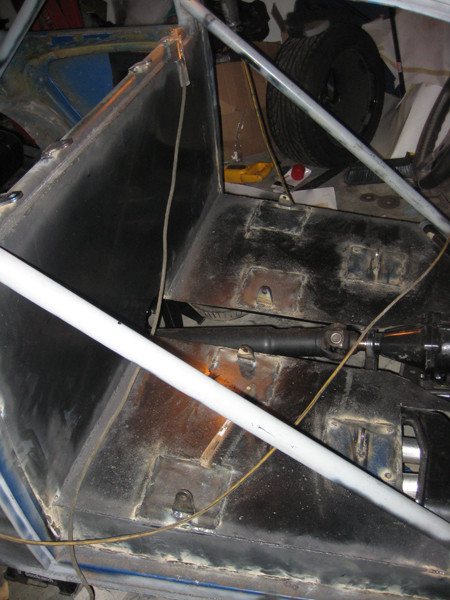
Got the transmission tunnel and driveshaft tunnel made. I got some 18 gauge galvanized steel, cause that's all they had in 18 gauge, and a 3' section of 6" pipe. I needed something thin enough that I could bend on my own. I did take precautions to make sure I didn't get sick from welding galvanized steel. I had the garage wide open and a fan in front of my face the whole time. It also helped that it was windy out yesterday. So I cut out the steel using my patterns. For the driveshaft tunnel, I tacked the steel to the pipe and rolled the steel over it. For the tunnel, I just hand formed it over the pipe.
It can out really well. My pattern was a little off after doing some additional trimming cause the floor warped slightly from all the welding. So I had to make so relief cuts to the passenger side of the tunnel to get it to fit right. It's all fully welded up and very strong.
The car is a little cluttered inside at the moment cause I'm in the middle of hooking up my shifter. Just a few more things and the shifter will be finished.
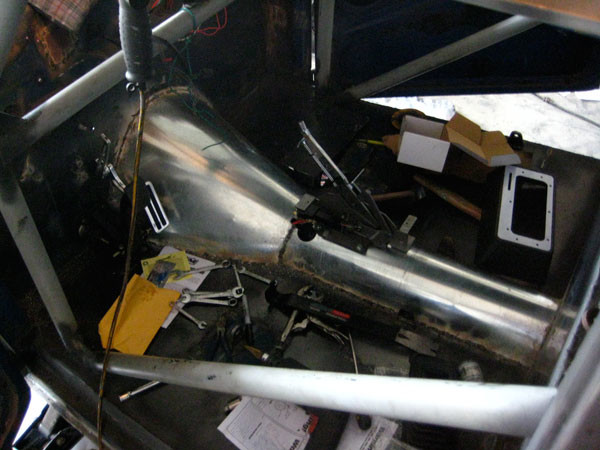
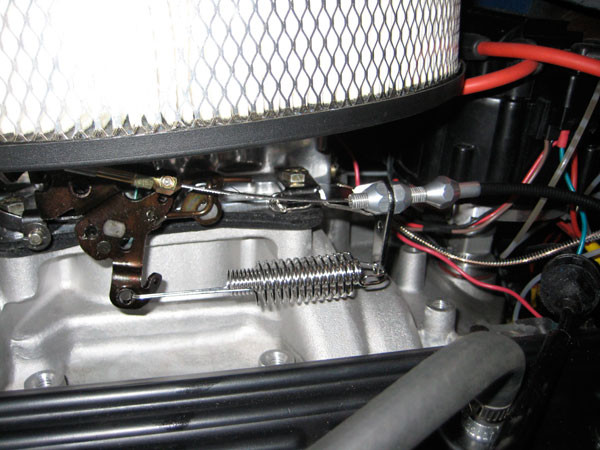
I also got the throttle cable and pedal hooked up. It works very well, but as you can see, it's a tight fit.
The brakes are also hooked up and ready to rock! My brother came over after I got all new lines ran and hooked up, and we bled the system. It took forever to completely bleed the new system and to fix little leaks. The brake pedal is very firm and works great though. The rear brakes are stiffer than the front though. I got the pedal setup so the front brakes some in hard first, then the drums.
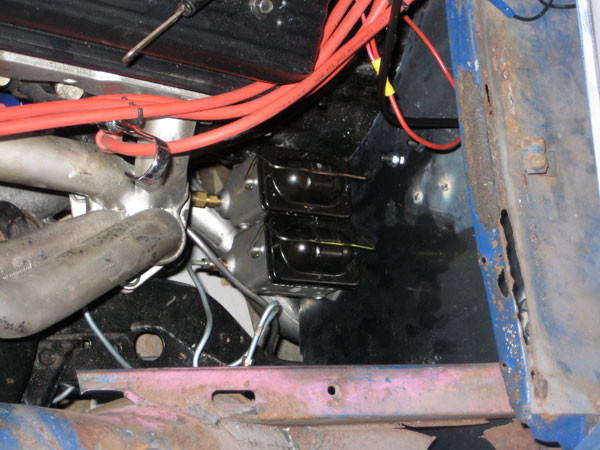
My only concern is the rear brakes line that goes to the master comes close to the exhaust manifold. Everything is so cramped in the engine bay with this S10 frame. I'll more than likely have to wrap the exhaust by the brake line.
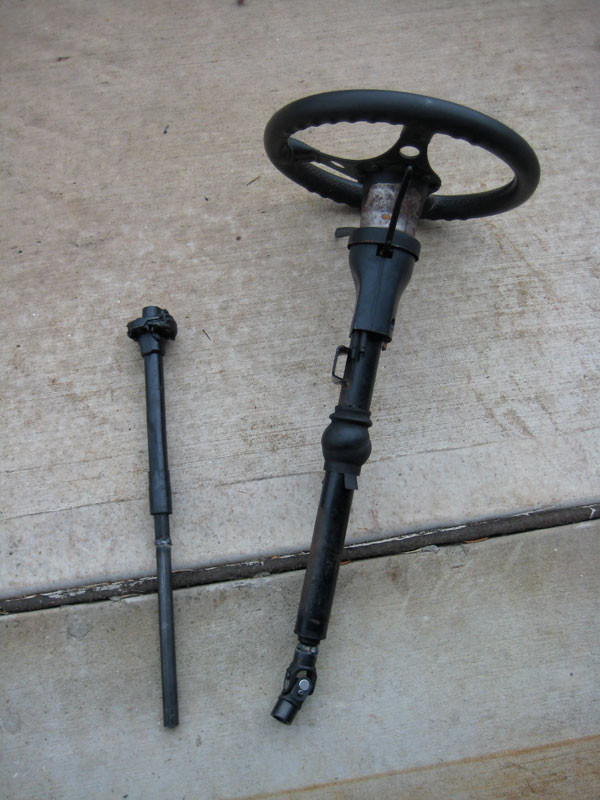
Last but not least, I started working on the steering. I extended the shaft that goes to the steering box so the steering wheel will be closer to me and away from my knees. I just need to relocated the steering mount from the firewall to the dash bar and it'll be ready to rock.
Once the steering is done and the shifter is hooked up, all there is to do to drive her around the block is to run the gas line and to make a battery box! I hoping to have video up of the first drive this coming up weekend. Then I can finally move this thing out of the garage so I can clean up without having to need 3-4 people to push it back in. LOL!
Impressive!
Posted by Diggymart on 4/27/20 @ 2:40:48 PM