You must be logged in to rate content!
8 minute(s) of a 270 minute read
11-3-2008
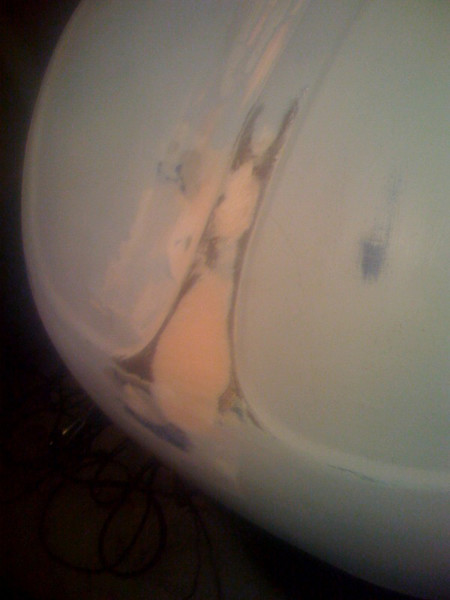
This weekend I had enough time to finish the passenger side fender. Now I need to remove it and smoothen out the mounting edge. The removal should be fun.
A couple quick shots in low light before I left for work.
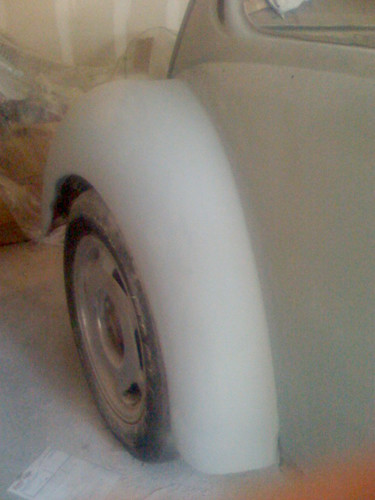
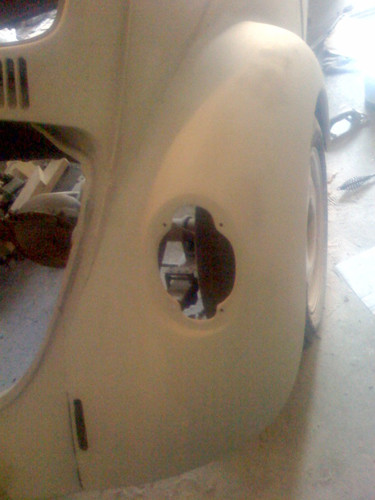
11-12-2008
Quick little update.
The fenders released quite easily. I went back and sanded down / smoothed out the seam edge, not pictured.
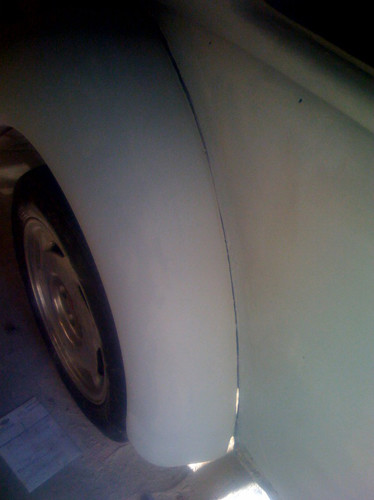
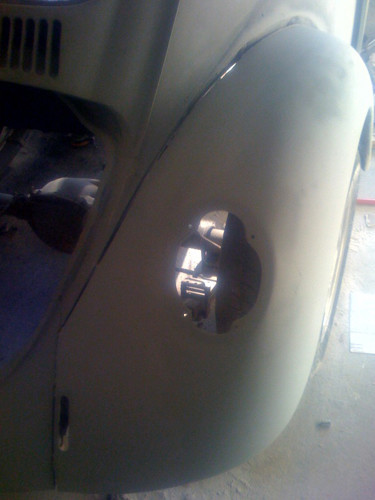
I did manage to work on the driver's side fender, but didn't quite "finish" shaping it. It needs a little more filler to smooth it out. I'll post pictures once I've finished shaping it.
I'm still sitting on the fence about whether or not to shave the bumpers on my beetle. I prefer the deleted bumper look, but I'm worried somebody might bump me one day just tear up the body of my car. Hmmm... This is really the last thing I need to sort out body work wise.
11-17-2008
Some more body work...
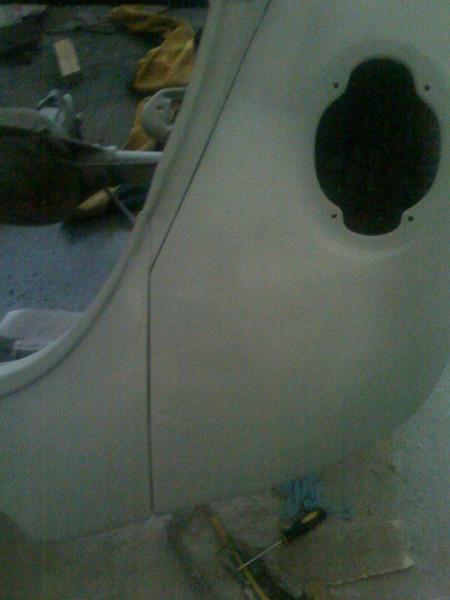
I pretty much have the driver's side rear fender done. Now I just need to remove it and smoothen the edges, but the hard work is over.
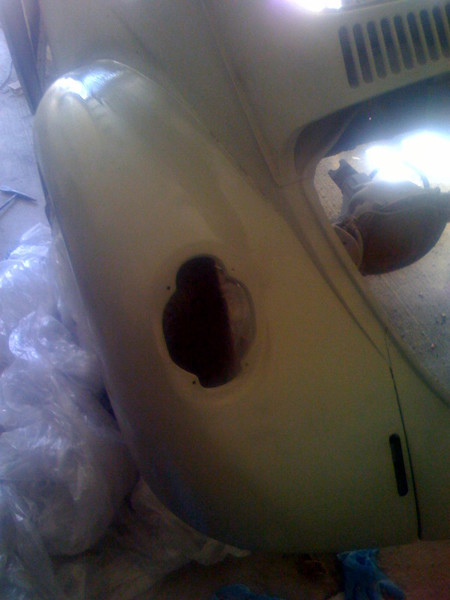
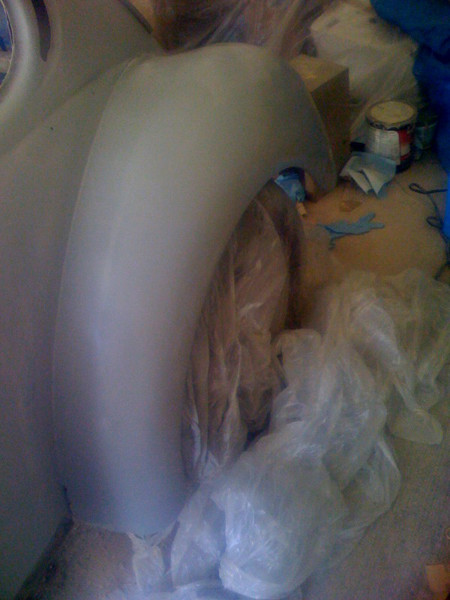
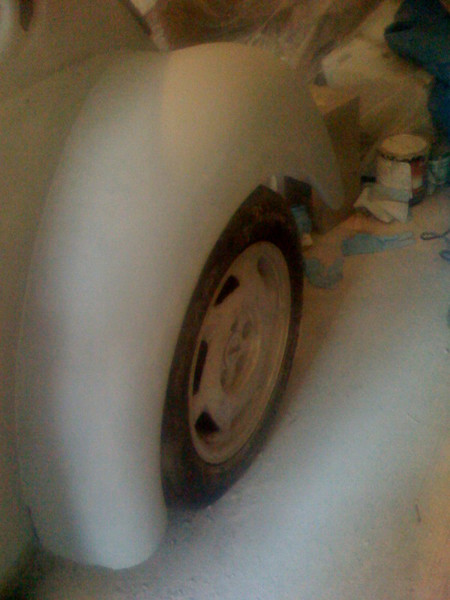
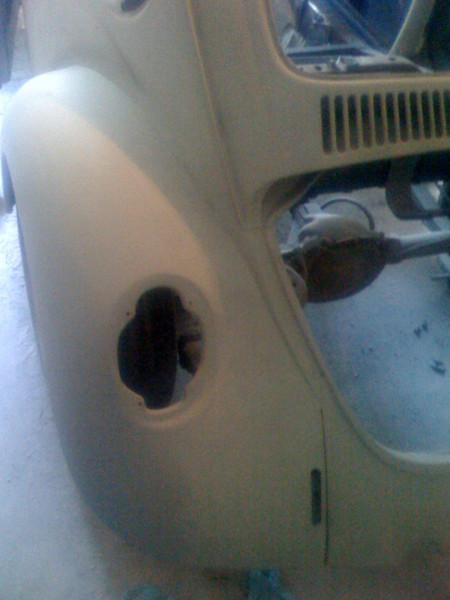
Just a little more work and I'll be ready for some high build primer. I'll have to have me a sanding get together and invite my buddy's over to sand down the body to get rid of the 40 grit marks.
12-1-2008
Shaved the bumper holes this weekend, but still more to do. So, yeah, decided to go bumperless.
Tack welded in filler strips. So much easier with a mig.
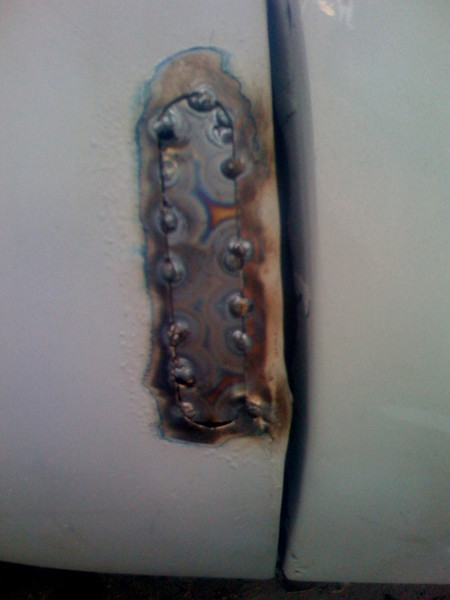
Then I ground the tacks down flush.
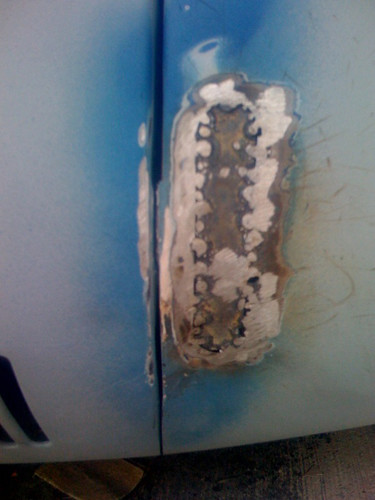
Filled with bondo and block sanded with 40 grit until flush.
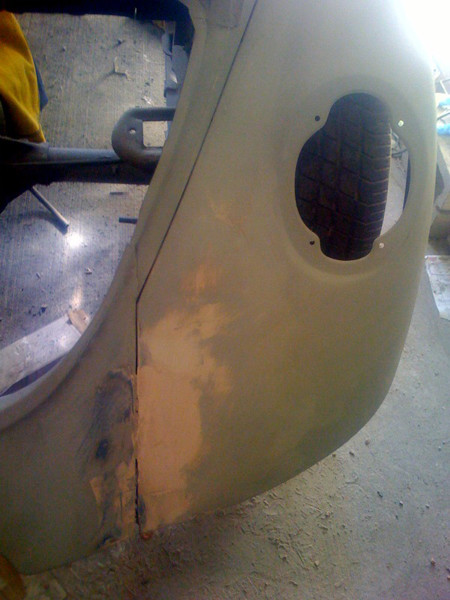
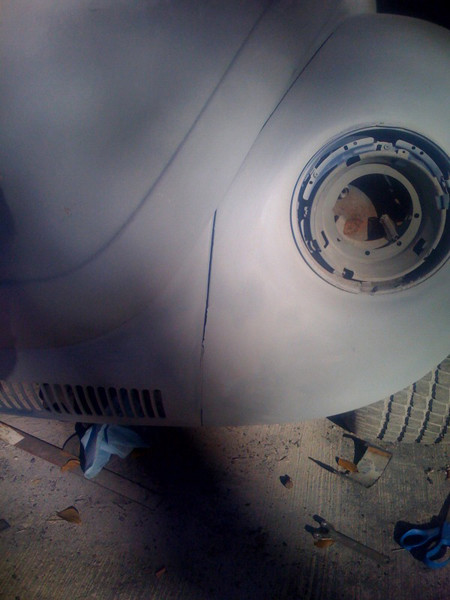
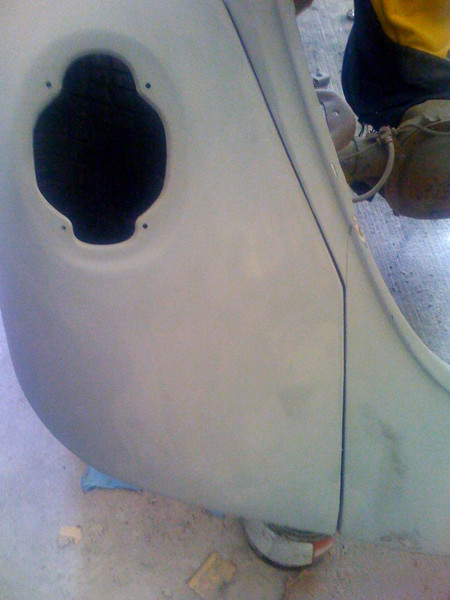
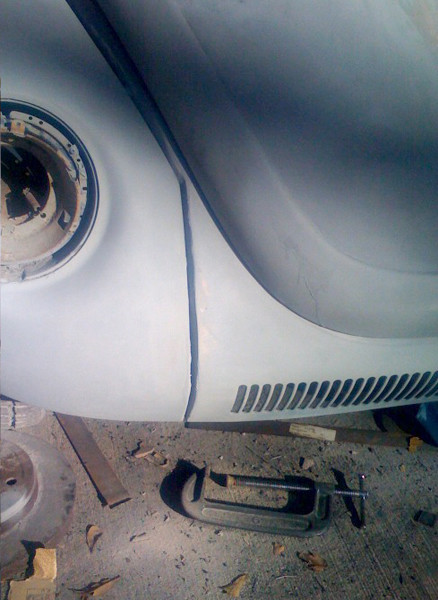
I didn't get a chance to finish the rear passenger fender cause my bro showed up ready to drink some beer and play the wii. Sometimes free time is hard to find...but was fun nonetheless. Still have to finish that one fender and remove a couple of them so I can block sand the seam edge flush.
12-12-2008
Latest vision of the bug. I was thinking silver or blue, but went back to my original concept but with some C4 black vette wheels because I see so many blue metallic supers it's not even funny.
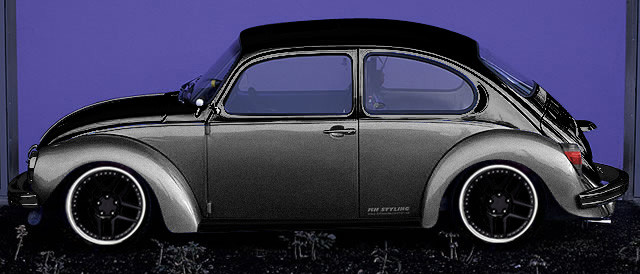
Also, last night my Mom ordered me some car parts for Christmas.
Isky cam #201278
Some Z28 type valve springs to upgrade my vortec heads - #205-D
Shim head gaskets - .015
Tranny and frame pad mounts.
I'm going by F-Bird'88's recommended build. I actually just ran across this video of how the build will sound. I'm sold on this build.
Here's the video.
12-15-2008
I had a good amount of time this weekend to get some things done. So much so I'm starting to run out of things to do body work wise...
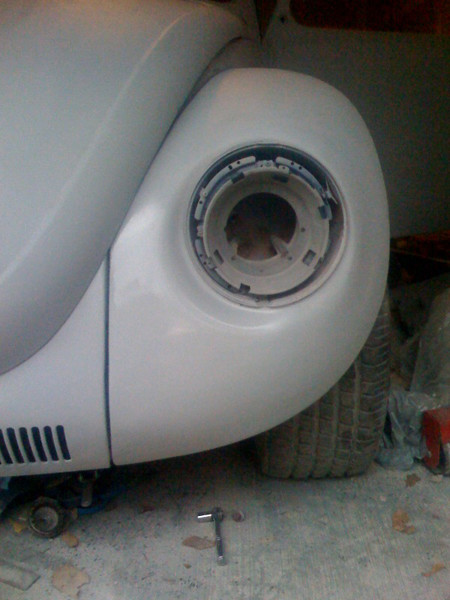
I finished shaving the fenders that needed finishing.
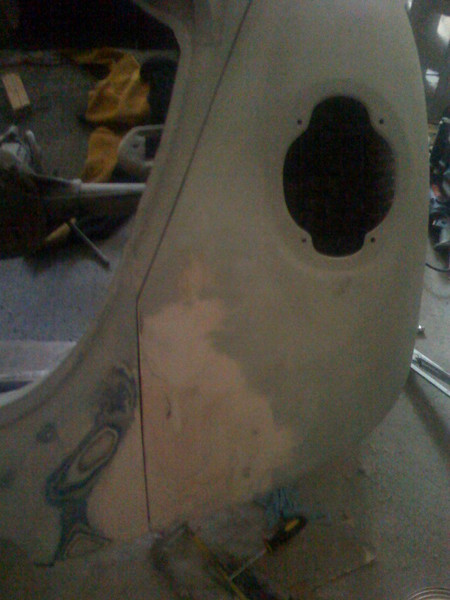
I also shaved the hood handle. I just cut off the button latch.
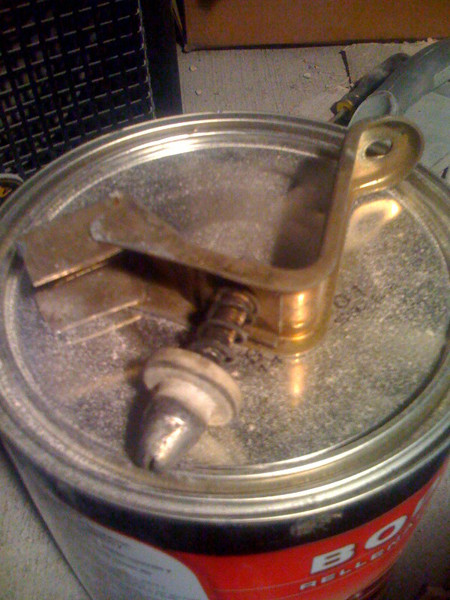
Prepared the weld area.
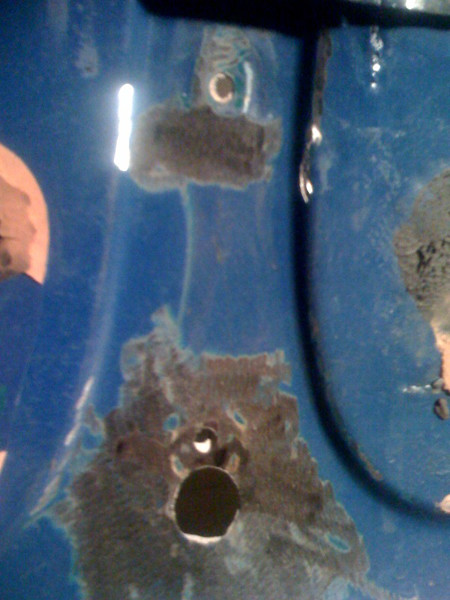
Bolted the handle assembly on with a little 1" square piece of 22 gauge sheet metal to fill the button hole.
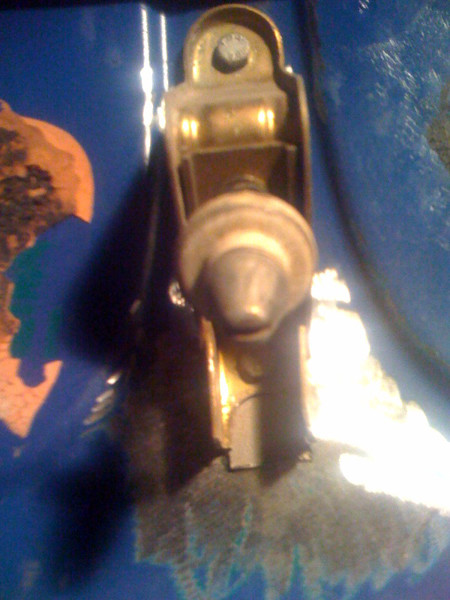
Welded in the handle, welded the handle to the filler piece, and that piece to the hood.
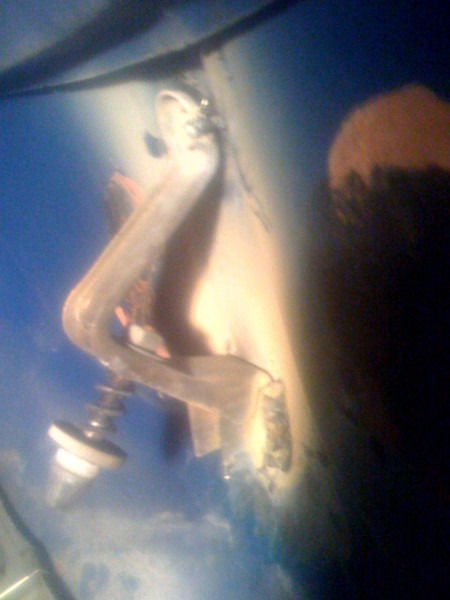
I then used a cutoff wheel to cut the handle down flush. I the weld the bolts and filler metal to the outer metal of the hood.
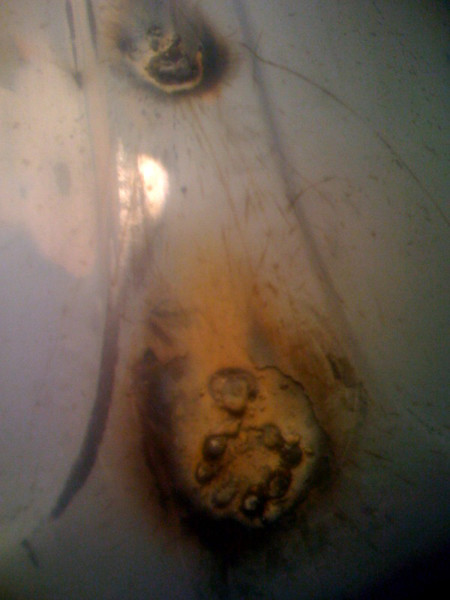
Then I ground it flush.
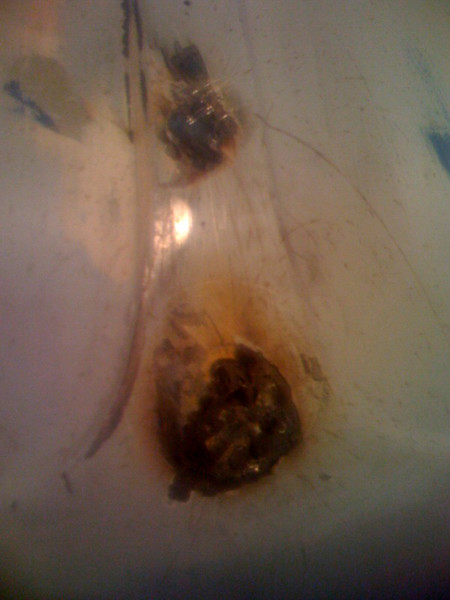
A little body filler and block sanding.
And voilà...Finished!
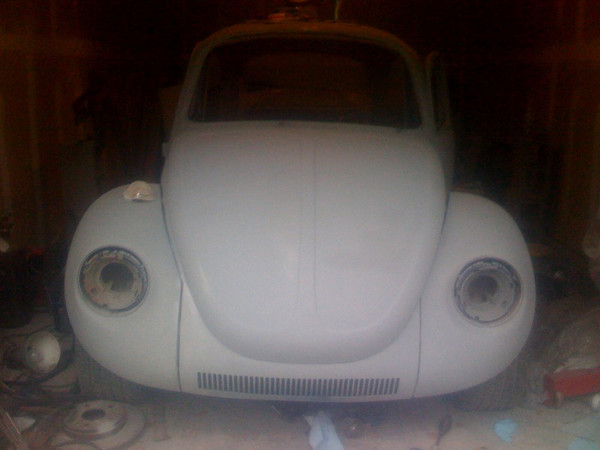
Next, i want to delete the crescent moon vents and that should be about it body work wise. The onto building a roll bar.
12-29-2008
Hey guys, update time...
Got some needed parts for Christmas. Motor mounts, tranny mount, shim head gaskets (.015), torque wrench, isky cam #201278, some Lunati valve springs, and Comp Cams double roller chain setup. I'm just lacking a flex plate and harmonic balancer to complete my motor.
Did some body work. I shaved the vents on both sides, but kept the indention behind the vents, which I like.
I drew out a template
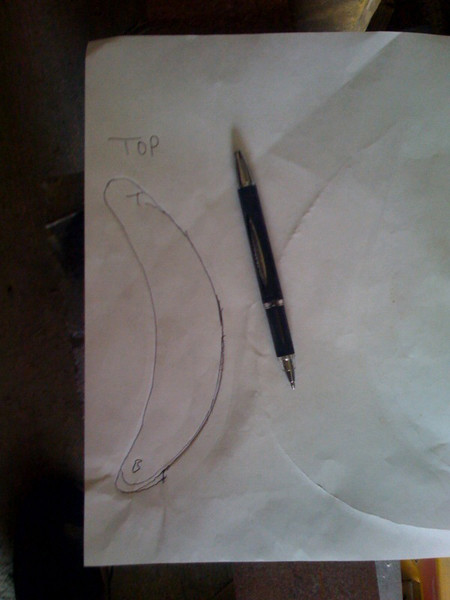
Cut the crescent moon shapes and test fitted.
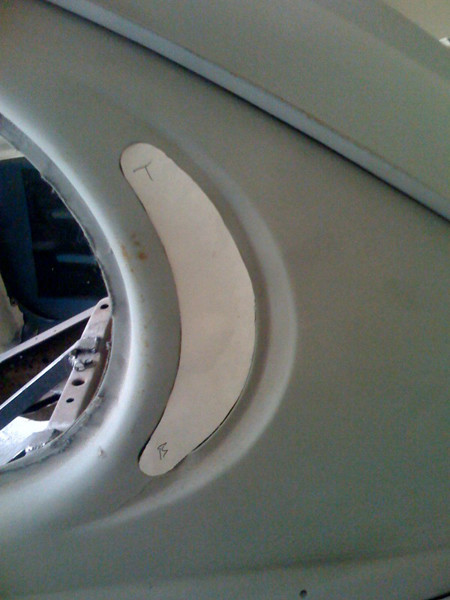
Then cut the shape out of some 22 gauge sheet metal
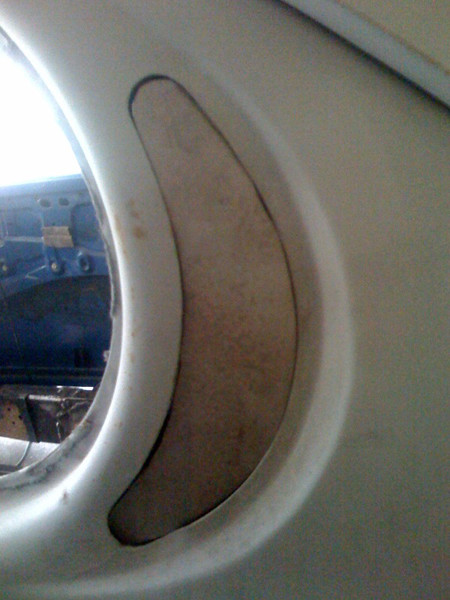
Cleaned up the weld area with a 40 grit disk.
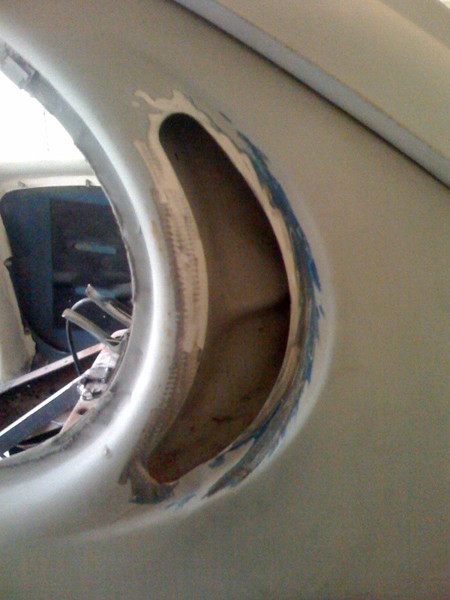
Tack welded it in place. I would've welded it up some more but there was a bit of rubber that sealed the vent in there... It caught fire a couple times, slightly. So I did enough tacks to get the job done.
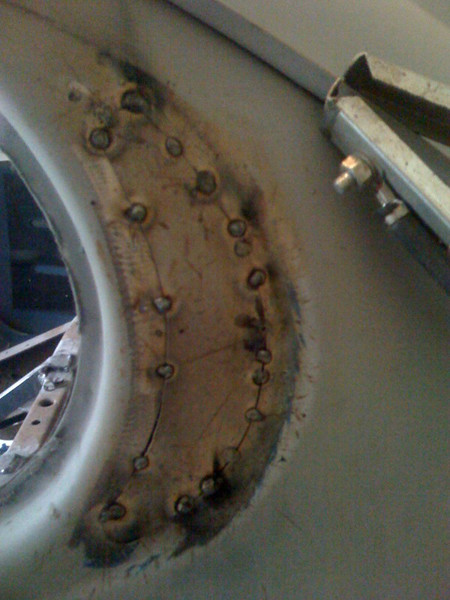
Ground down the welds flush.
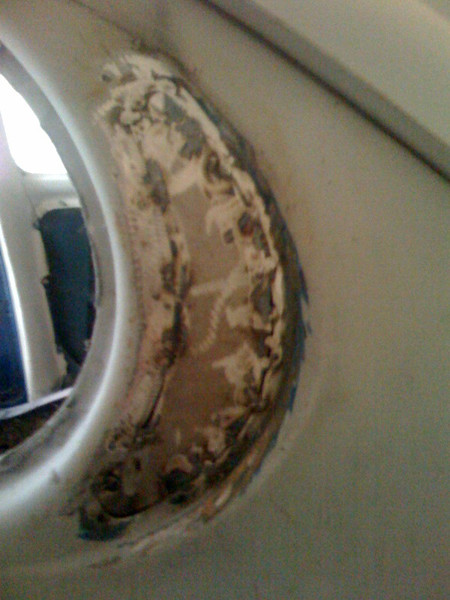
A little body filler.

Some block sanding, little filler, block sanding....etc.
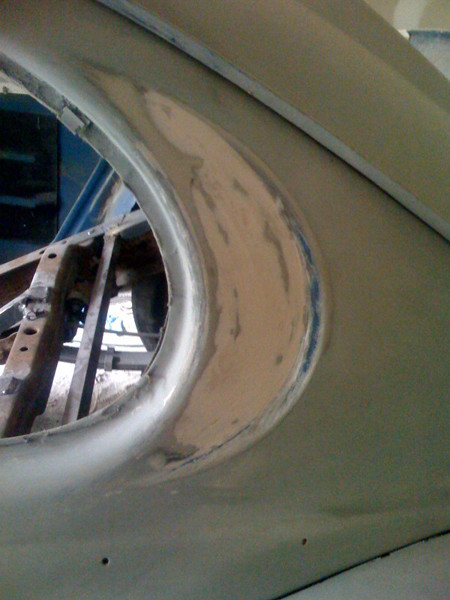
Hit it with some primer. There's still some little pits so I'll have to go back and work with it some, but it's pretty much there.
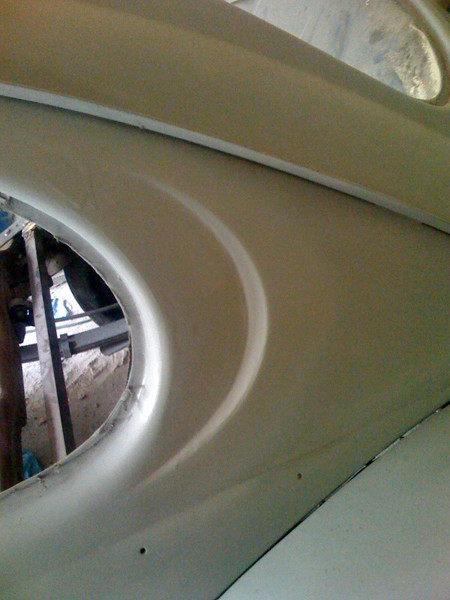
Same for the other side. Still a little work to do.
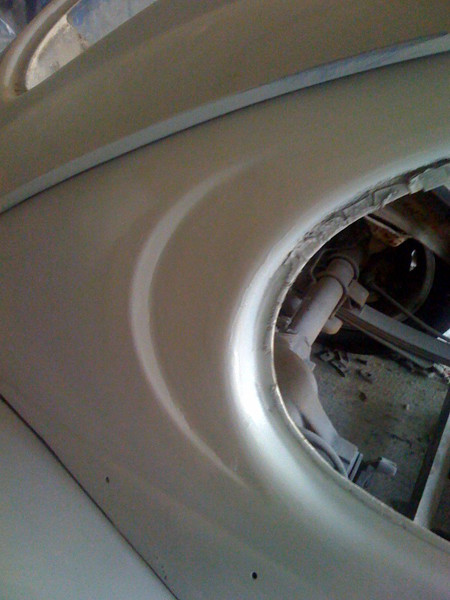
Impressive!
Posted by Diggymart on 4/27/20 @ 2:40:48 PM