You must be logged in to rate content!
4 minute(s) of a 54 minute read
4-29-2010
Hit some snags today and lost a bunch of work time. Got the housings sanded and they are getting paint currently and will be left to dry overnight. I leave for DC in the morning but will be home on Tuesday. Then I should finally be able to get them assembled and back in the car. The housings look great, should have them reassembled and pics up tonight and they should go back in tomorrow assuming it doesn't rain all day.
05-07-2010
I got a little delayed as some issues with work came up and we just opened up for the season. I reassembled them and will post a DIY along with pics here.
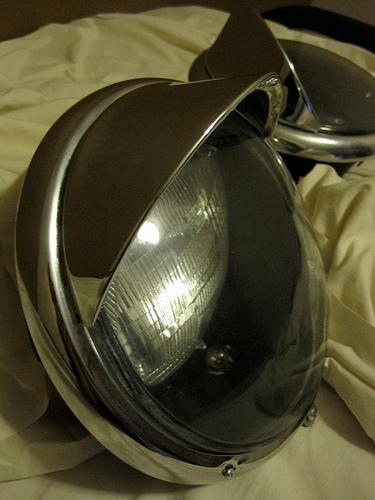
ok so I uploaded all the photos. I have a lot to go through but here's a shot of the finished result.
05-10-2010
so I've been a little busy with work and it's leaving me beat so I haven't done crap but a little polishing for the GLI. Hopefully today I can start sorting through all the pics, build that DIY, and post them up tonight.
Got the headlights back on the car. They looks fantastic and I'm very pleased with the result.
Just one...

05-11-2010
got the bumpers back on last night. I need new grommets and the front bumper was actually a pain... I think it got a little more warped than I thought. It'll need to be replaced at some point, most likely for when paint is complete. The car looks complete now though and it's nice to see it all coming together. There are a few odd things that will be taken care of during and after paint... new windshield and seal, the rest of the black fender beading, some other odds and ends. No the only things left to do before she can go to paint is replace the shift rod bushing, accelerator repair kit, and replace the master cylinder and bleed and adjust the brakes.
05-13-2010
So I finally got the DIY posted. You can find it here: http://forums.vwvortex.com/showthrea...0#post65771280
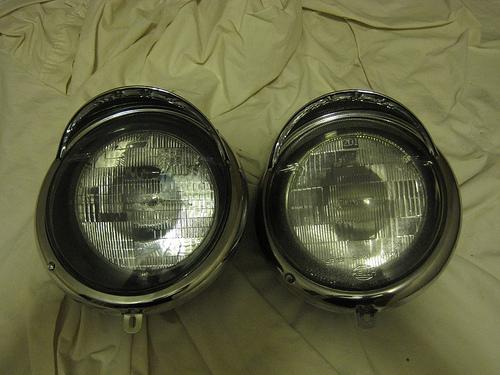
Something Meg has always wanted since she bought the car was eyebrows. She purchased them with the rest of the parts to rebuild the front end. I had to do a little modifying to get them to fit properly and not rub on the adjustment screws.

Here's some pics from the process of building the lights. I think the finish on the housing came out pretty nice.
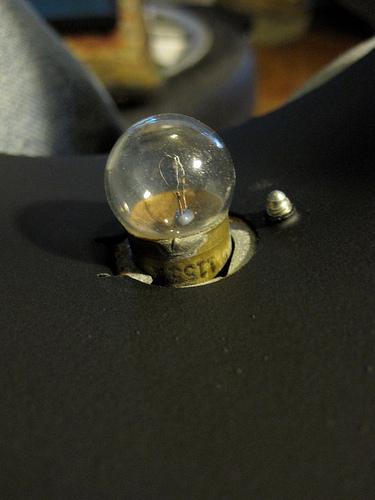
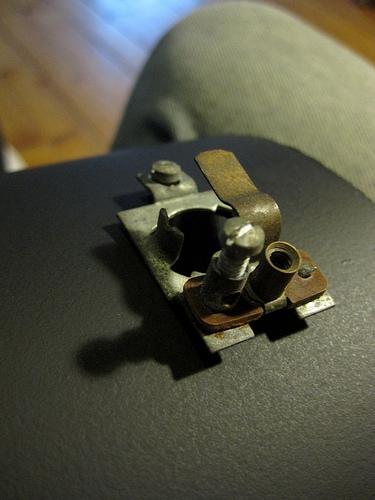
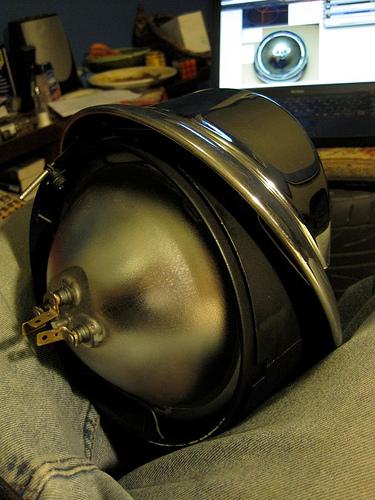
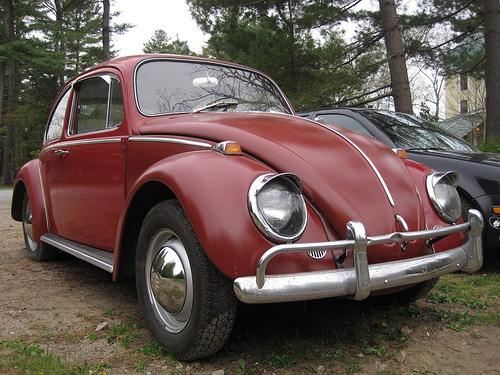
Here's some of the car as it sits now.
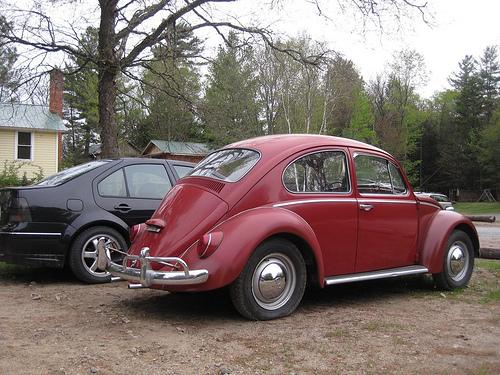
And here's a shot of the chrome polish for Casey.

Comments

Nice to see again in the newsletter!
Posted by Diggymart on 3/7/21 @ 4:01:48 PM

Love these vw’s !
Posted by Diggymart on 6/10/20 @ 11:54:06 AM

Love these vw’s !
Posted by Diggymart on 6/10/20 @ 11:53:55 AM
Pretty car, glad you were able to save it!
Posted by CCmyVW on 3/23/21 @ 3:24:06 PM