You must be logged in to rate content!
8 minute(s) of a 338 minute read
4-19-2016
So another little update.
Hooking up the last of the hoses on the AOS.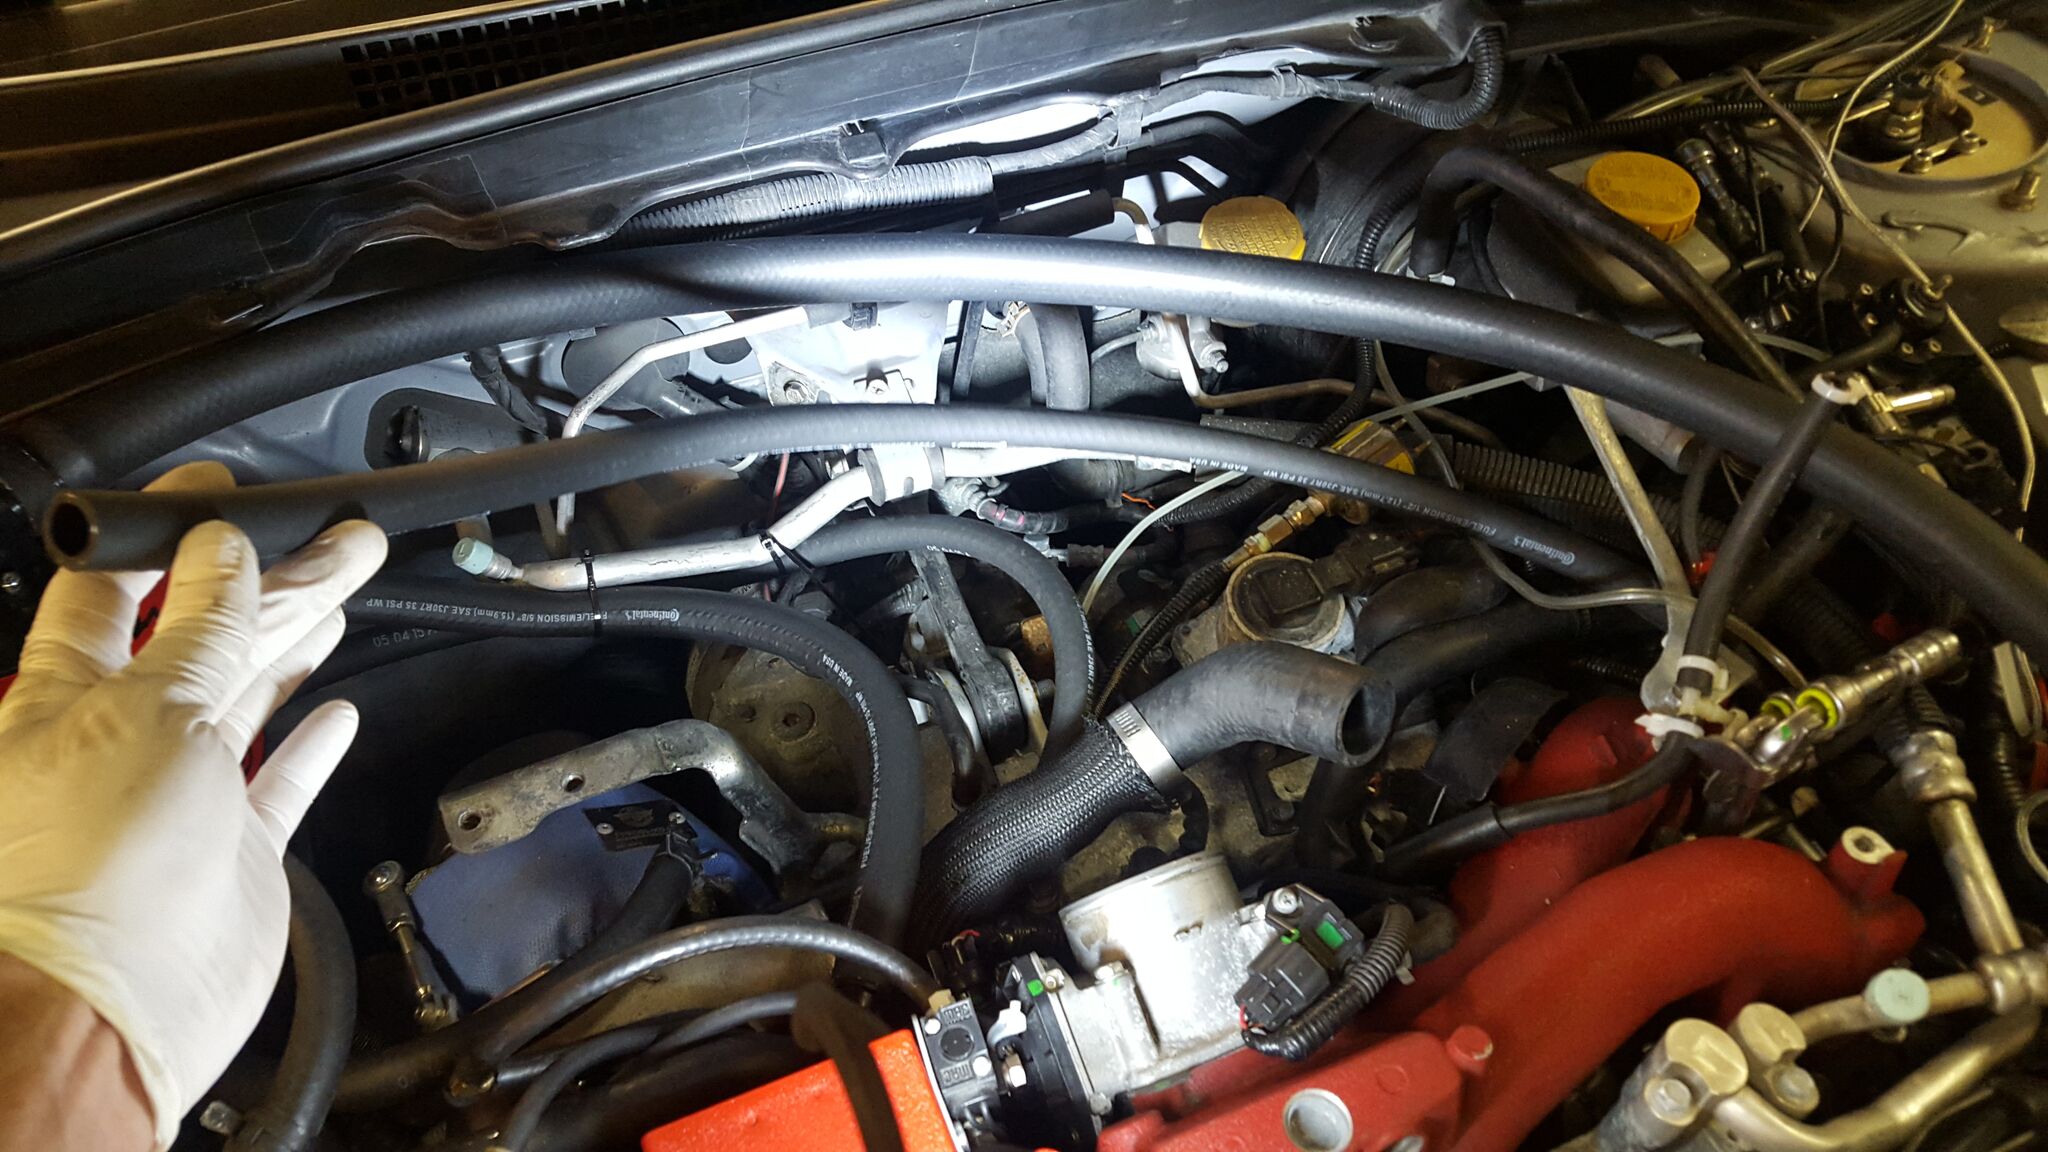
So the 3 ports. Top and middle go to valve covers and the bottom going to the block where the PCV valve used to be.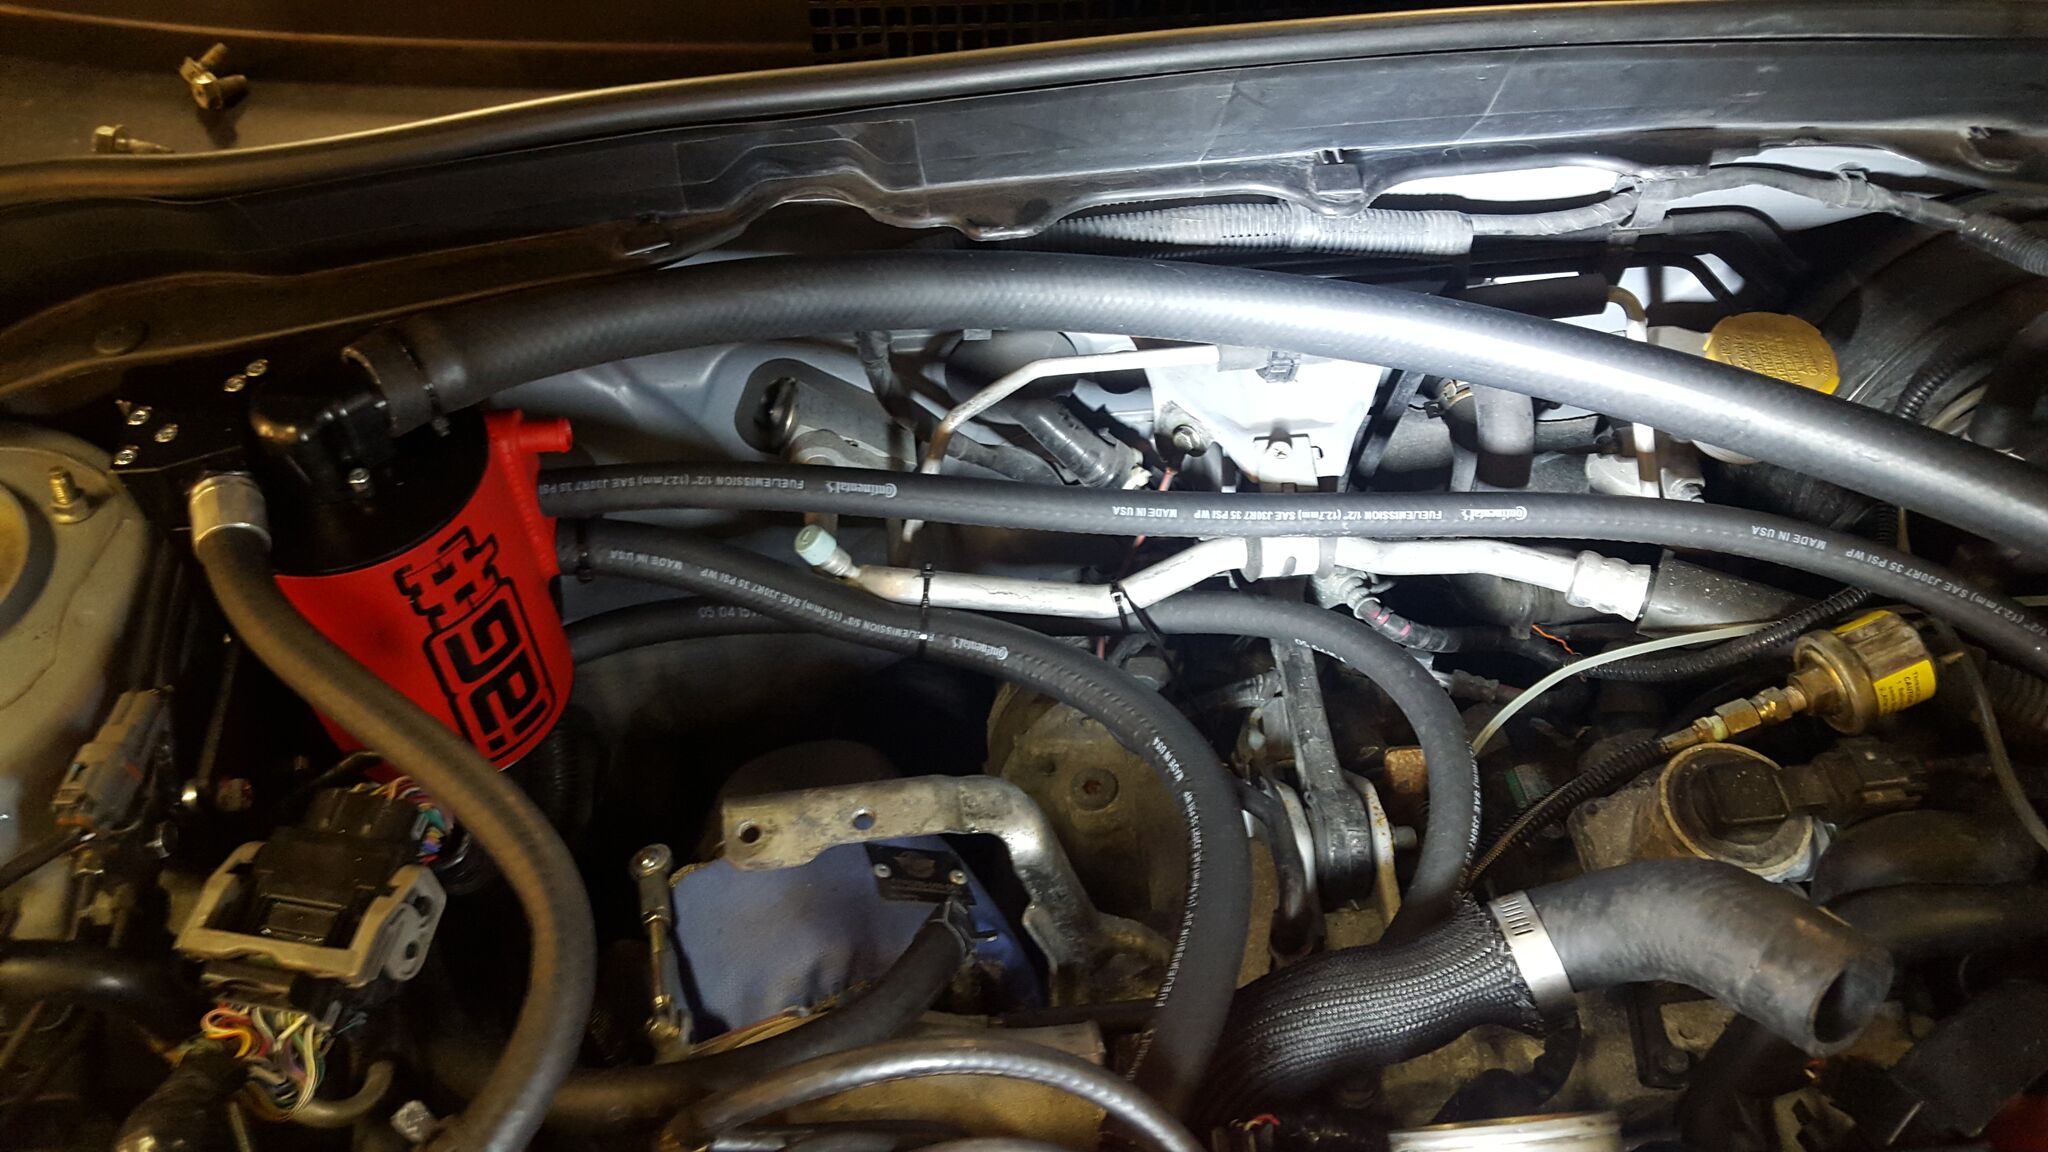
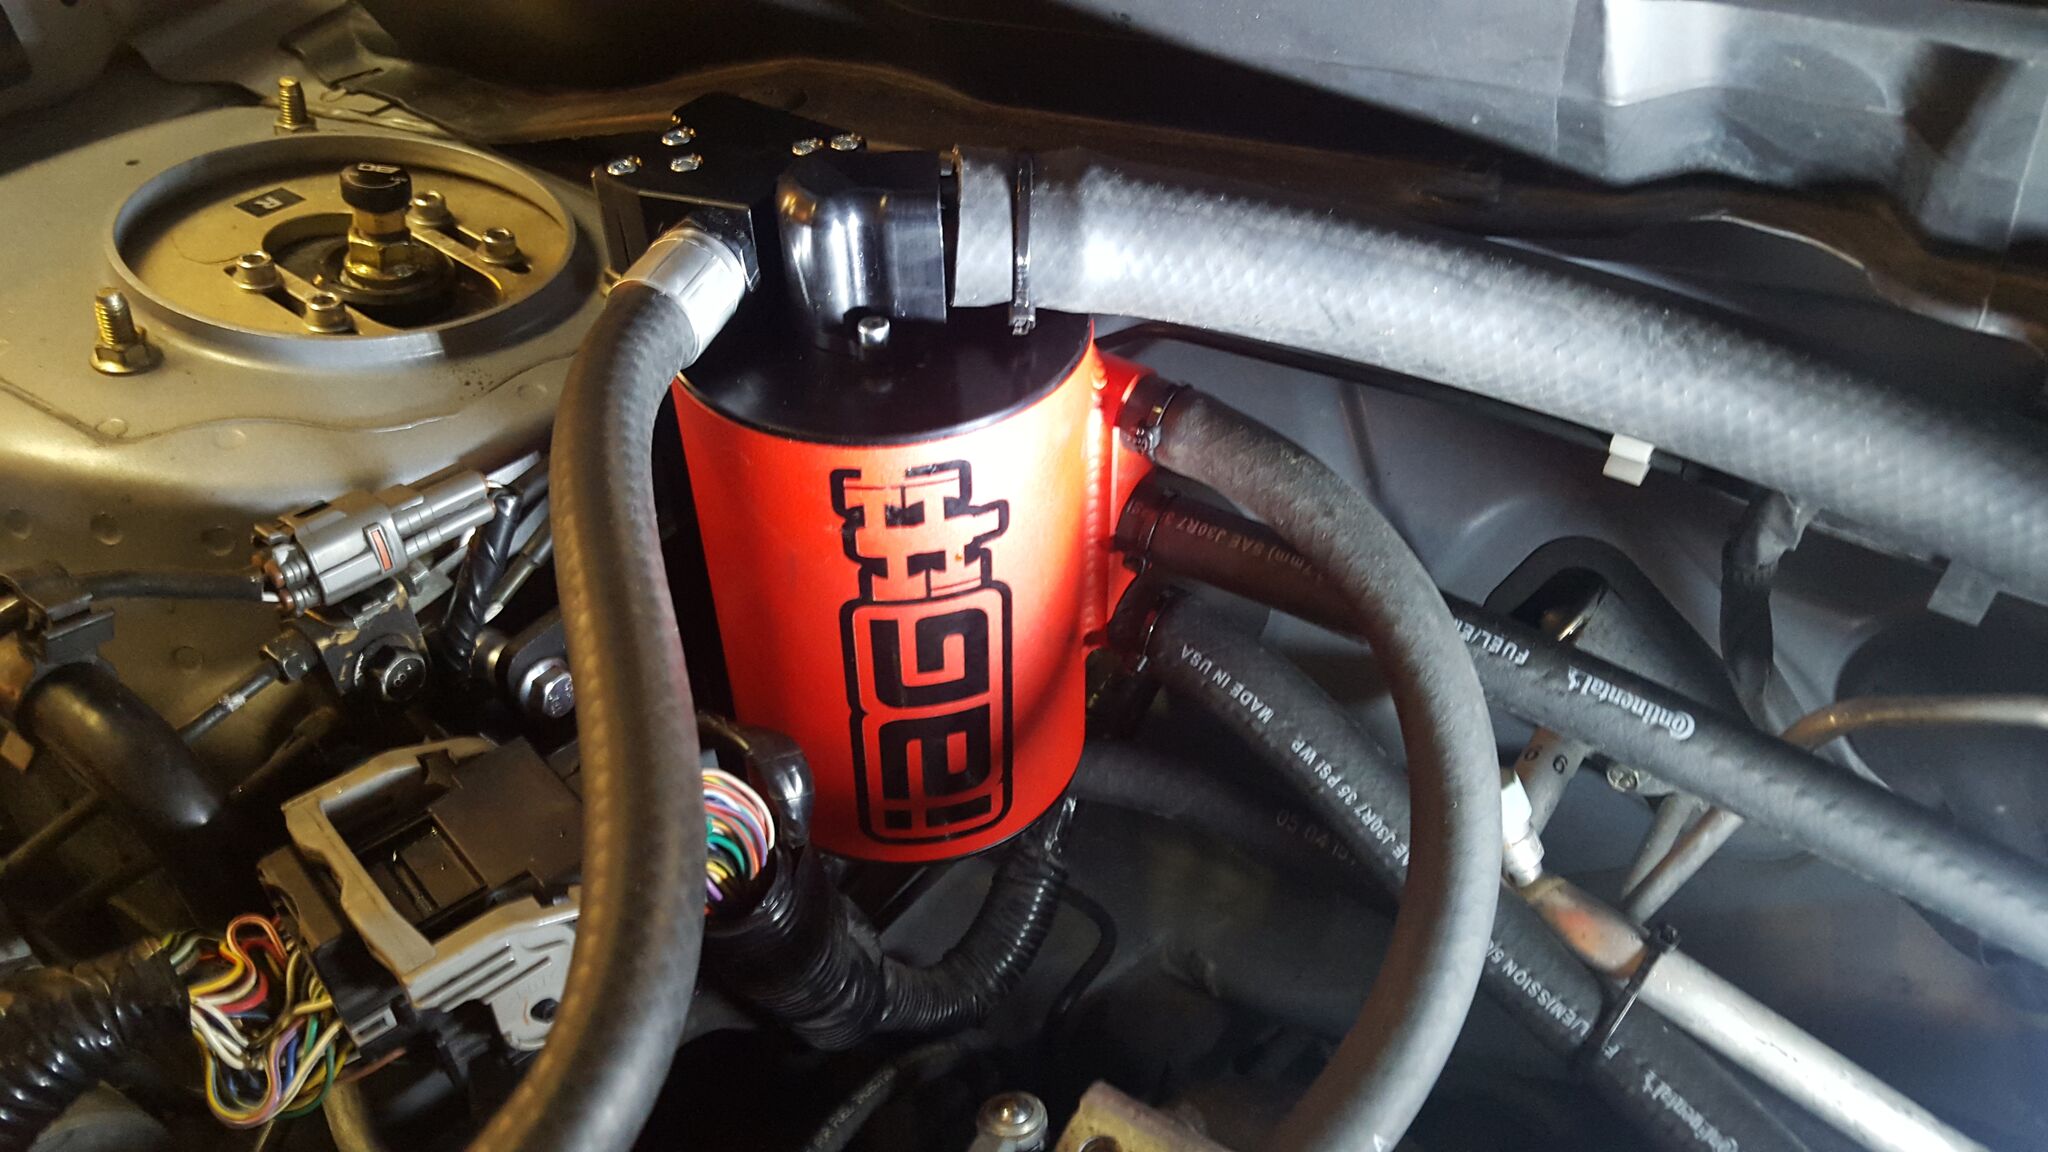
The big line on top of the AOS routes next to the mount for the transmission and gets tied down. That is the only thing left for that. So when I get a chance again we will go underneath and do that and the AOS install in complete.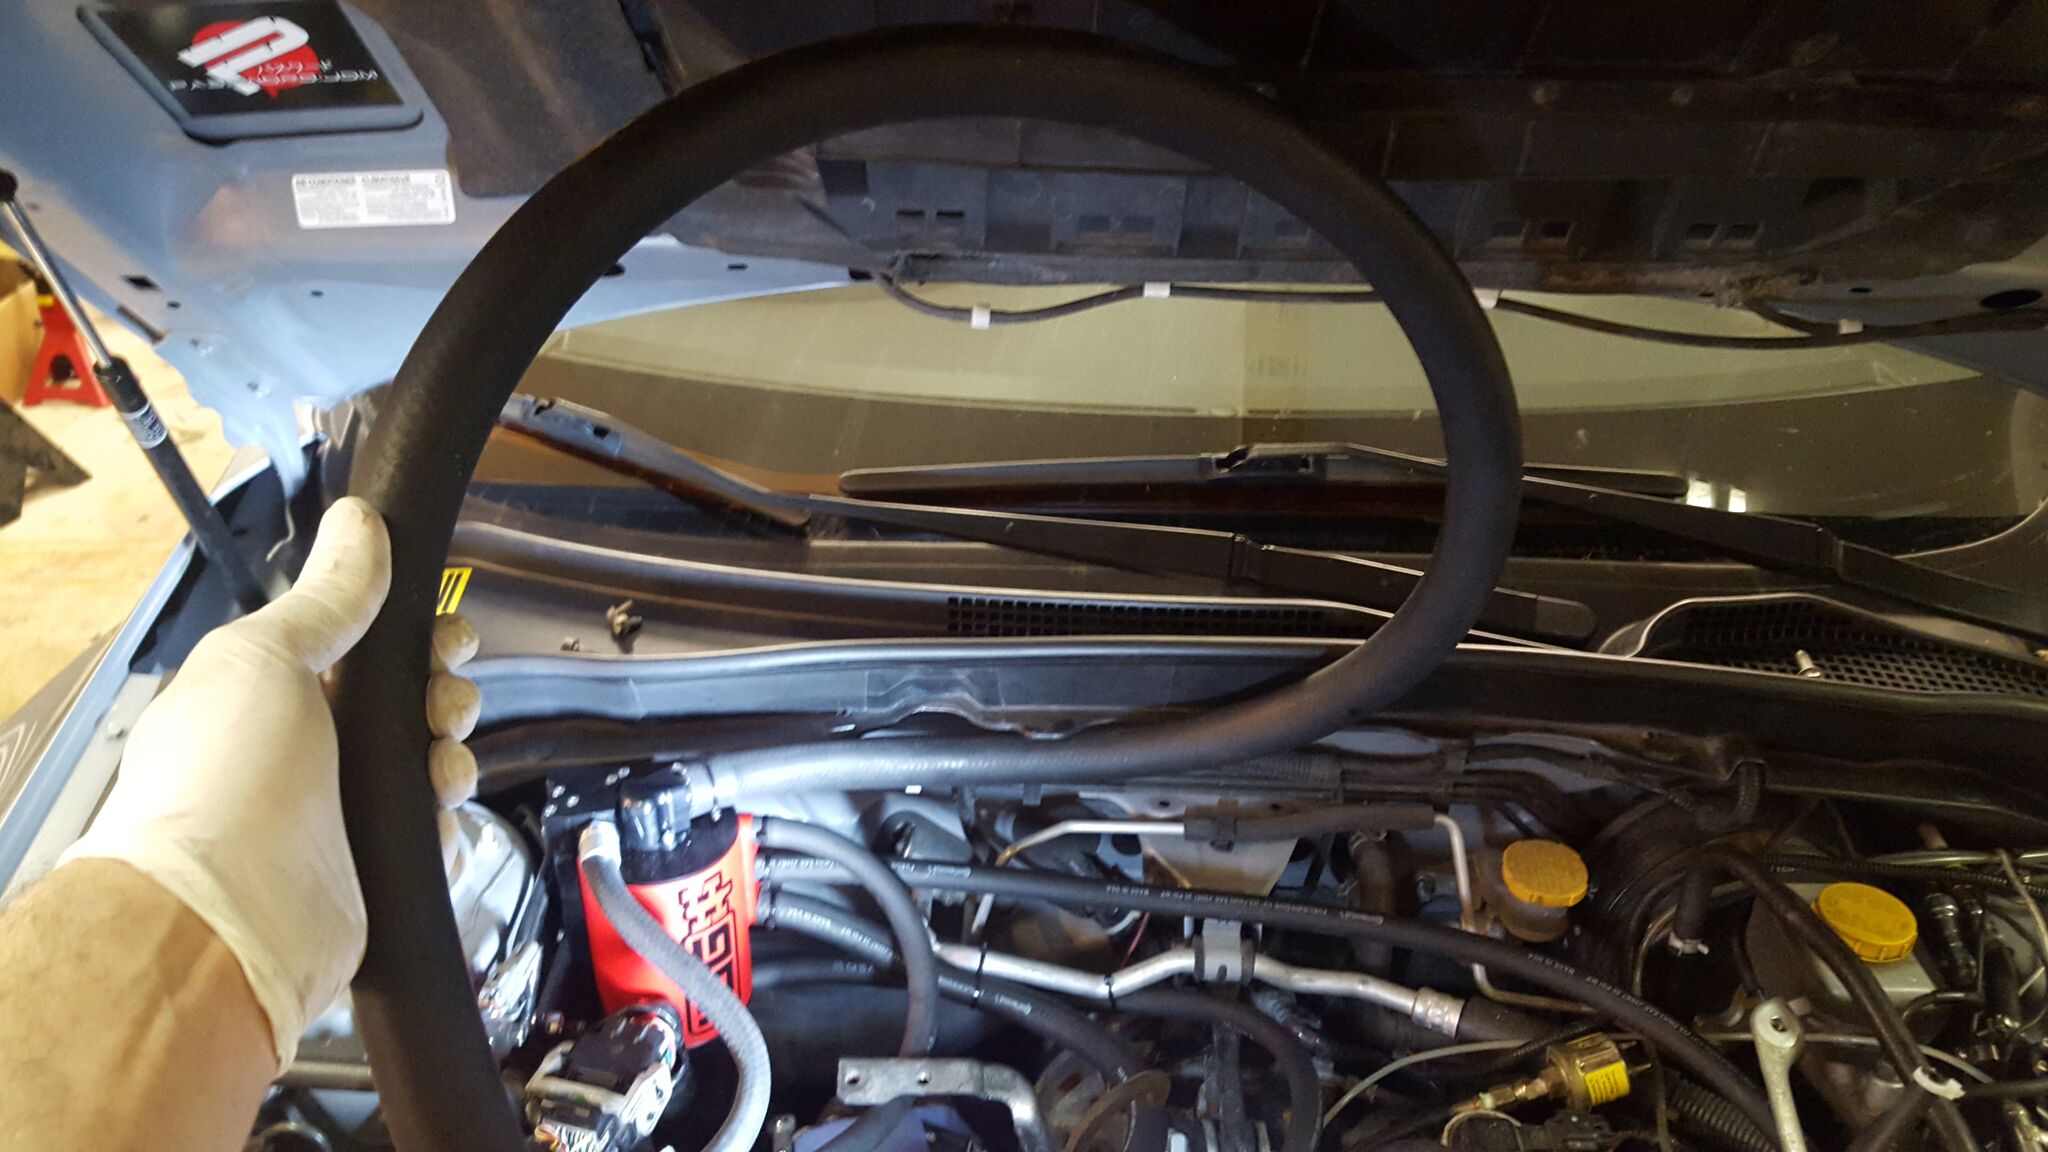
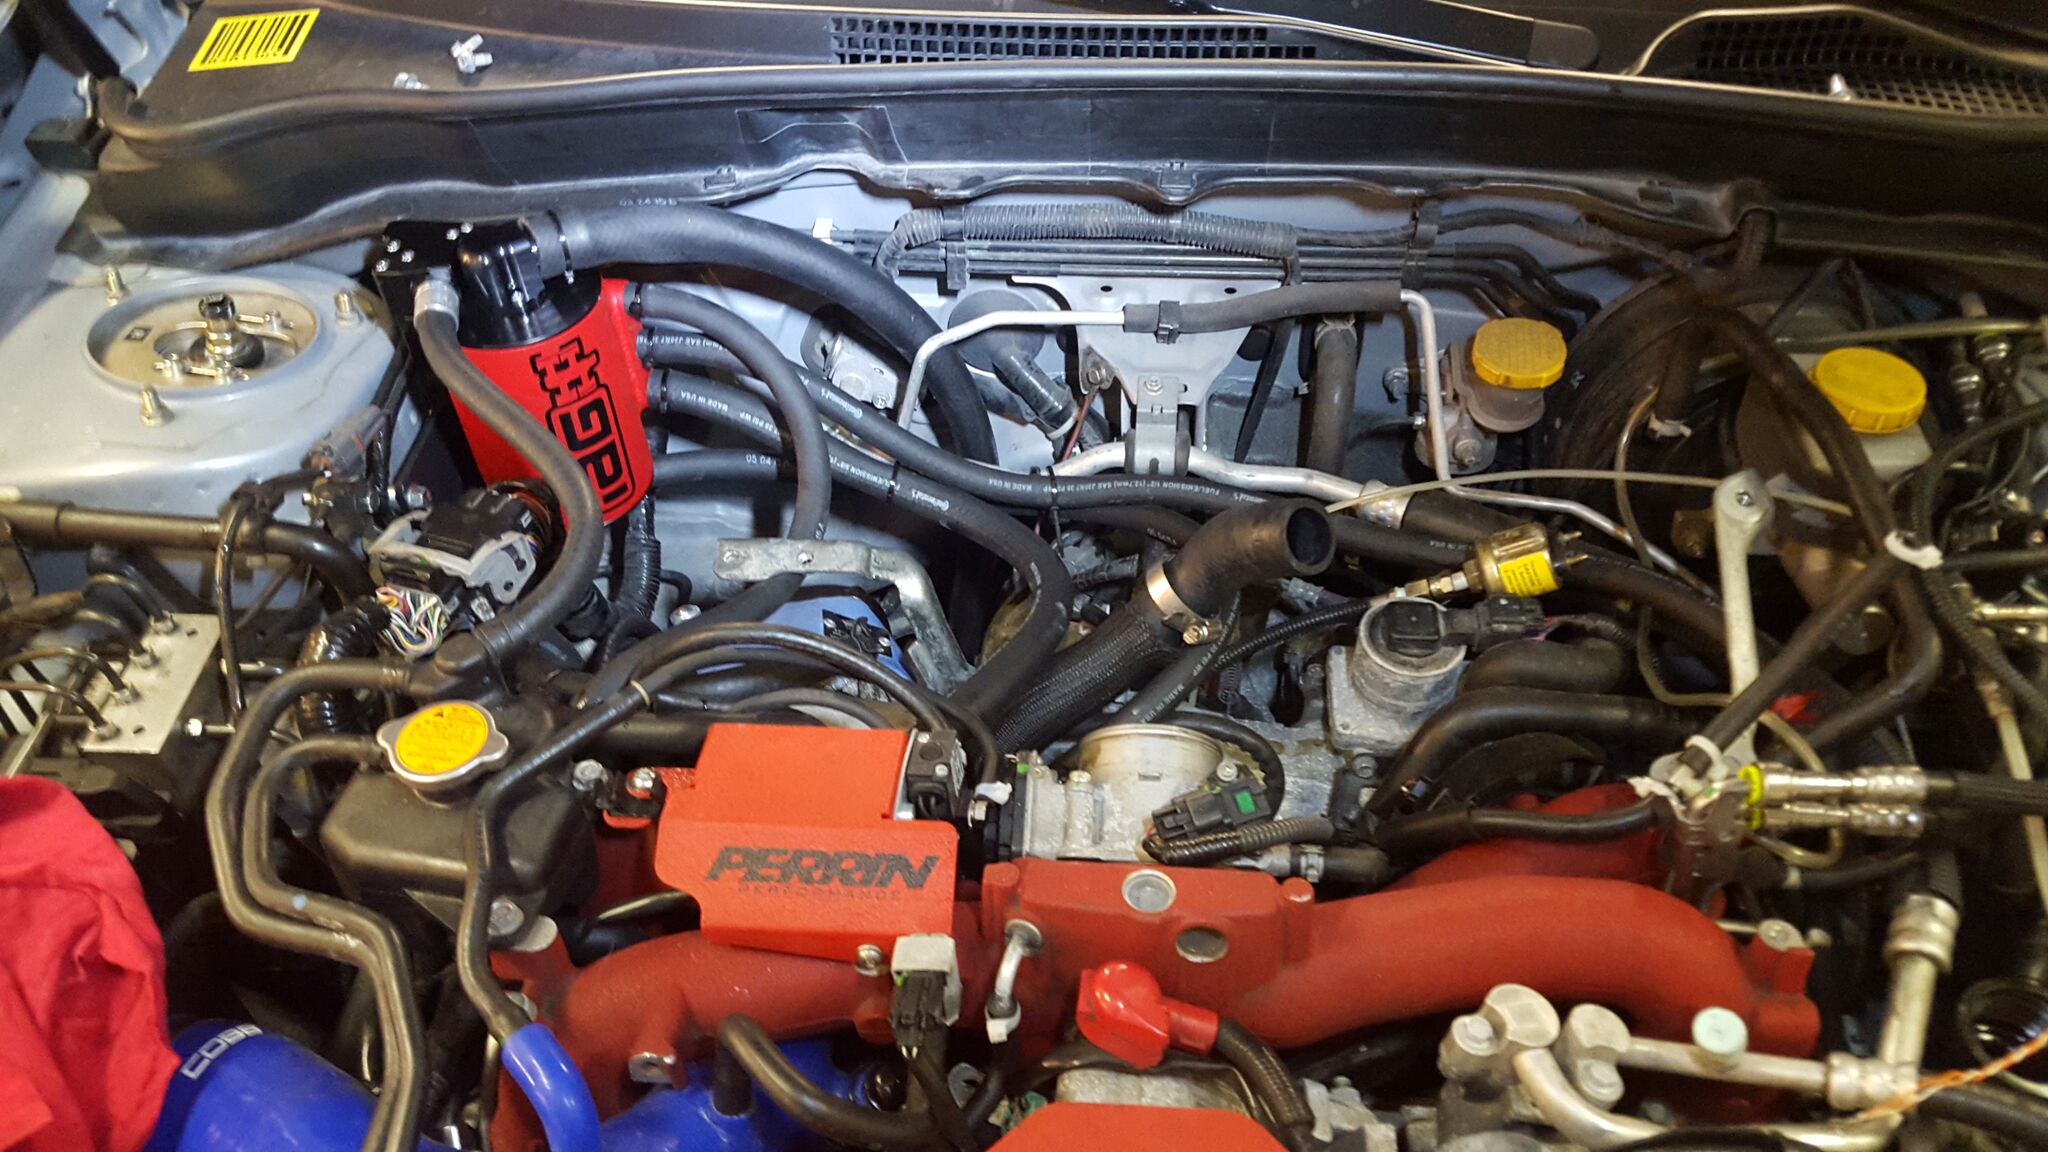
Intercooler mounted back up.
Bit tight under the intercooler lol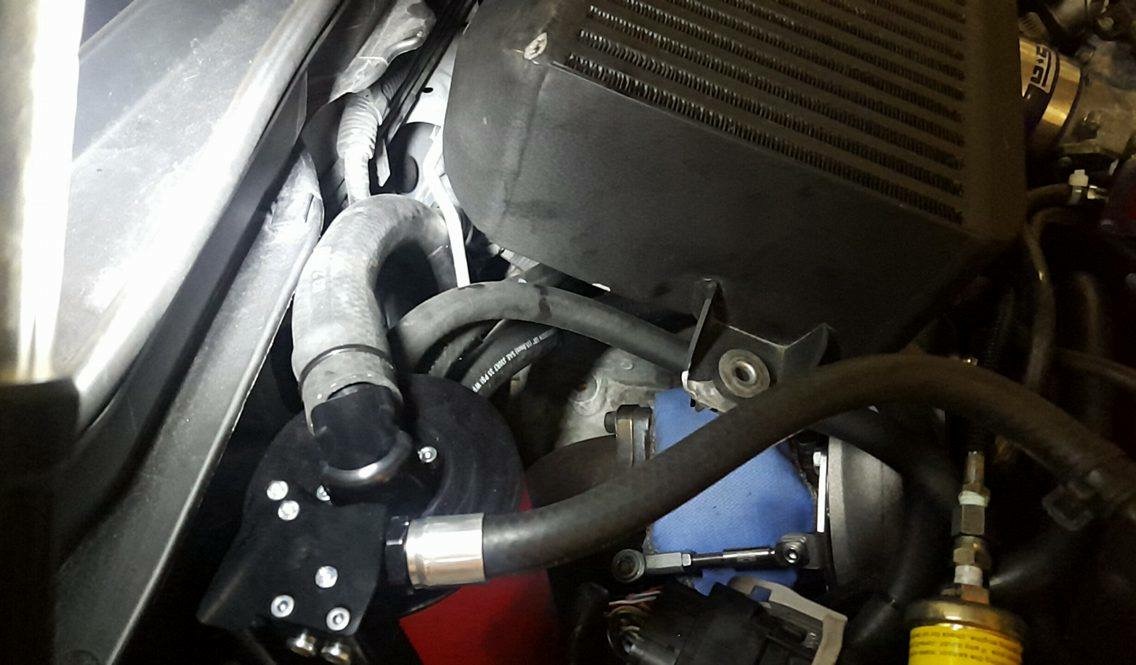
And the old Grimmspeed aos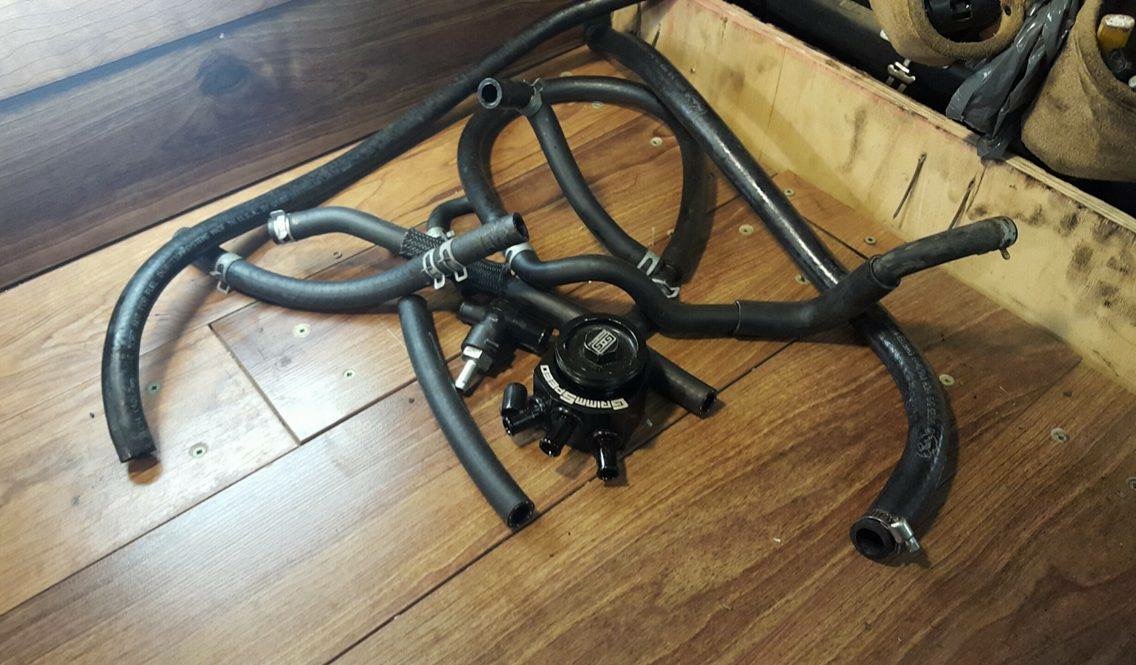
4-25-2016
Ok so updates from this weekend!
So first off I got my tires come in Thursday.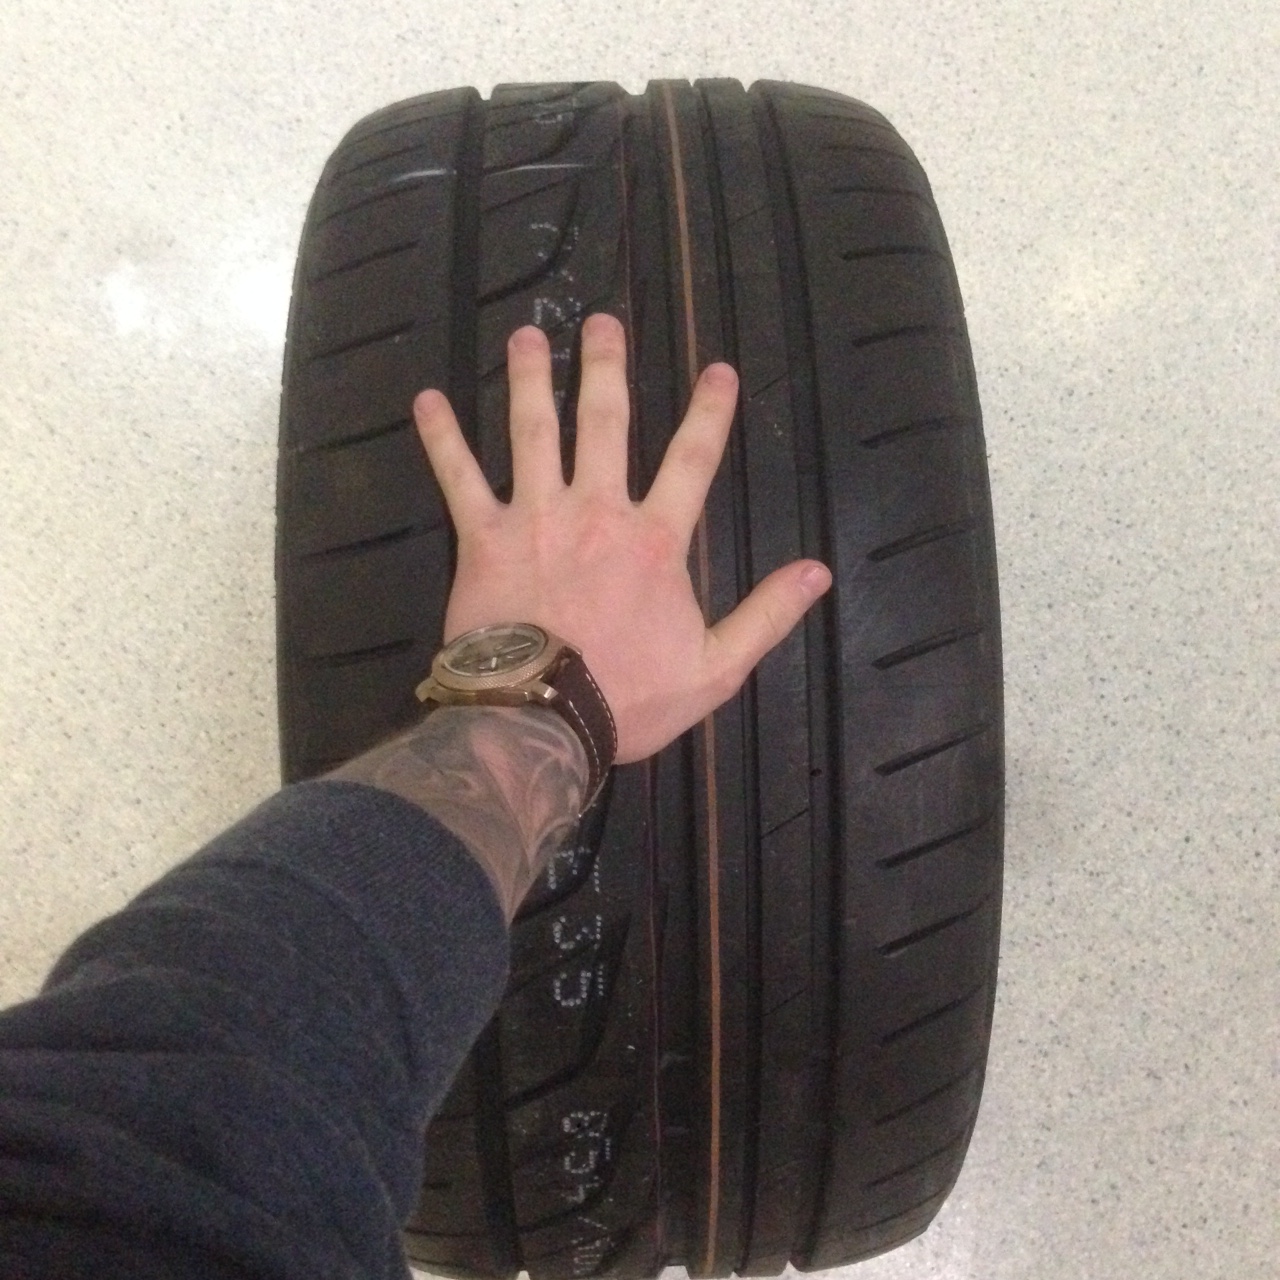
So first order of business is to use the Sharpie White Oil Based pens I bought.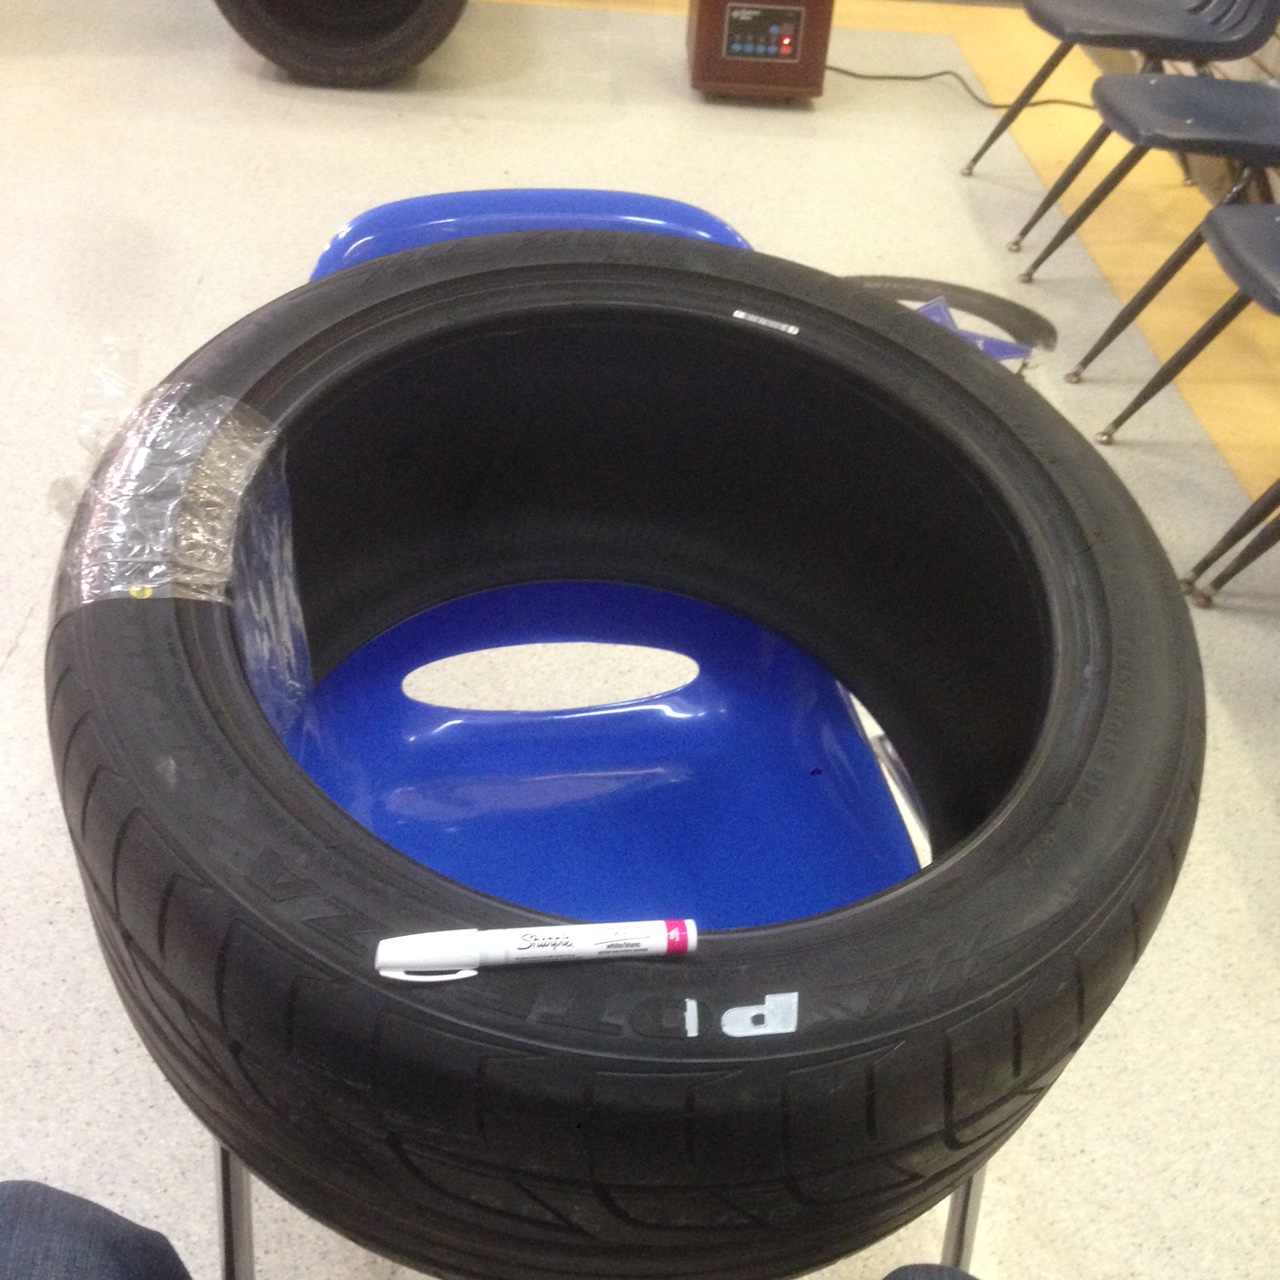
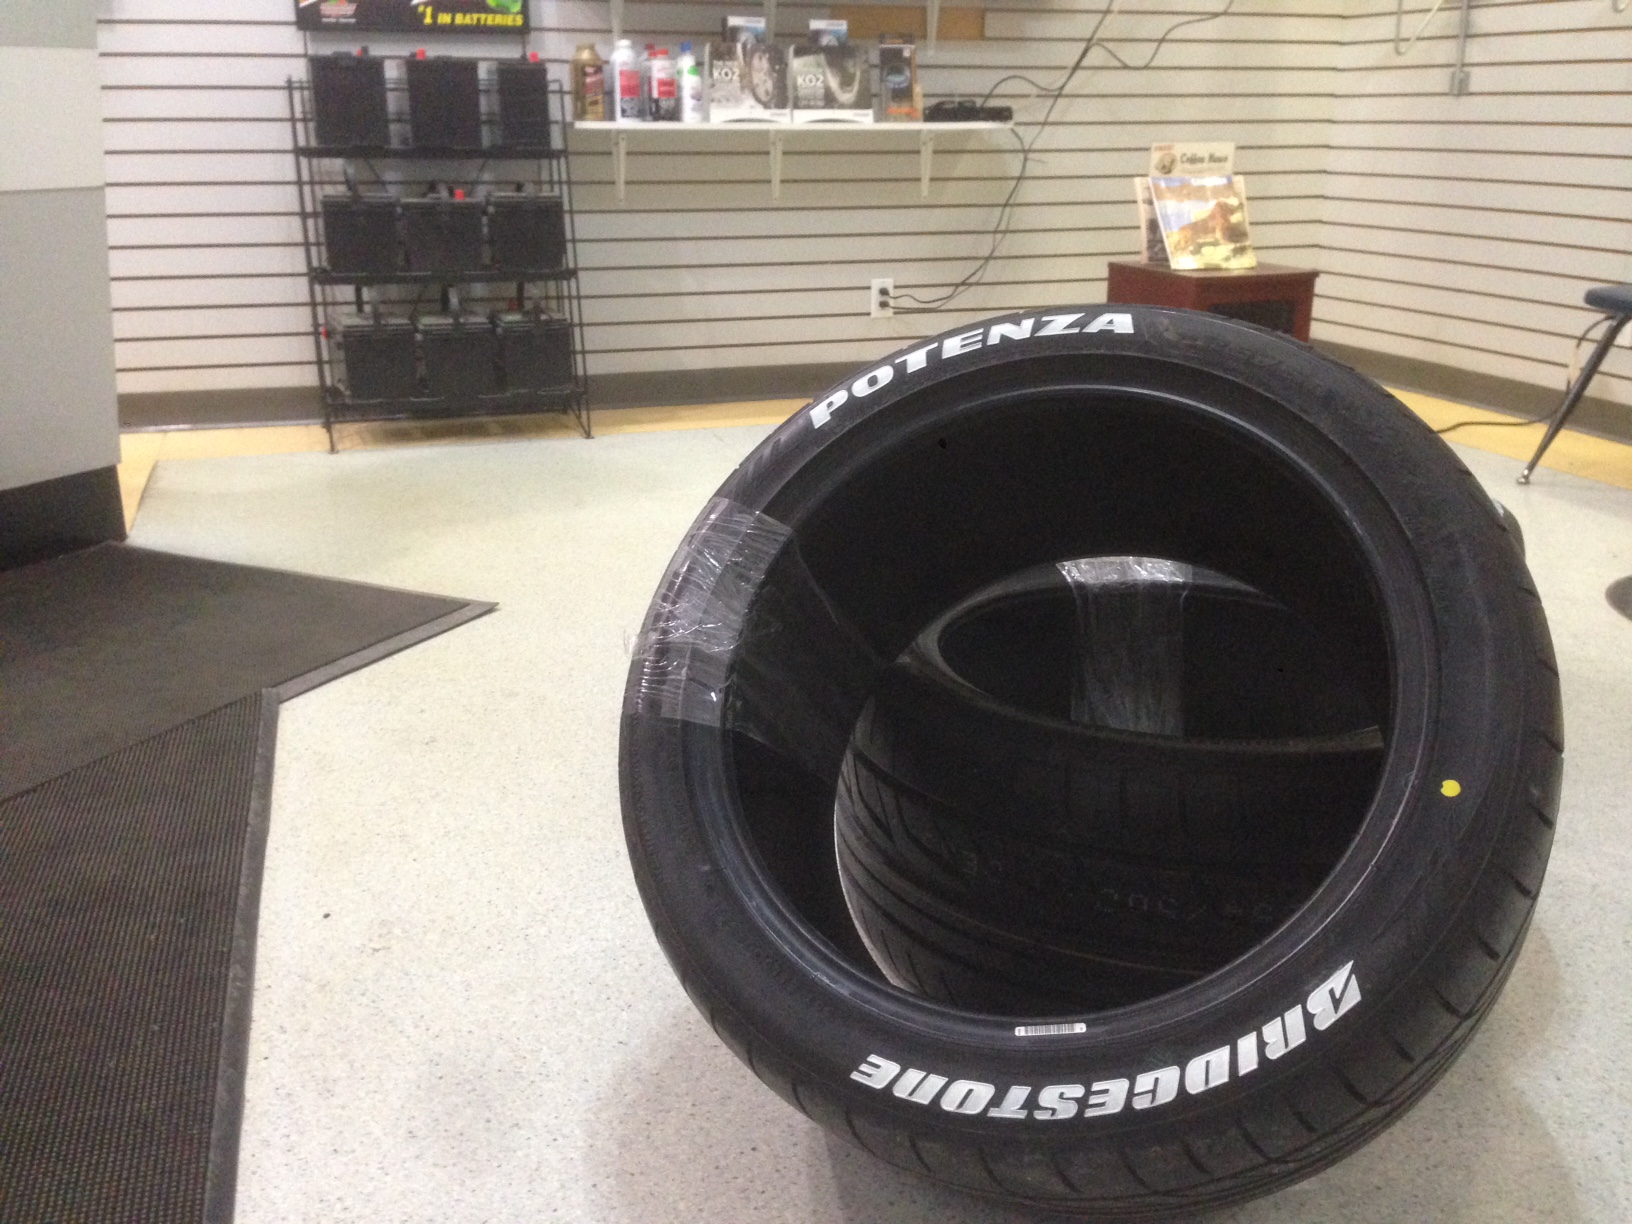
So I put 2 coates on and used 2 pens for 4 tires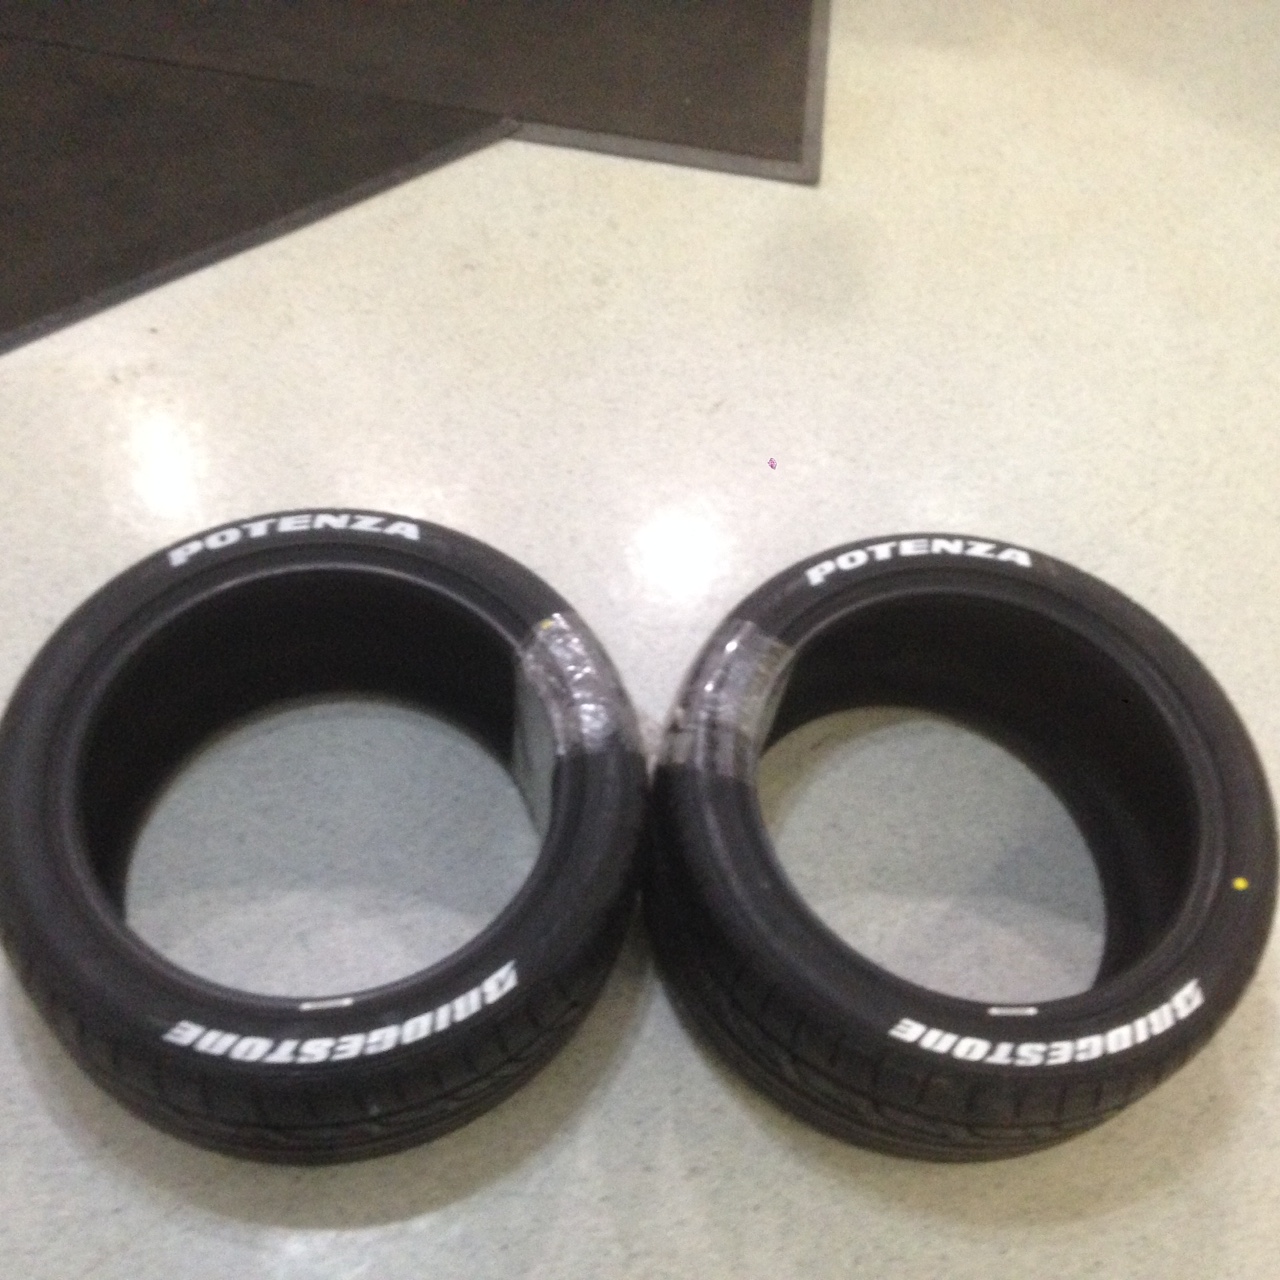
Next was the trunk. So first I got the angles which was 12* and 8* as indicated in the picture below
So this is the hardwood I picked up. Dark maple hardwood that I picked up at a local home building shop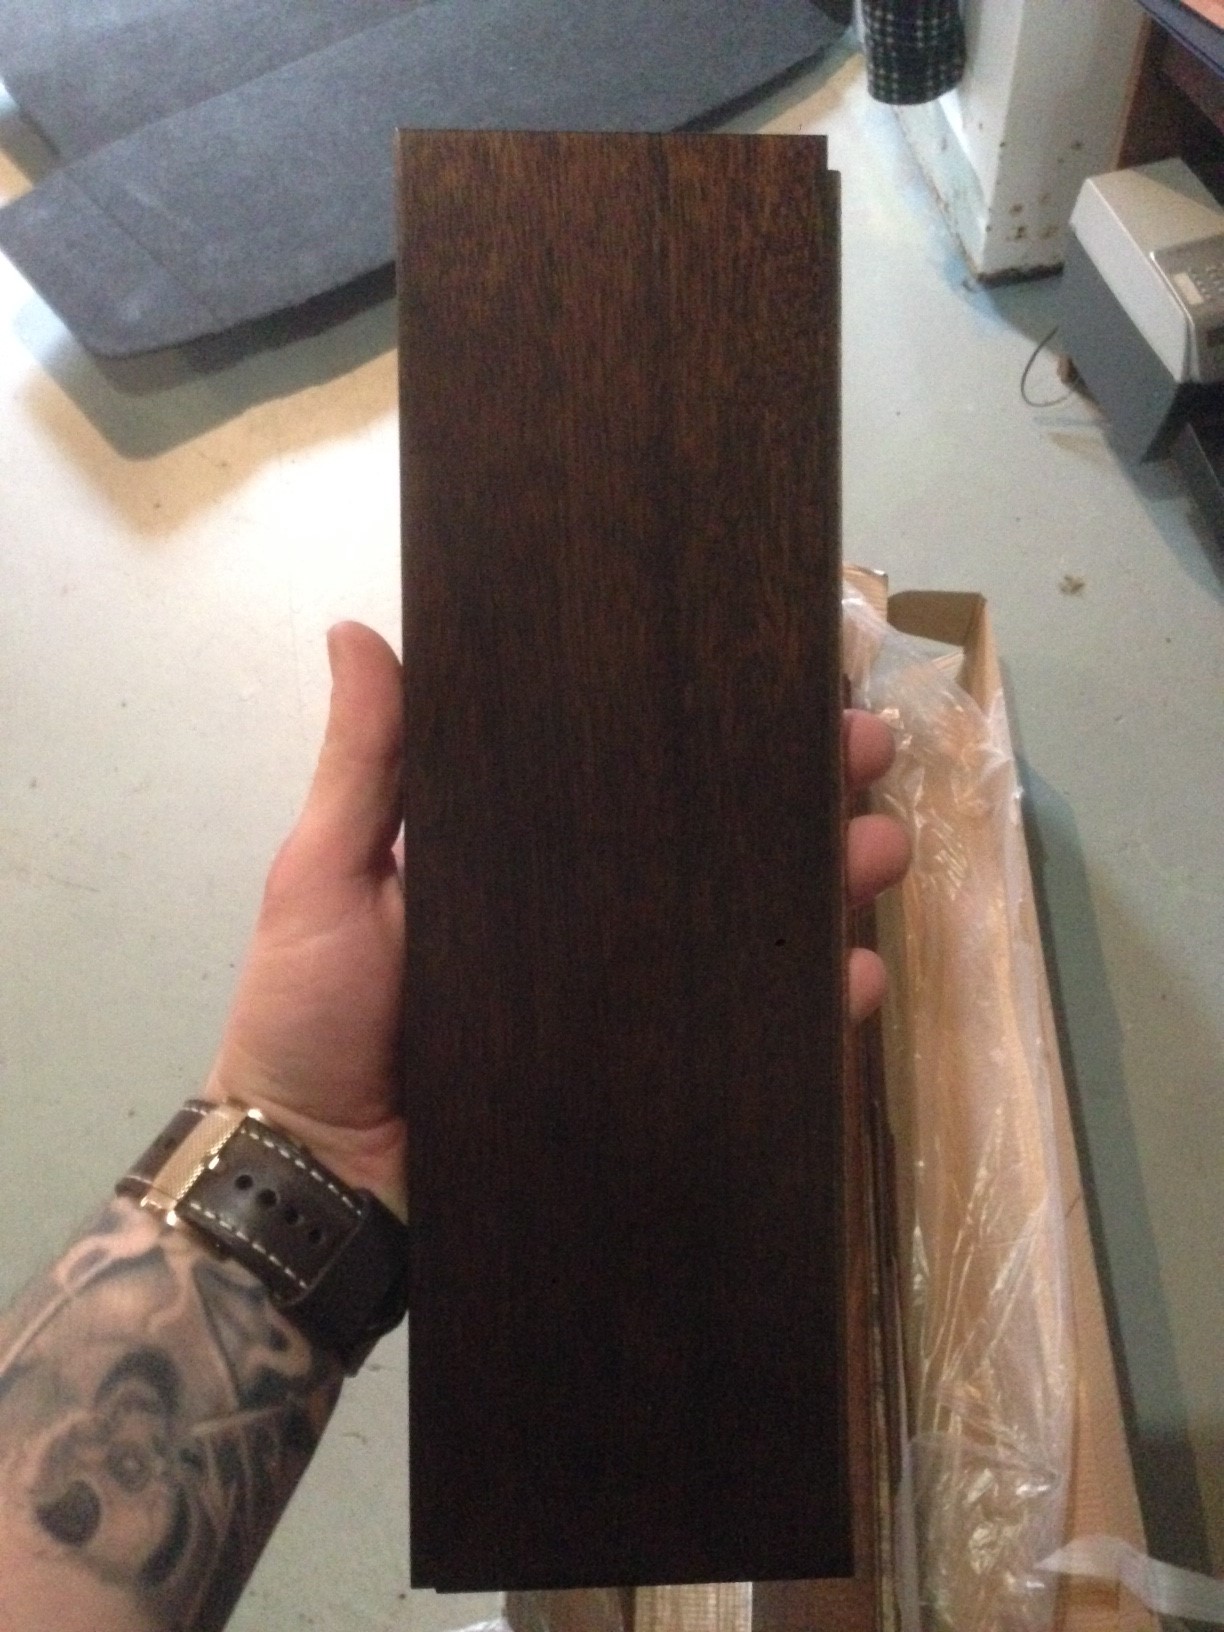
So my first step was to take it all out and sort the pieces and make a layout to make sure I got enough hardwood.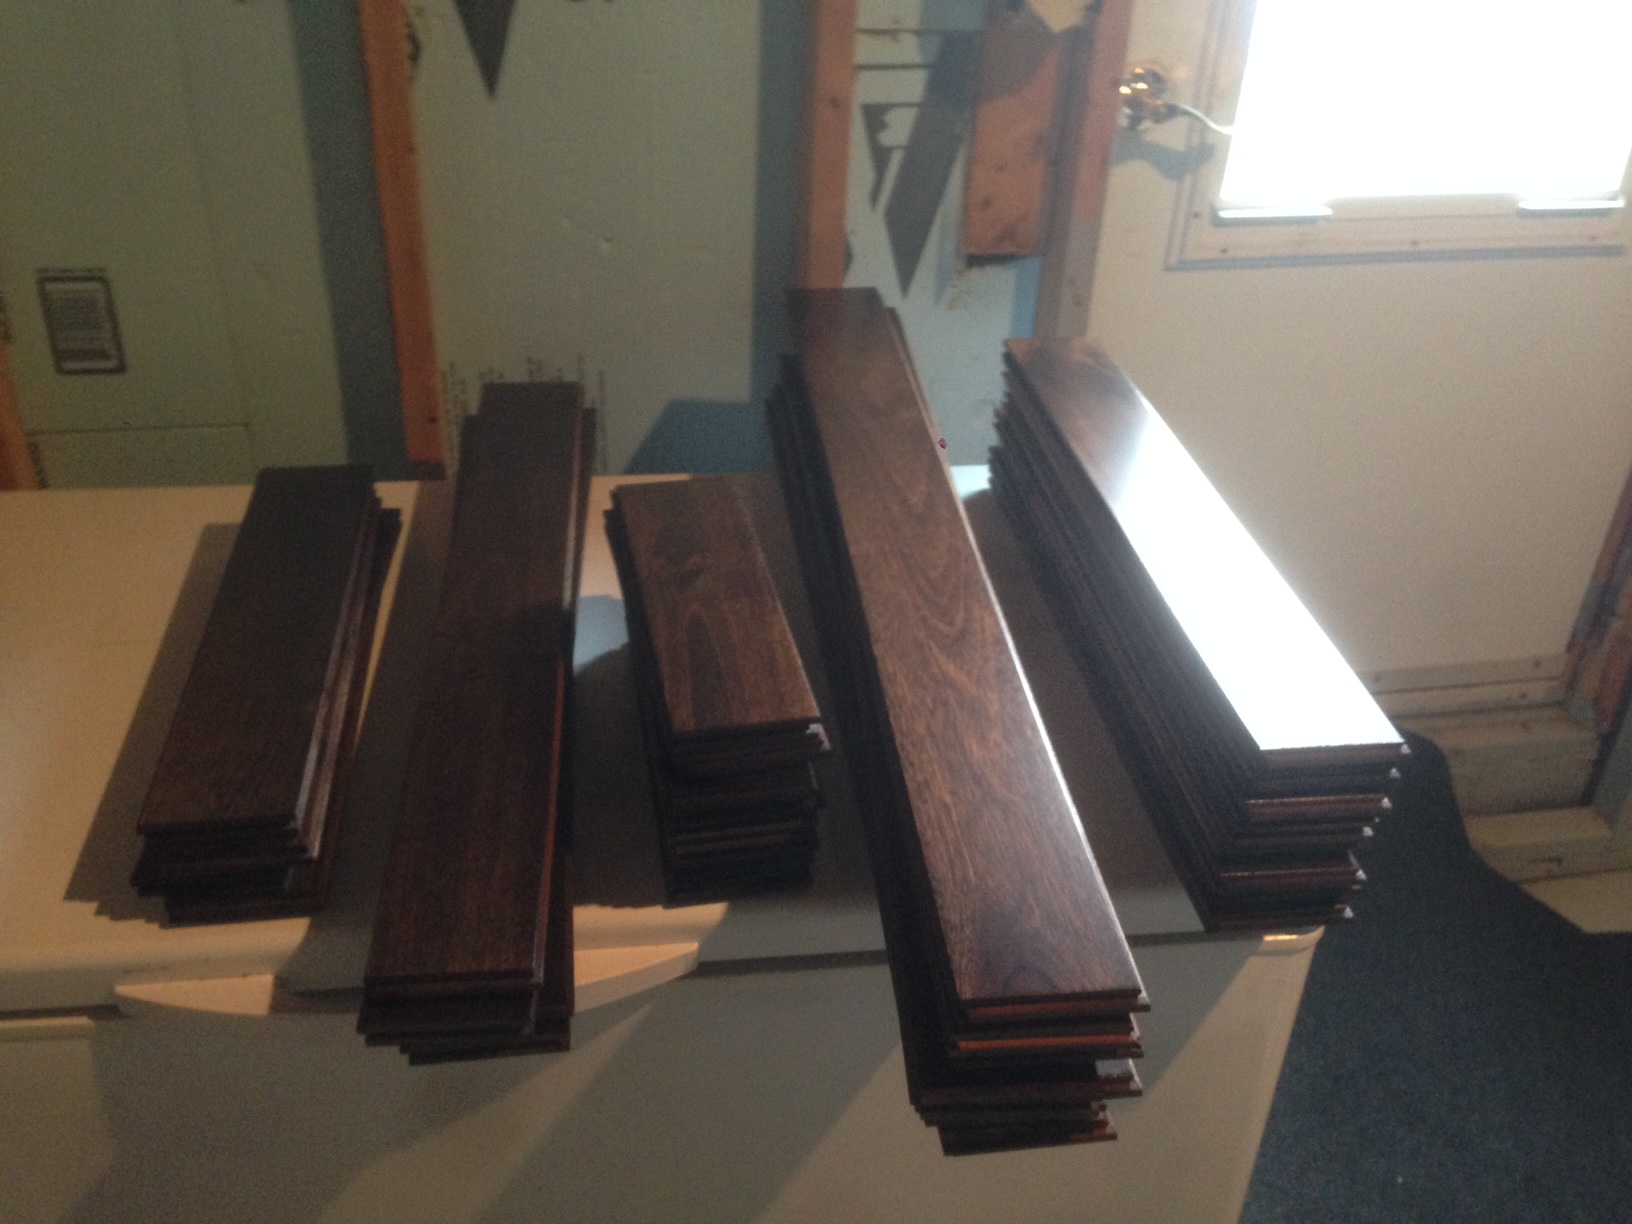
Pieces laid out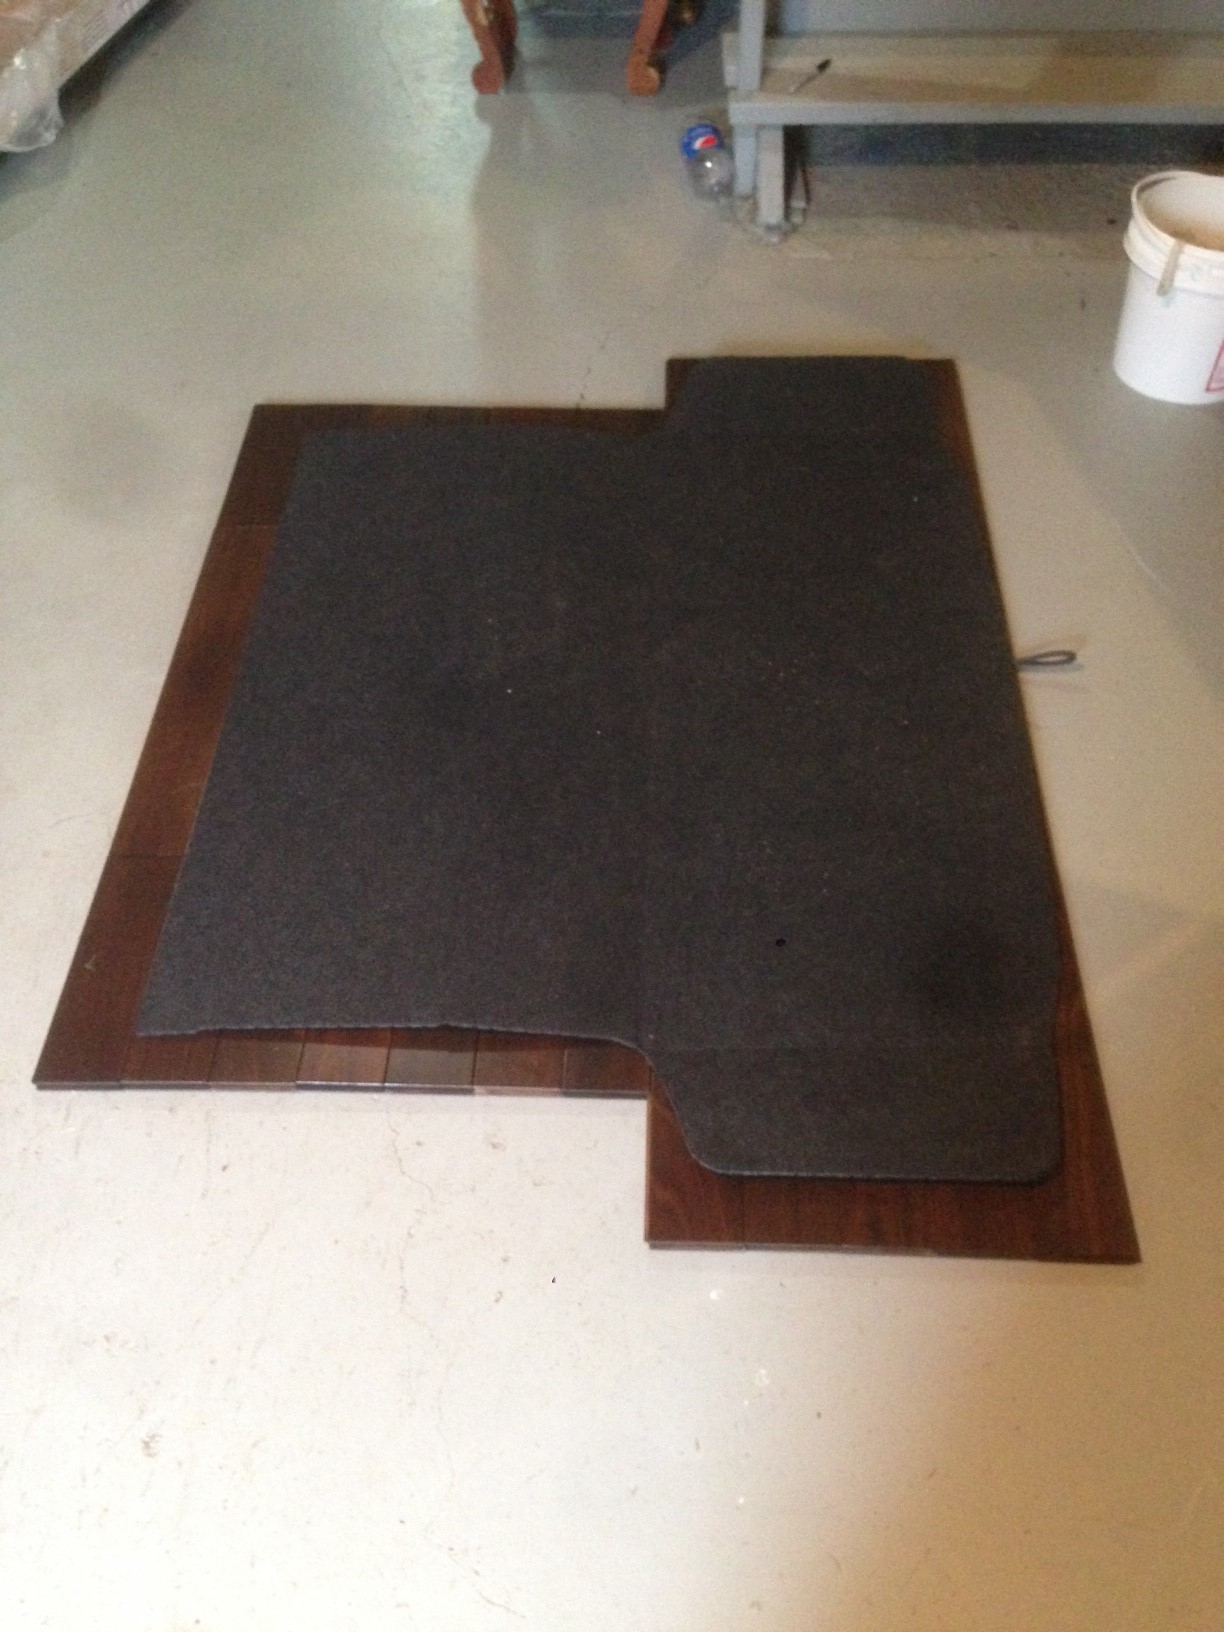
Taped down for outline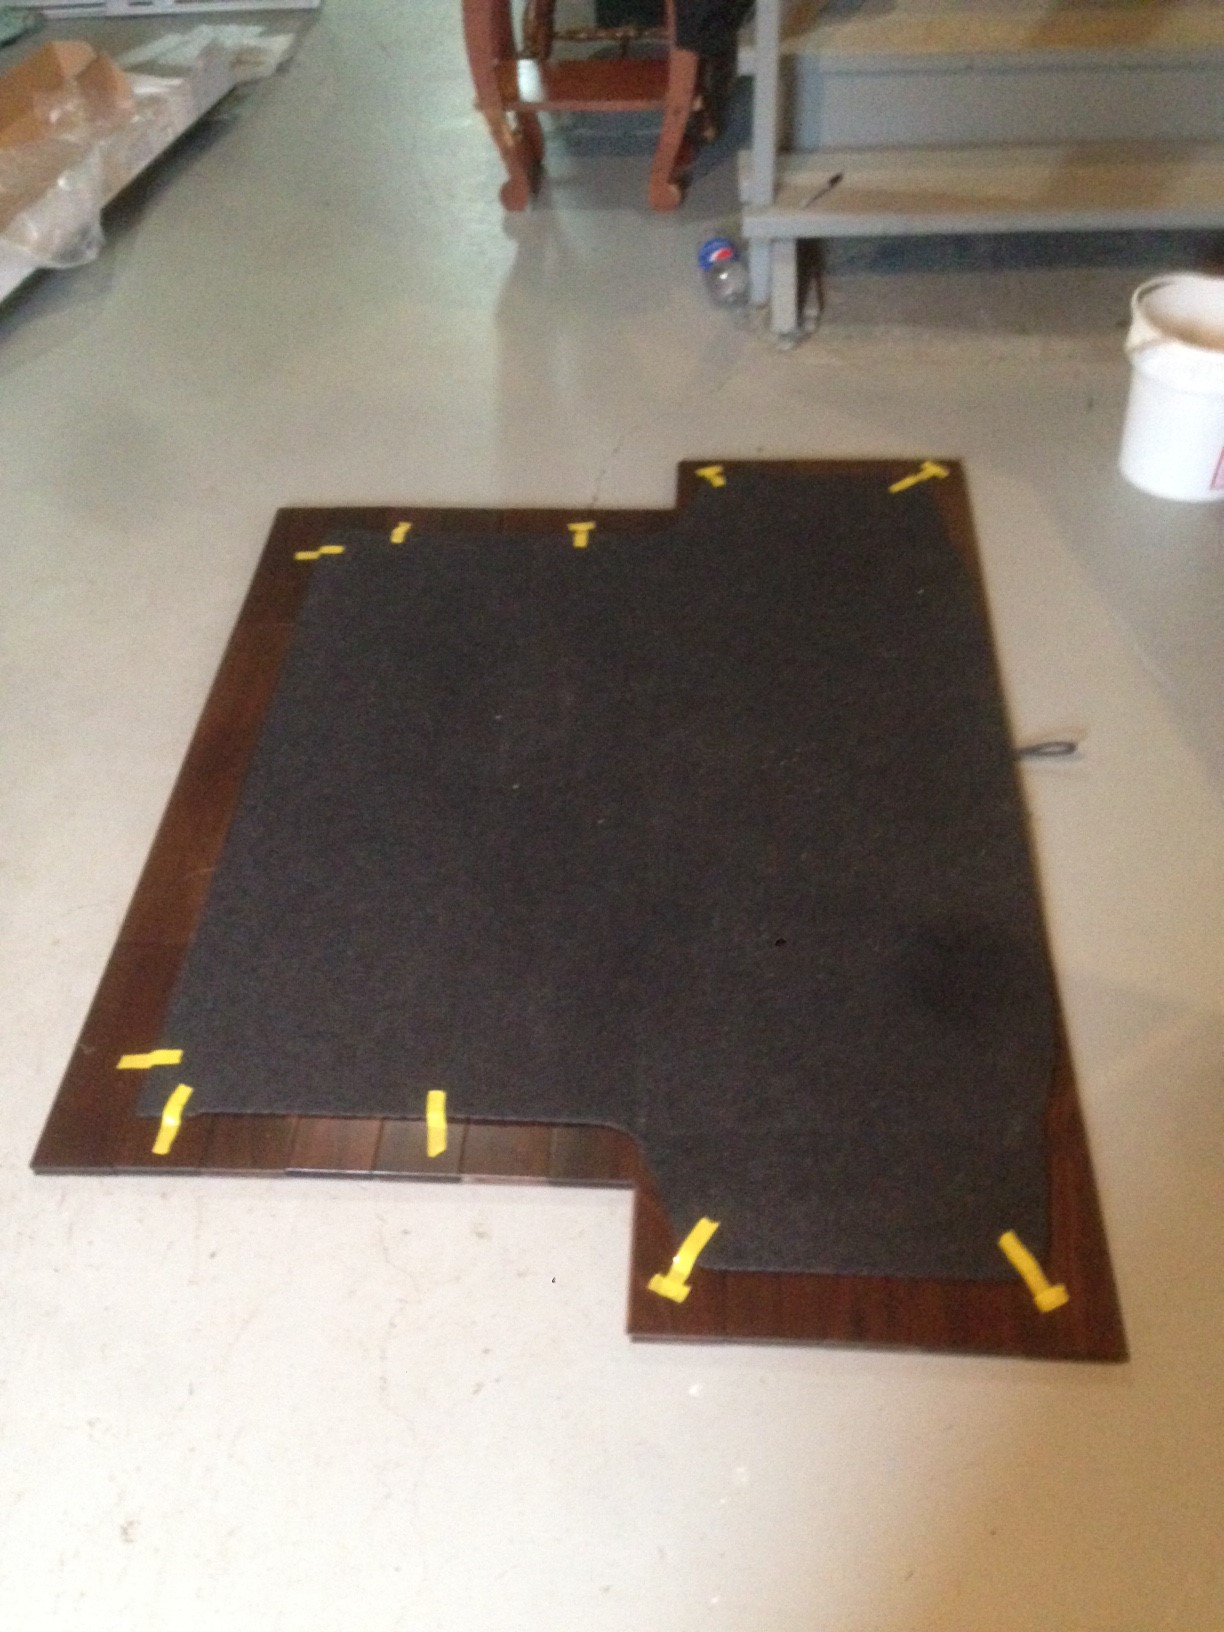
4-25-2016
So by the end of the first day we had most of it together and had the carpet set to the right angles to make the right cuts for the bends.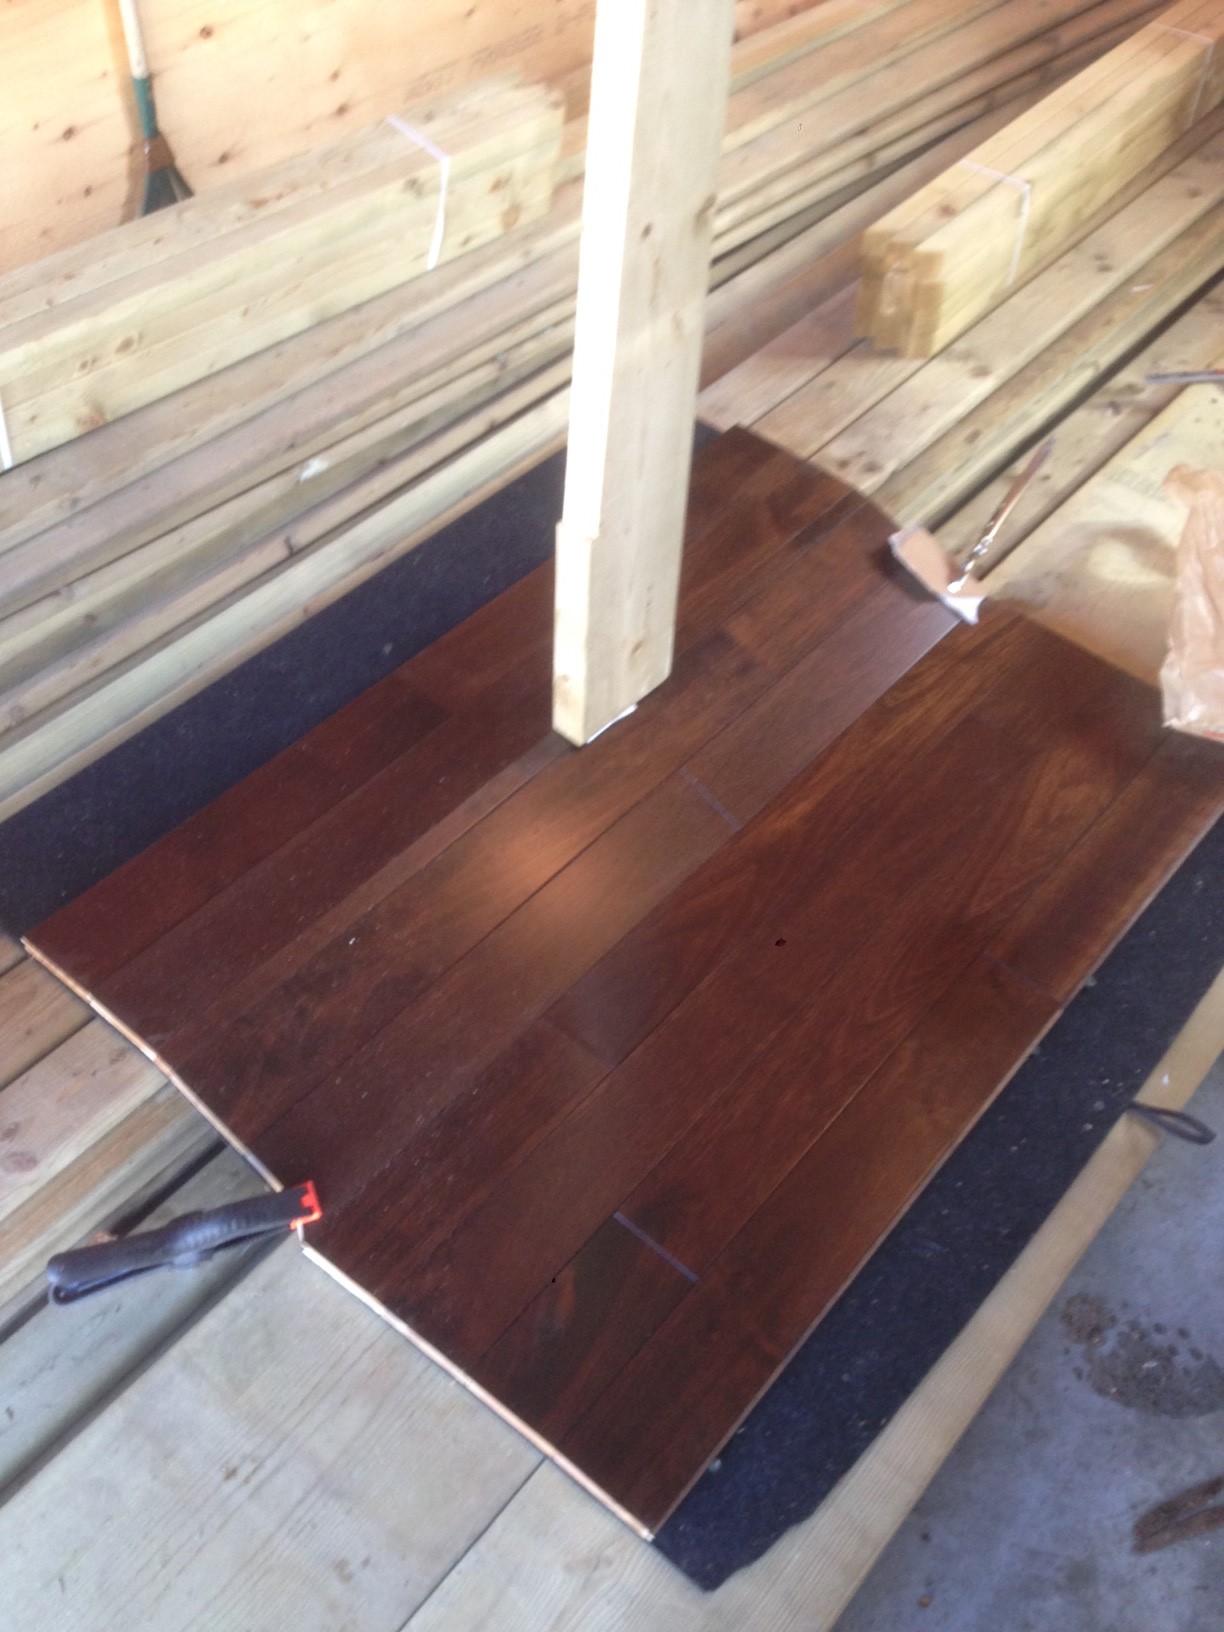
and after the second day we got most of it done except the side pieces which are cut but we are waiting till the car is back to make sure they fit. I used PL Premium cucking to glue all the hardwood down.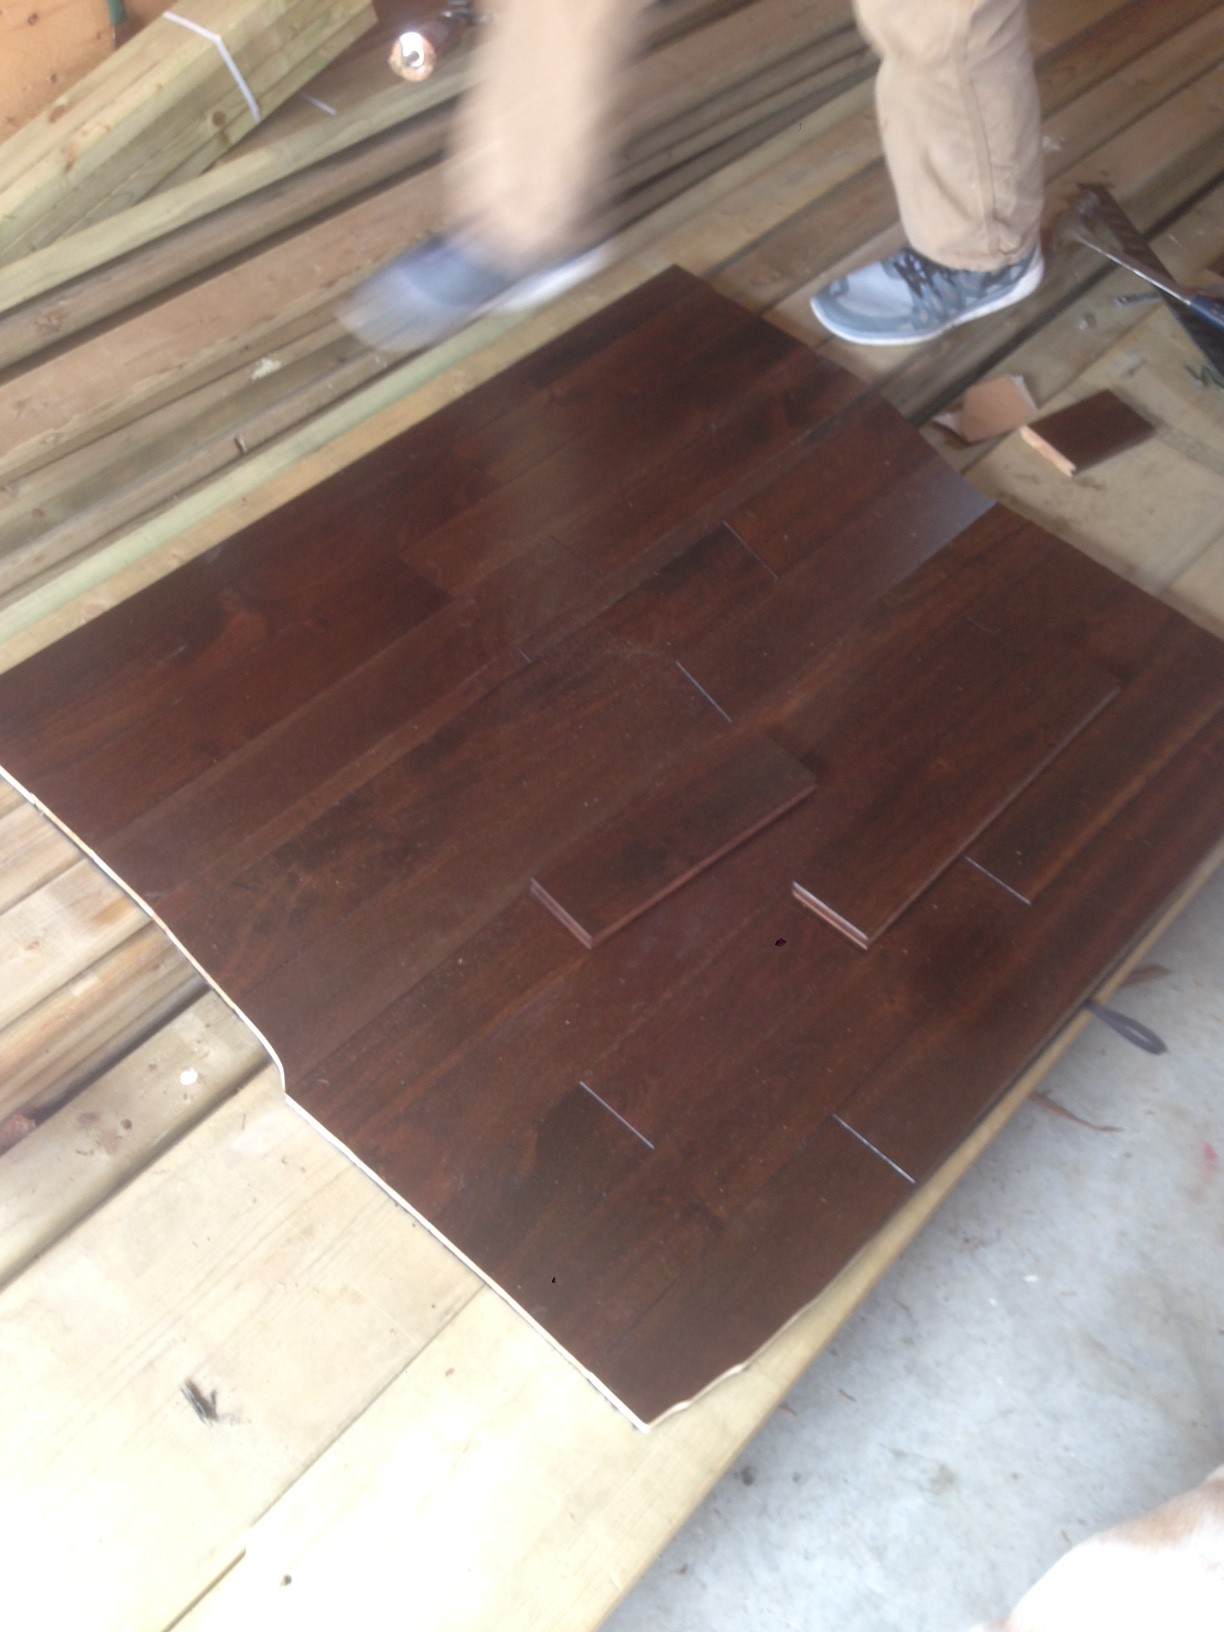
You can see the angles better in this pic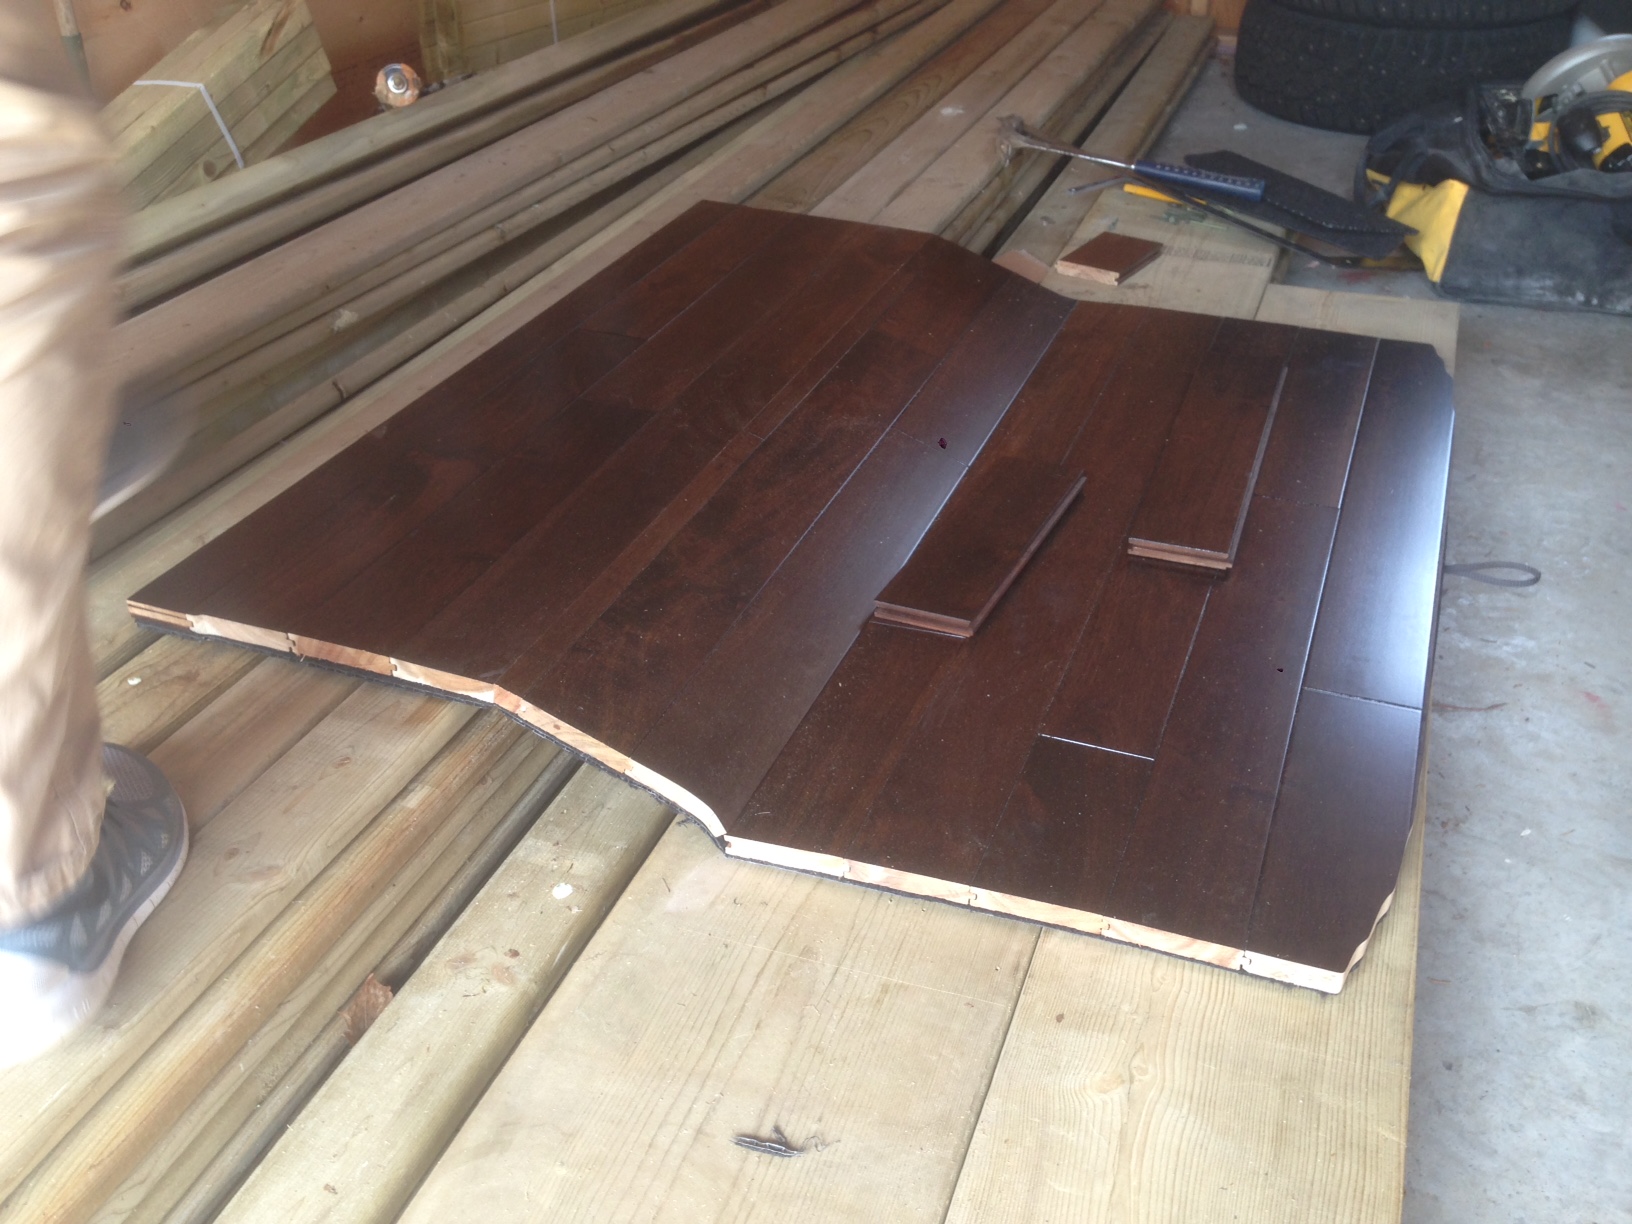
Next step was to get back to working on the car. The Air Lift struts arent here yet due to weather im assuming.
So jacking up the car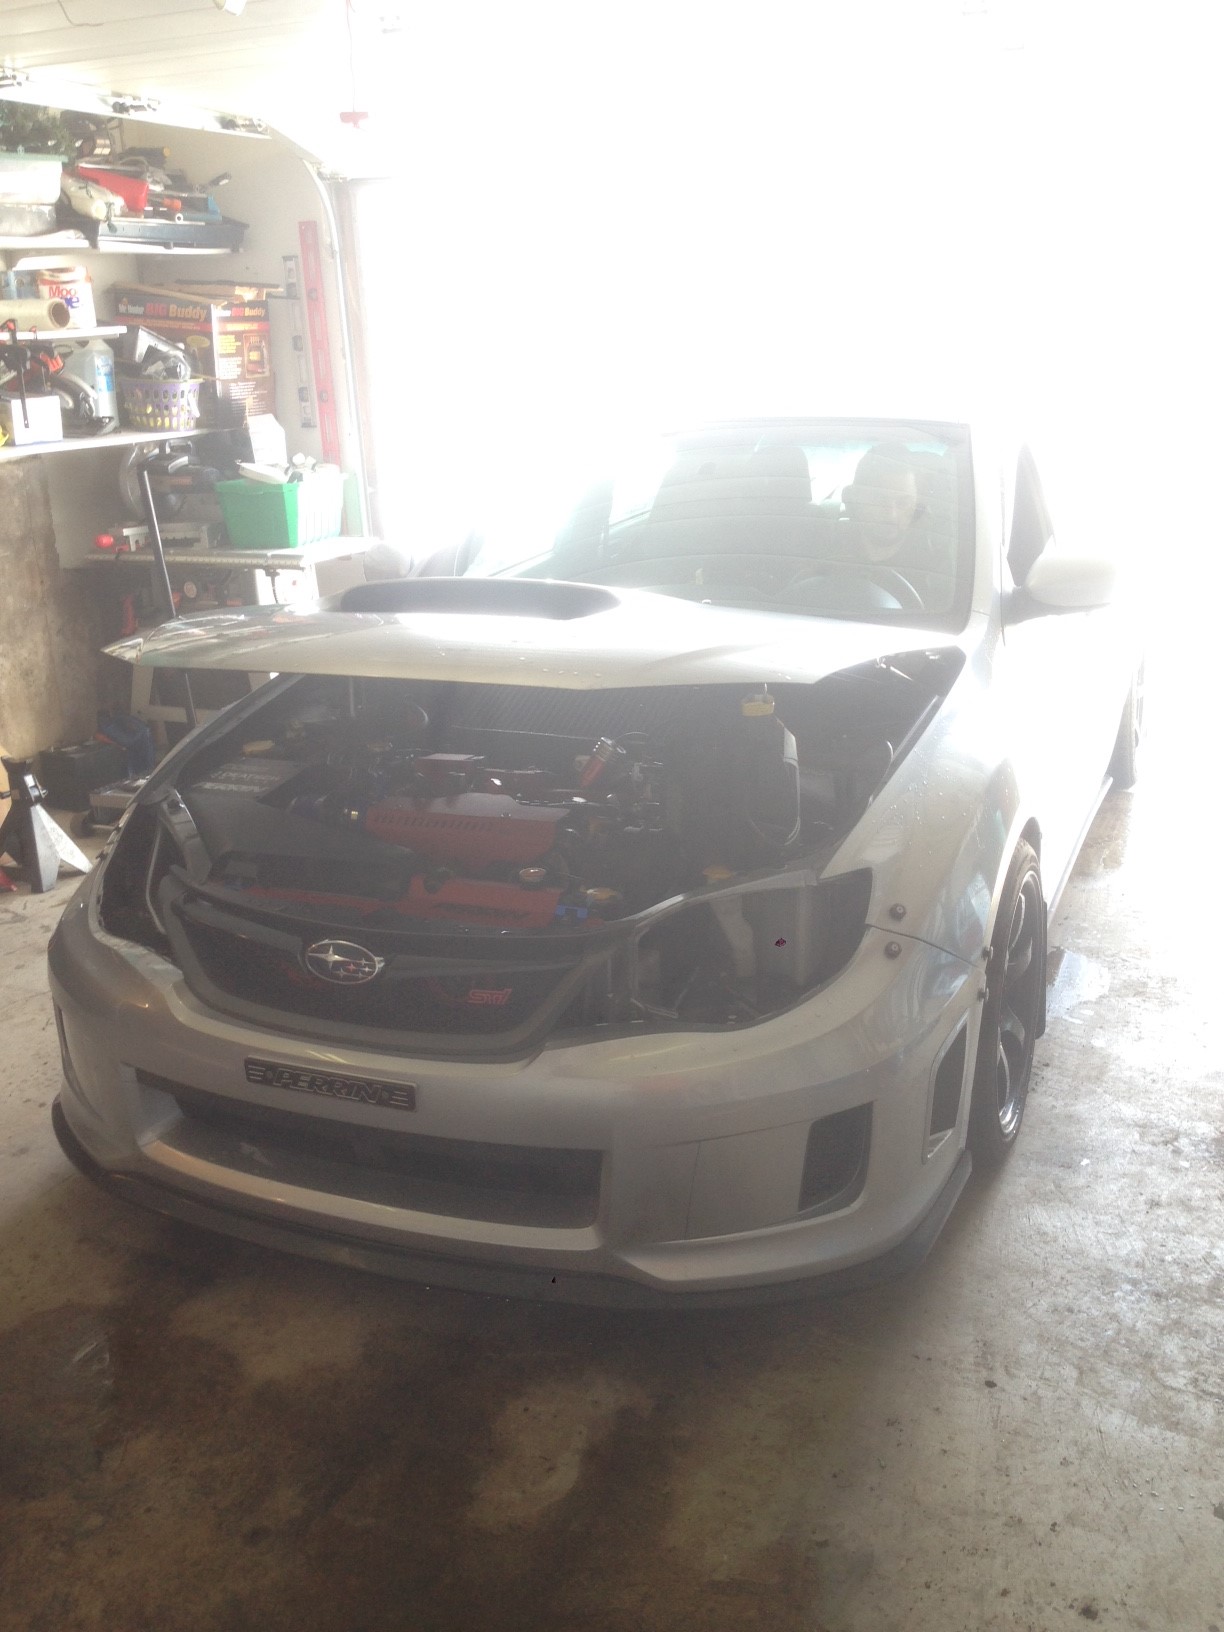
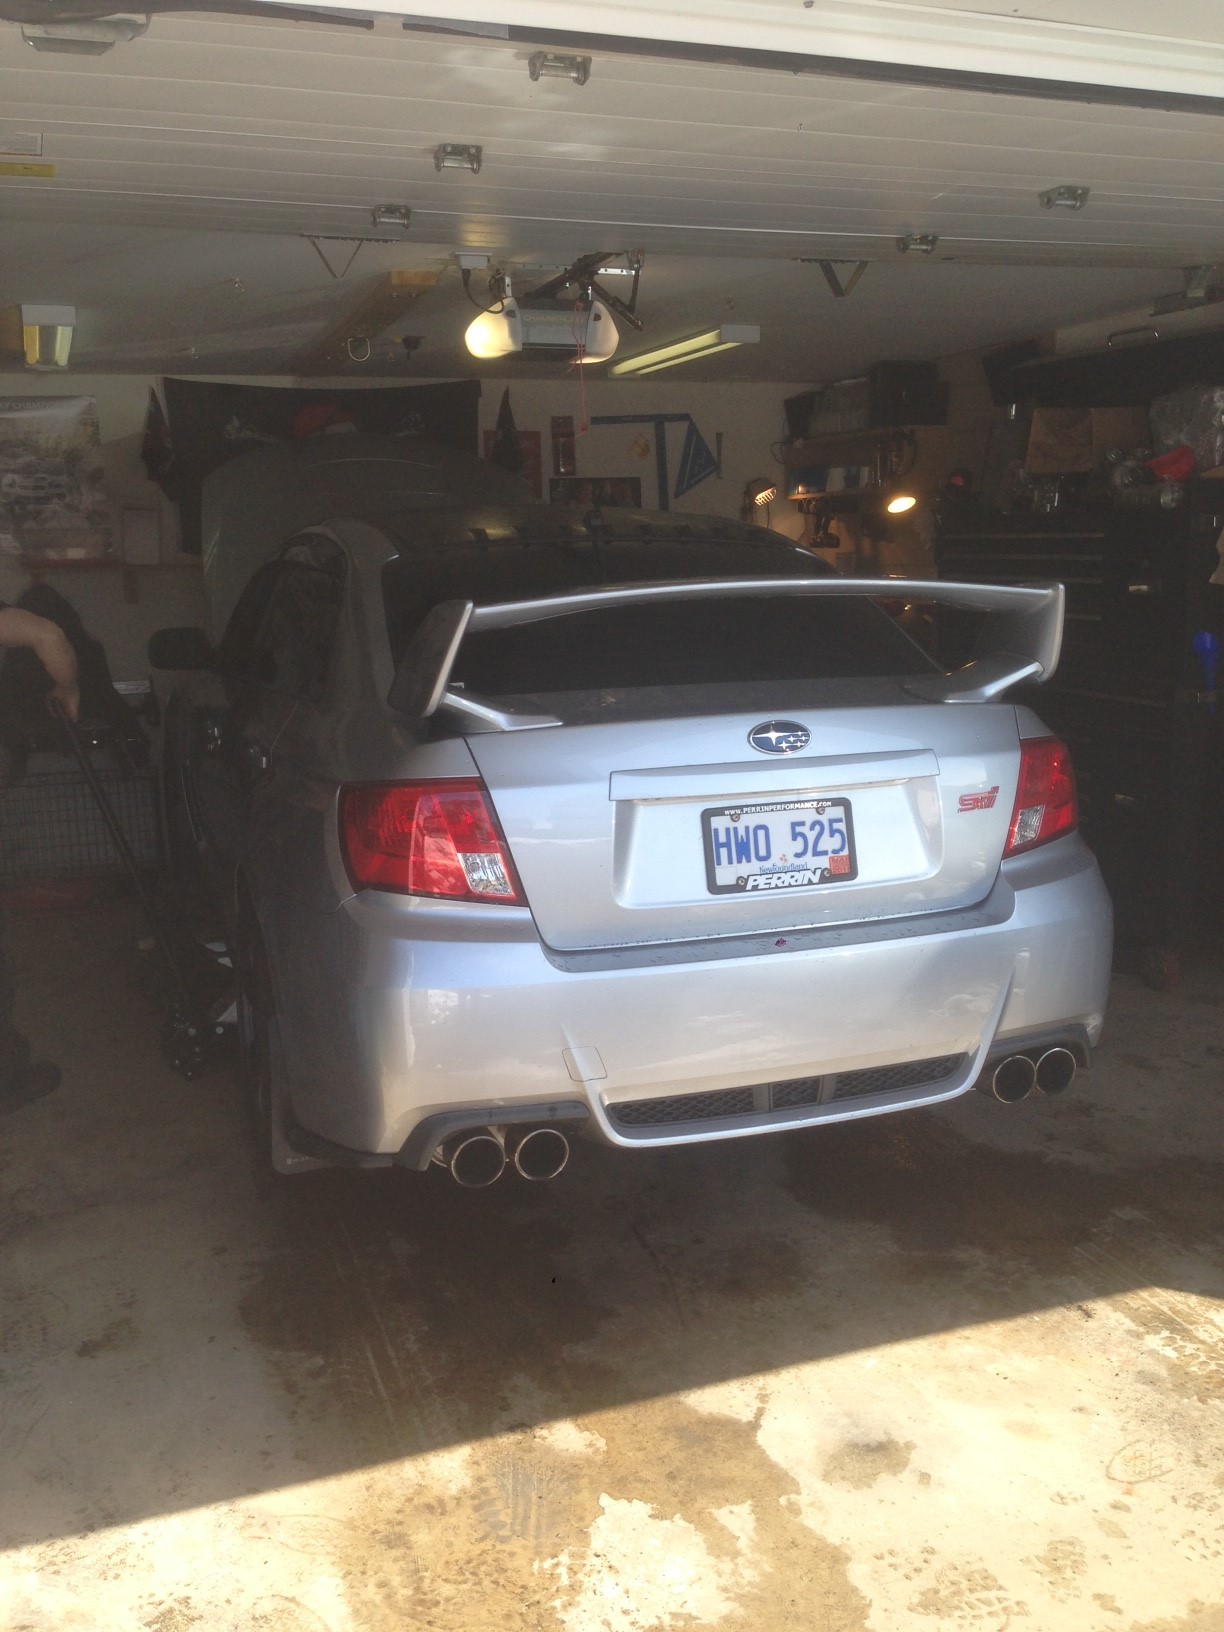
Next was to roll the fenders. I had a shop do my last ones and they destroyed them cause they didnt use heat so I said I would try it instead and the fenders are getting cut away anyways lol. So I set the heat gun too 300-350*. The first fender which was driver side I had the garage door open and it was cool outside so the heat wouldnt stay in the fenders for too long so I had a couple cracks come from that and it took me about an hour and twenty mins to do the first side. When I cracked the paint I just used clear nail polish to seal up the cracks and paint.
Heres the setup here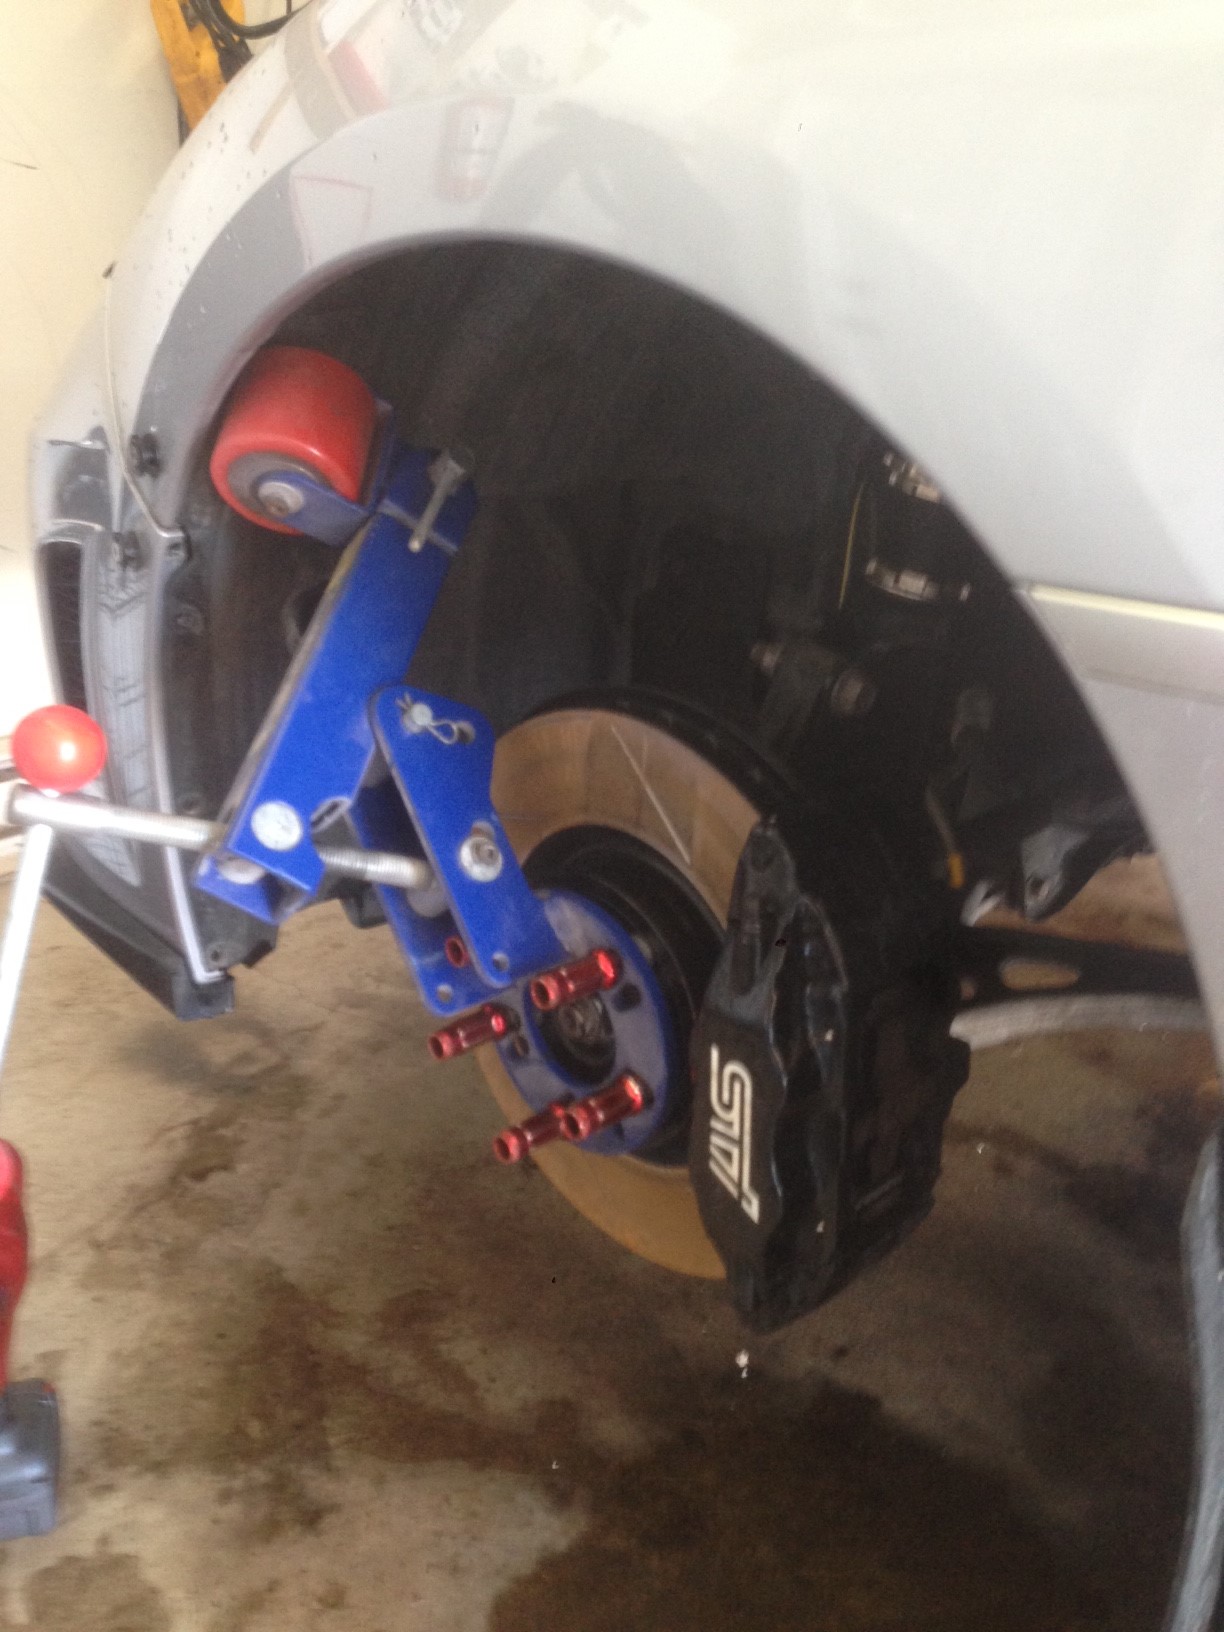
Pic of the progress. Now I did the passanger side with the garage door closed. The heat sunk into the paint like crazy and did the fender in 15 min with no cracks at all.
Heres a pic of the lip. Hard to see but its perfectly flat.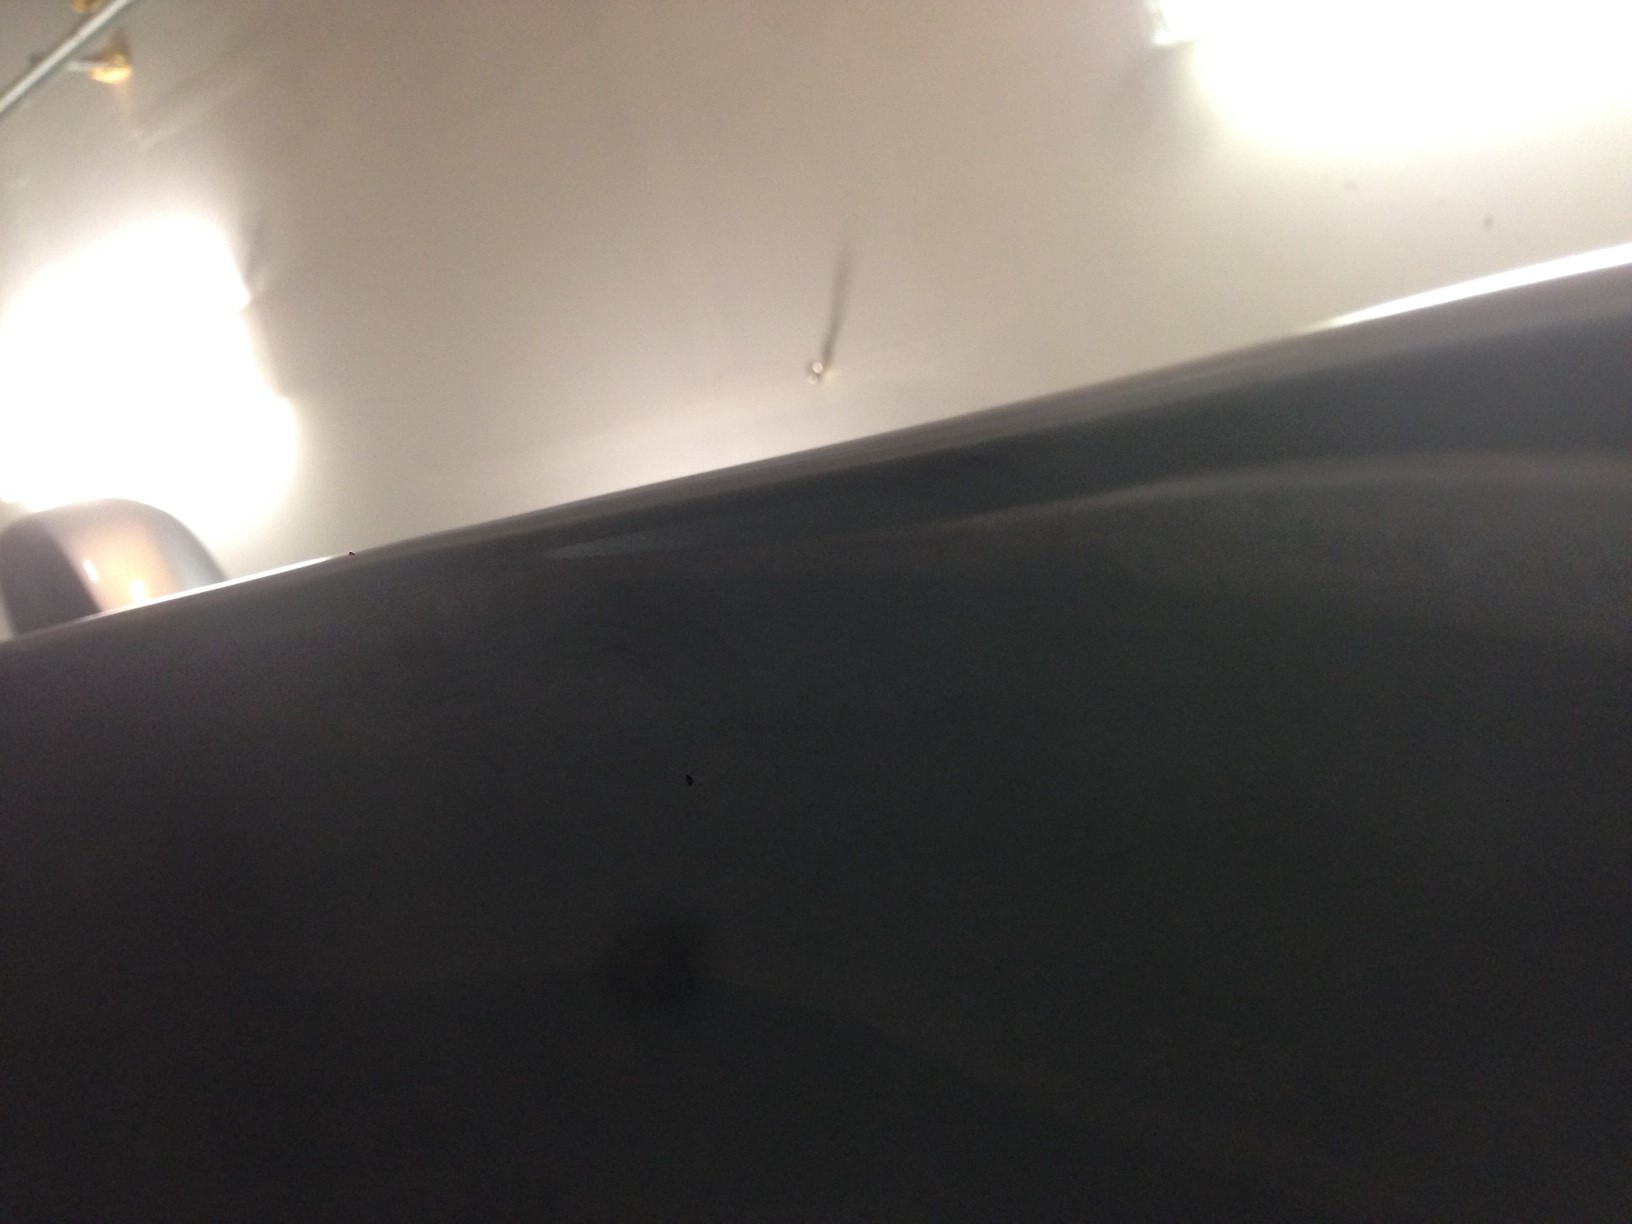
After that we ran the lines for the air suspension and also removed the BC coils.
So we ran the lines along underneath the door seals to keep it away from weather and damage and for a really clean look. You can see the pic below where it came out by the driver side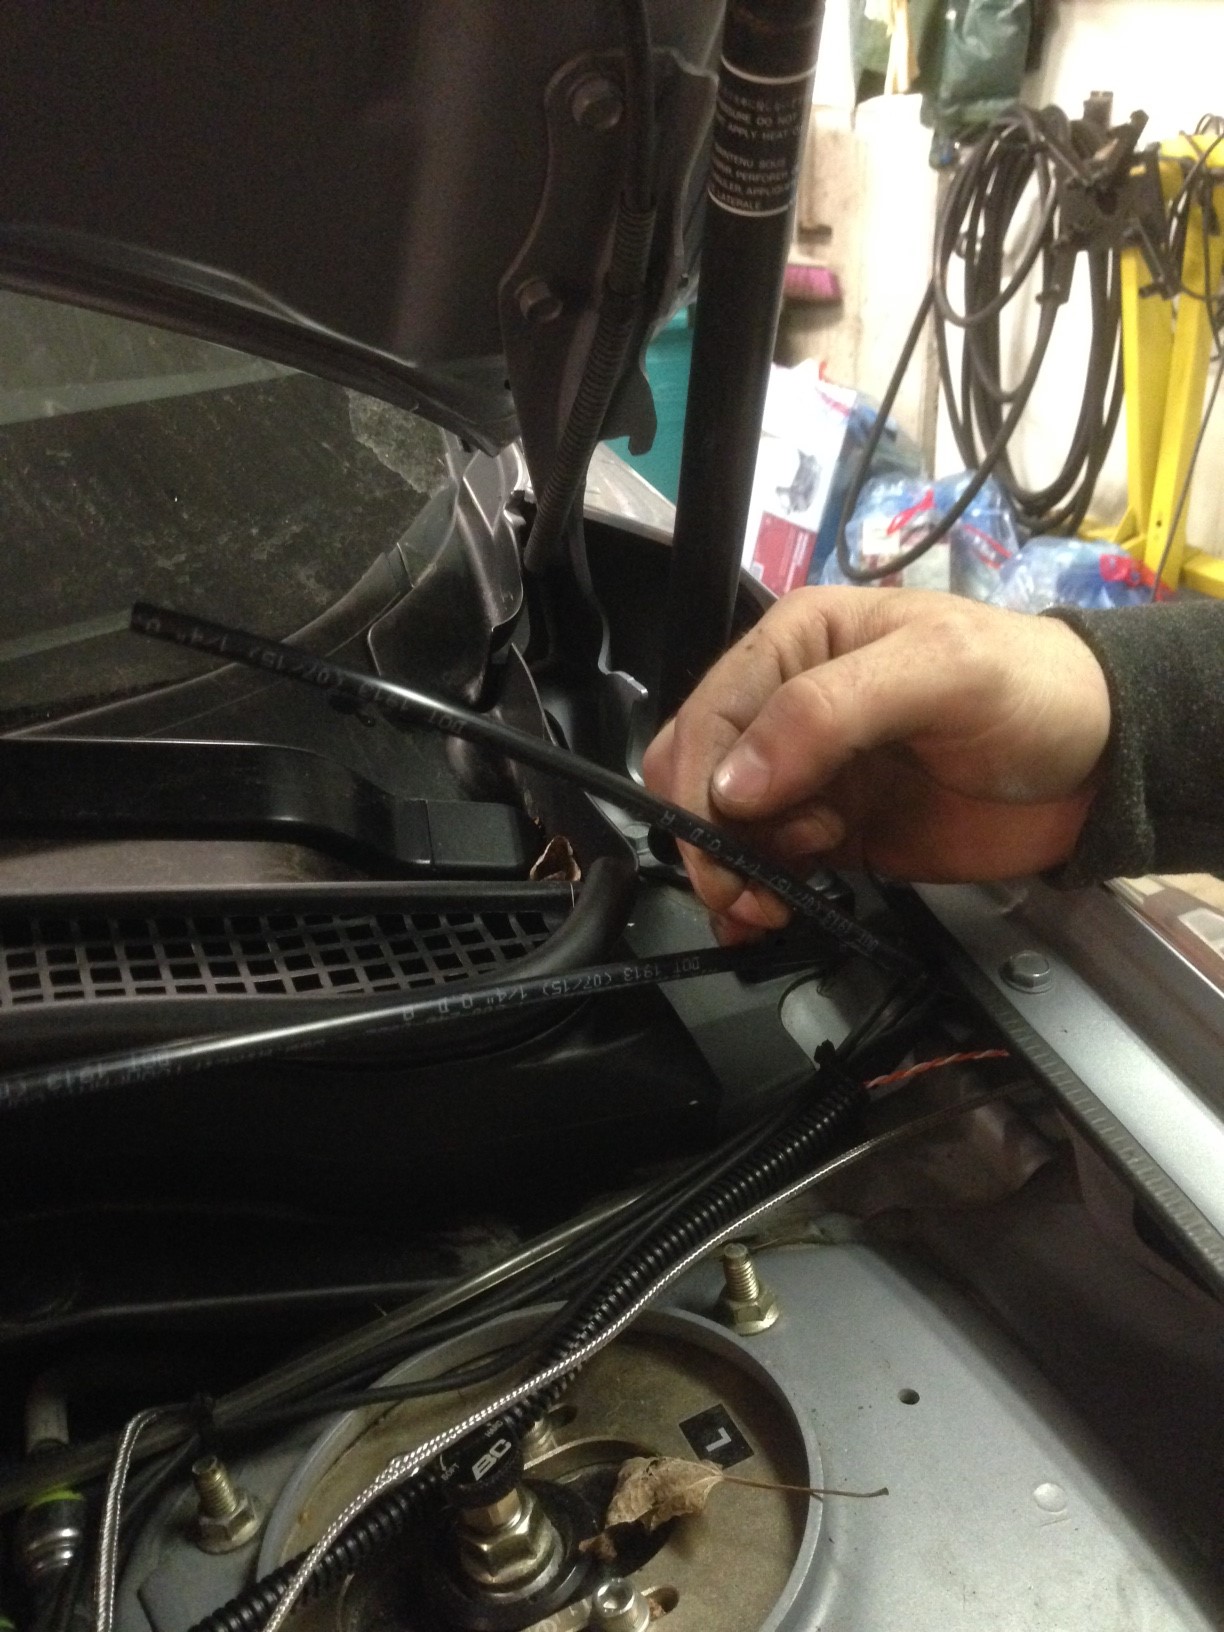
and this is where is came out on the passenger side rear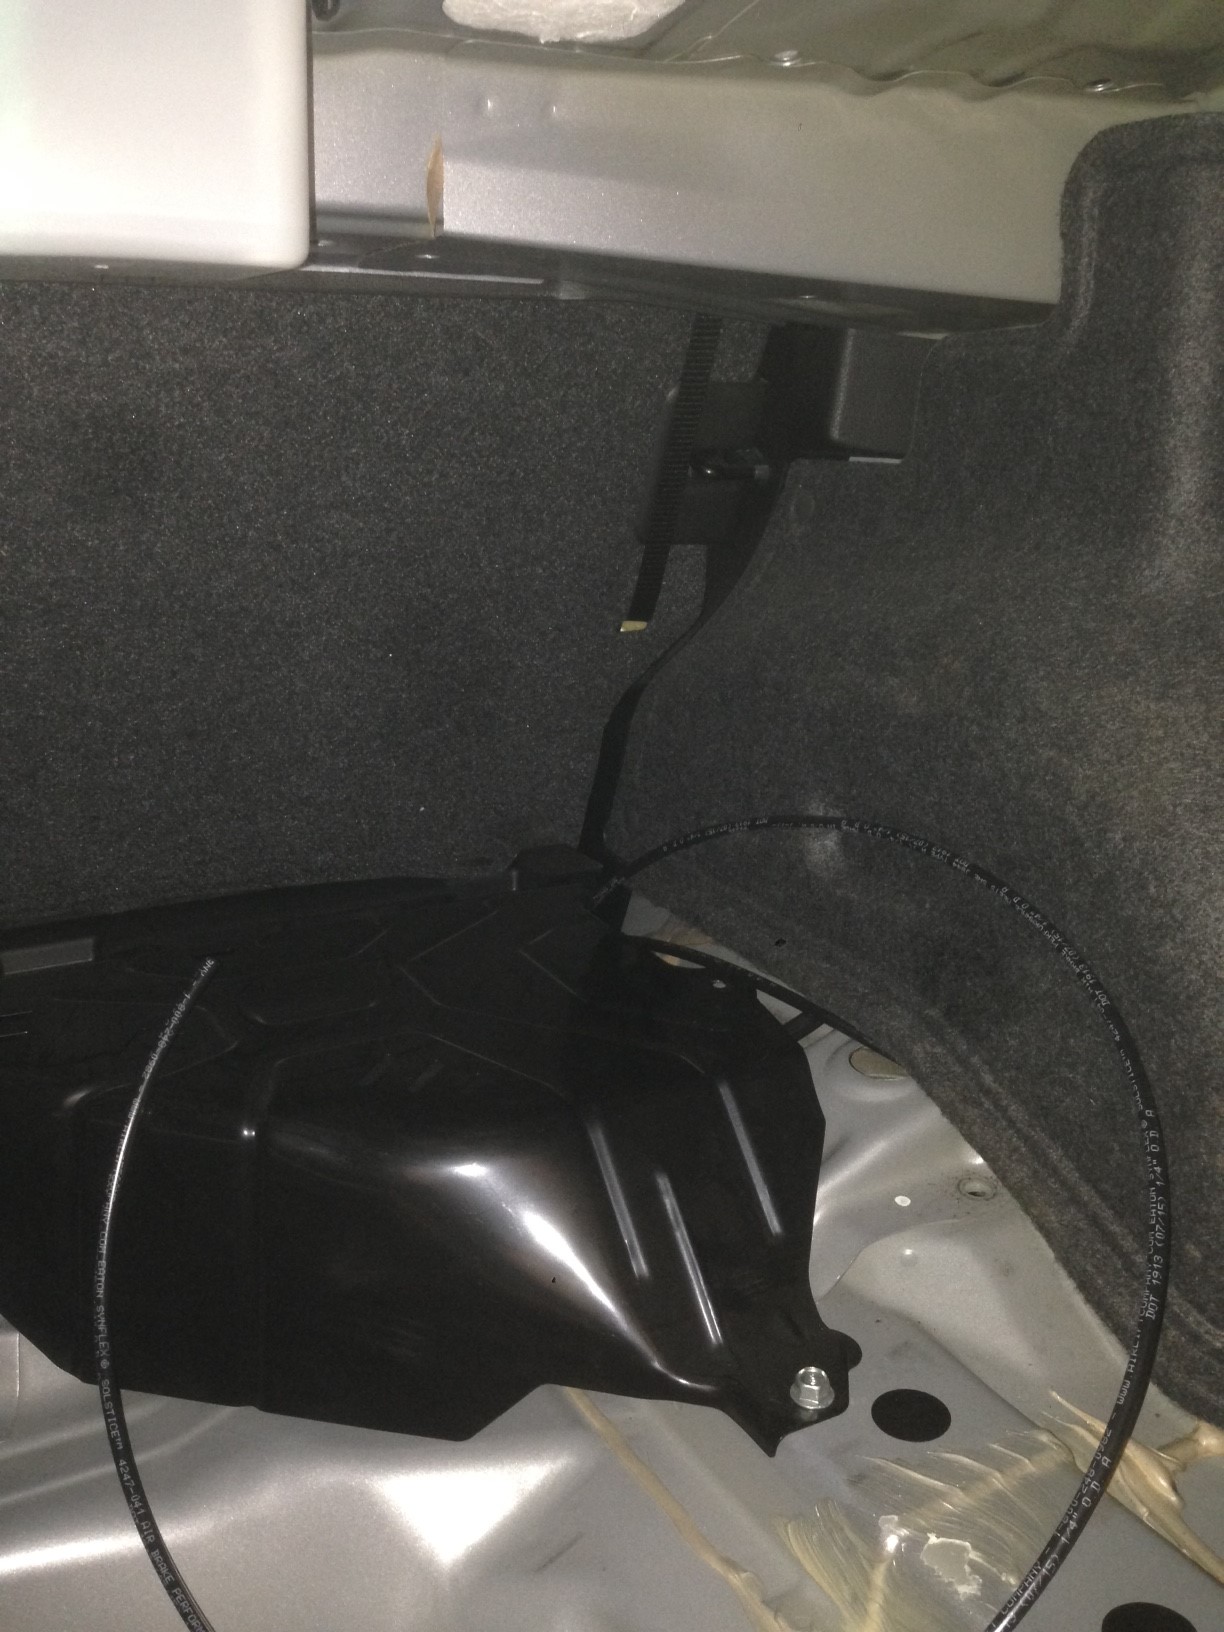
and the driver rear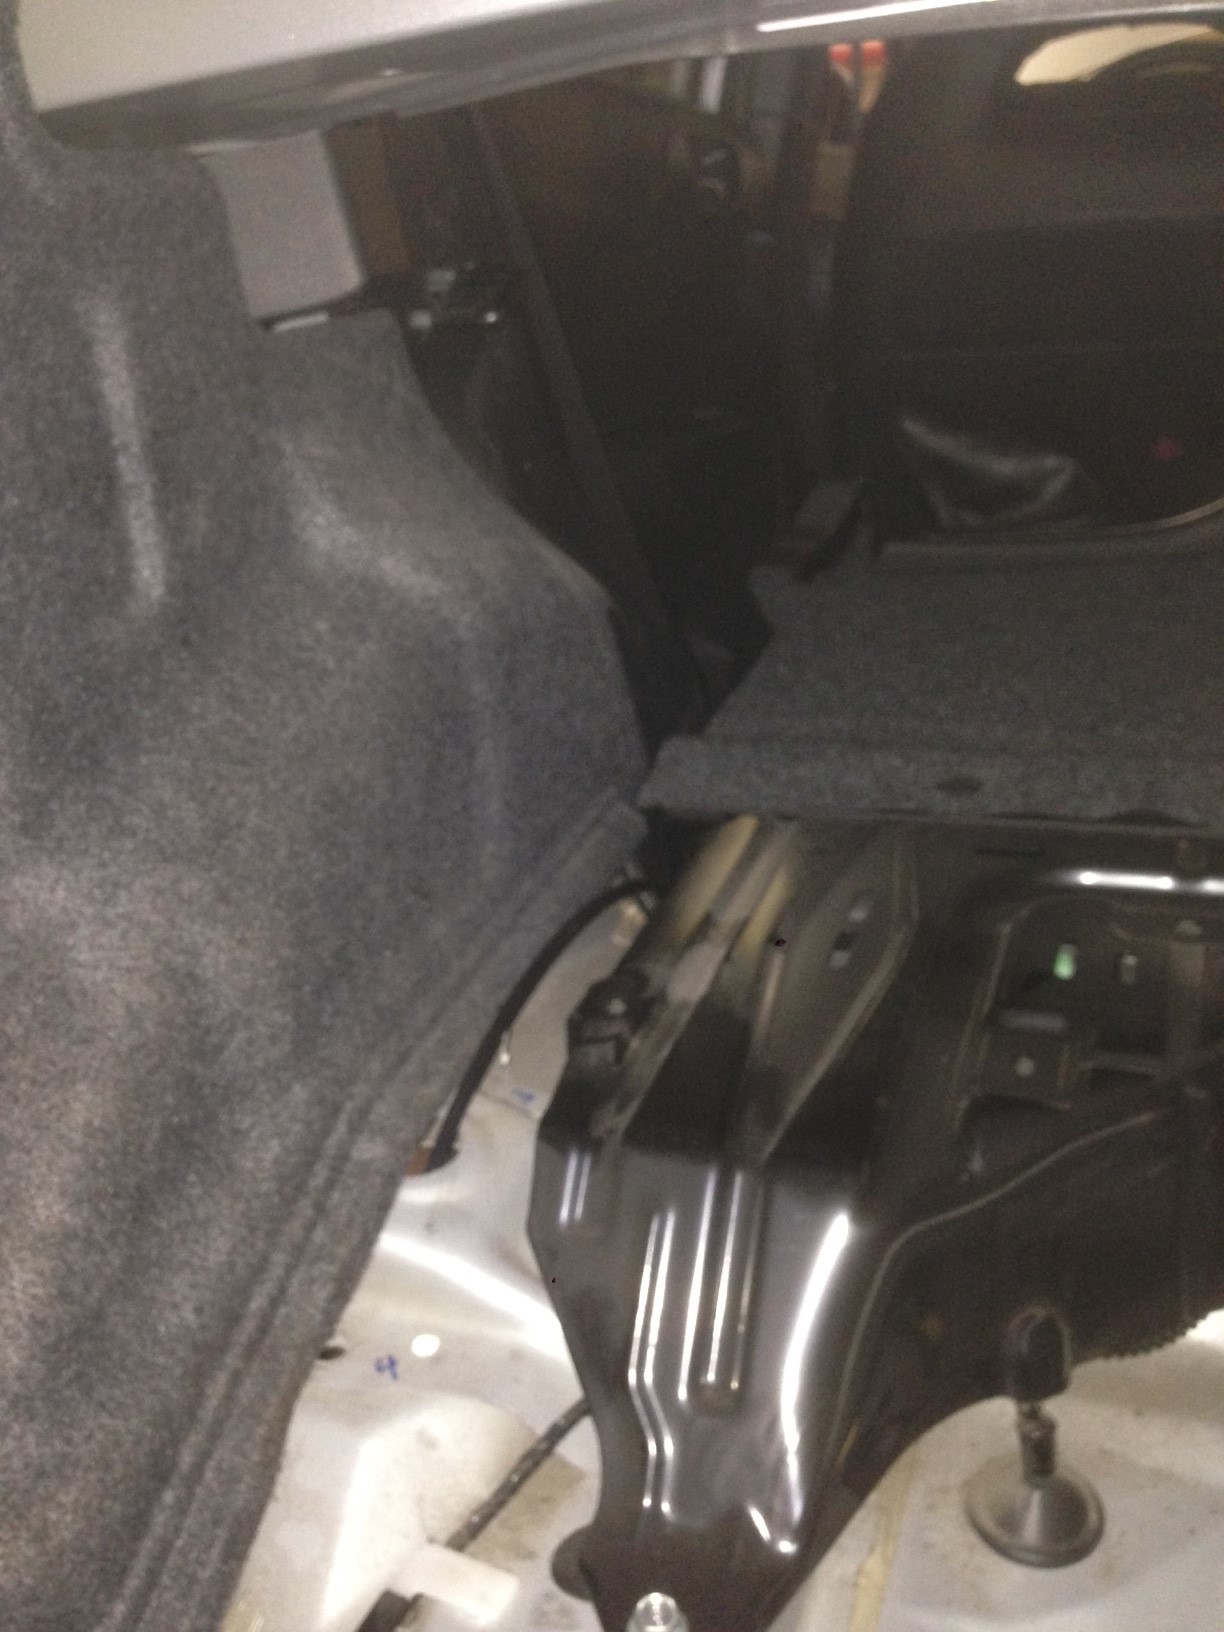
and like I said just ran under the door sills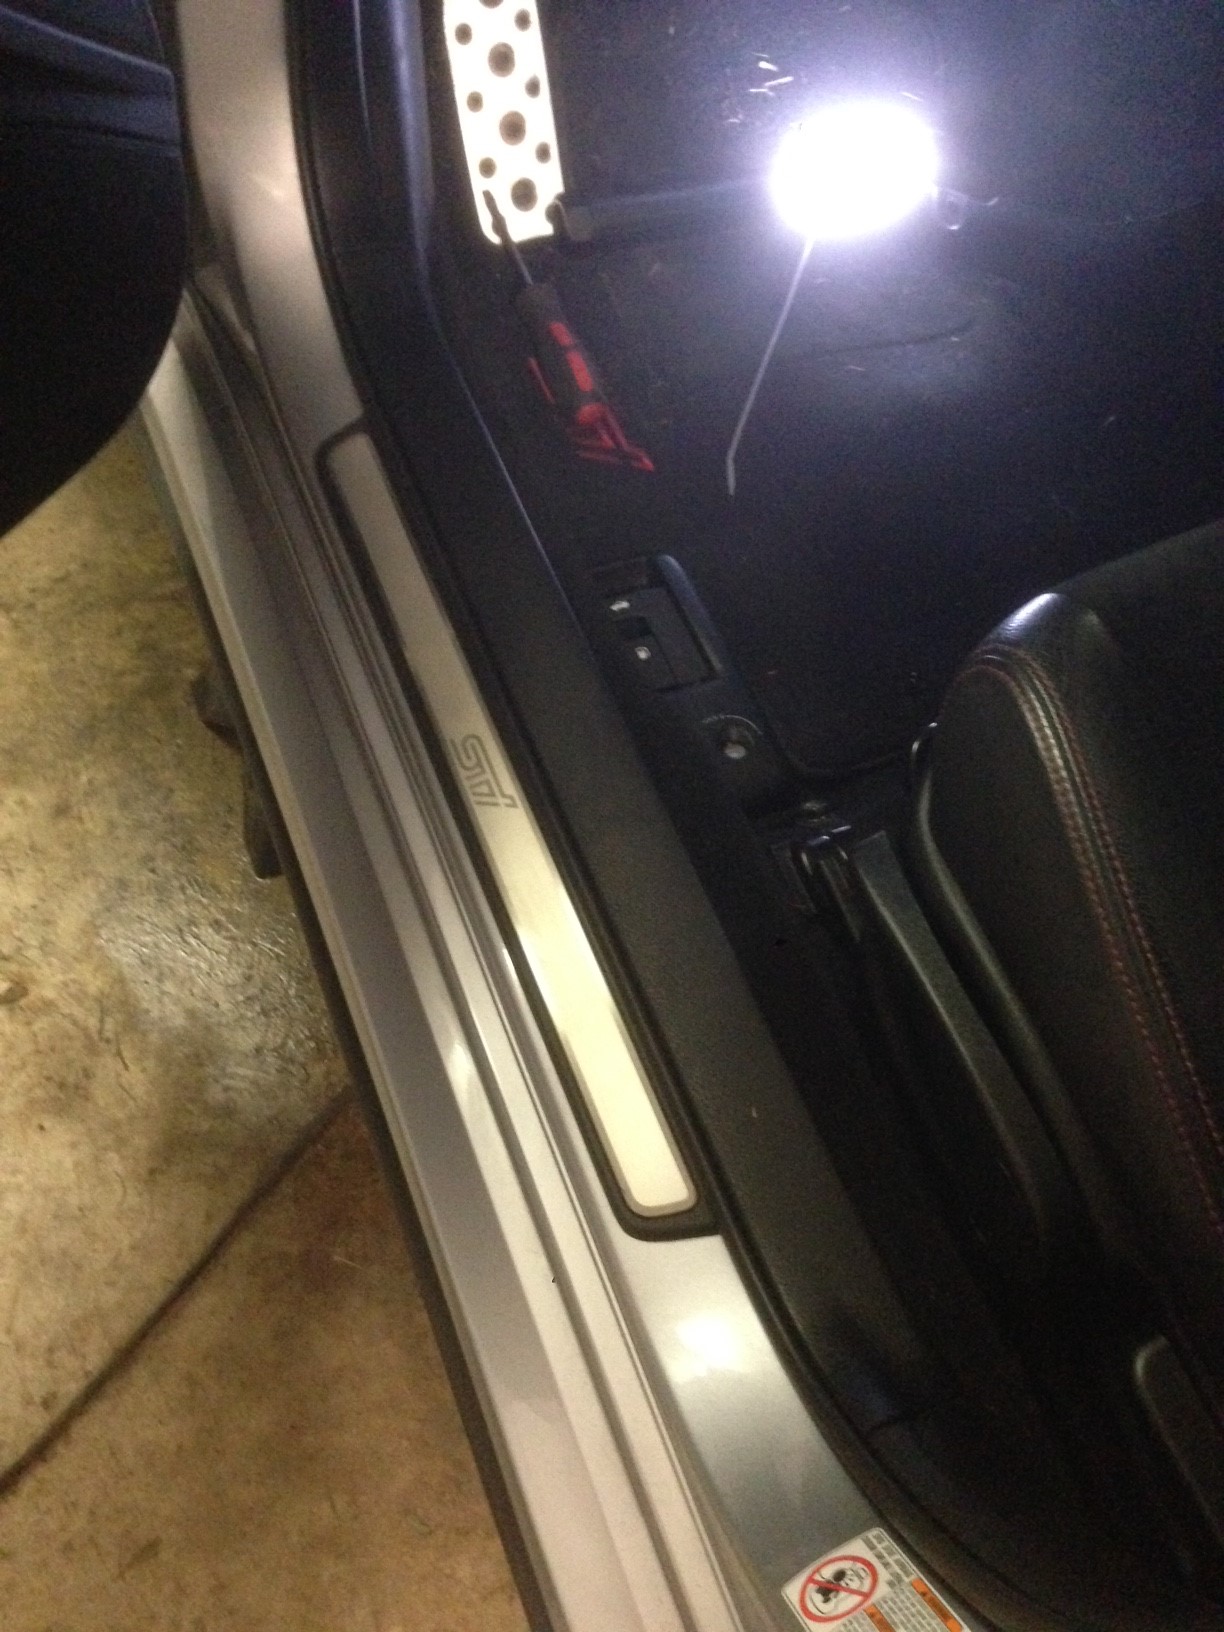
The instructions. Pretty good.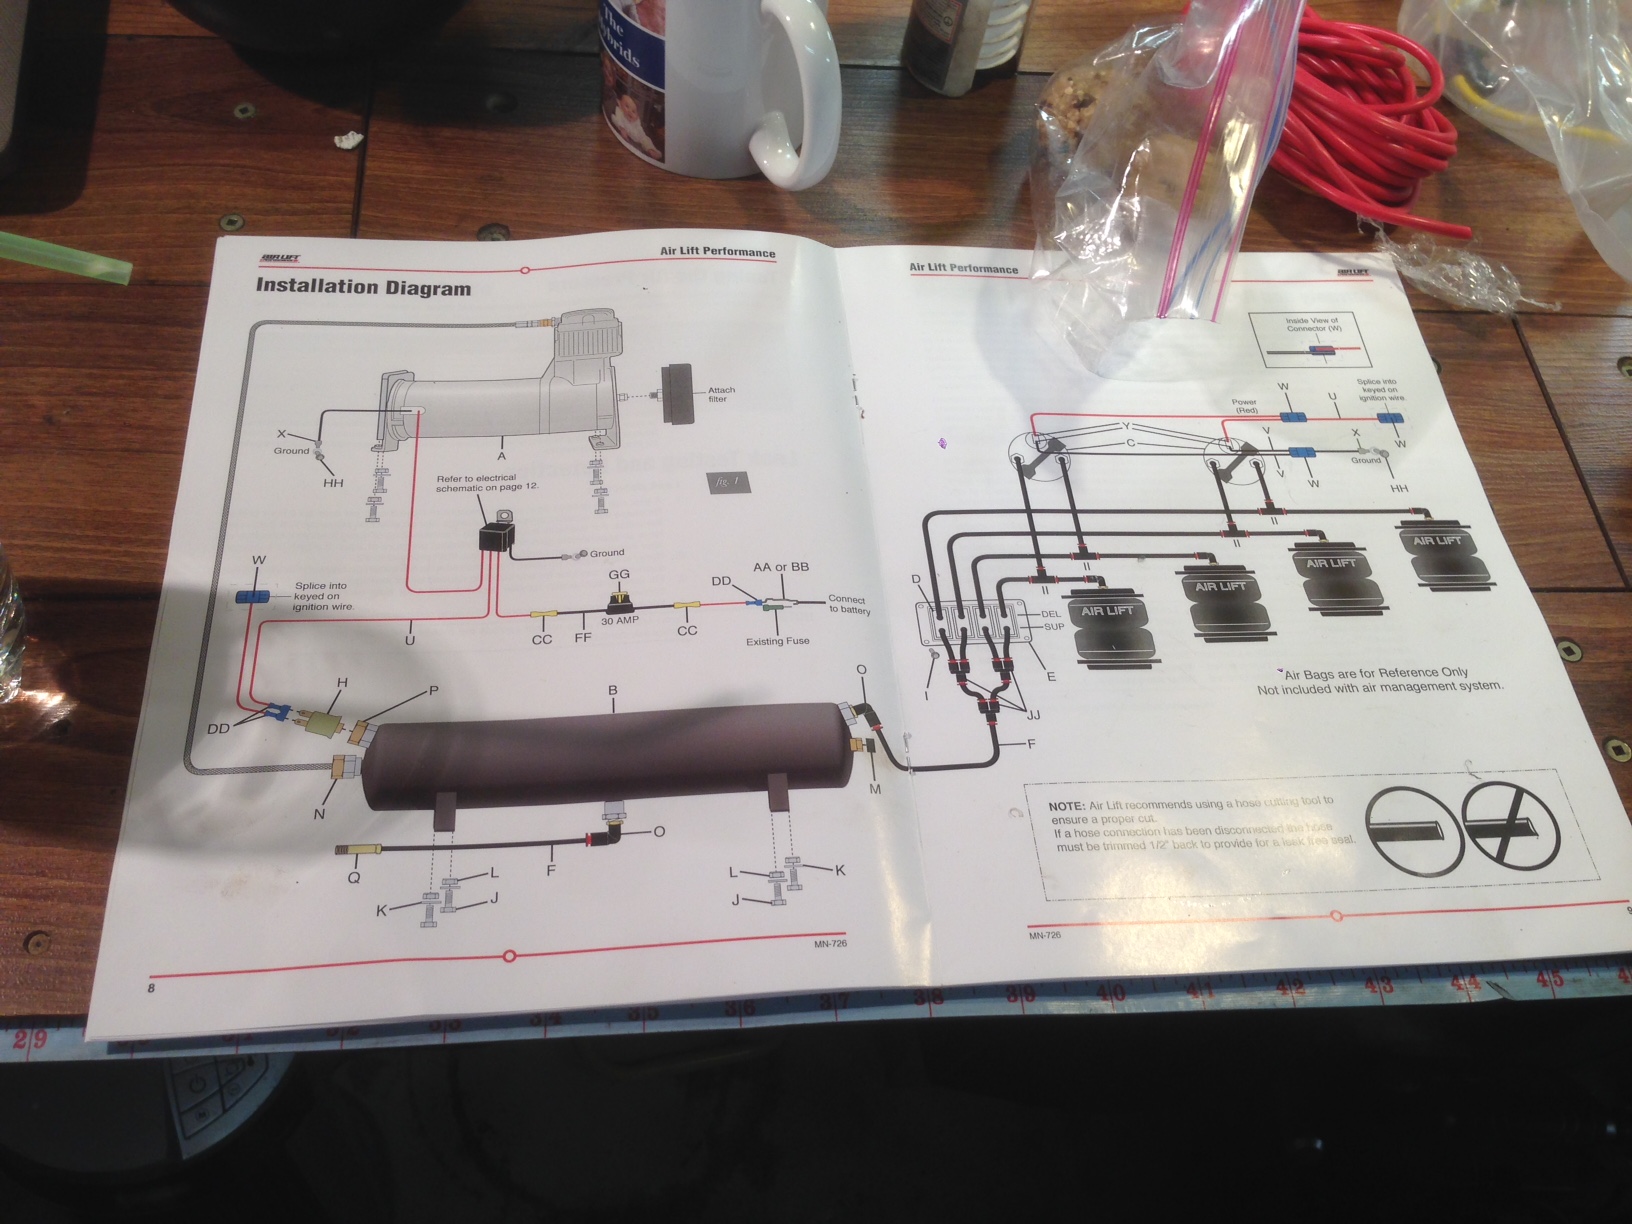
The 4 switches.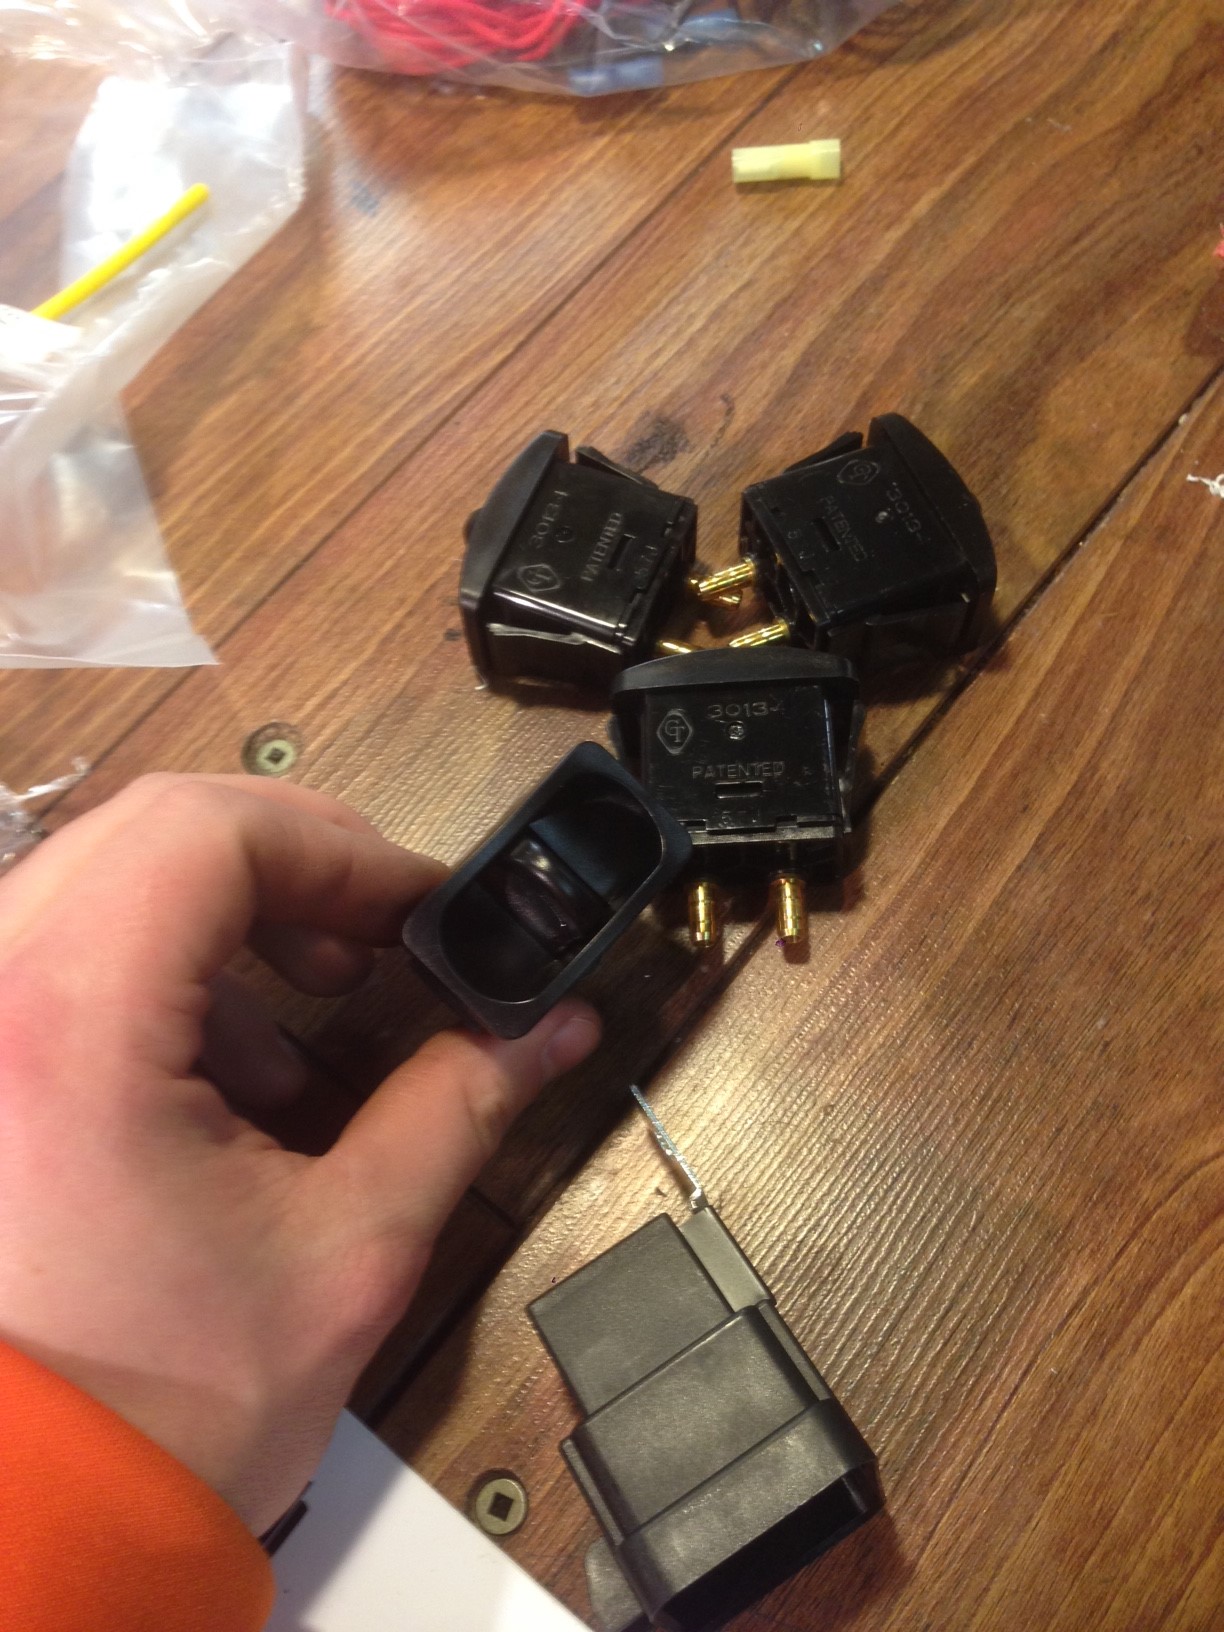
The beautiful gauges. Each gauge has 2 needles. Each need can be setup for either strut so im picking black needle for fronts and orange for back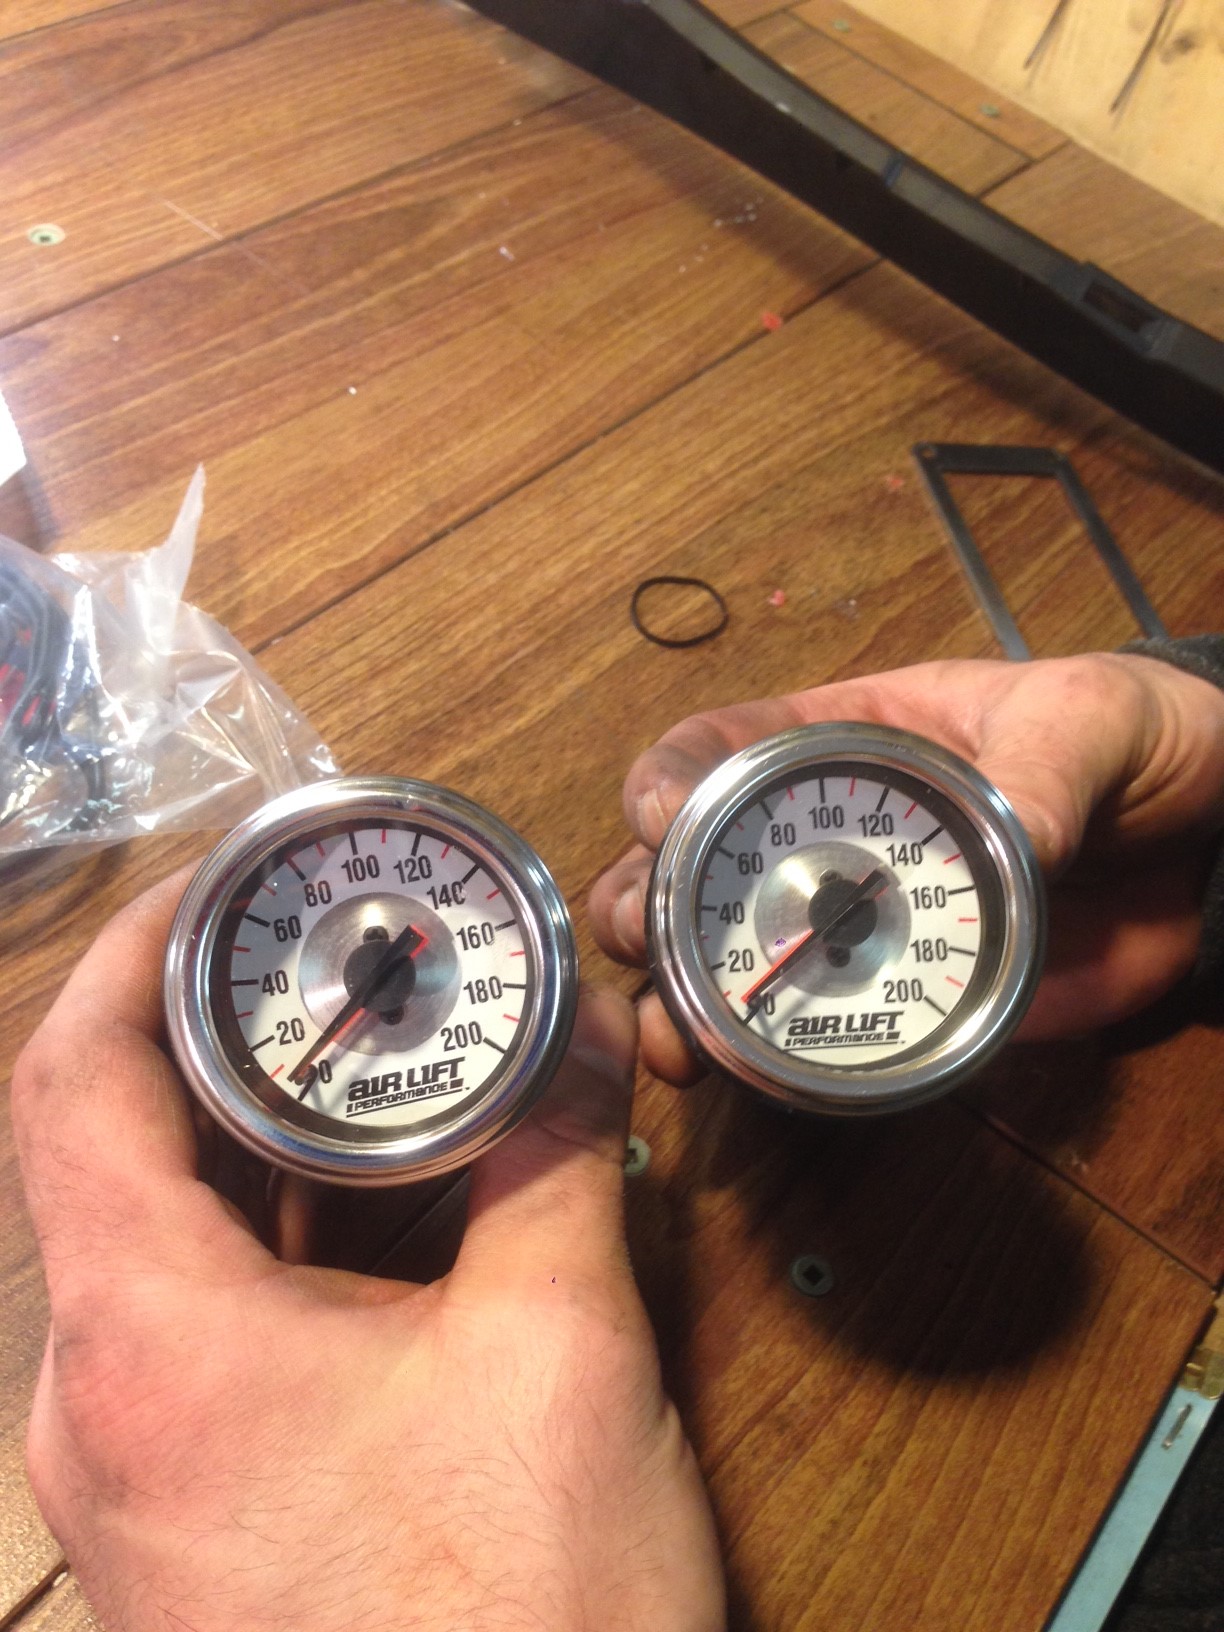
So I decided to mount them in my a-pillar. When we test fitted we noticed with the bracket it was too big and without the bracket the gauge was too small. But it looks clean as hell.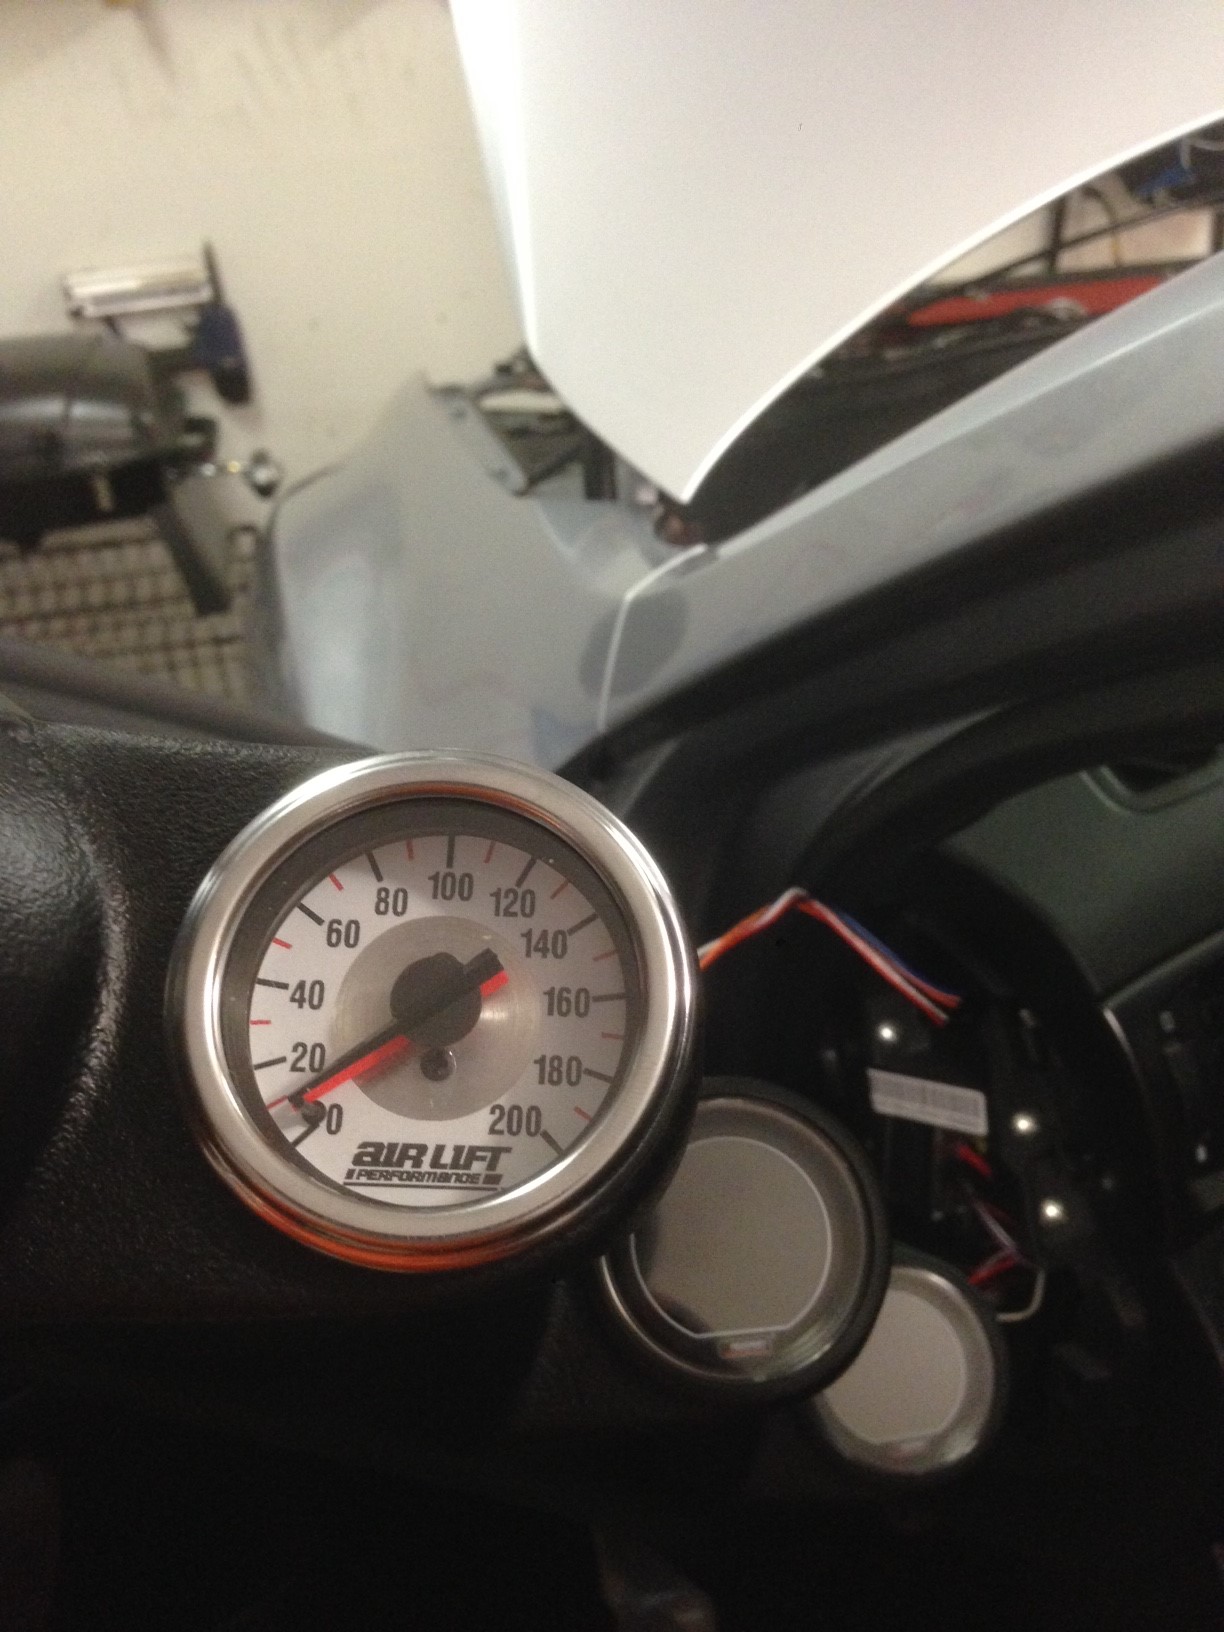
So for an easy fix I used 4 layers of black electrical tape and it was a perfect snug fit.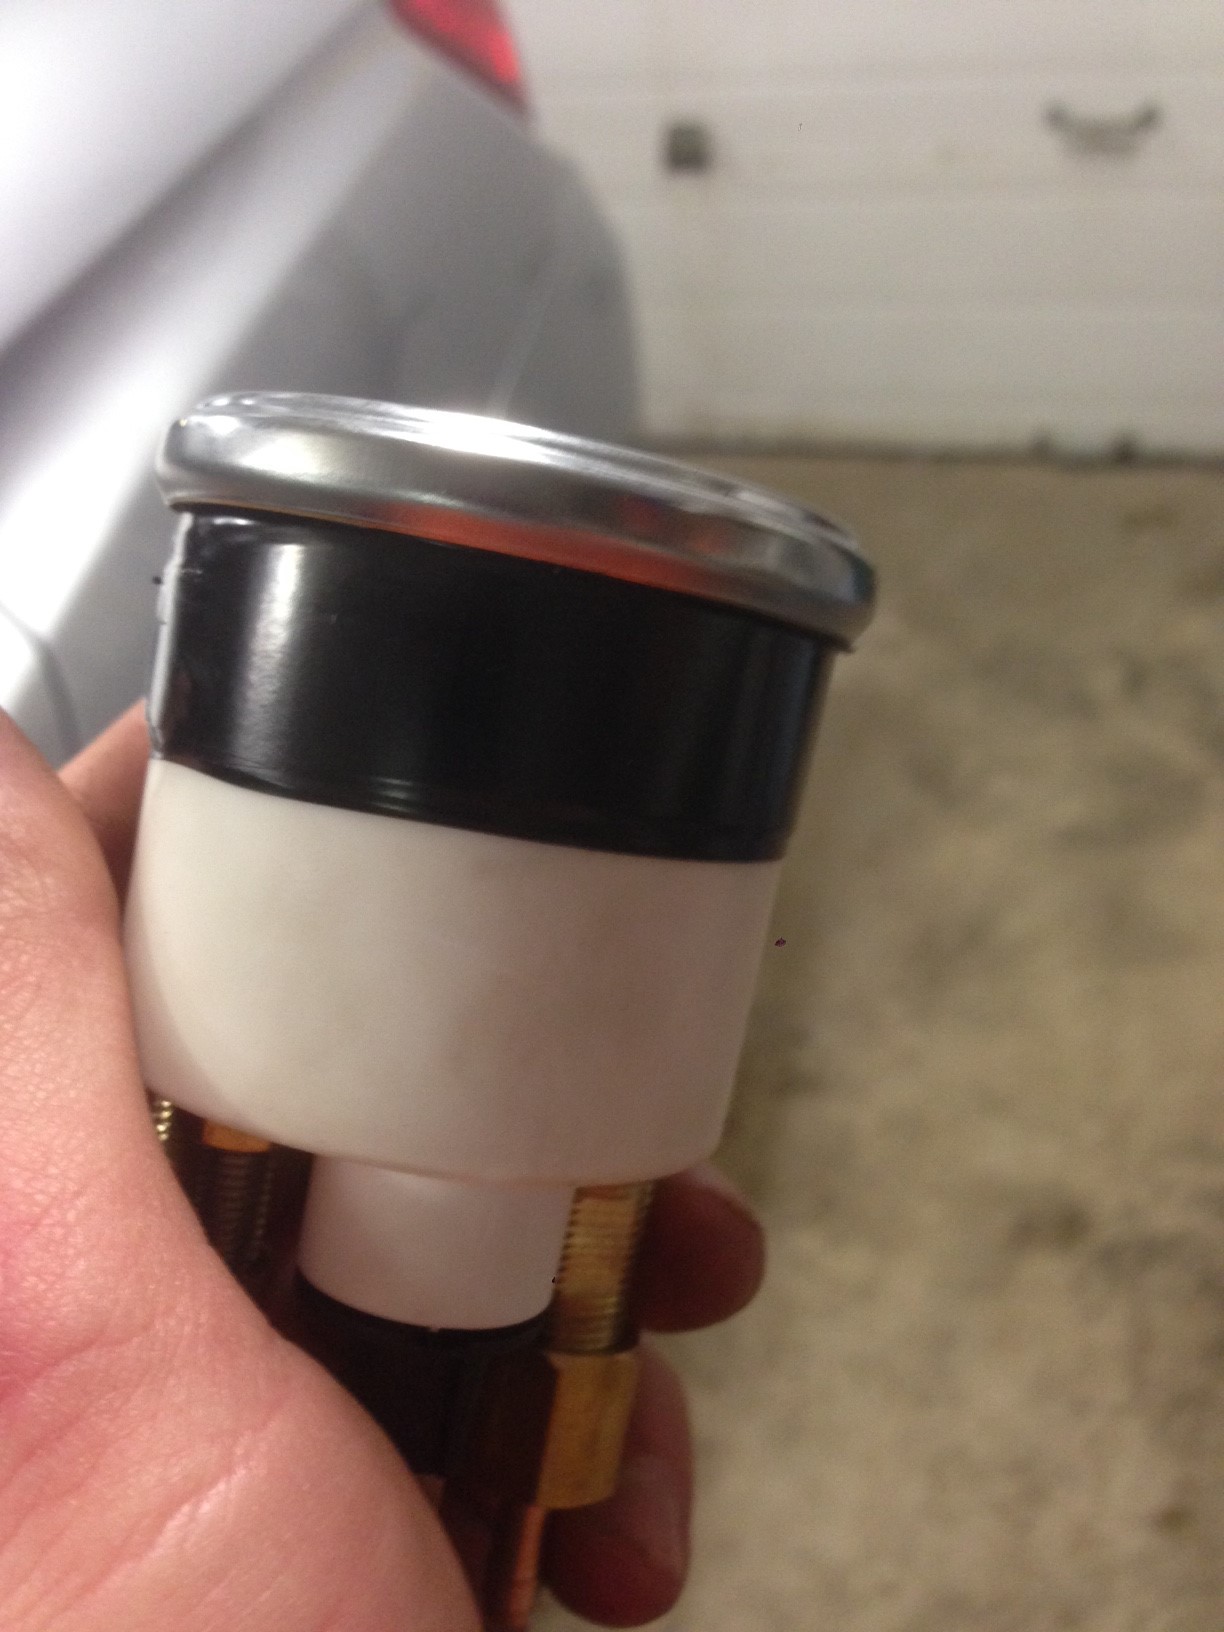
So I decided to mount it just right of the shifter on the passenger side.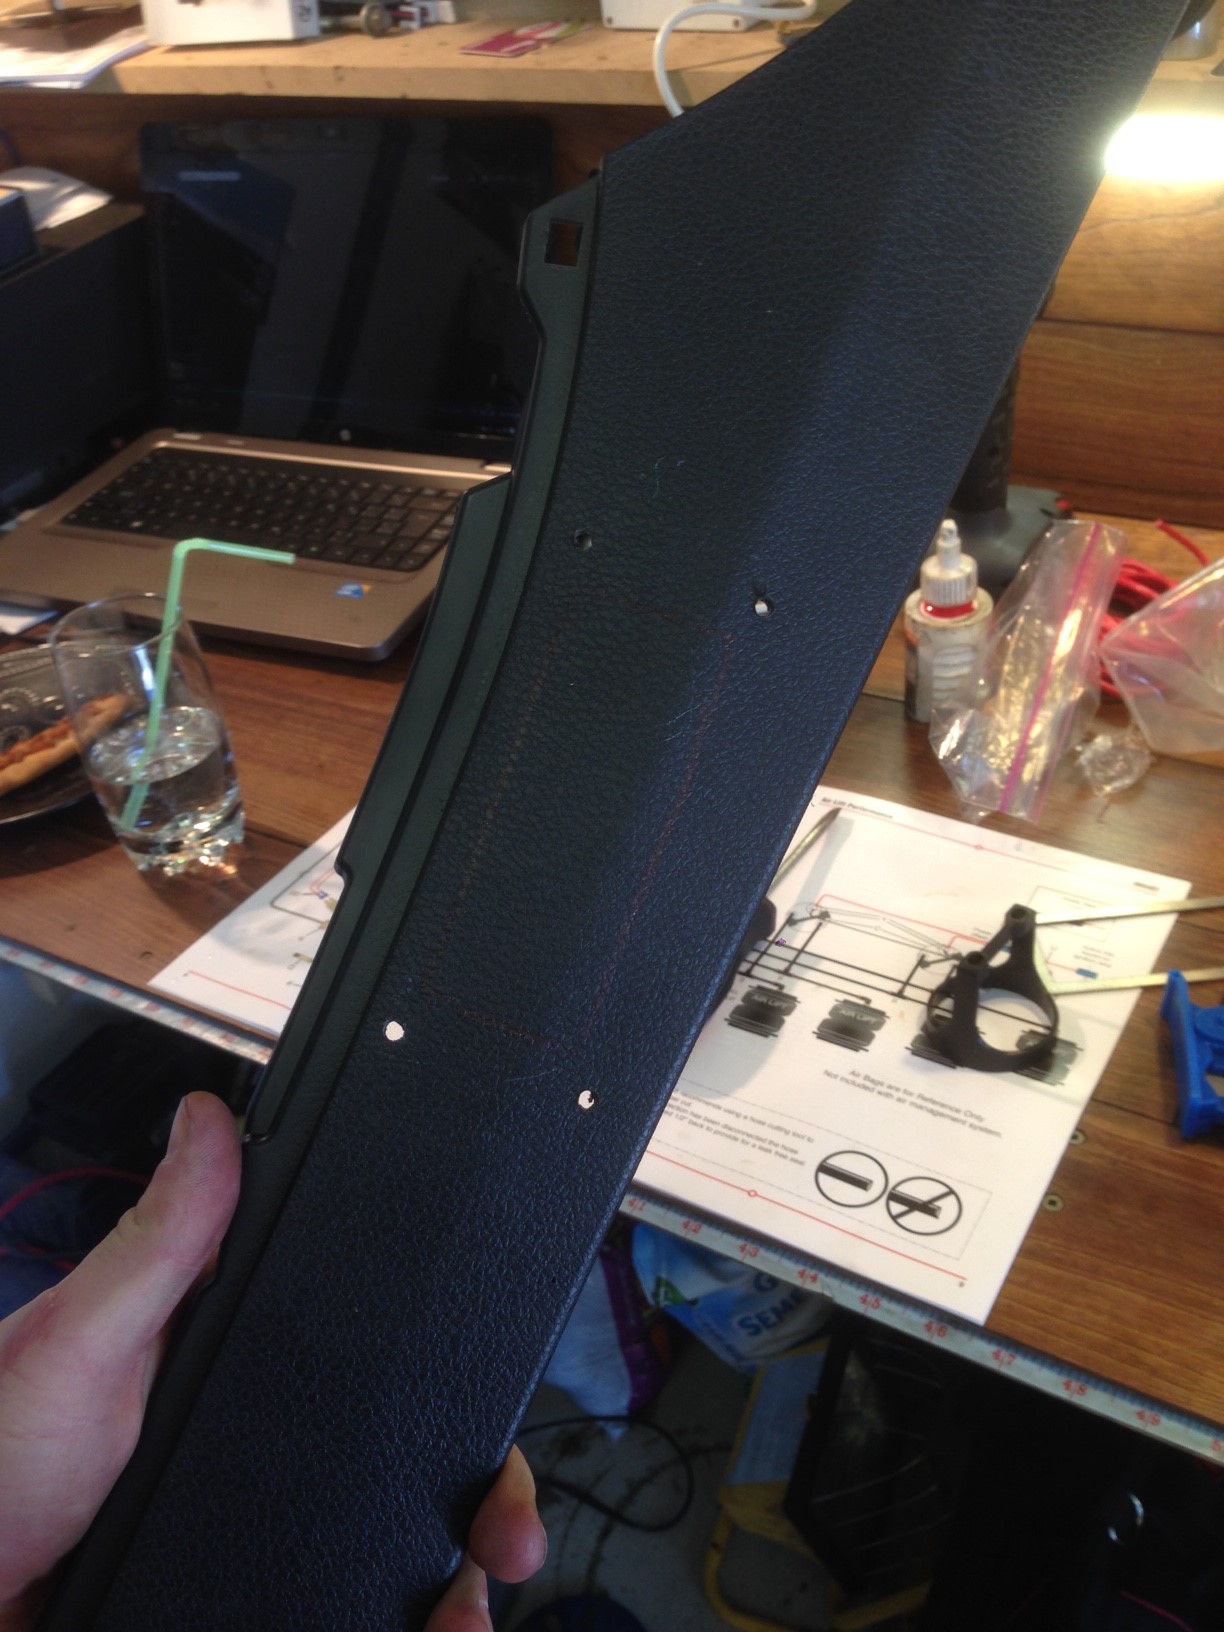
Still need to finish cutting this.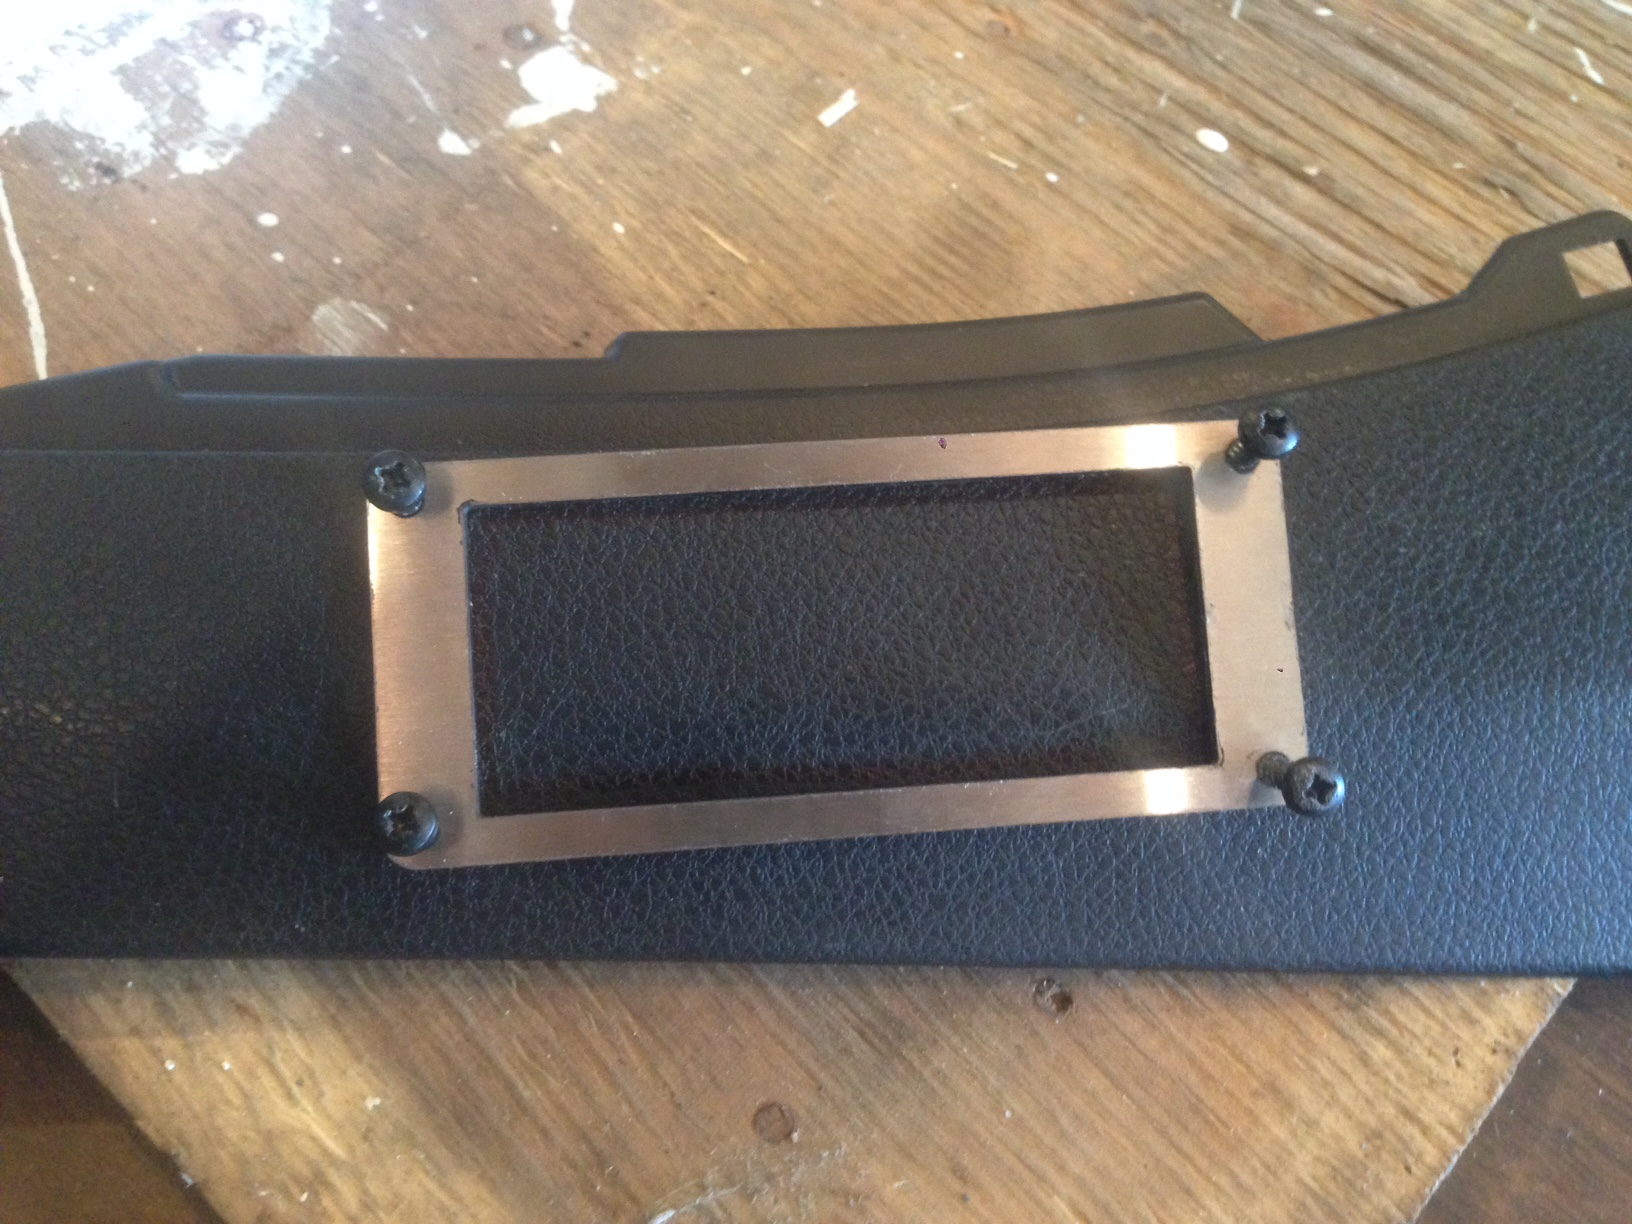
So other then that we just have a few other little things left to do including getting nuts for the Oil Pressure gauge, fuel line for fpr, nut for the meth solenoid, mount air lift struts and finish the tune and then wait on wheels lol