You must be logged in to rate content!
51 minute(s) of a 338 minute read
6-24-2015
6-24-2015
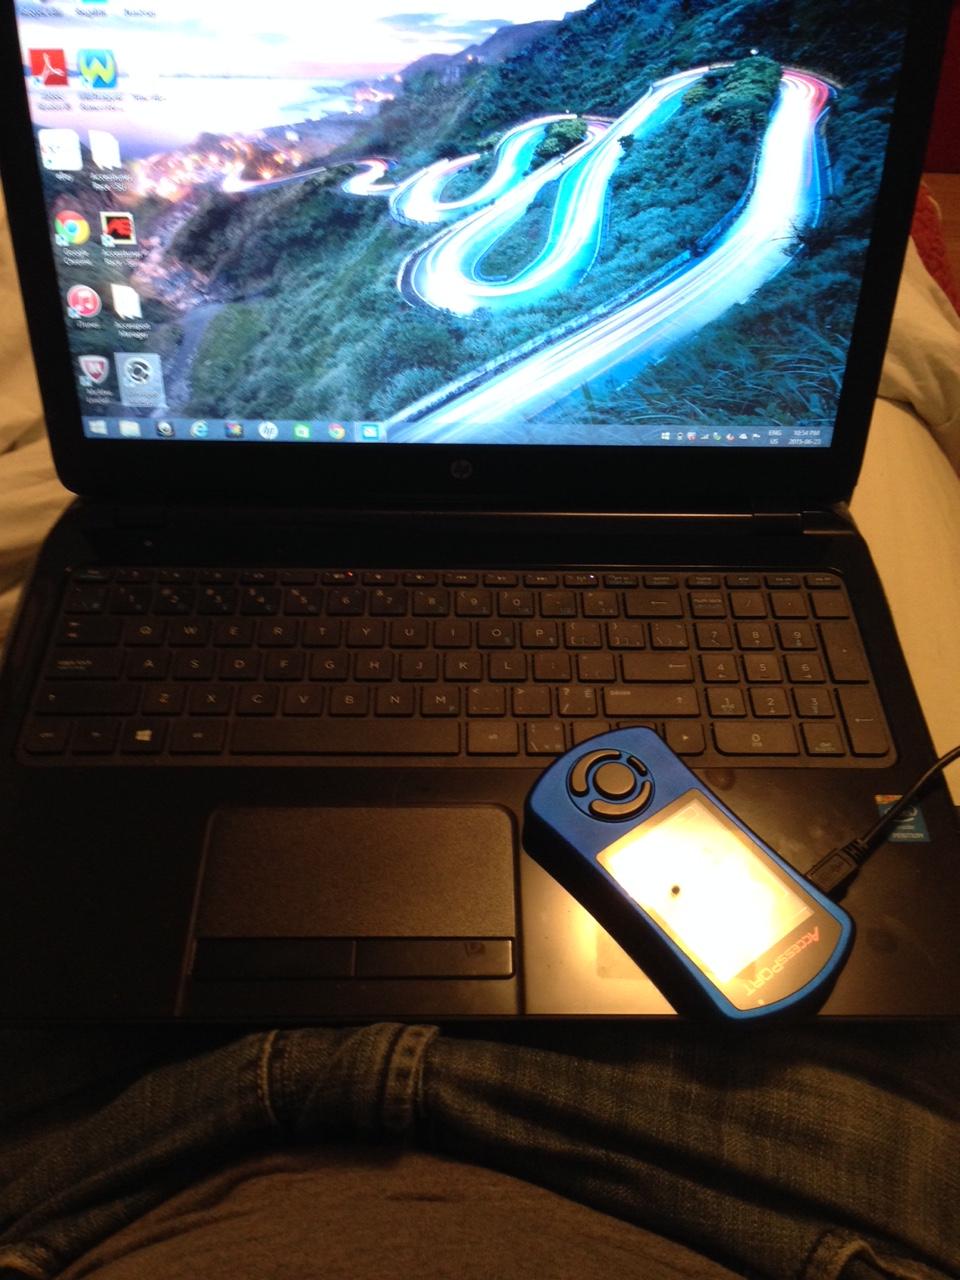
Update: So still doing some datalogging with Corbin. The base map alone made a big difference. The idle issue I had was fixed immeditely. So the only issue im waiting to hear back on now is my fuel pressure seems to be 18% off so it might be an injector issue or I might not have my fuel regulator set properly. More updates soon!
7-20-2015
So I have an update. I done a boost leak test and I managed to find 2. Well I found one and can hear the other one.
This was the first.
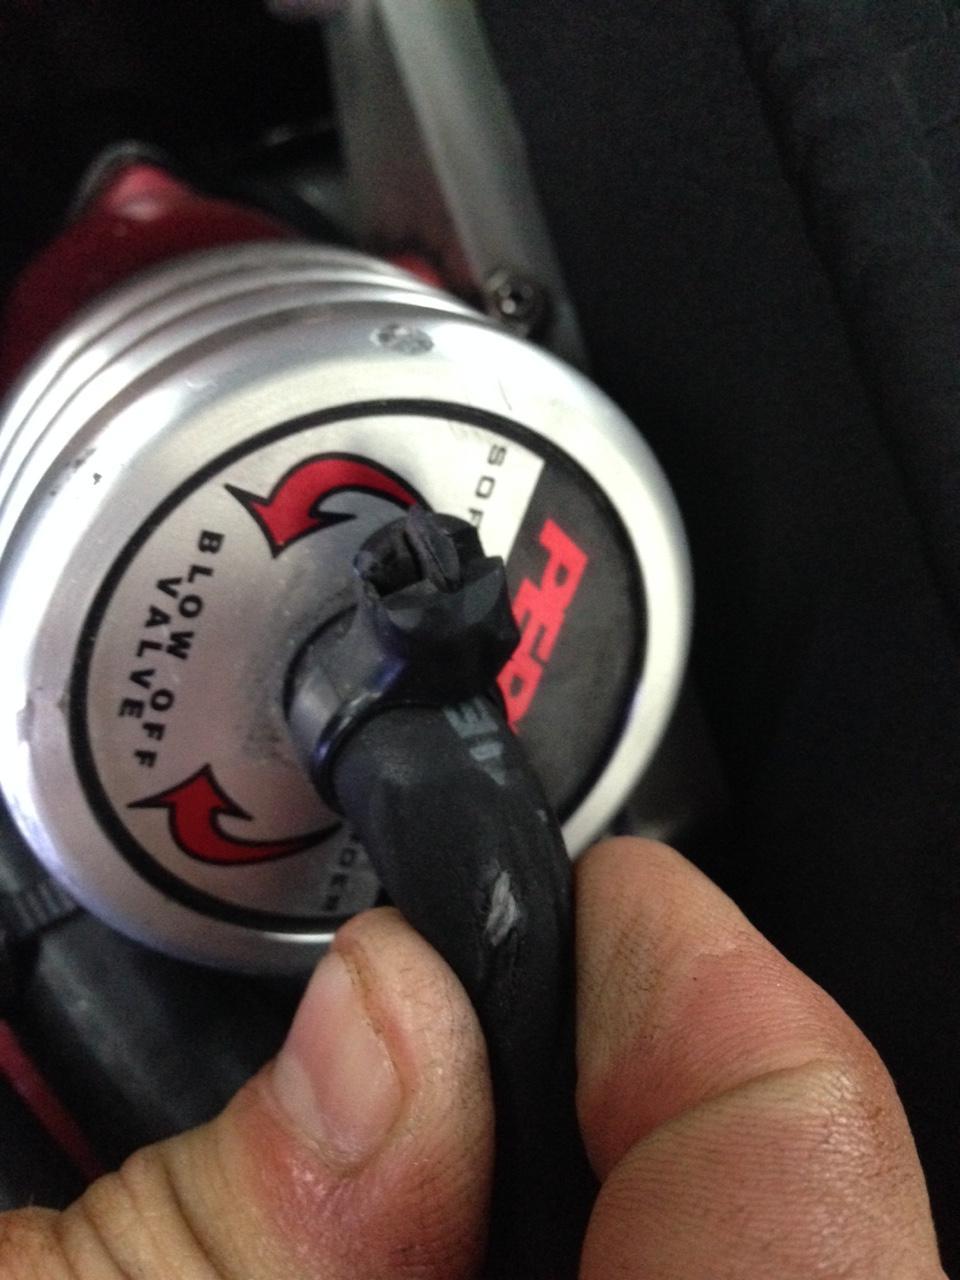
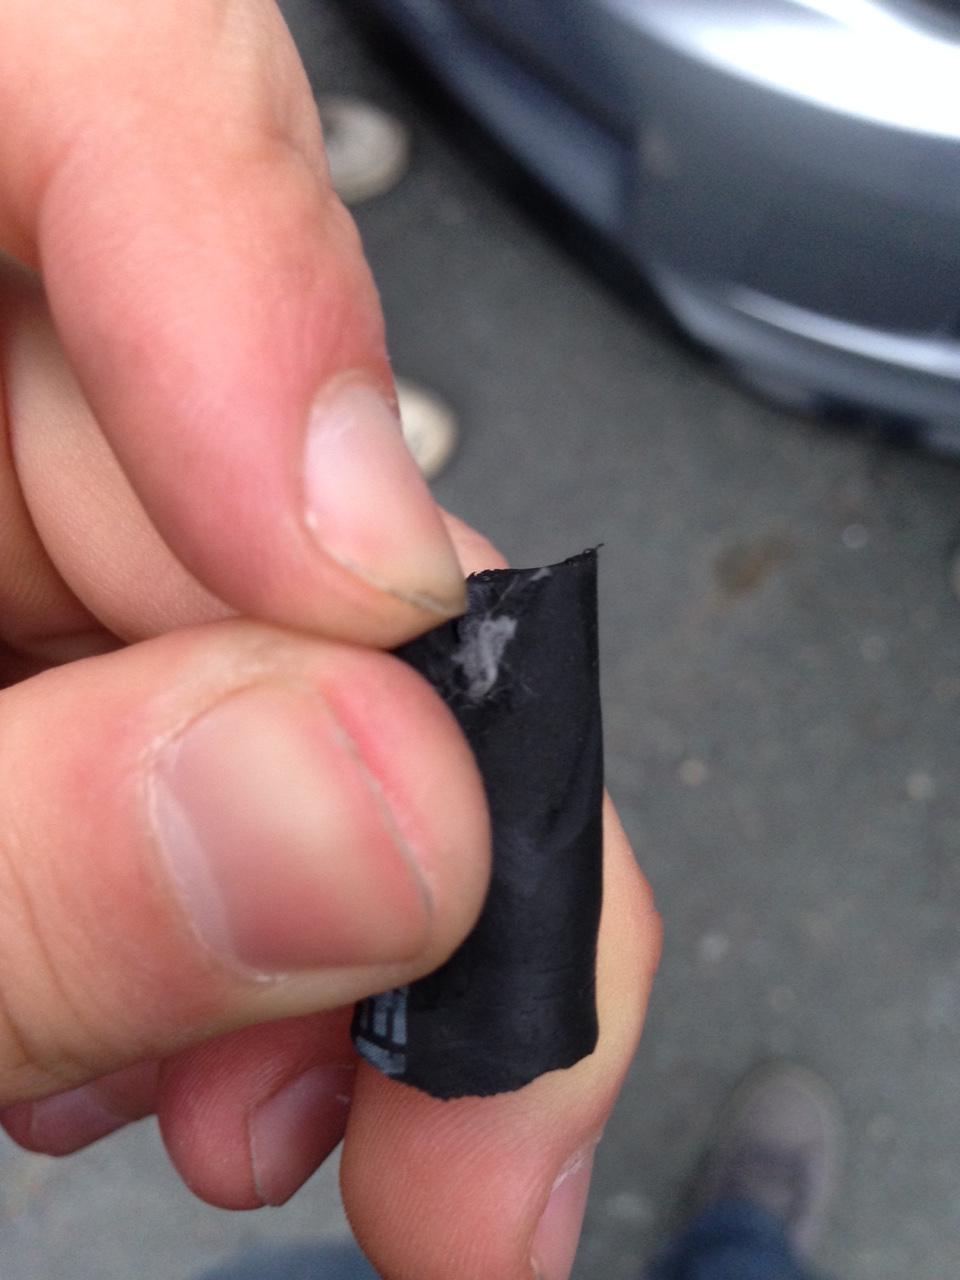
This was an easy fix cause the hose was too long anyways so I just got off the split part and reattached it.
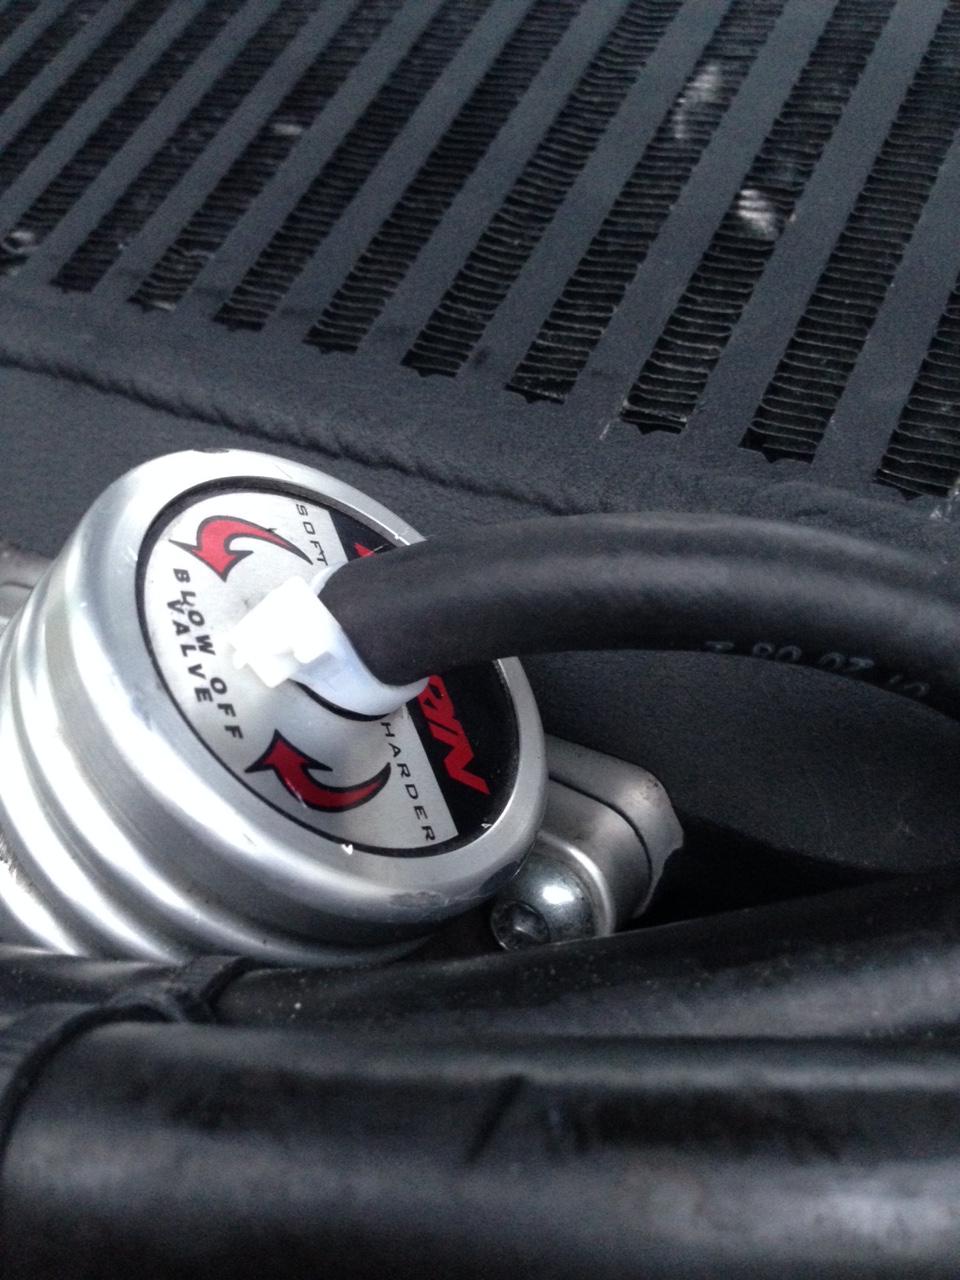
But I noticed when I started the car the amount of oil that came out of the exhaust was gross.
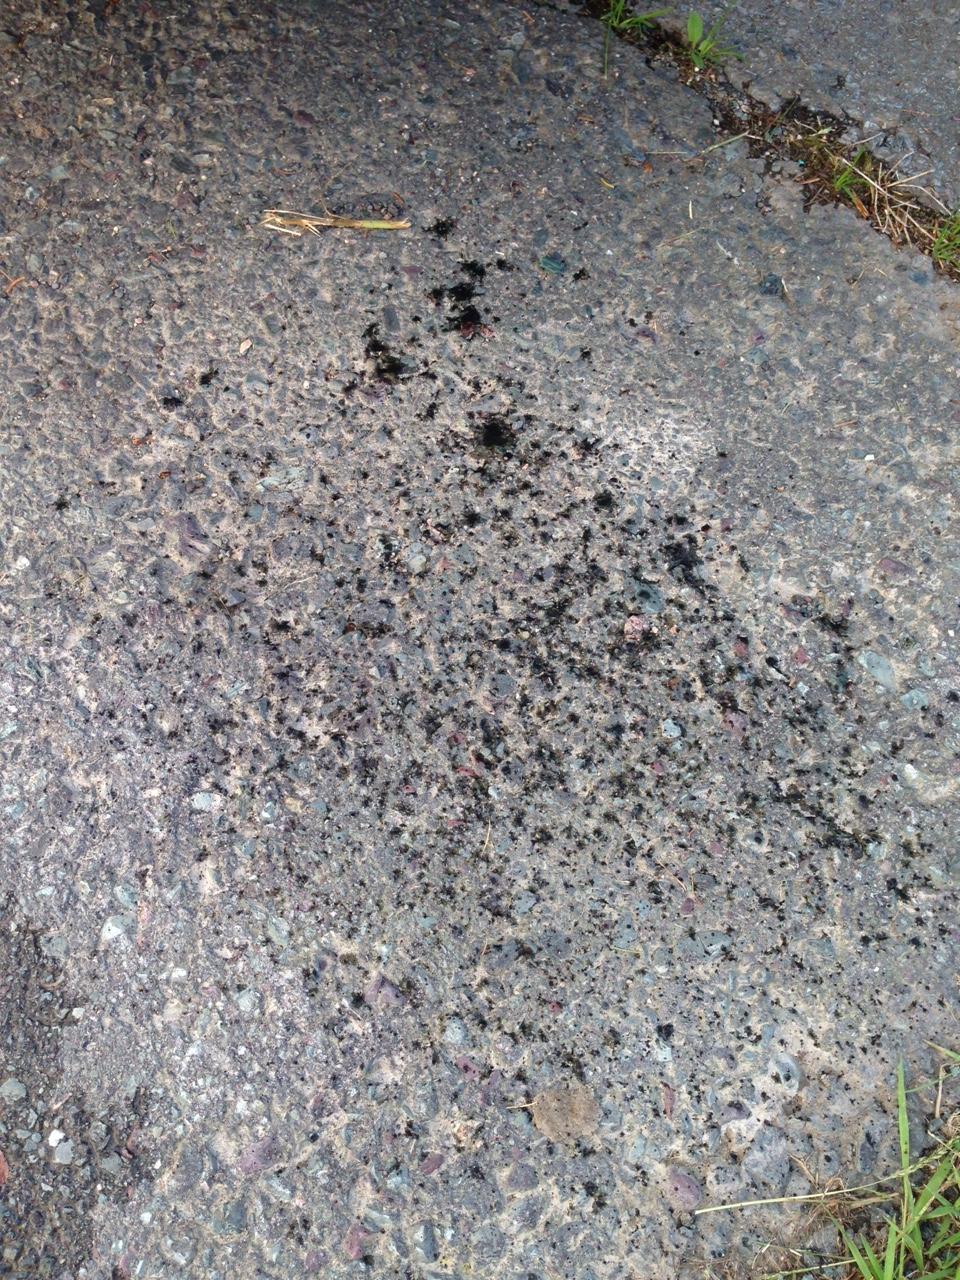
and its hard to see but there is a pretty big stream of oil in the intake.
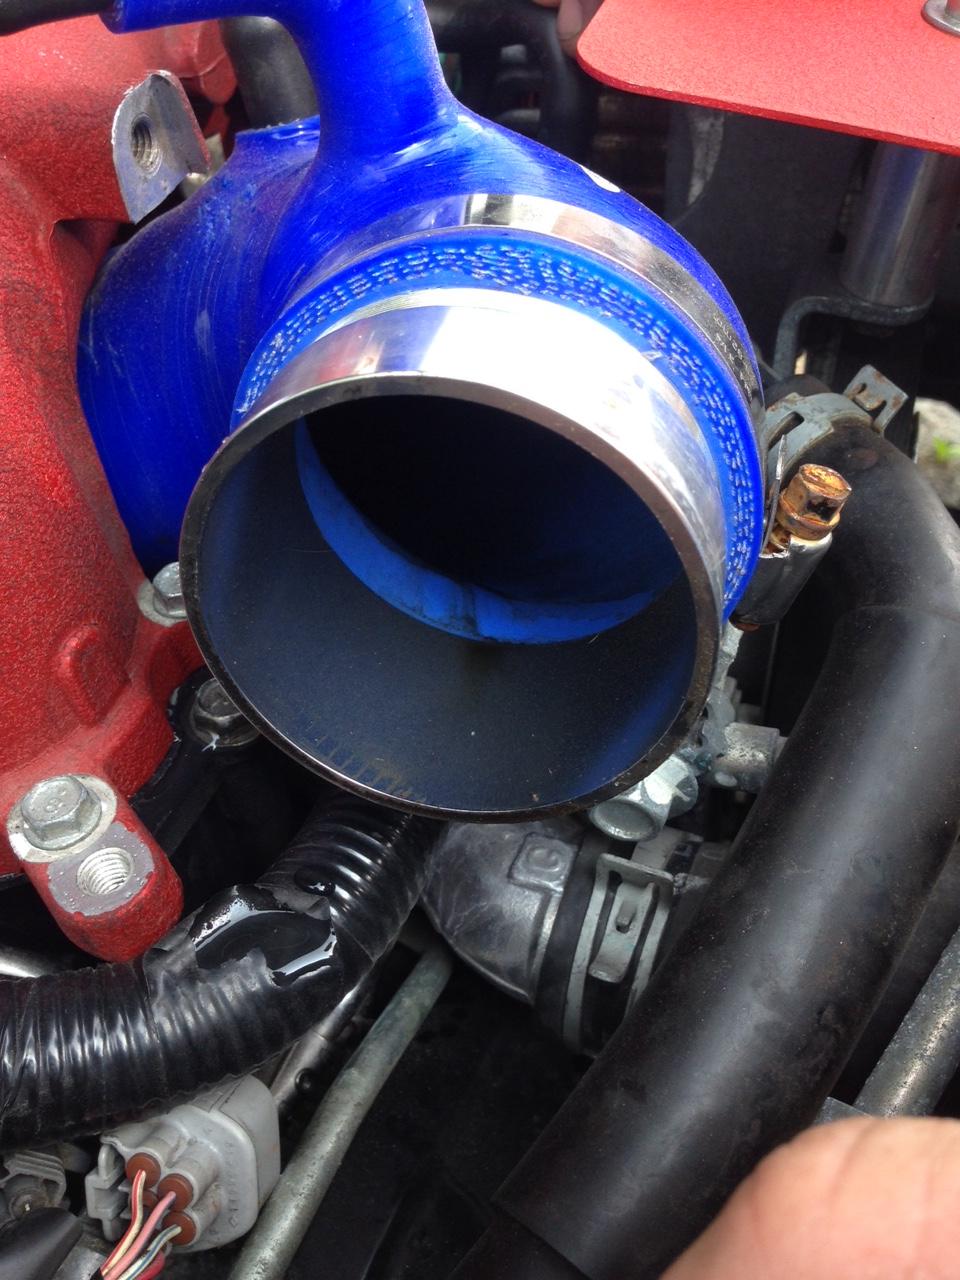
So after talking to my tuner we have come down to either its the turbo which is the last choice just because its brand new pretty much, or maybe its the valve seals or just the block itself. So where im getting the motor redone im going to just store the car soon. But hoping this weekend to get my brakes and headlights on just to get that out of the way.
11-3-2015
Well just an update seeing I havent done one in a while lol the plan hasnt changed much. Im considering shipping my car to IAG and getting them to do my engine. Right now im pretty sure ill go with a stage 3 block and stage 4 heads. While its there ill prob get them to install my new clutch, fuel system and aos. I plan on buying IAGs fuel rail kit, fuel lines and Aeromotive fuel reg and sell the perrin one I have. I plan on getting a Stage 4 Competition Clutch. I have hub centric rings, red Rays center caps and Rays lugs nuts. I do believe ill also switch out my gauges. Also plan on getting RCE sway bars ans kartboy endlinks along with a Perrin PSRS kit and GS master cylinder brace. After all this the car will be prob done for a while. Might do a different turbo setup down the road or buy a new toy to do up Cheers.
11-4-2015
Well I started the parts order lol heres to many more I guess. So tonight I ordered a Killer B oil pickup tube along with the baffle. I also order IAG fuel rails and fuel line kit to fit an Aeromotive fuel regulator. Next will prob be the sway bars, endlinks, pitch stop, engine and trans mounts, cylinder brace and a PSRA kit. Then all I have to do is short block and heads hahah
11-22-2015
Hey all, little update haha bought a new toy so might be a bit slow going haha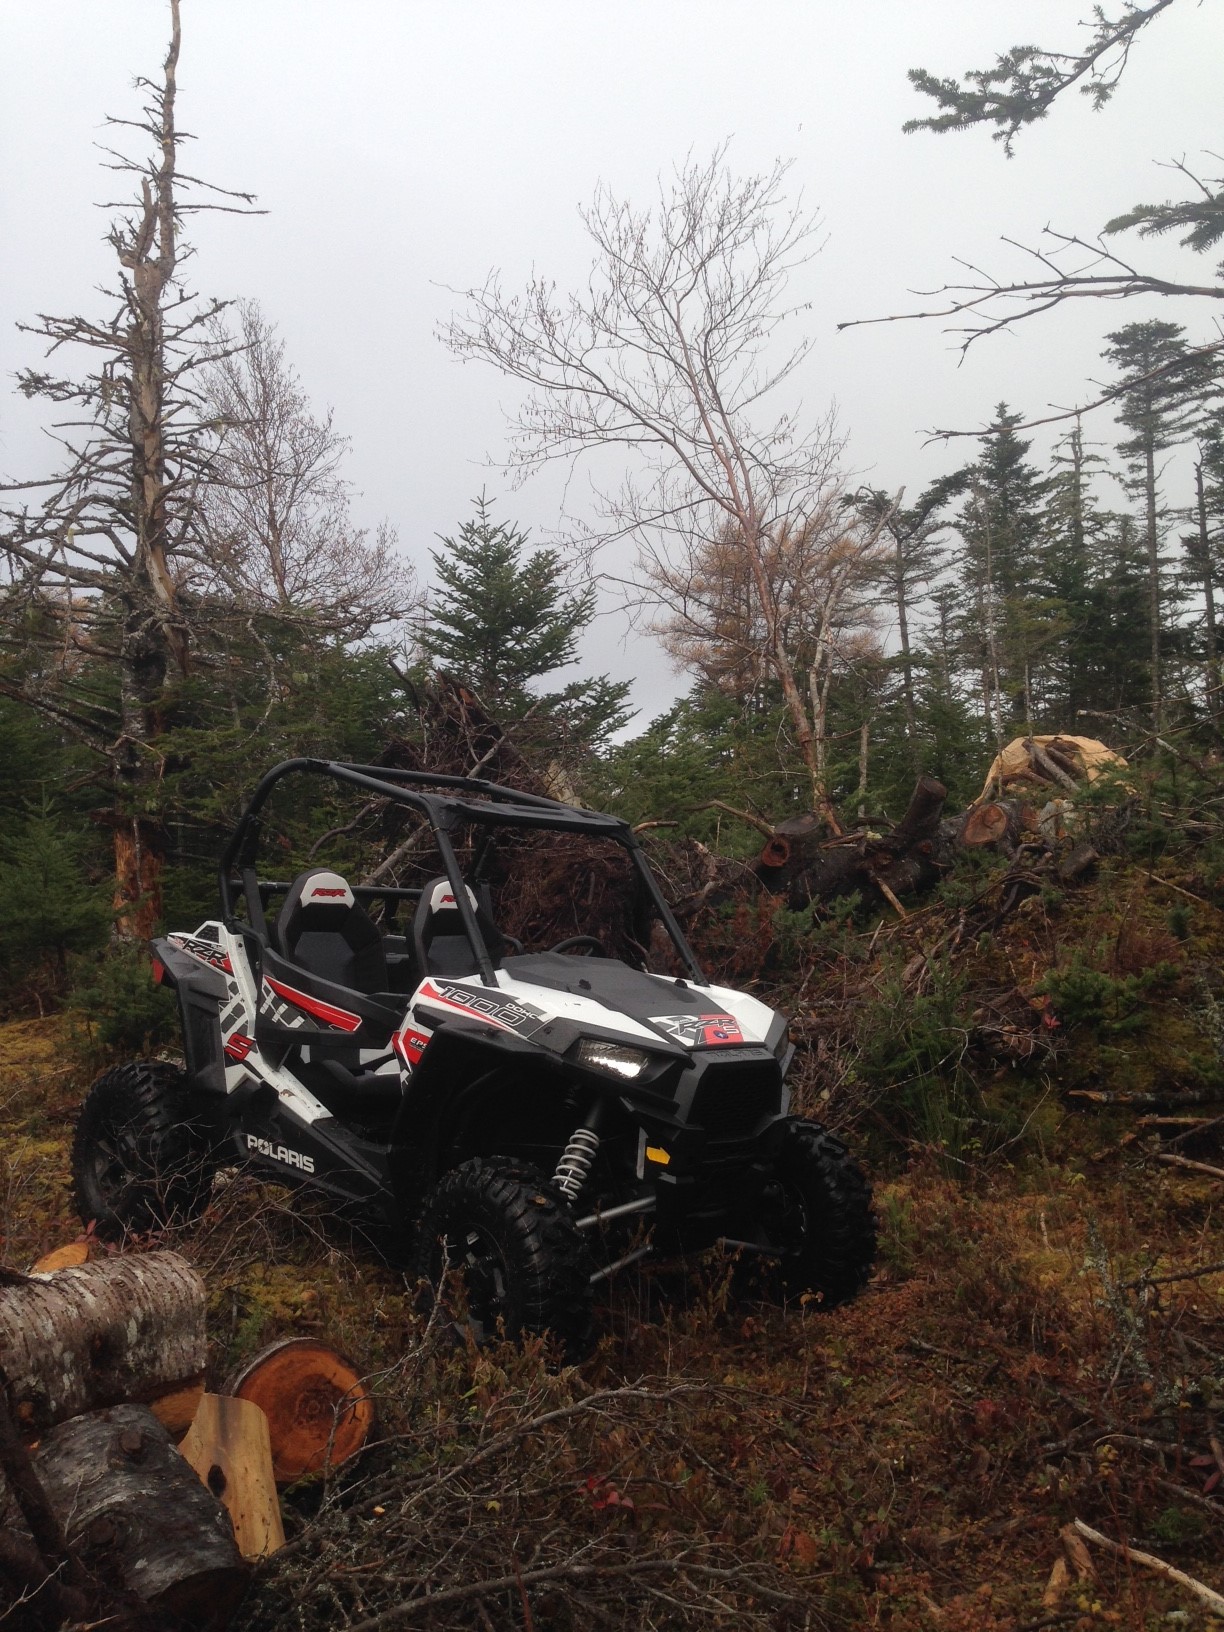
Got a box of parts come in yesterday
Heres the box it came in.
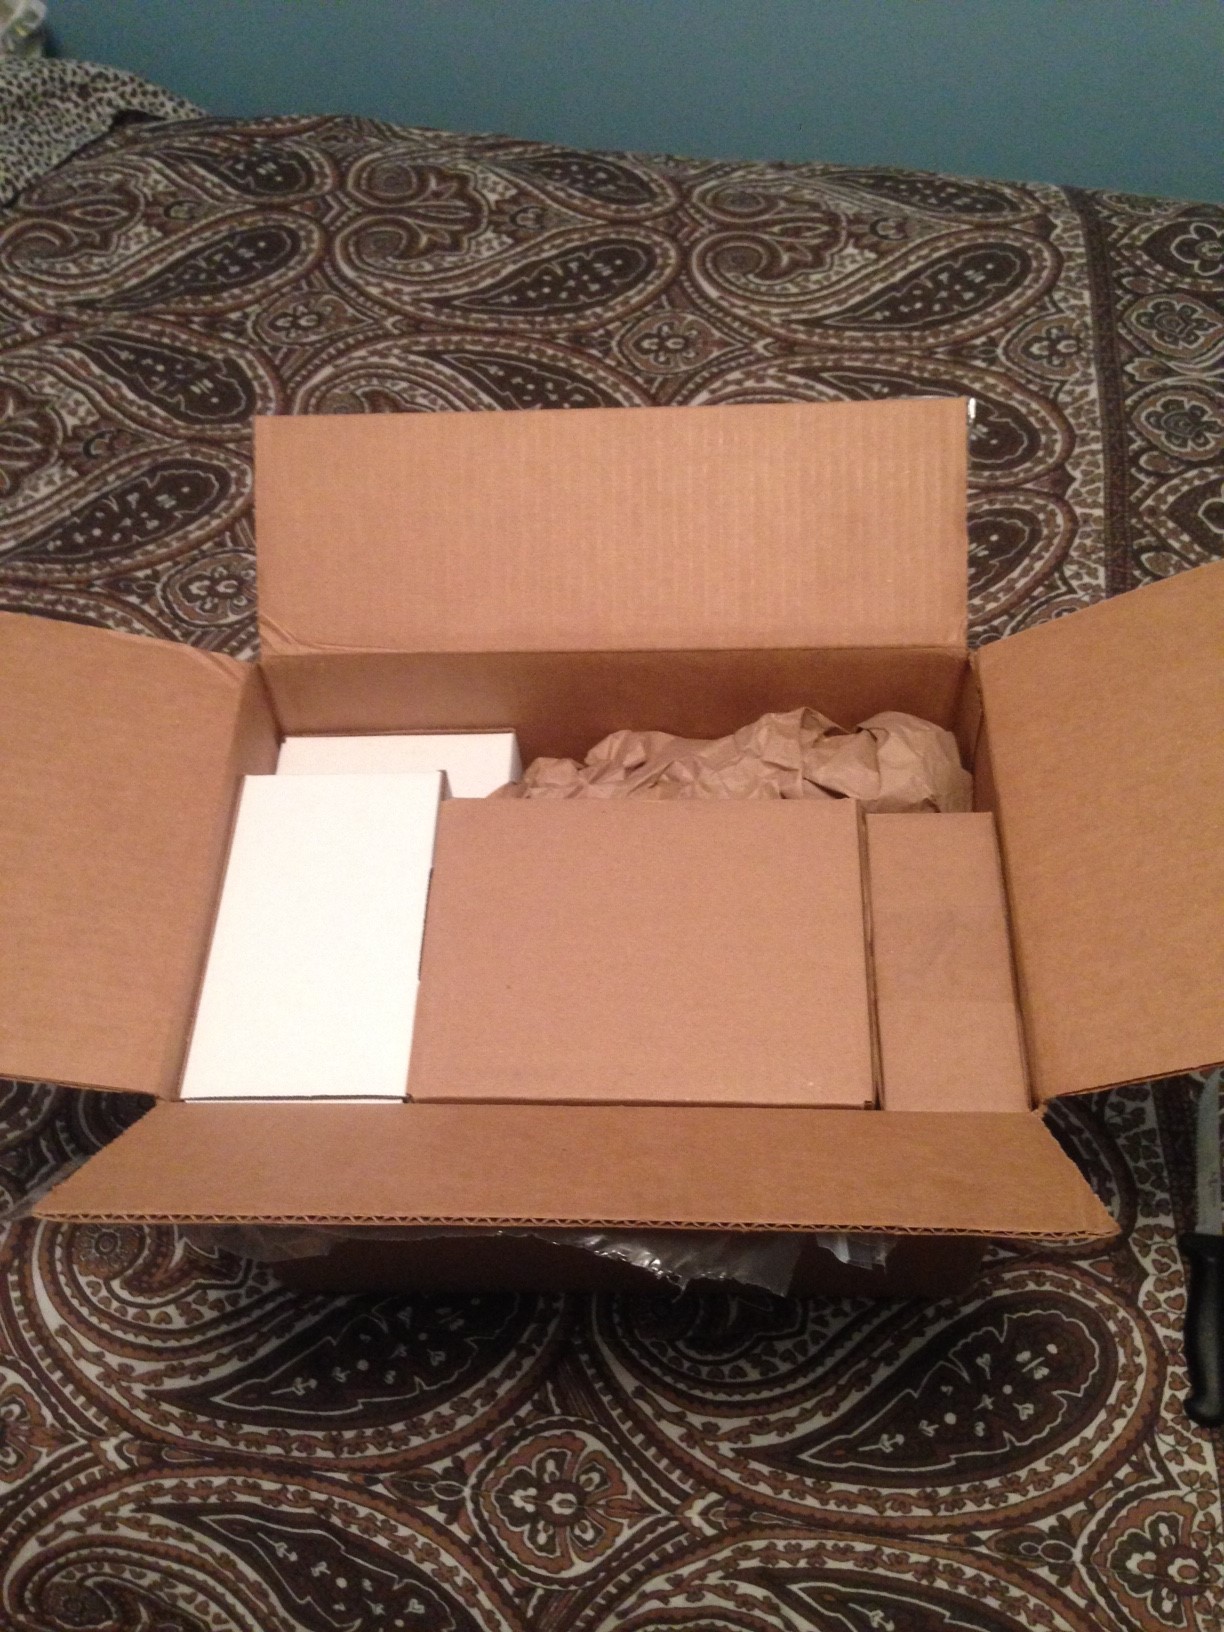
First up is the Killer B windage tray
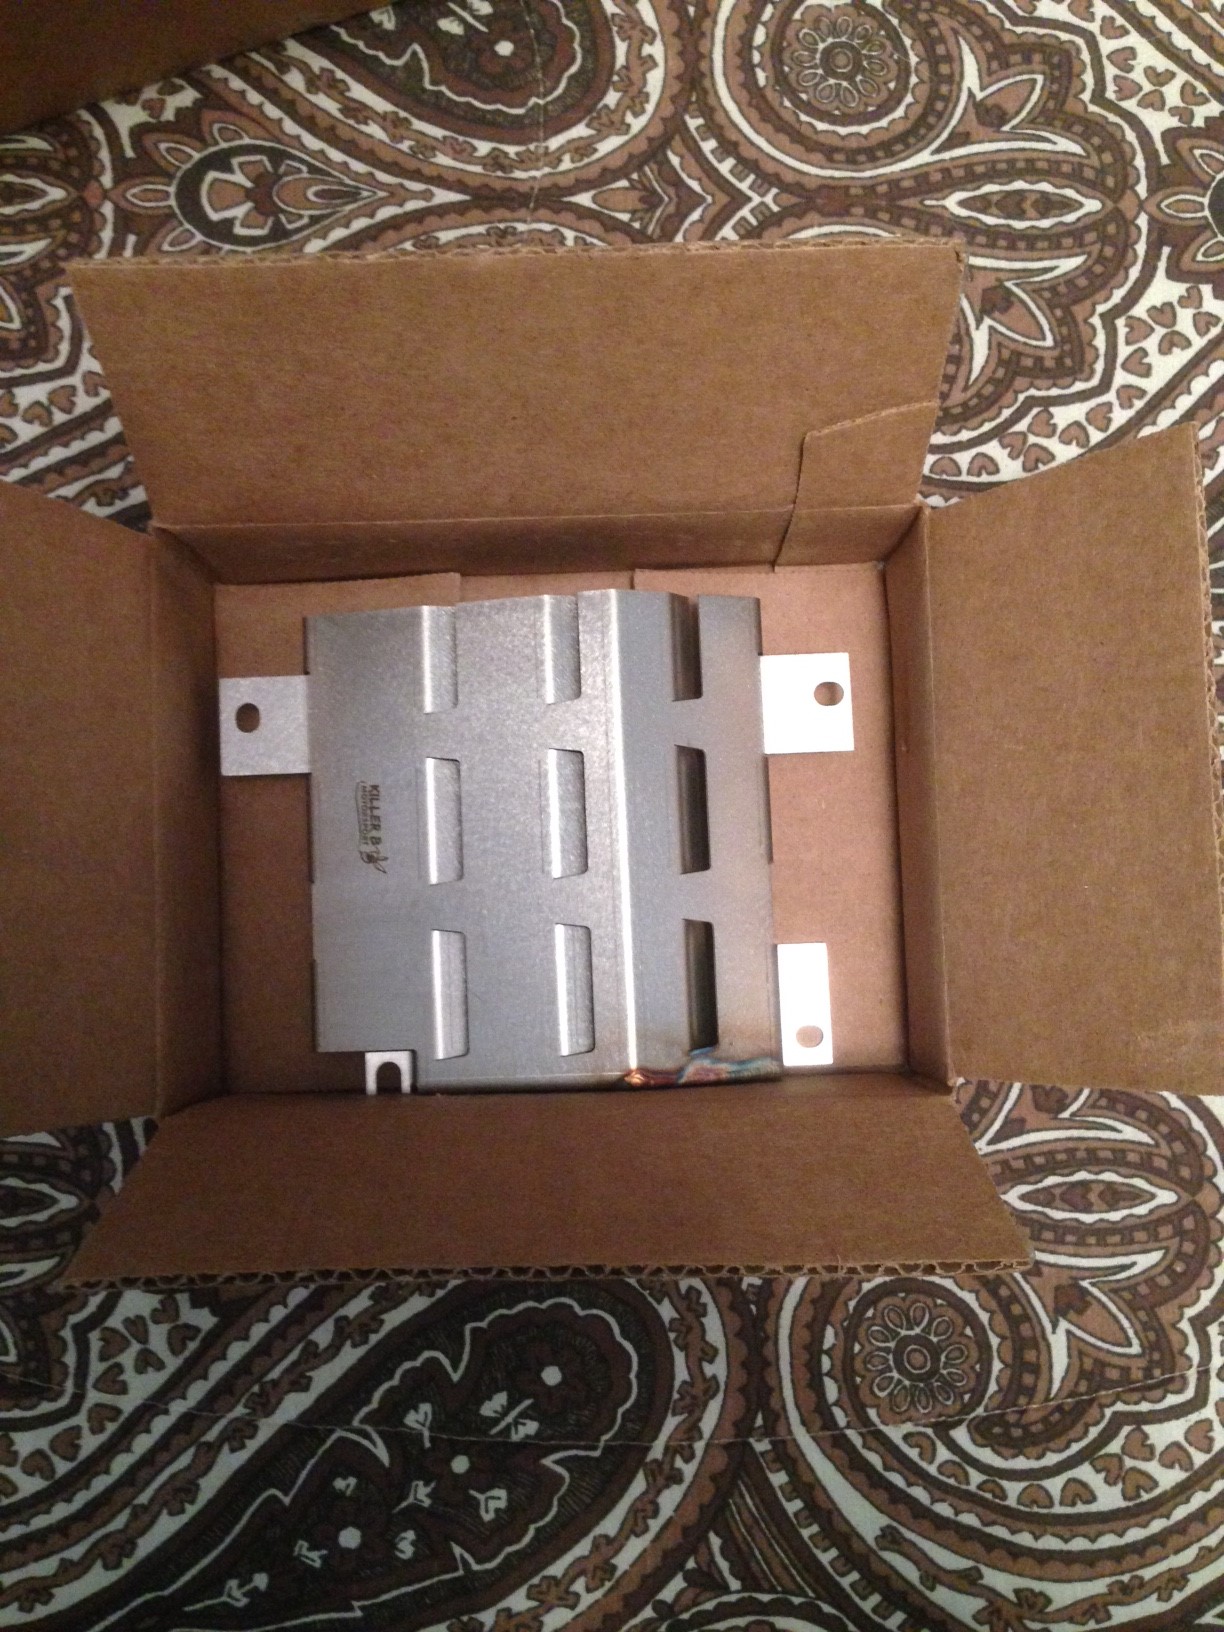
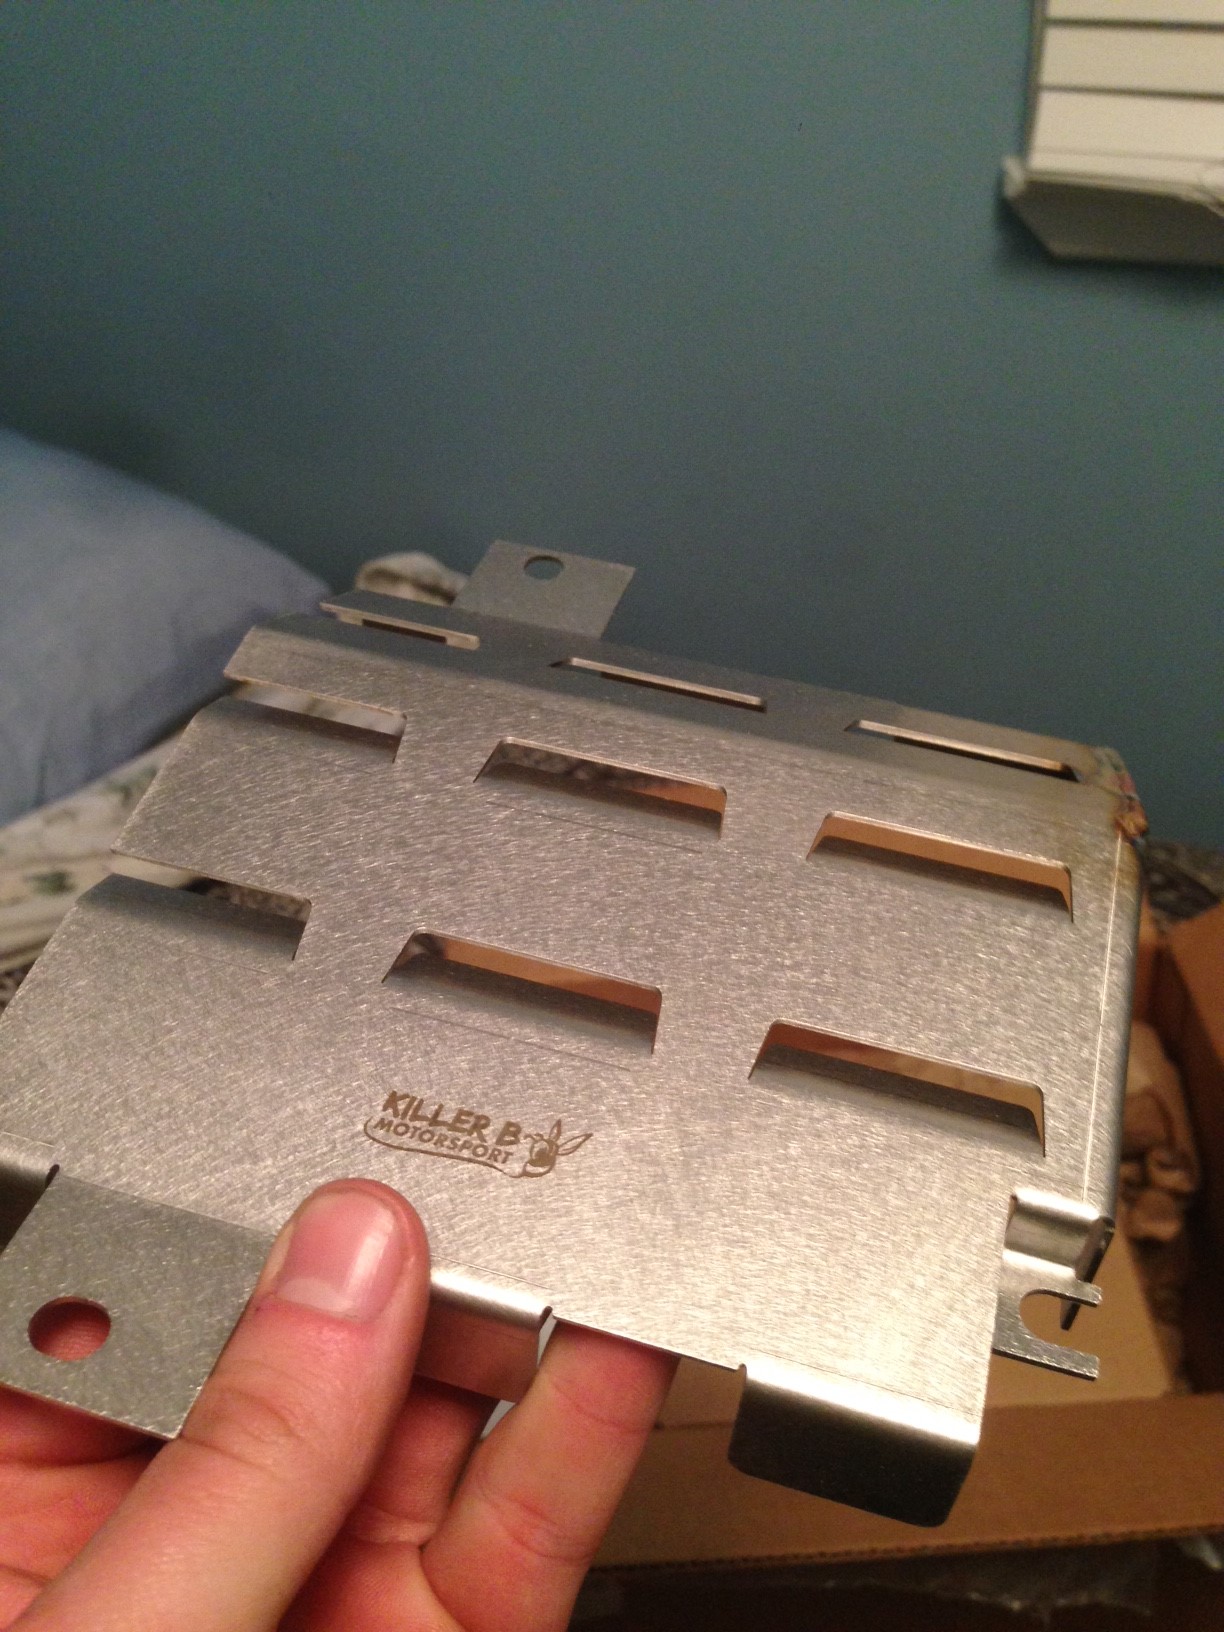
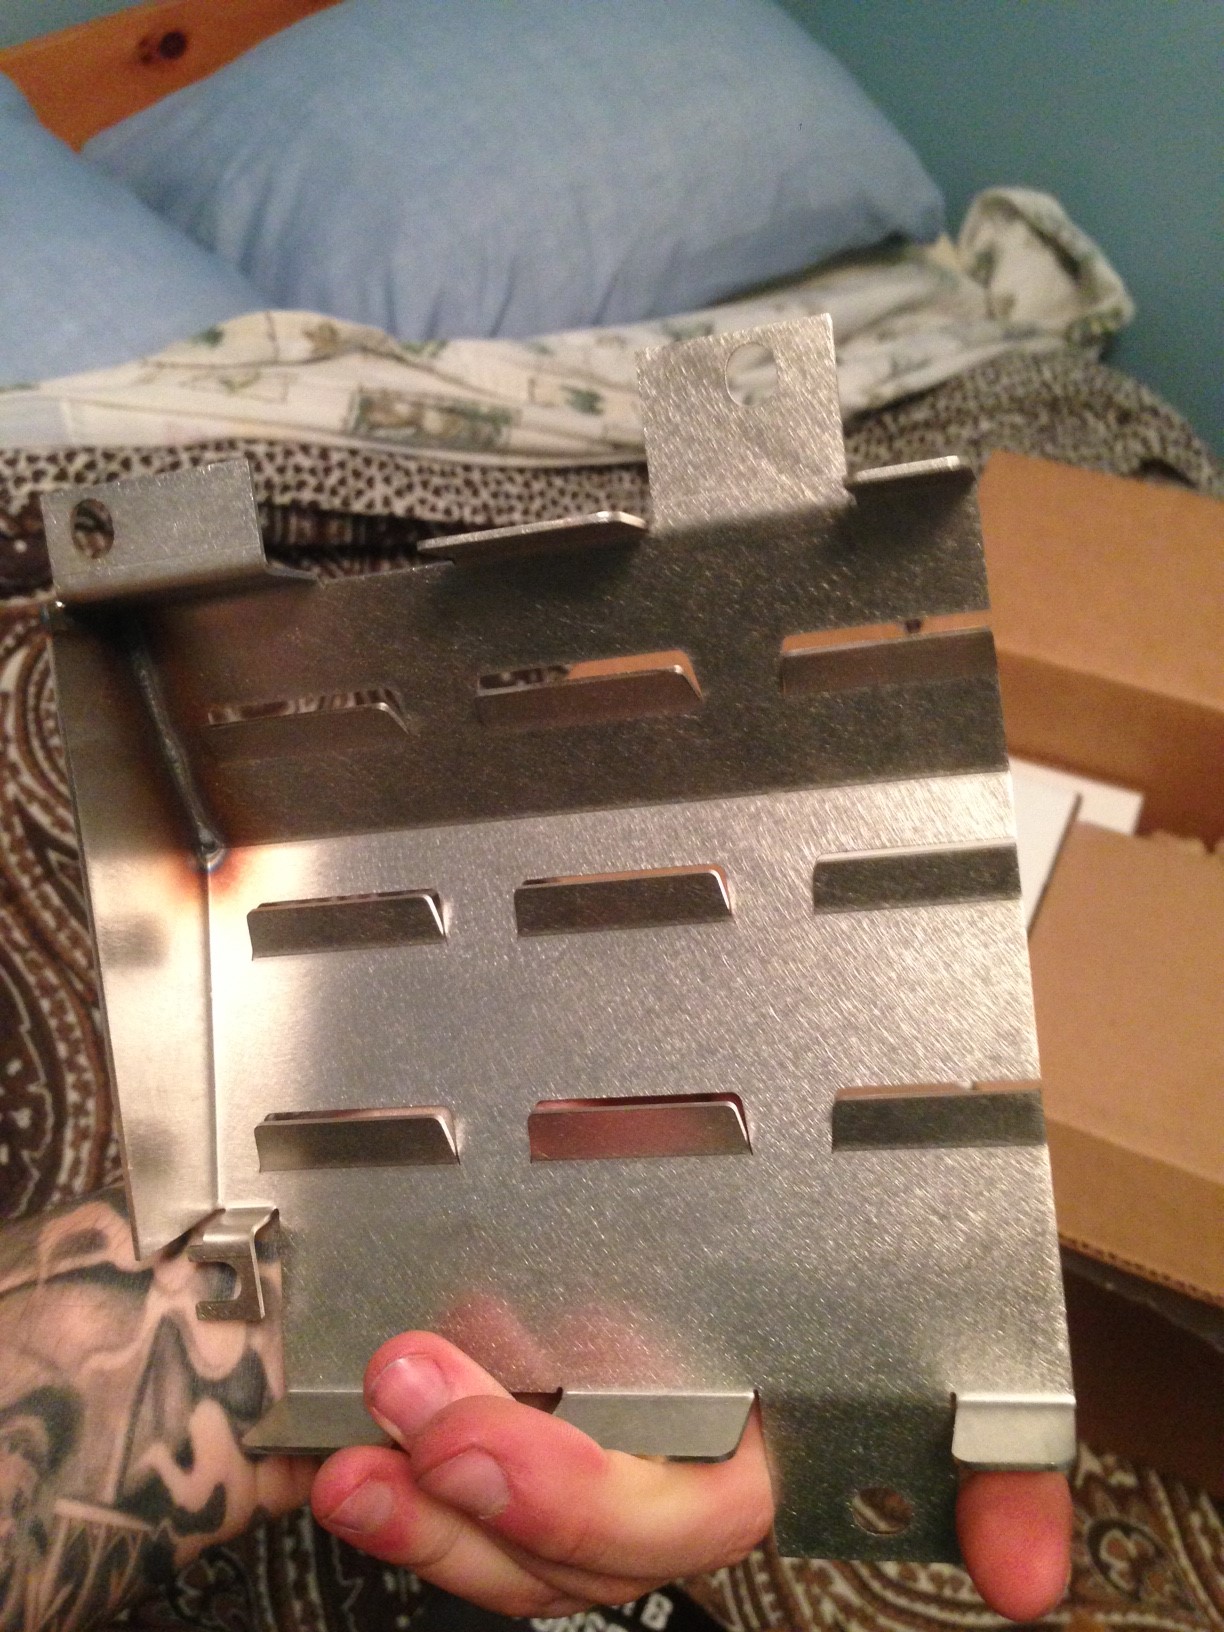
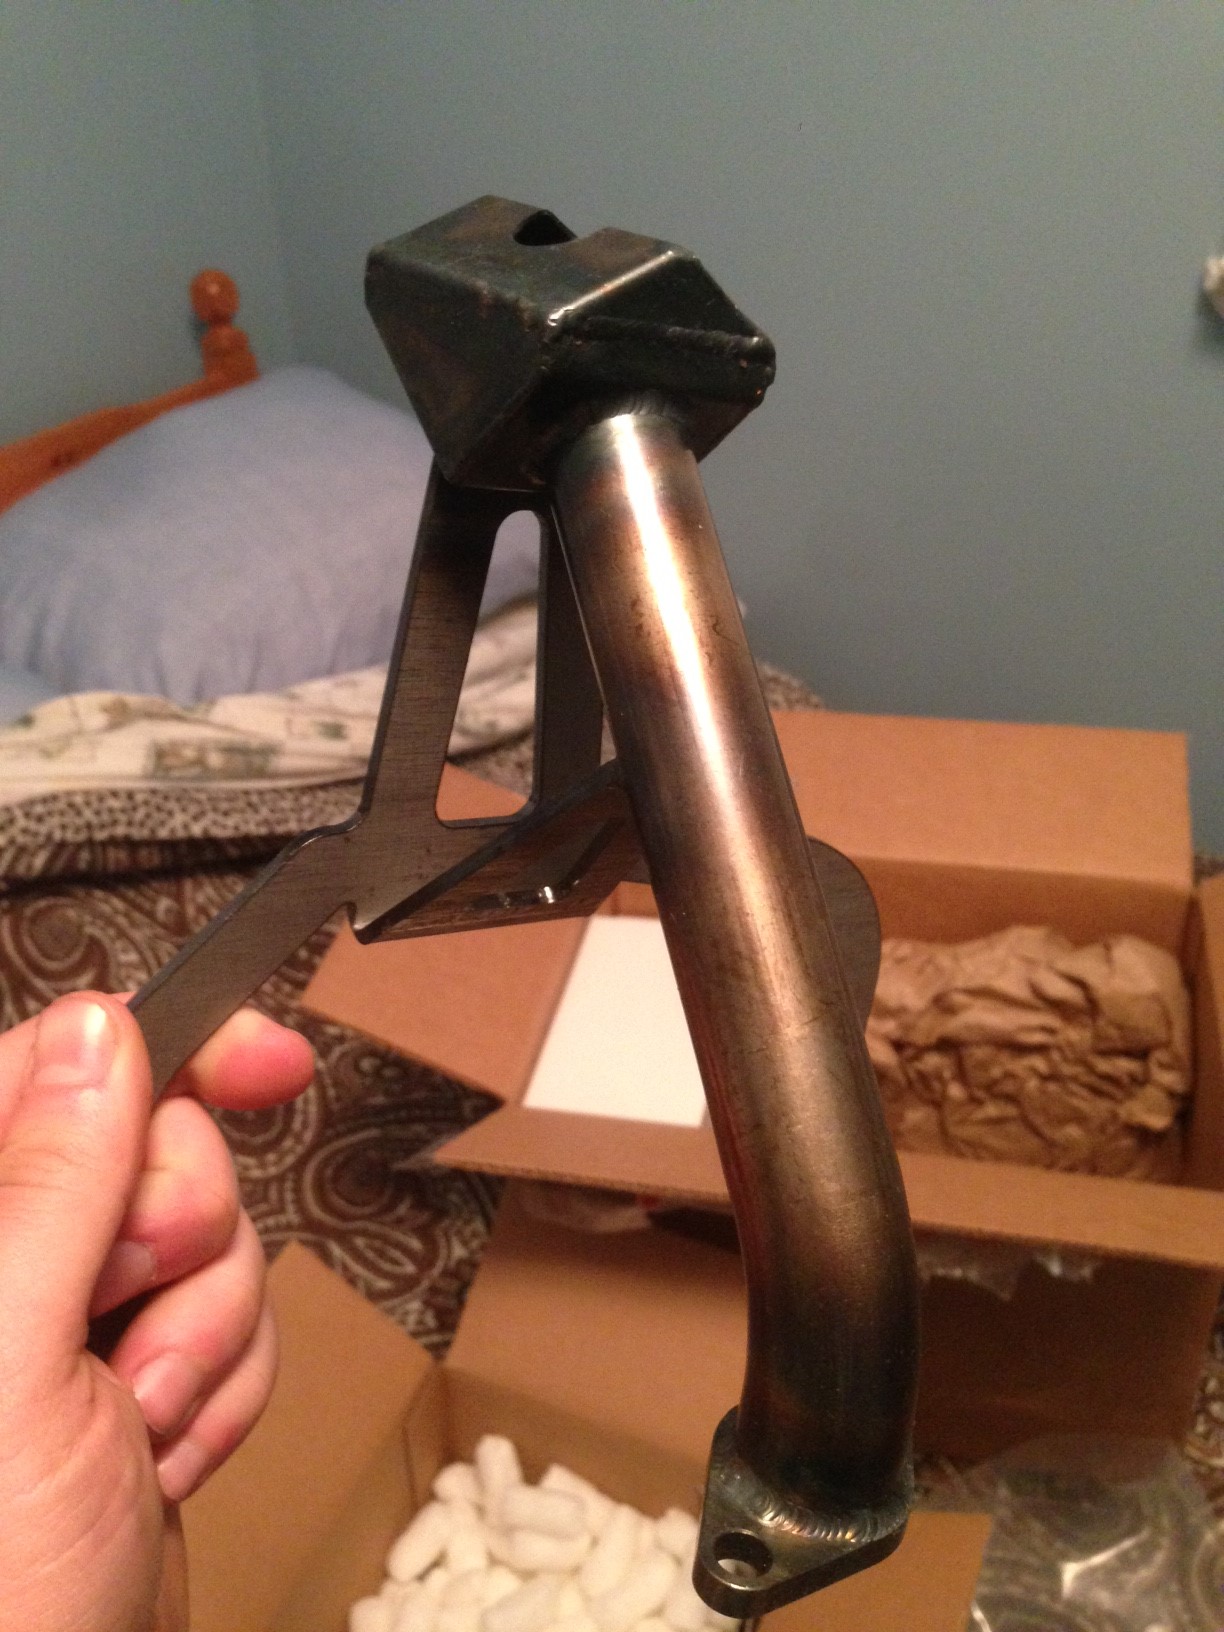
The quality on these Killer B pieces are excellent. Next is the Oil pickup Killer B
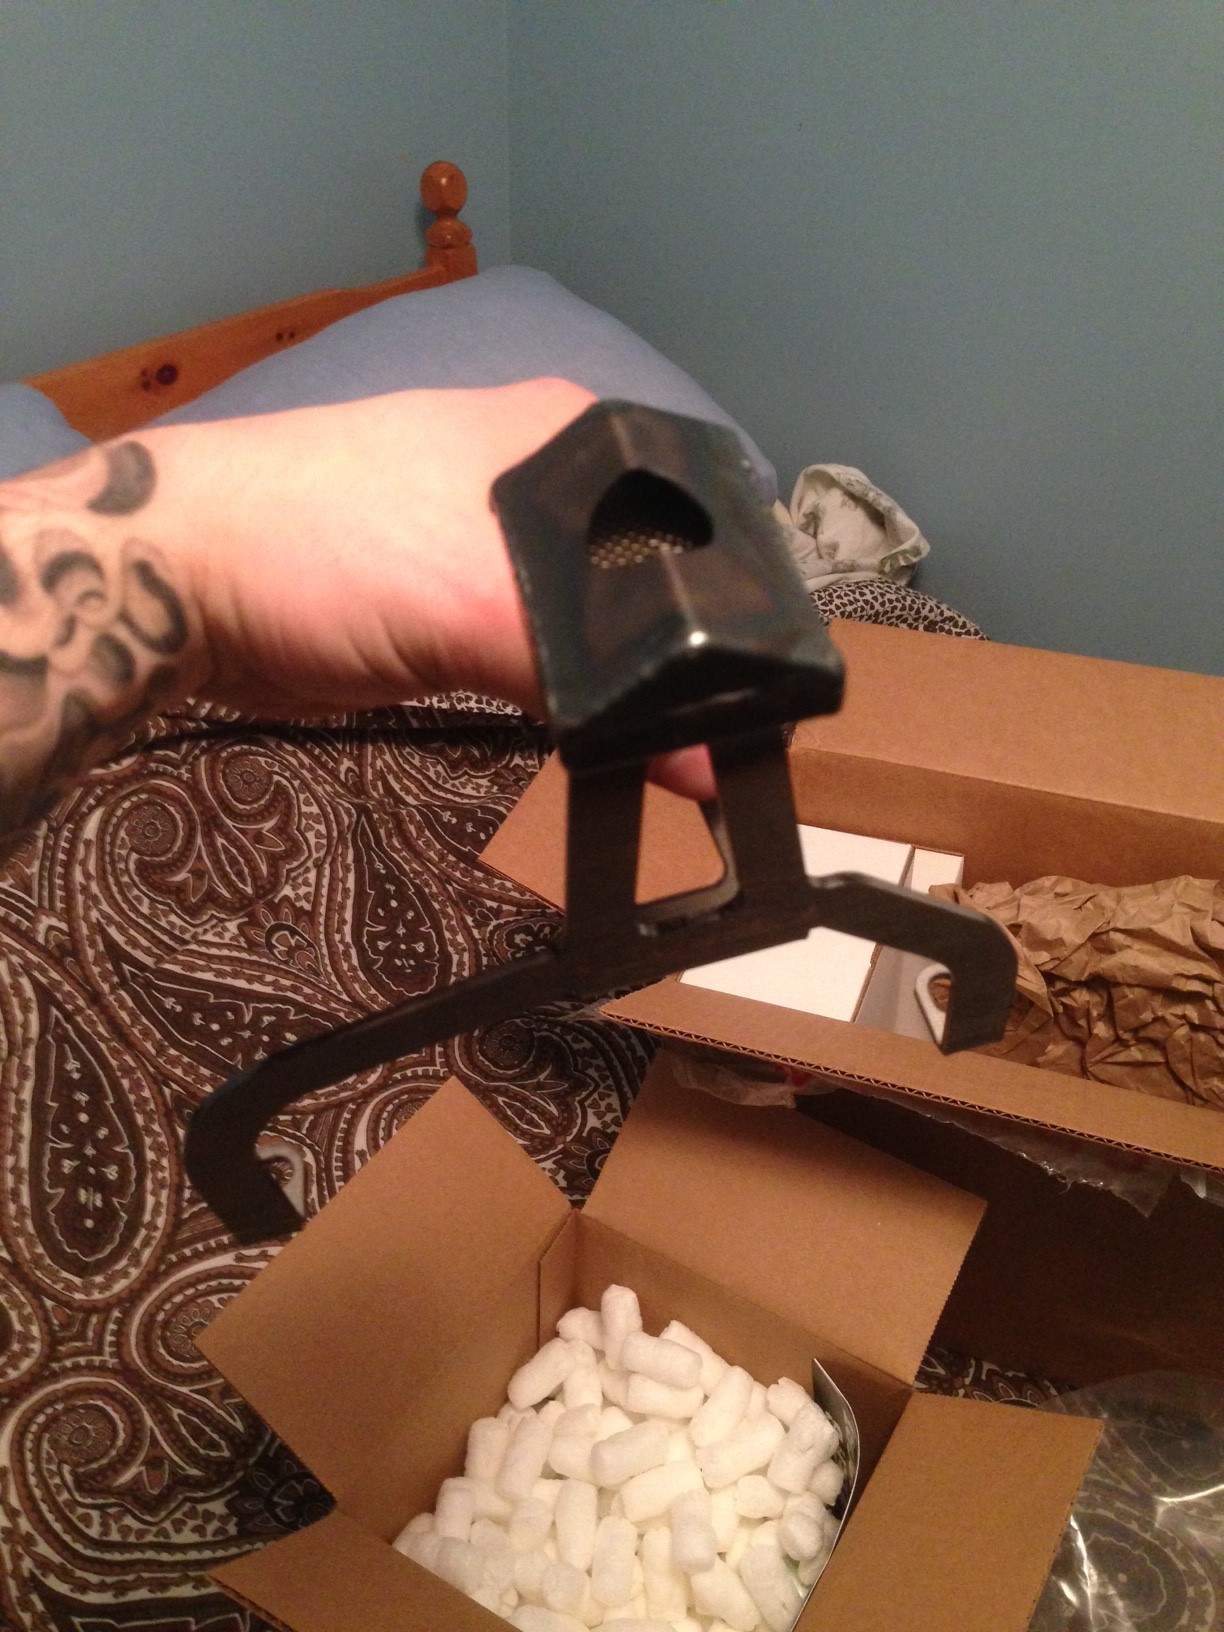
Next is the IAG fuel line kit which is made to fit with the Aeromotive fuel regulator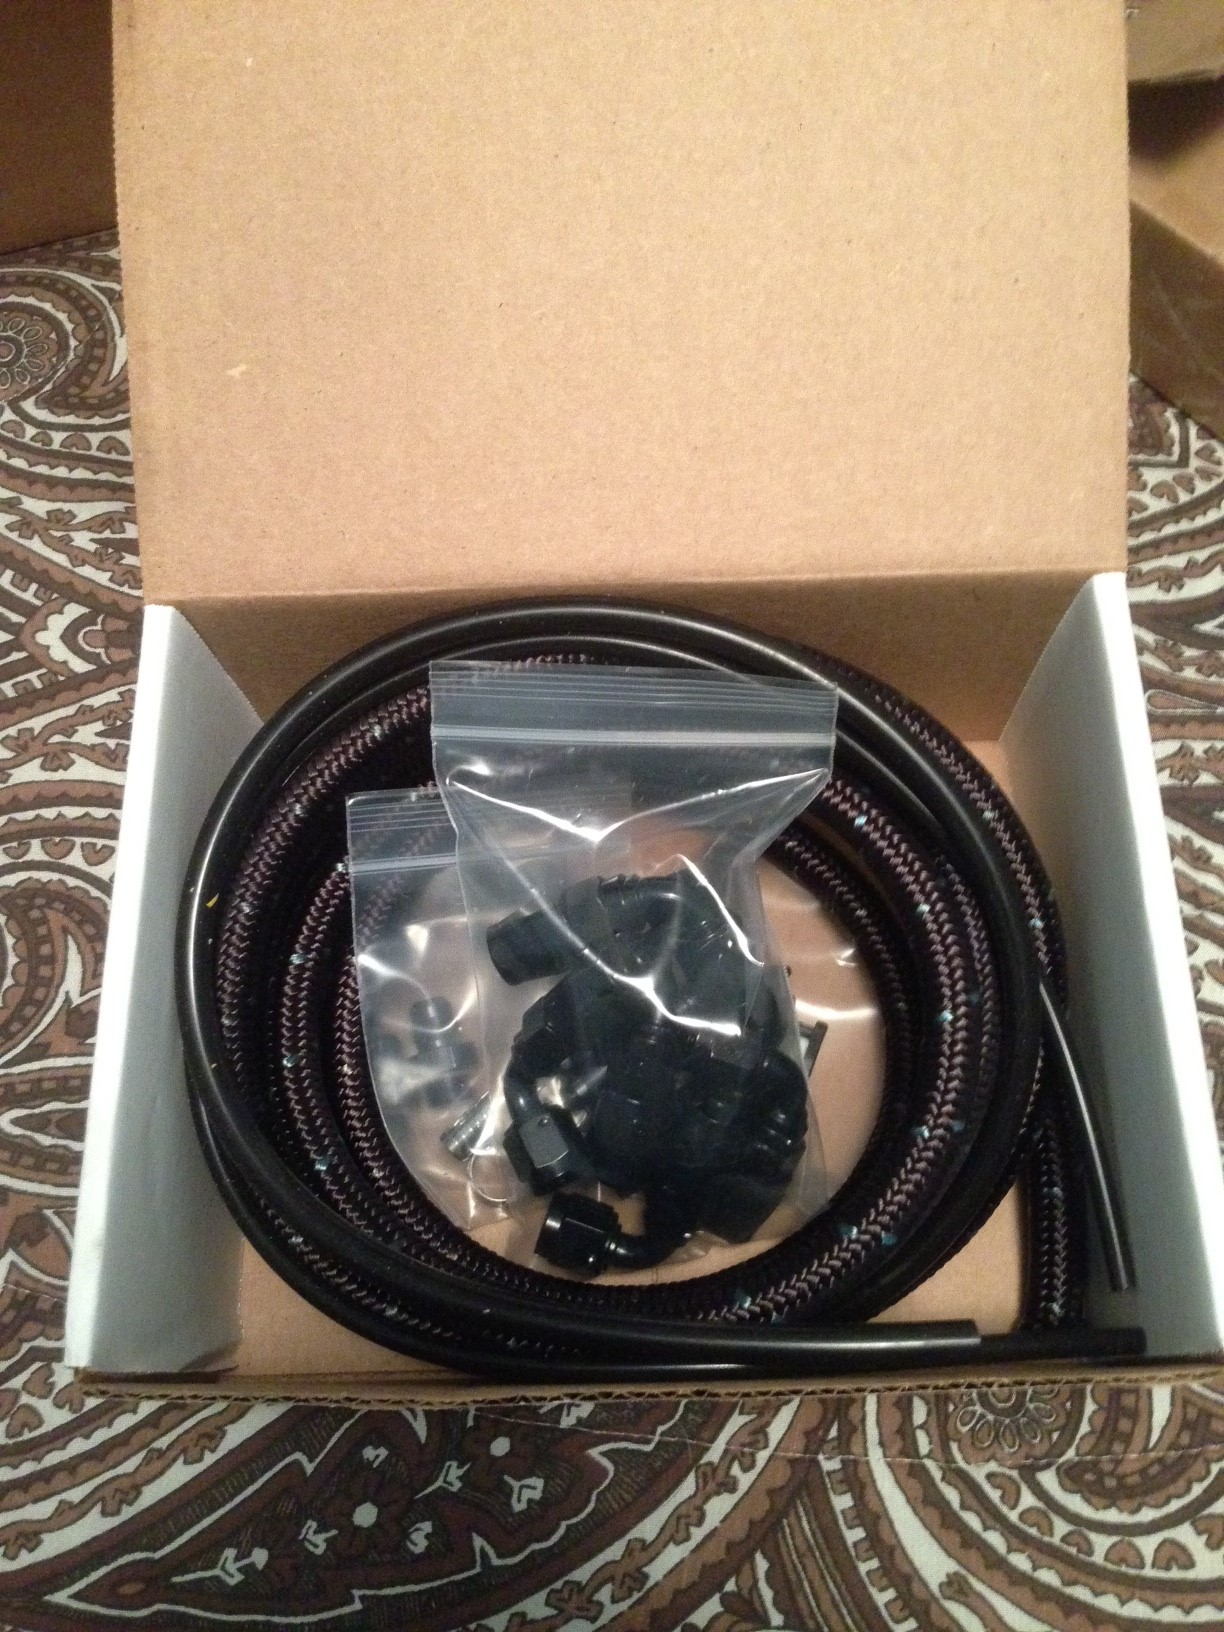
and the IAG Fuel Rails excellent quality as expected from IAG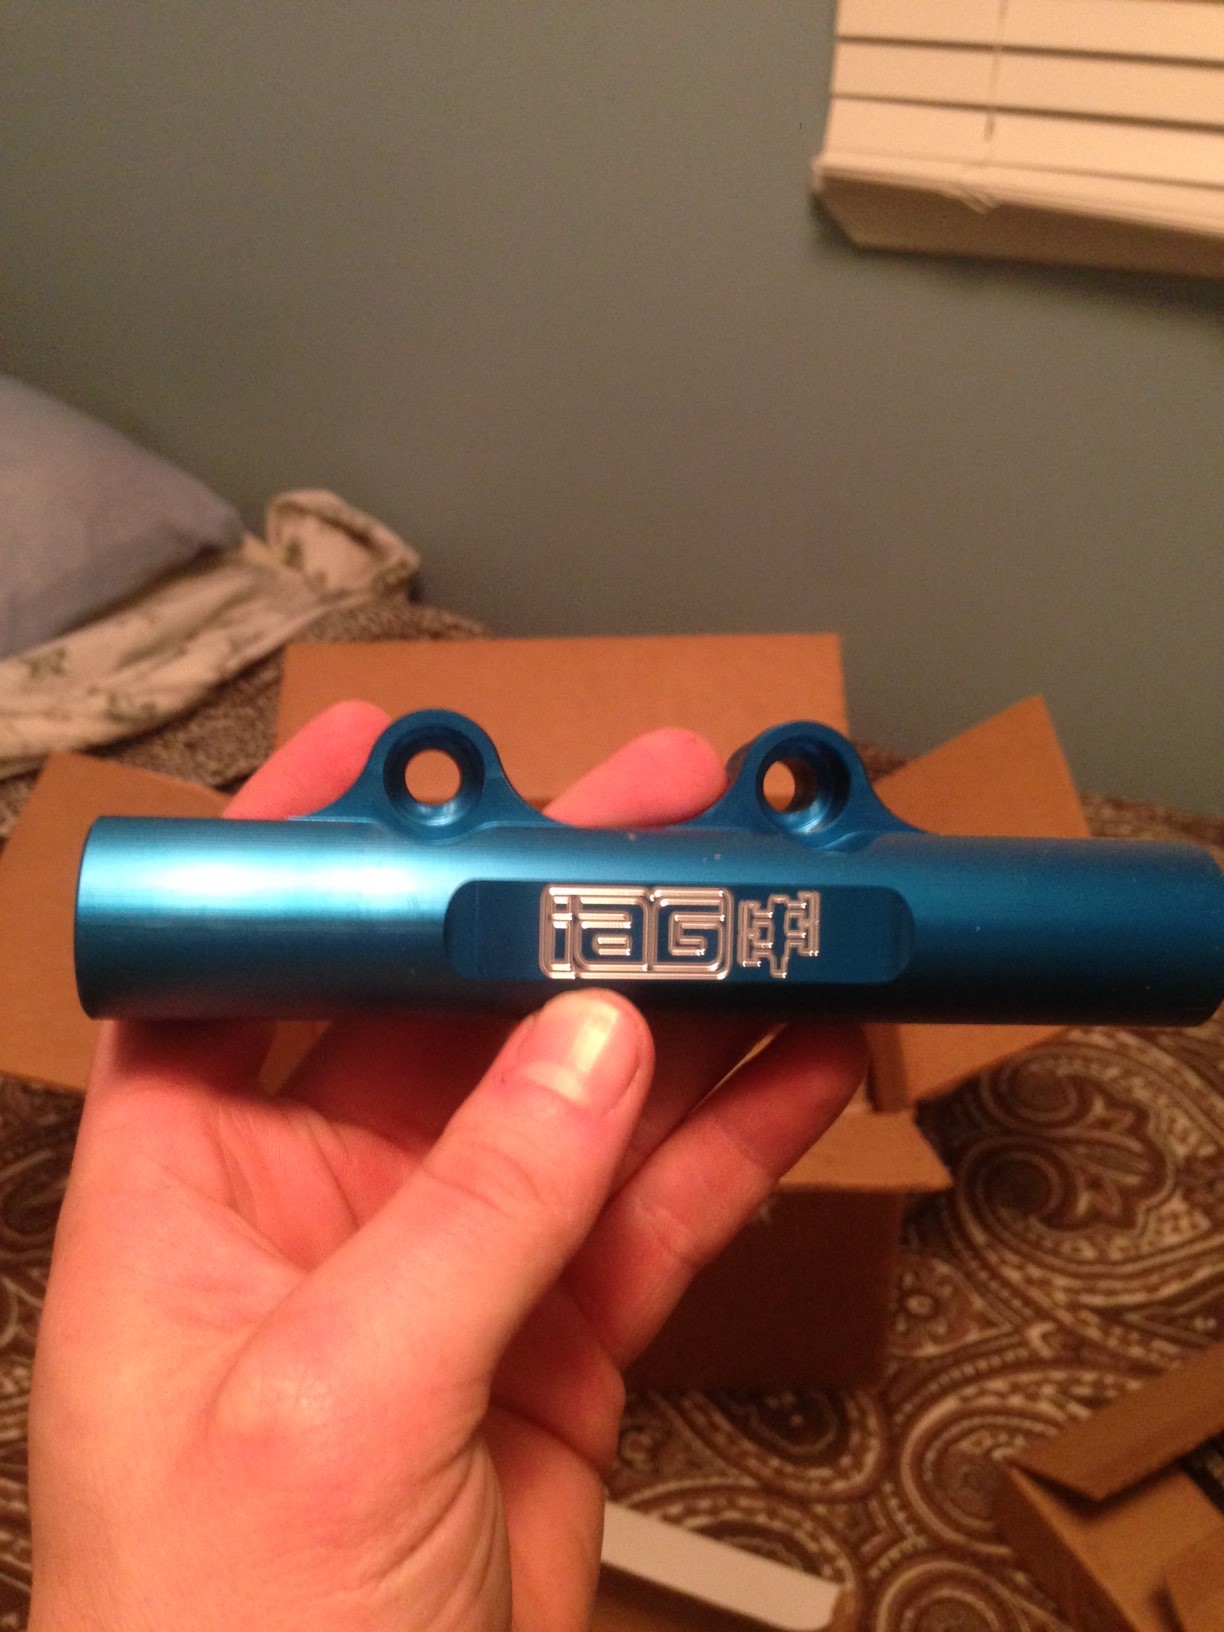
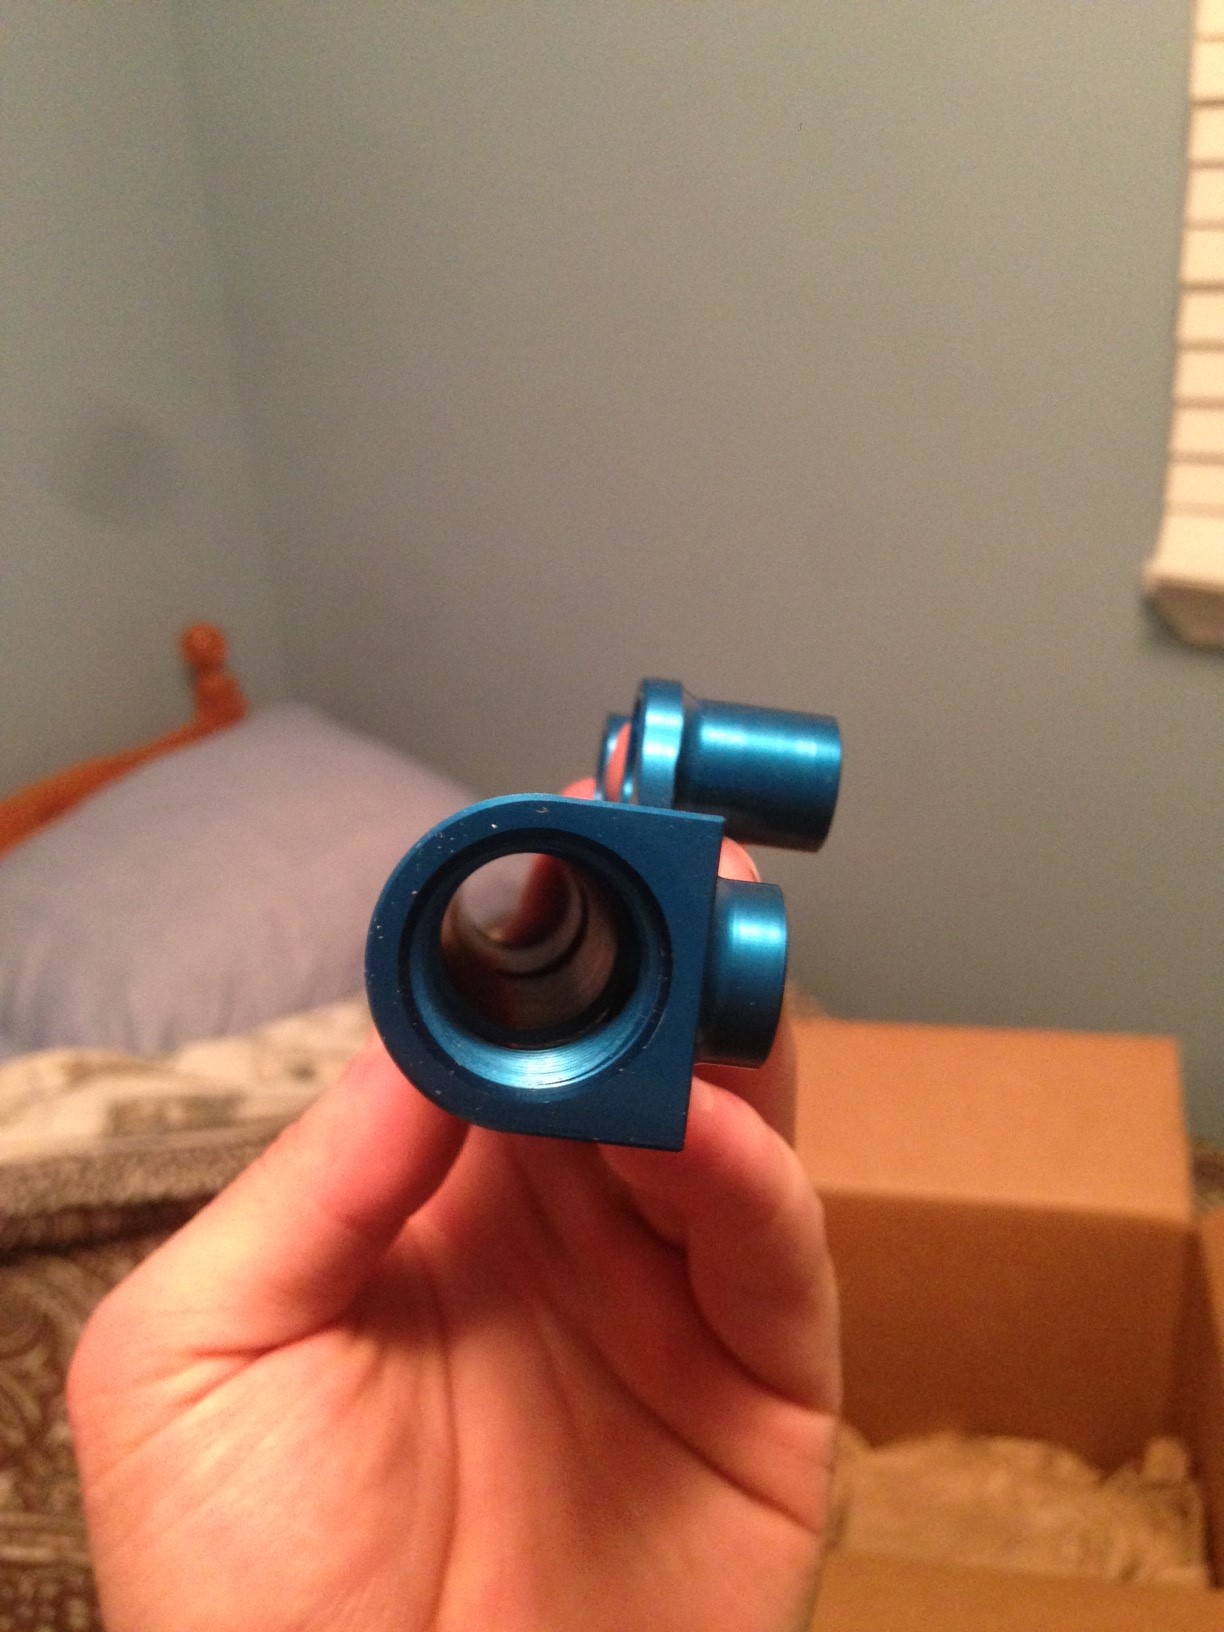
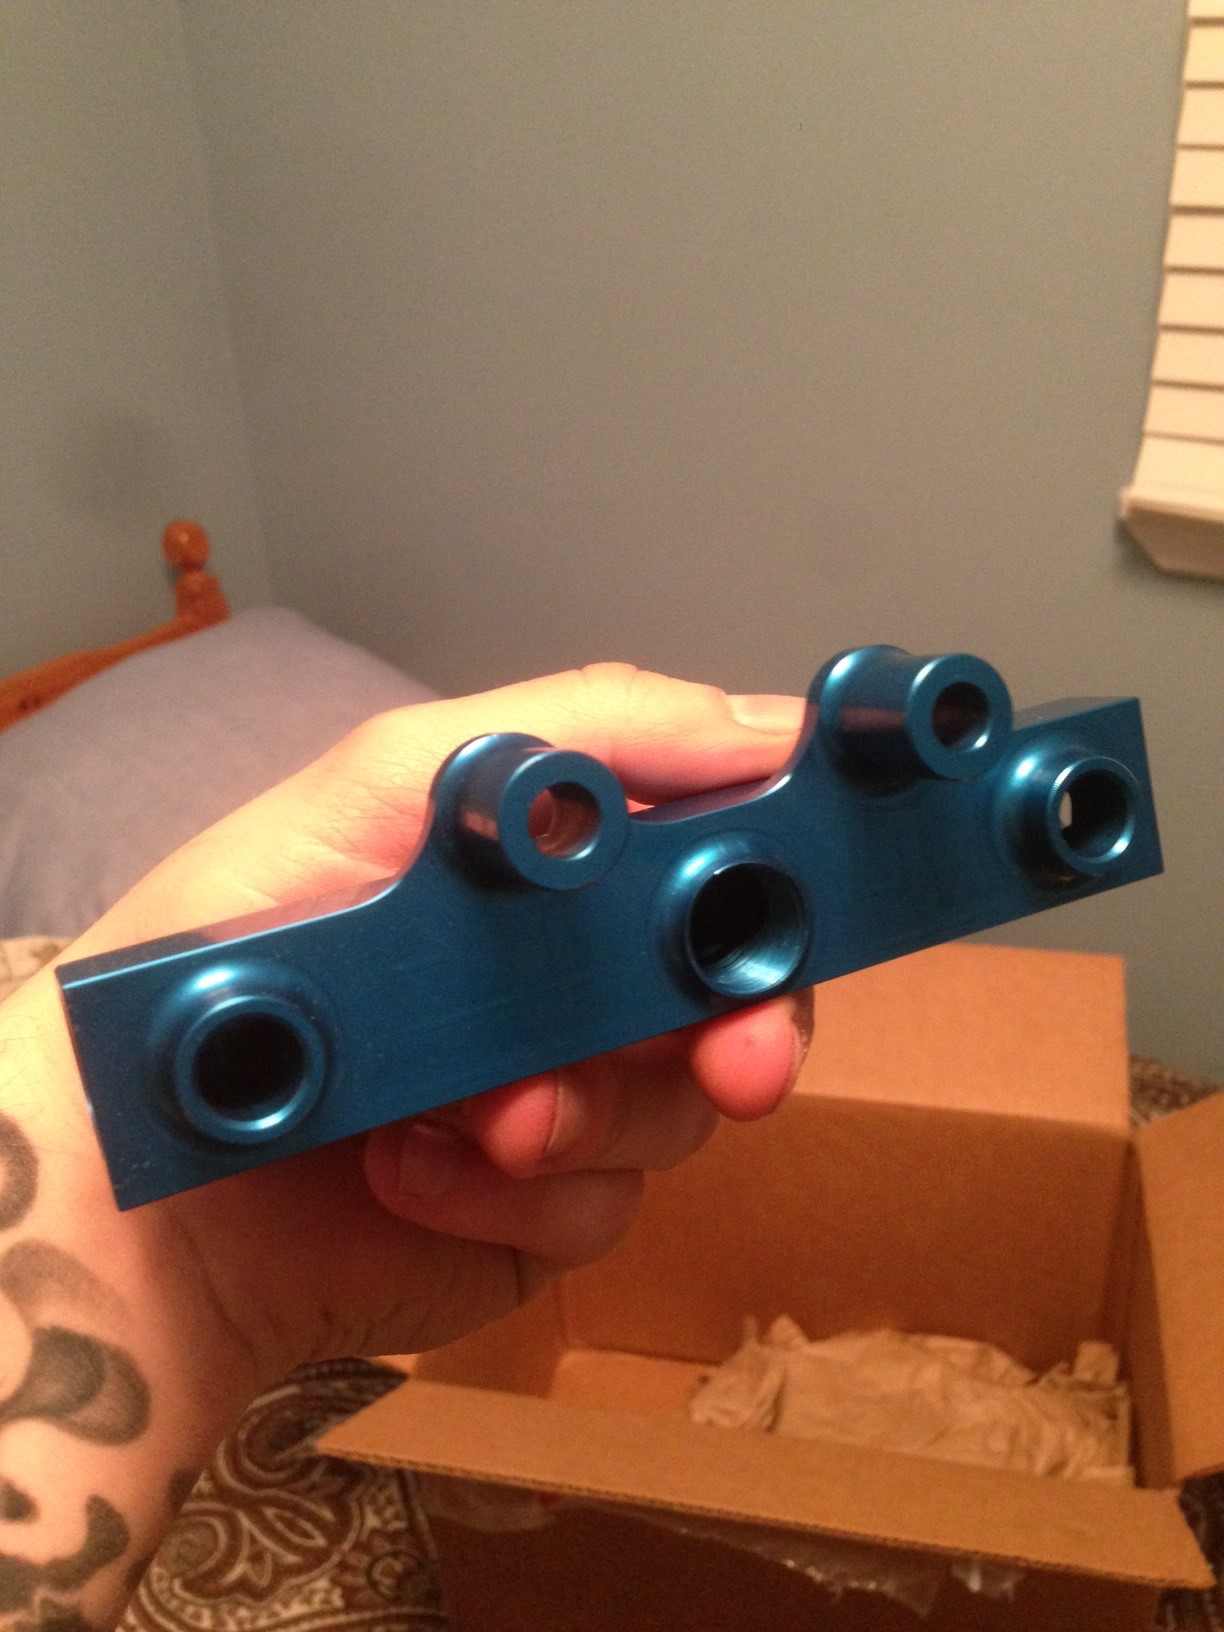
Then I got the Aeromotive Fuel Regulator so that means ill be selling my Perrin one. which has like brand new lol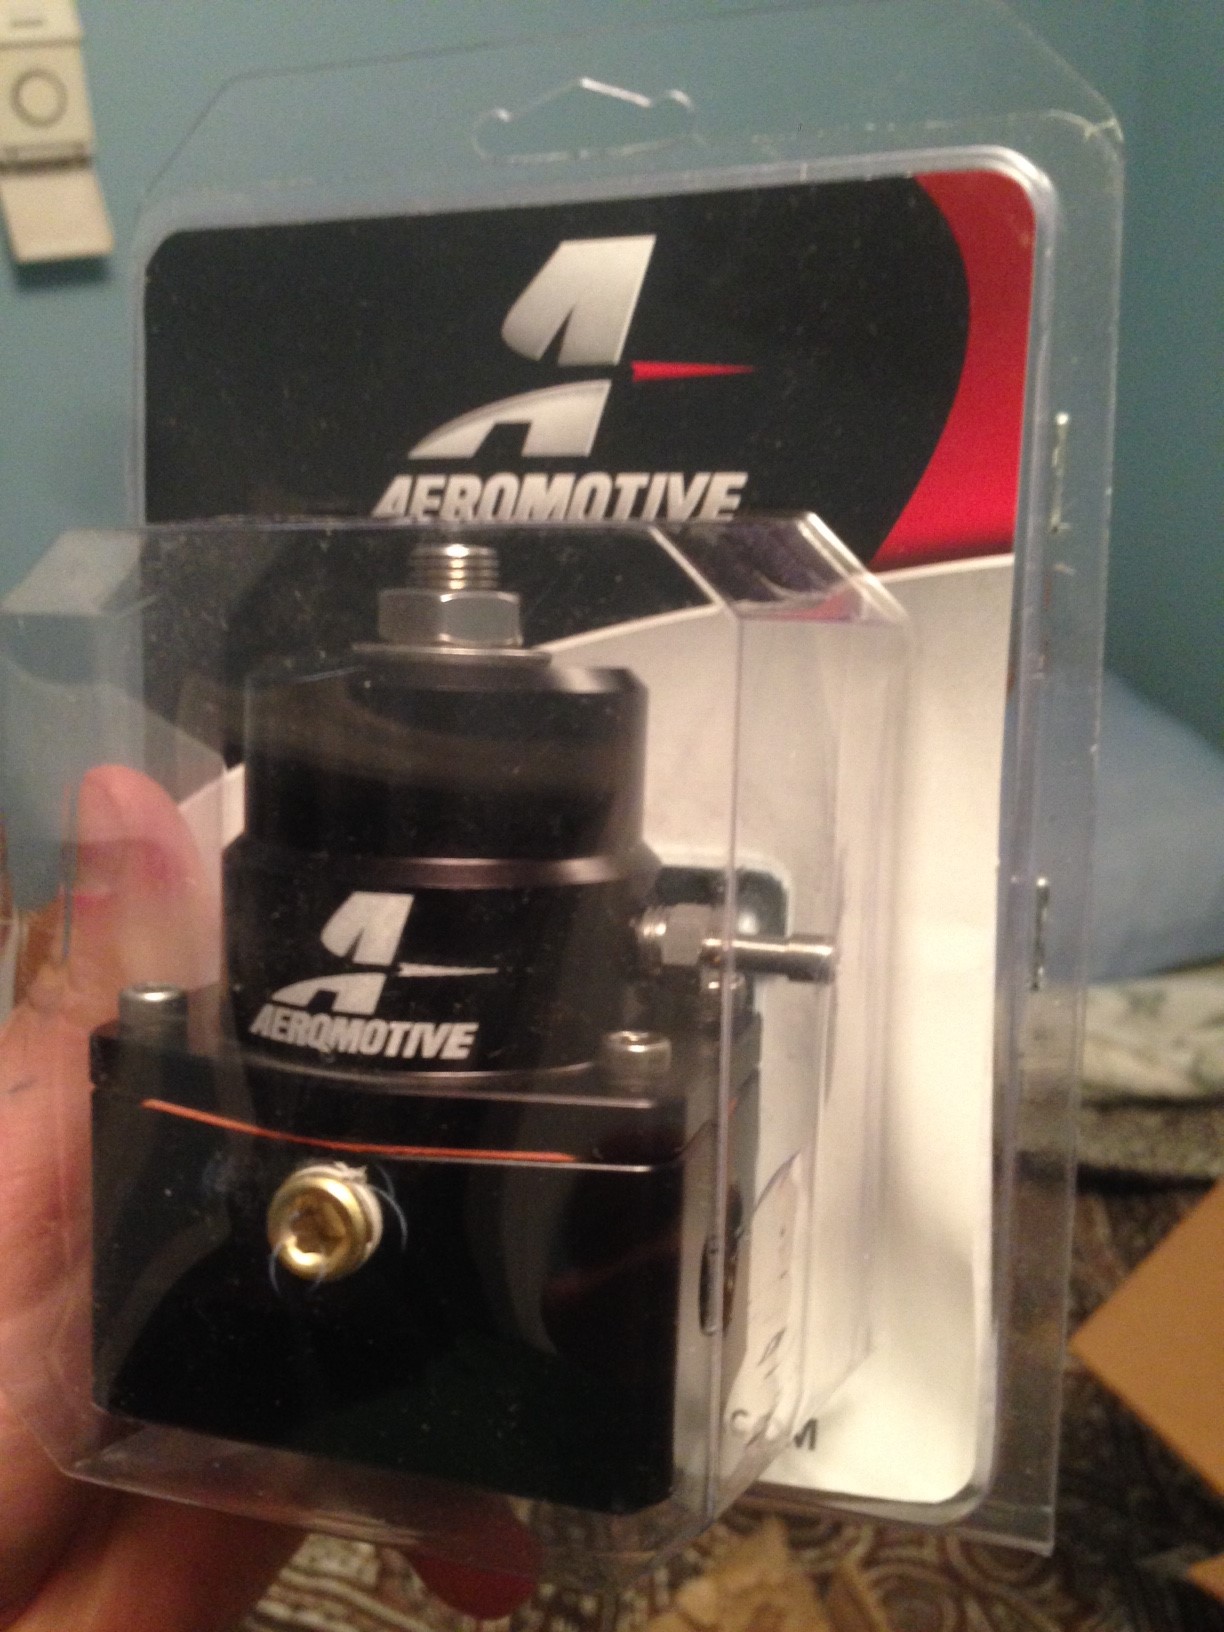
2-29-2016
Well just a little update for anyone that still follows this hah prob just doing this for my own record now. But the Vollkommen Design kit should be here in a few weeks and in spring I plan on putting that one. But before that the new IAG AOS needs to be installed and get the tune finished up with Corbin and get the stoptech brakes and Whiteline bushings on. I ended up selling the fuel kit cause I dont need it. Once the tune is done and car is working good my buddy and I will tackle mounting the fenders and seeing what needs to be cut along with replacing the wheel well inner liner will be removed some what. The car is getting wrapped in a satin black while the roof, mirrors and front brake vents will be gloss black. Ill be putting in my order for a set of Work Meister M1 3 Piece wheels this week in the following specs; 18x12 -6 with black face, bronze lip and gold rivets. Also picked up 3 sponsors my tuner is going to full sponsor me and also picked up a partial sponsor with Galvez Customs to make a custom front splitter and canards, side extensions and rear diffuser to go with the widebody kit. Also I dont want to jinx it but I have a partial sponsor with Air Lift Performance so ill be running bags come the summer
3-18-2016
So my Air Suspension showed up Wednesday so this is the opening
This is how it all came. 4 separate boxes.
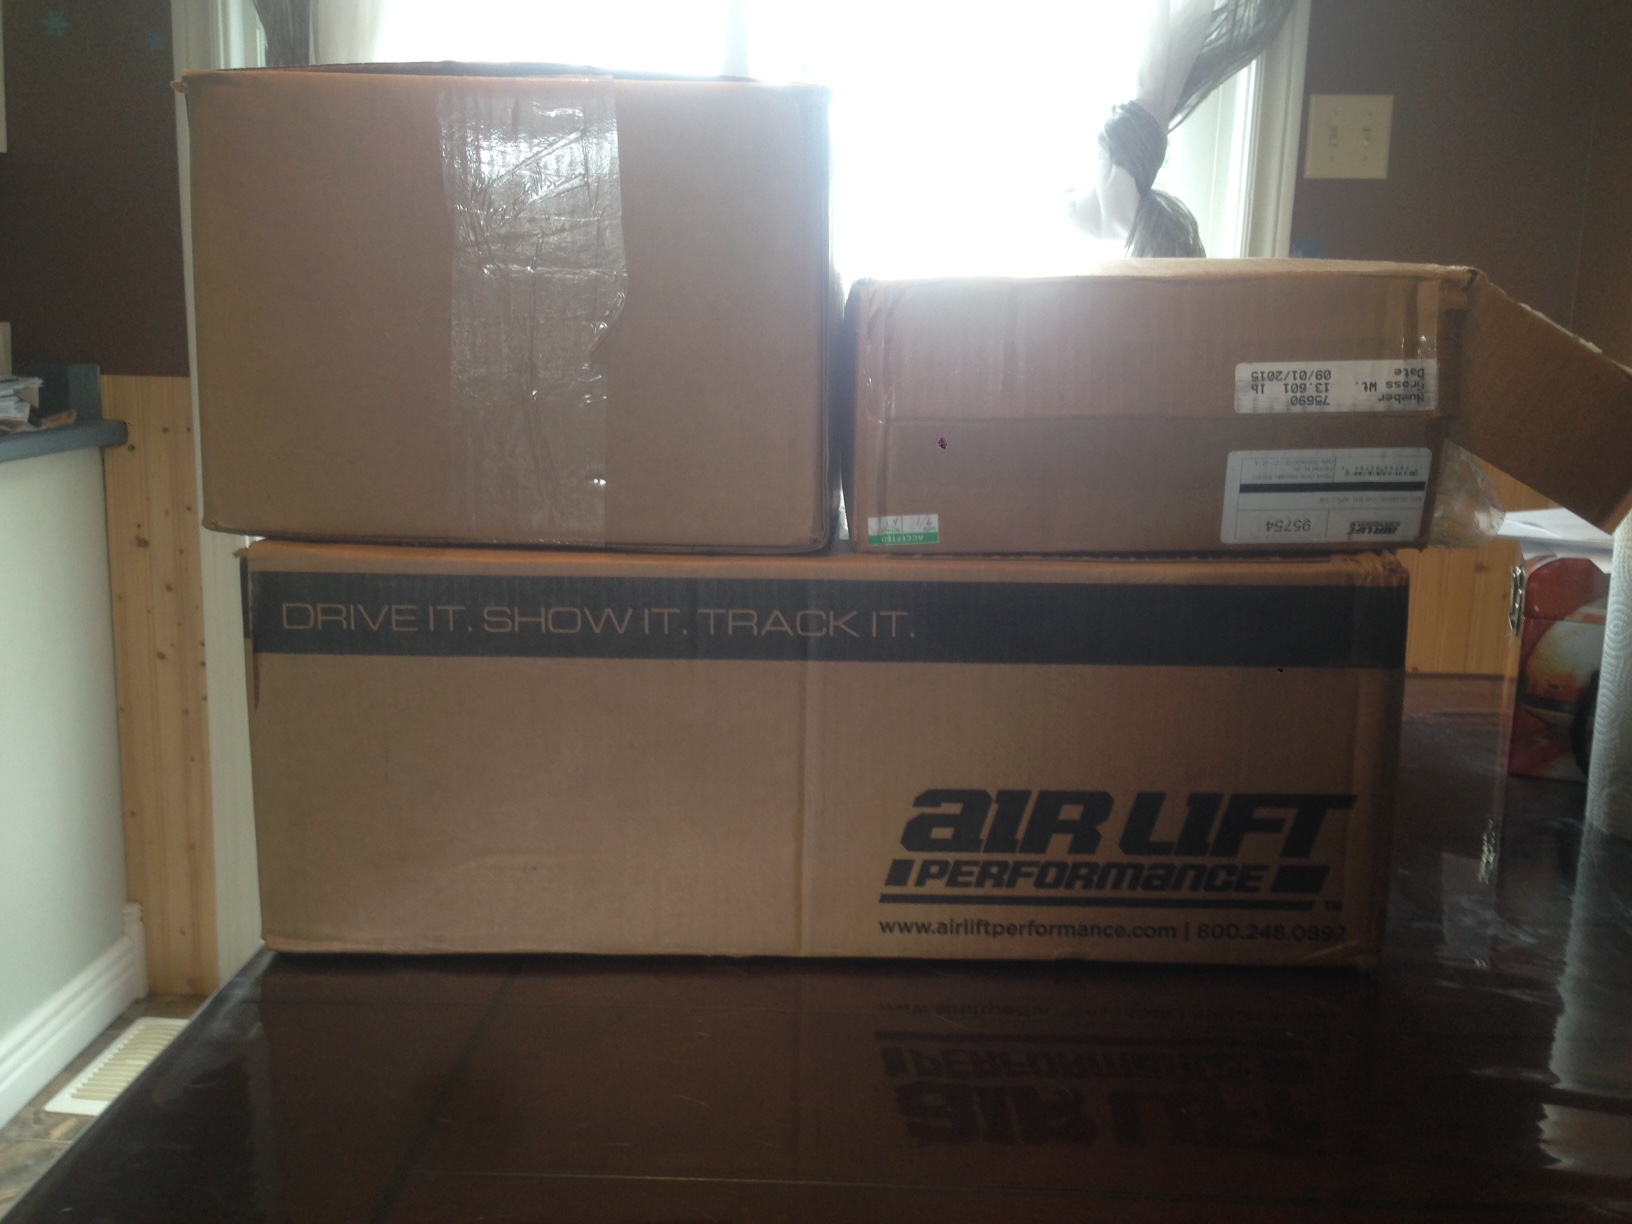
First box
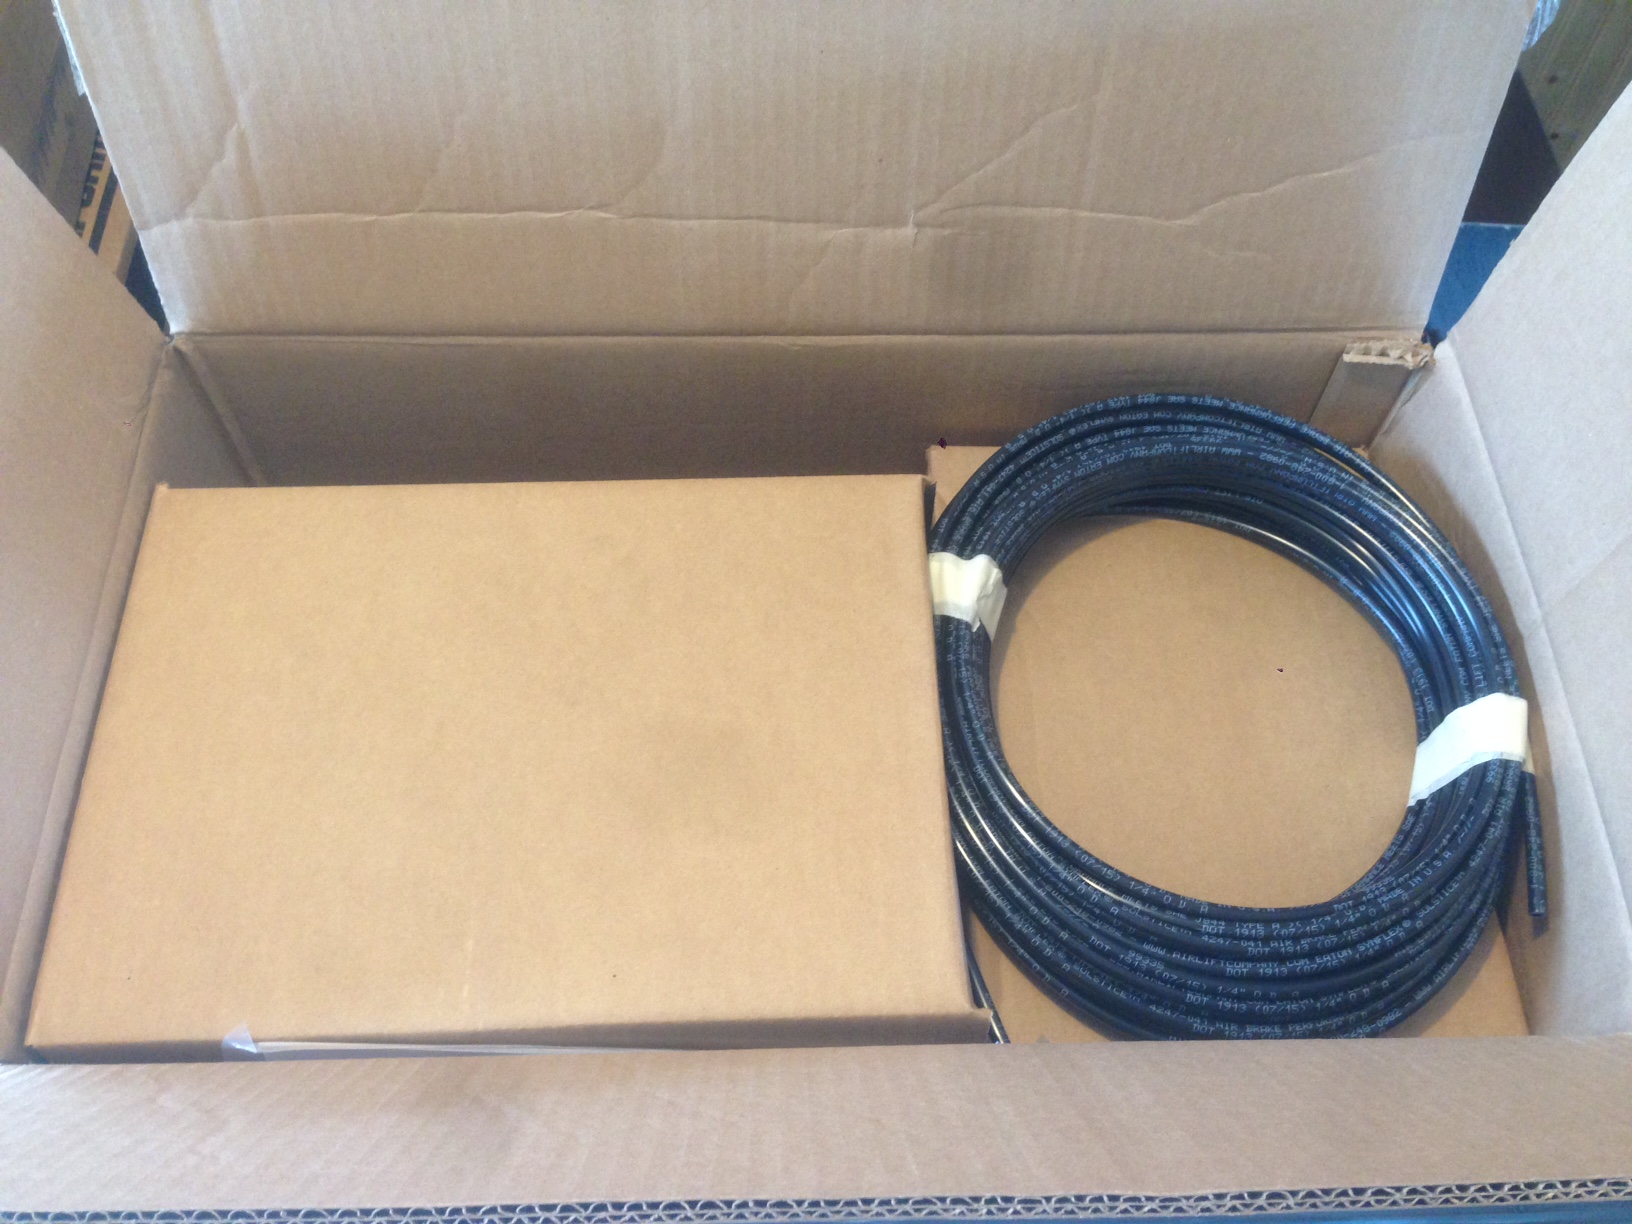
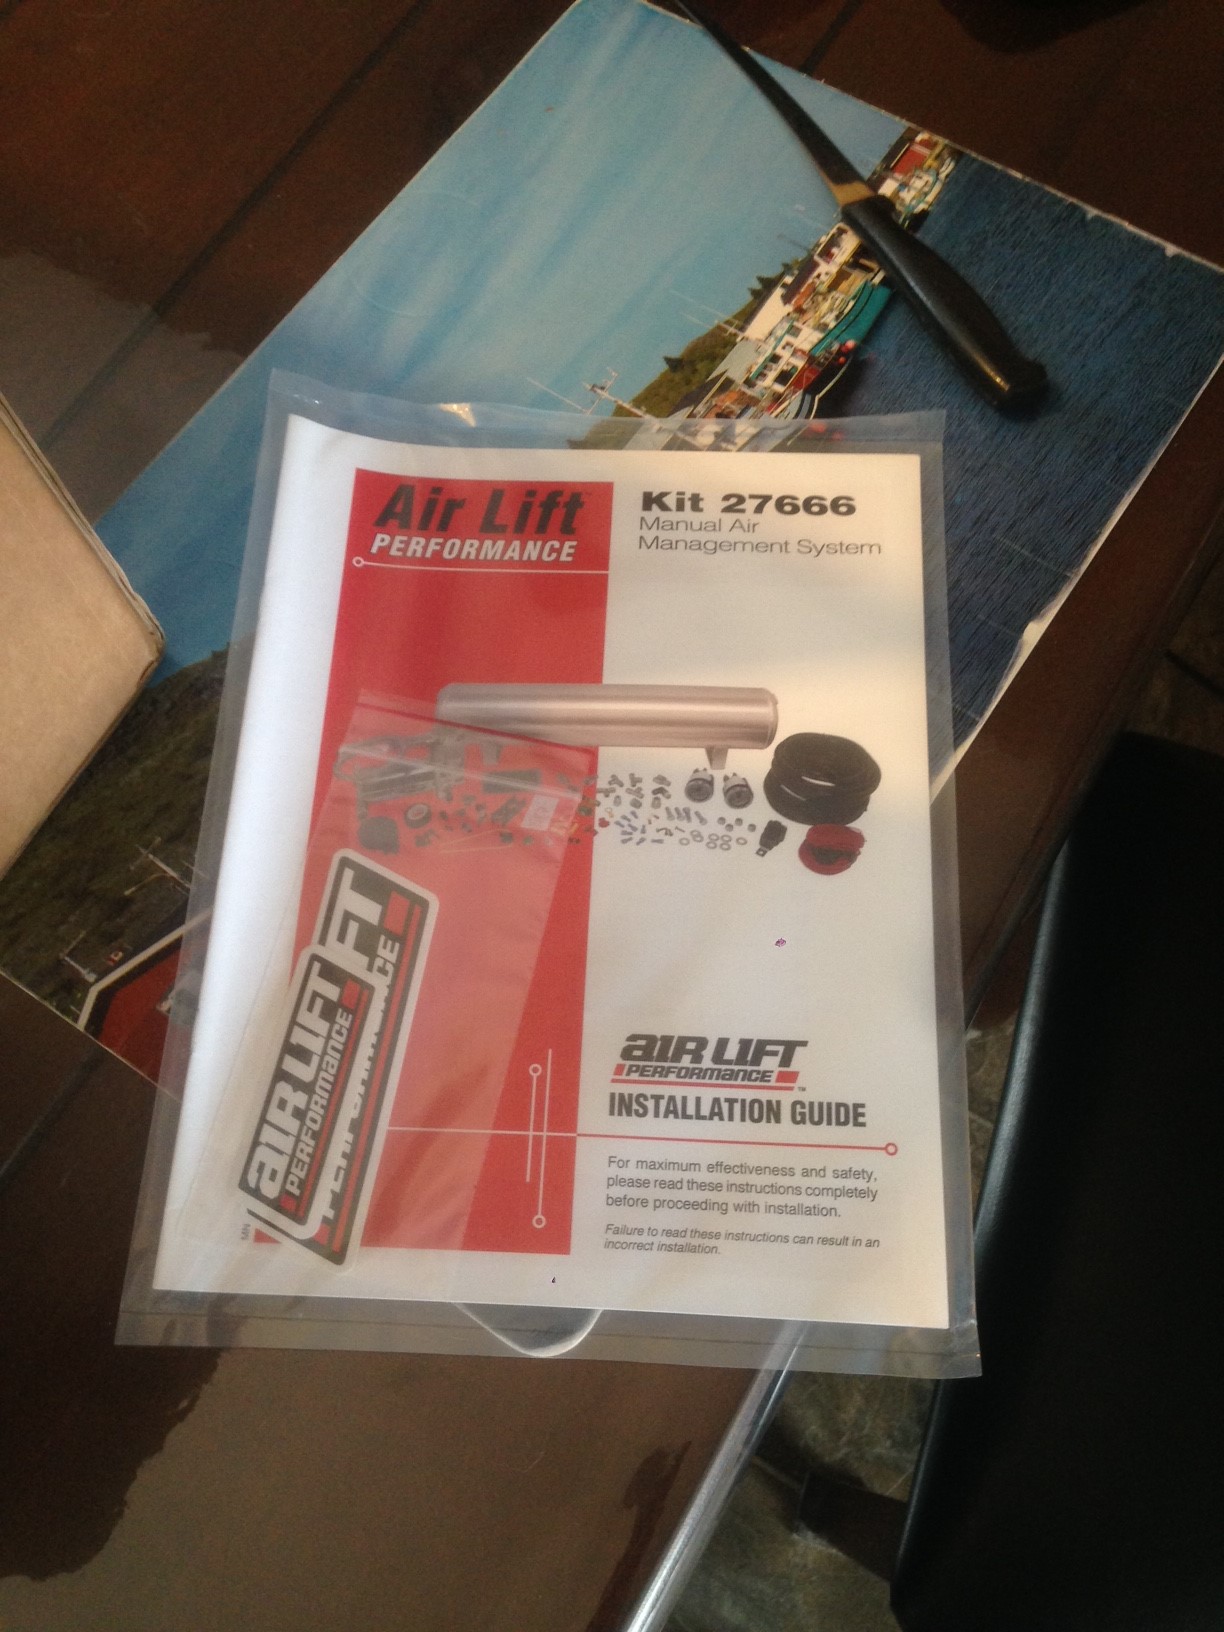
Manual for setting up compressor and tank. Ive been told its prob best to go with 2 380 compressors but we will see how the one compressor runs for now.
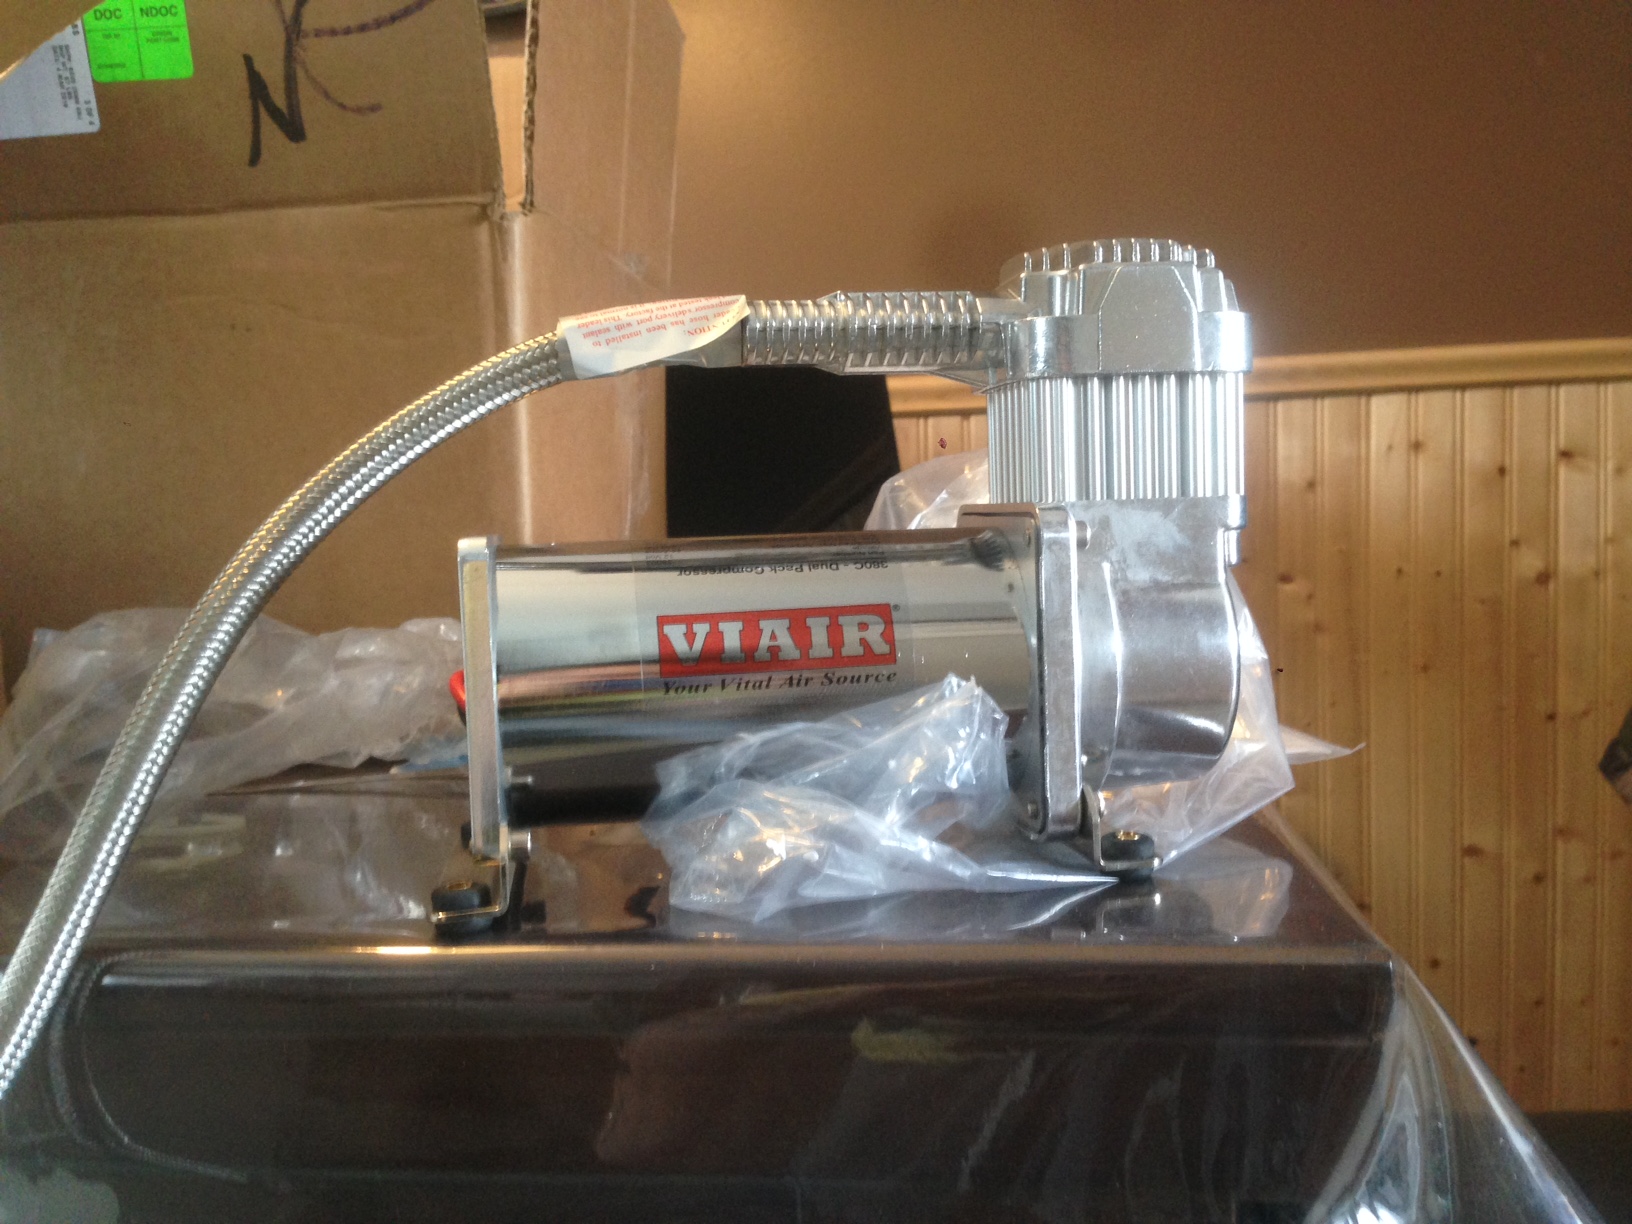
Viair 380 Compressor. The other small box was just brackets, nuts, bolts, etc.
2 of 4 boxes.
This box had my rear bags
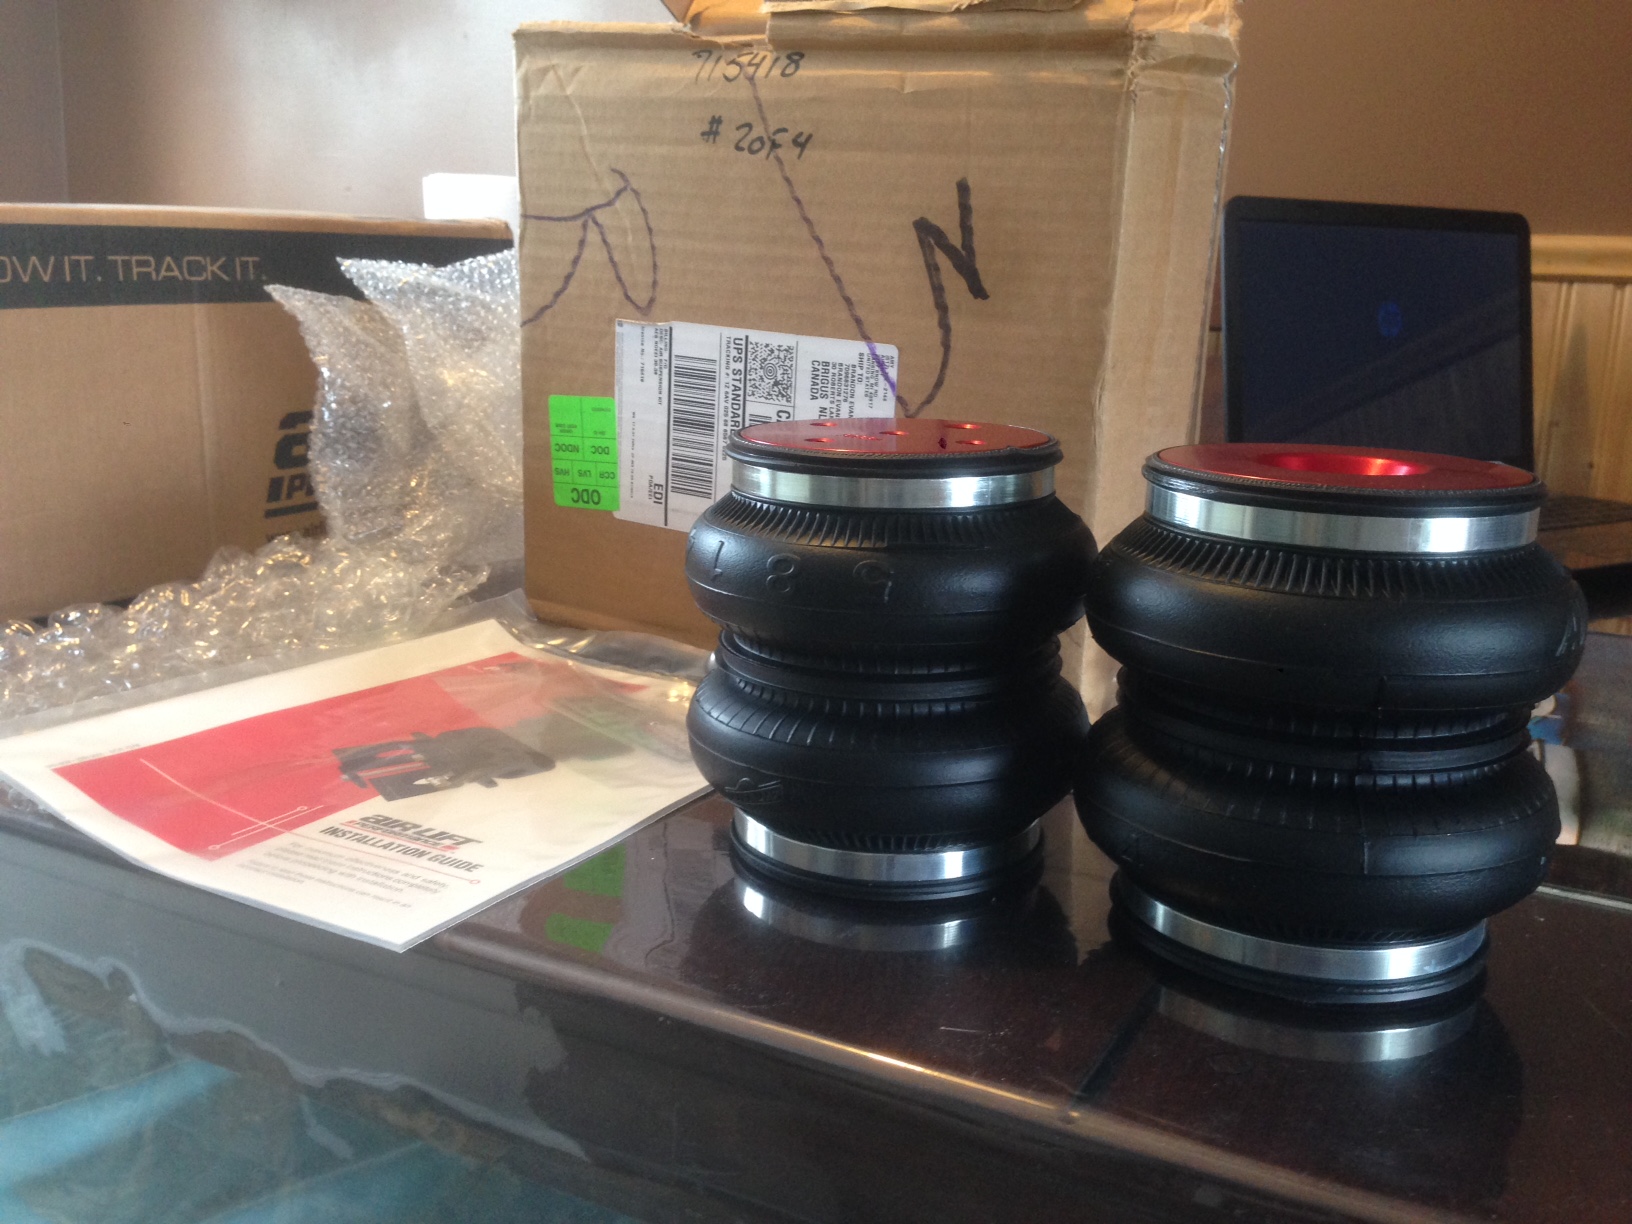
and manual
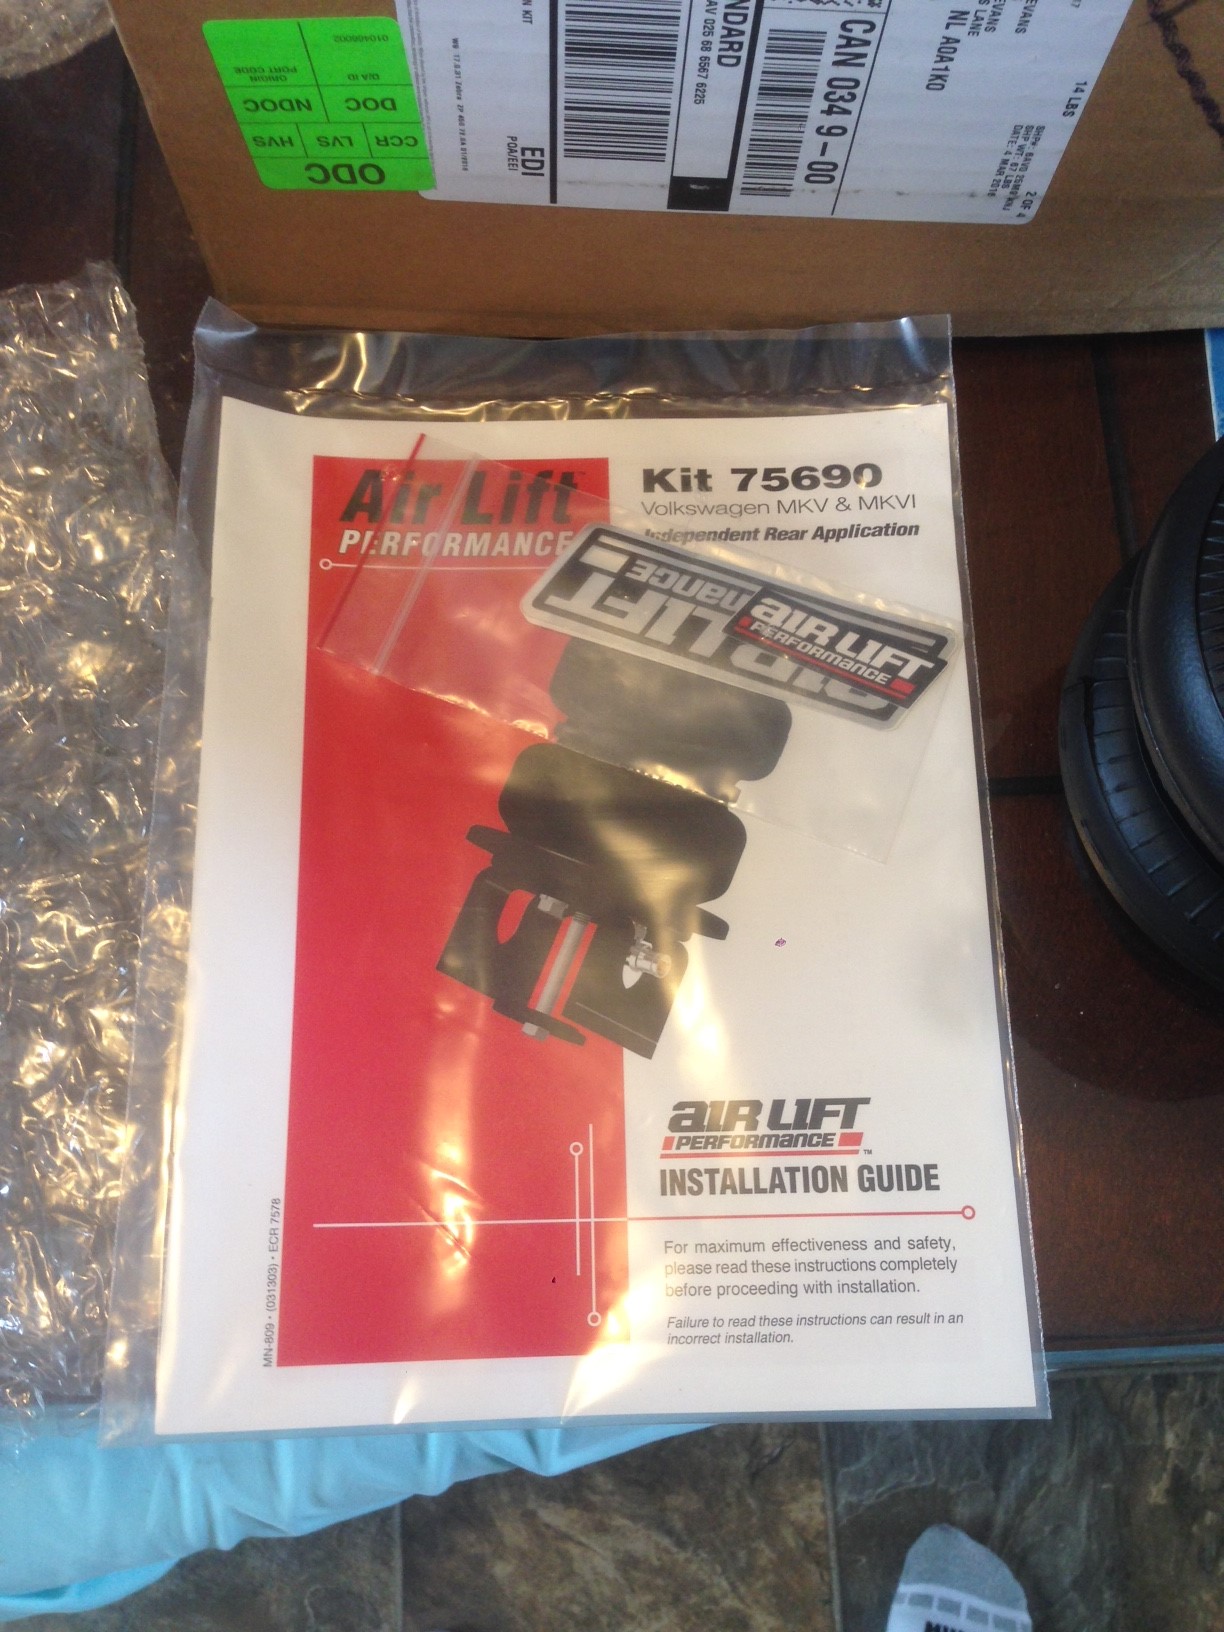
and just some other things for install
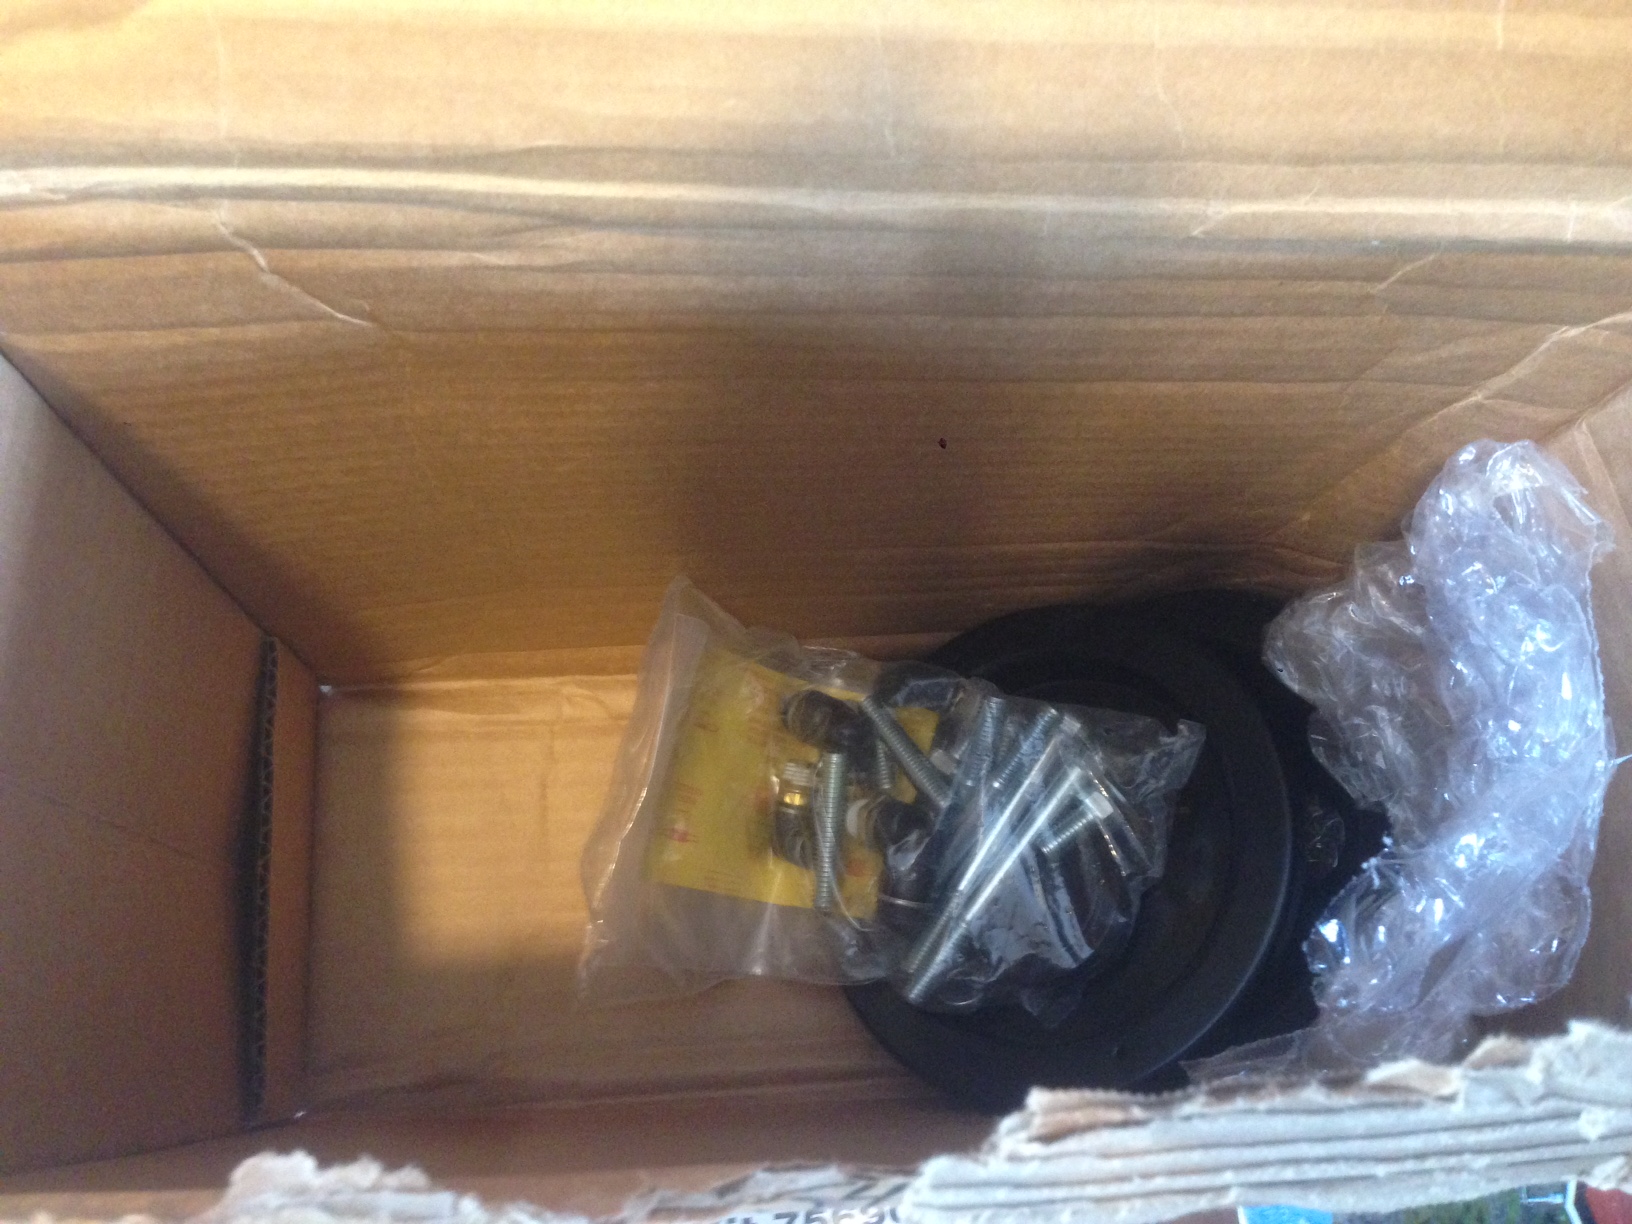
3 of 4 boxes
Opening
Had my 24" window banner and license plate frame
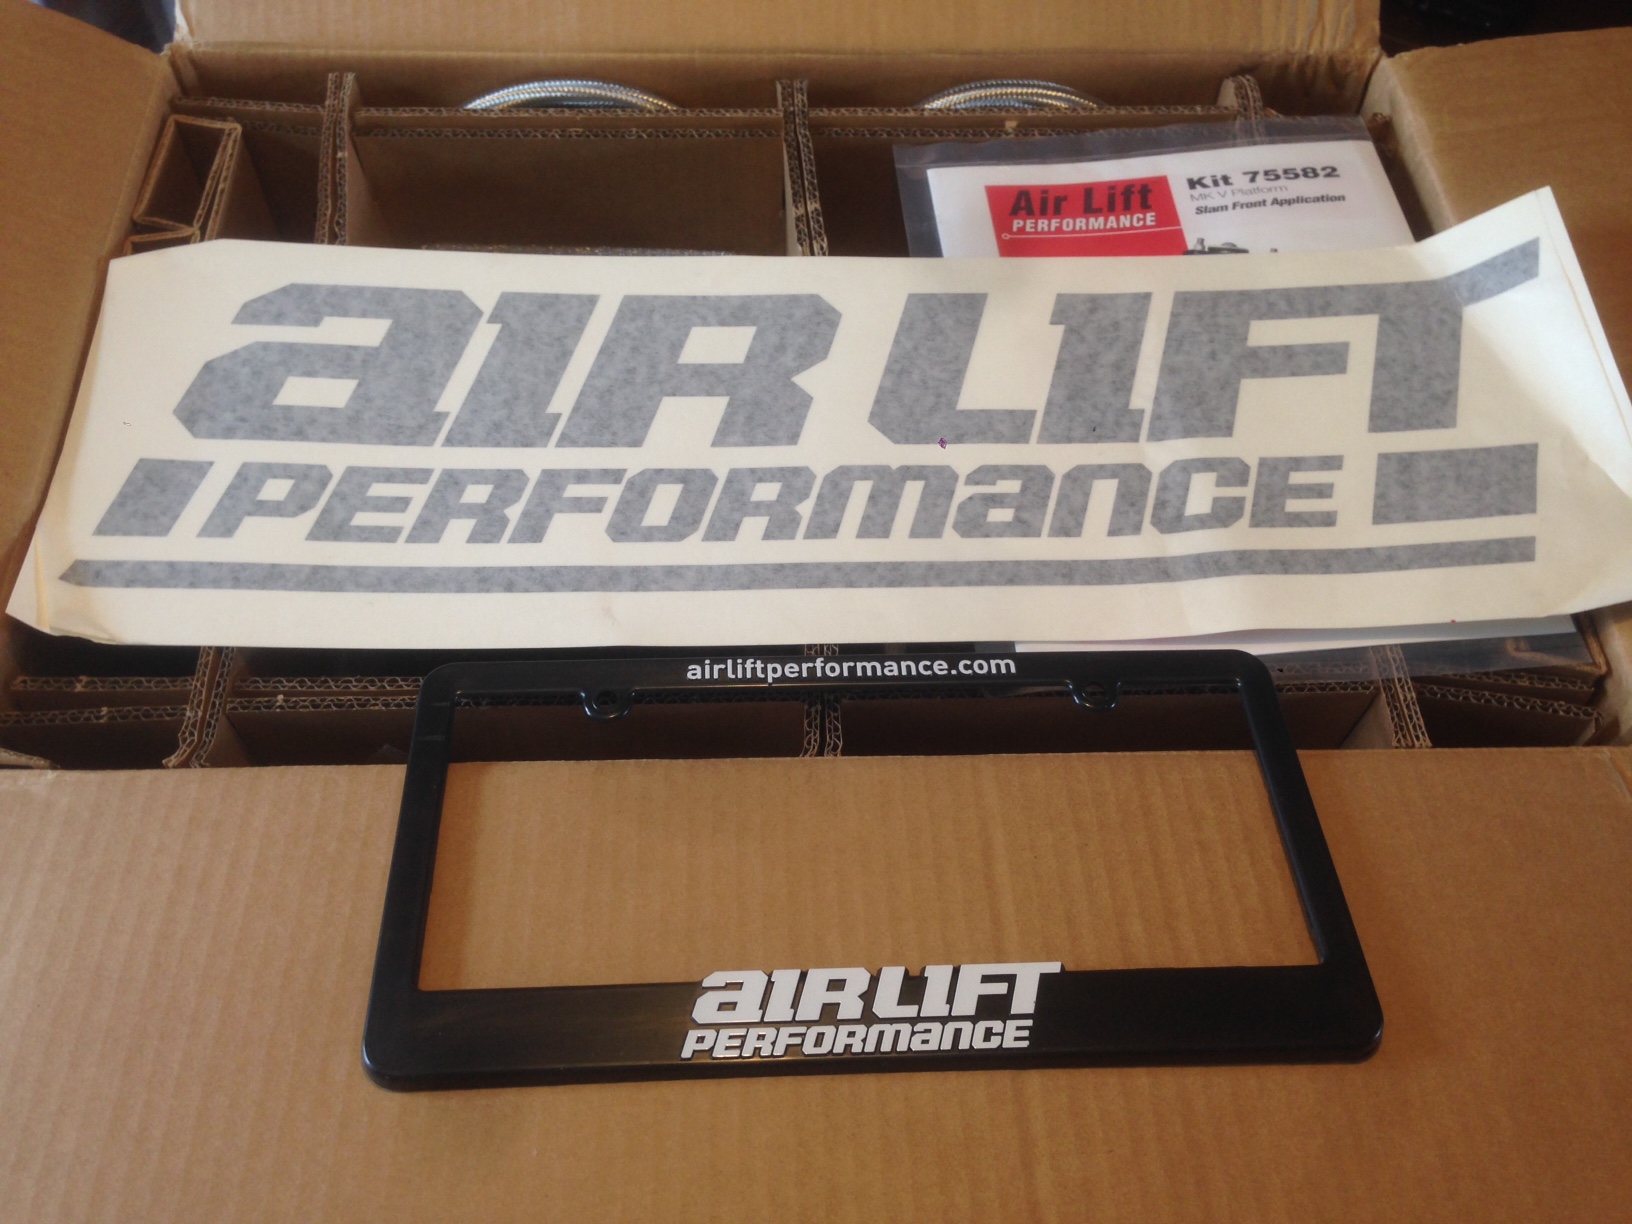
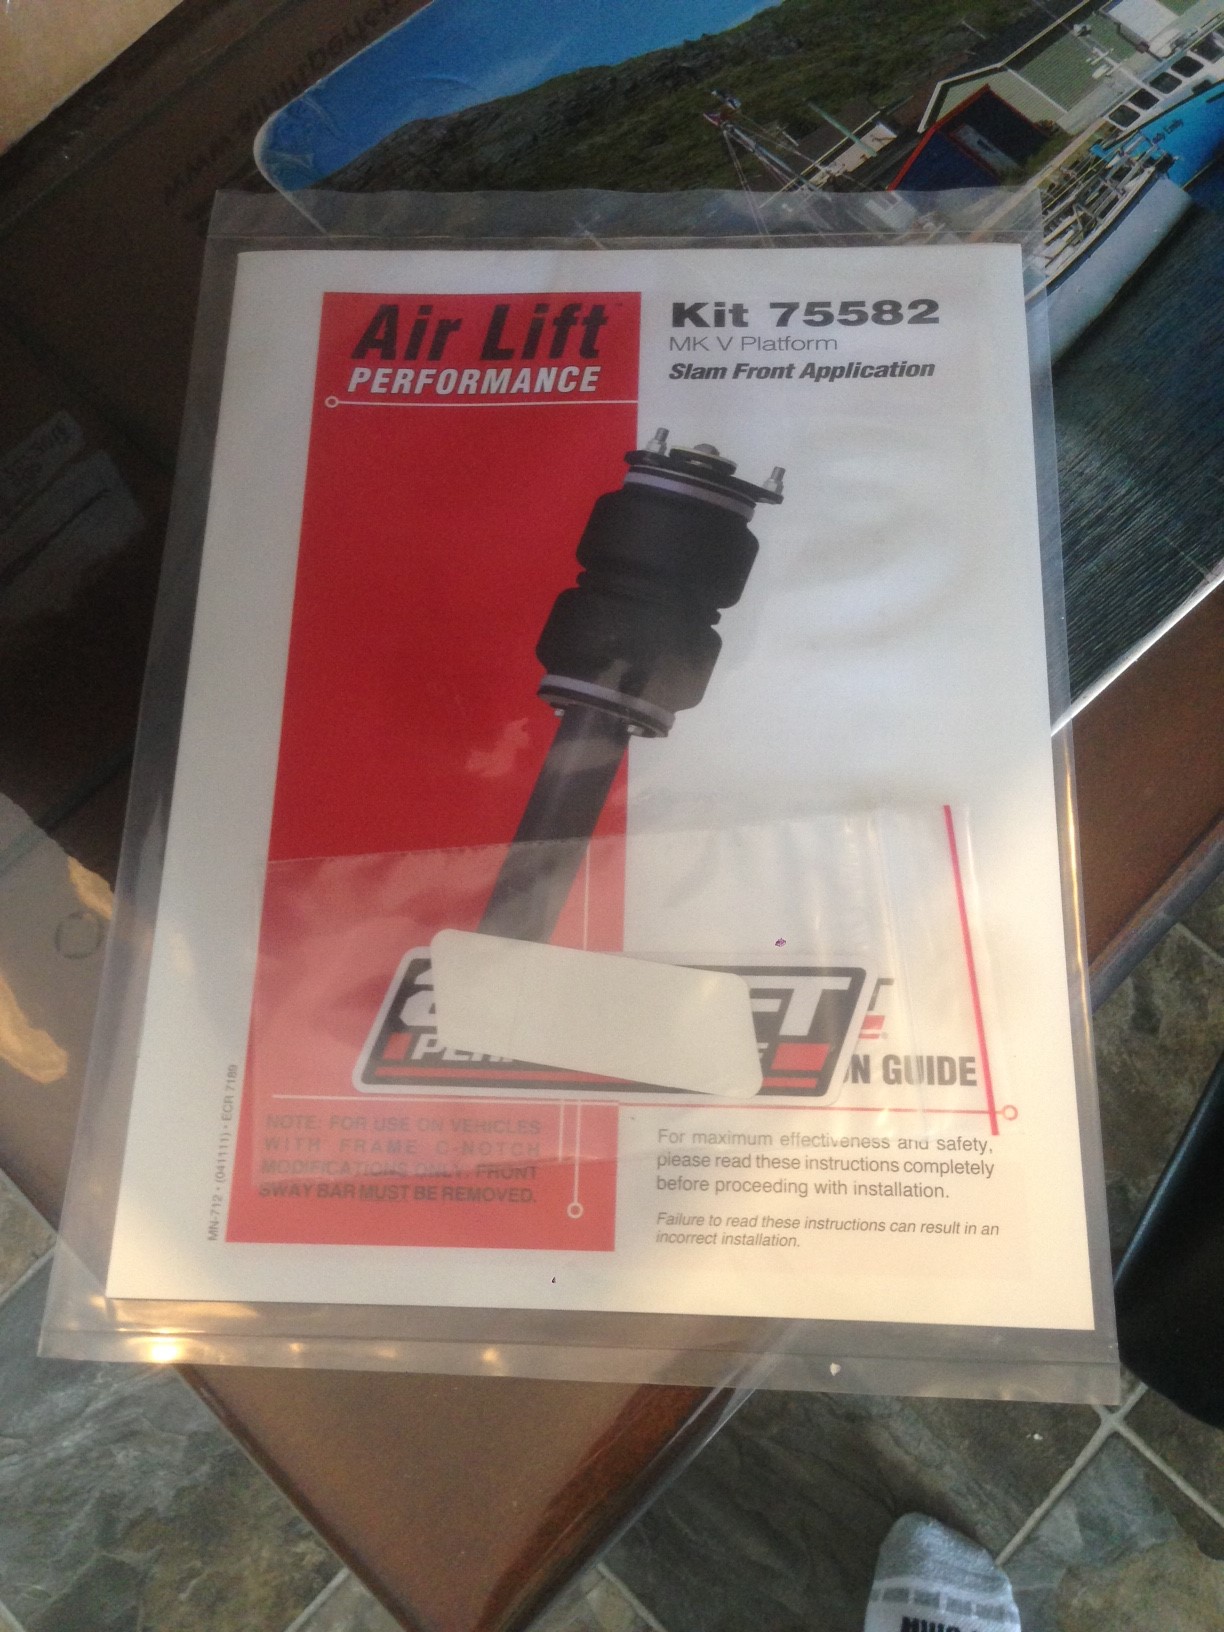
manual for install of front suspension
This box was so well packaged I didnt want to take it out haha
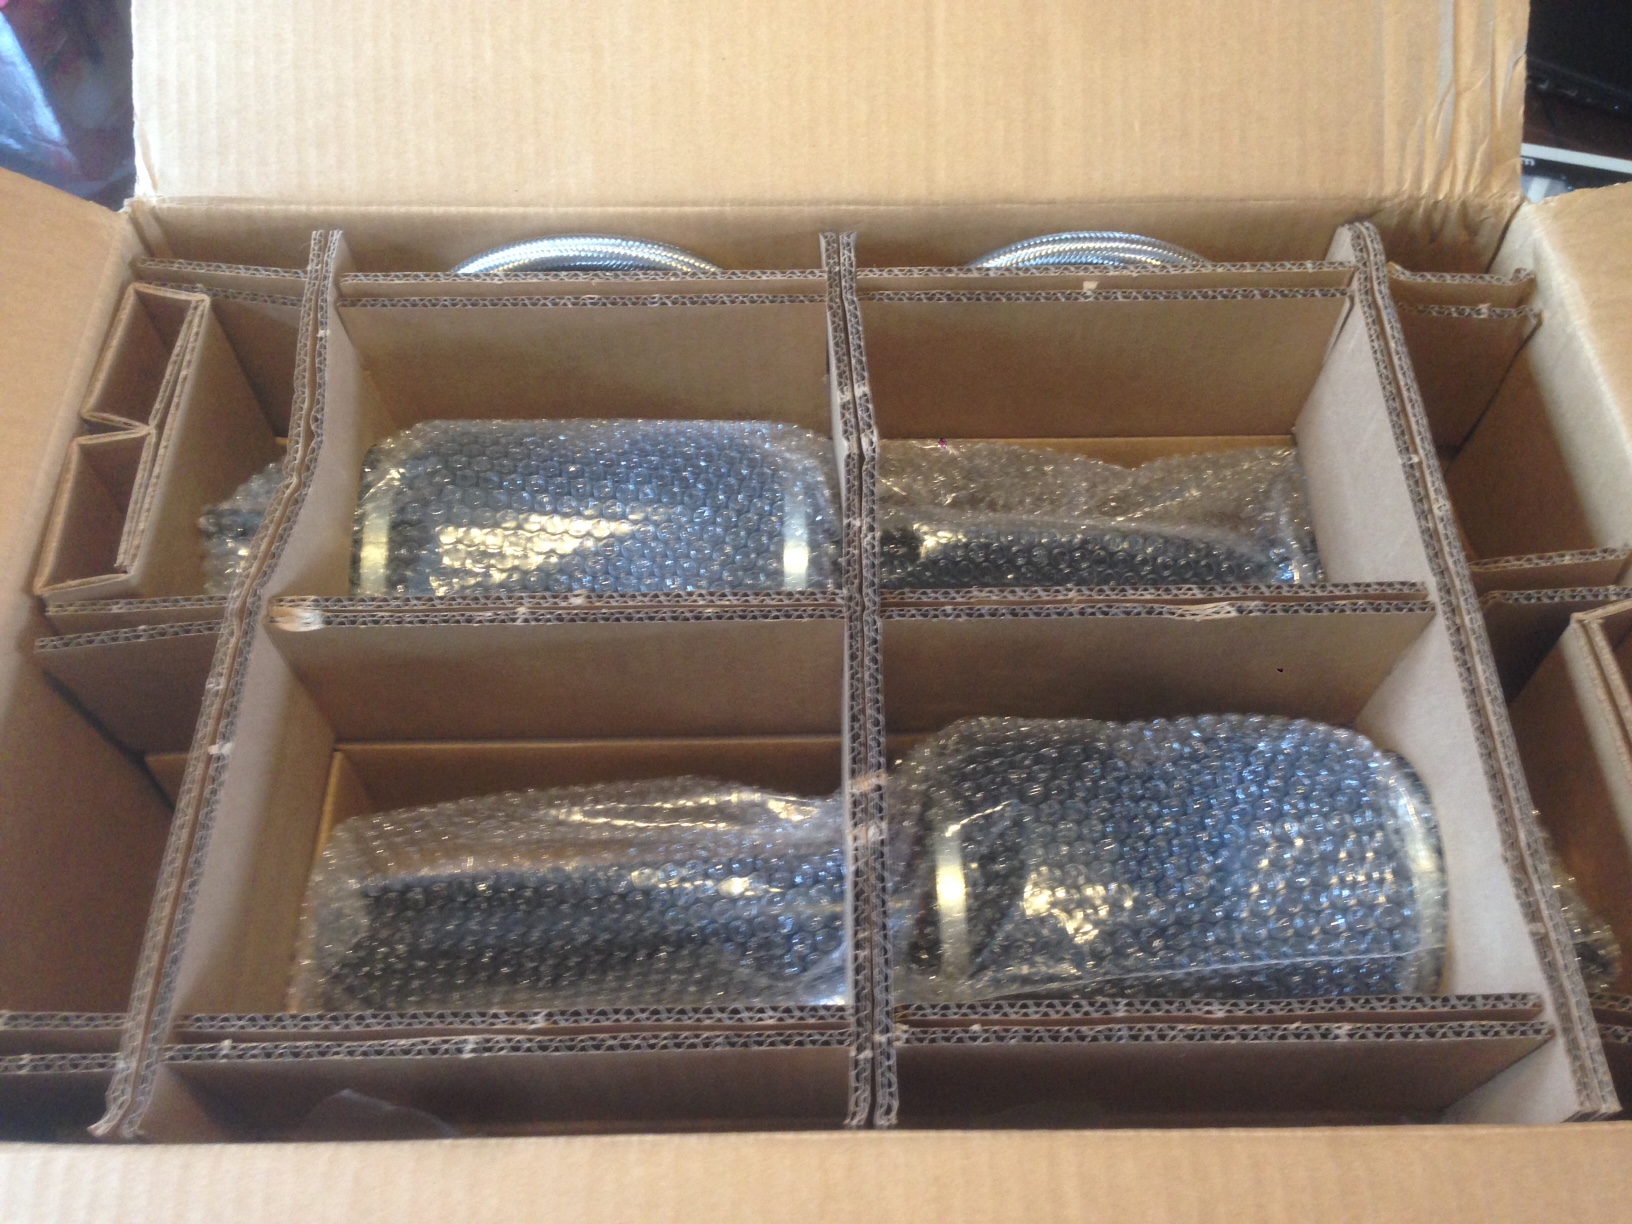
4 of 4 boxes
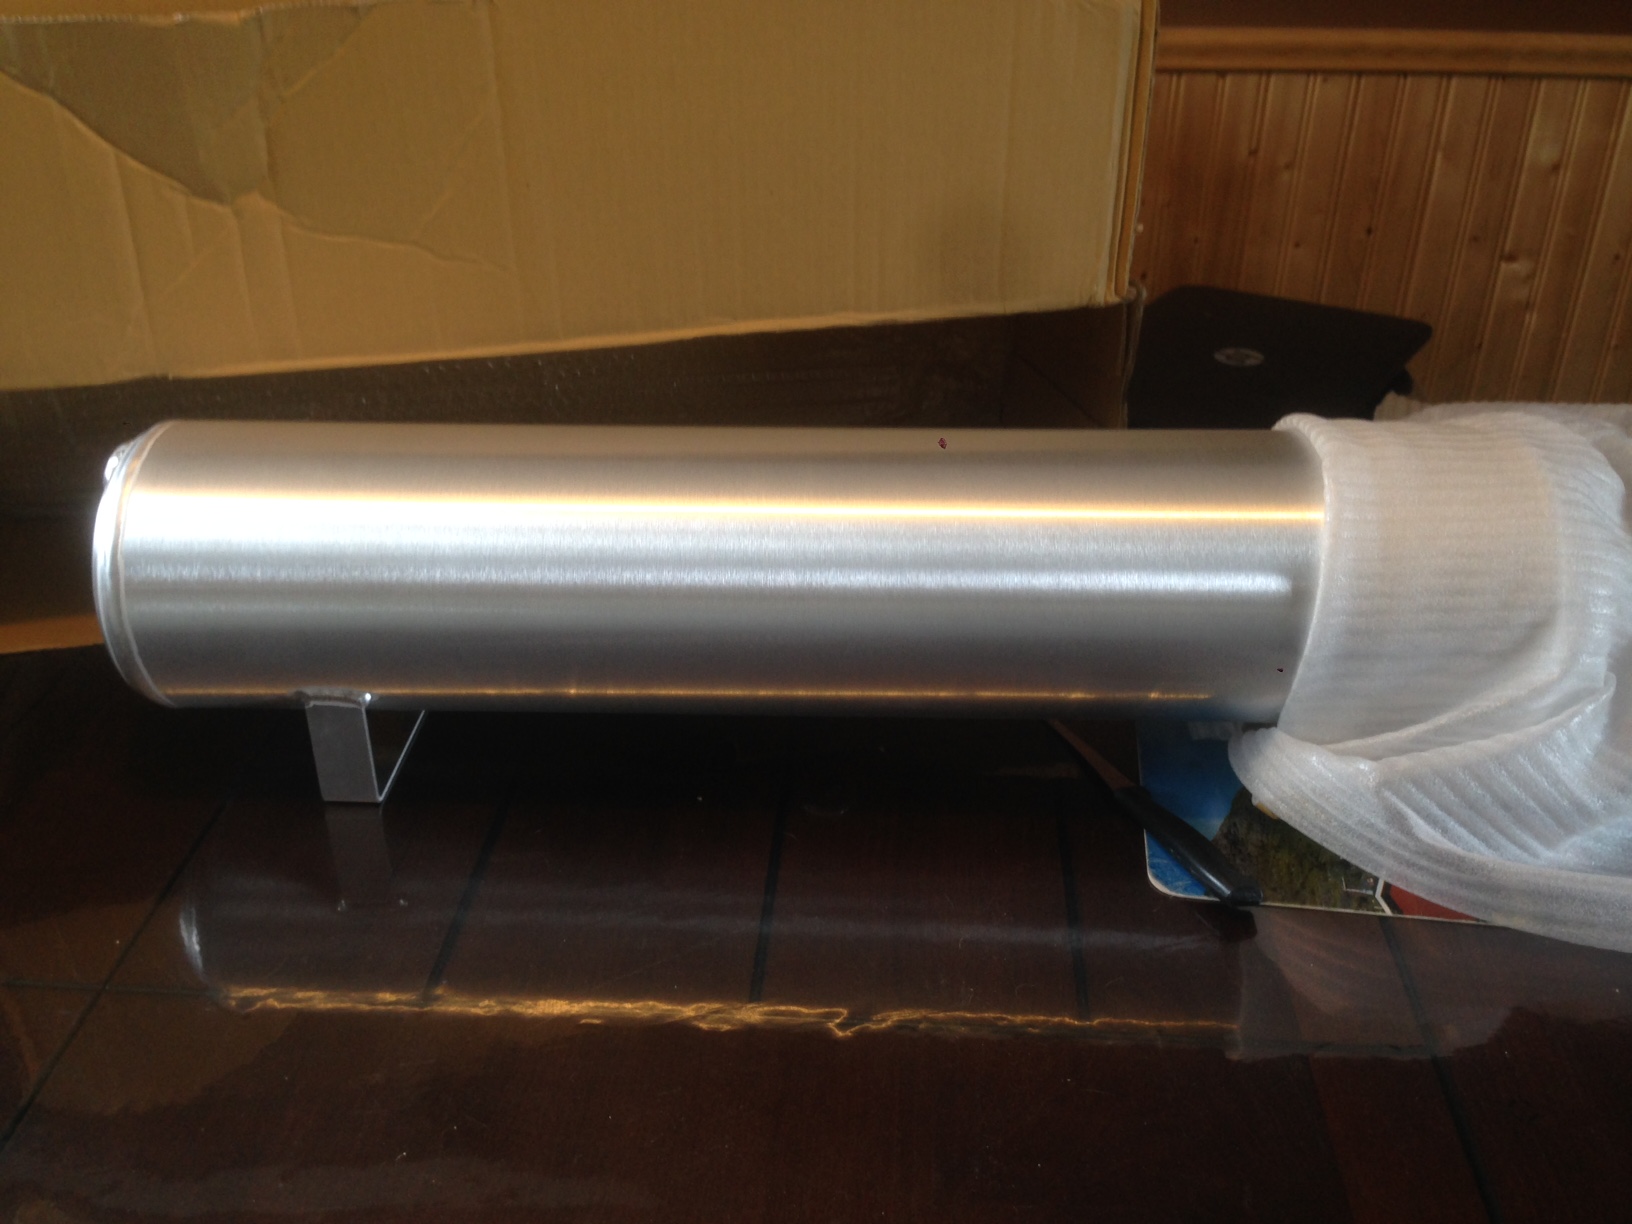
This box contained my 4 Gallon tank in Raw Aluminium
And that was all for the opening. So im brain storming now some trunk ideas to make it look all nice. Im thinking of running a second battery in the area where my spare tire use to be, then covering over with 3 pieces of plywood with perhaps some dark colour flooring over the top.
Wheels are being ordered today thank god hah
3-22-2016
Well little update. Car will hopefully be out in 2 weeks to start with the mods. So heres the plan;
Start with the bushings. Steering Rack Bushings should be a breeze. Rear Diff might be a bit of a tangle cause I do believe I need a press for those. Not to worry tho a good buddy of mine works at the local Subaru shop.
Do an oil change. Ill prob just go back to the Rotella T6 oil.
Bleed brakes. Install new Brake lines, Rotors and pads and then refill brake fluid.
ill rebake the headlights, paint the cut off in both the low beam and high beam projectors. Ill be painting them red so when light hits them it will turn the projectors red
Ill take an outline of the trunk liner and trace it out on plywood. Ill cut the outline out and cut into 3 pieces where I will then install in the back of the trunk and then install a dark hardwood.
Once the brakes and all that is done we will then install the new AOS.
Once thats done ill finish the tune on the car. At this time I would hope my wheels are sold and put on stock wheels until the new ones come in.
Ill also paint the sidewall lettering white.
Also get the shop to wrap my Vollkommen fenders.
Once the new wheels come in ill get the tires installed and then my buddy will start to cut the fenders. While he is doing that I will install the air suspension. Thinking about getting a second battery to run the compressor off of and because I will eventually get 2 compressors.
Once fenders are done I will touch up the unpainted area and then bring the car to get wrapped.
Hoping to have this all done by middle of May so I can get a start on the car show season early lol going to be a busy month or so but I think it can be done hopefully.
4-7-2016
Little update;
Got the car out yesterday.
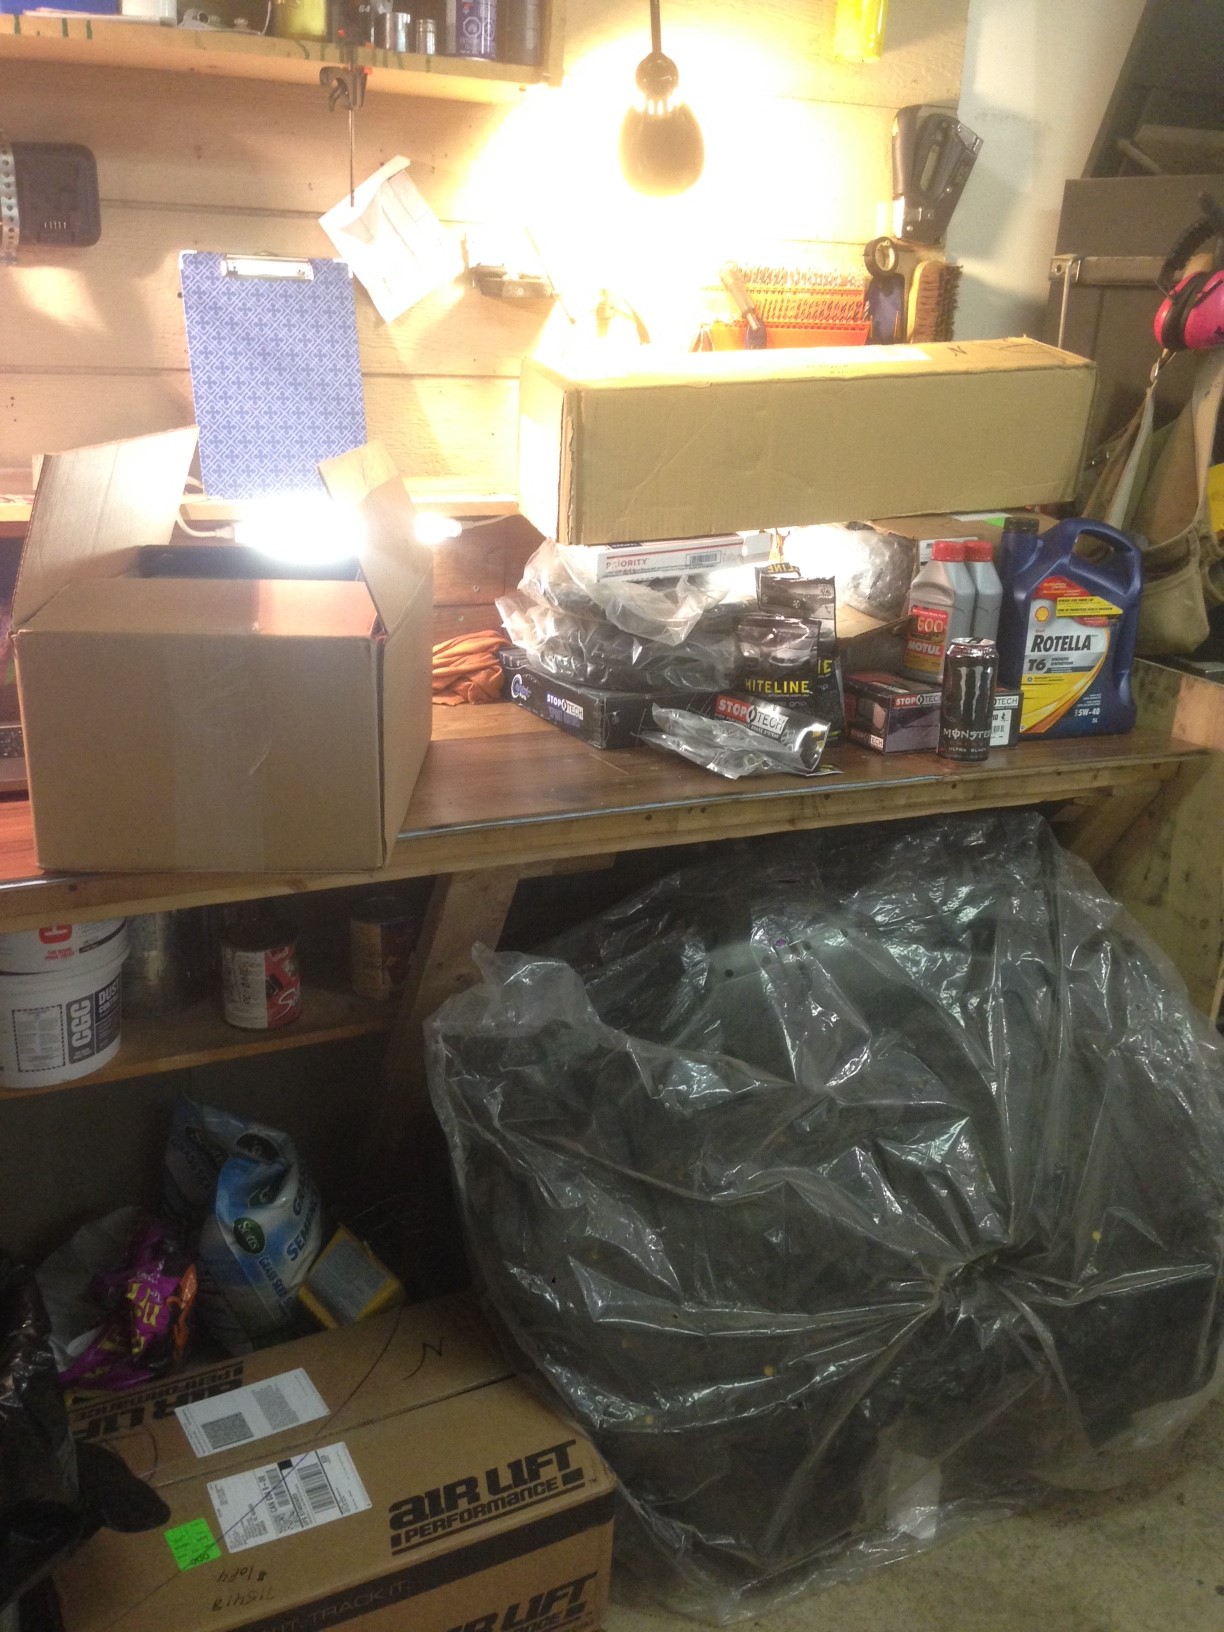
All the parts loaded up in the Ralliart. Well most of the parts. Parts include Stoptech pads, rotors, brake lines and Motul brake fluid, Whiteline rear diff and steering rack bushings, Air Lift suspension, IAG aos and some fresh Rotella oil and OEM filter.
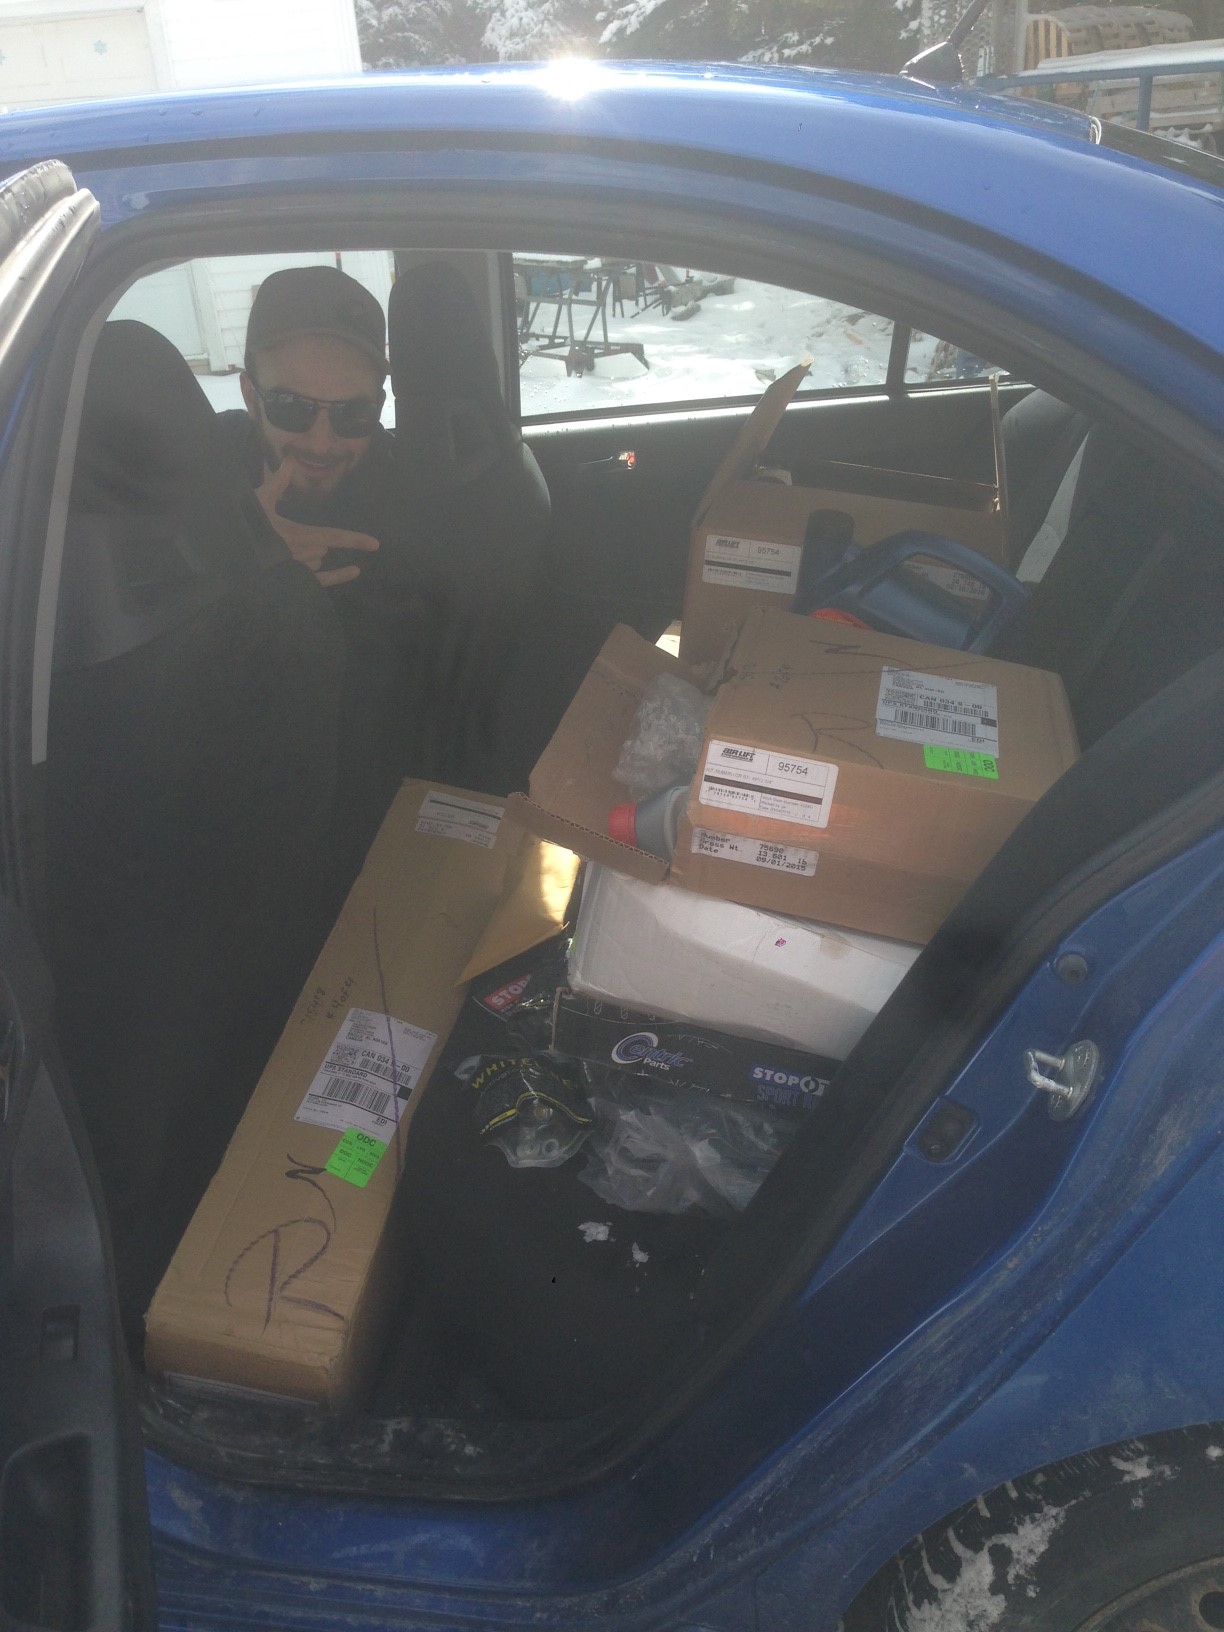
When I arrived at my buddys place.
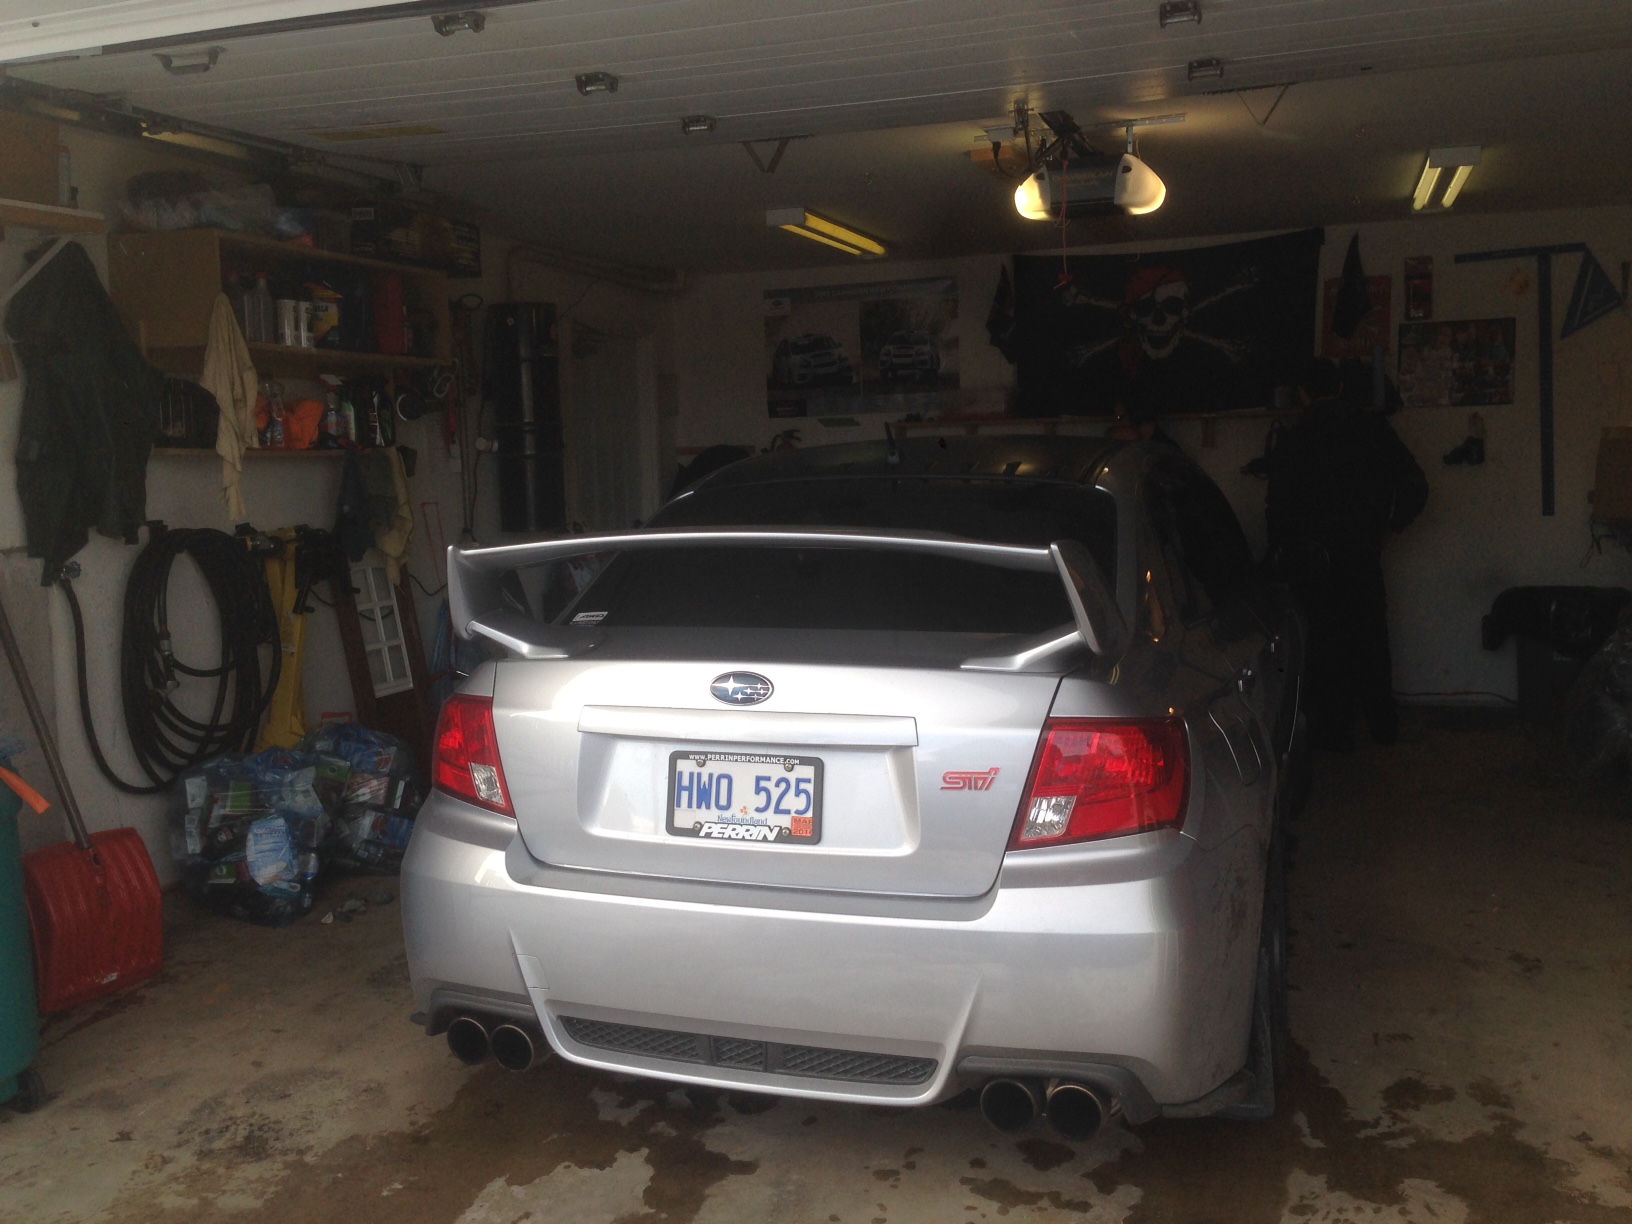
All the parts unloaded.
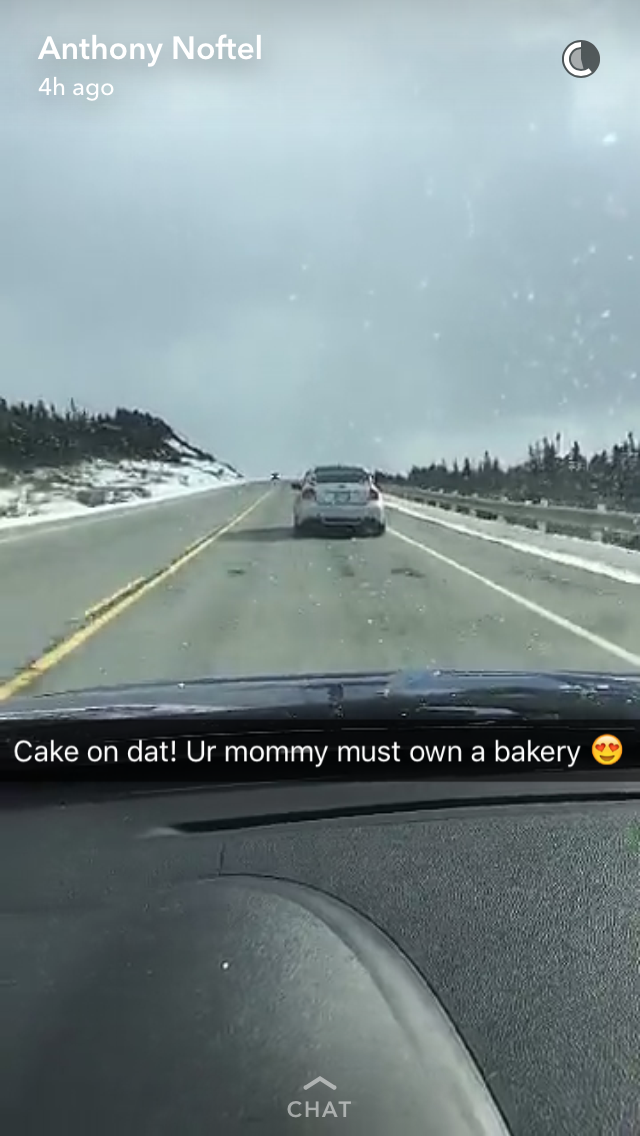
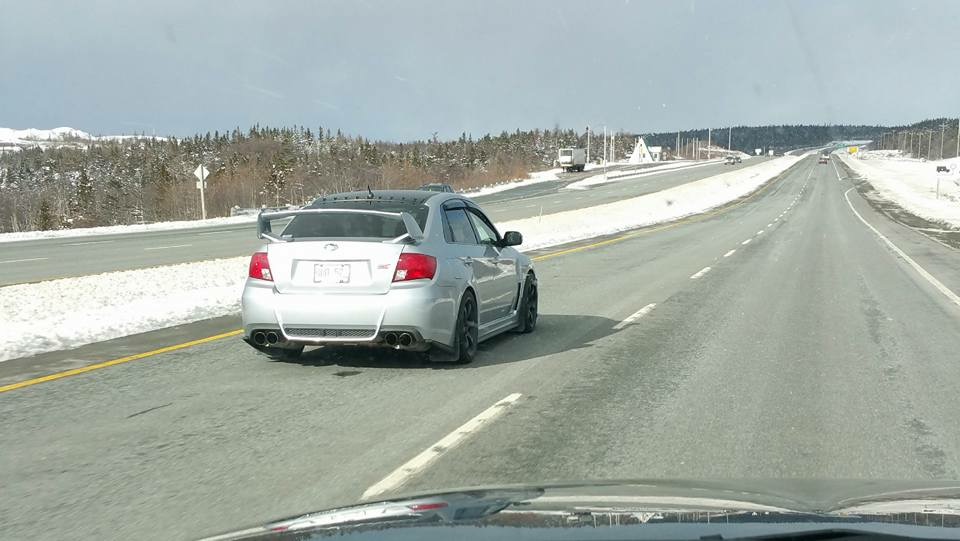
and just some bonus pics hah one was my buddys snapchat and the other was a random guy who messaged me on facebook afterwards lol
So the plan is this weekend we will start or more less he will cause I have work lol but Monday ill be going in to grab the trunk liner, centre dash and headlights to do a couple projects while hes working. Hoping withint 3 weeks to have it all done and then hopefully my fenders are in so I can get those wrapped. and Monday ill be ordering my tires. Decided to go with the Bridgestone Potenza re760 for my tires.
4-9-2016
Ok got some updates again
'First ill start with a little bit of bad news but no big deal. After looking at the Air Suspension a bit more we've come to realize the packages where packaged wrong and I got VW suspension instead but thats no odss. Air Lift have been awesome to deal with and should be straightened out in no time.
Next we got to start at the brakes today. Unfortunately I wasn't able to be there due to work but had him show me everything he done. So first off;
Got the car jacked up on 4 stands and removed the wheels from all 4 corners.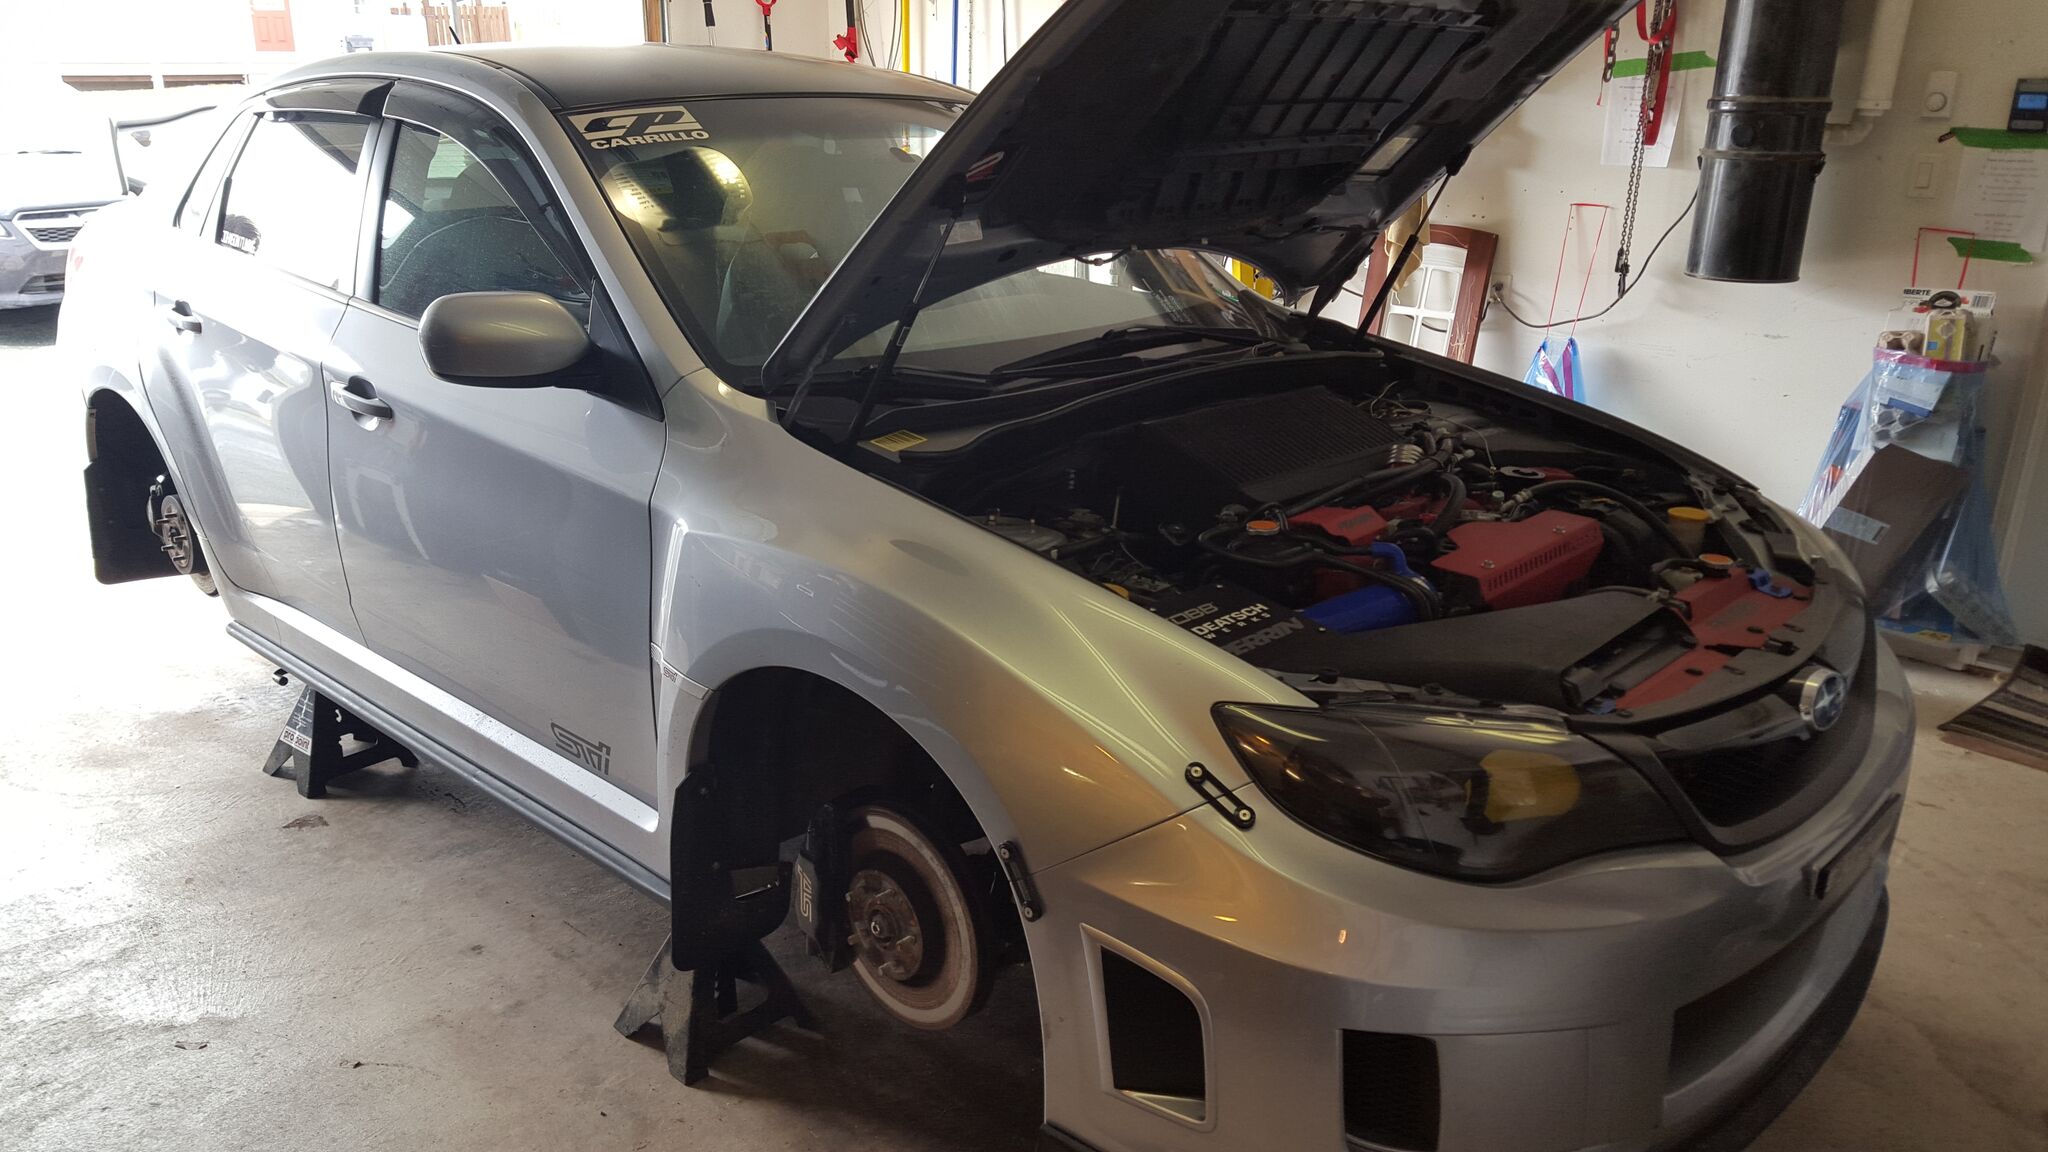
Next was a look at my front brakes. They look horrible after sitting out for a month last summer 
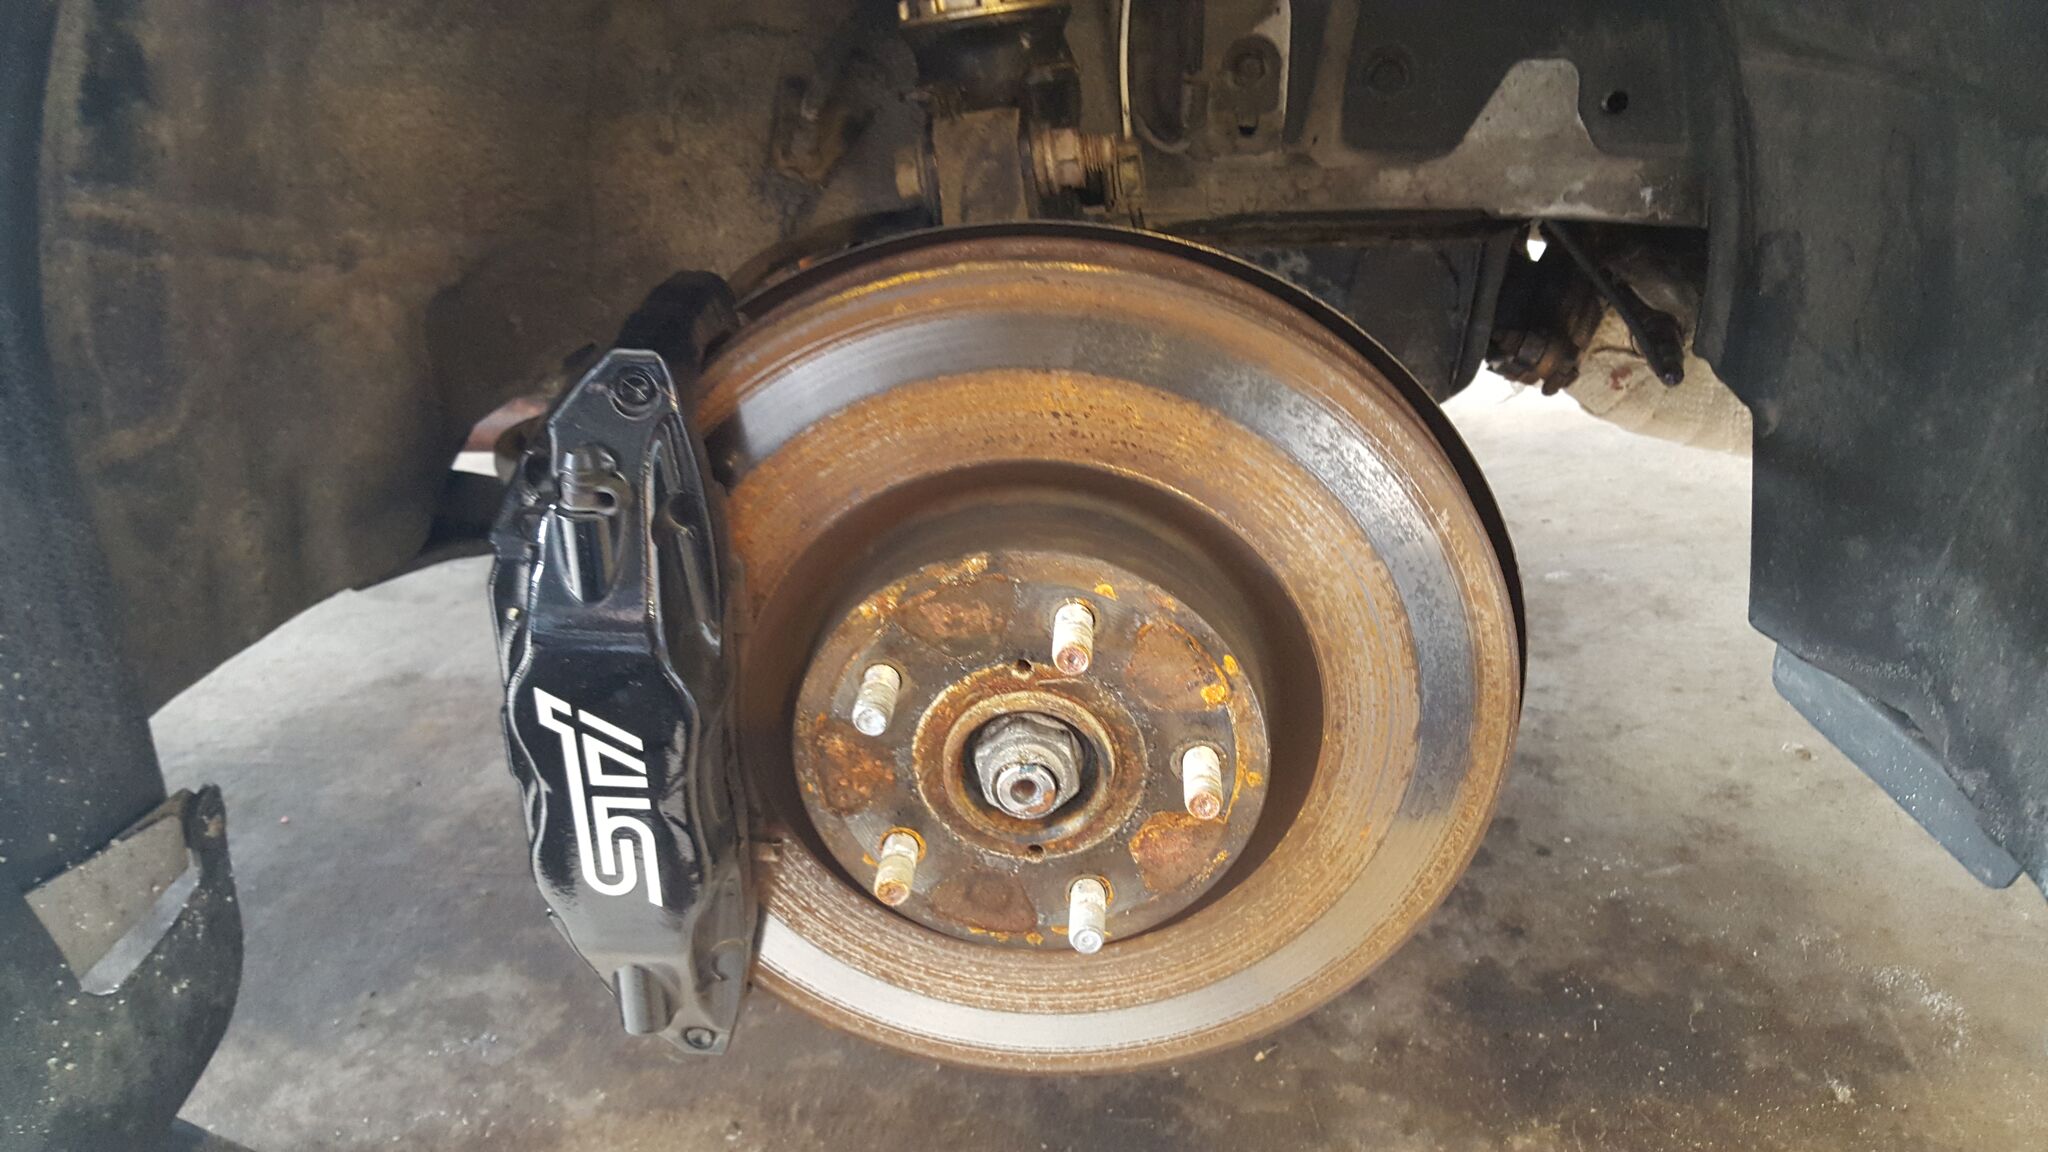
You can see the old brake lines here in the pic!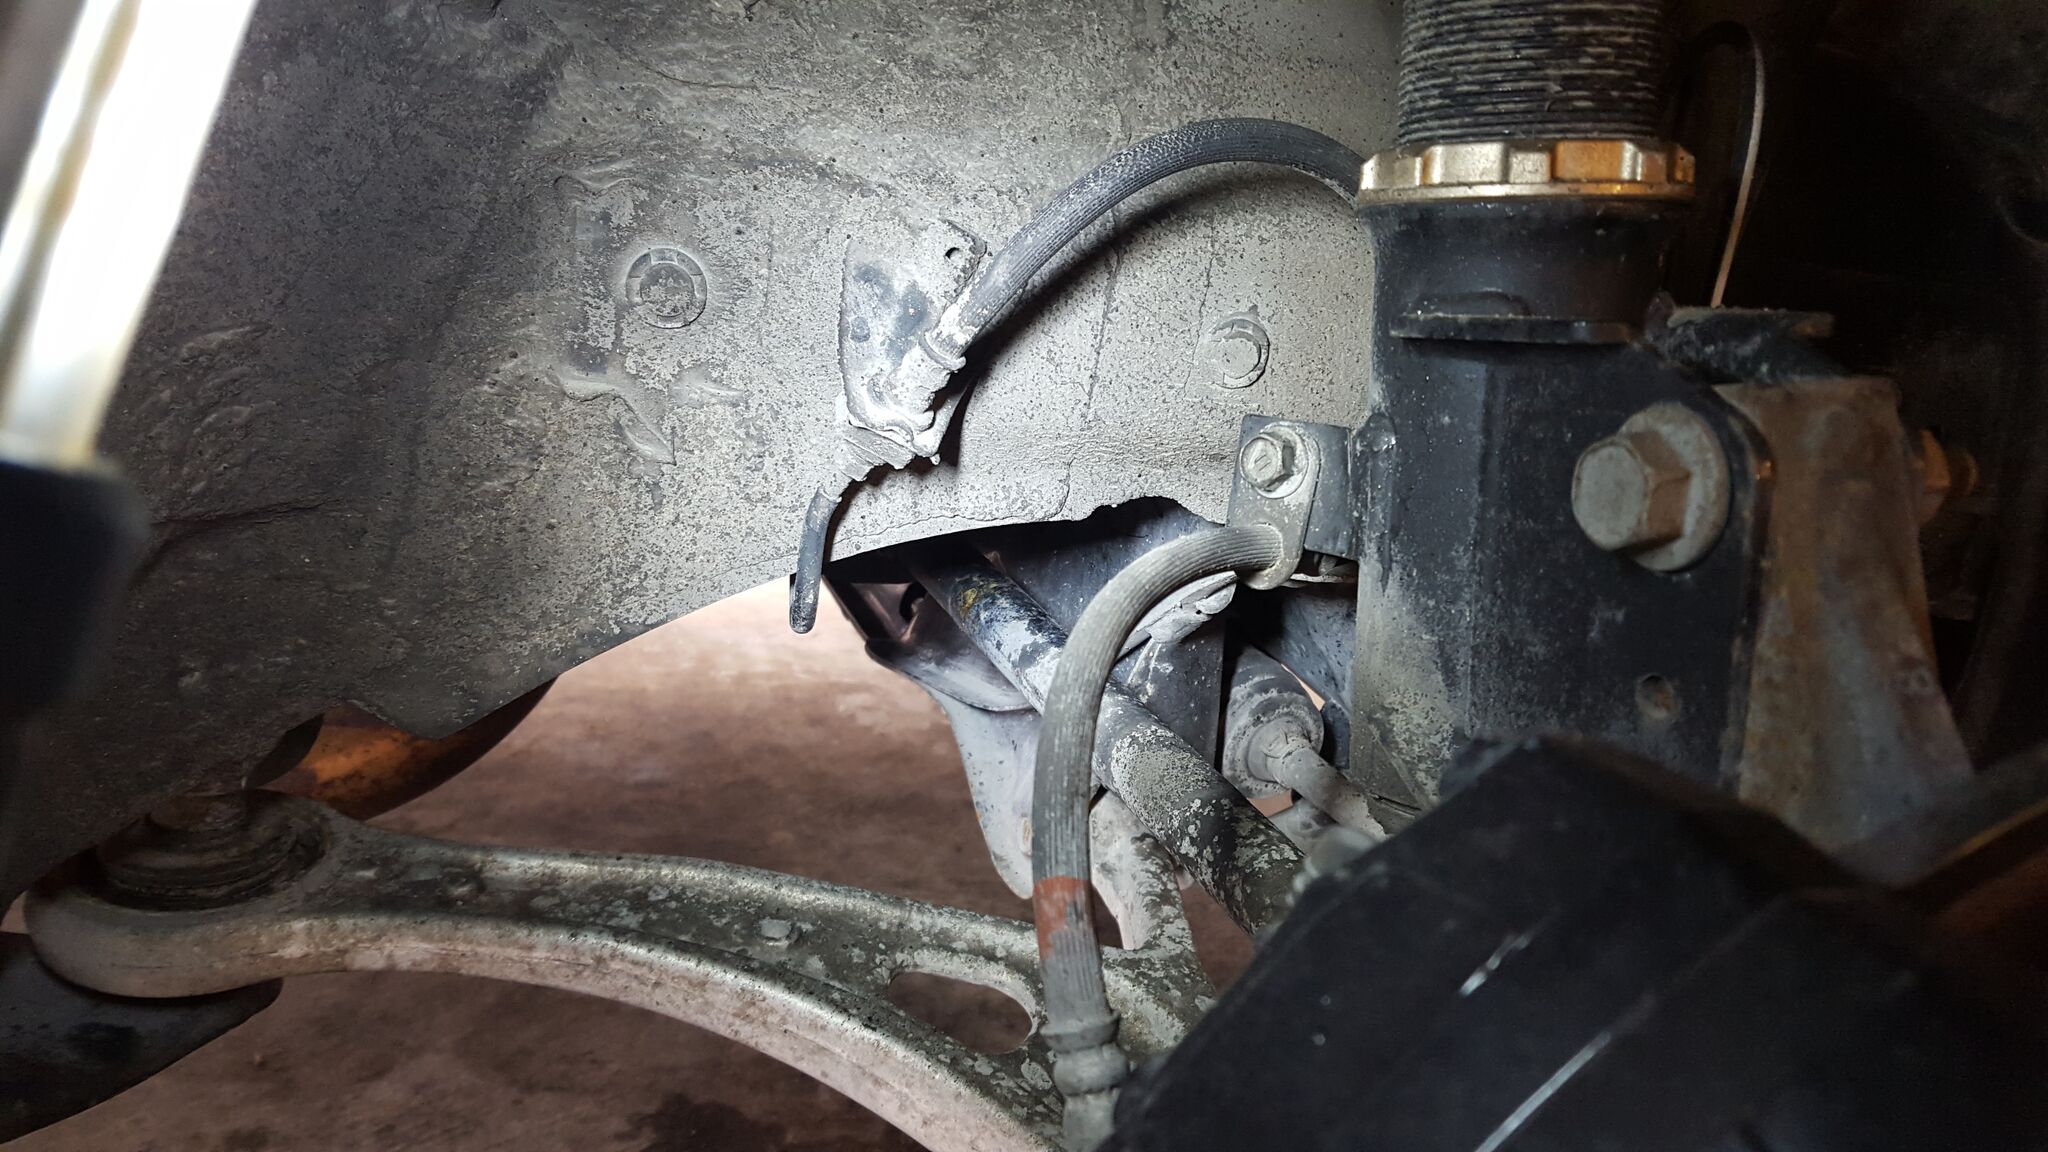
Next is the rear brakes and same thing they look horrible and it almost looks like my pads werent evenly touching the rotors..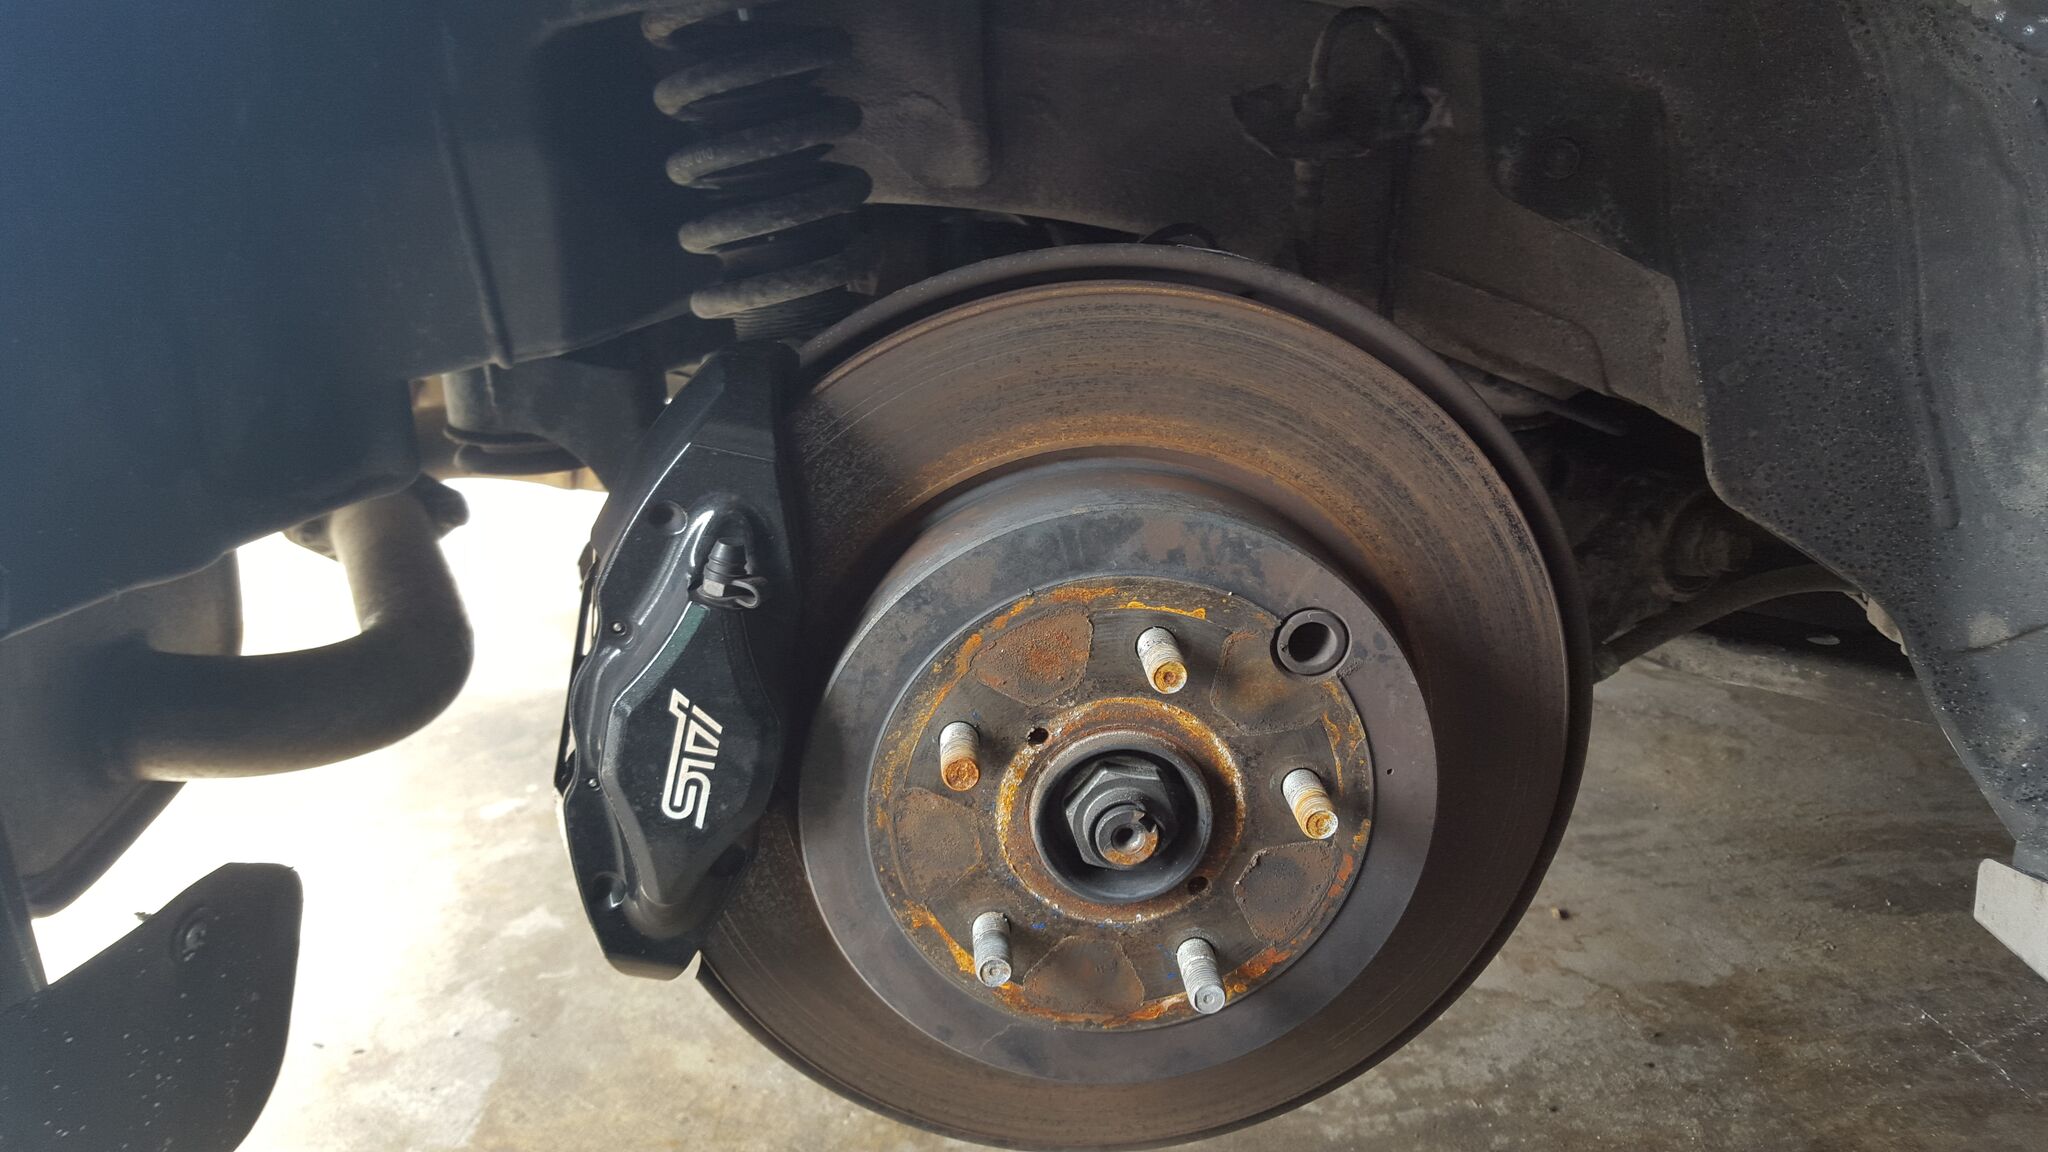
You can see the brake line here in the rear before it goes into its little bracket.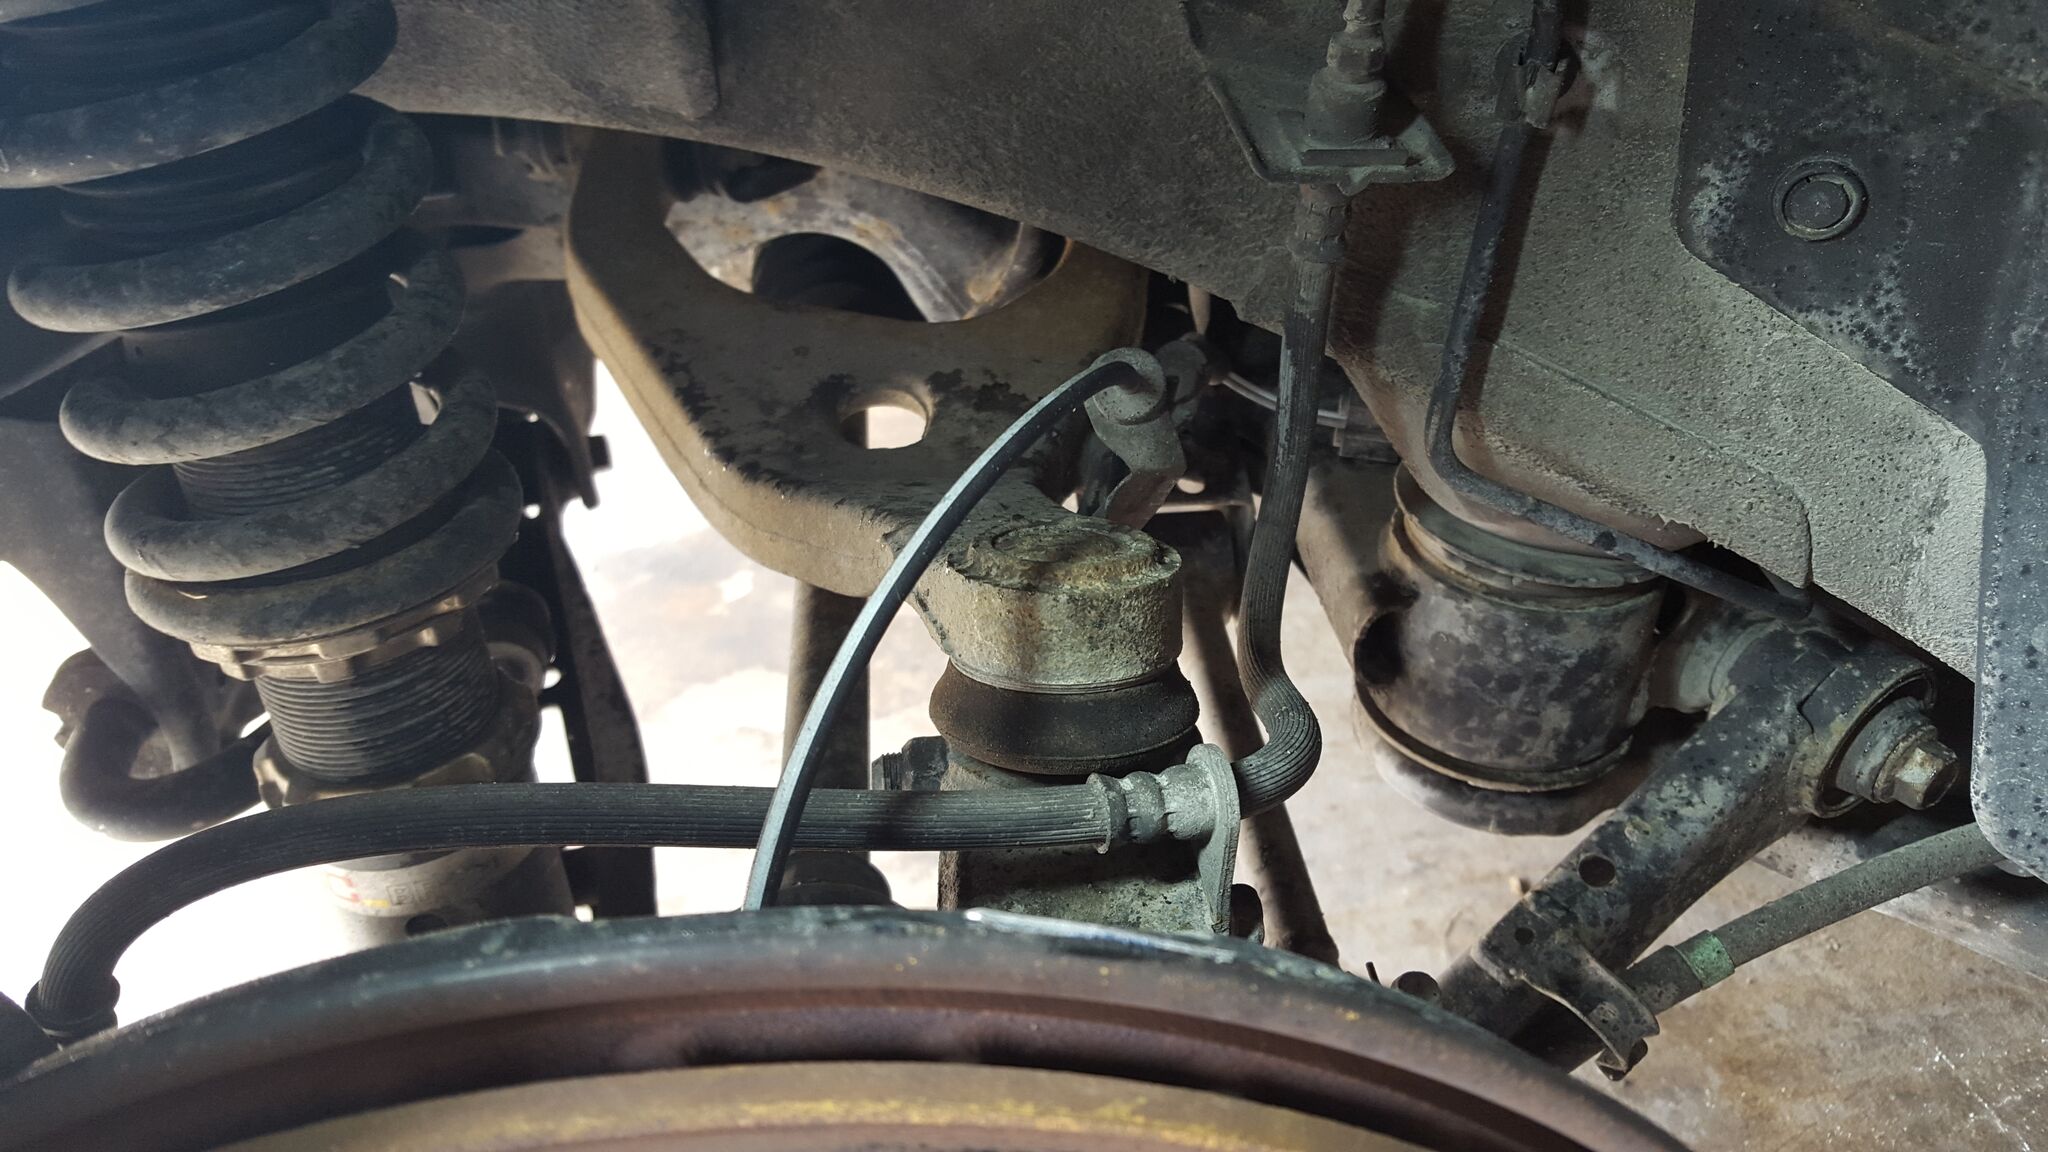
Next its just a little comparison of the new rotors next to the old. Front rotors on top and rear on the bottom.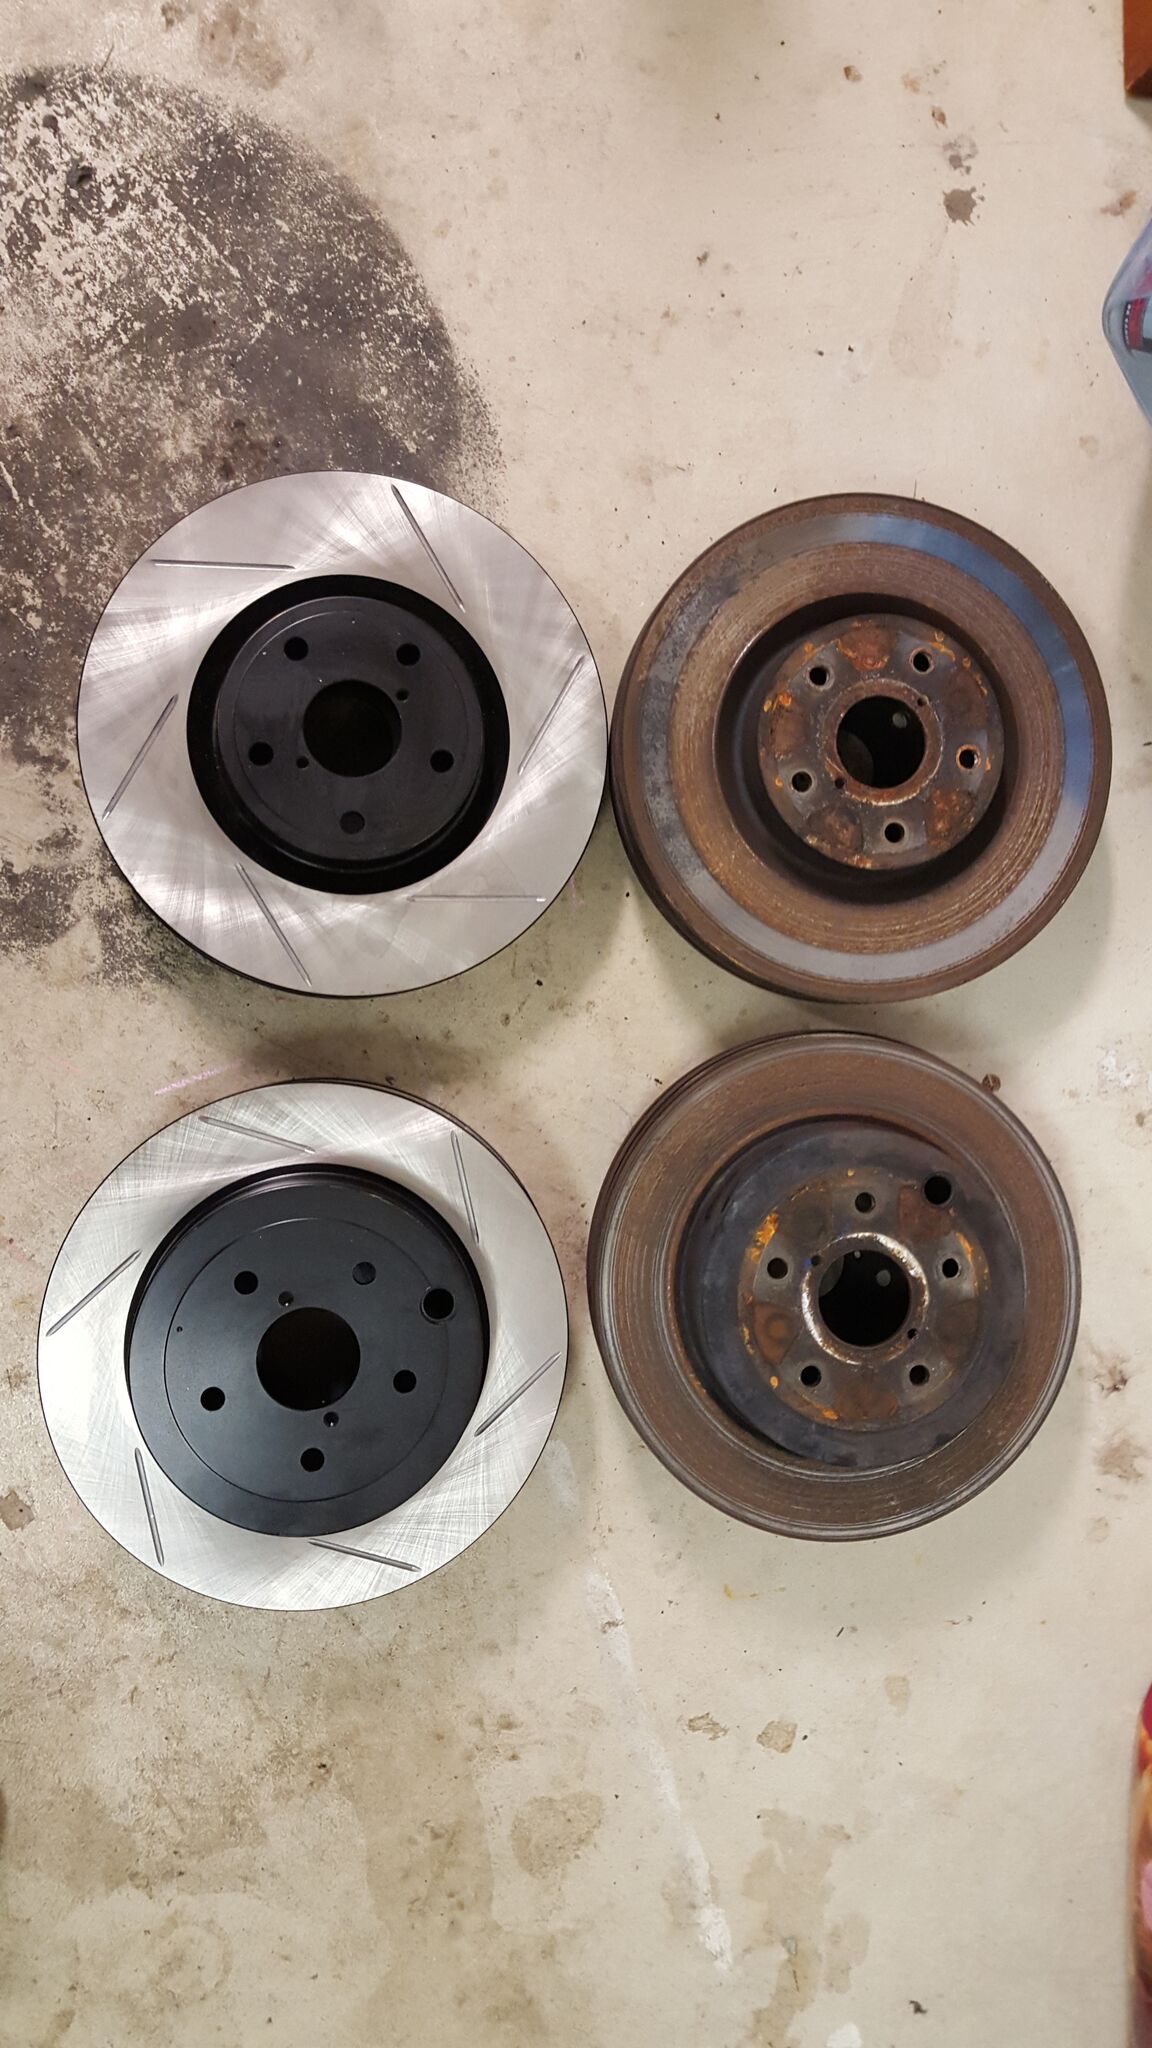
Just a closer comparison of the front rotors.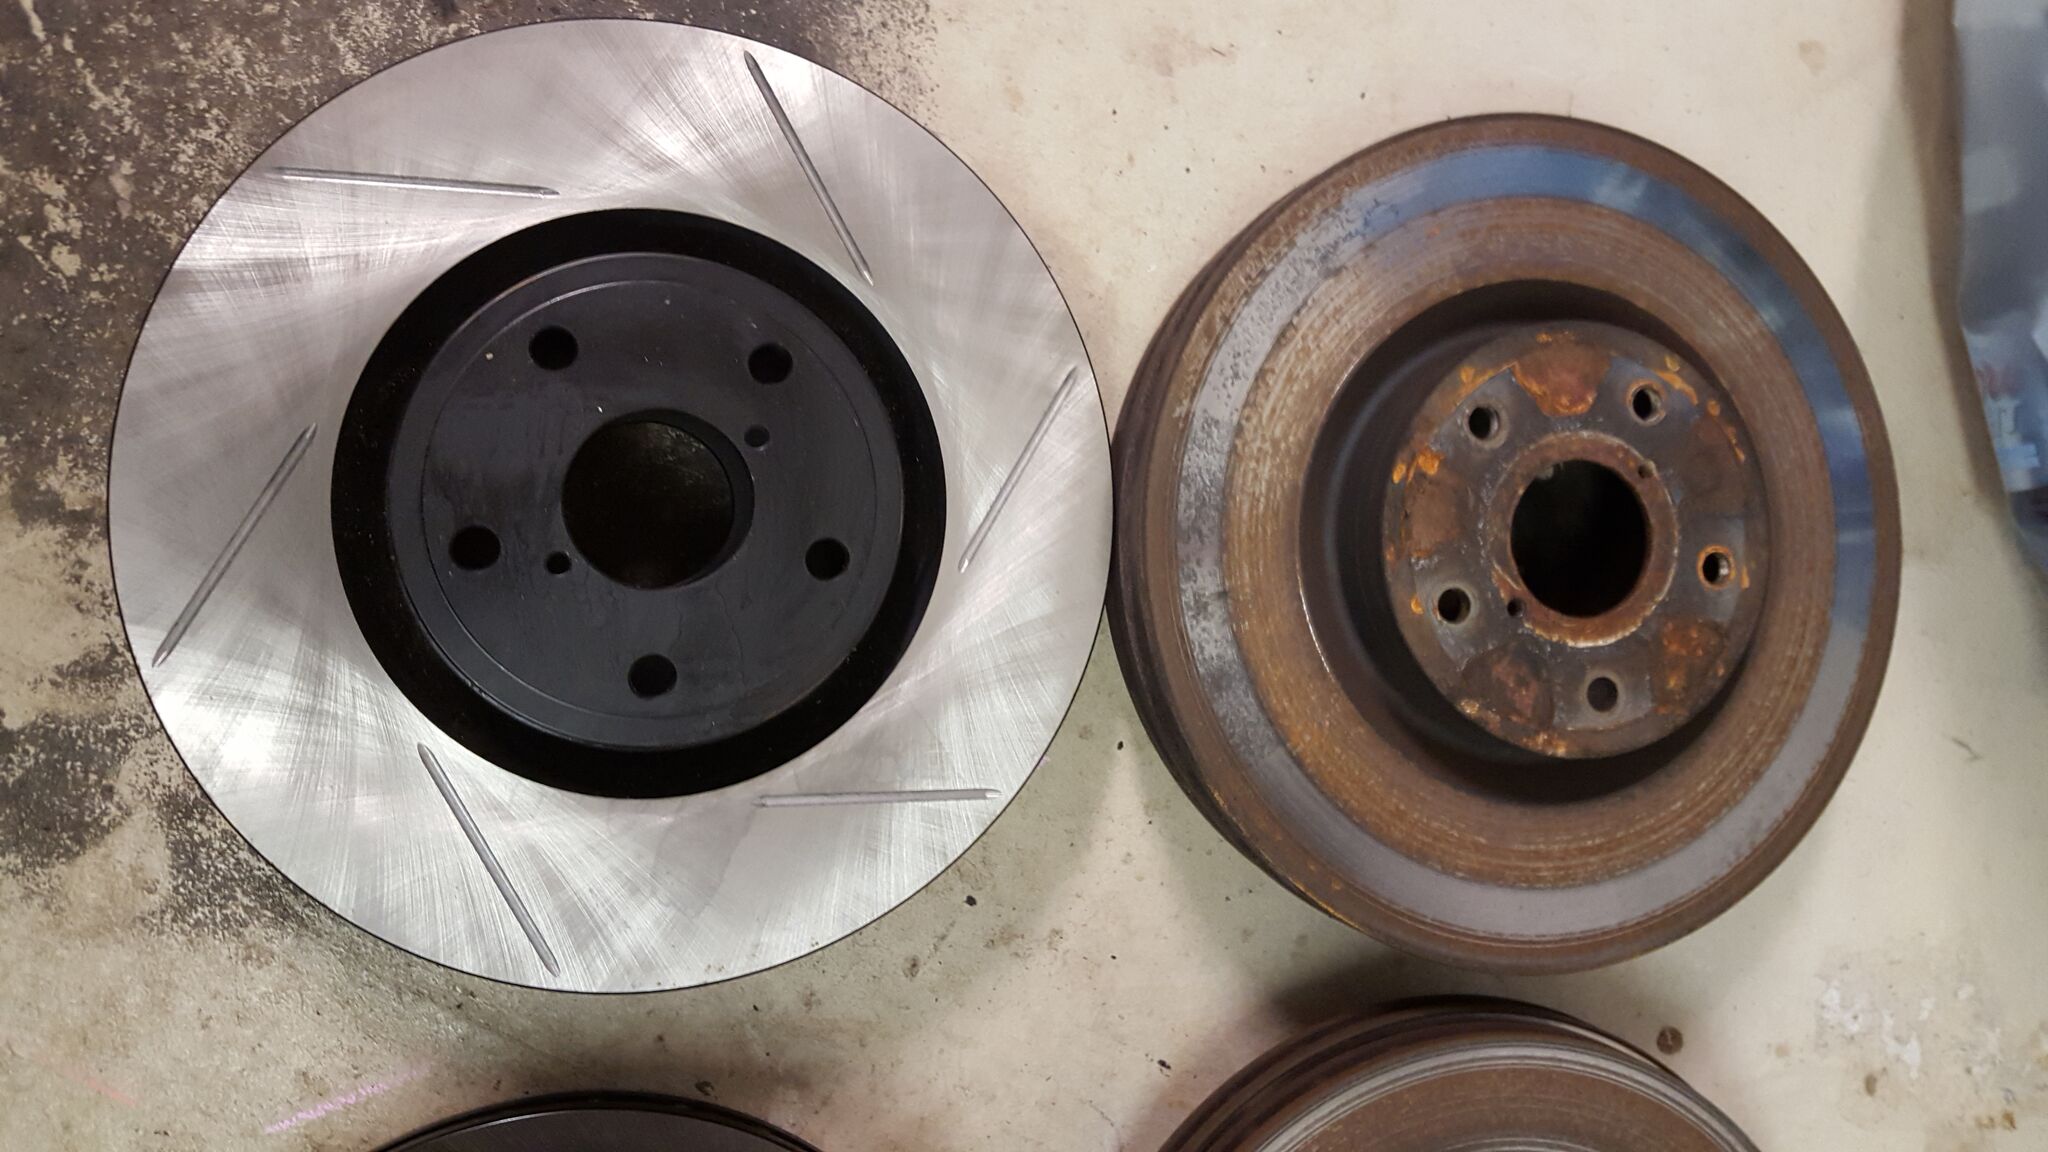
and a closer of the rears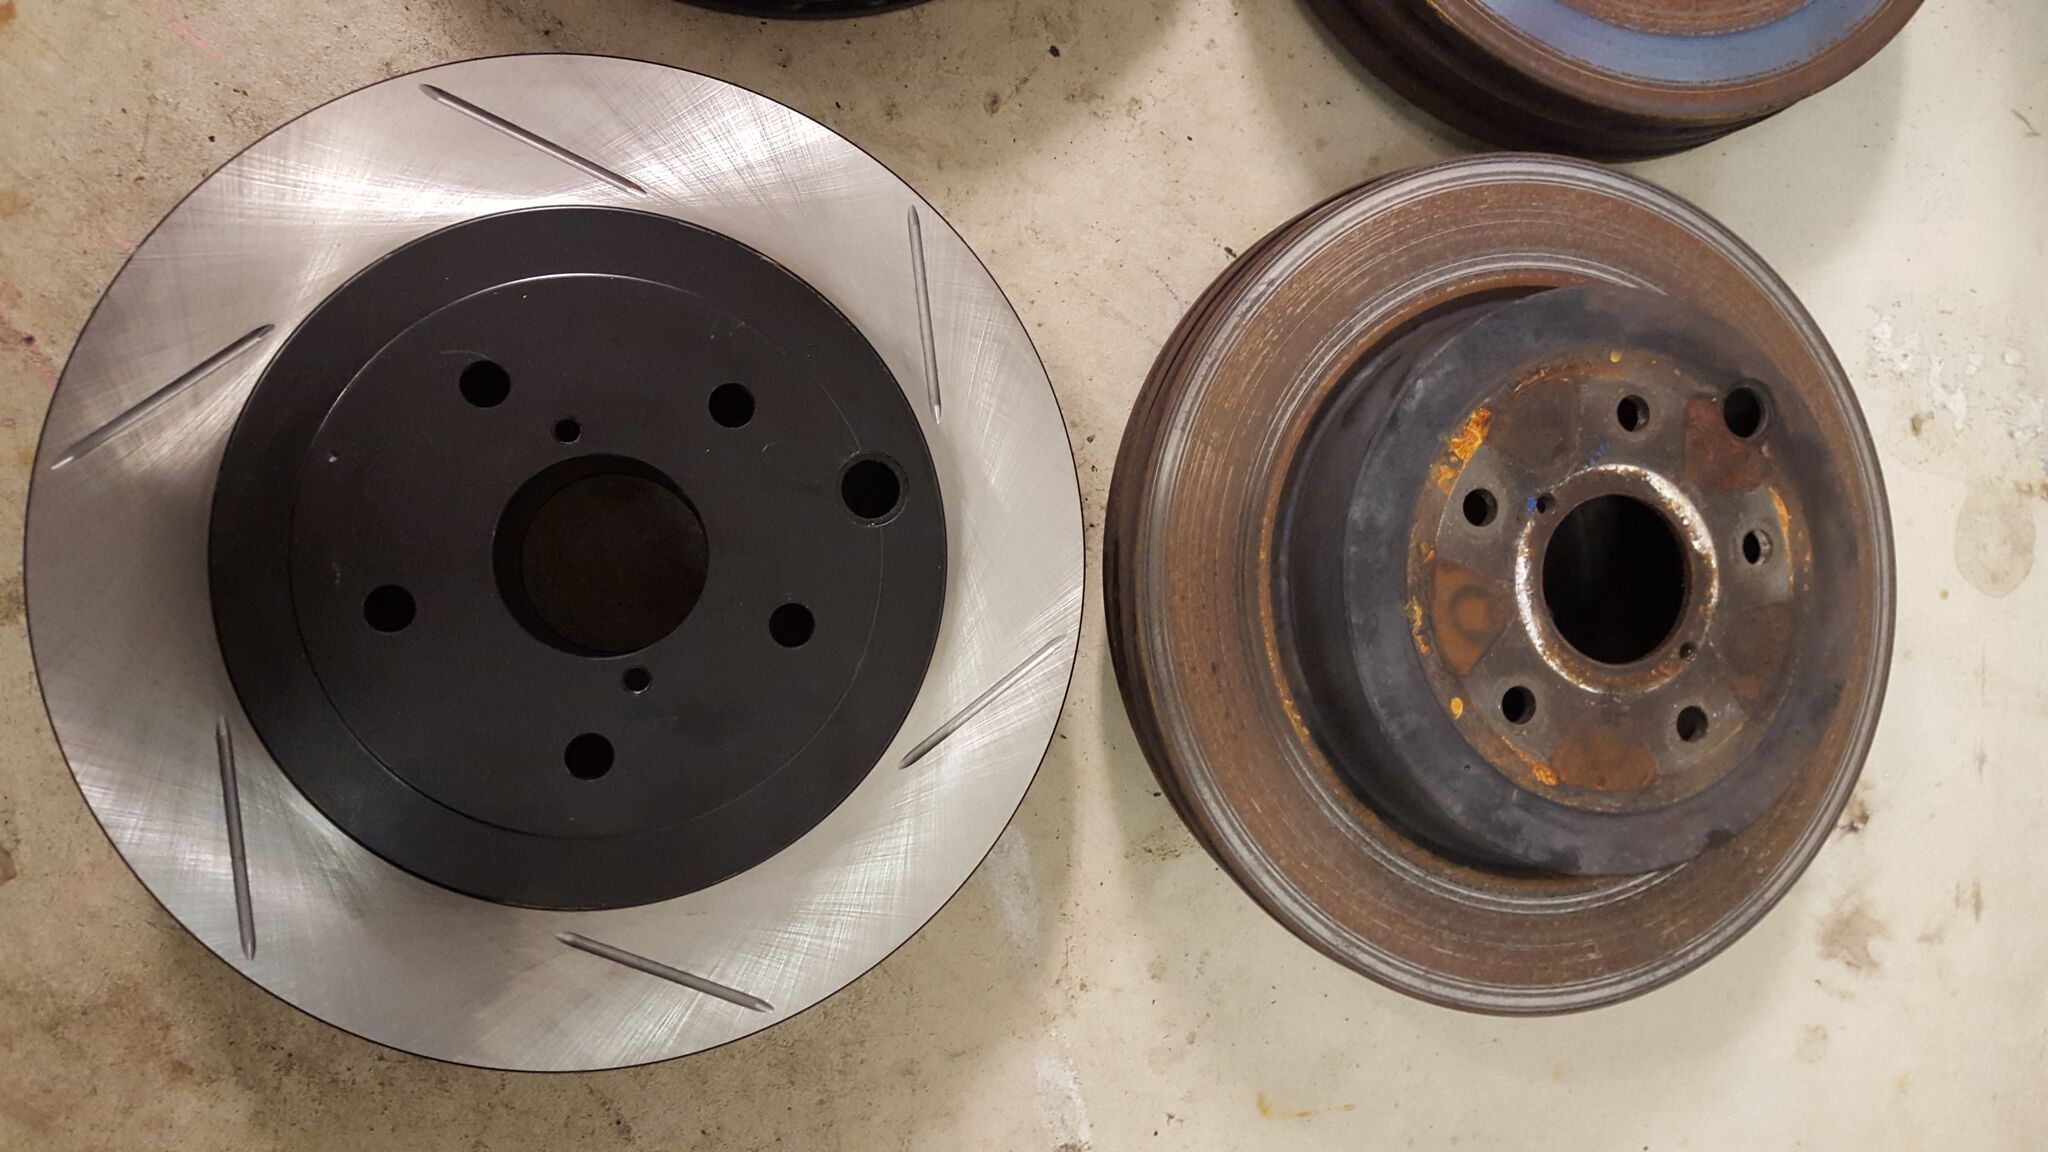
New front installed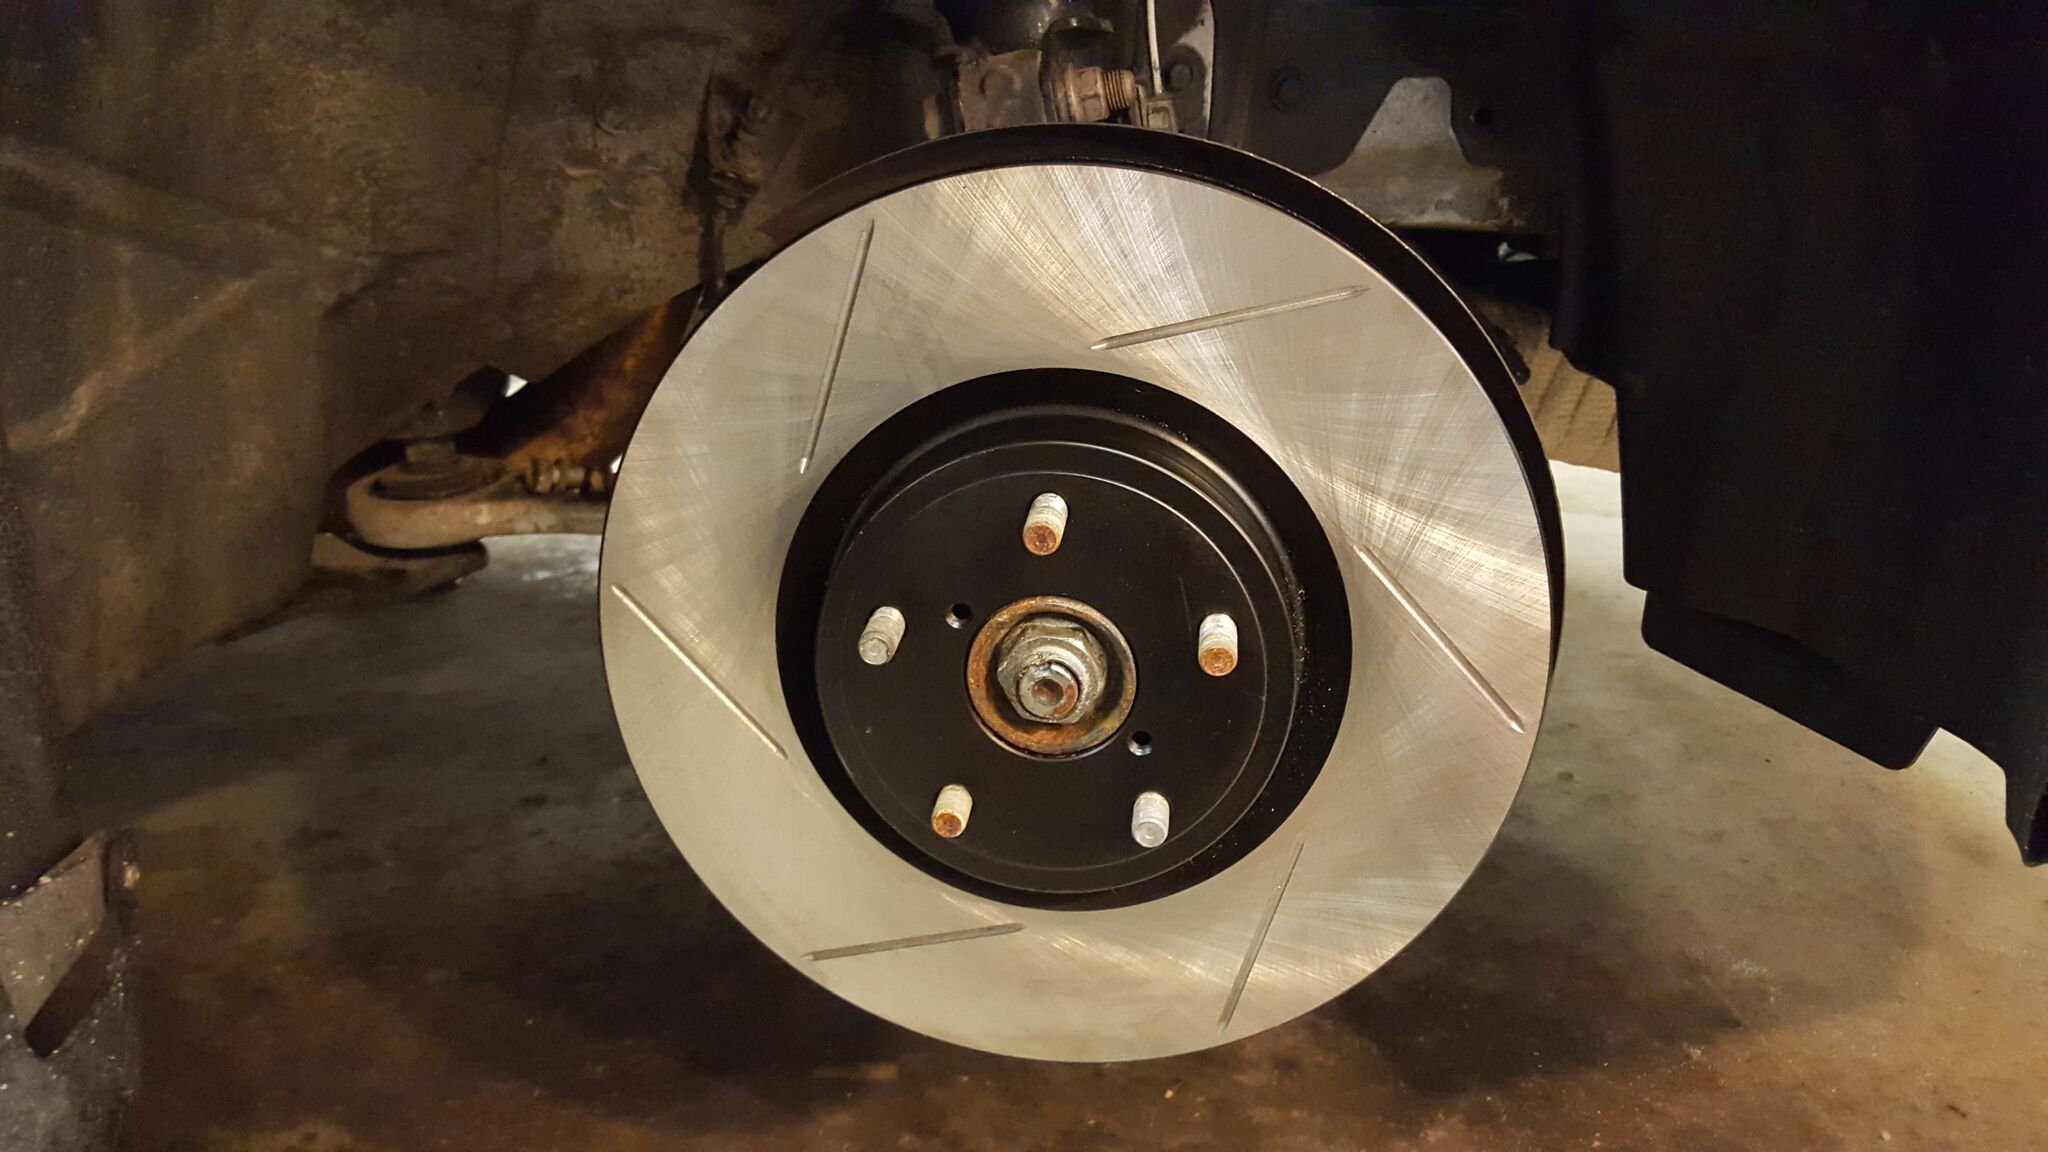
Give the Brembos a quick clean and prep for pad change.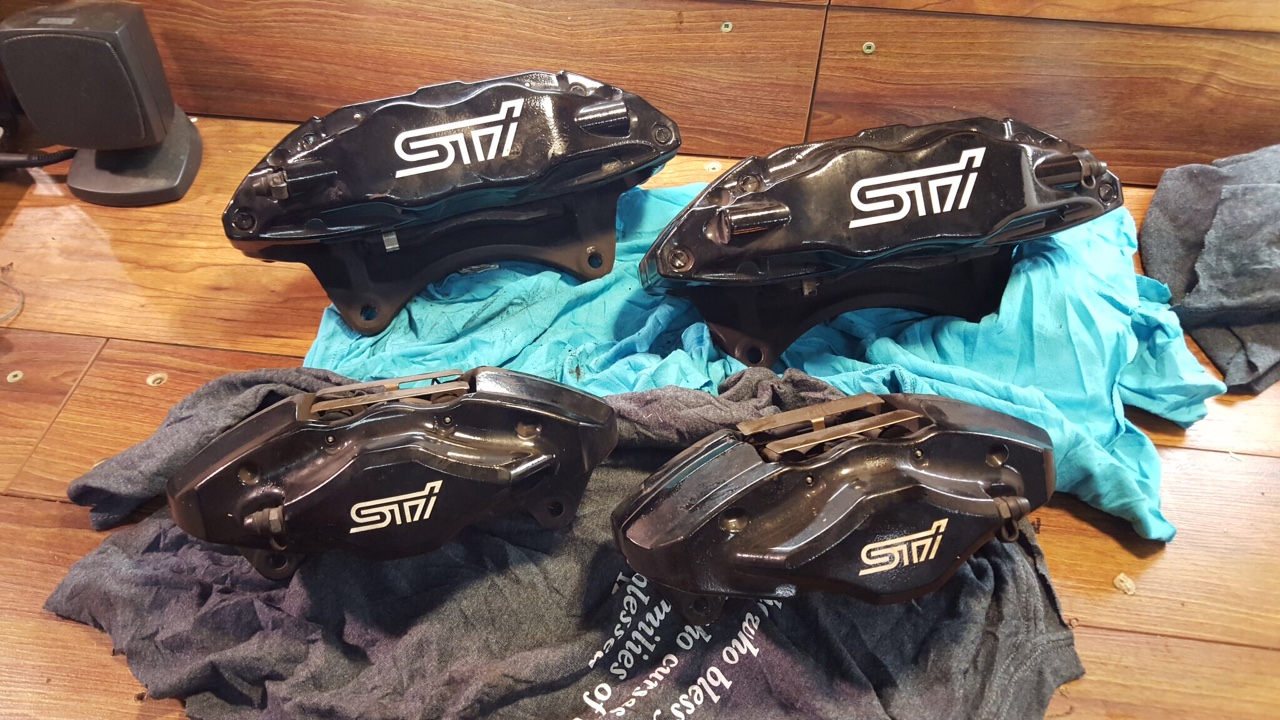
Comparison of the Brake lines. New ones are Stainless Steel braided.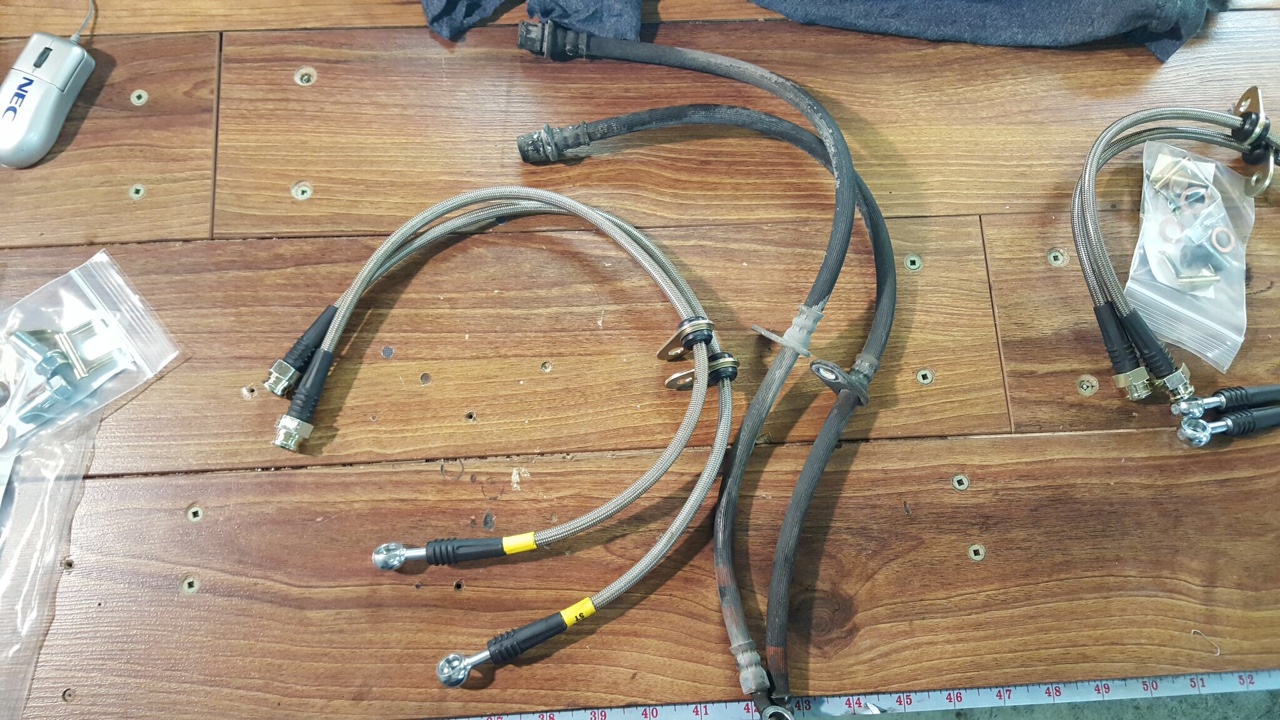
Quick little pic of the brake line installed on the front mounted to the bracket and before the connection.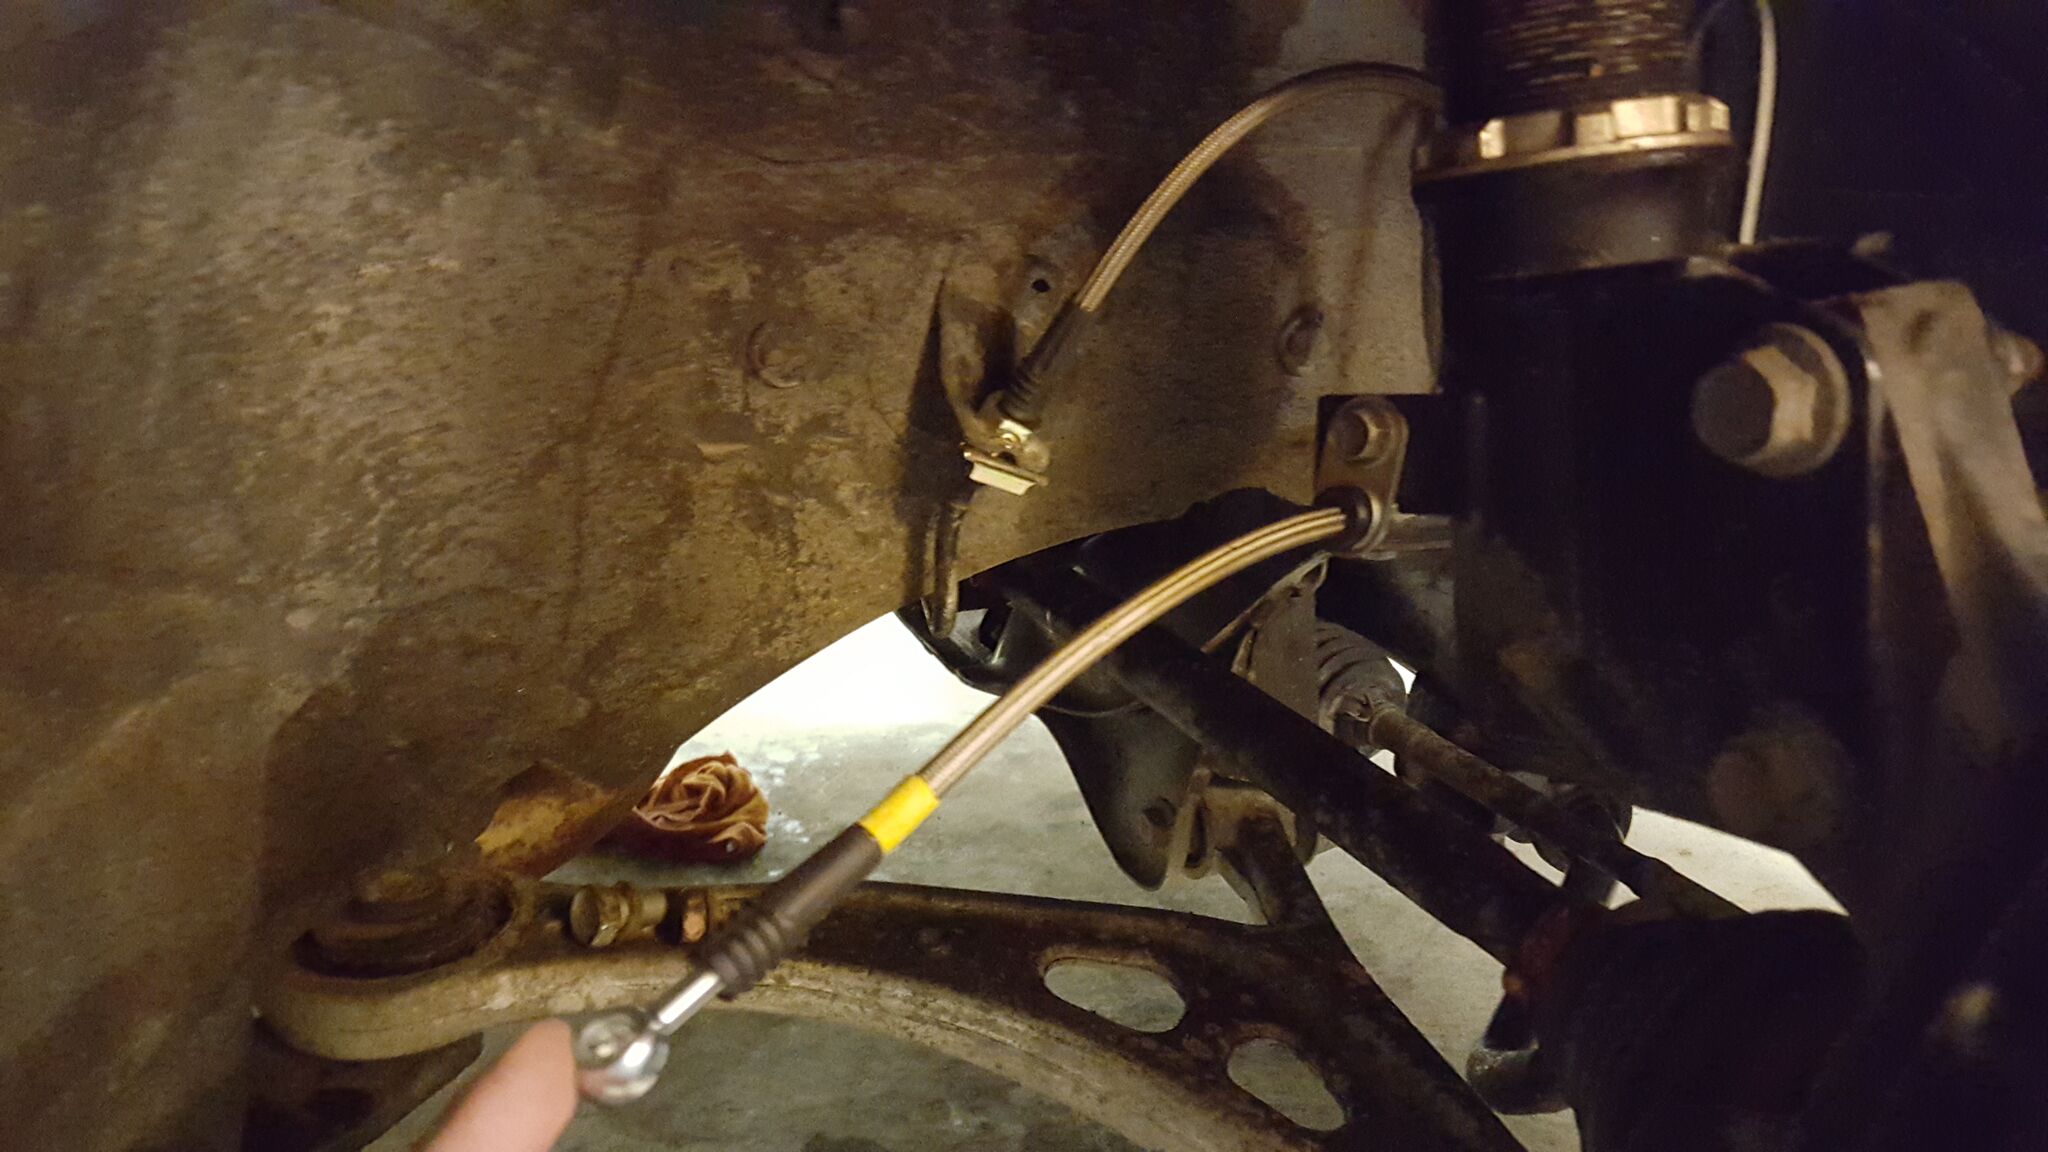
Rotors mounted on the front.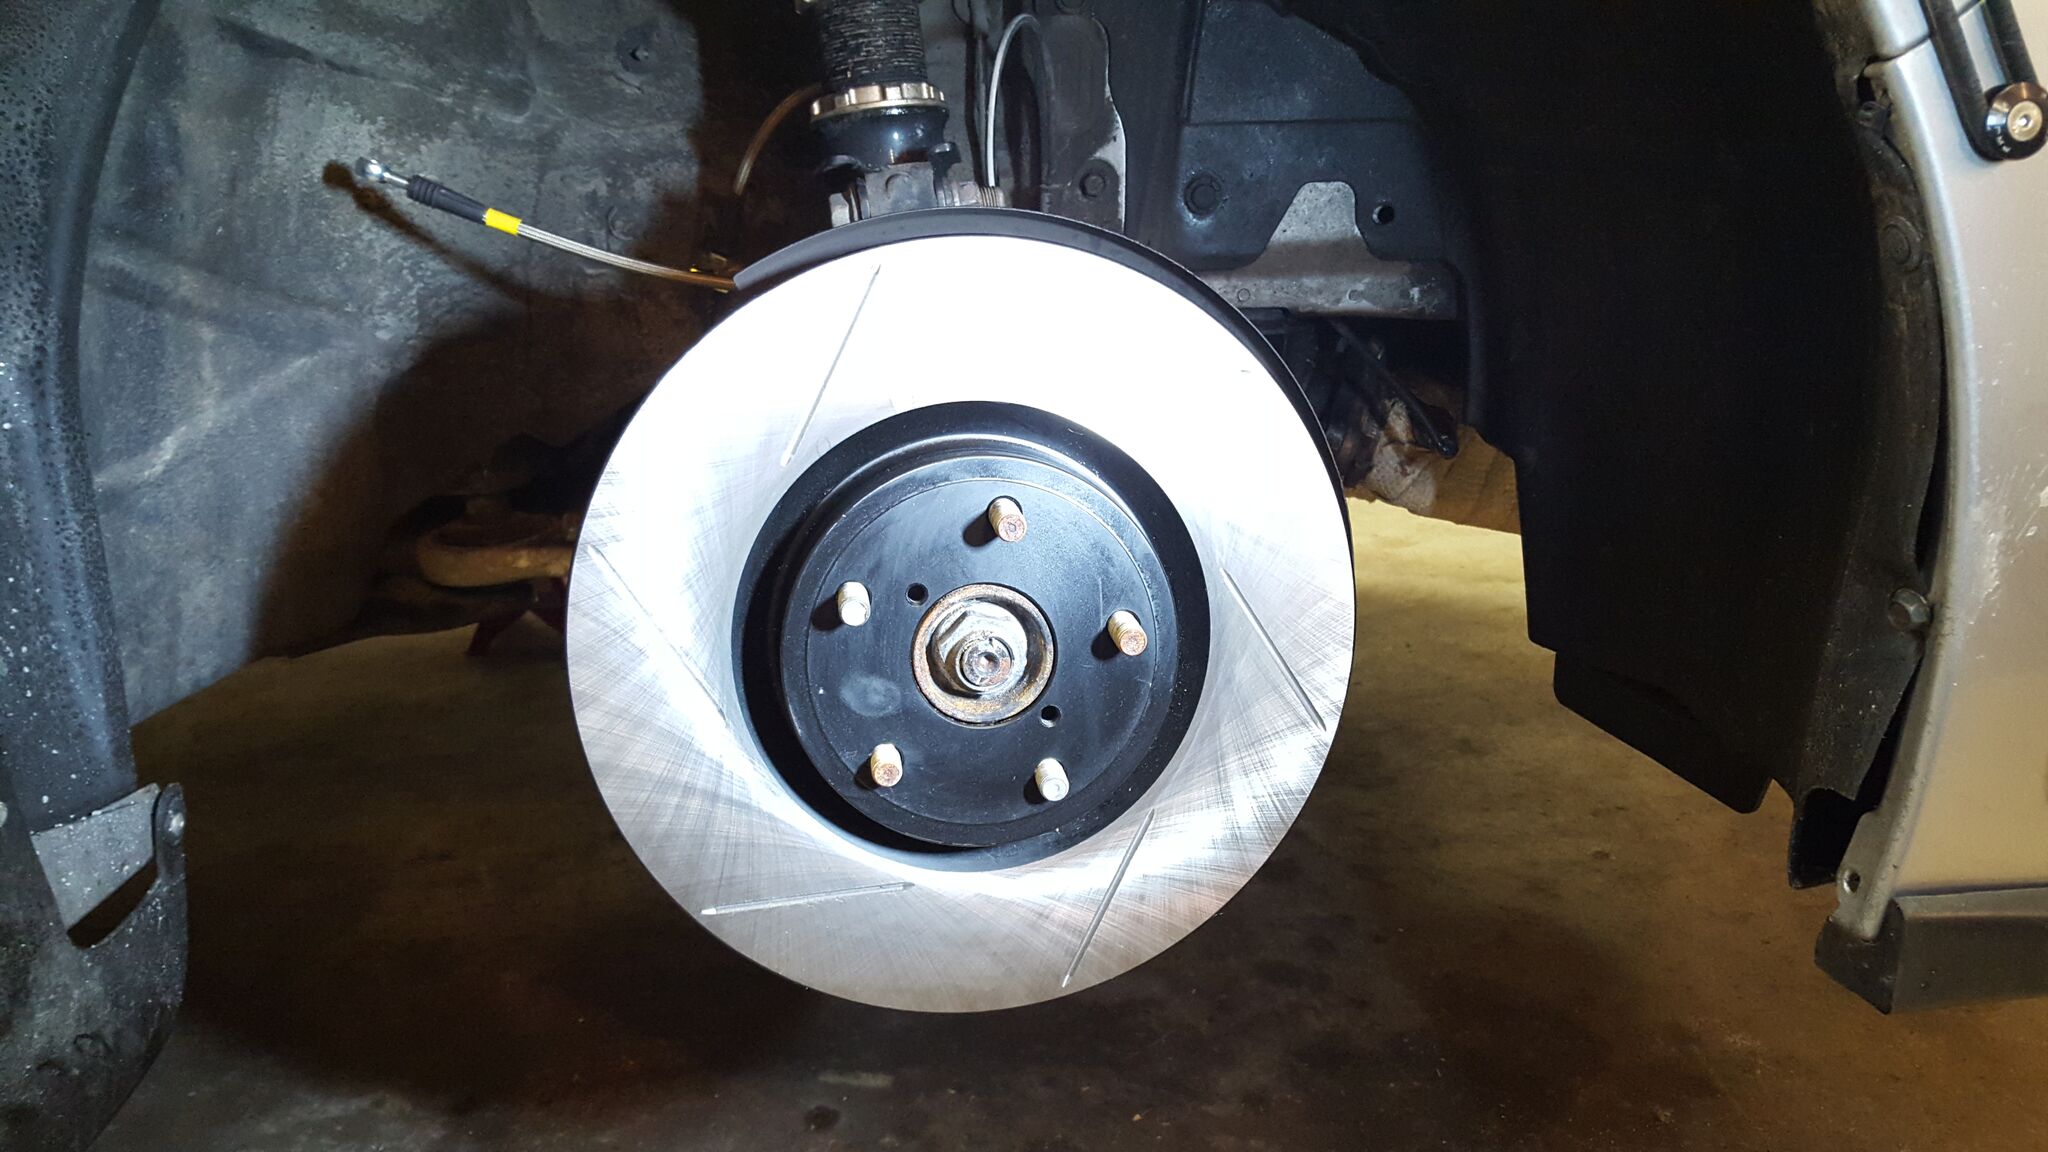
Brake lines installed on the rear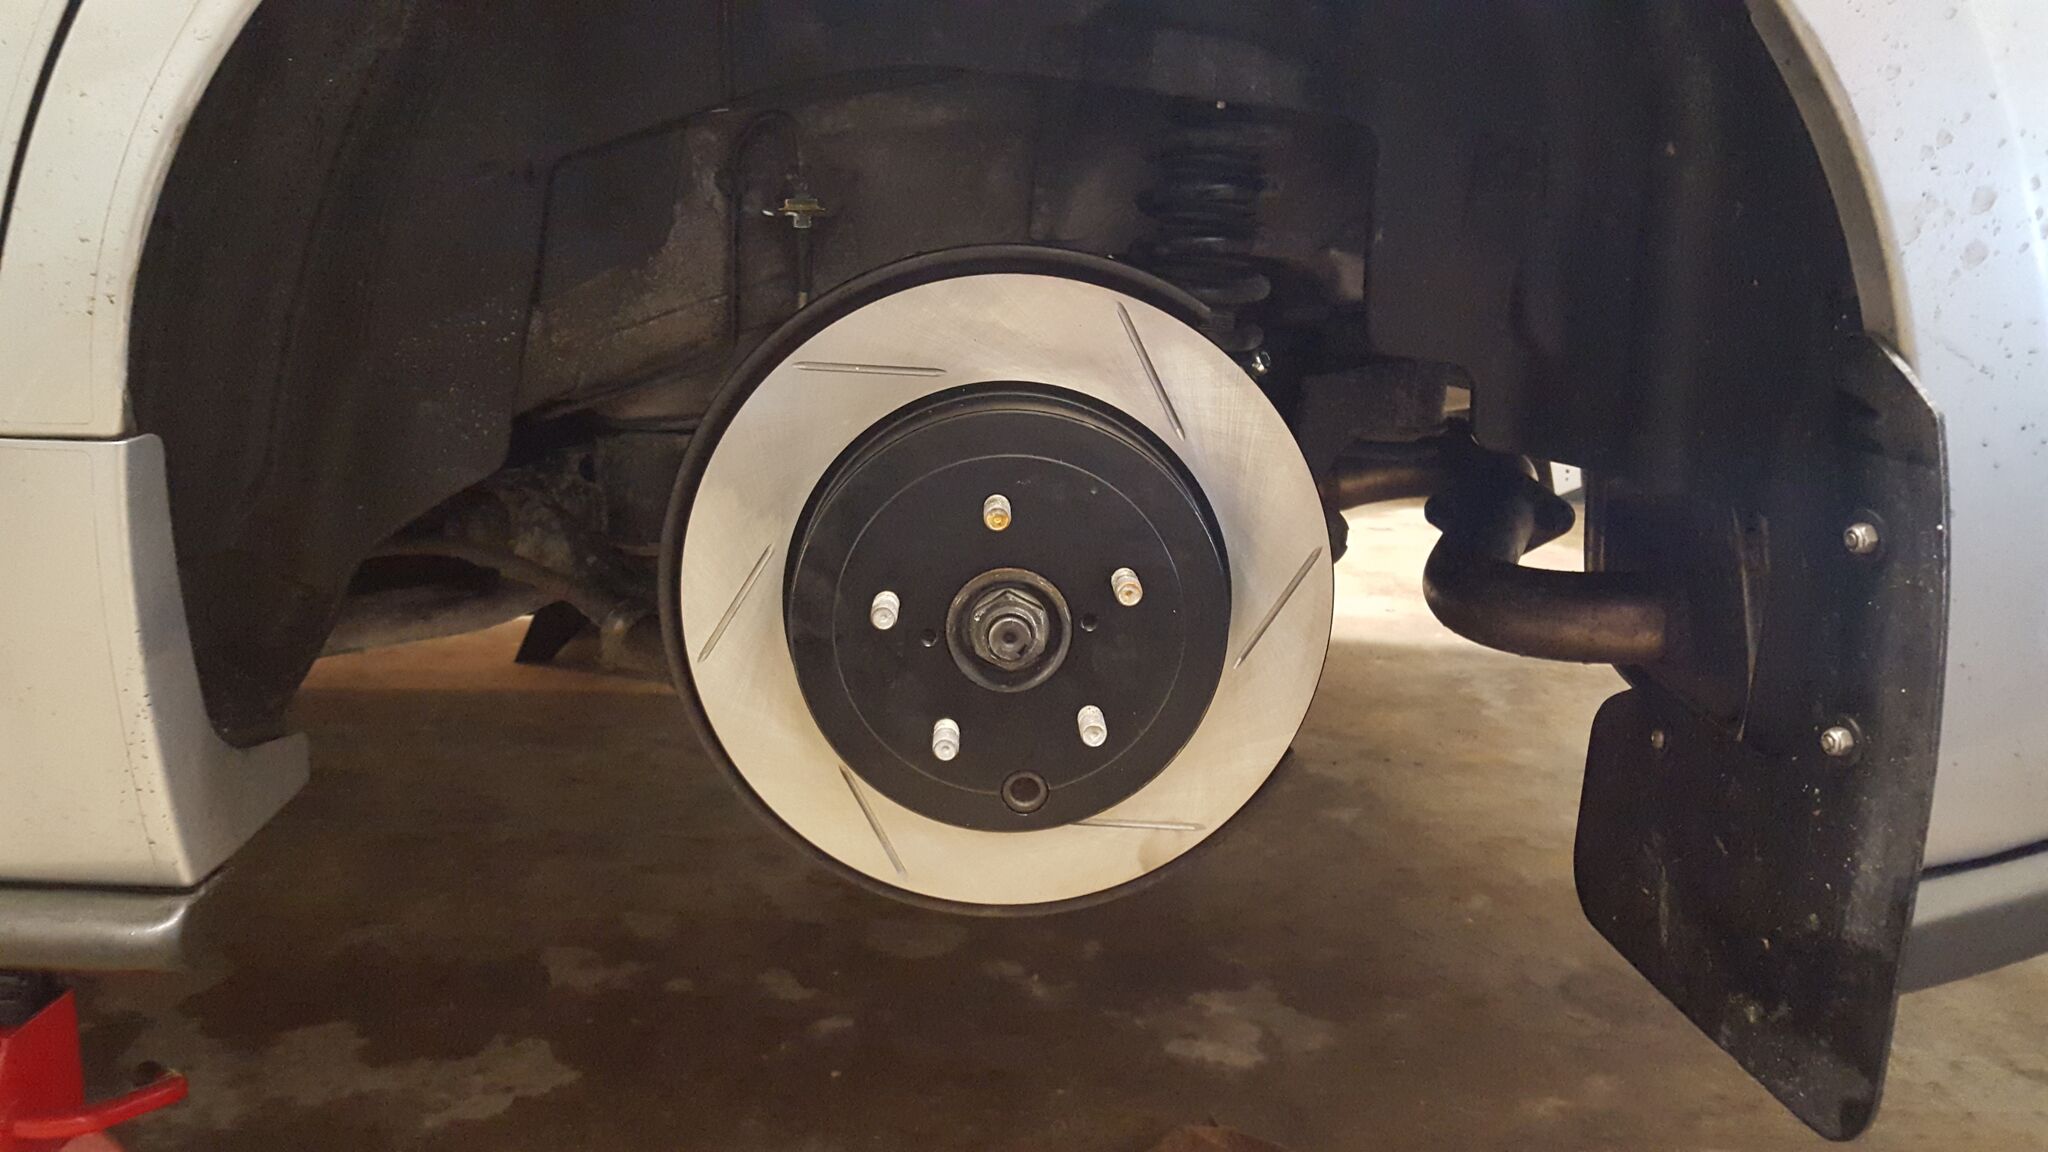
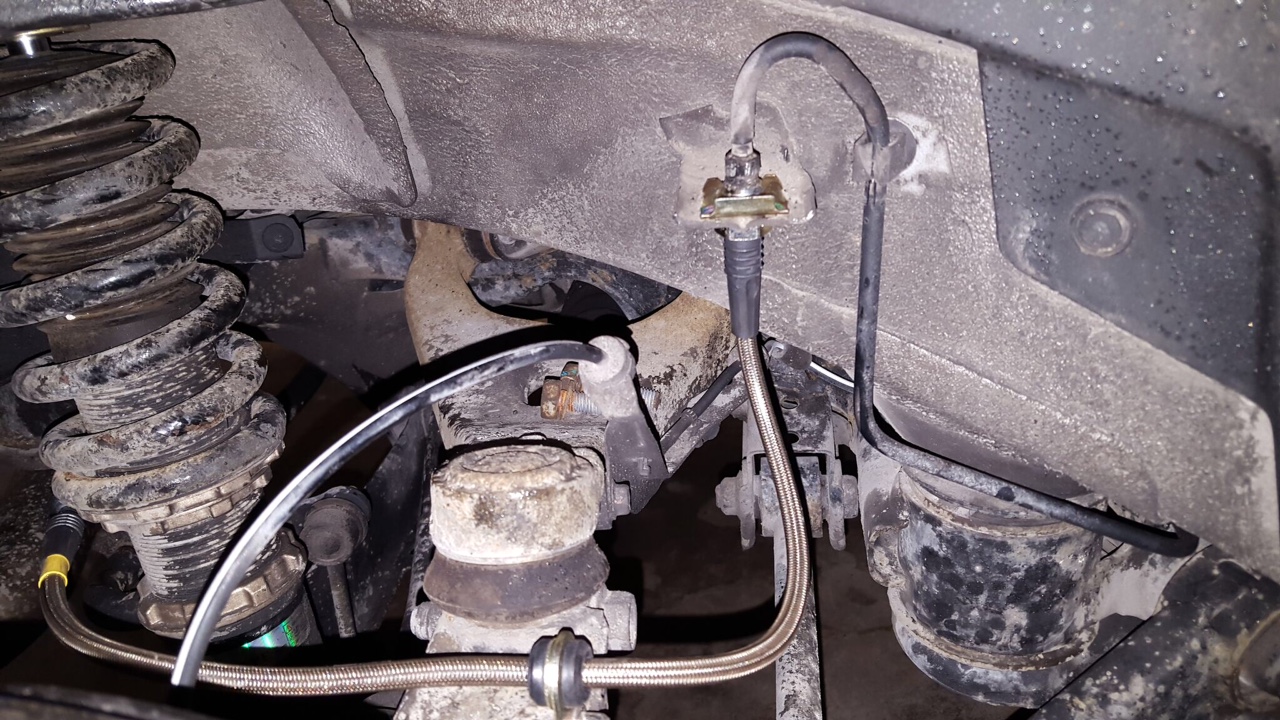
Followed by the mounting of the rear rotors.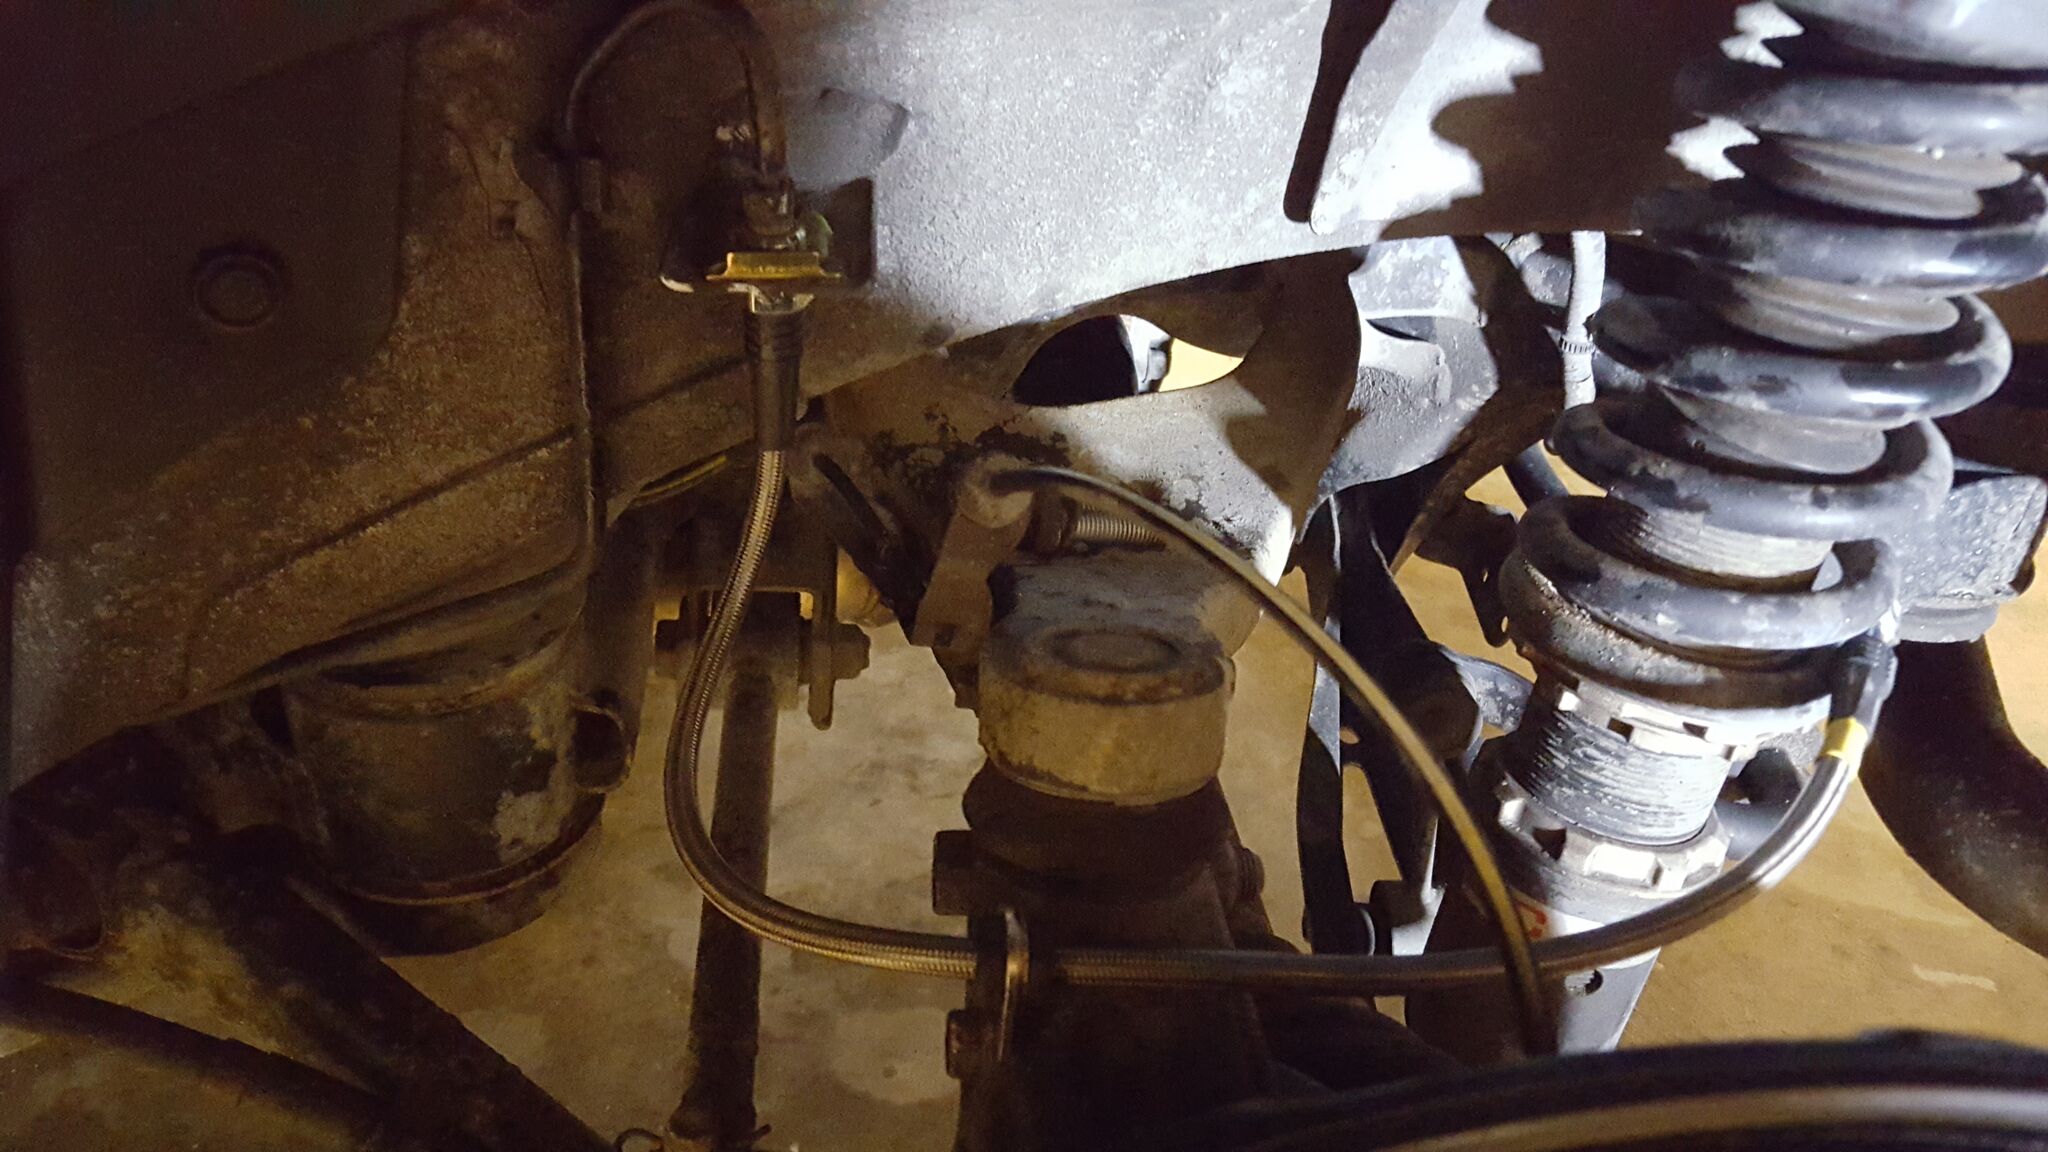
That was about all for today. Hoping tomorrow to get the pads in and calipers mounted back up. Then ill tackle either the bushings and take off the mud flaps.
4-10-2016
Another update today! I love how fast and smooth everything is going on the installs.
So to start;
So first thing was removing the old brakes pads, so here is a shot of the new brake pads (Top) vs old (Bottom)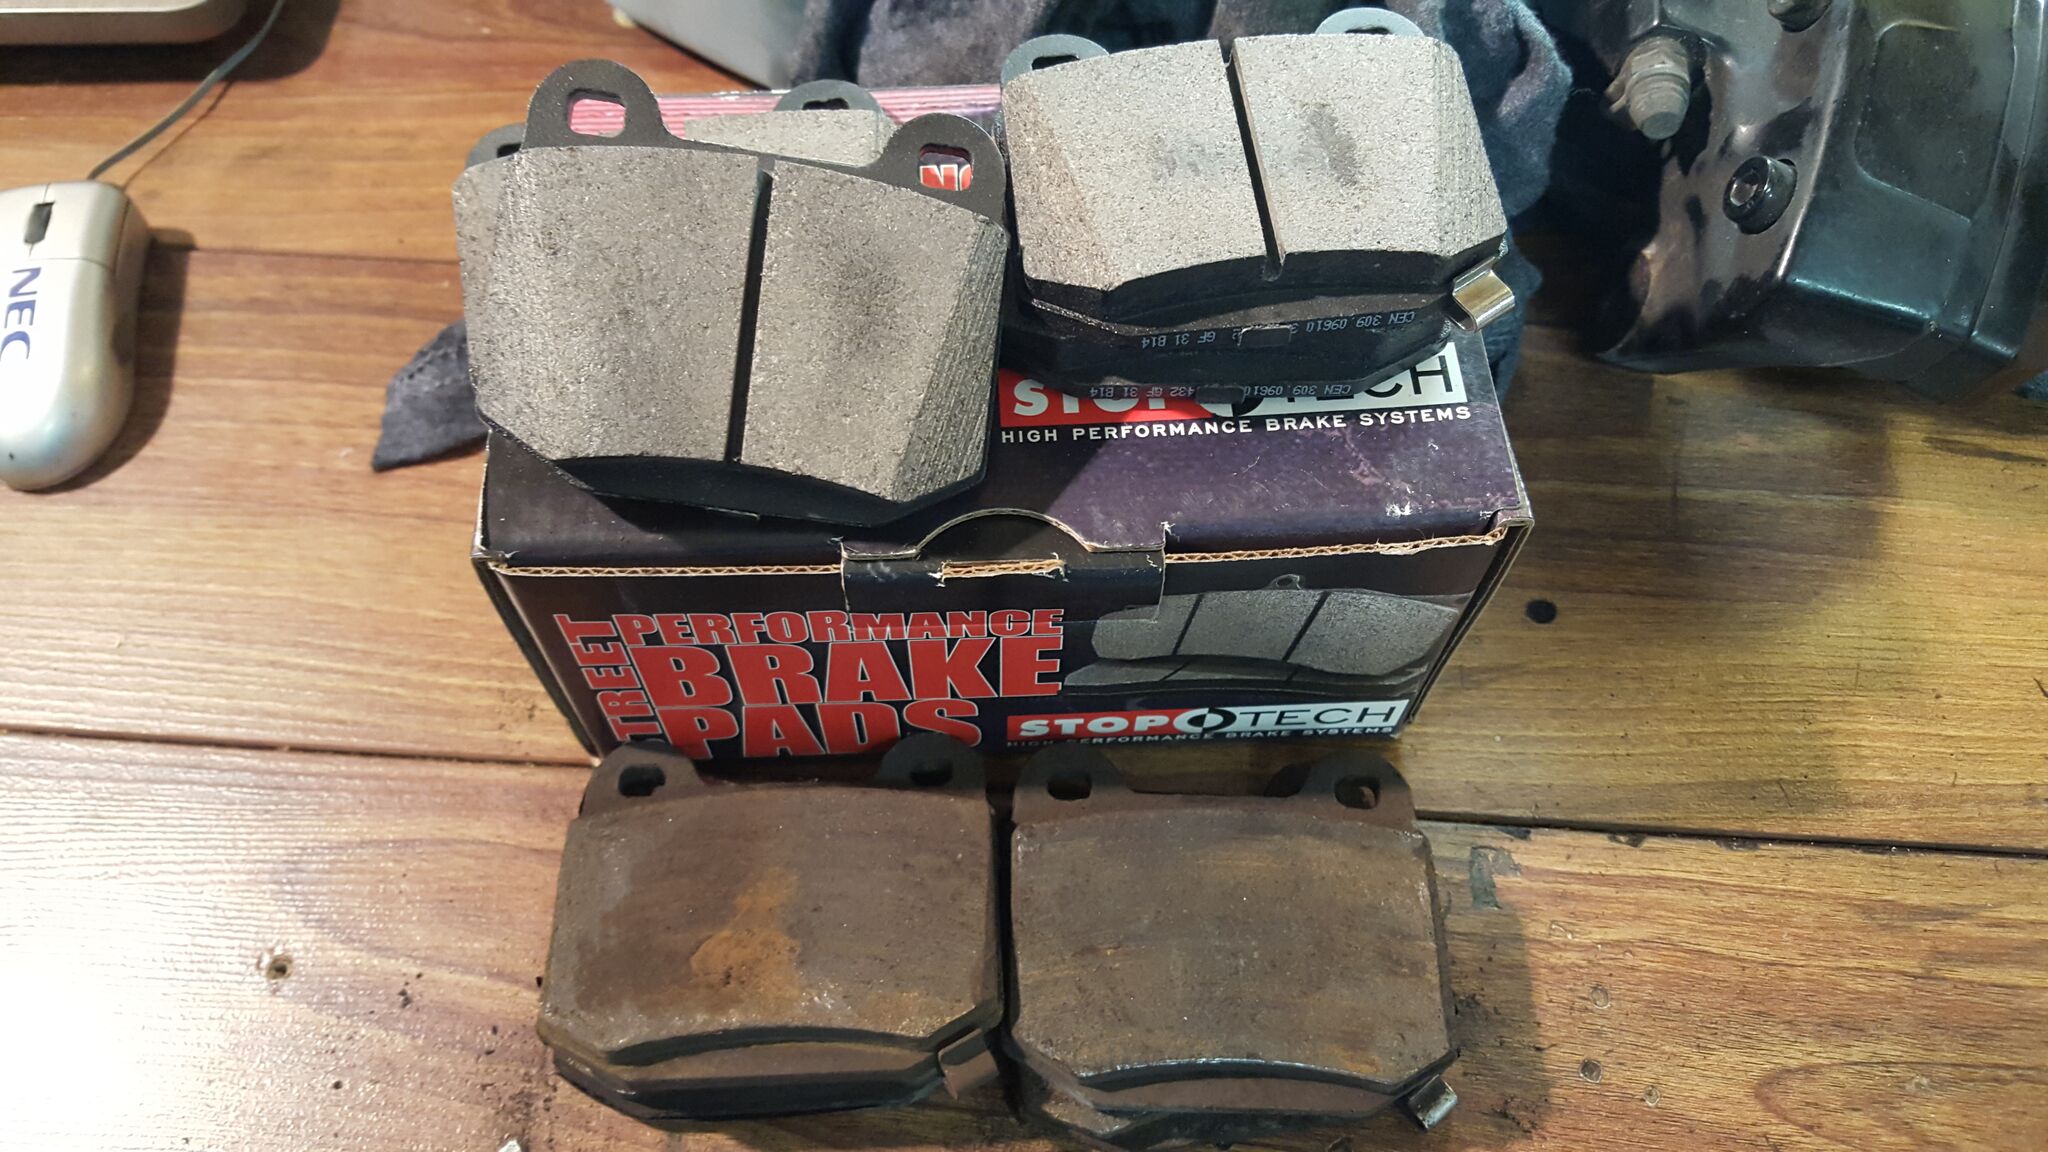
Close up on the new rear pads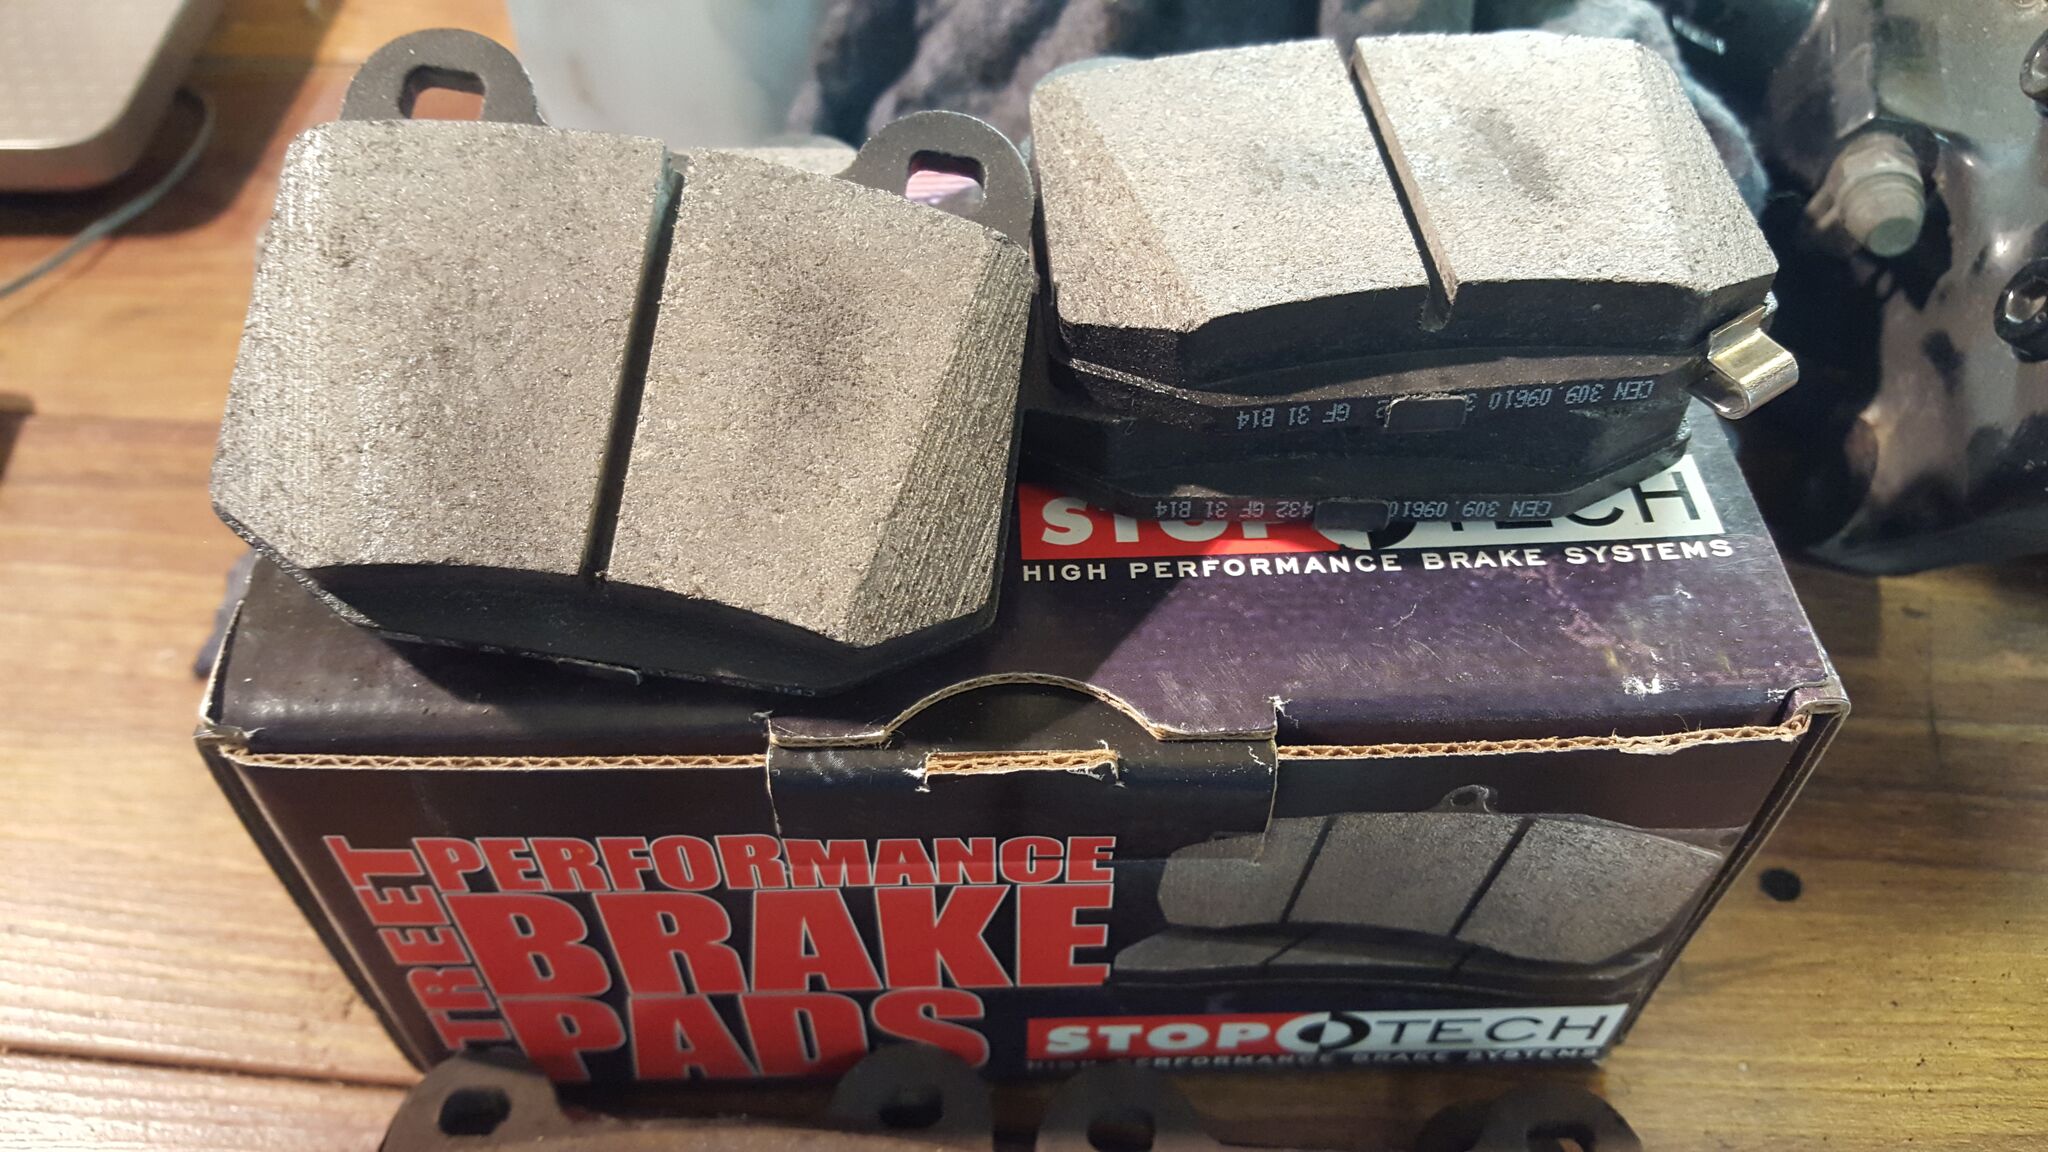
Comparison of the New Pads for front (Top) and Old ones (Bottom)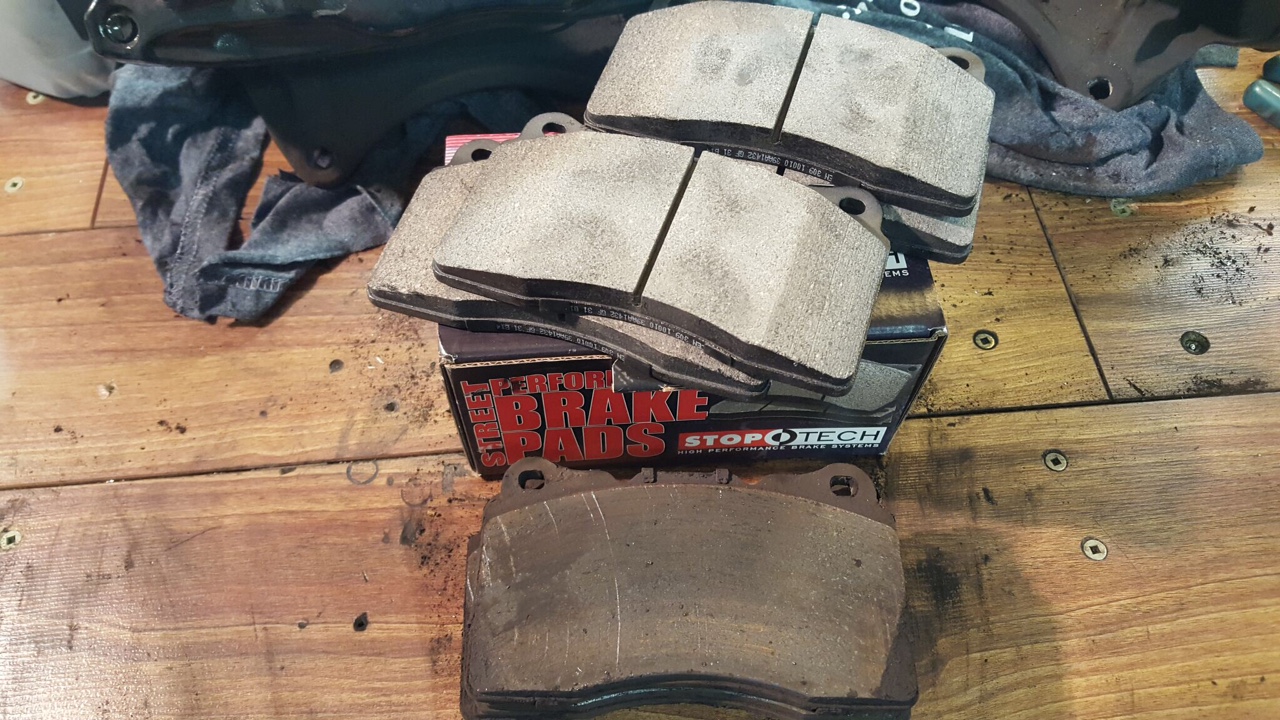
Close up of the new Front pads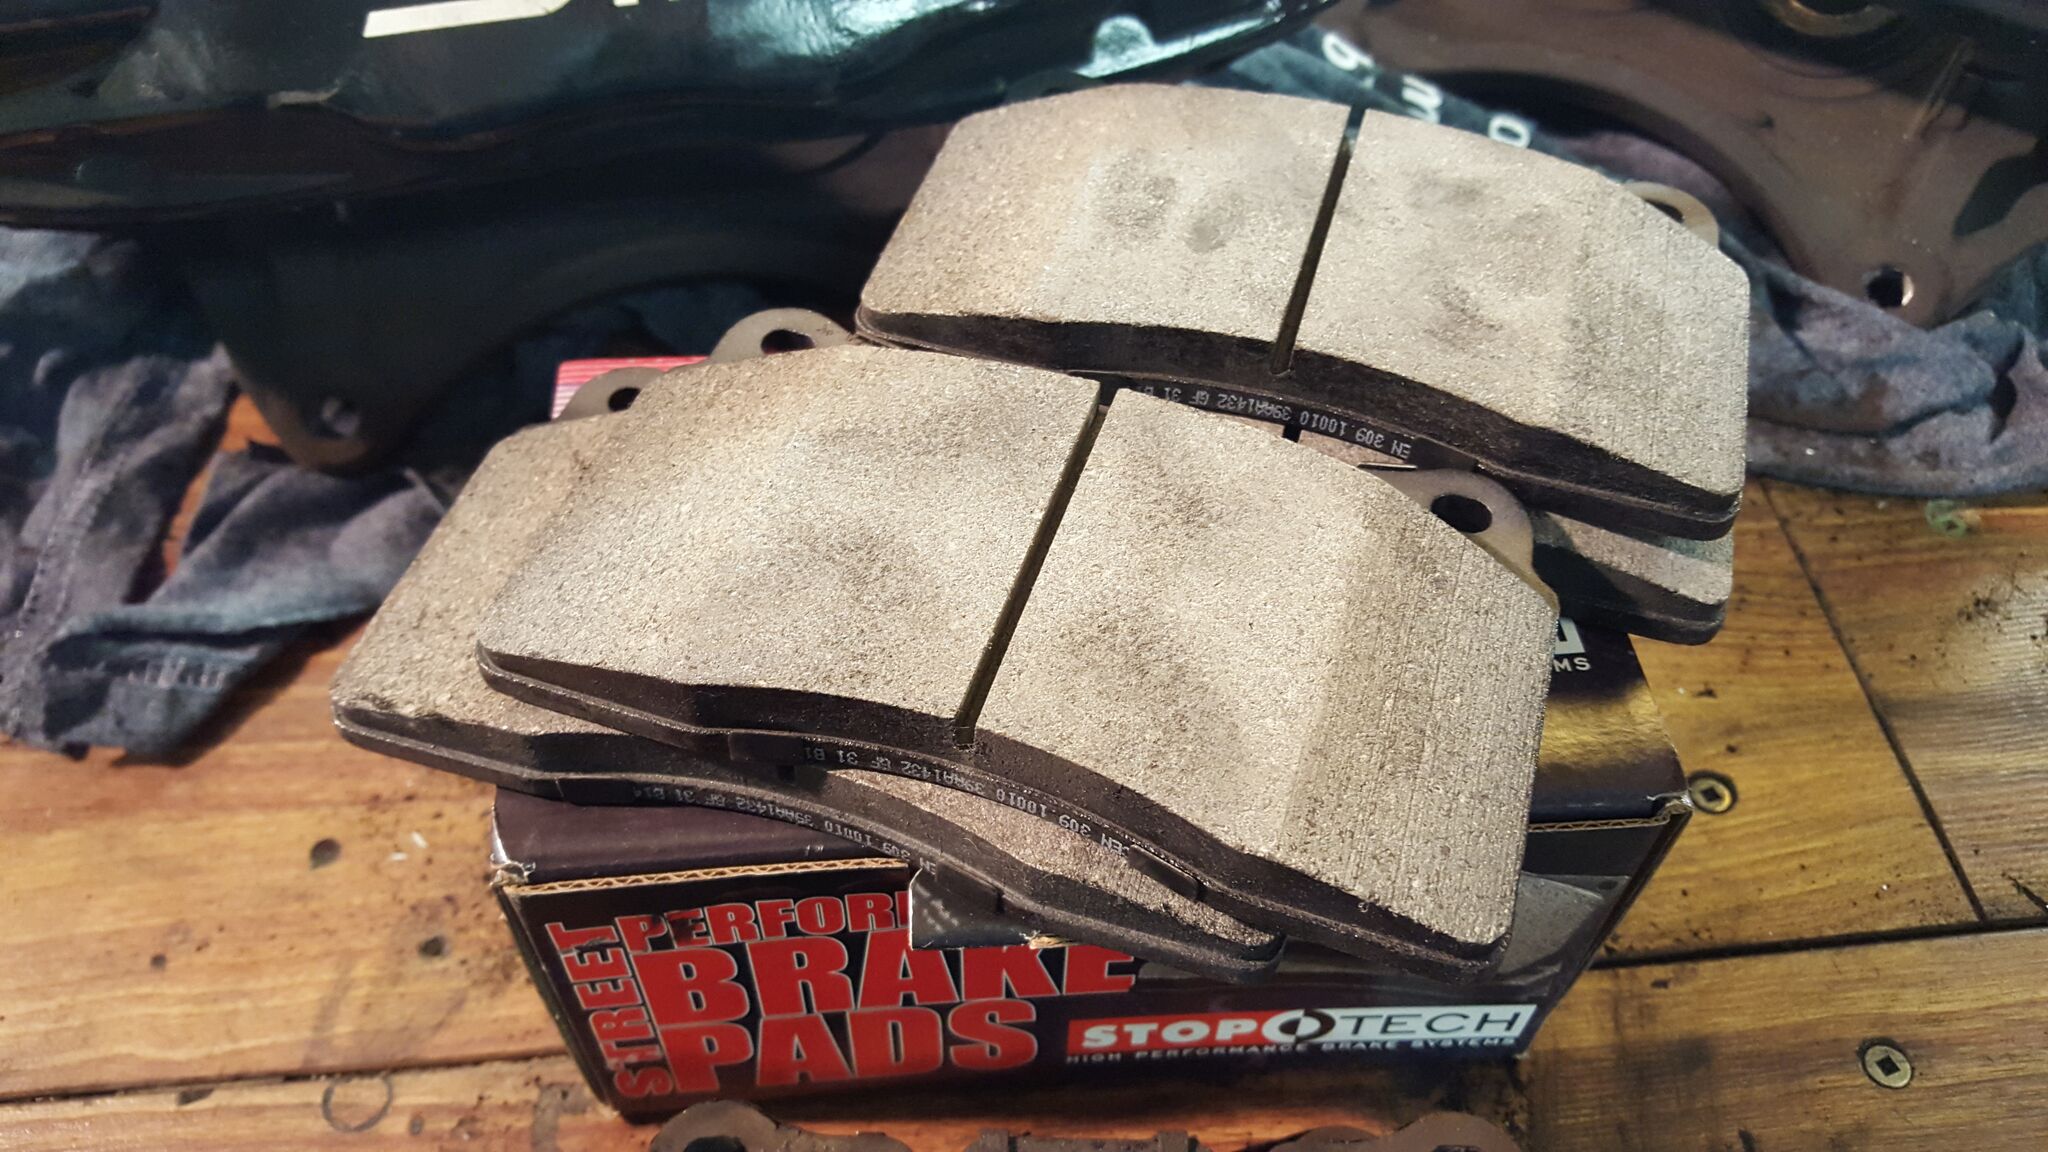
Bonus Sti shot haha
The whole kit and getting ready to install pads. Install is straight forward when it comes to brakes. The one piece calipers are awesome to work with. Just take the caliper off, haul the pins out on the inside part of the caliper and haul out the internals. Make sure to compress the Caliper pistons back in.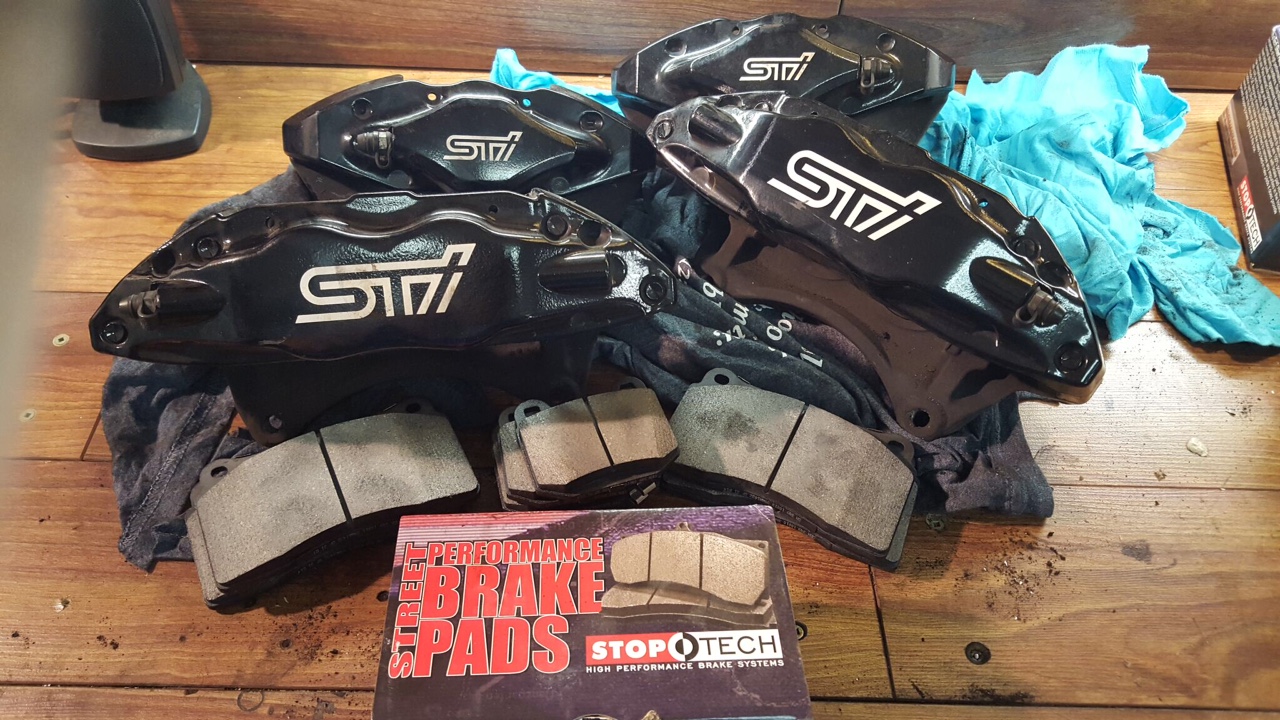
4-10-2016
Calliper mounted back up.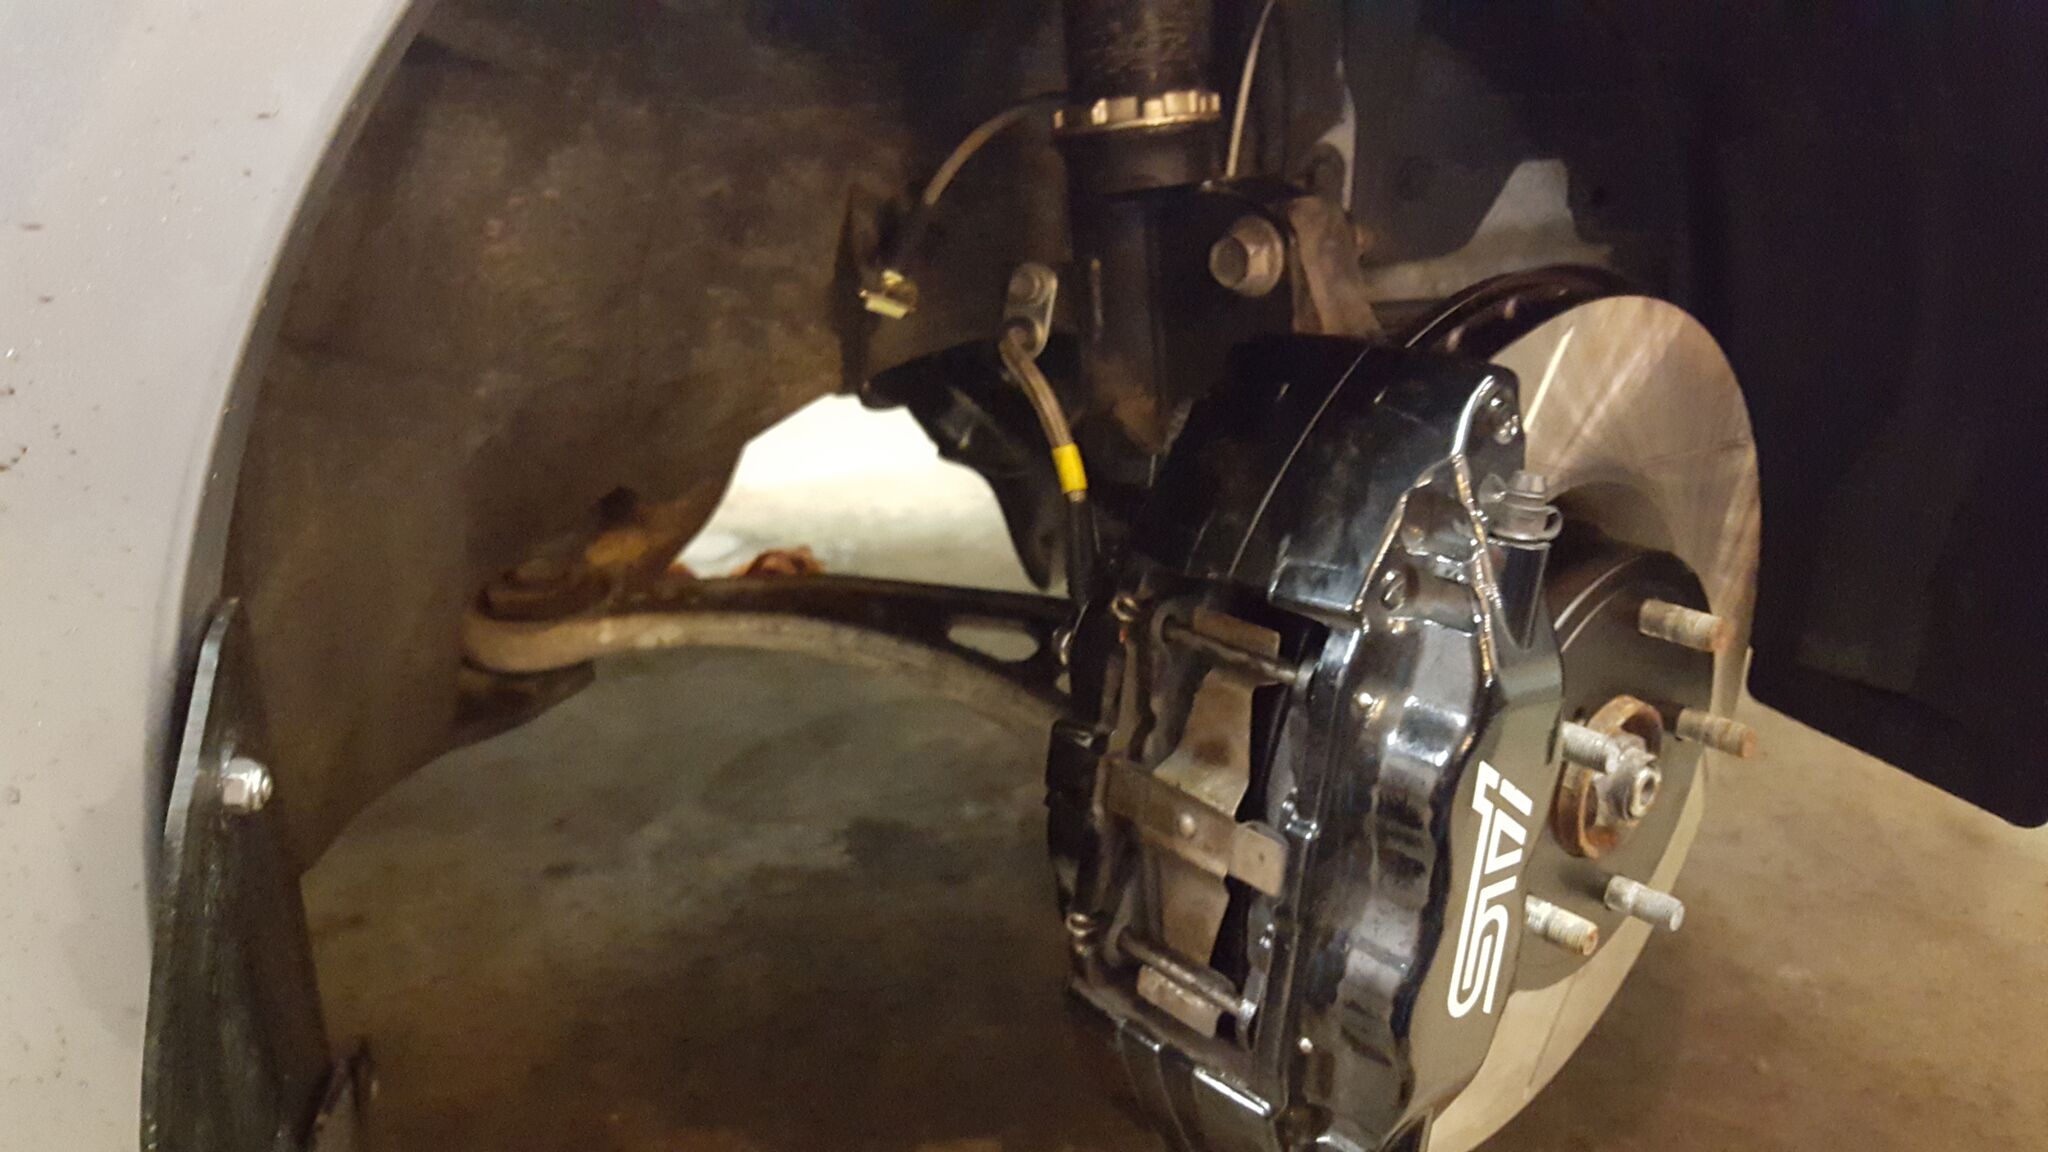
Front shot of it done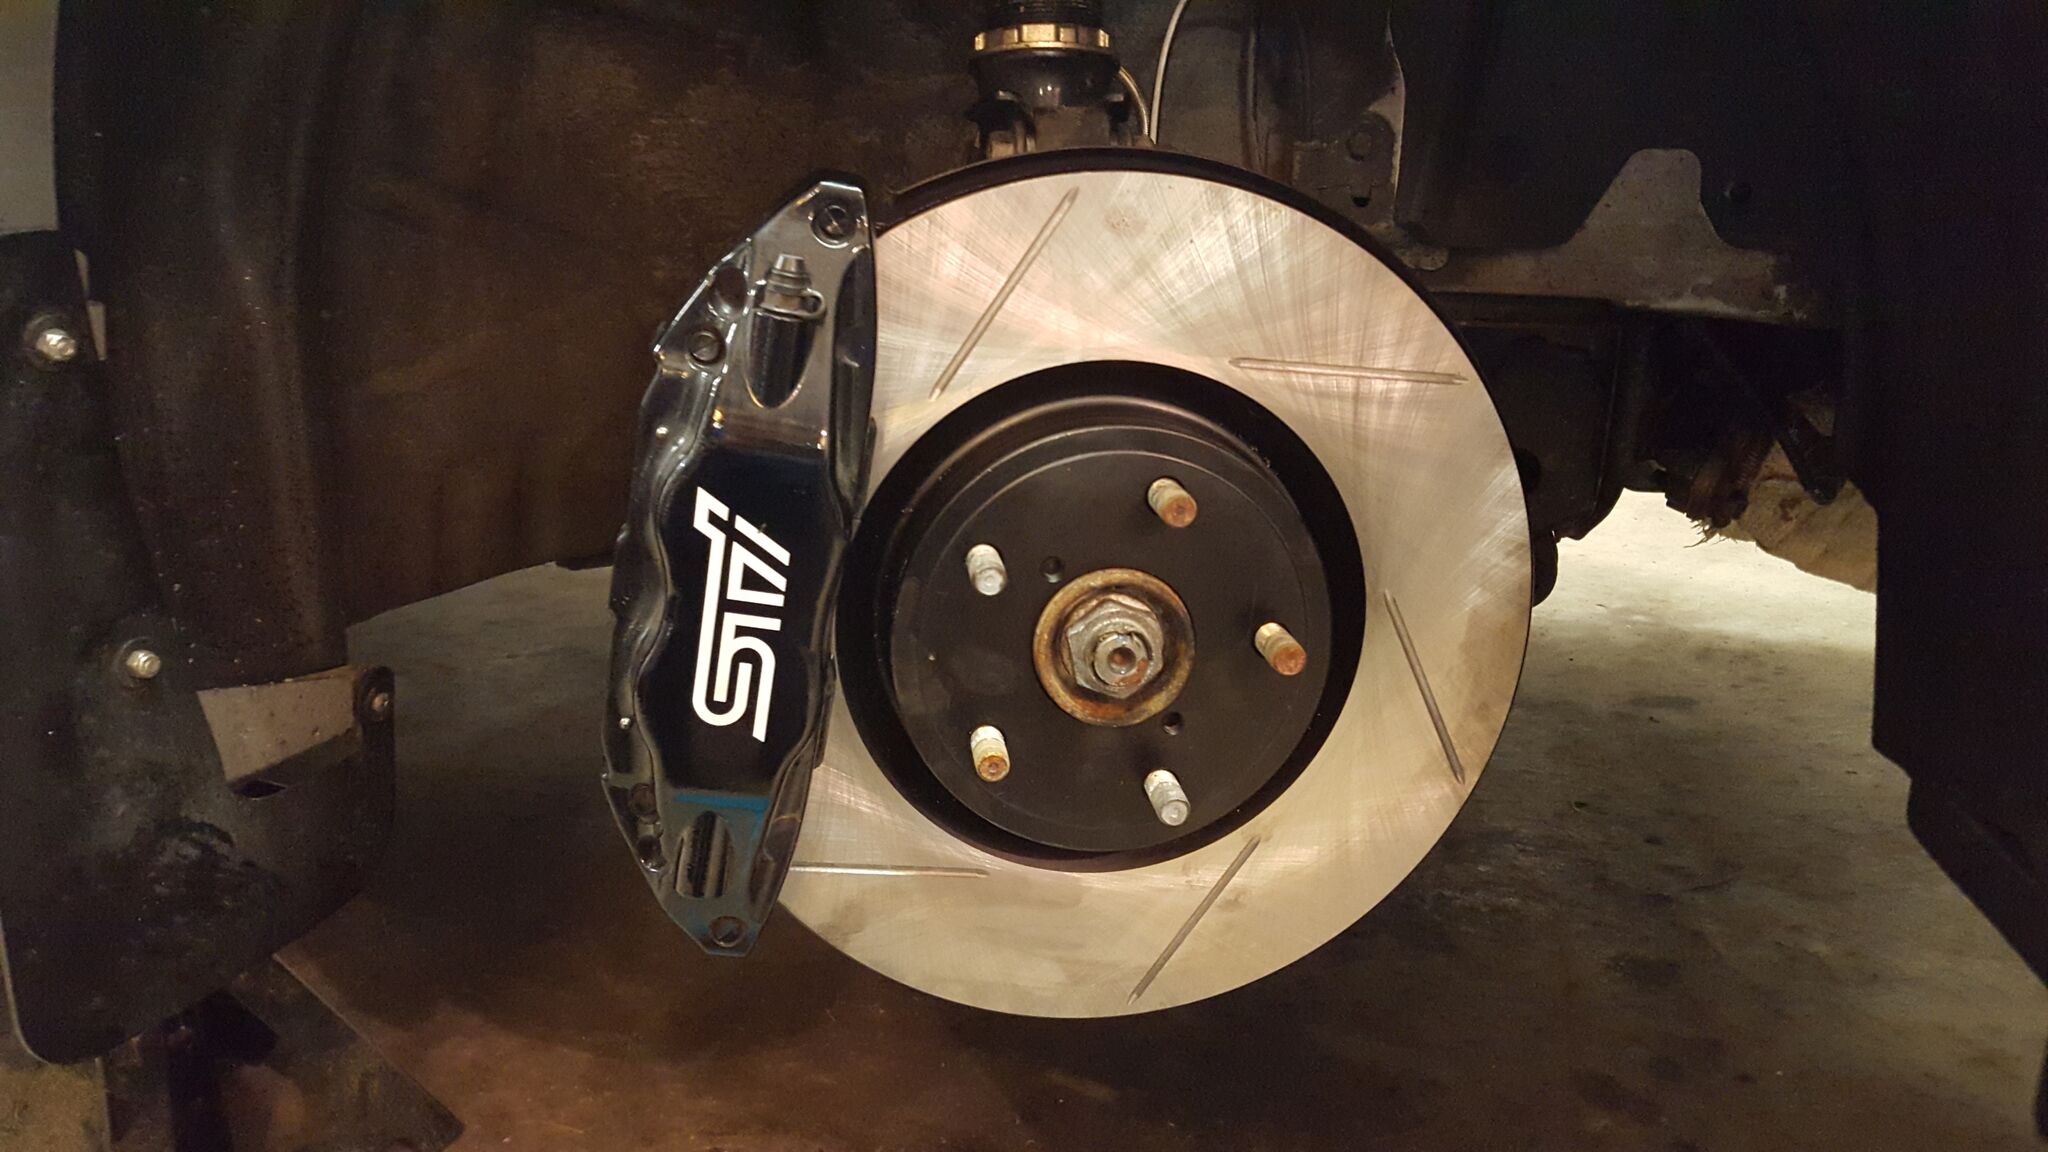
Rear mounted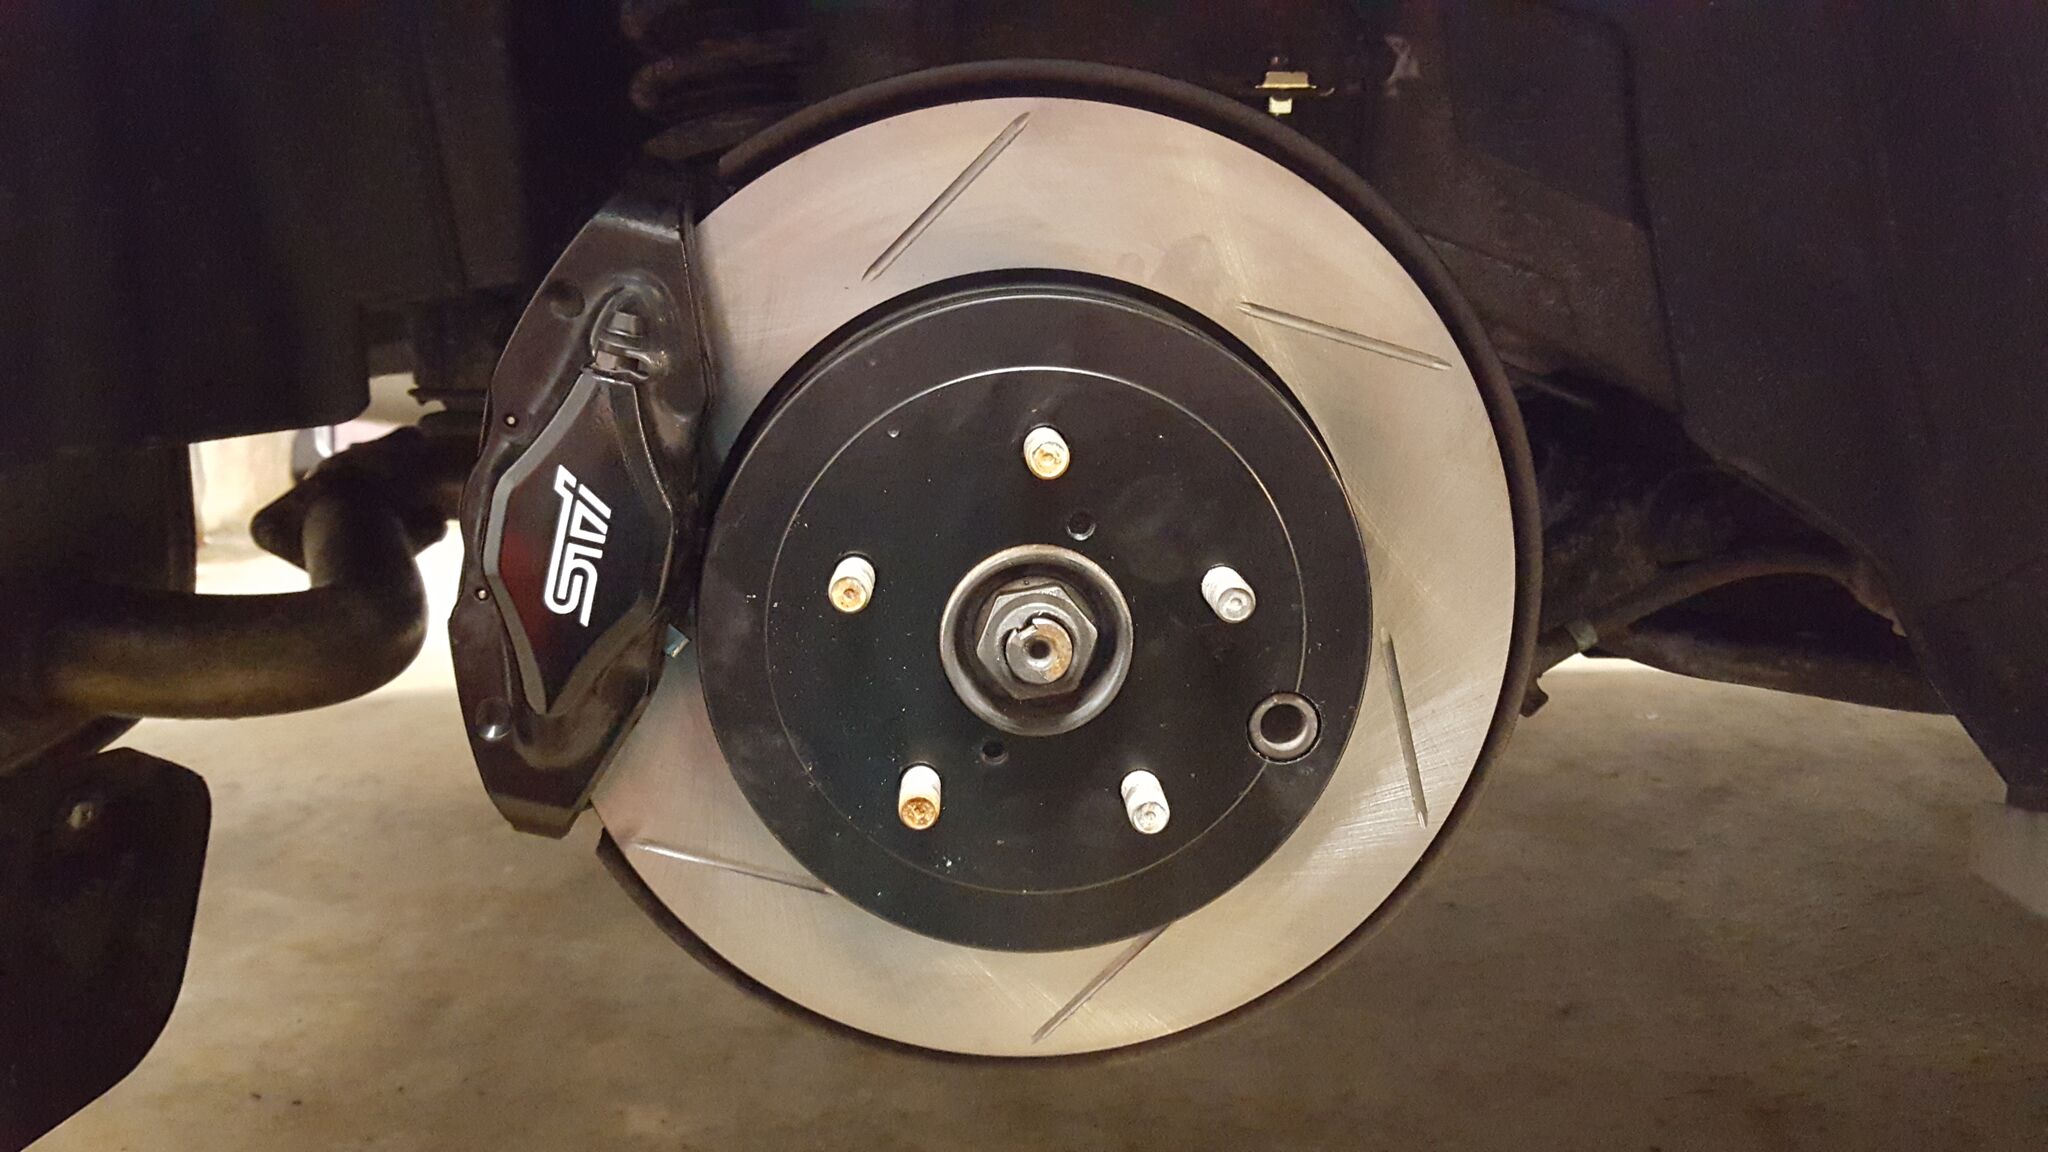
A shot of how the galley plug connects to the side of the calliper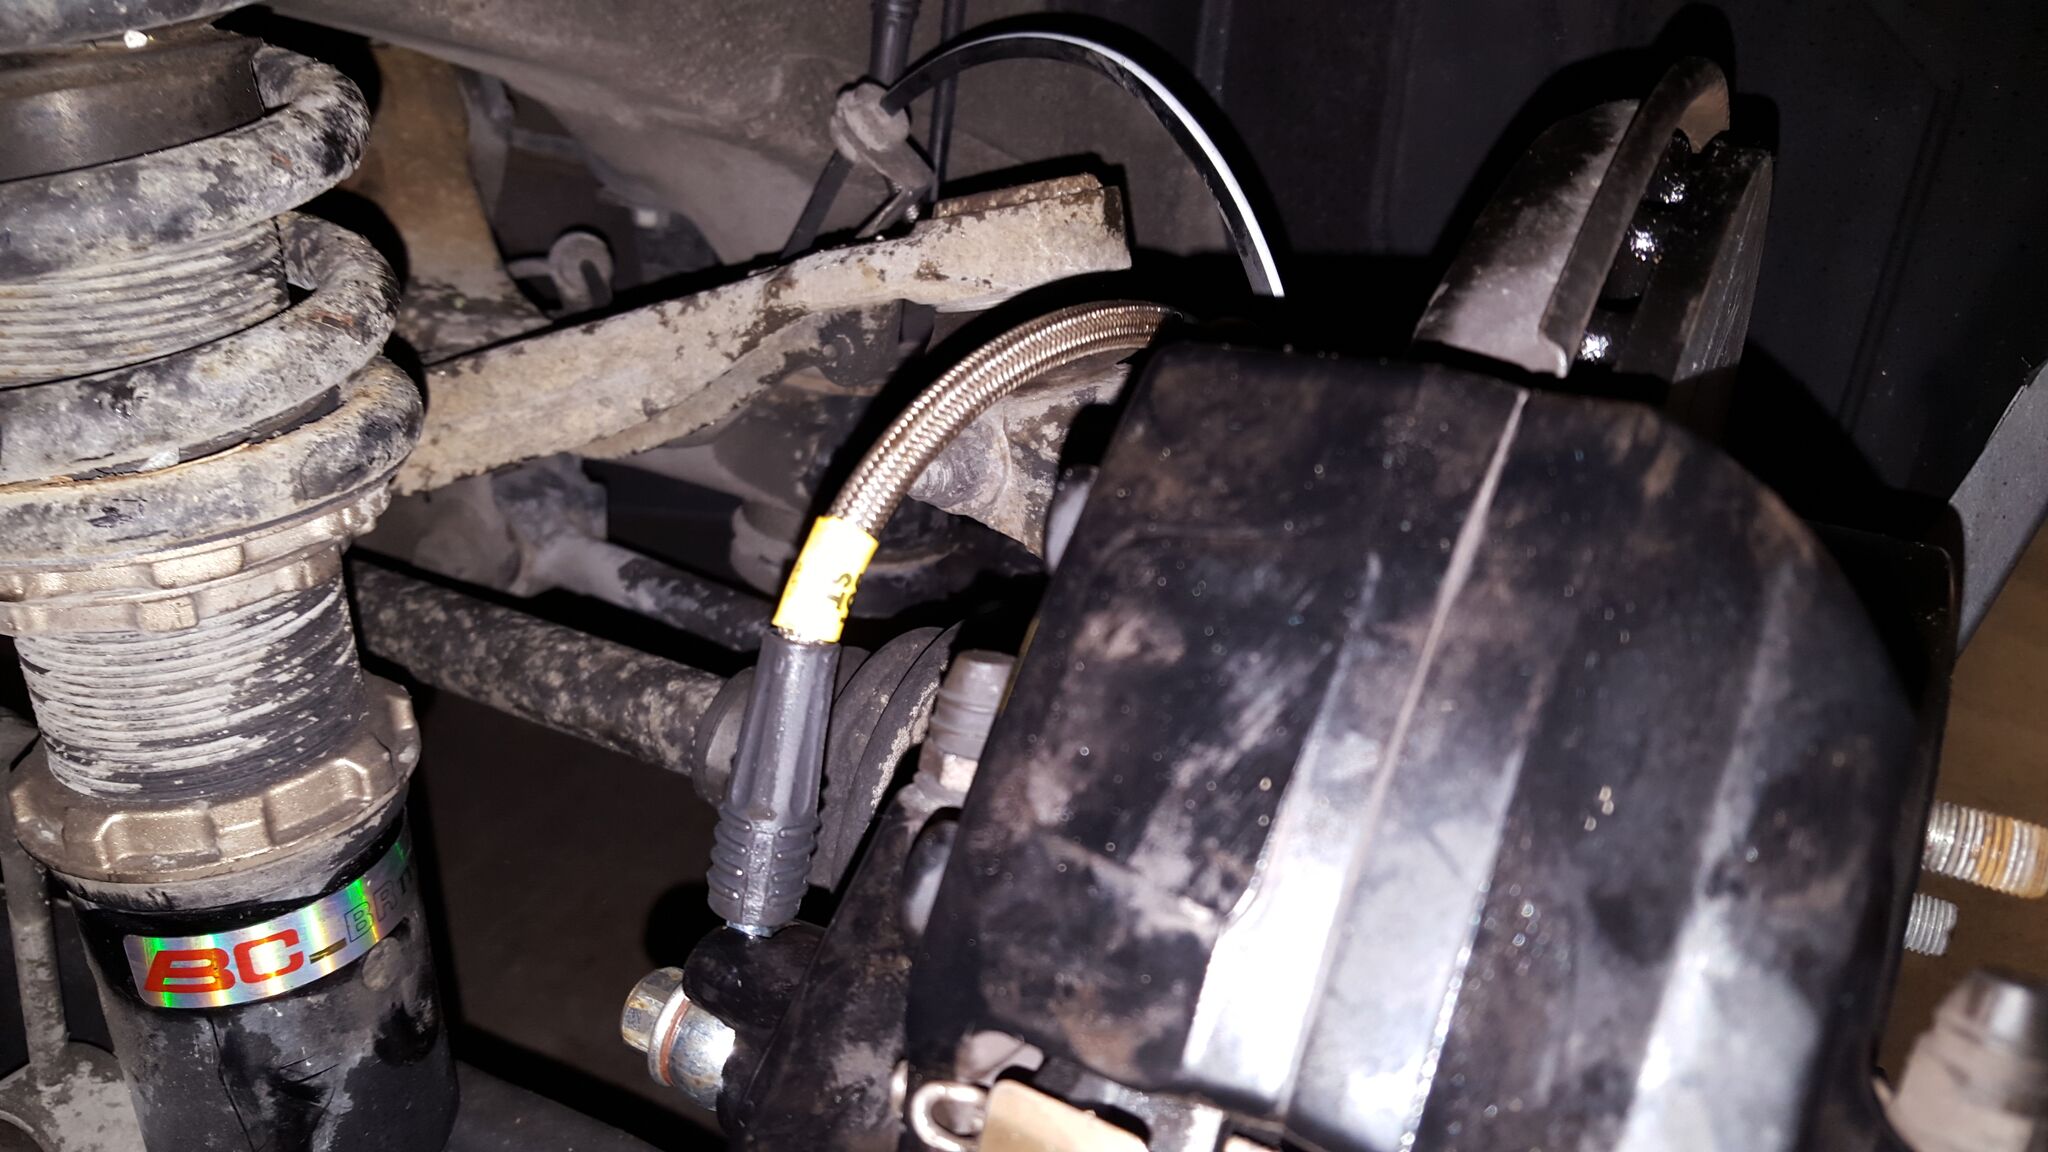
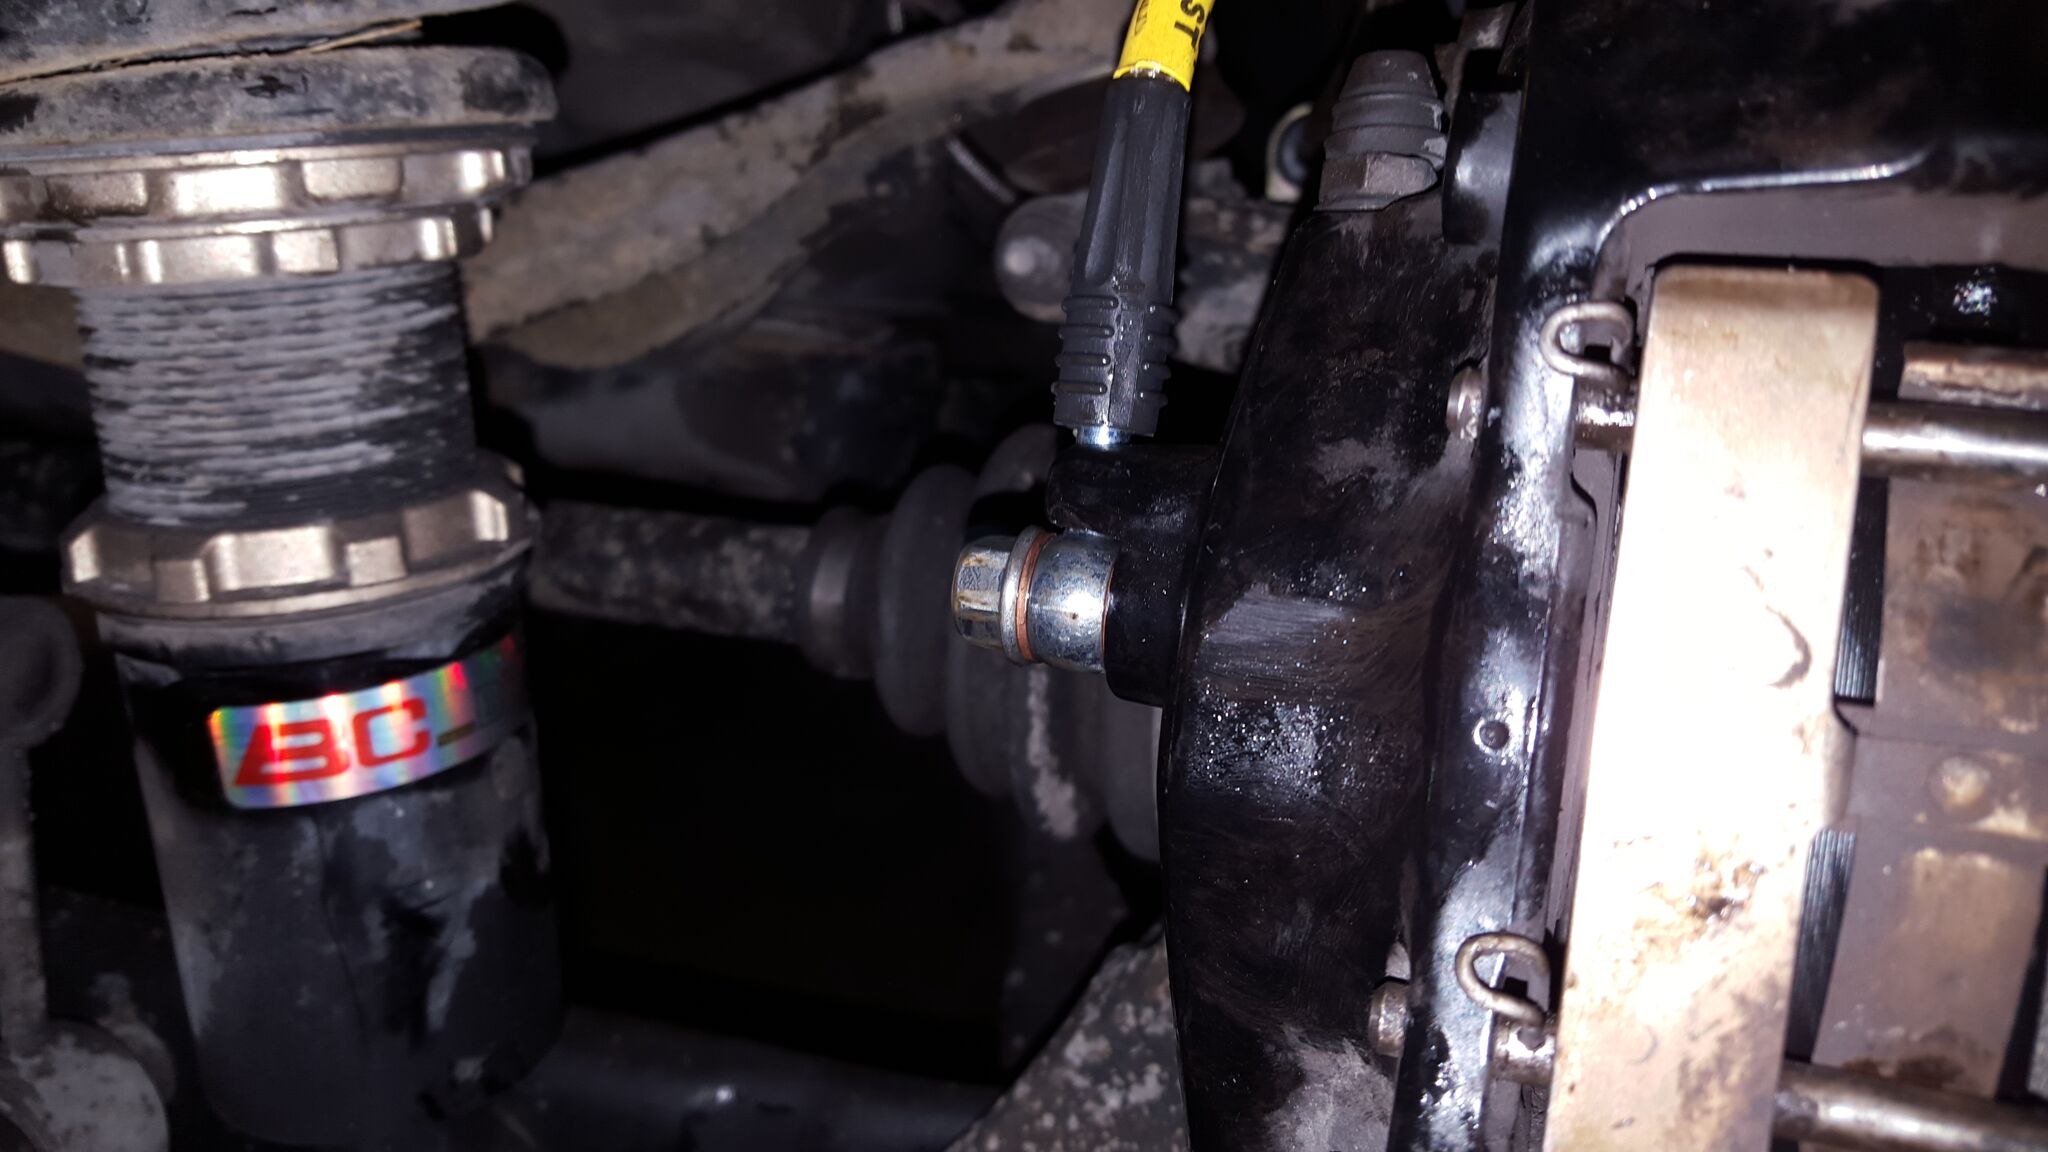
and now to bleed the brakes.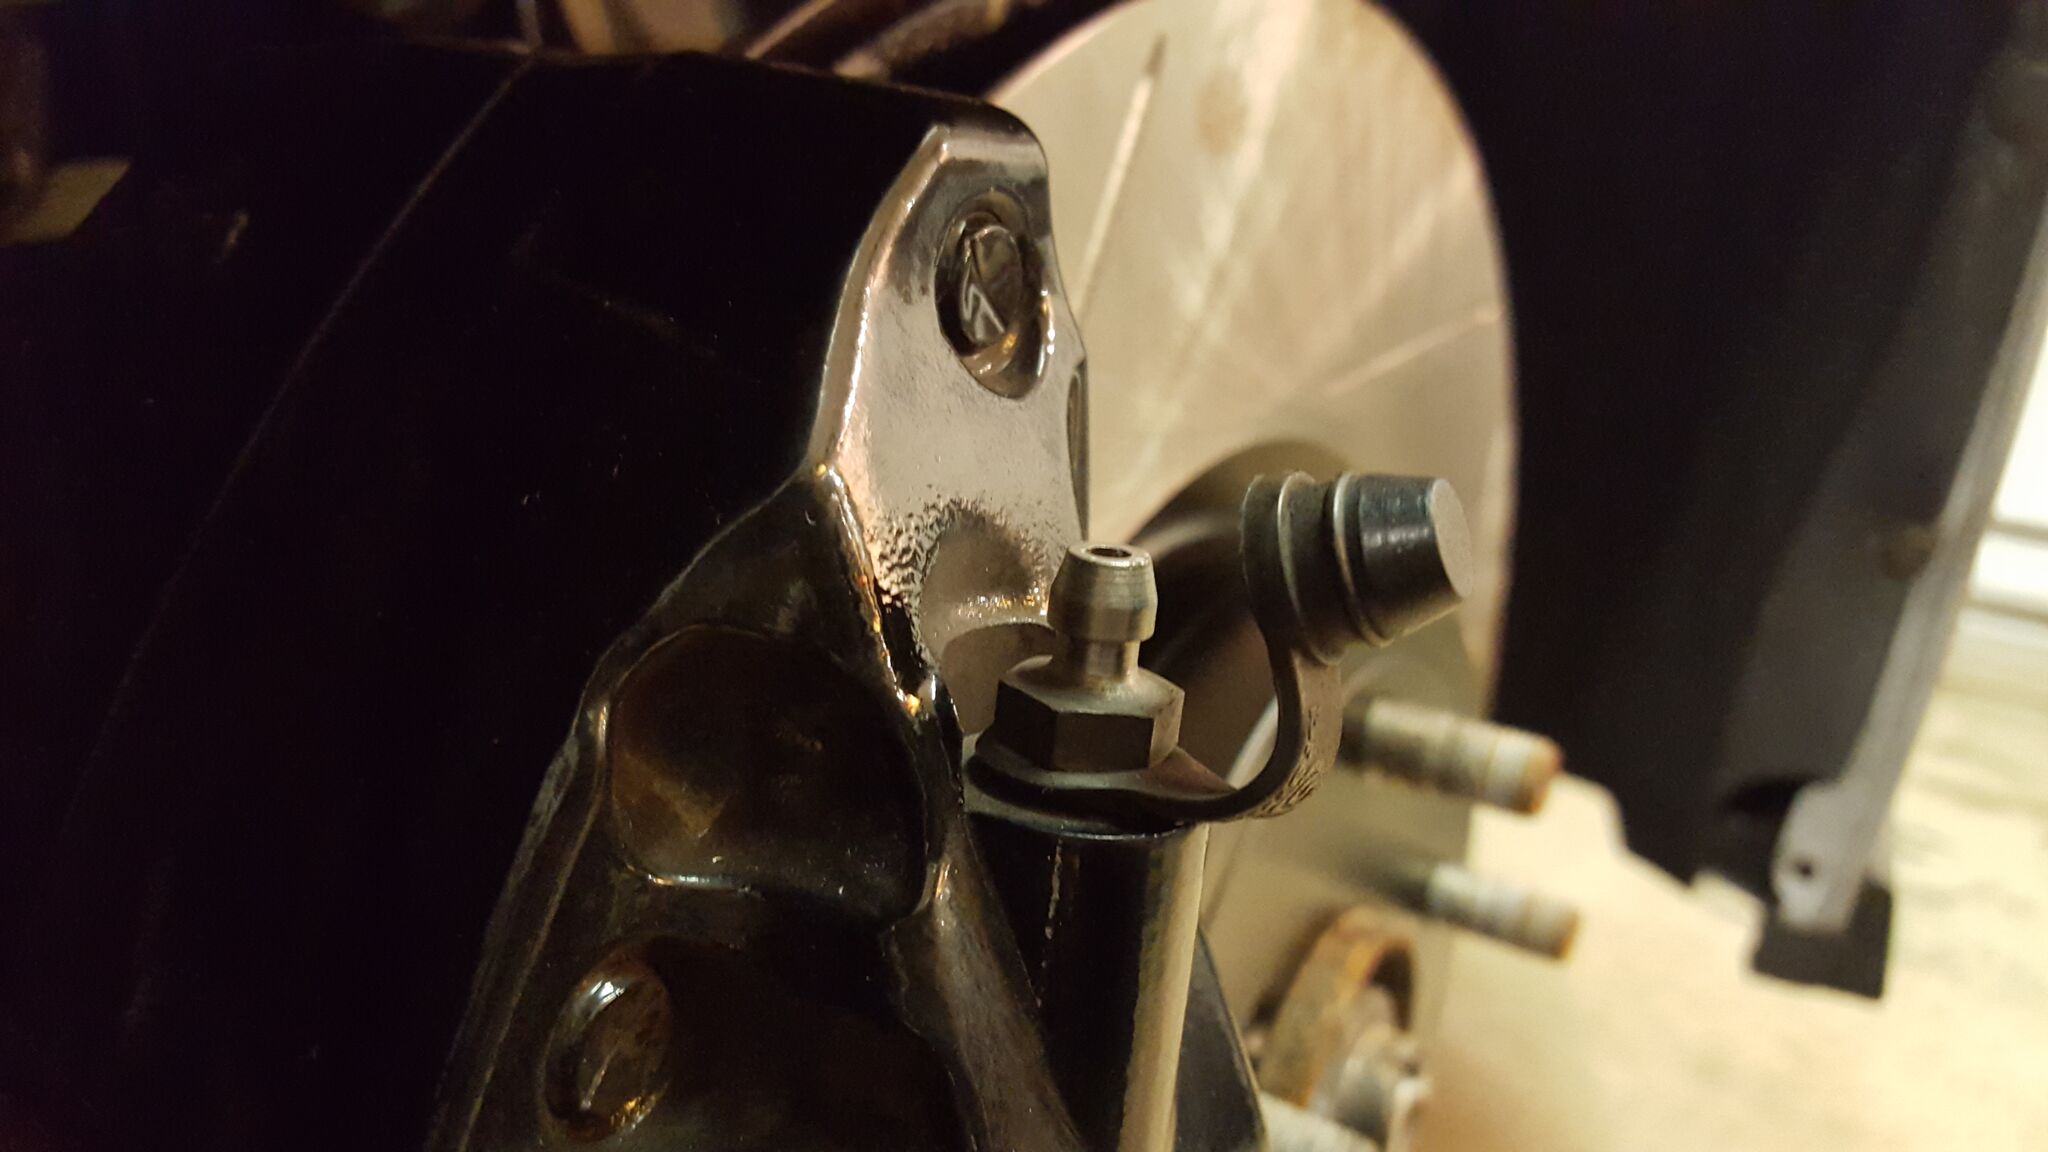
New fluid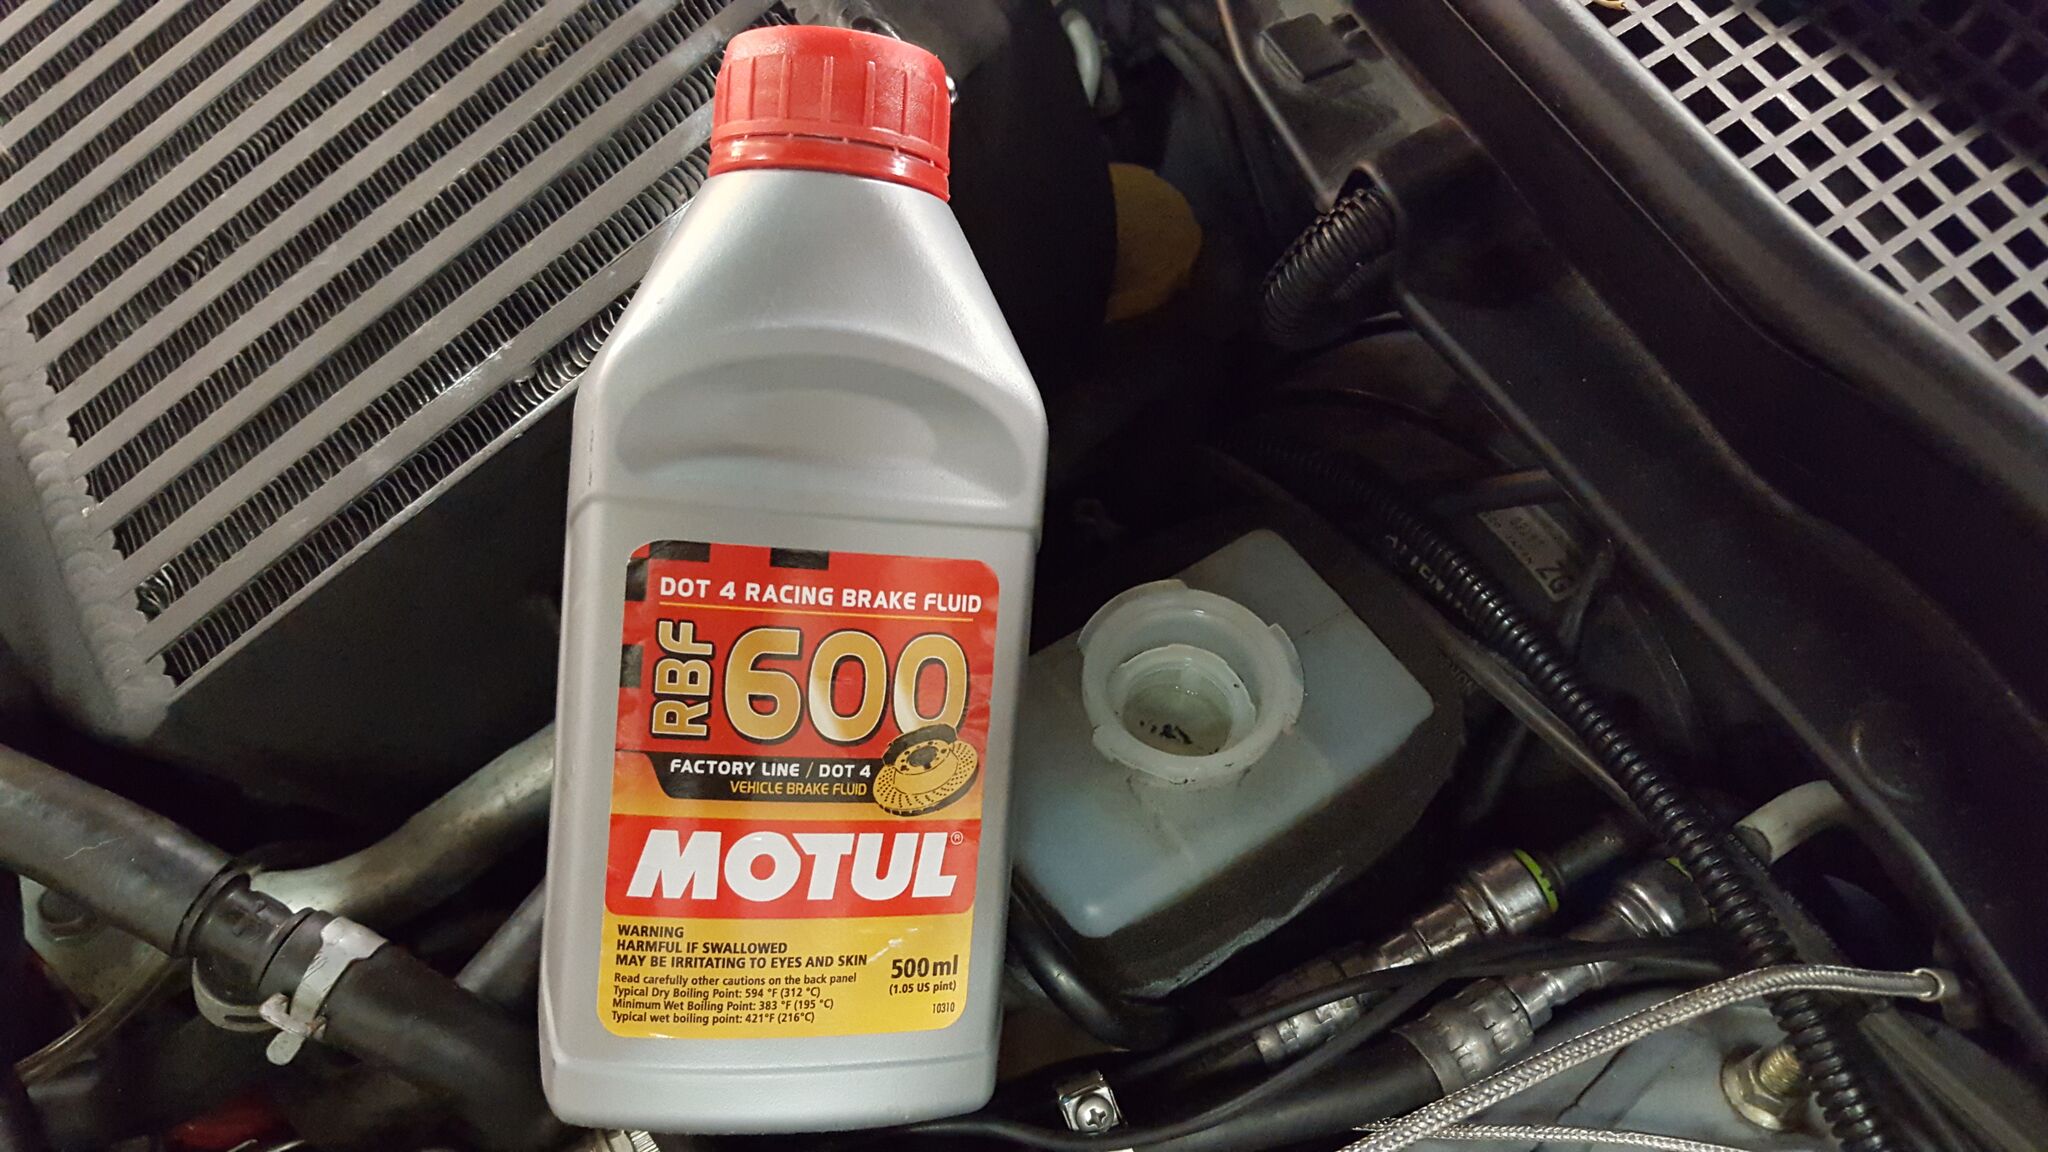
and brakes are done.
Next was the steering rack bushings. Here is the bushings laid out with the instructions.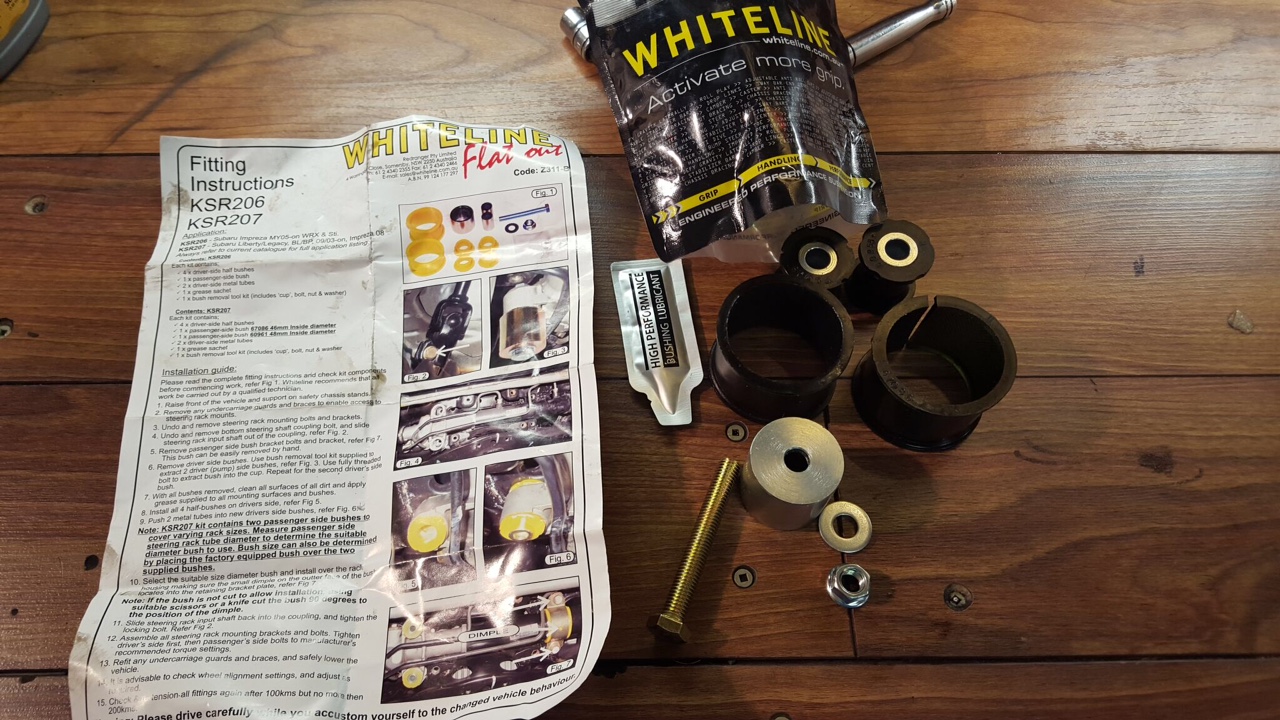
Closer shot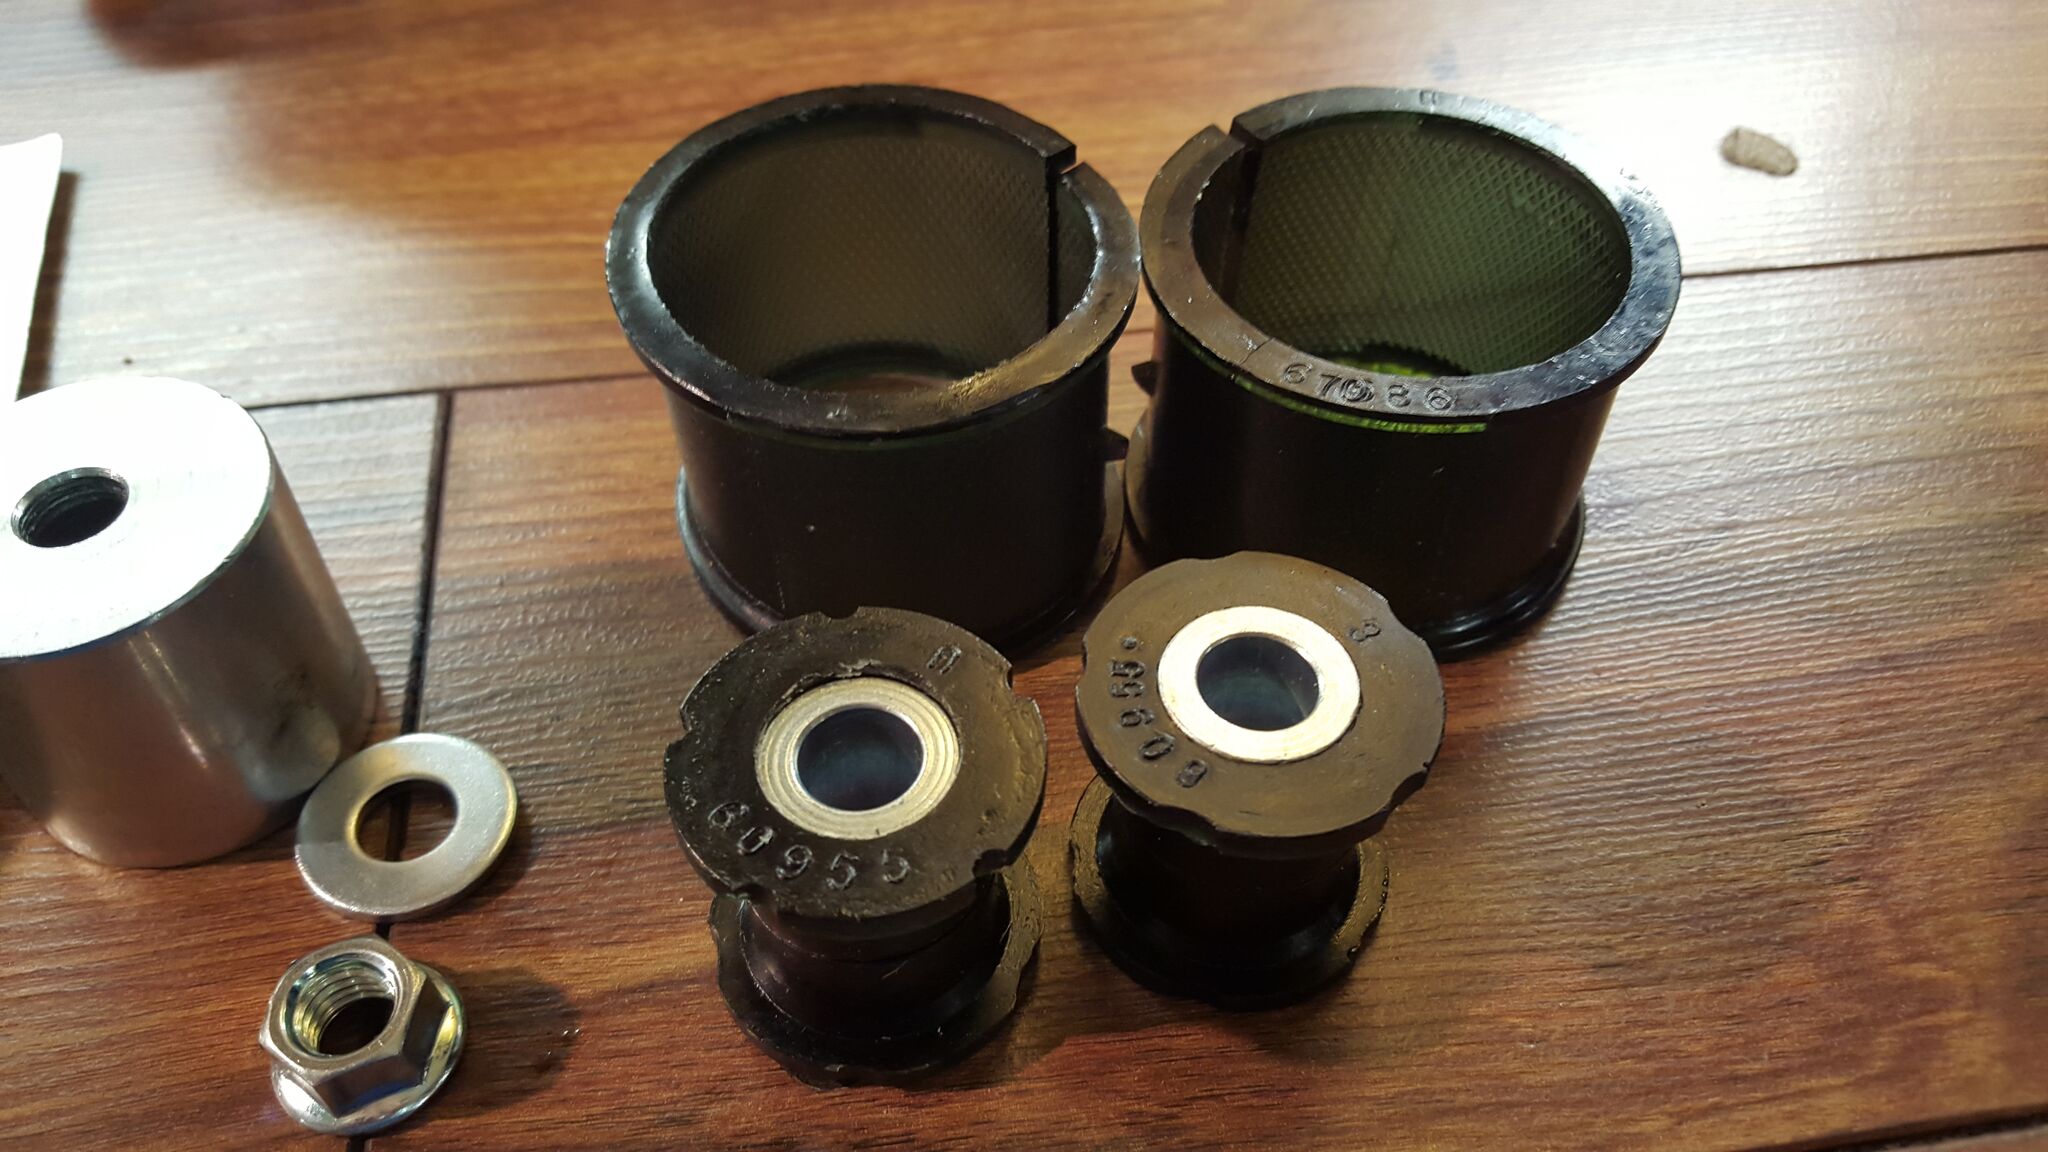
Some shots during install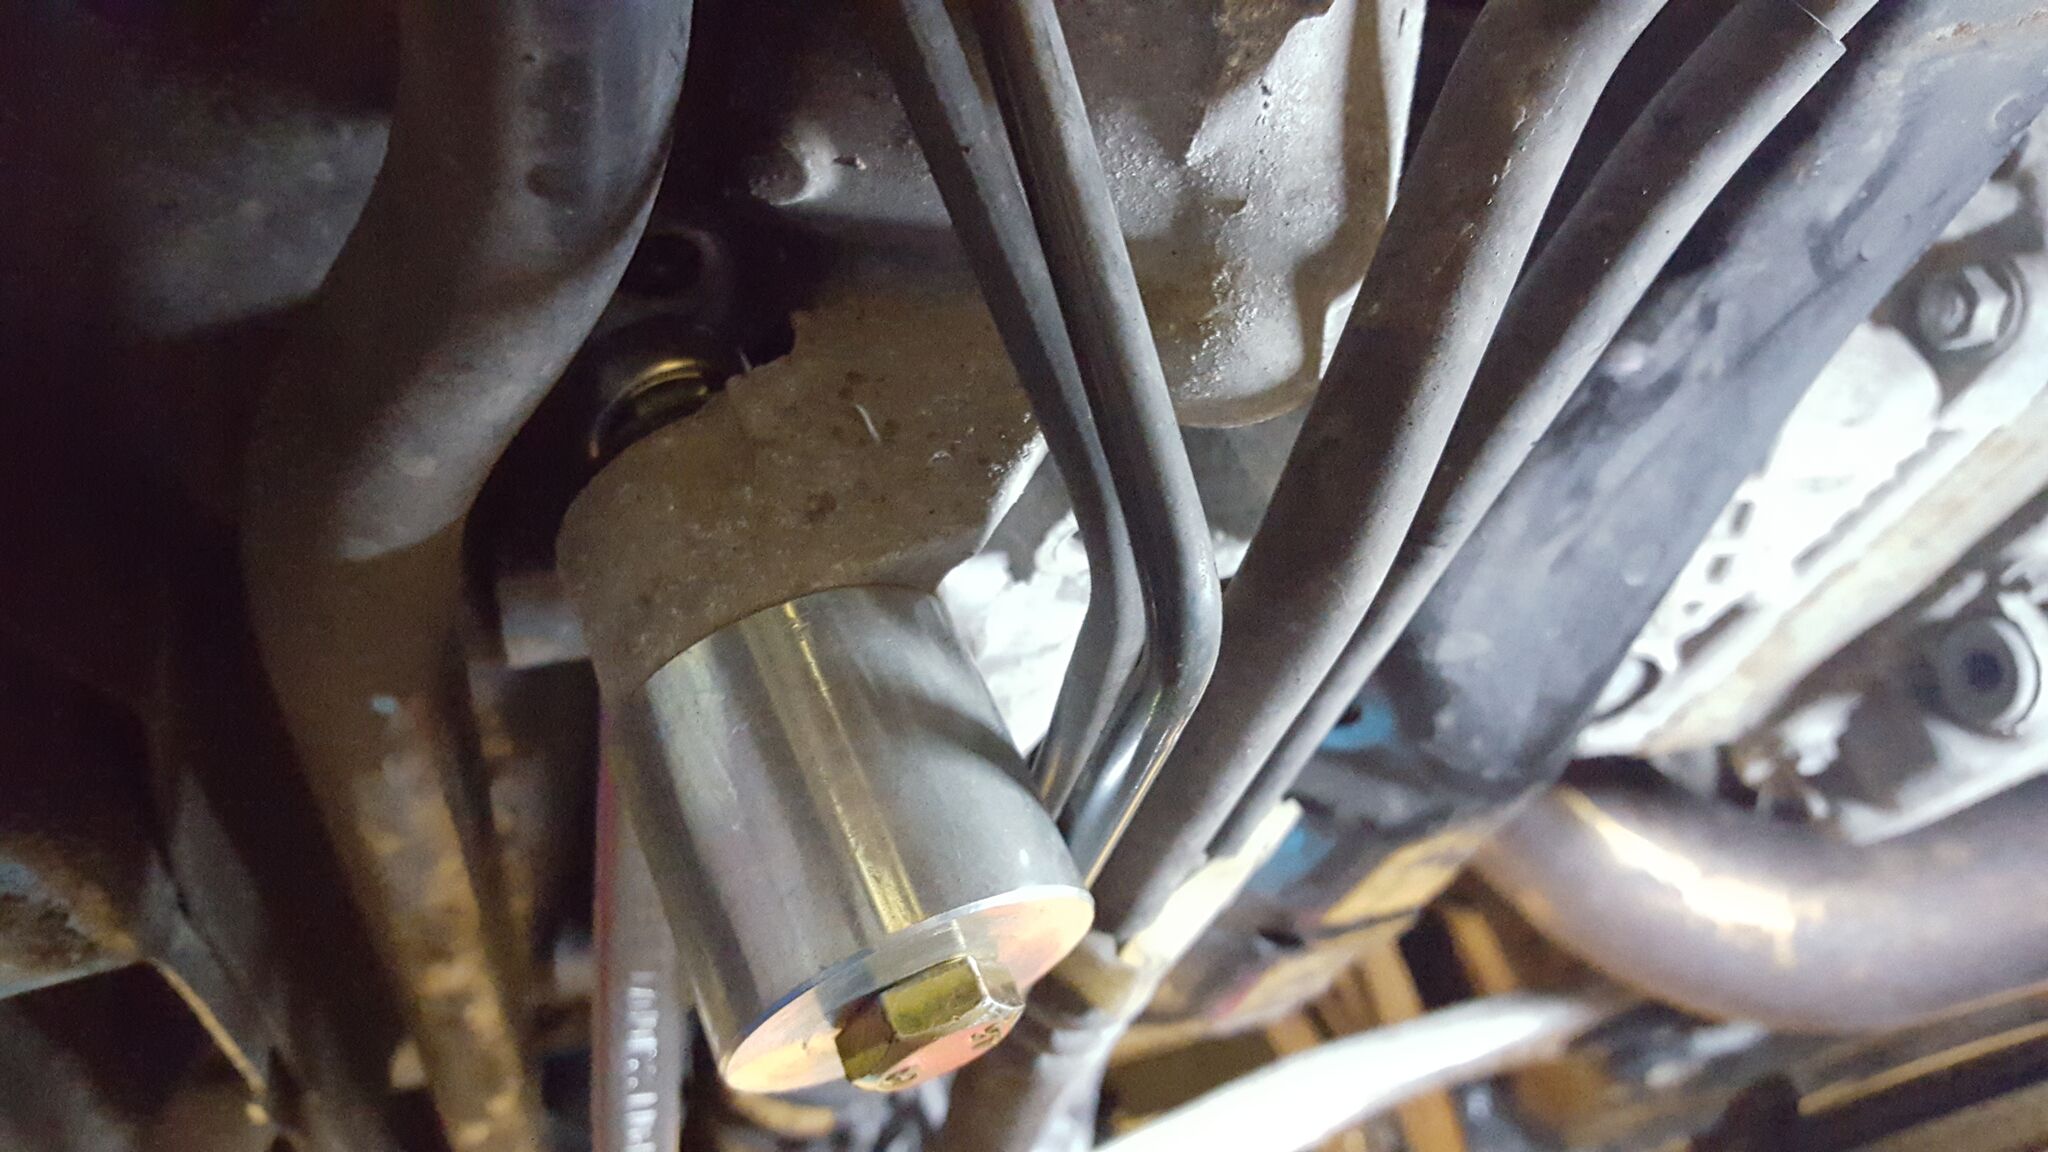
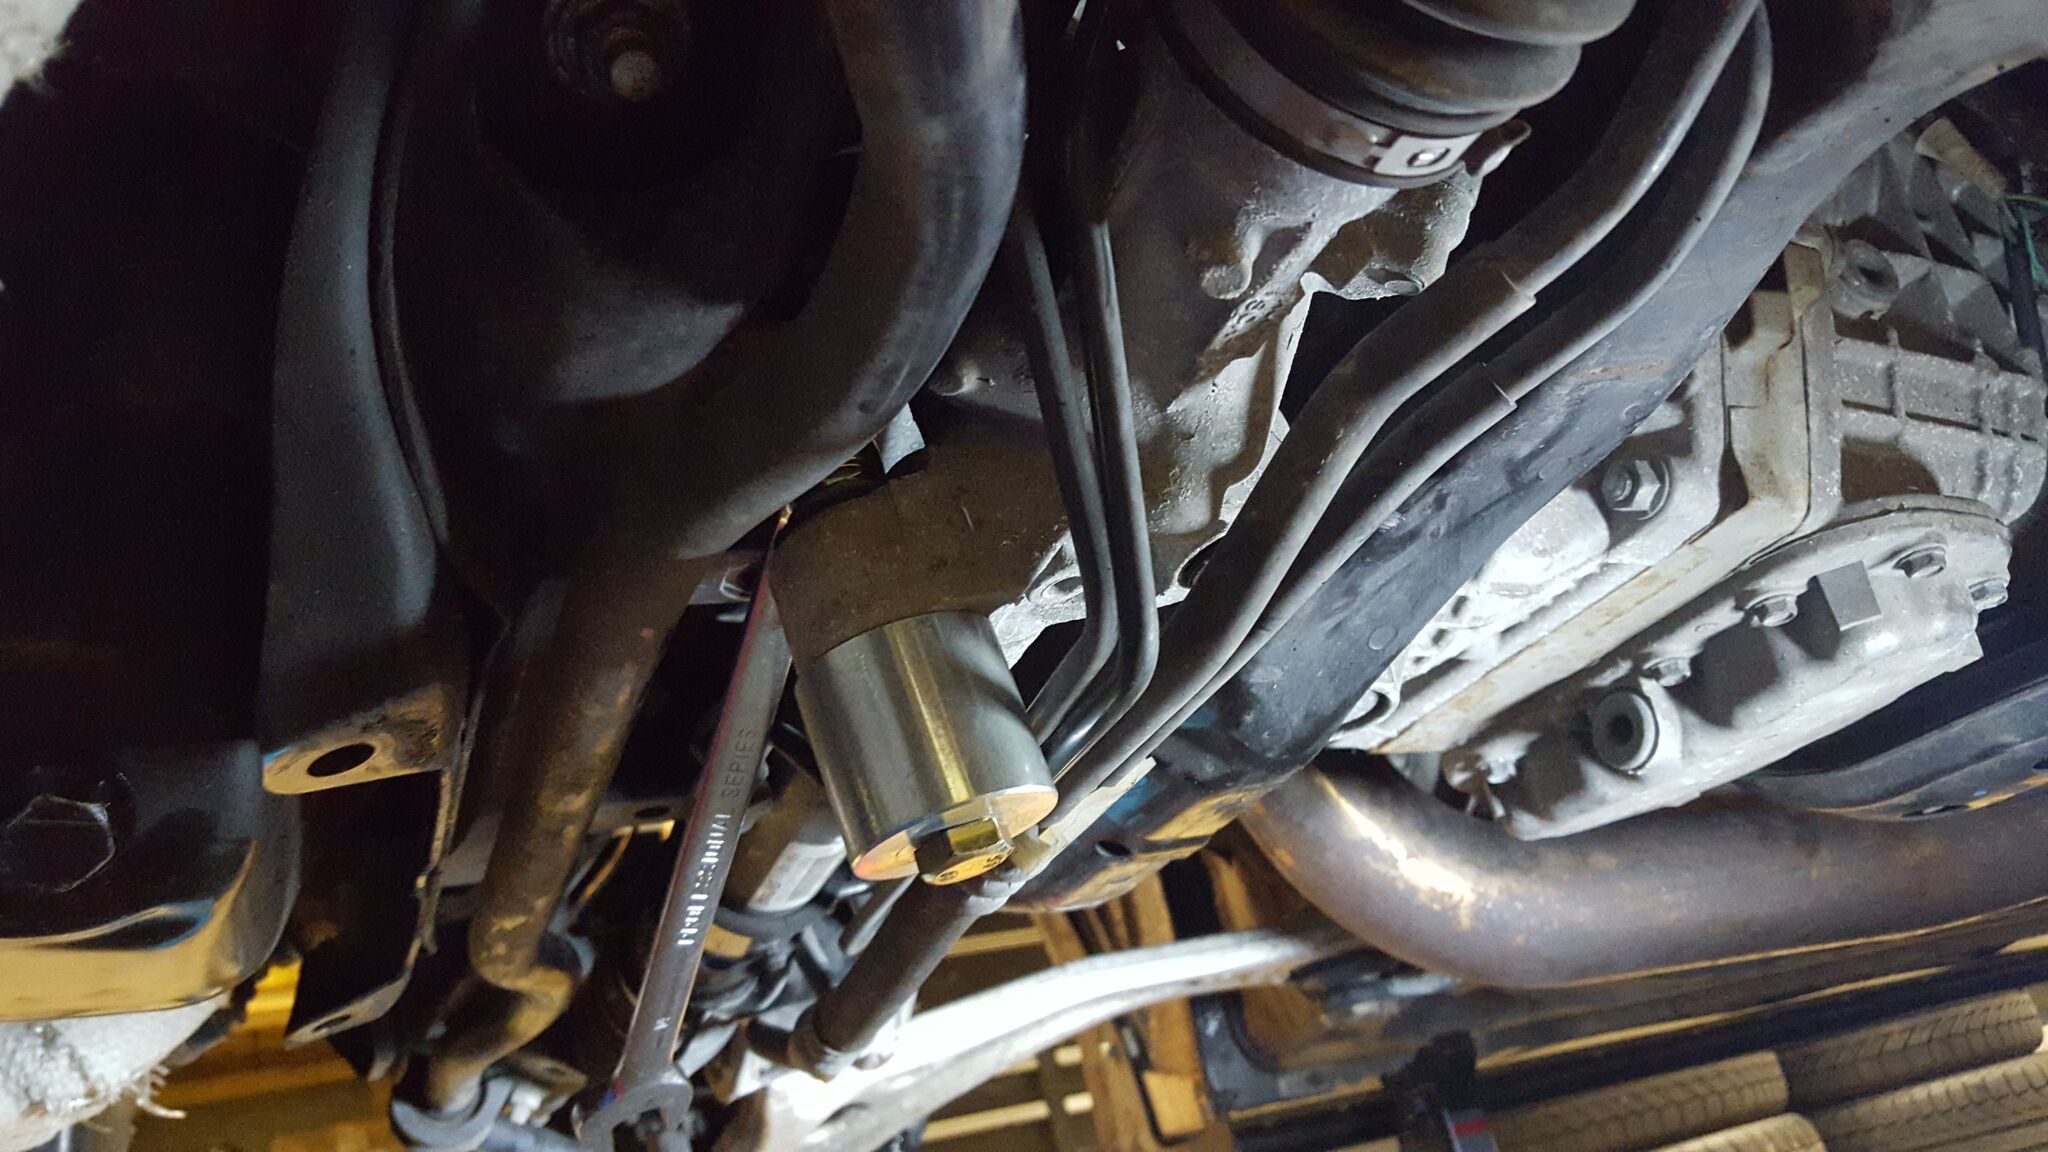
Taking the old bushings out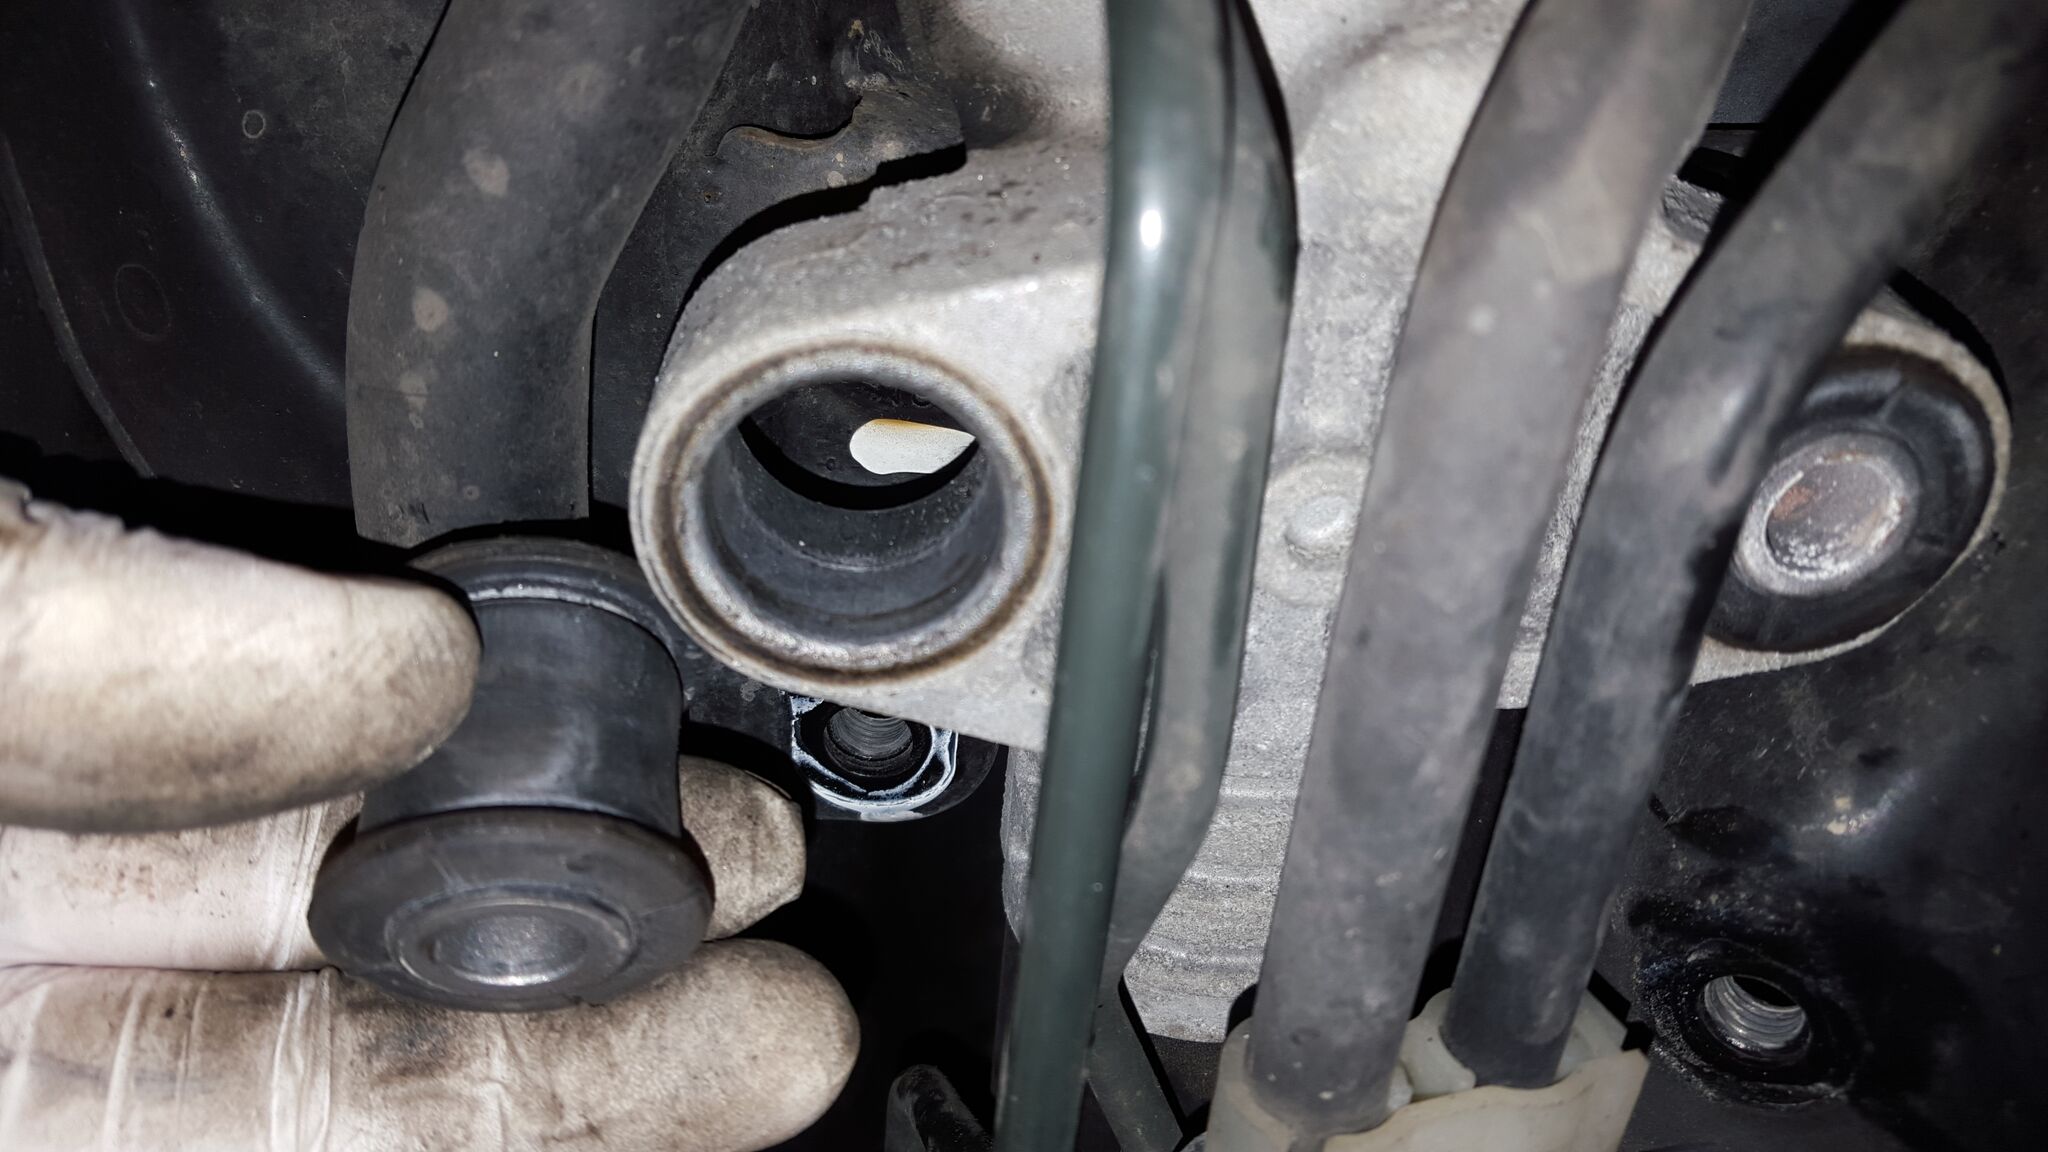
and the new ones back in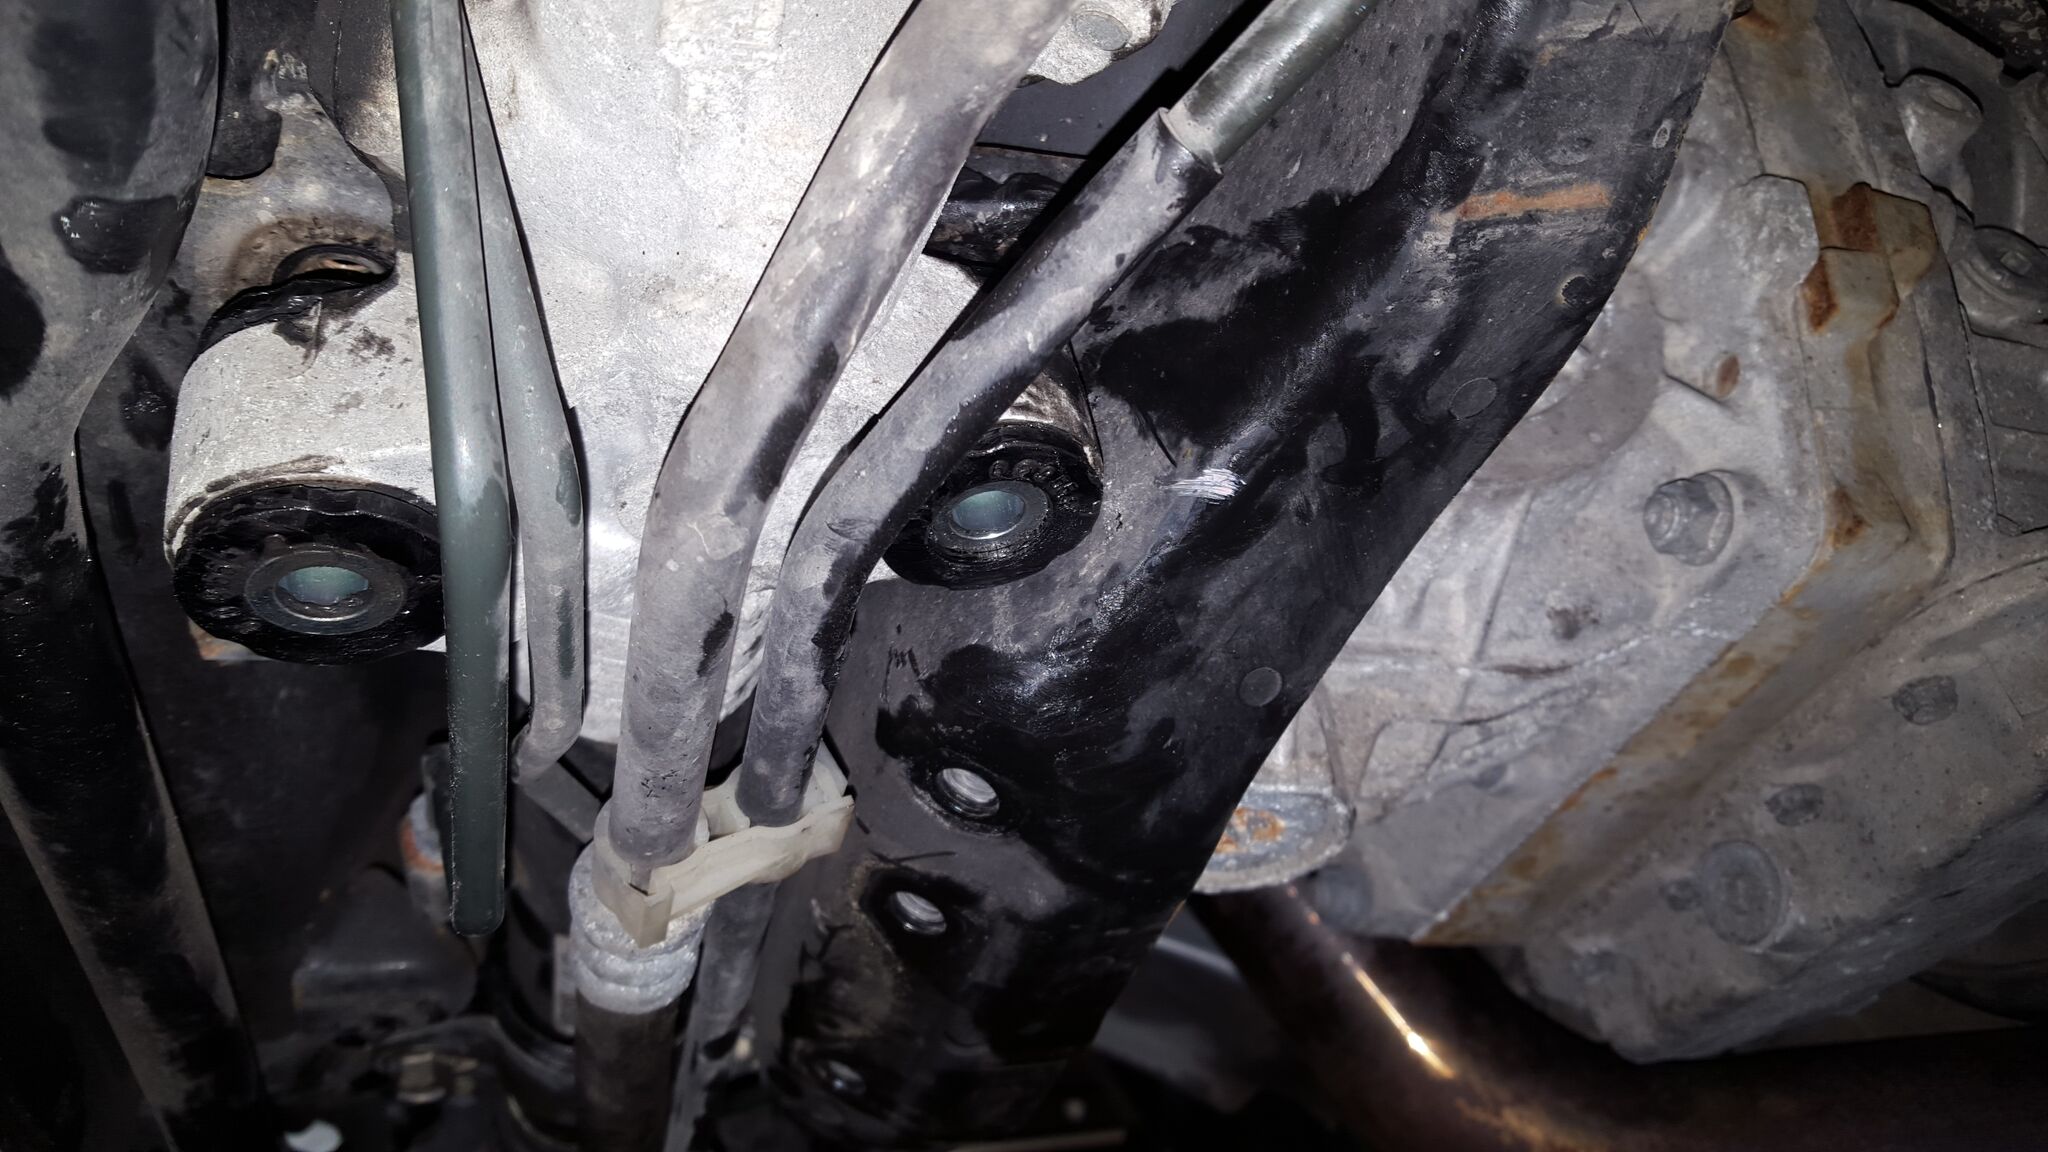
this is the rear diff bracket. a press is used to get this bushings in and out so bringing it to a shop tomorrow to get that done.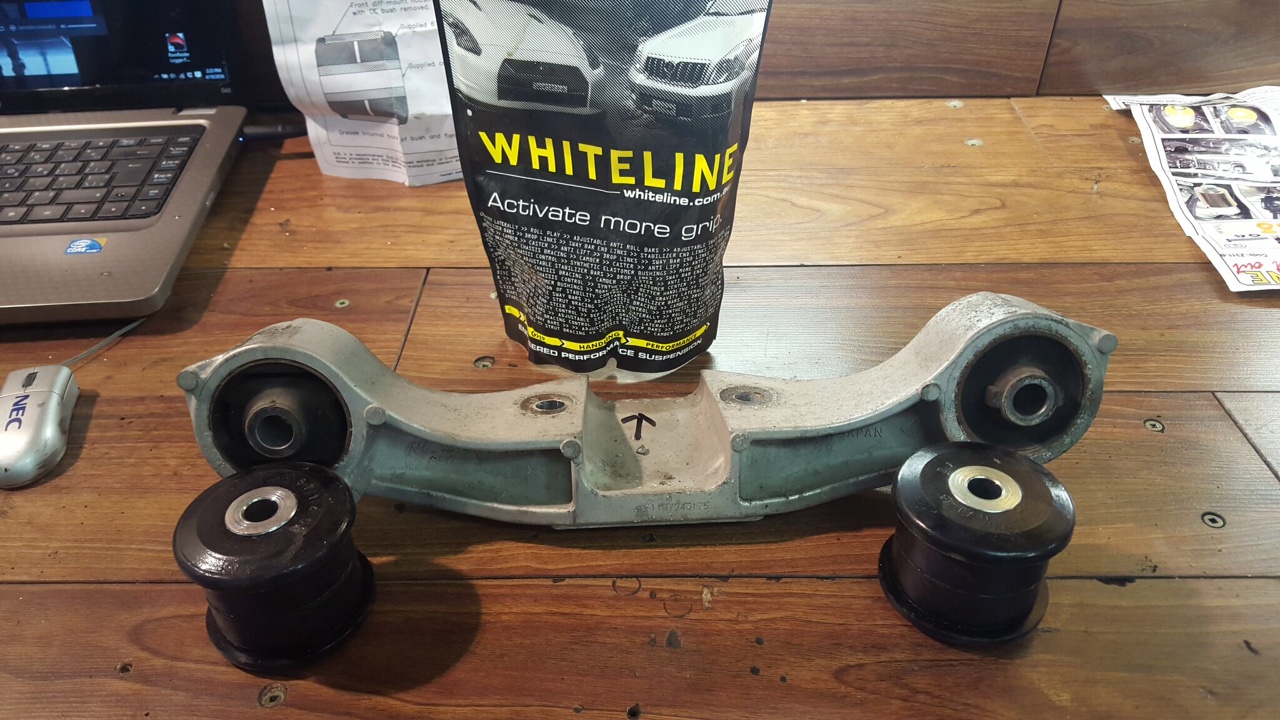
Some other things we got done was the headlights are removed, truck liner is out and the centre console is out. Ill be doing some little projects with that this week and will have updates as I go of course.
4-15-2016
Ok guys and gals got some more updates here that ive done while I was off work.
So first we got the centre caps put in the 57dr and and hub centric rings in the wheels and mounted the wheels back up and lowered the car.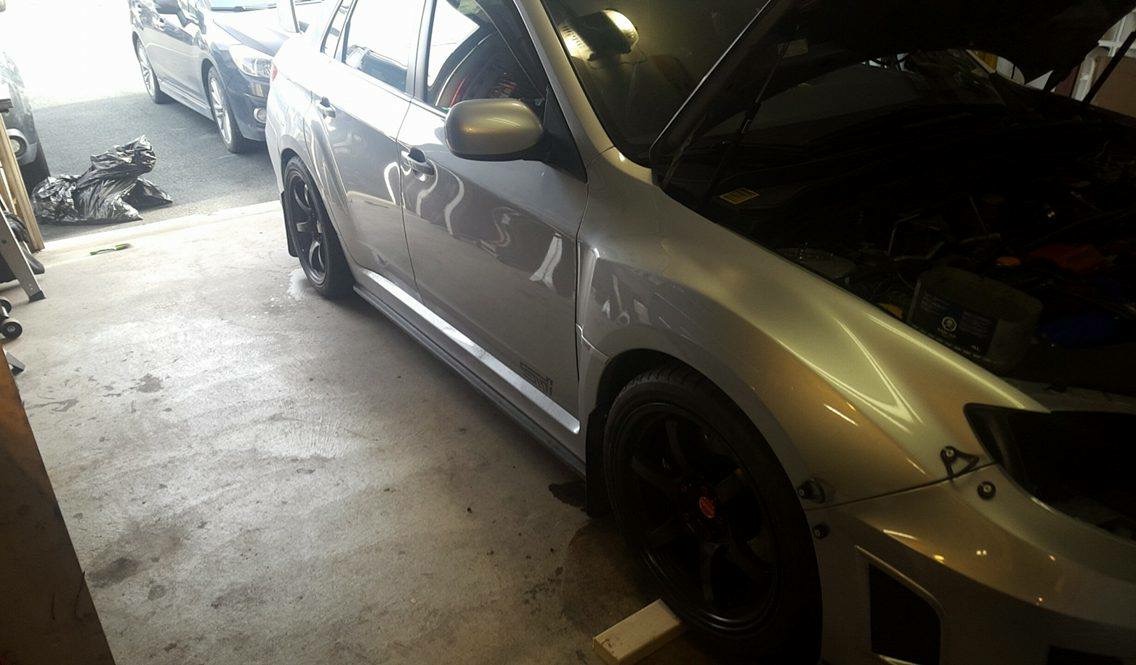
We had taken the headlights out along with the centre console and trunk liner. Next was to finish the rear diff bushings. So we used a press to get the bushings out.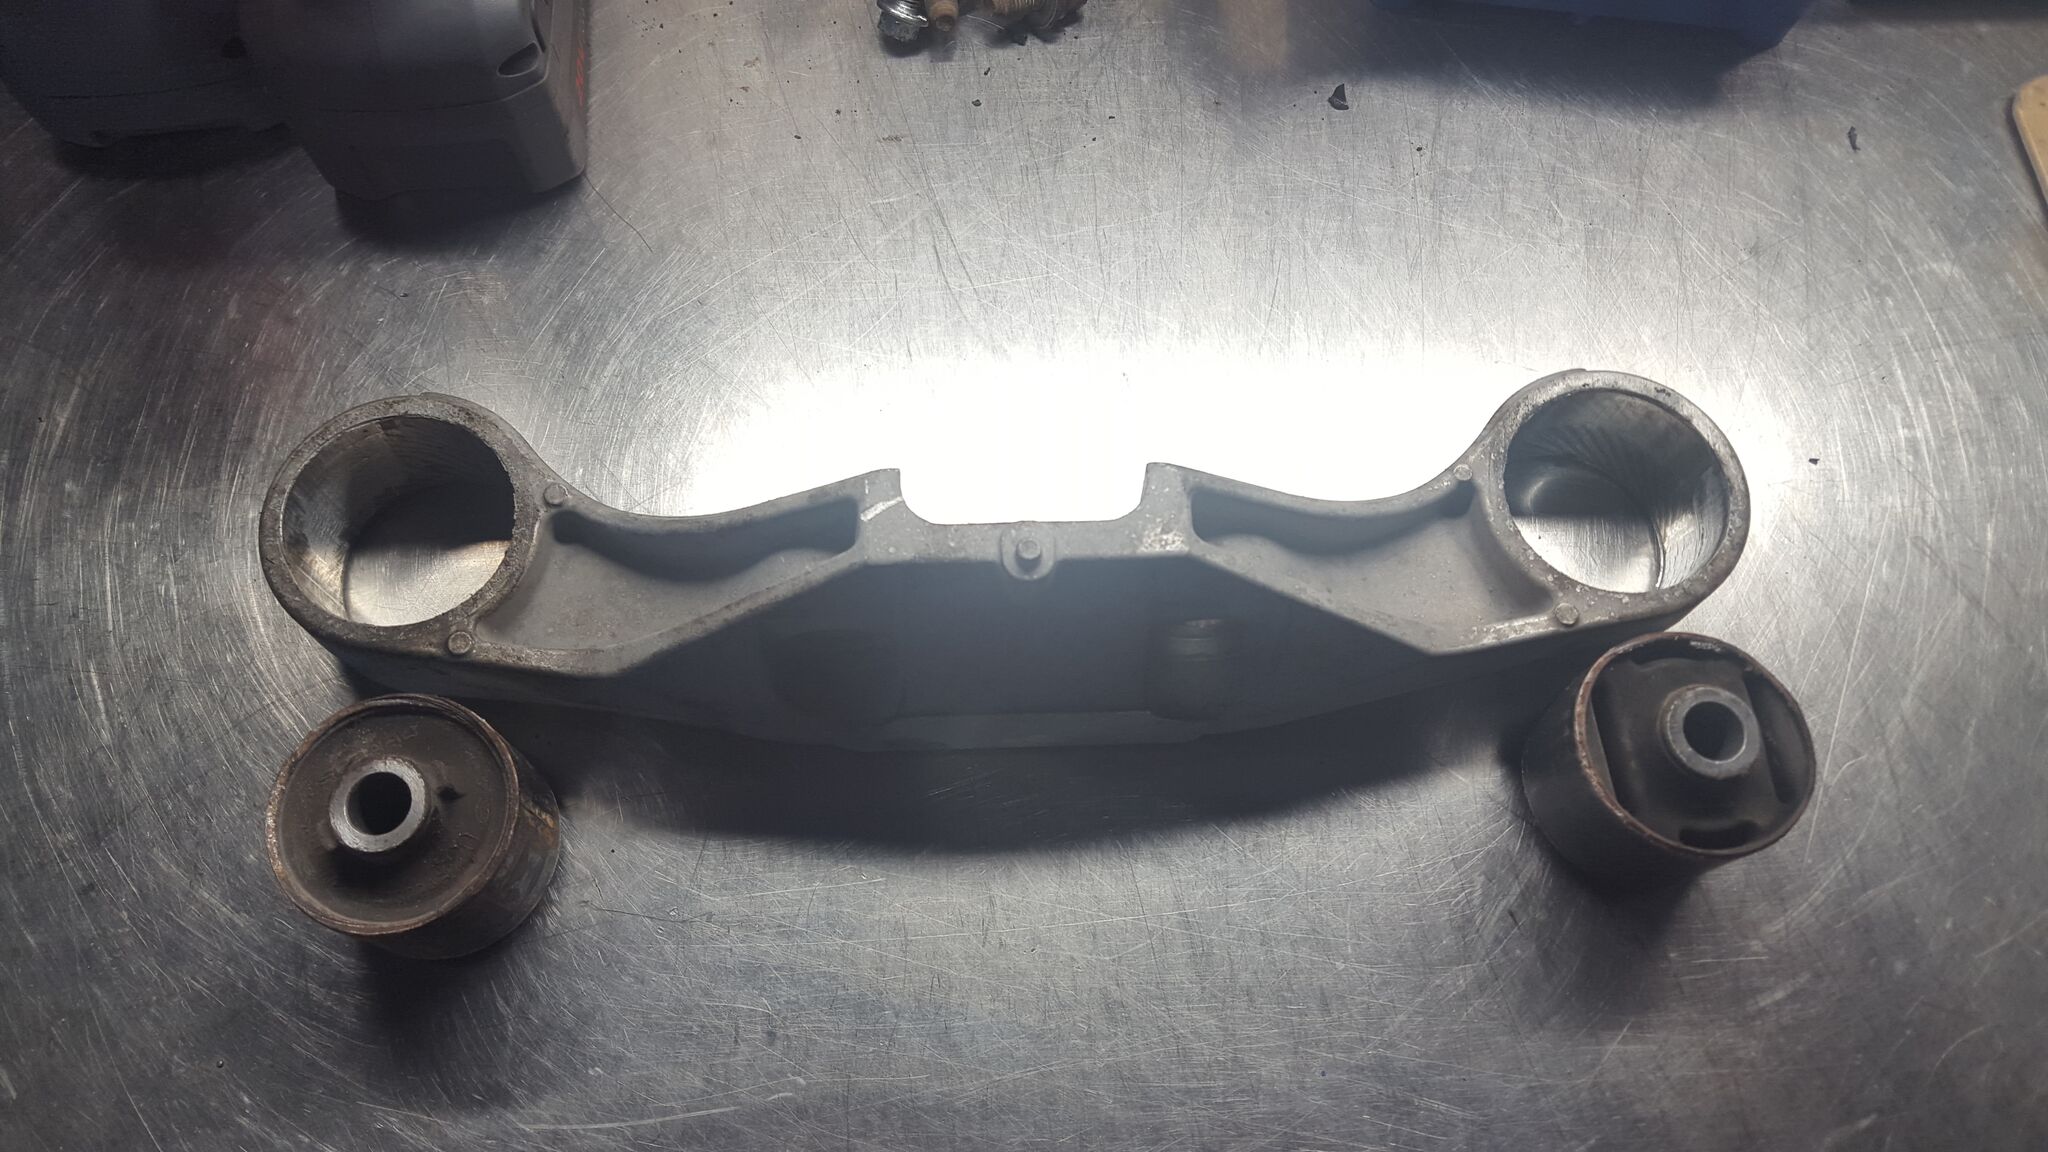
Here is a pic of the old vs new bushings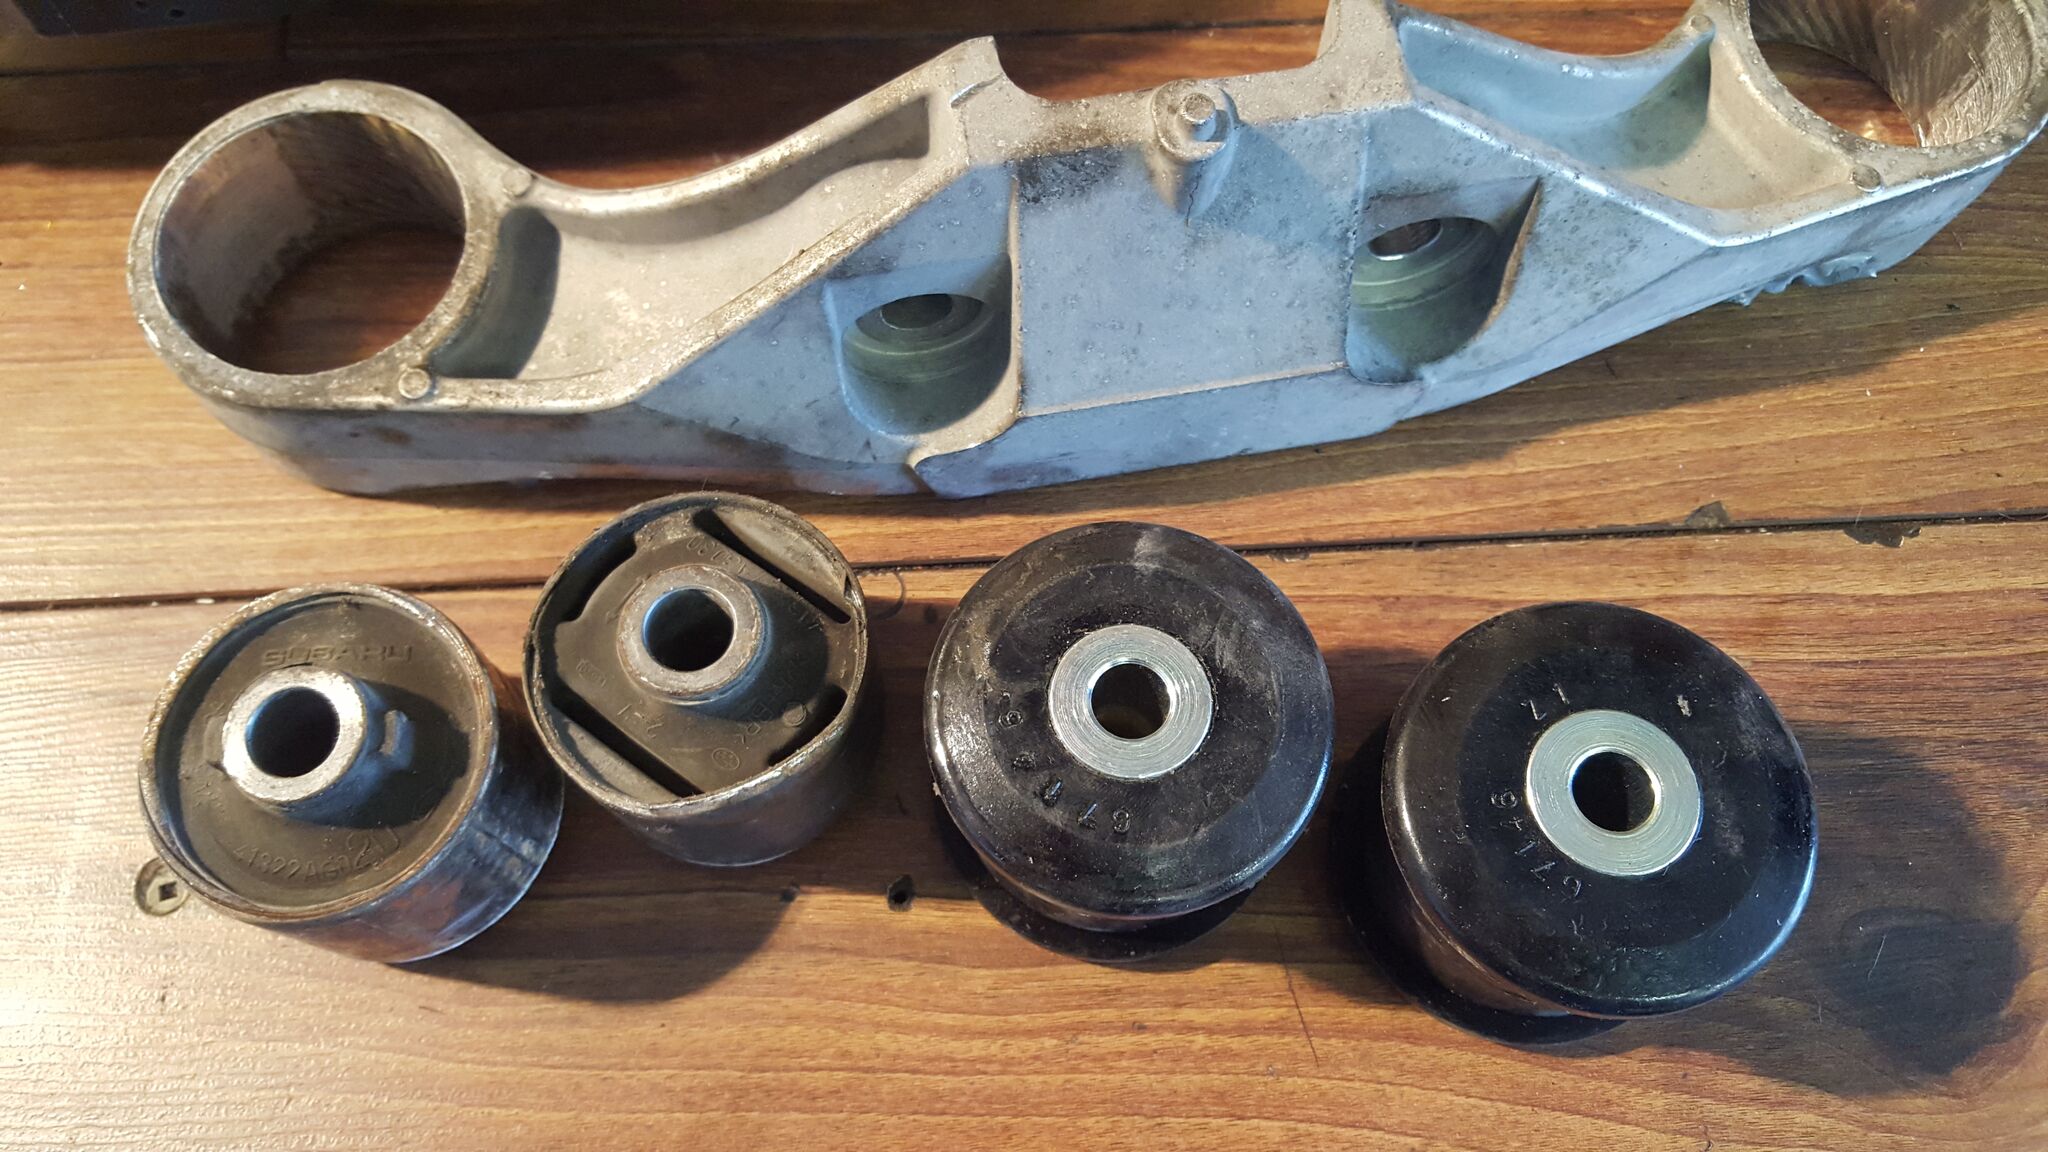
New bushings in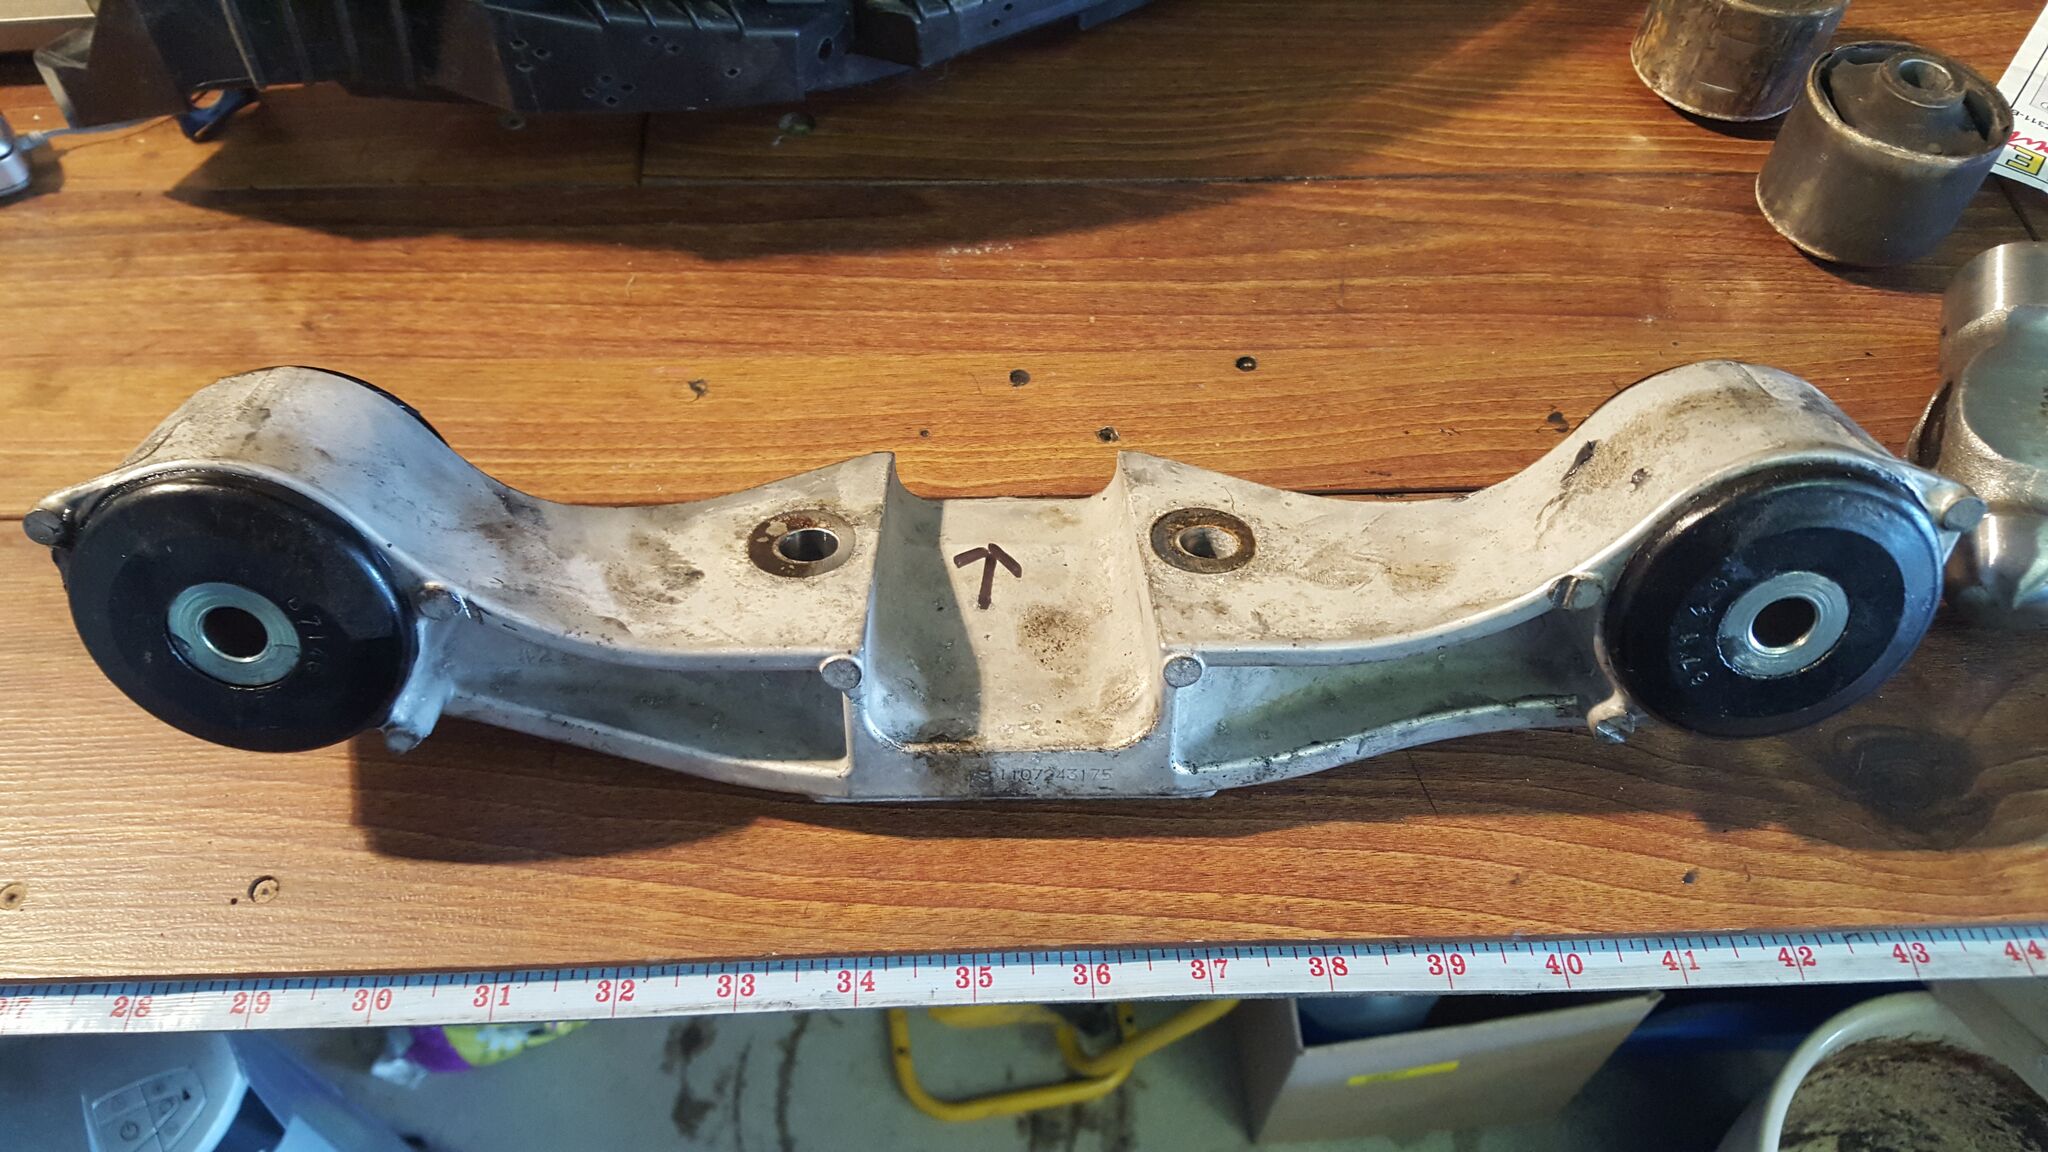
and rear diff mount bolted back up in place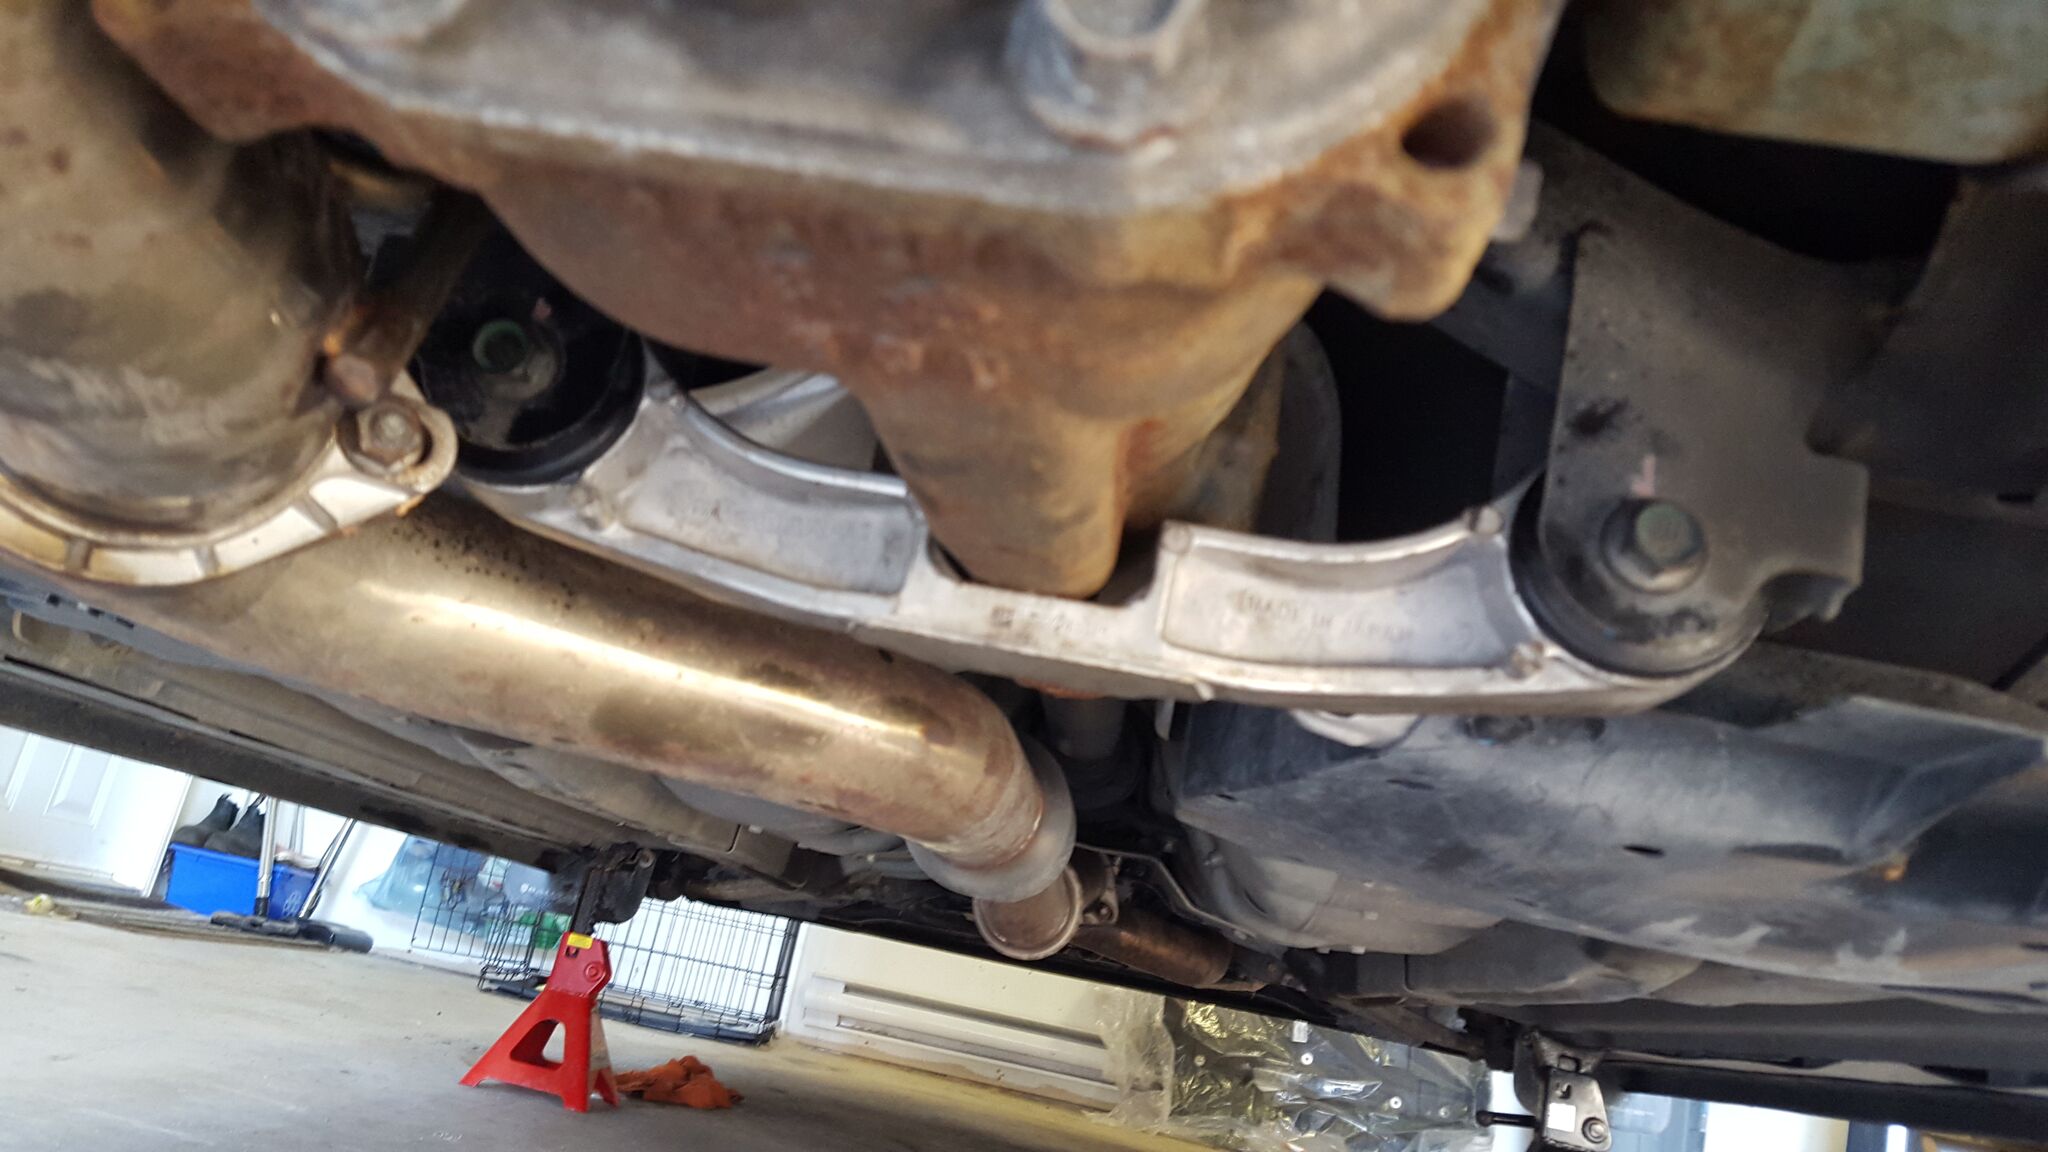
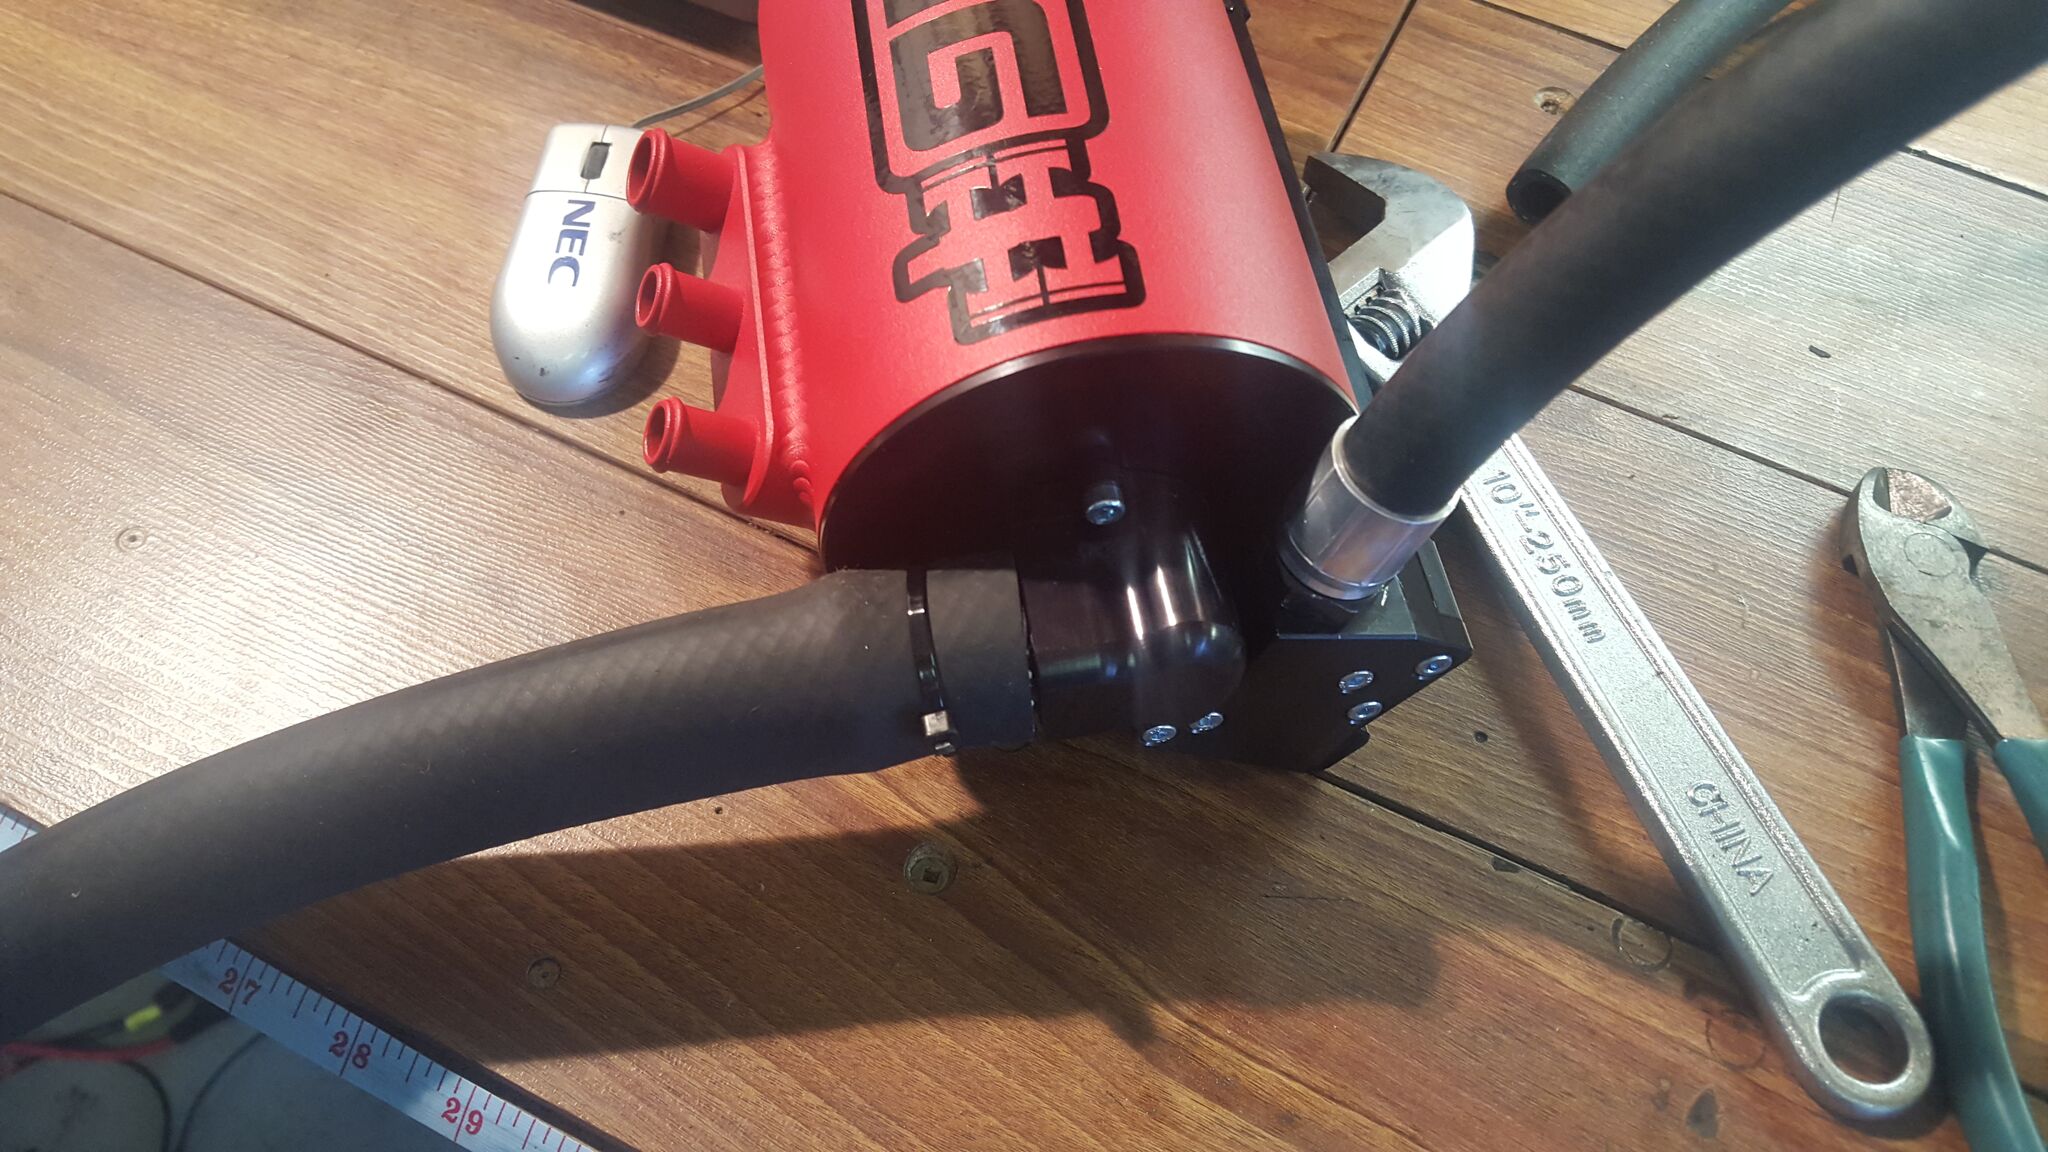
Next was a start on the IAG aos. Here is the AOS laid out. What a beautiful product. Instructions are excellent also.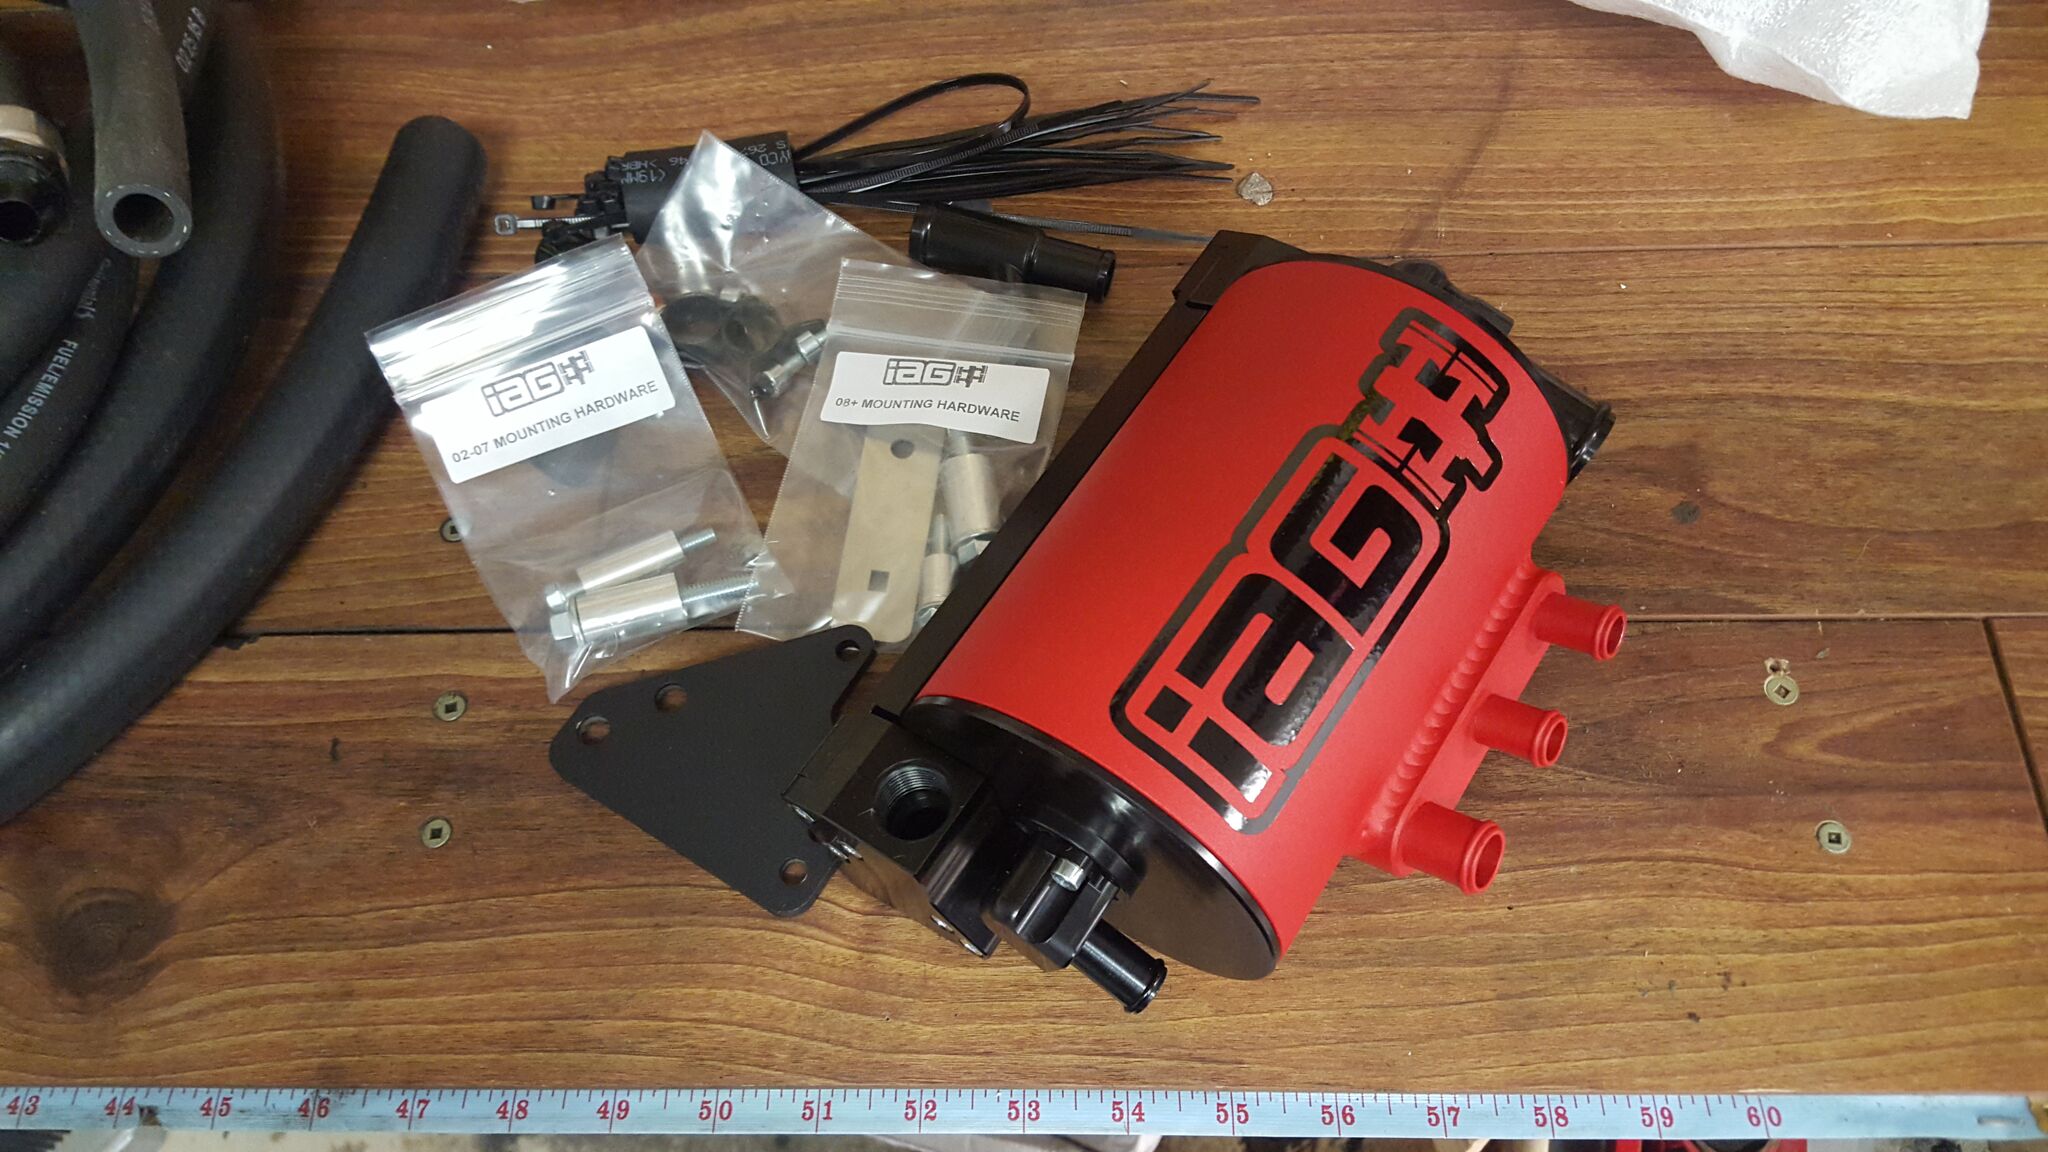
So first step is to remove the intercooler.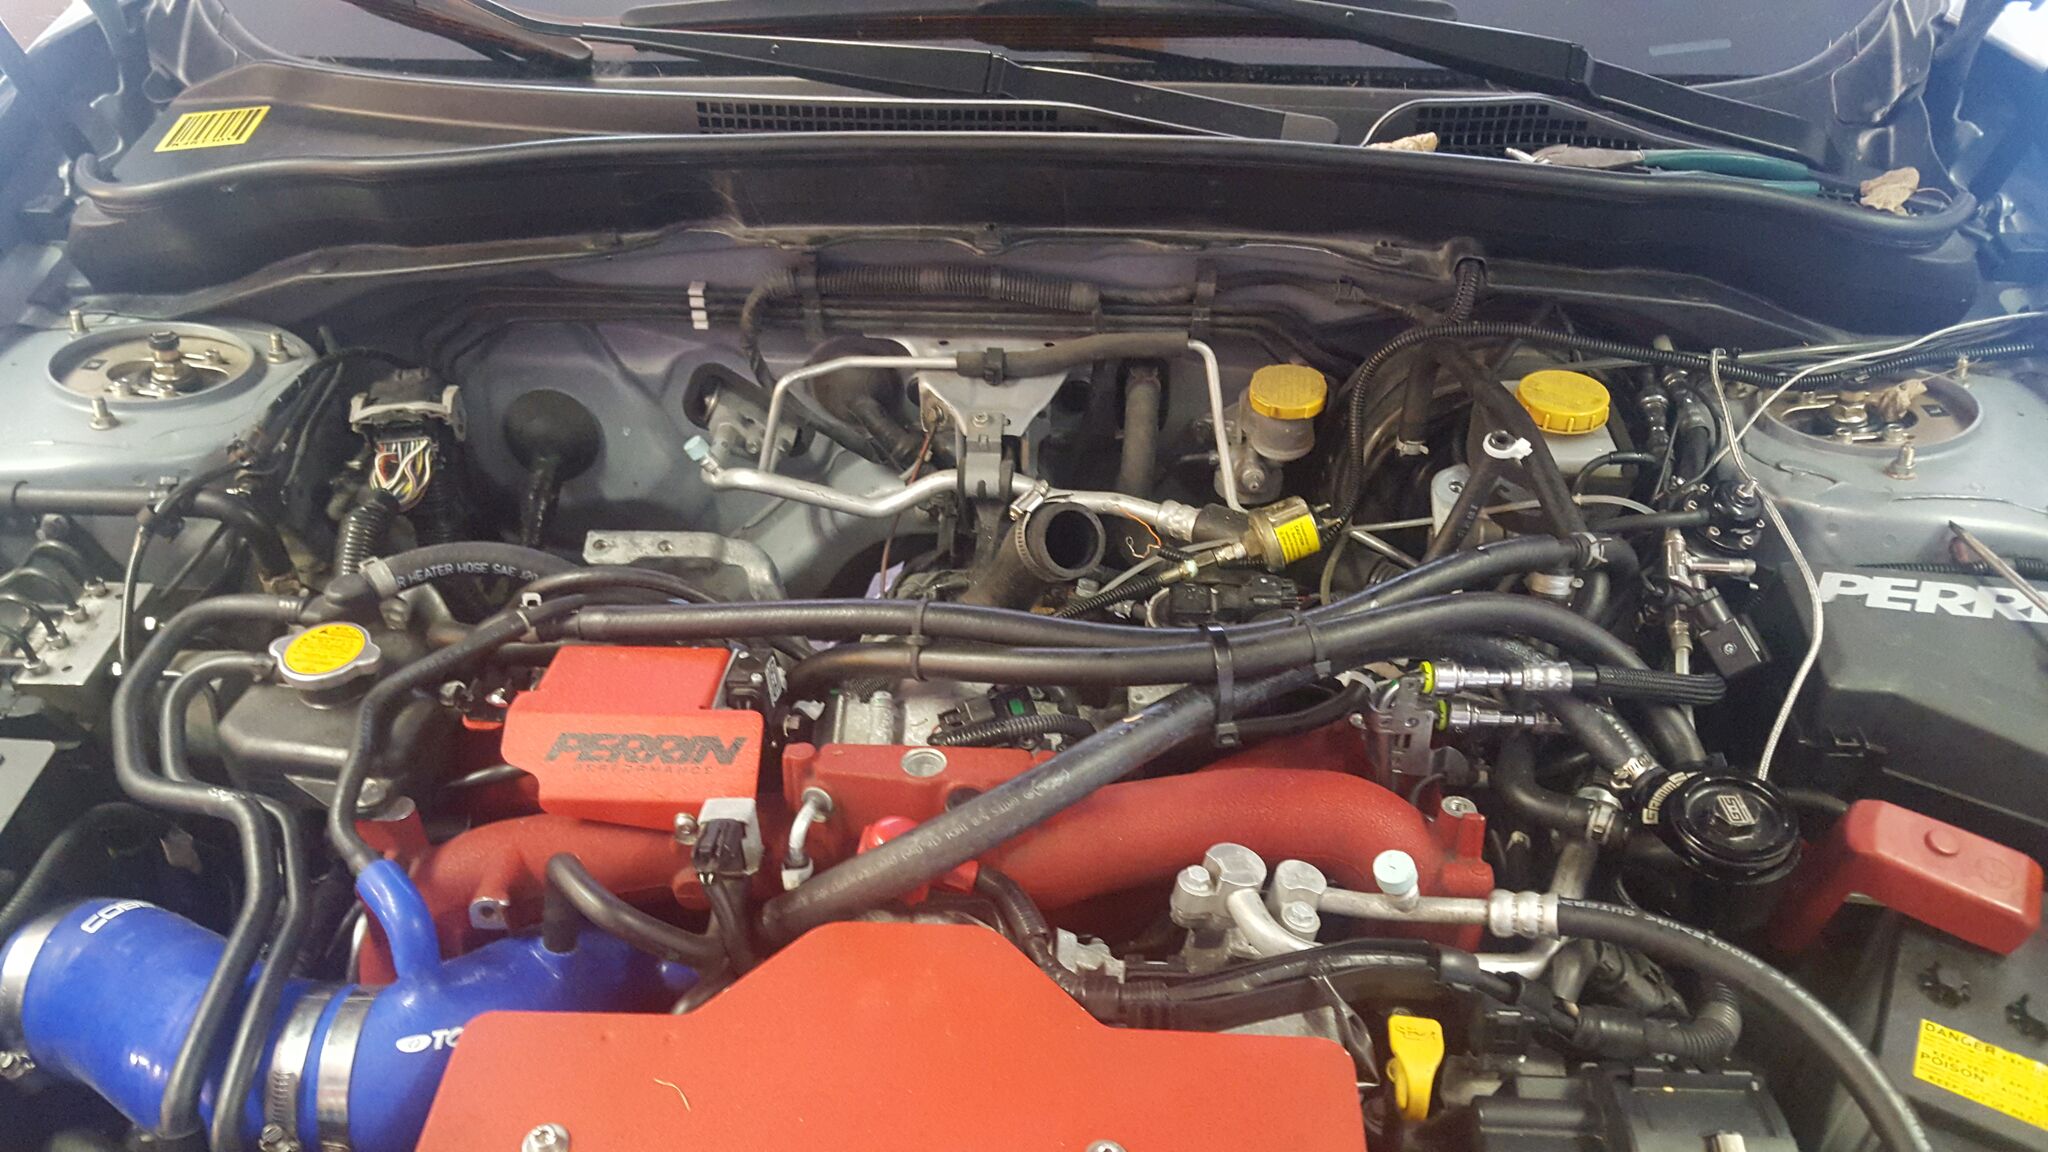
Next there is a line you have to disconnect underneath the overflow tank. Angled needle nose are awesome for this.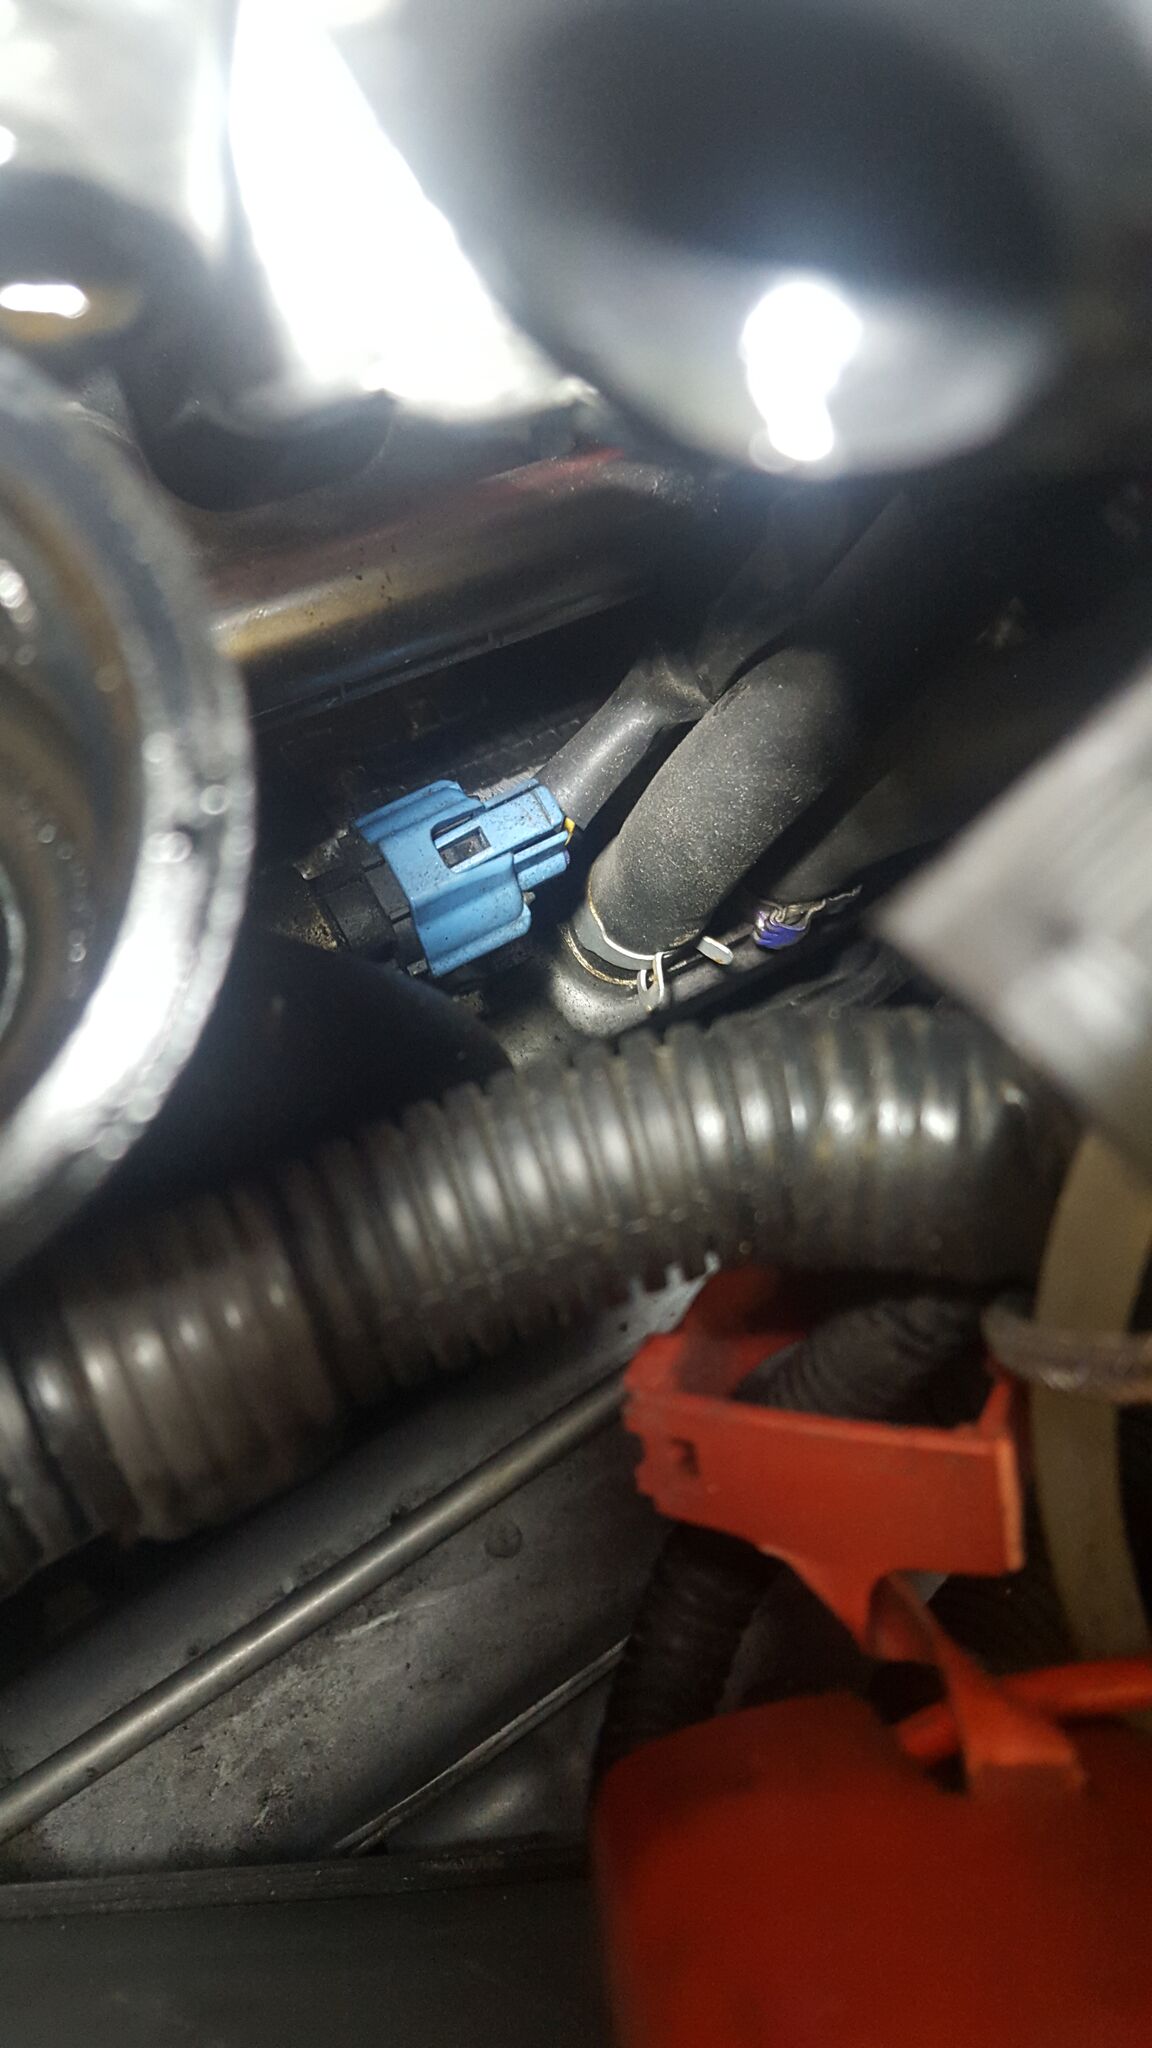
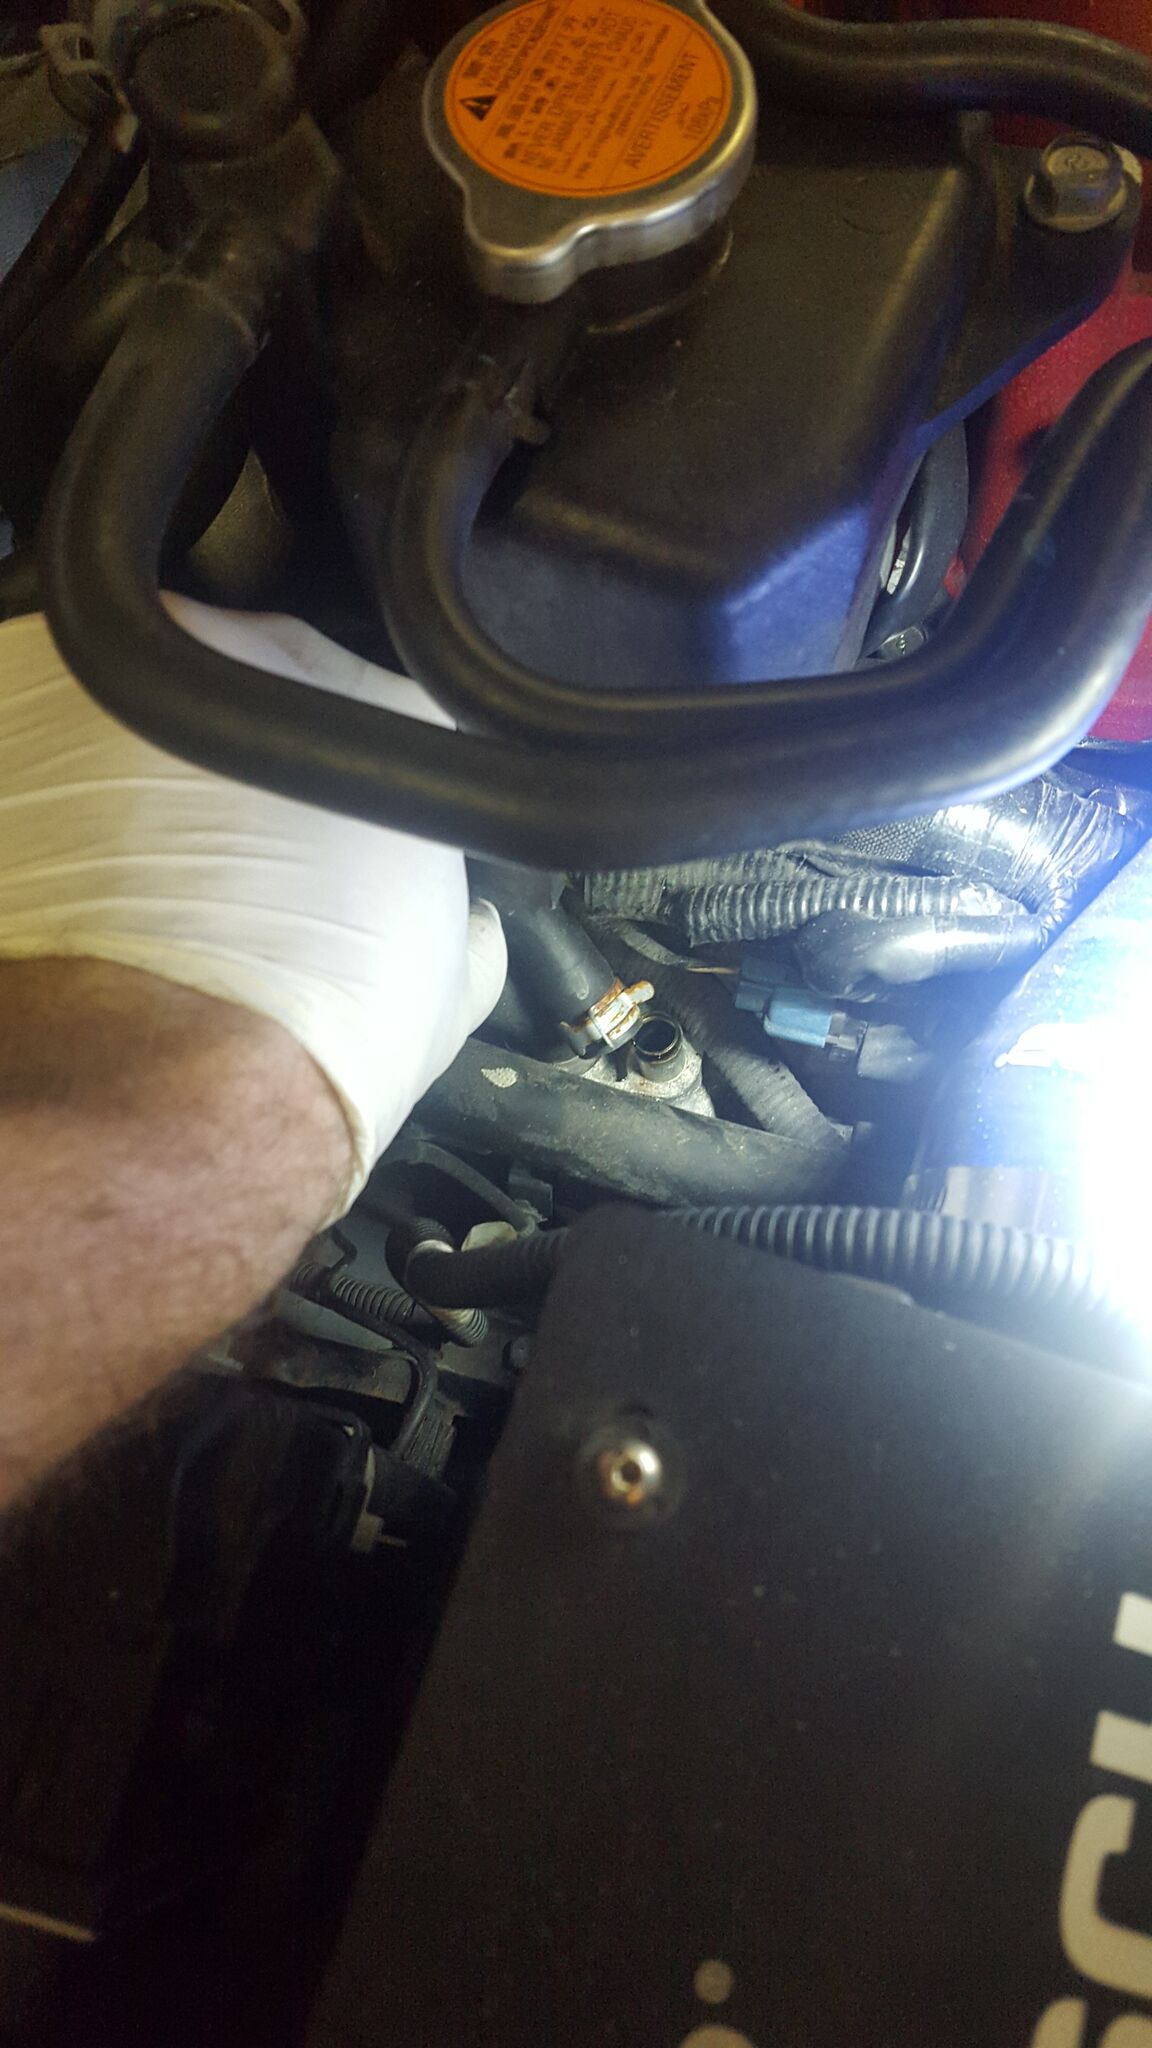
Next you locate and remove the PCV valve next to the turbo.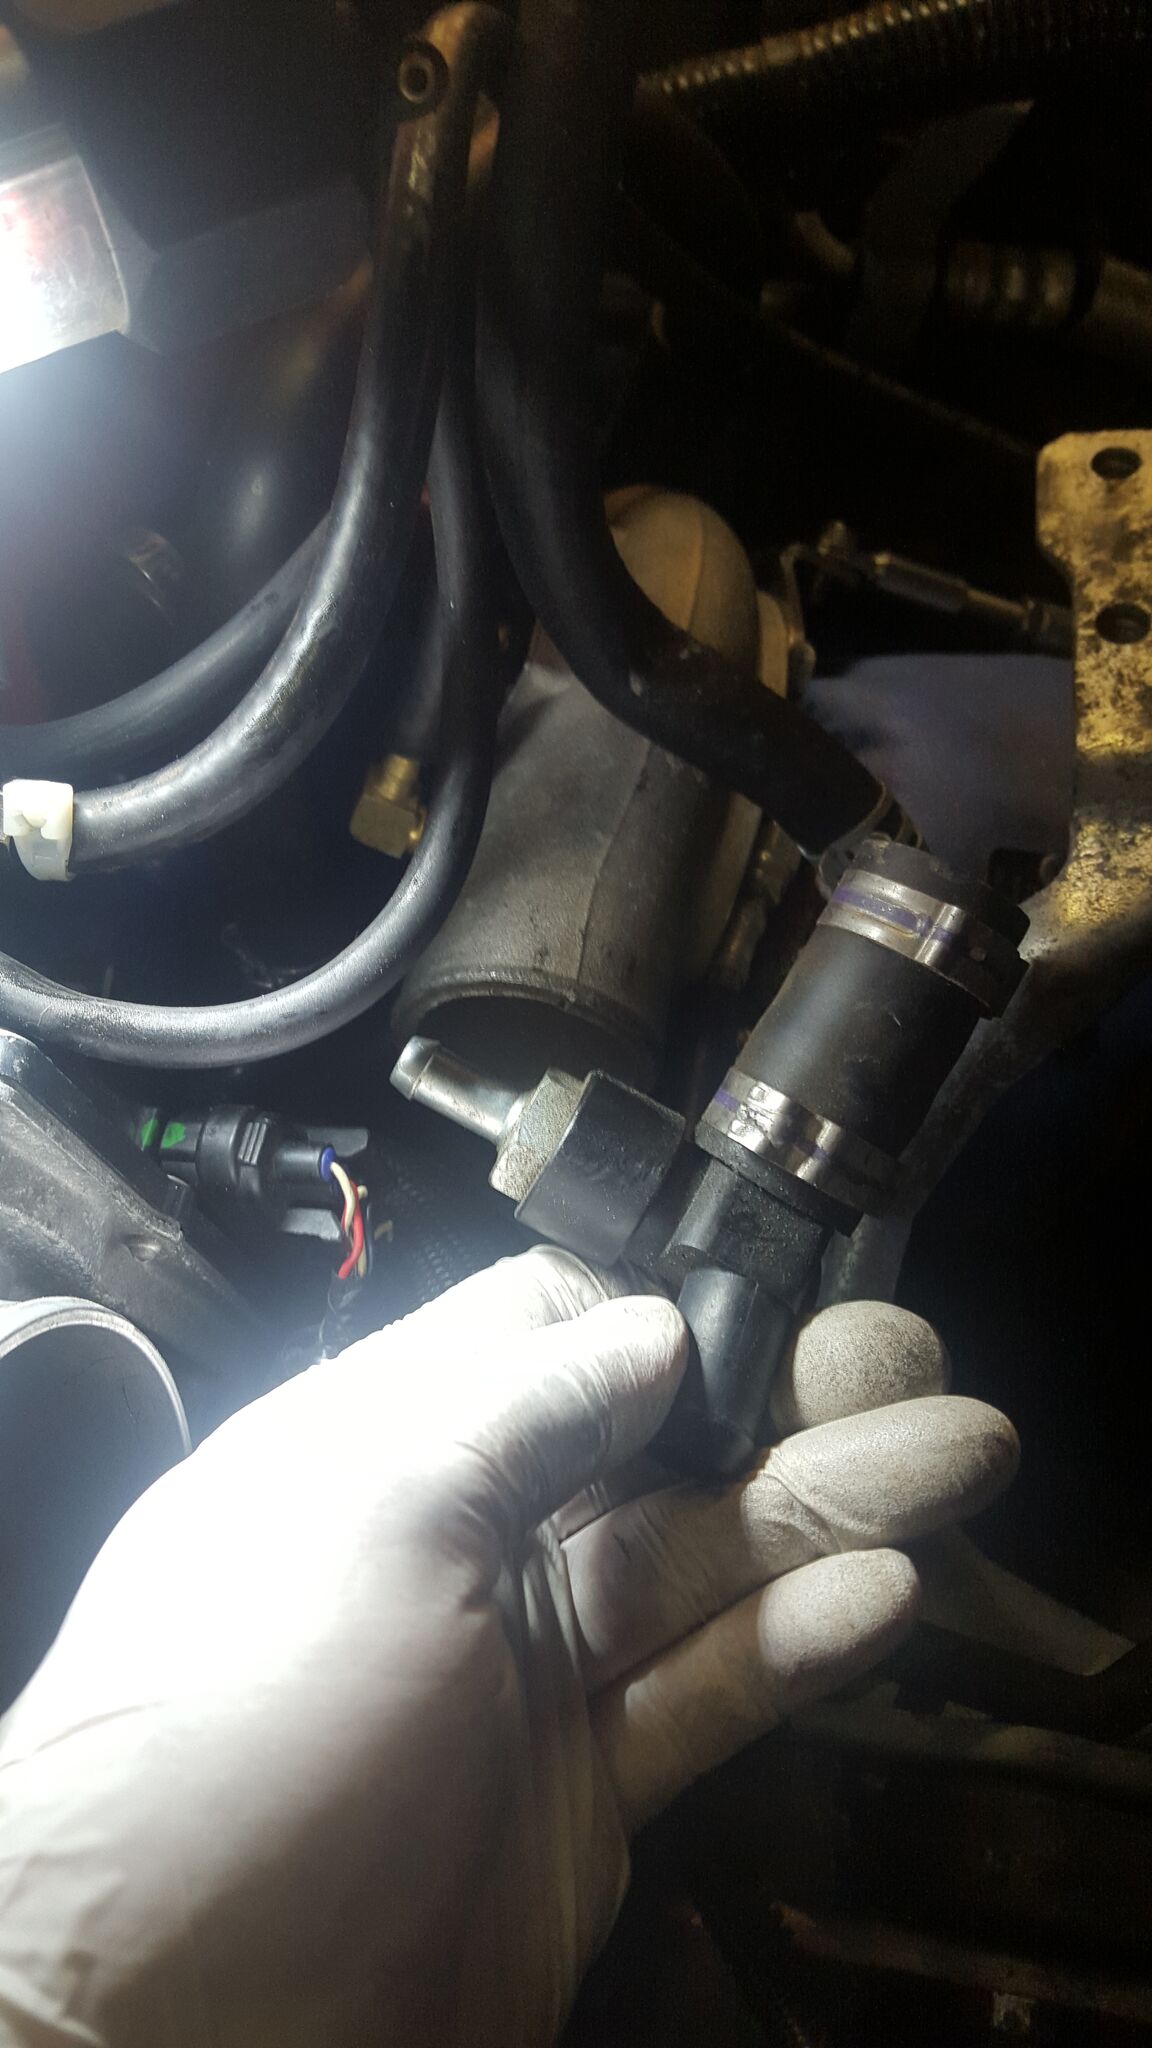
Then there is another line that you unclip and remove underneath the intake manifold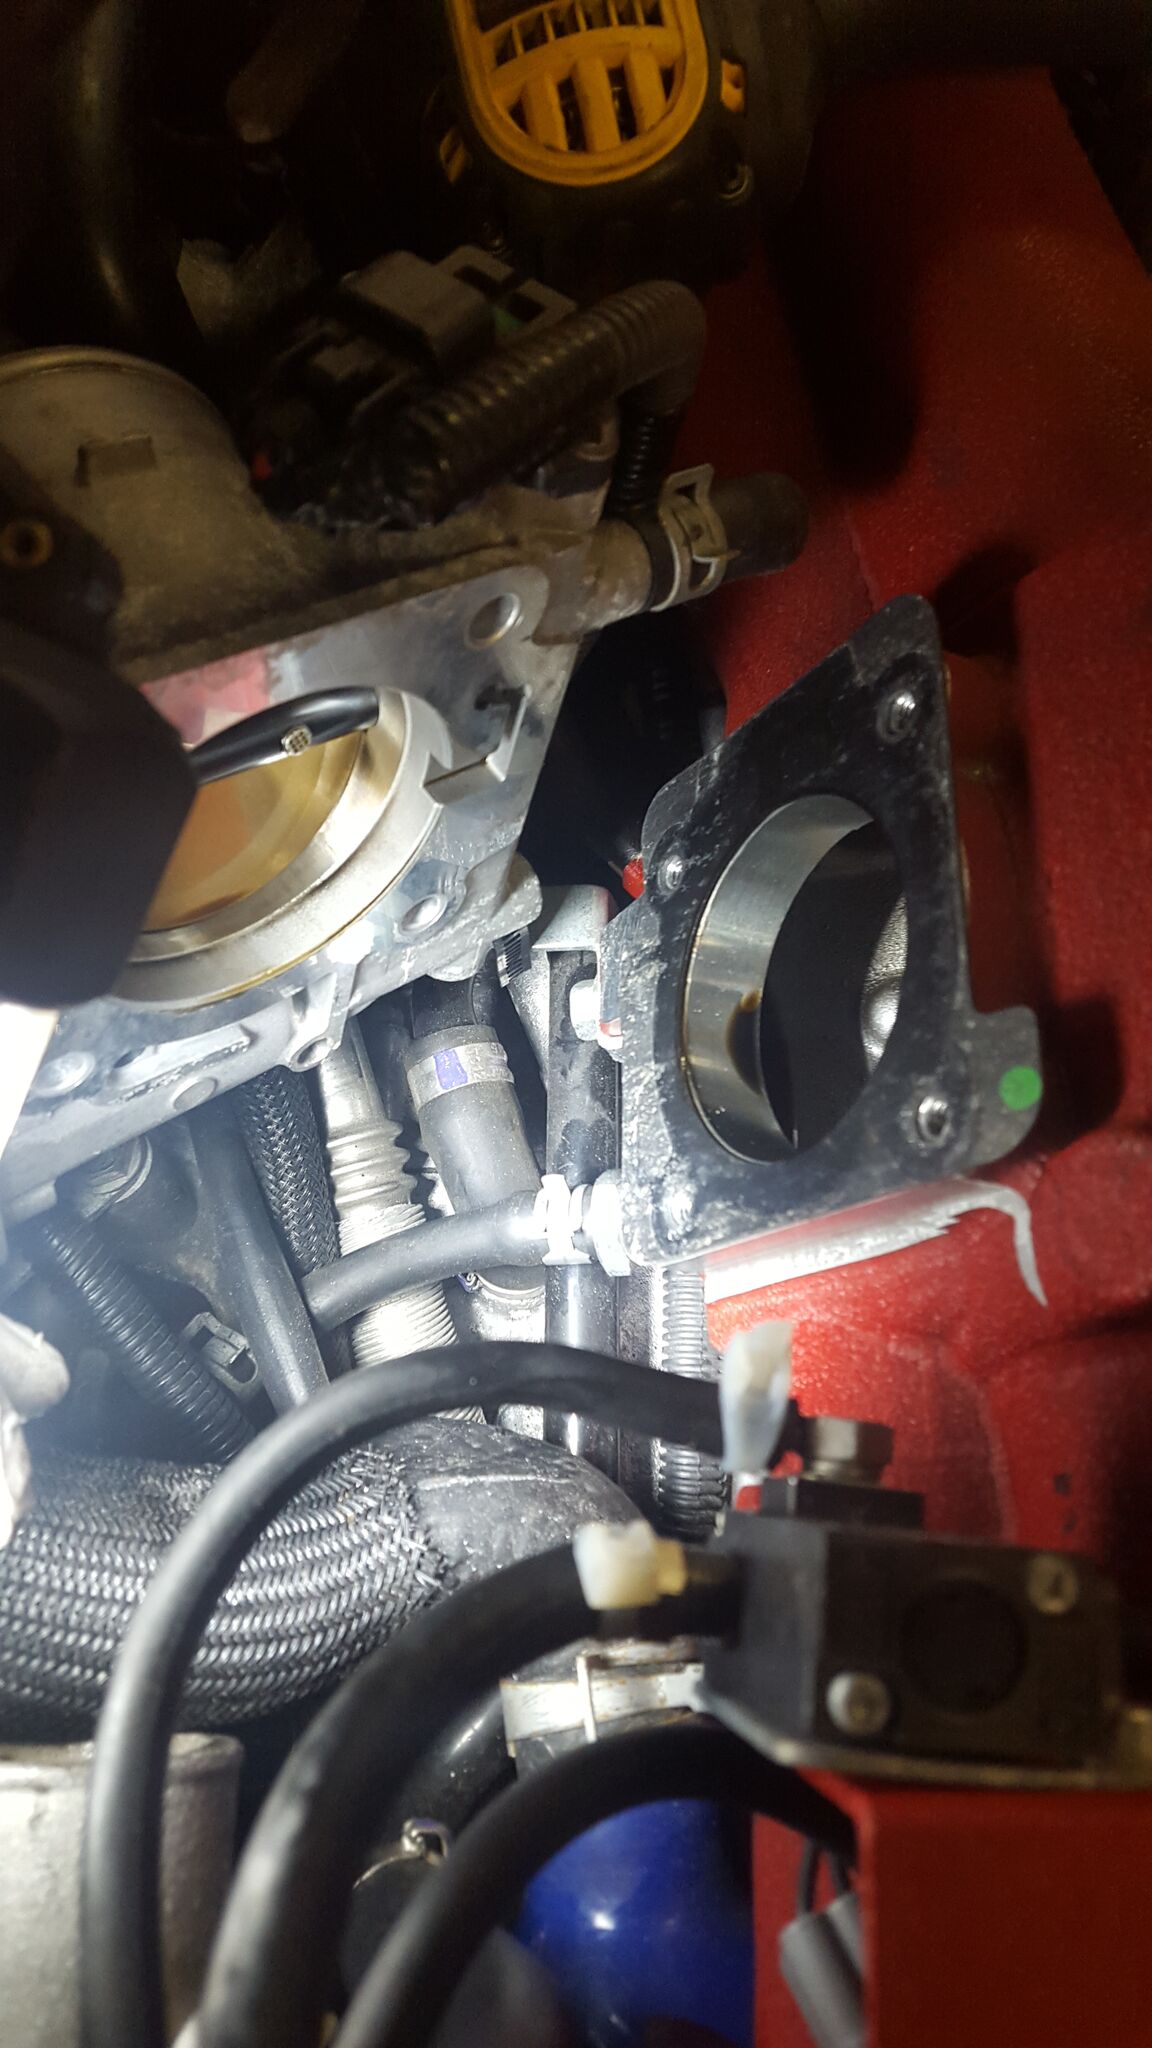
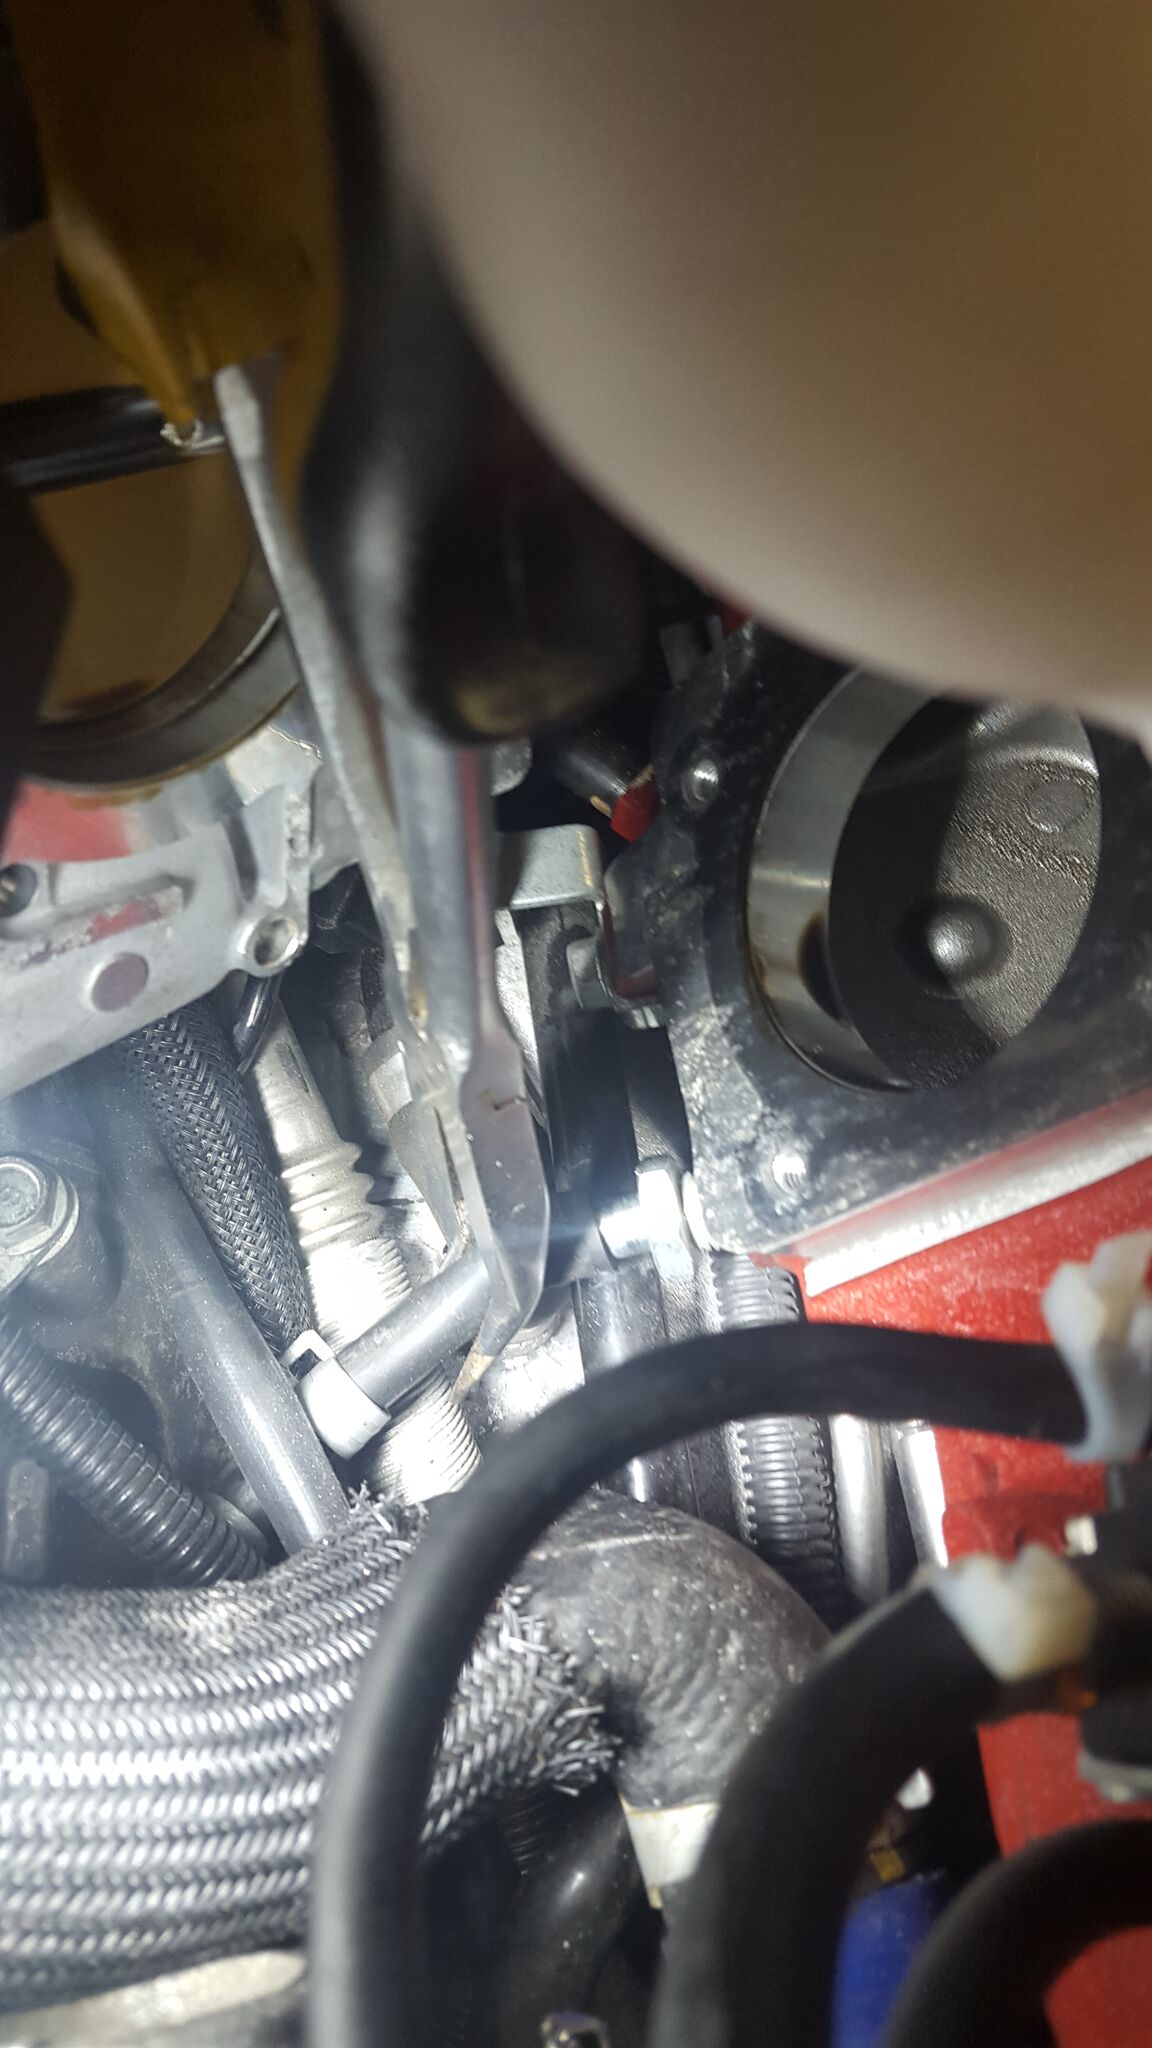
PCV valve and splitter removed. My valve had been pretty jammed up with gunky oil. The Grimmspeed aos didnt do its job at all. and what we figure is where the valve was blocked it was building up more pressure and leaking around the seal and causing the GS AOS to not work properly.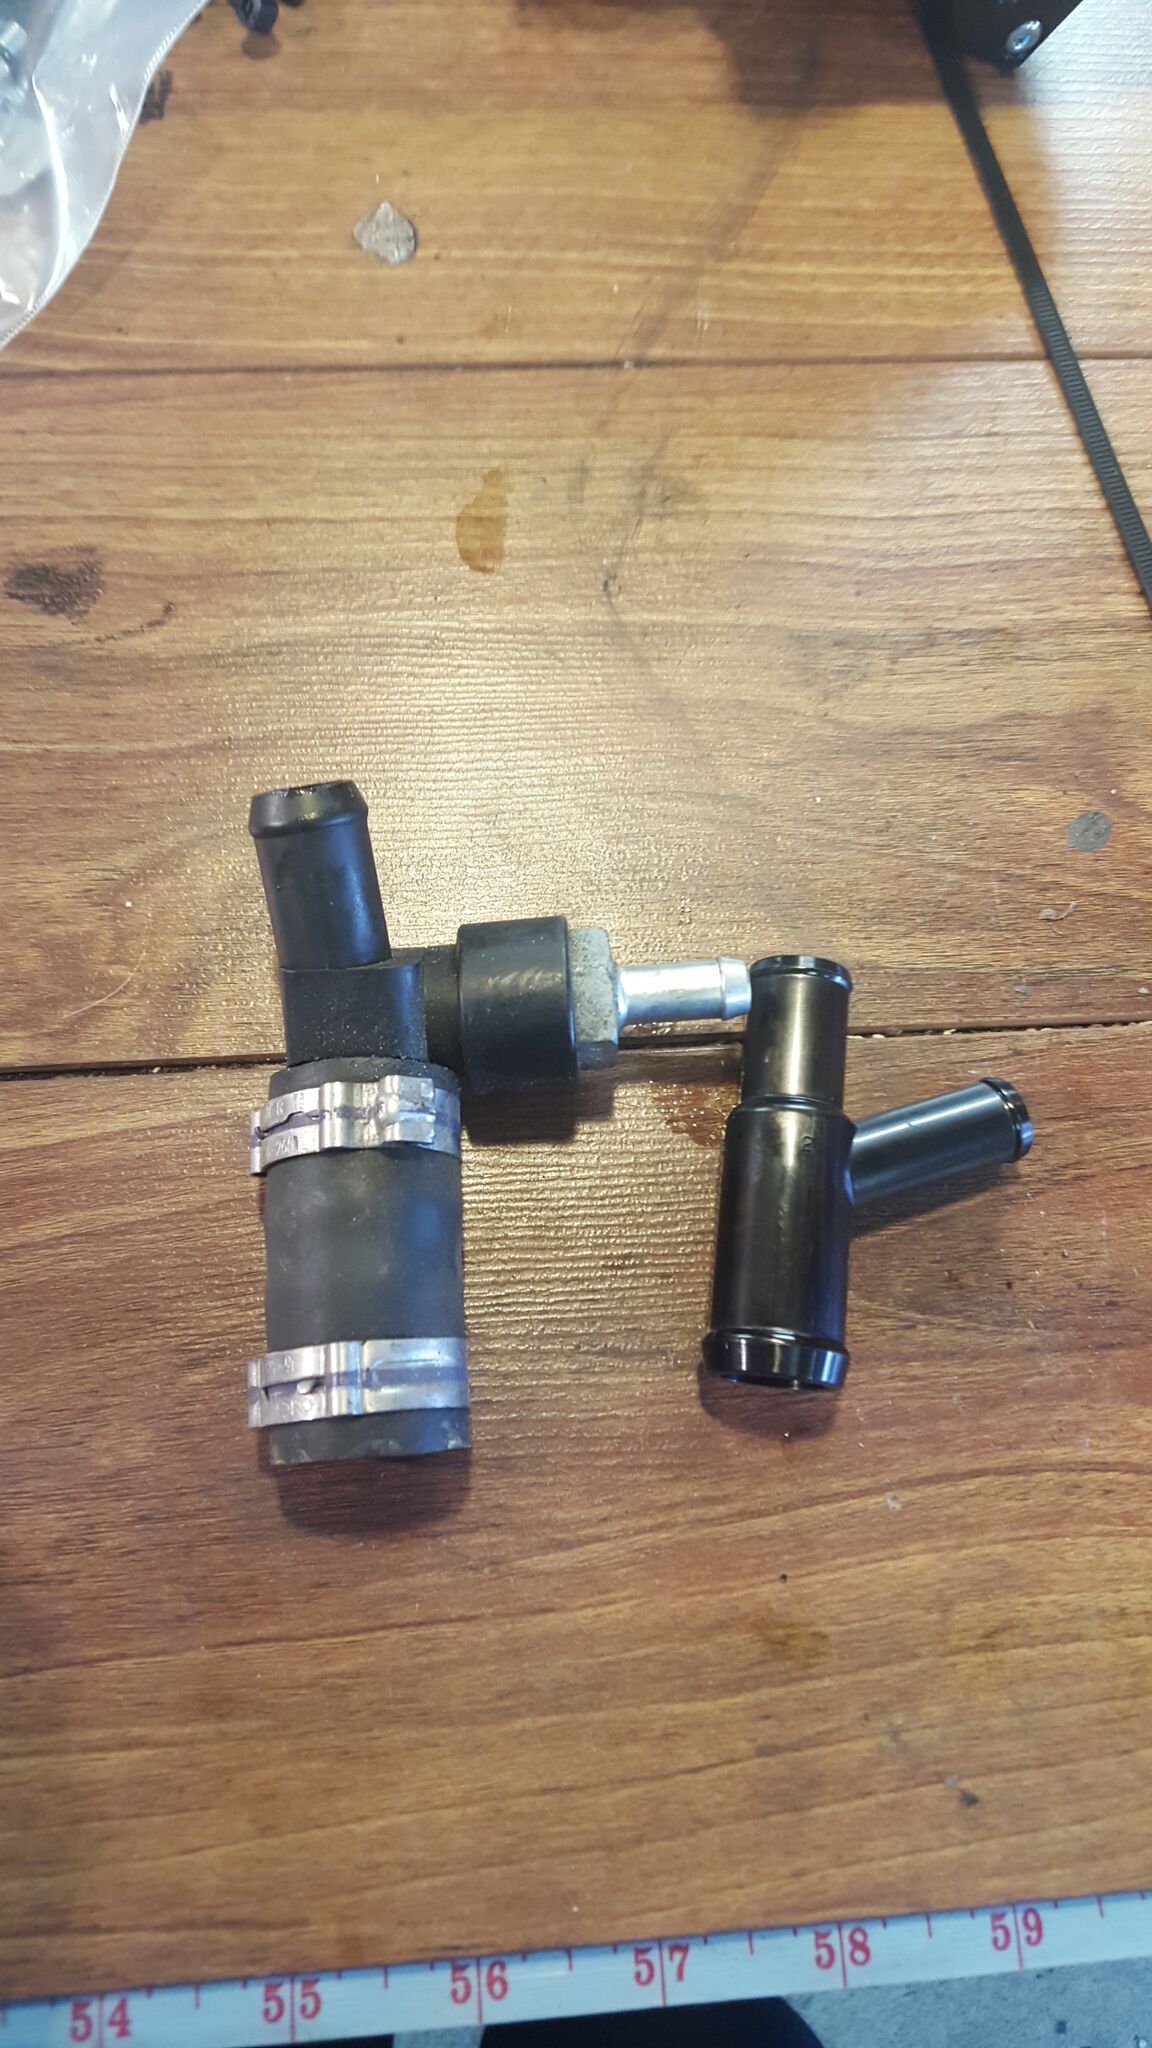
Next remove the threaded plug.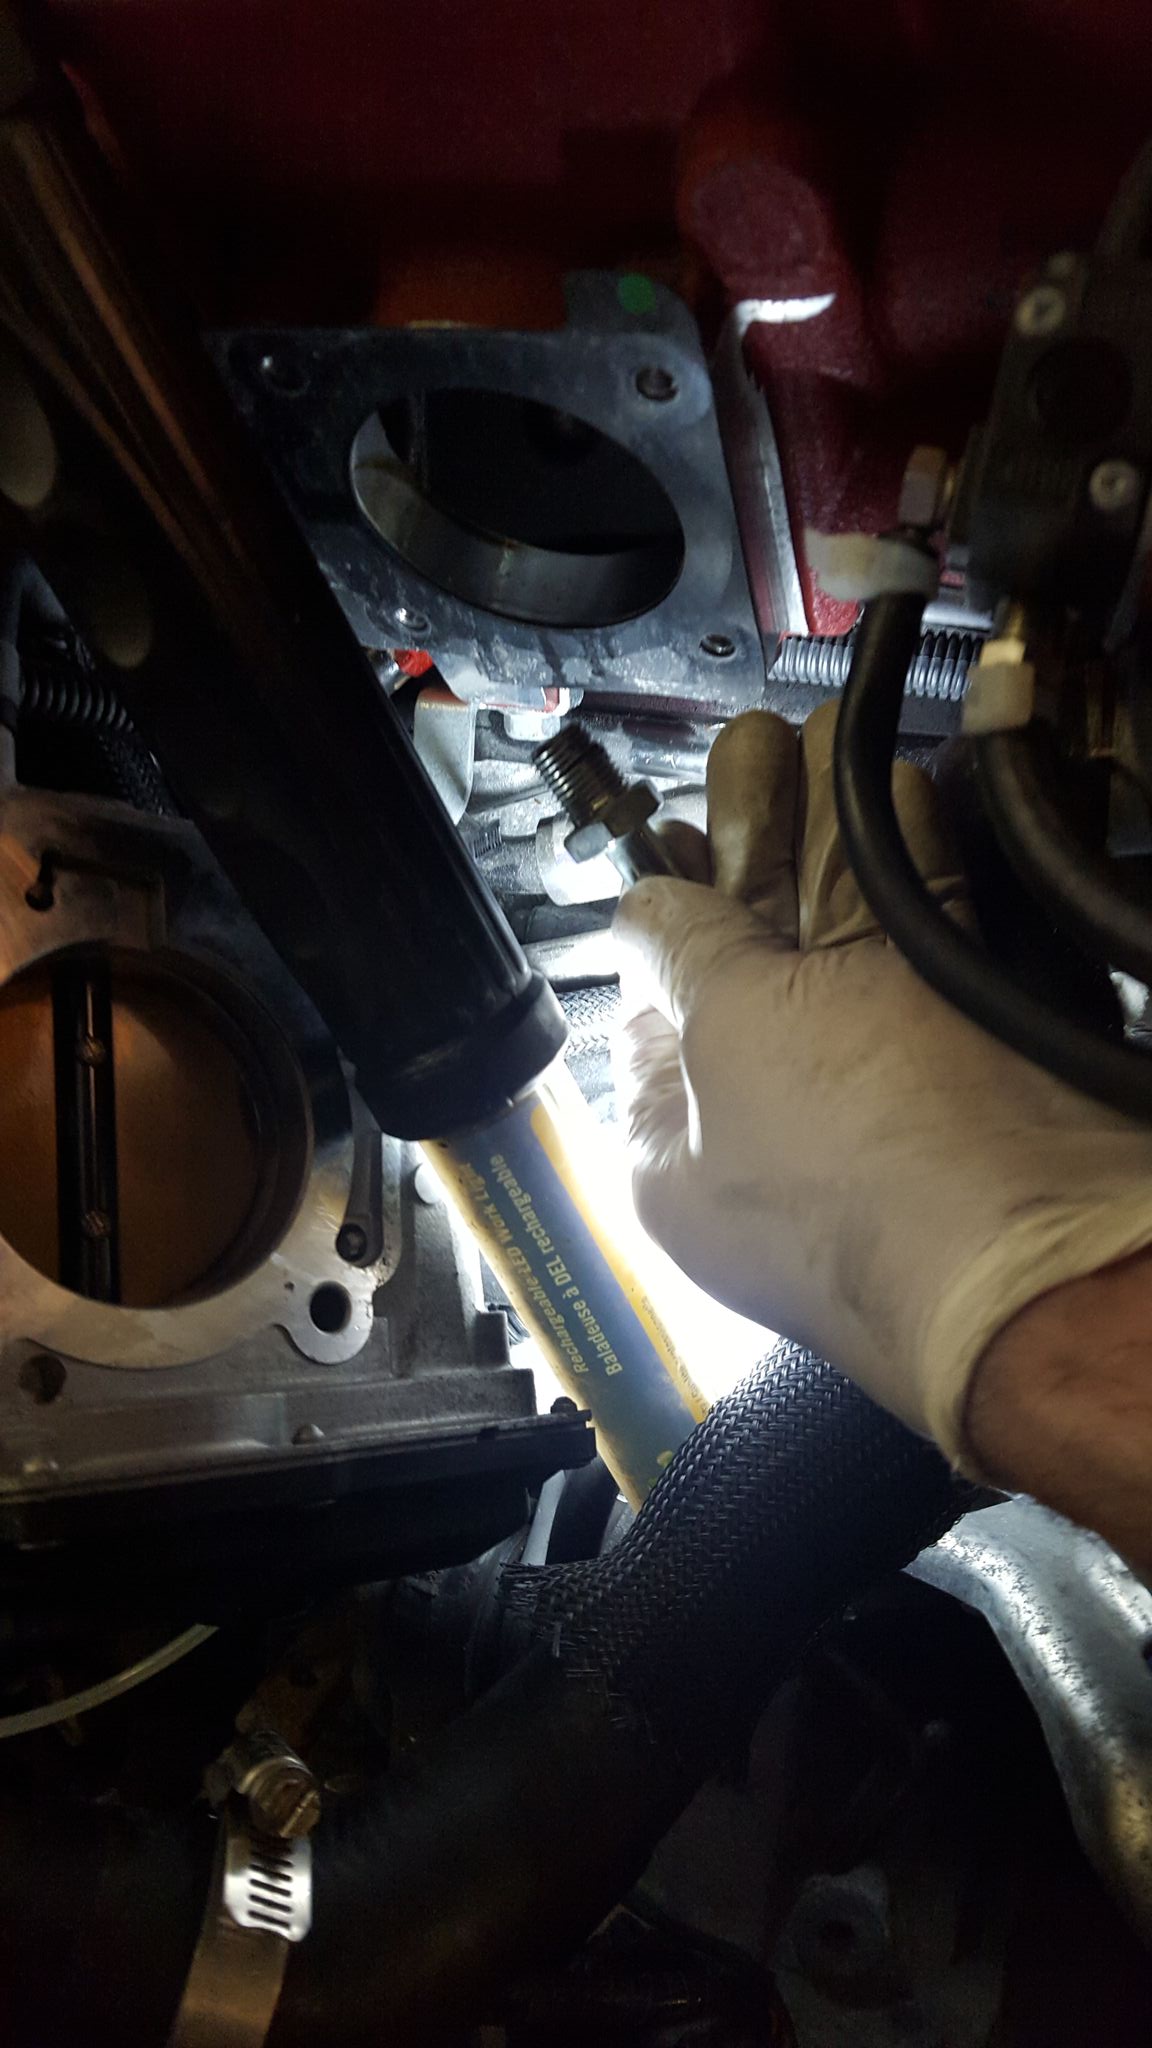
and install the new plug. used some lock tight to keep it in place.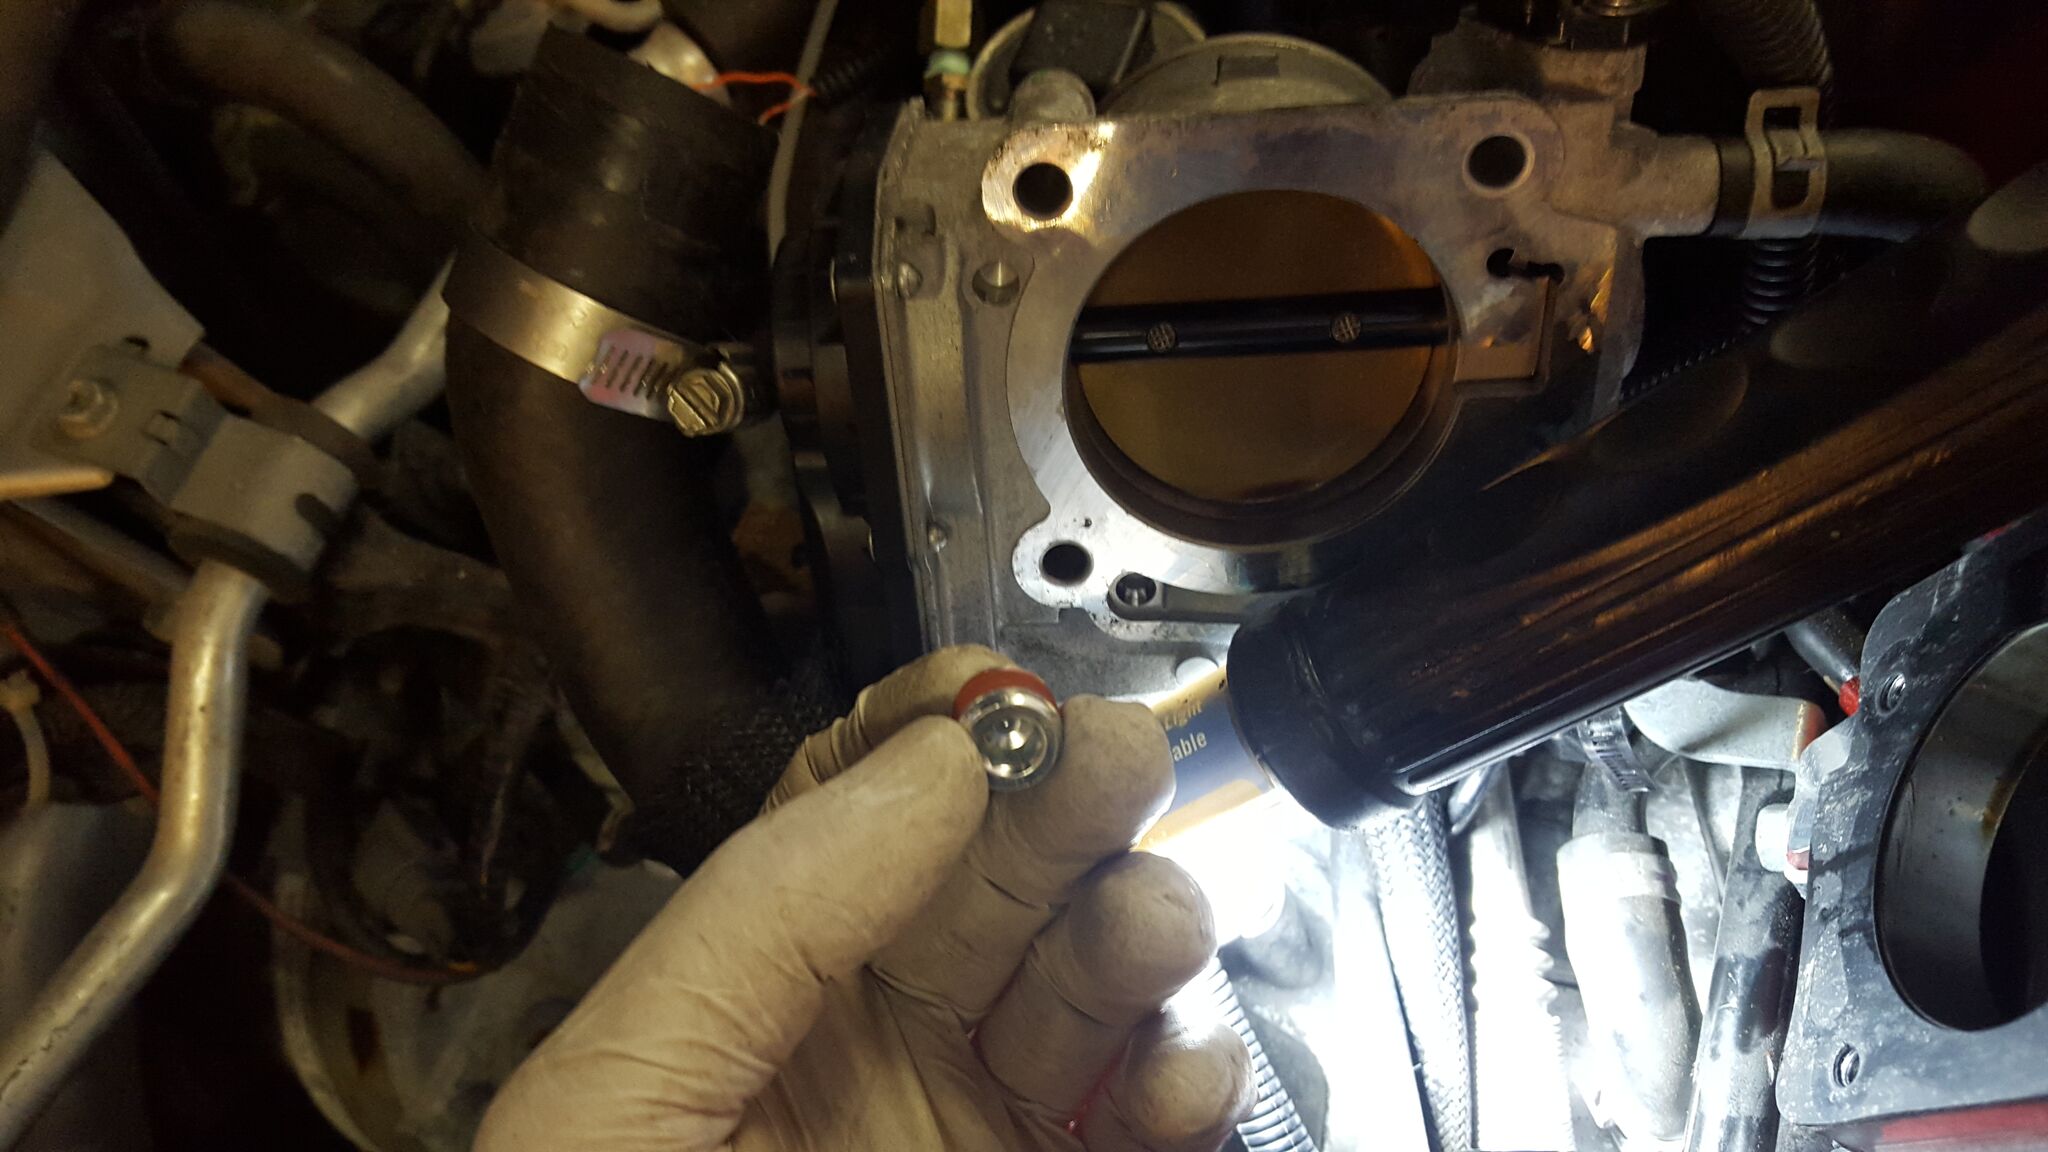
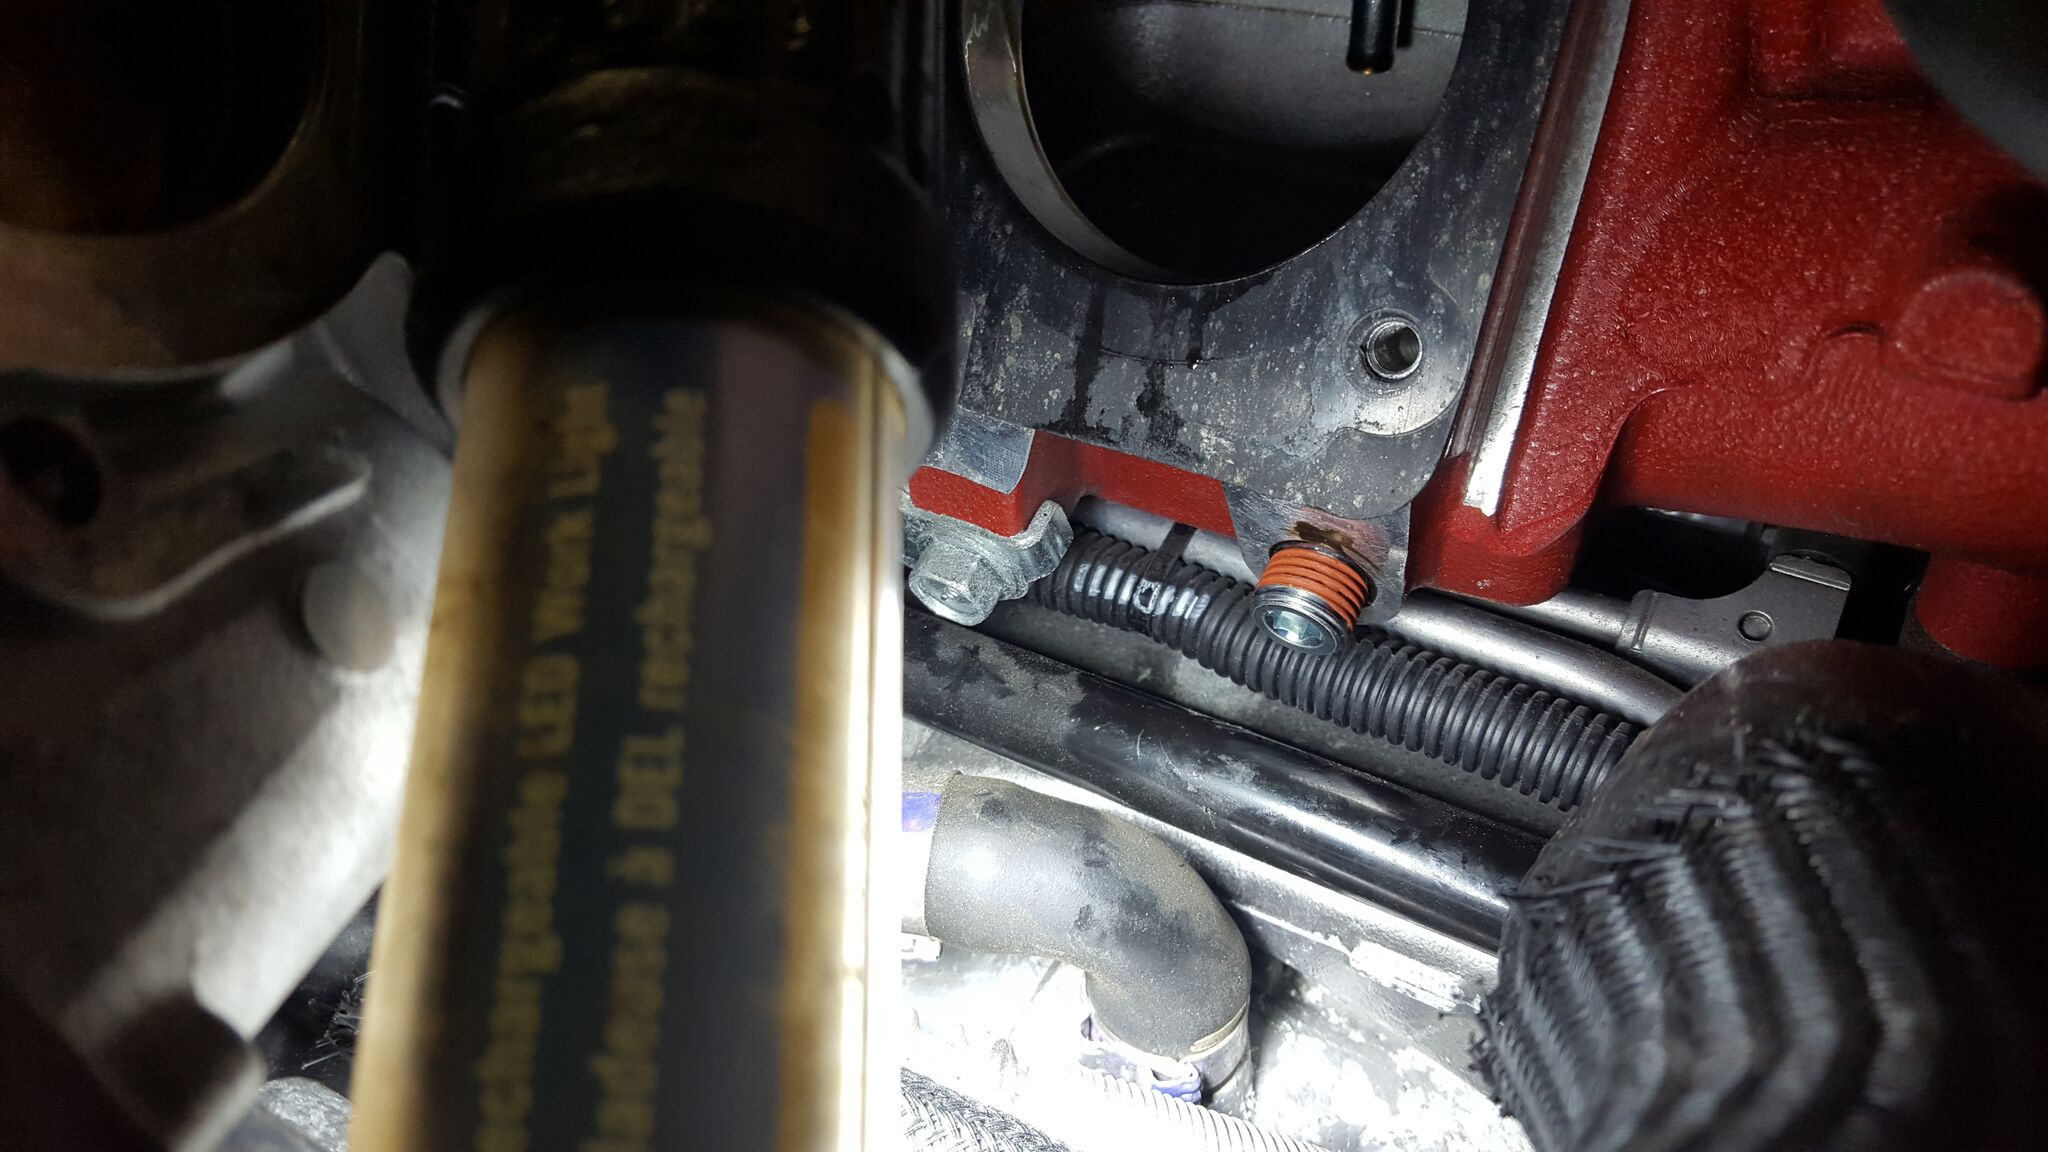
we used a 1/4 allen drive to tighten.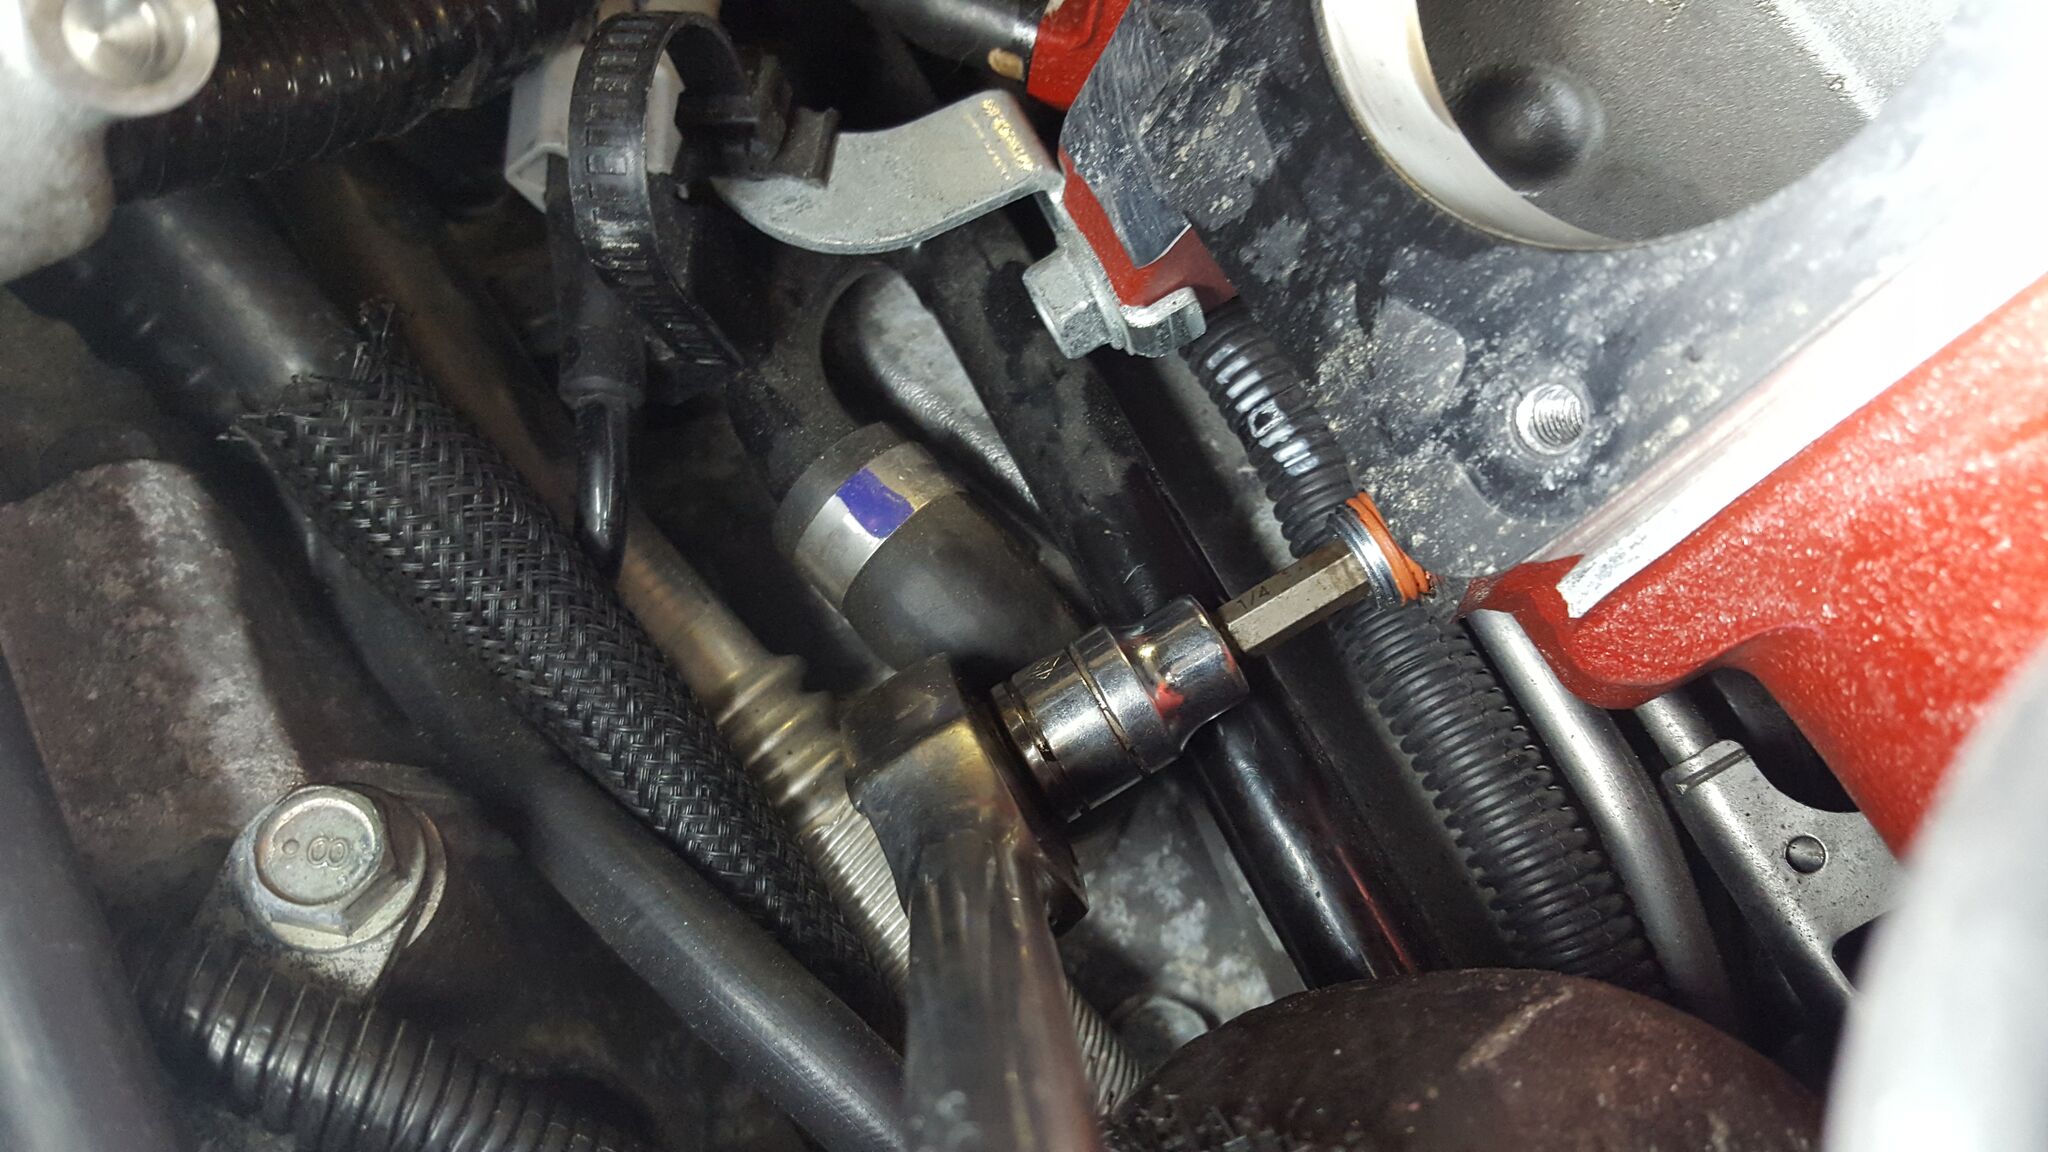
Next is to unhook the main engine connection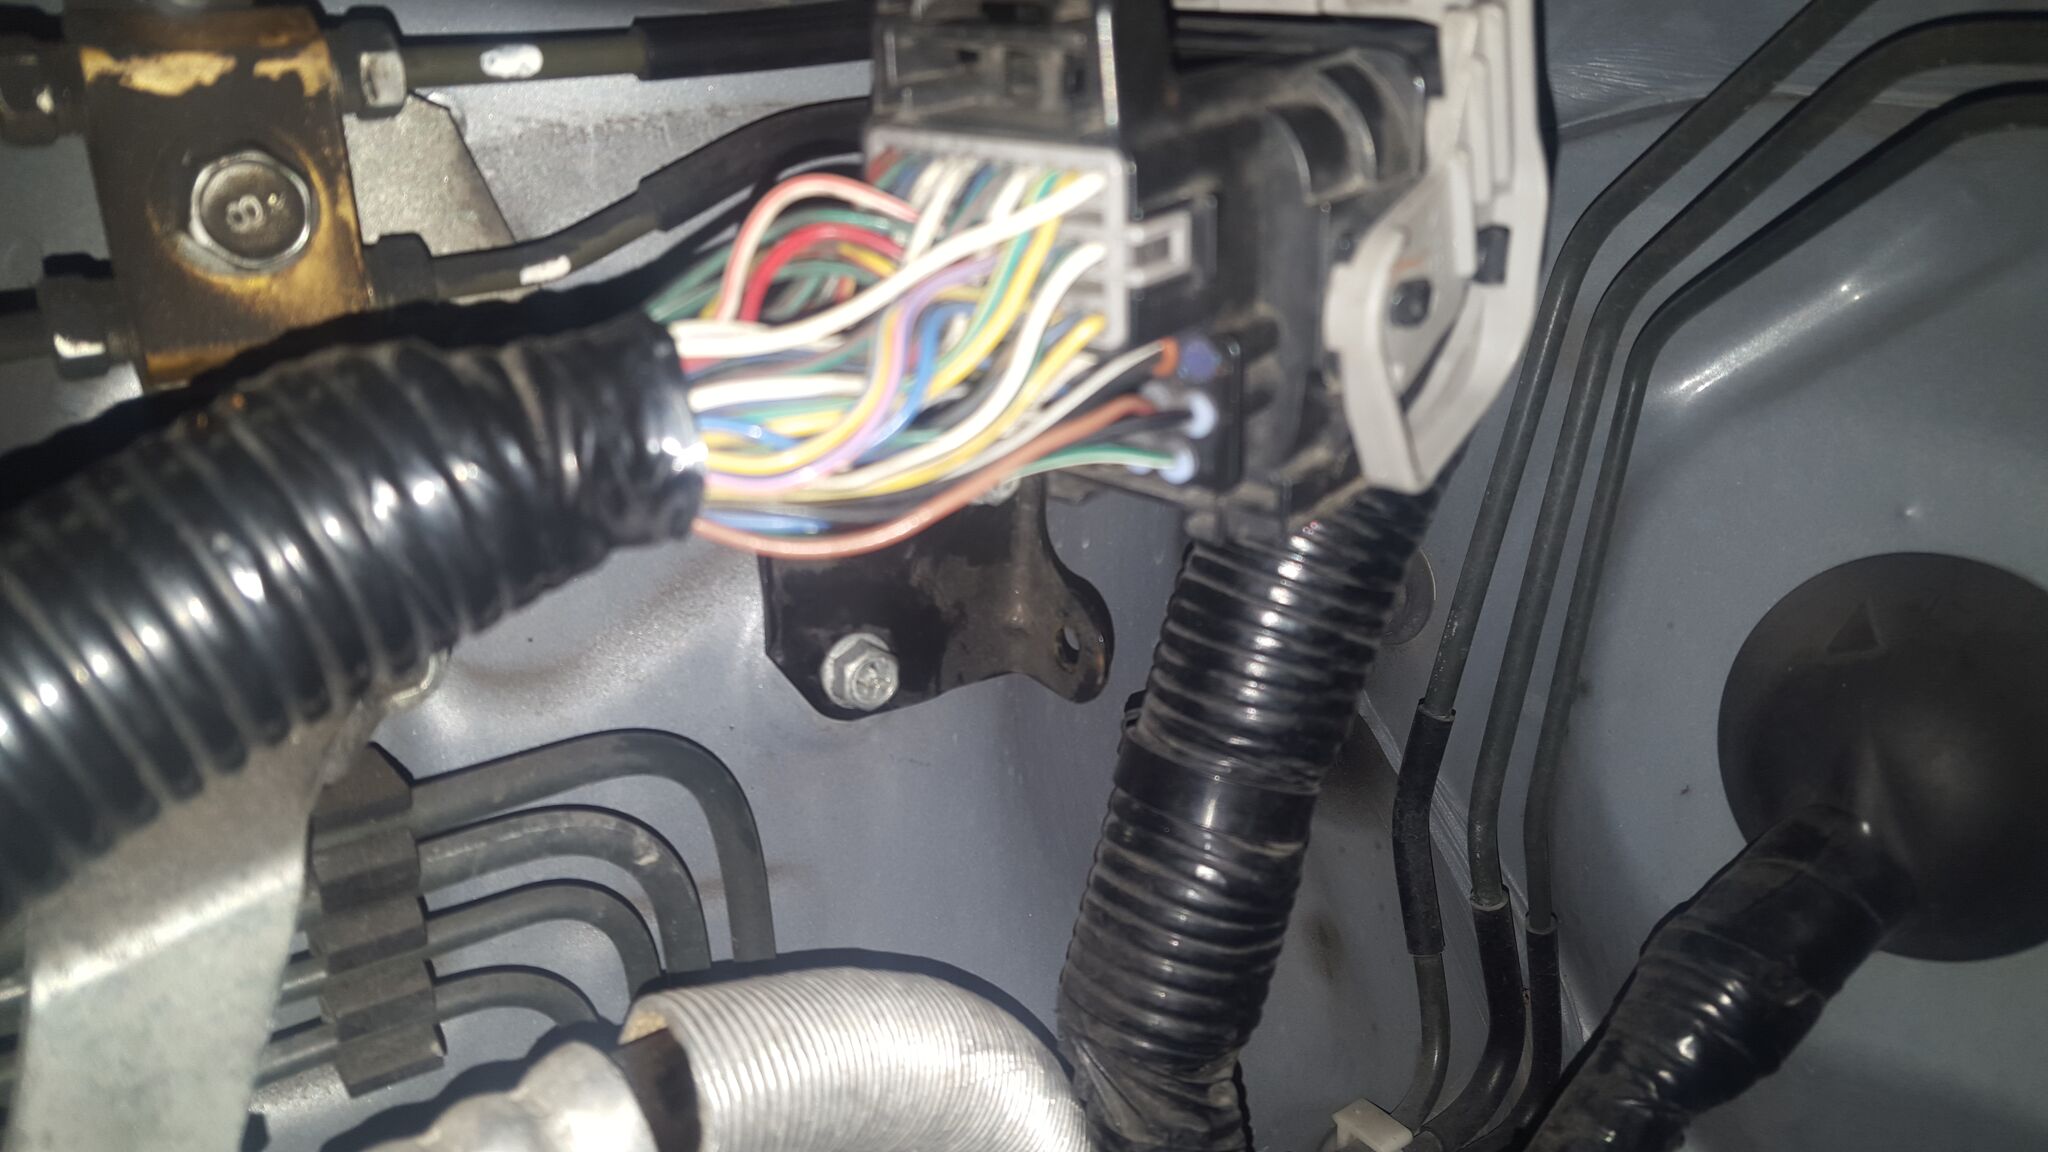
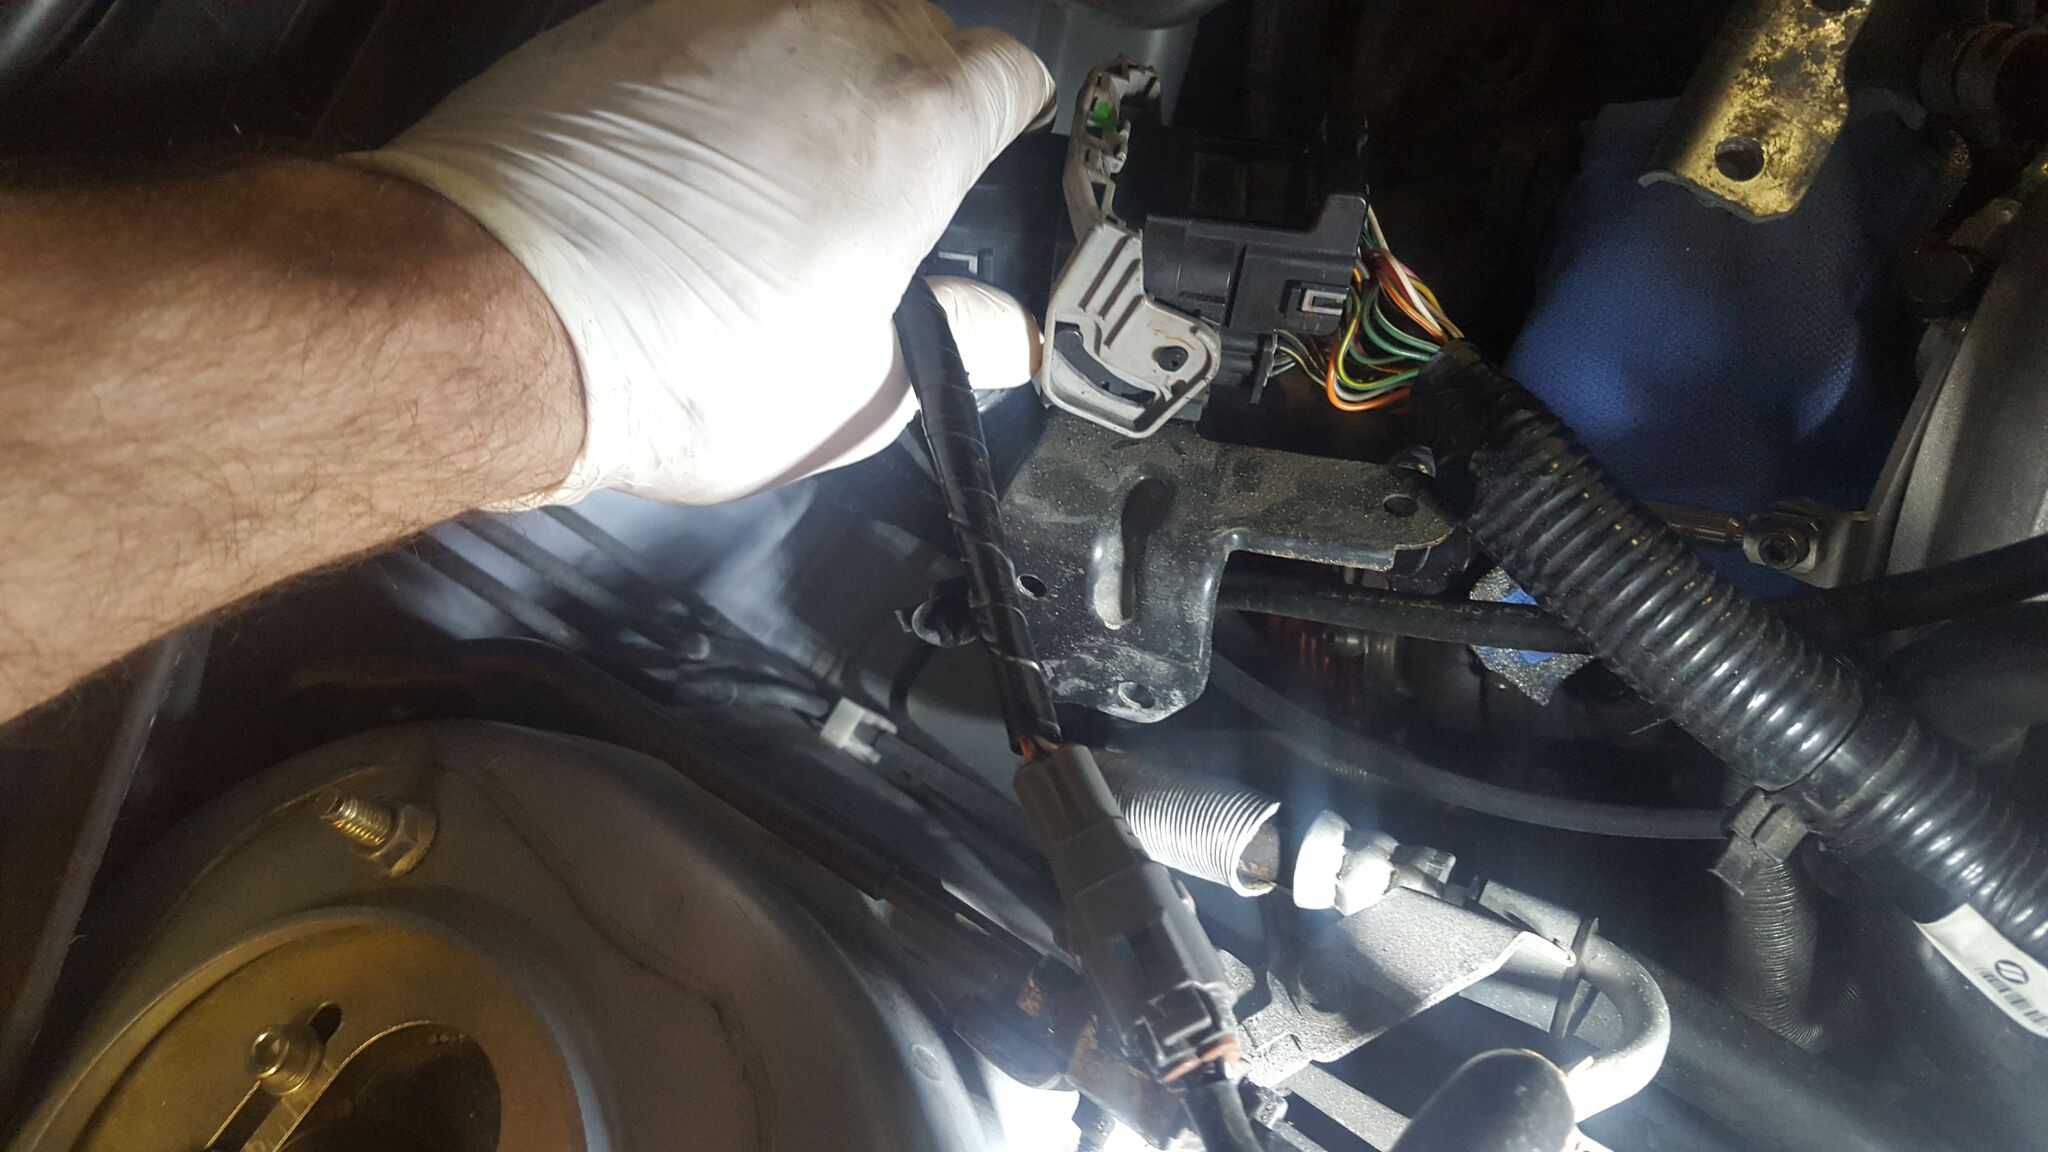
and install the 2 lines on the new aos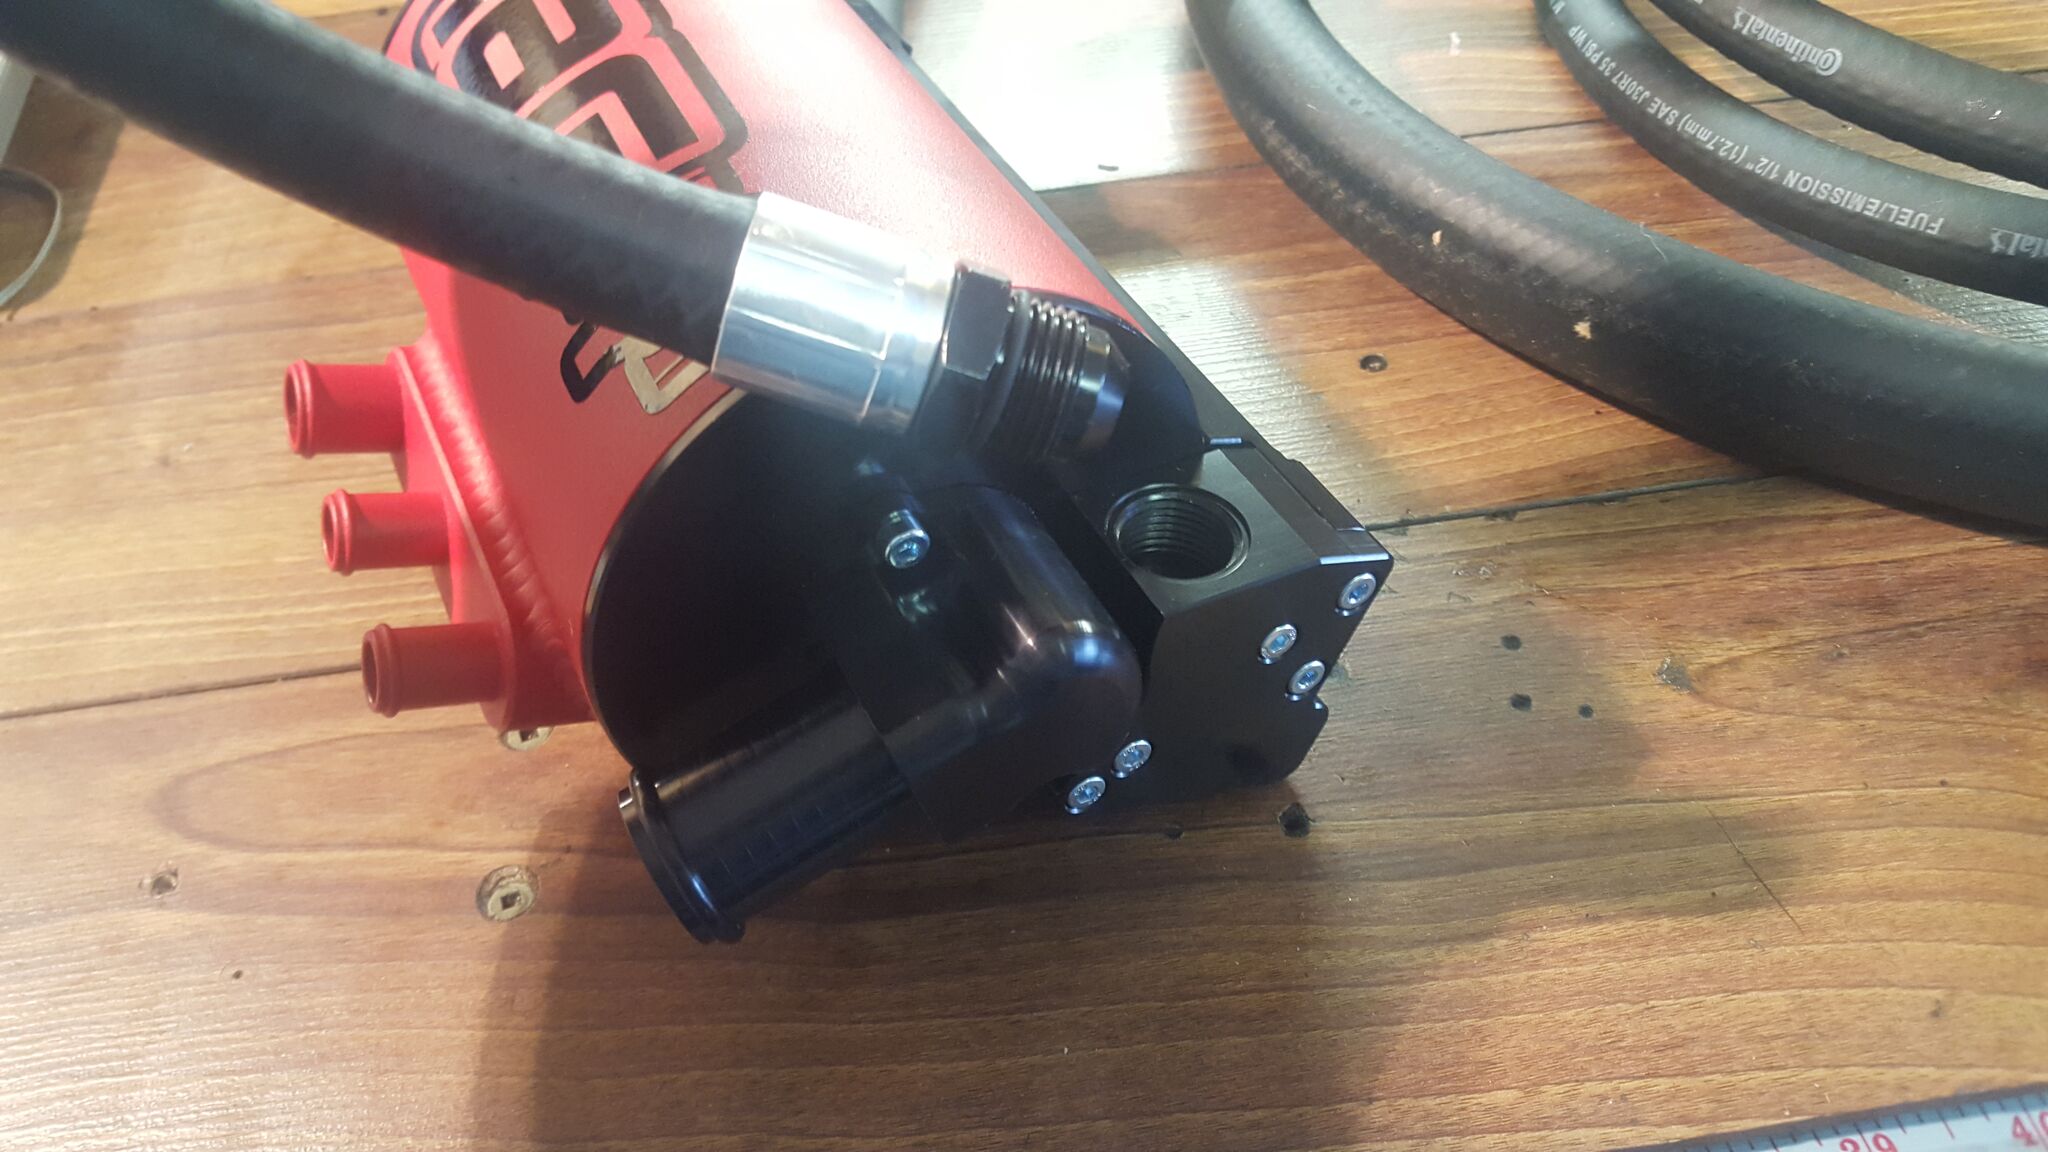
install the mounting bracket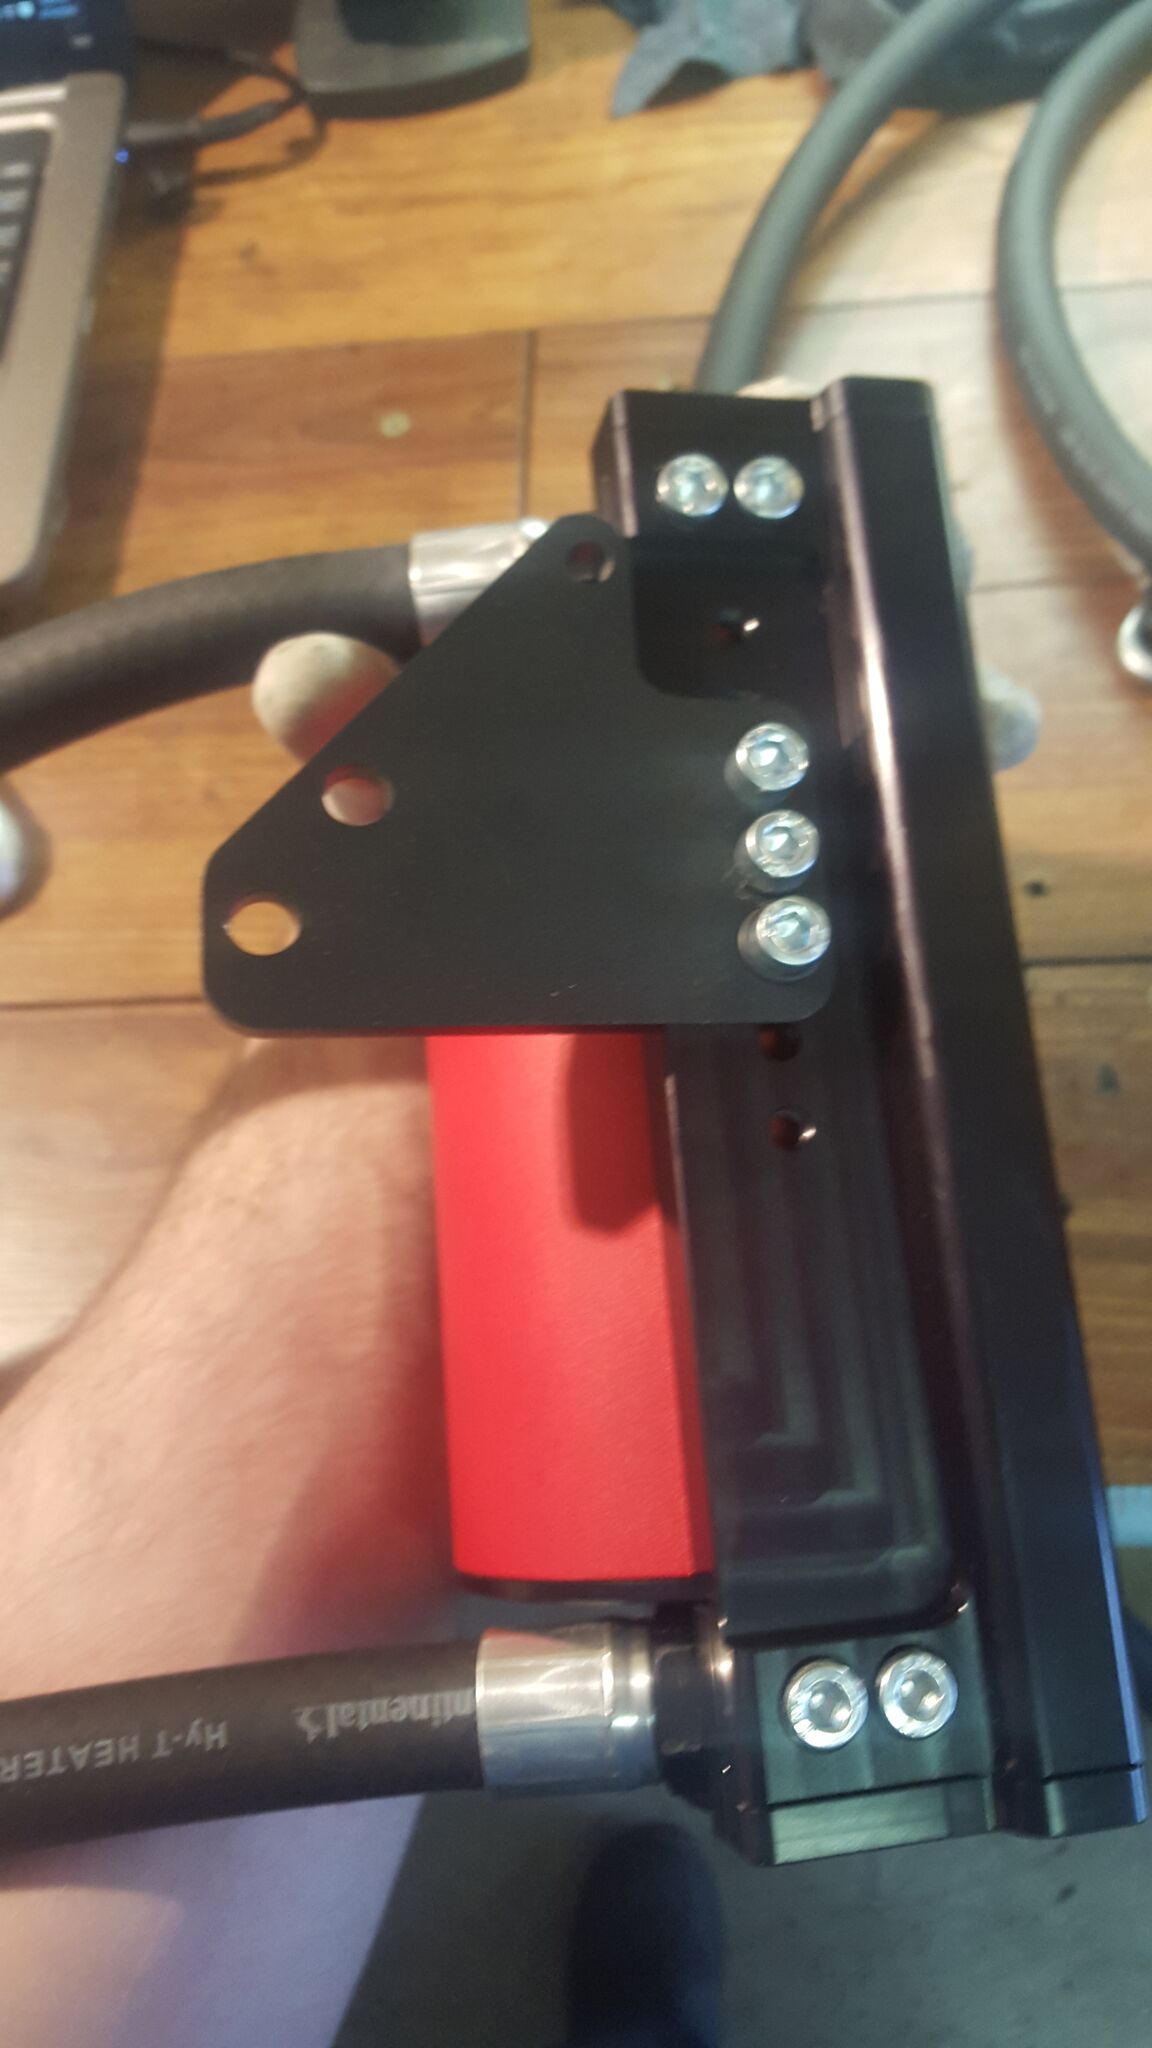
and mount the IAG aos.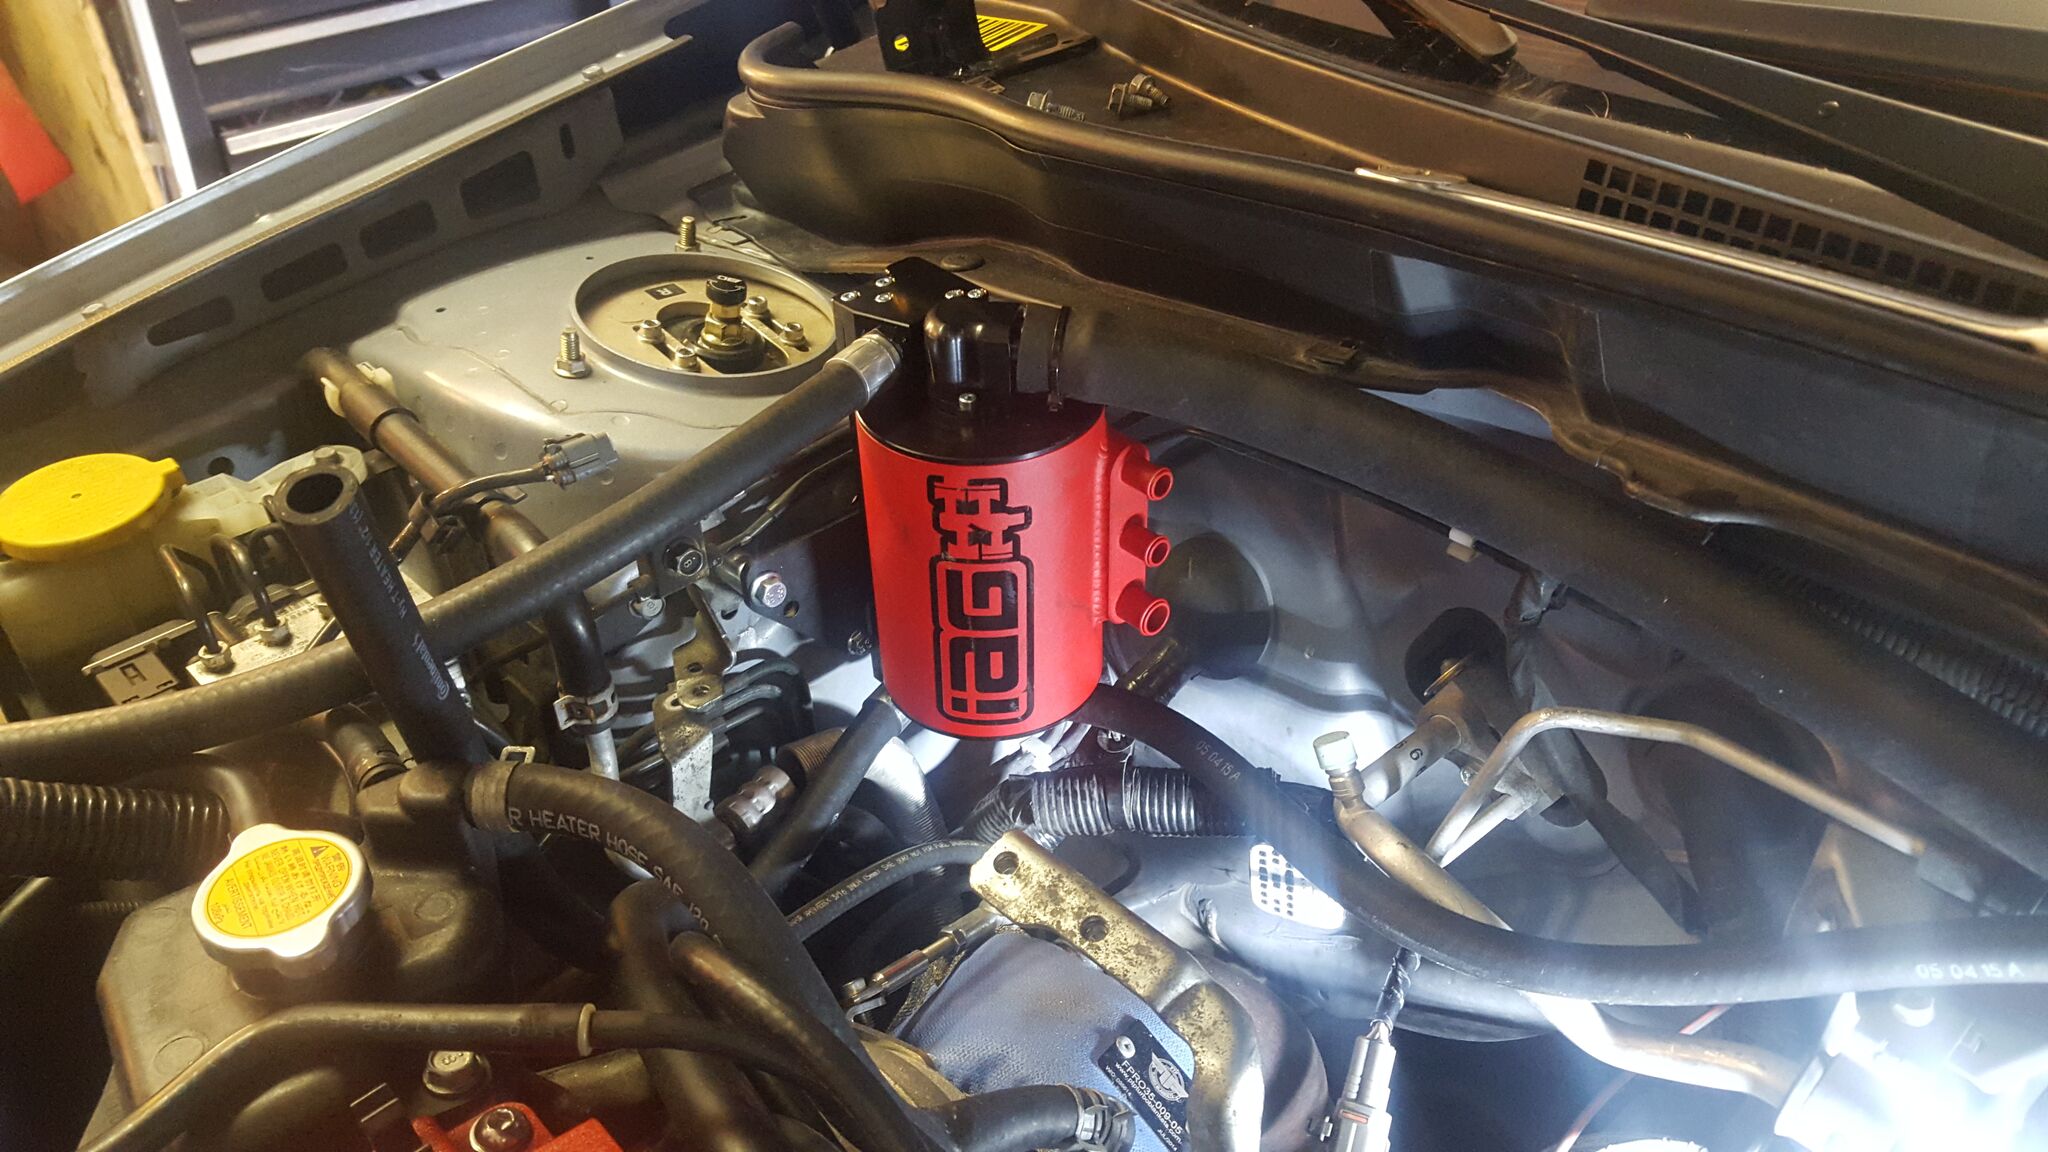
thats about all we got done on the aos but updates should come for tomorrow again.
Also just a pic of the amount of oil that pooled up inside the throttle body.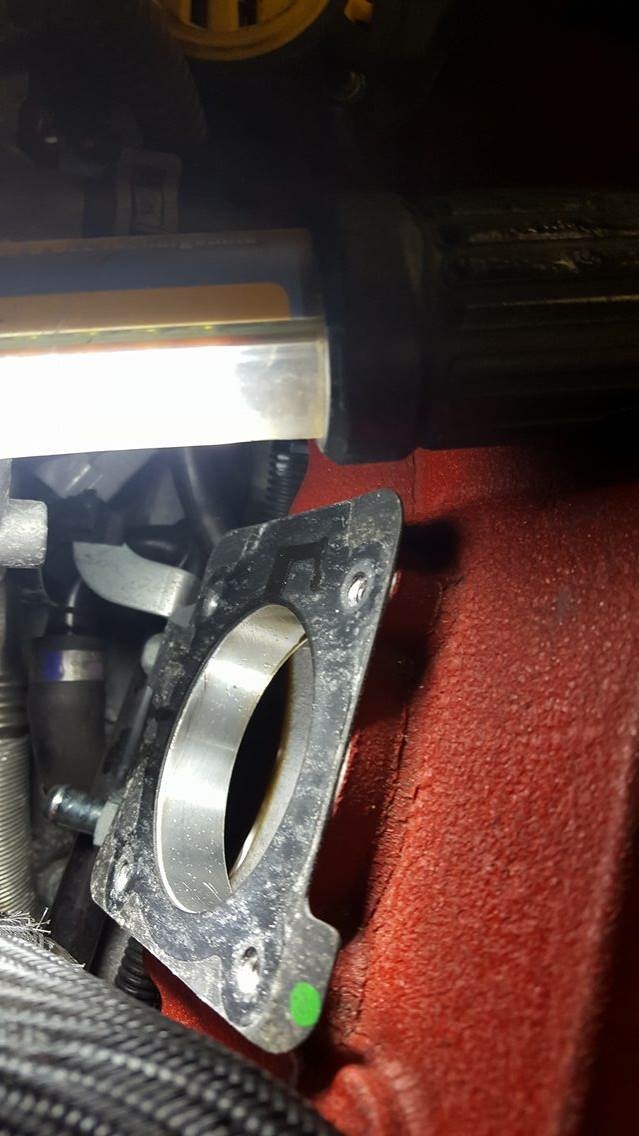
Another little project I done was the centre console. Plasti dipped the silver piece. So here the start.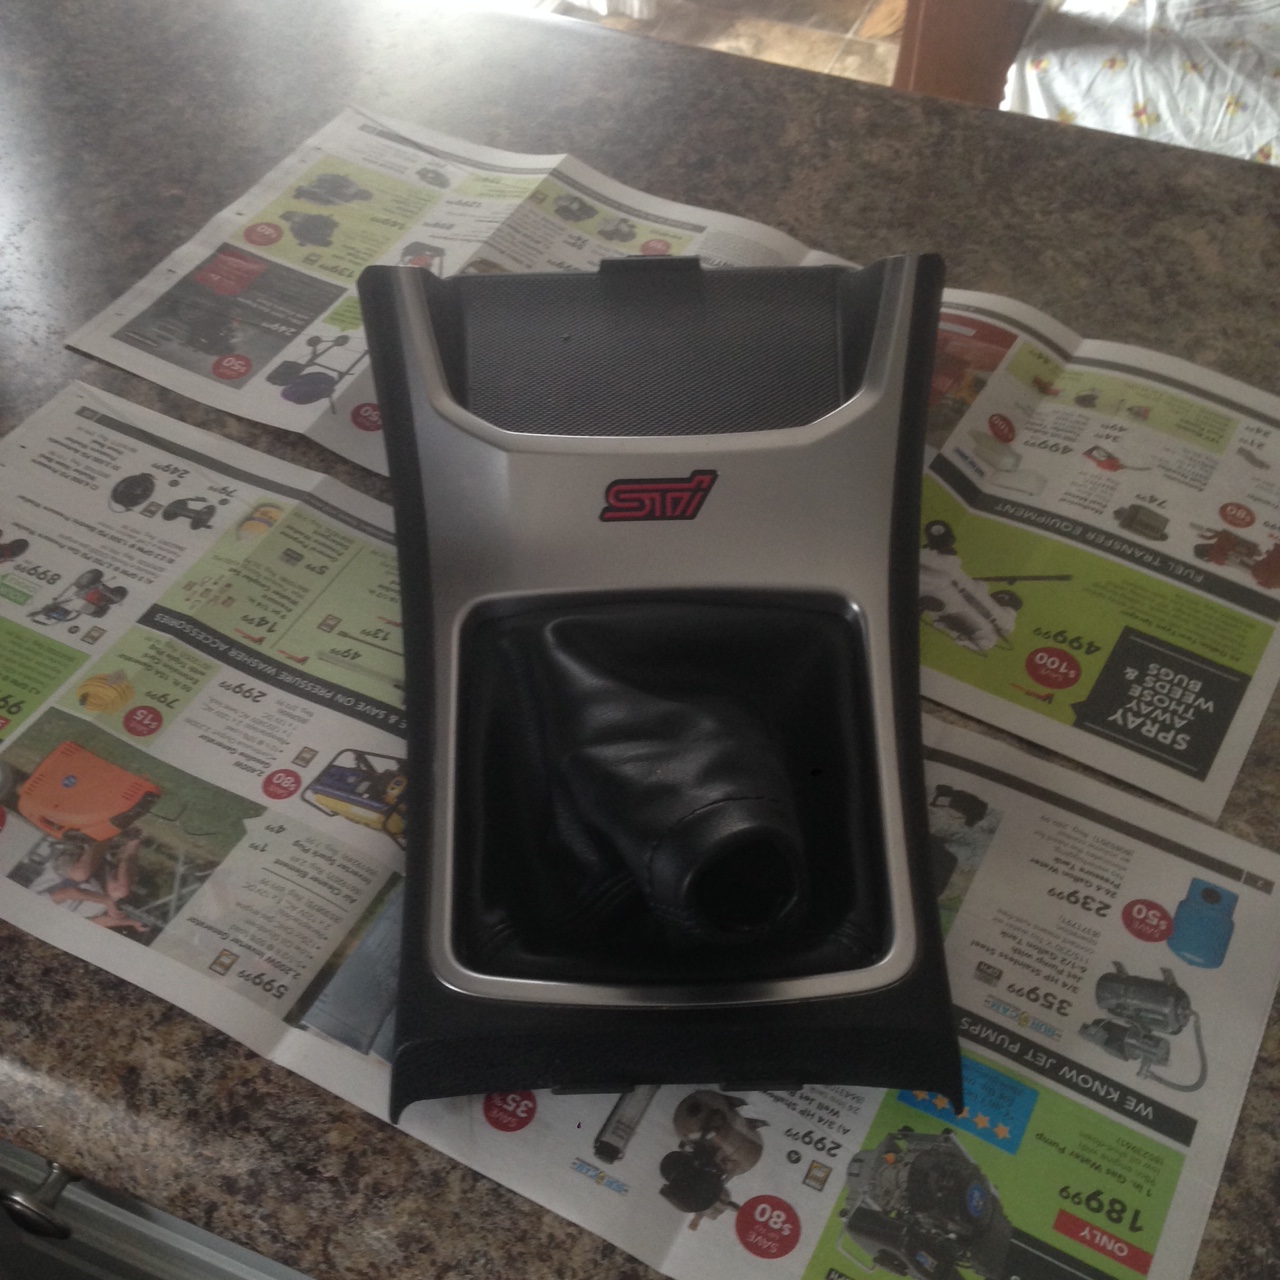
Removed boot and painters taped the sides and front.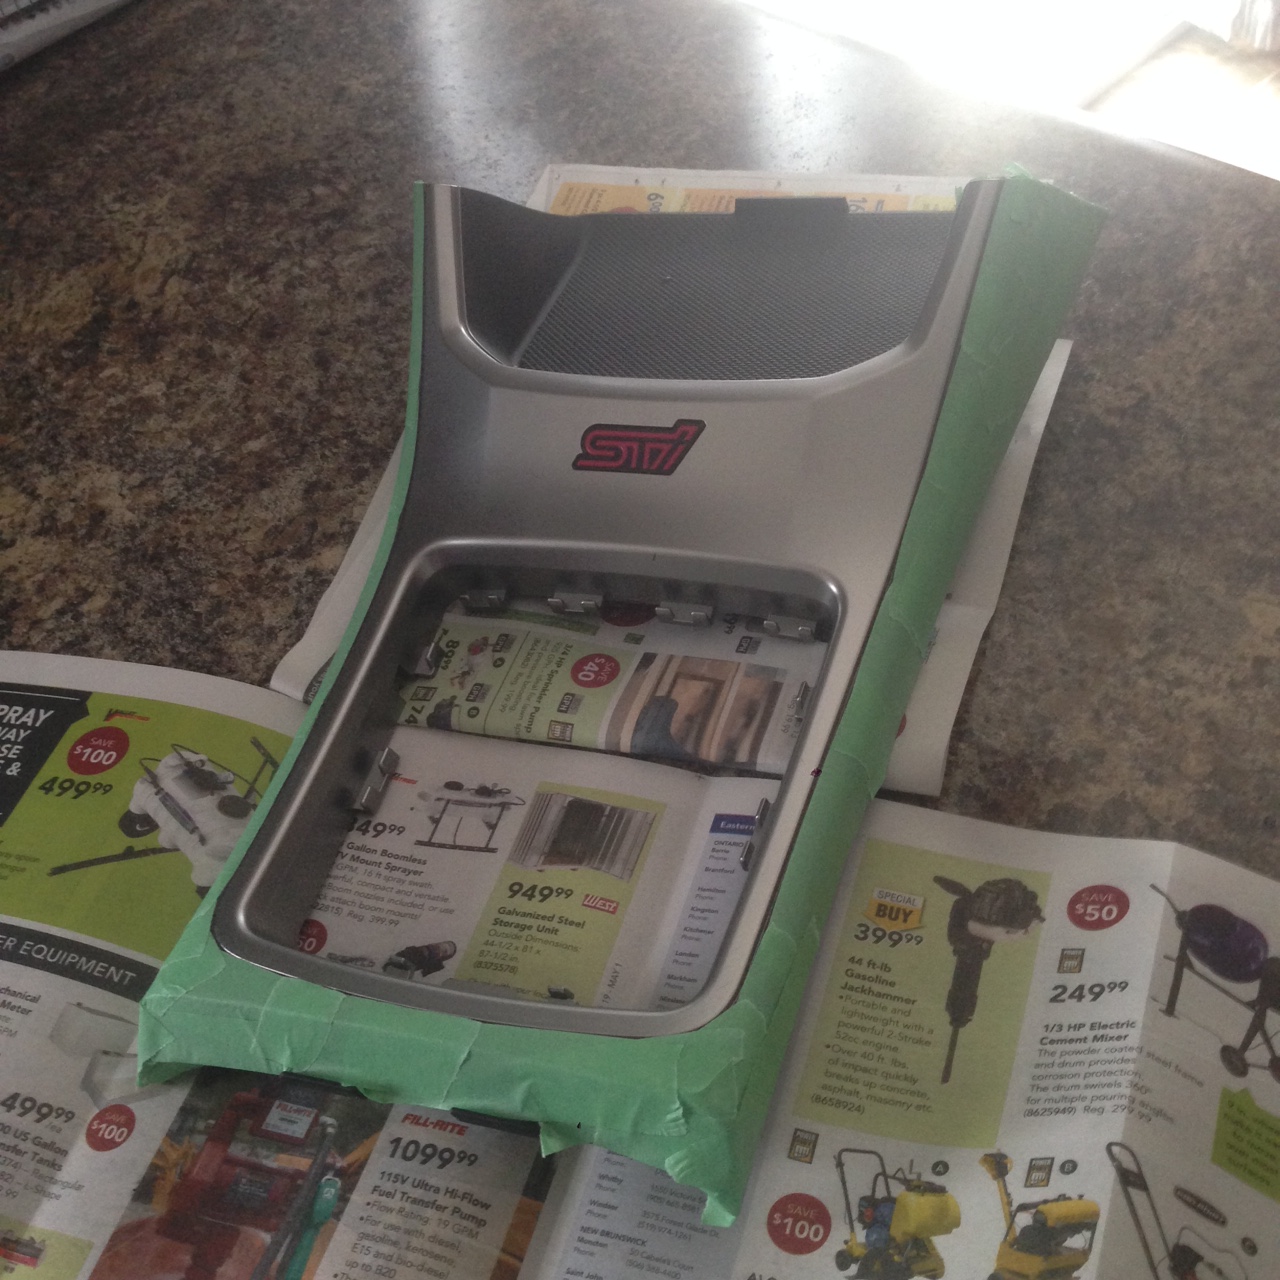
This is 4 coats in.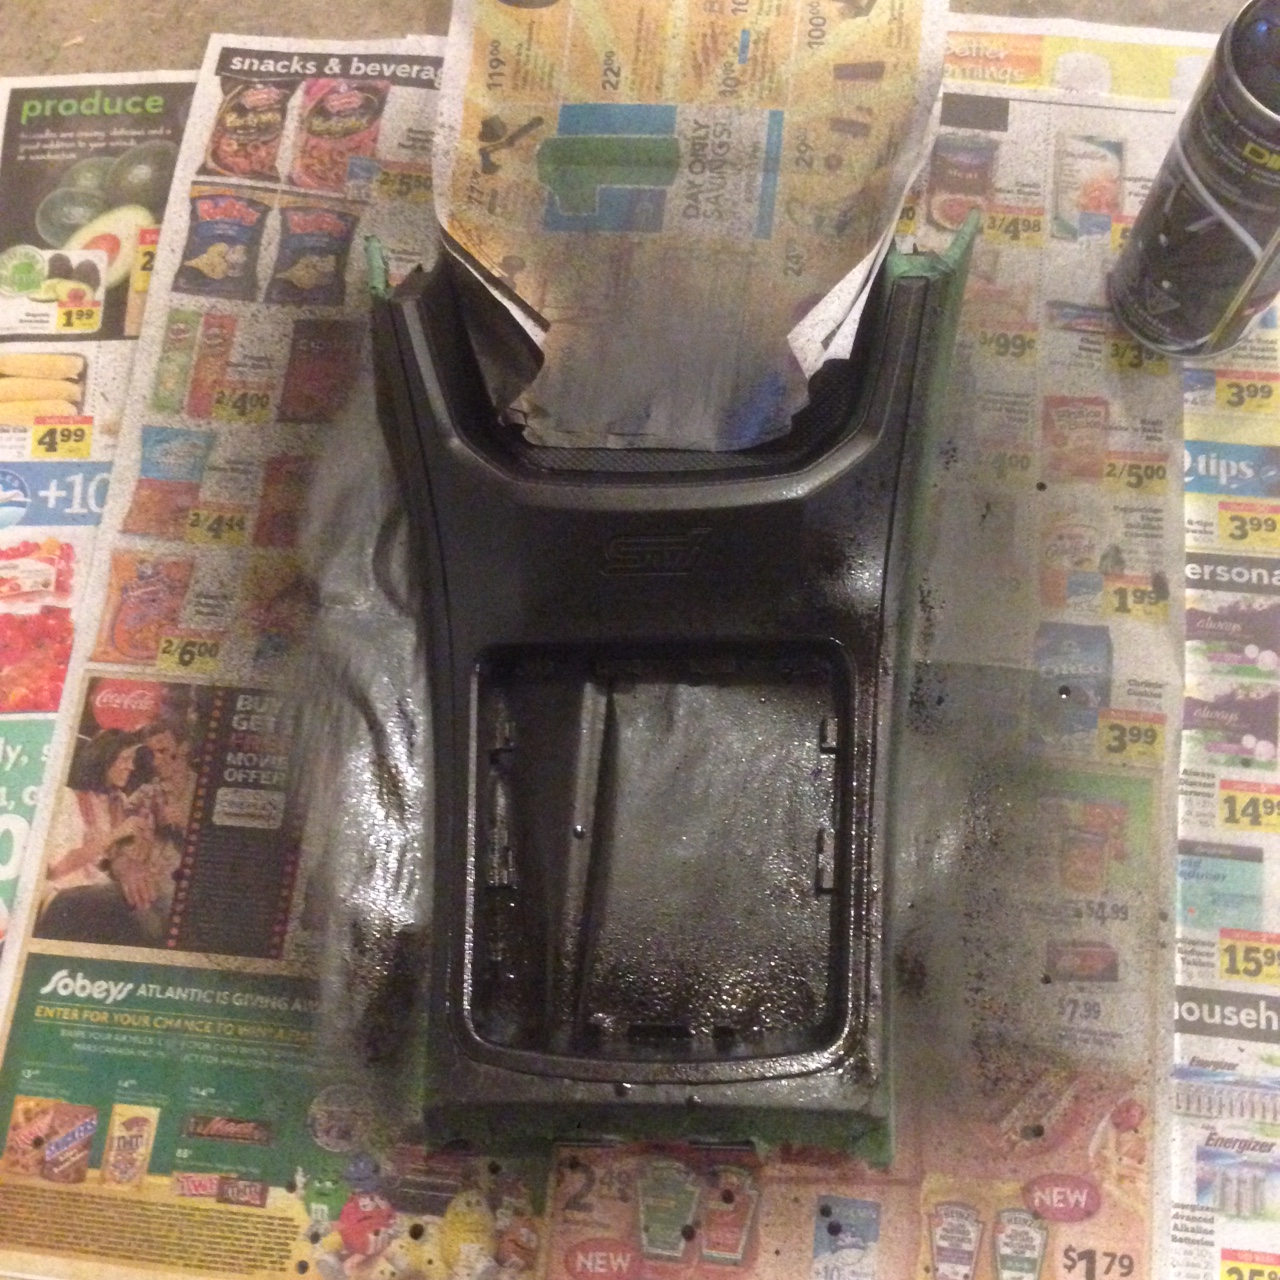
after the 5th coat dried I used a razor blade to cut along the STi badge and remove the dip and the tape.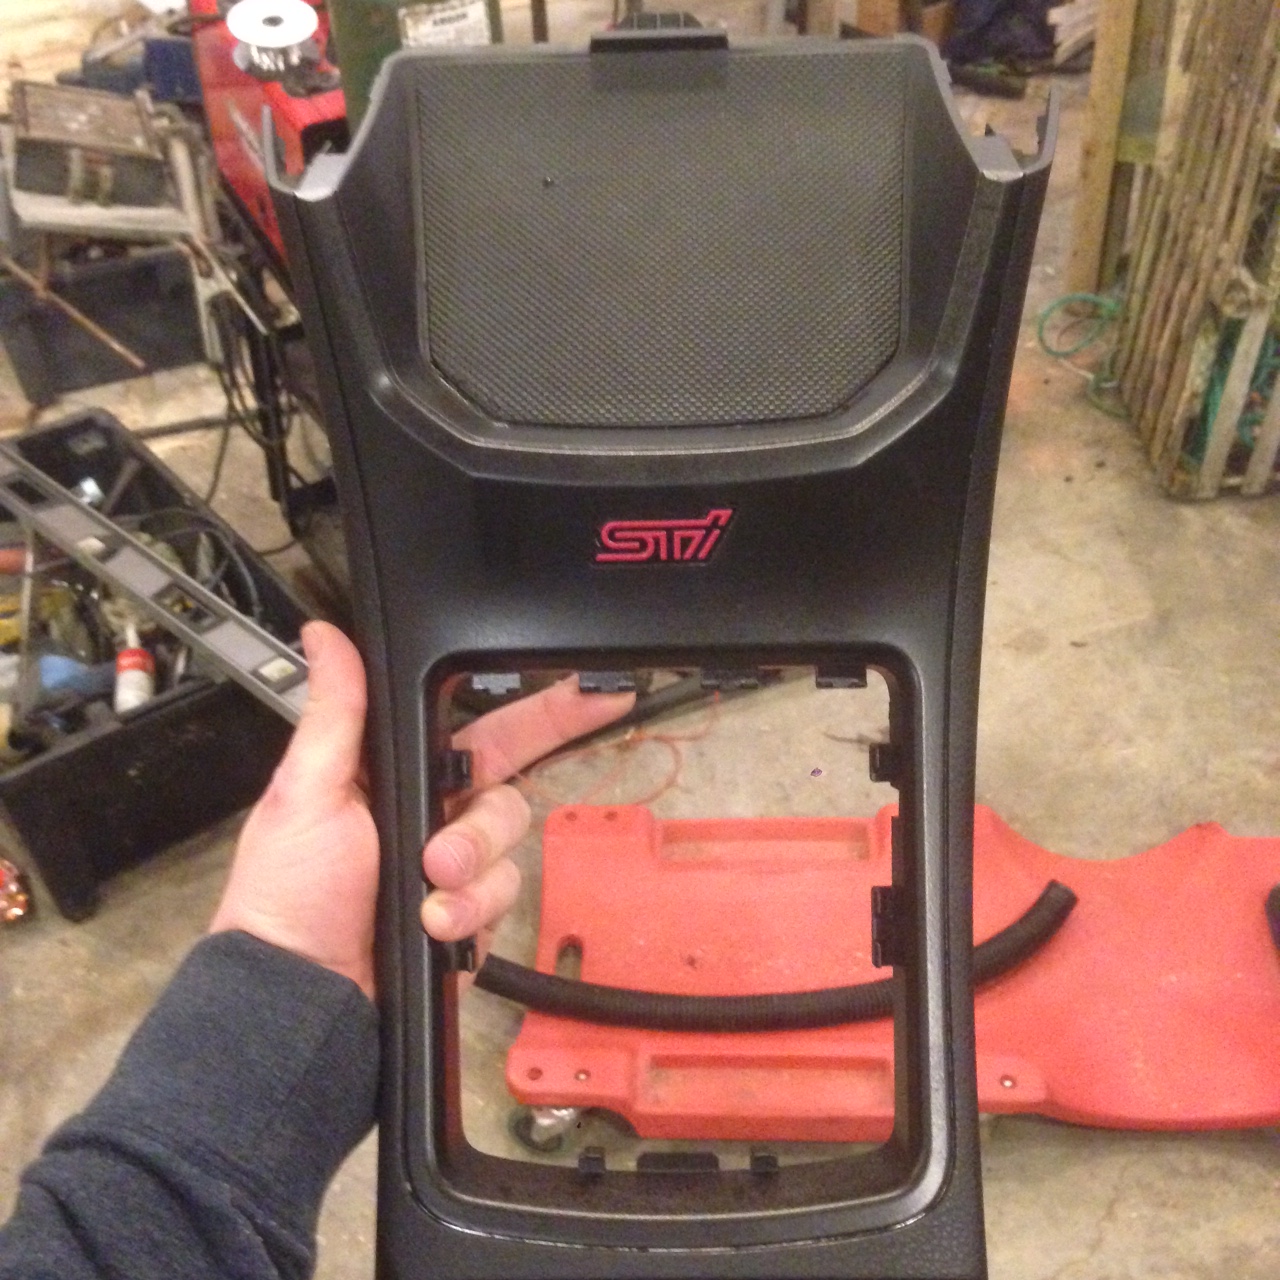
Boot in and just need to do a little touch up in the edge.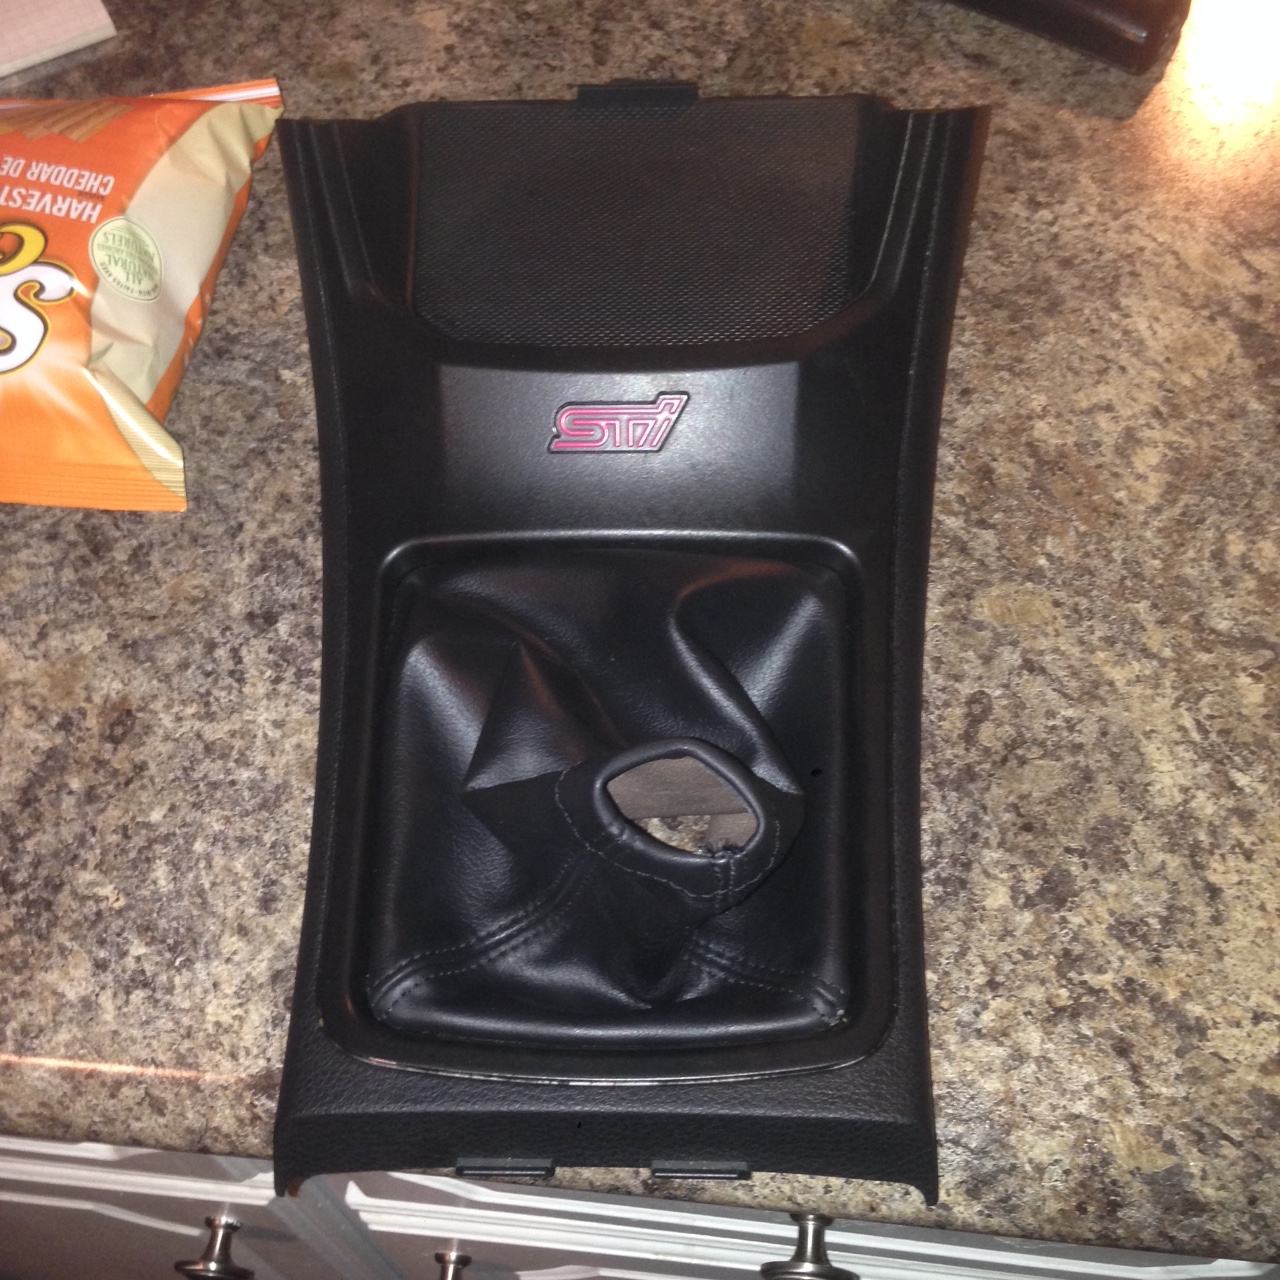
other then that I think it turned out alright. Looks better then that cheap silver crap.
I also picked up some hardwood for the trunk and got the 2 angles in the trunk to cut in the trunk. That should turn out ok and im excited for that little project.
Some other little things we are going to fix is extend the fuel lines going to the FPR so I can flip that around and able to see the gauge, also noticed that my oil pressure gauge connections arent making good contact cause the damn nuts came off again :\ so we will lock tight those on this time.
So now for the bad news... I was talking to Vollkommen and they unfortunely had a break in, so there will be a bit of a delay on that but that didnt really matter once I found out my wheels wont be here until june. So going to roll the front fenders and try it out on the 57s
4-17-2016
Another little update since I have a break
Continued working on the AOS today. Good this is a great piece.
Engine Harness mounted to the passenger side strut tower.
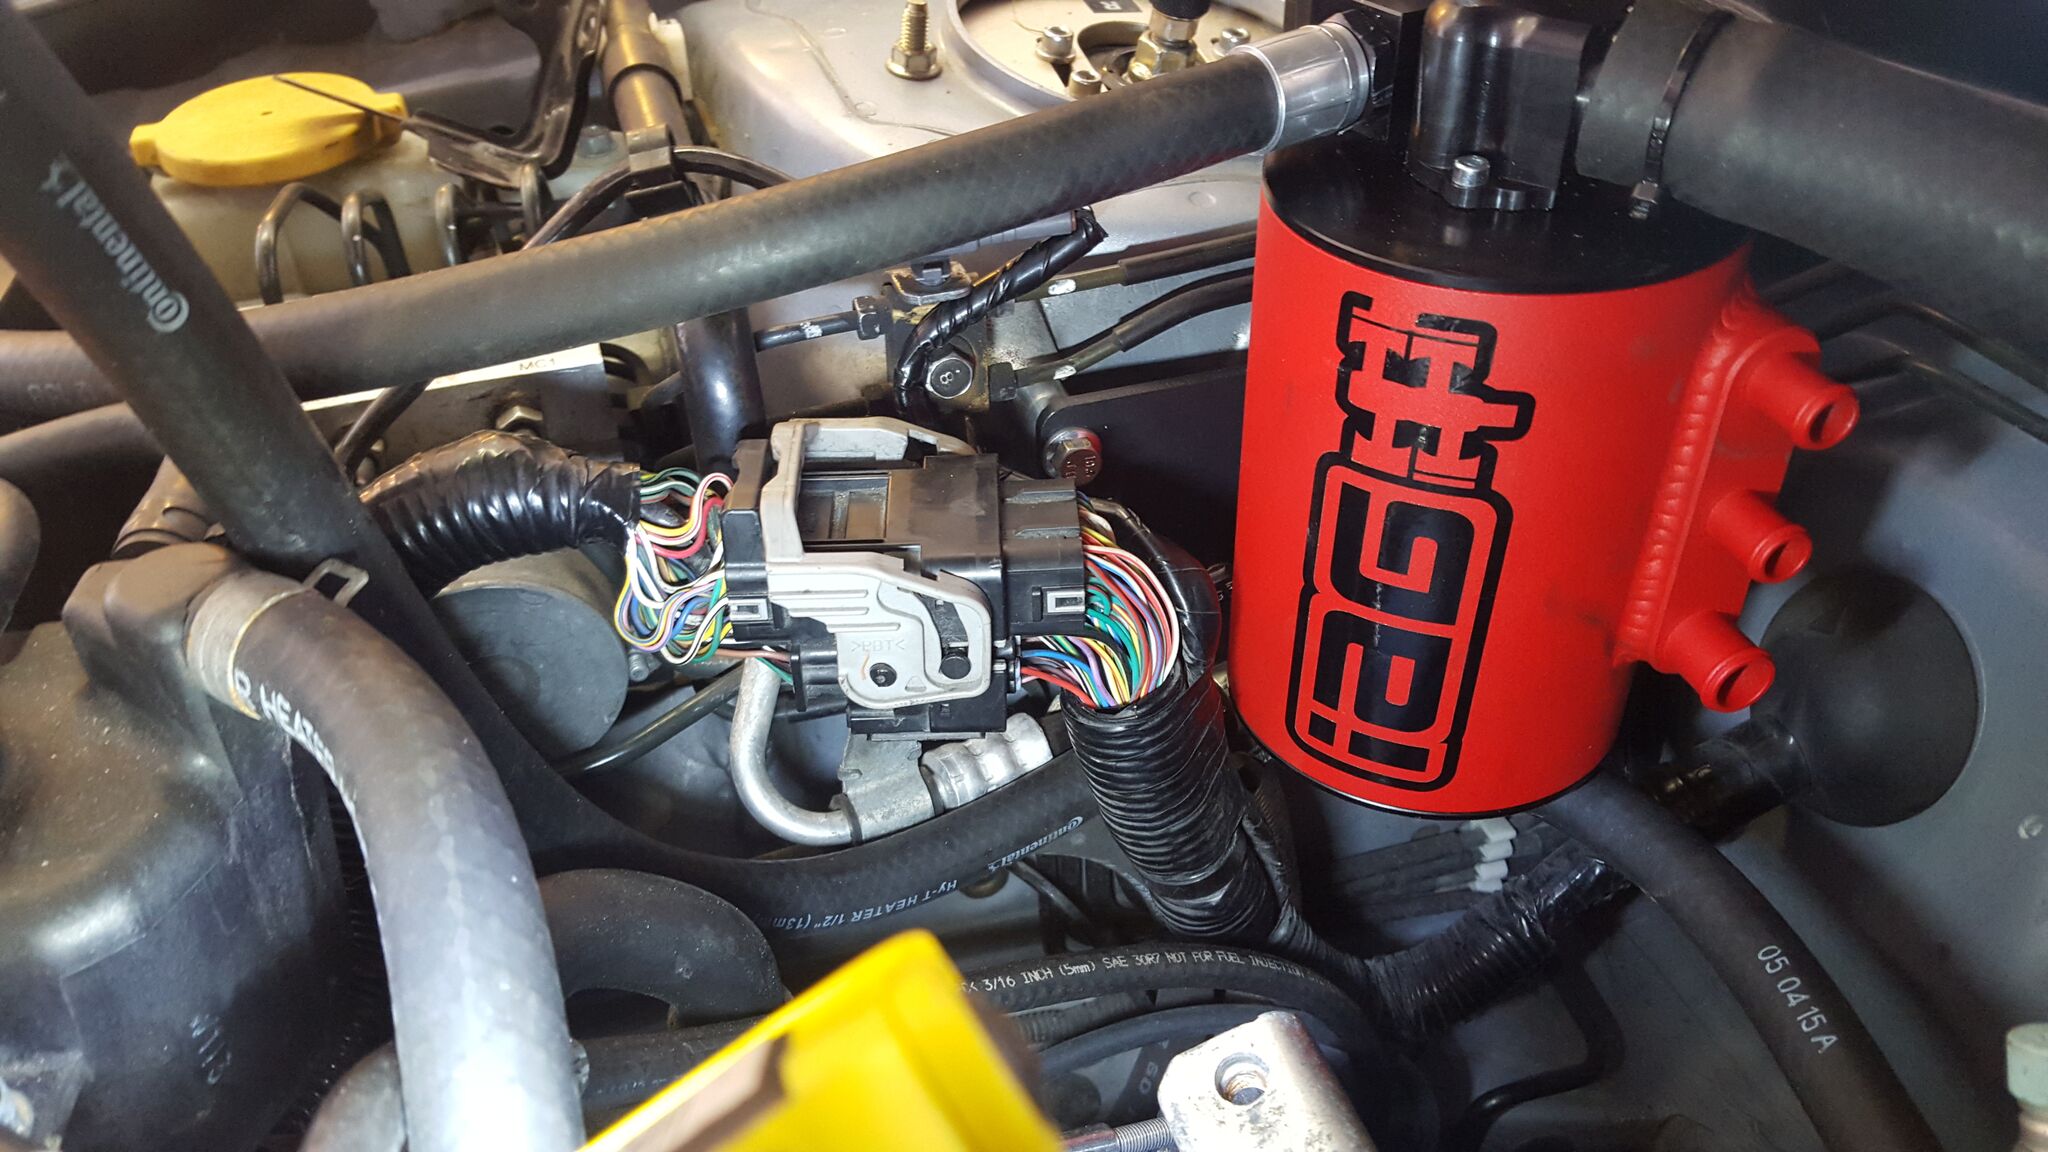
Pic of the mounting bracket
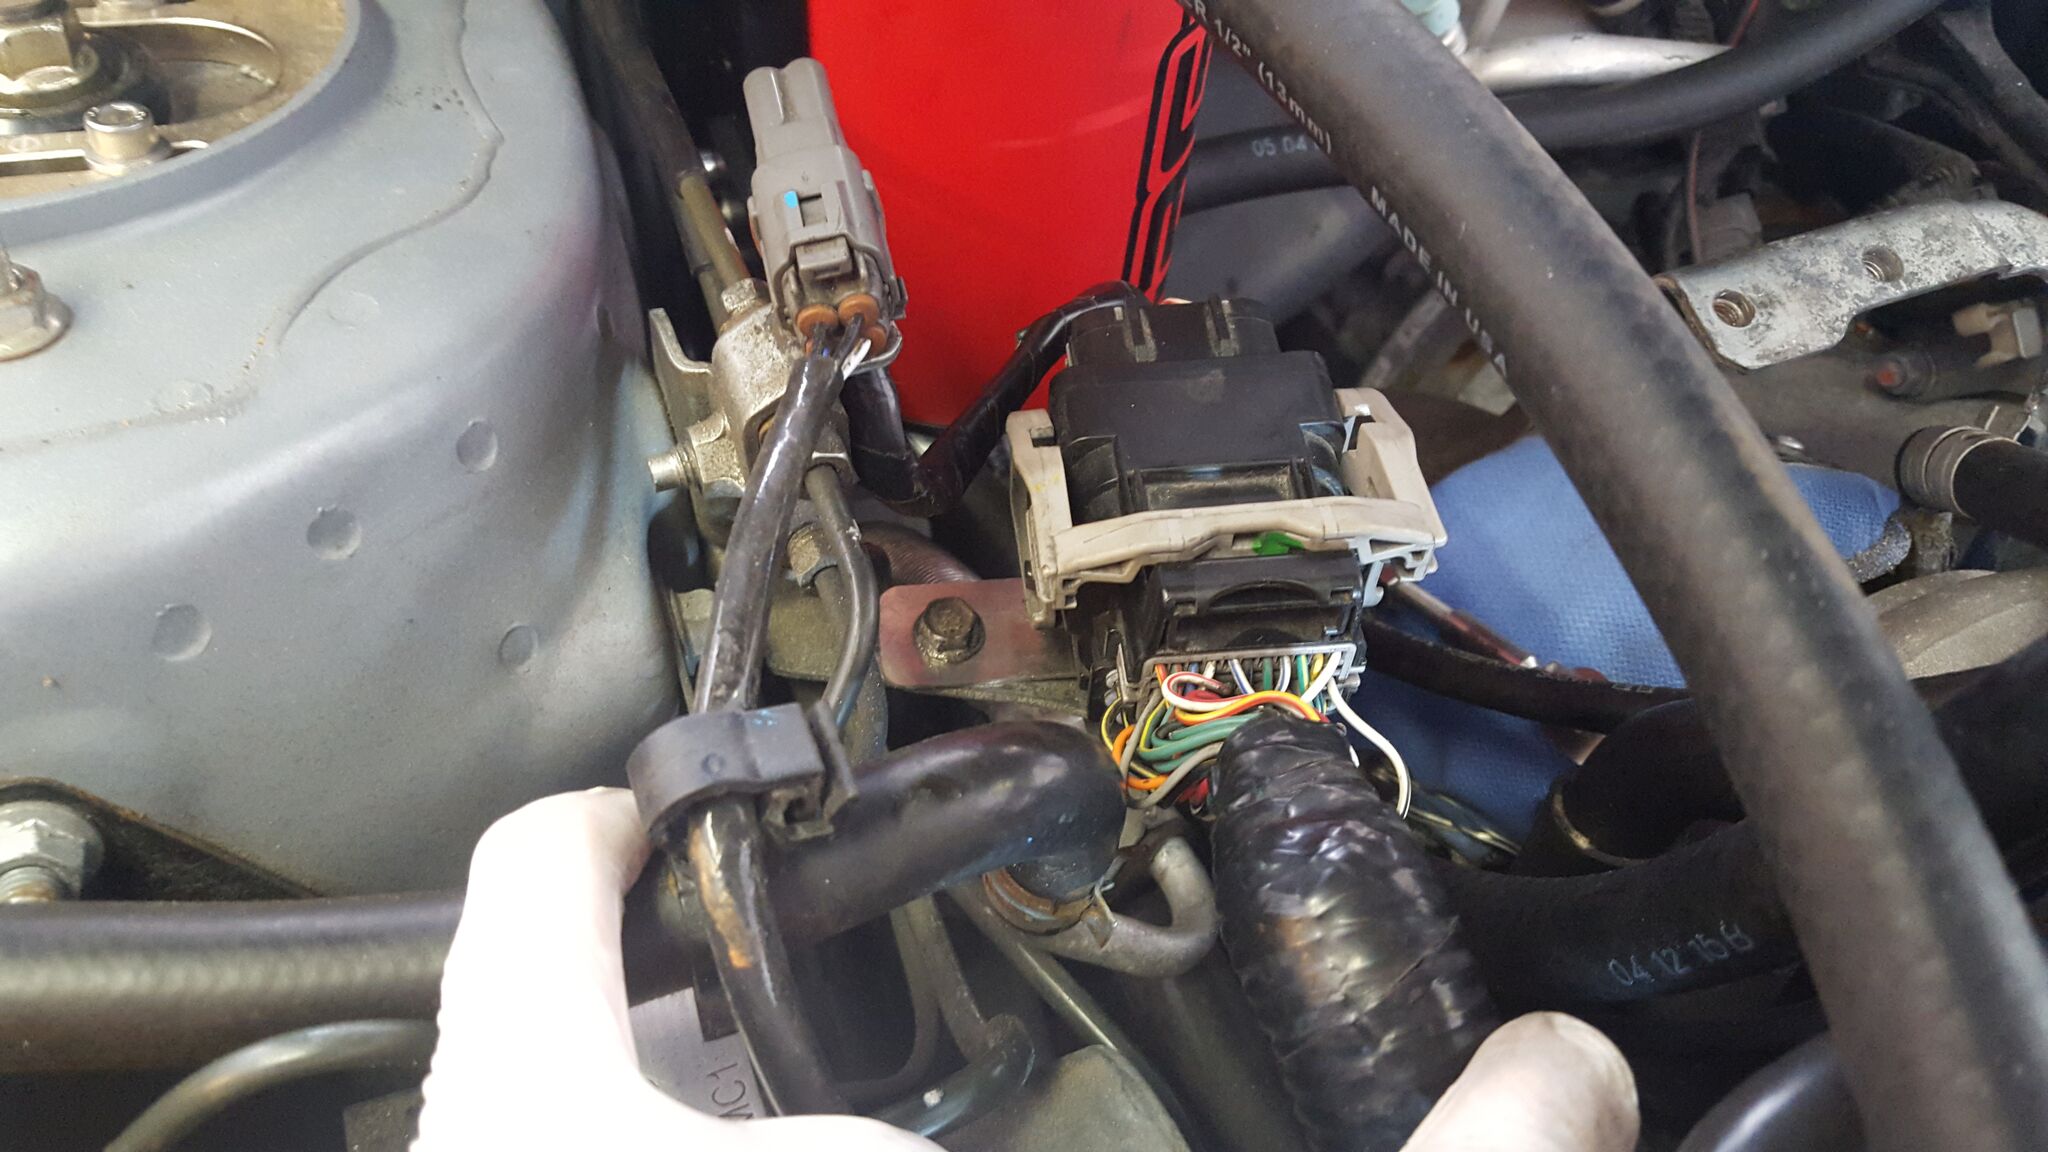
Running the plumbing to the over flow tank
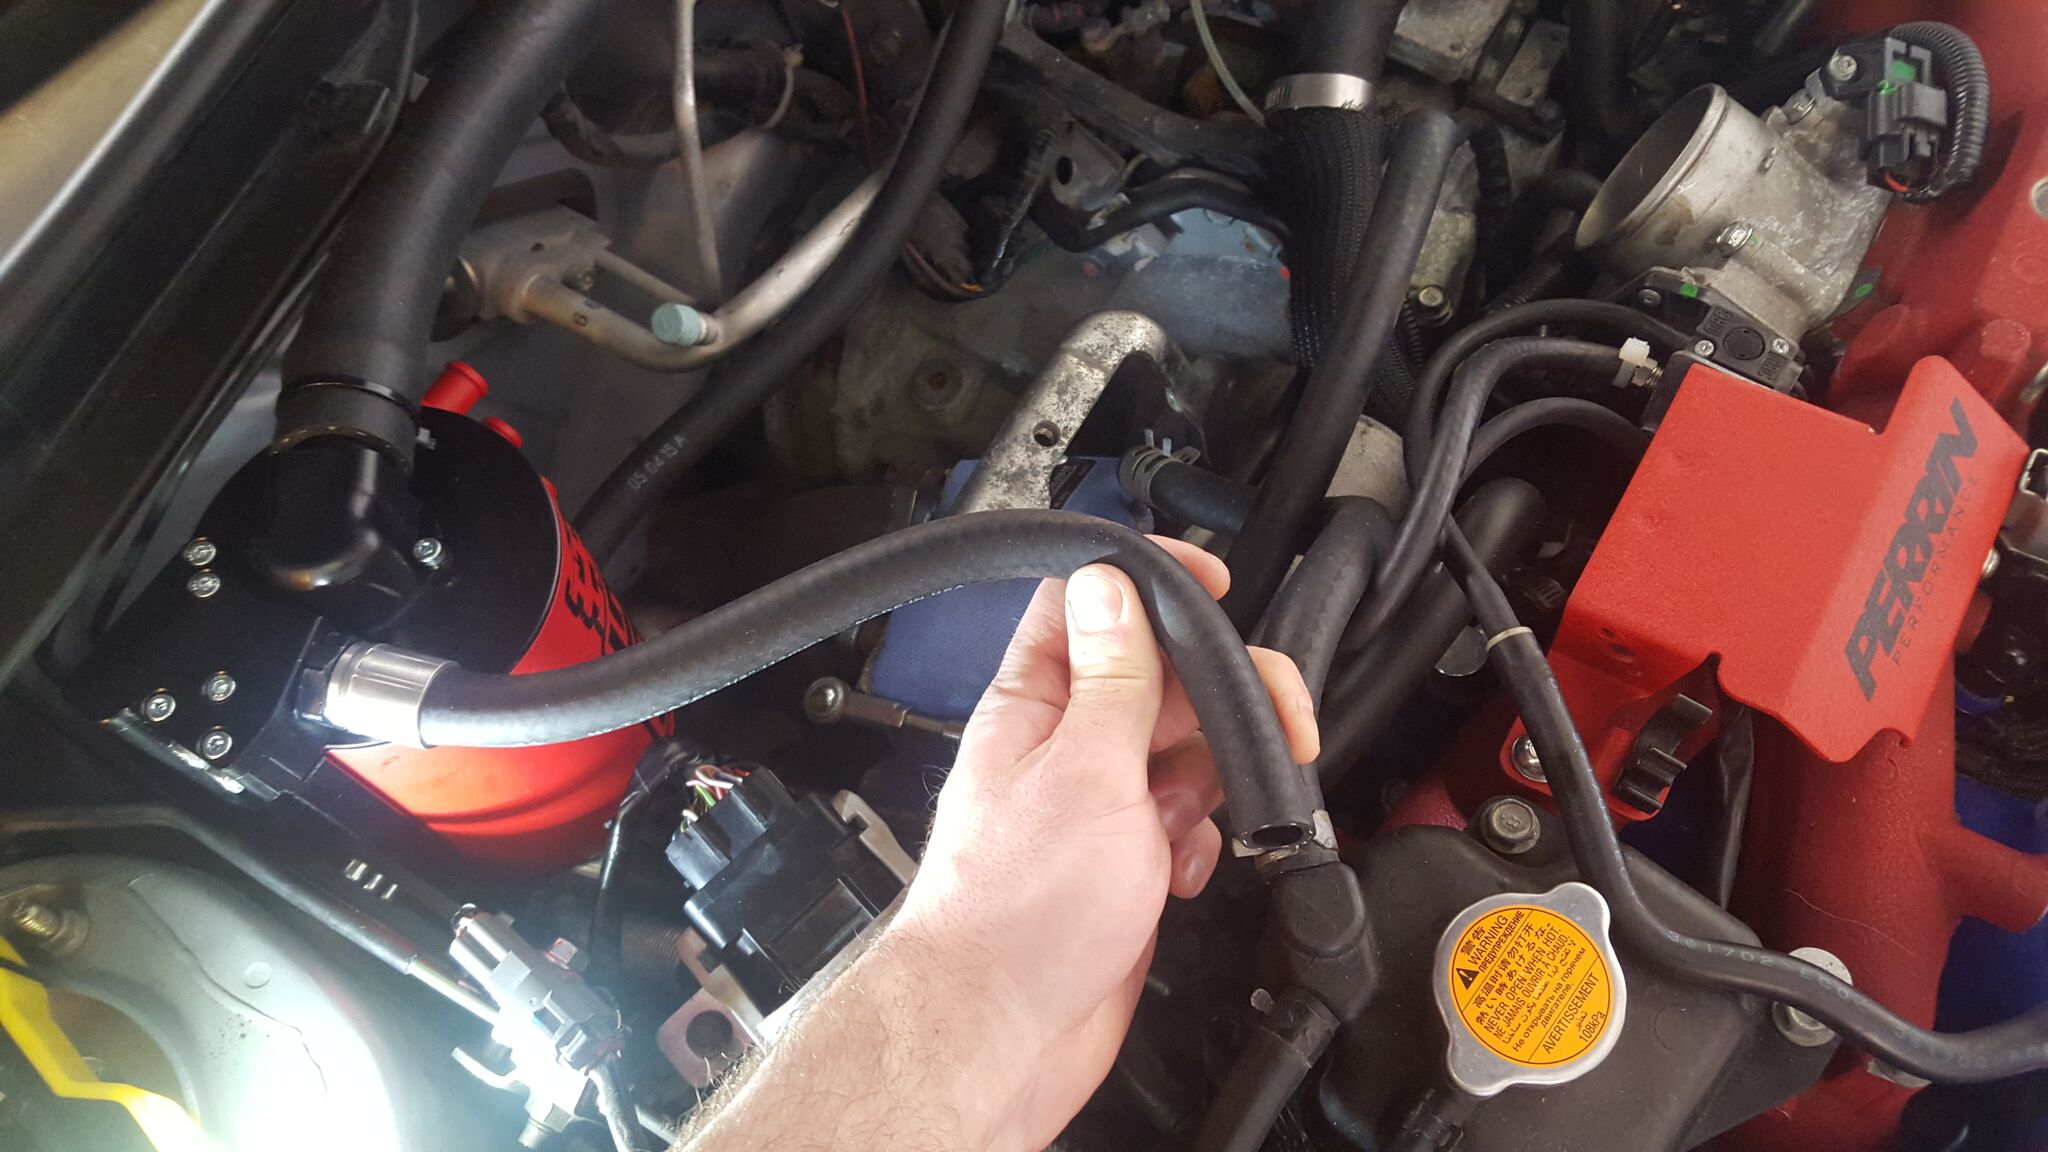
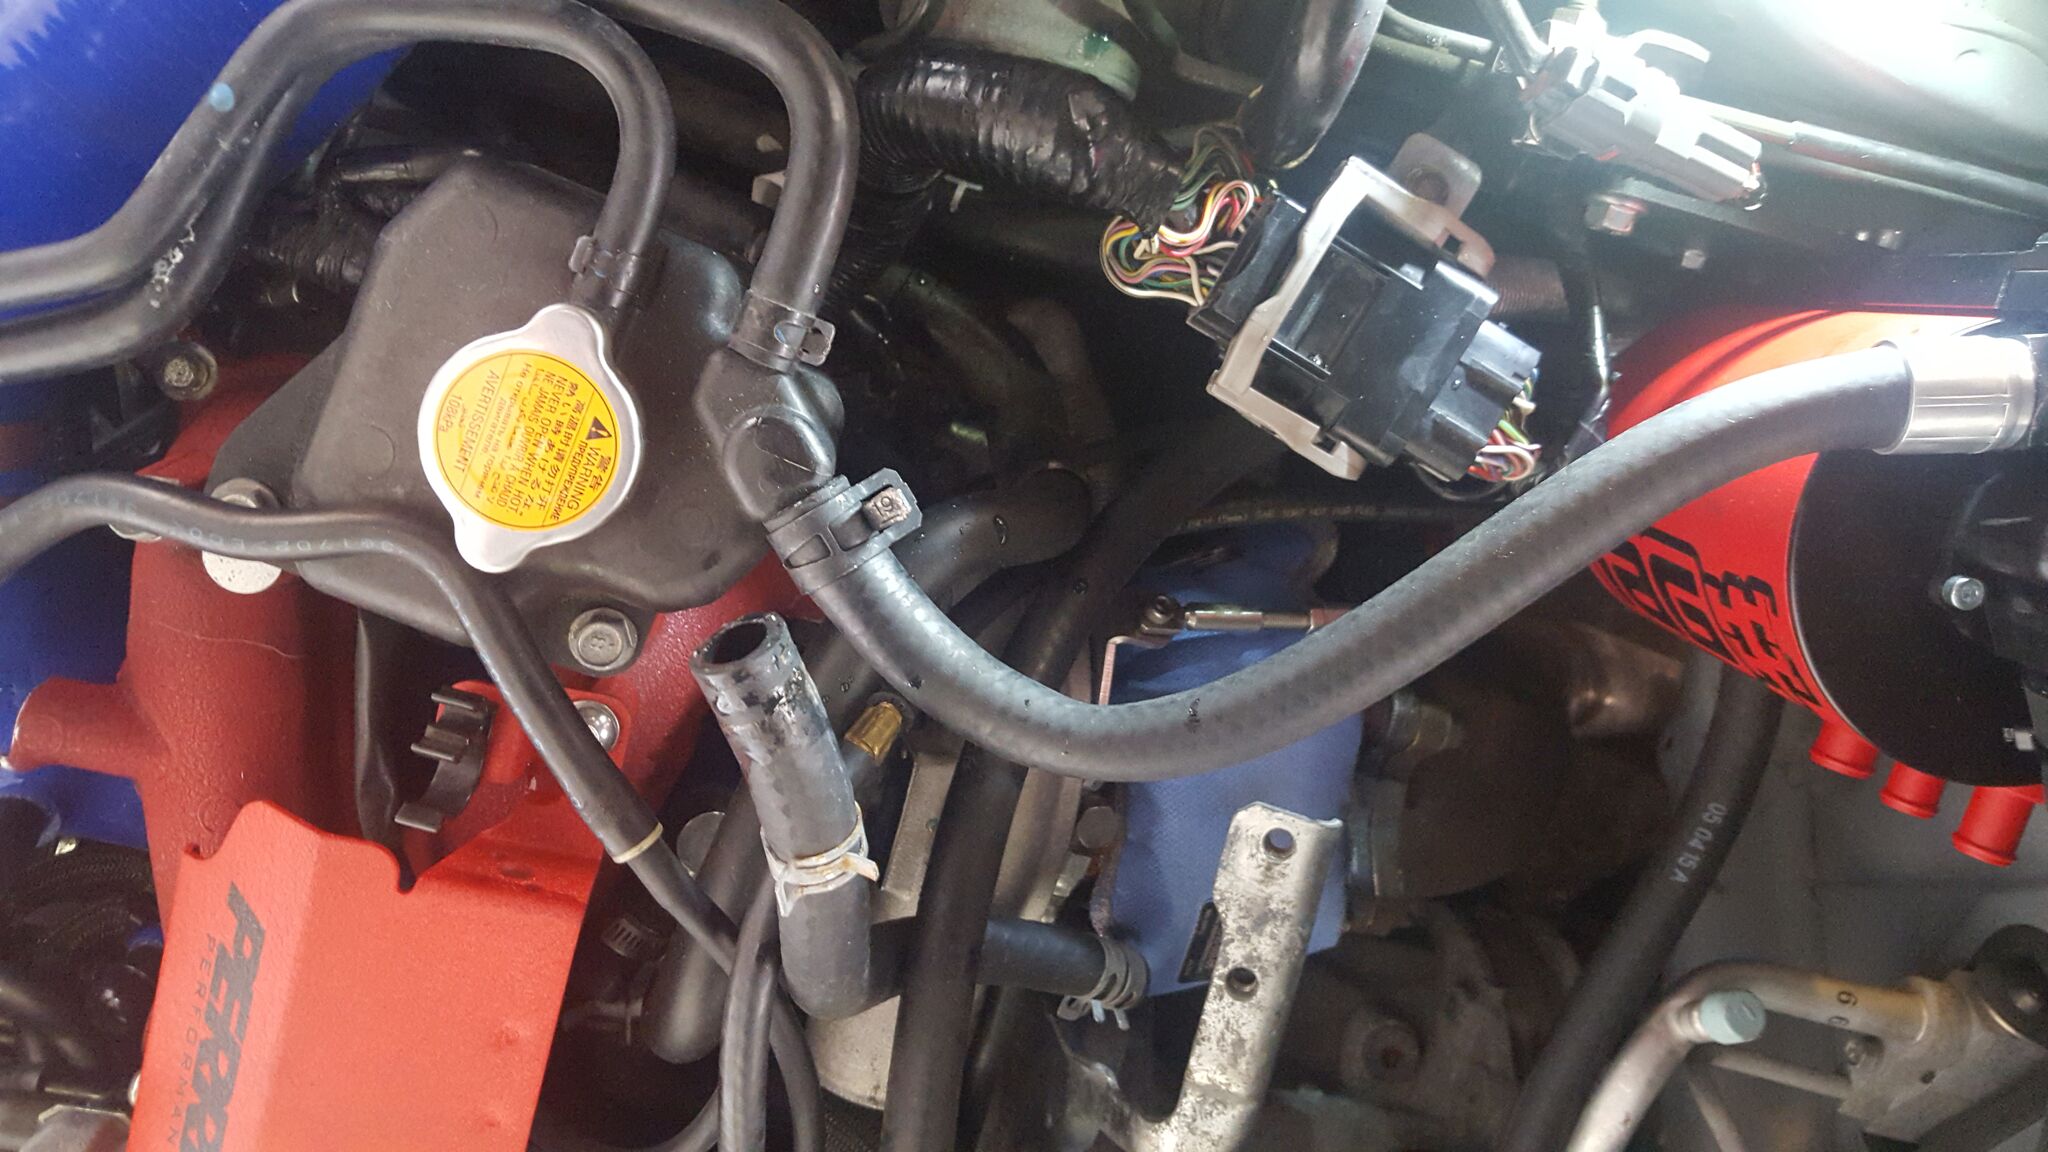
Running to the turbo then
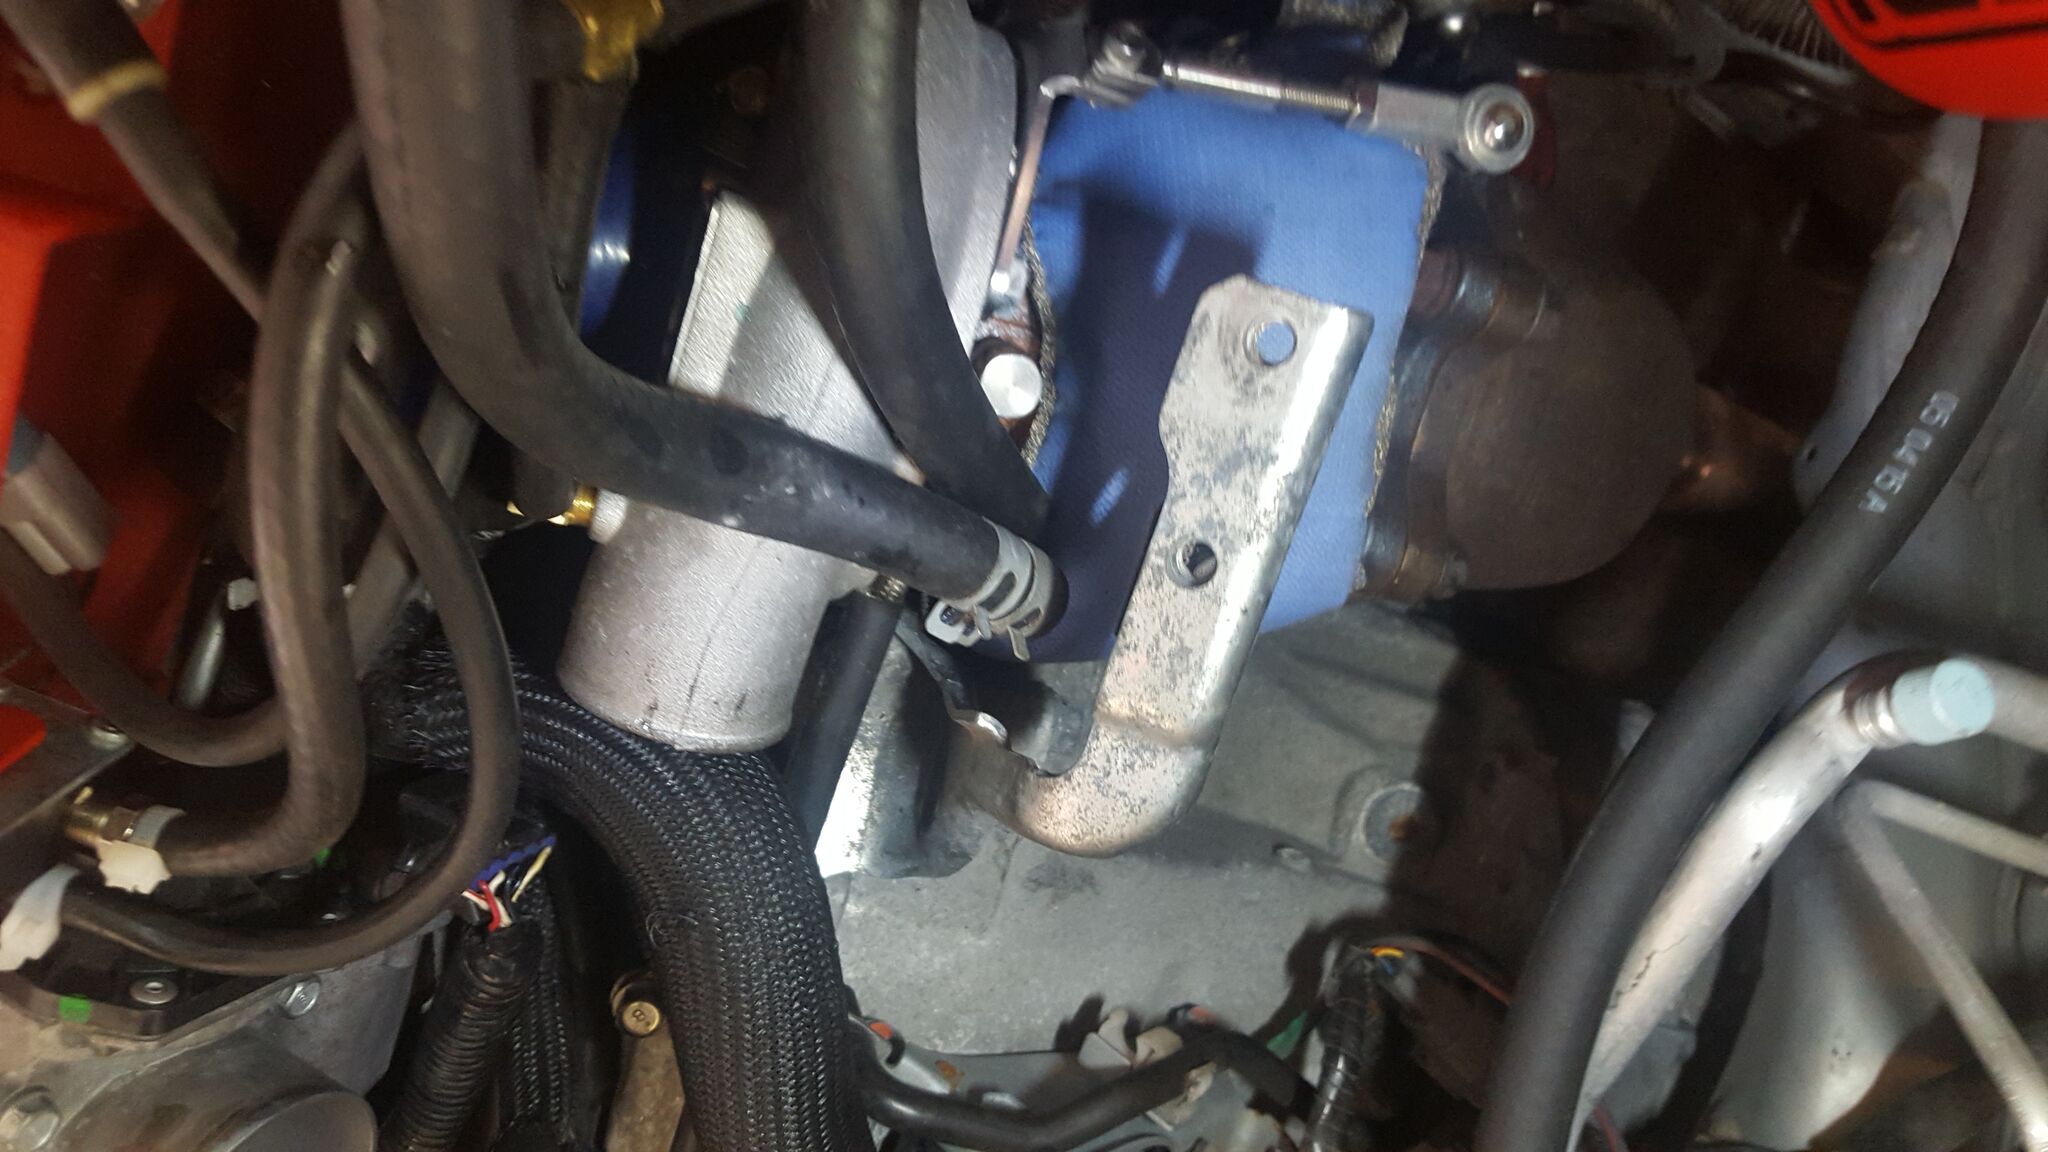
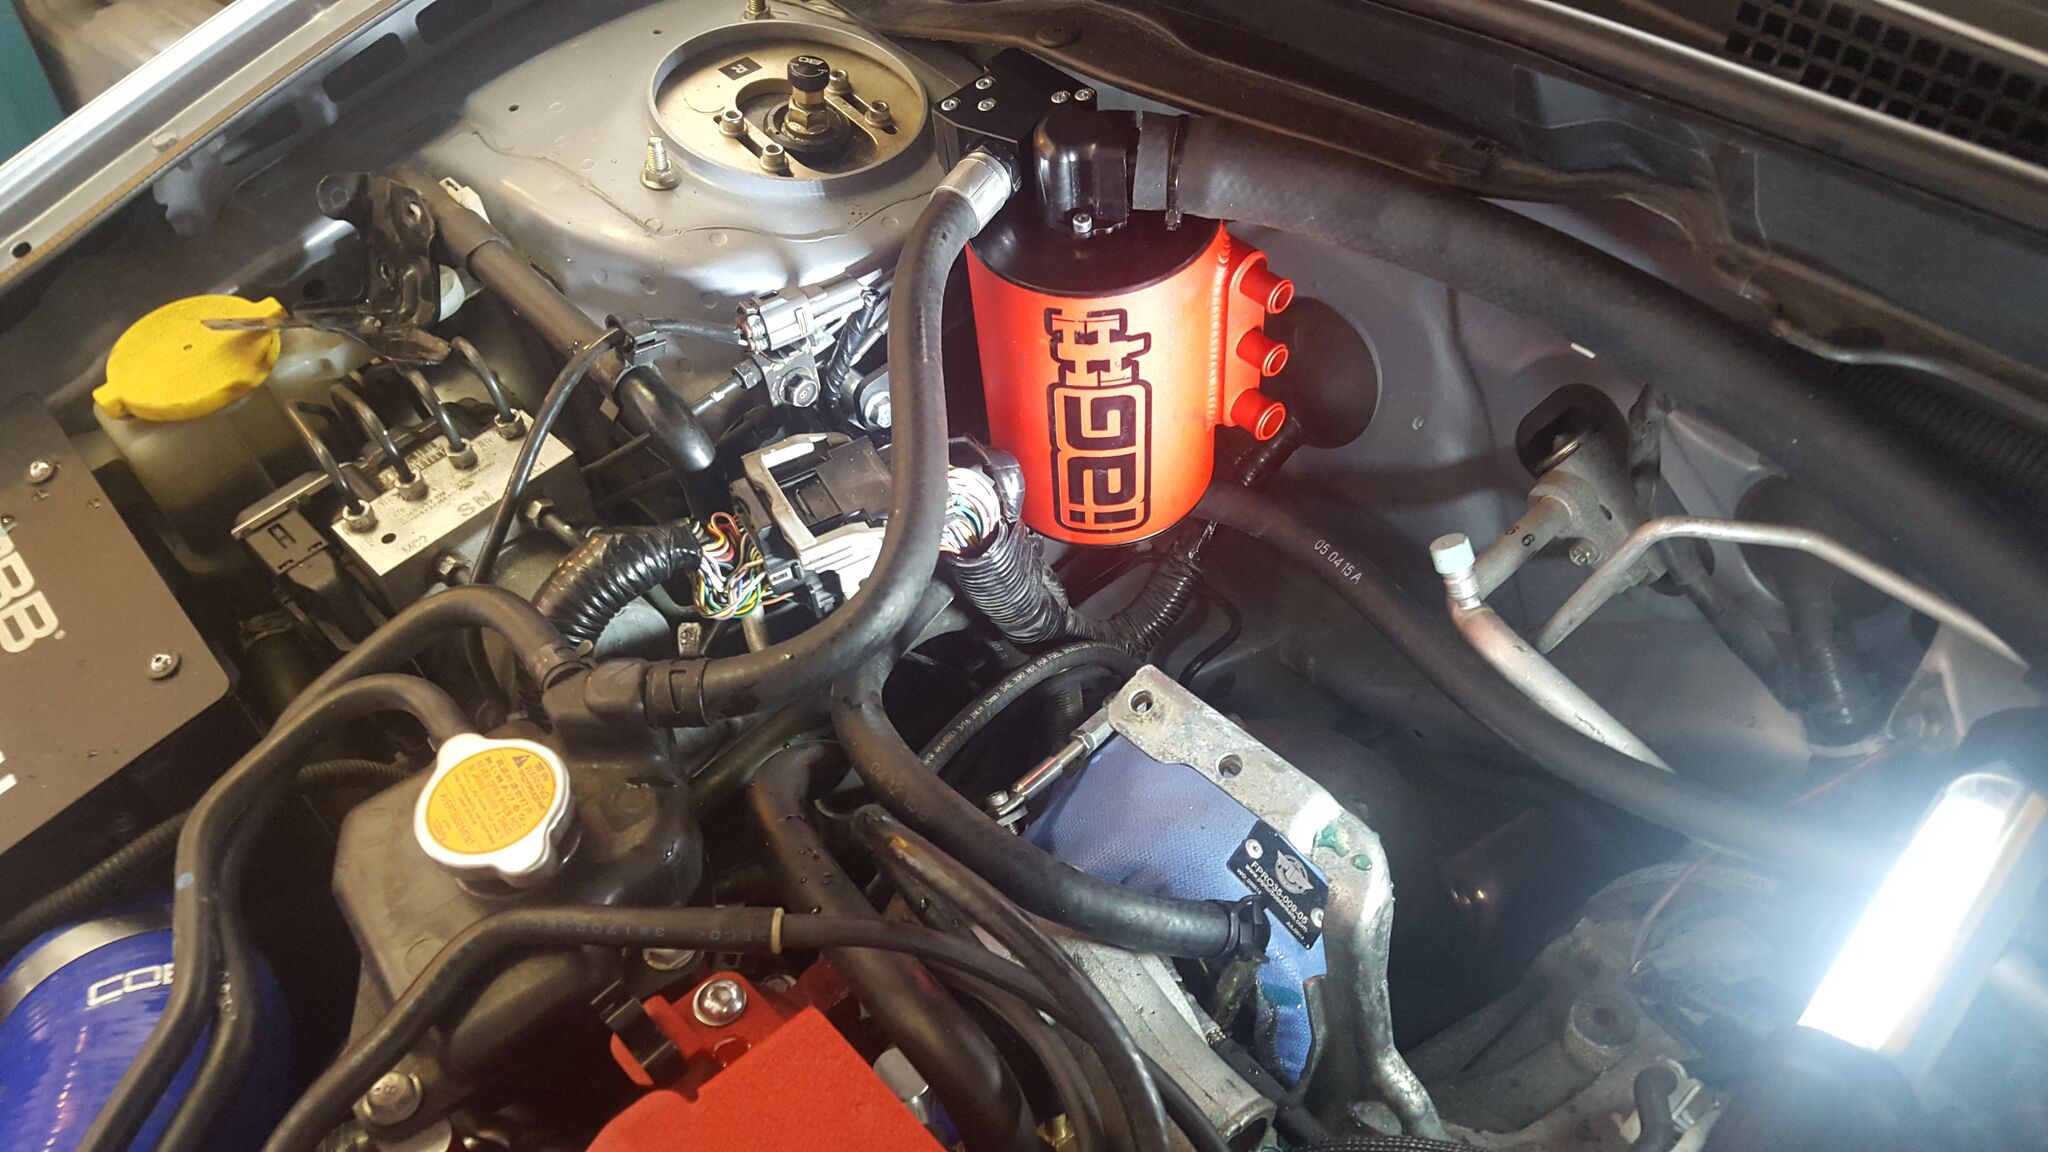
Running the coolant lines. Had the line with the elbow come up on the front of the turbo.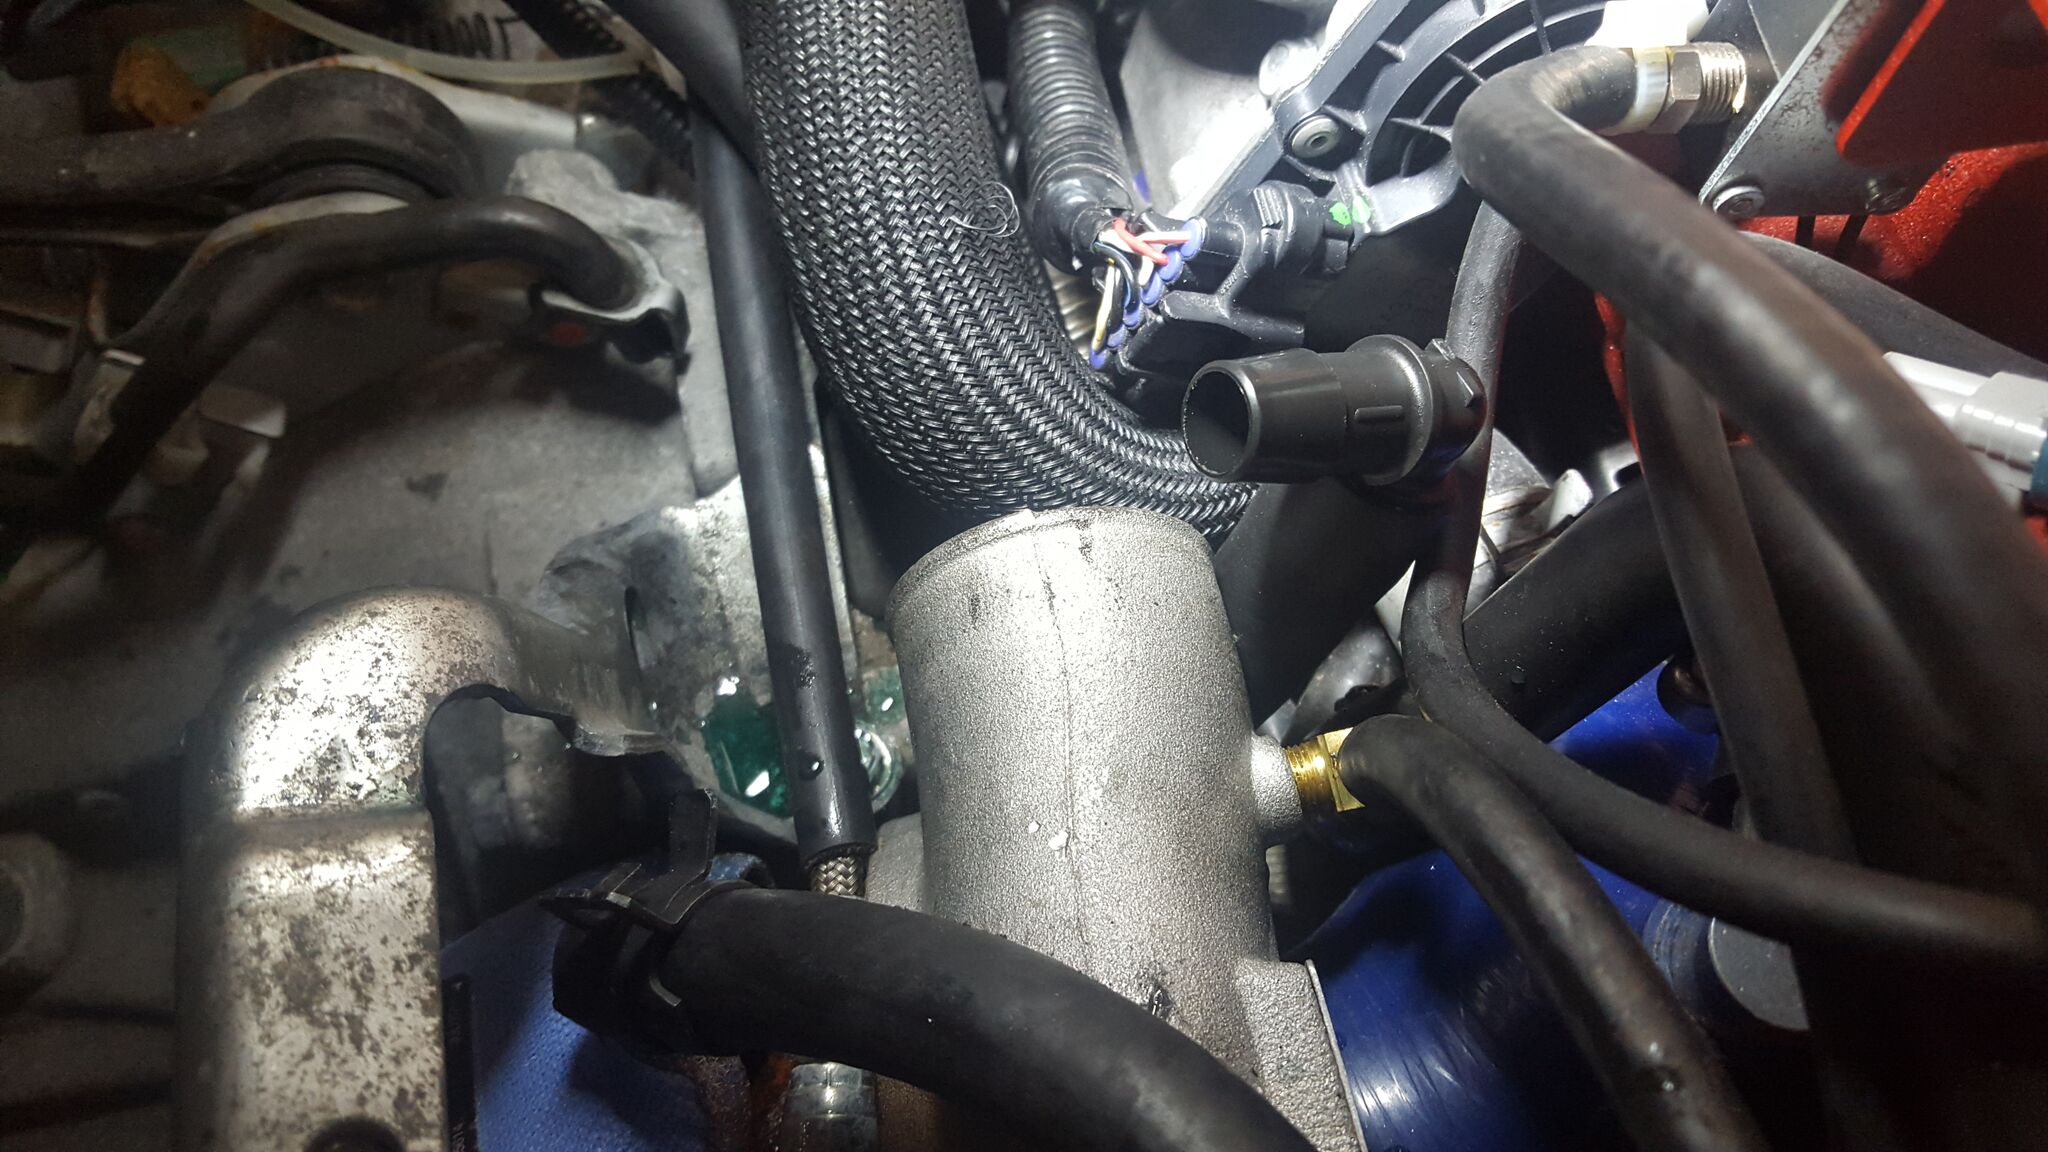
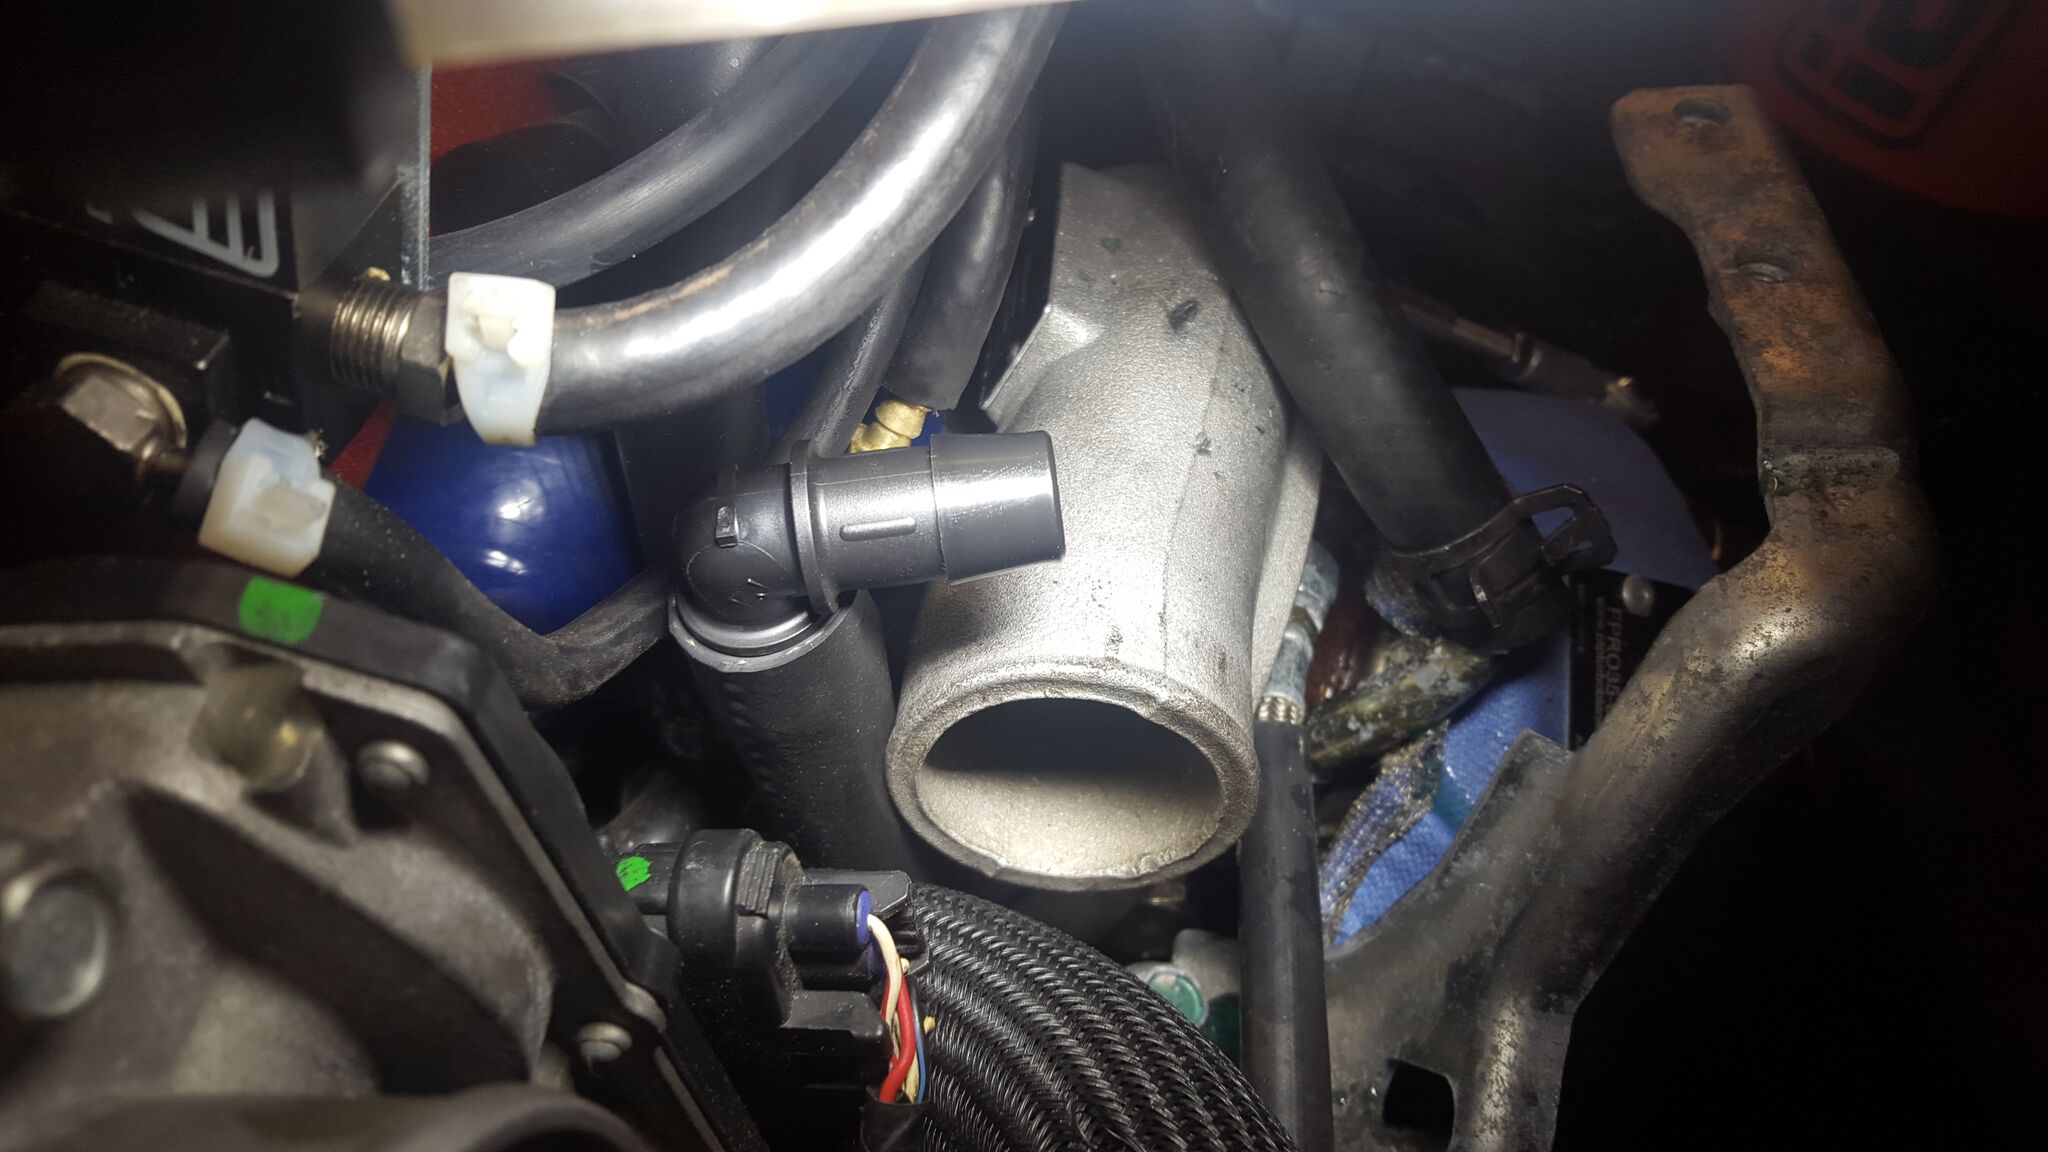
Lines connected to the AOS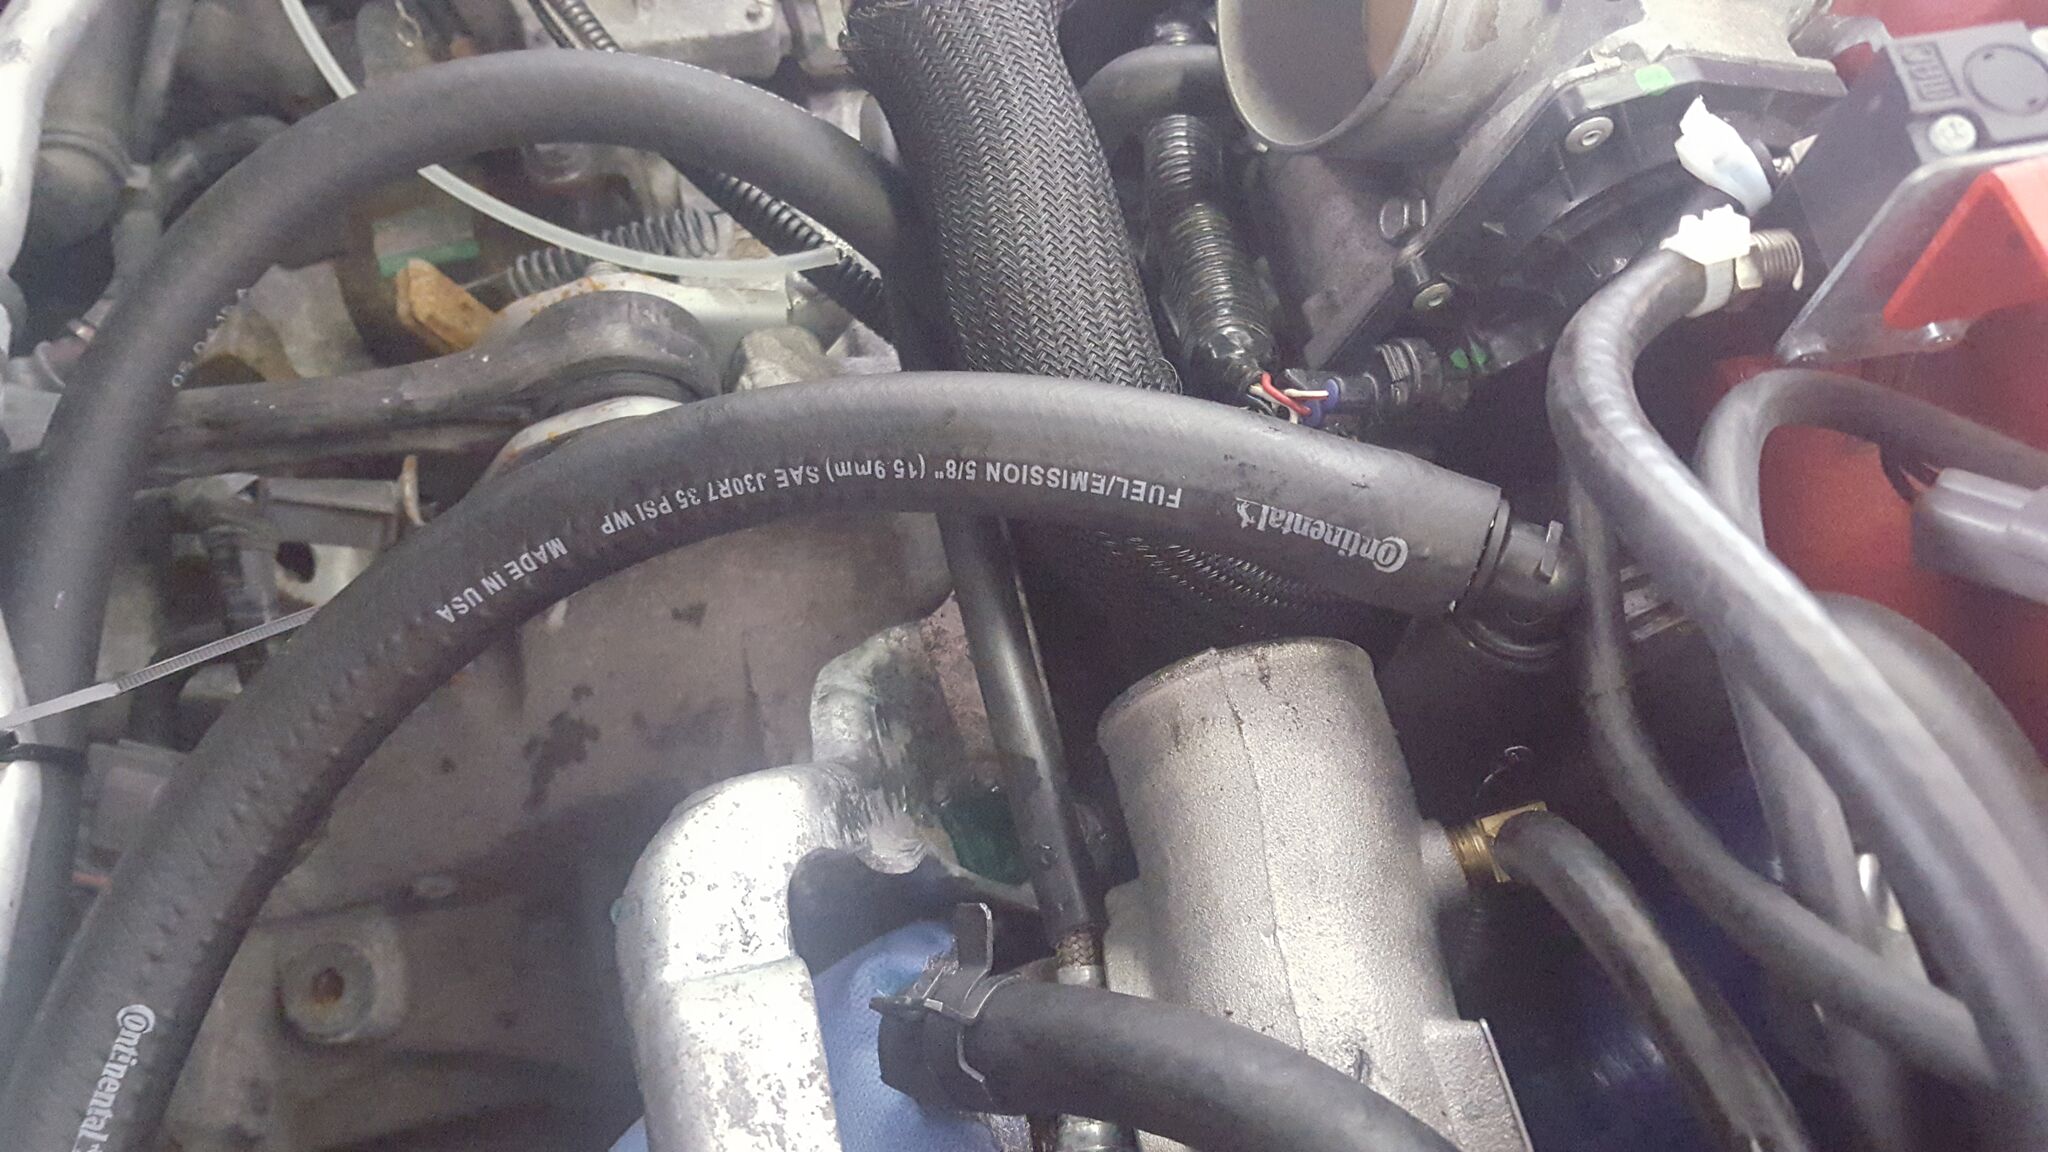
Now to run the lines to the crank case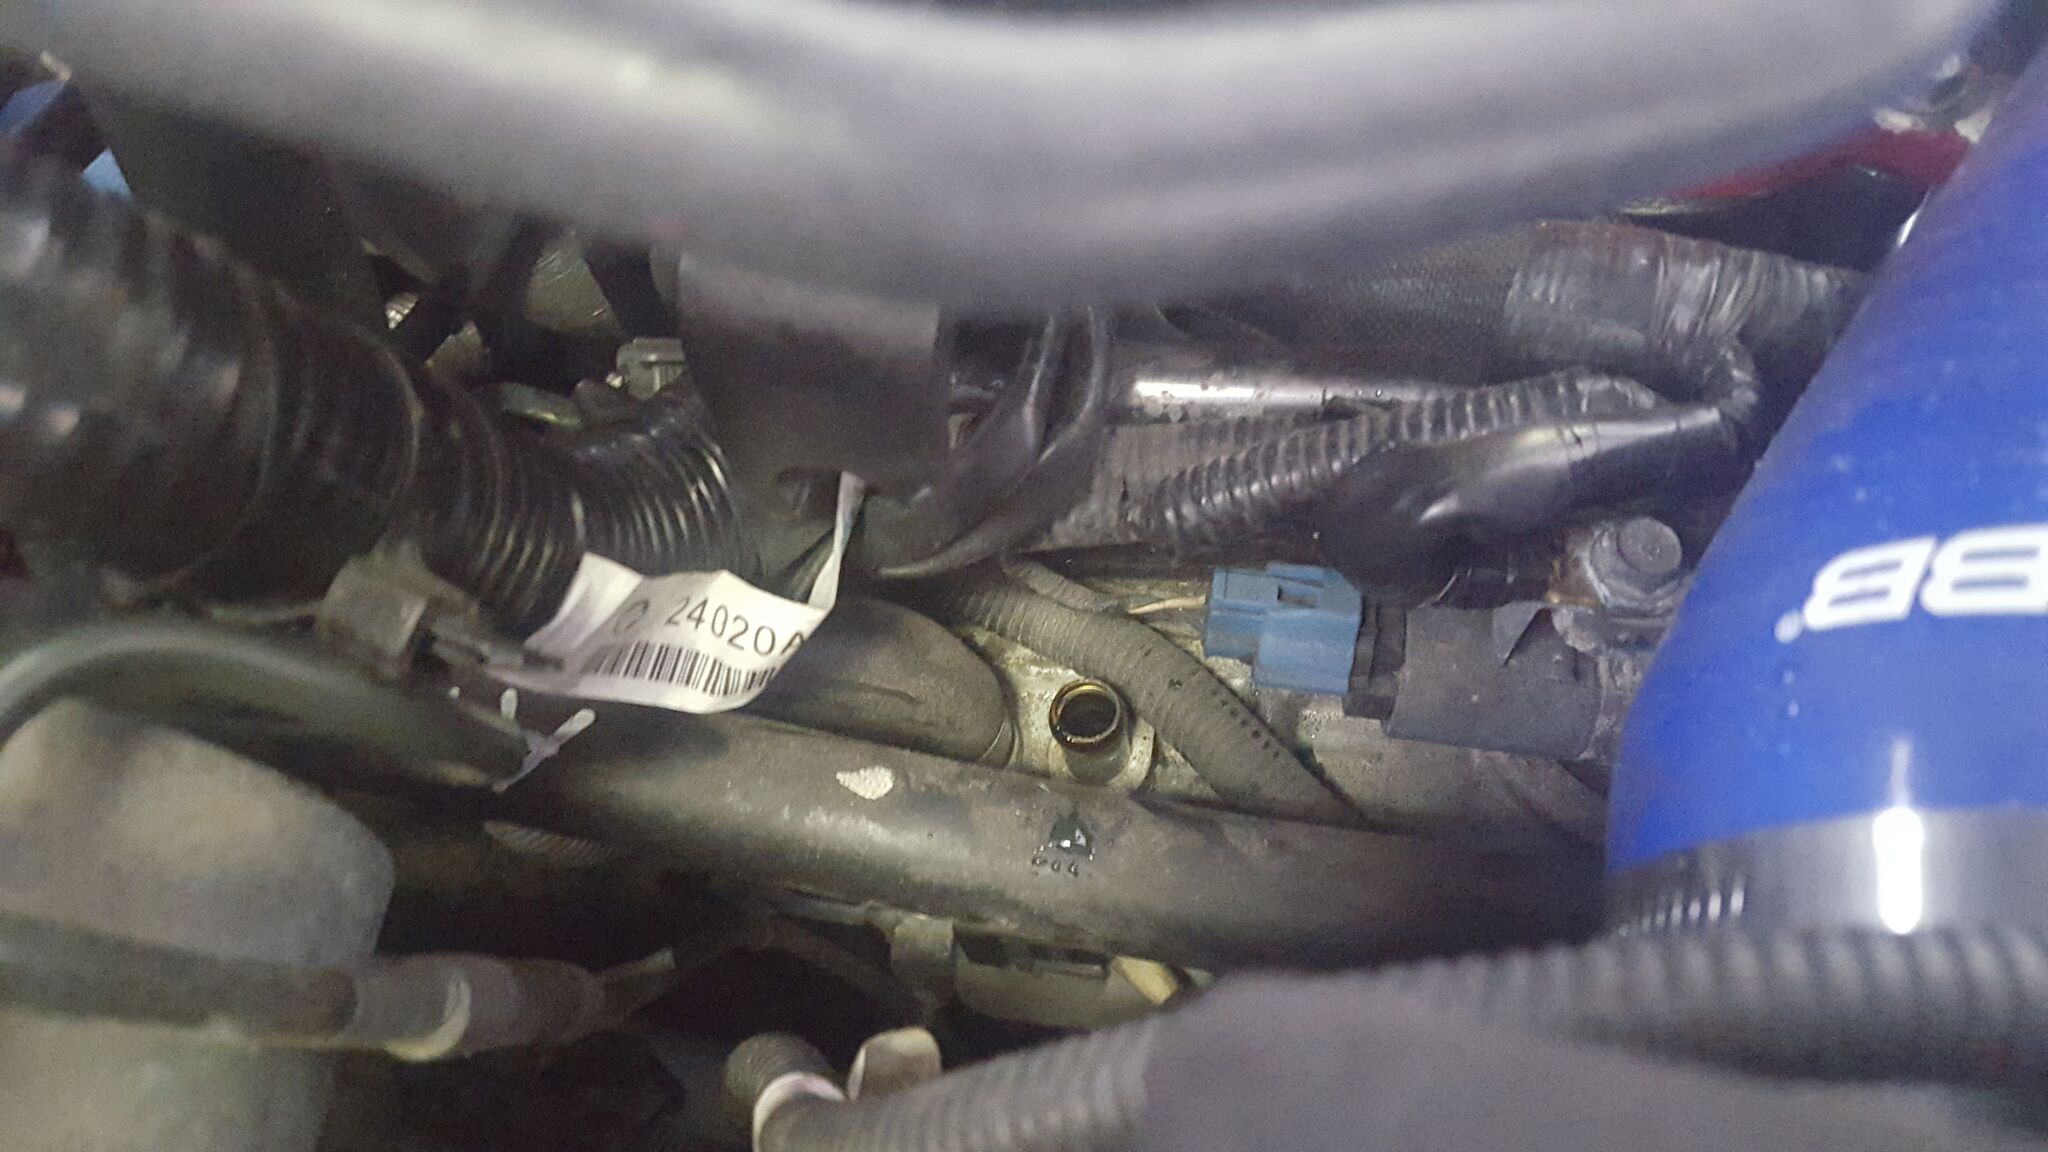
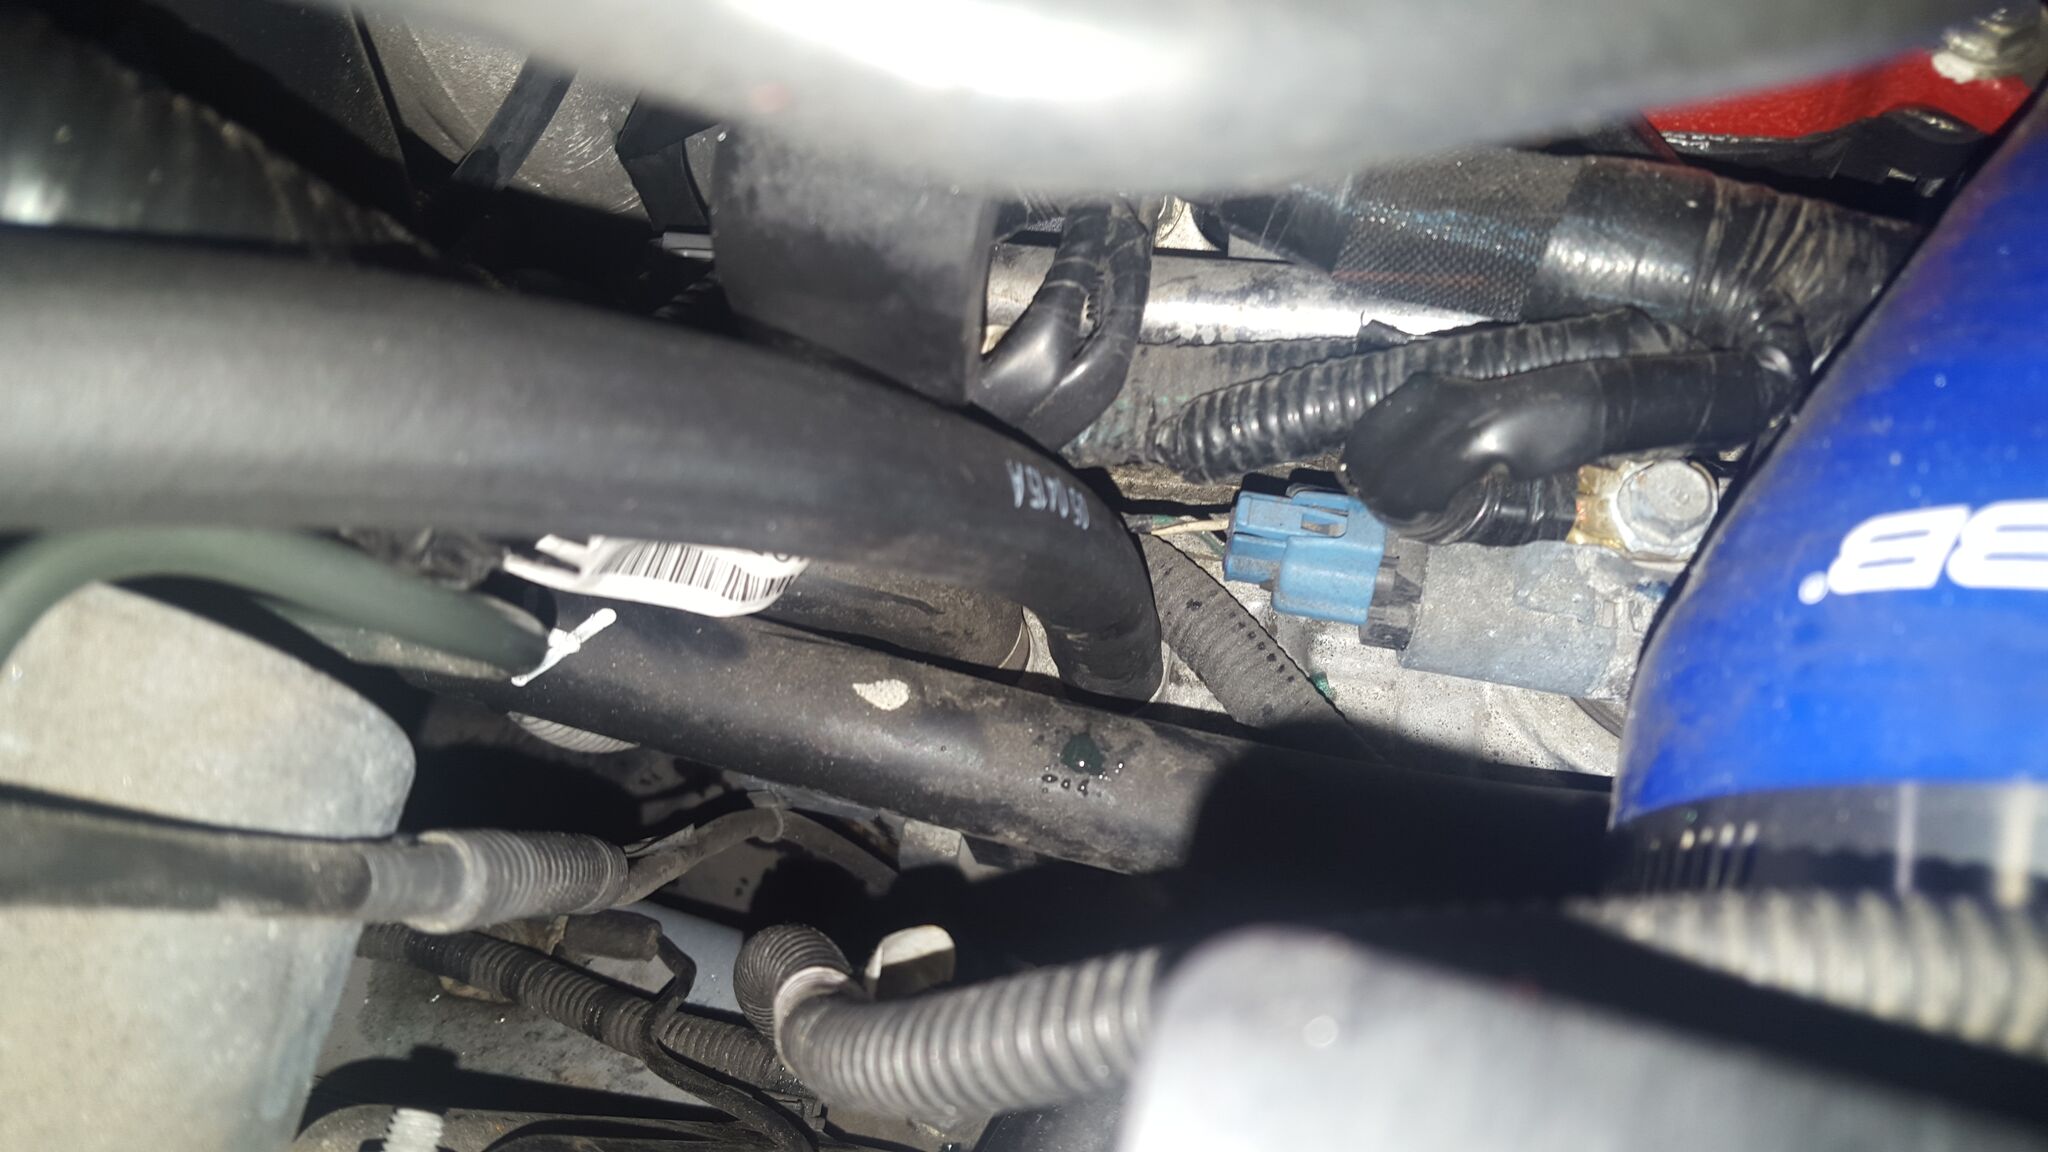
And thats about it for right now. Hoping to have the AOS installed by tonight. Then start with fixing the Oil Pressure gauge and re-plumbing the fuel lines to the regulator and after that possibly start running some of the lines for the Air Suspension.
4-19-2016
So another little update.
Hooking up the last of the hoses on the AOS.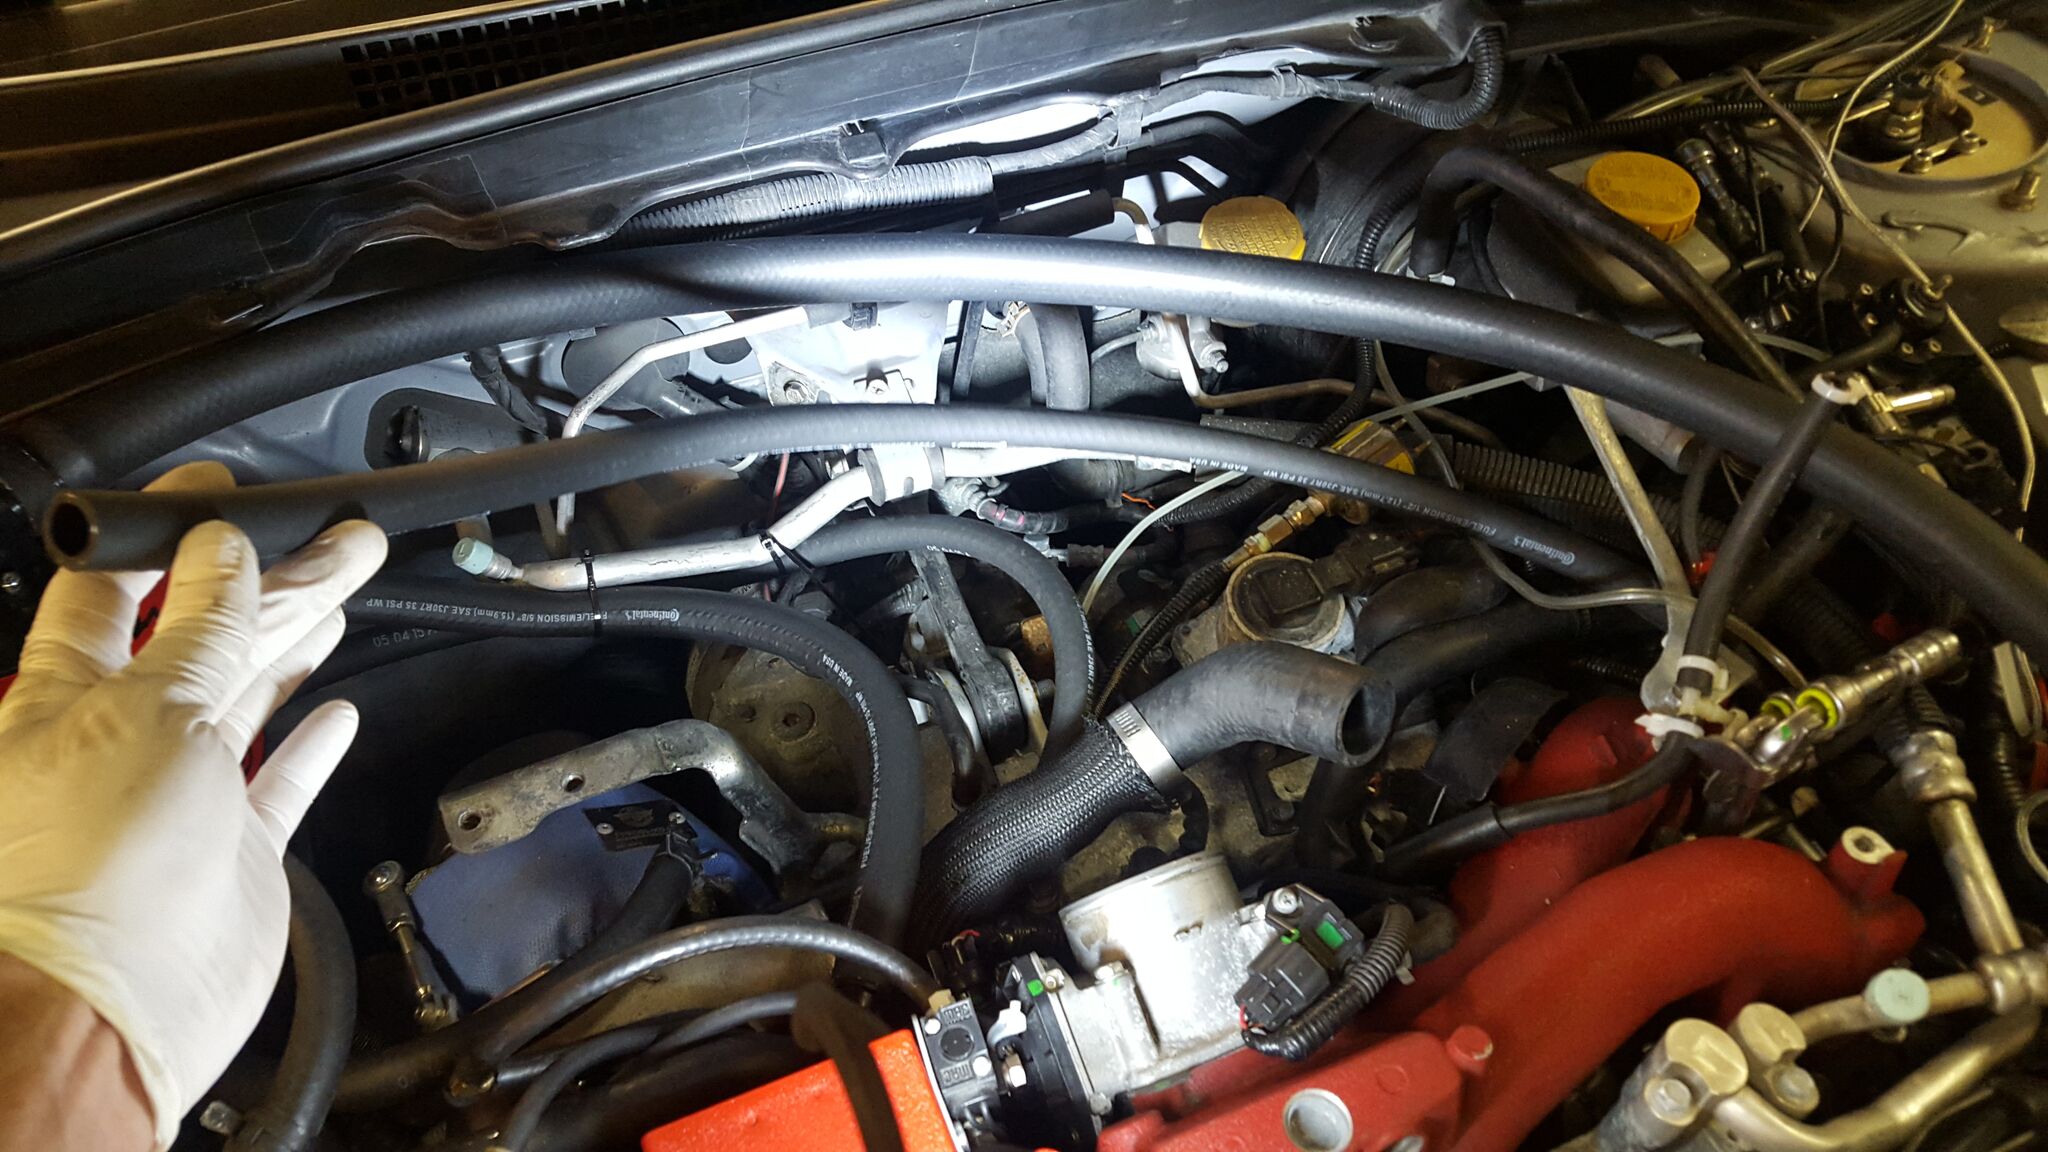
So the 3 ports. Top and middle go to valve covers and the bottom going to the block where the PCV valve used to be.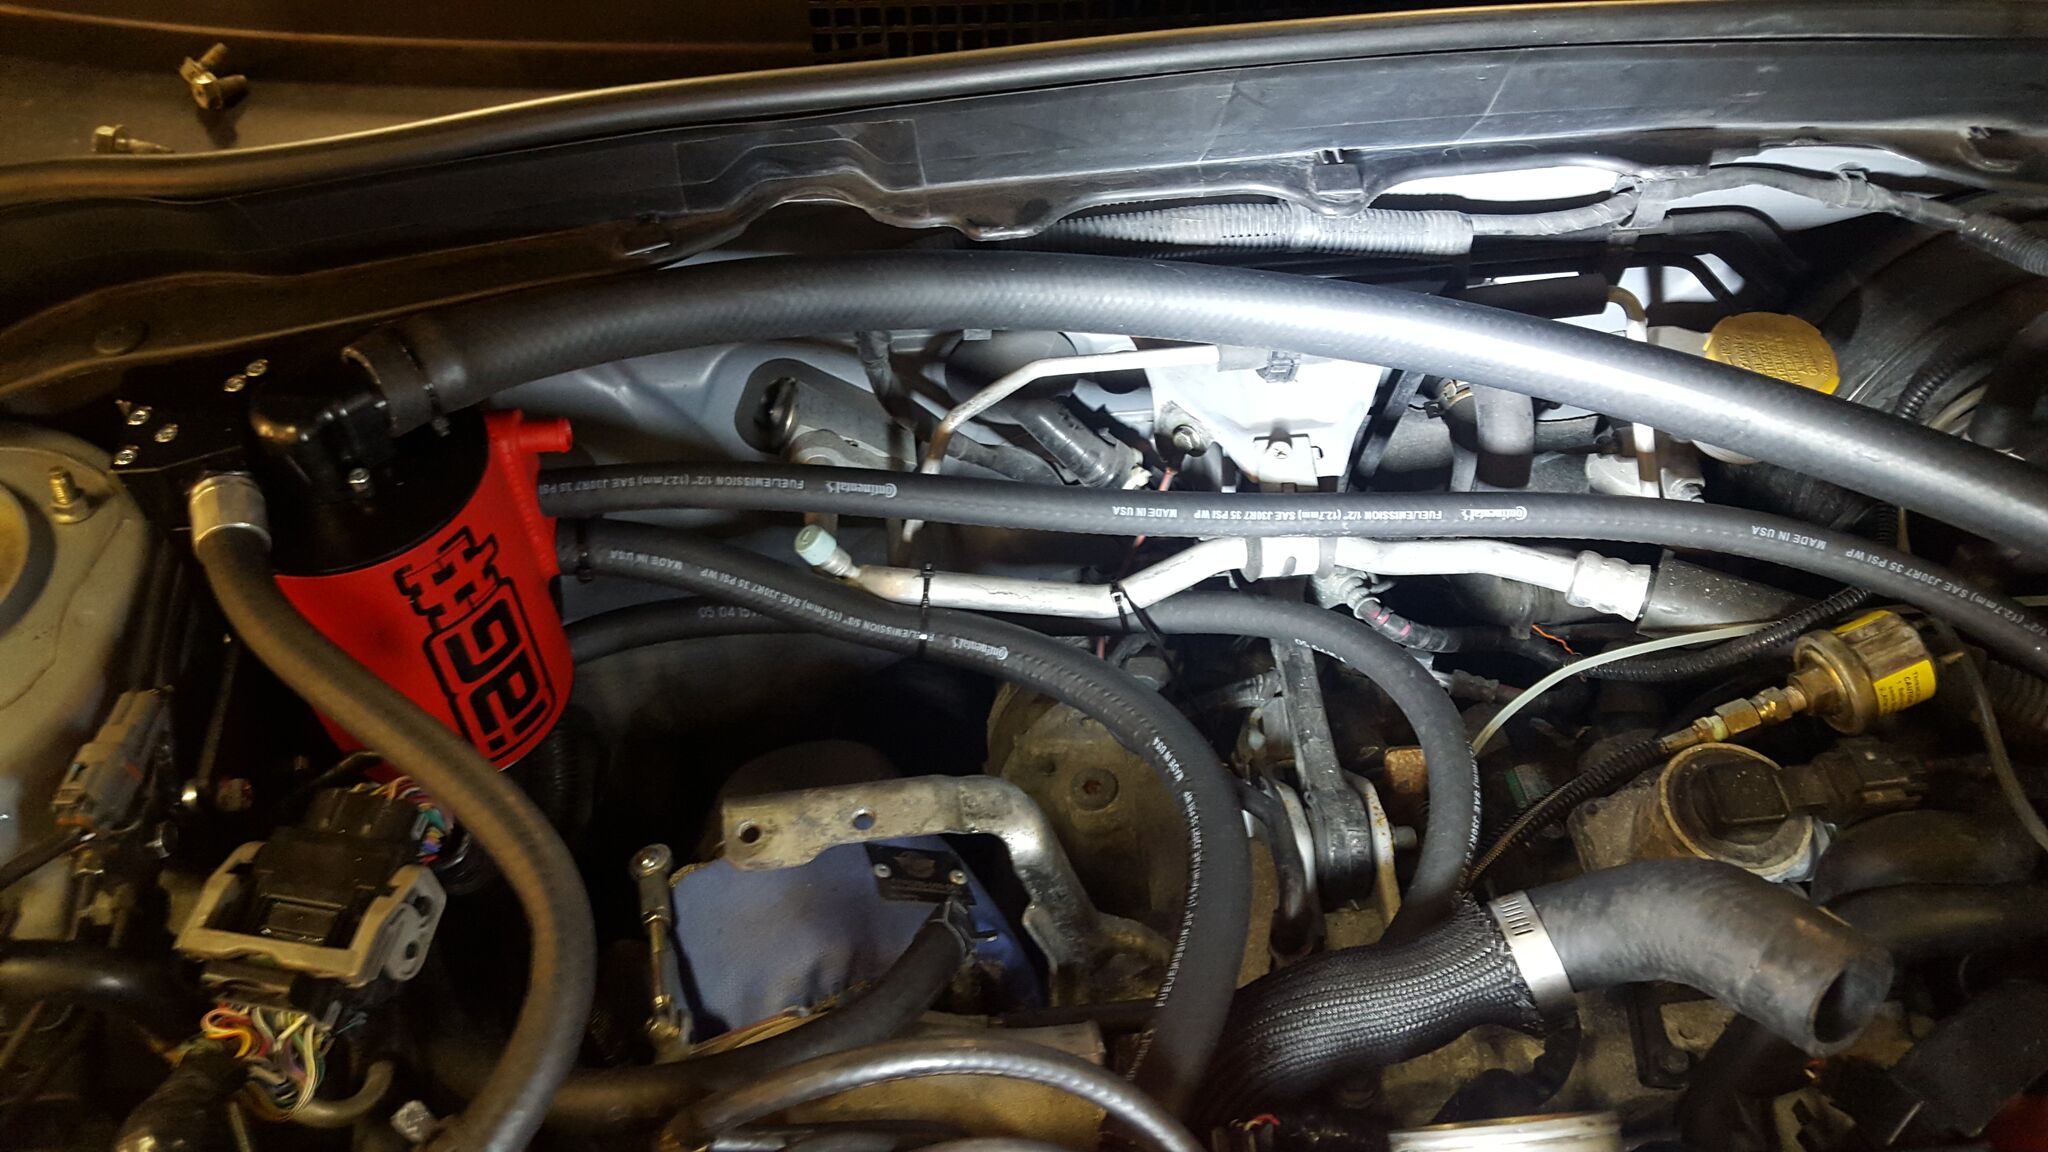
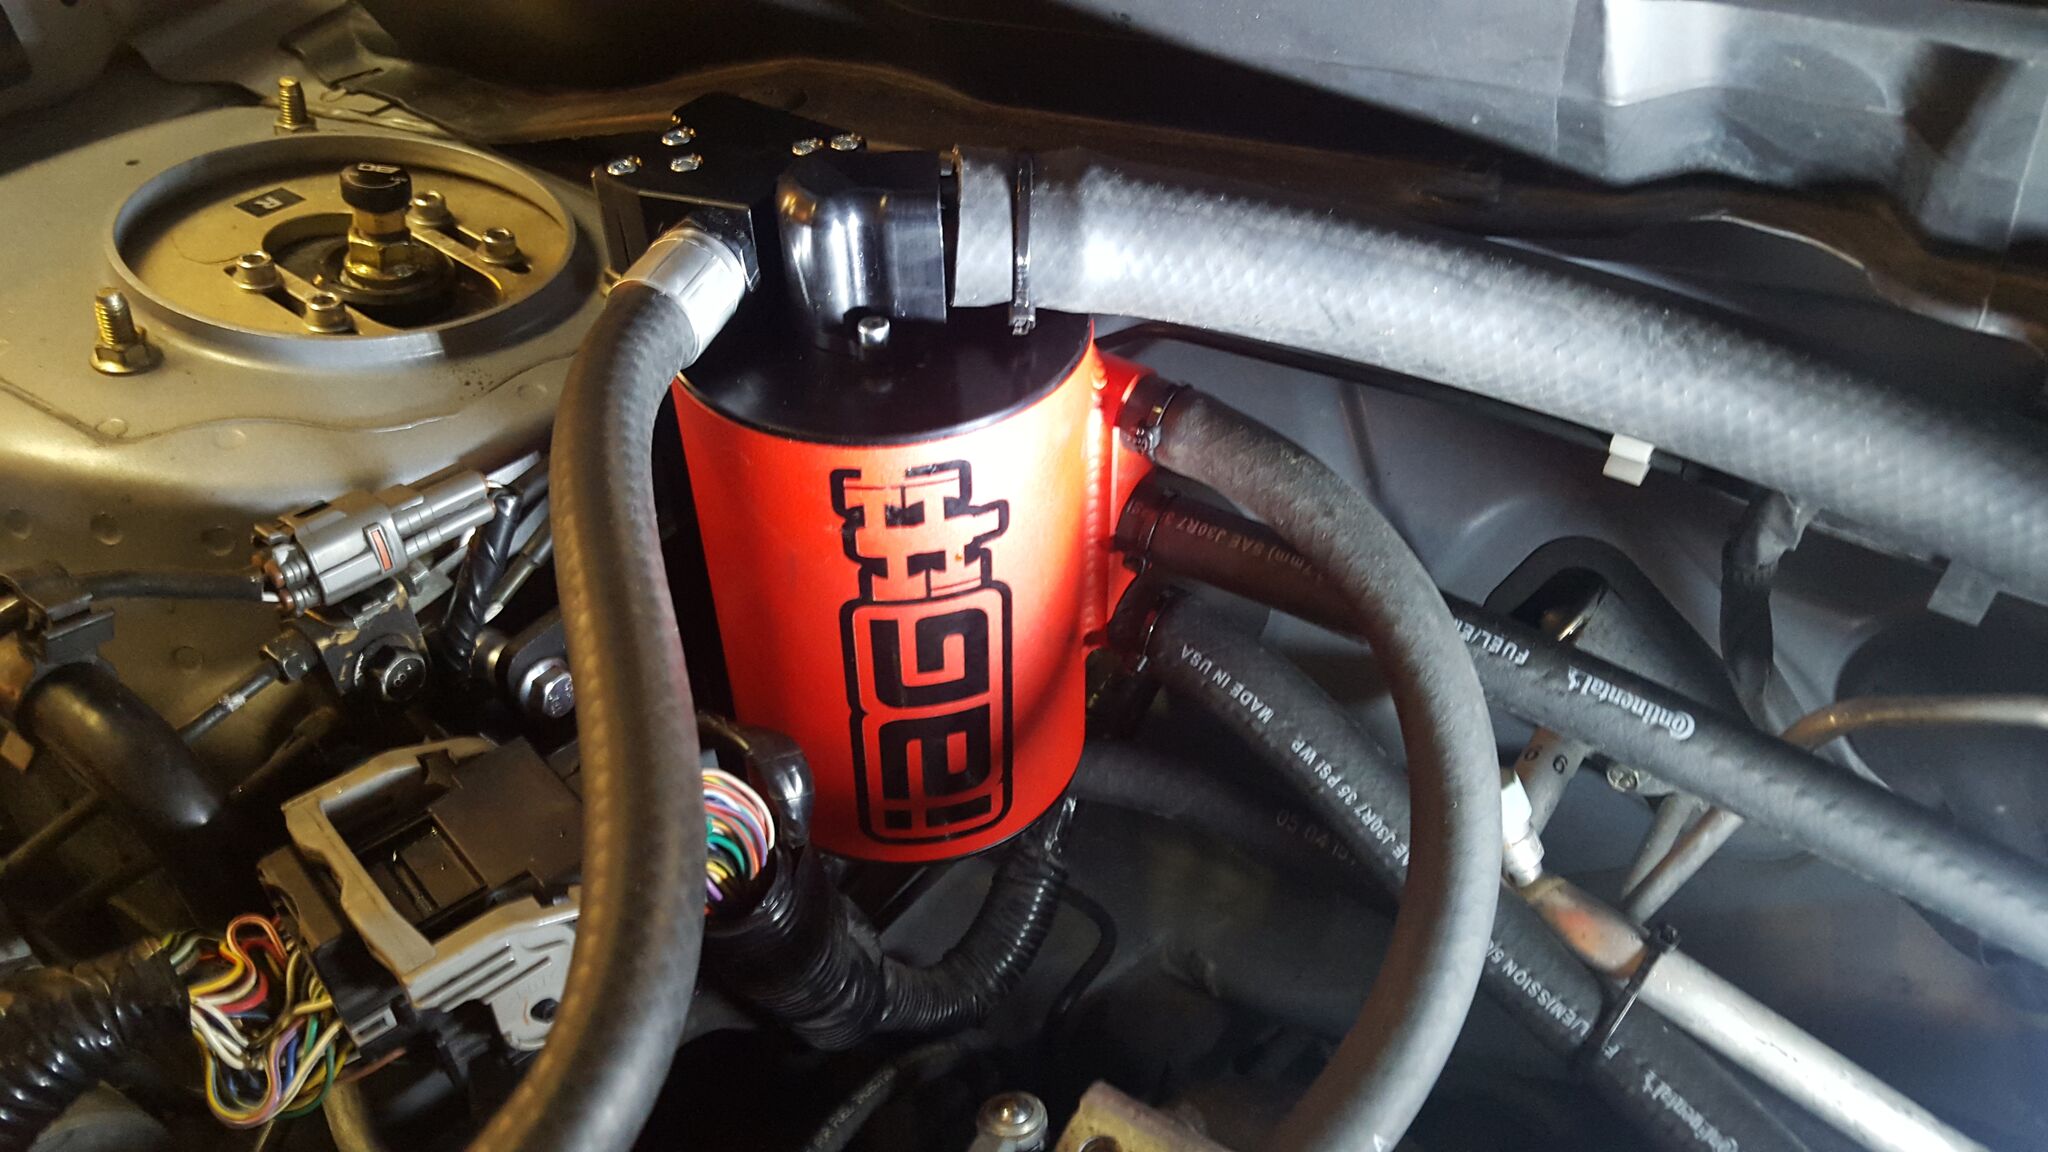
The big line on top of the AOS routes next to the mount for the transmission and gets tied down. That is the only thing left for that. So when I get a chance again we will go underneath and do that and the AOS install in complete.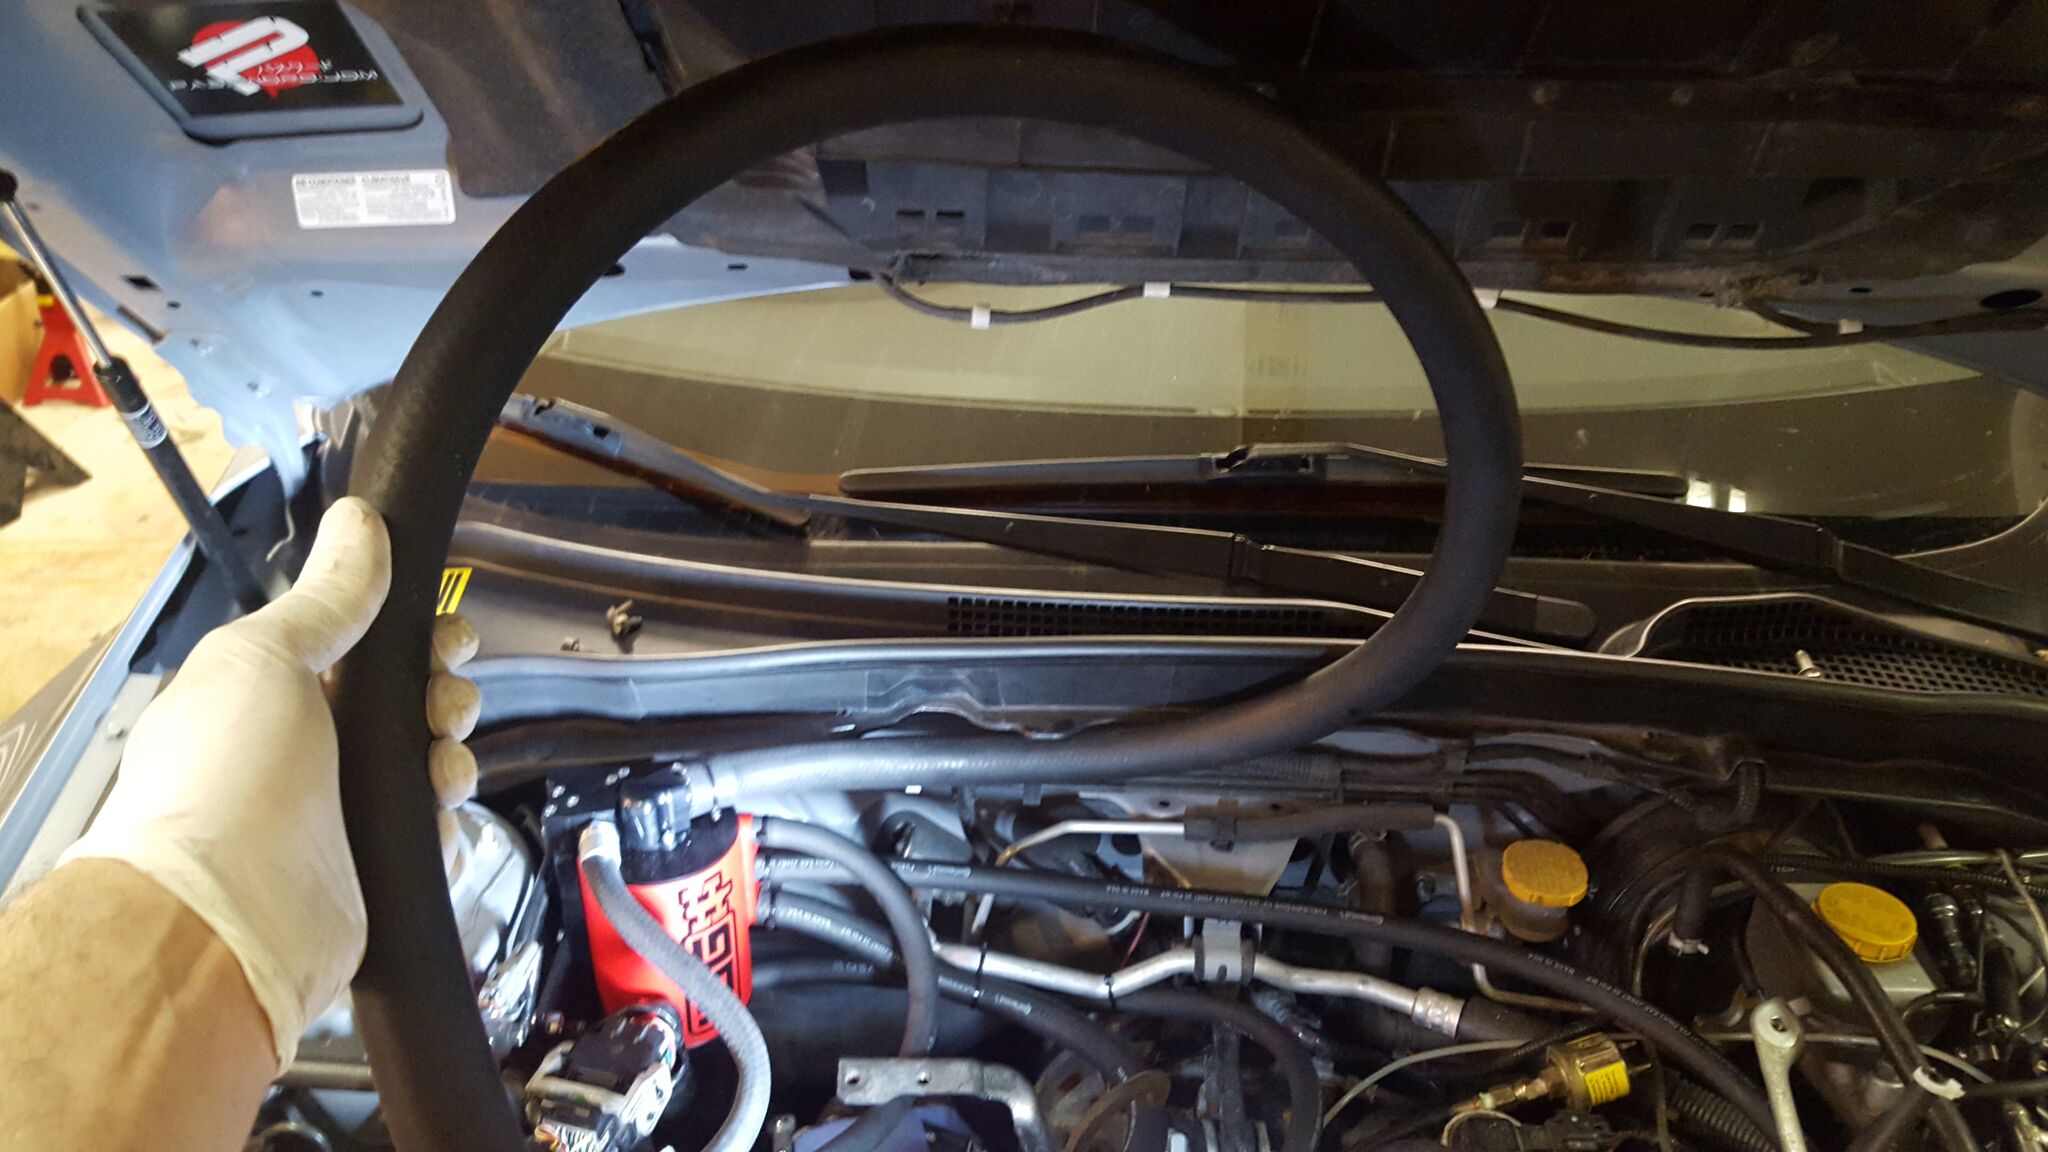
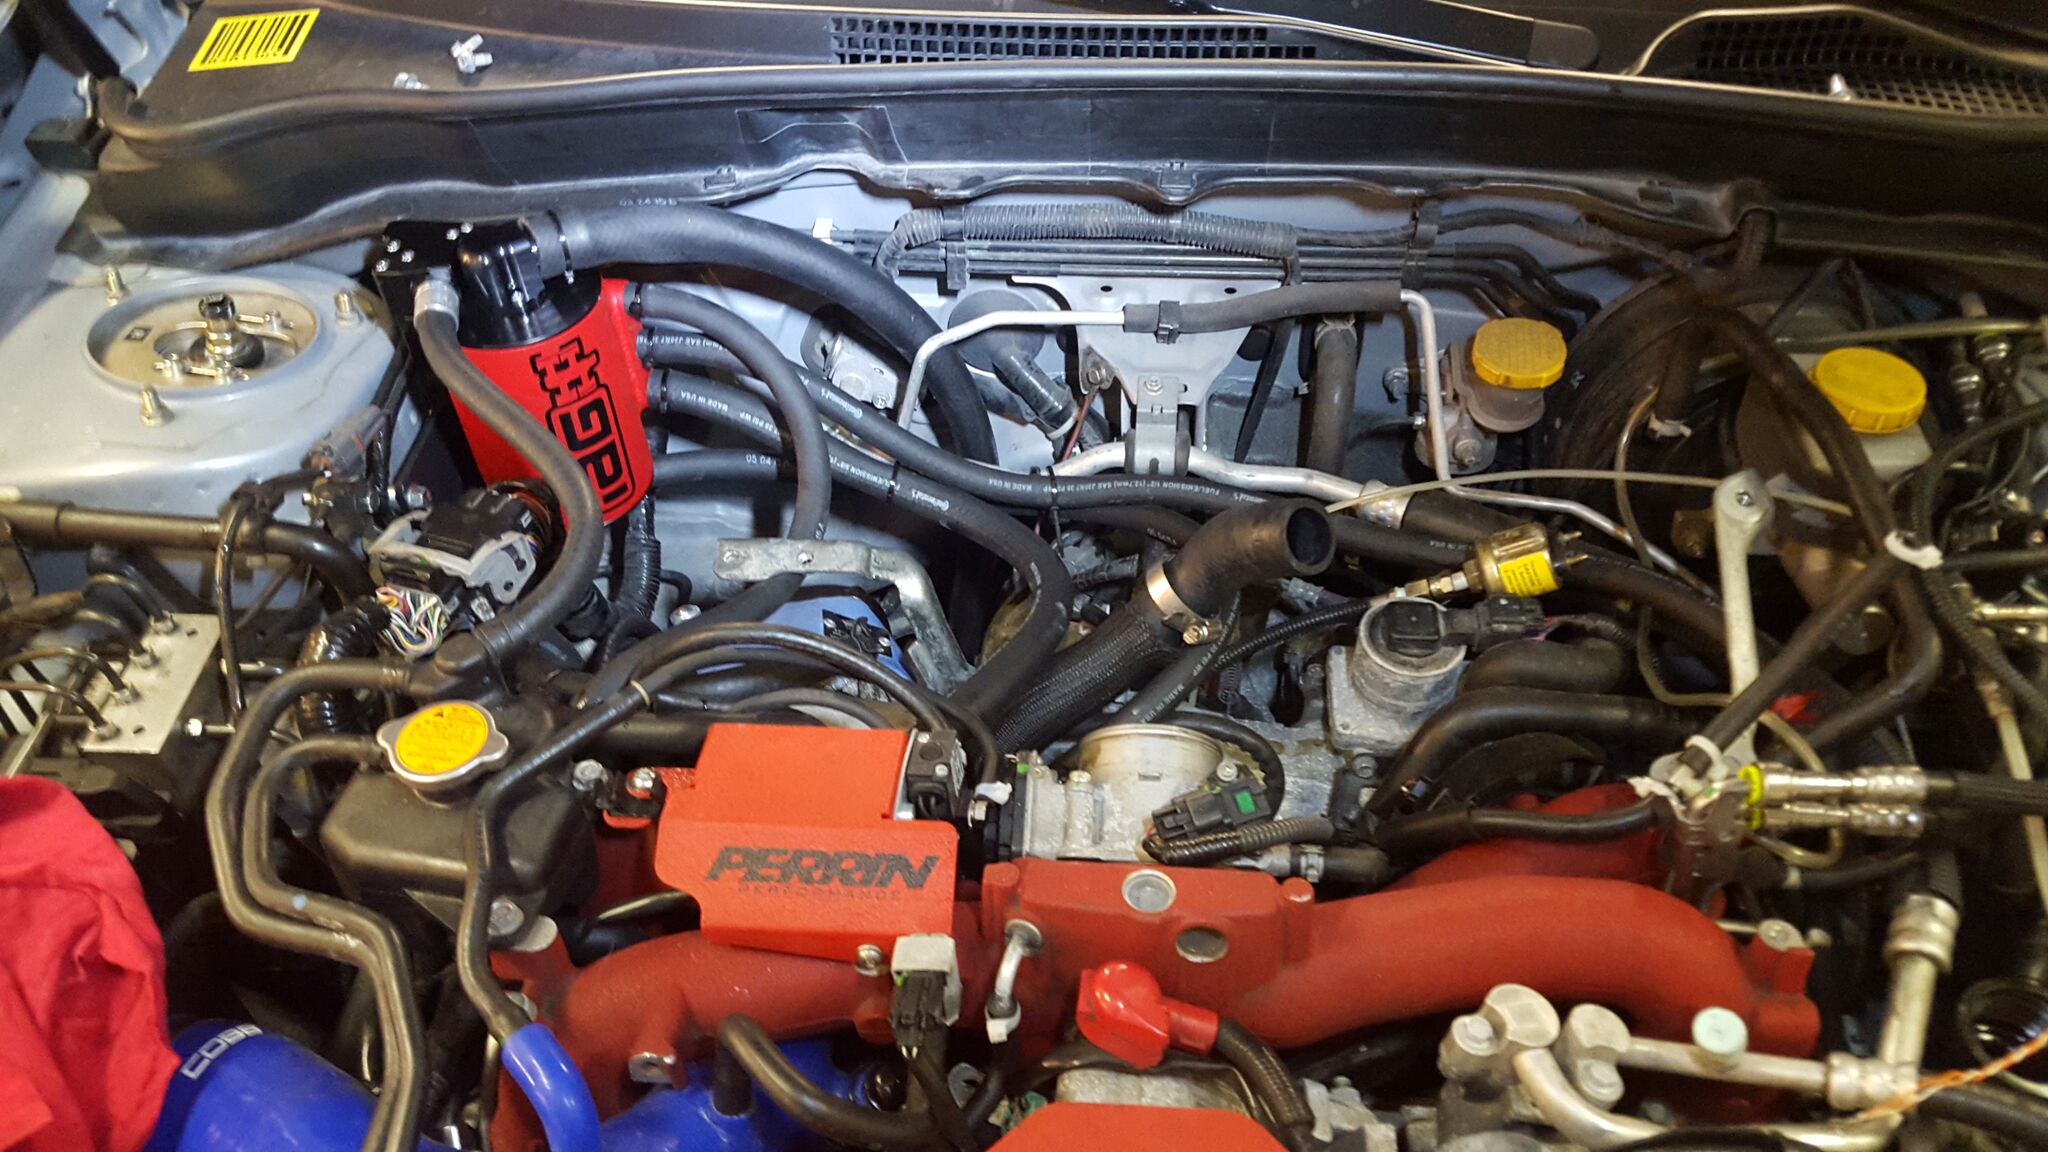
Intercooler mounted back up.
Bit tight under the intercooler lol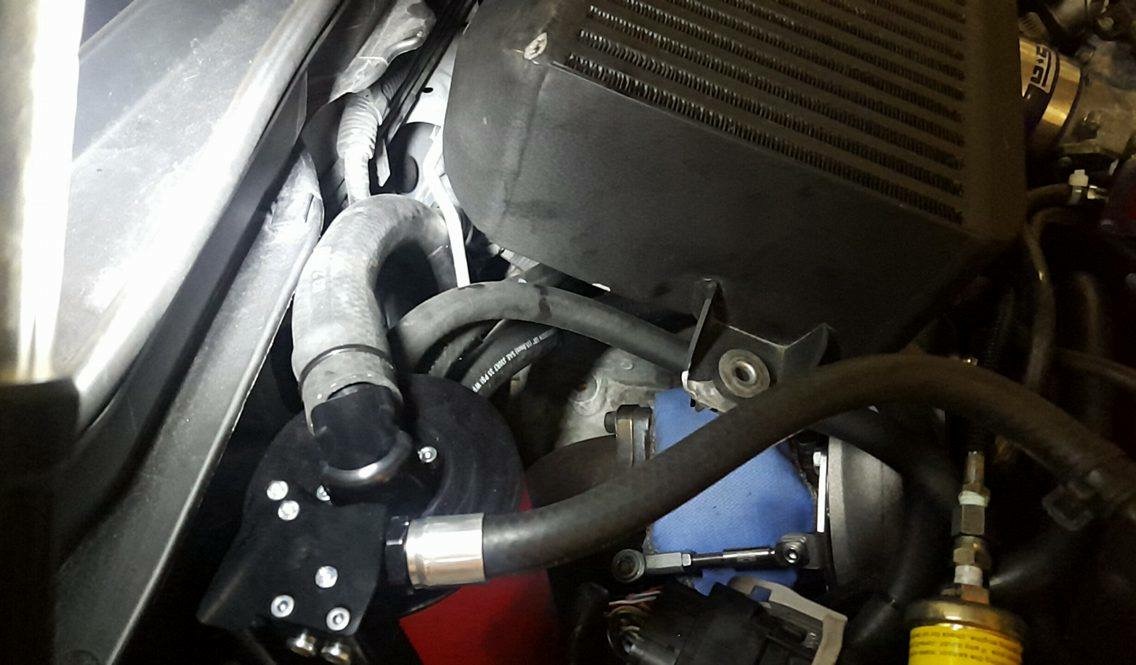
And the old Grimmspeed aos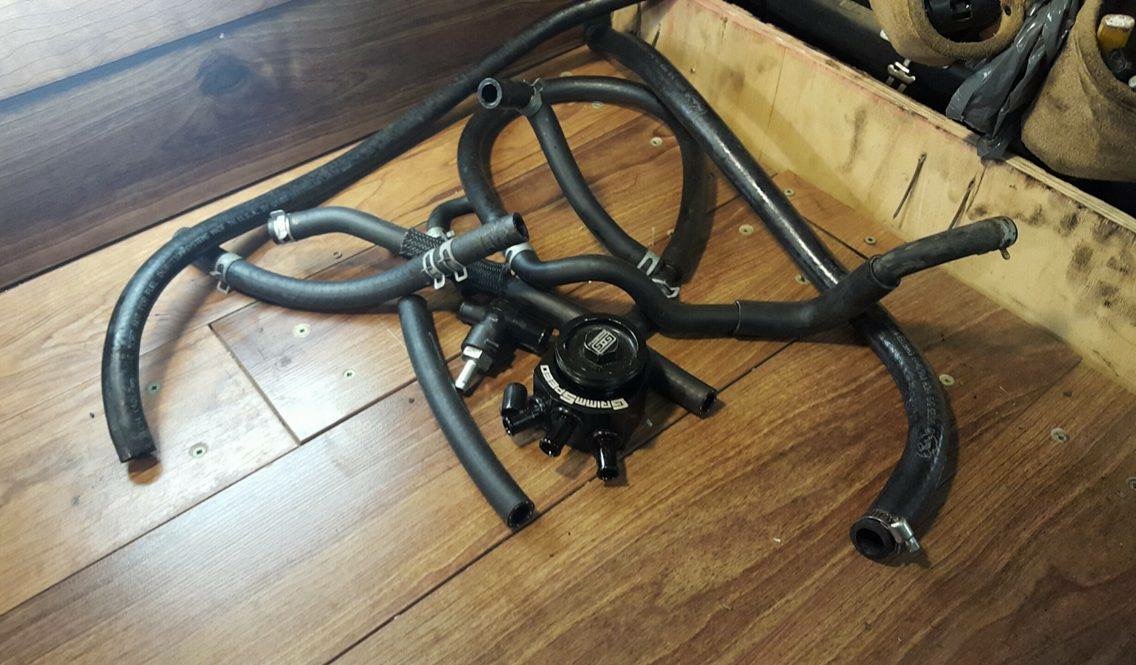
4-25-2016
Ok so updates from this weekend!
So first off I got my tires come in Thursday.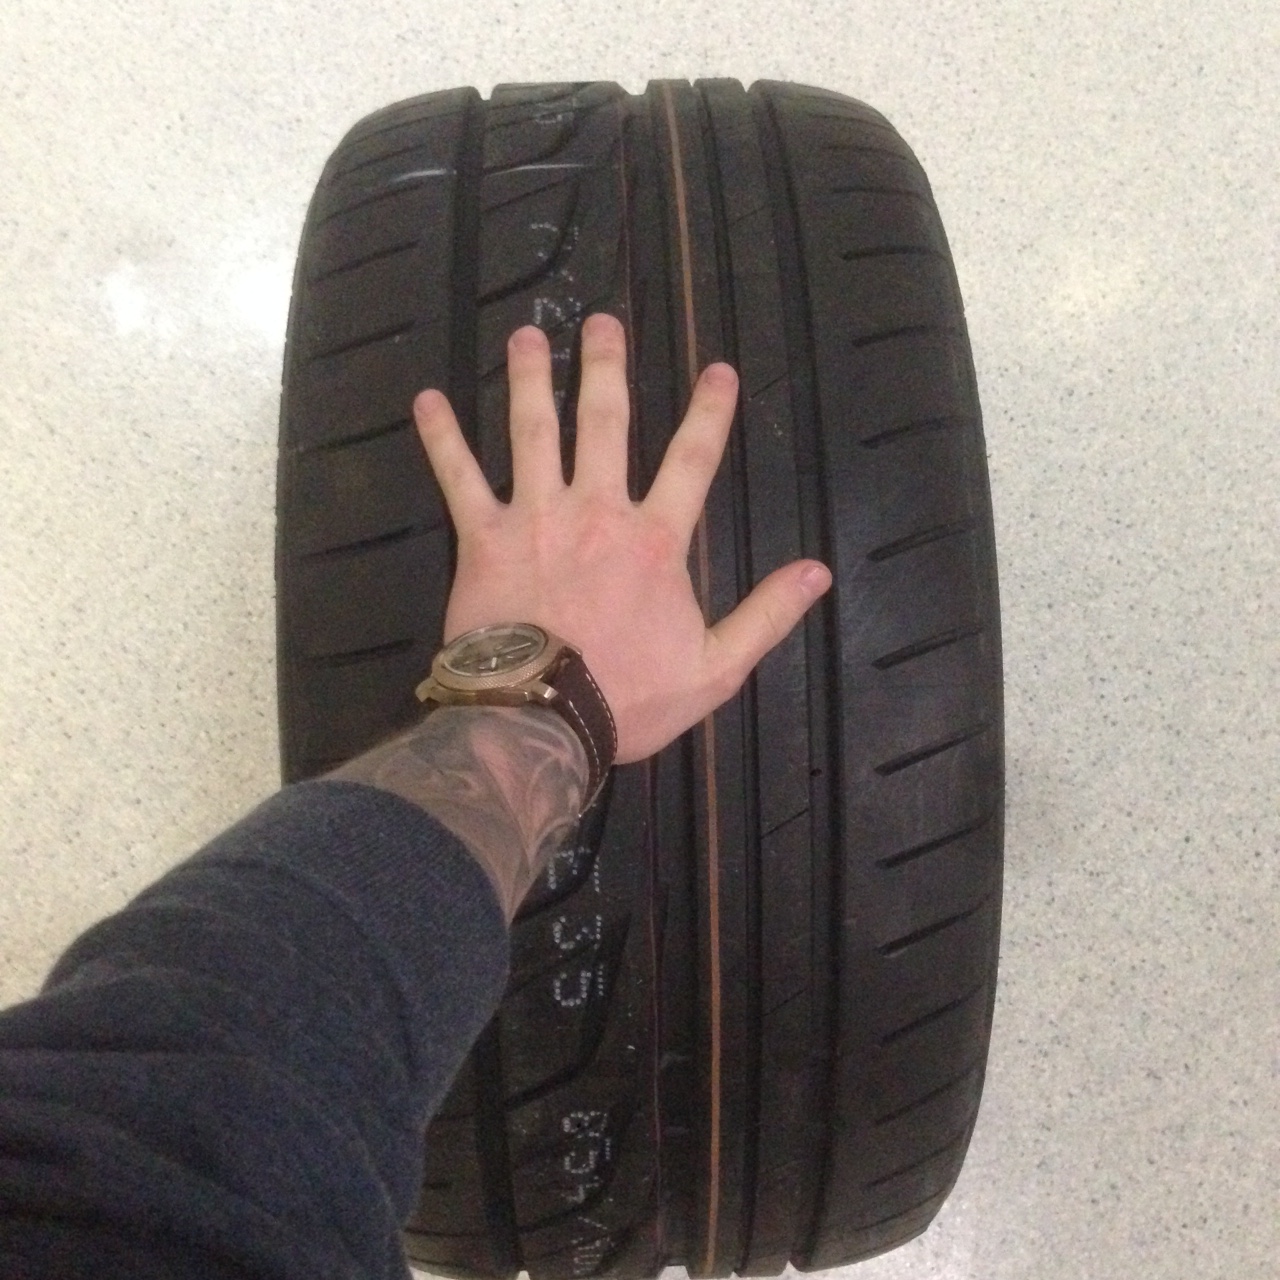
So first order of business is to use the Sharpie White Oil Based pens I bought.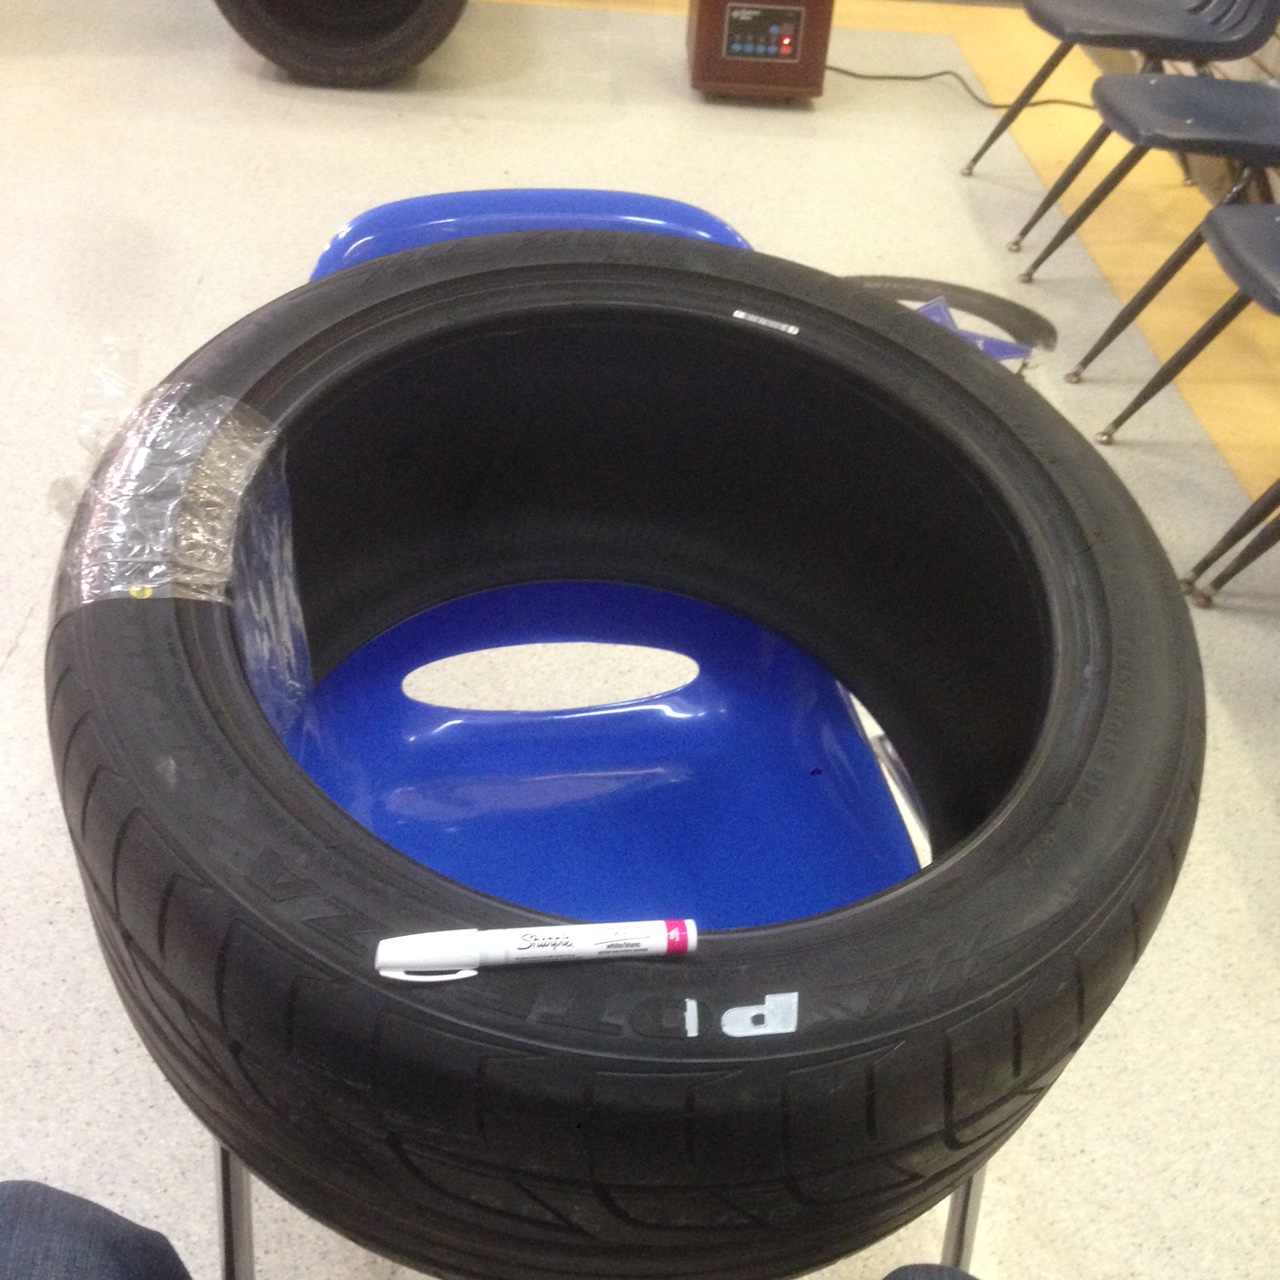
So I put 2 coates on and used 2 pens for 4 tires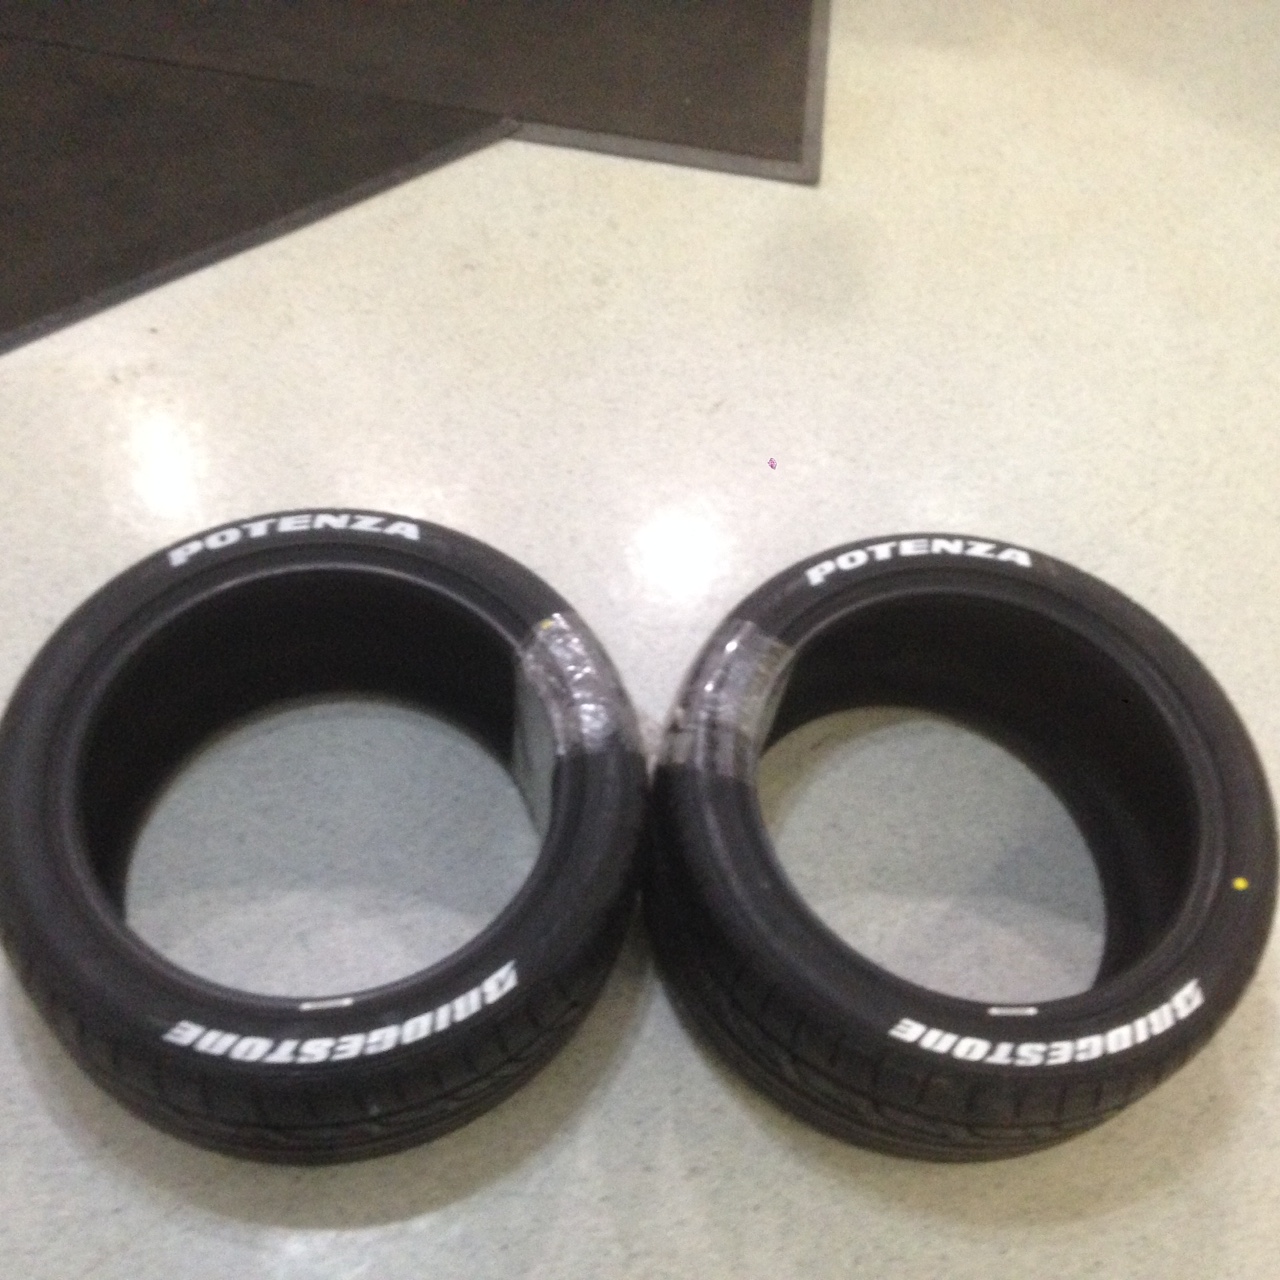
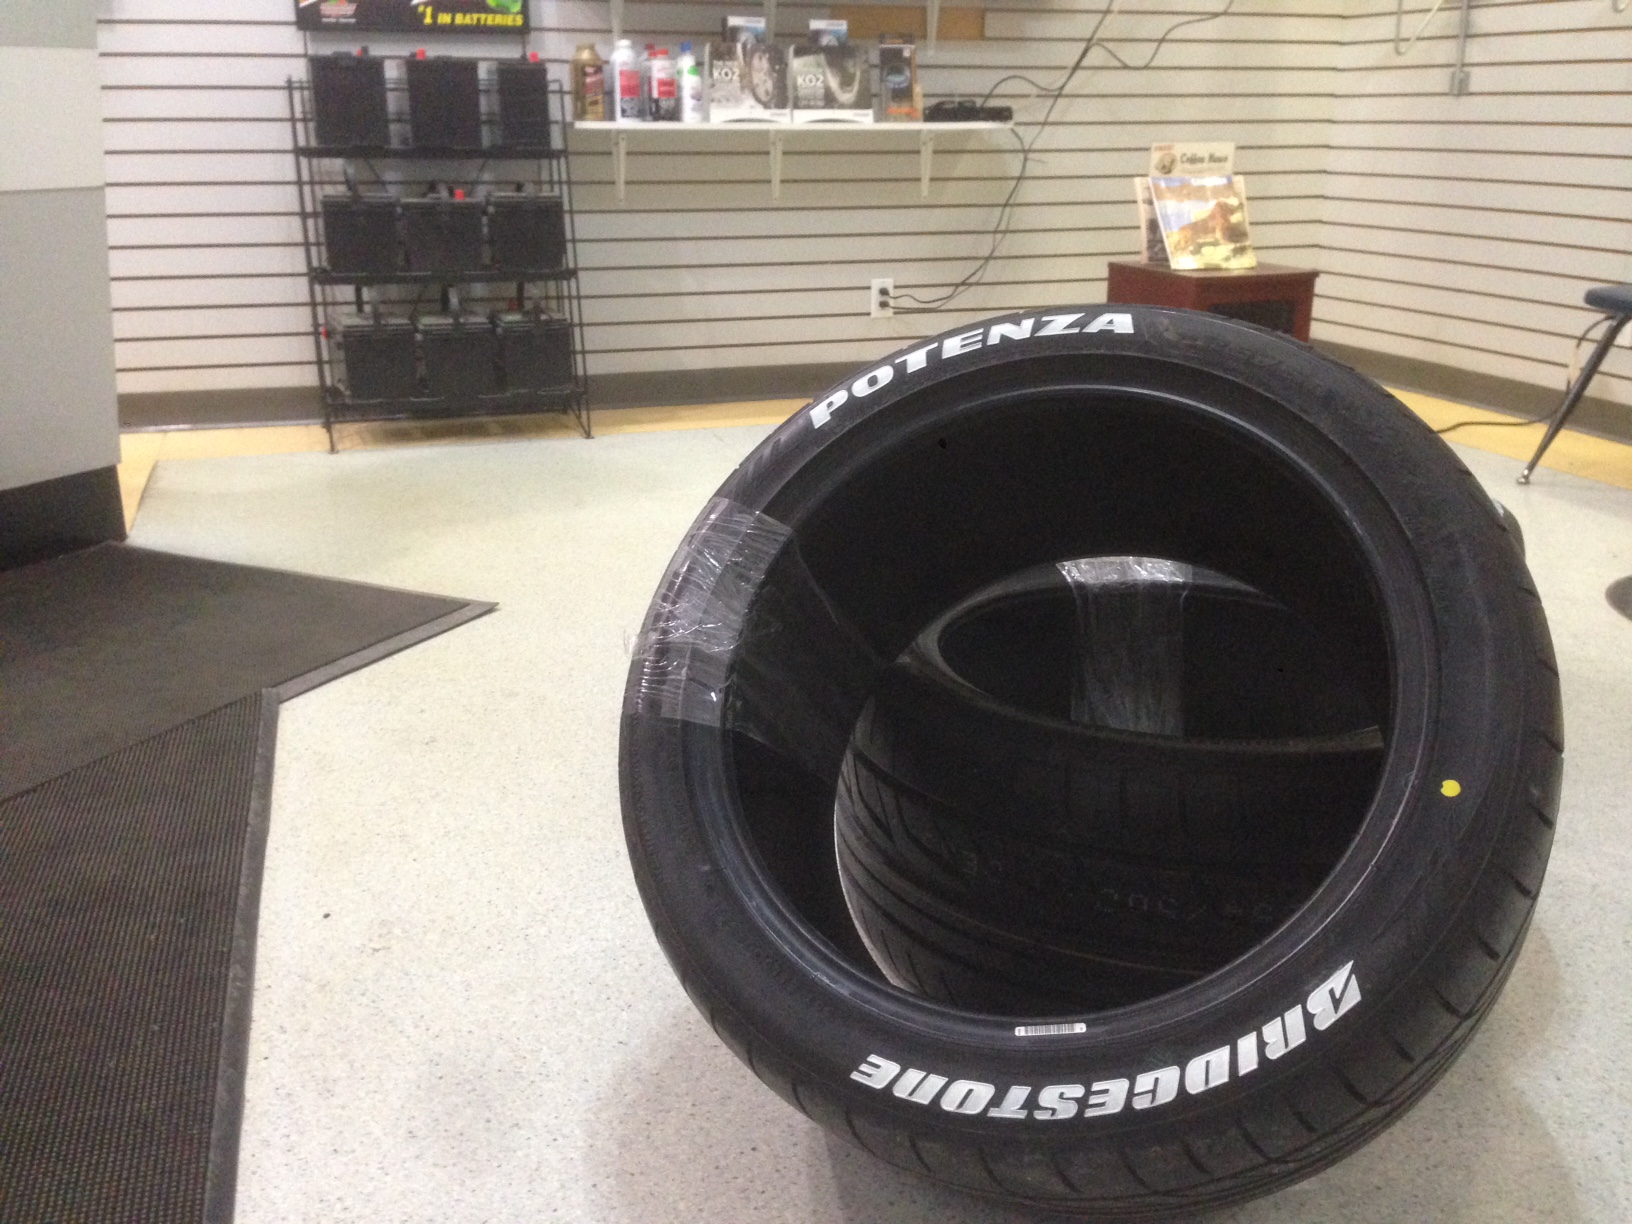
Next was the trunk. So first I got the angles which was 12* and 8* as indicated in the picture below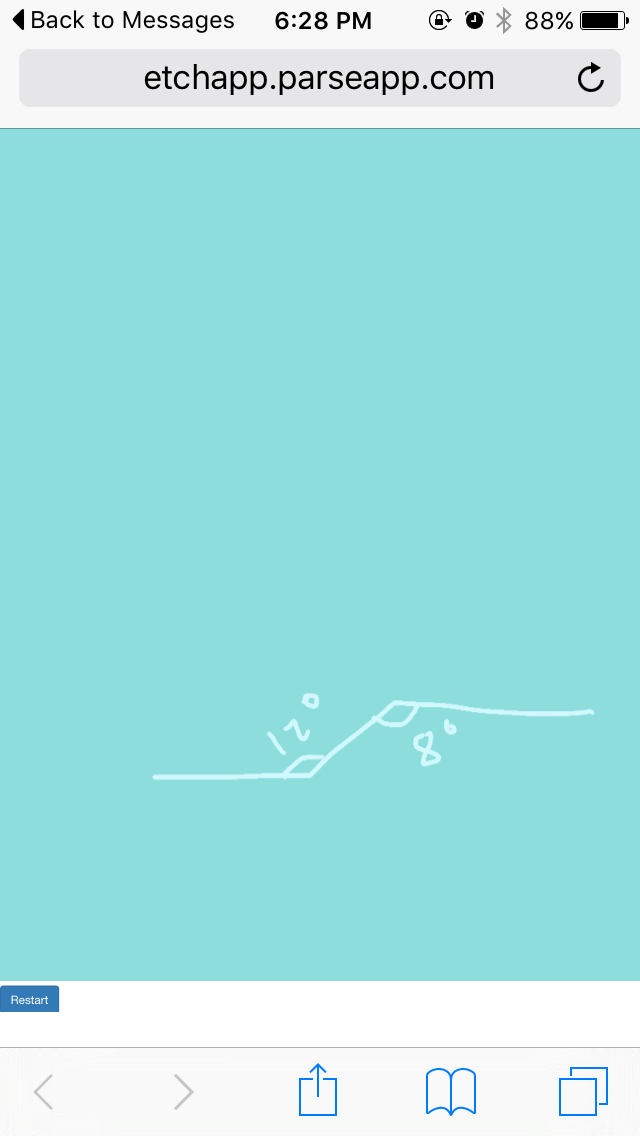
So this is the hardwood I picked up. Dark maple hardwood that I picked up at a local home building shop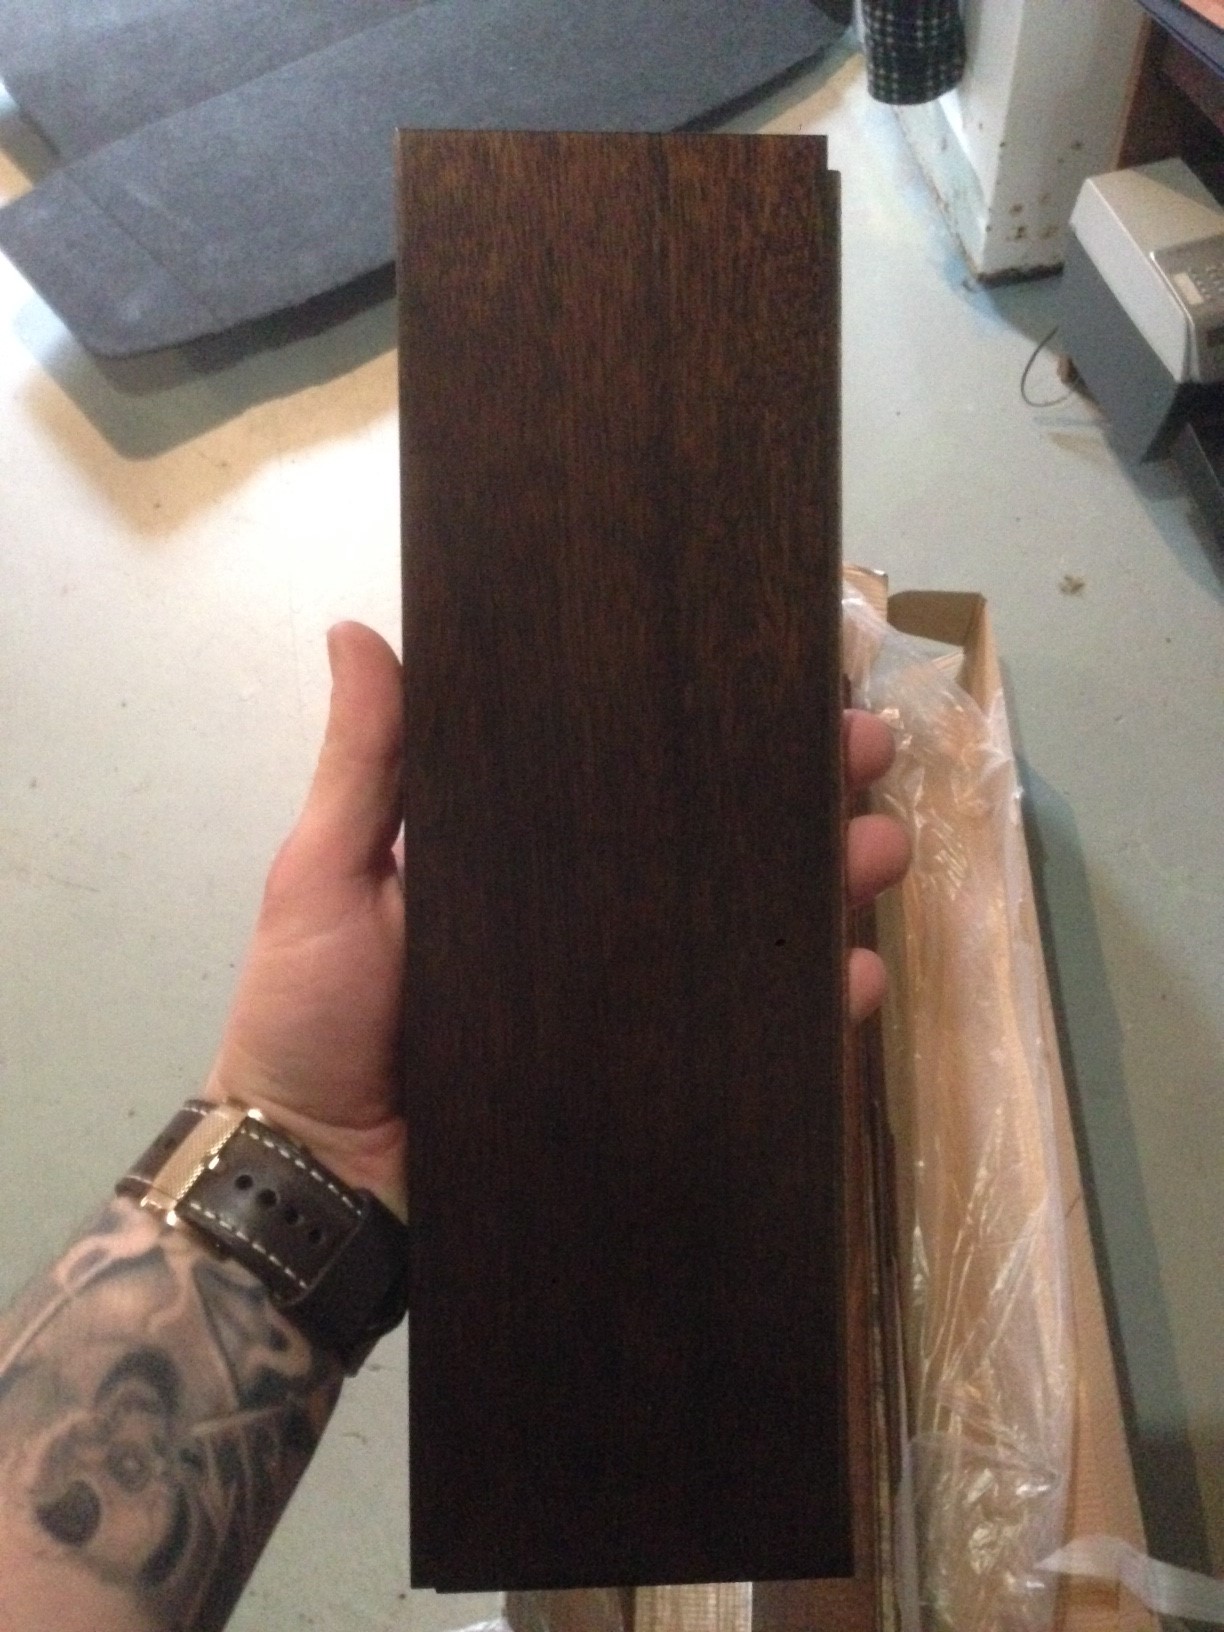
So my first step was to take it all out and sort the pieces and make a layout to make sure I got enough hardwood.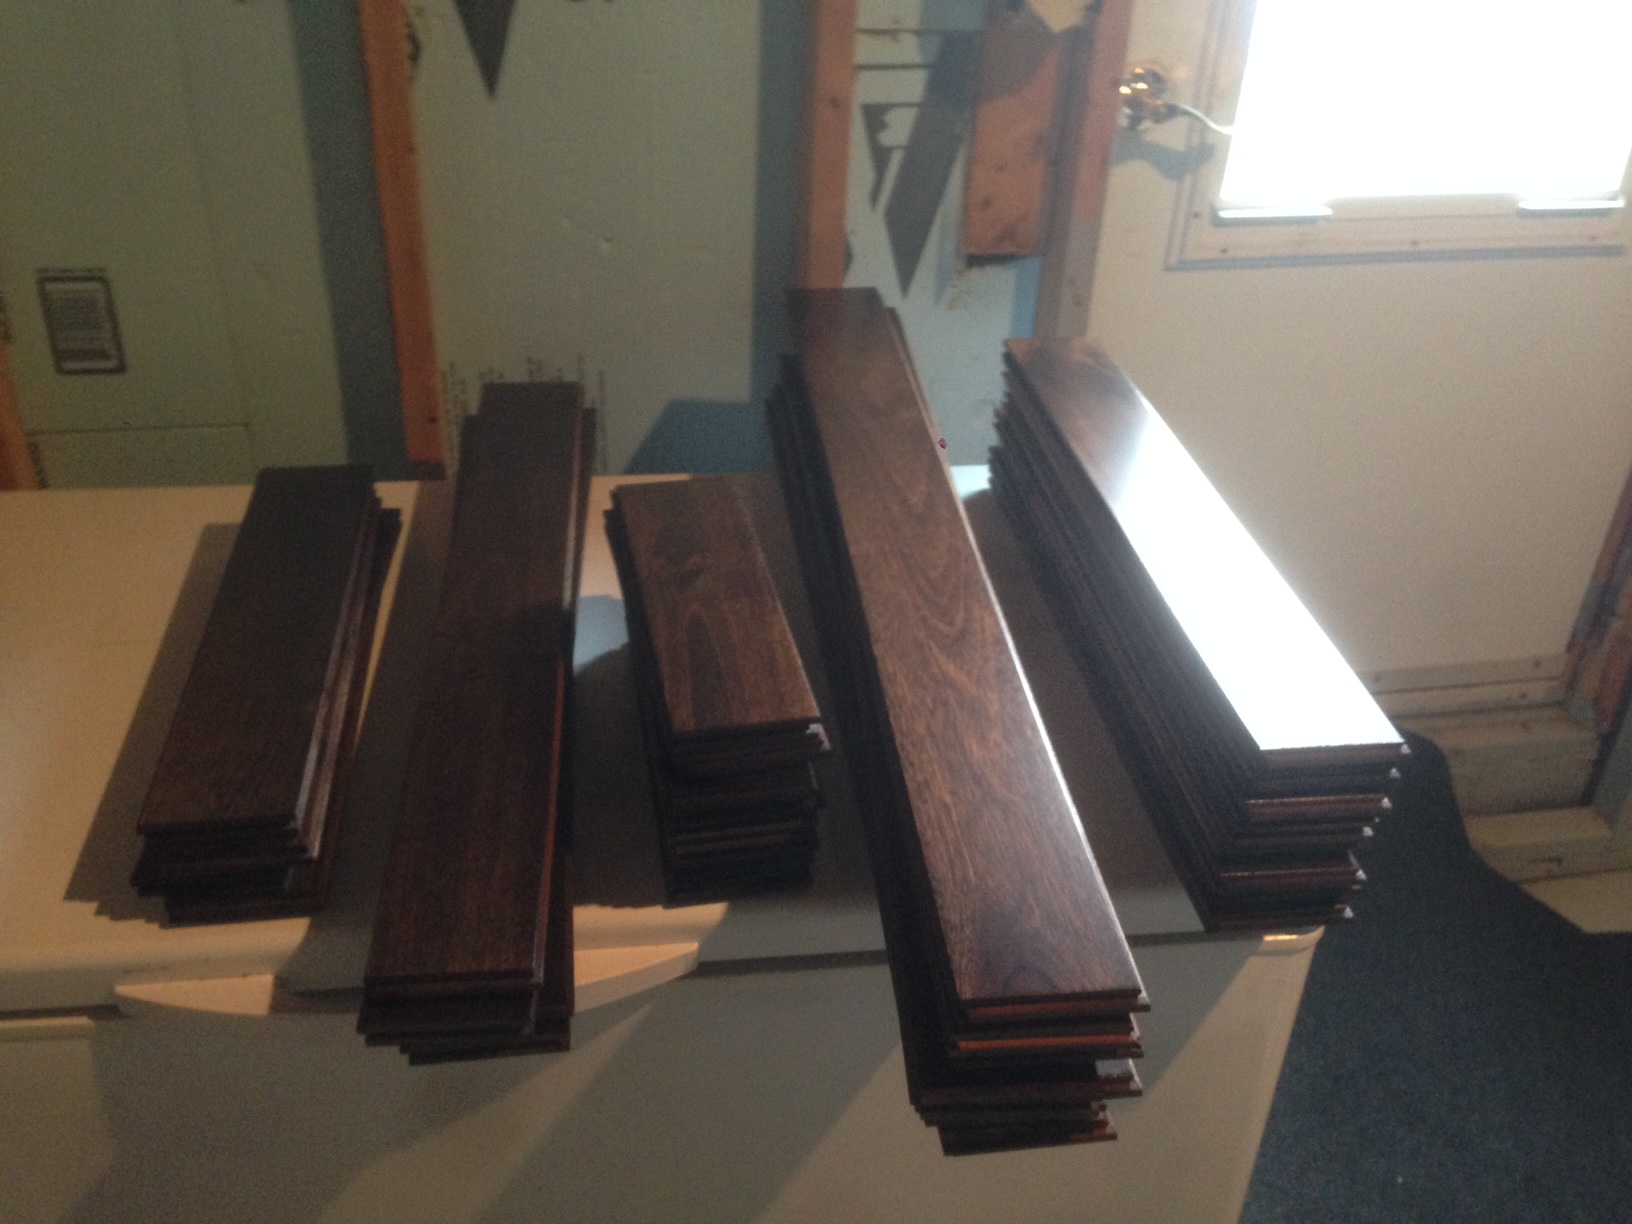
Pieces laid out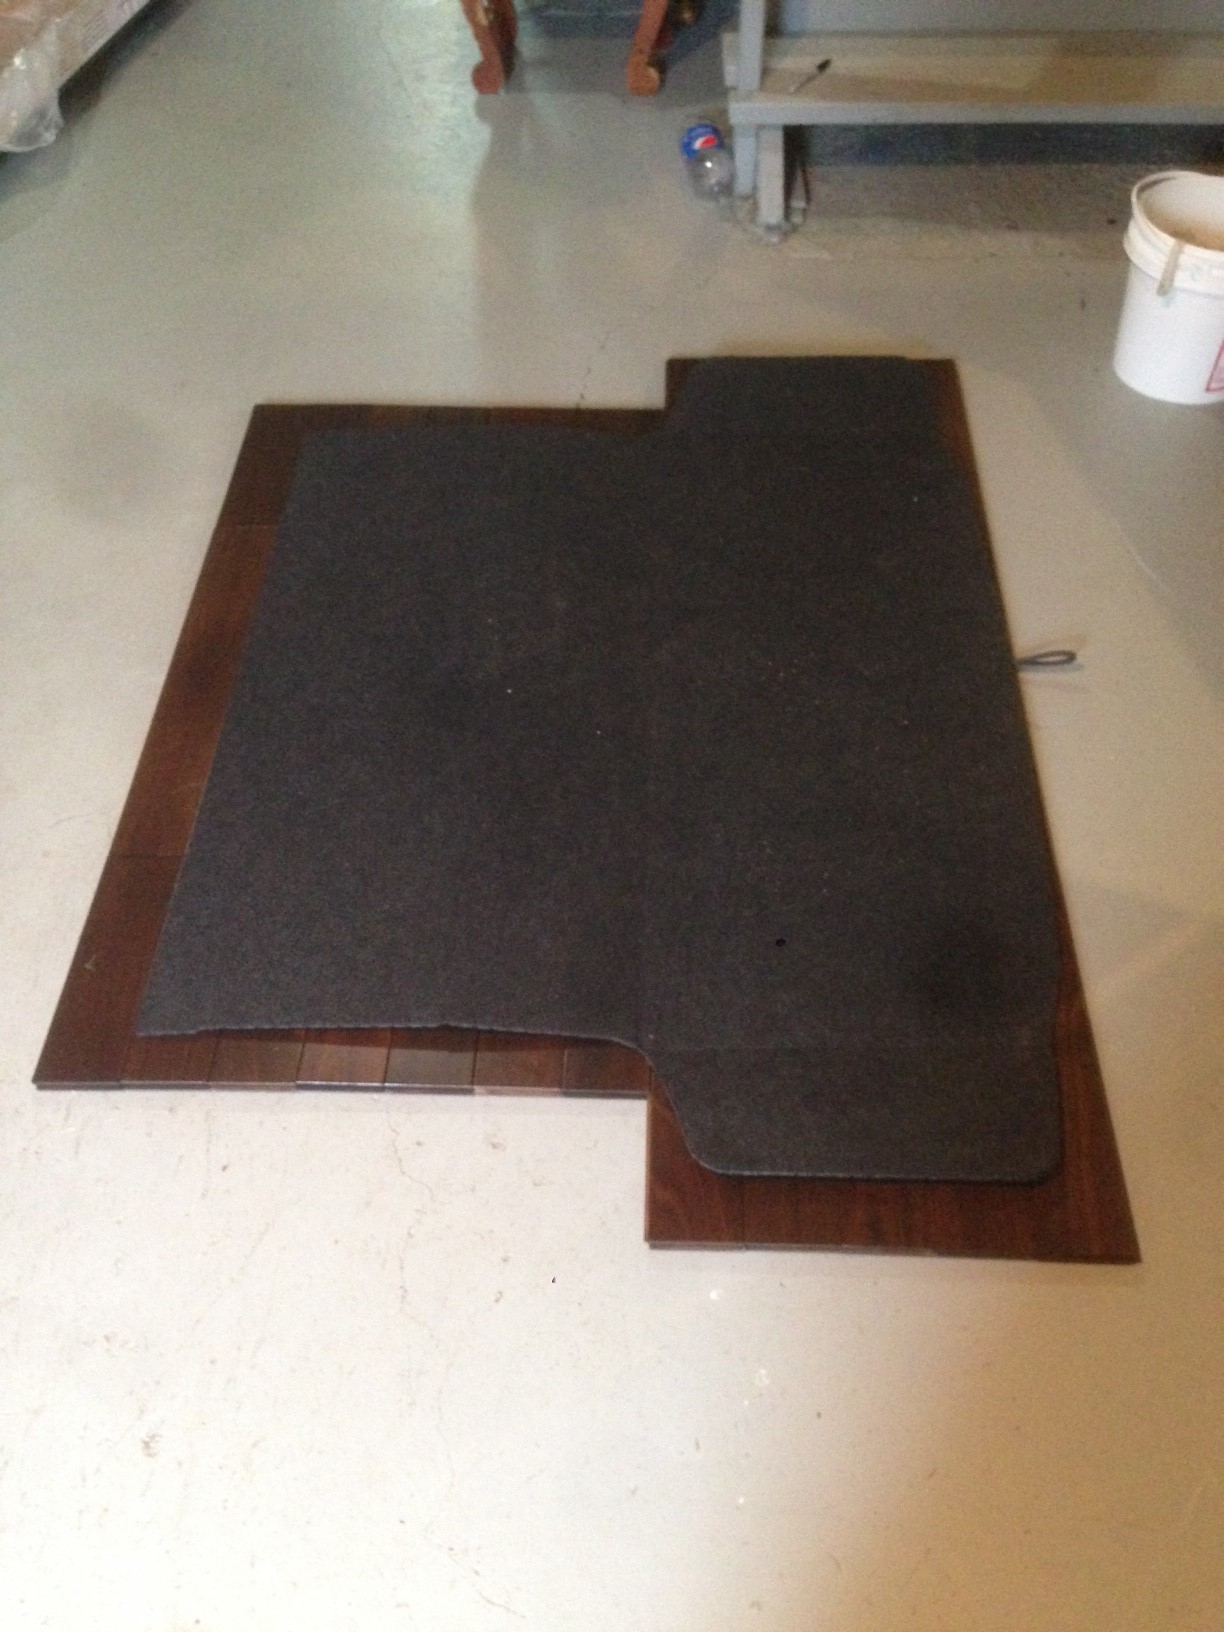
Taped down for outline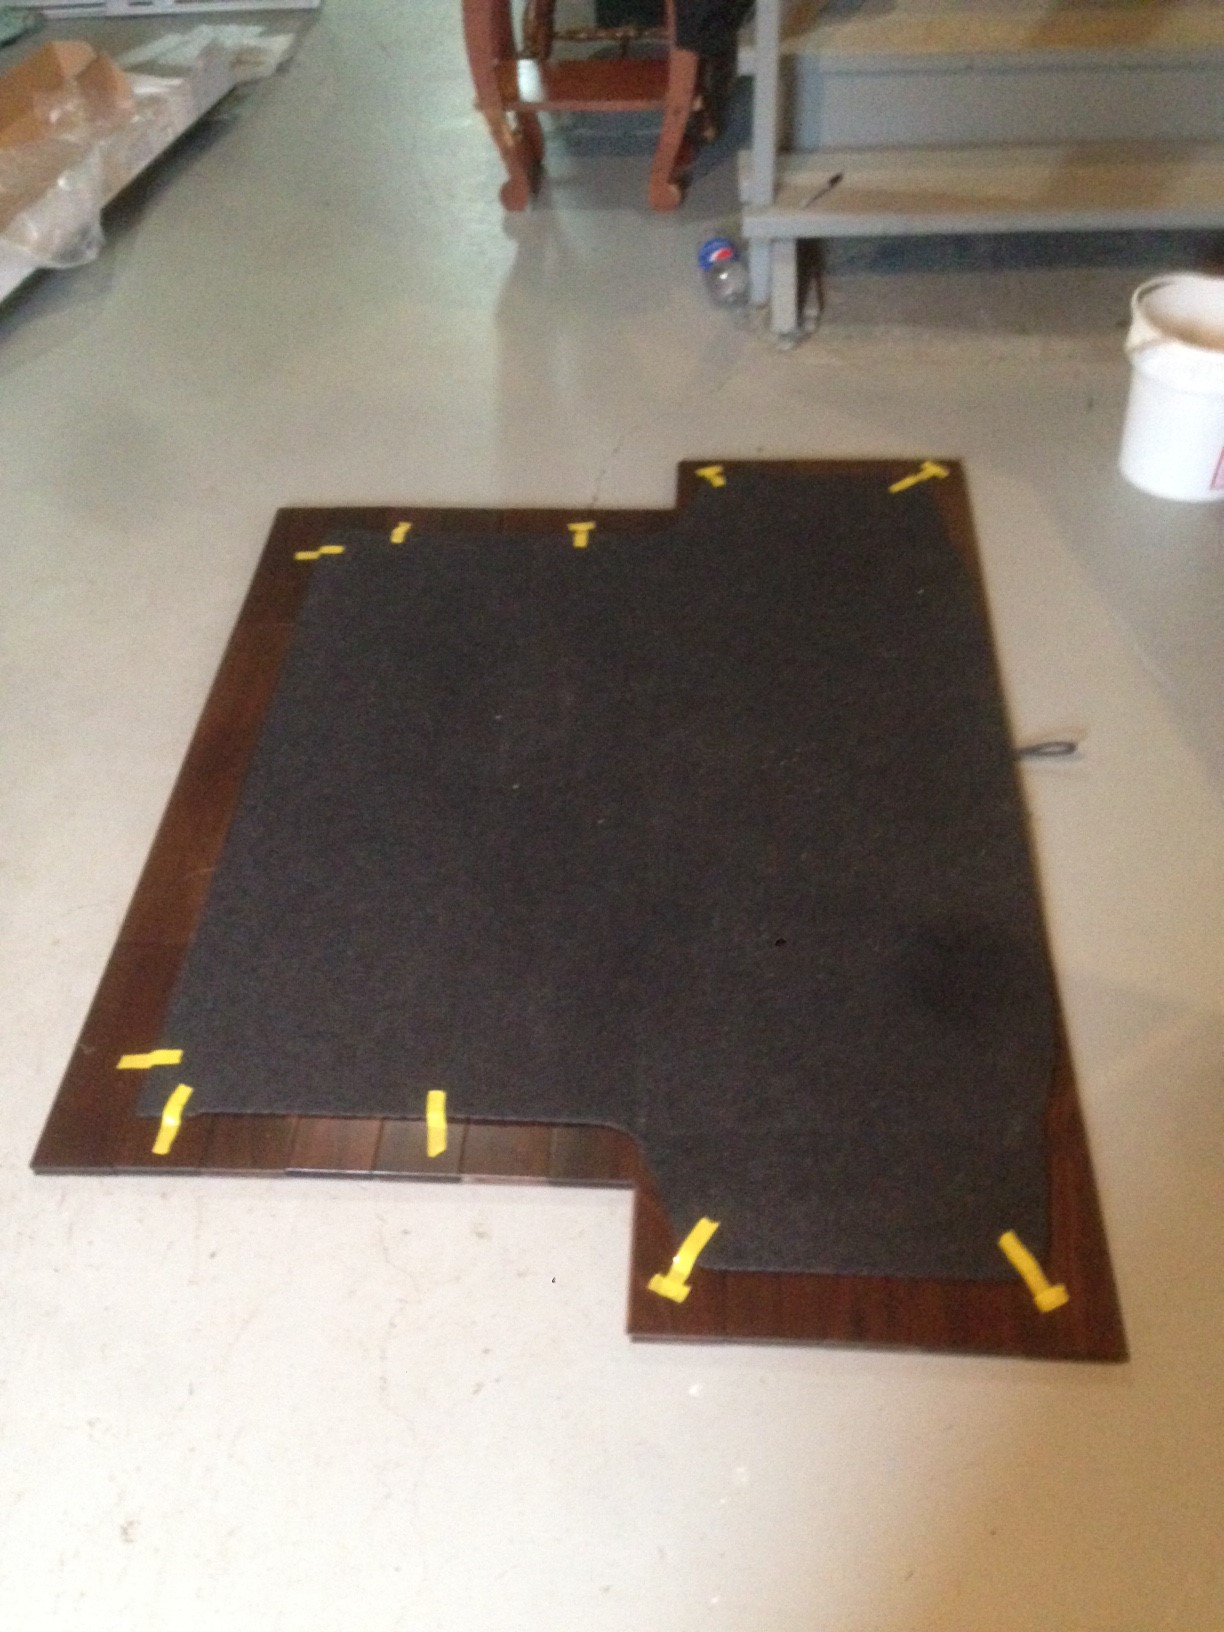
4-25-2016
So by the end of the first day we had most of it together and had the carpet set to the right angles to make the right cuts for the bends.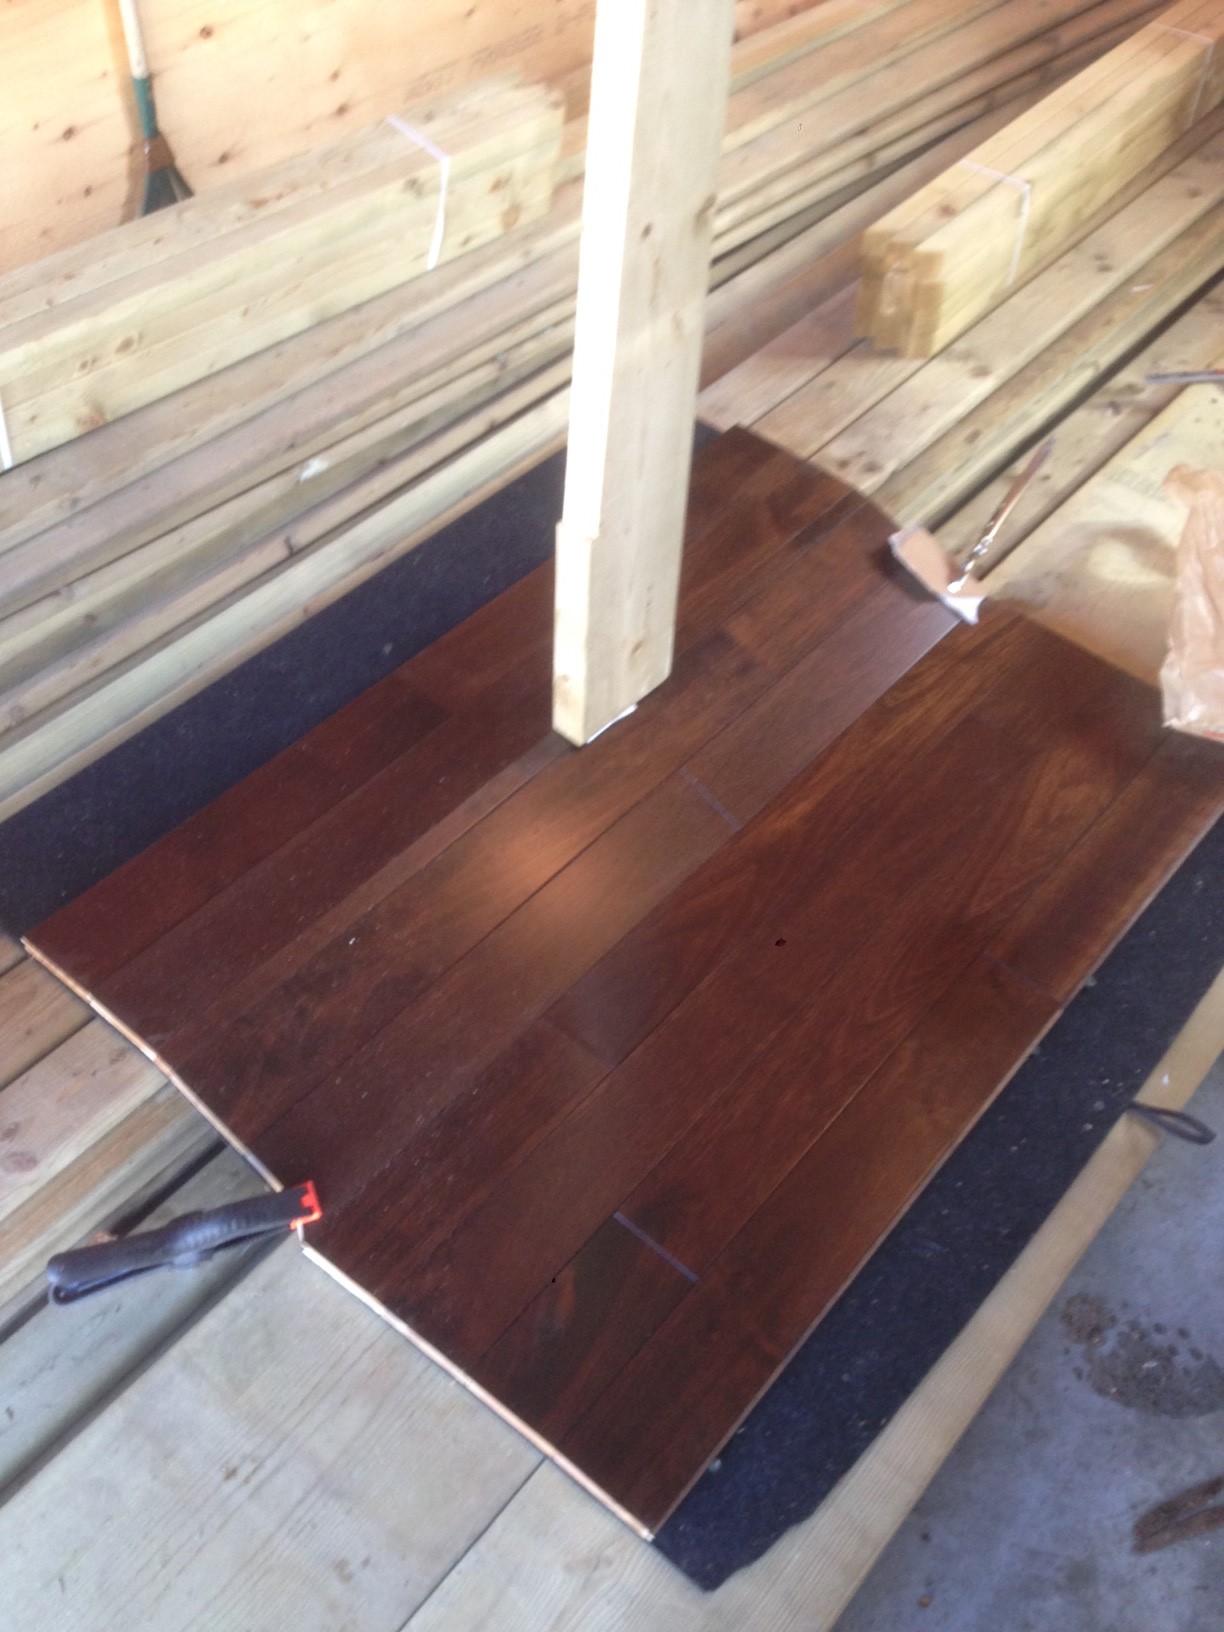
and after the second day we got most of it done except the side pieces which are cut but we are waiting till the car is back to make sure they fit. I used PL Premium cucking to glue all the hardwood down.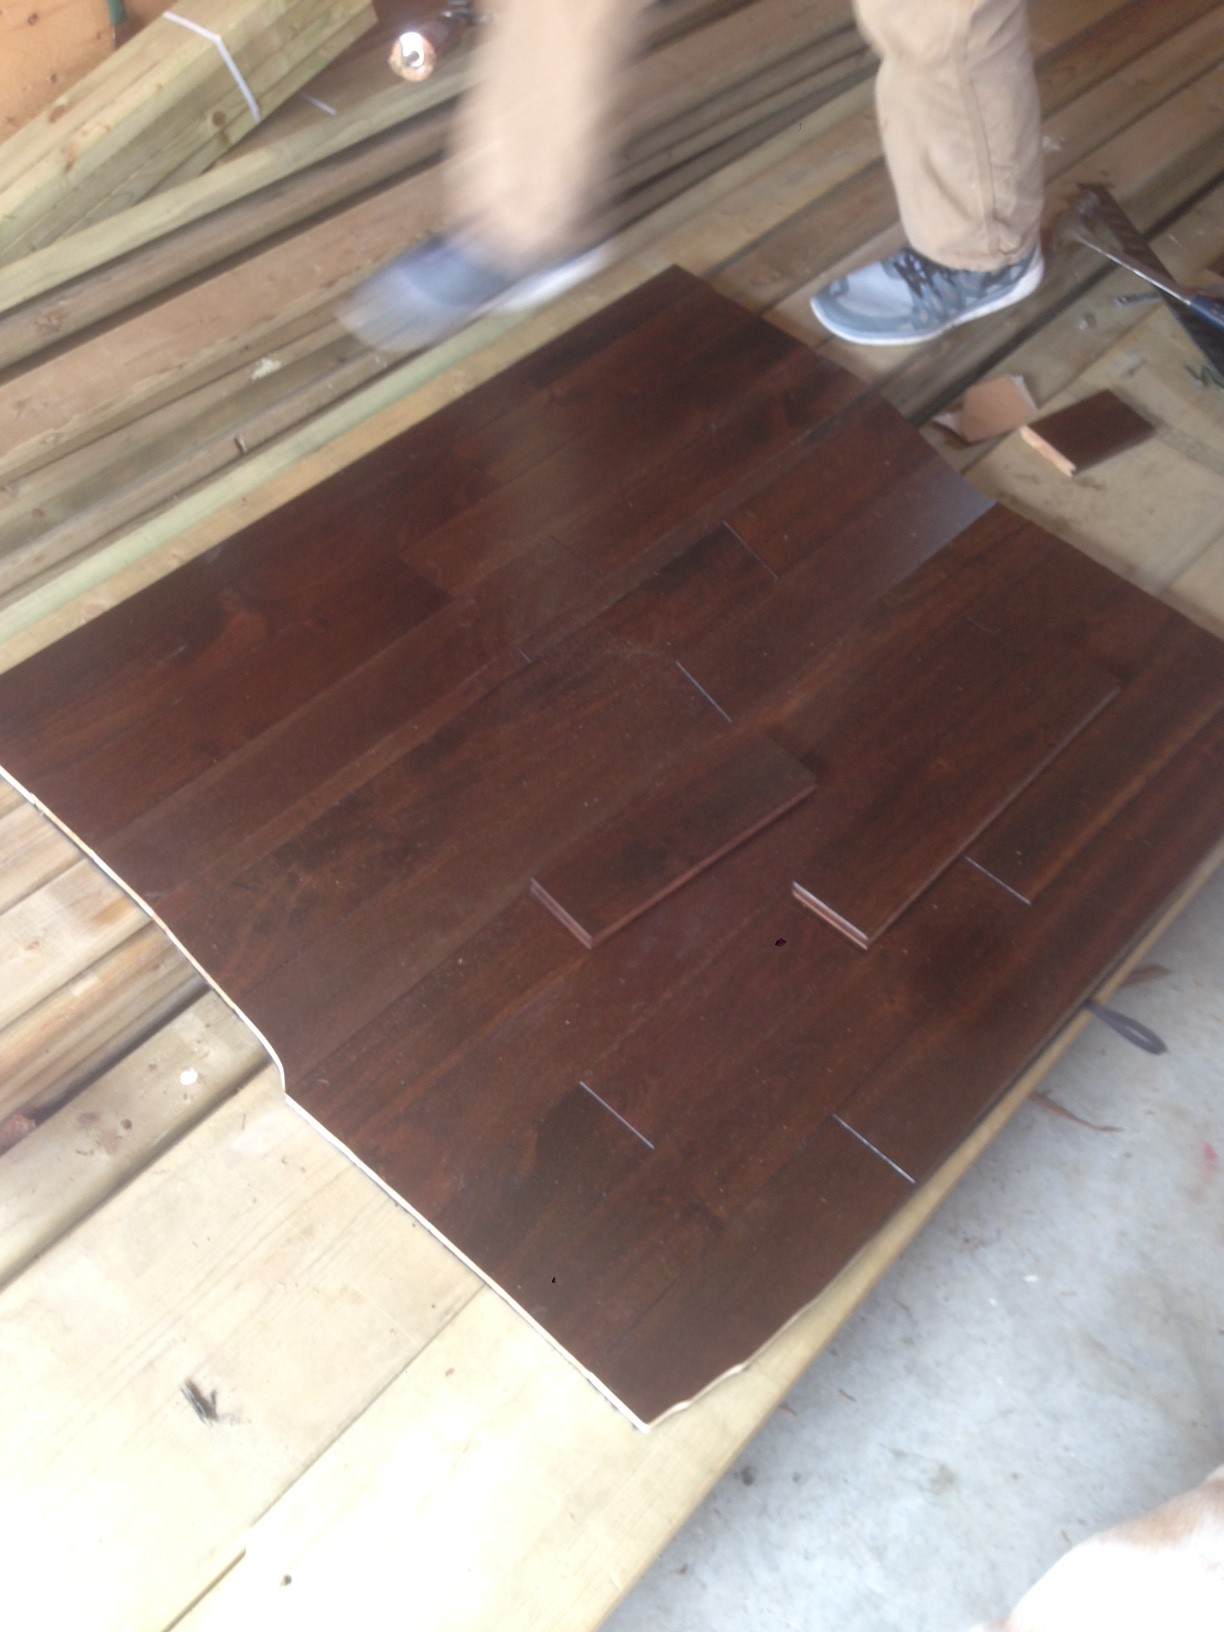
You can see the angles better in this pic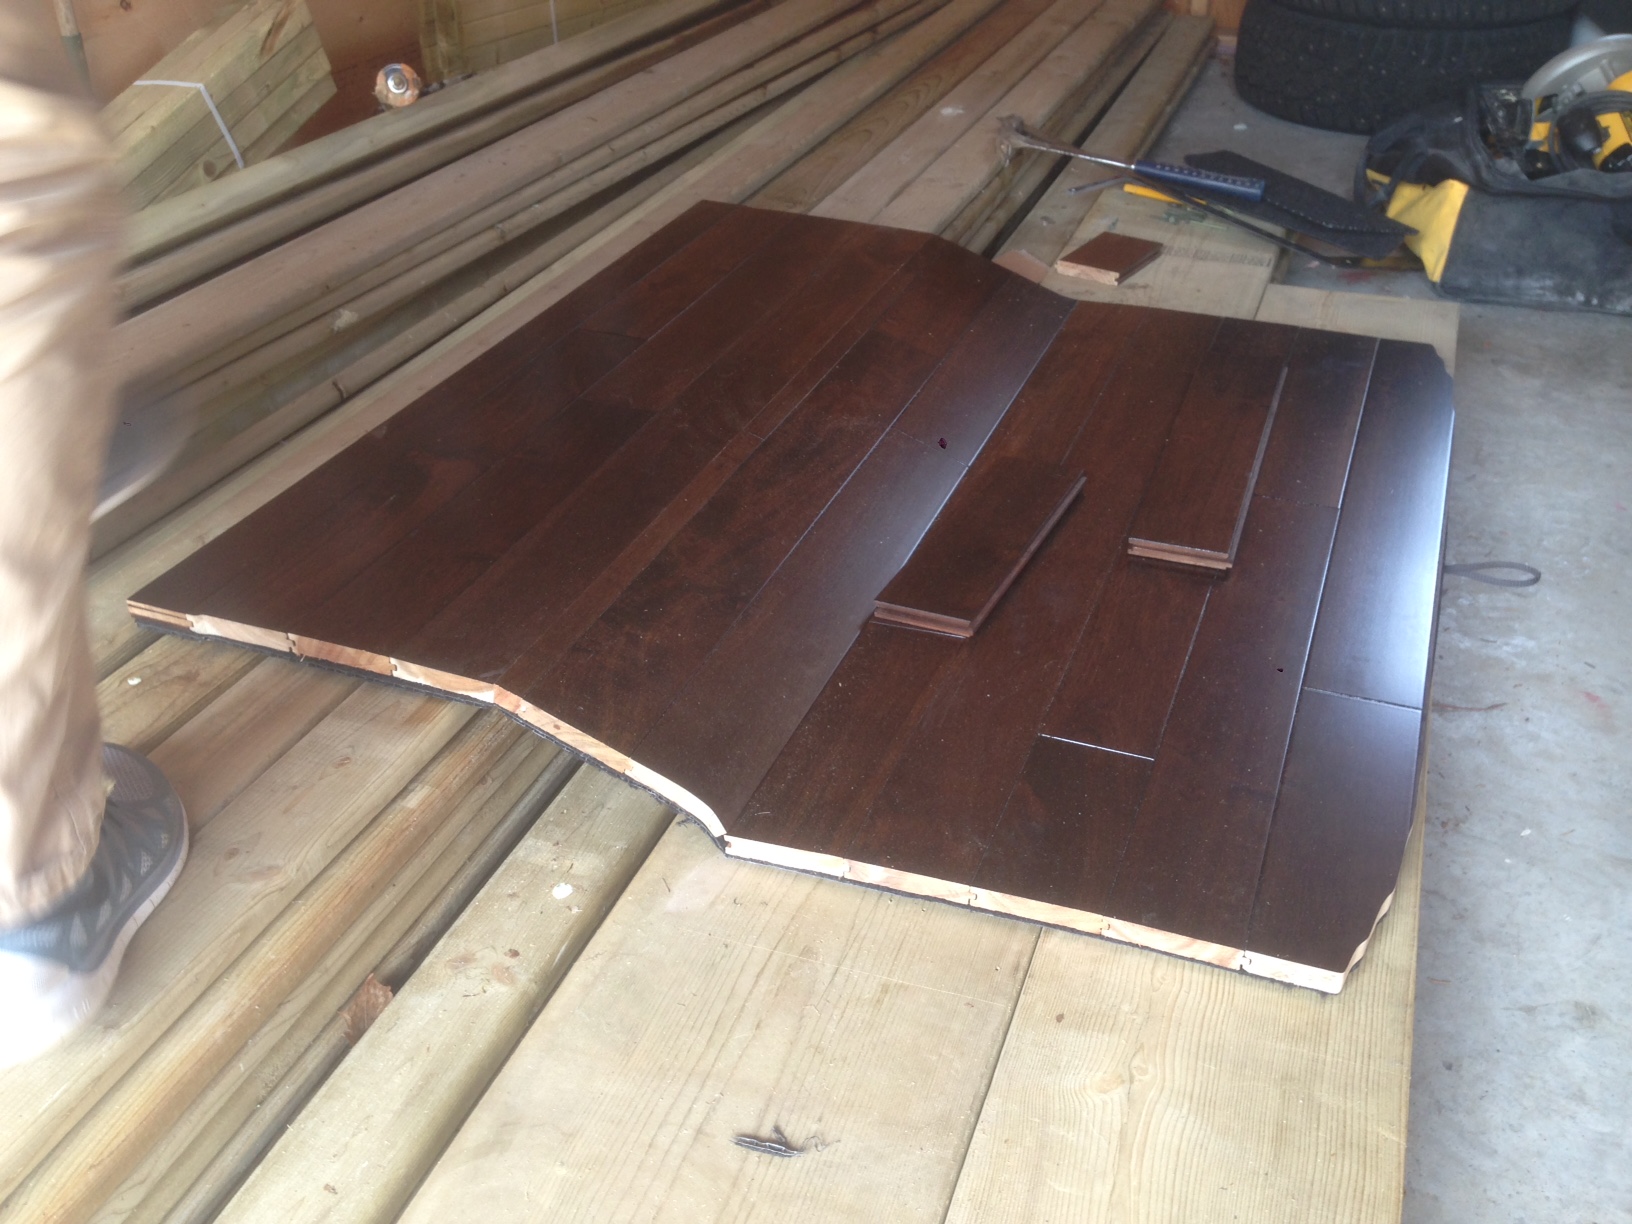
Next step was to get back to working on the car. The Air Lift struts arent here yet due to weather im assuming.
So jacking up the car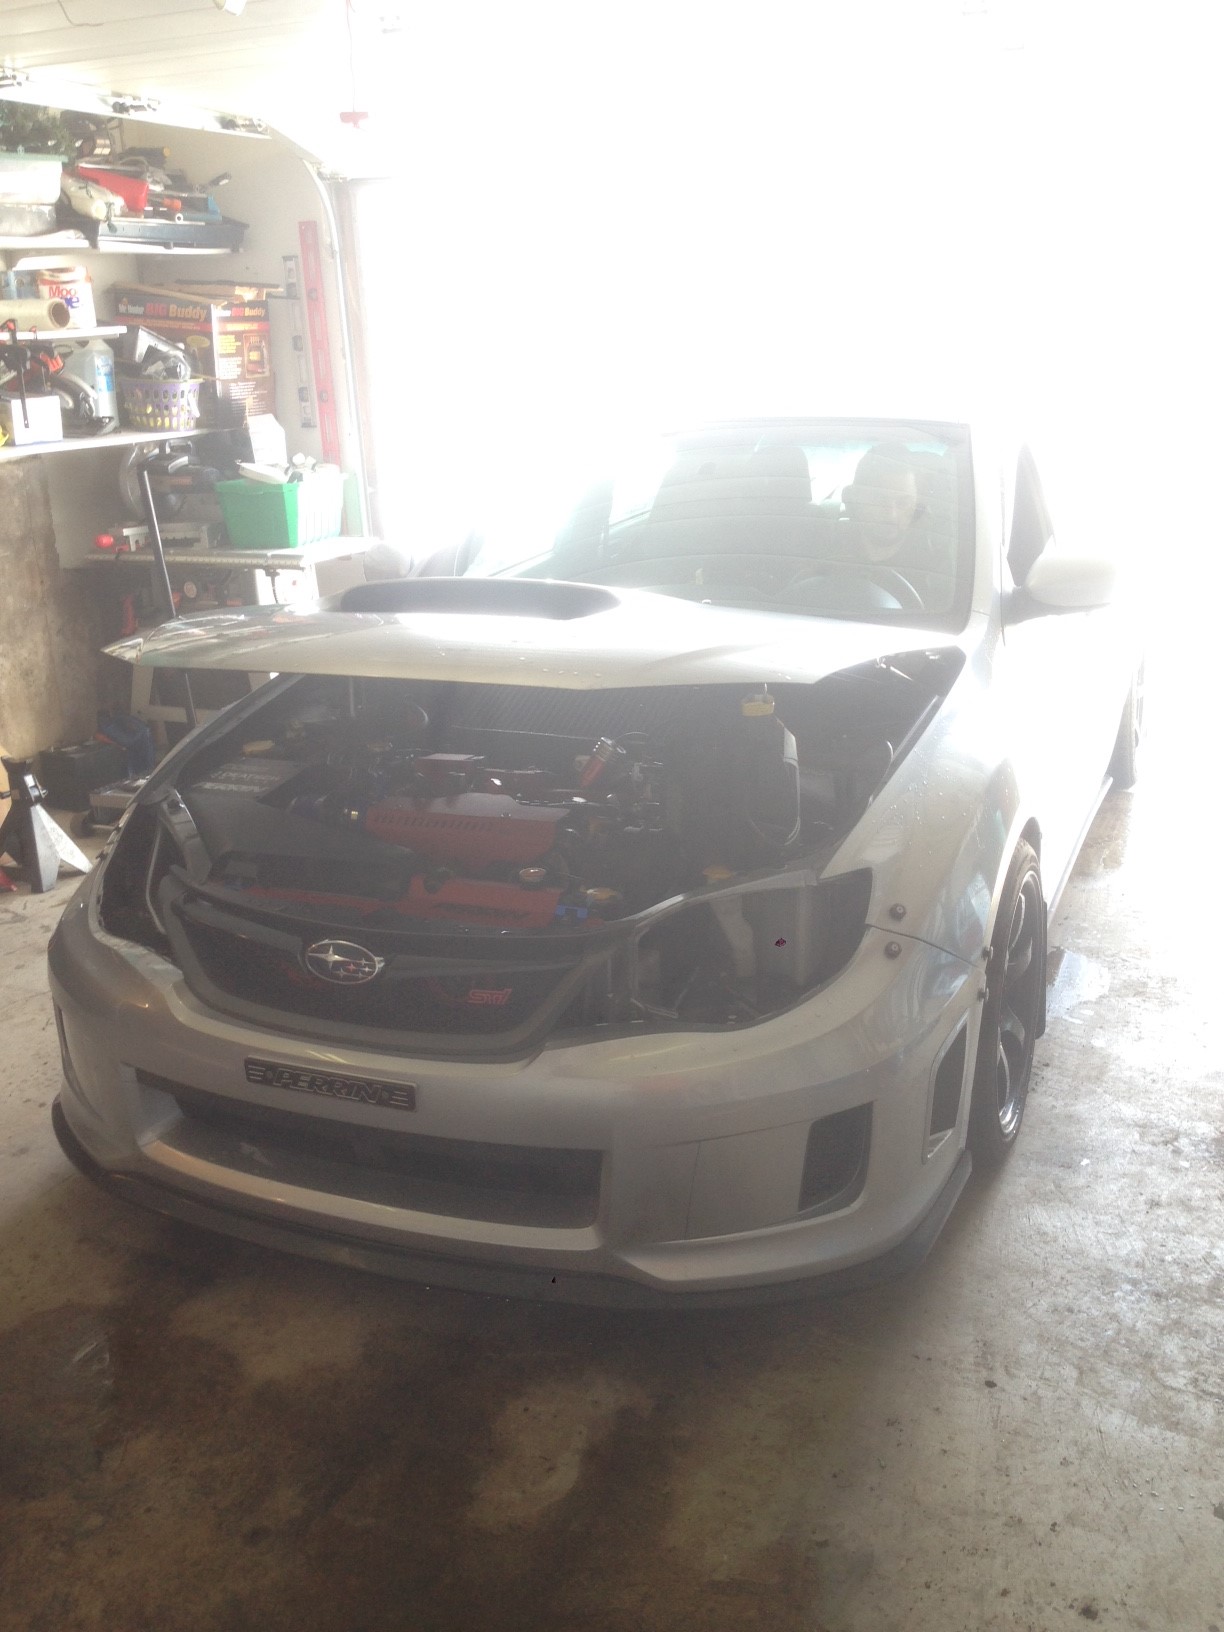
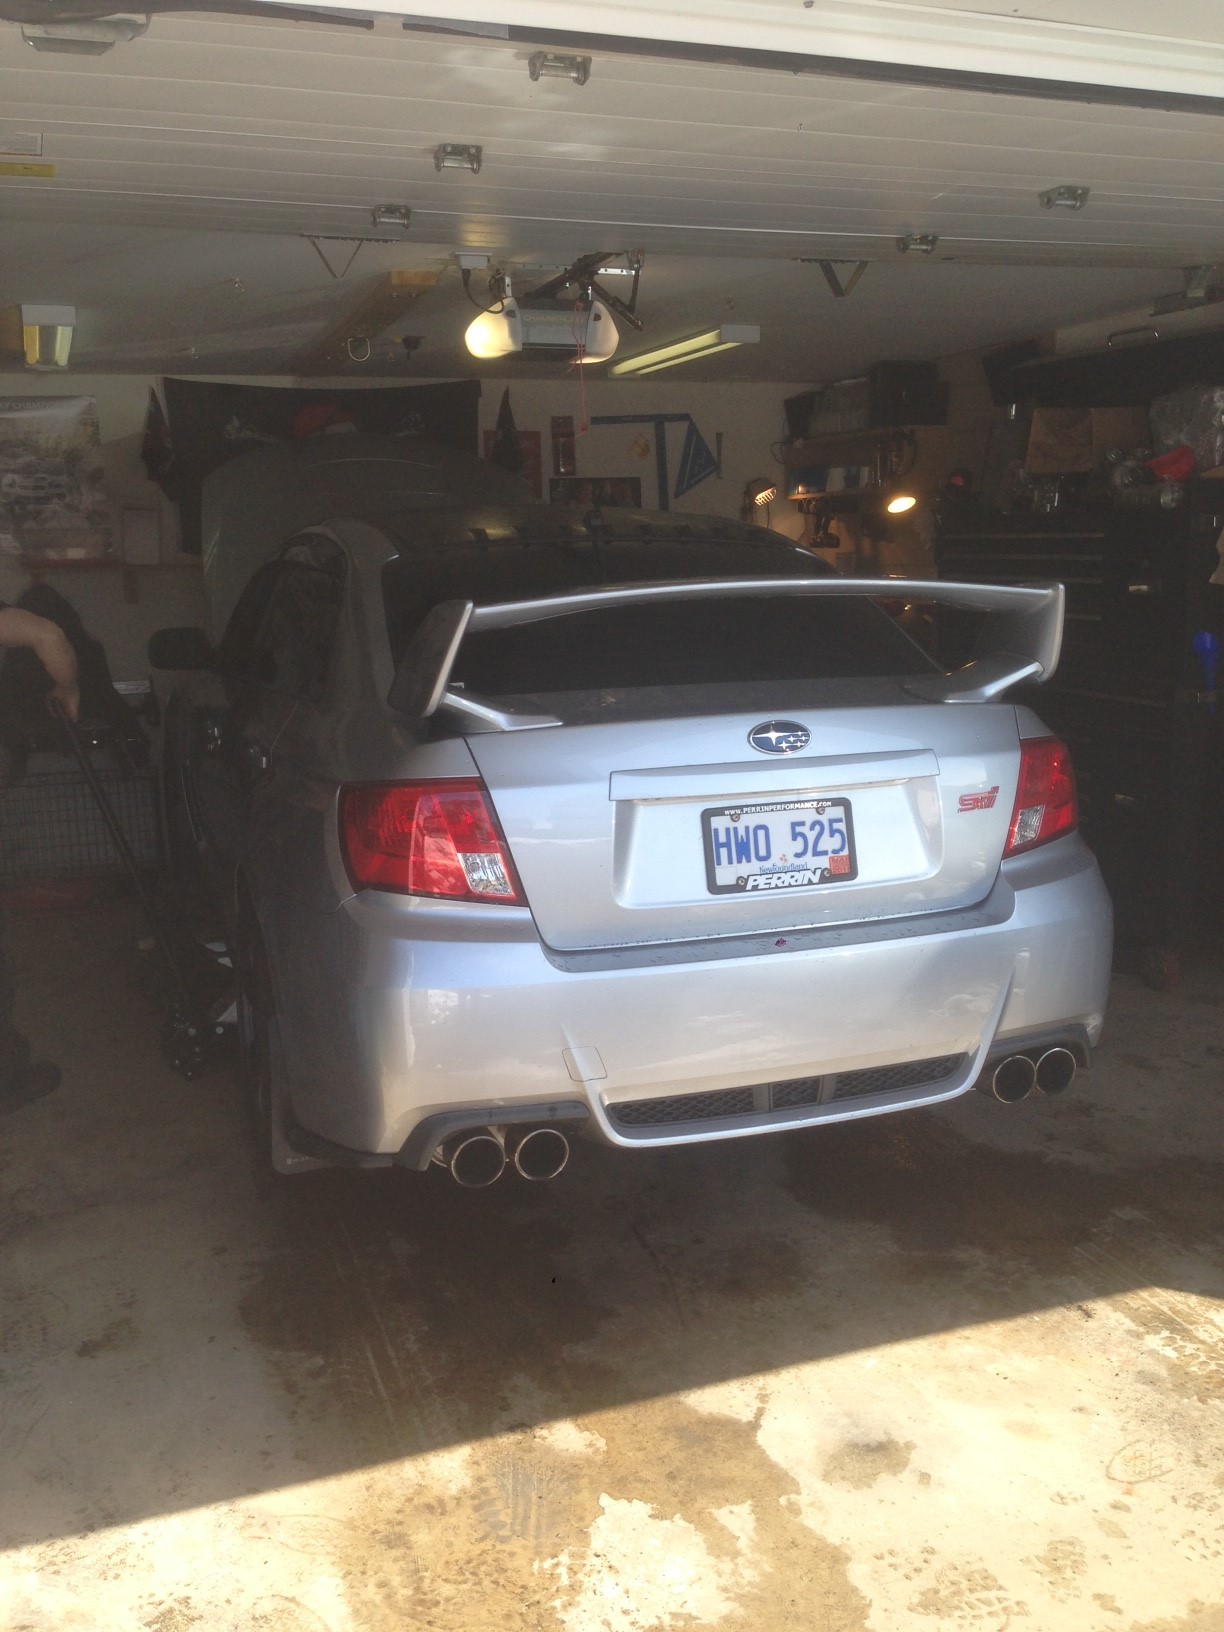
Next was to roll the fenders. I had a shop do my last ones and they destroyed them cause they didnt use heat so I said I would try it instead and the fenders are getting cut away anyways lol. So I set the heat gun too 300-350*. The first fender which was driver side I had the garage door open and it was cool outside so the heat wouldnt stay in the fenders for too long so I had a couple cracks come from that and it took me about an hour and twenty mins to do the first side. When I cracked the paint I just used clear nail polish to seal up the cracks and paint.
Heres the setup here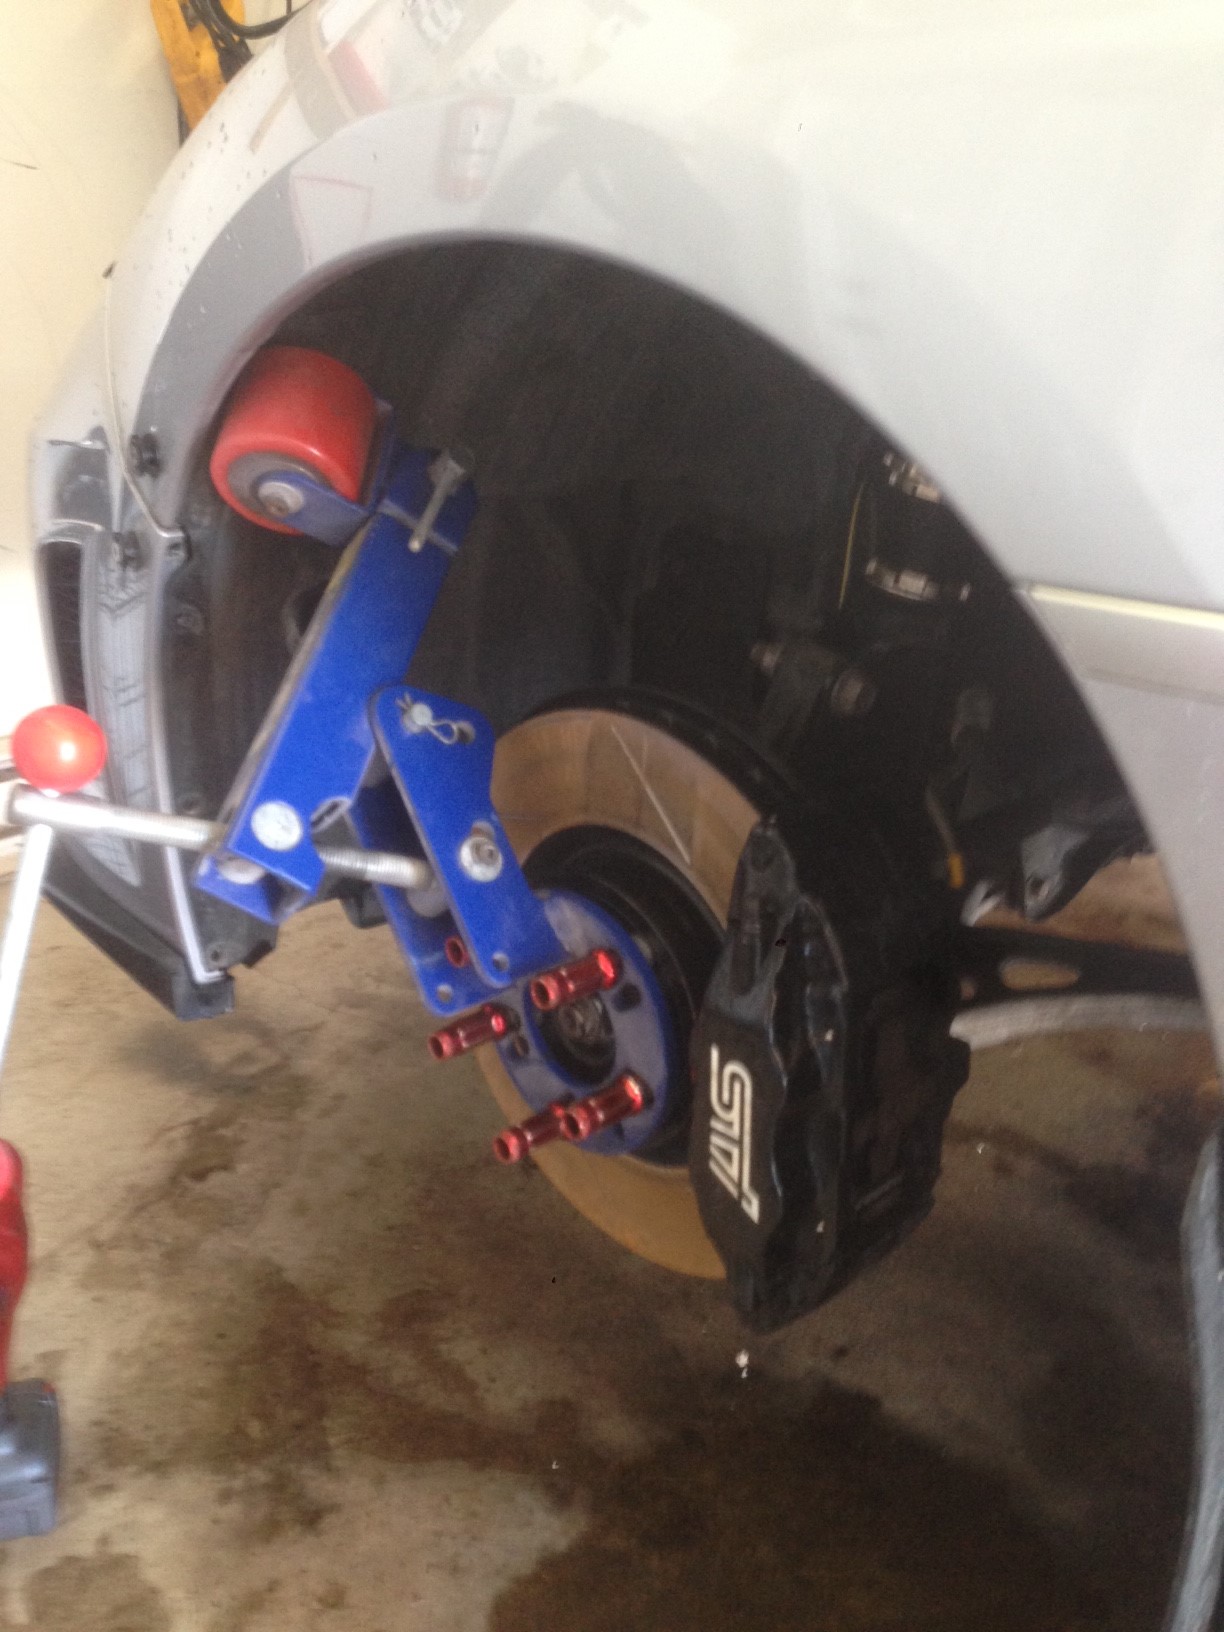
Pic of the progress. Now I did the passanger side with the garage door closed. The heat sunk into the paint like crazy and did the fender in 15 min with no cracks at all.
Heres a pic of the lip. Hard to see but its perfectly flat.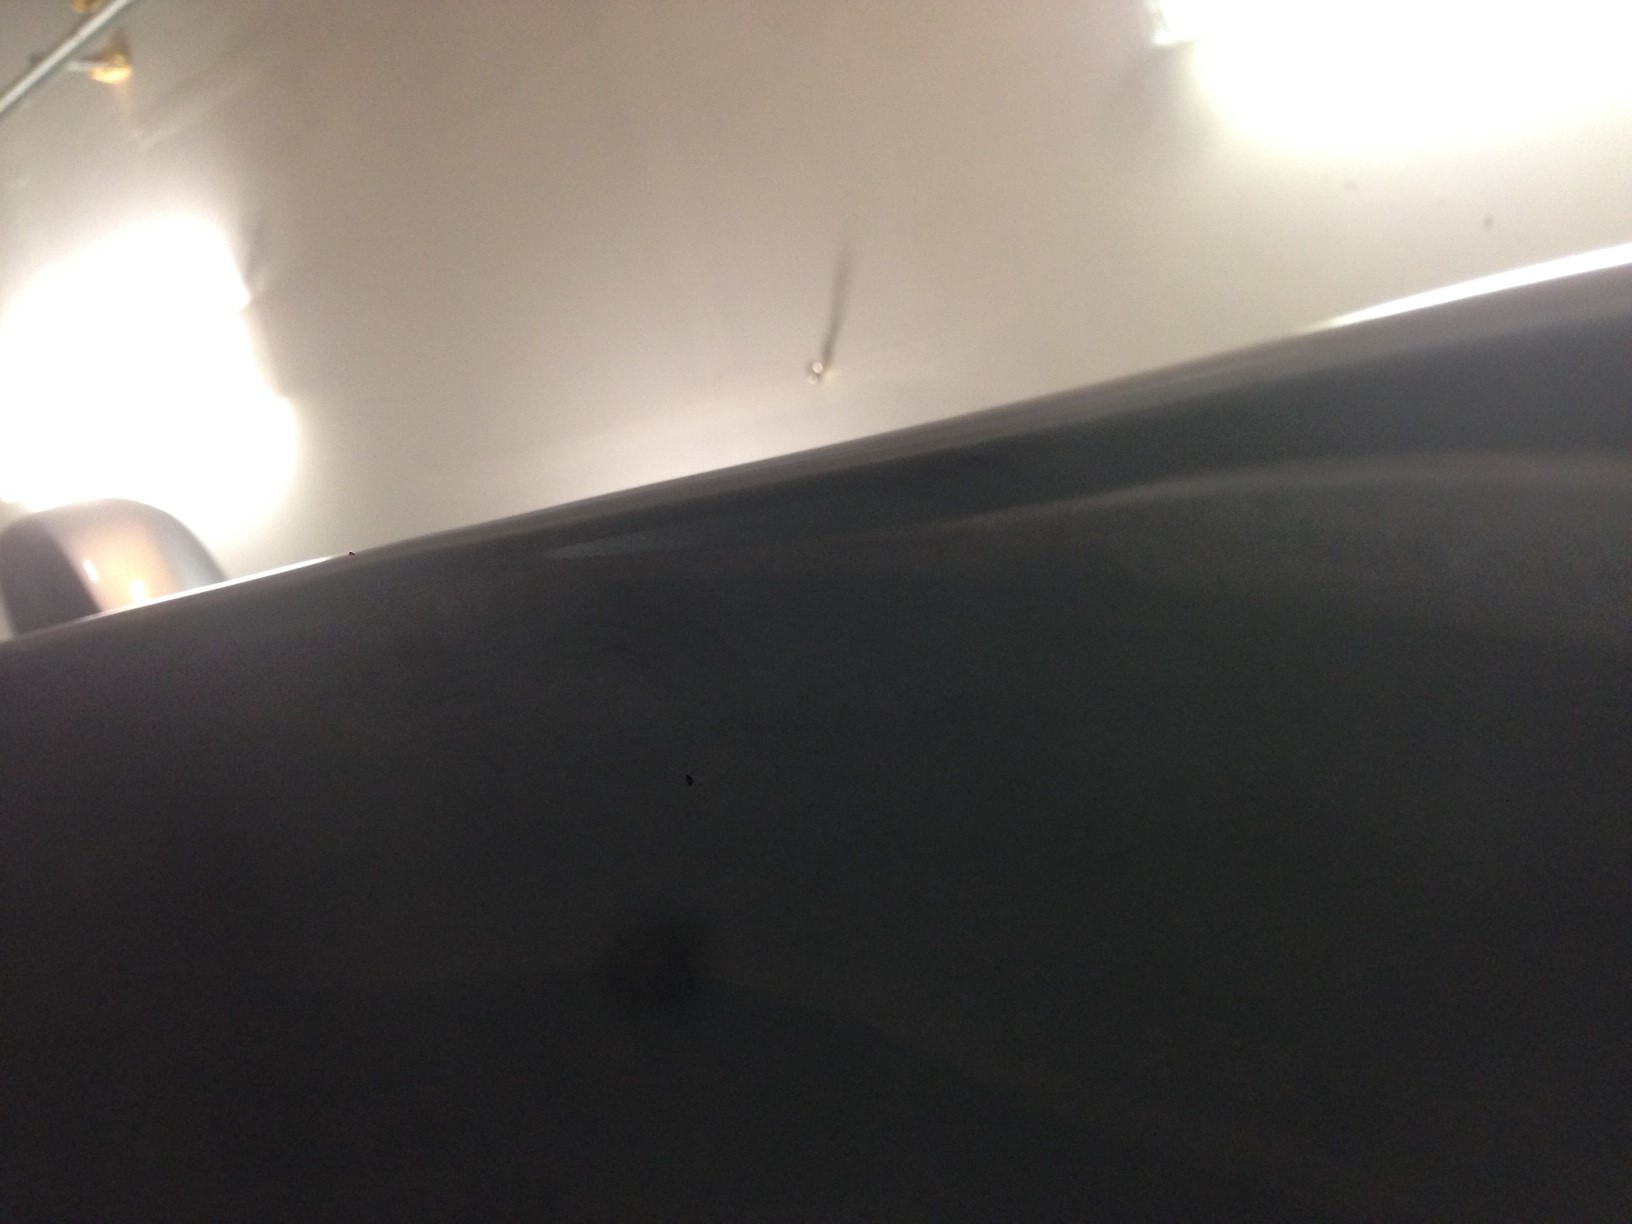
After that we ran the lines for the air suspension and also removed the BC coils.
So we ran the lines along underneath the door seals to keep it away from weather and damage and for a really clean look. You can see the pic below where it came out by the driver side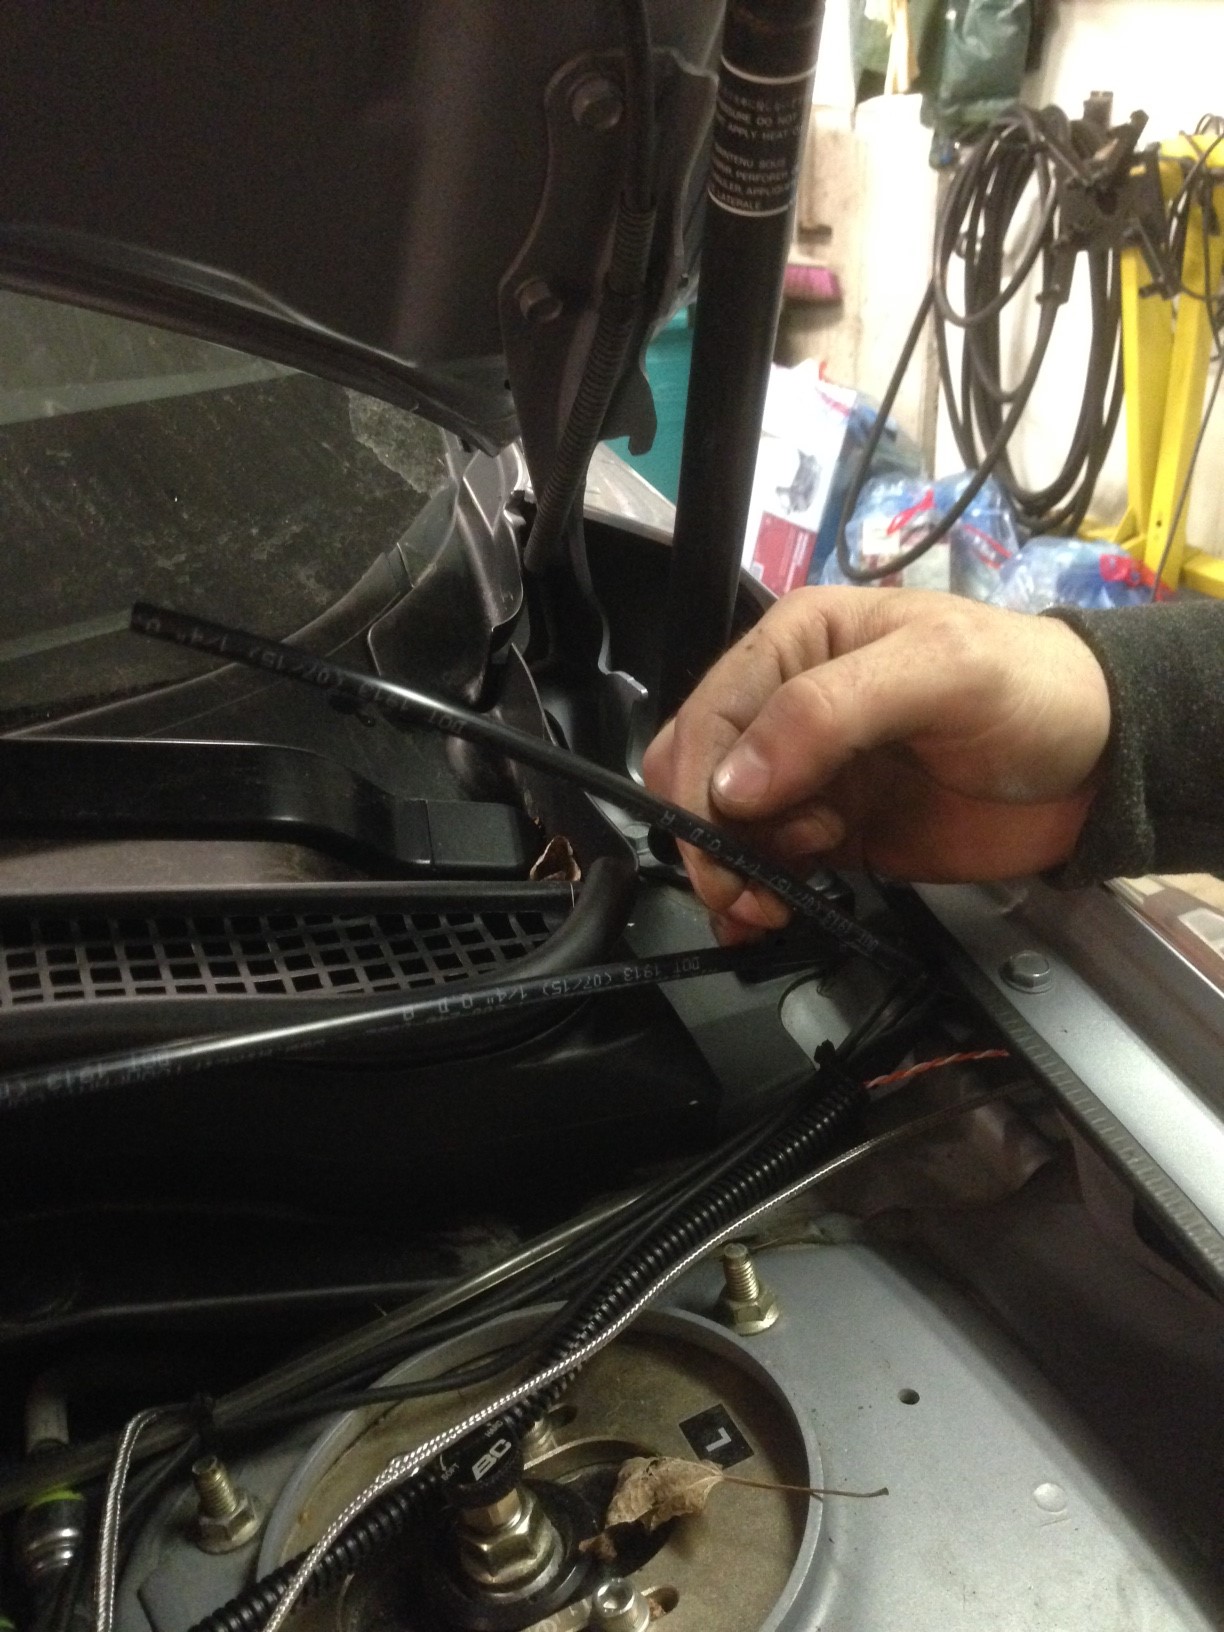
and this is where is came out on the passenger side rear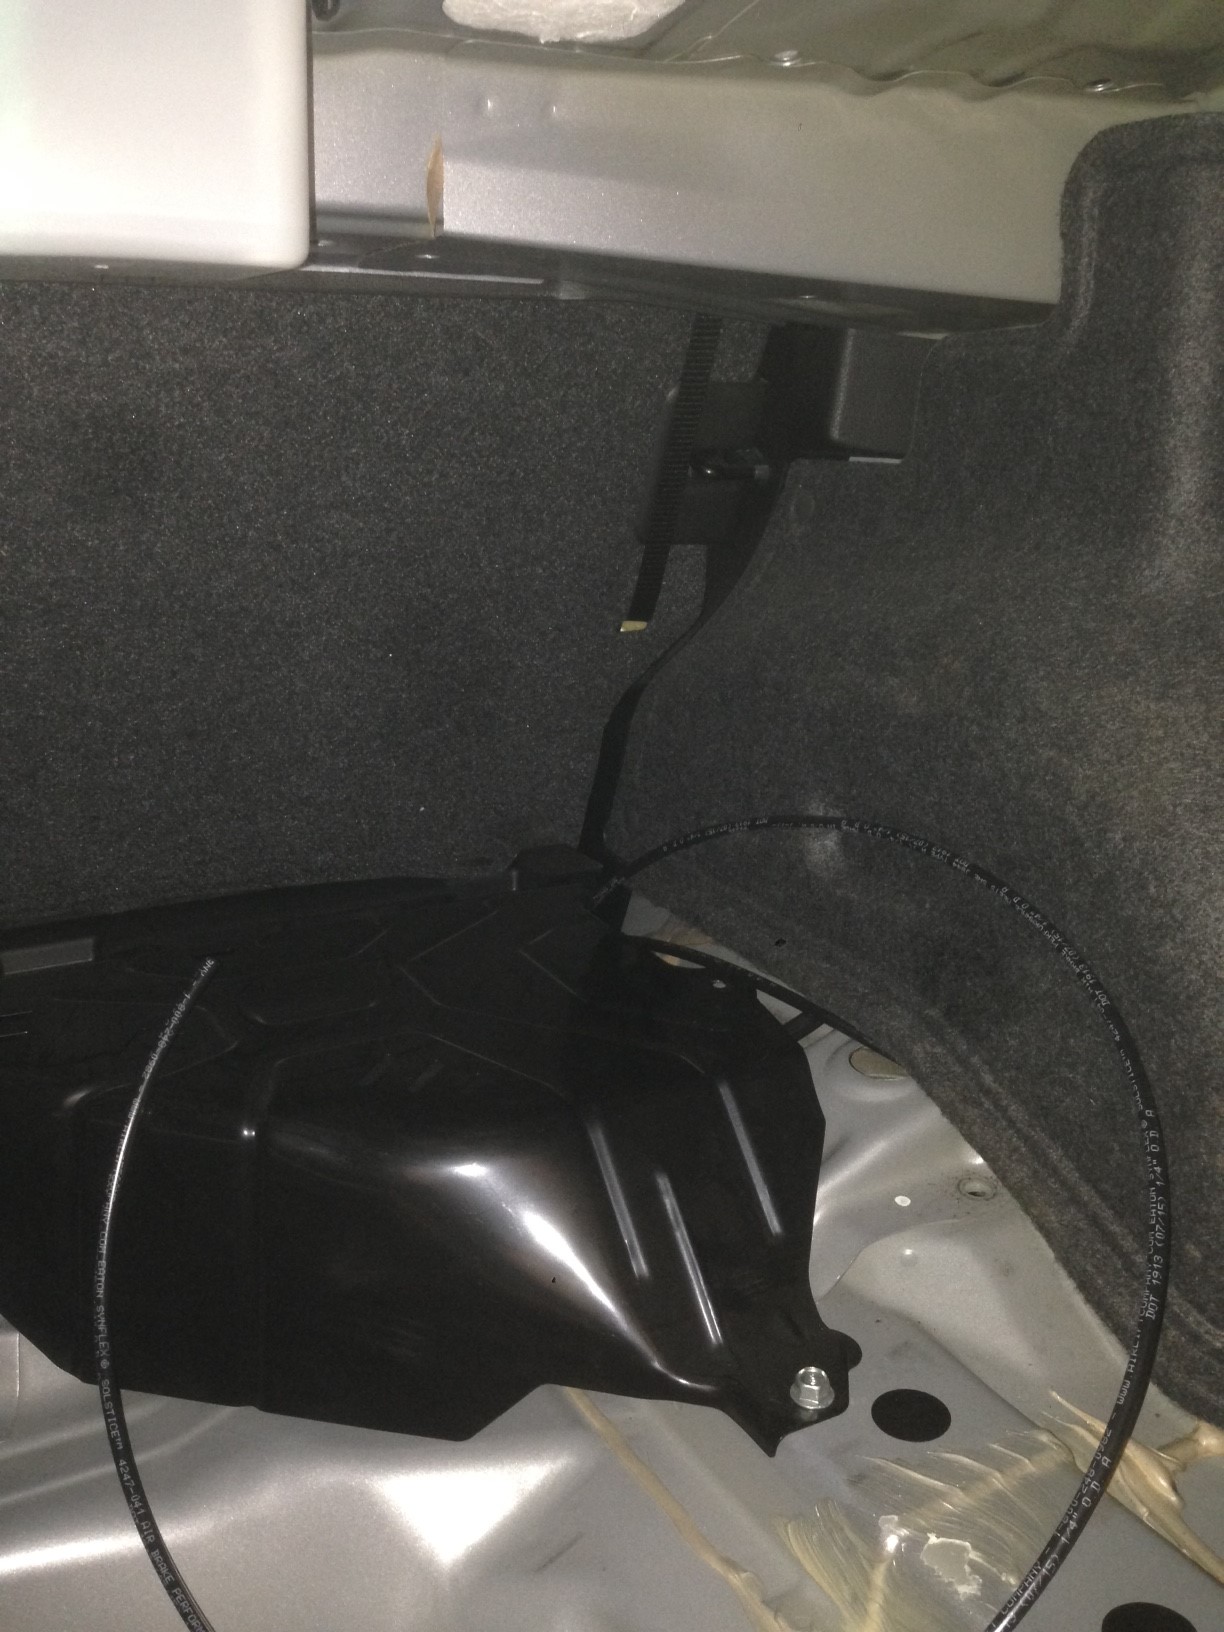
and the driver rear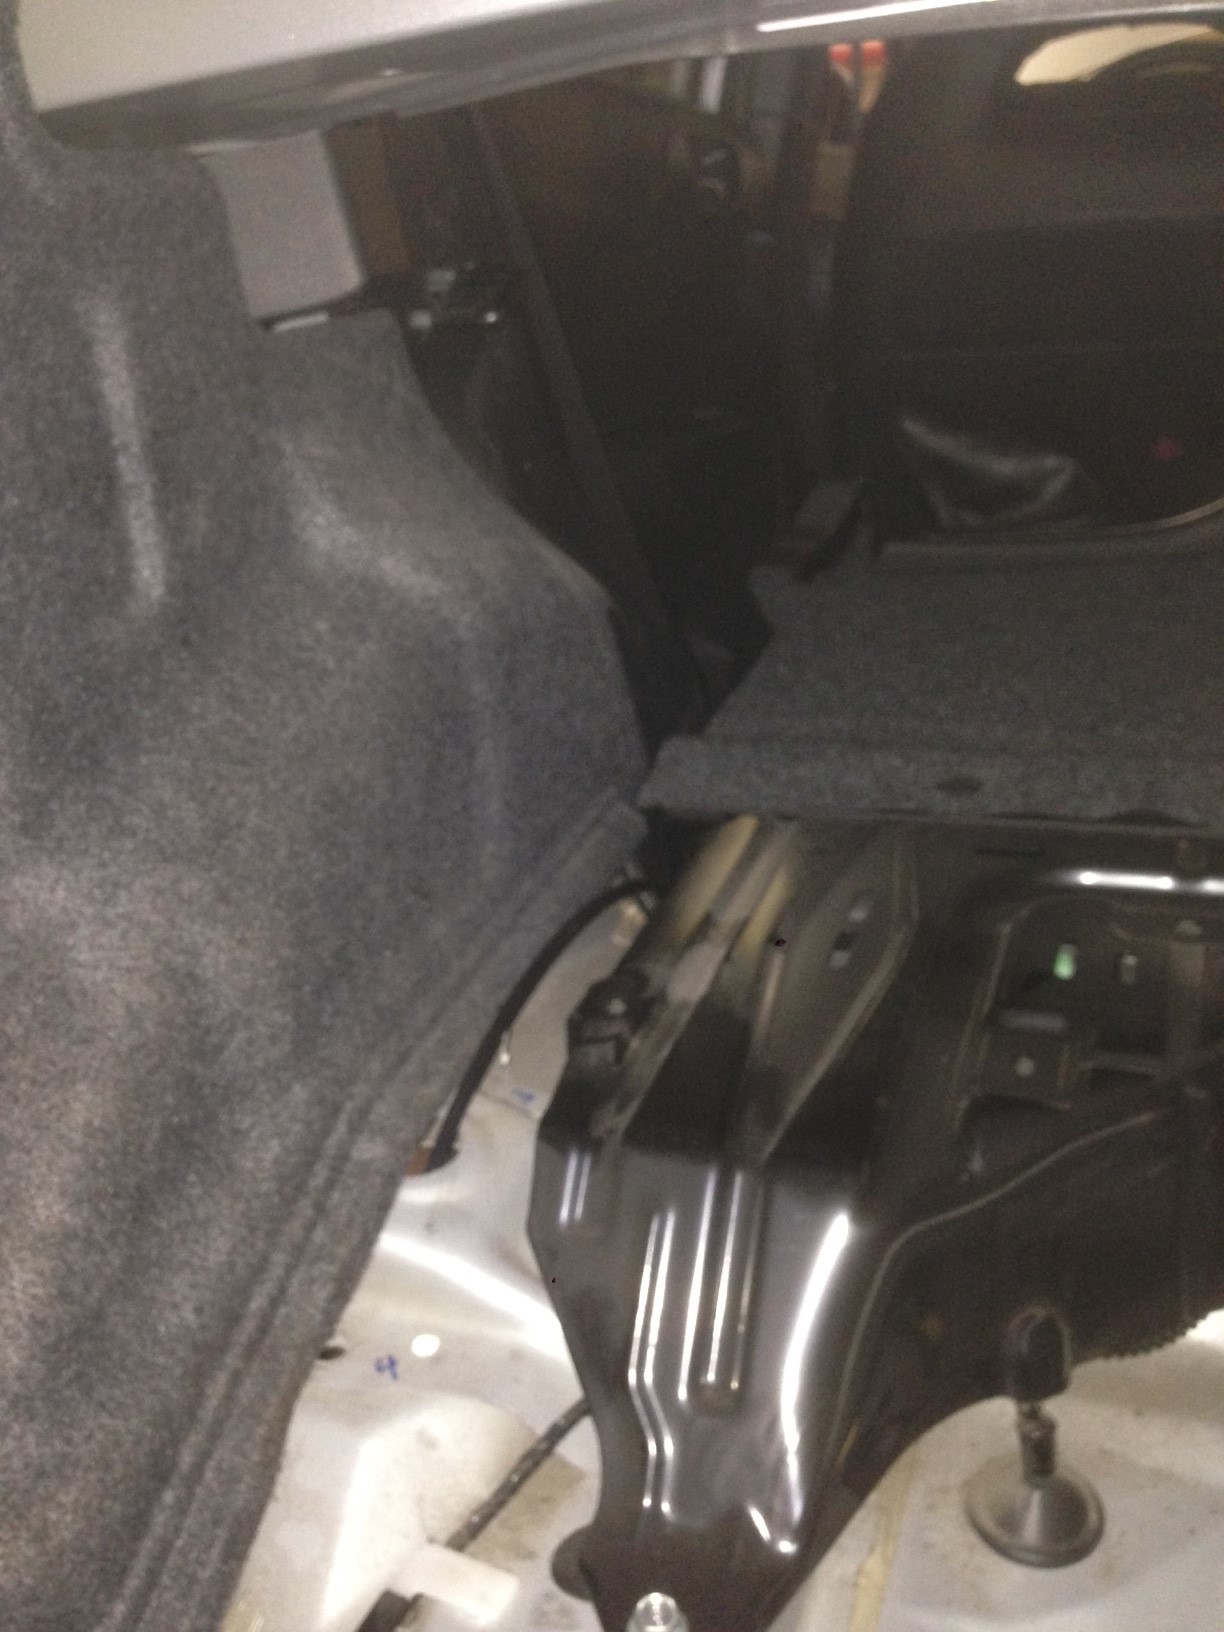
and like I said just ran under the door sills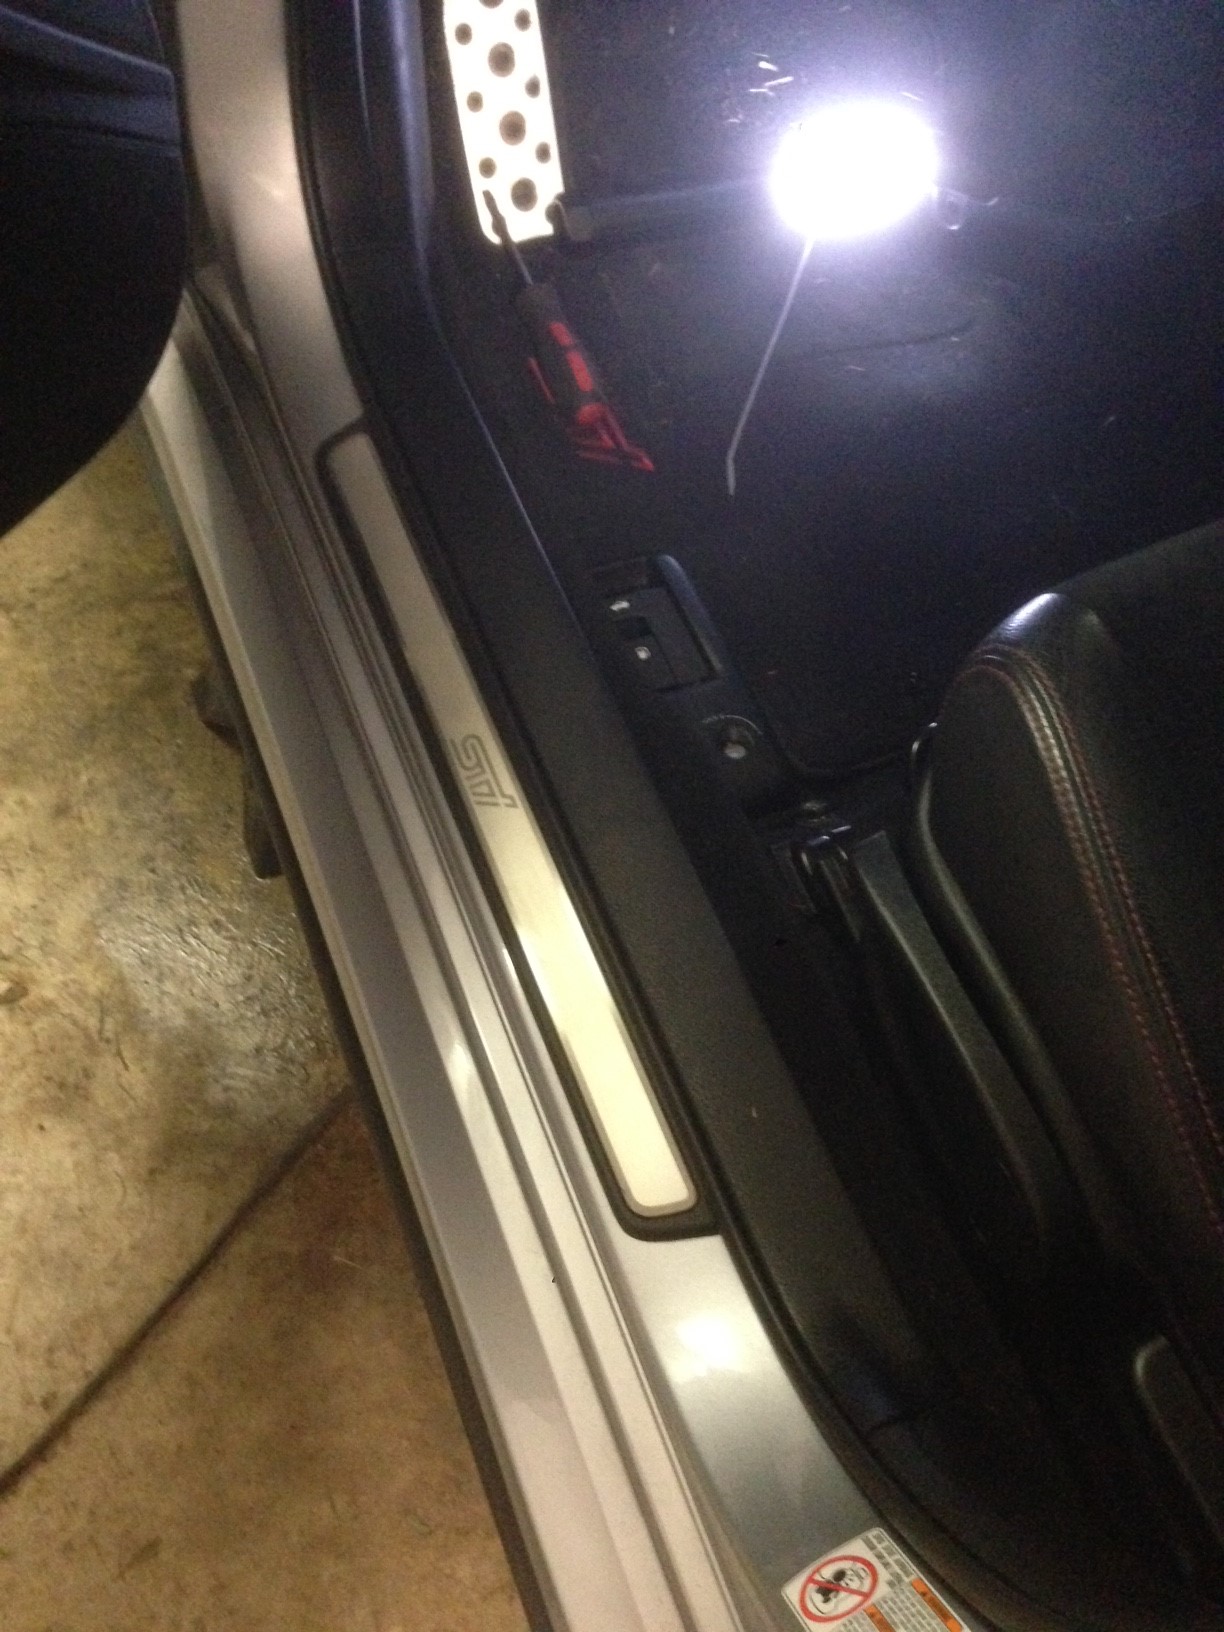
The instructions. Pretty good.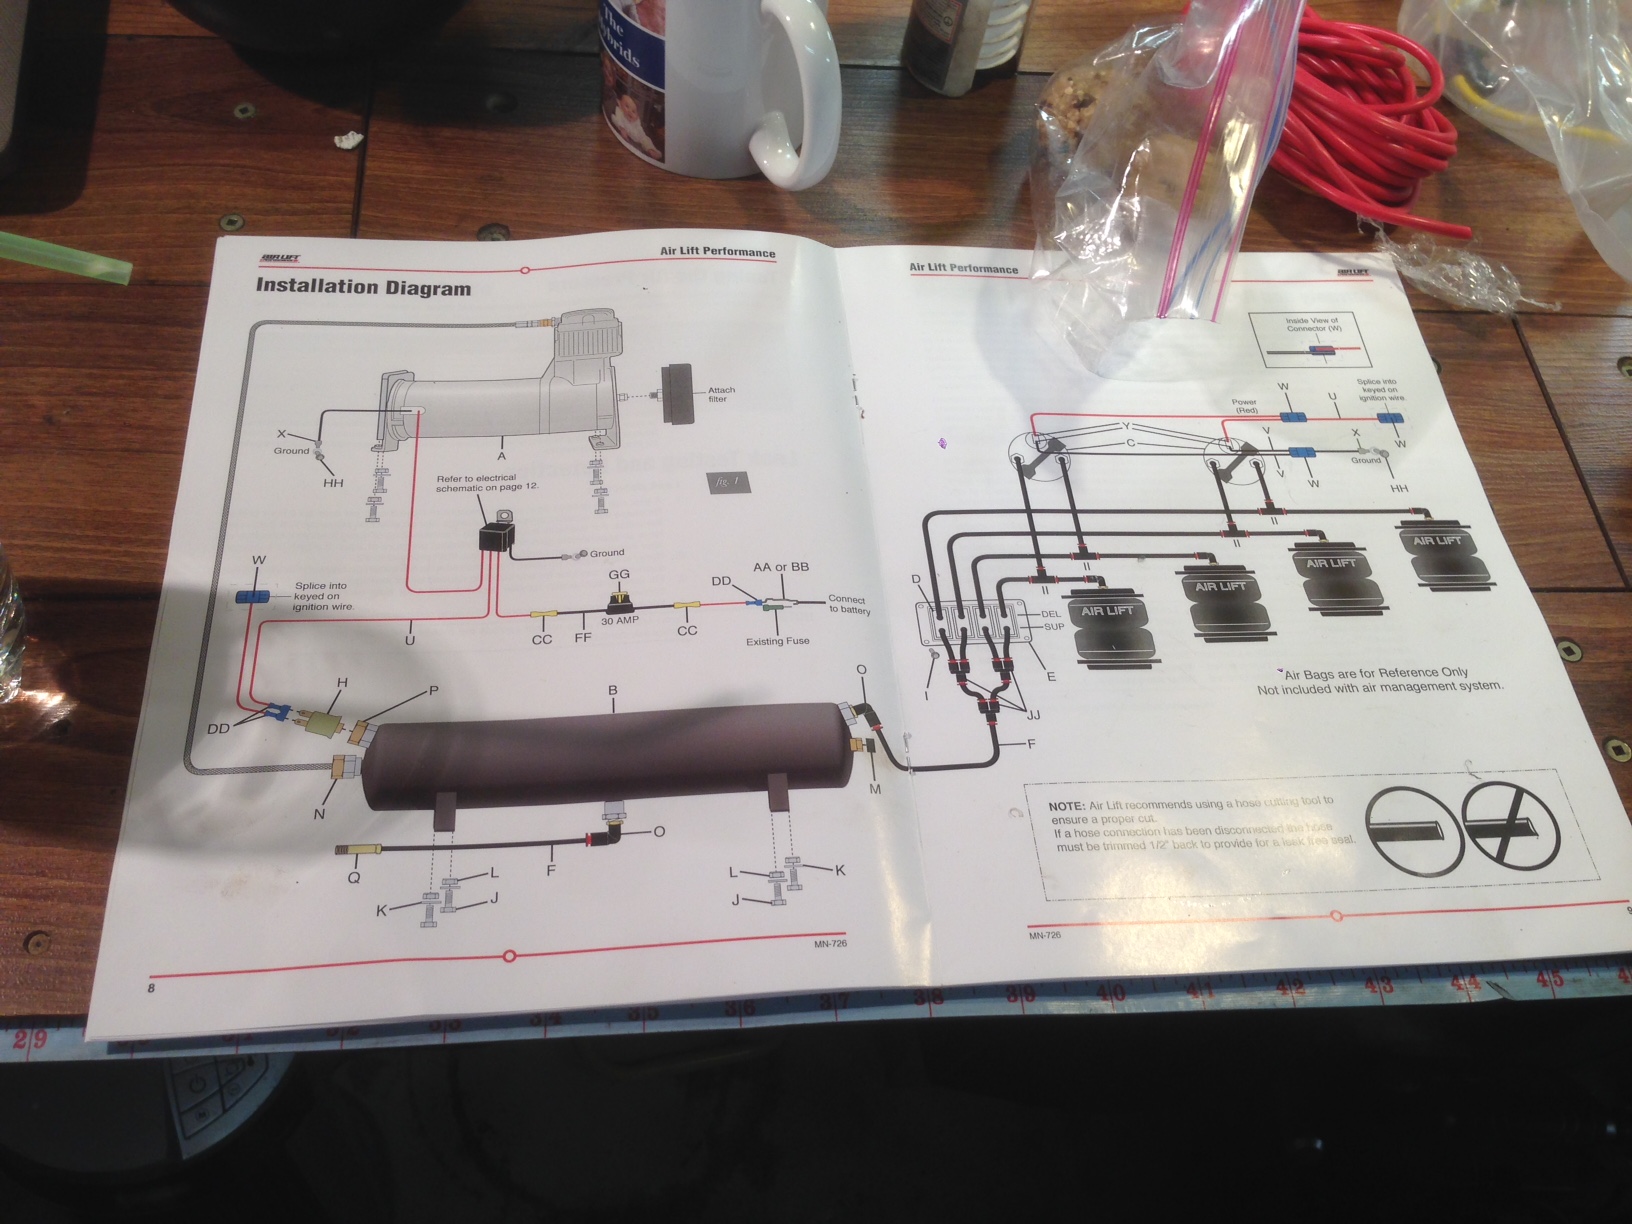
The 4 switches.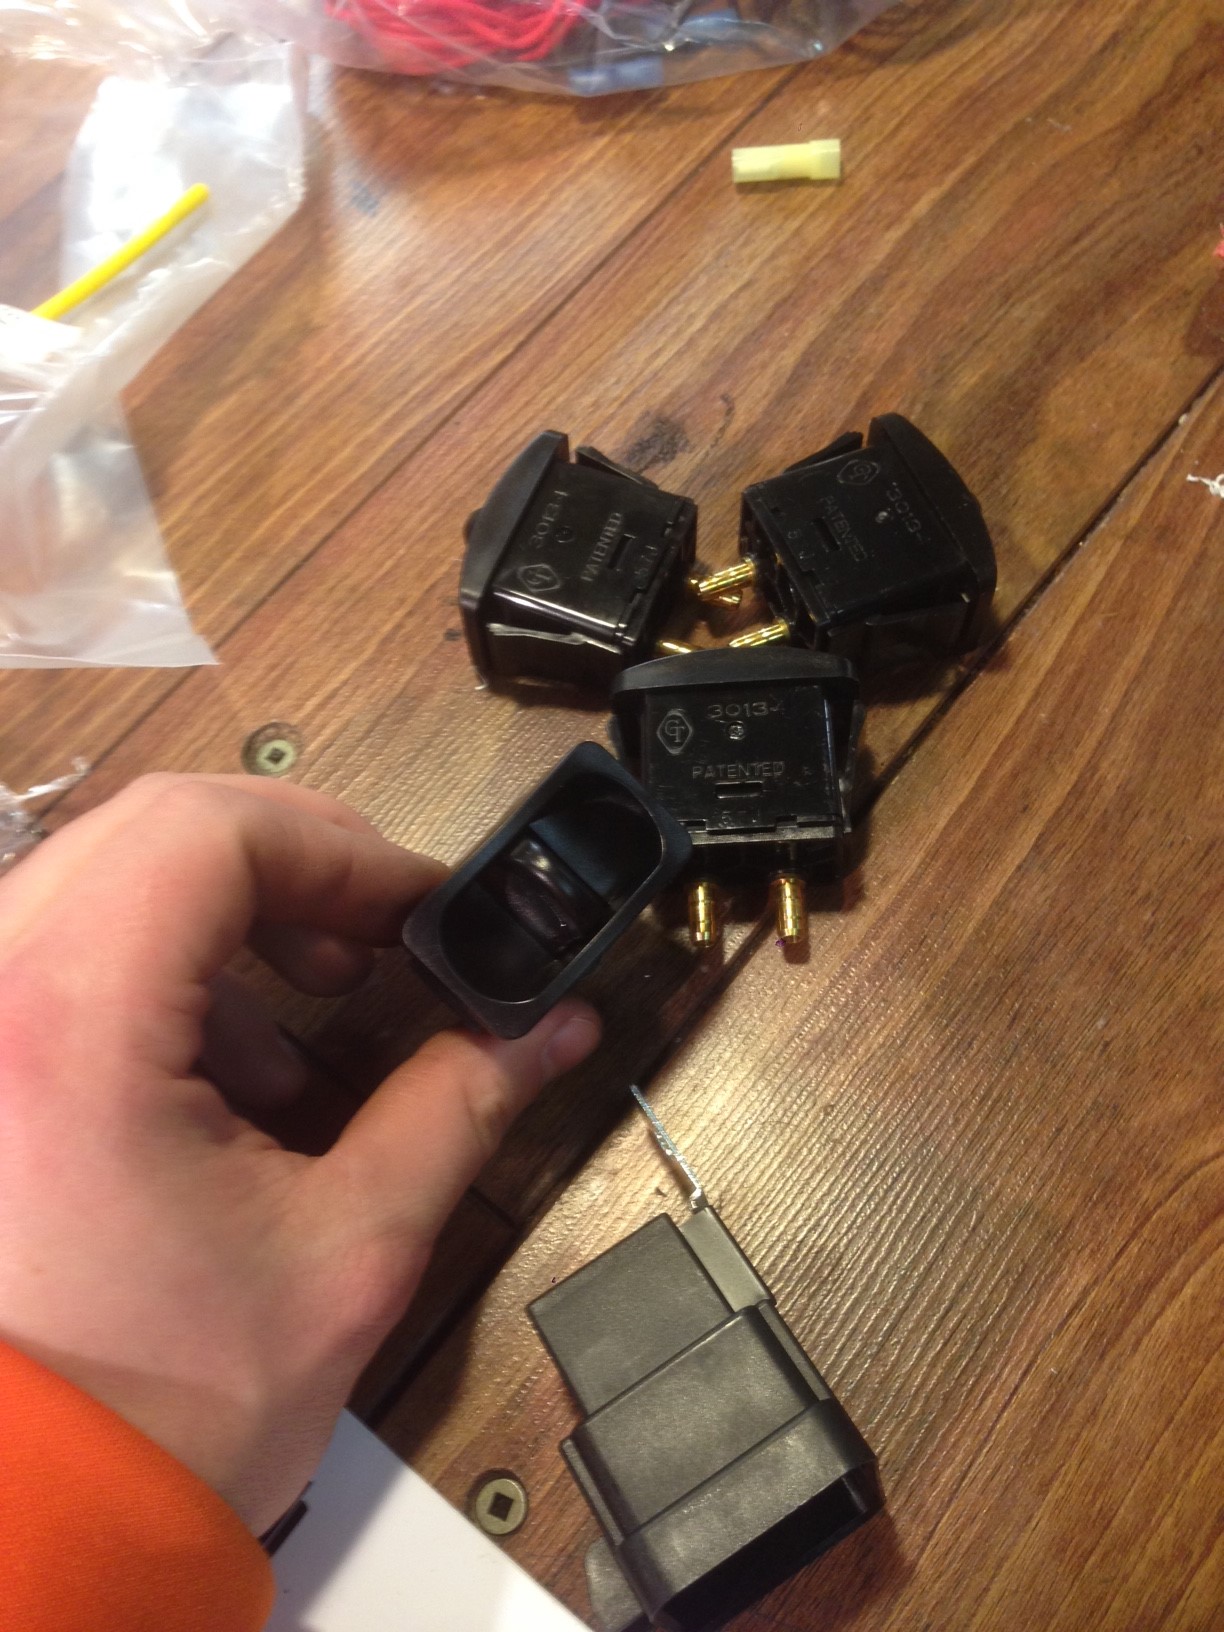
The beautiful gauges. Each gauge has 2 needles. Each need can be setup for either strut so im picking black needle for fronts and orange for back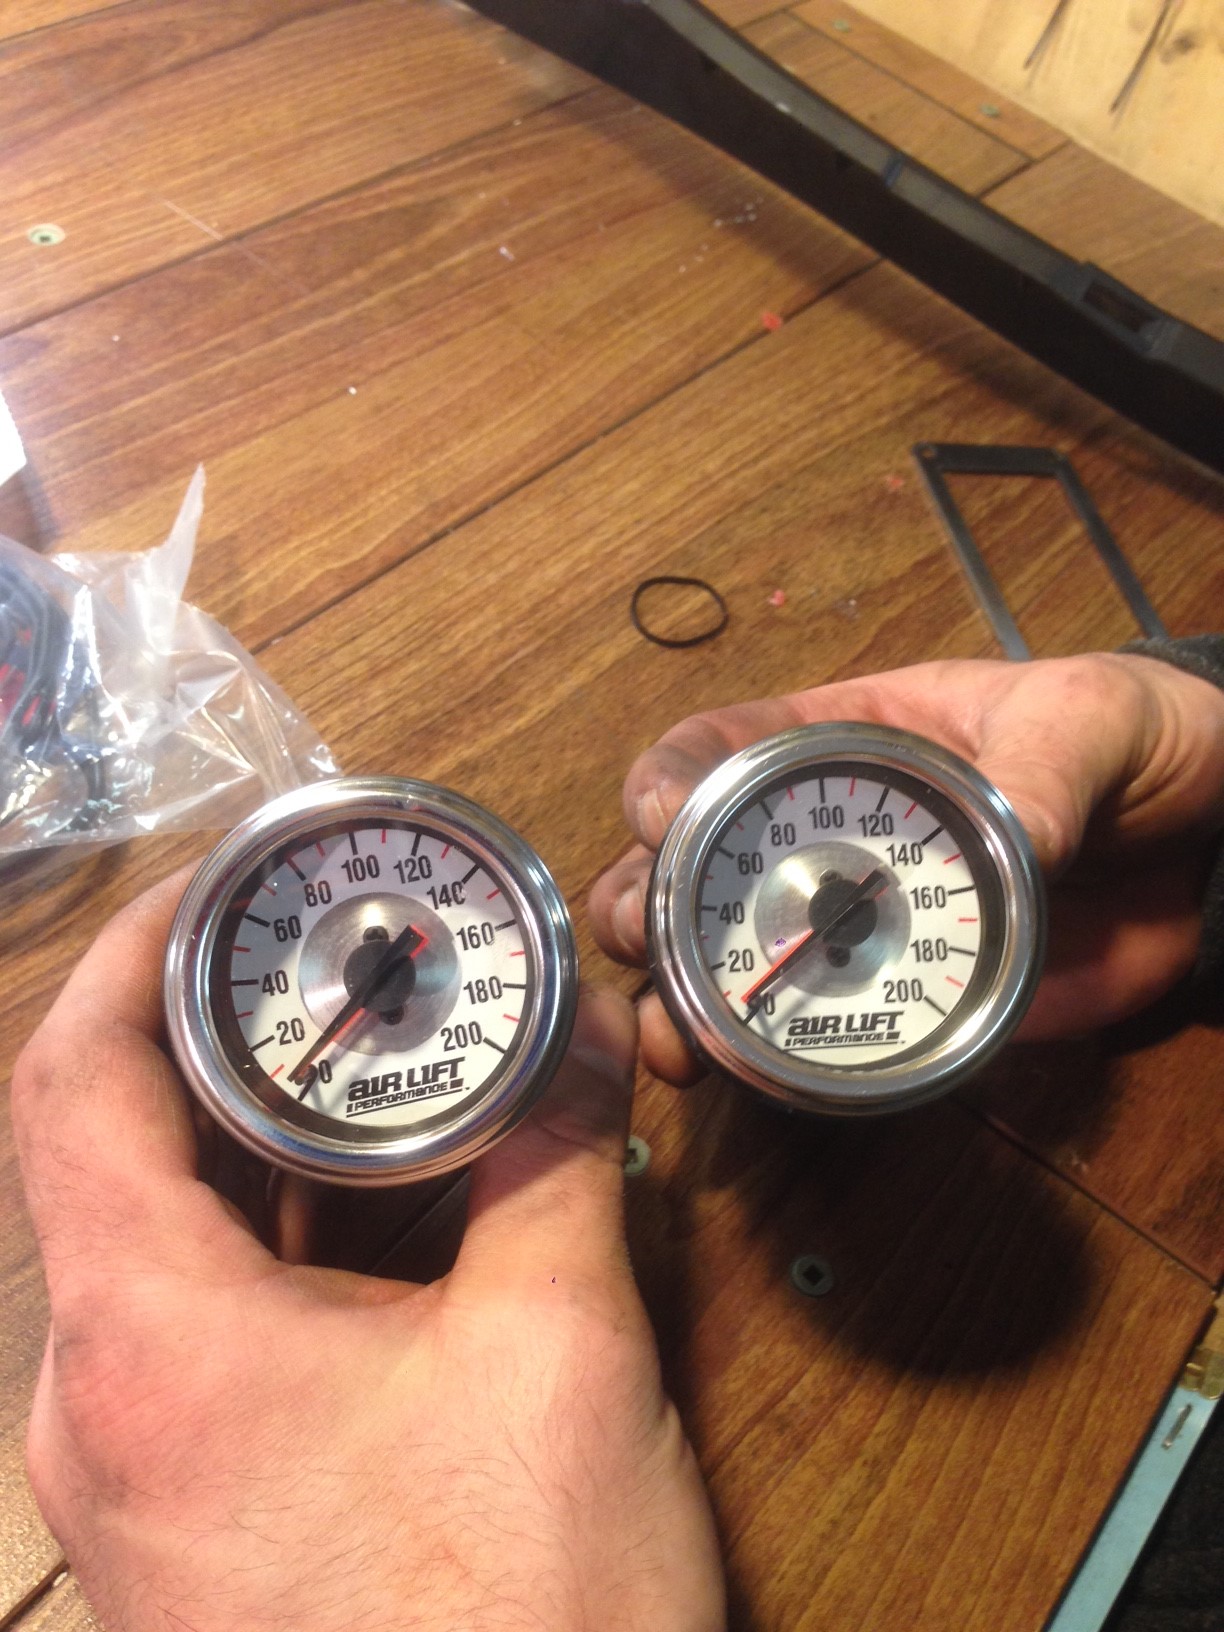
So I decided to mount them in my a-pillar. When we test fitted we noticed with the bracket it was too big and without the bracket the gauge was too small. But it looks clean as hell.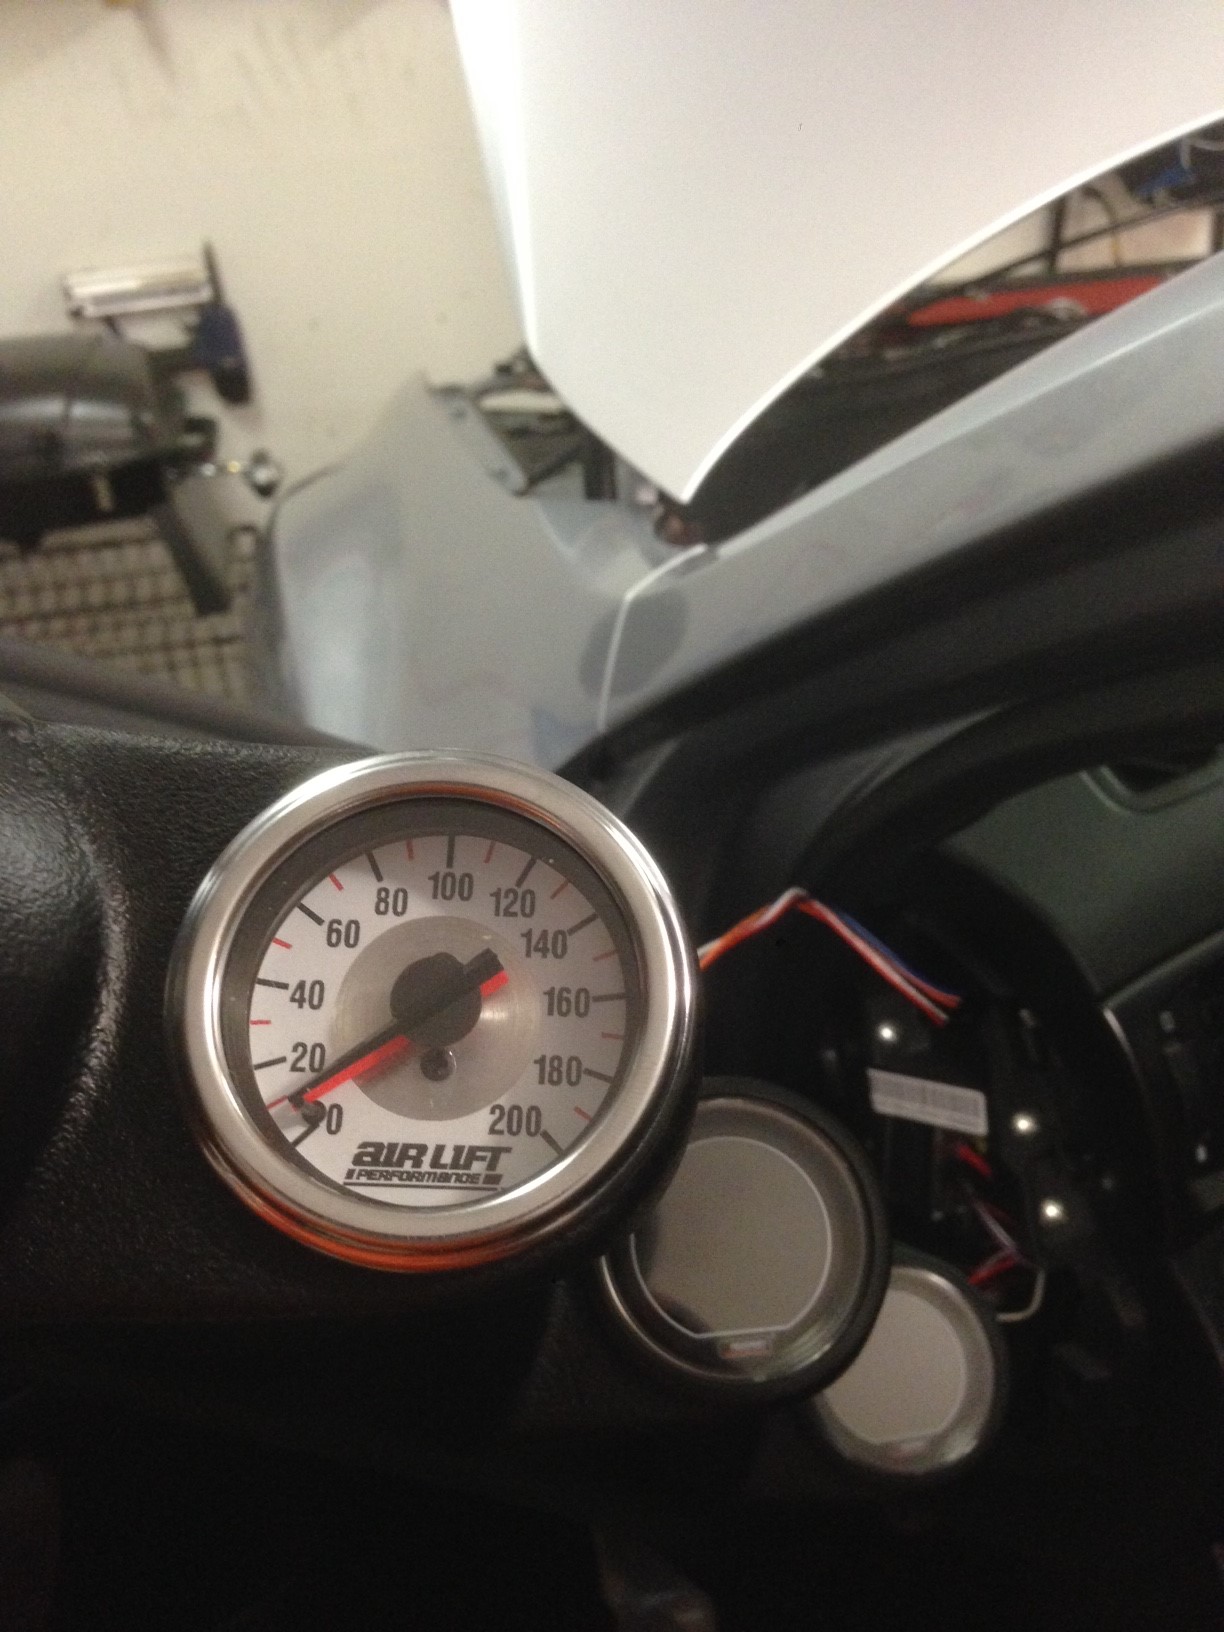
So for an easy fix I used 4 layers of black electrical tape and it was a perfect snug fit.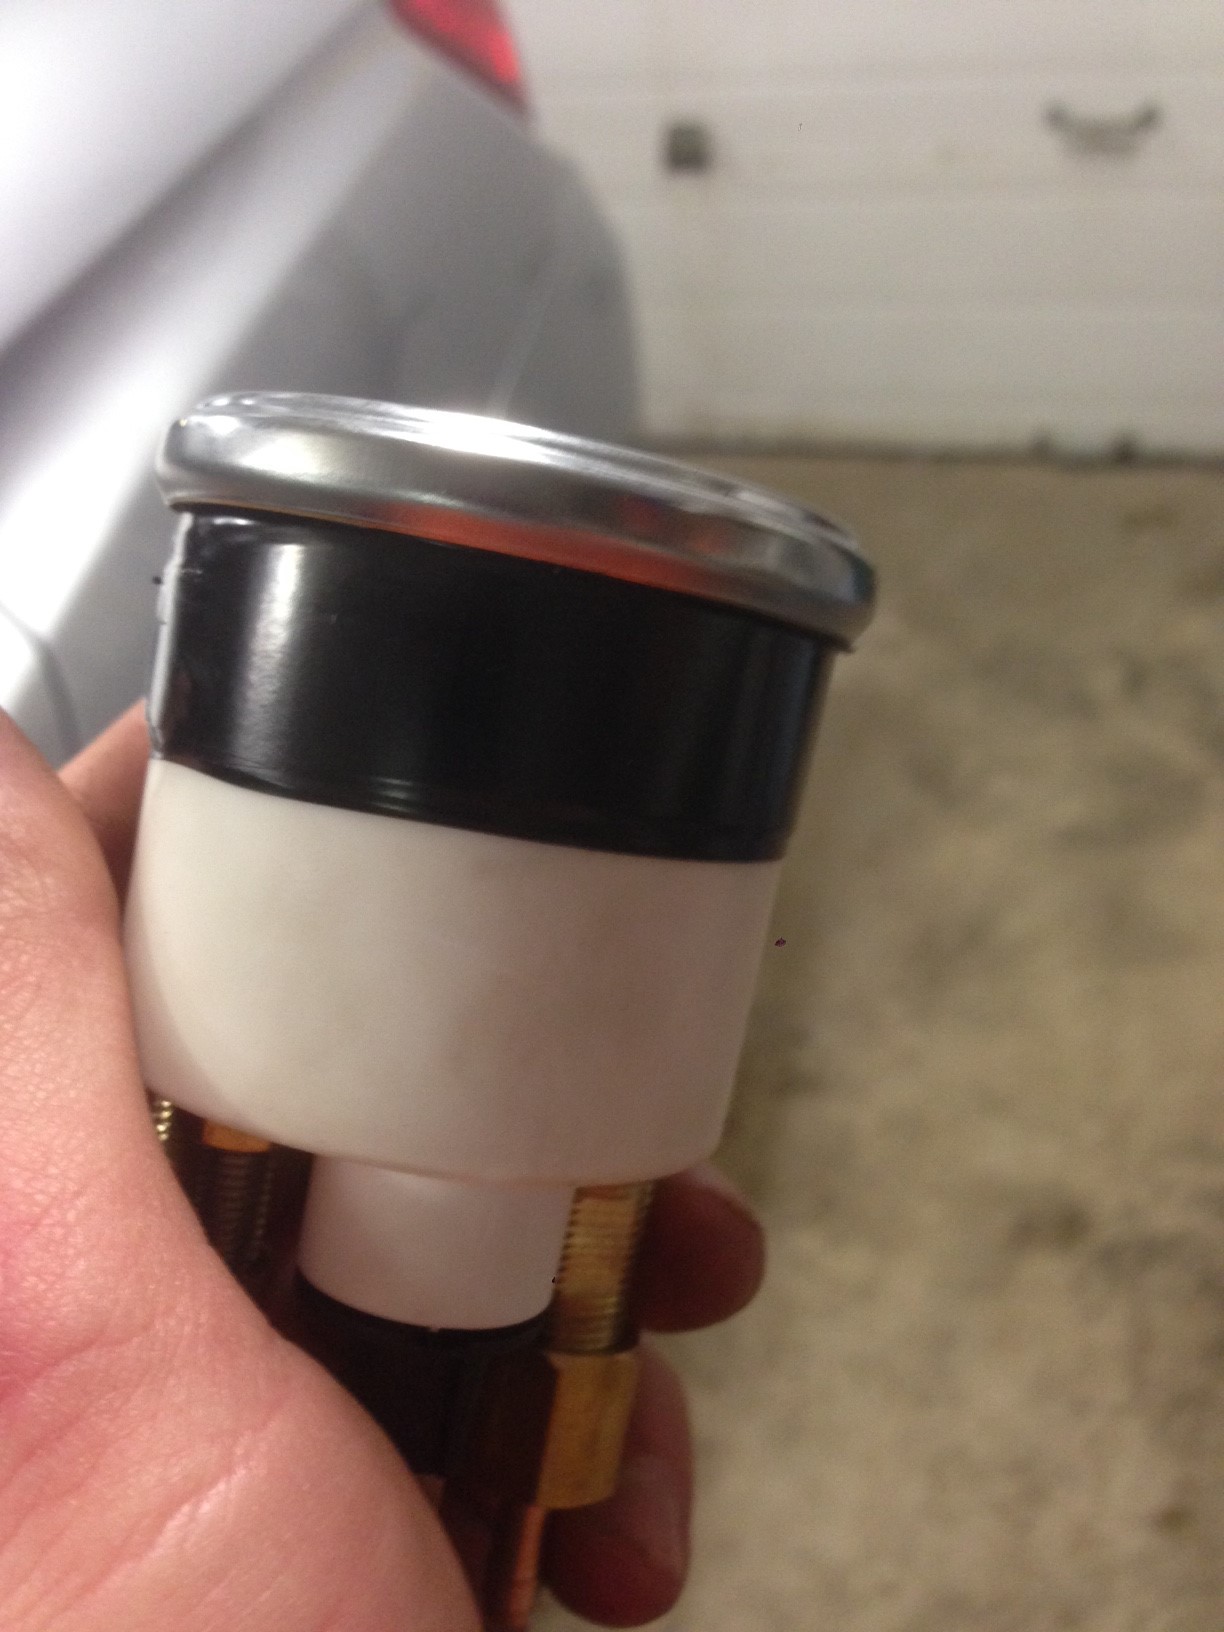
So I decided to mount it just right of the shifter on the passenger side.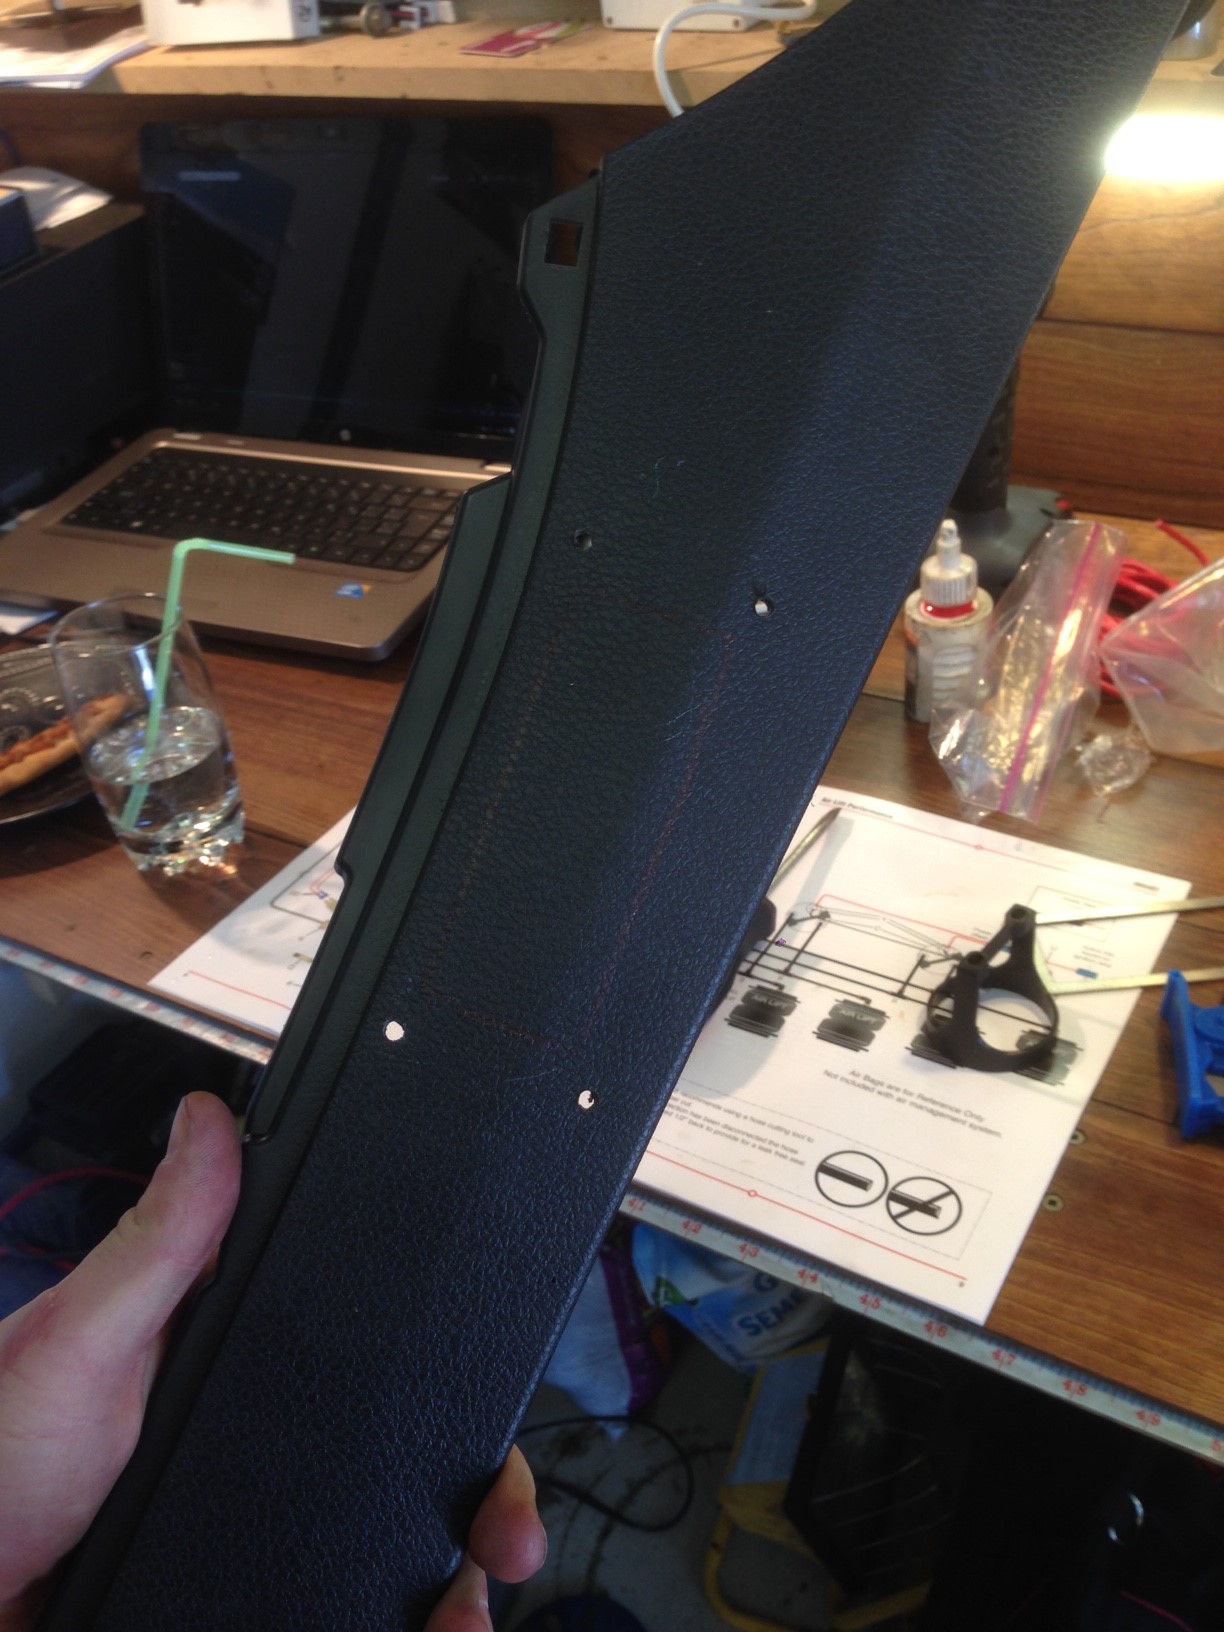
Still need to finish cutting this.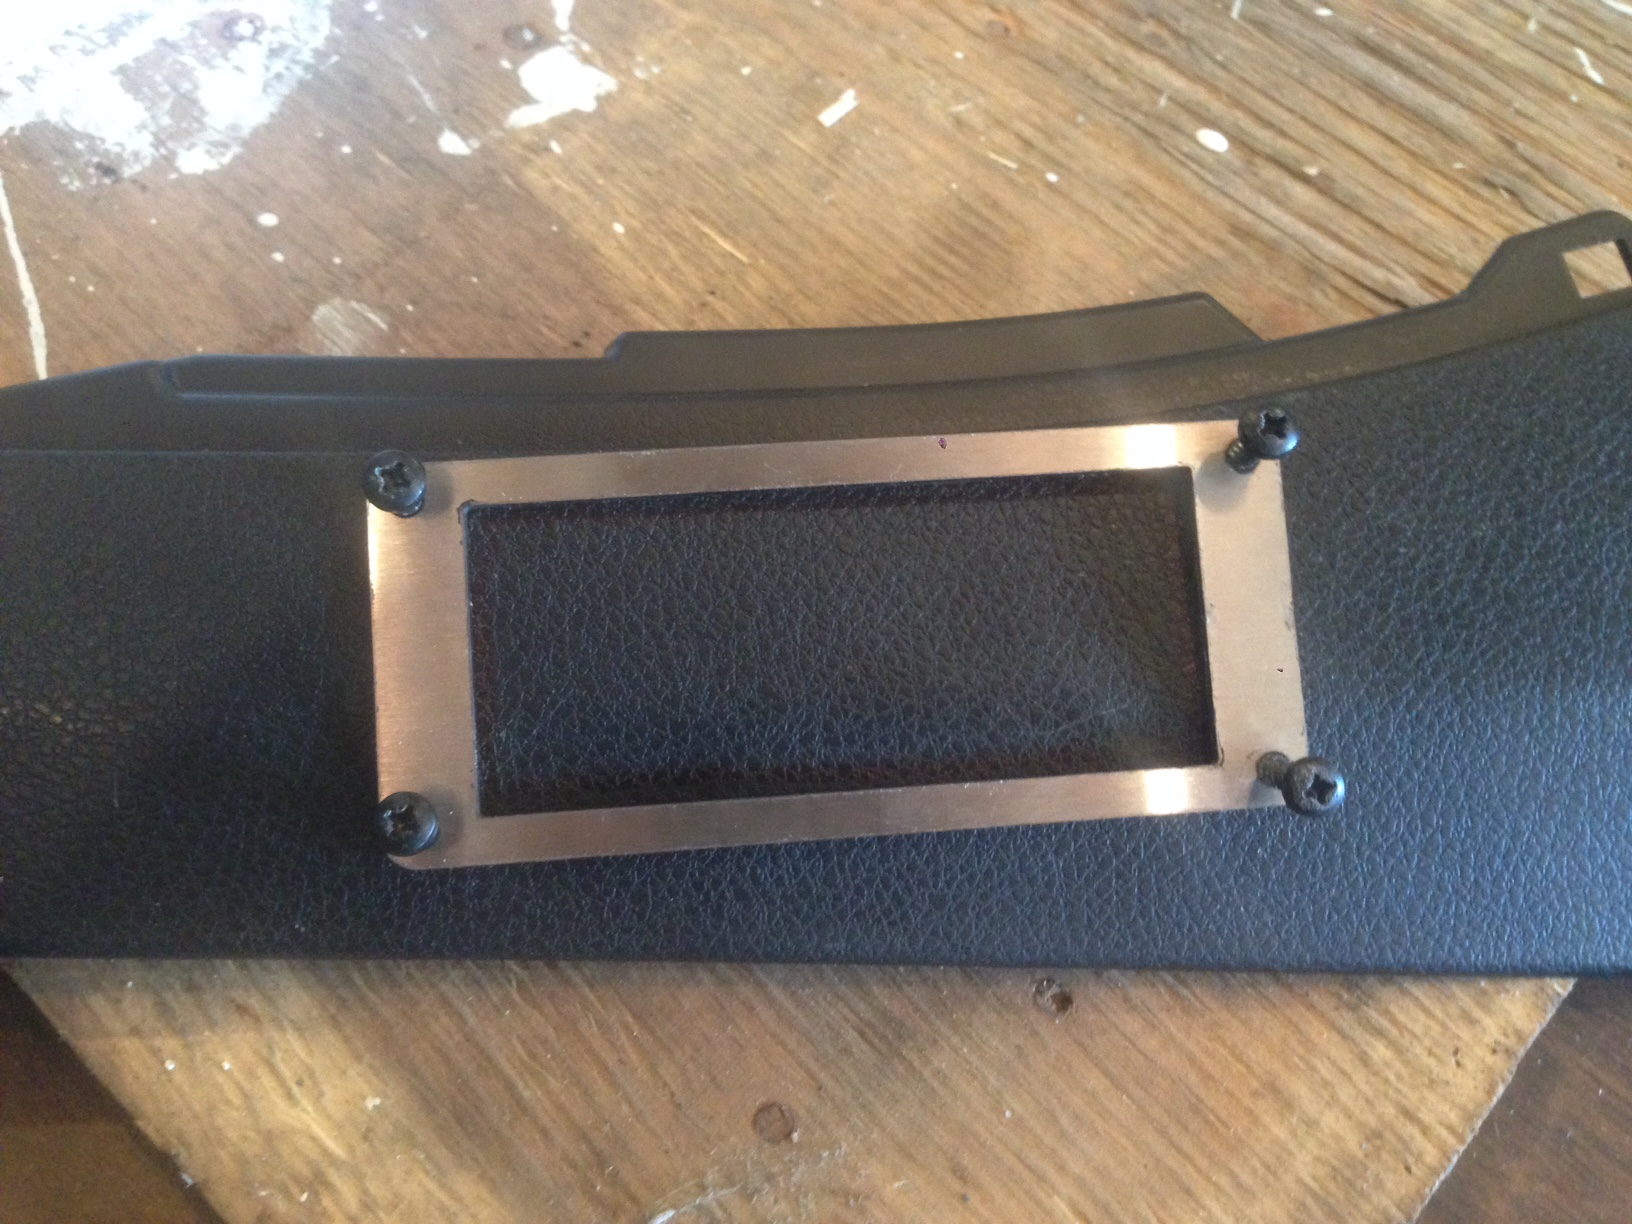
So other then that we just have a few other little things left to do including getting nuts for the Oil Pressure gauge, fuel line for fpr, nut for the meth solenoid, mount air lift struts and finish the tune and then wait on wheels lol
4-28-2016
Ok little update and hopefully huge update this weekend but first;
Finally found some nuts for the Oil Pressure Gauge. So I will bolt the contacts down and use lock tight this time lol
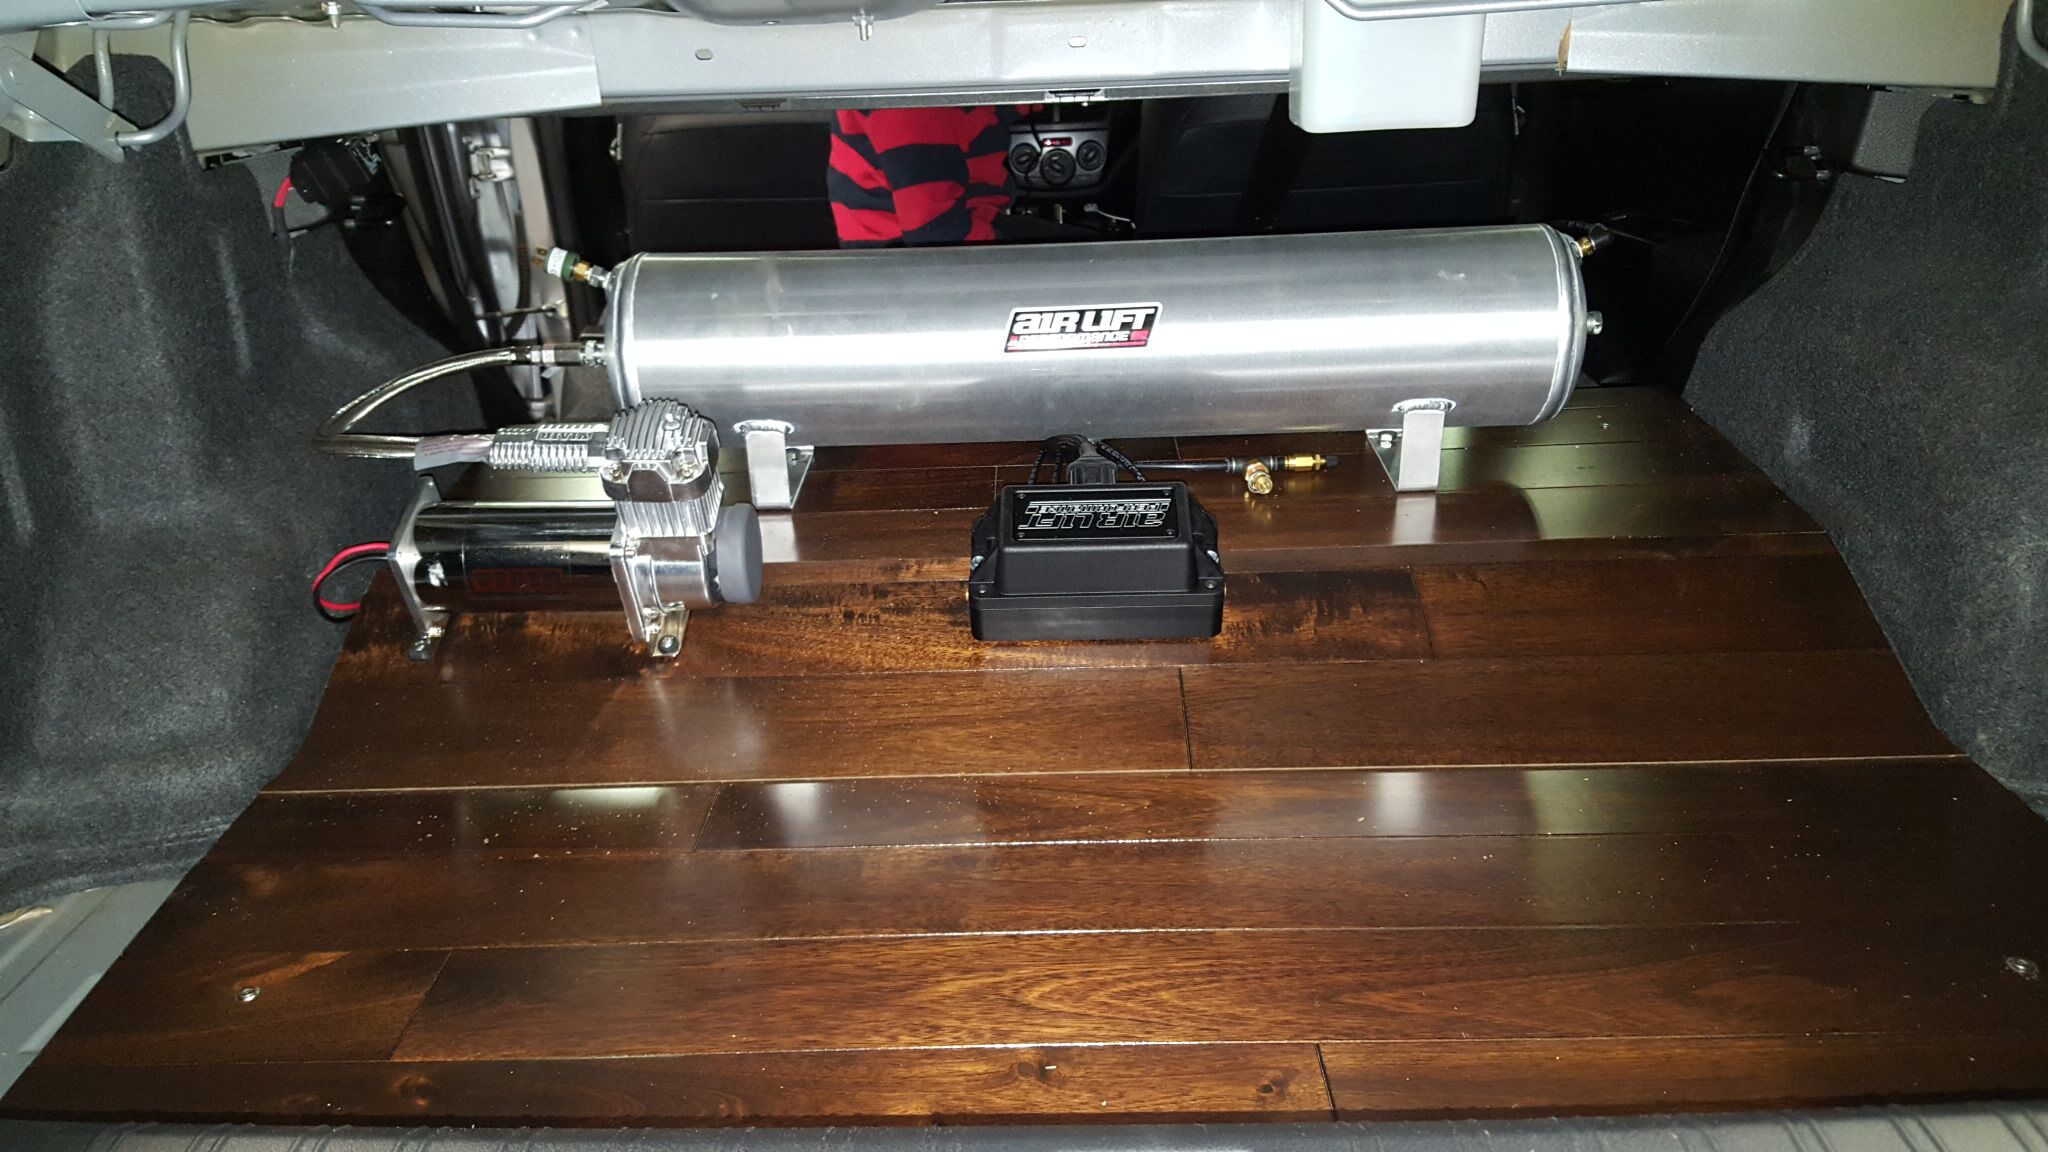
Here trying to get a ruff estimate on where the trunk and compressor will mount too.
Here you can see we cut holes in the side liner for a cleaner look
here is where the relay mounted too.

and thats about all for today. This weekend we should have the trunk in, tank and compressor mounted, struts in and hooked up and set ride height and finish tune and thats all until wheels and fenders show up lol
5-5-2016
Ok so here the update from this past weekend. I have everything installed but through the confusion and excitment I realized I dont have the right management system for the suspension. I was suppose to be running the V2 Management system but I have the manual lol oh my hah but thank fully Air Lift is amazing as a they took care of me a,d offered to upgrade me from the V2 to the 3P management system so that is already on the way and hopefully next weekend ill have that in but I will show how I installed the manual one for ****s and gigs.
So first, just a look at the rear struts installed and everything hooked up.


Its a pretty straight forward install. But the only issue I have is it seems the rear passenger is banging a lot. I thought first my hardwood trunk was making the banging sound but I do believe it might be something in the strut assembly so I will look into later this weekend when Im off again.
Pics of the front installed.

The install instructions seemed to be of very good quality. The hardest part of the install was running the lines.
So heres where we drilled a hole and threaded a hole for the hose connection that runs down to the front bags. Did the same thing on both sides.

Heres what it looks like with the connection installed on the drivers side.
and then the passenger side. with a close up
and this one shows where we ran the hose for the passenger side bag.
This is the passenger side rear
and the driver side rear

The the trumk was put in place and ran the wires. Ended up cutting a hole just to the left of the compressor for the wiring. Now the only issue I had with this was the red and black wire that ran to the relay it seems to not make a good connection so might take the relay out and adjust the connections.
Just showing how we bolted them down.

I ended up using self tapping screw with a nice clean cap to keep the wood down. I drilled into the metal frame that would support your spare tire and the hard styro foam that covers it.
Next we ran the lines for the gauges which wont be used in the new setup and also the switches. So here is where we labelled where the lines came from.

So these are the supplied Ts that came with the kit. Very nice connections.
and here is where we ran the lines in the driver side, just above the peddles. Tie wrapped them up after for a cleaner look.
and then this was the passenger side connections.

This is where we wired in the gauges. It was only for the light inside the gauge.
This is with all the lines ran to the a pillar. I labelled the lines with coloured tie wraps.

Gauges installed
and here was the connections for the switches
and the only other thing was when we started back at the tune my pressure was down so I adjusted the fuel pressure and down some more logs.
also got the gauge re-mounted
So I got some pics of the recent setup but its only ****ty cell ones due to the battery on my DSLR isnt working lol


5-13-2016
Little update again lol talking to myself I think hahaha anyways I got the new 3P Management system and its beautiful.
So here it is. Hoping to get a chance to switch over the system during this week or perhaps next weekend.
So first as per usual the instructions.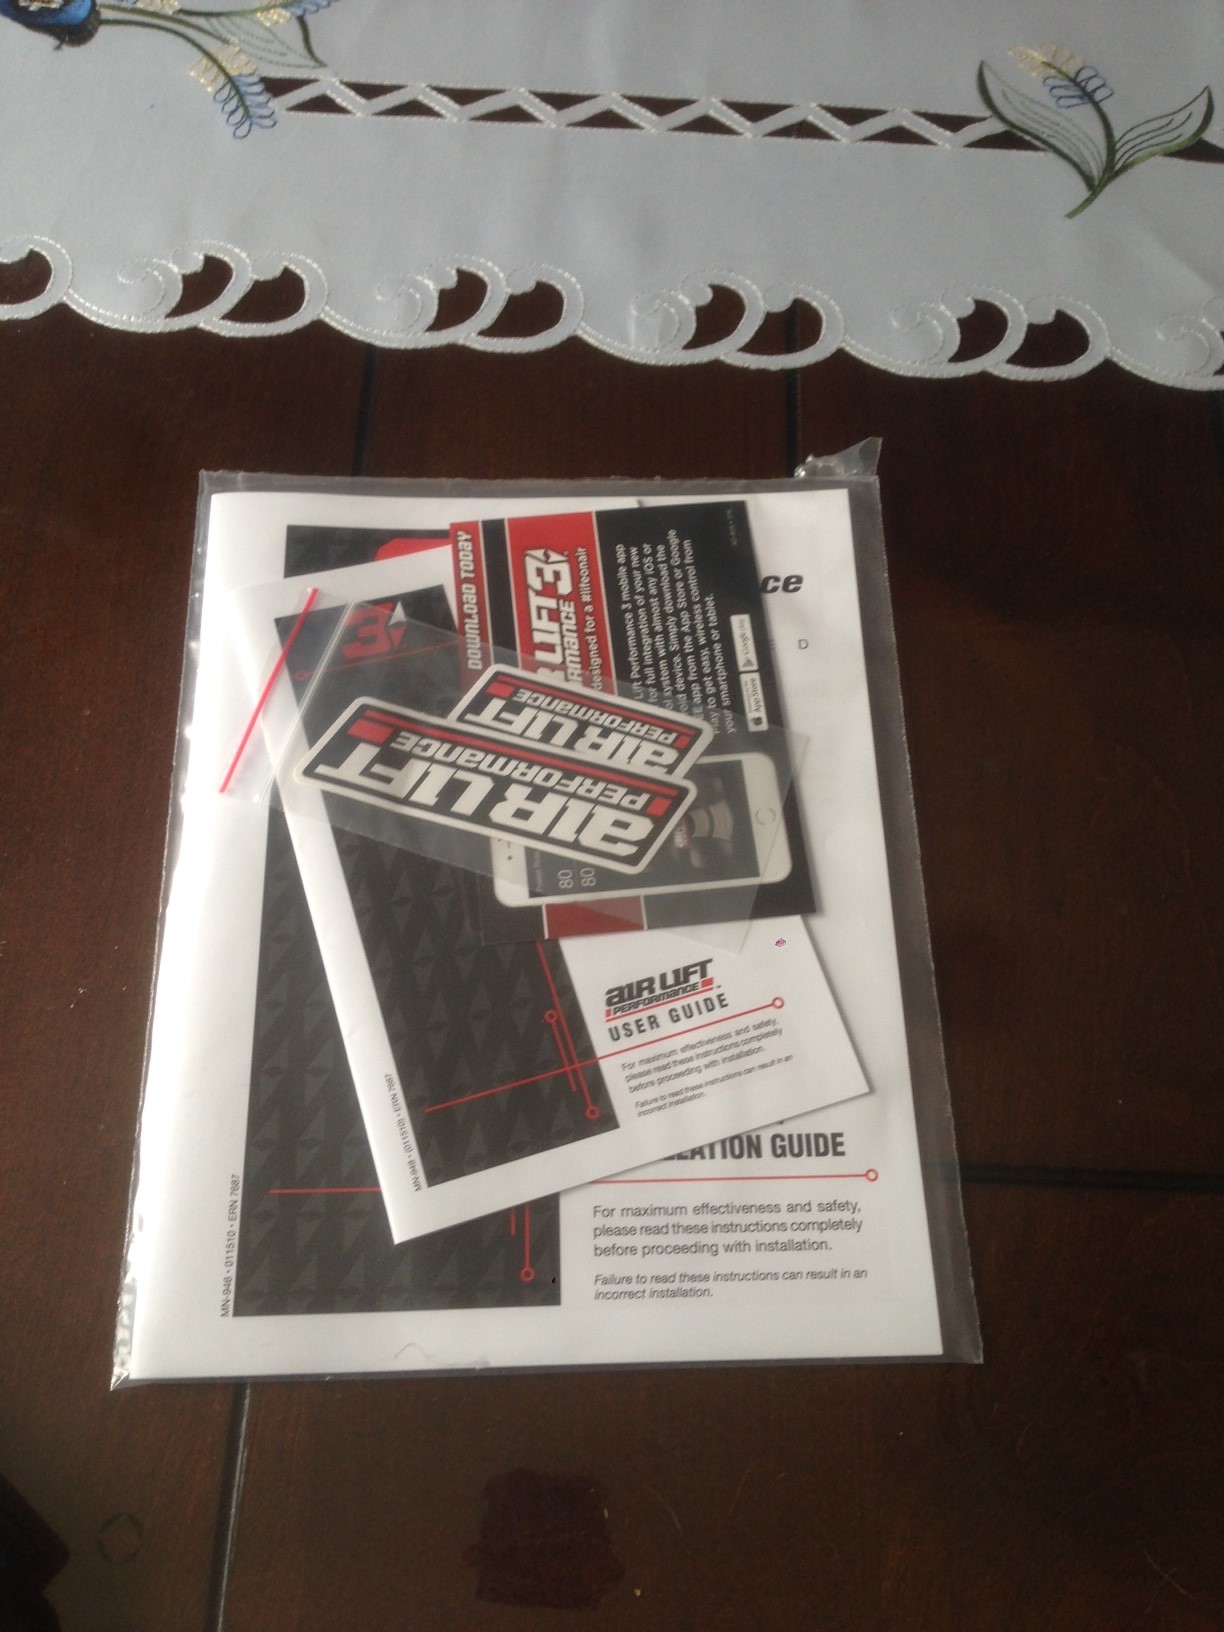
the system came in an awesome box lol ill prob keep it haha
Opening of the box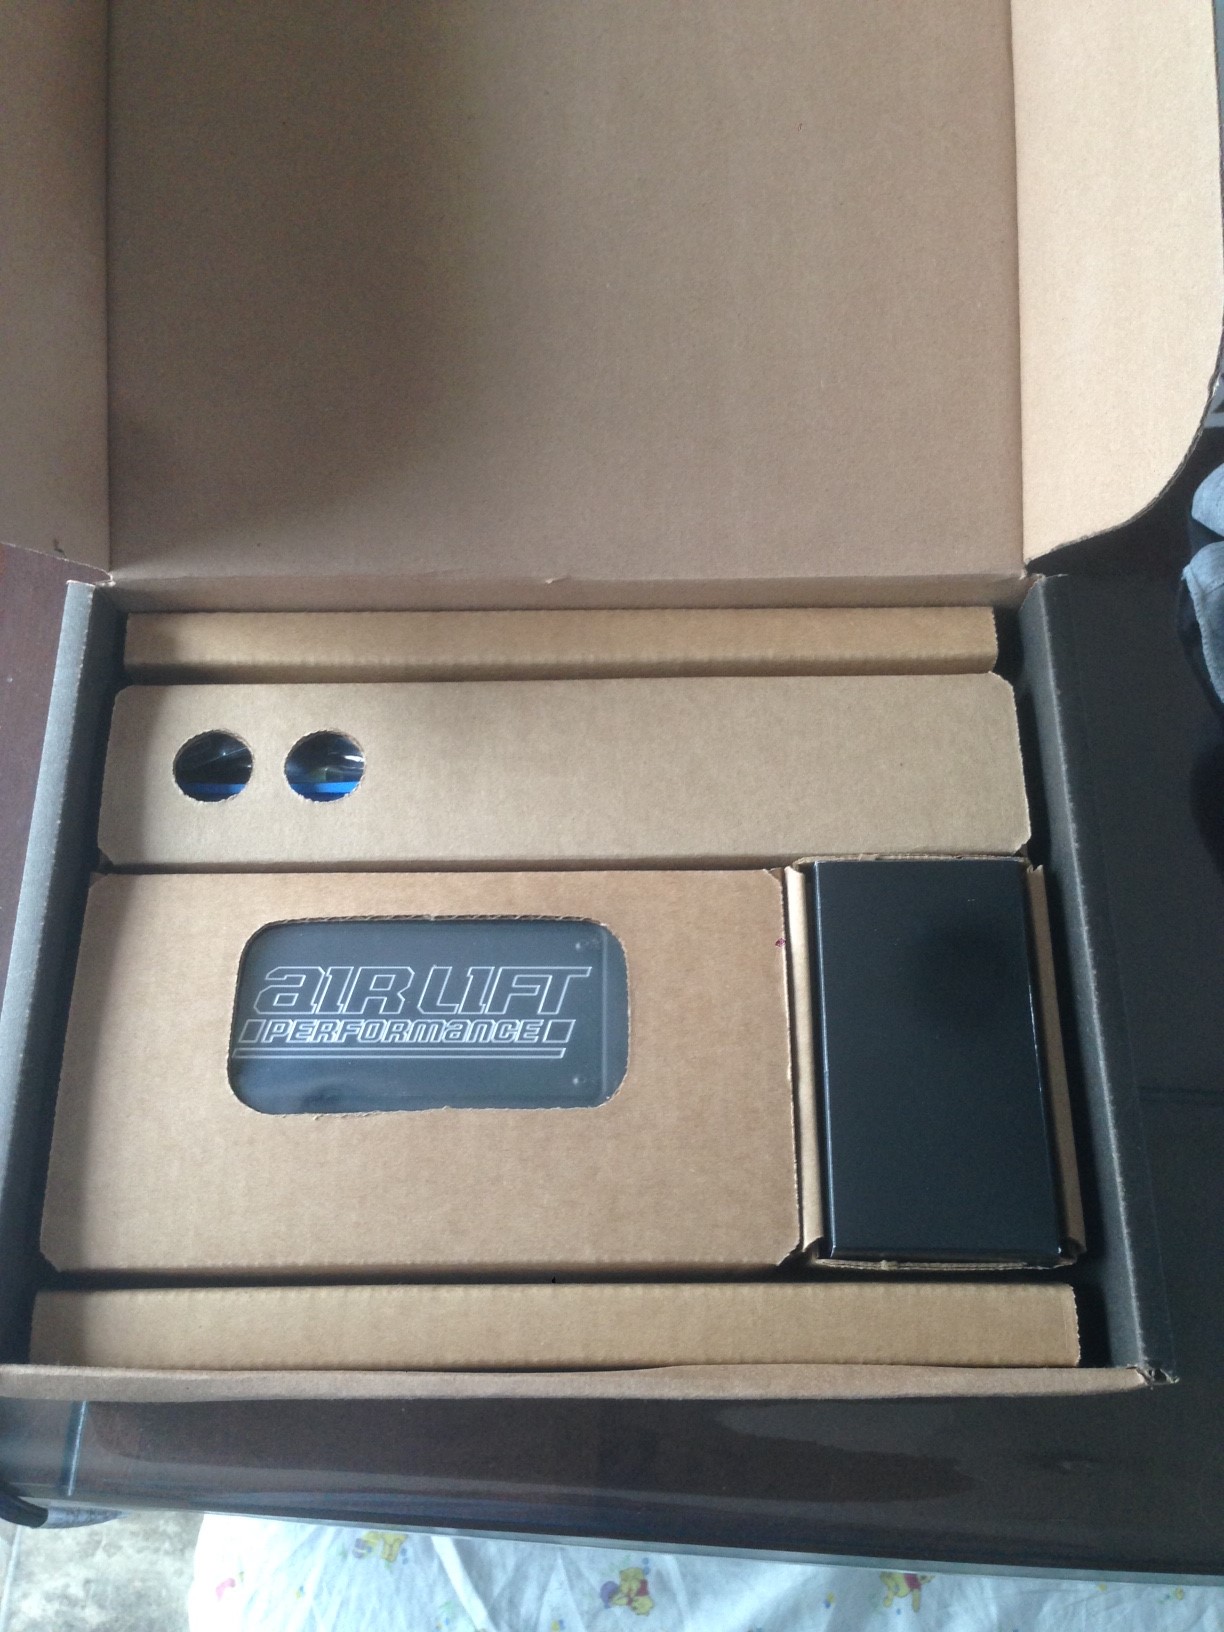
Amazing quality controller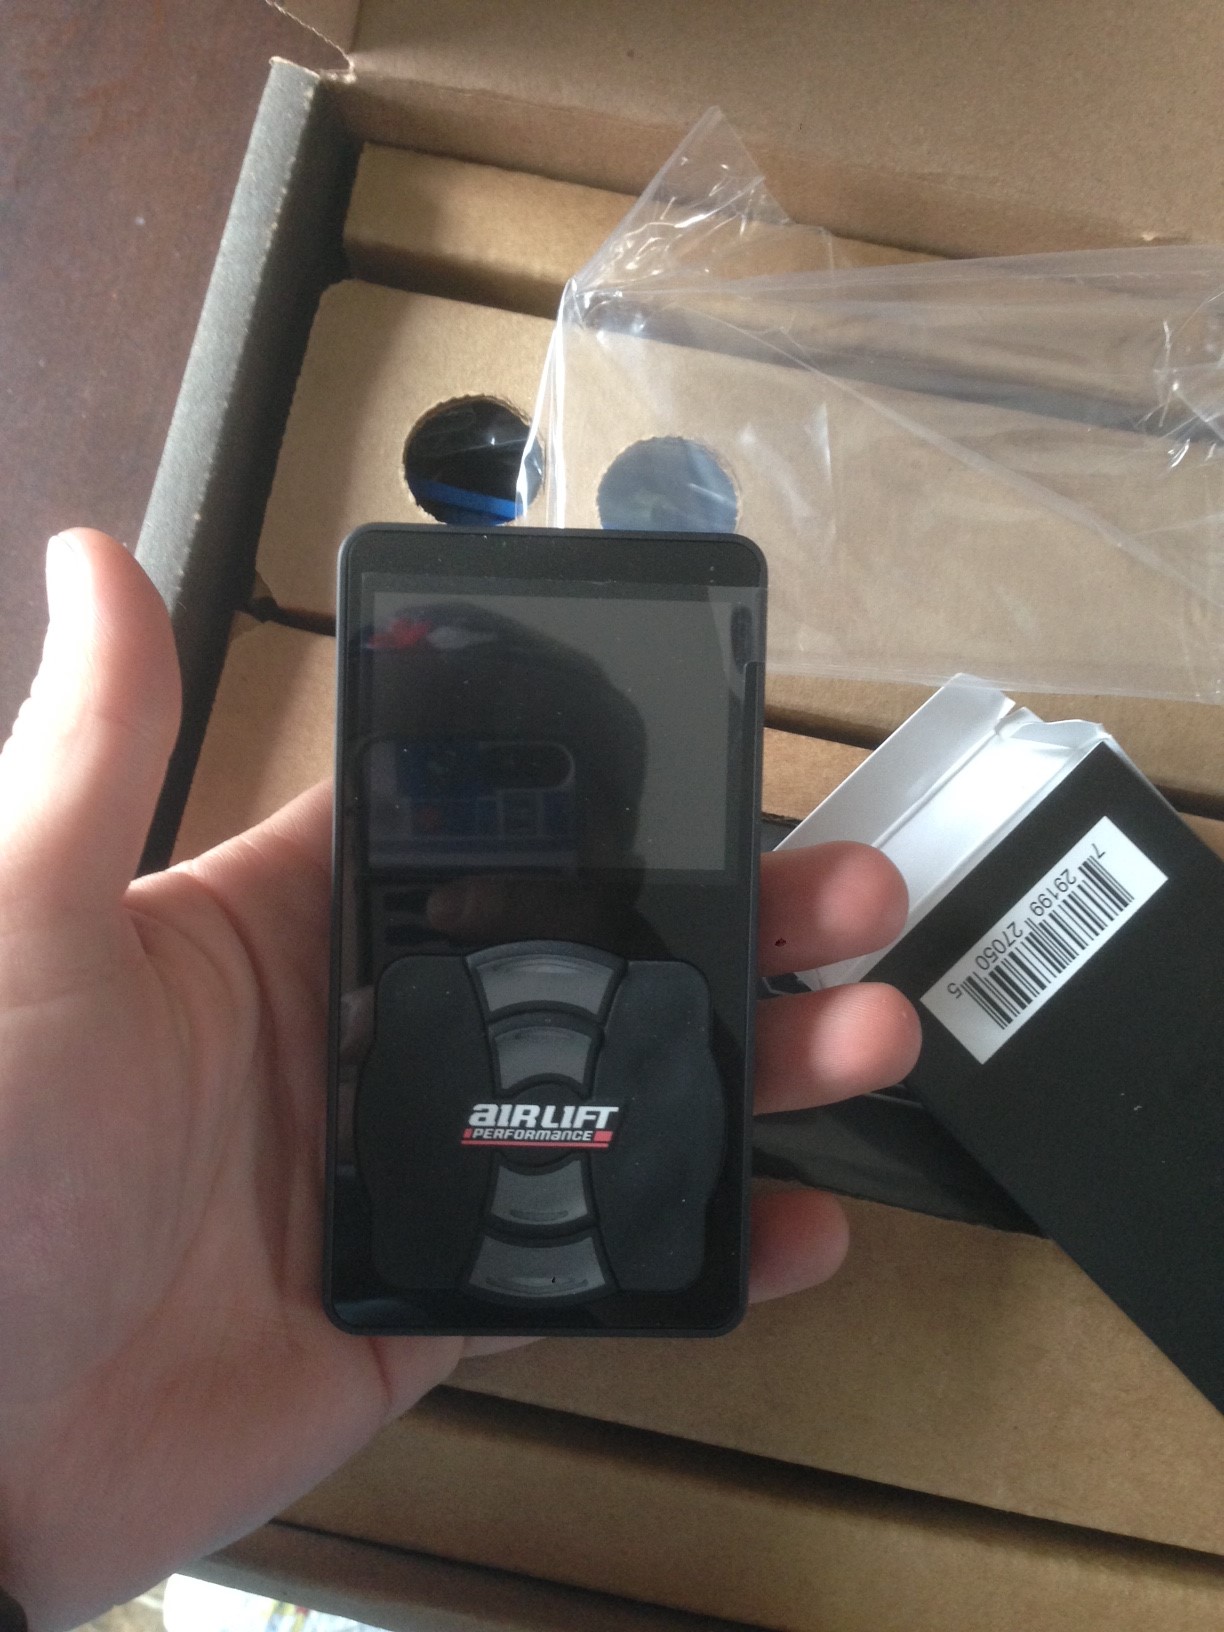
and the manifold which again is amazing lol
so the plan is to face the manifold with the air line connections facing the tank so all the lines car run under the tank for a cleaner look.
An issue I ran into was the connections in the relay kept coming off so we rewired it too a female plug and just hooks right up to the replay.
Some other little things I have planned is to mount a sub and amp and prob suede the trunk liner
5-16-2016
Got a tiny little update from yesterday.
So unboxed everything and had a read down through the instructions. Seems preety straight forward.
So here is it all unboxed.
Car up on jack stands.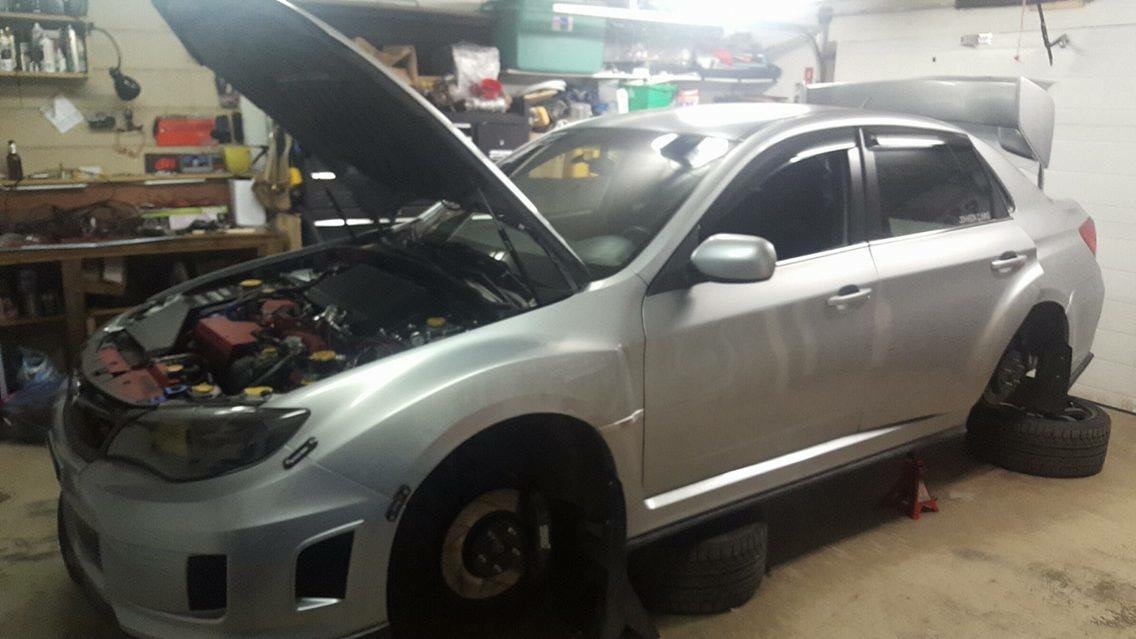
Rerouted the lines back to the trunk for the manifold.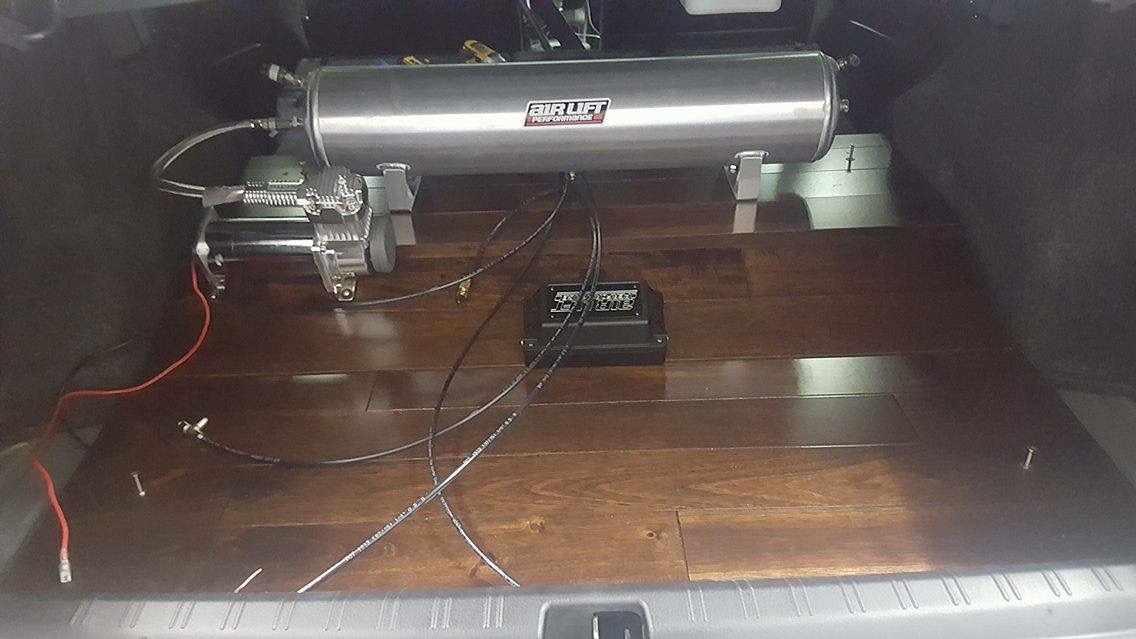
Had to rerun the fron line due to them being too short from the switches but that was simple.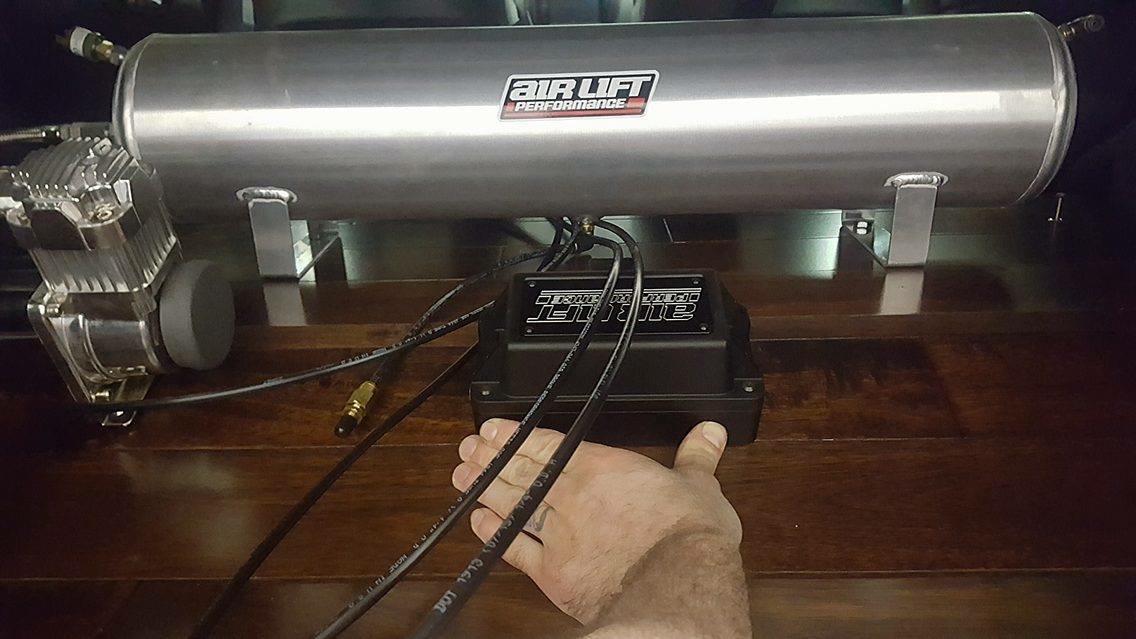
We think we pinpointed the noise in the rear so we took care of that and in the front driver it seemed that the lines where hitting up against the fender causing the knock. So rerouted that and tie wrapped the others back so hopefully that handles that.
5-17-2016
Another little update;
Got the manifold mounted and the lines ran to the manifold as well as the electrical for the manifold.
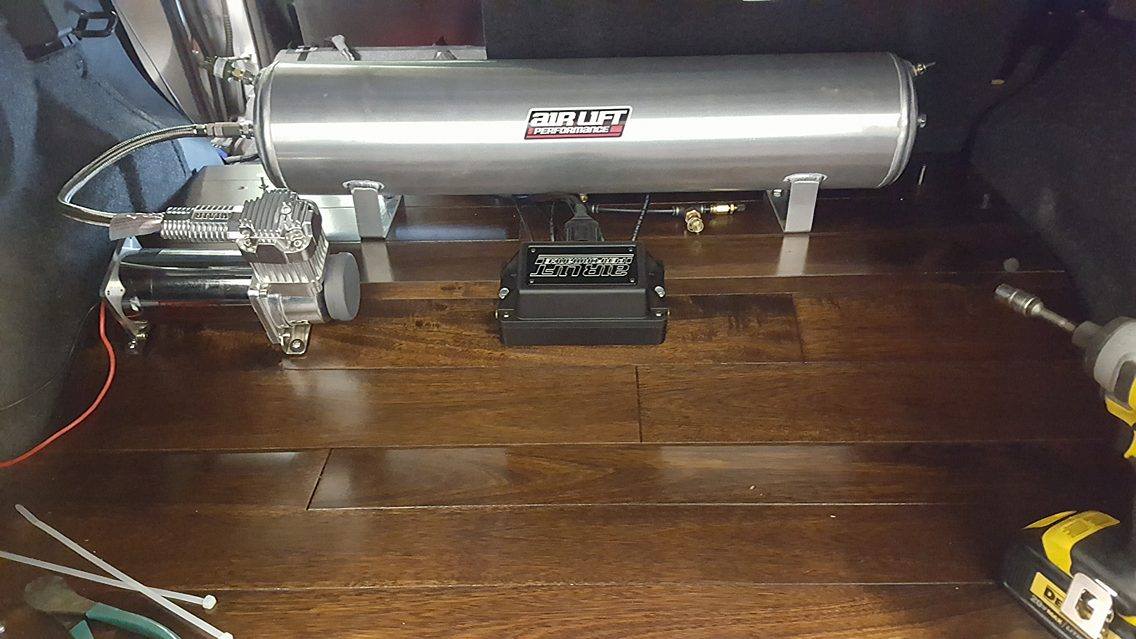
Lines ran back behind the tank
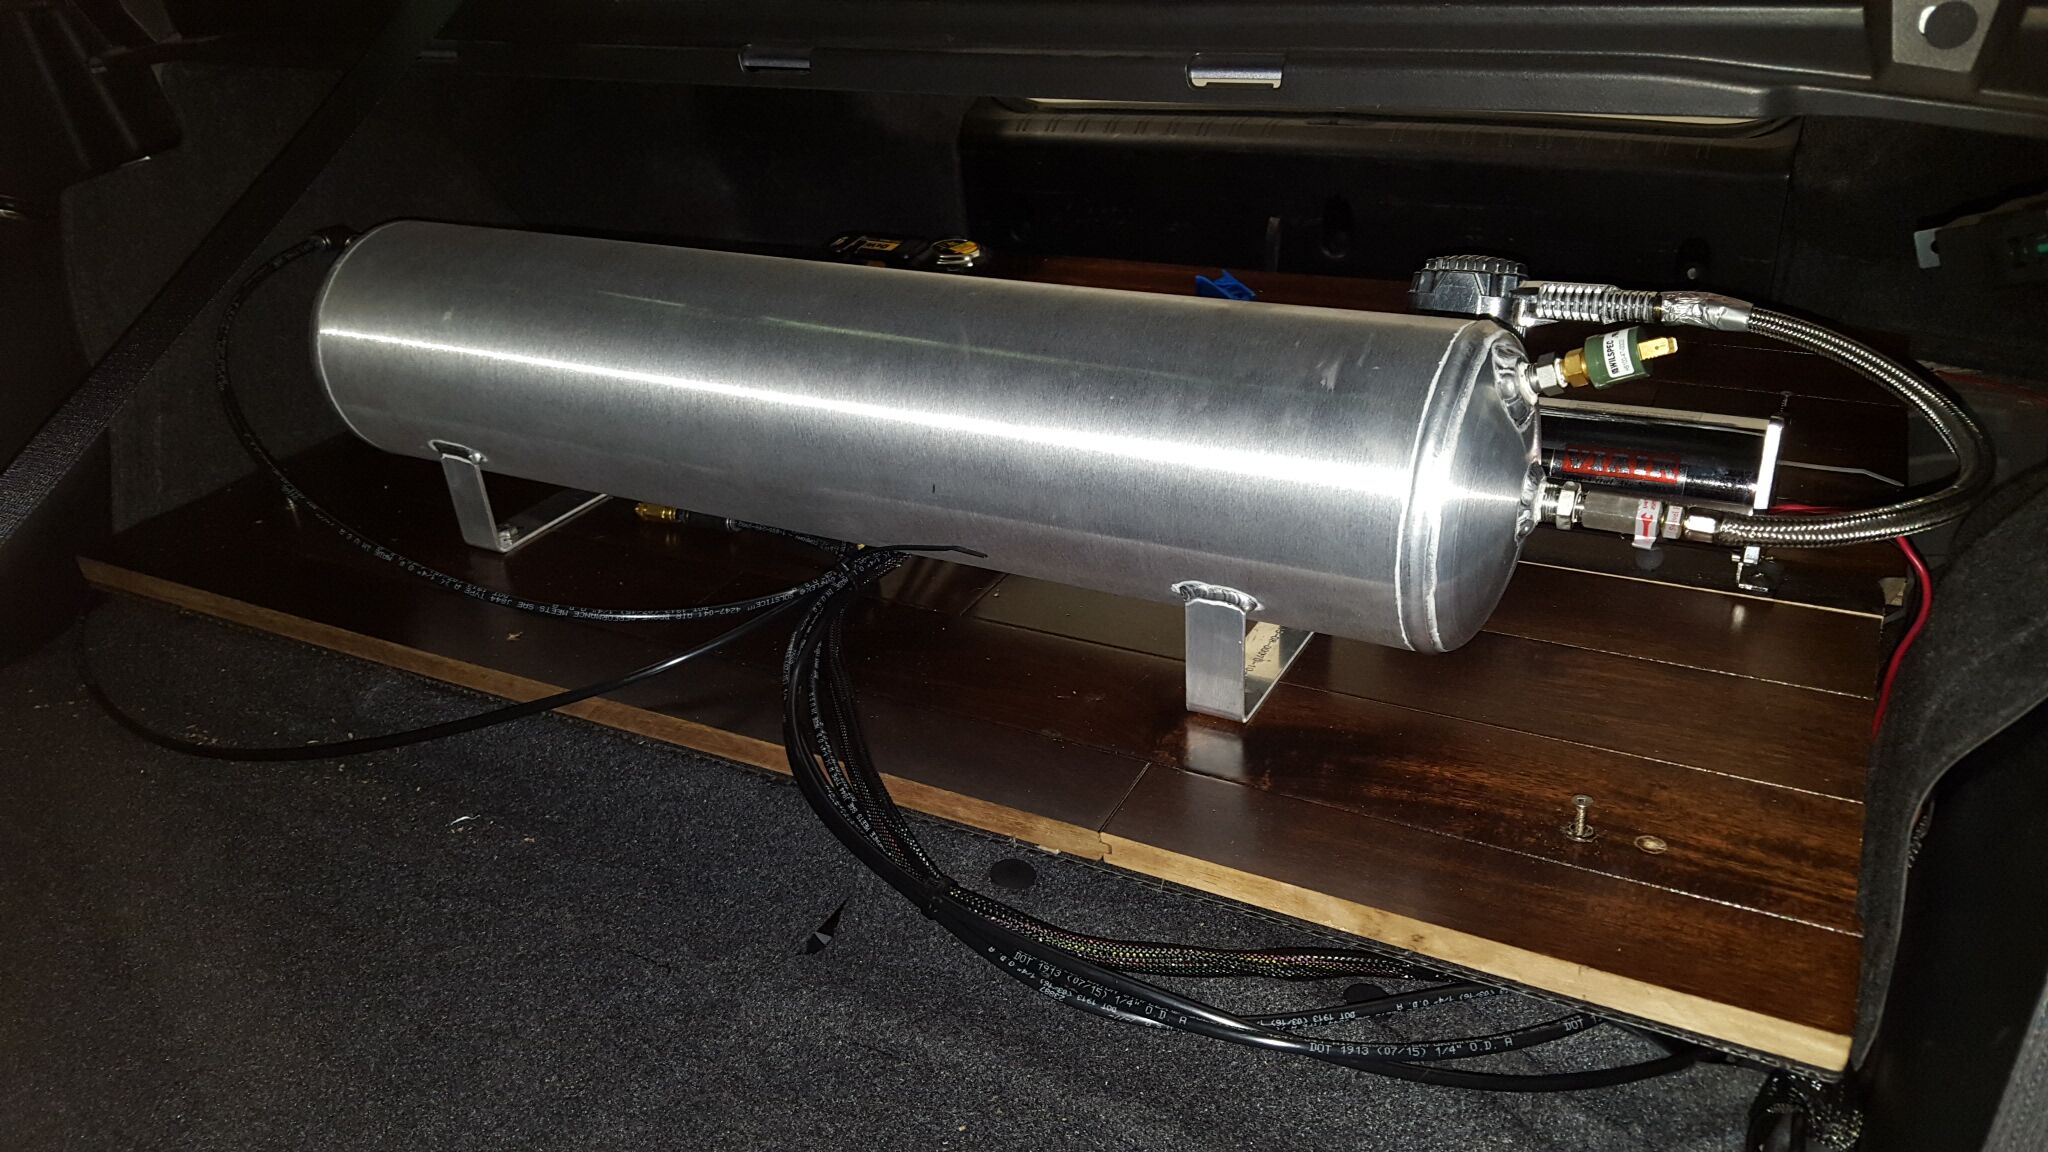
Connection from the back
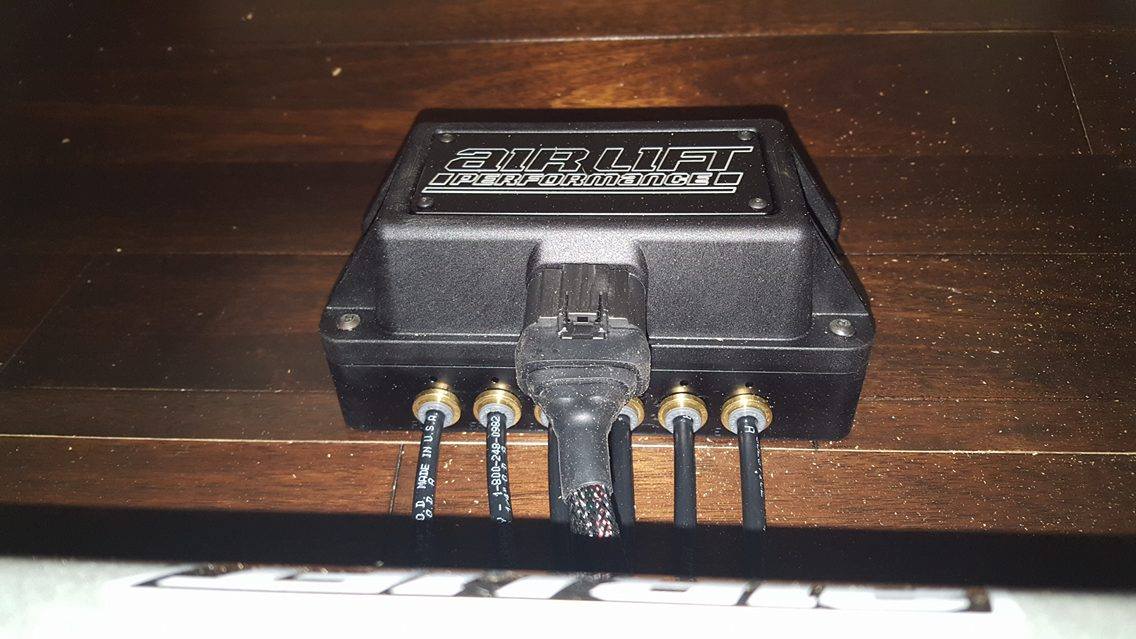
All tidied up
This is the relay we did for a better connection.

Mounted the relay up behind the tank

and made sure it all started and no leaks lol

5-23-2016


6-2-2016
Another update;
Got my headlights done, O2 sensor replaced, horns have been painted.
So this is the pics and walk through of installing projectors in the high beam.
So first is removing the bumper which is pretty easy. Few push clips underneath and some inside the wheel well. Then a few clips between the lights and above the rad.
Next its removing the headlights which is a bolt and a push pin on top of the light, a bolt under the light and 2 more closer to the inside corner.
So heres the headlights before it all.
Lights apart and prep for paint
Getting all the ballast and other materials together
Projectors
Ballast with bracket
Projector Shroud
So we quickly realized that the threaded end of the projector bowl was not long enough to make it through the highbeam bowl and out the back. So we had to cut down the back of the projector.
Here is the back of the projector housing before
And after we cut the backs.
After this there was a lot of dust so we took our time and cleaned out the housing. Using air tools it made quick work.
So we started sanding down the projector shrouds.
Heres the housing painted gloss black.
We also painted the cut off plates to give the demon eye affect. .
Highbeam bowl and shroud painted
Highbeam mounted
Placed them in the car to make sure cutoffs where good and just had to make some fine adjustments.
Close up shot. Low beam is 6500K and high beam is 5000k
Rebaked the lights and put them back together and took a flash shot to show you the red affect.
Flash off
Other little project was to paint my hella horns bronze to hopefully match my lip on my wheels or close too.
So it took like a dozen little bolts on the front of the horns and disconnect the horns and bracket to make it easier to access.
Hard to tell here but I used 800 grit sand paper to prep the surface
First coat stuck really well
Third coat
Bolted it back together and reinstalled
Heres some pics of the final product


So the other little thing was the o2 sensor replace. I didnt get to grab any pics but I will try and remember to grab some tomorrow.
During tuning I threw a code. (Pic below) which all it came down to was my gas cap wasnt tightened fully.
6-13-2016
Well finished tuning last night about 3am lol but all worked good. AFRs was sick, zero to small feedback knock. Was a good night for it. Made really good numbers and consistent. But heres the numbers anyways.
She made 441whp and 384wtq
I know many dont like the virtual dyno but its all I have haha the nearest dyno is 2 days drive away. But I inputting the right air temp, gear, tire and wheel setup, weighed the car before the suspension was done so I added weight for the gas, air suspension and hardwood trunk, did it in 3rd gear on flat road.
6-14-2016
Forgot to also make a little update;
For subie,
the HT Autos fender flares should be shipping tomorrow they told me.
The wheels should get in Ontario at the end of this month. So the end of this month ill be selling the Rays and prob drive on winter until my new wheels get here then she will be going in town. First off tho ill be wrapping the fender flares if they arent already matte black, Then the car will be going to my buddys garage where we will cut the fenders and mount the new ones as well as mount wheels and adjust the air suspension as needed.
Once thats done then she will be getting wrapped!
Also this weekend im hoping to get my perrin engine goodies, and the fron STi emblem painted and the rad stays painted bronze. Might even paint the bpv black. Also hopefully get the back lifted up this weekend so im not scraping everywhere or getting knock from the struts lol