You must be logged in to rate content!
9 minute(s) of a 108 minute read
1-11-2012
The wiring I have not done yet, BUT.
I do know there are a few ways of doing it.
I'm planning on running all of the wires back up to the shifter, and wire them into the factory neutral saftey switch on the side of the shifter.
I know the Brake light switch and Cruise Control Interupt switch will fit the factory A4 pedal assembly. But the Nuetral Safety Switch for an M6, does not. It's wired into the NSS on the right side of the Auto Shifter Assembly.
As far as the neutral saftey switch goes, on the M6 Pedals, you can do 1 of 2 things. Extend the wires and run them to the neutral safety switch, Wire them together so it will start at all times, put it on a toggle, or just mount it somewhere so you can press the button down when starting the car (Kinda like a override switch on an alarm system) Theres other wires you'll need to hook up for the reverse lights to work as well. Again, wire them into the NSS or on a toggle. Or just leave them, and they won't work. Theres also wires for the hatch release to work as well. Again, wire them on a toggle, or together and they'll allow the hatch to work at anytime.
I'll see if I can find the info I was using to do mine, and I'll get back with you.
1-26-2012
UPDATE!
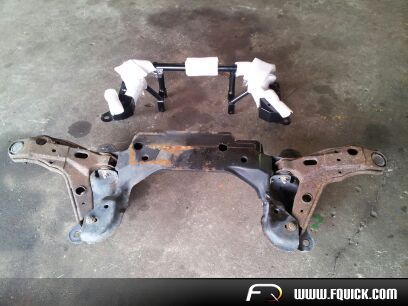
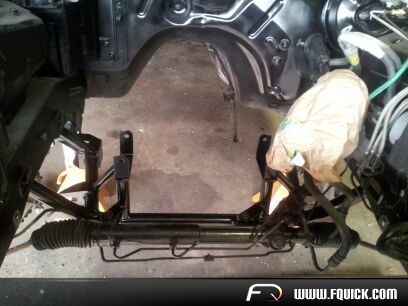
- My Midwest Chassis K Member showed up this week.
- I ordered a few misc. parts for the TA. (Hydrodipped "Skull" Pieces)
- I also ordered a Vigilante 4k stall converter
- AND Last but not least.... I bought a set of QA1 Coilovers for the front and rear of the car. (It was a buddy deal!!!) Fronts have the 275 drag springs on them already!
**** Oh, And I picked up another Black 99' Trans Am. Originally a 6 speed/LS1 Car with grey Leather, and T Tops. My cars EXACT TWIN!!!!
This is for the girl friend though. lol
I'm gonna start a build thread on it too. But it's not gonna be anything crazy!
Just a fun "Budget Minded" street car... MAYBE A H/C/I/LS1/Stalled/Geared/Susp. Kind of Setup. For this year! :p
:p
I really wanna do an AES 390 Build and an F1A.
We'll see what happens in the next year or 2.
6-12-2012
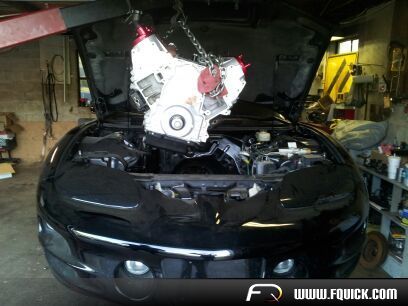
Got some more work done finally... The engine is finally assembled and in the car as well as the transmission. I will try to get some pictures posted here soon. The car is really coming along nicely. Engine details are still kept on the DL for now but needless to say... It's a fully built LS3 With a set of custom Trickflow heads and a custom grind cam and a port matched Fast 102/102 setup. Oh, and of course it was built to take a nice hit of nitrous if I decide to spray it.
Long story short I am looking for 9's really soon. :-)
8-1-2012
Alright... As Promised! Here goes some pics and Info on the car, from this round of mods since January up until Now!
First off,
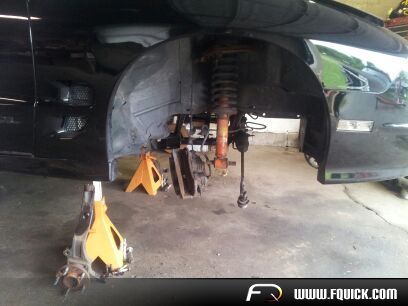
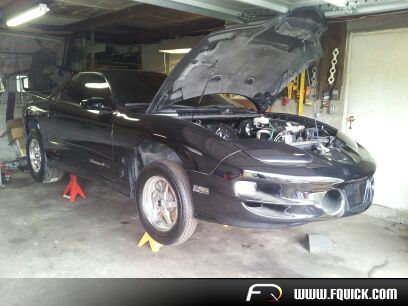
-MWC Tubular k member Swap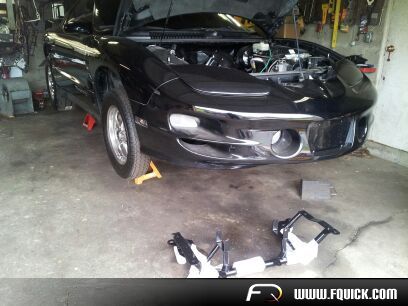
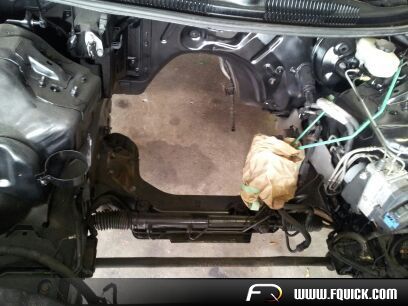
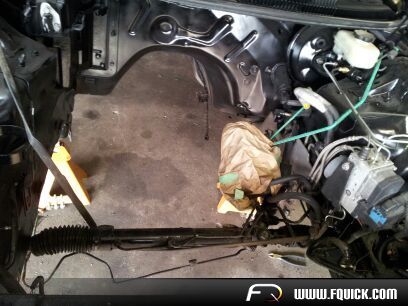

Now, A few Parts I've been Collecting....
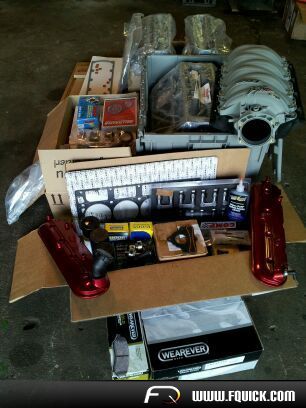
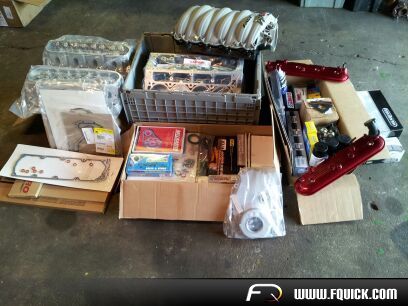
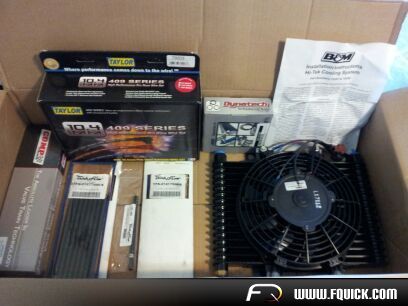
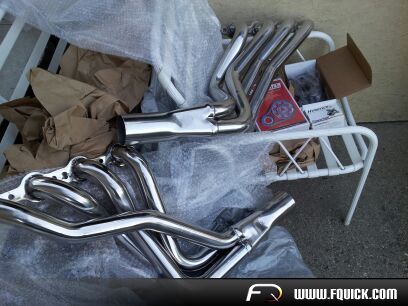
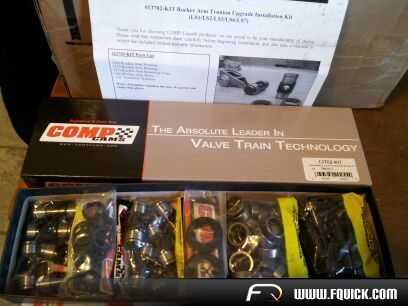
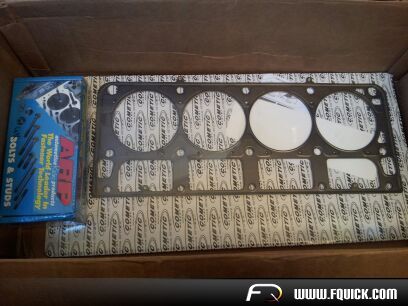
My ARP Head Studs and My ERL Dash Plaques and Certificate Of Authenticity...

Now Onto The Racetronix Fuel Pump and Hotwire Kit Install....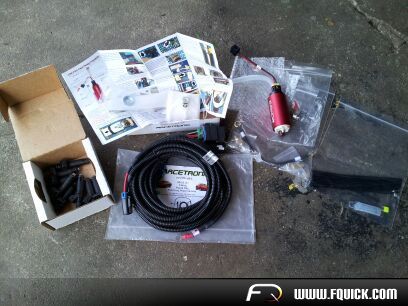
First thing I did was cut an access hole for the fuel pump...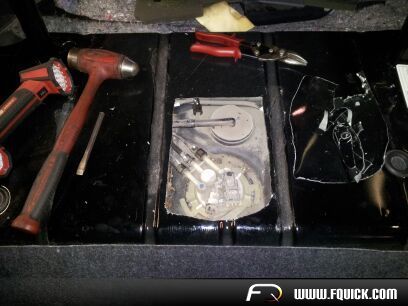
And I discovered Mice Had been eating away my wiring for the fuel pump. So I had to replace it all.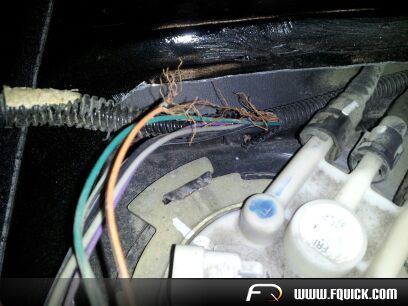
Replacing the thin in tank fuel pump wiring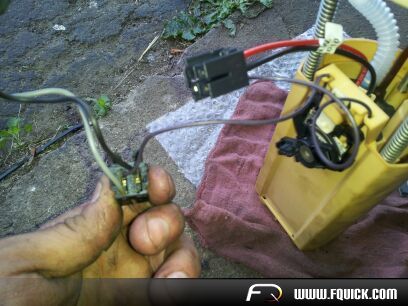
Now all the wiring is replaced, Hotwire kit is installed and so is the racetronix 255lph fuel pump.
OK, So now onto the engine assembly....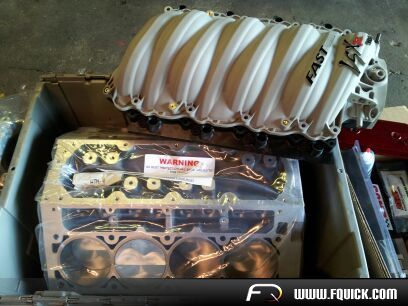
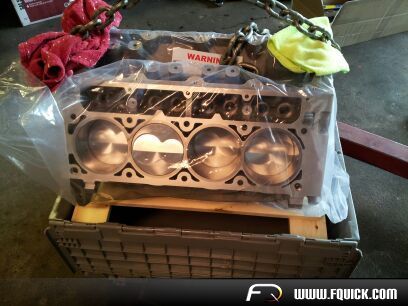
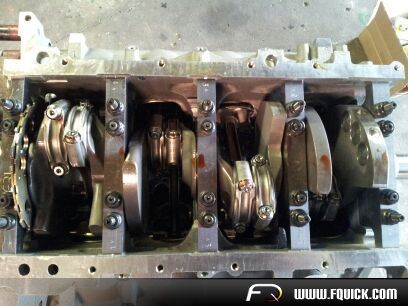

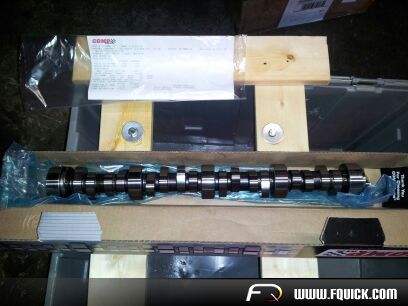
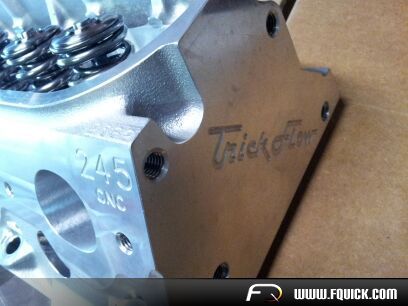
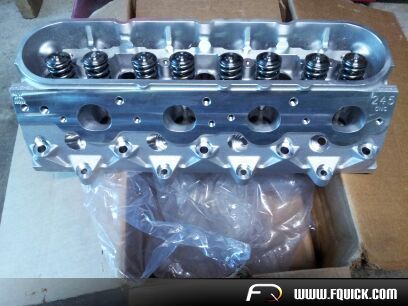
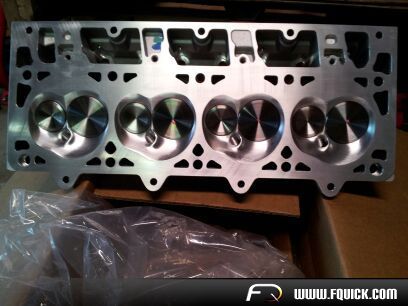
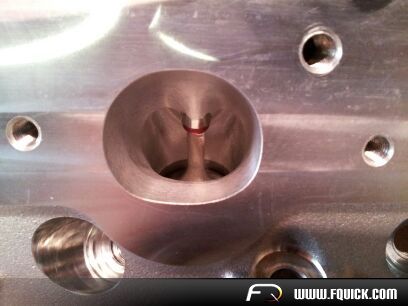
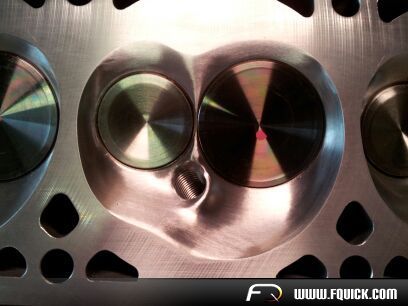
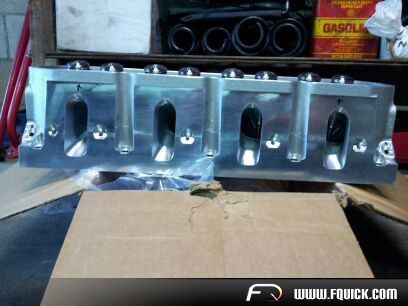
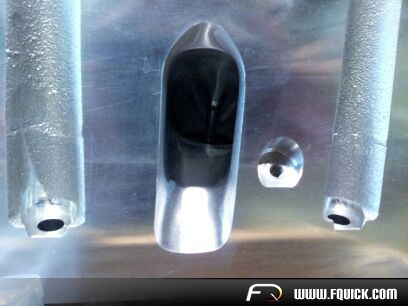
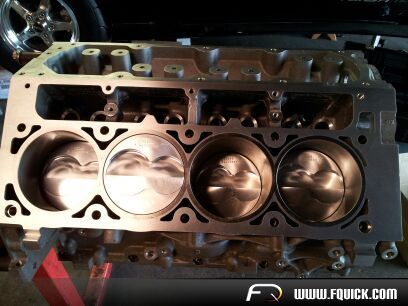
ARP Head Studs And My GF's 99' Trans Am in the Background...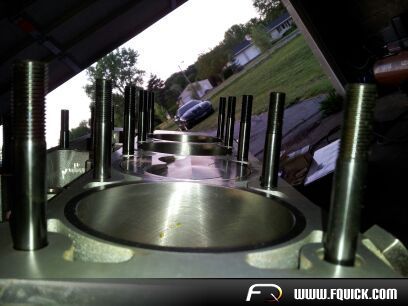


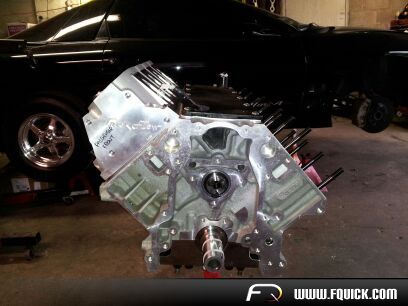
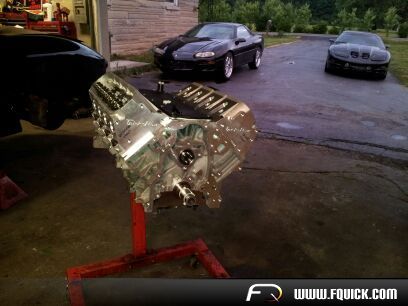
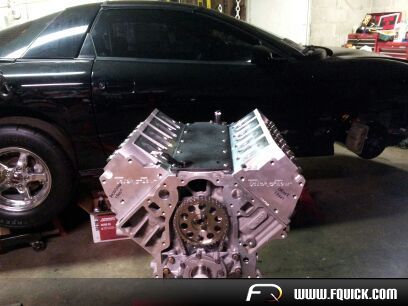
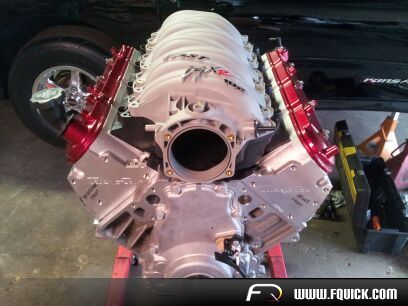
Heres my Favorite Pic, and Just before I dropped it into the car....
