You must be logged in to rate content!
6 minute(s) of a 286 minute read
12-30-2012
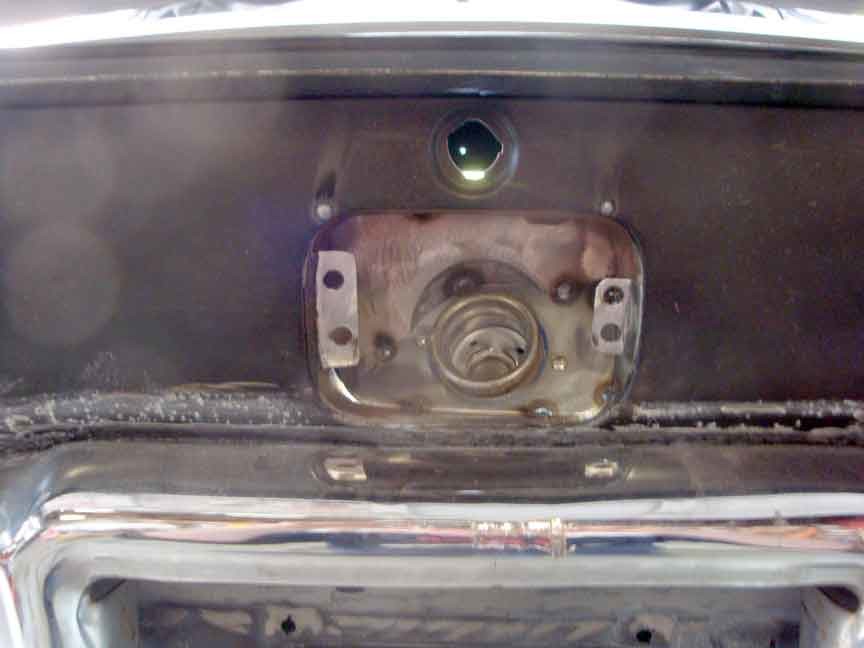
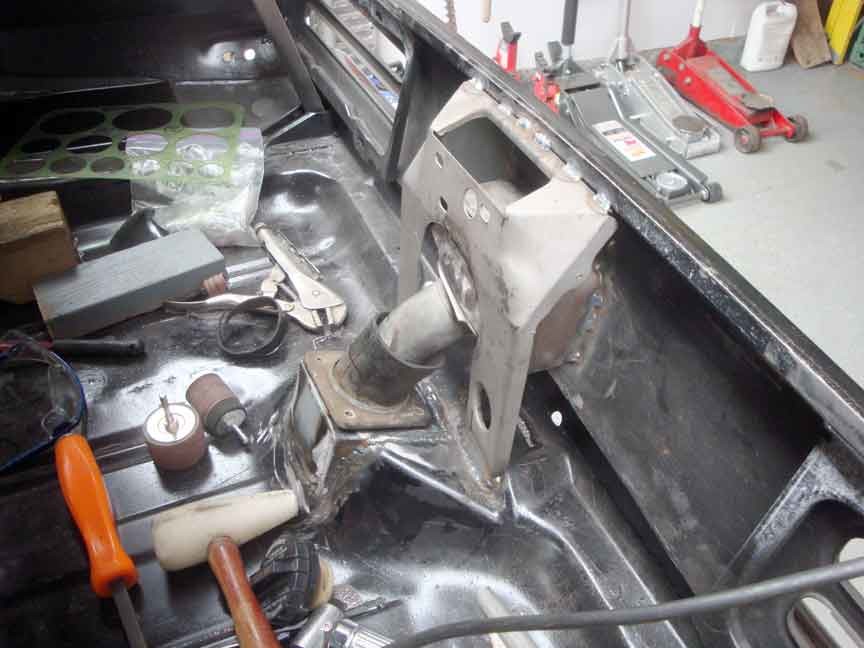
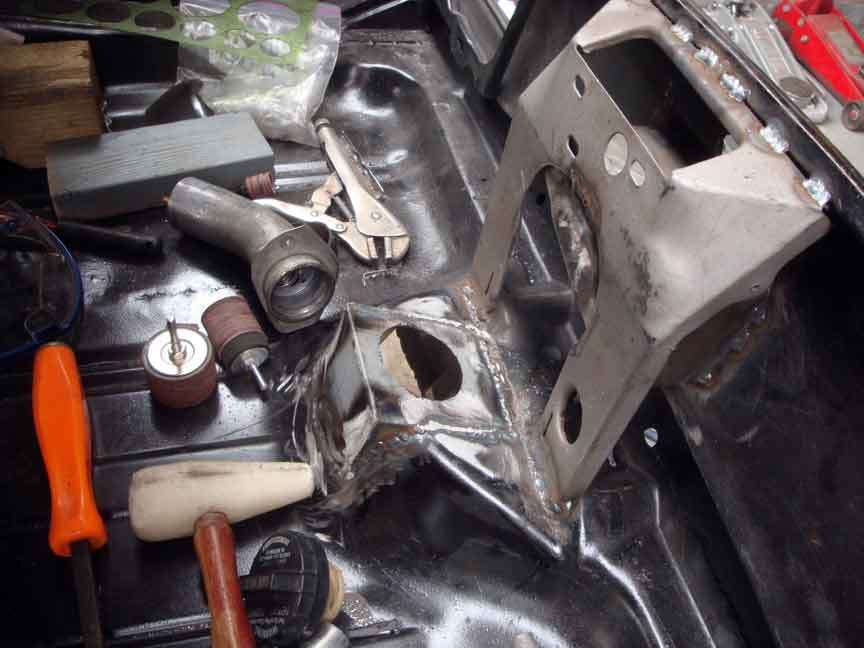
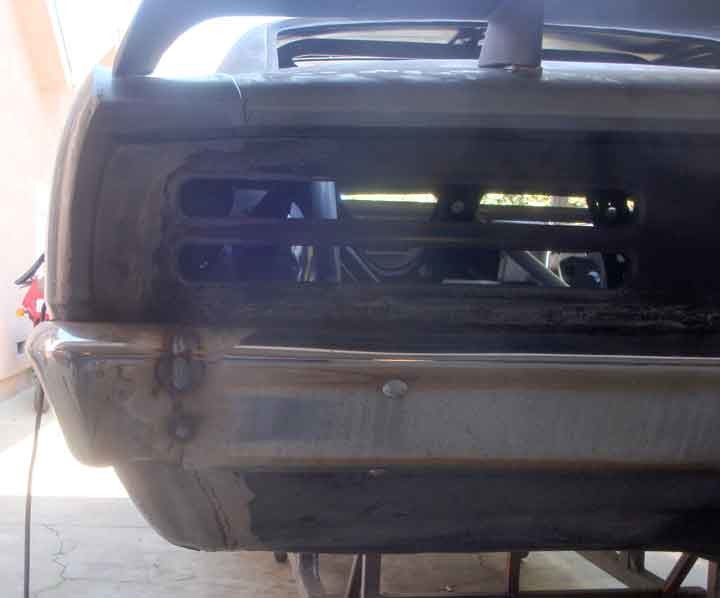
I'm still waiting for an additional rear bumper to show up so I can chop it up and widen mine, so I decided to start working on my fuel filler neck. My issue is twofold. 1- I want my car to work with modern fuel pumps. All the pump nozzles here in so cal have those big springy vapor recovery tubes over the nozzle- which just don't properly fit 1967 Firebirds. One has to hold them back- guaranteeing fuel spillage and making refueling a PITA. So I'll take the opportunity to install a modern style filler neck (which is .25" larger diameter) and widen the area around the neck to allow the pump nozzles to fit. I also want to add the anti slosh/ anti siphon parts that modern cars have. 2- Since I recessed my tail panel the stock set up won't fit anymore, so I have to do something with it anyway...
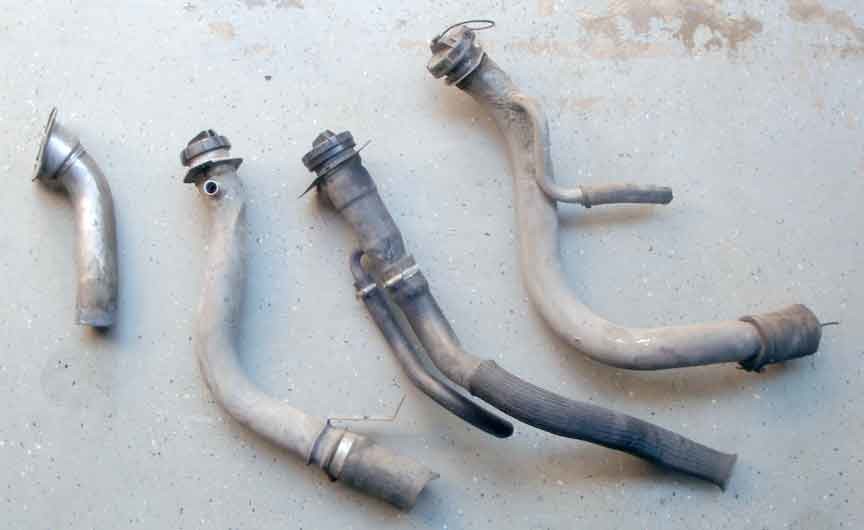
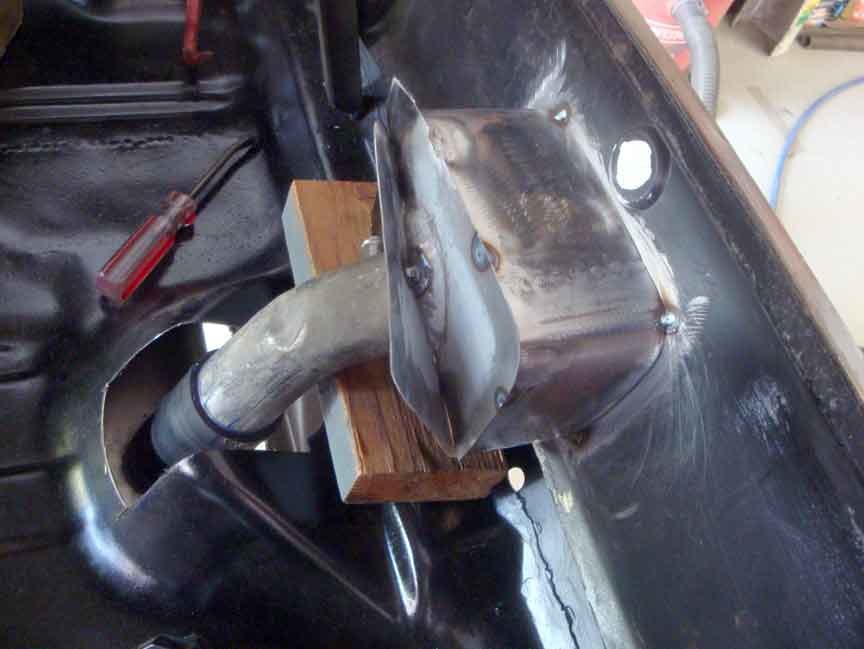
Yesterday I raided my local wrecking yard and came home with three different filler necks for possible use. In my pic- the original Firebird is on the left, then is one from a Chevy Astro van, then a Jeep Grand Cherokee, then a Dodge full size van. I'm going with the Astro neck as it seems to fit well.
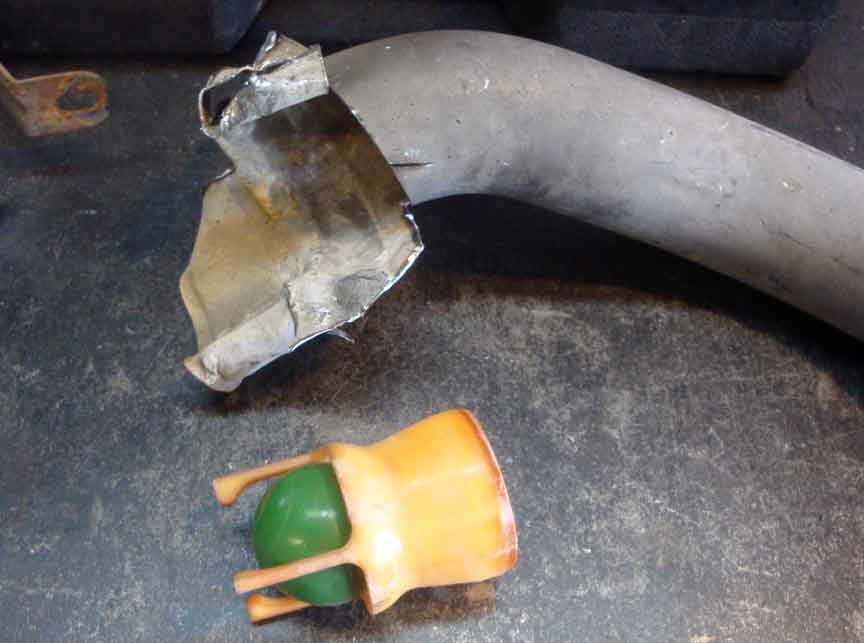
The dodge filler neck also had a checkball valve in it which is exactly what I wanted, so that is now going into my new filler neck.
I started to build the area around the neck, but got rained out so I'll have to continue another time.
1-27-2013
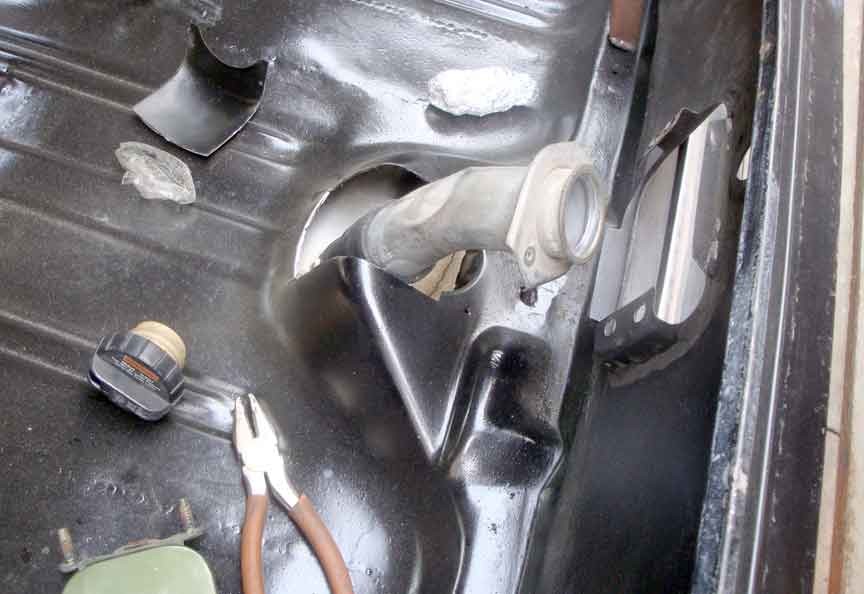
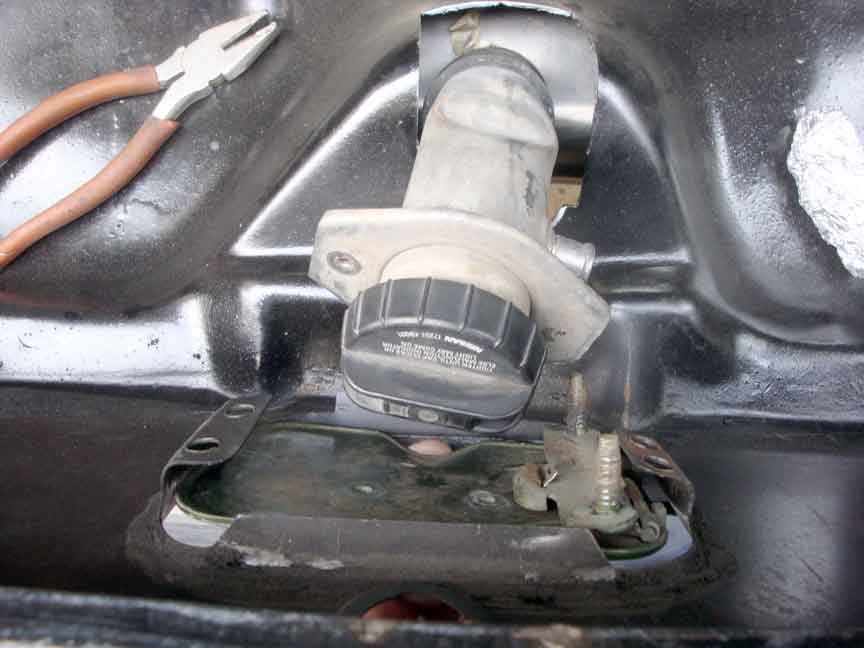
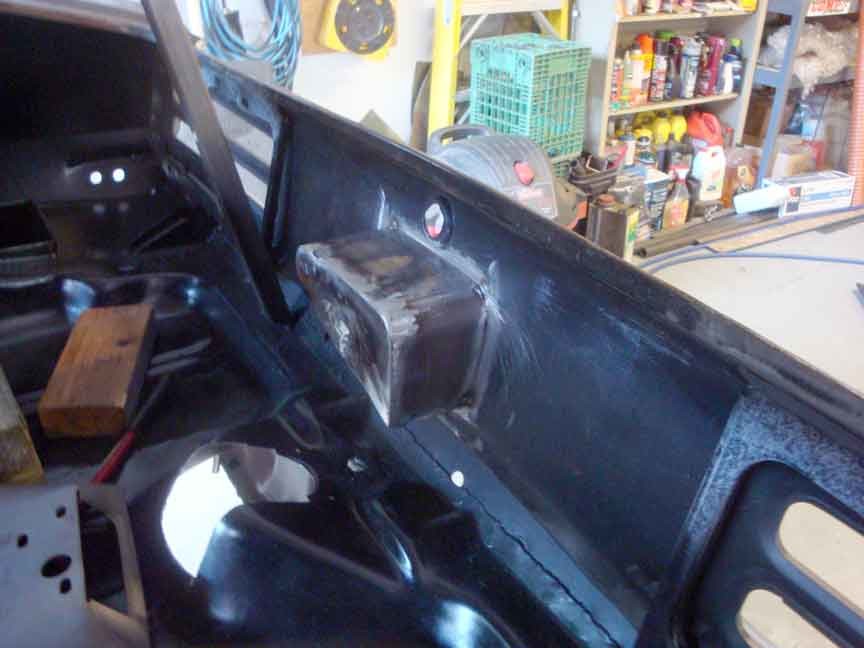
After being in HK/ China for 2+ weeks for work, I finally had a chance to get back on my car today. Small progress on the fuel neck. Still working on it, and now I need to fit in the door and hinge mount.
2-3-2013
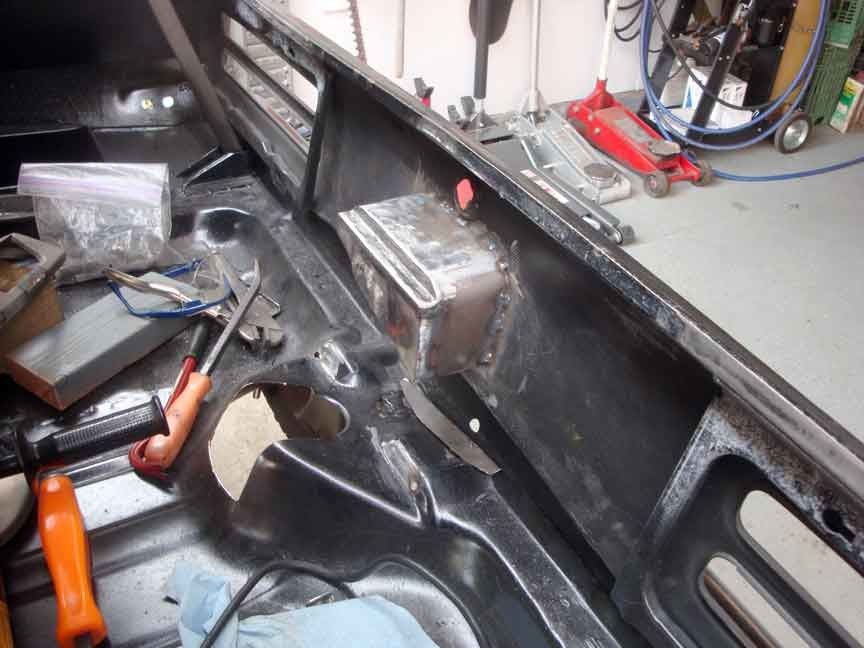
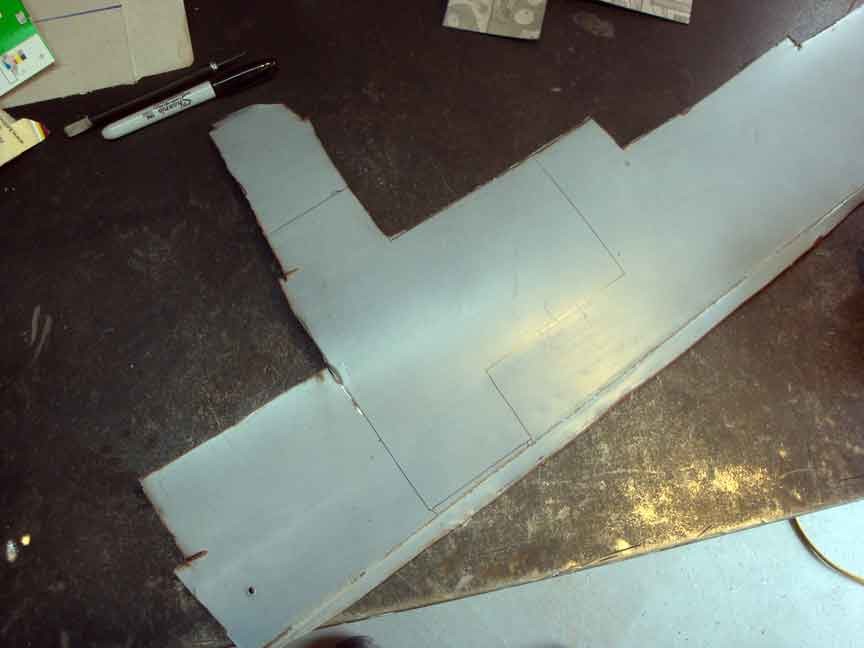
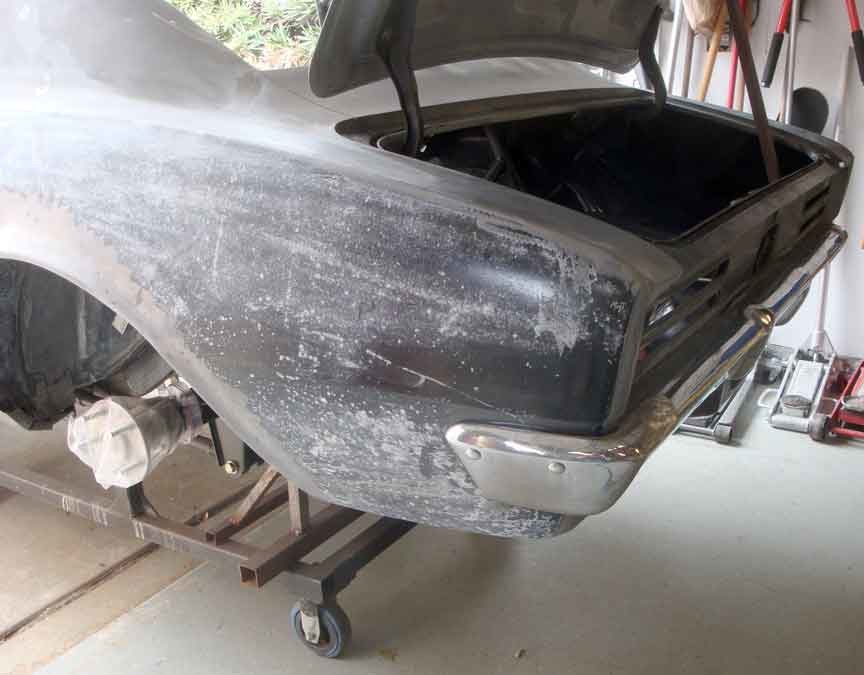
You probably heard me working this weekend, too, as I finished up the gas tank neck area. I had to made a recess in my box to clear the trunk latch. I also built a box in the trunk floor (really using up the last of my old original passenger door skin) to locate the original filler neck rubber sleeve and bracket. I shortened the sleeve and will use a clamp to help seal off any fumes.
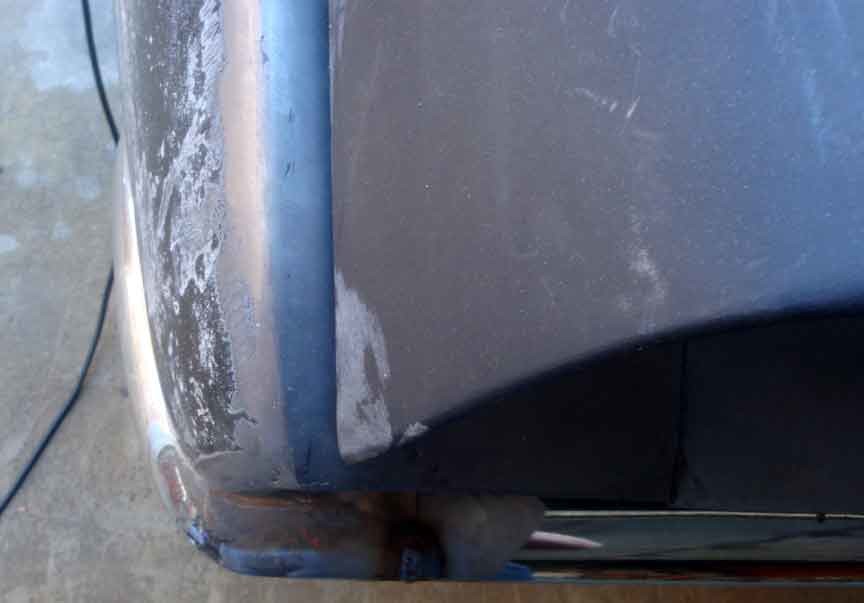
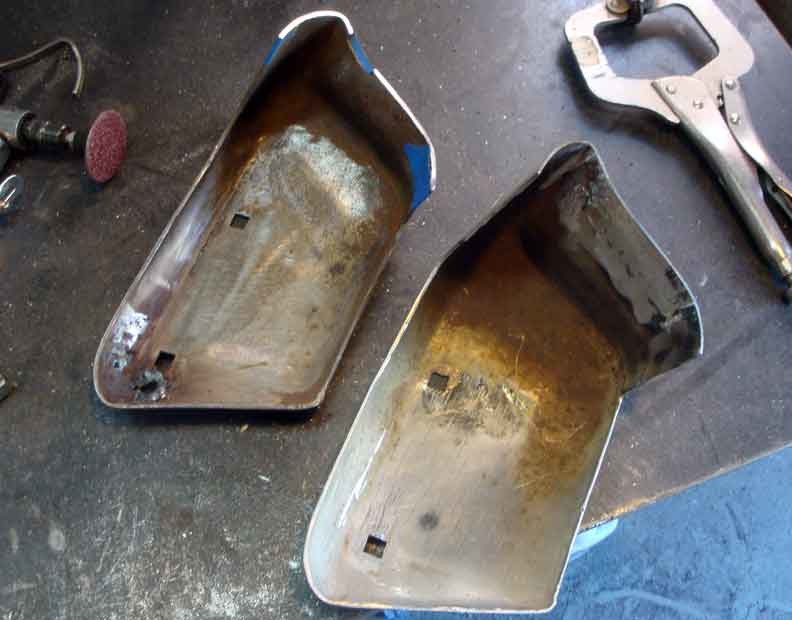
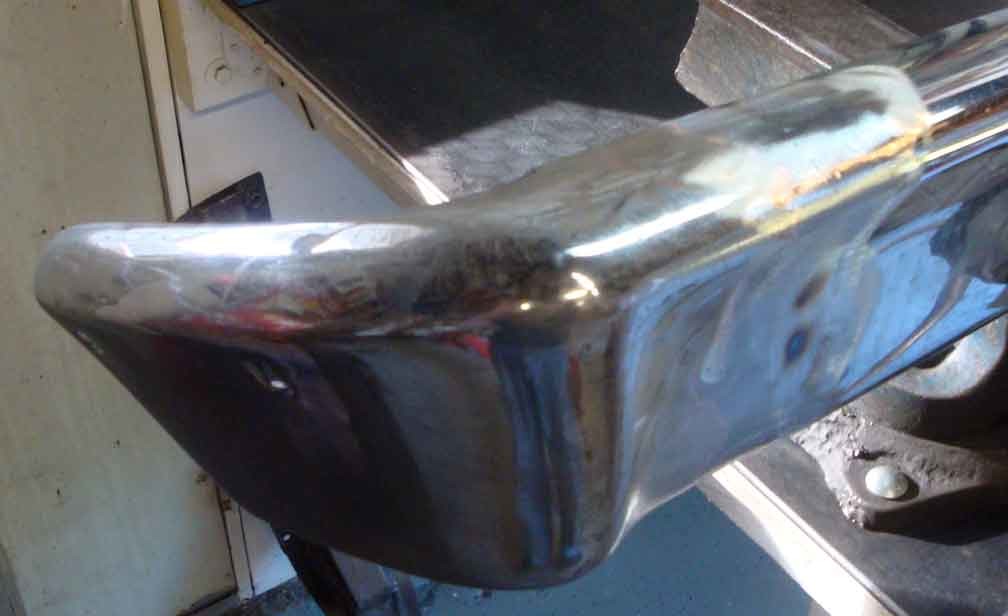
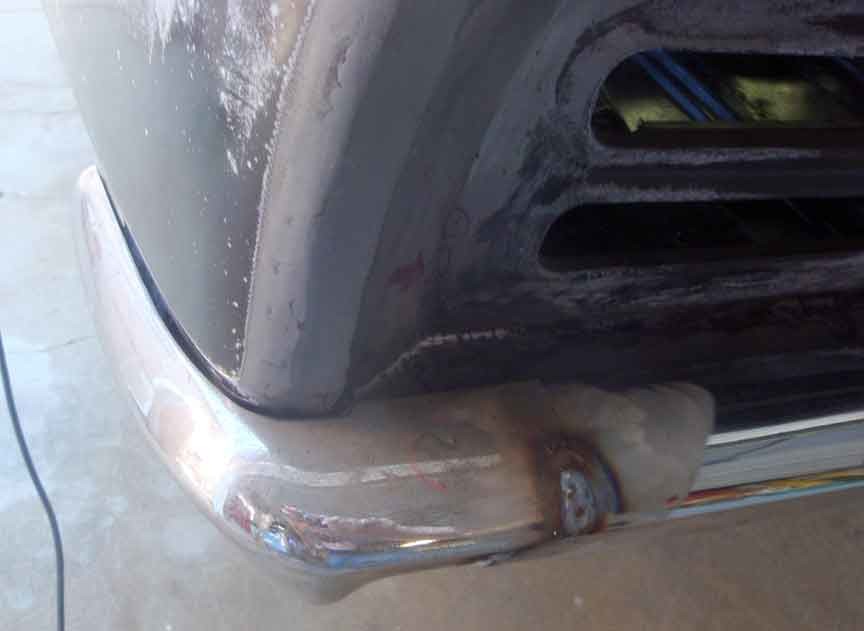
I also welded up my widened rear bumper and am happy with the results. The passenger side of my second bumper was rusted through, so I ended up slicing a section and adding it to my original one. Not my first choice, as it's two welded strips and more opportunity for misalignment, but it was this, or chop out the corner and patch that. I may need to either adjust, or shim, my rear bumper bracket to get it to sit level, and then I can revise the side brackets to fit. Since I moved the bumper in closer they won't fit as is.
One more pic I forgot to add earlier
3-31-2013
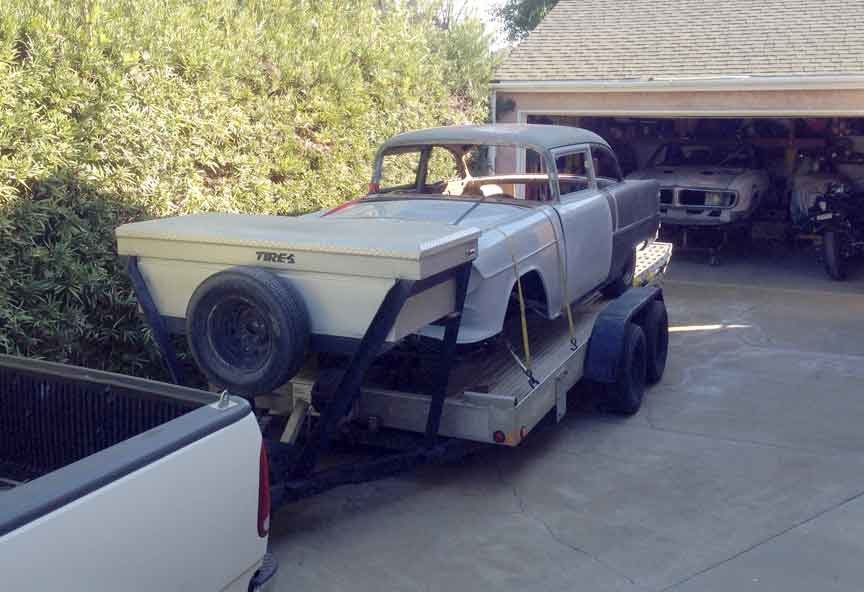
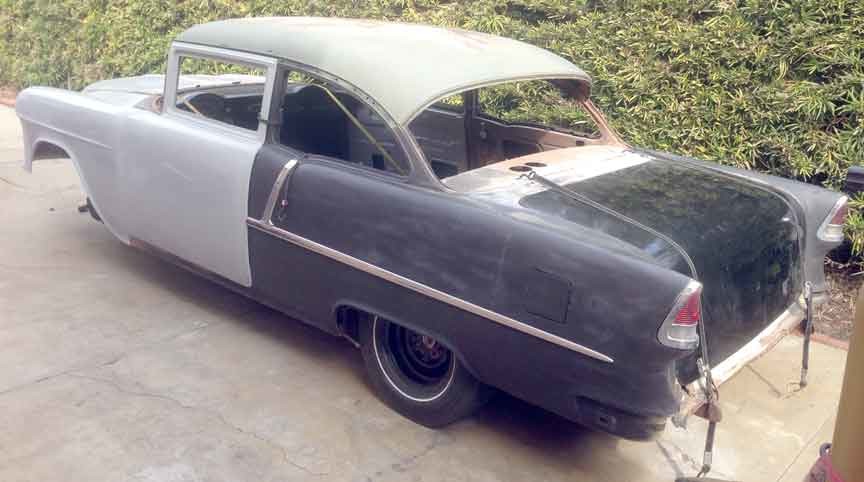
Still alive. It's been one busy weekend after another, and I got distracted. I bought another car- a '55 chevy. I plan to make a "2 lane black top" style gasser out of it. real rough and basic. The beauty is it came with all the same 'glass parts to make a 2lbt car, and a 9" rear. But first things first. I need to get my Firebird driveable (while I collect parts for the '55).
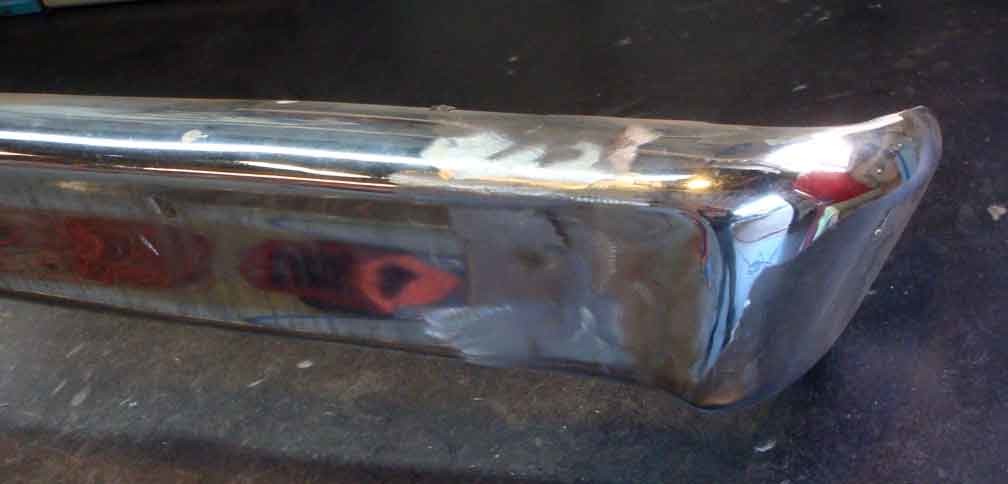
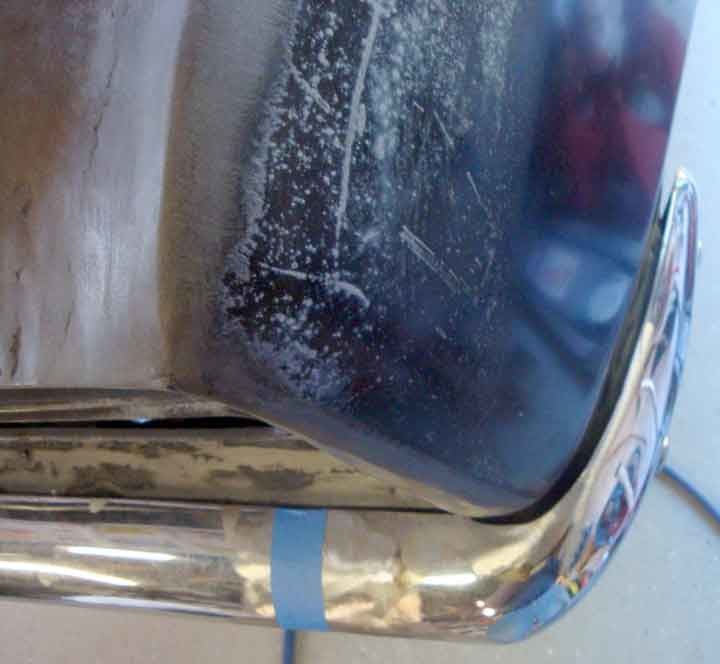
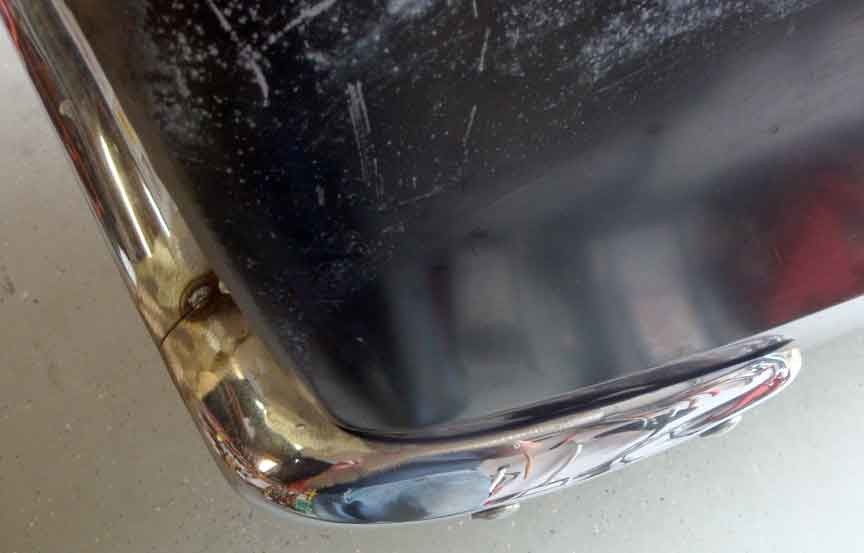
I spent today working on the rear bumper more- getting it to fit better. The first pic shows the large gap along the right side of the bumper . I t required cutting the bumper and shaving it down a bit, as well as revising three of the four bumper brackets (multiple times) I lost count how many times today alone the bumper went on, came off, went back on, etc..
It looks a bit better now. It's not perfectly straight, and it'll need some love by a bumper shop one day. But it's good enough for me at this moment.


Wow excellent!
Posted by Diggymart on 9/23/19 @ 1:21:32 PM