You must be logged in to rate content!
7 minute(s) of a 82 minute read
2-2-2012
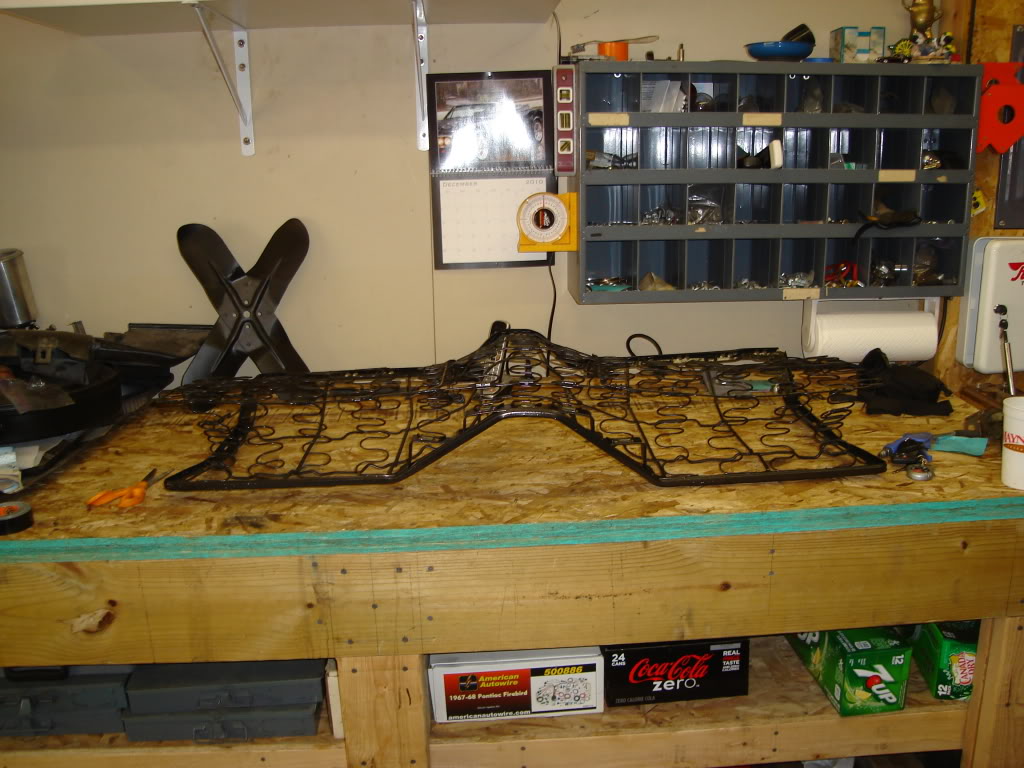
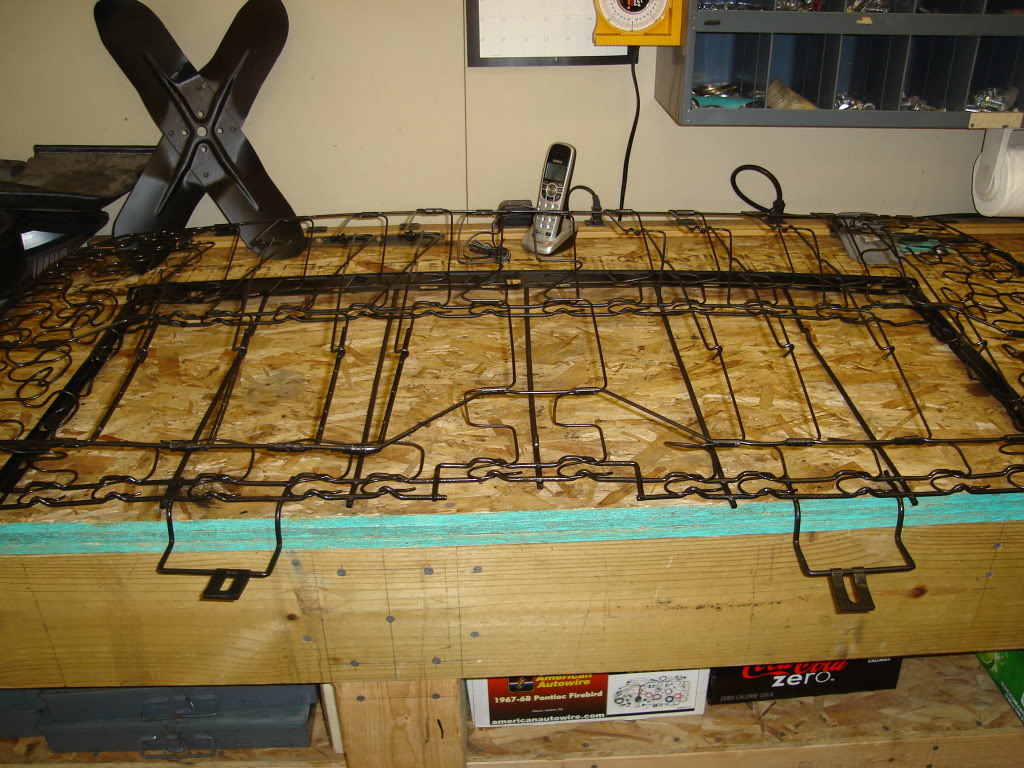
Just like any other project on this car the rear seats needed to be replaced. I started out with removing all of the hog rings holding the old mouse poop infested interior on. I spent the better portion of two weeks with my limited spare time removing all of the old hog rings. I had to wear a mask because of the old mouse hotel that was now vacant. After removing all of the old interior I was down to the frames.
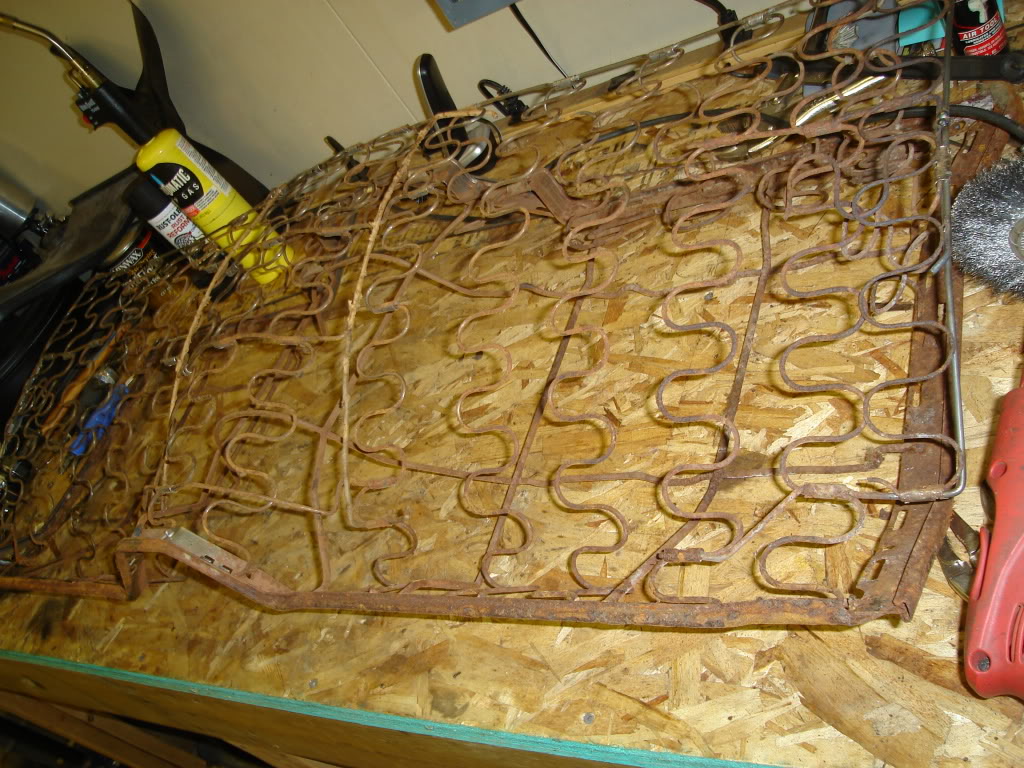
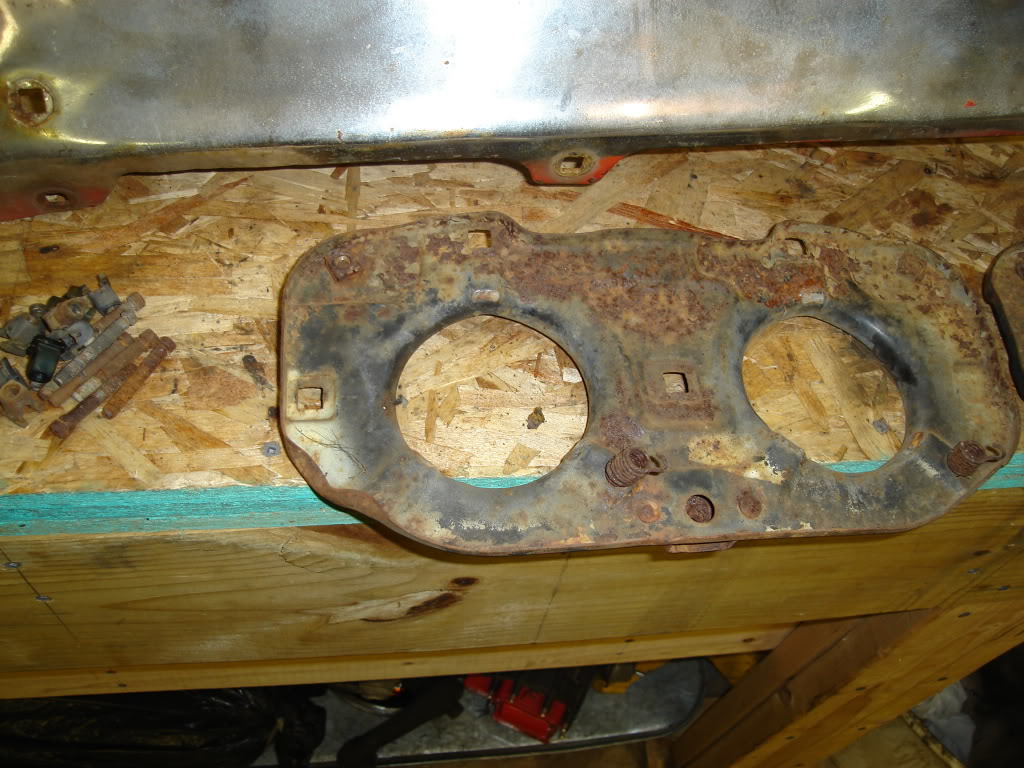
Again, there is never a easy project on this car. I had to replace parts of the frame where it was rusted from I assume mouse pee.
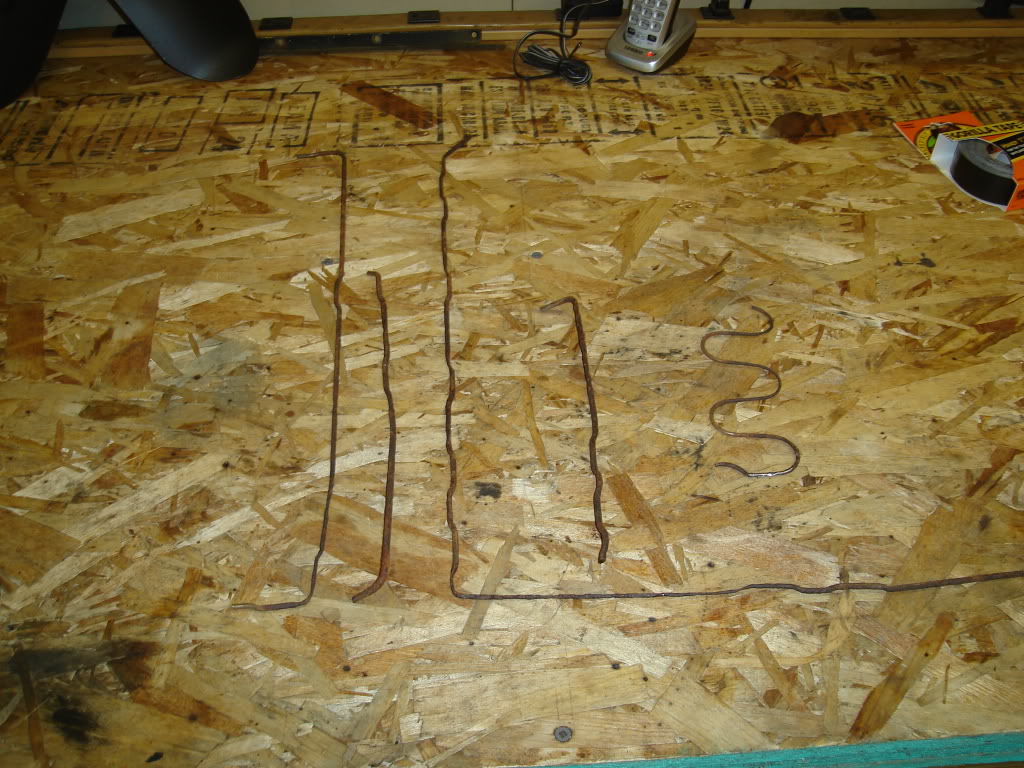
Here's just a little of the metal that I cut out and had to weld back in.
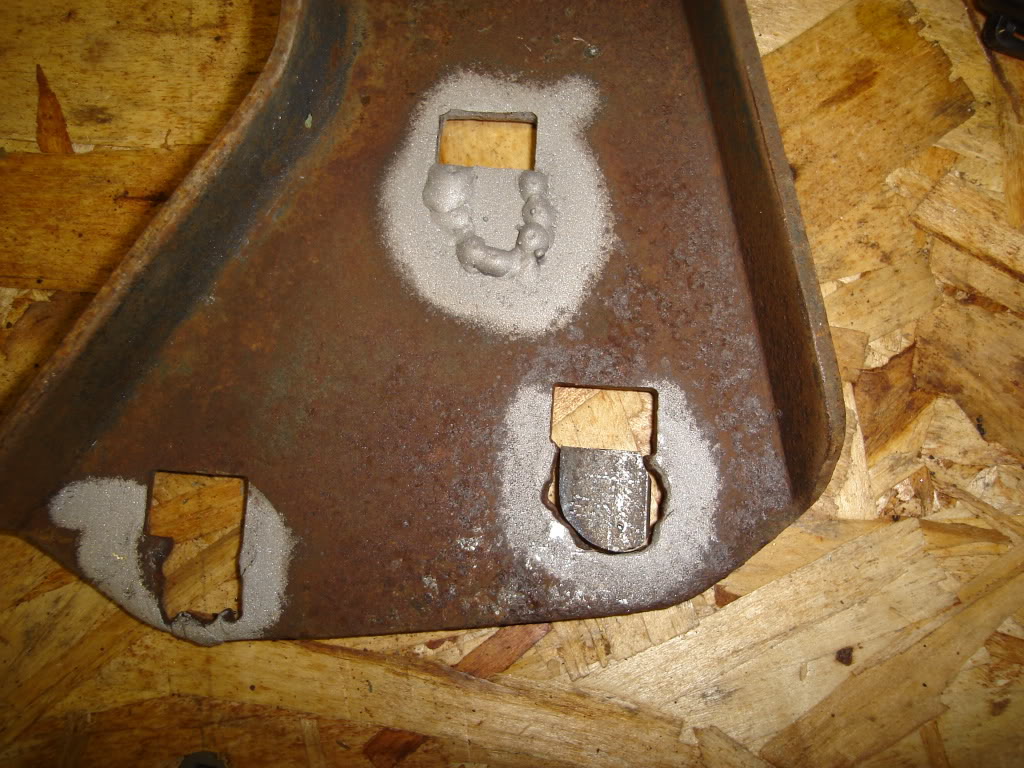
One corner that I fixed.
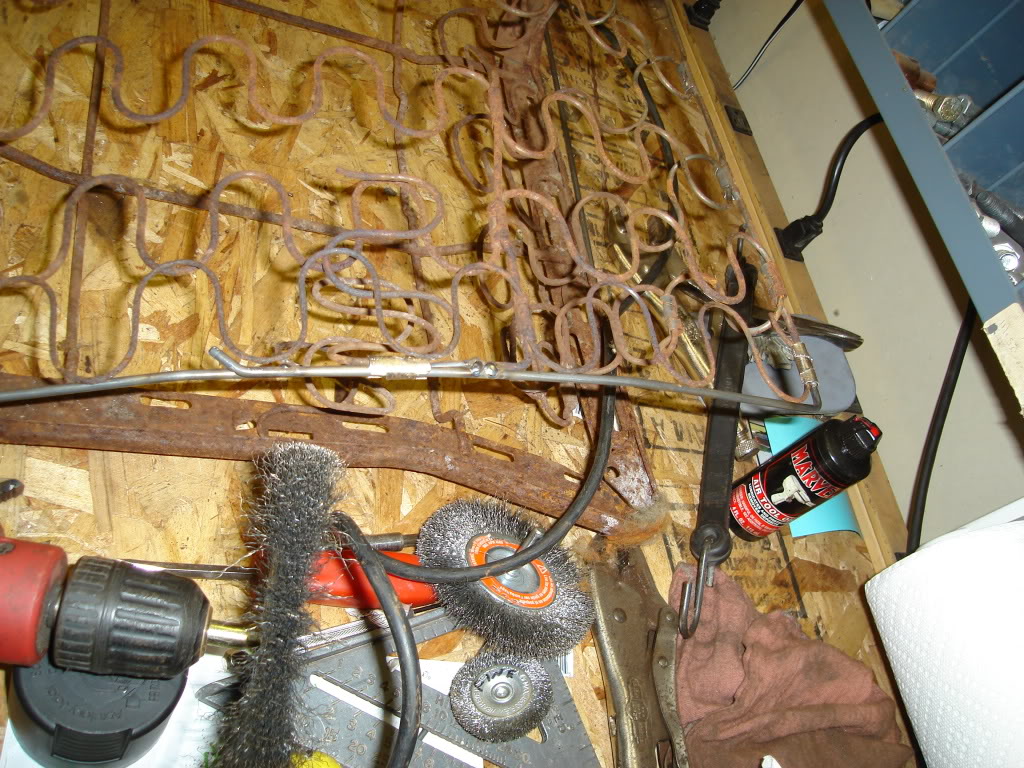
I spent about five hours wire wheeling everything down.
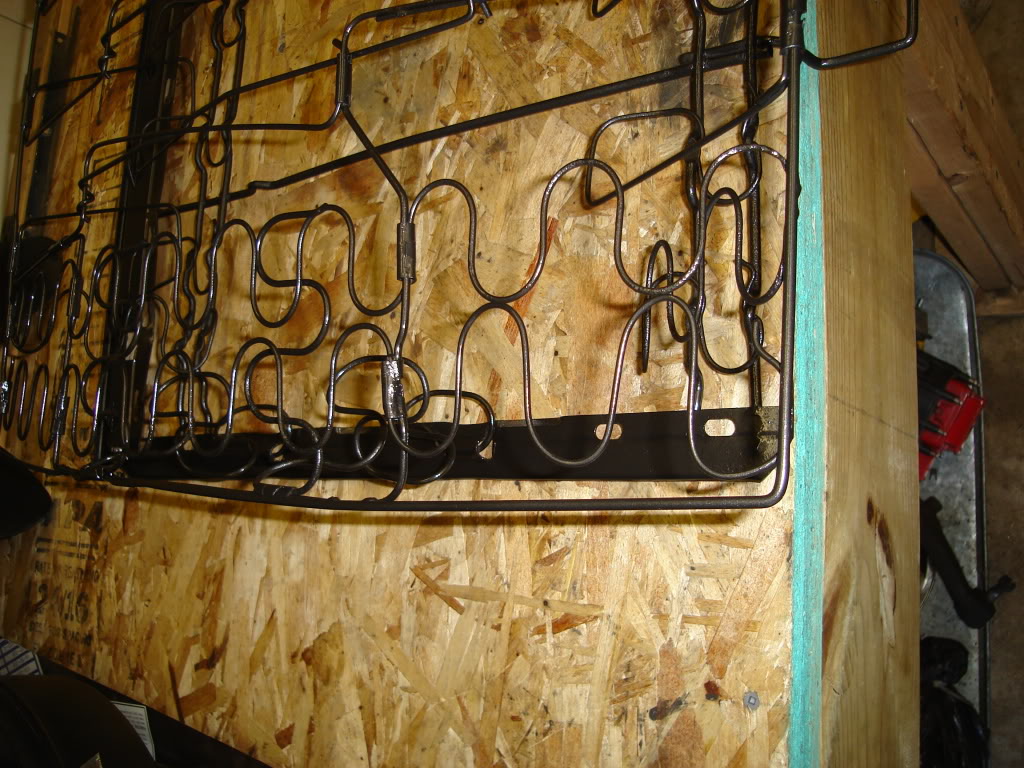
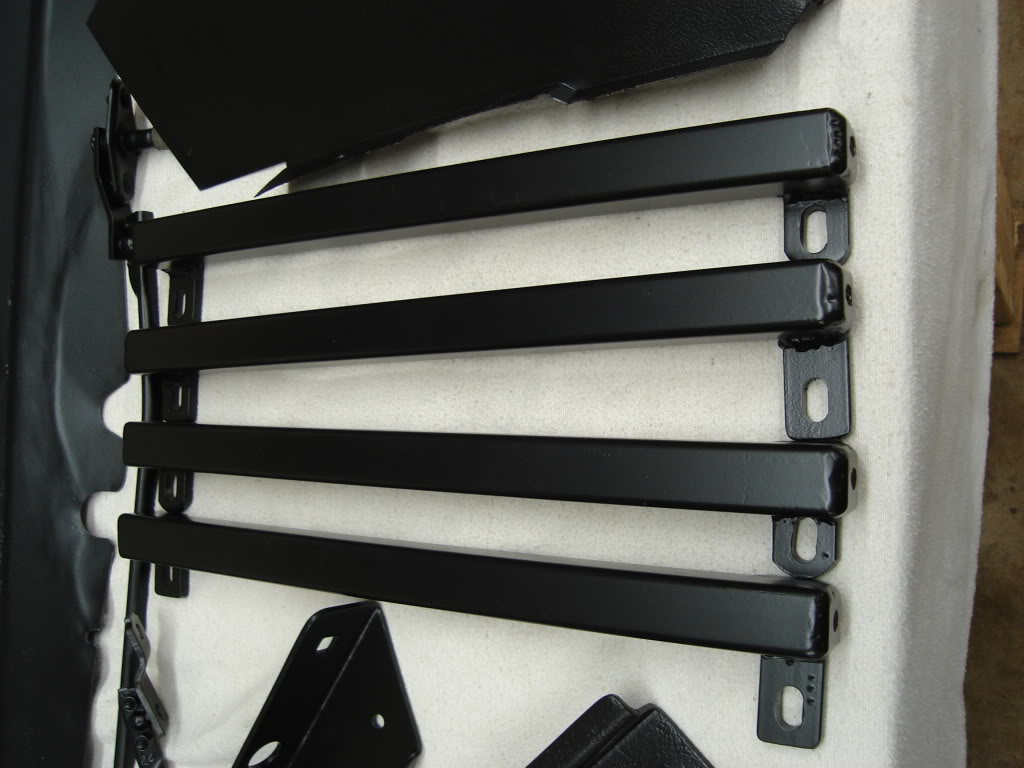
The botttom frame had to have a coat of por15 applied to the frame. The rest of the frames received two coats of a rust preventive paint and then two coats of black hammered paint.
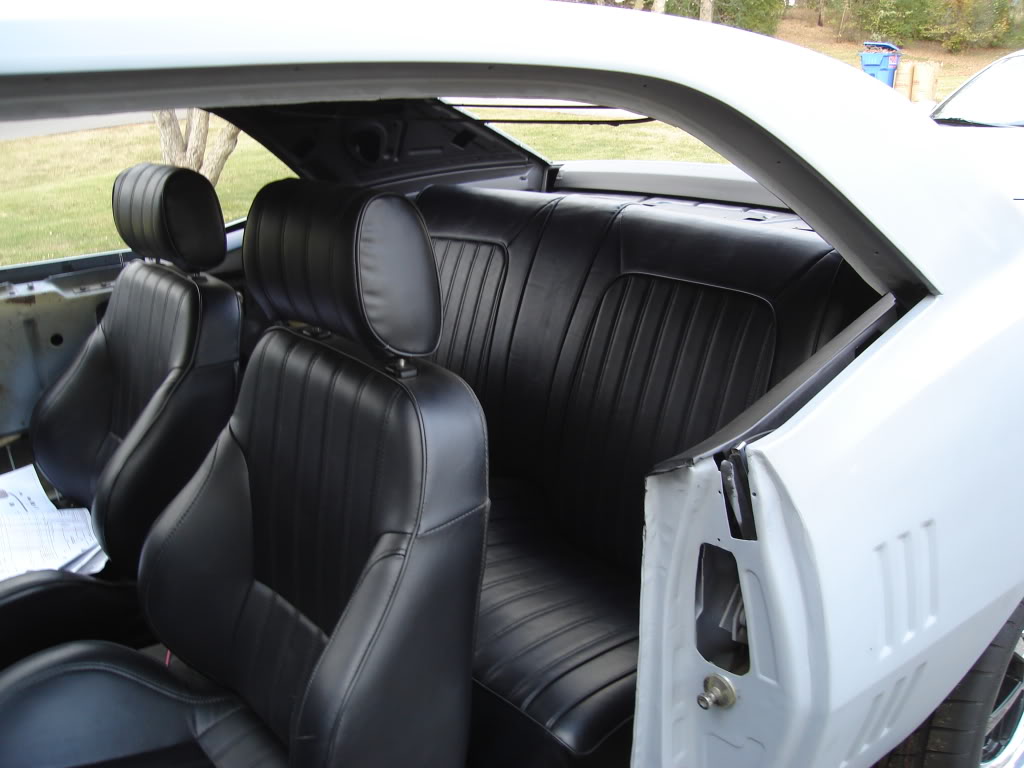
They are now dropped off for the new covers which will match my front Scat seats.
I bought the rear cover to match the front Scat seats.
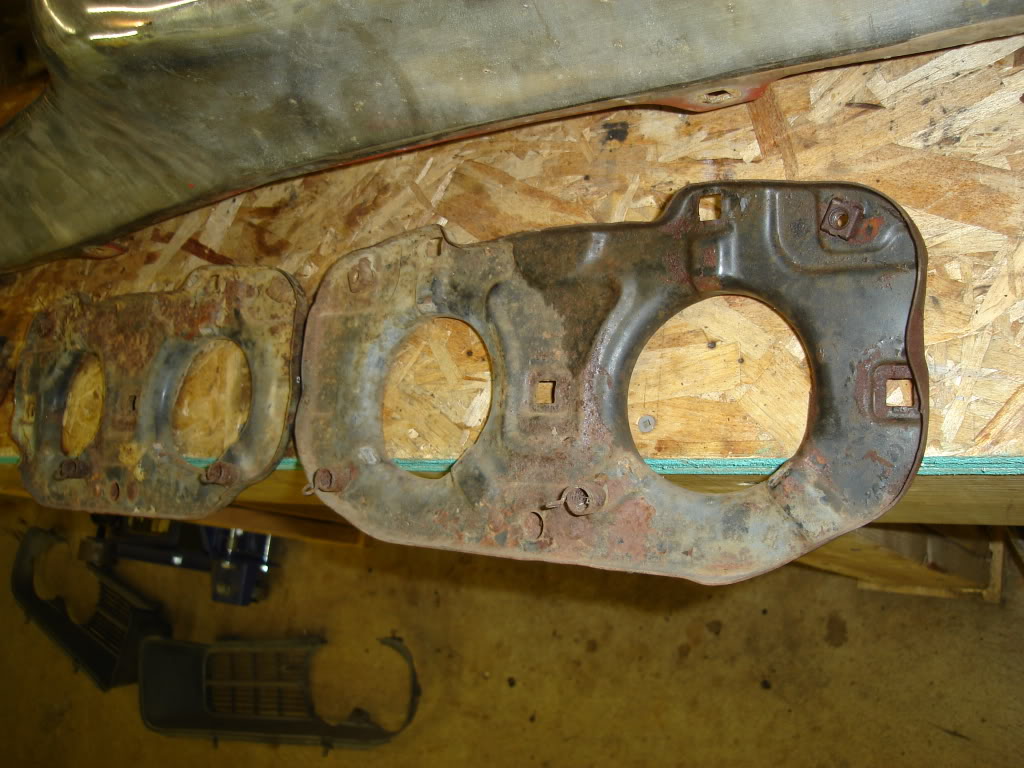
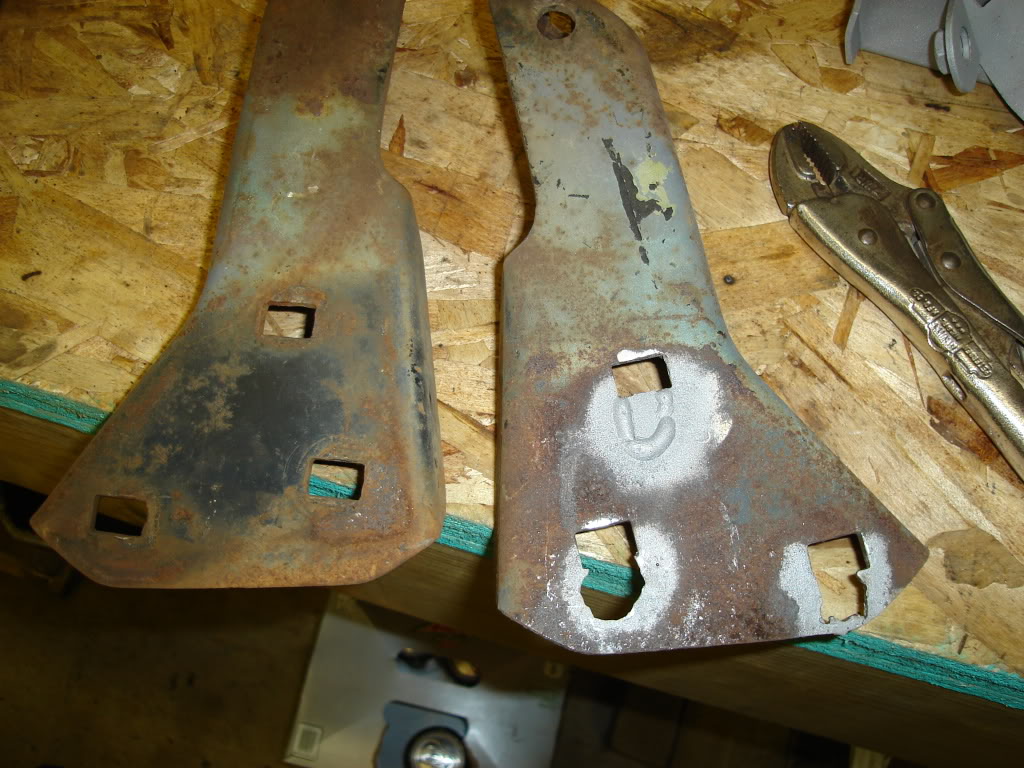
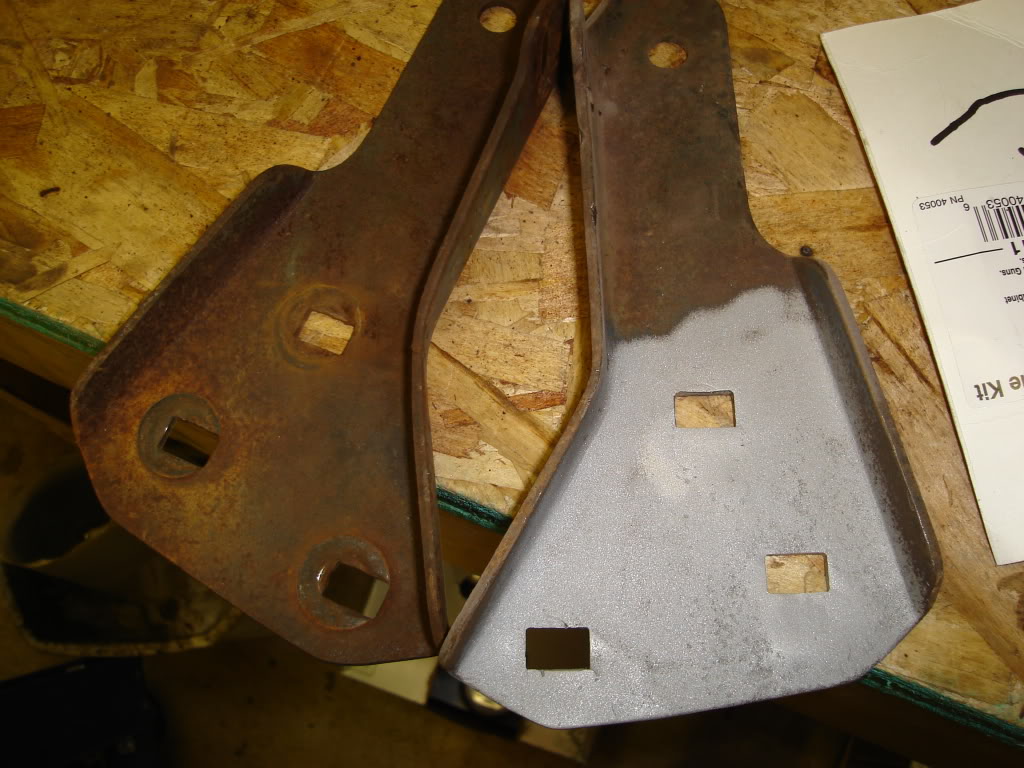
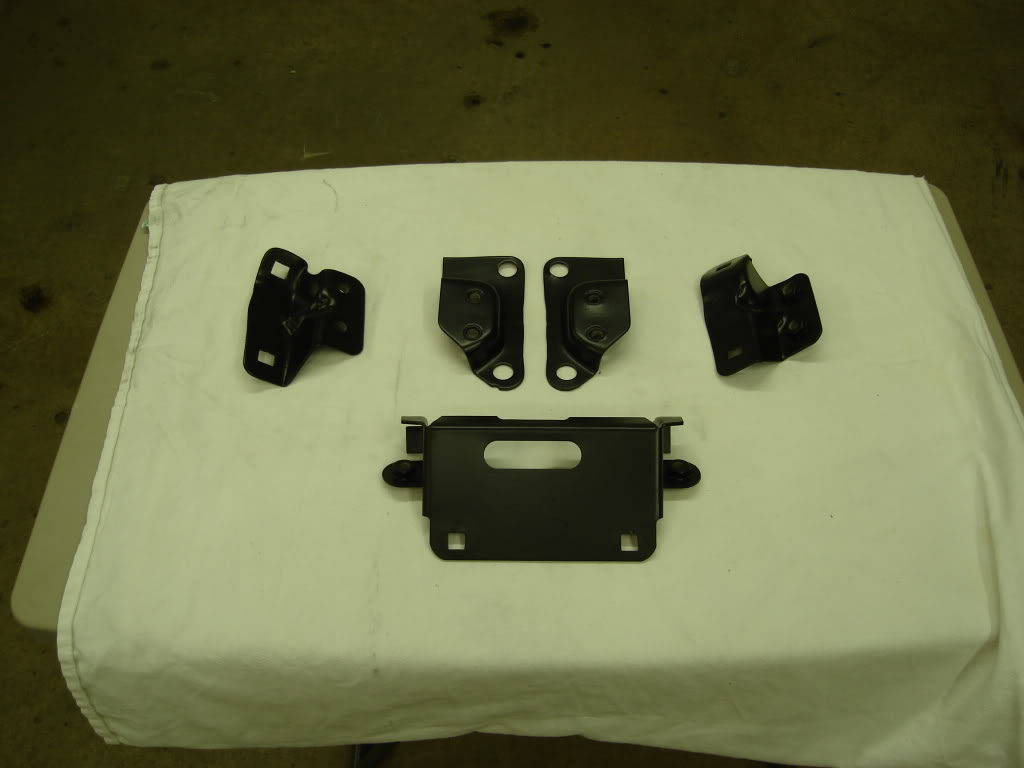
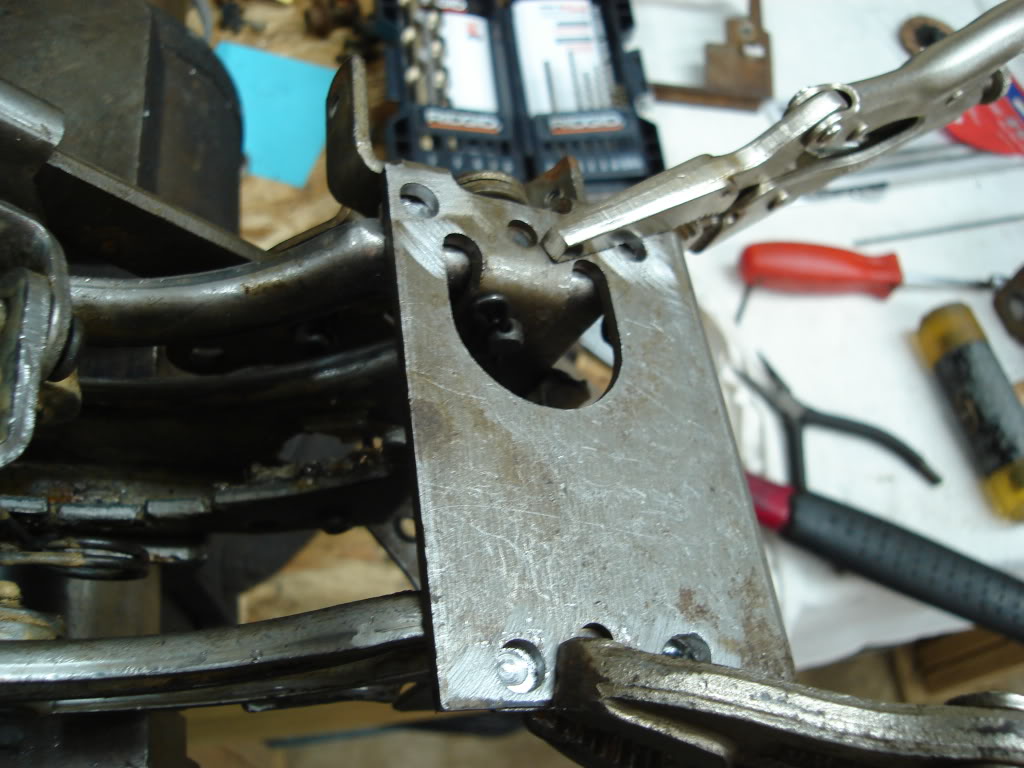
Next, I started on all of the front and rear bumper brackets along with all of the front end brackets. I spent about a month of my spare time fixing and sandblasting all of the brackets. Almost every bracket had something wrong with it. They were either bent, missing welded on nuts, stress cracks, or just missing all together.
I spent several hours alone just getting thses straight.
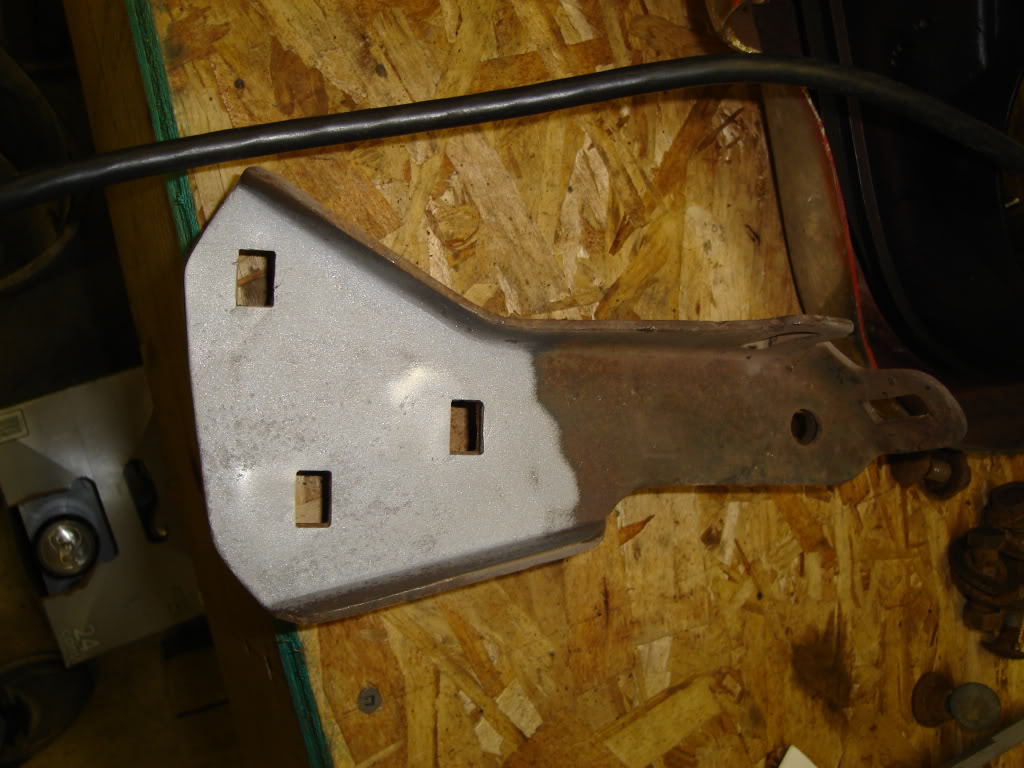
All fixed now they just need to be blasted.
Someone thought it would be a great idea to torch out bigger holes to make things fit instead of fixing it the correct way.

All fixed.
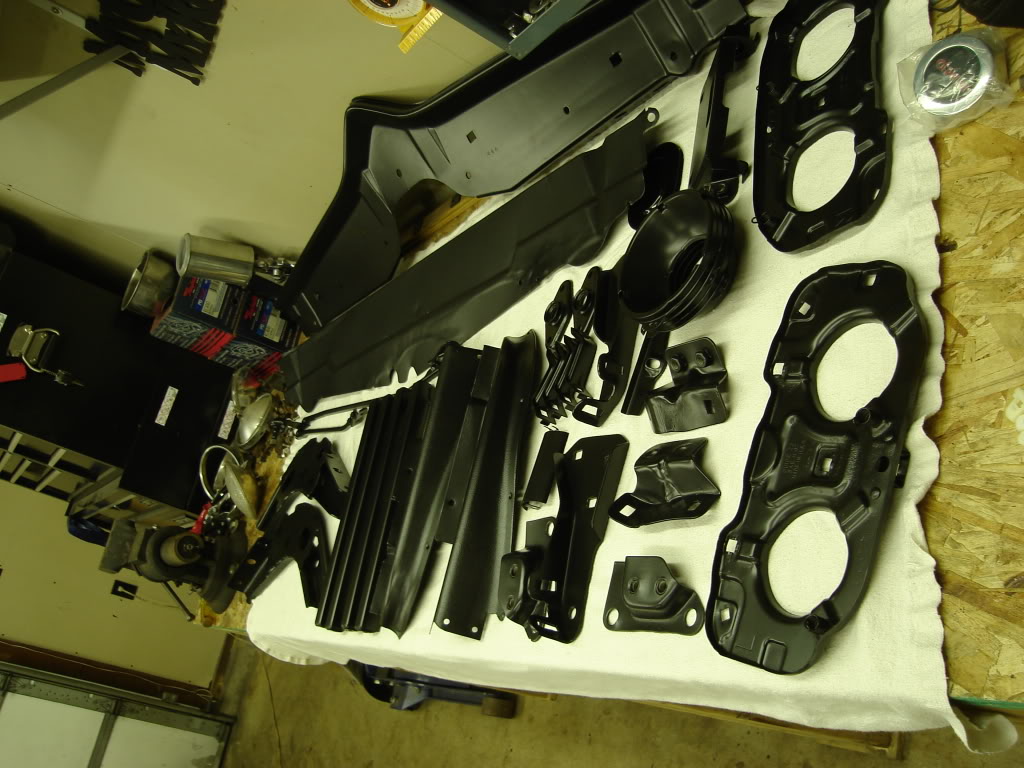
Stacked on top of each other, checking to make sure everything lines up correctly.
Dropped all of the parts off at a friends house for powder coating.
Front bumper brackets.
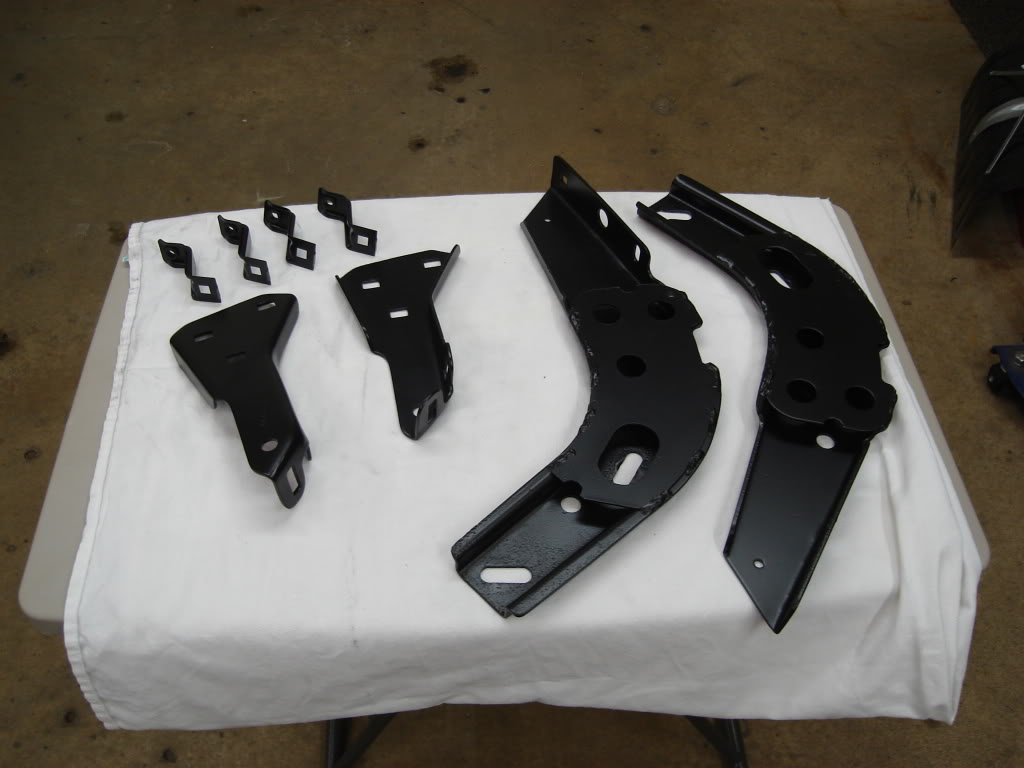
Rear bumper brackets.
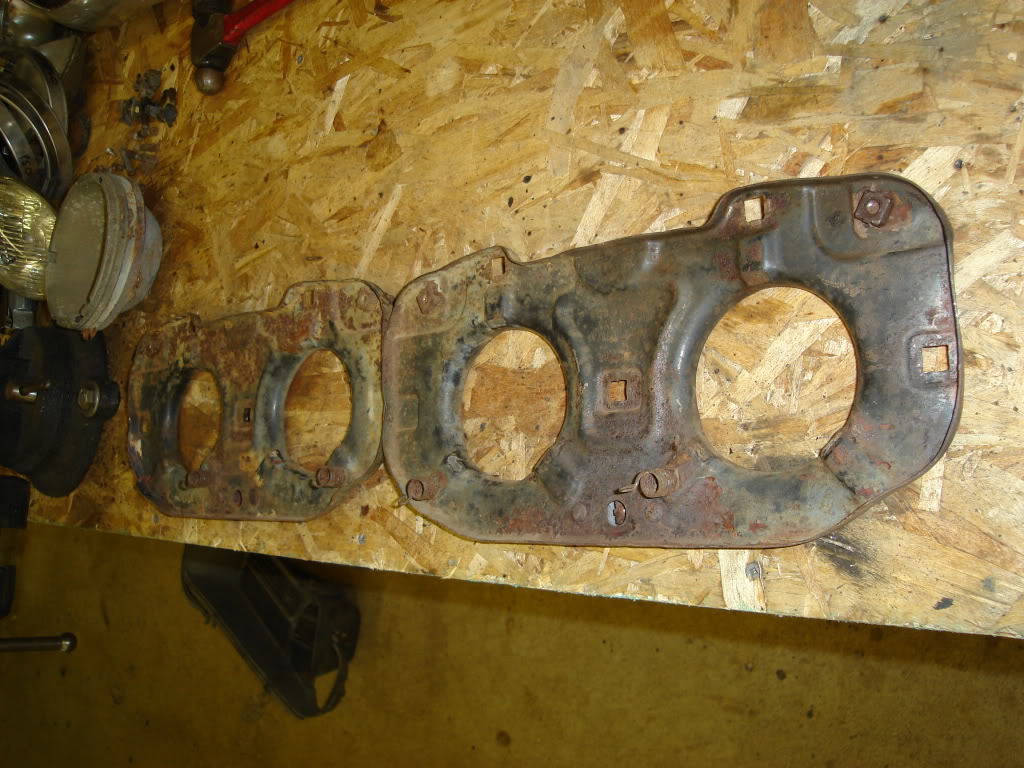
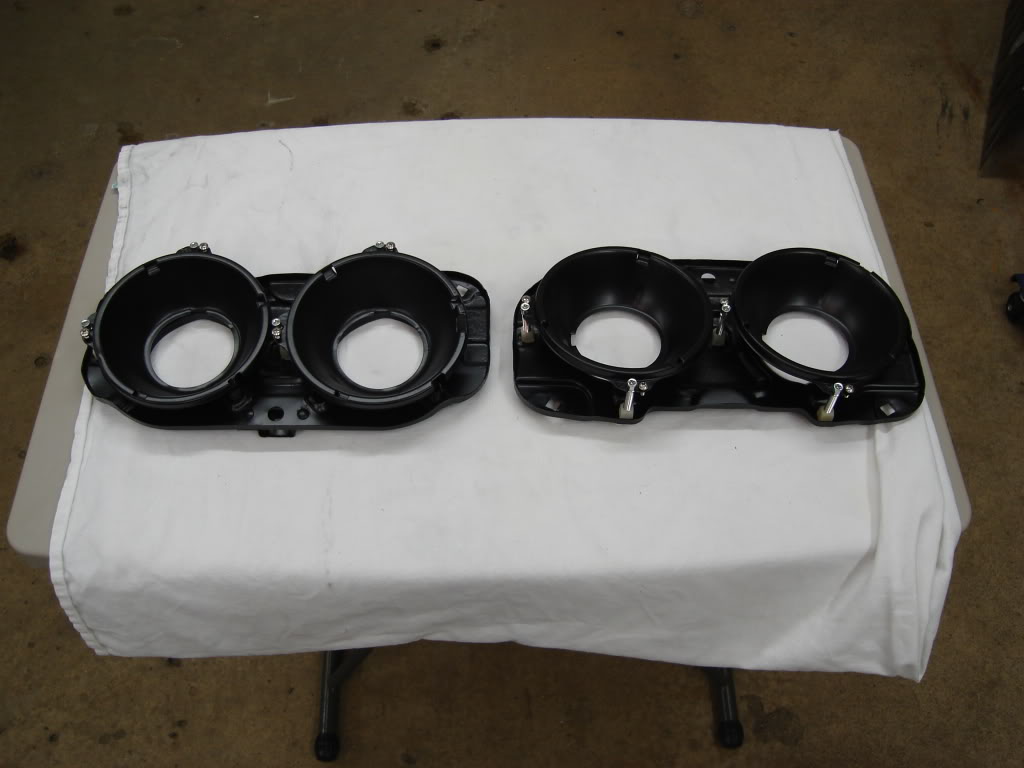
Headlight buckets.
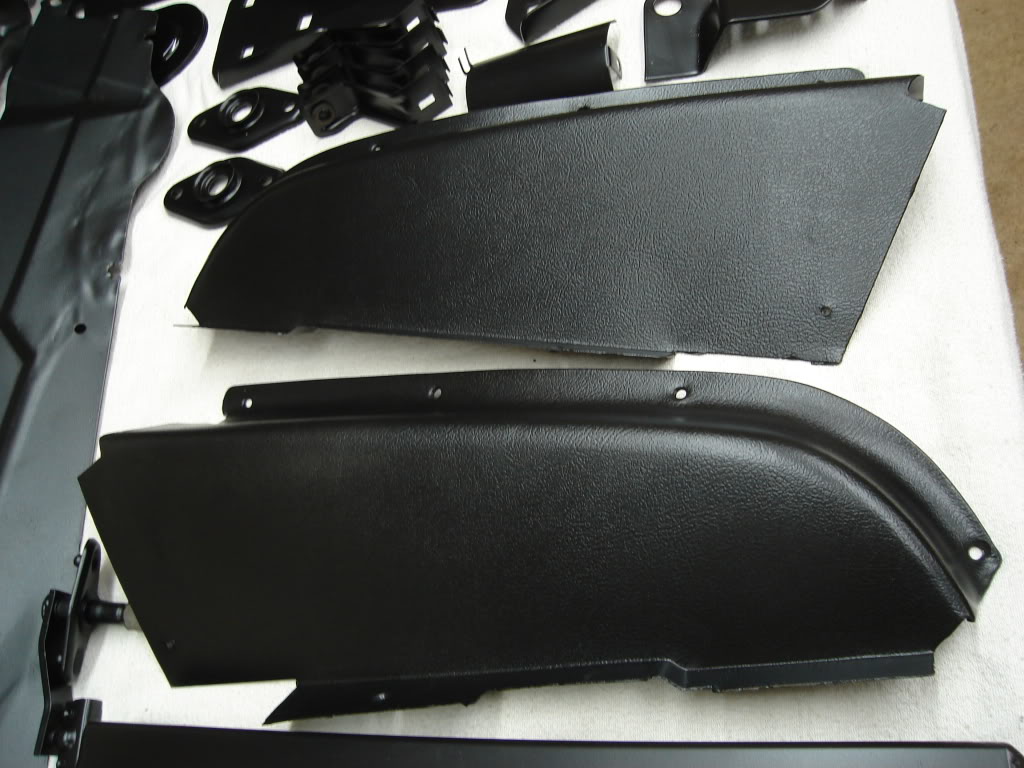
Interior.
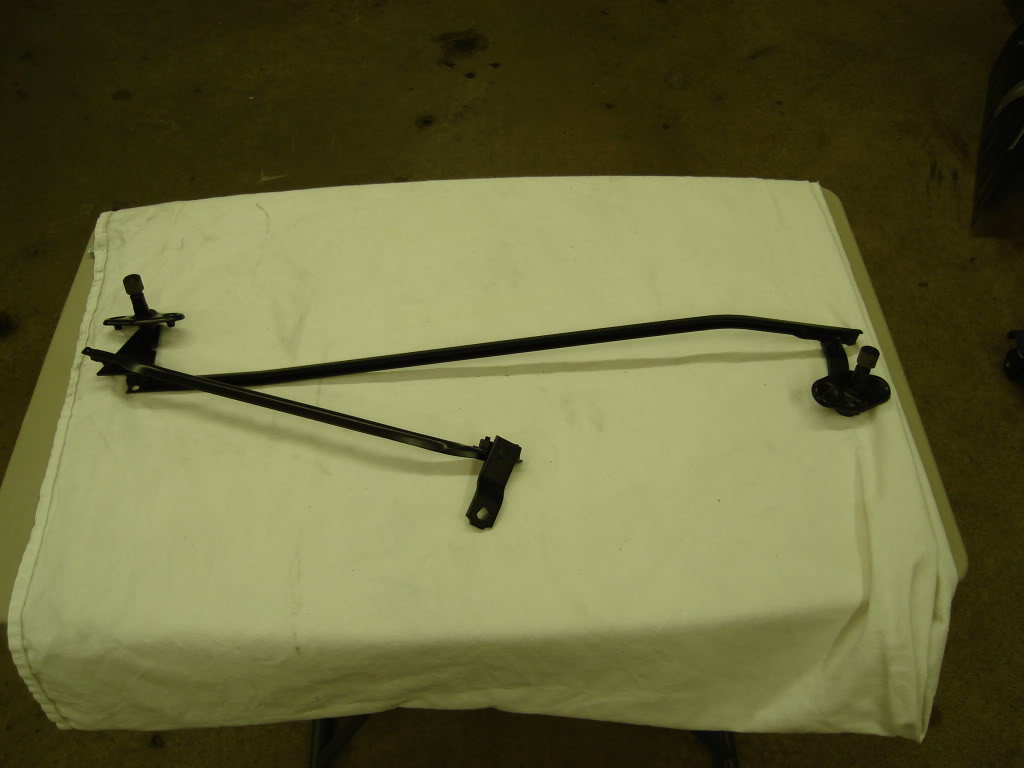
Windshield wiper linkage.
Seat tracks.
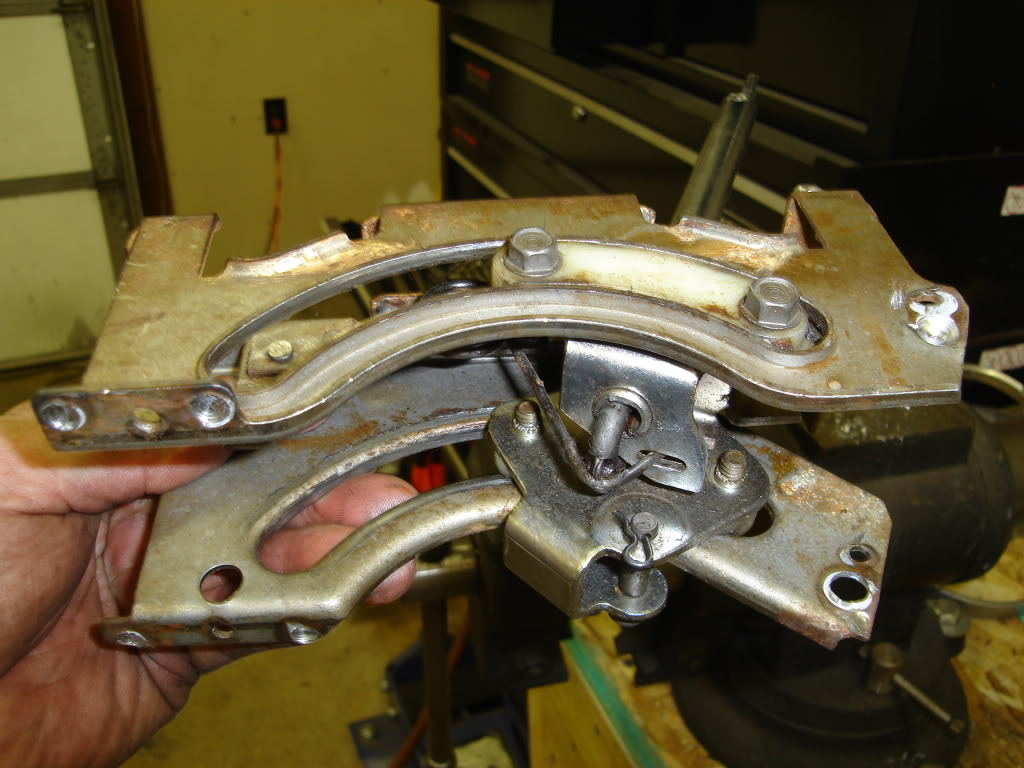
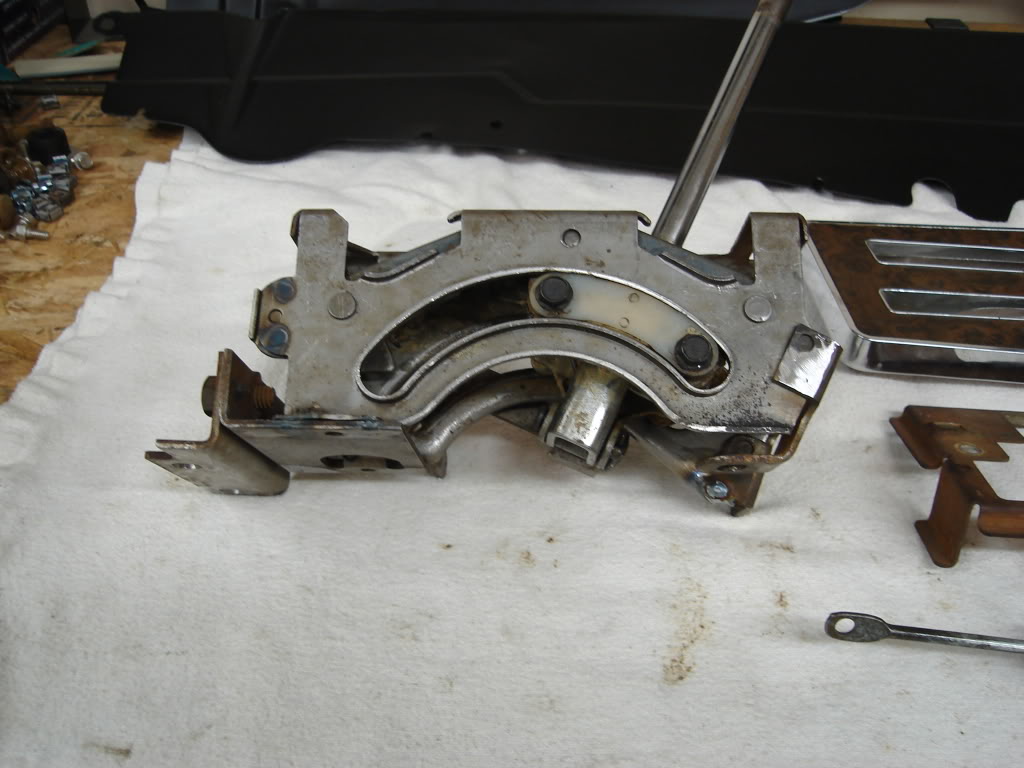
Next on the list was to fix my shifter problem. I had a two speed floor shifter but wanted a three speed floor shifter with the ratcheting option. To my surprise it seems all late 60's to early 80's shifters are built off of the same base with just different mounting points to the floor. Along with that I think mine was the only year with the neutral safety switch on the floor shifter. I had twelve spot welds to drill out, six per shifter. There is already an alignment pin to help line up the brackets when you go to change them over.
Here's a picture with both the front and rear brackets removed.
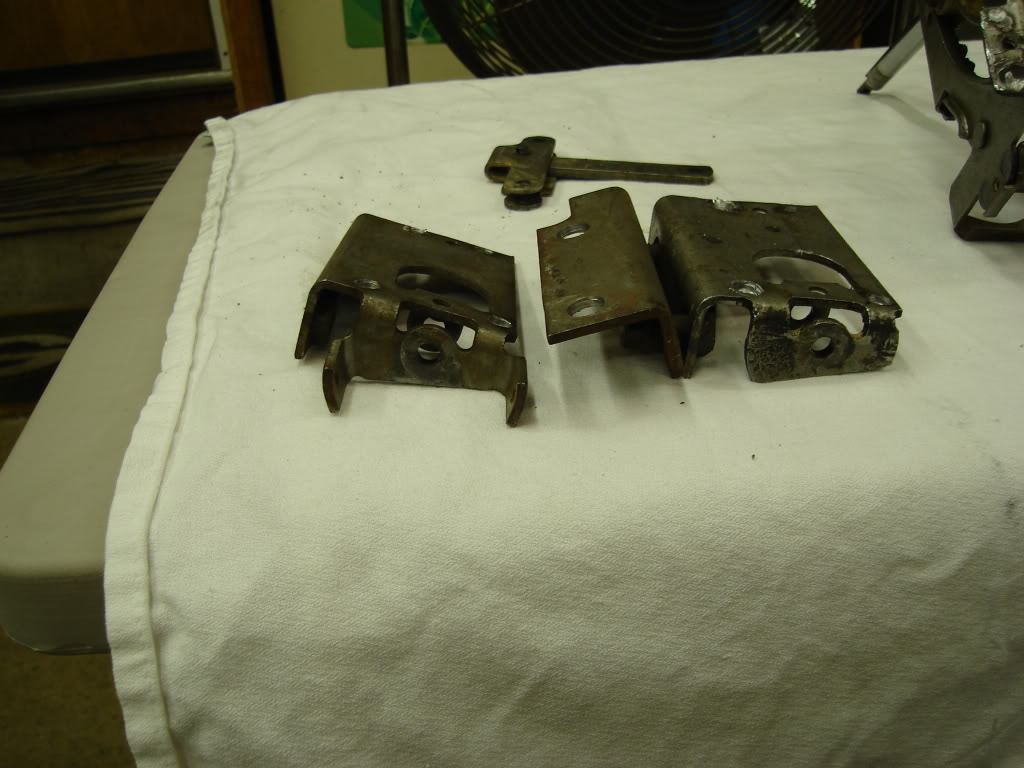
These are the brackets removed from my old shifter that I will weld back onto my new shifter.
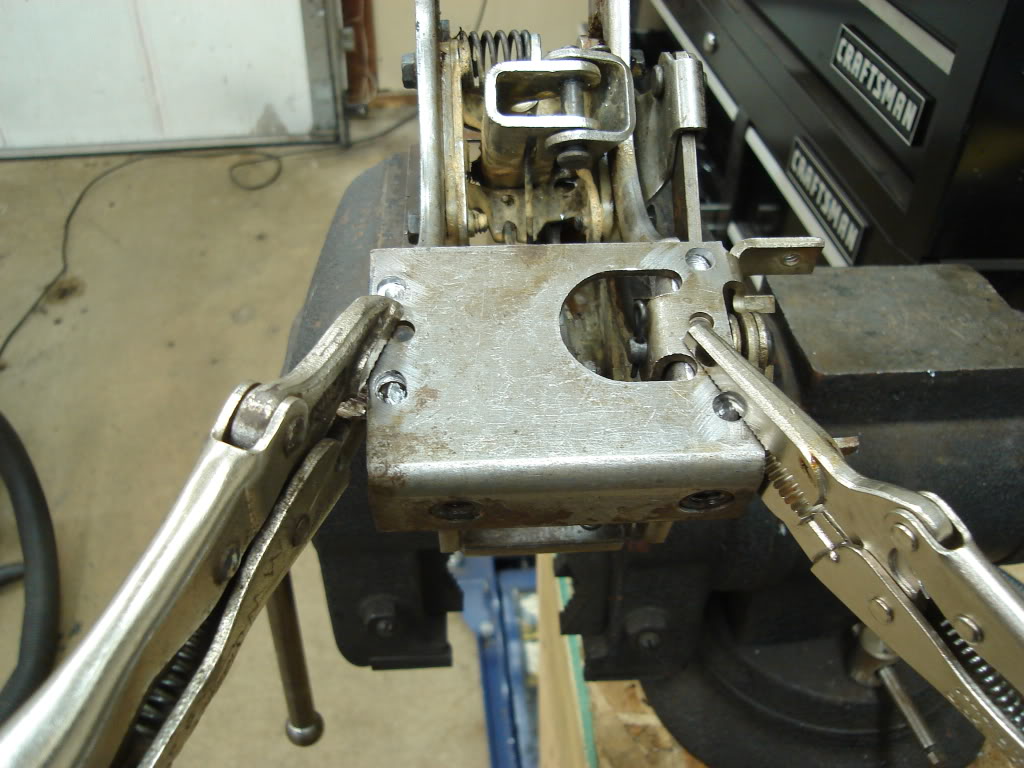
Getting ready to weld the rear bracket back on, if you look closely you can also see the monting holes for the neutral safety switch.
Brackets all welded on and finished.
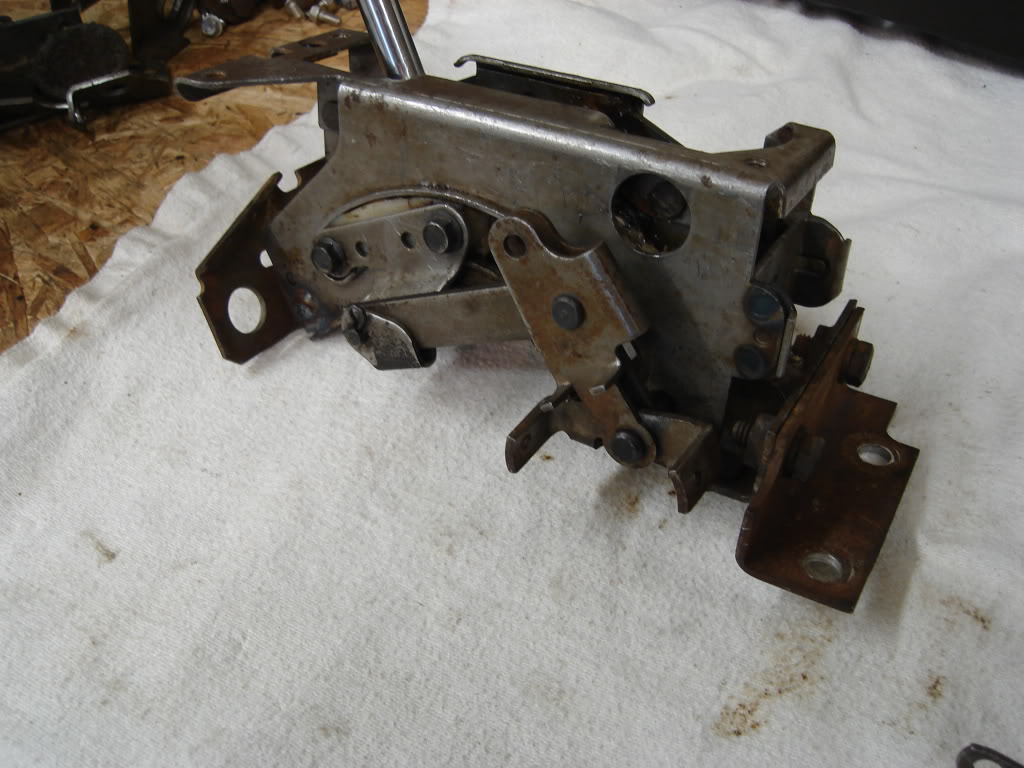
I wanted a stock looking shifter but also wanted a shifter that would not go from 1st to neutral with one push.
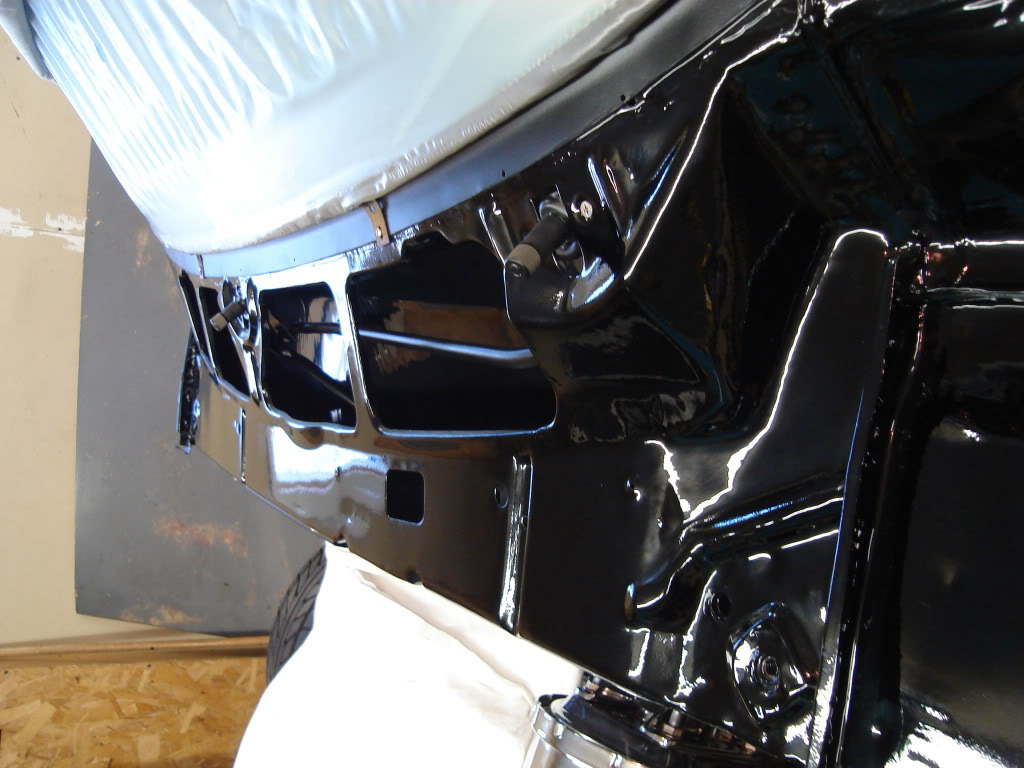
Next I spent a few hours and hand buffed out the inside of the cowl and mounted my windshield wiper arms. I had to drill out all four broken mounting screws before I had it powder coated. I replaced them with four short stainless steel screws. I'm not sure why but both wiper arm mounting points had a small plastic sleeve under them. They were in bad shape and they had to be removed to coat them. I had some shrink tubing with the glue inside of it laying around that I was not using so I cut two of them out and used a heat gun to put them on.


Comments

Great car!
Posted by Diggymart on 1/23/21 @ 2:12:47 AM

Beautiful car and I loved the documented build from start to finish.
Posted by [email protected] on 9/5/16 @ 12:41:07 AM
Great car!
Posted by Diggymart on 1/23/21 @ 2:12:48 AM